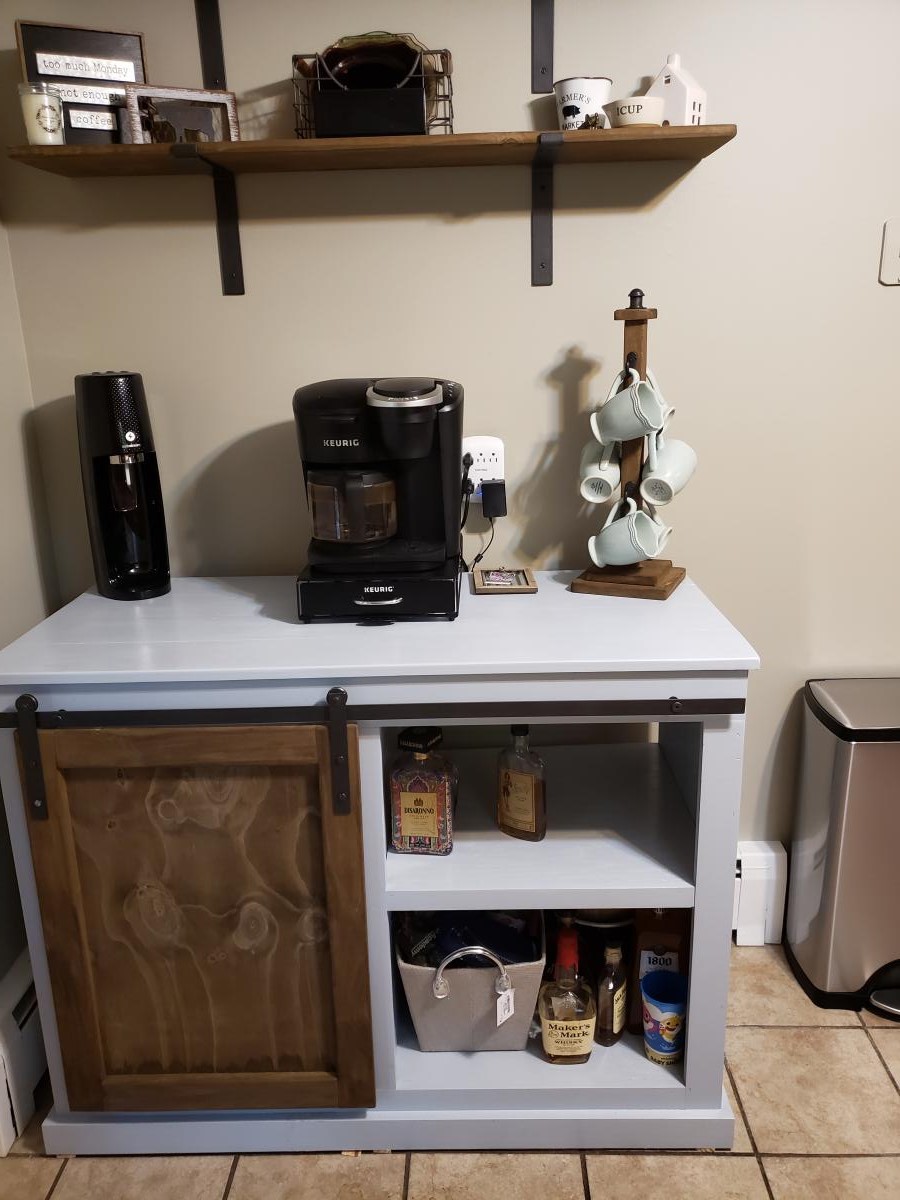
Community Brag Posts

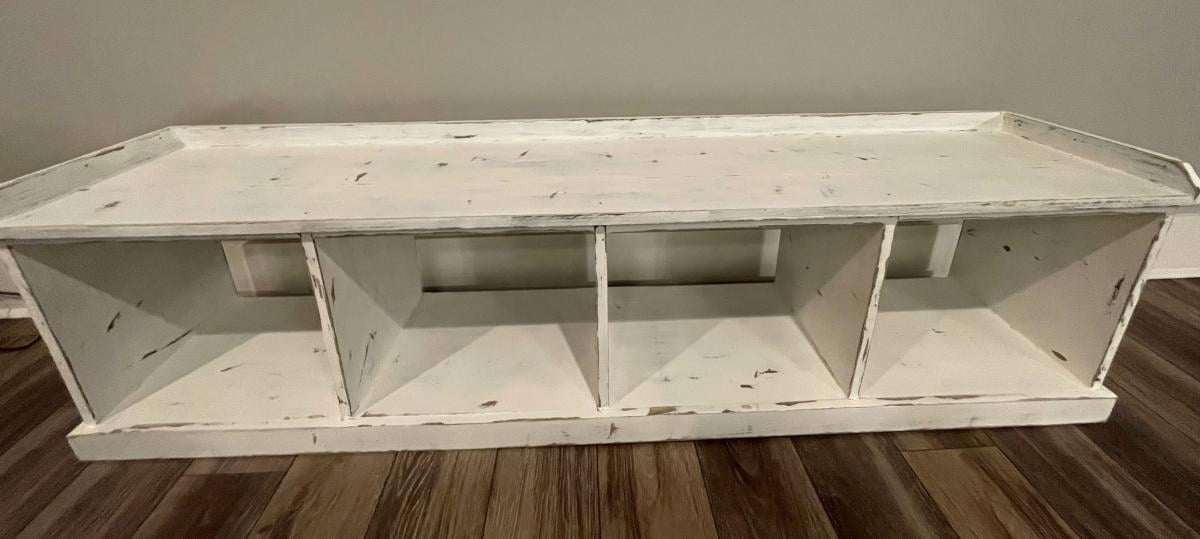
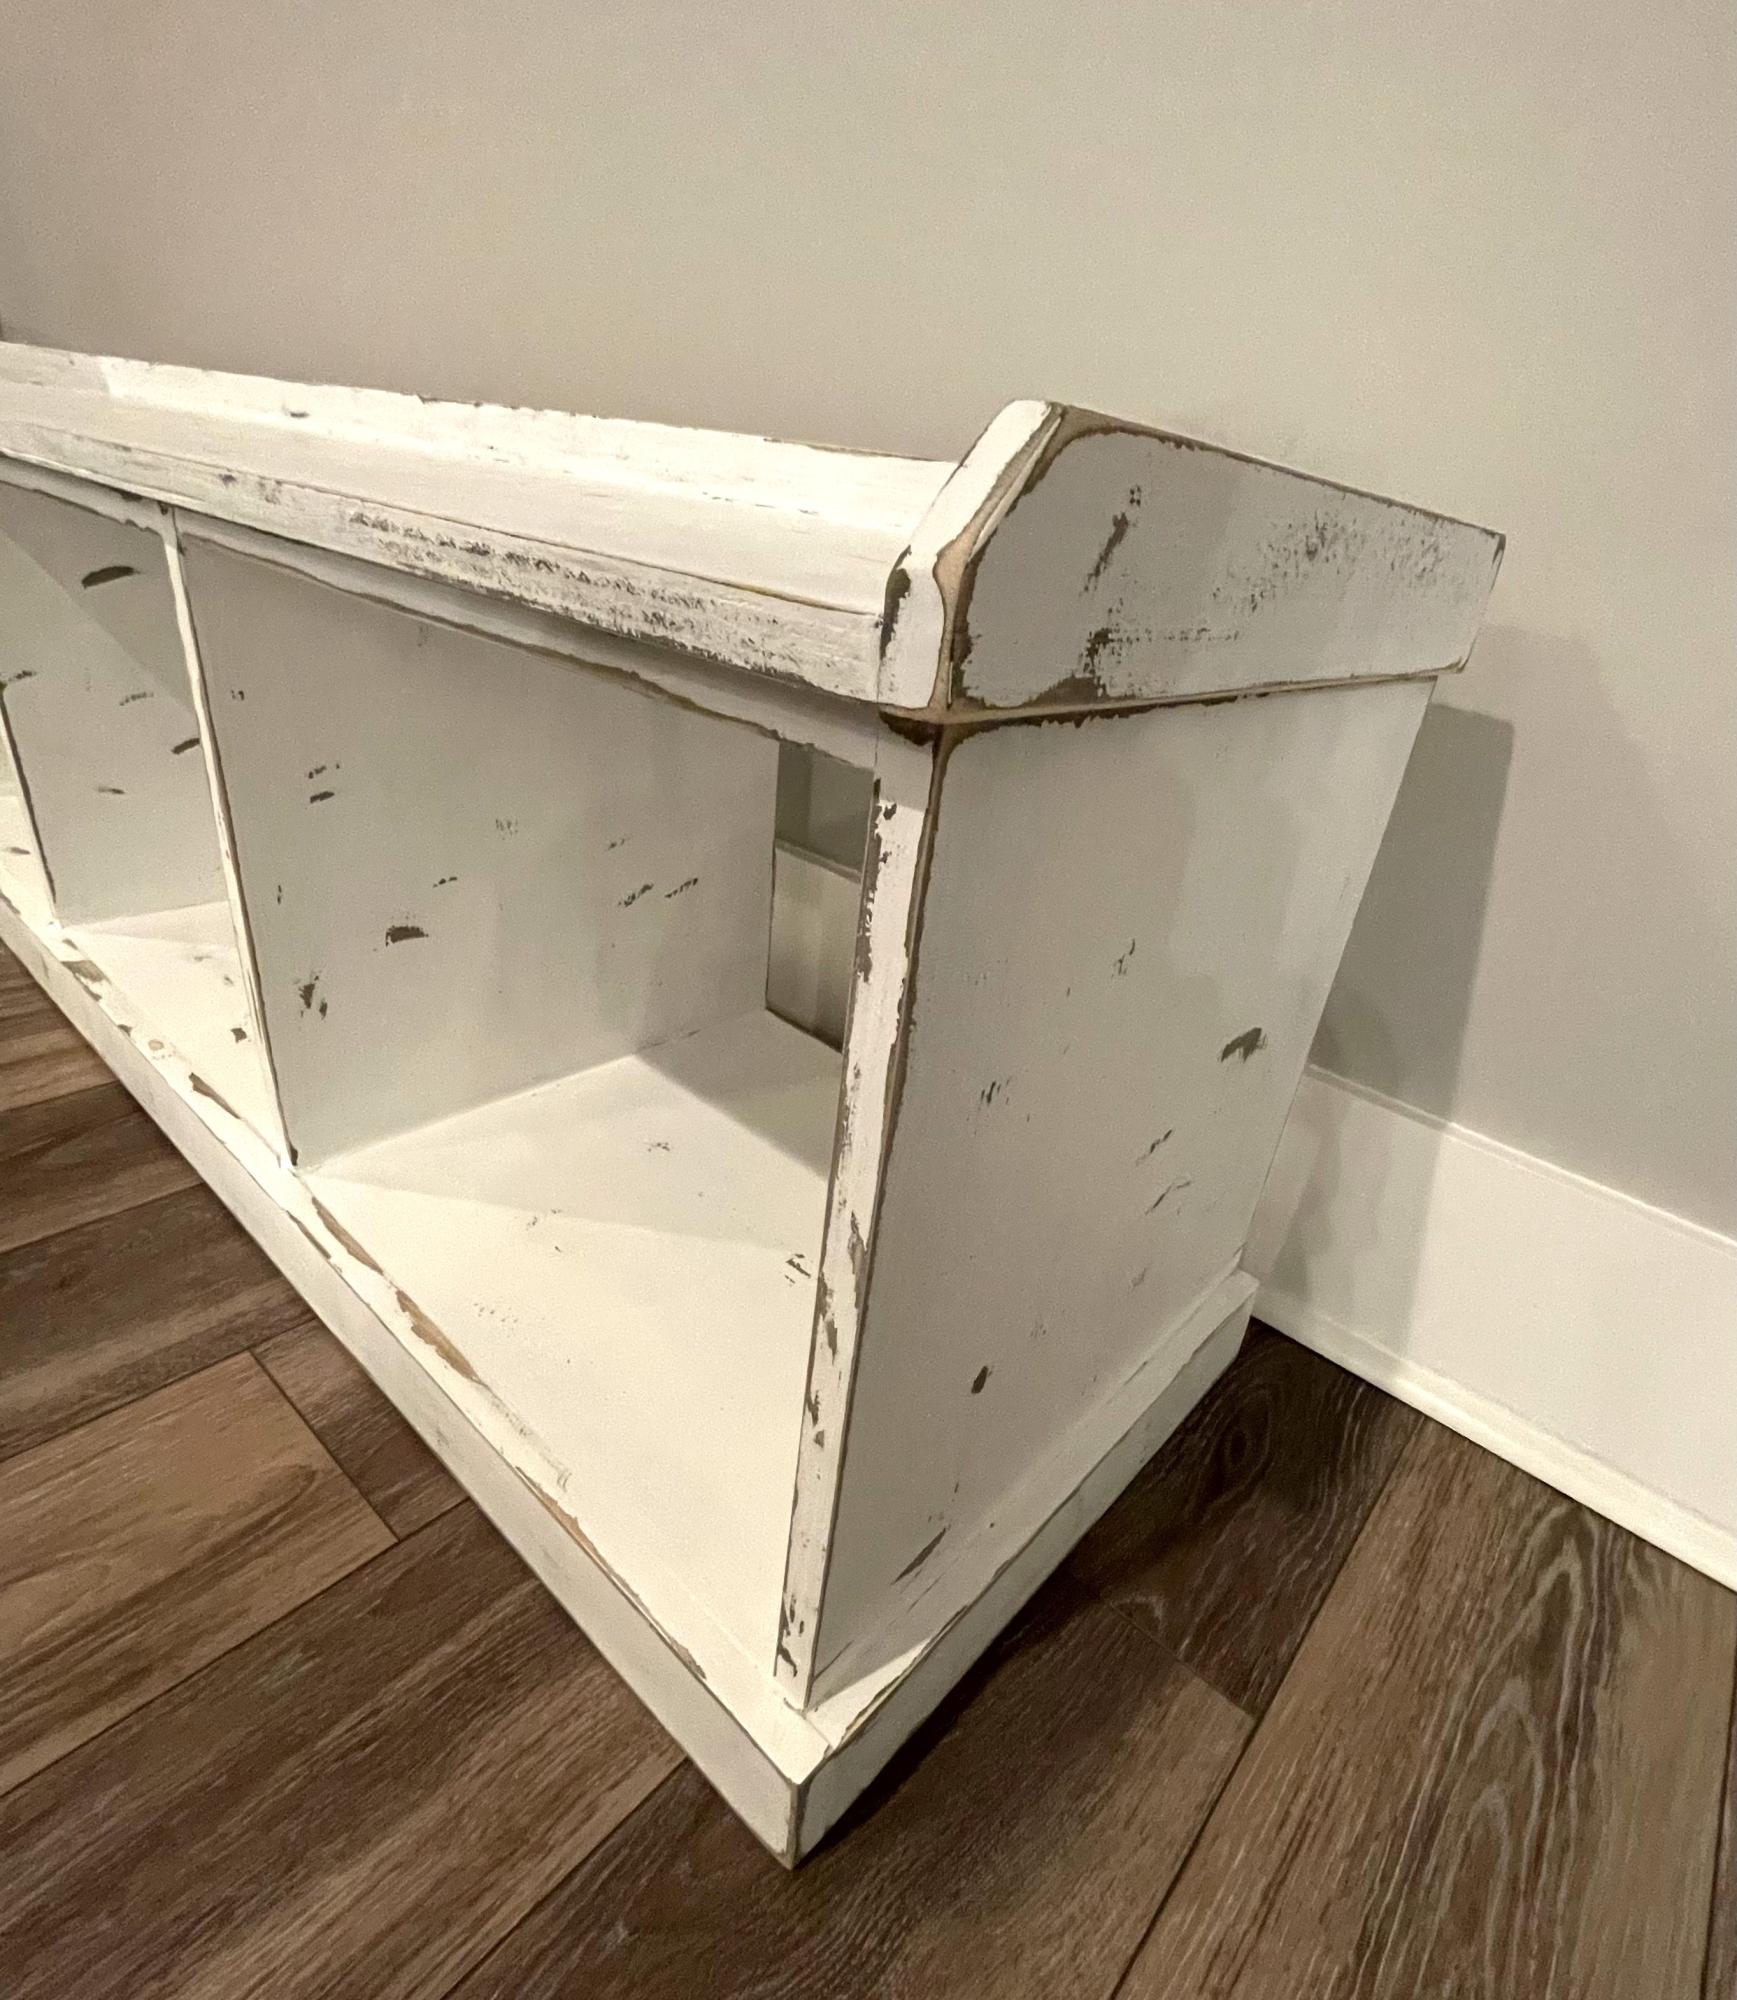
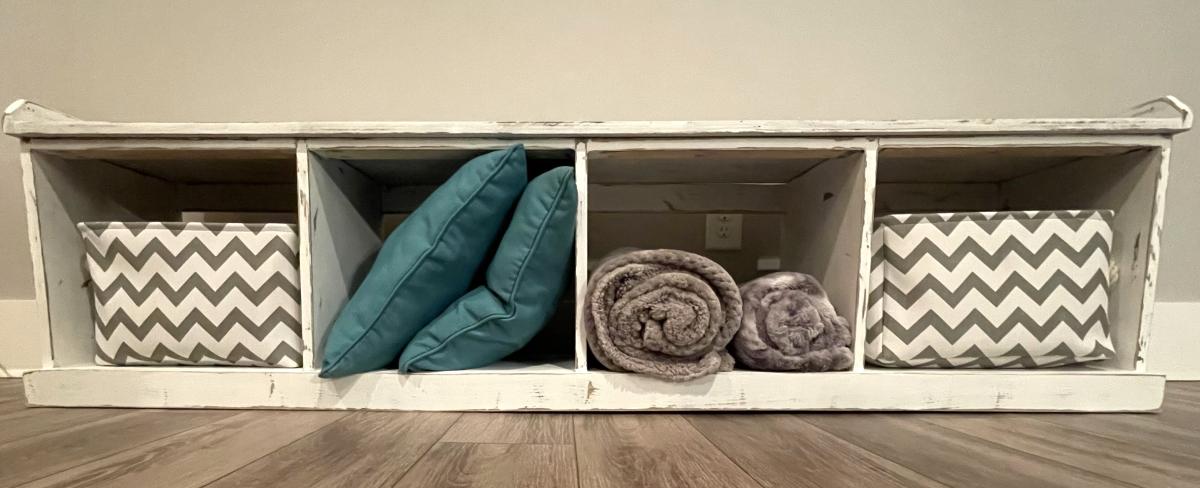
Cubby Storage Bench - First Project!

Submitted by Anonymous (not verified) on Fri, 08/11/2023 - 11:33

This was our first attempt at making furniture and even though the difficulty rating was ‘intermediate’, the detailed instructions made the process less complicated. Our version of Anna White Essential Entryway Bench turned out better than we expected! Once it was built, I stained it grey, painted it white, then distressed it to make it look antique. I added a custom made foam cushion to the top and, voila!

TammyA


Built from Plan(s)

Rustic X Hall Bench

Submitted by Anonymous (not verified) on Thu, 01/02/2020 - 06:28

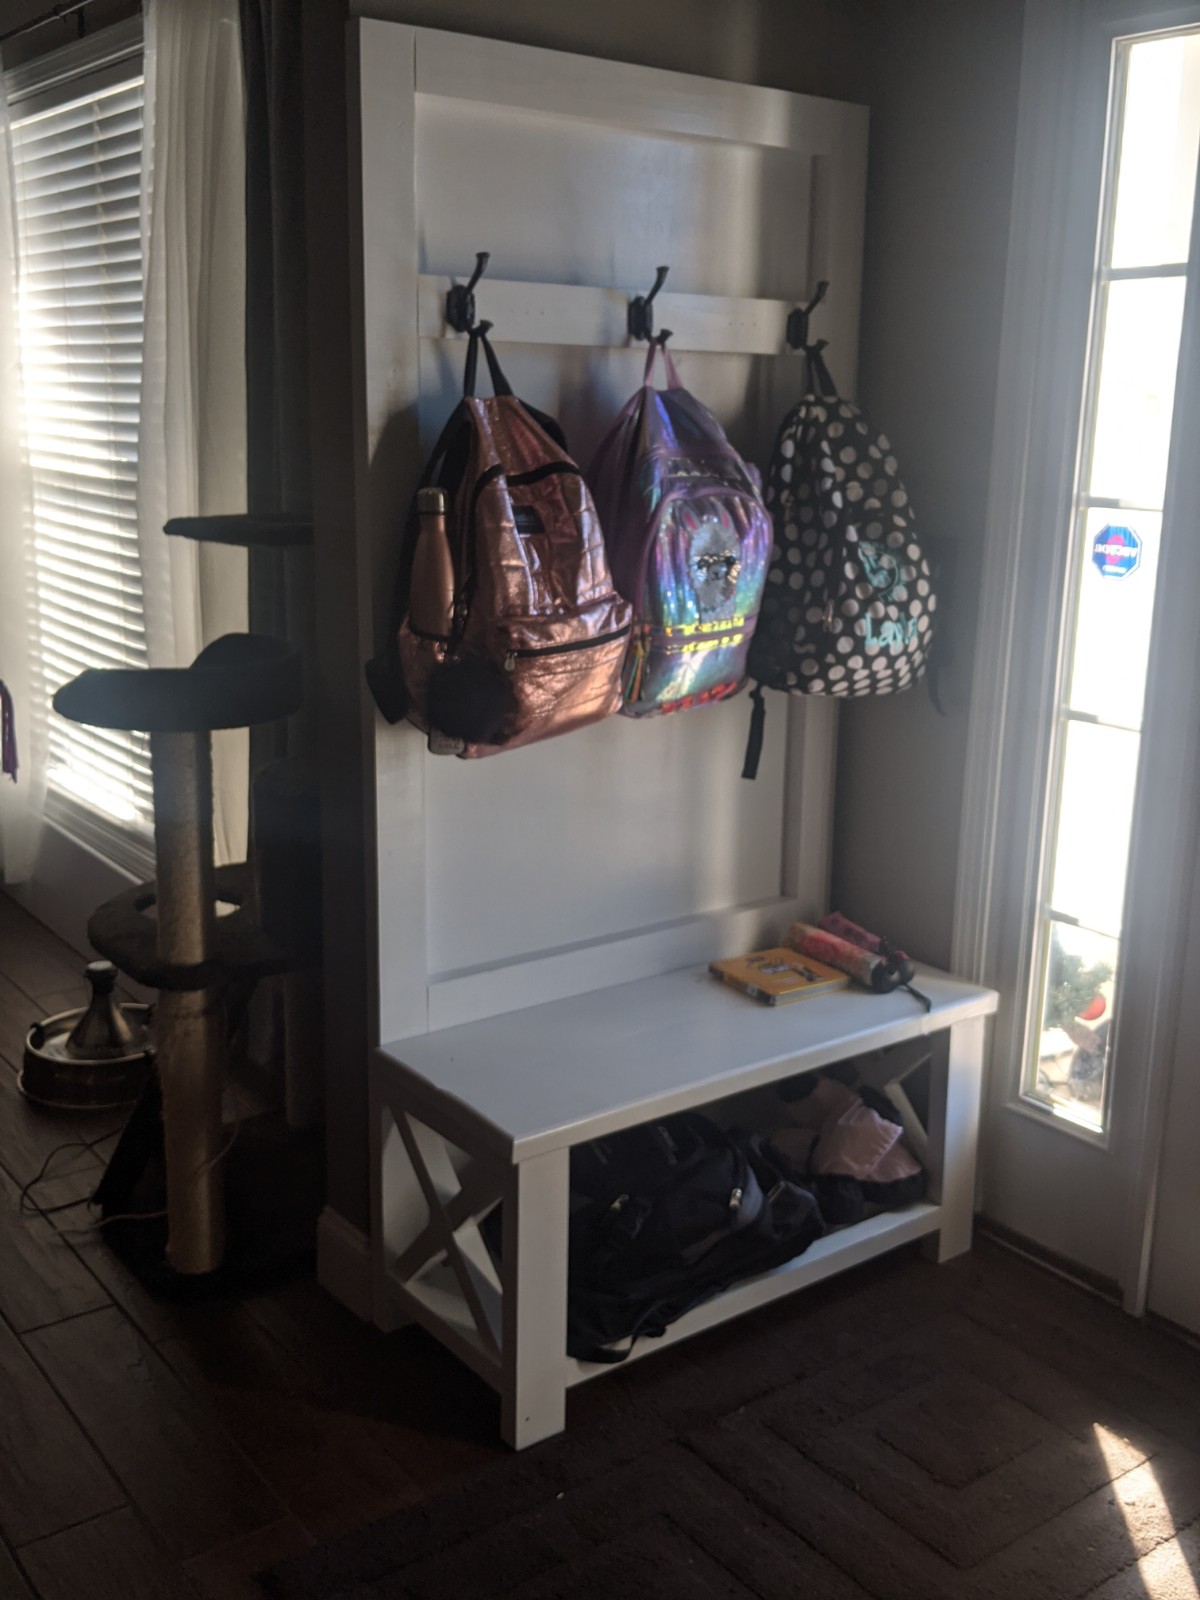
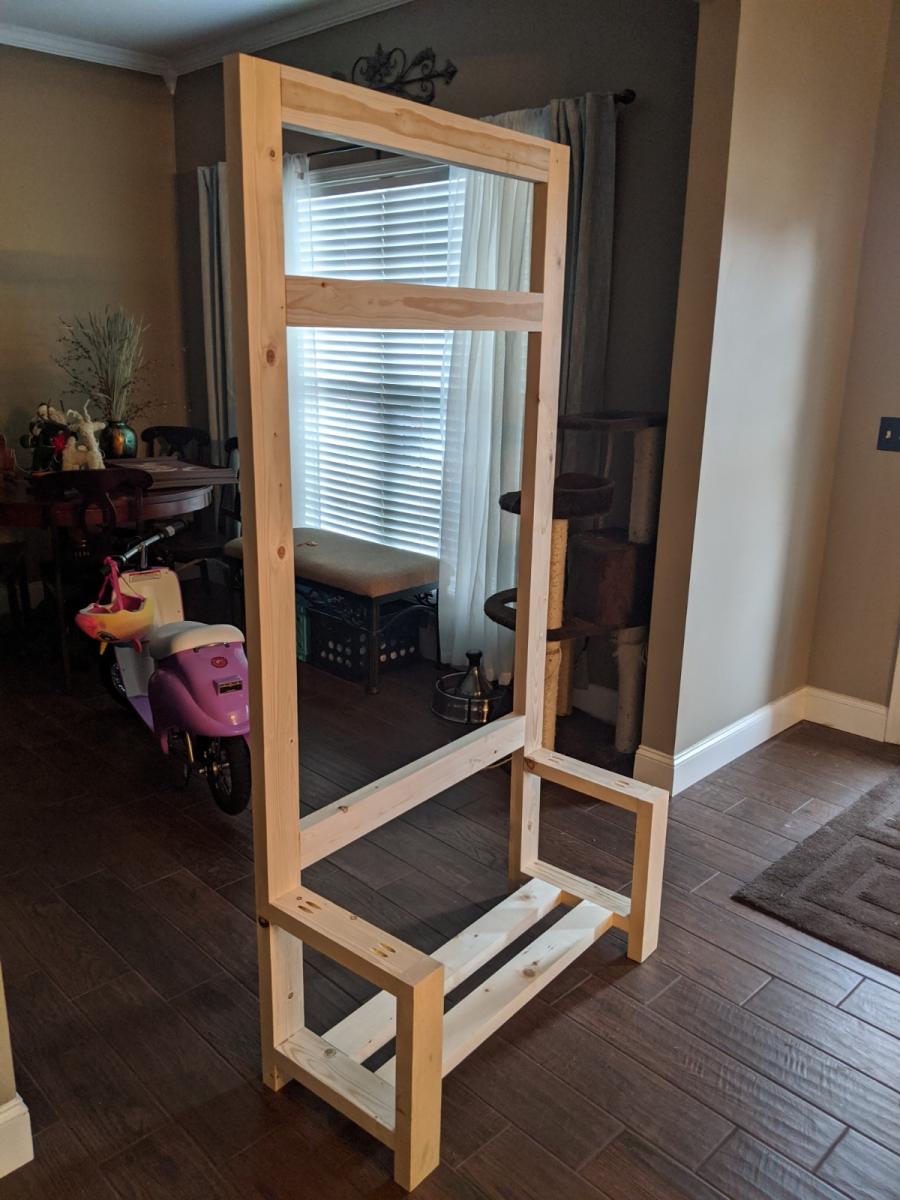
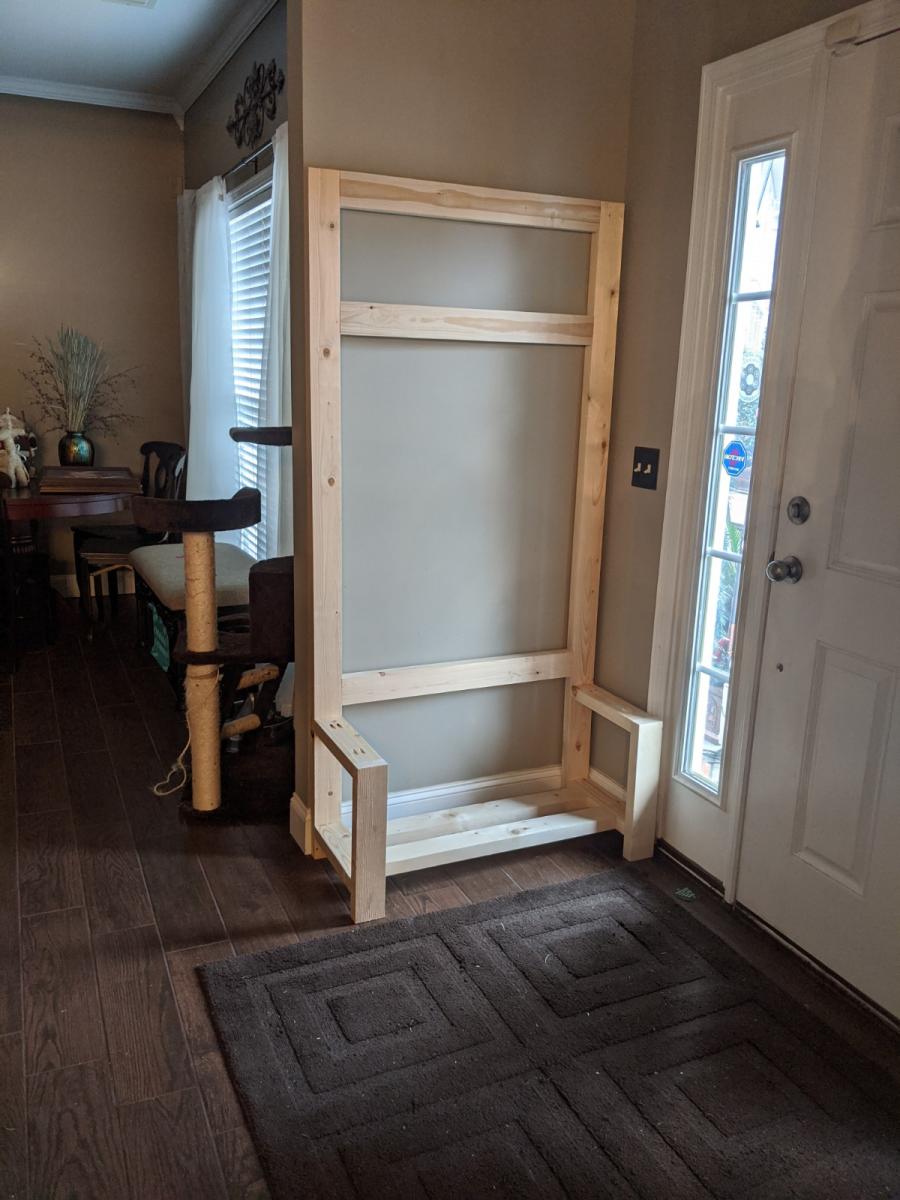
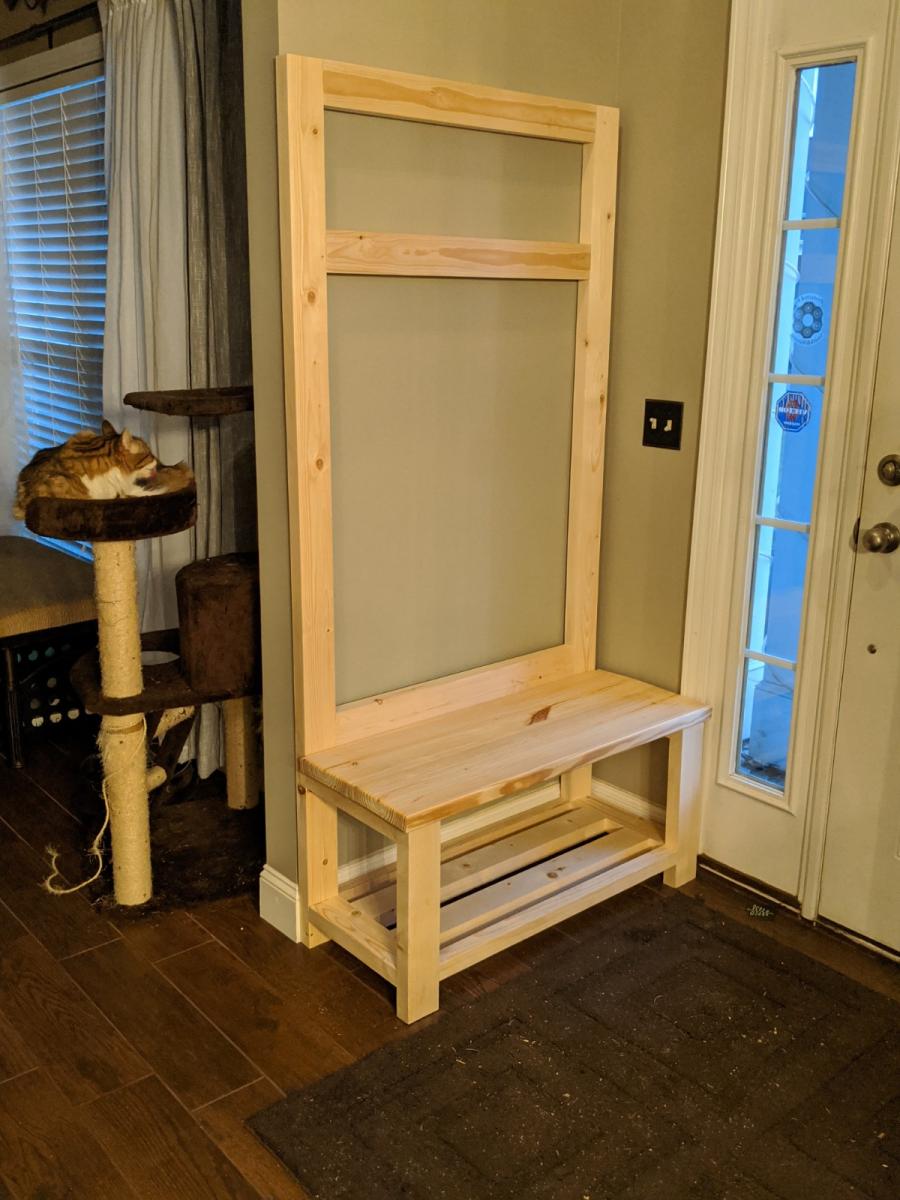
My wife got some gift cards for Christmas. Instead of going and buying stuff for herself, she handed them to me and said that she wanted a Hall Bench/Mudroom bench and she wanted me to build it. We've got several of the Rustic X furniture pieces in our home already and she wanted it to match, so this was the natural fit. This was a great project and addition to some of our home decor. I had to shrink it down to fit our space, but that was easy.

Built from Plan(s)
Estimated Cost
<$100
Estimated Time Investment
Day Project (6-9 Hours)
Finish Used
Sherwin Williams primer and paint

Spice rack modified for BIG spice containers.

Submitted by Anonymous (not verified) on Sun, 04/24/2016 - 16:01

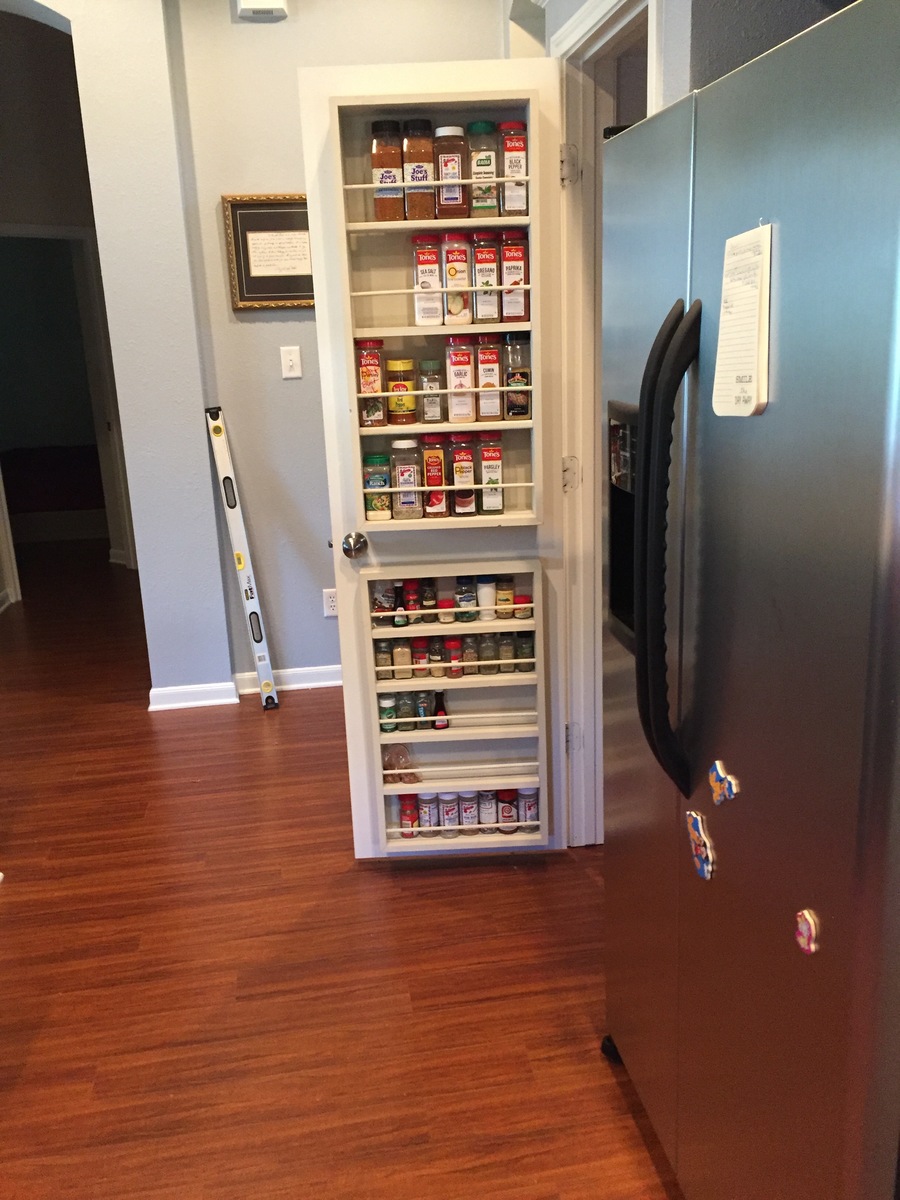
I made some modifications for bigger spice containers. The big ones you get at Sams/Costco are too big for the original design. The top portion was made with 1x6 sides to take care of the bigger containers.

Estimated Time Investment
Afternoon Project (3-6 Hours)
Finish Used
Paint
Recommended Skill Level
Beginner

new photo ledges - only a few months late!

Submitted by tannisg on Thu, 04/19/2012 - 19:13

I know there are a hundred brag posts of the $10 ledges, and I have used them before (and posted them) but I am so happy with how these turned out!

Its too bad I don't have a good before picture, because the things I love most about these are the colors and the interchangability and it would be easier to explain with the before picture!

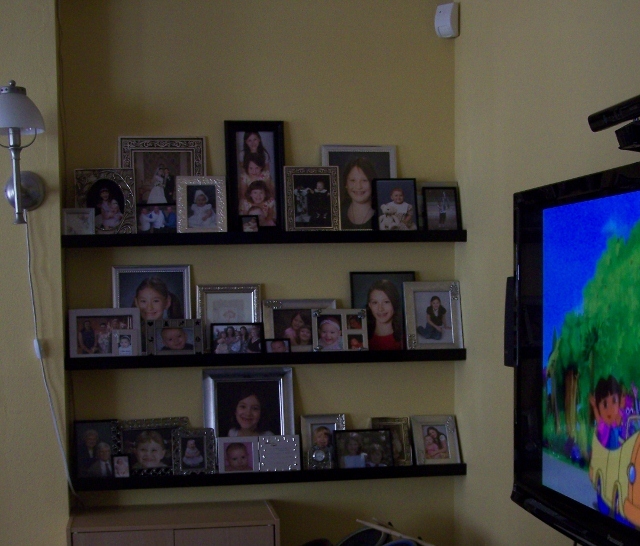
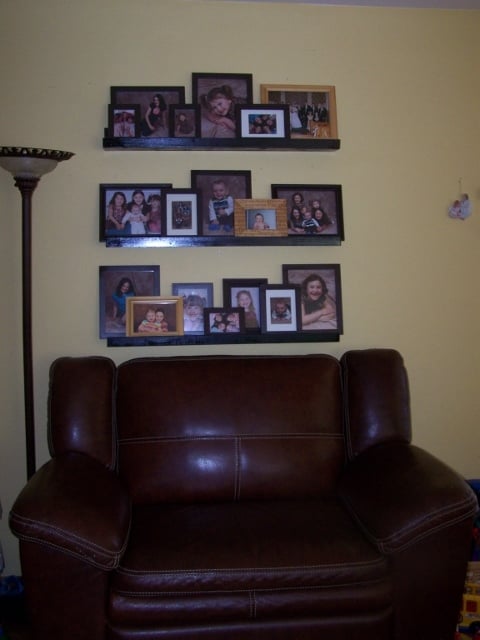
I have had pictures in cute matching frames on the one wall for years, but the frames were too light for the wall color, and the floor and furniture, so I needed to darken them up. Additionally, we got a black tv stand even though the floor and couches are dark brown. (TV is black, so it works) So I made the shelves black to pull that in. Then on the shelves closer to the tv, I used black and silver frames, and on the ones above the brown couch I painted all my light wood frames darker.

As for the interchangability, its a lot easier to pull the frames down and change the picture when you don't have to worry about how they look together - I can just move them around on the shelf. I've always had a hard time getting a "gallery" look just right - something will always hang lower than I want or whatever. So I finally got it perfect with one 10x13 of the kids together in the middle of 4 8x10s (one of each) and a few little ones to mix in. Then we had to go and have #5 and mess my whole system up! :)

So he's 16 months now and his picture is finally on the wall, and was taken last May - so sad..

But my other set of shelves has pictures of everybody - even me, yikes! I decided they look better full so I used all the frames I had, and got some cheap ones and thrift store frames and put them all together. "controlled chaos" just like the rest of the house/life!

Thanks Ana for giving me the confidence to know that I can make it myself, I never would have gone out and spent the money to buy matching frames, but knowing I could just do it myself I was able to get it done for cheap!
Built from Plan(s)
Estimated Cost
$50 including some new frames and paint
Estimated Time Investment
Afternoon Project (3-6 Hours)
Finish Used
black spray paint, brown spray paint on the frames, some silver too
Recommended Skill Level
Starter Project

Countertop Produce Storage Bin

Submitted by Anonymous (not verified) on Mon, 09/25/2023 - 09:20

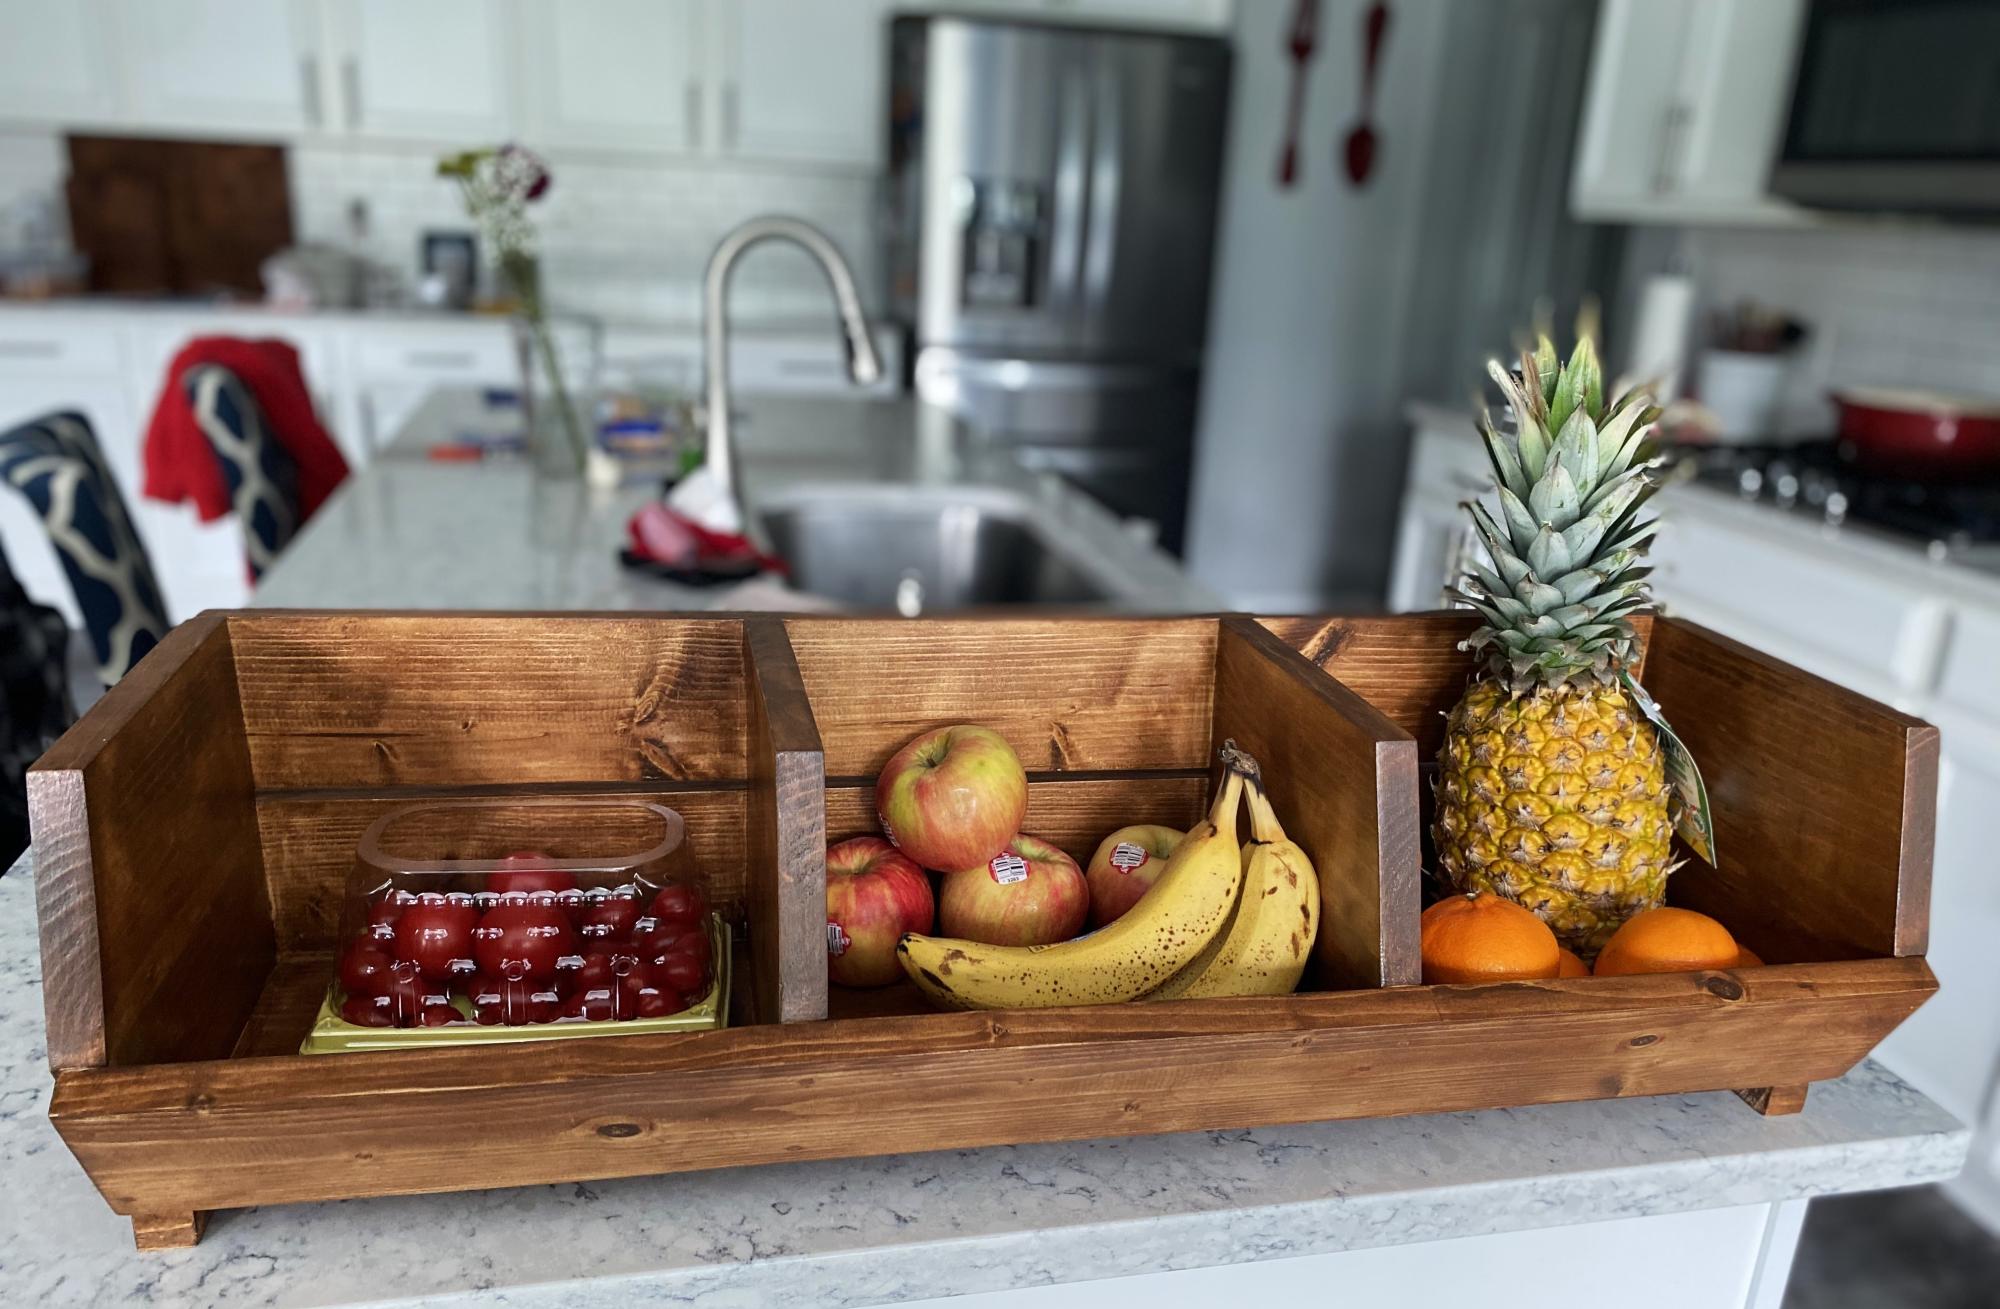
My 16-year-old son is home every other day for school with an on-line course he is taking. We started working on projects we both wanted to learn from cooking to woodworking projects. This is the very first project we made. We are both very proud and pleased with the simple directions, minimal tools required, and beautiful results. We used an early American stain and lacquer finish. We have received many compliments on it. Thank you for giving us something to build our relationship and home with.

Elizabeth

Built from Plan(s)

Comments

Scrap nesting box

Submitted by Anonymous (not verified) on Sat, 05/28/2016 - 12:05

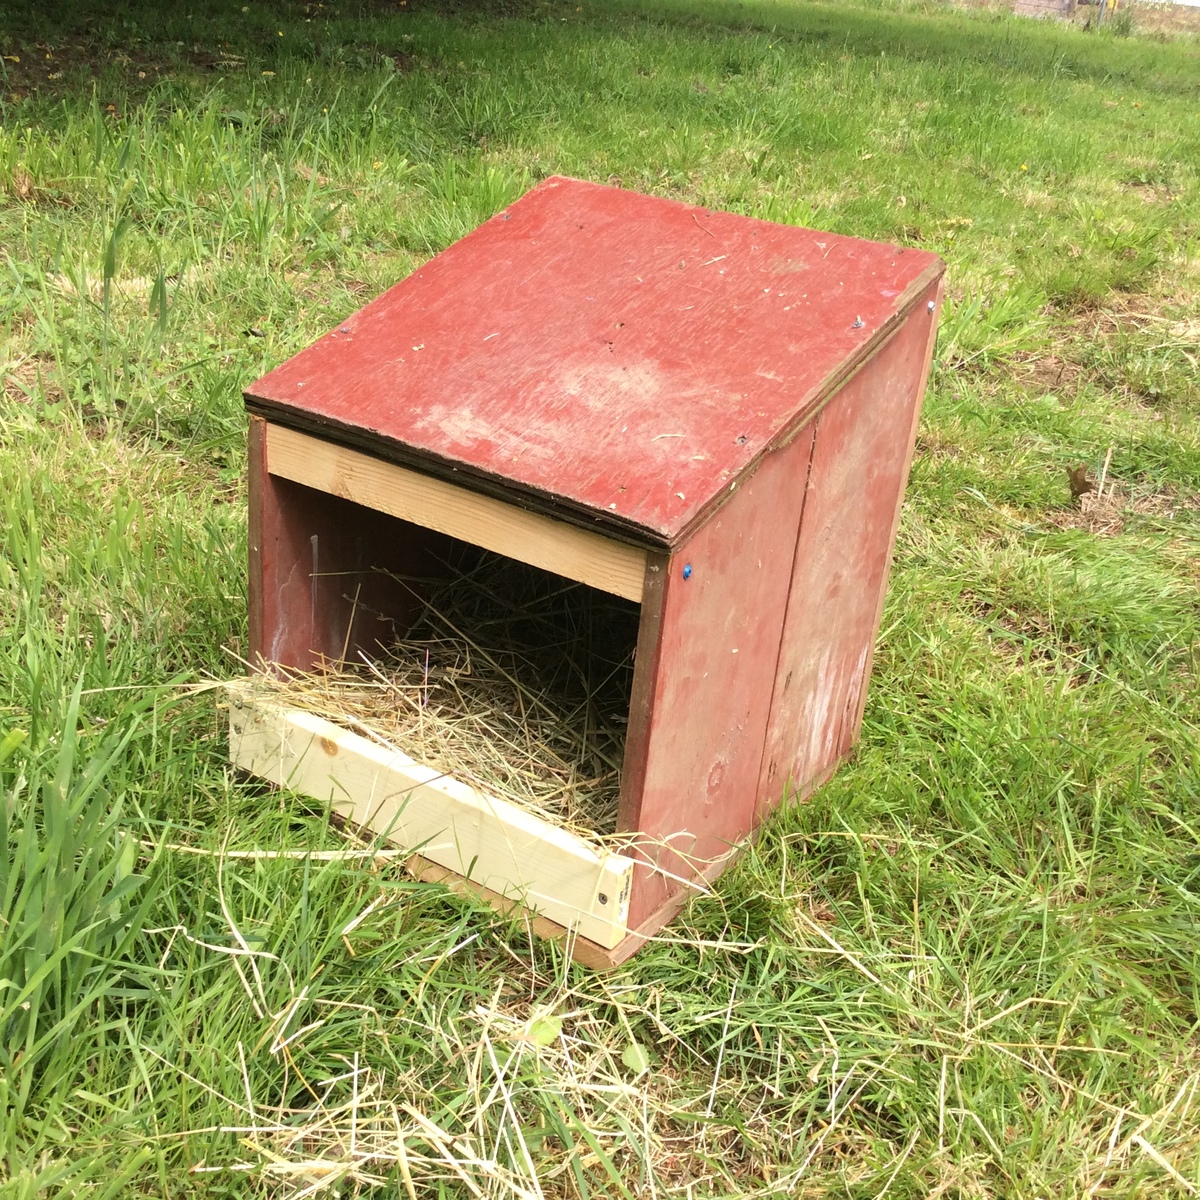
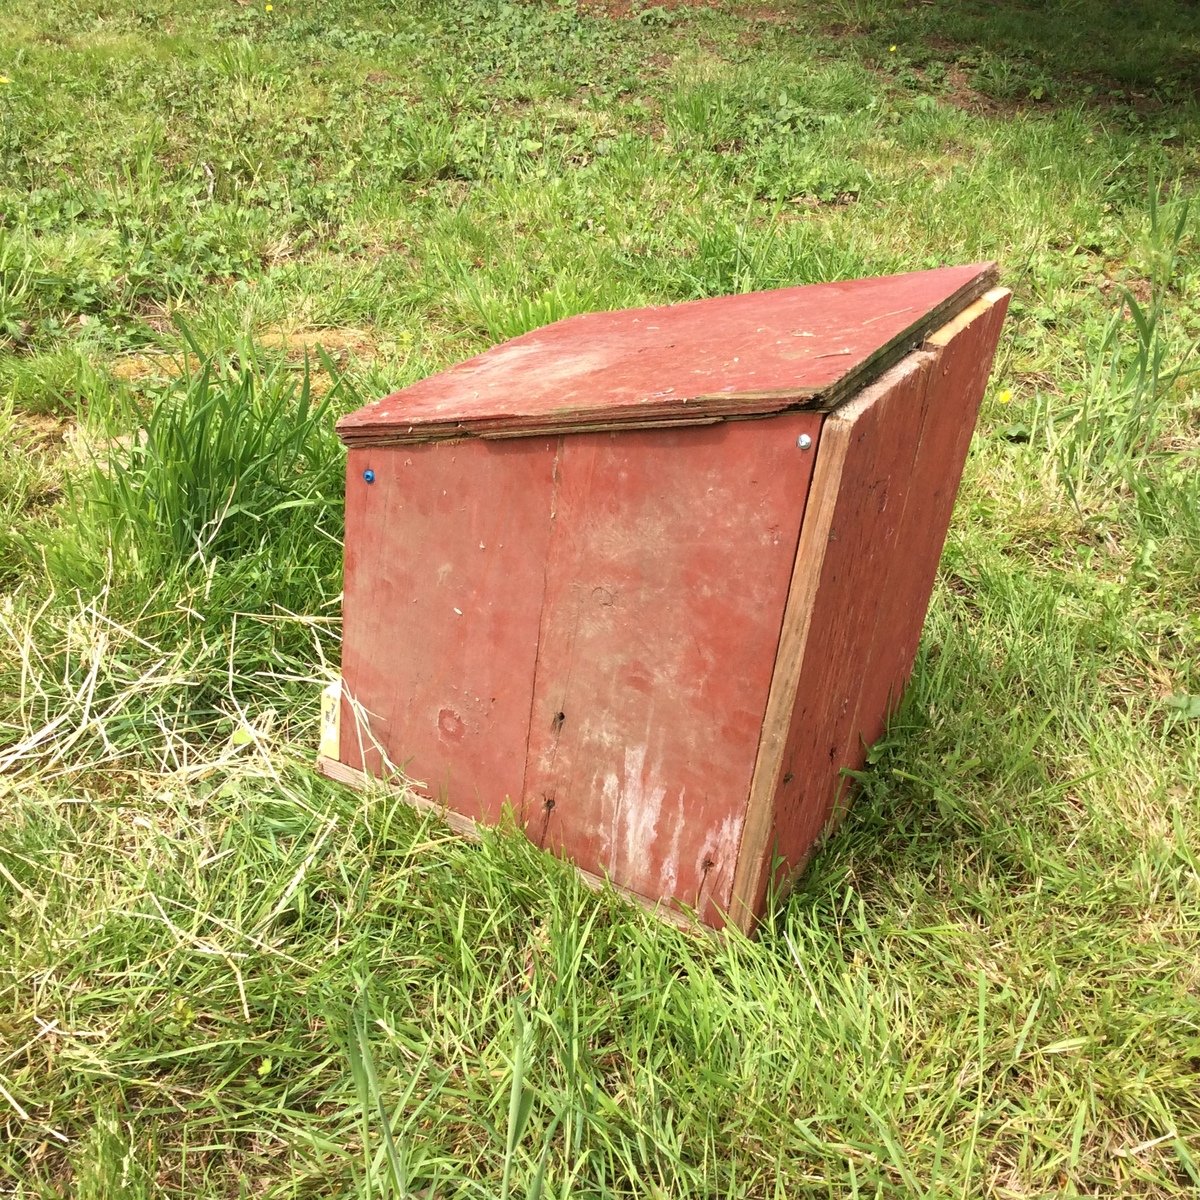
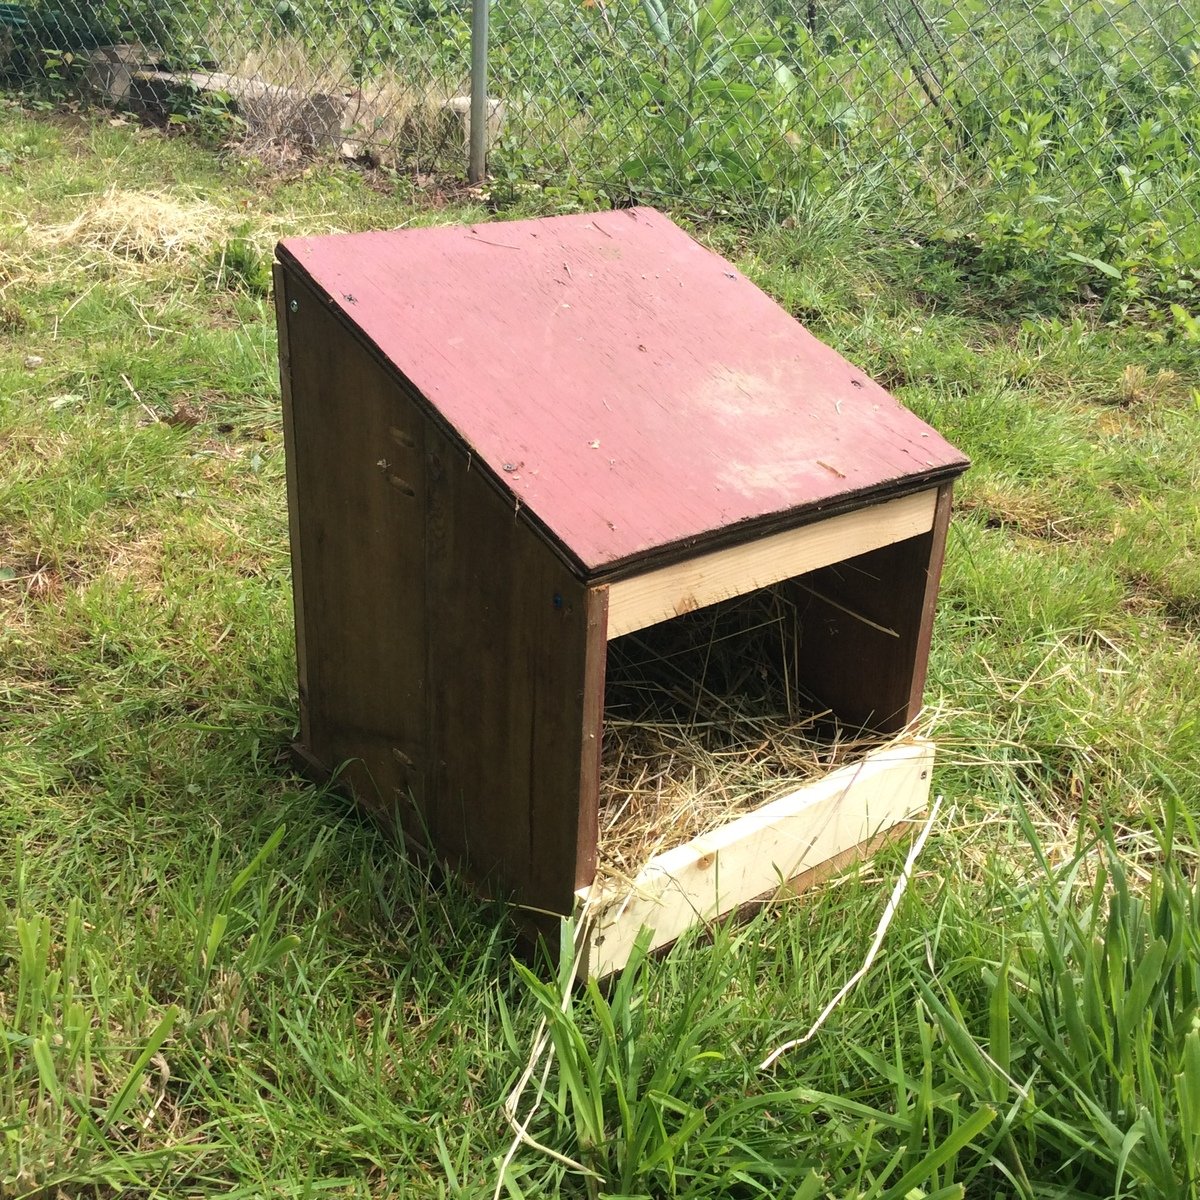
We built our nesting box from scrap wood we had from an old barn we tore down and other scraps from previous projects. The dimensions were modified based on the width of the wood we had on hand. It's not very pretty, but it was free to make and will be inside a chicken coop. Our chicks are scared of it right now, but they are only 8 weeks old and not laying yet. I'm sure they will like it when they get used to it. 

Built from Plan(s)
Estimated Cost
Free
Estimated Time Investment
An Hour or Two (0-2 Hours)
Finish Used
None
Recommended Skill Level
Beginner

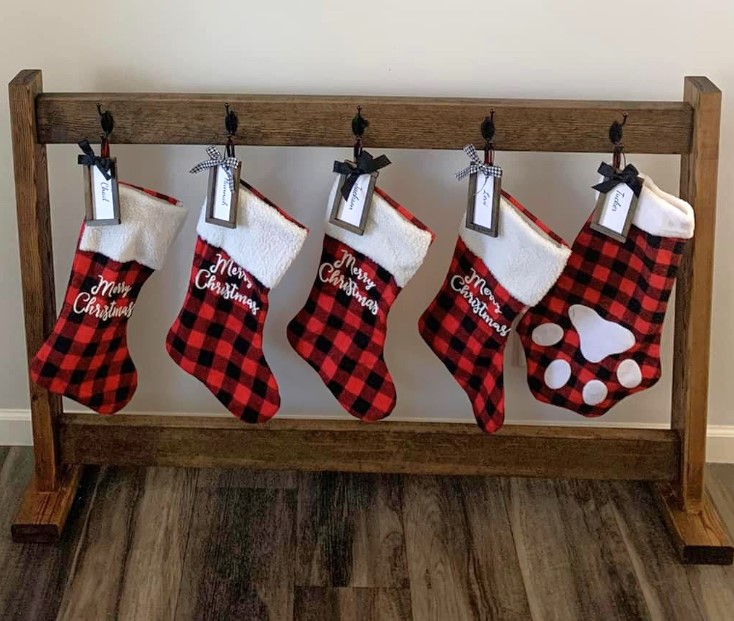
Christmas Stocking Stand

Submitted by Anonymous (not verified) on Sun, 11/05/2023 - 19:16

Love this project!
Rlynhack


Built from Plan(s)

Comments

Seasonal And Holiday

Playhouse

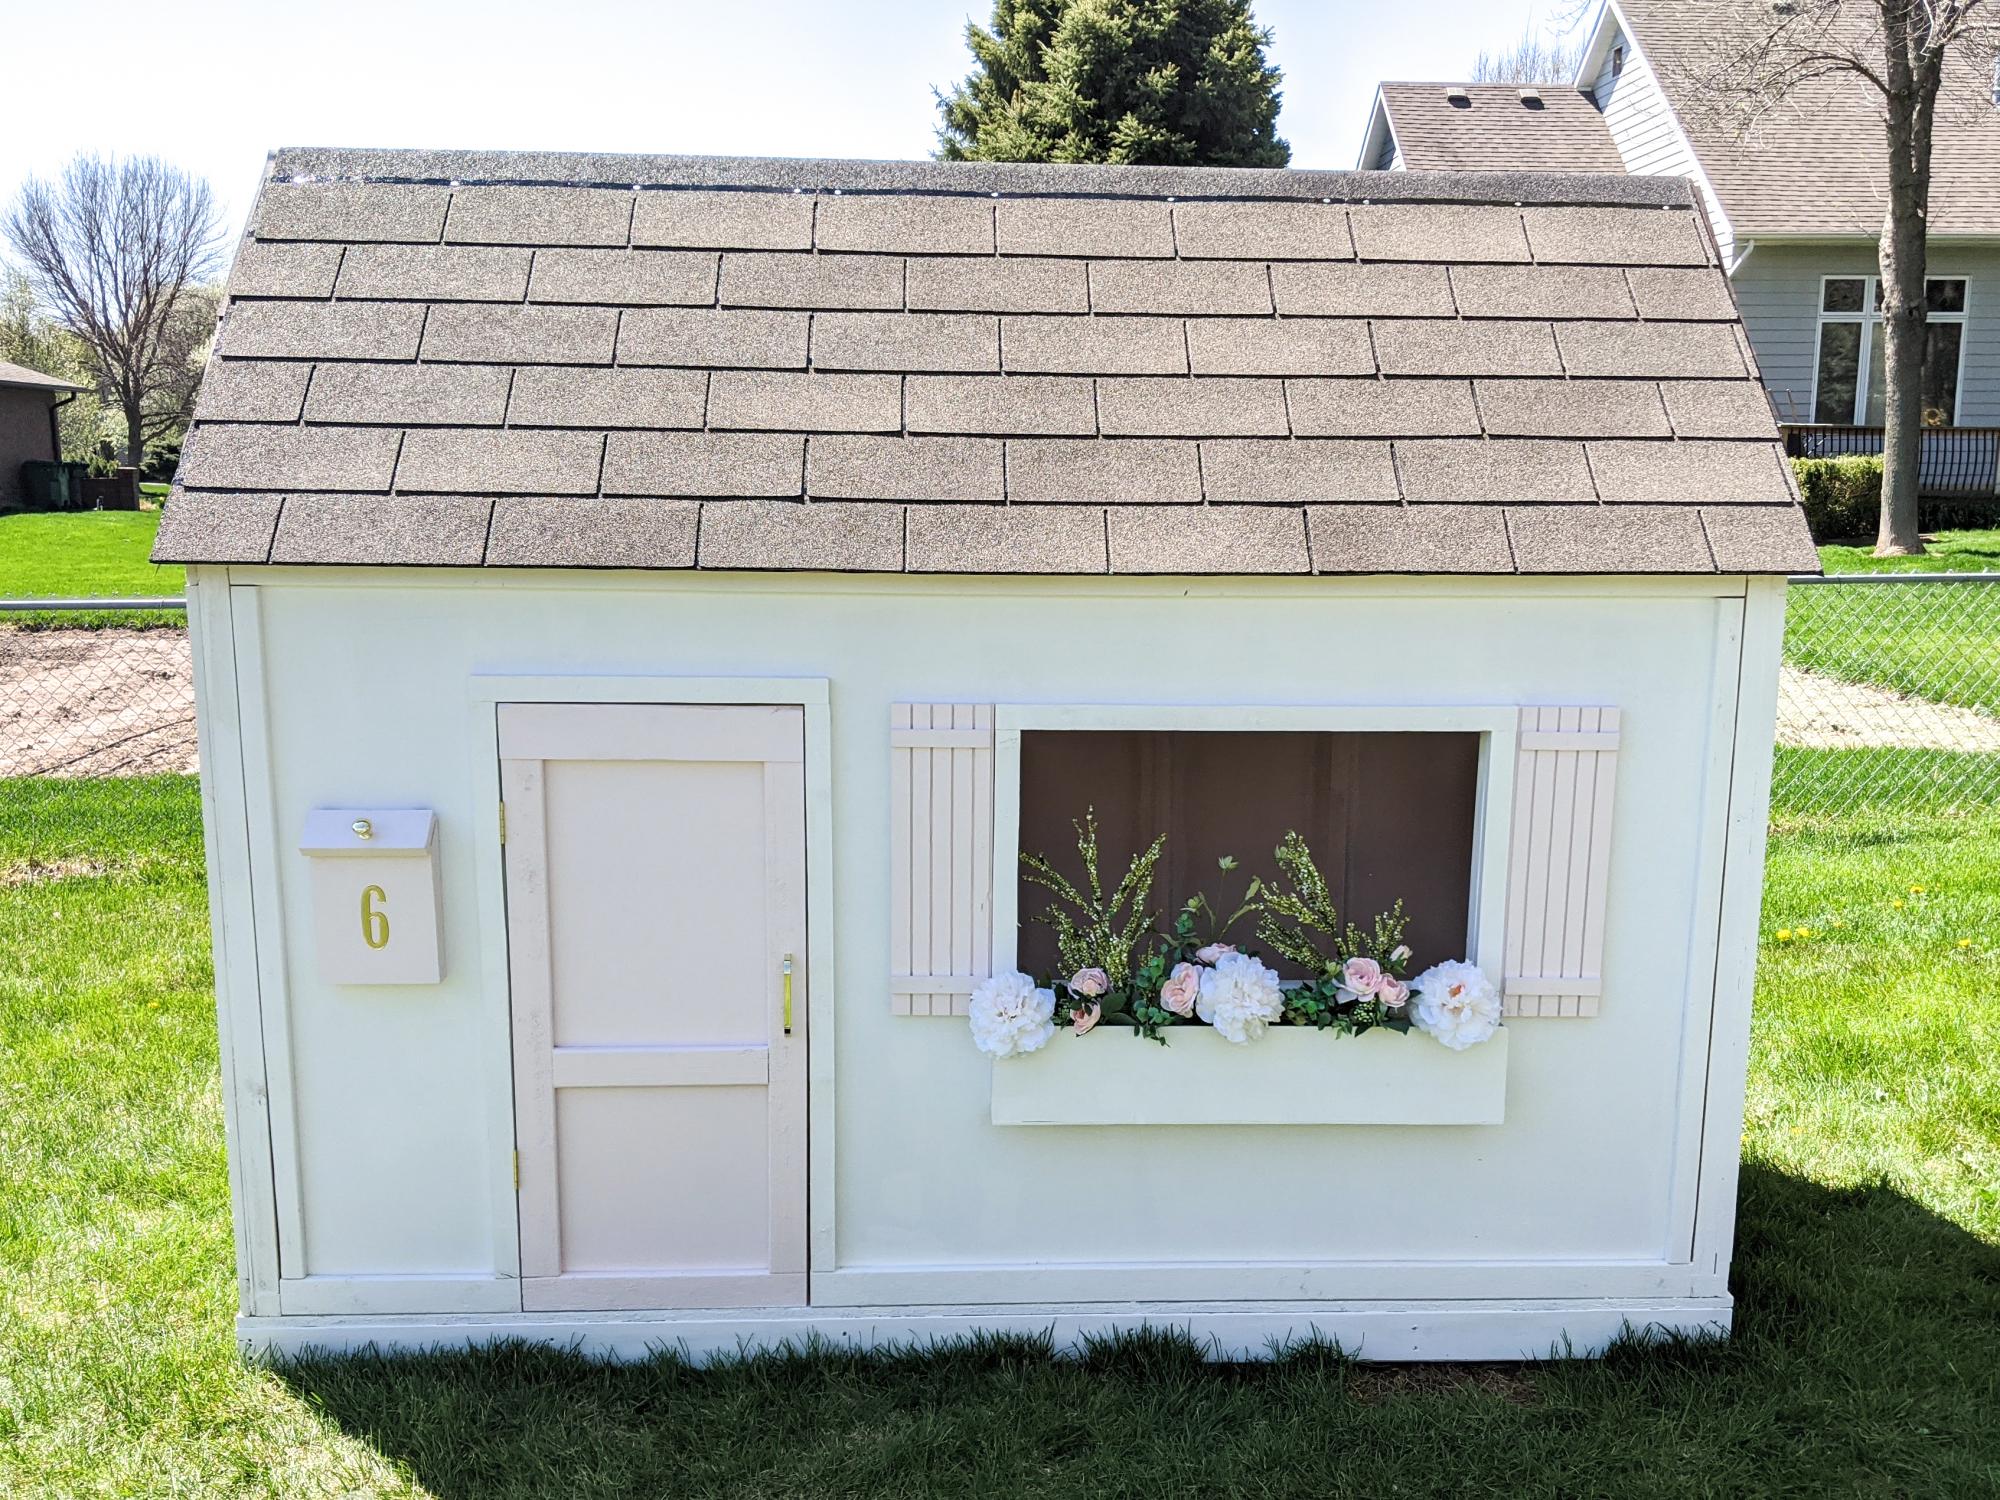
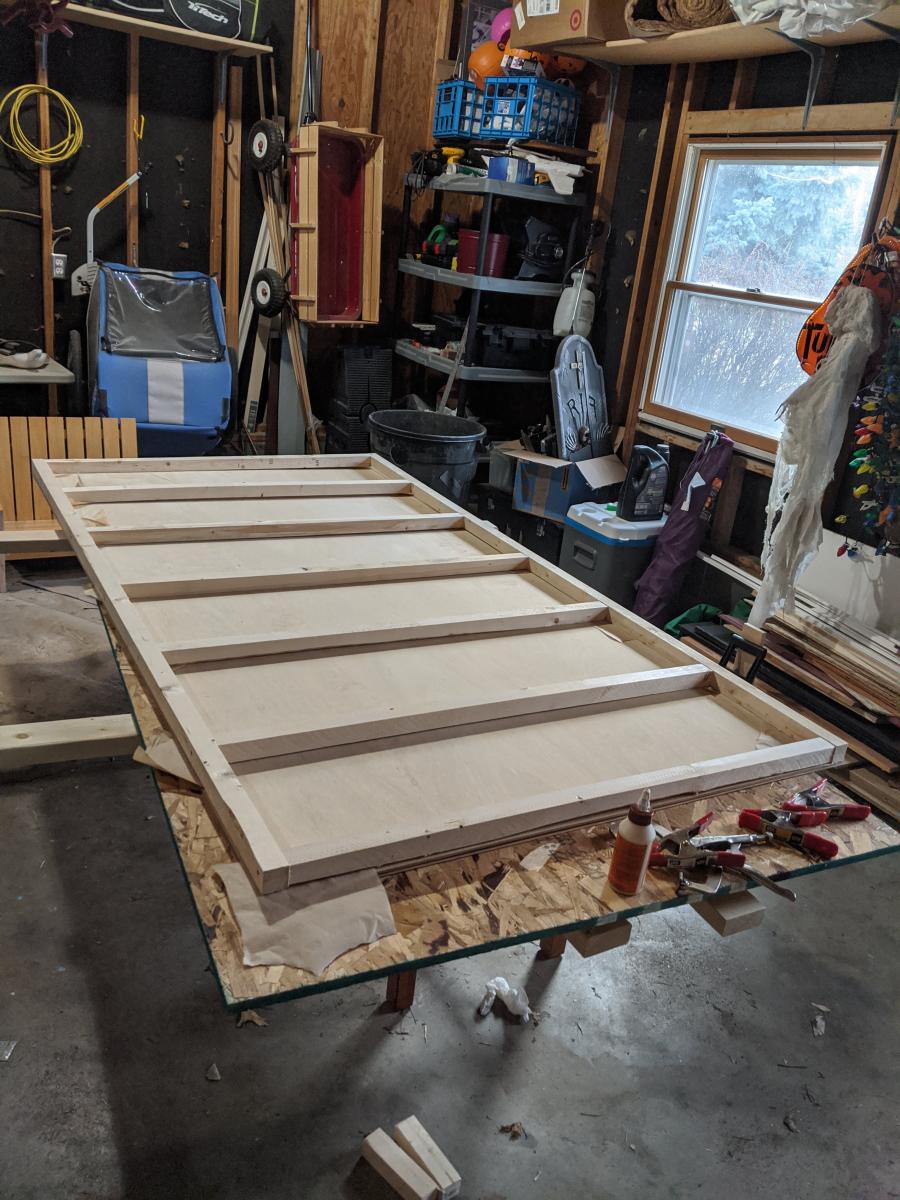
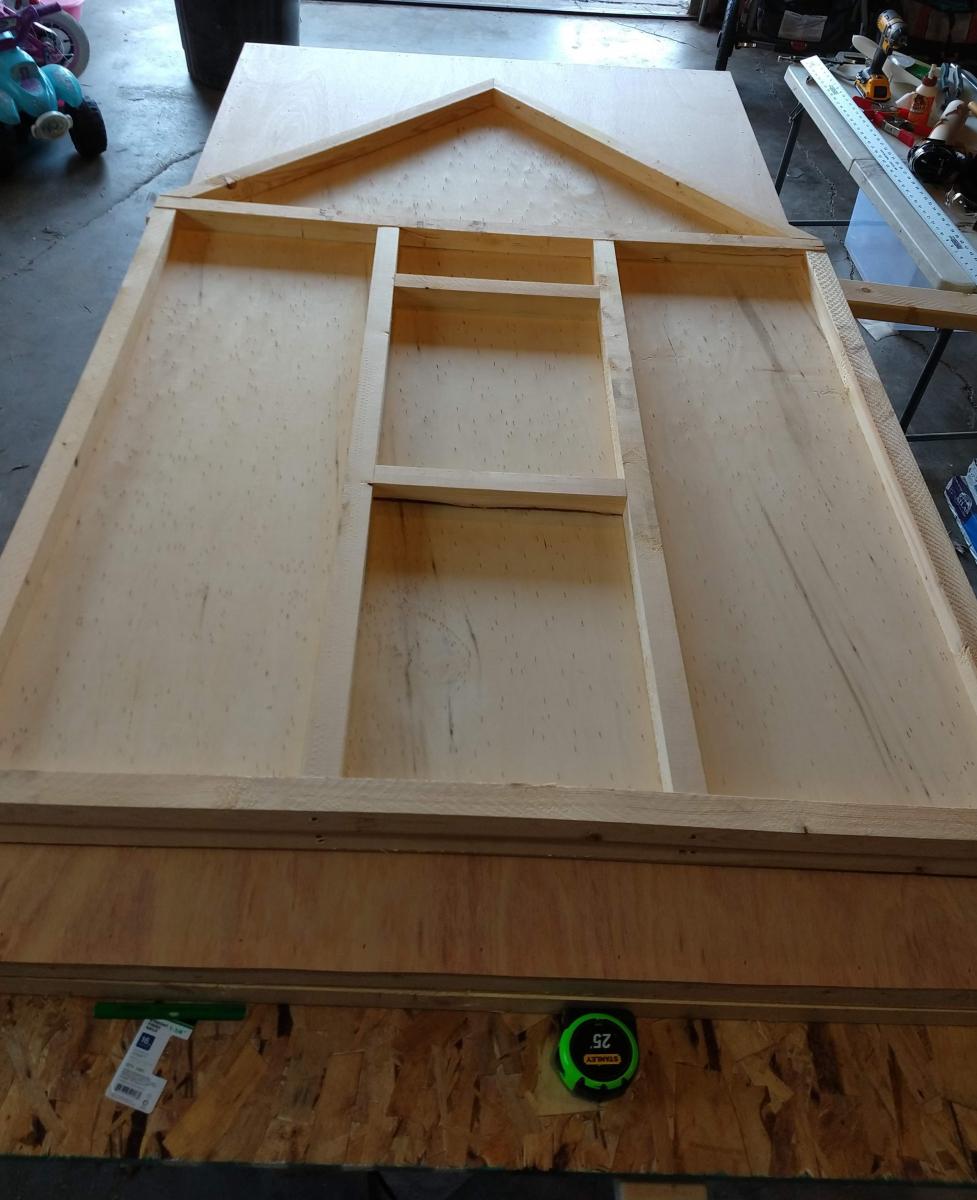
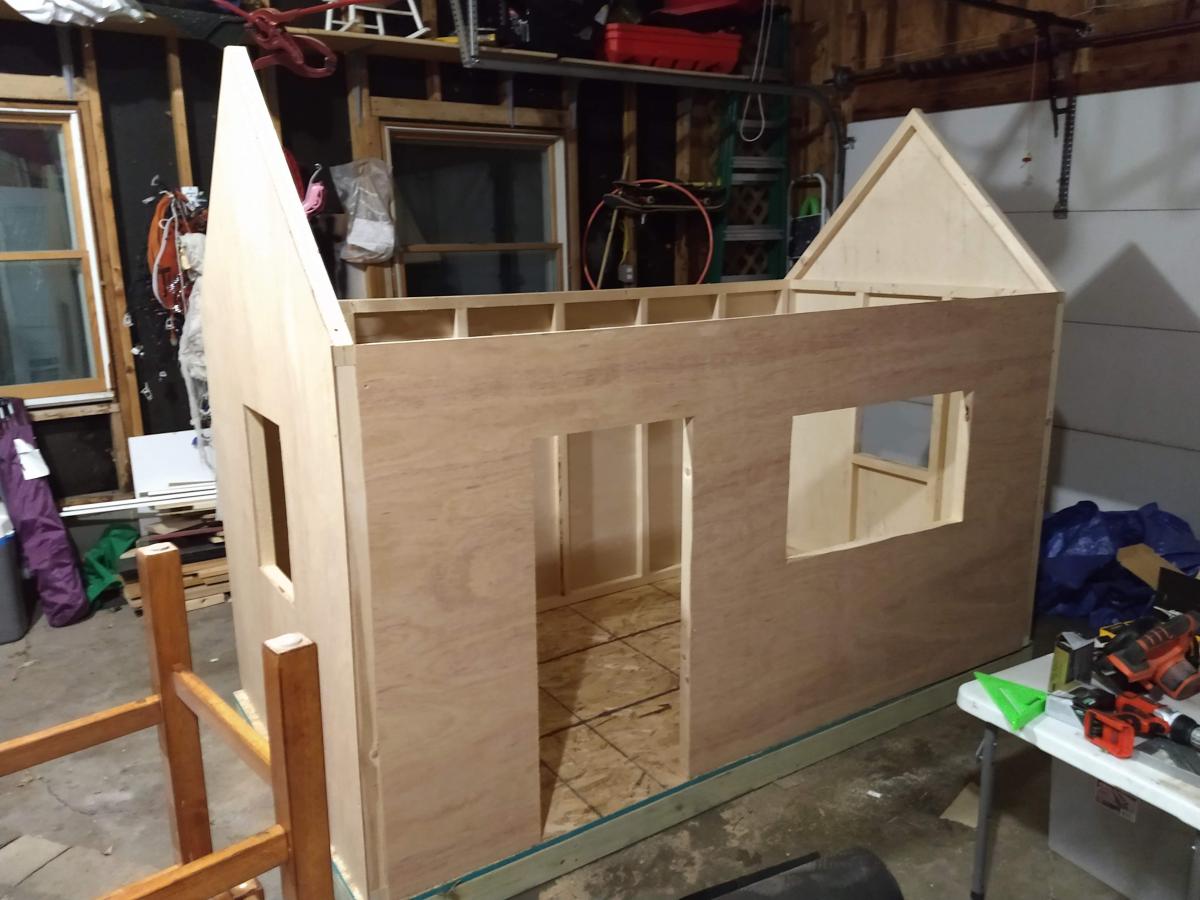
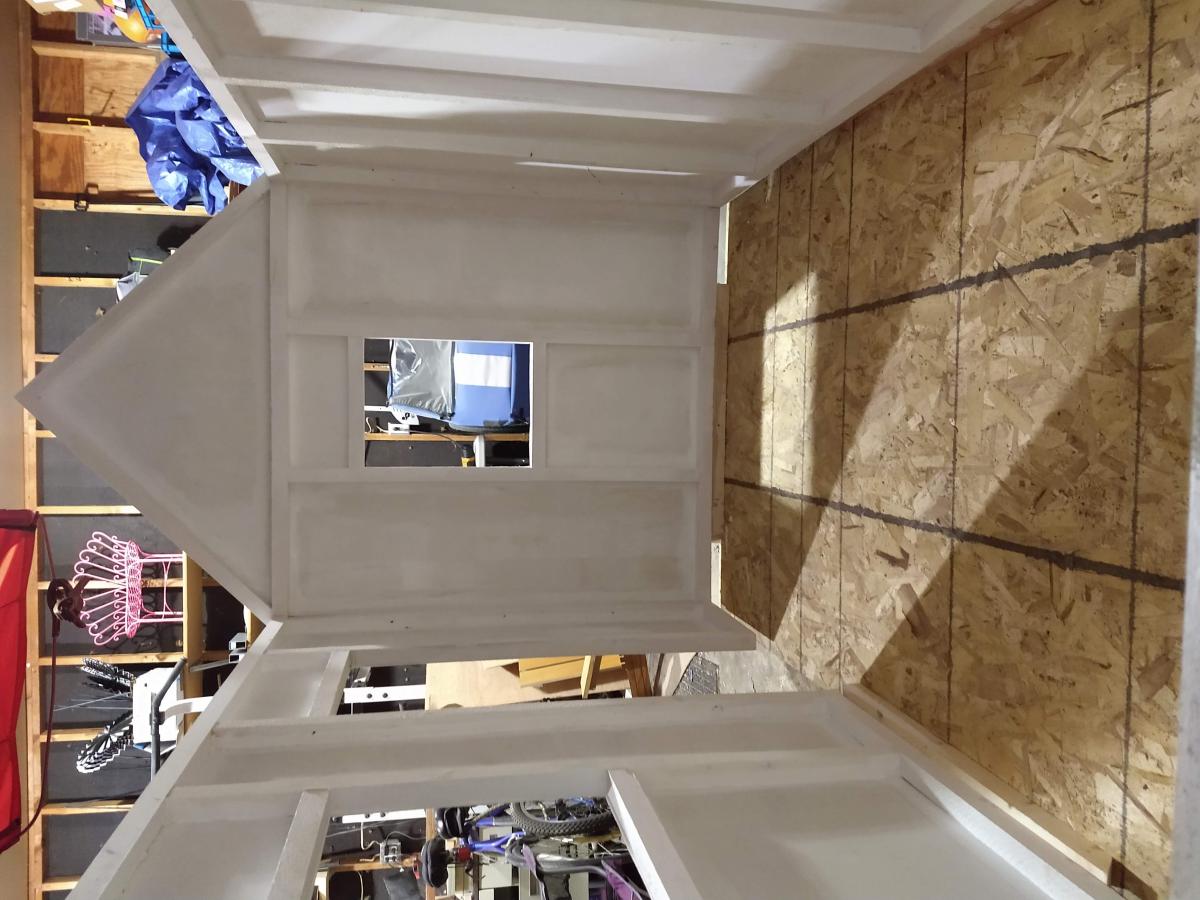
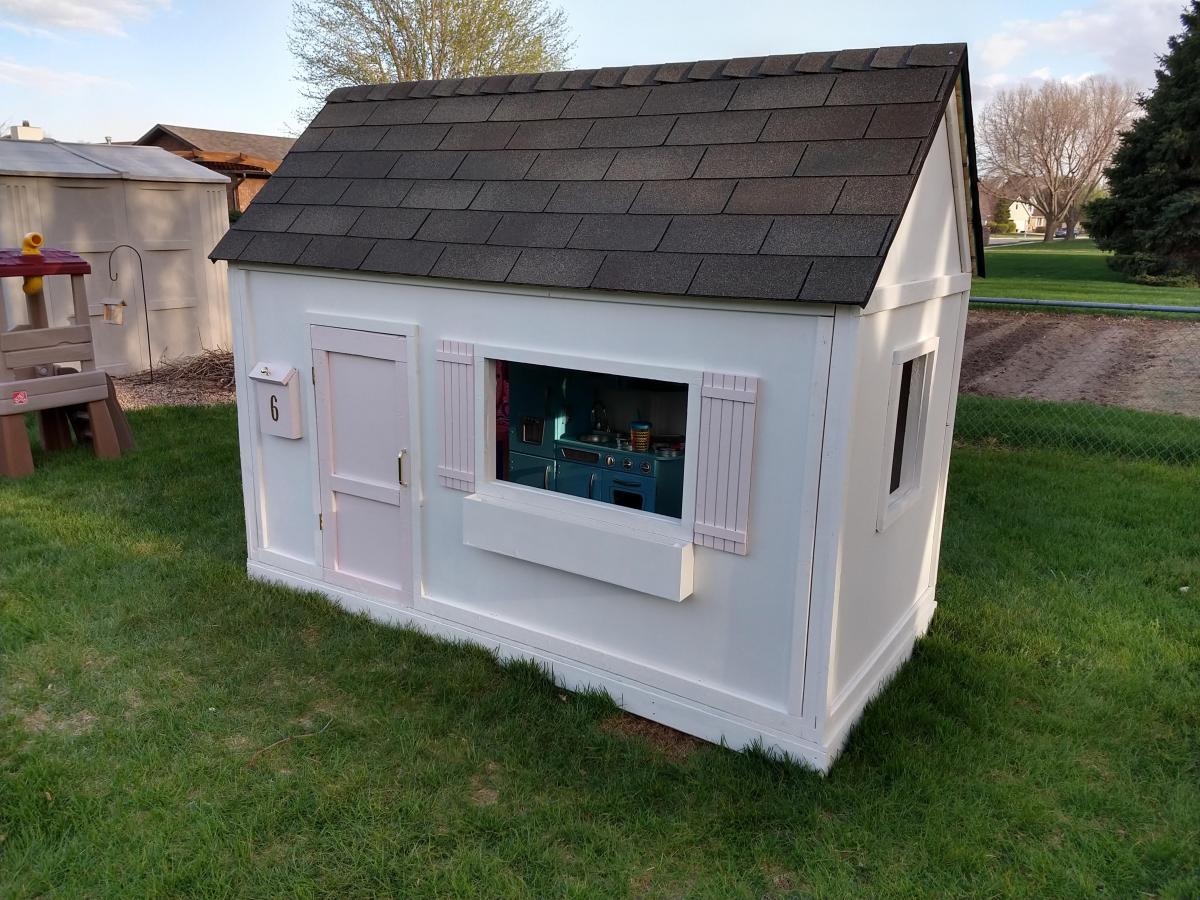
We built this playhouse for our daughter's 6th birthday. She absolutely loves it! We were looking at purchasing one, but they were way out of our budget. Ana saved the day with these plans :).

Estimated Cost
$320.00
Estimated Time Investment
Weekend Project (10-20 Hours)
Finish Used
We painted the house with white Pittsburg Ultra Exterior Latex paint. The mailbox, door and shutters were all painted with Pink Viburnum Sherwin Williams Satin Exterior paint.
Recommended Skill Level
Intermediate
Seasonal And Holiday

Herb Garden Planter { $2 }

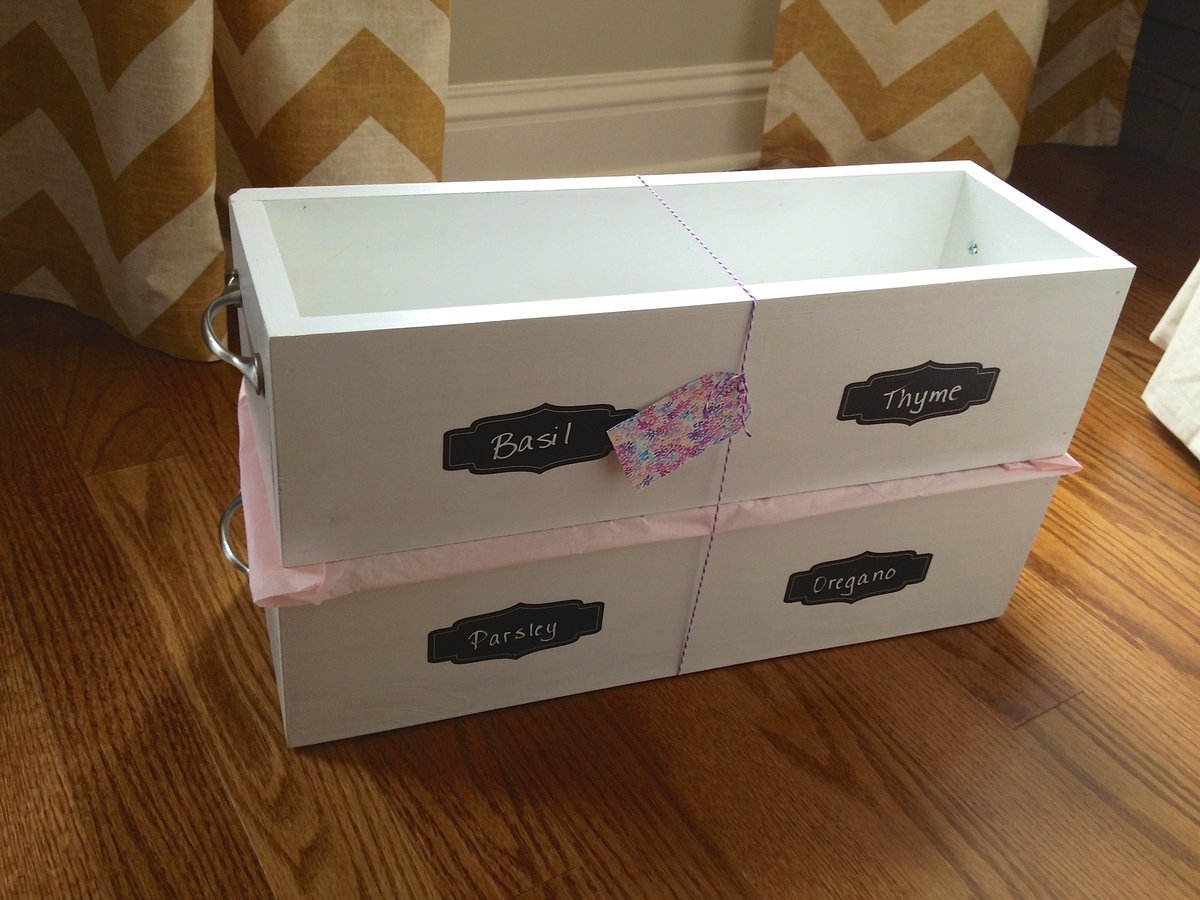
This is the fourth time I have made these to give as gifts. They are just so cute, easy, inexpensive, and versatile. Now that the growing season is among us, Im sure Ill be making even more.

Estimated Time Investment
An Hour or Two (0-2 Hours)
Finish Used
sanded, white latex paint, then applied minwax polycrilic
Recommended Skill Level
Starter Project

DIY Farmhouse Dollhouse

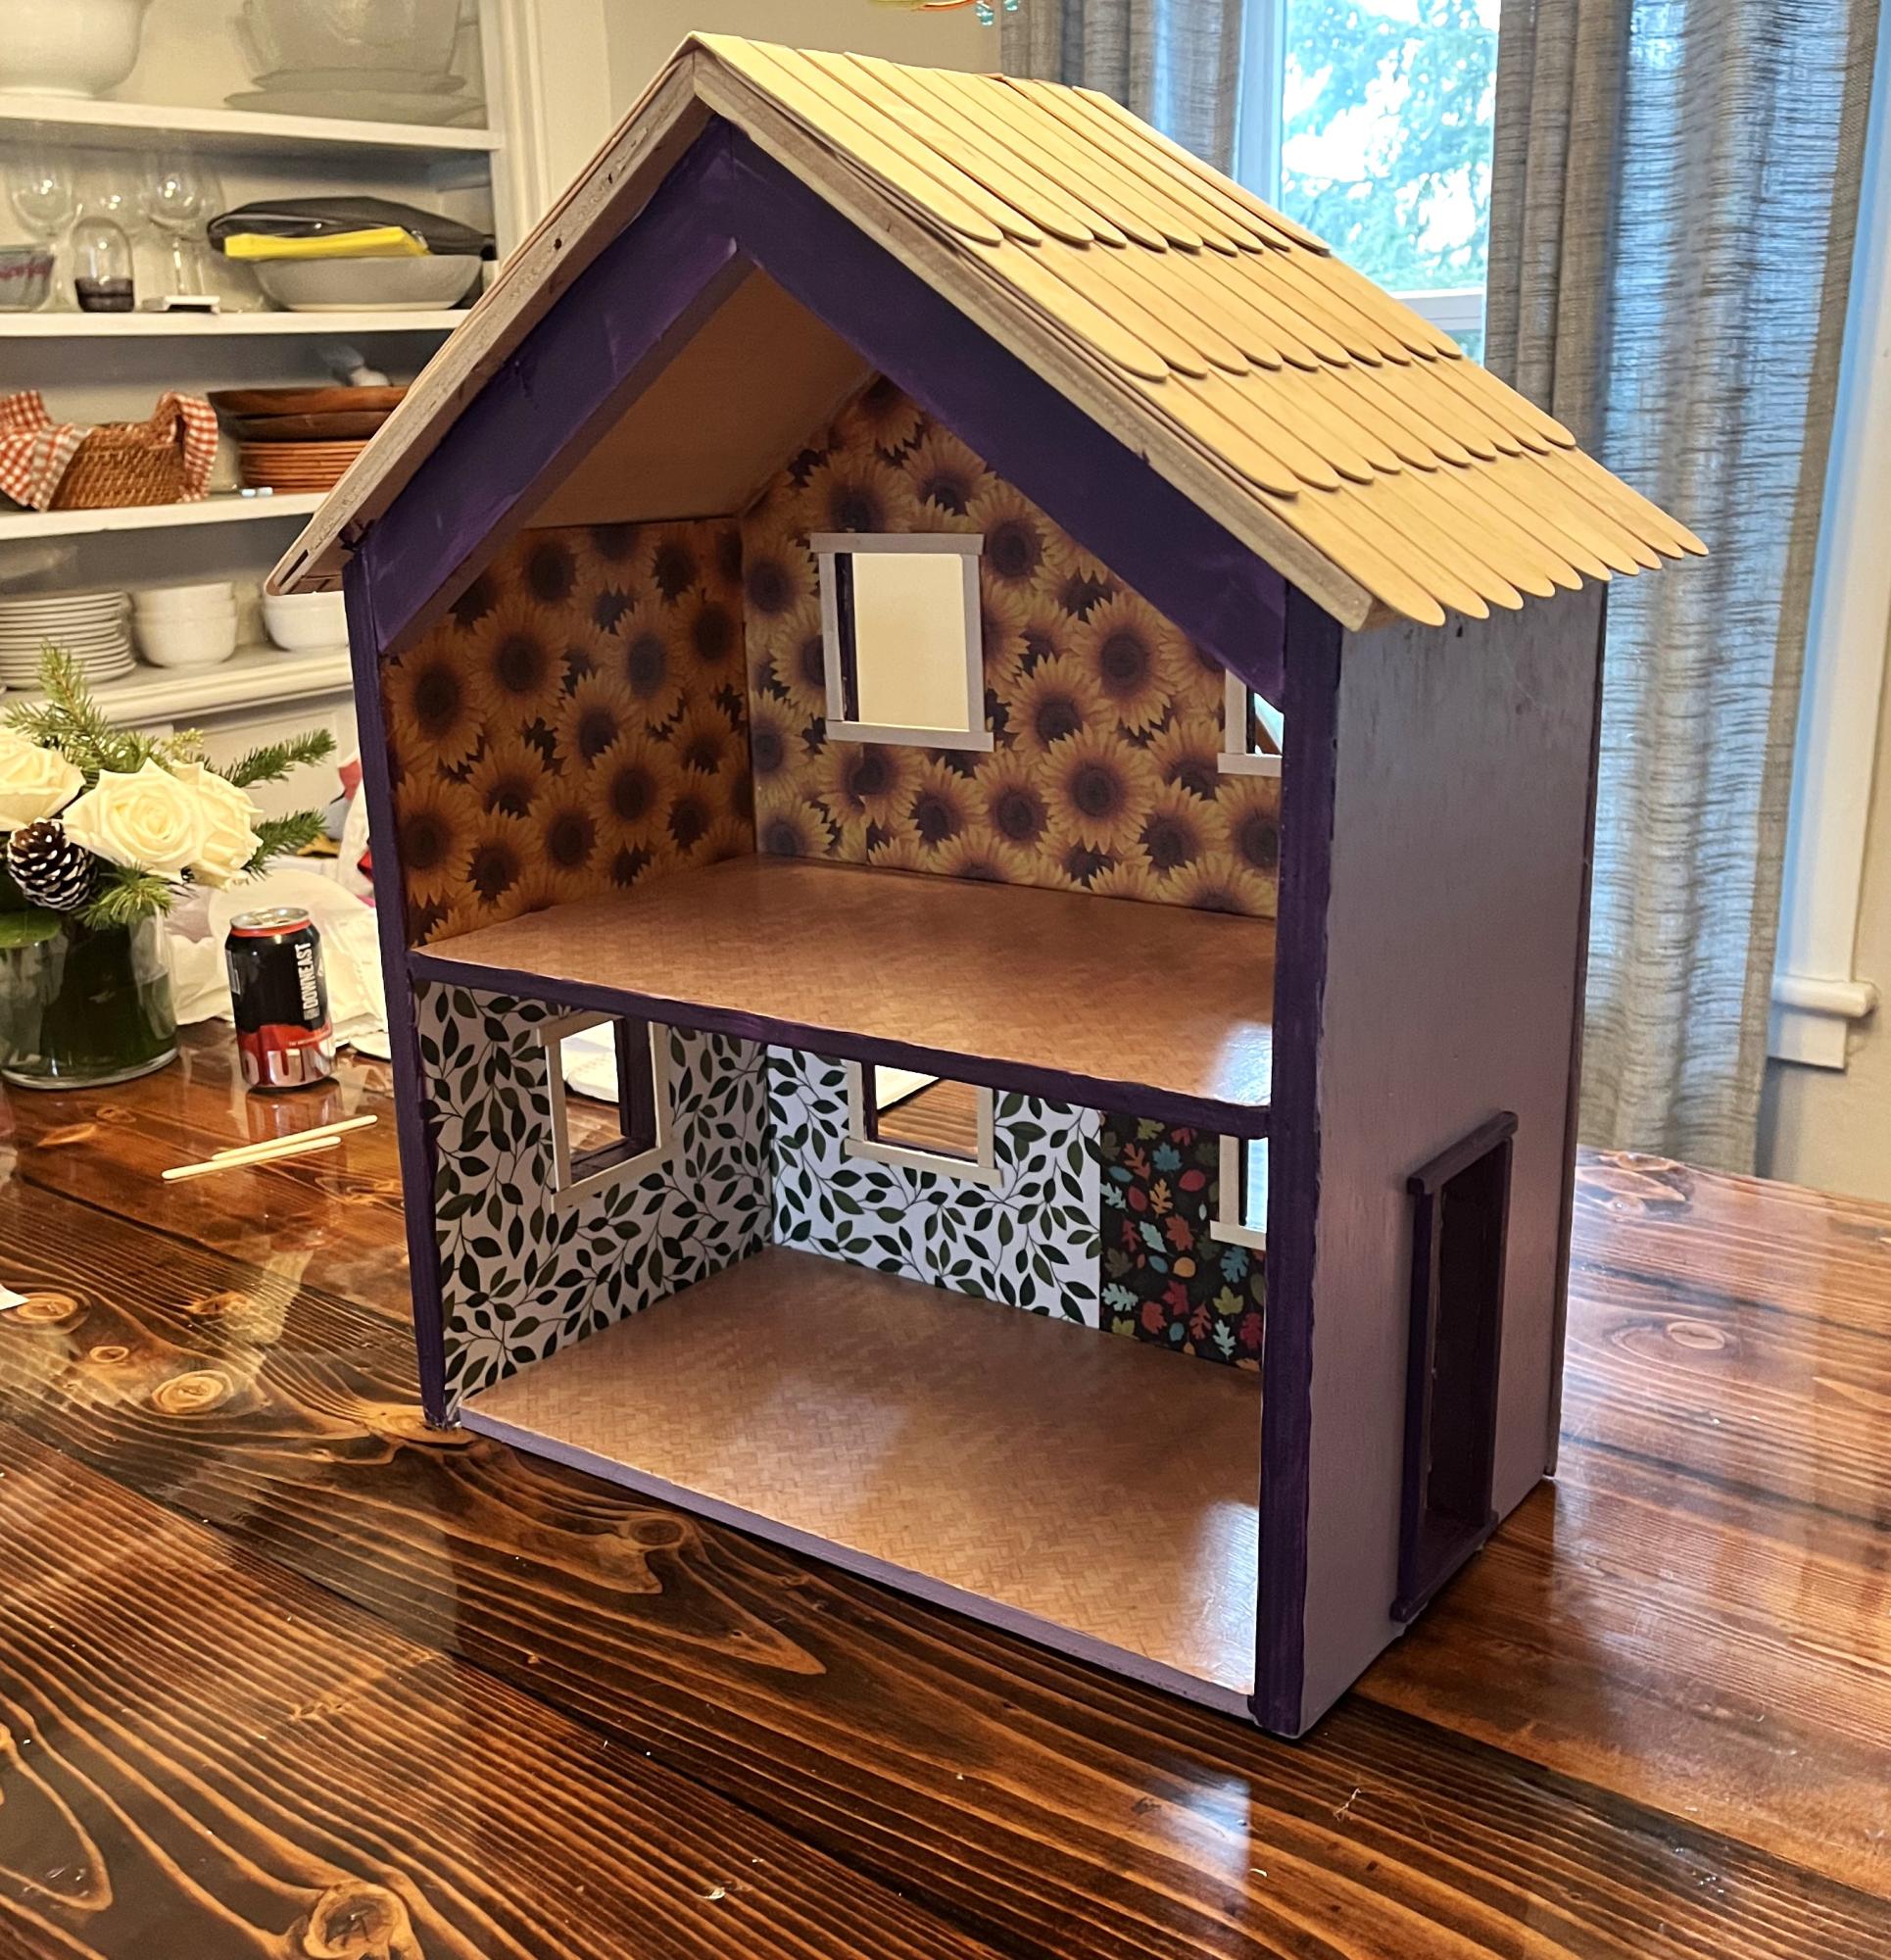
This is for my daughter’s 3rd birthday. I decopaged the walls and floor with patterned paper before assembling. I thought it would be easier.

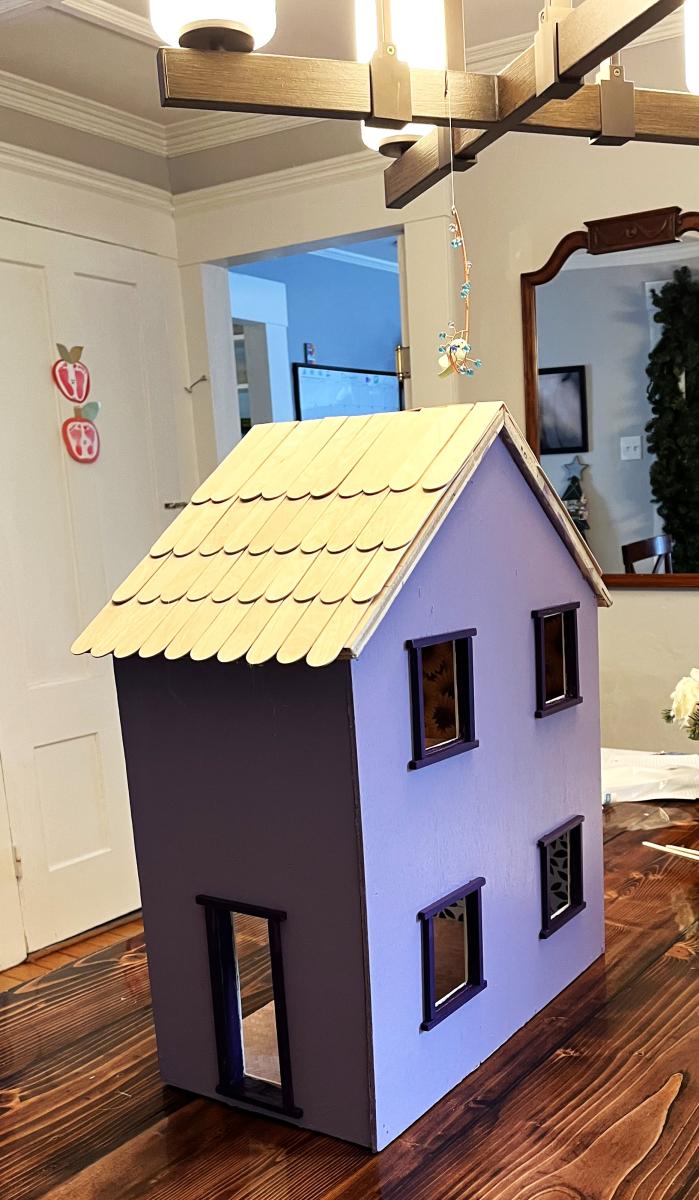
I also didn’t bother with the middle ‘front’ door. The dollhouse in the example photos look beautiful from the outside, but kids don’t really play with the outside of the houses. So I made the windows a little bit bigger.

The windows and doors both looked terrible. My first time using a jigsaw was not a success. So I used tiny dowels for the trim around the door and craft sticks on the inside.

The last thing I need to do is put some lights in it. I ordered some fairy lights on amazon. I plan to use another dowel that I’m hoping I can wrap with the fairy lights and then wedge in the back on the ‘ceiling’ on the first floor and then Velcro the switch to the side of the house. It won’t look professional or anything, but being able to turn the lights on and off will be very fun.

Casey

Built from Plan(s)

i did it!!

Submitted by sueslager on Tue, 07/03/2012 - 12:22

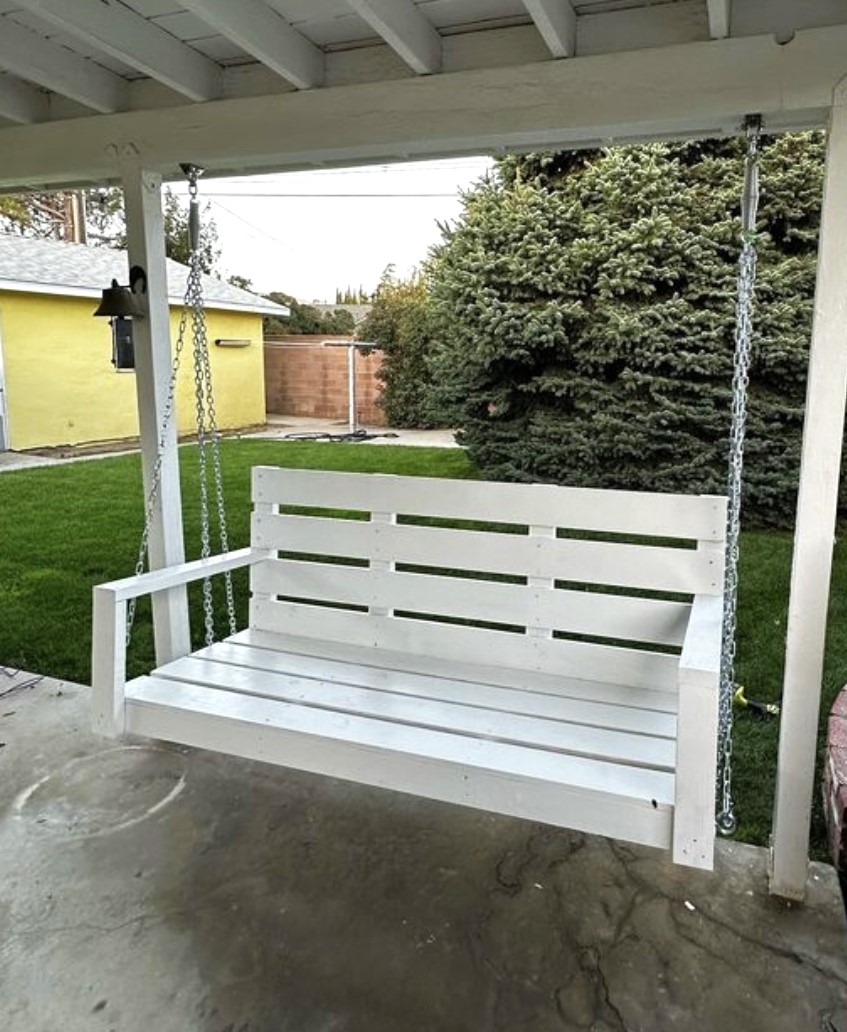
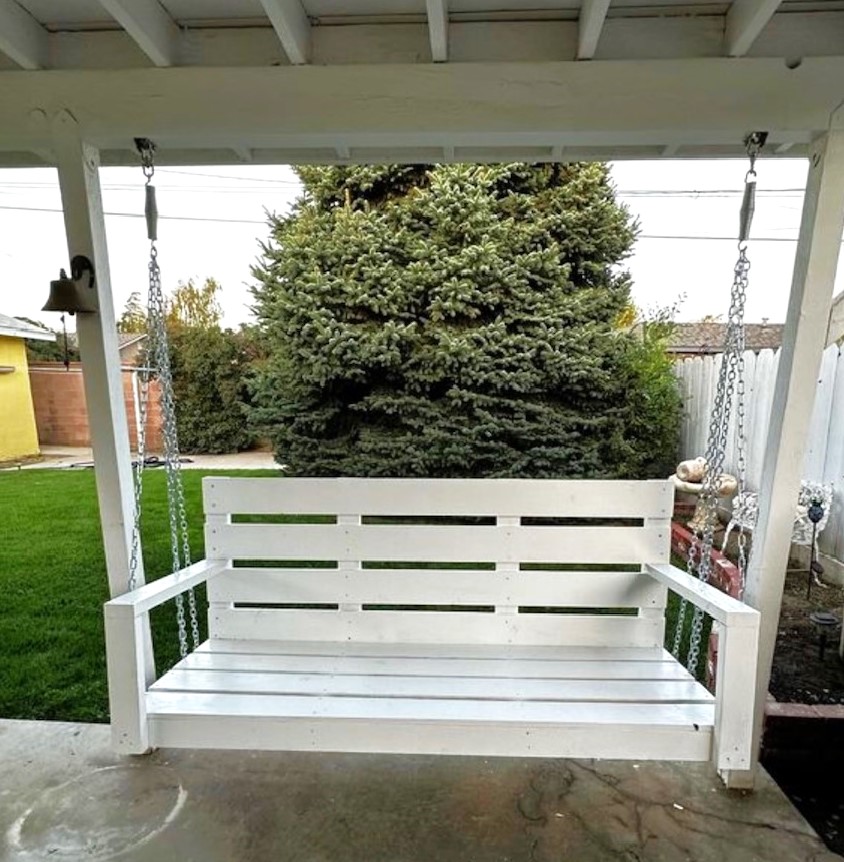
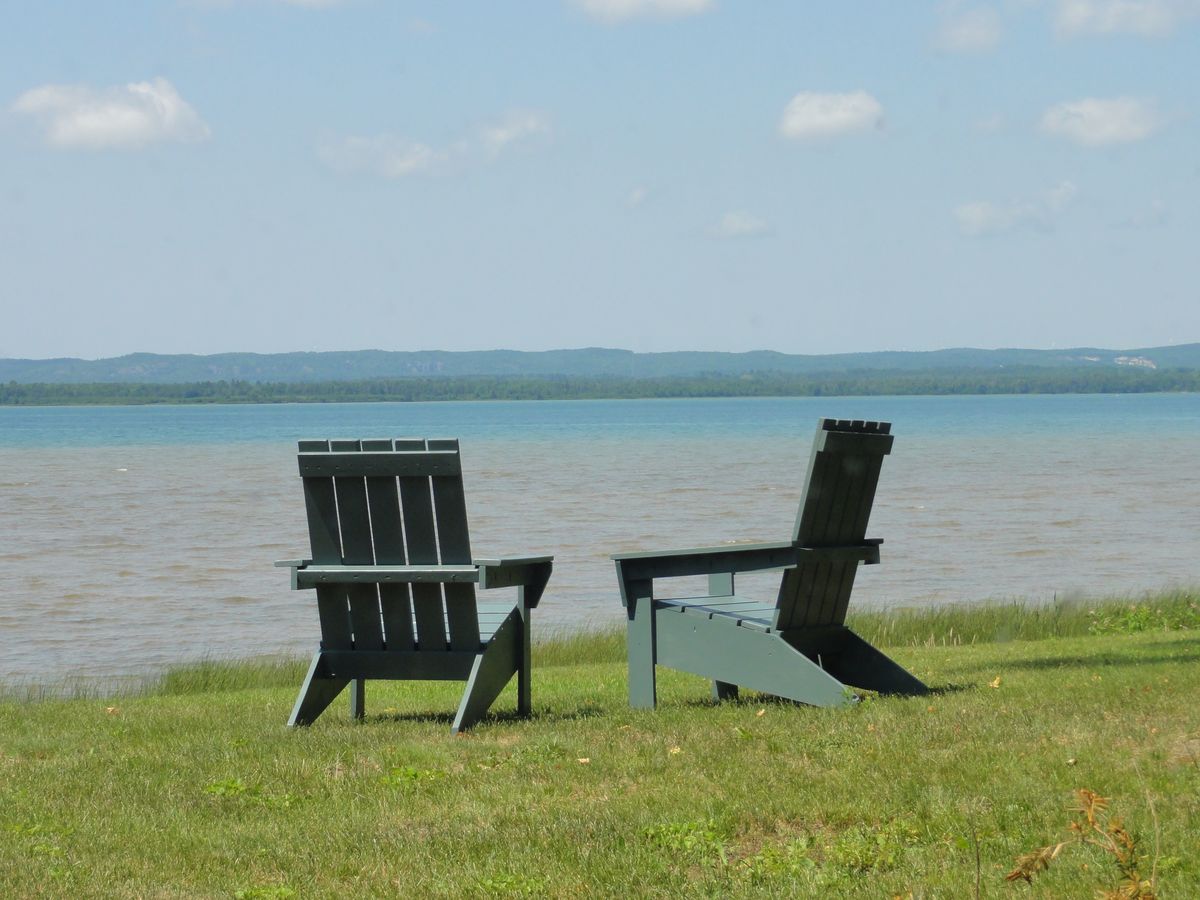
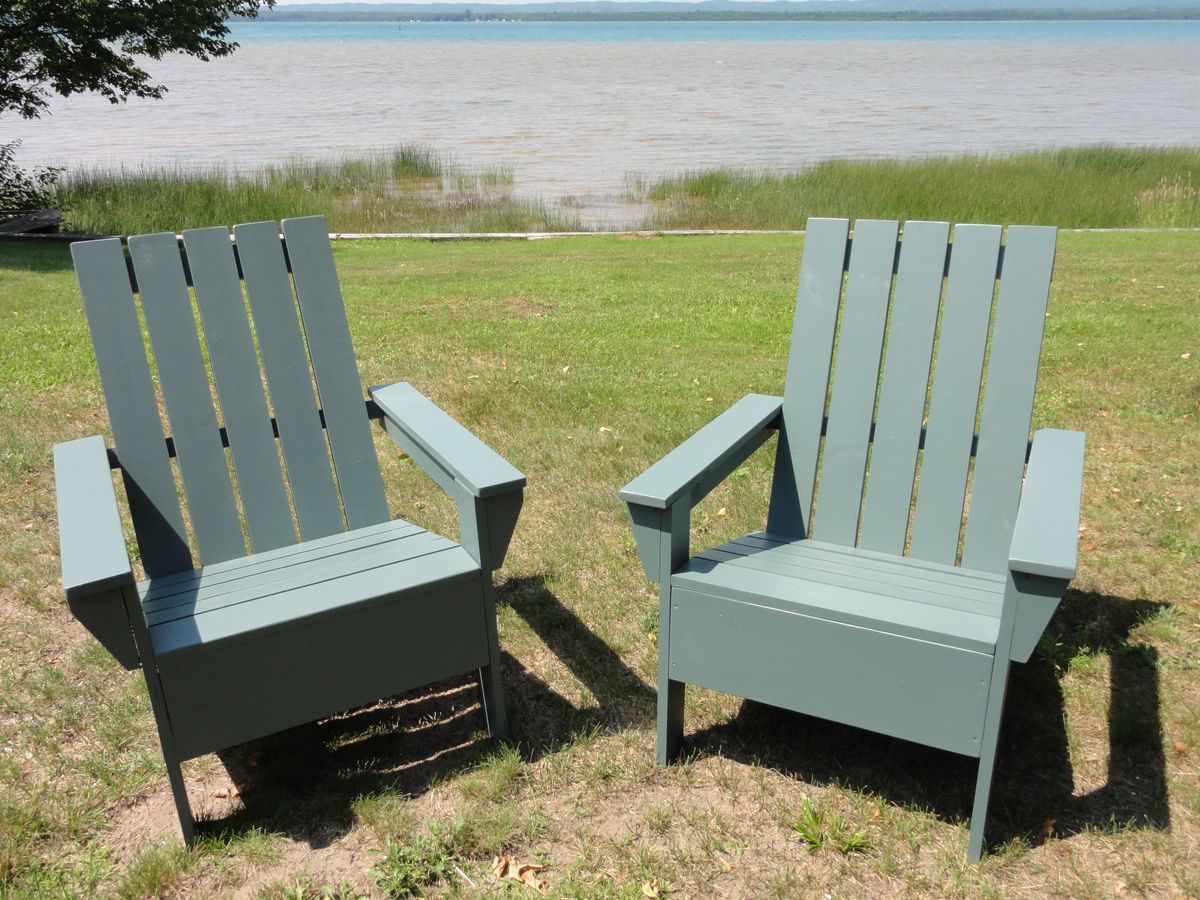
Amazing what some basic lumber can make! Read the comments included with the instructions ... the 1 x 4 cut list was especially helpful. All told it was under $30 for a very comfortable sturdy Adi !! Some modifications I did for mine ... I used pocket screws to attach the seat slats and arm rests ... no splinters :) I found it easier to attache the middle back support loosely to the arm supports, then attach to the back slats in the correct position Paint was Clark & Kensington All-In-One from Ace in Fairfield Manor -- it's a beautiful watery green ... perfect!! Thanks Again Ana!!

Built from Plan(s)
Estimated Cost
$30
Estimated Time Investment
Day Project (6-9 Hours)
Finish Used
exterior satin paint
Recommended Skill Level
Intermediate
Seasonal And Holiday

Modern Geo Twin Platform Bed and Headboard

Submitted by Anonymous (not verified) on Sat, 05/16/2020 - 17:44

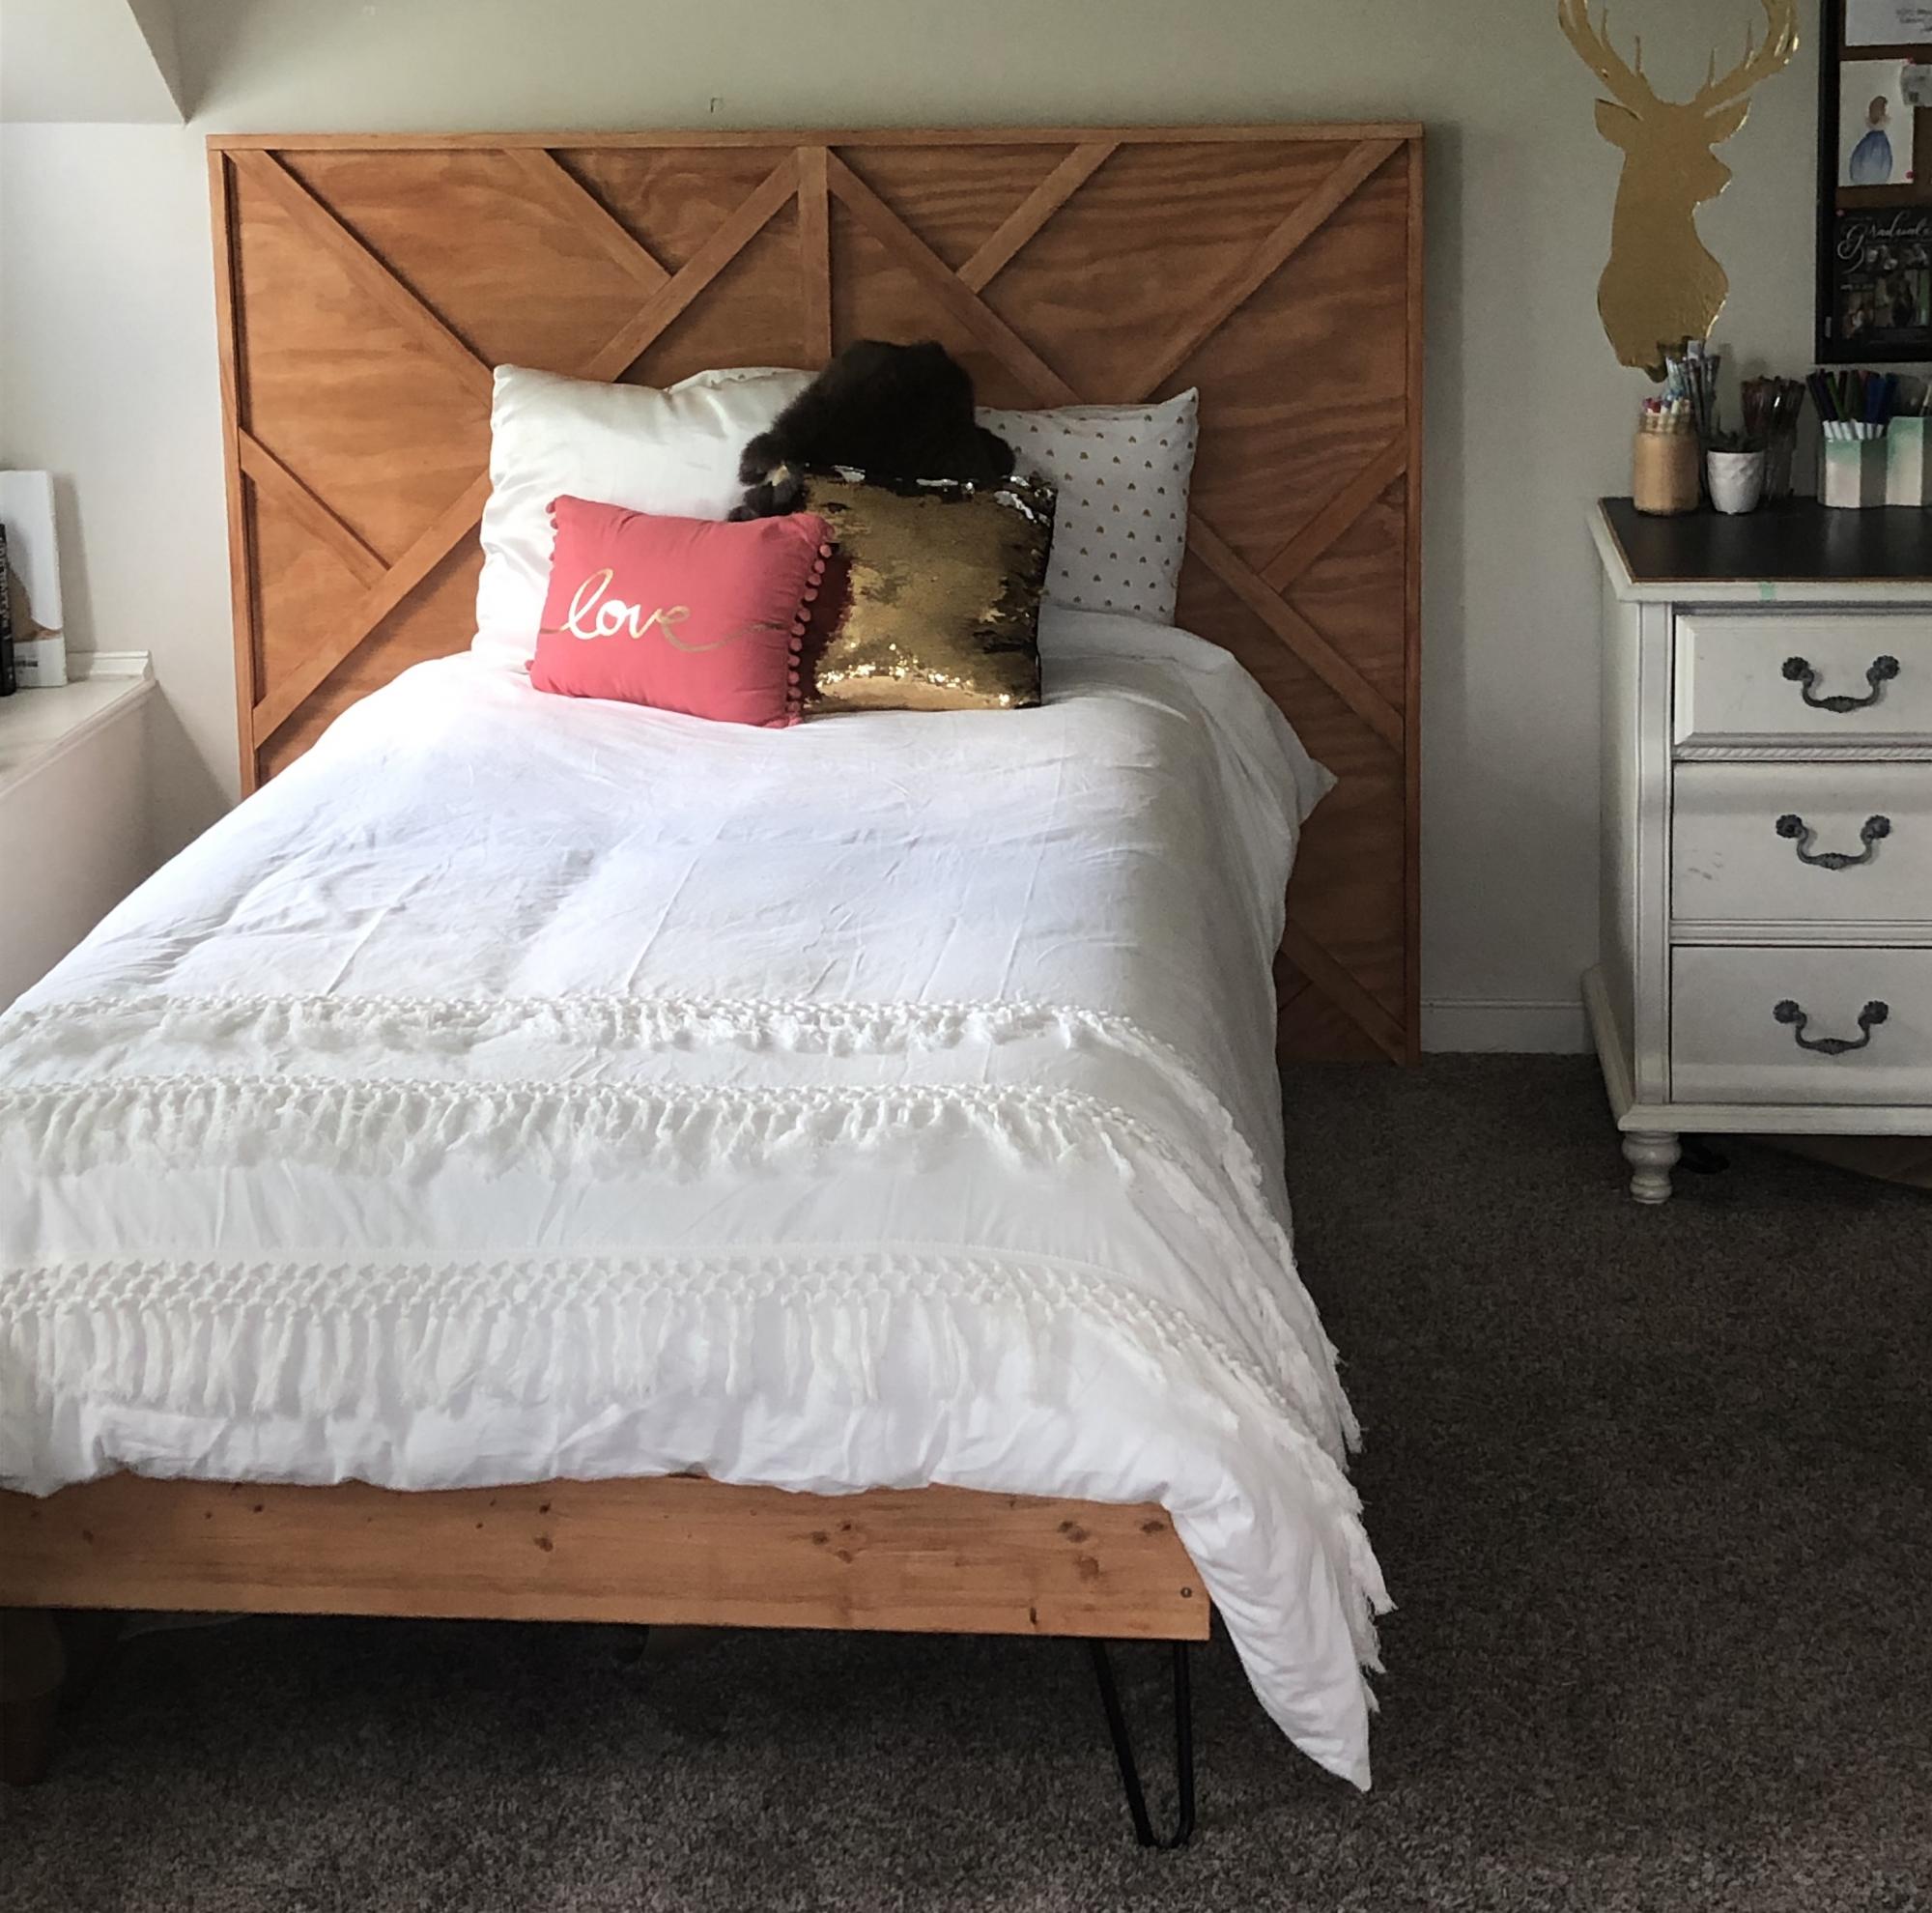
This was a fun build. I let my daughter design the slats on the headboard, and as long as all slats are either 90 or 45 degrees, the cuts and application are simple. Thanks, Ana!

Estimated Cost
$100
Estimated Time Investment
Day Project (6-9 Hours)
Finish Used
Miniwax Pecan
Recommended Skill Level
Beginner

Comments

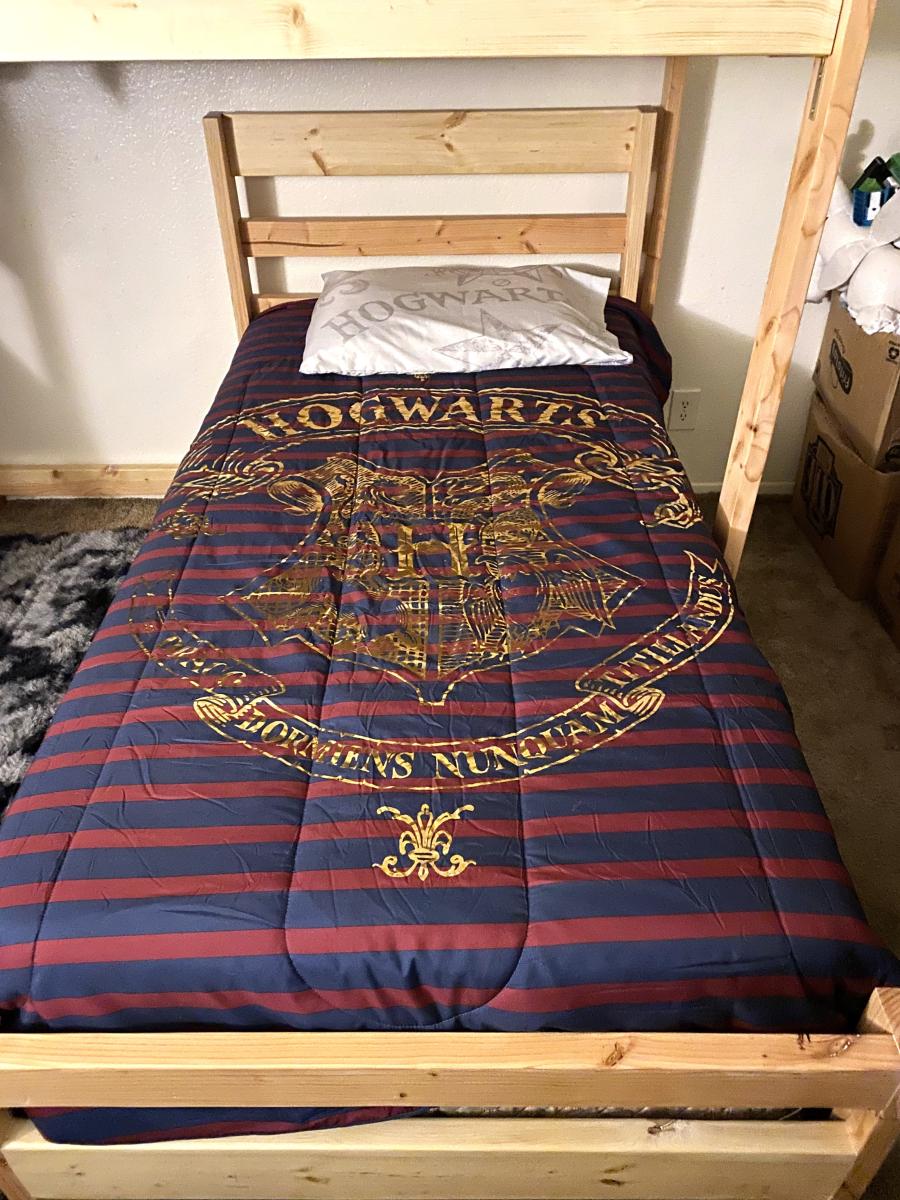
Loft Over Single Bed

Submitted by Anonymous (not verified) on Mon, 01/15/2024 - 18:24

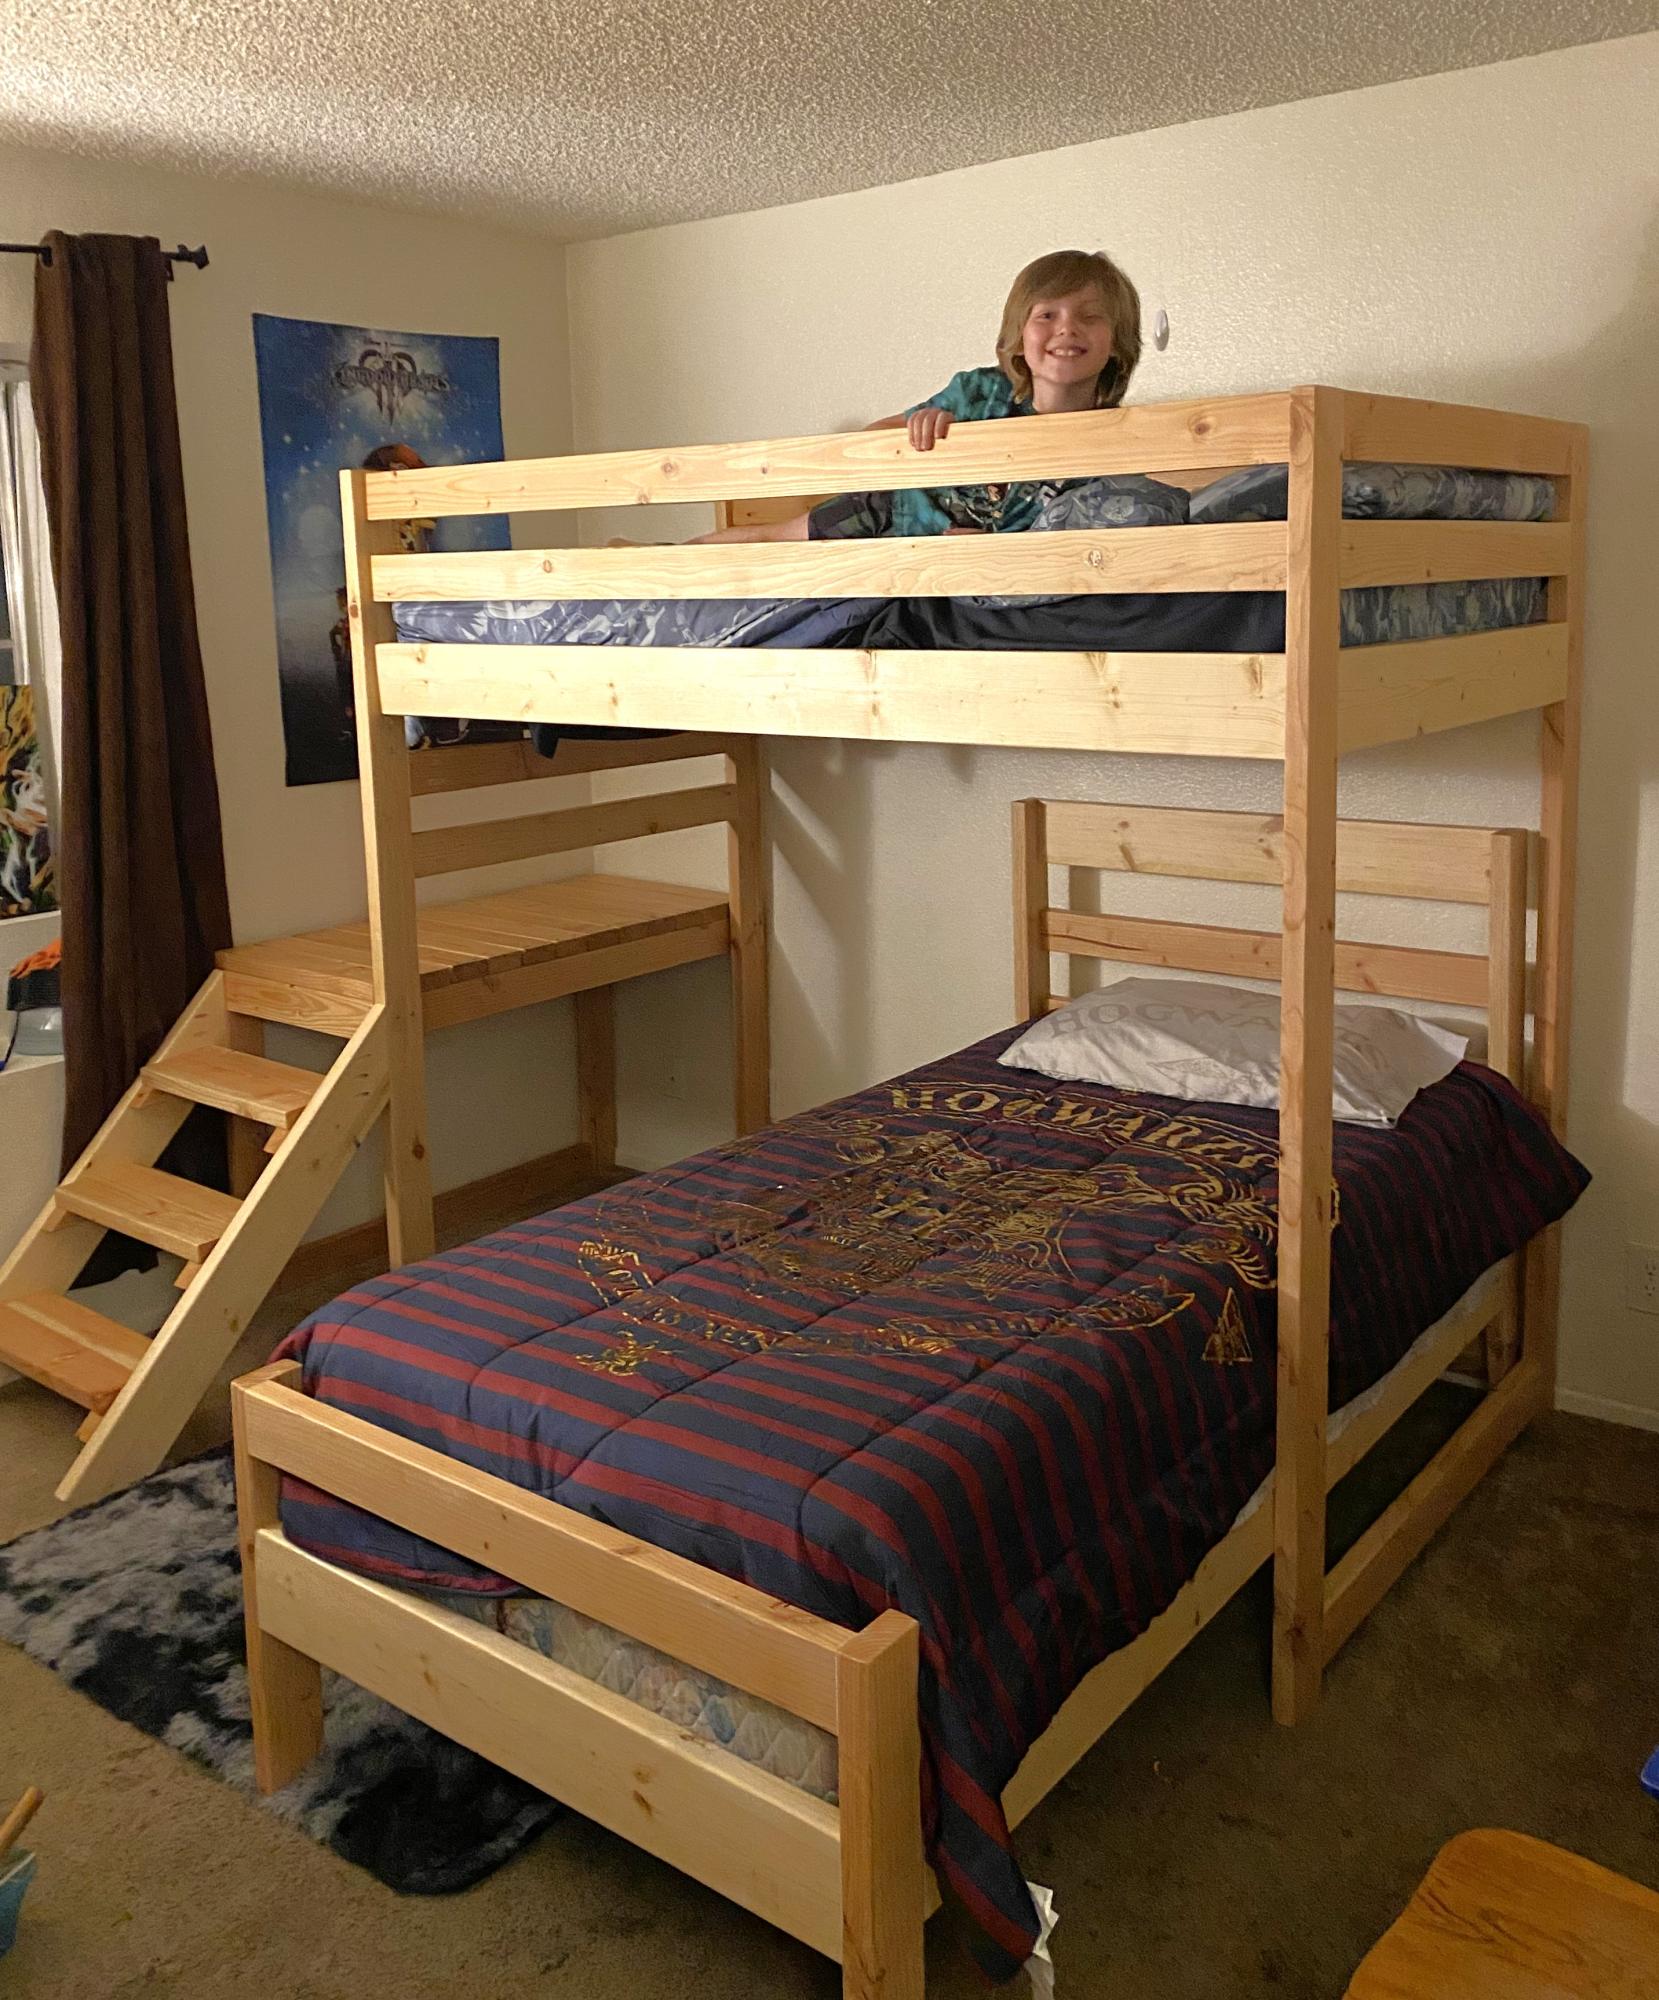
I decided to build a bunk bed for my grandson and his half sister when she came to visit. I enlisted the help of my 7 year old grandson to help with sanding and he was so excited! I was very pleased how it turned out and watching my grandson's excitement was an absolute joy! I can't wait to build more things together!

Norma Jasman

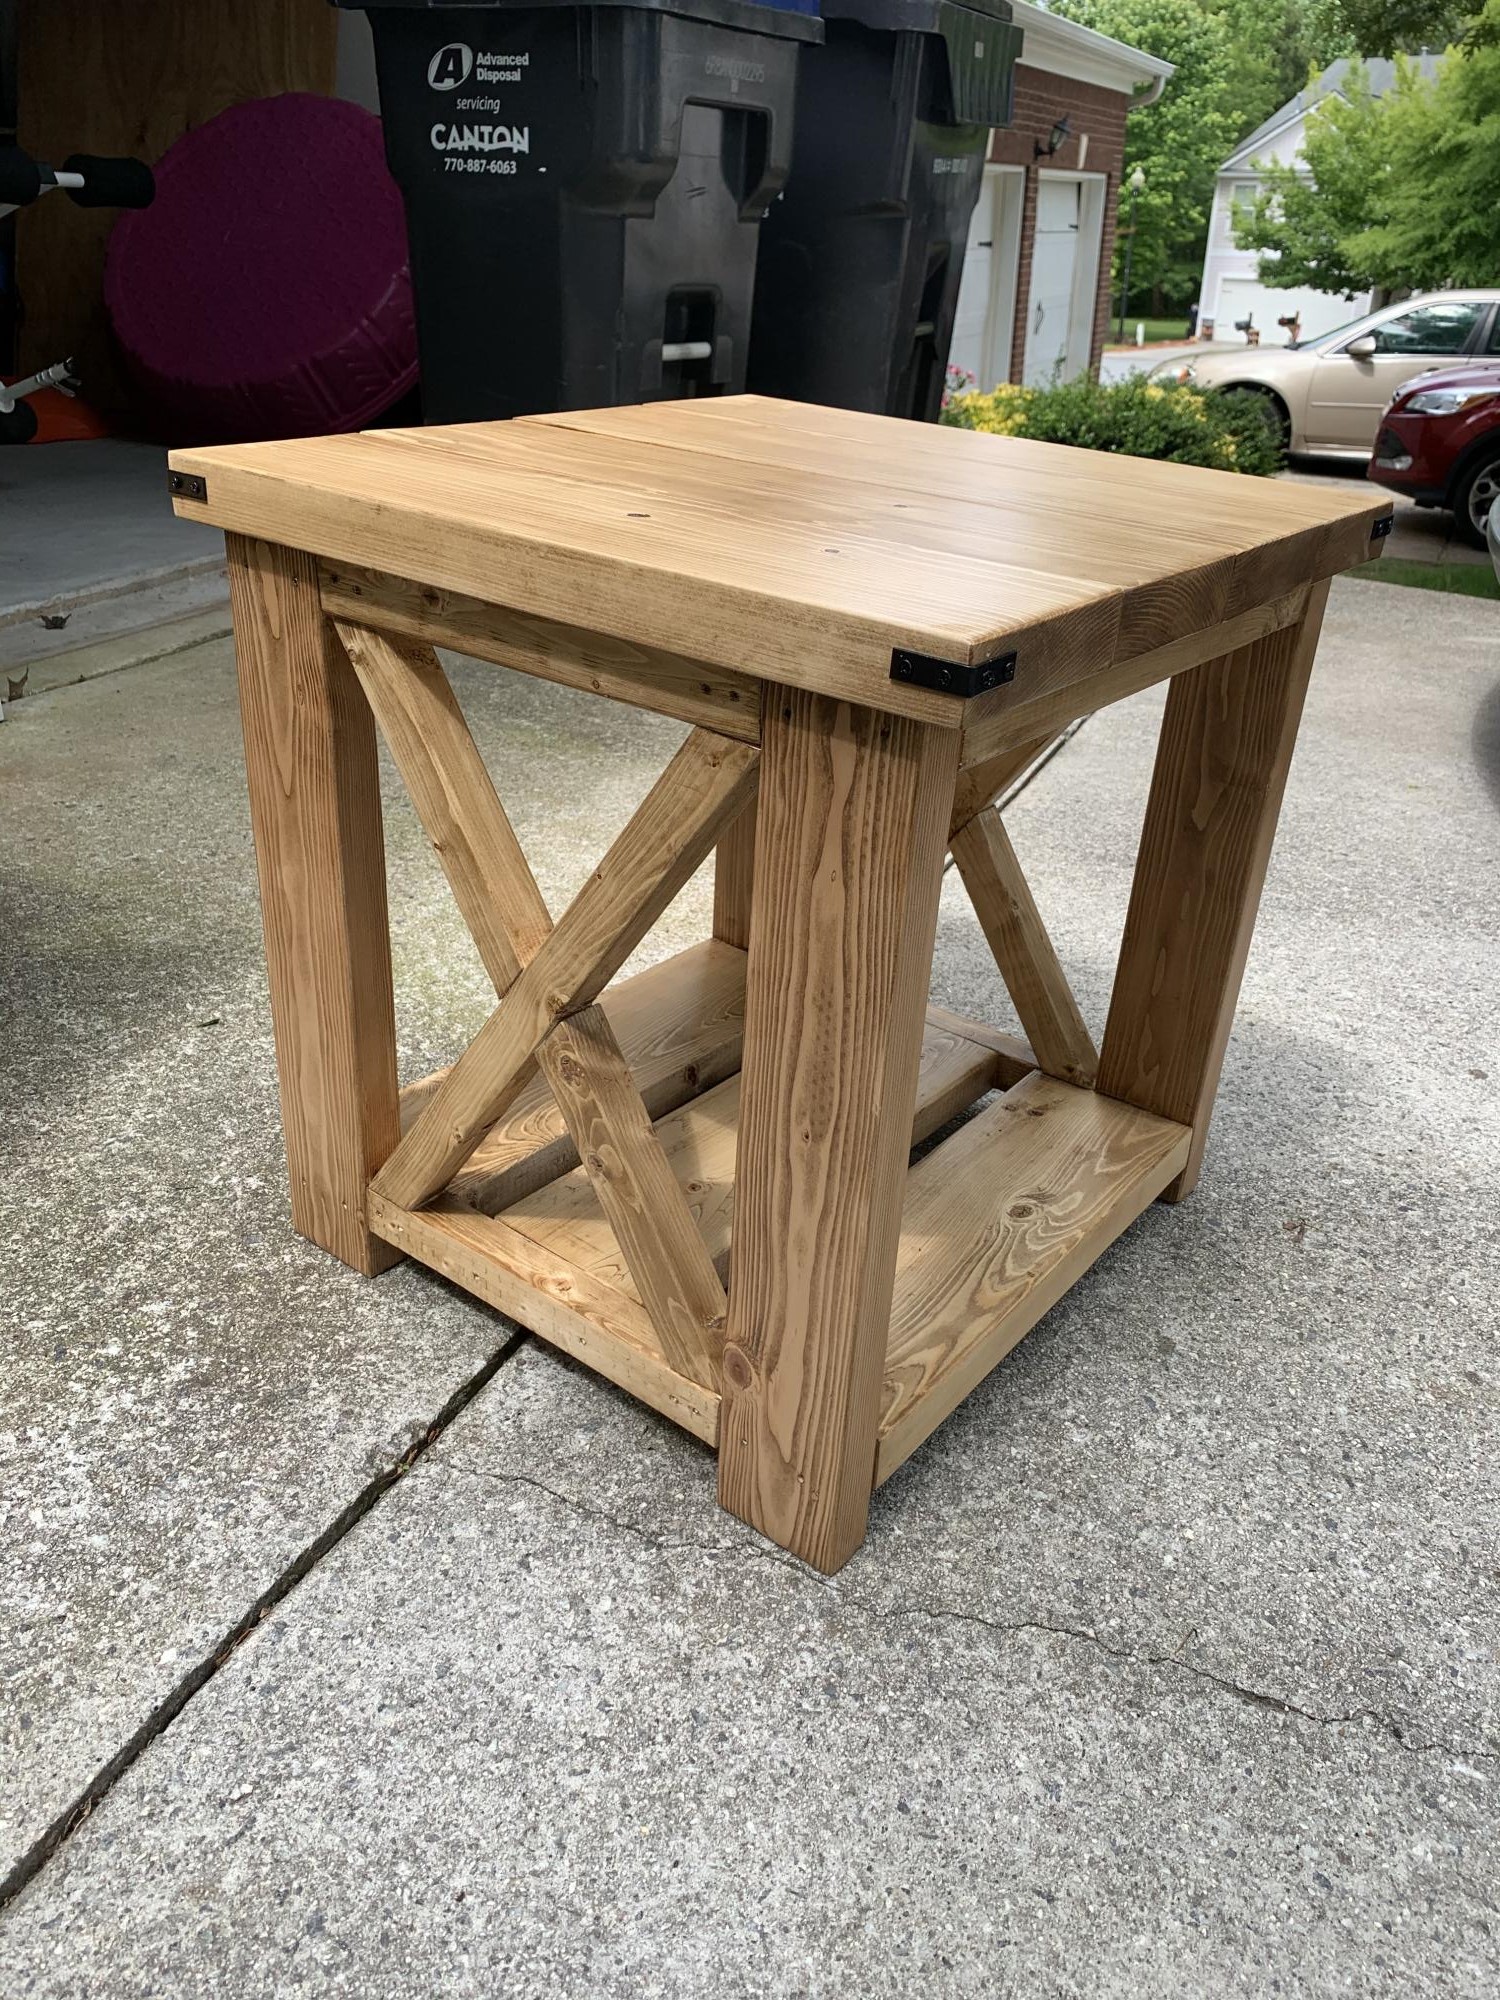
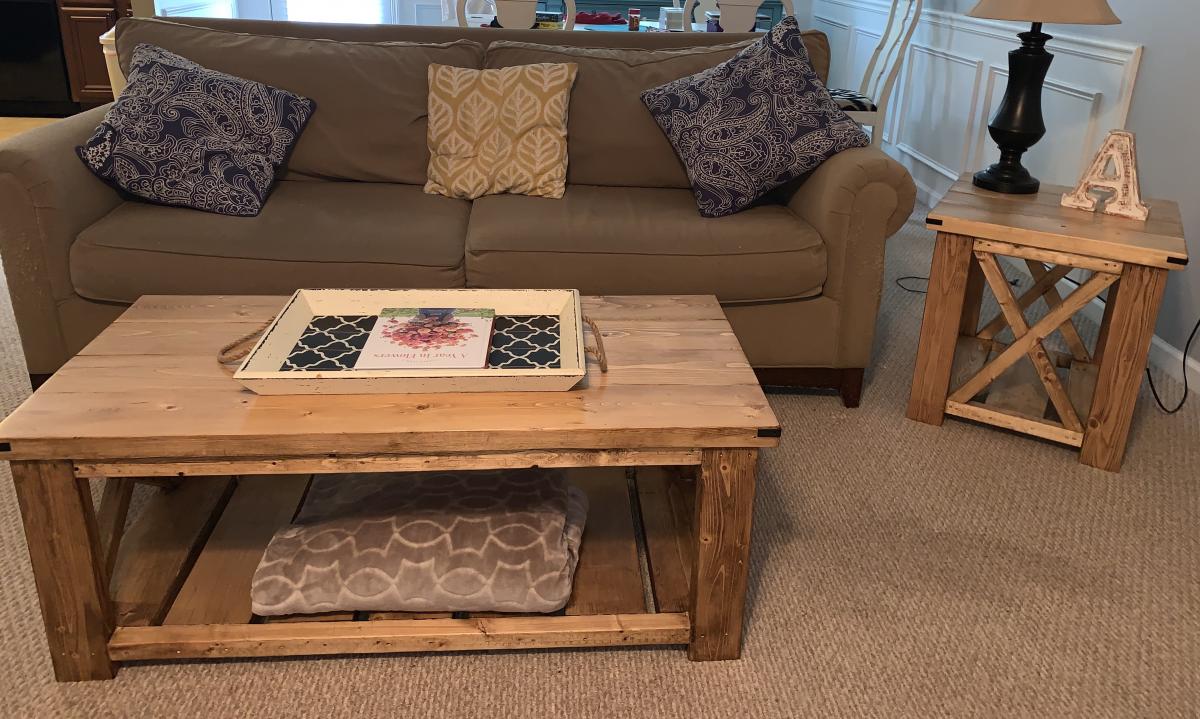
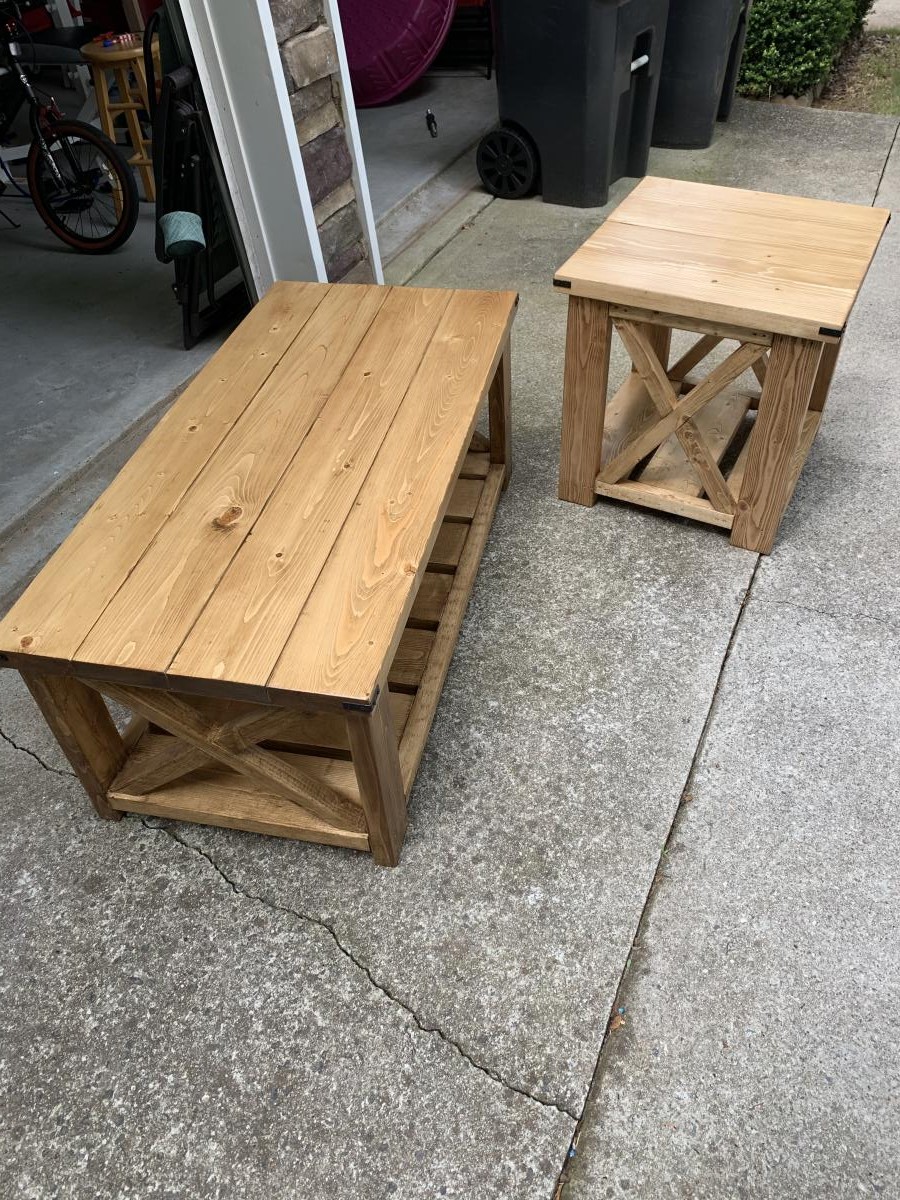
Farmhouse Small End Table

Submitted by mpjacob08 on Mon, 05/25/2020 - 09:33

My 2nd ever build! Made to match farmhouse beginner coffee table. This is the smaller size posted. So Easy! Thank you for the plan and for the videos. I love them and am learning so much!

Built from Plan(s)
Estimated Time Investment
Afternoon Project (3-6 Hours)
Finish Used
Varathane golden oak stain, spray shellac, Varathane water based polyurethane
Recommended Skill Level
Beginner

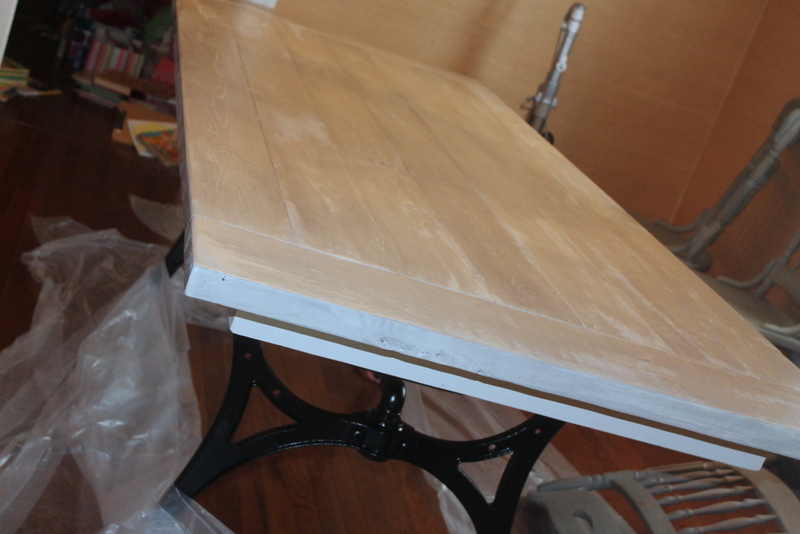
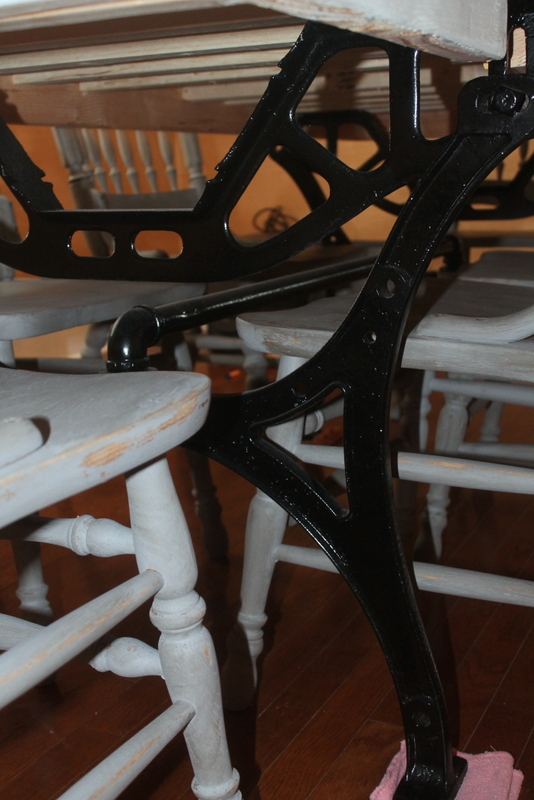
Farm Table Sewing Base

Submitted by fallon on Wed, 07/25/2012 - 18:52

We just slightly modified the plan to accommodate our really great industrial sewing table base.

Estimated Time Investment
Afternoon Project (3-6 Hours)
Finish Used
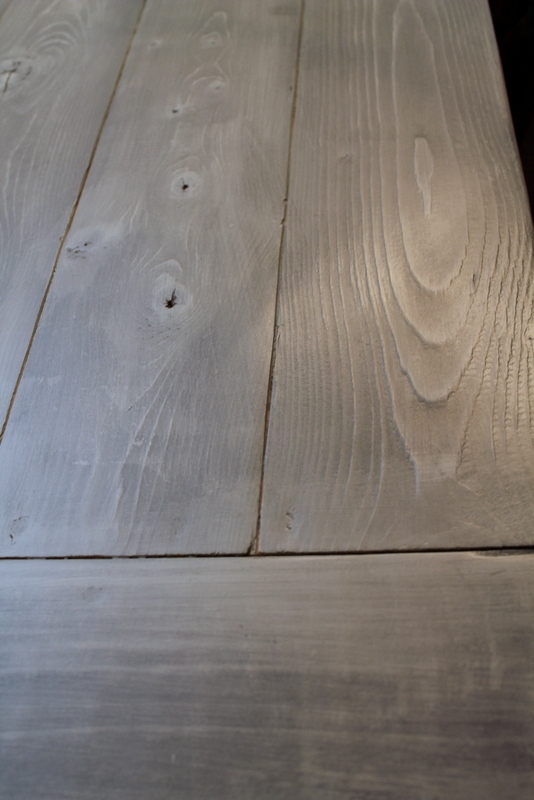
First coat - Glidden Natural Linen
Stain - MinWax Classic Gray 270 (one person brushes while the other wipes it right off)
A little sanding for some aging
Several Coats of MinWax - Polycrylic, satin finish (sand between each coat)
Recommended Skill Level
Beginner

Comments

Modern Adirondack Chair

Submitted by dijonaise on Fri, 06/19/2020 - 05:49

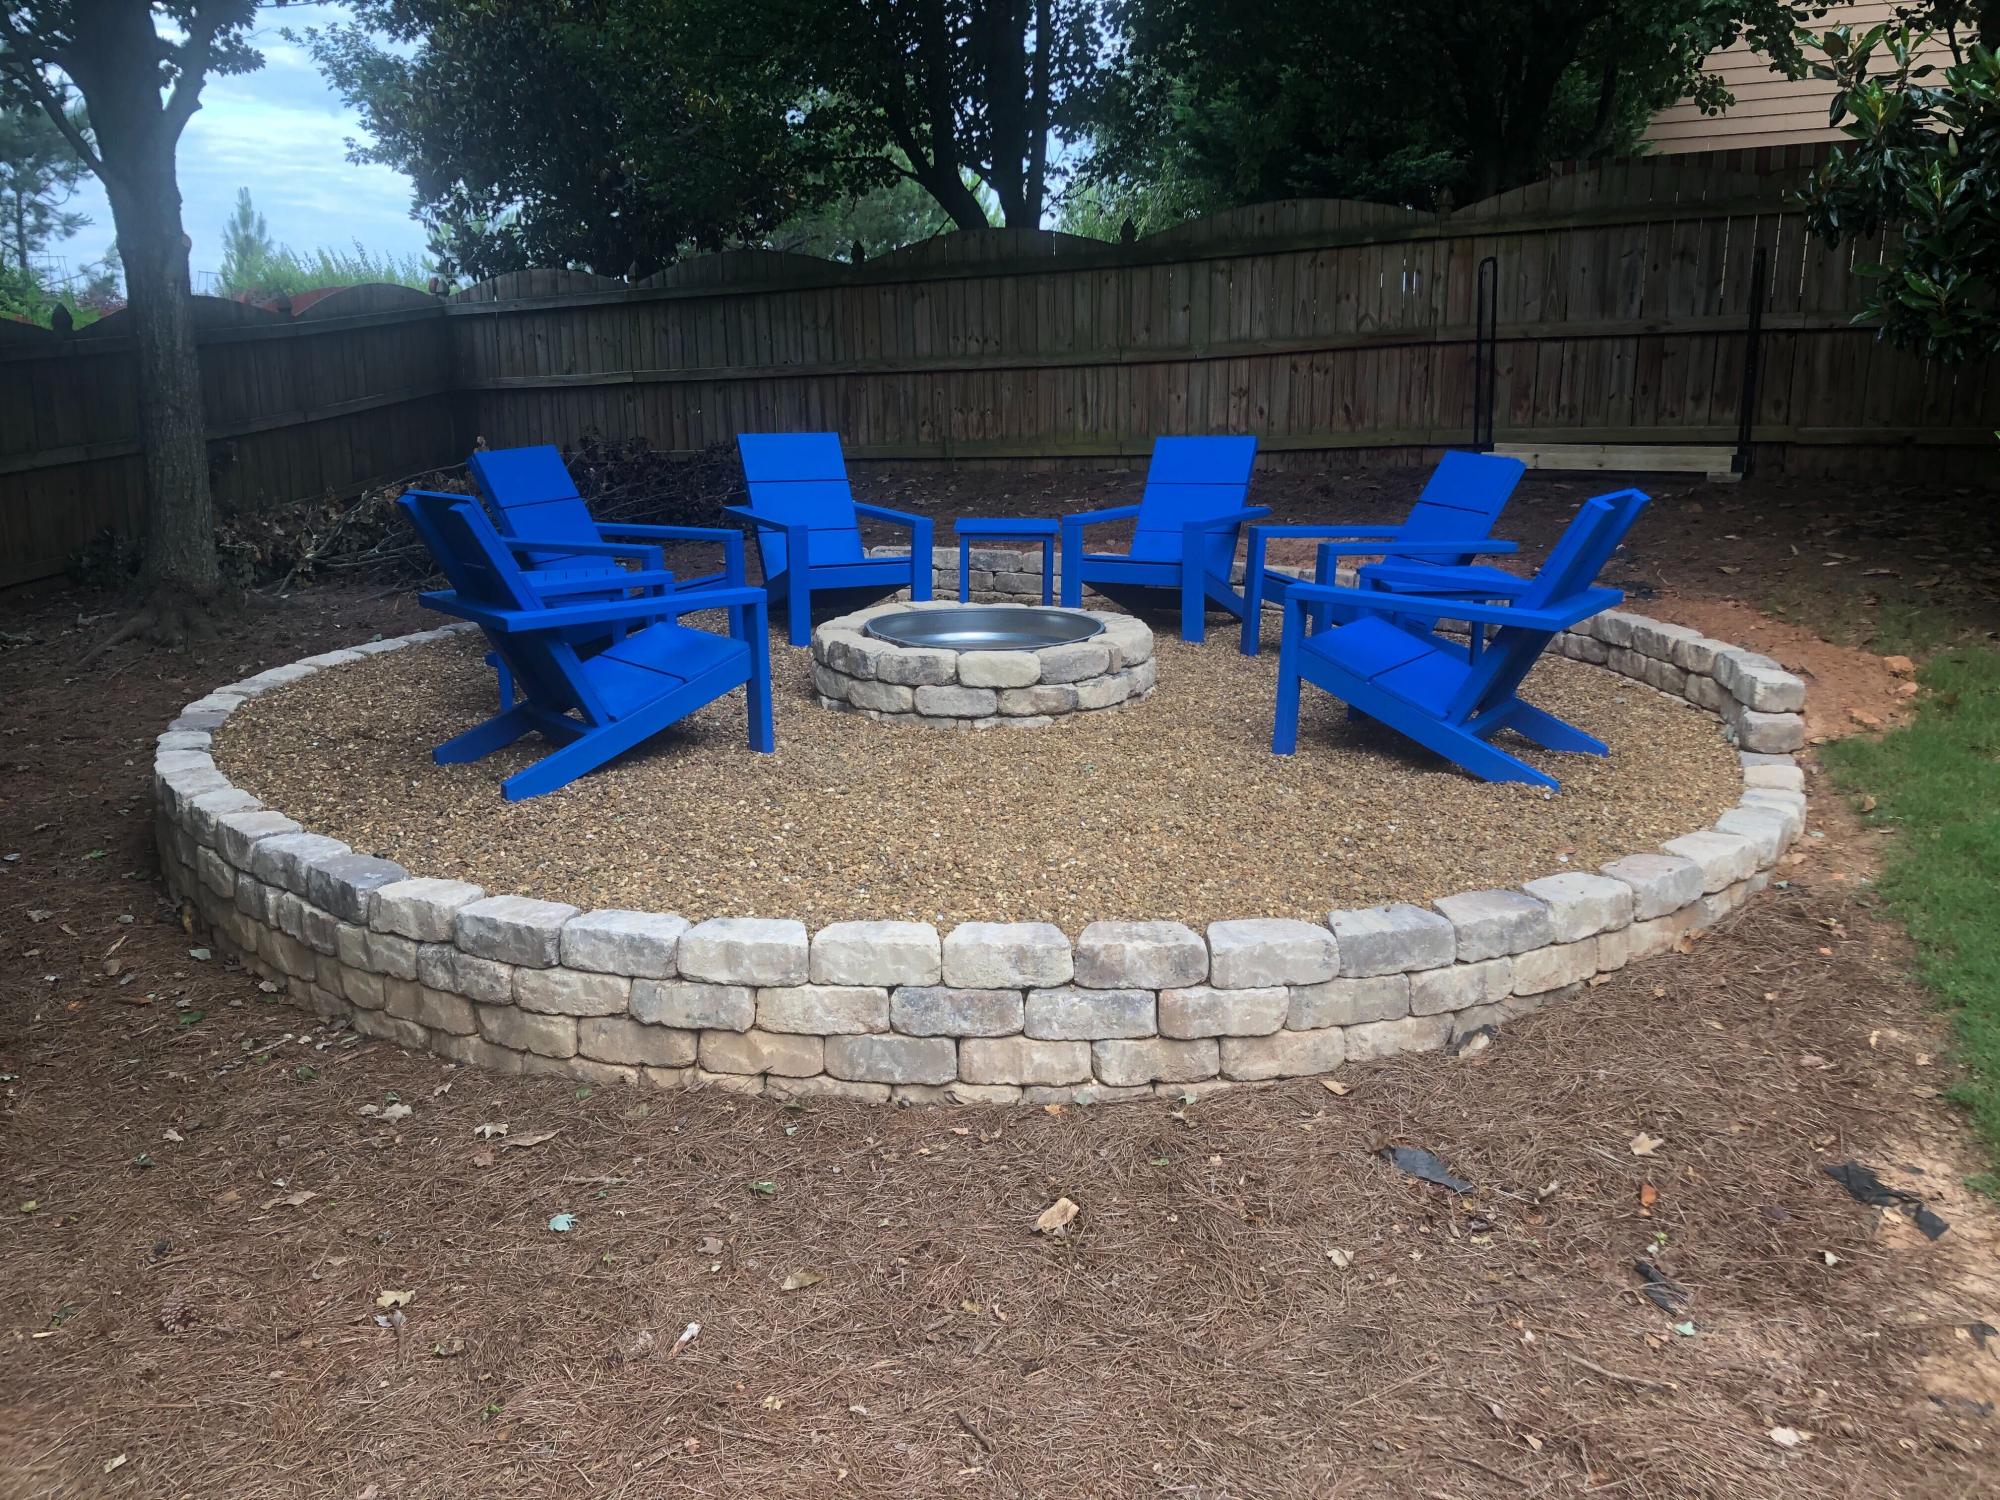
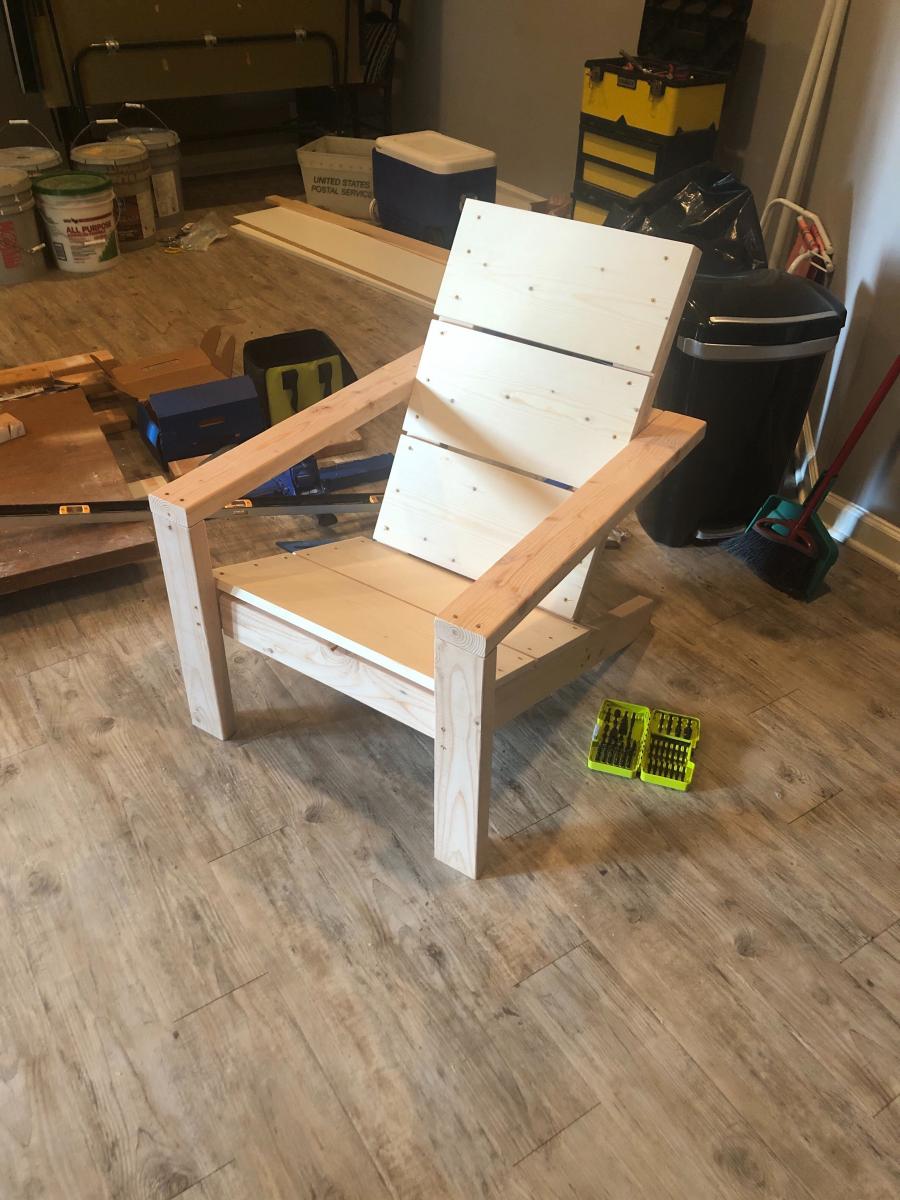
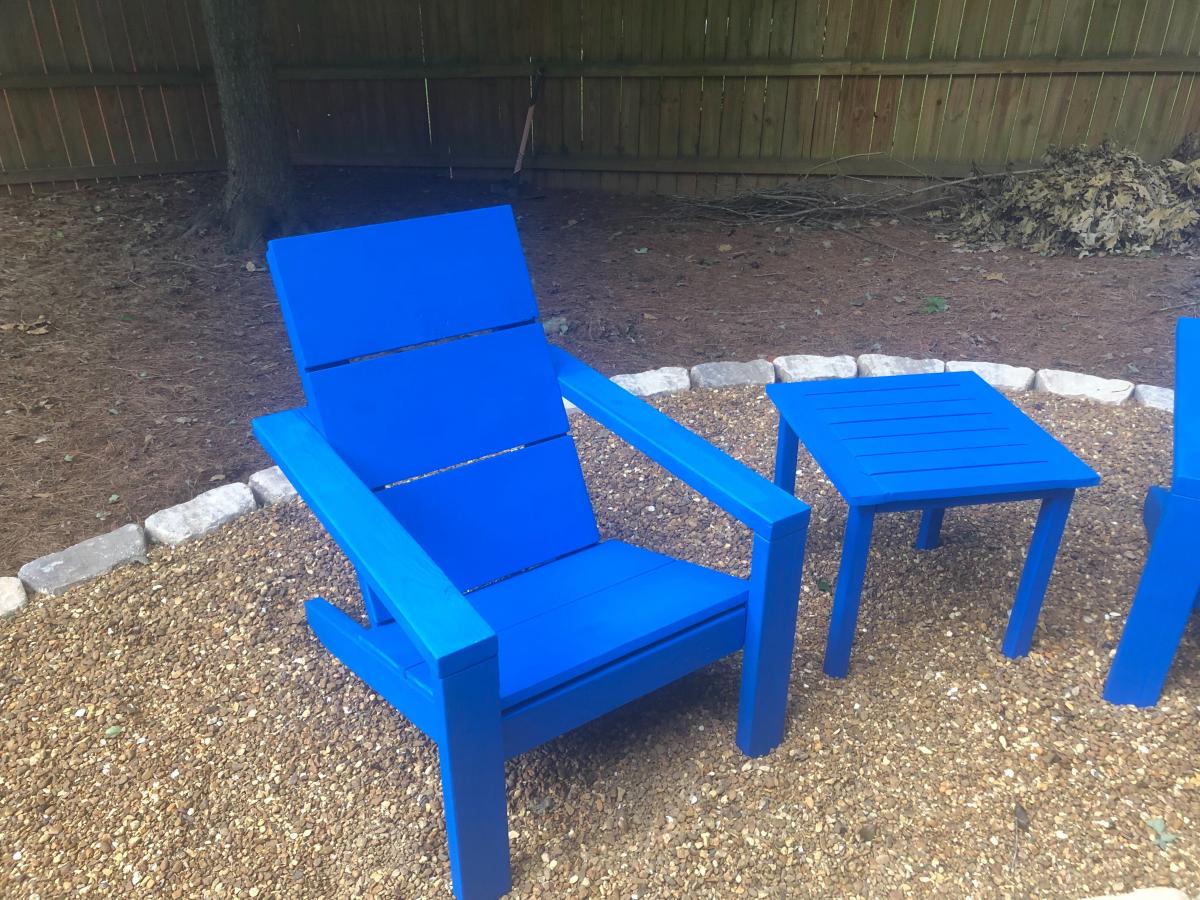
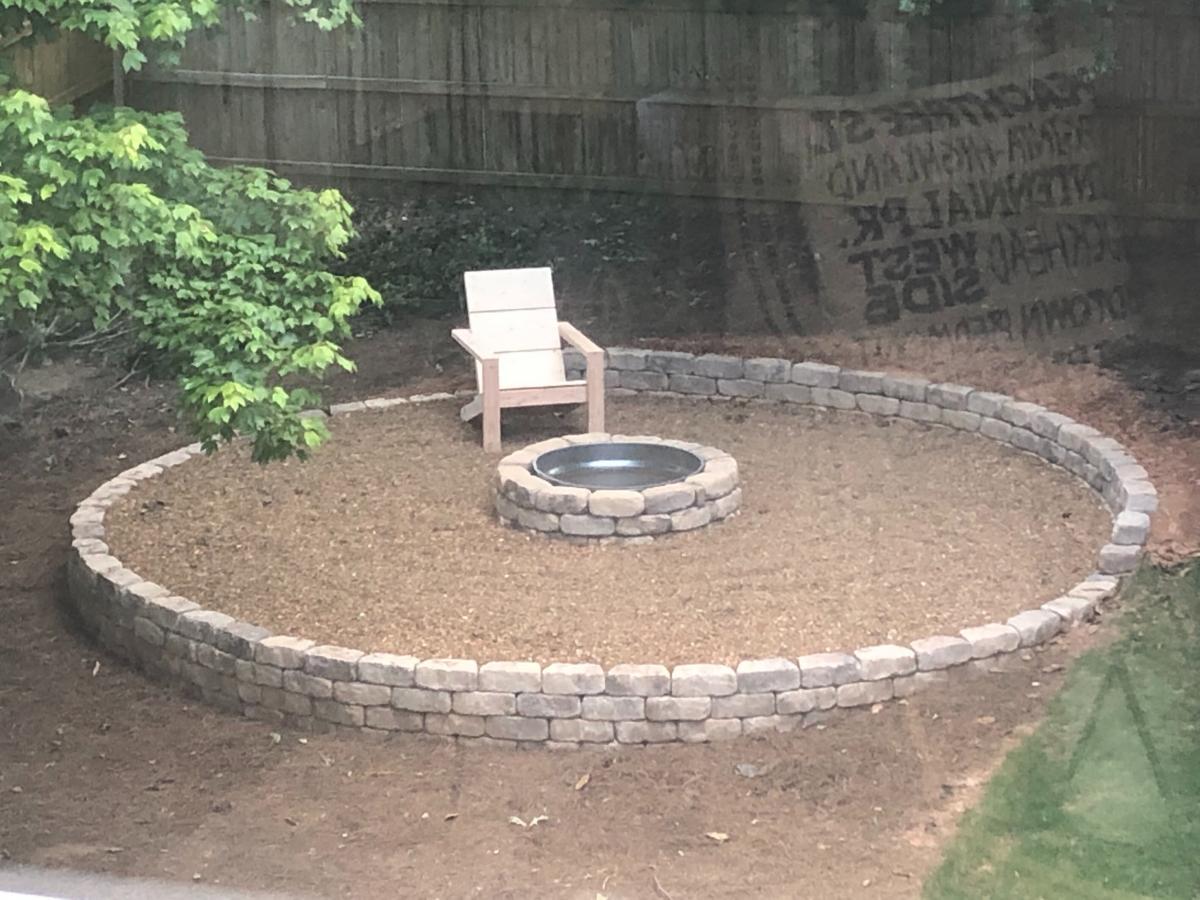
My little quarantine project all started with a three foot circle in the back corner of my yard and turned into this. After finishing the structure, we were looking at different furniture and considered either going on the cheap ($20 plastic chairs) or the expensive route ($1200) for this same setup. That was when I came across your site Ana. Your amazing plans and community's brag posts gave me the confidence to give it a go and we could not be happier with the result.

The chairs and tables went together super easy as everyone had mentioned. I sanded everything before cutting and then just sanded the cut ends. I did not have the stain on hand (not did we know the color) so we waited until after assembly to stain, which ended up not being too bad, just a lot of little nooks and crannies to get into. I used a small foam pad to get in between the boards.

Overall, I would say that the build, from start (rough lumber) to finish (sanded and assembled) took me about 2-3 hours per chair, and about the same to do two coats of stain on top and one on the underside, bringing the total time per chair to about 5 hours.

Now on to the landscaping... ;) I am also planning to build some planters to hold posts to hold some string lights around the perimeter. Boy how these little projects have a domino effect...but in the end, there is nothing better than sitting back and enjoying the fruits of your labor.

Estimated Cost
$40/ chair and $10/table. Total Project (including fasteners and stain): ~$300
Estimated Time Investment
Weekend Project (10-20 Hours)
Finish Used
SW6965 - Hyper Blue Solid Deck Stain
Recommended Skill Level
Beginner

Octagon Table Finished!

Submitted by kkwong5 on Mon, 06/09/2014 - 08:47

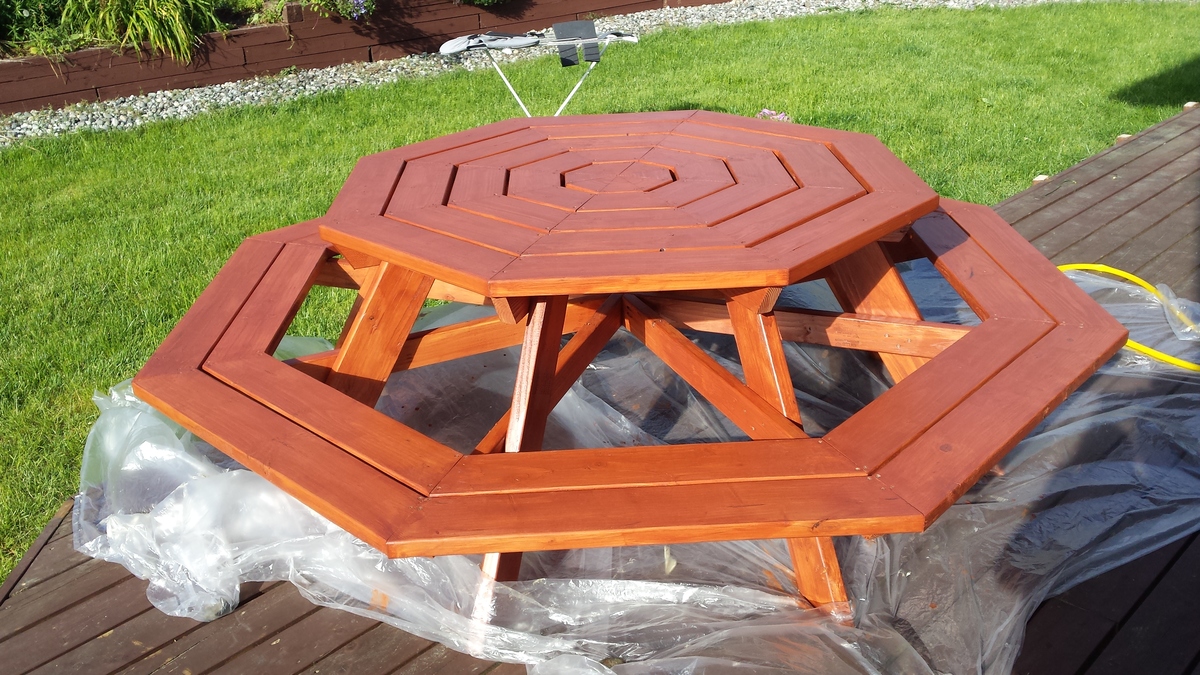
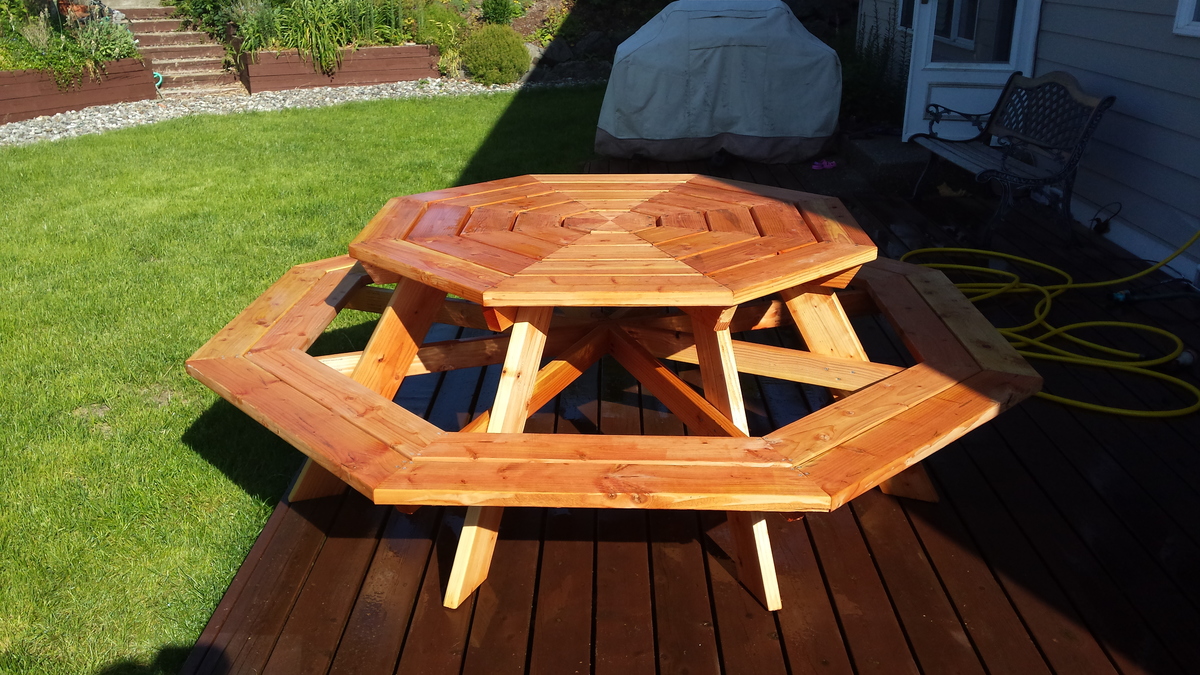
Finished building this table with the plan provided by Ana White! Worked out great. I stained it in a with a transparent deck stain in natural sequoia. Happy to help if anyone has any questions!

Tips: Definitely cut as you go. If you get the angles are off in the center when all the long pieces connect is it makes each top piece larger or smaller.

Built from Plan(s)
Estimated Cost
200
Estimated Time Investment
Week Long Project (20 Hours or More)
Recommended Skill Level
Intermediate

Comments

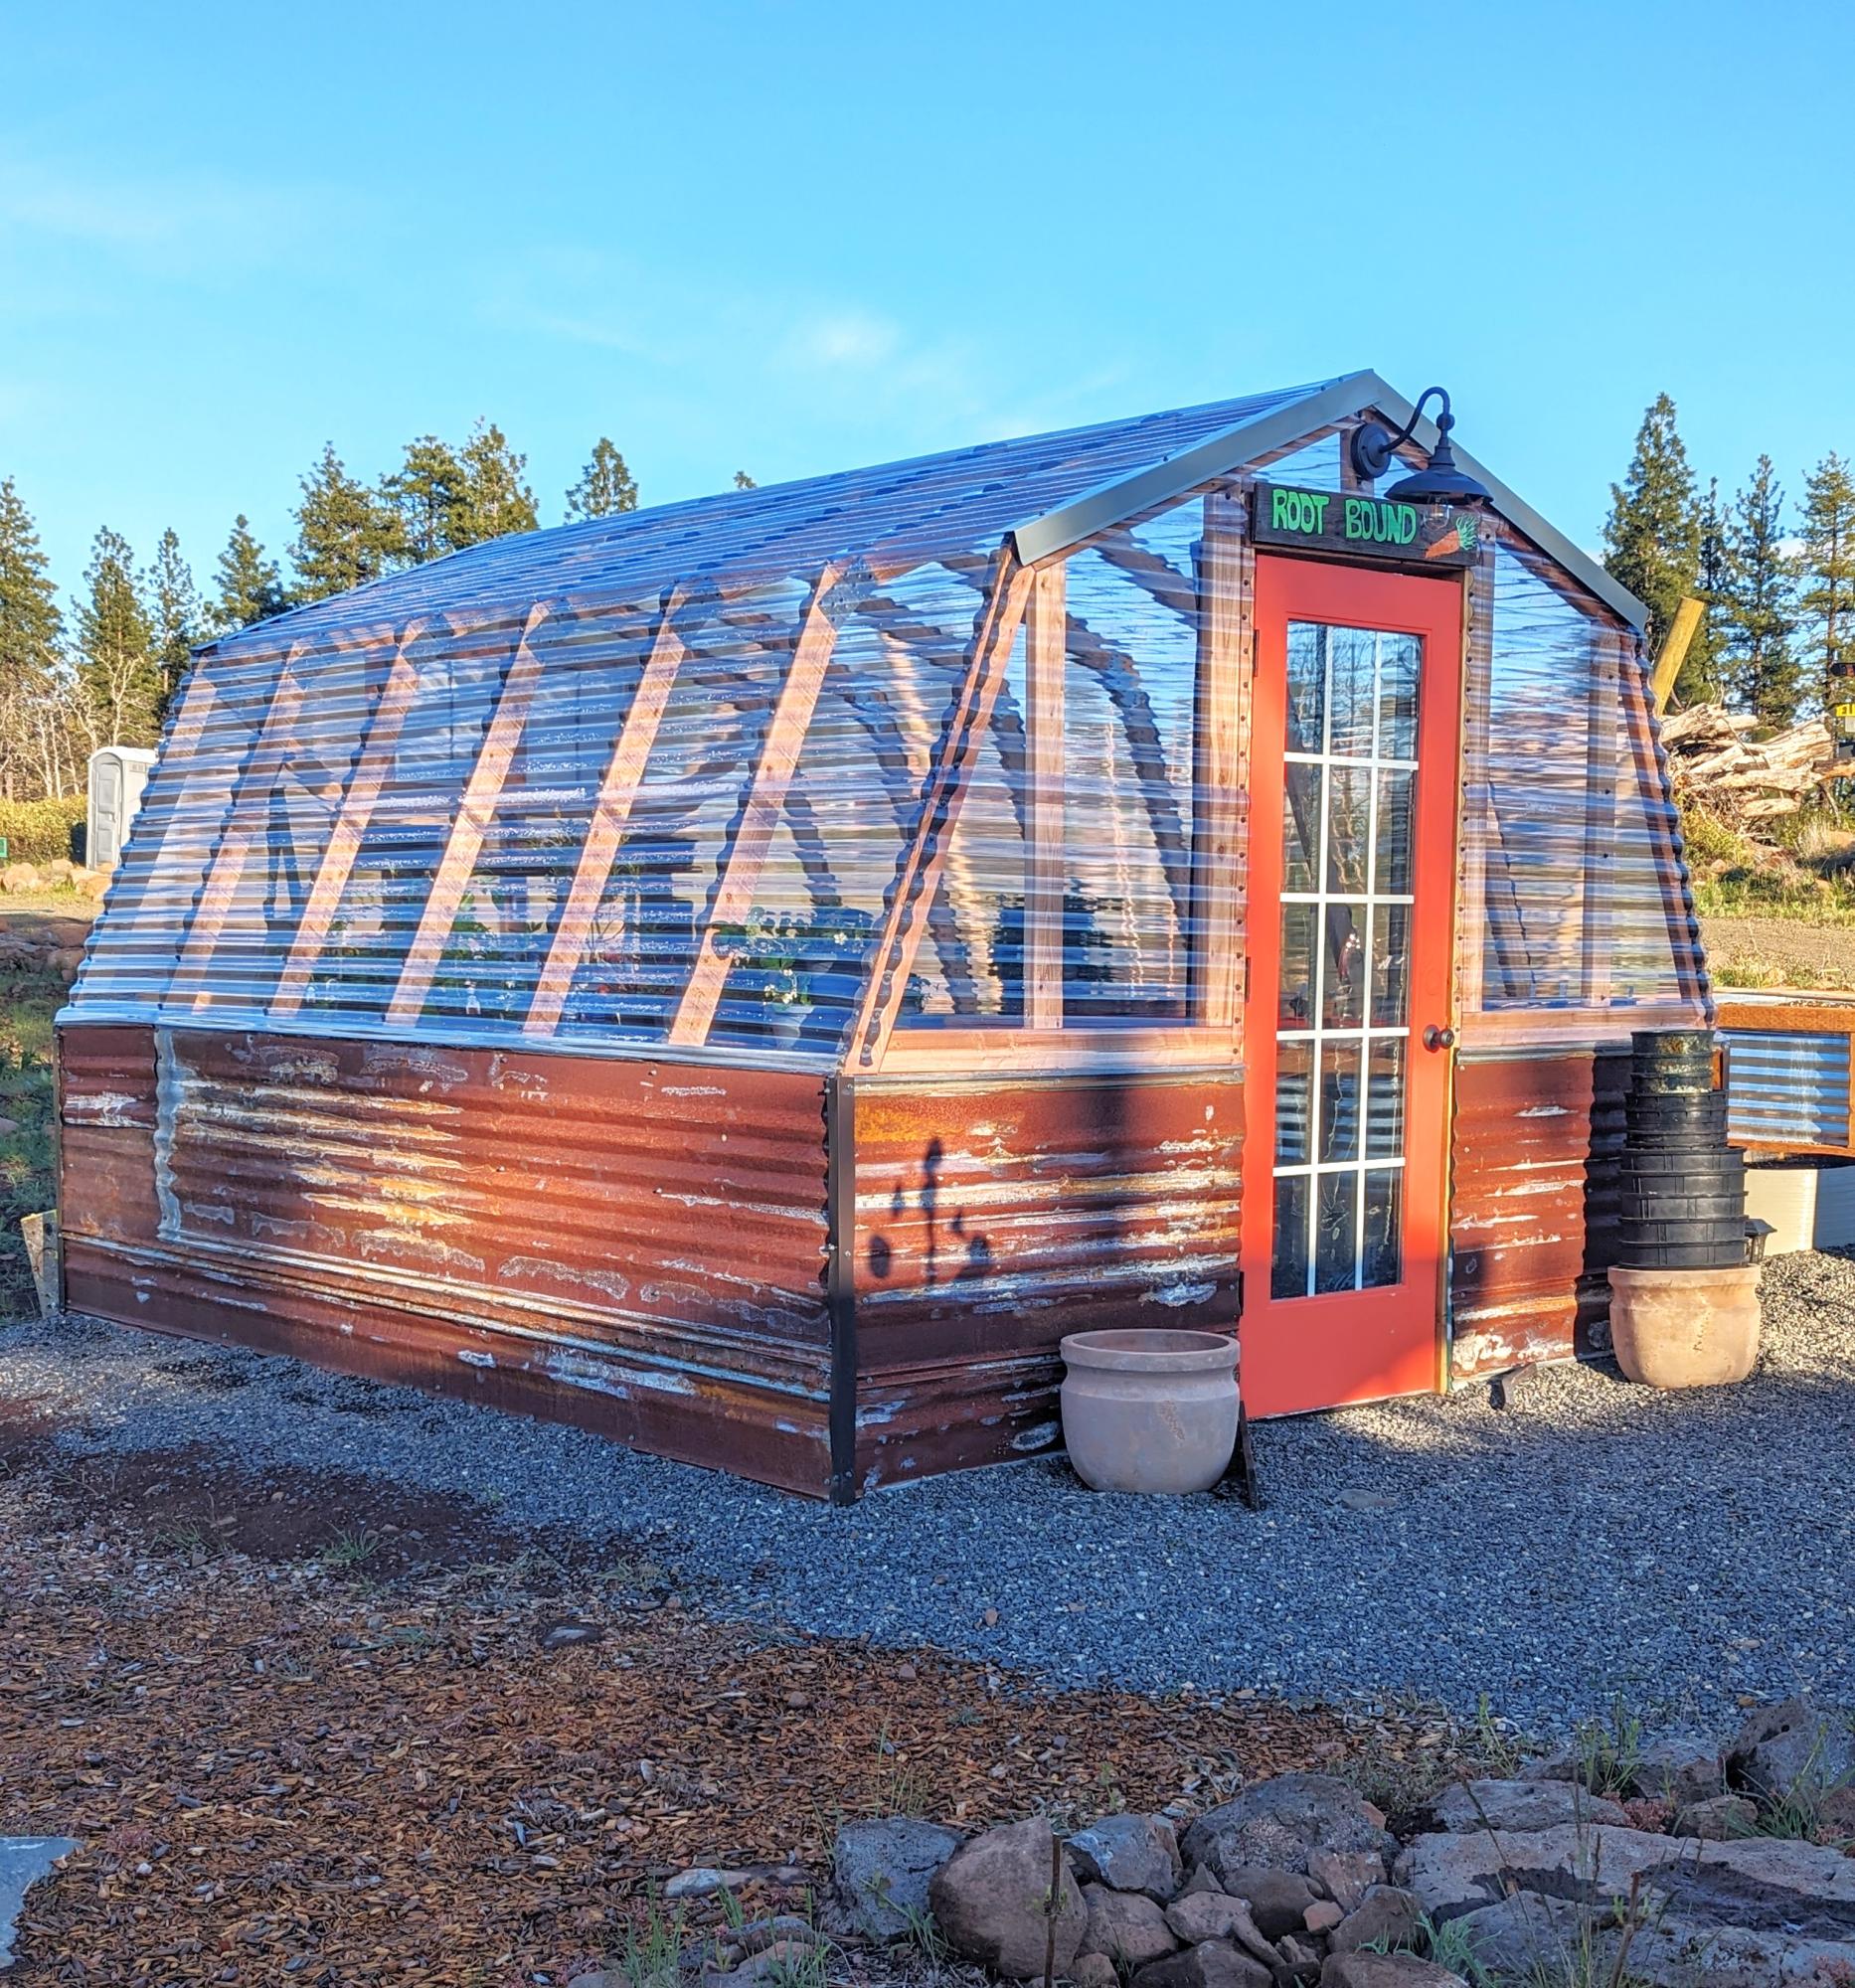
DIY Greenhouse with Reclaimed Material

Submitted by Anonymous (not verified) on Fri, 05/03/2024 - 08:00

My wife & I did this in two weekends, we're not that handy but your plans were easy to follow. Mostly reclaimed material. So fun & we love it!
Thanks!!

Tammie & Scott

Built from Plan(s)
Back