Community Brag Posts

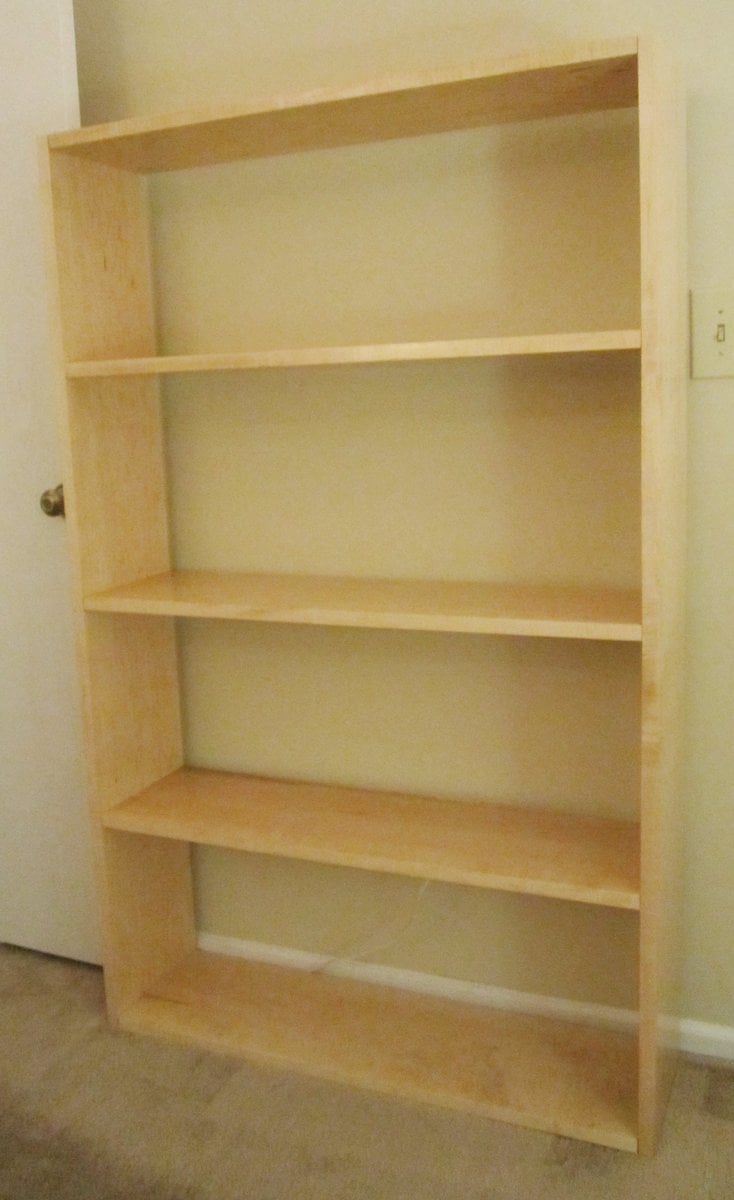
Solid maple IKEA inspired bookcase

Submitted by ccbuilder on Tue, 01/24/2012 - 08:38

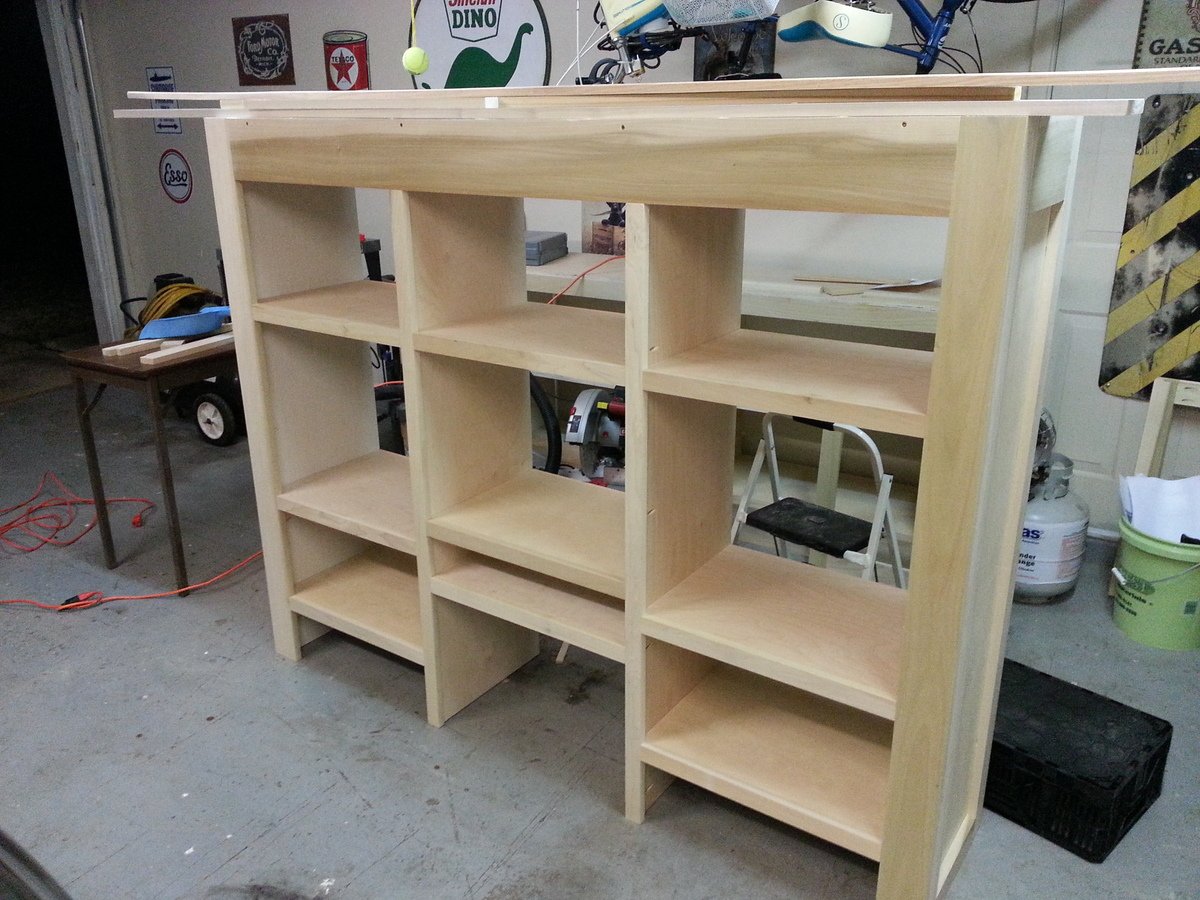
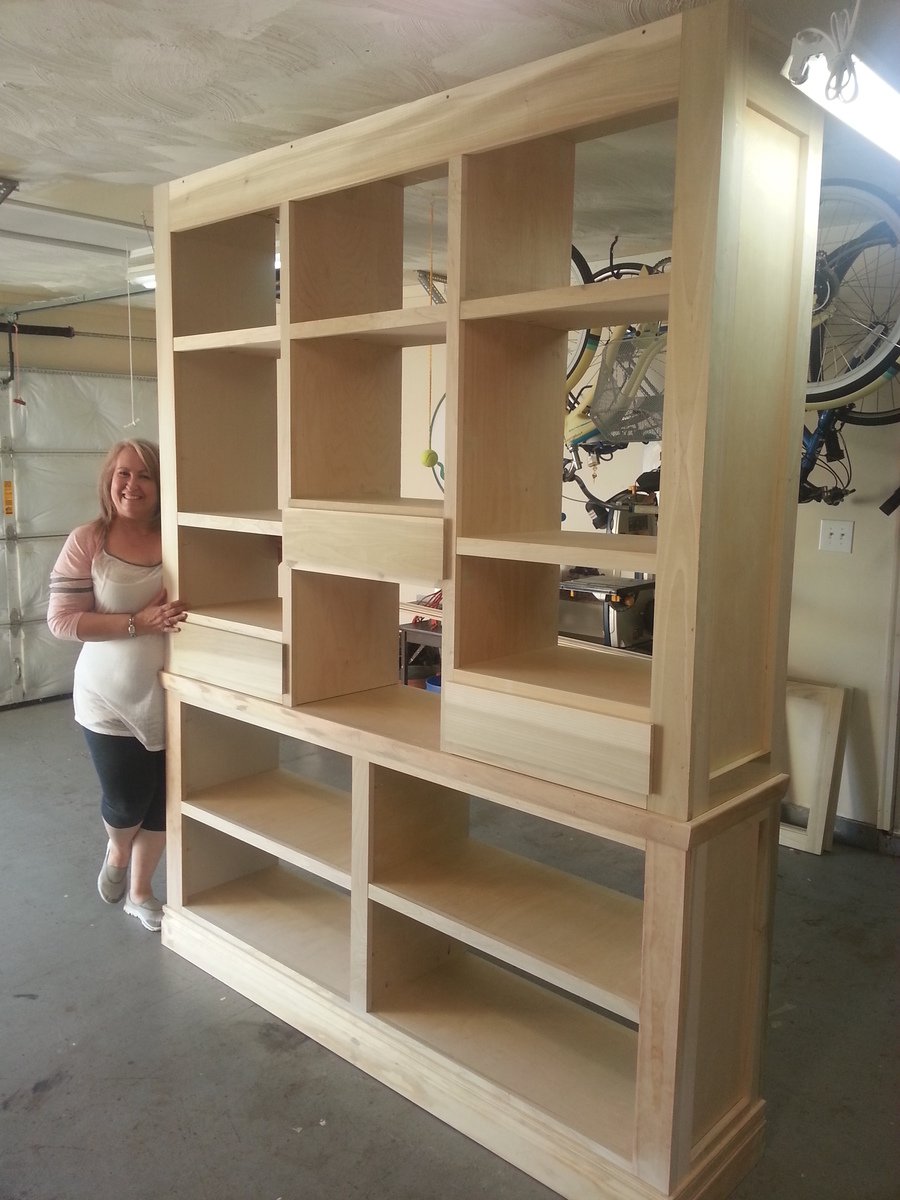
I made this bookcase out of solid hard maple lumber. The project was more expensive because I chose to use this wood. It also took more time because I had to do a lot of sanding in order to finish it with shellac and paste wax, but I think it was worth it. I altered the plans and made the bookcase 5' tall instead of 6' as it would have been a little large for the room I put it in otherwise. I used a kreg jig to create pocket holes on the undersides of the shelves so that I did not have to drill and make holes on the sides of the bookcase. I also used L and T brackets on the back to hold the whole thing together.

Built from Plan(s)
Estimated Cost
$115
Estimated Time Investment
Week Long Project (20 Hours or More)
Finish Used
Shellac and paste wax. The key was to sand extensively before finishing, as the lumber I bought was very rough. I sanded to 400 grit which may have been excessive, but it did create a nice finish. In between coats of shellac I also sanded. I finished it all up by adding a coat of paste wax. I liked this finish as it was much more natural and less hazardous than many other finishes.
Recommended Skill Level
Beginner

Comments

claydowling

Tue, 01/24/2012 - 10:12

I really like this. I made a similar set a while back out of pine, because I needed a lot of book storage in a hurry, but nothing near this nice.

How is the side to side stability? I found a need to put bracing along the back, which also served to keep my books from falling off when the cats push up against them.

ccbuilder

Tue, 01/24/2012 - 10:46

The side to side stability is pretty good. It'll rock a little bit, but it's really quite sturdy. The L and T brackets in the back helped significantly with the stability.

Canopy Storage Bed

Submitted by arkep on Fri, 12/06/2013 - 12:29

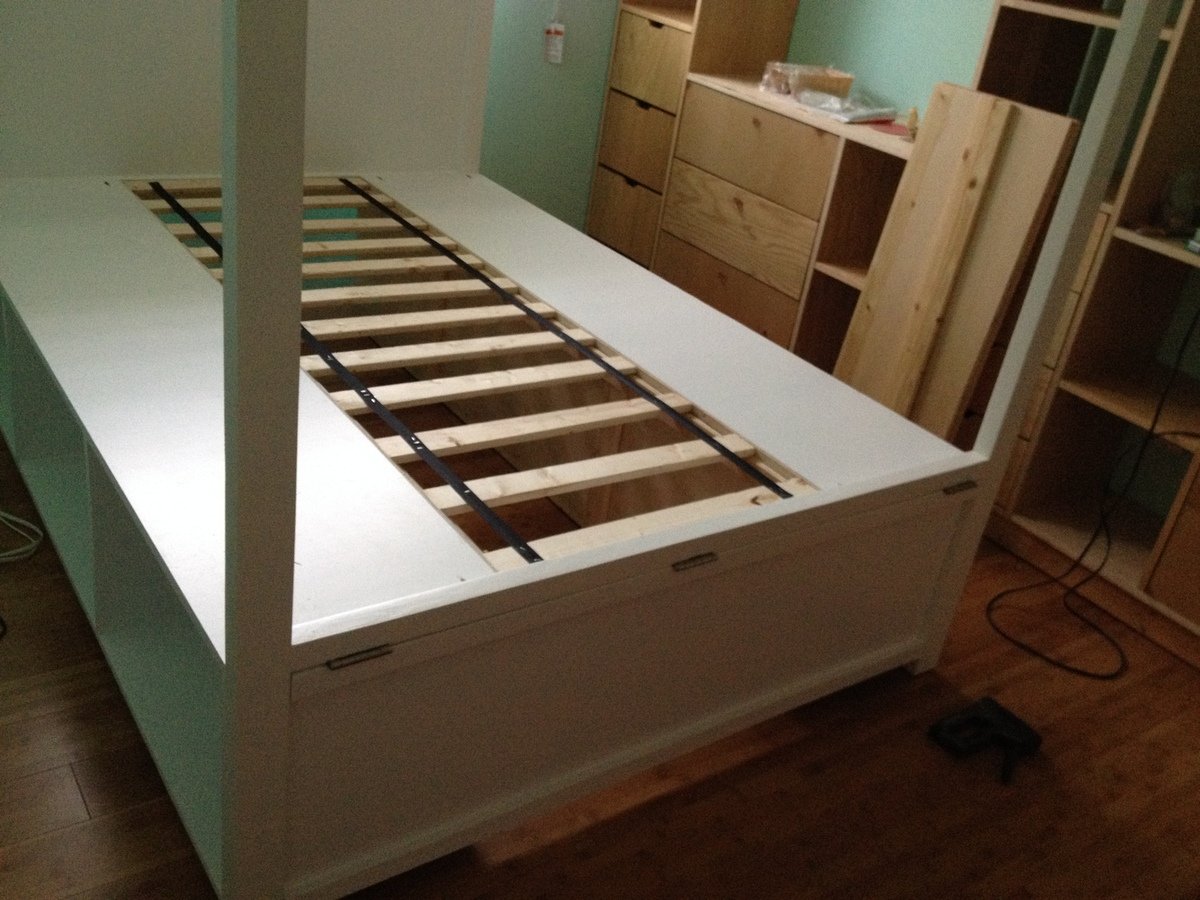
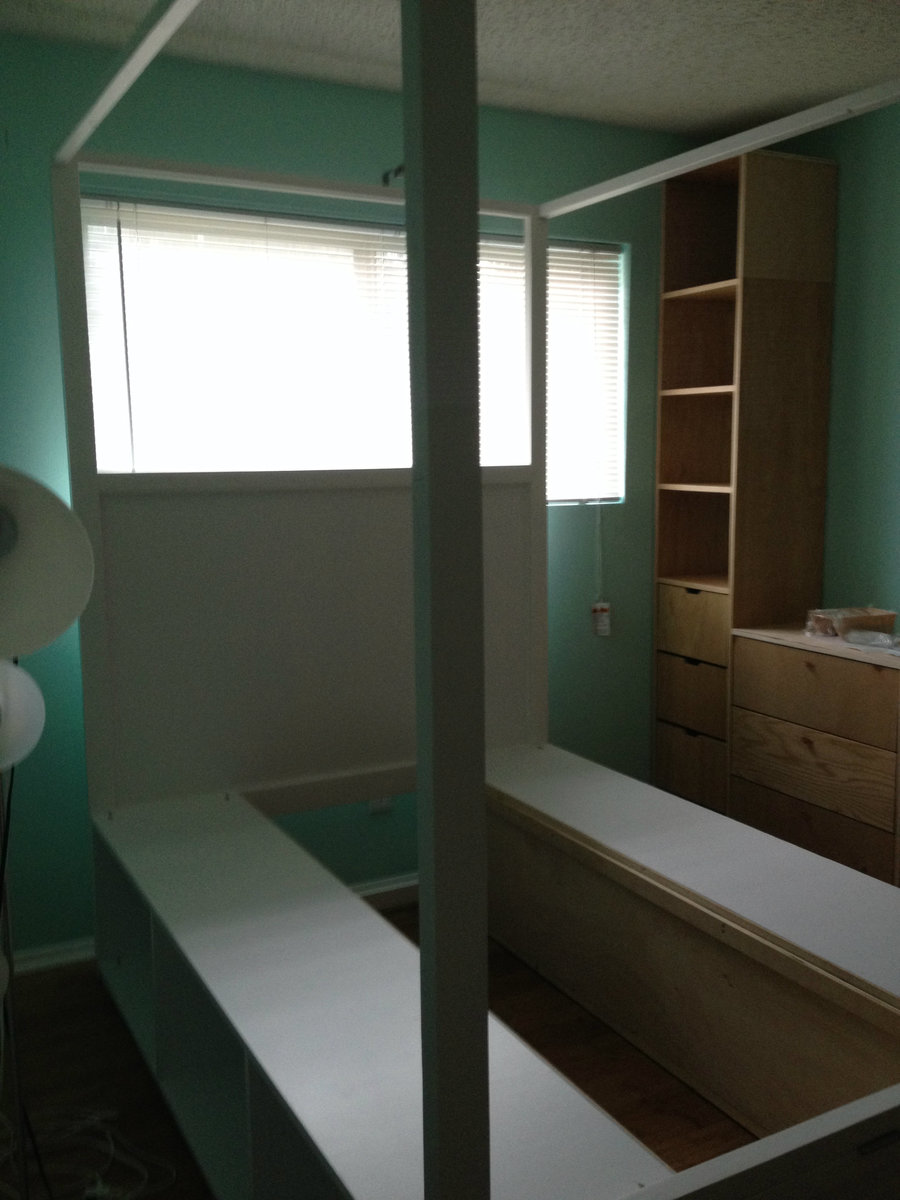
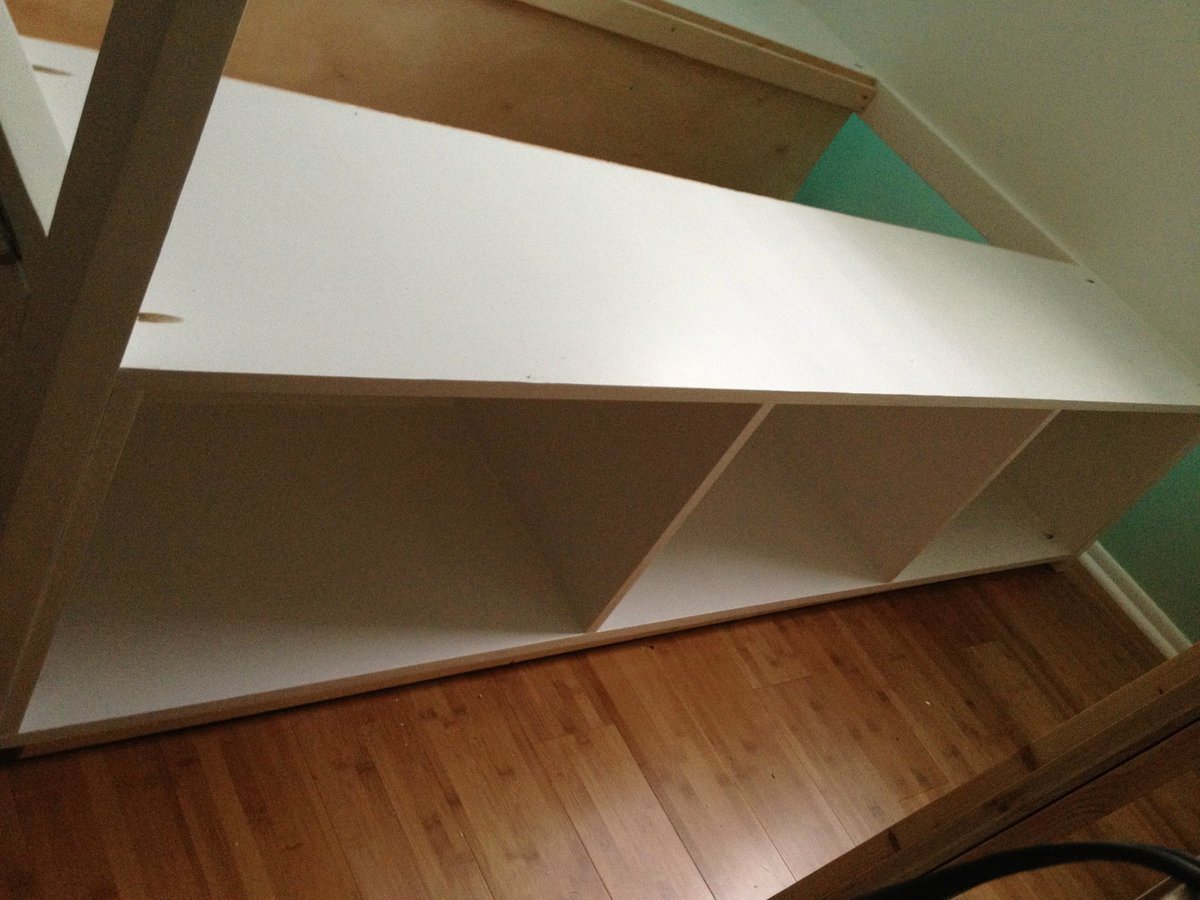
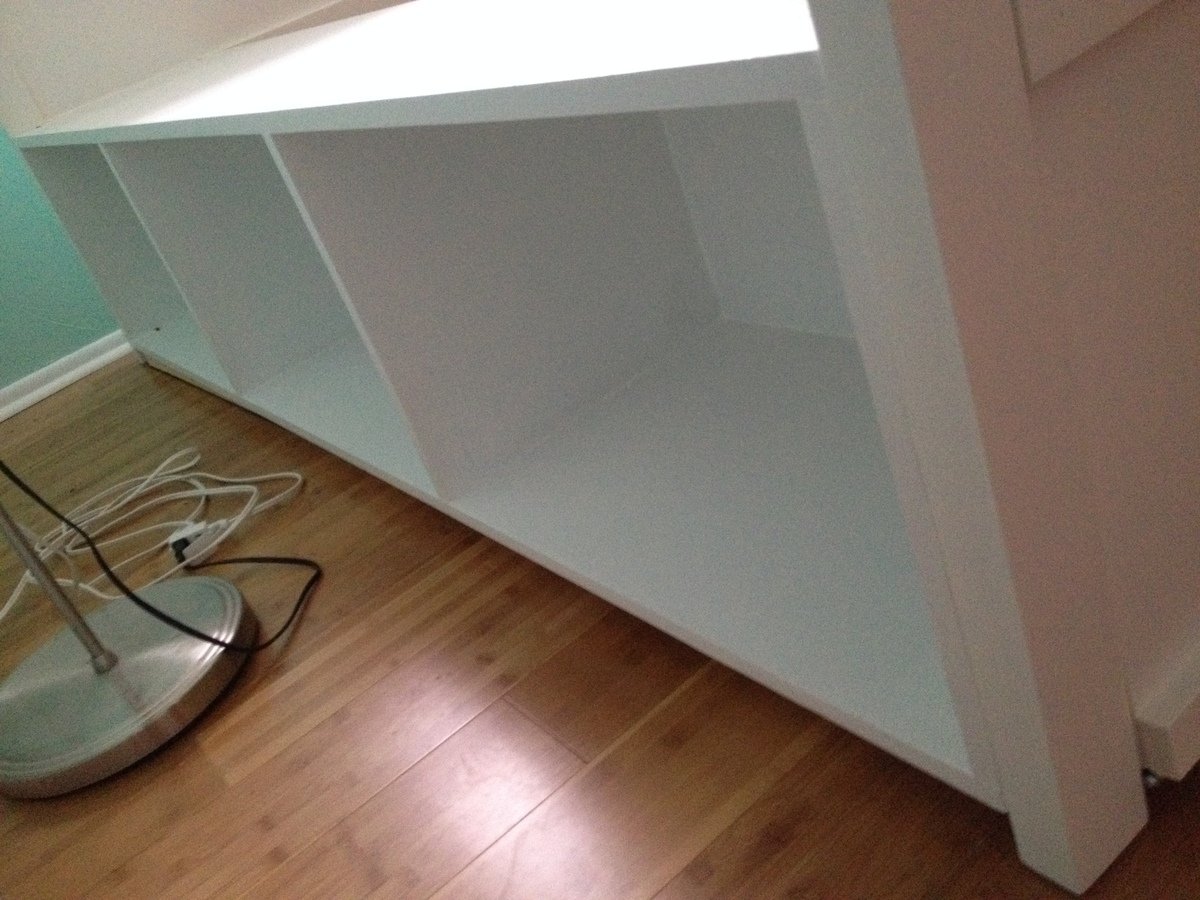
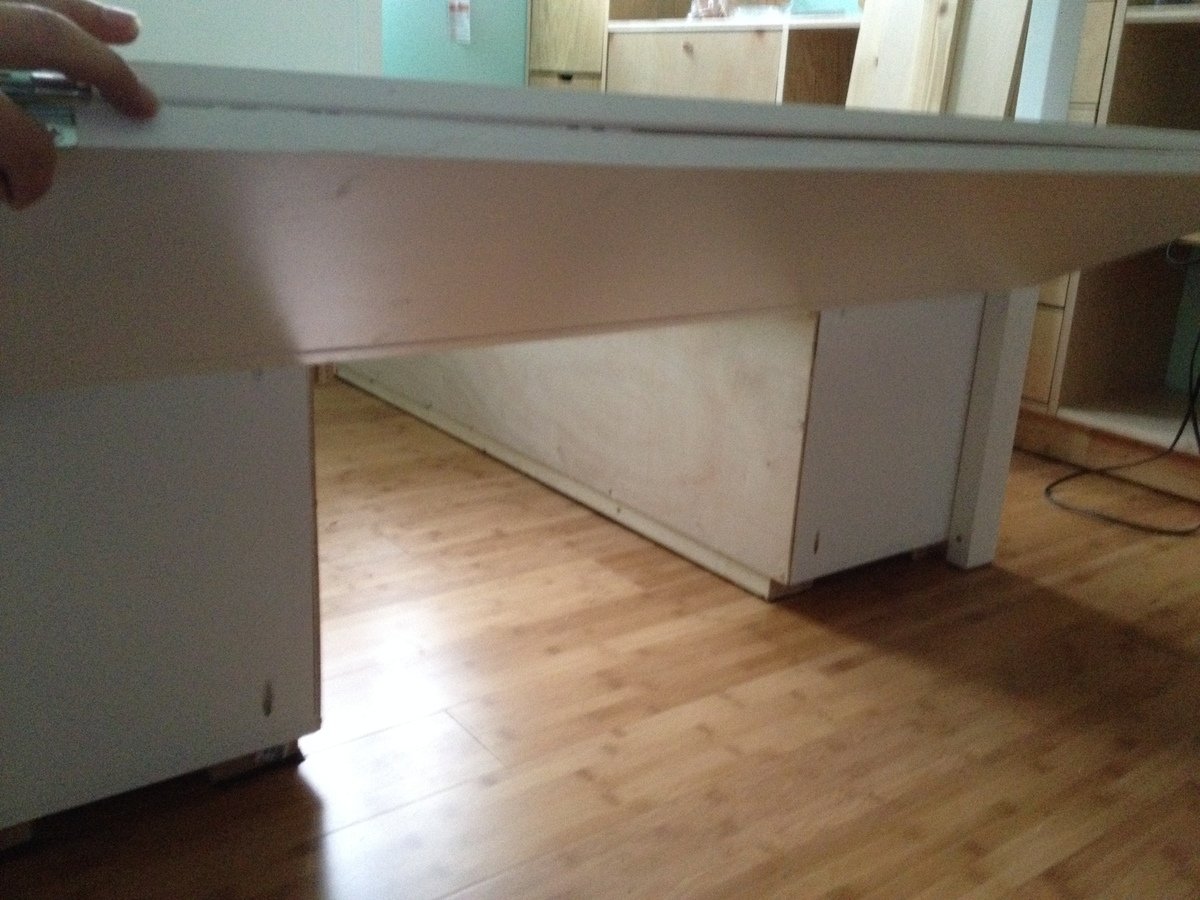
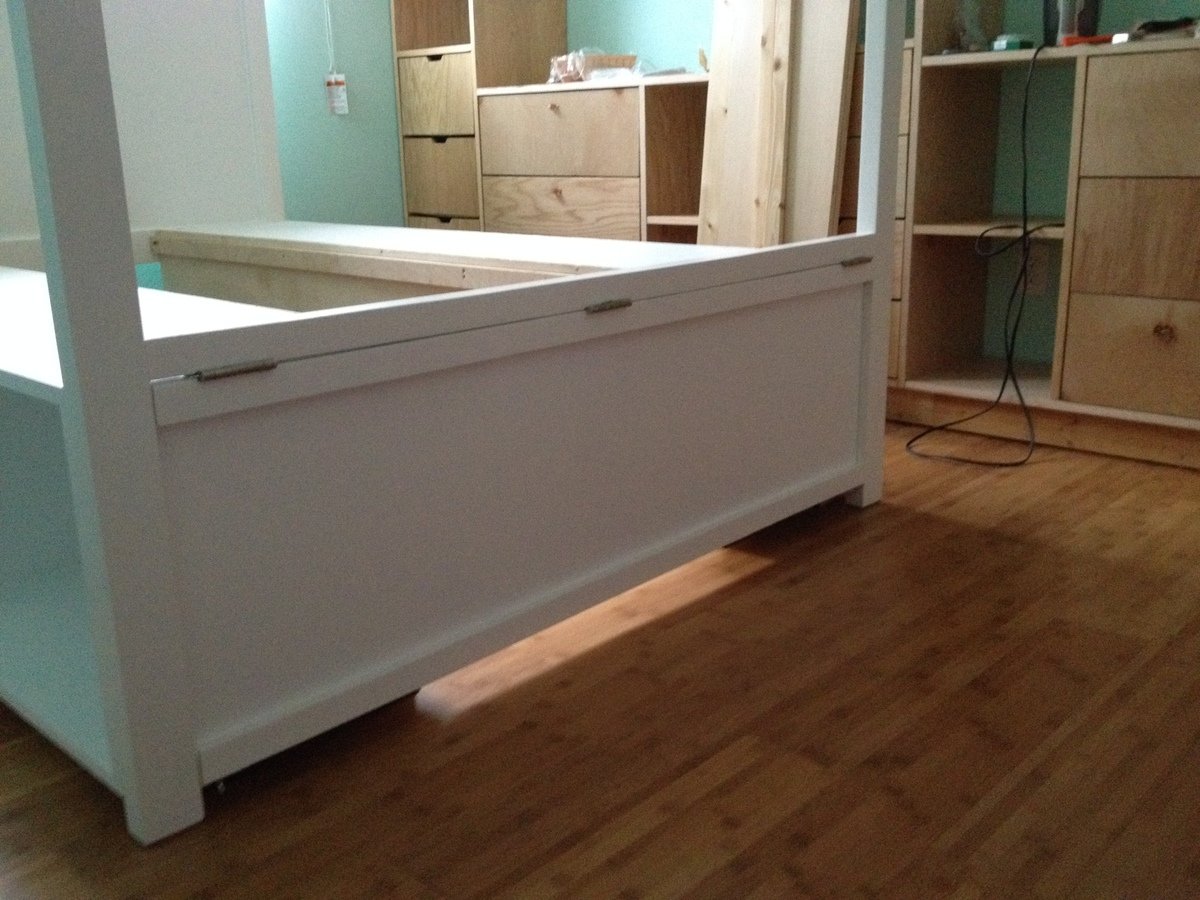
I combined the full-sized Hannah canopy bed plans with the Farmhouse Storage Bed with hinged footboard by birdandsoap here: http://ana-white.com/2011/07/farmhouse-storage-bed-hinged-footboard . Decided not to taper the ends of the 2x3s. There's so much storage underneath!

Estimated Time Investment
Week Long Project (20 Hours or More)
Finish Used
2 coats primer, 2 coats Olympic Premium in Satin Ultra White.
Recommended Skill Level
Intermediate

outdoor canopy with curtains

Submitted by Anonymous (not verified) on Sun, 02/21/2016 - 16:51

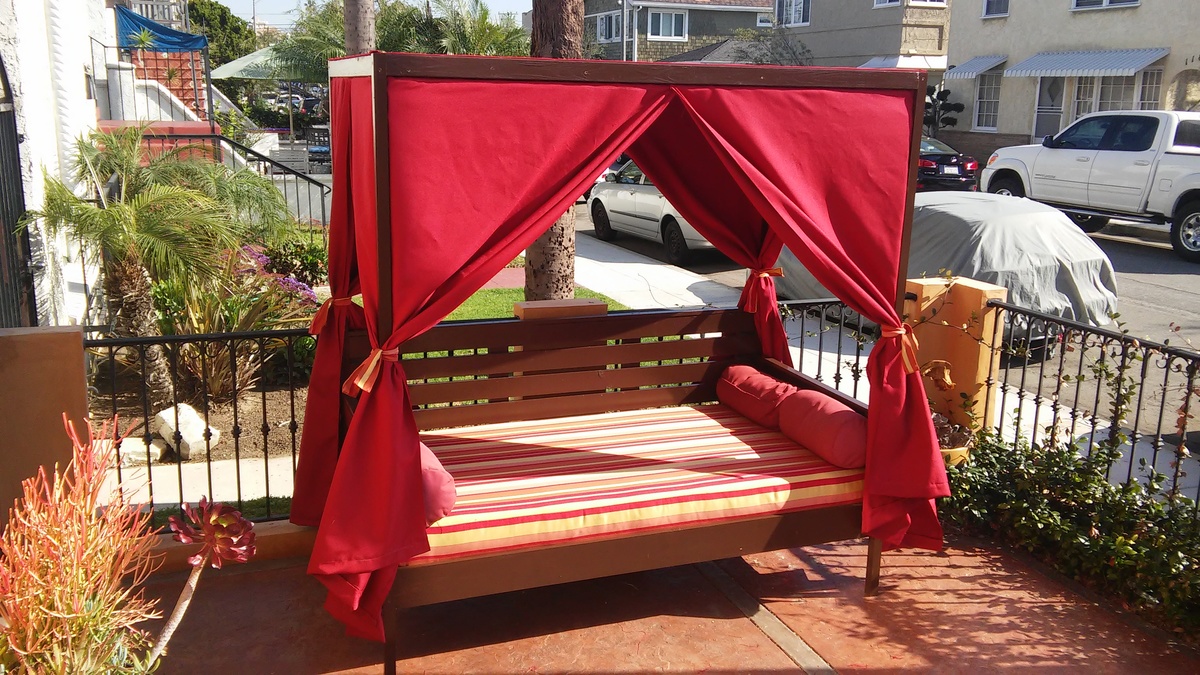
I gave away my outdoor furniture in need of something for that space.  This plan is perfect with added outdoor matress and Curtains so I can lay down on the summer.

Built from Plan(s)
Estimated Cost
100-150 for bed
250 mattress plus cover
200
Estimated Time Investment
Weekend Project (10-20 Hours)
Finish Used
Chocolate stain.
Strip sunbrella for mattress and high density foam.
Rasberry sunbrella mattress
Recommended Skill Level
Intermediate

Kitchen Cabinets

Submitted by Anonymous (not verified) on Wed, 10/02/2019 - 21:30

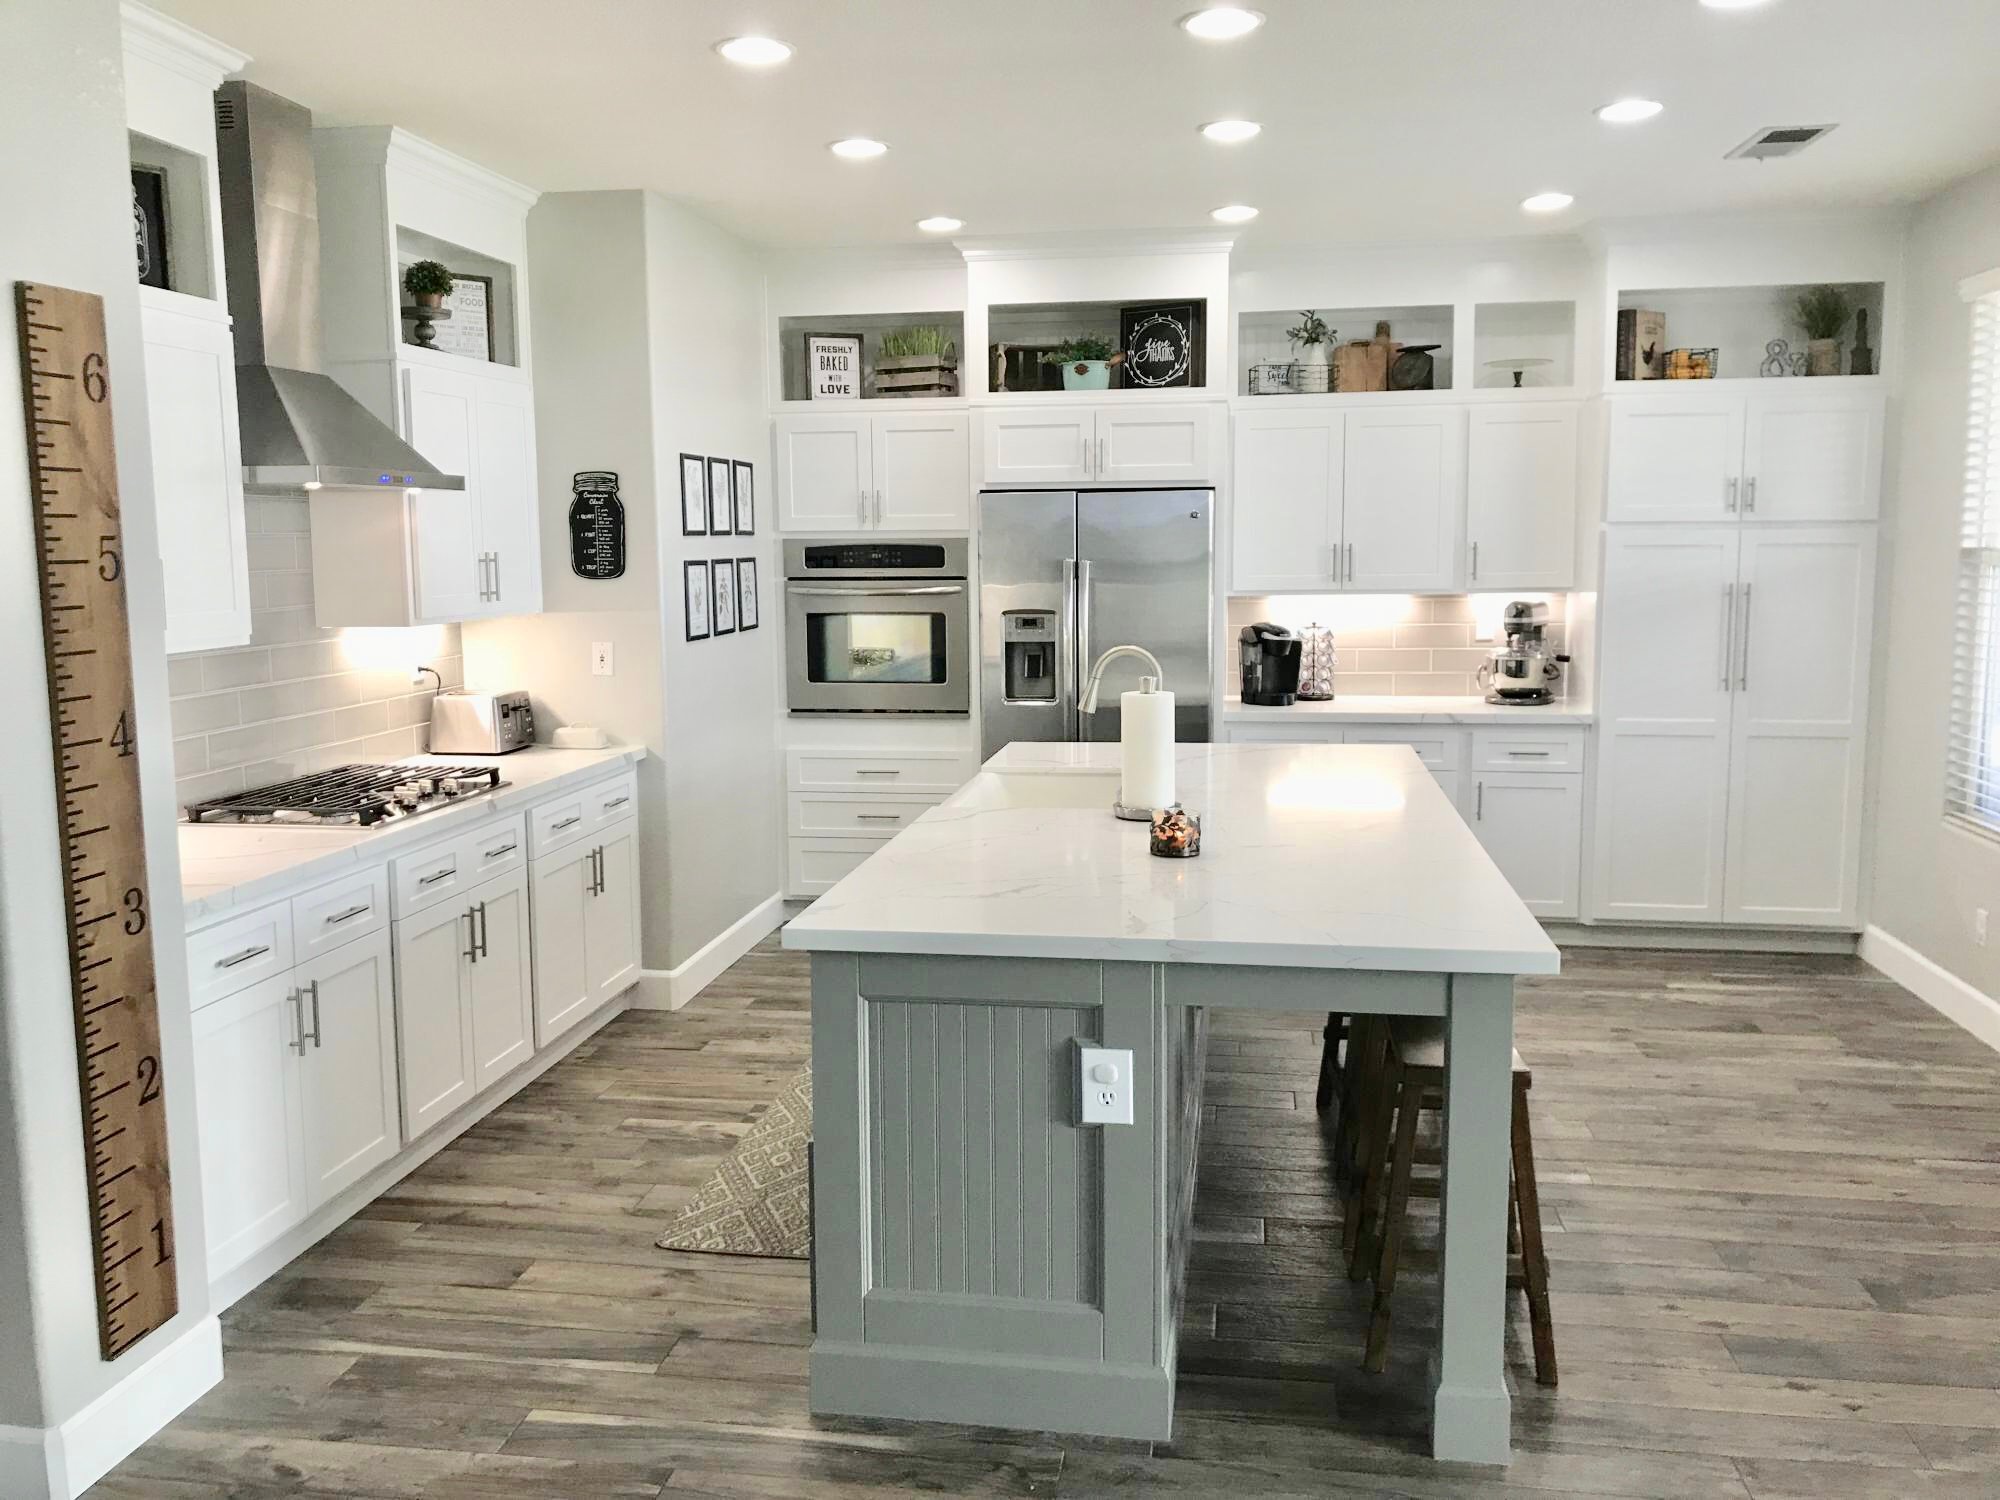
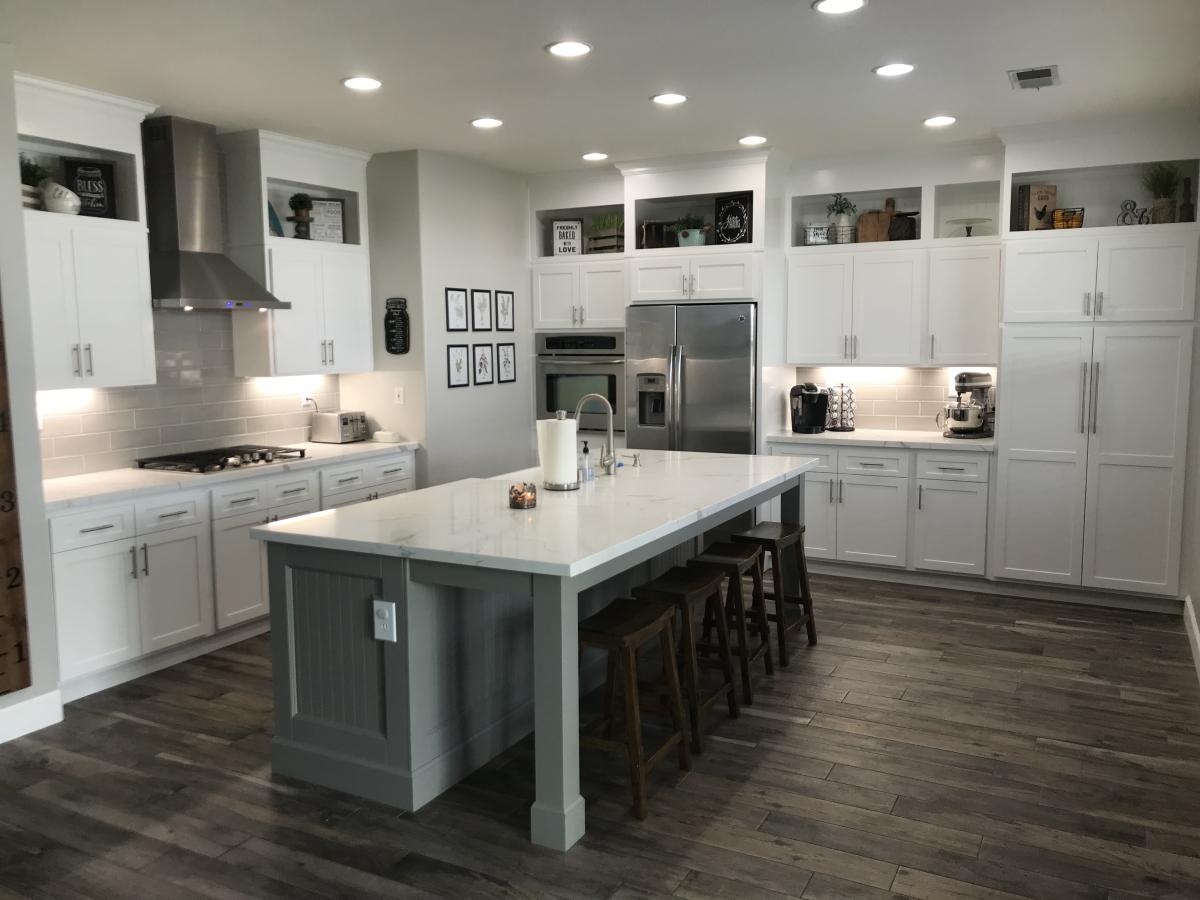
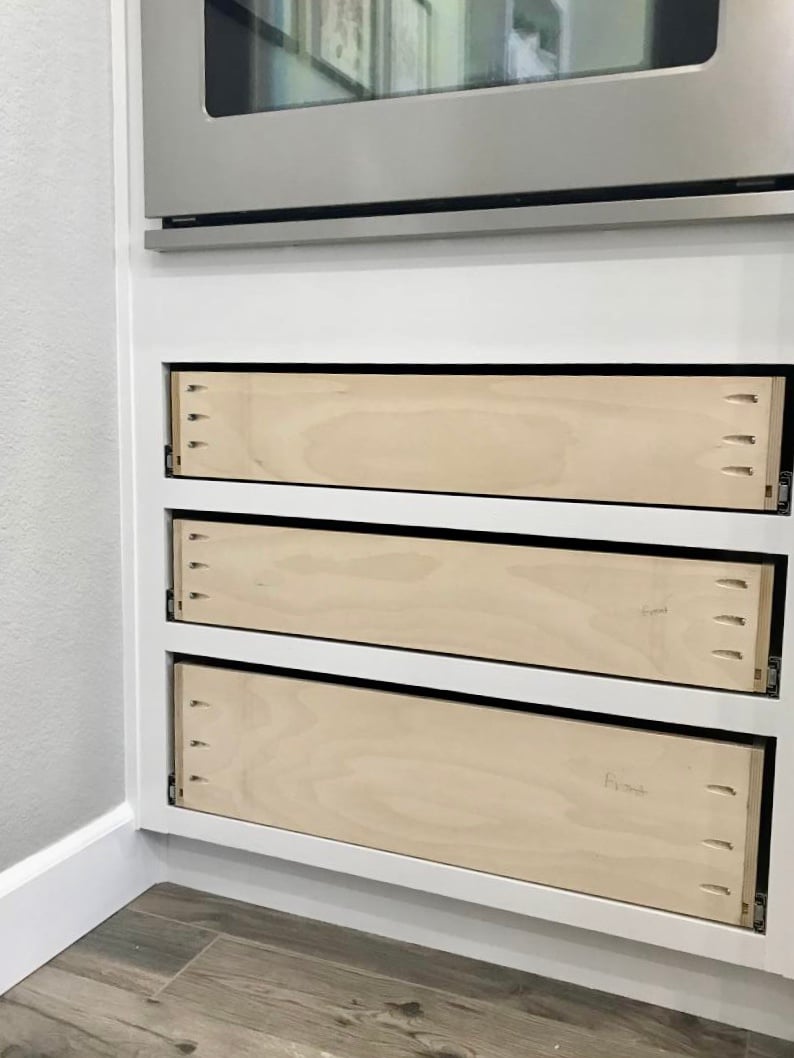
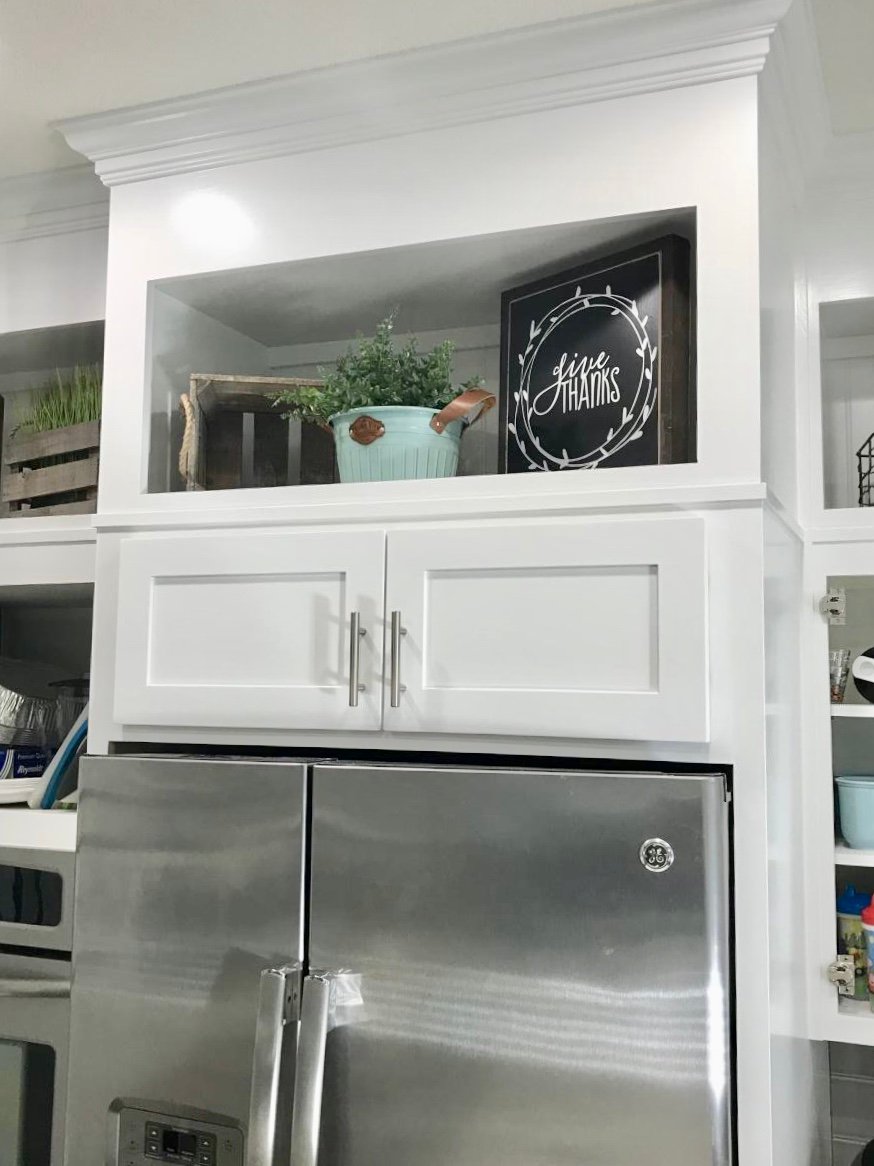
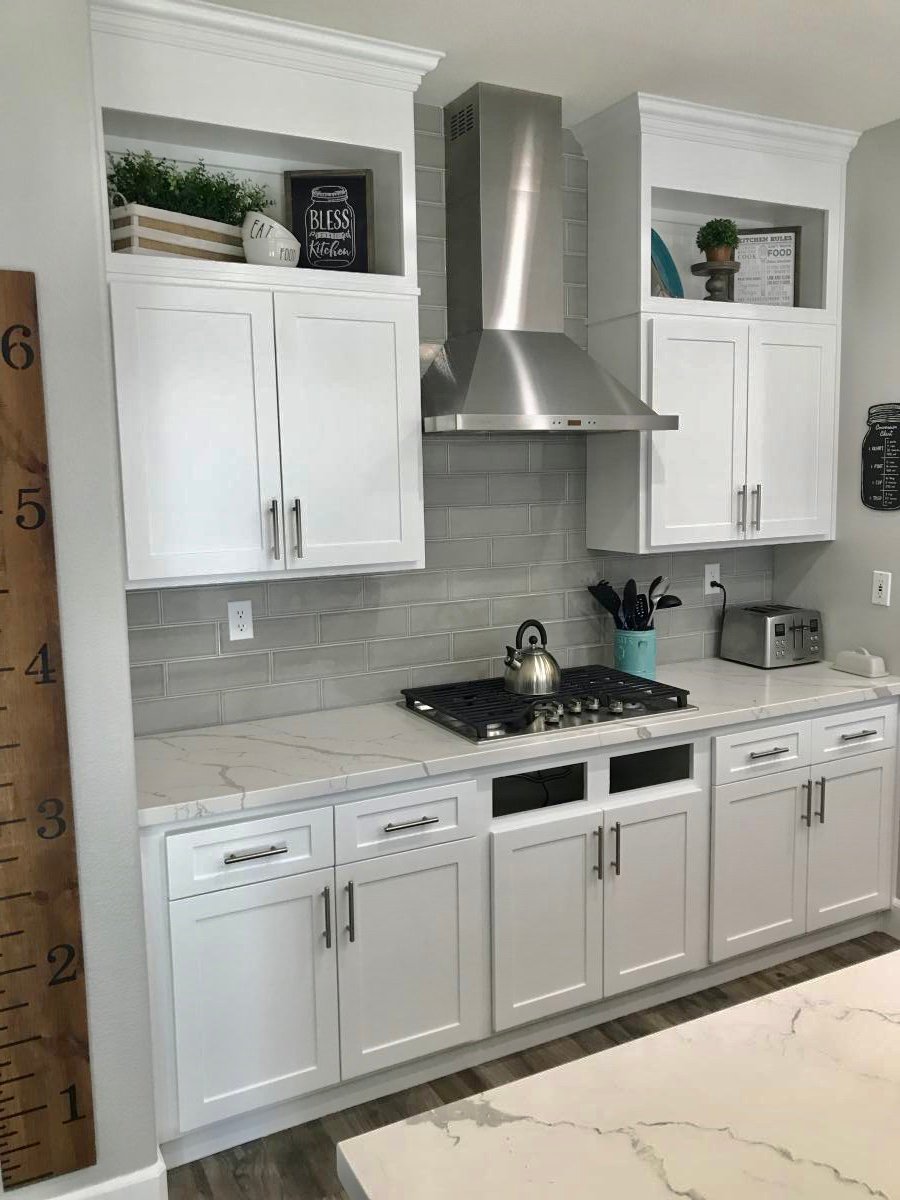
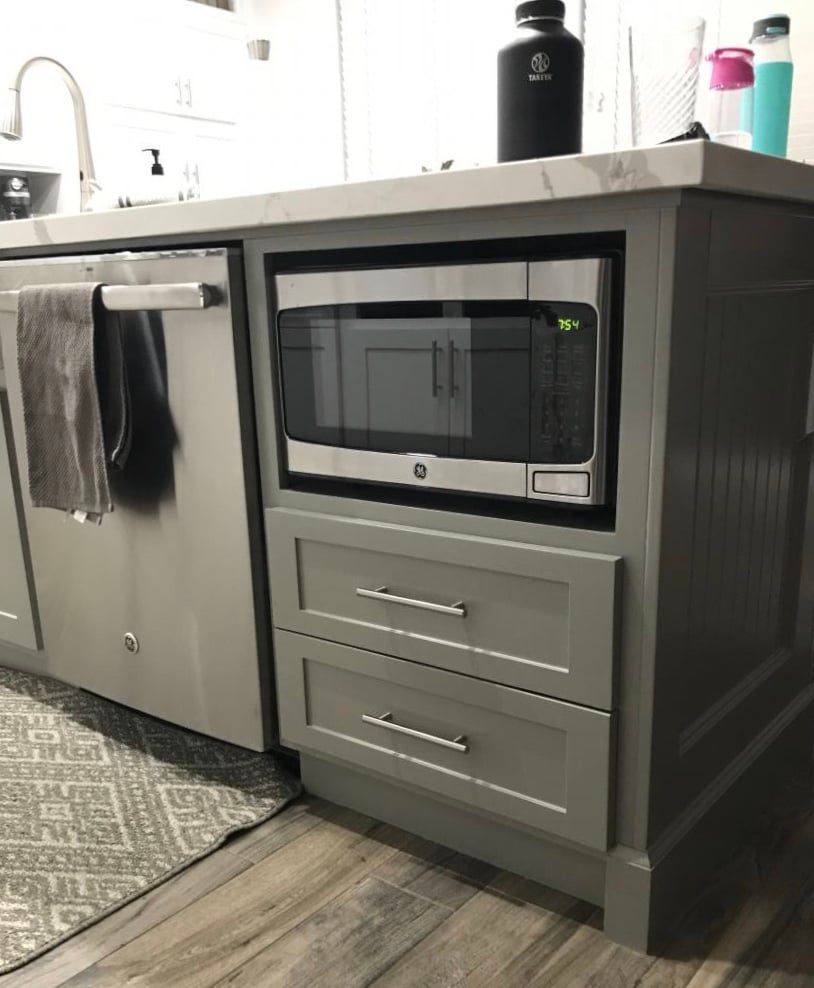
I followed the kitchen cabinet building plans to build all new upper cabinets up to my ceiling. I built all new drawers with soft close drawer slides also and built the refrigerator enclosure cabinet.I did the entire remodel myself including the new doors out of MdF.

Finish Used
Emerald urethane paint
BIN Shellac Primer

Comments

Ana White

Tue, 11/05/2019 - 10:41

We are so thrilled to let you know your entry WON the Best Brag contest!  There were many amazing entries, and it was tough to choose.

Look out for an email from us shortly!

Lemonade stand

Submitted by Anonymous (not verified) on Mon, 06/12/2023 - 17:37

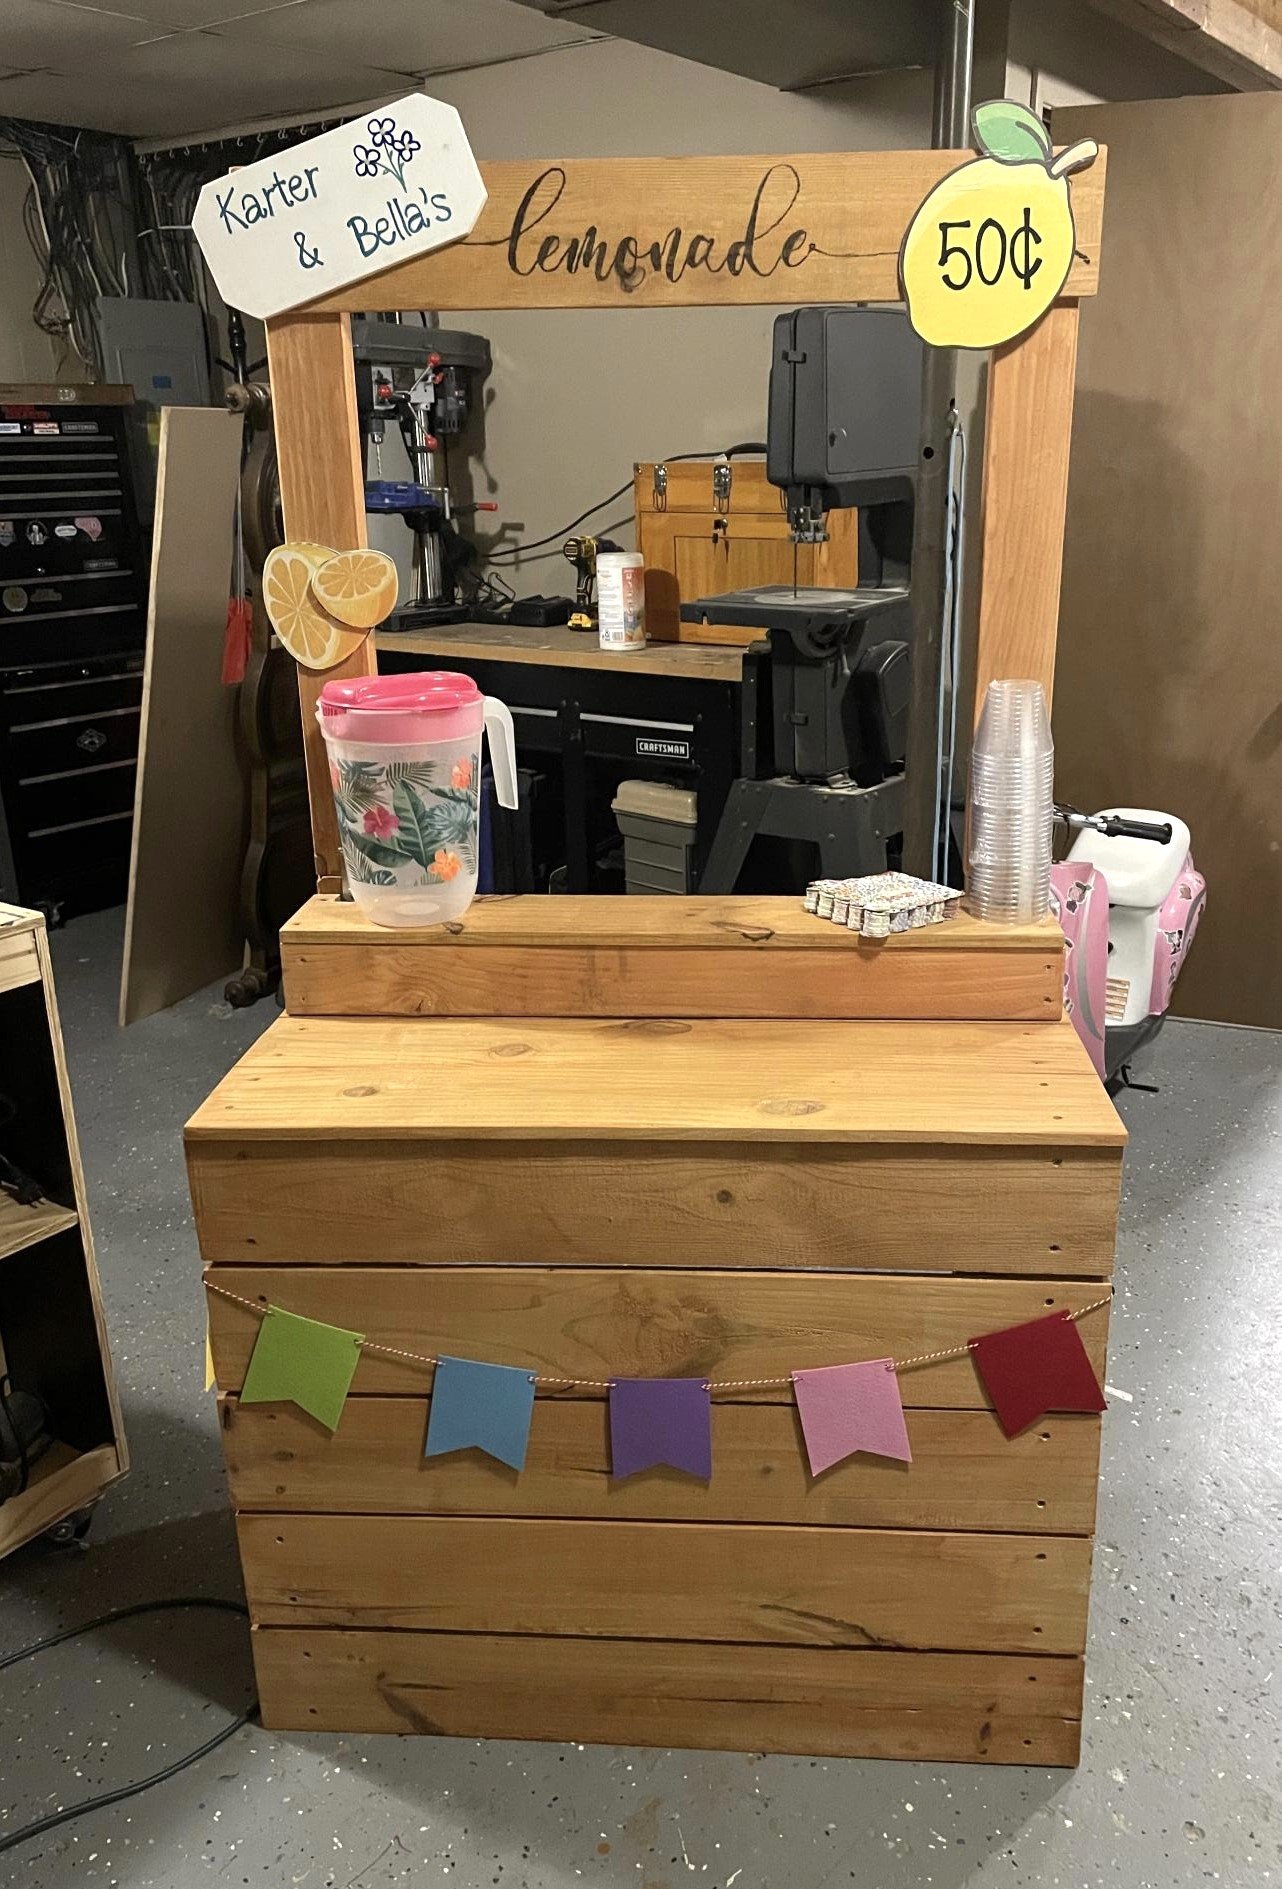
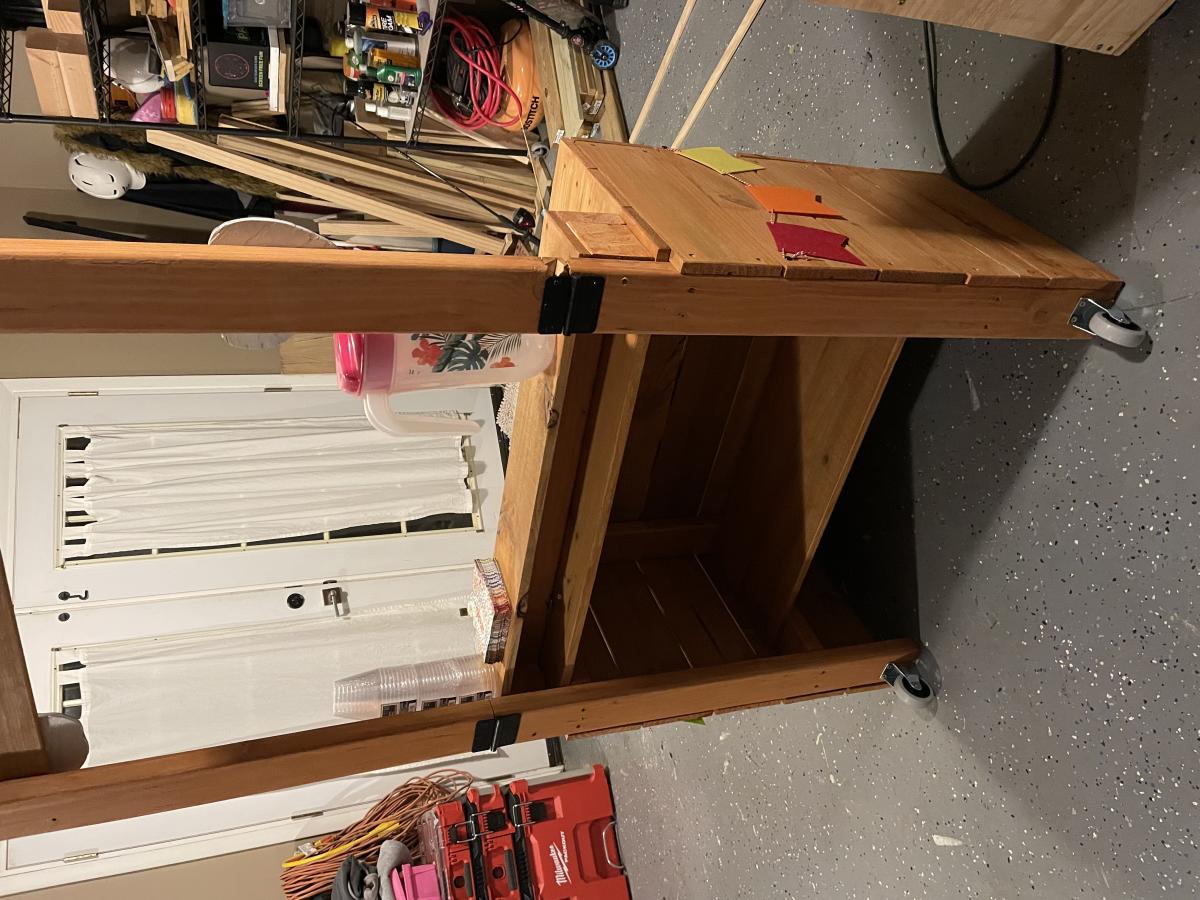
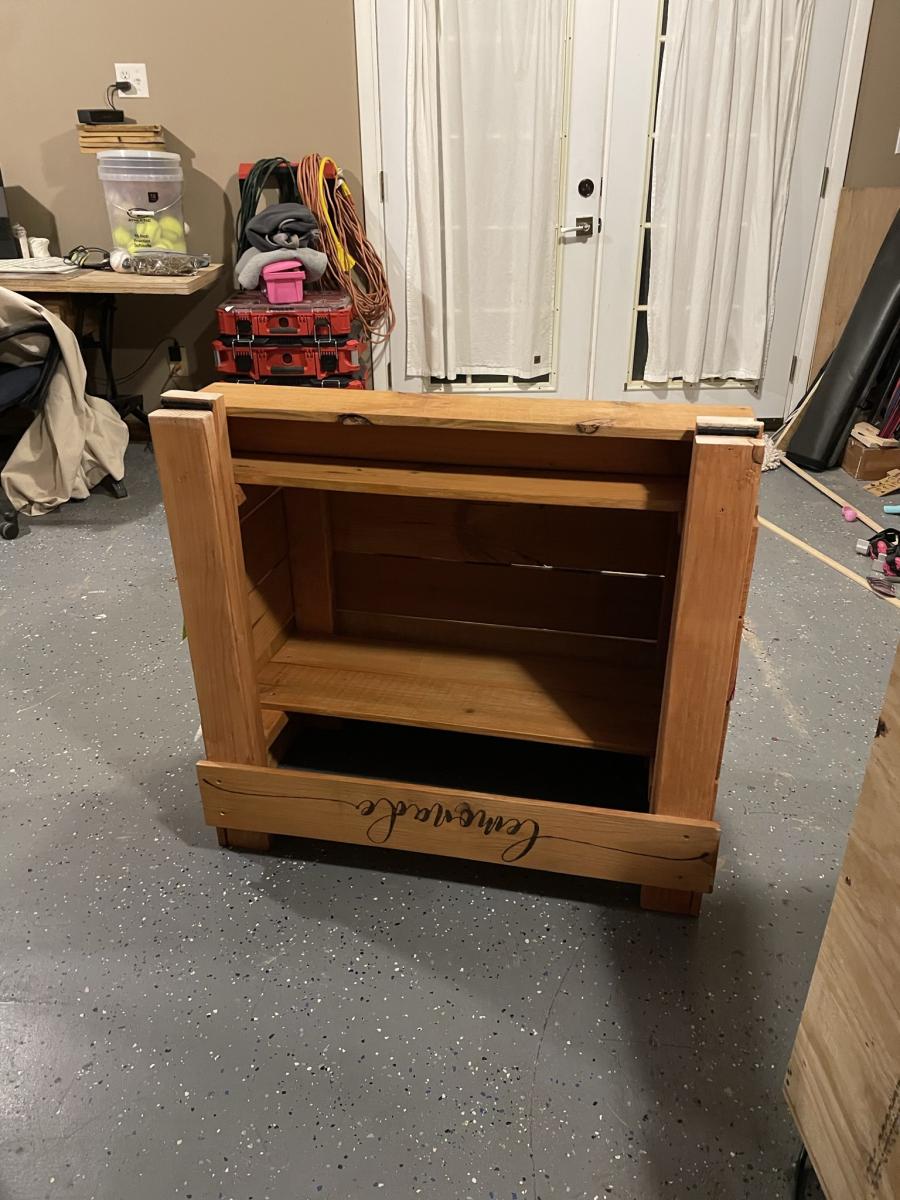
My granddaughter wanted a lemonade stand and it had to be easily portable. I used Ana White’s plans, made it a little taller (30” counter height, 65” total height), added hinges so the top drops down, and wheels on the back side so you can tilt and pull it behind you like a suitcase. Added a hook for a cutting board and hooks for a bungee strap to hold the cooler, pitchers and supplies inside while you haul it. A sign for her and sissy, some painted wood decor and we’re all set. Just add lemons!

Comments

Smaller Square Coffee Table

Our friends and my co-worker, Tommy & Susannah, got married back in November and for their wedding gift I said that I would build them a coffee table. They liked the look of my original one that I built but wanted is square like the one I did for my sister. However, their living room space was not that big, so they wanted scaled down version. They wanted it 2 1/2' x 2 1/2' and similiar in color to the ones that I had already done.

Not to be say how cheap I got the wood for their wedding present, but the wood for this was not very much at all. Especially since I got the 4x4's in the culled wood bin for $1 each, and only needed 2! Total cost of wood was $17.50! Add in the screws, stain, staining materials and you are looking at around $30.00 max. Now my labor for this project was priceless, so was very expensive wedding gift!!!

Built from Plan(s)
Estimated Cost
$30.00
Estimated Time Investment
Day Project (6-9 Hours)
Finish Used
Minwax Stain
Recommended Skill Level
Beginner

First real project: Hooked!

As an Ana White newbie I was excited (to say the least!) about my first real project.

It was also my proving ground. My Hubby said that if this went well, I could feel free to build an office desk... pergola... coffers in the dining room... whatever! He was floored and impressed beyond words!

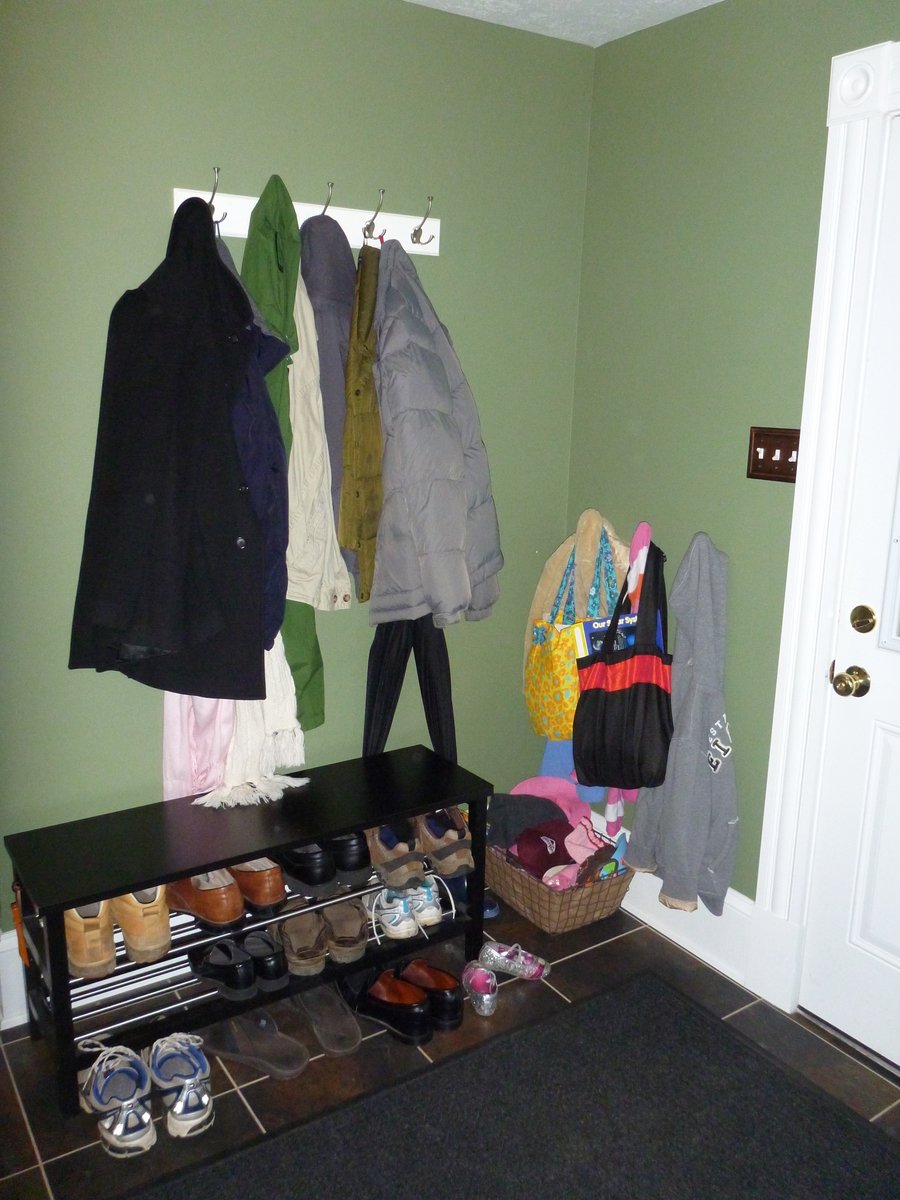
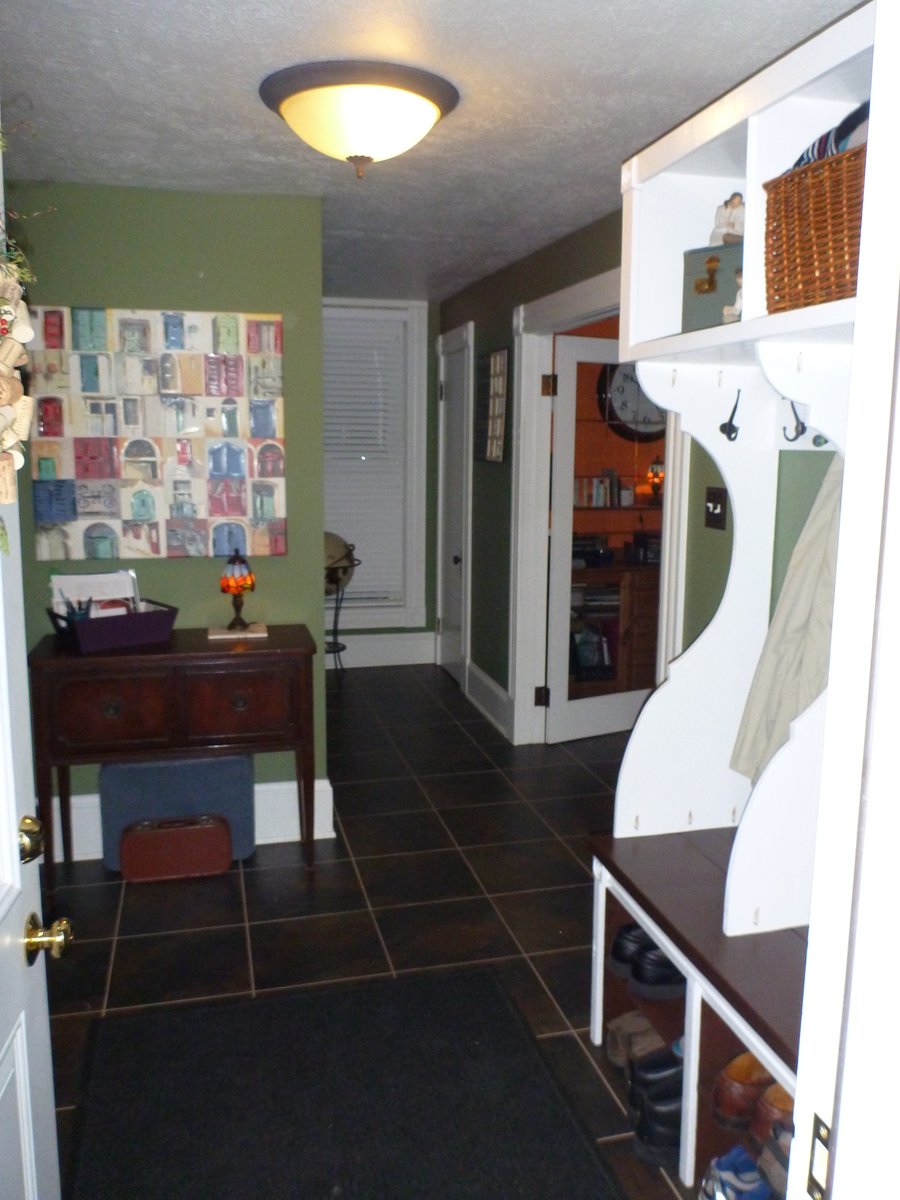
I have included a before picture of our entryway and also a view from our front door, so that you can see how much of a presence this has in a room. I love it absolutely!

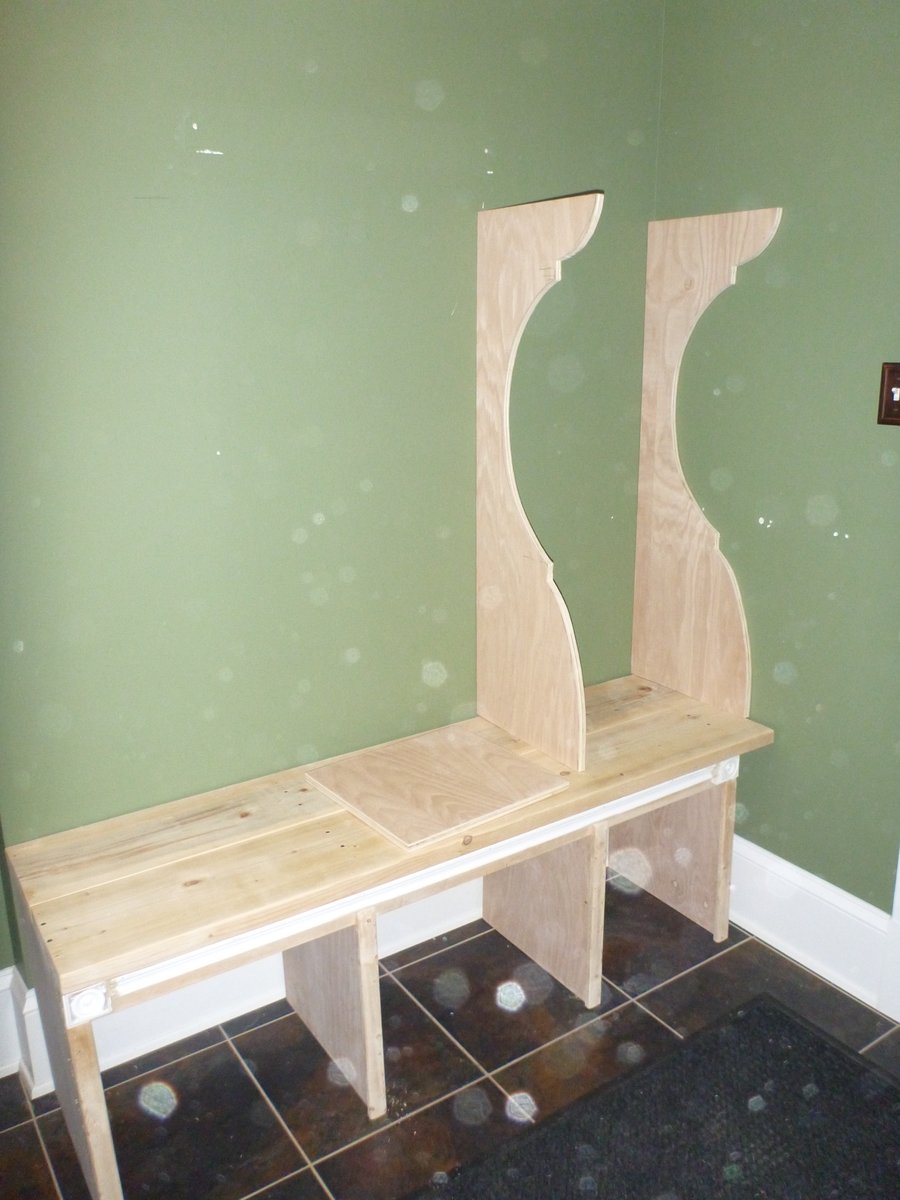
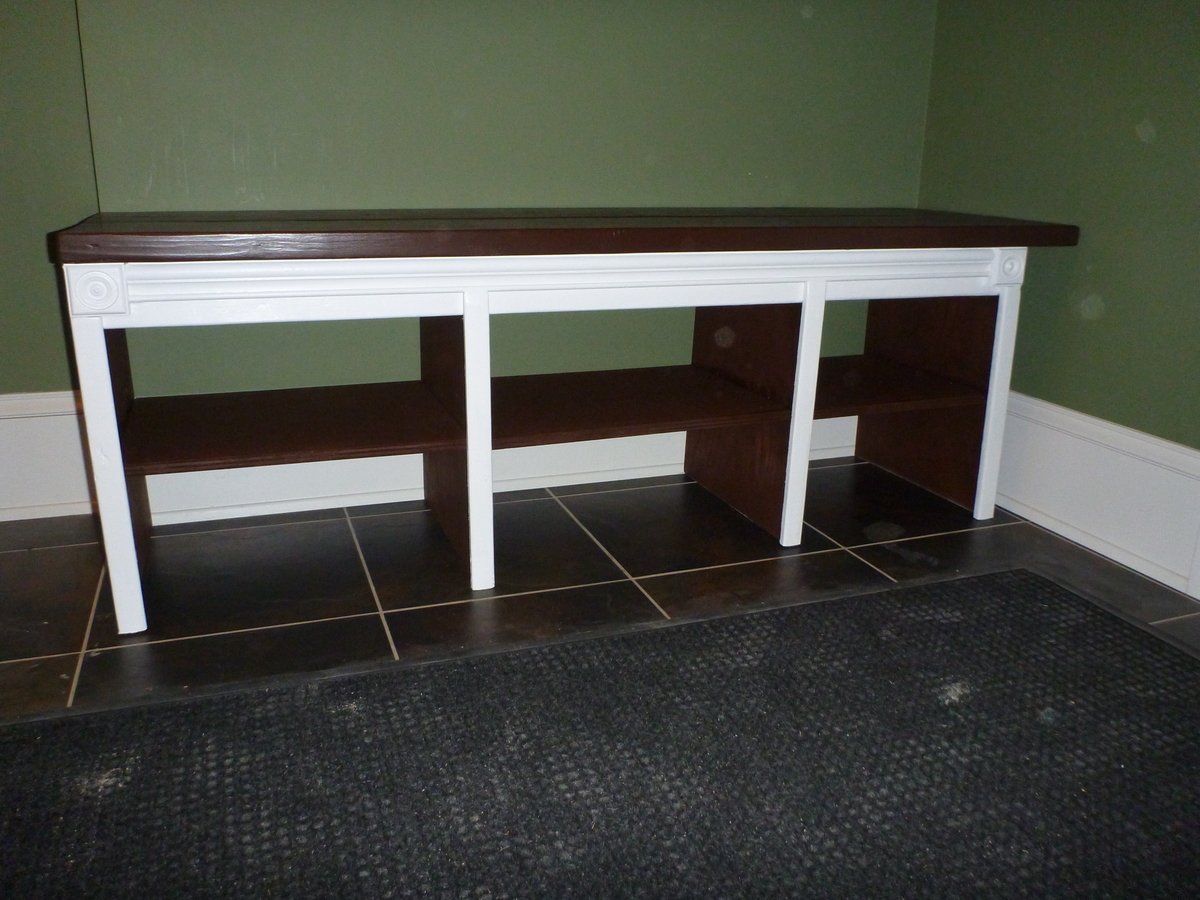
I made mine a bit deeper in the seat (about 20") because my husband has size 15 shoes that needed to be hidden. I also added a shelf for more shoes (which was easy and also where I tried out my new Kreg Jig). That tool is pretty darn sweet!

I decided to use hefty planks for the seats as well and reinforced them with a bit beefier legs, as my husband and his family are all nearly 7 feet tall. (just in case - you know!)

Mine is a bit shorter in length than Ana's... but all in all pretty similar. These pictures don't show all the holes filled in yet (as I ran out of putty) but that will be done next week. It looks pretty polished where I have filled them in though - paint is a wonder at hiding things.

My tearful thanks to Ana for making this seem so completely "do-able" for a woman! I was feeling pretty low before building this - but I have to say that working with wood is a REAL confidence booster and it feels so satisfying when you see the finished result. The JIG is a bit intimidating till you get used to it - but then it's so cool! Love it!

I started this on a Sunday night and finished on a Wednesday night.

I will be building again very, very soon!
Built from Plan(s)
Estimated Cost
280 (bought the small and large Kreg Jig :)
Estimated Time Investment
Week Long Project (20 Hours or More)
Finish Used
Minwax stain and varnish for the seat. Three coats of clear varnish so that there is some "wipeability". White semi-gloss all over elsewhere (for easy cleanup). I opted for dark wood where the shoes would go to (hopefully) show less dirt!
Recommended Skill Level
Beginner

Comments

Joni

Thu, 12/12/2013 - 08:56

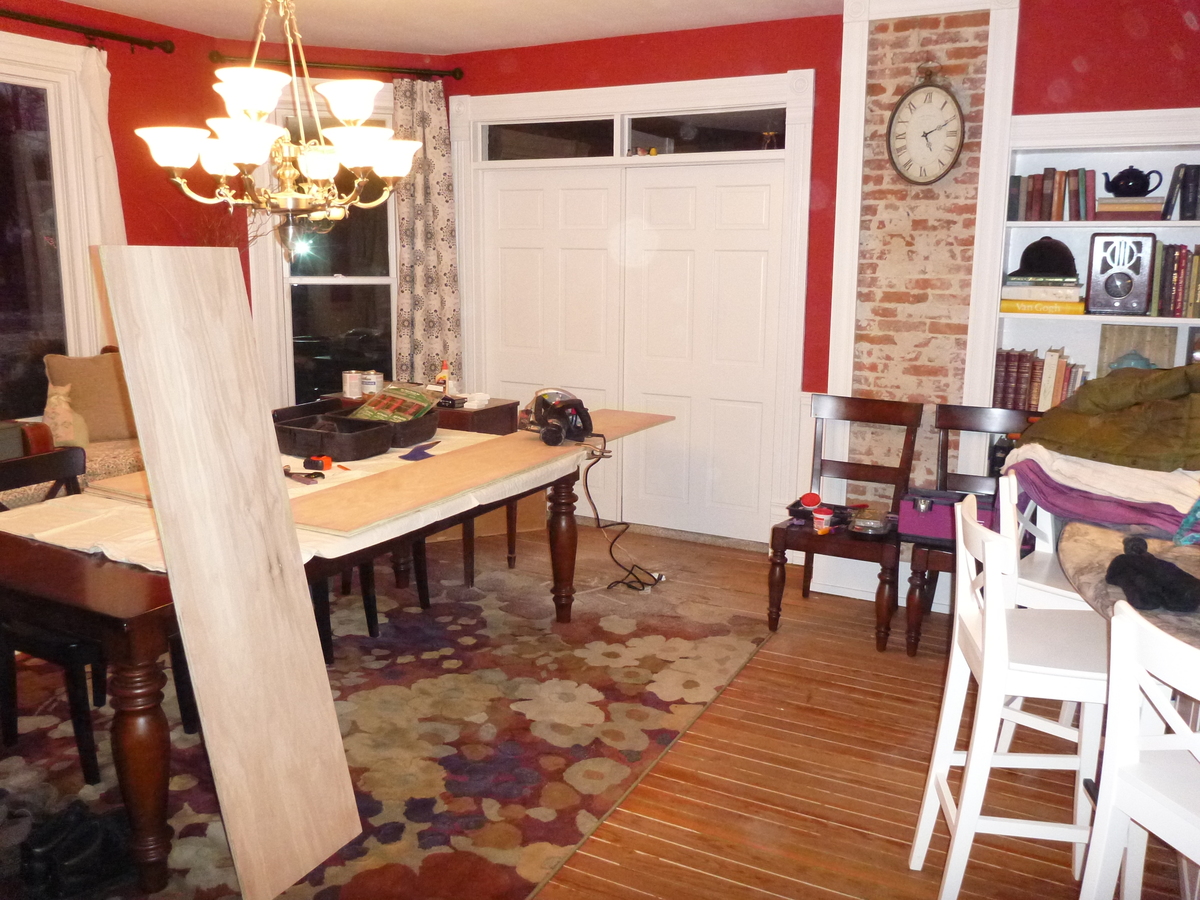
Did you seriously make this in your dining room? Now I'm even more impressed. This was your first build? And in 3 days? Holy cow -- the 2-tone finish, the architectural details on the front, customizing the build....GREAT job! Can't wait to see the pergola!

In reply to by Joni

Porshes Place

Thu, 12/12/2013 - 19:28

I did make it in my dining room! My husband was away for 3 days in Boston and I planned on building it in the barn, but it was 15 degrees here in Ohio - so that was out! I worked like a maniac for those 3 days too! I was on a mission. (note: I didn't realize how much dust sanding creates and I have now spent the last 3 days dusting said dining room :( Next time I will cover things!

DecorSanity

Thu, 12/12/2013 - 18:02

I don't think your husband knows what he's given permission to--I see a lot of great builds in your future! Way to go! :-)

In reply to by DecorSanity

Porshes Place

Thu, 12/12/2013 - 19:31

I think he is realizing that now too!! I can't wait for the warmer weather now - I have so many areas I want to get my hands on in the yard! I'm really eyeing that Weatherby Pergola and seating arrangement. :) Thanks for the kudos!

A place for all my wife's Fiestaware

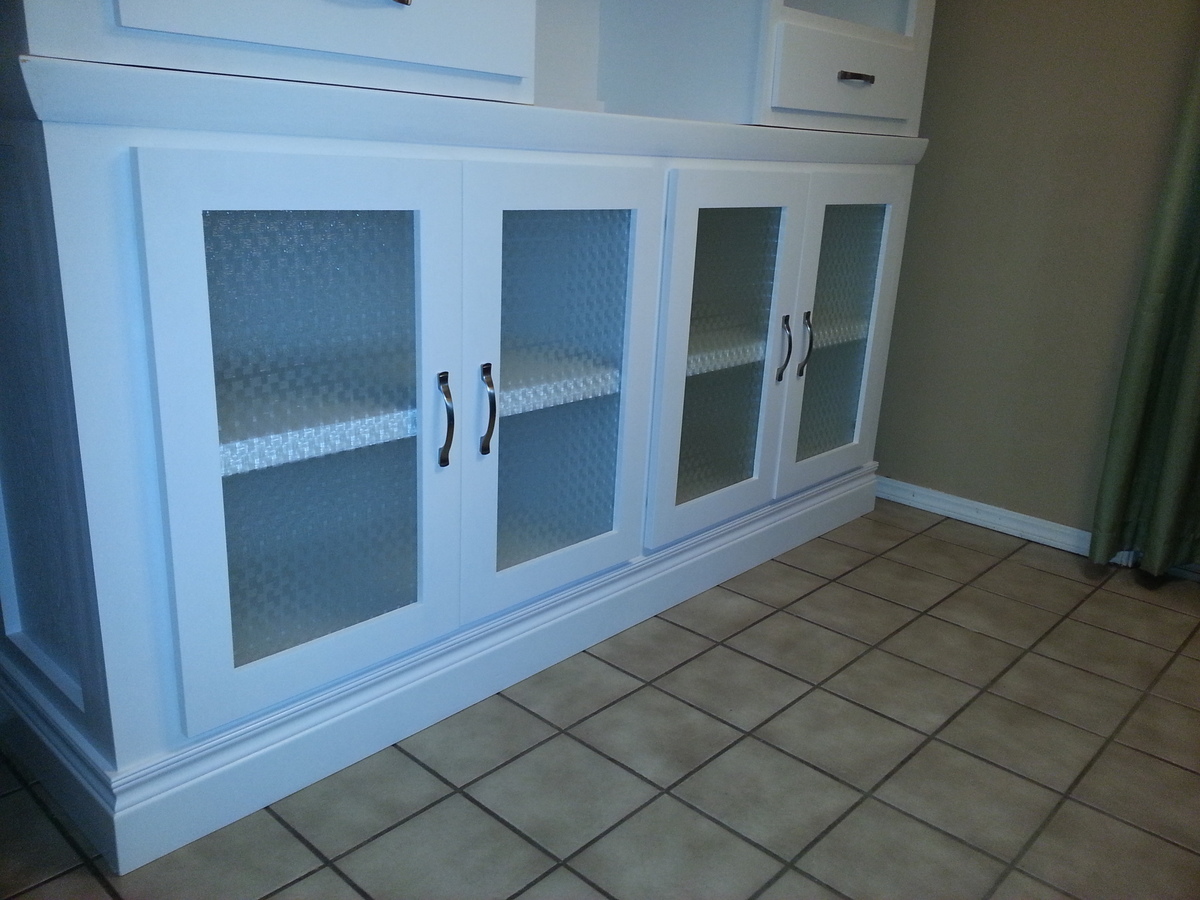
My wife wanted a built in shelving unit for all of her Fiestaware.  I couldn't find anything that worked so I looked for large hutches instead.  I found a nice design on Ana White and saw some other modifications from other posters - came up with what you see here.  Turned out well.  I never worked with Blum hinges before so that was a learning experience.

Built from Plan(s)
Estimated Cost
The glass was the most expensive component at $260 for 4 panes. Total cost was around $600.
Estimated Time Investment
Week Long Project (20 Hours or More)
Finish Used
Olympic One Paint and Primer in One - Semi-gloss with Snowstorm Tint. Door glass pattern is called Wicker.
Recommended Skill Level
Intermediate

Modified 4x4 Truss Beam Table

Submitted by barnes420 on Fri, 10/04/2019 - 05:58

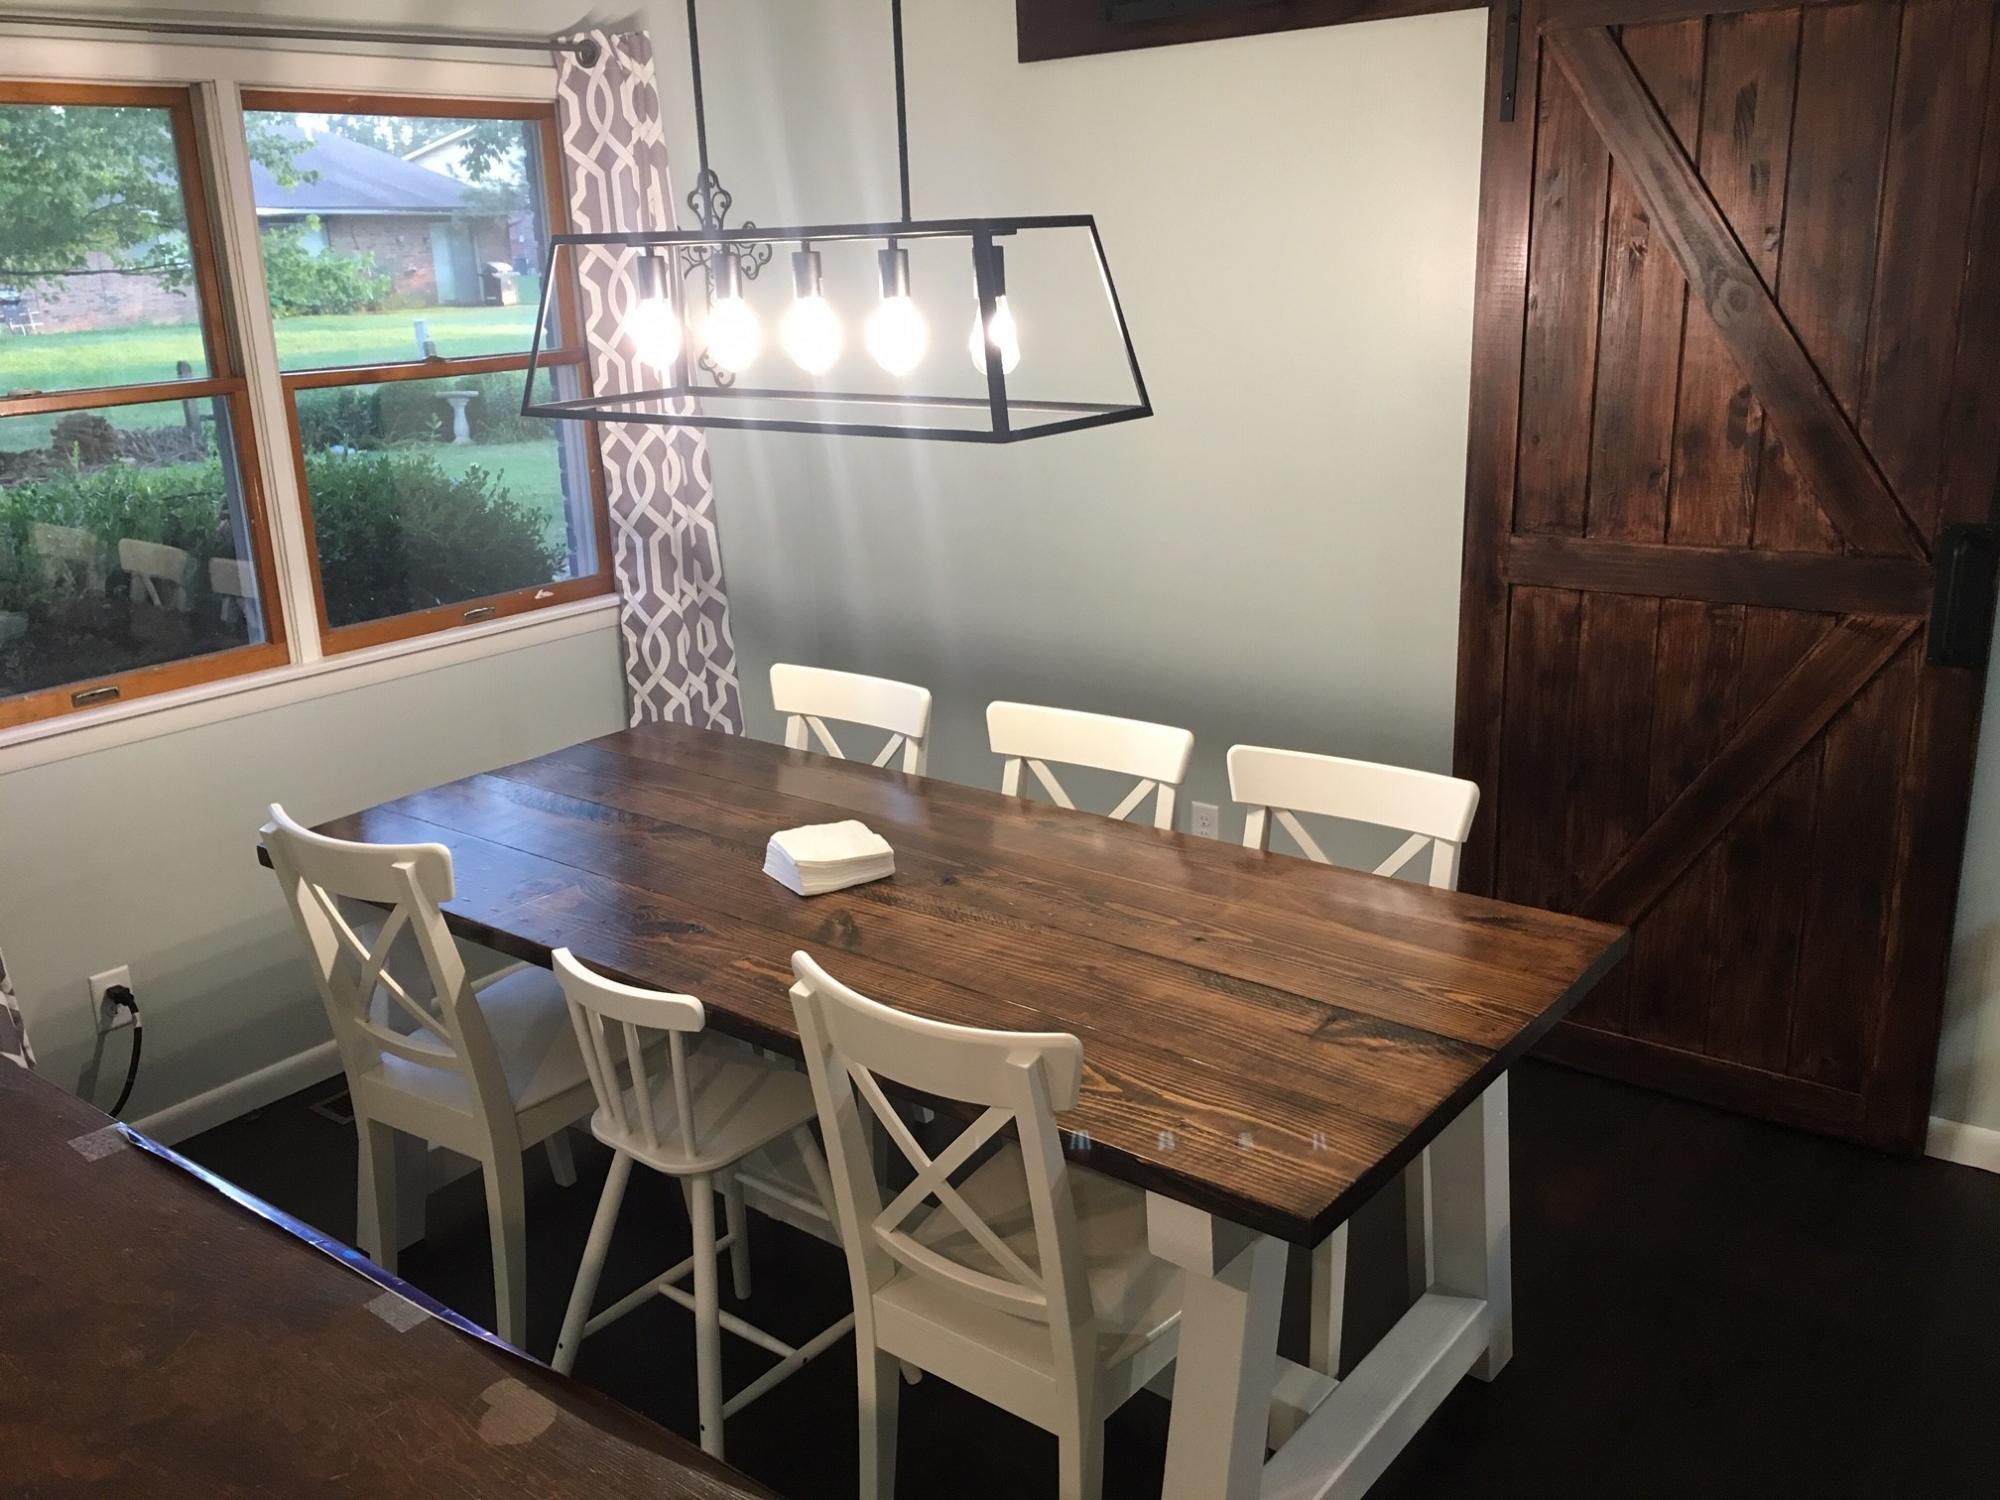
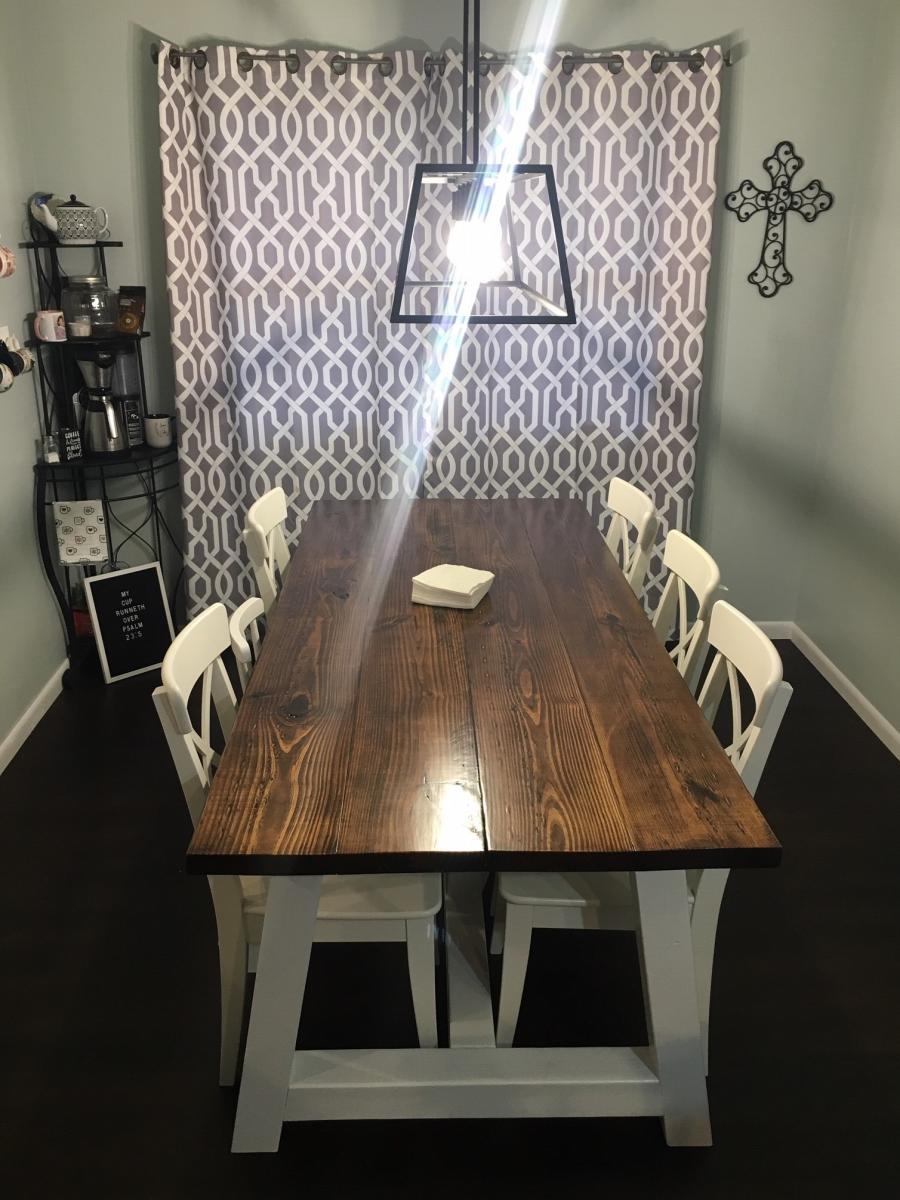
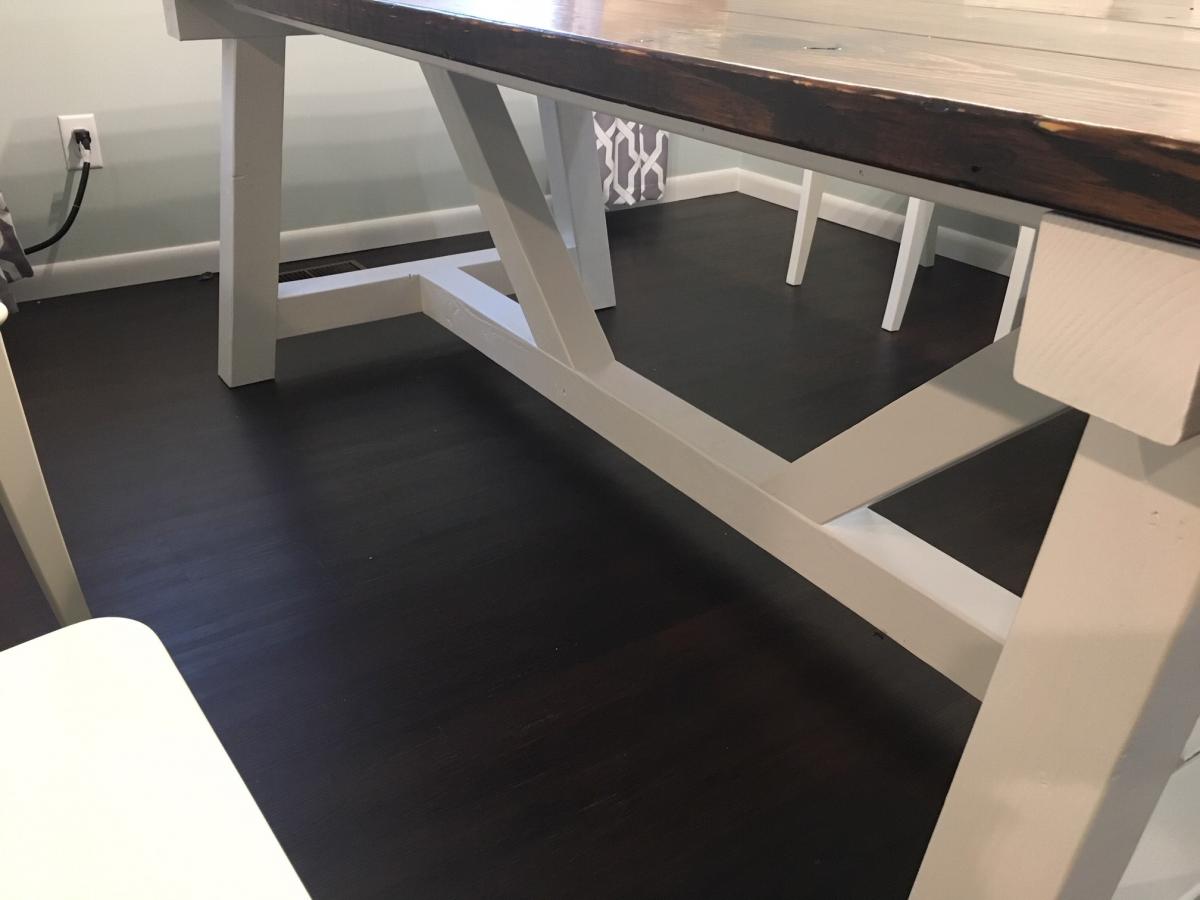
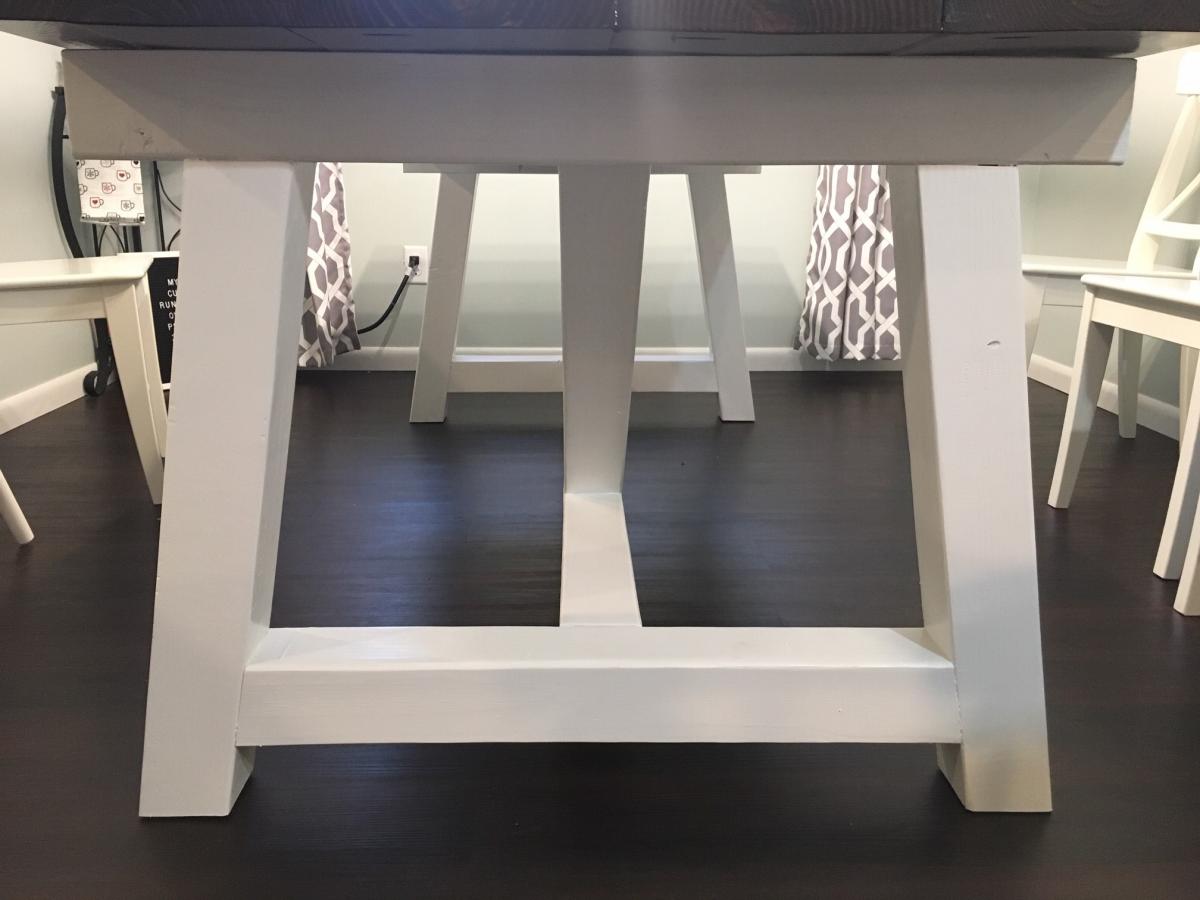
Build this 4x4 Truss Beam Table for my wife's Birthday. For this table however, I did change the top and used the Fancy X Farmhouse Table top shortened to 7' (84"). I also used Whitney's plans on where to put the pocket holes (link provided in 4x4 Truss Beam Table Plans).  This is my first wood project and with that first time using an Ana White plan. The plans are awesome and very easy to follow, we can not wait to build the matching benches! Biggest tip I have is do not wait to long after buying the boards to start the build, the wood sat for about 3 weeks(due to work travel) and some warped a lot. 

Estimated Cost
I do not have the exact amount anymore but between $100-150
Estimated Time Investment
Week Long Project (20 Hours or More)
Finish Used
Varathane- Kona and clear Poly
Sherwin Williams- White Cotton
Recommended Skill Level
Beginner

Round Side Tables

Submitted by Anonymous (not verified) on Fri, 06/16/2023 - 18:39

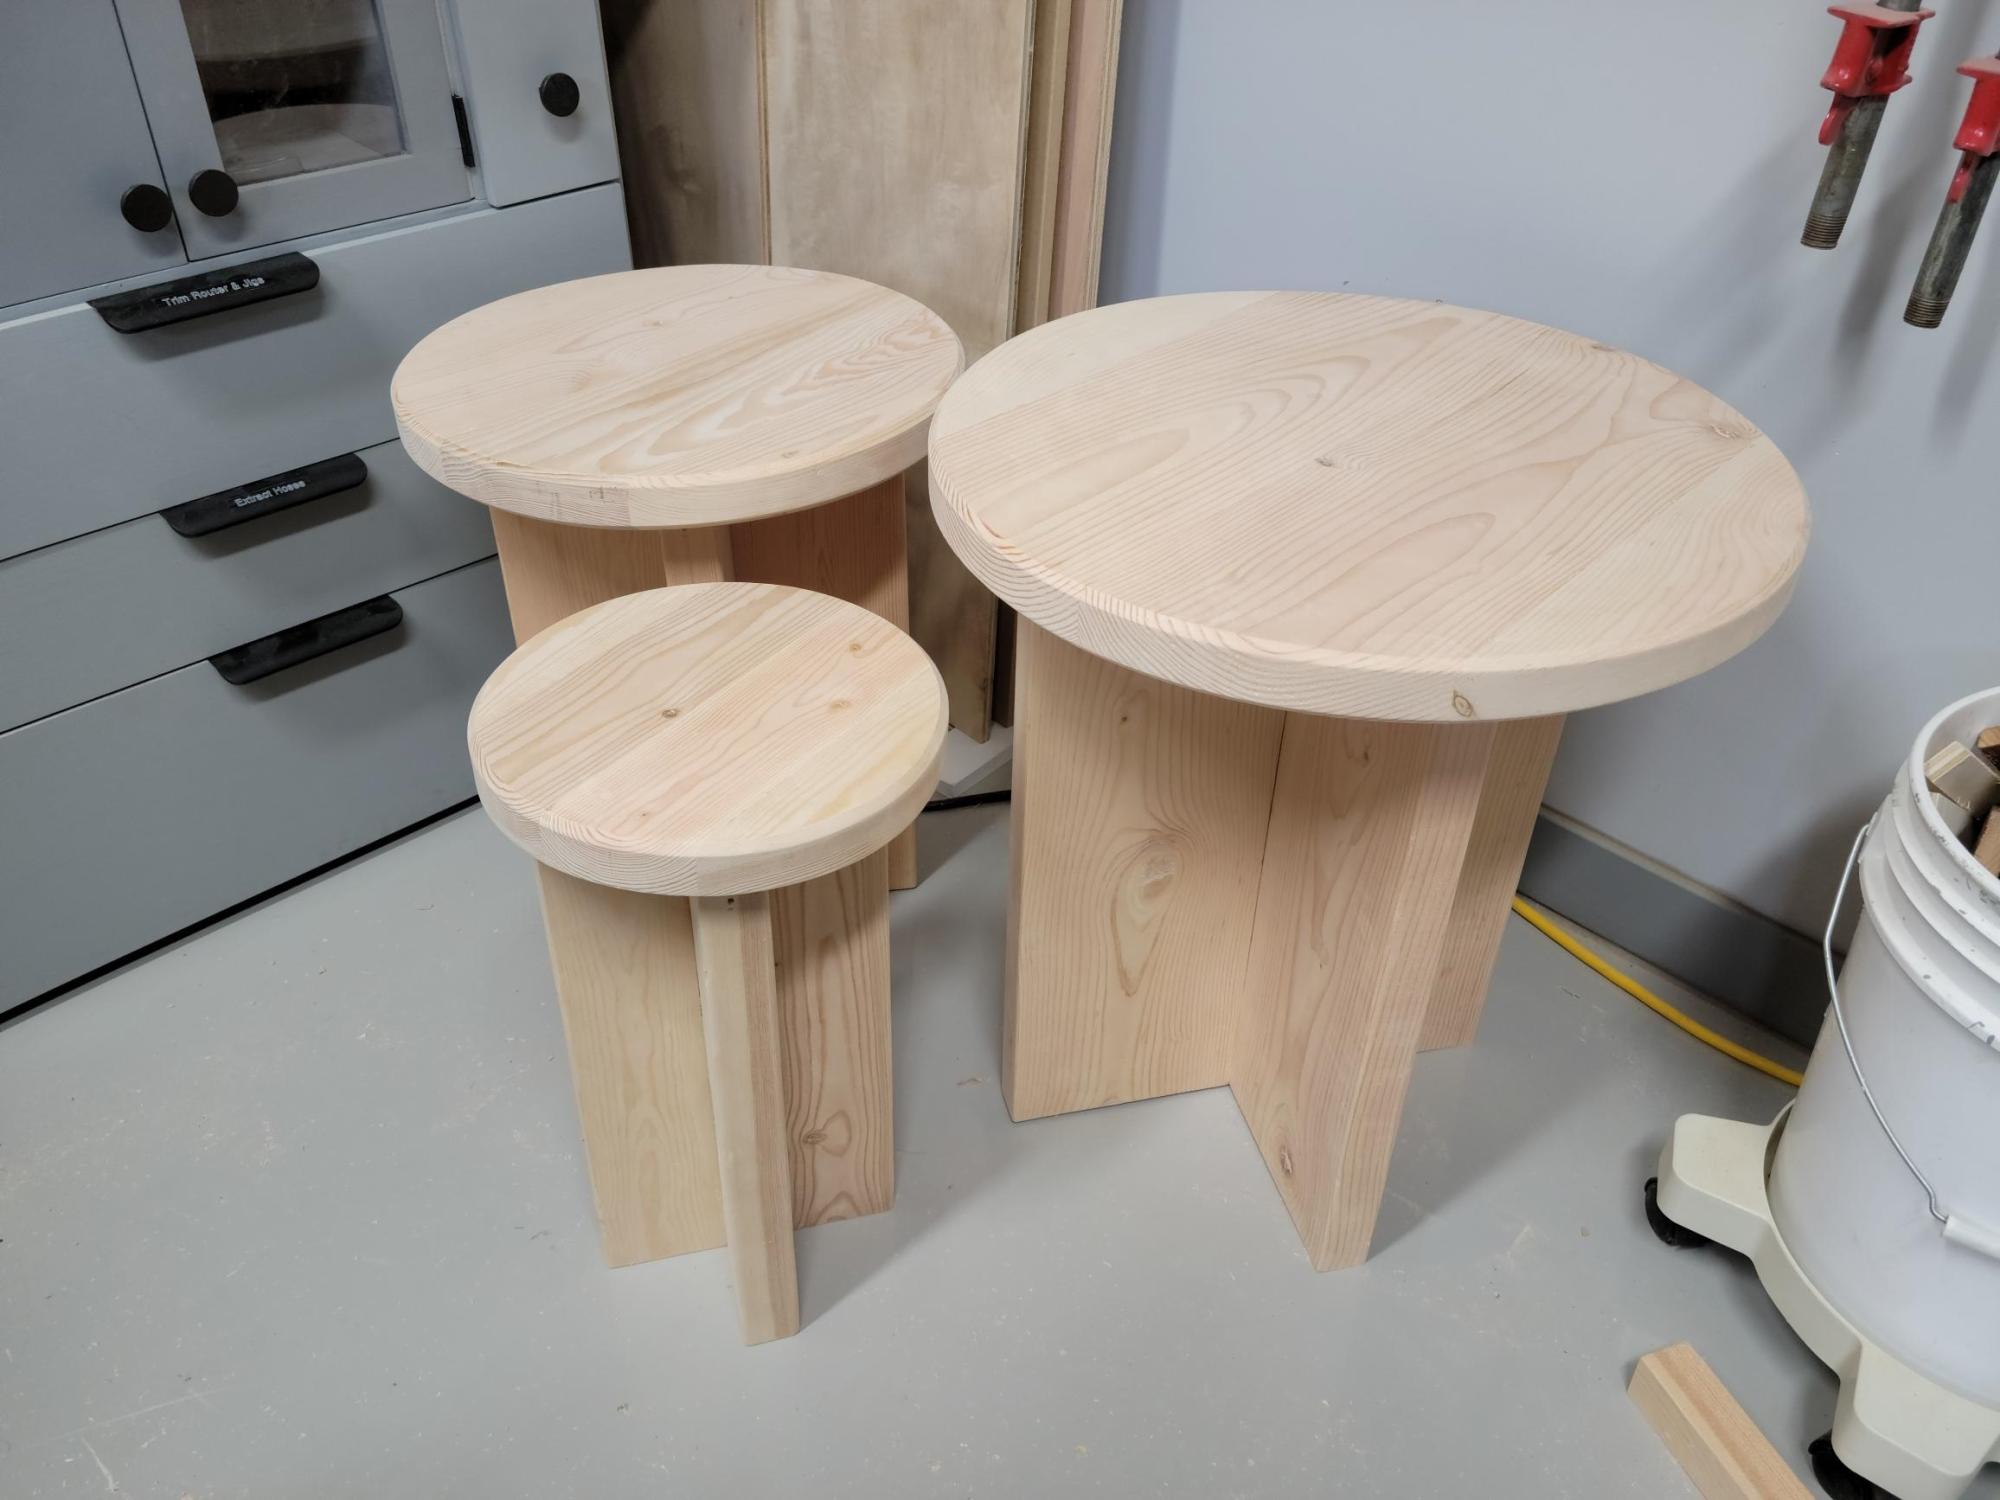
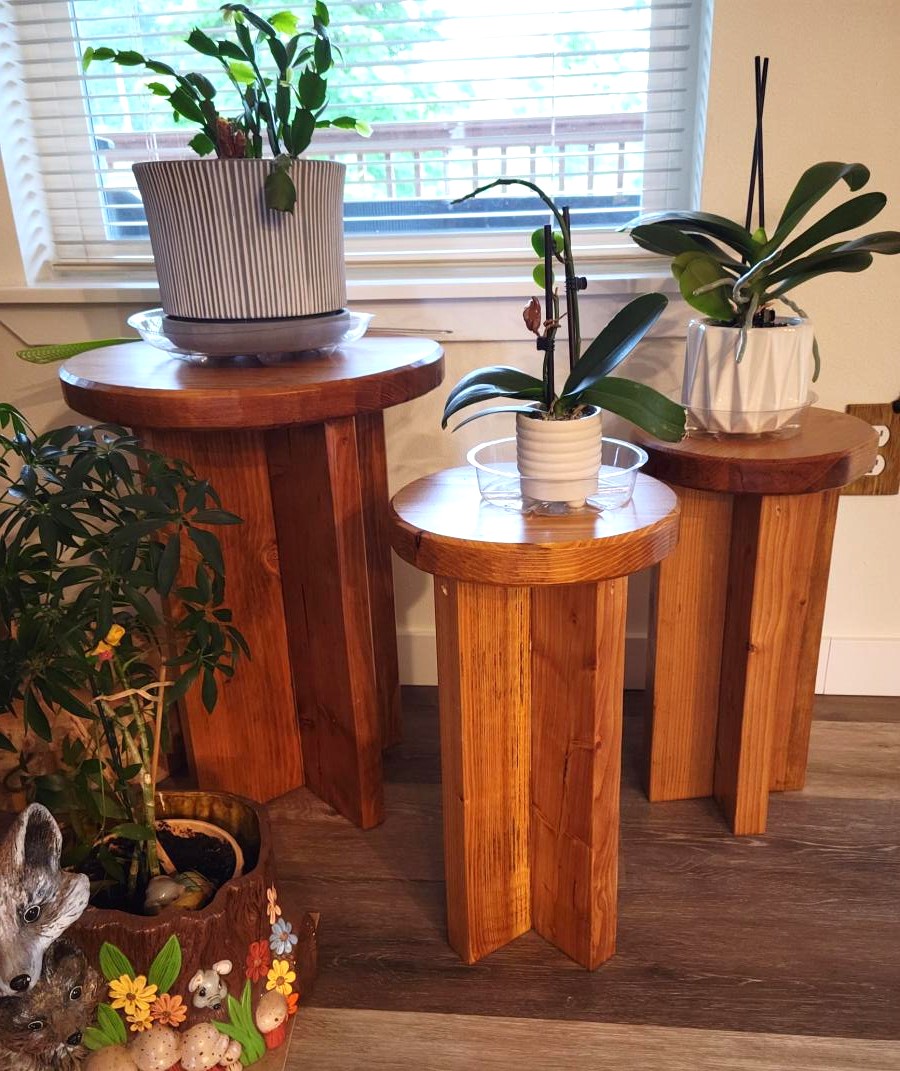
I first made a set of these for my wife to use on the deck. She liked them so much that she's using them in the living room! (Second photo.) These were made from rough lumber left over from a building project so took a fair amount of time to cut and prep. I don't have a planer so the belt sander outside was put to good use. Then, to make them them fit well, I recut the sides, and rather than pocket holes I glued them into a plank before cutting the rounds with my table saw. That also gave me a tight flat top.

Her friend saw them and wanted a set, so here they are. Again I recut the sides and glued them to create a smooth plank. This time I used the router and a circle jig to cut the tops, giving me a much nicer finish. They will be stained mahogany and finished with multiple coats of polyurethane.

The large one I simply upsized from the original plan, roughly scaled. It is 22" tall, made with 2x8 lumber selected and purchased at the box store. My wife's friend is totally delighted with them! Thanks Ana for the inspiration.

Built from Plan(s)

Comments

American Doll Bed

Submitted by angiemicn on Sun, 02/05/2012 - 03:50

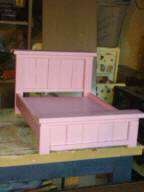
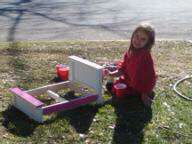
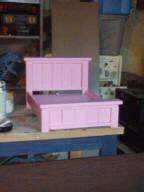
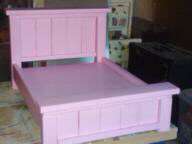
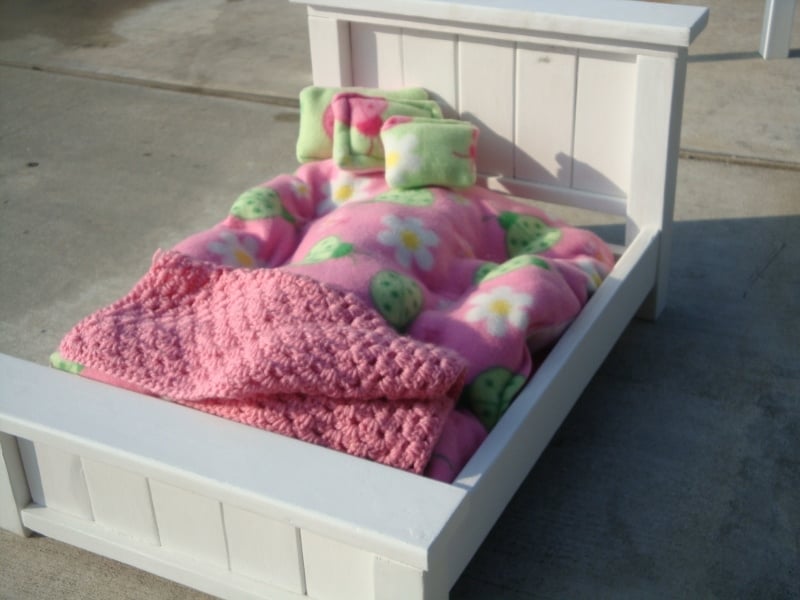
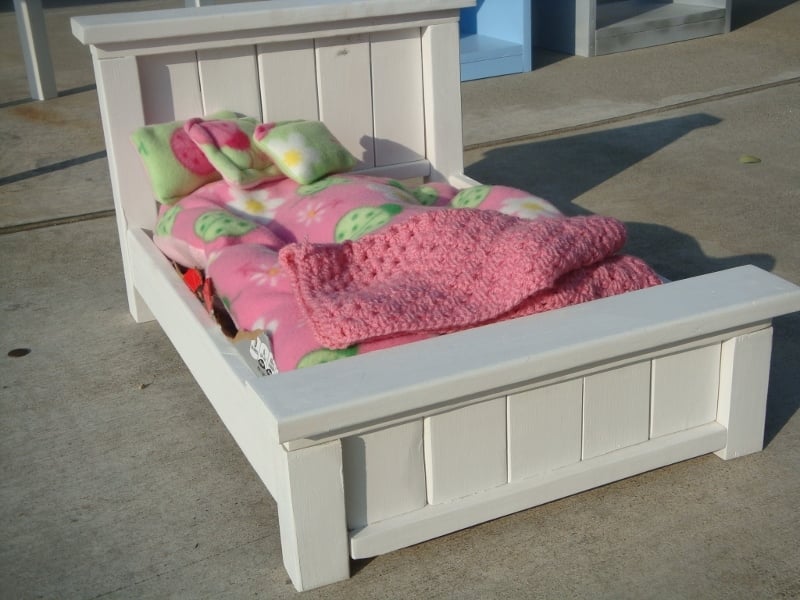
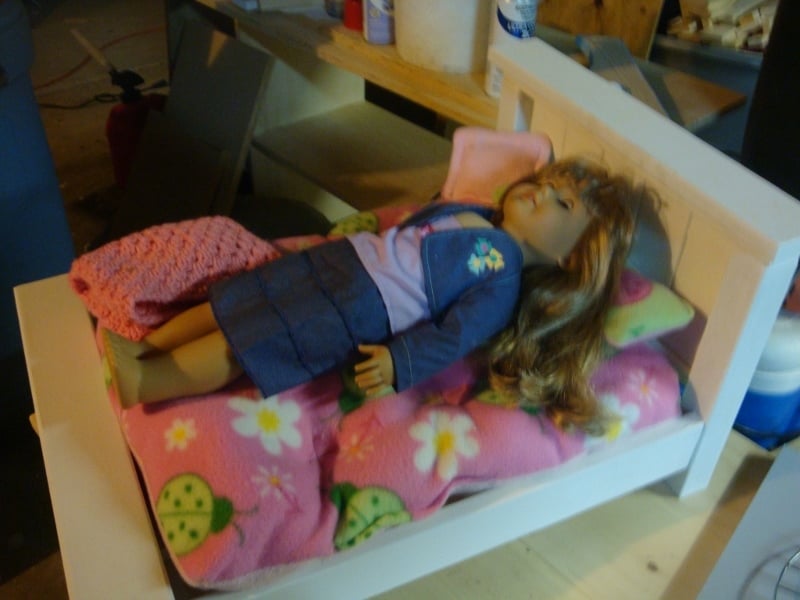
this is a staple of mine, one that I love and my nieces do too. Every time a niece, so far 5 have got them, I have them all ready, built, sanded, primered, and an activity that we do together, is paint the beds whatever color the girls want. They love it, we also sew a mattress, 2 pillows, and they get a crochet blankie to take. Really great bonding time! Also made 2 for the make one, take one campaign of Ana's. These are the cutest, sturdiest beds I've ever seen. And yes, every niece has climbed into their beds to "test" them out :)

Estimated Cost
25
Estimated Time Investment
Afternoon Project (3-6 Hours)
Finish Used
2 coats of Kilz 2 waterbased Latex, and bubblegum pink Behr Ultra Premium
Recommended Skill Level
Beginner

Farmhouse Bed

Submitted by jsc81979 on Mon, 12/16/2013 - 07:16

Great plan!! Easy to build and very sturdy. The only modification I made was to use 1x8's for siderails and raised the frame about 3 inches to make more room for storage. Thanks!!

Finish Used
Provincial
Recommended Skill Level
Beginner

Barn Door Console

Submitted by JHardaway on Fri, 02/26/2016 - 15:15

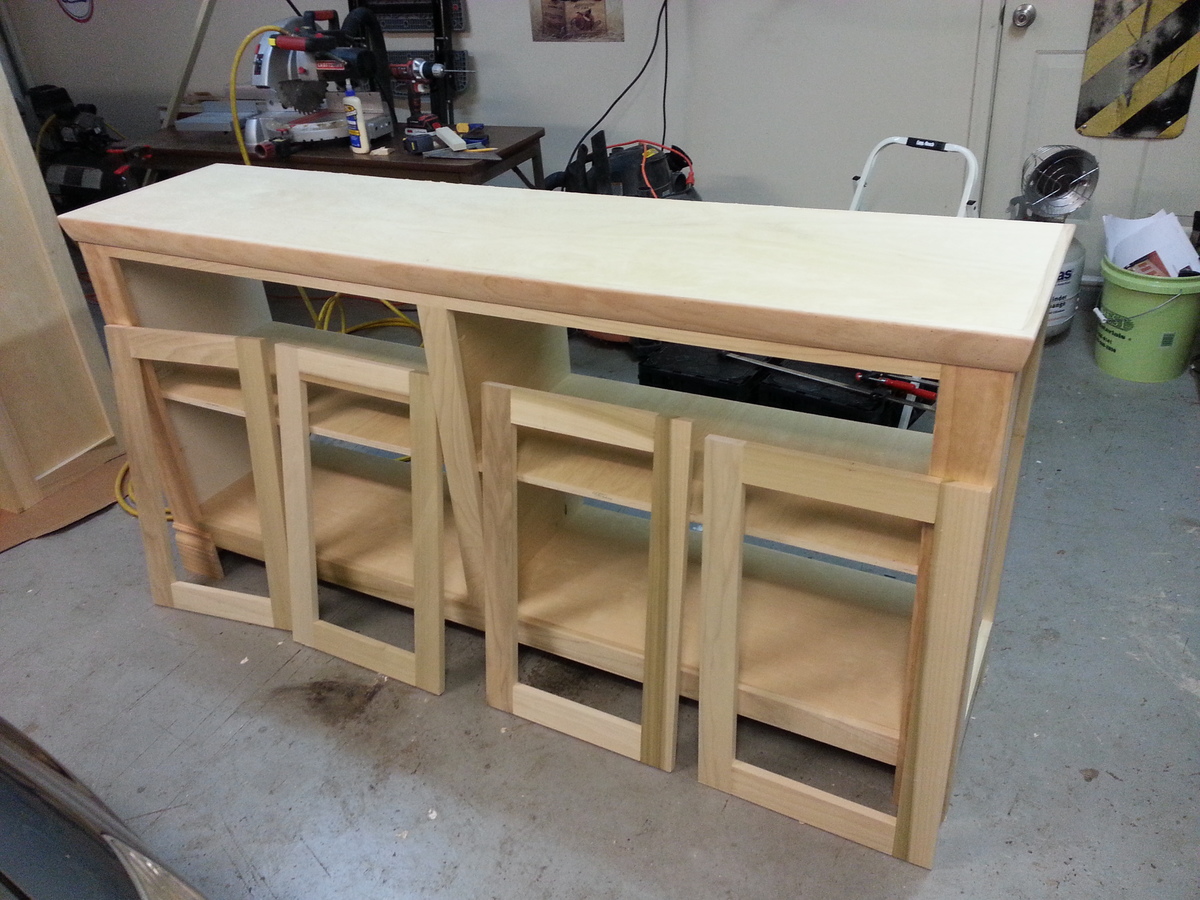
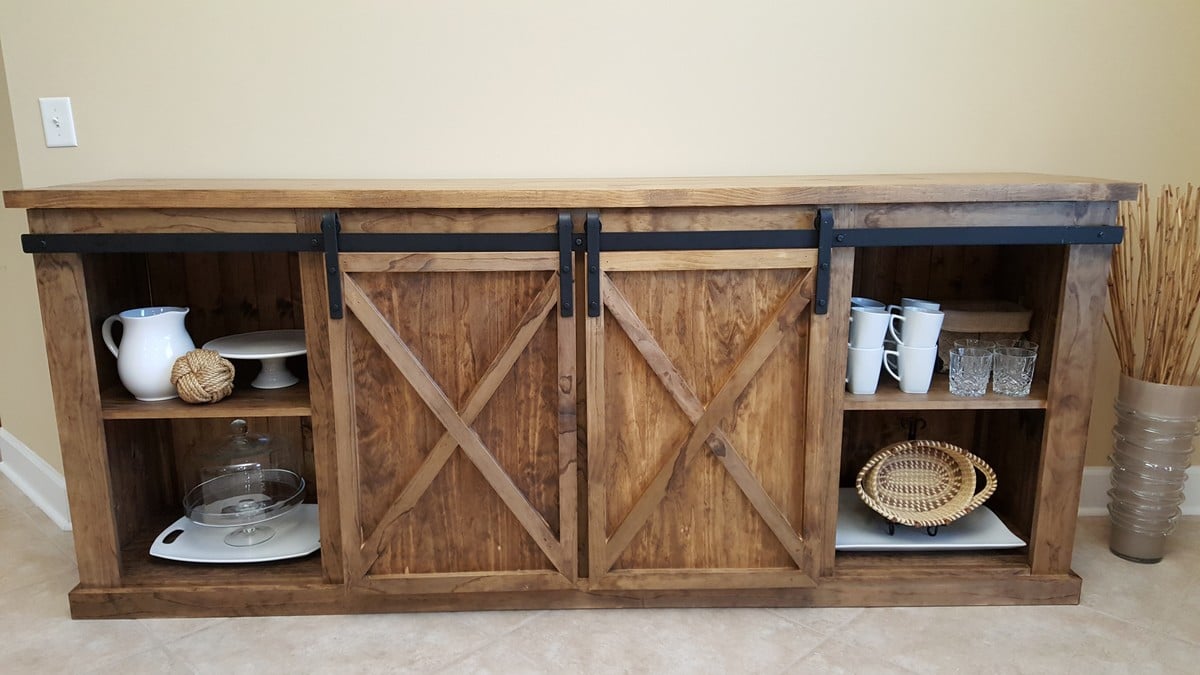
So this project took quite a while for me to finish, but I didn't cut any corners and expanded a bit on the basic plans that were offered.  Some notes on changes to the project:


  • Instead of leaving the gap in the bottom and middle shelves, I used a second 1x10 and ripped it down to the exact width I needed so that it would be flush (this was done for the bottom shelf and the middle shelf.
  • I added 3 supports in Step 5 at the back to provide additional support for the middle shelf.  
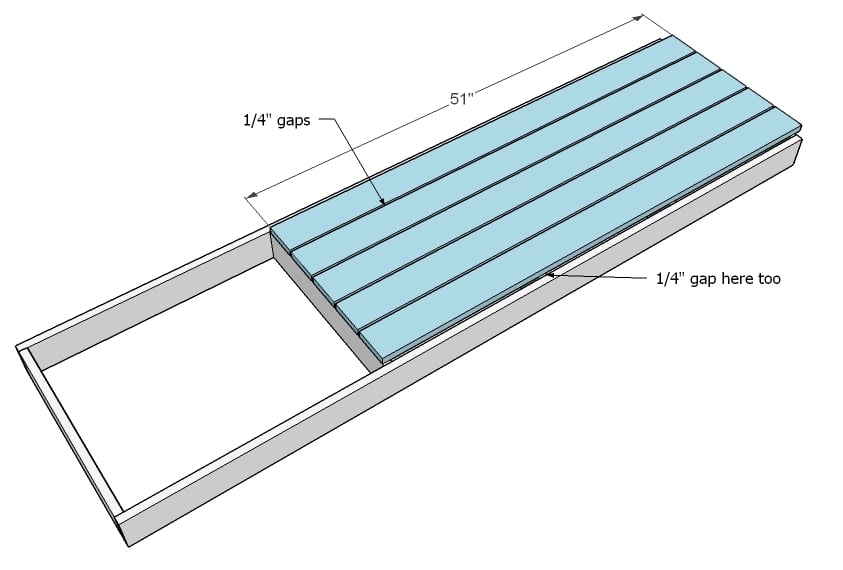
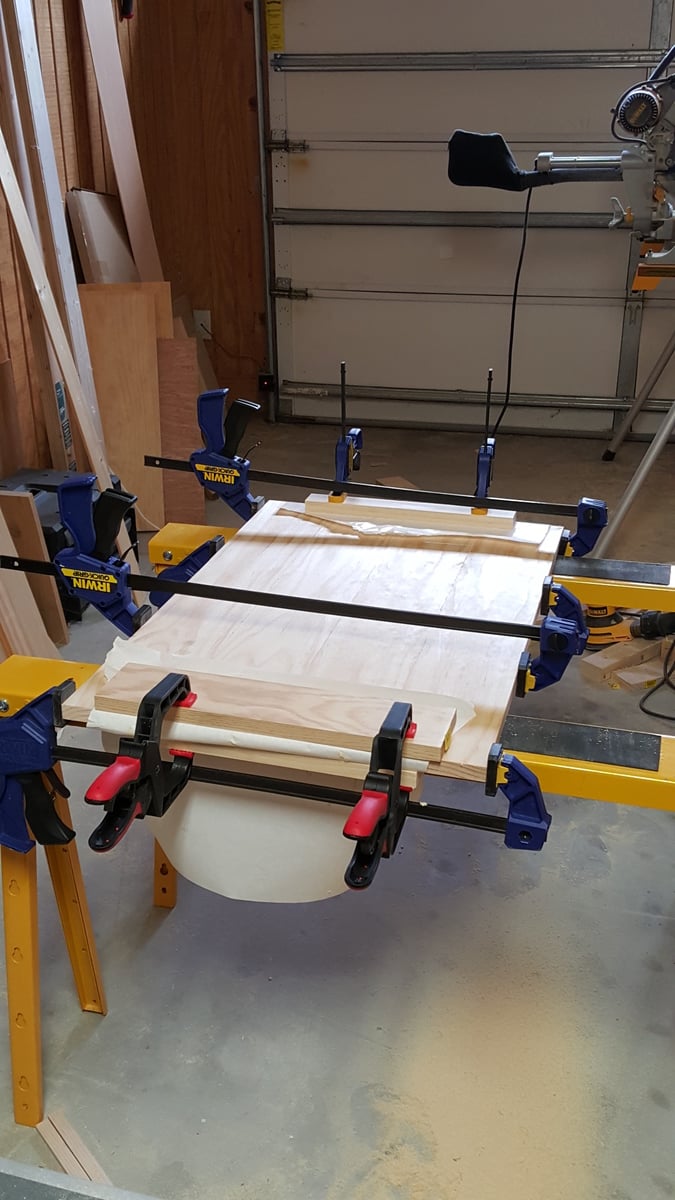
  • For the top, instead of 2 2x10's, it is 3 2x8's ripped down to 6.25" each, then edge glued.  A brace was then added to the bottom and used to attach the top to the main unit.  See the pictures for a better description.  
  • I also edge glued the doors out of 1x6's in order to get the dimensions I wanted.
  • I used a 1x3 at the bottom to give it more of a sturdy look
  • OK, so the big part that people complained about the original plans were the lack of information on how to do the rails.  I cheated and contacted a metal fabricator to make them for me.  Pricing was consistent with what you would find online for similar barn door hardware, but it definitely turned out better than me trying to do it myself. 
  • The stain is Minwax "provincial" and I used a wipe-on poly to coat it.  For the top, I used 400 grit sand paper between coatings, and let me tell you, you can see your reflection in the finished product.  Turned out really well!
  • My only regret is that I used project boards for the two end pieces, and so they don't quite match the remainder of the project.  I would have edge glued them just like I did the doors given the chance to do it over. 

Anyway, enjoy!

Built from Plan(s)
Estimated Cost
OK, so cost was more than I expected. I probably spent around $500 on wood, supplies, stain, etc. The metal hardware was $250. So overall, probably around $750, but still way cheaper than something comparable would have been from a big-box store.
Estimated Time Investment
Week Long Project (20 Hours or More)
Finish Used
Mentioned above, but Minwax Provincial stain. I used a rag to hand wipe it on, then wiped it off after 3-5 minutes. Three coats of wipe-on polyurethane were used, with 400 grit sand paper in between each step.
Recommended Skill Level
Intermediate

Comments

Farmhouse table

Submitted by Anonymous (not verified) on Sun, 10/06/2019 - 05:40

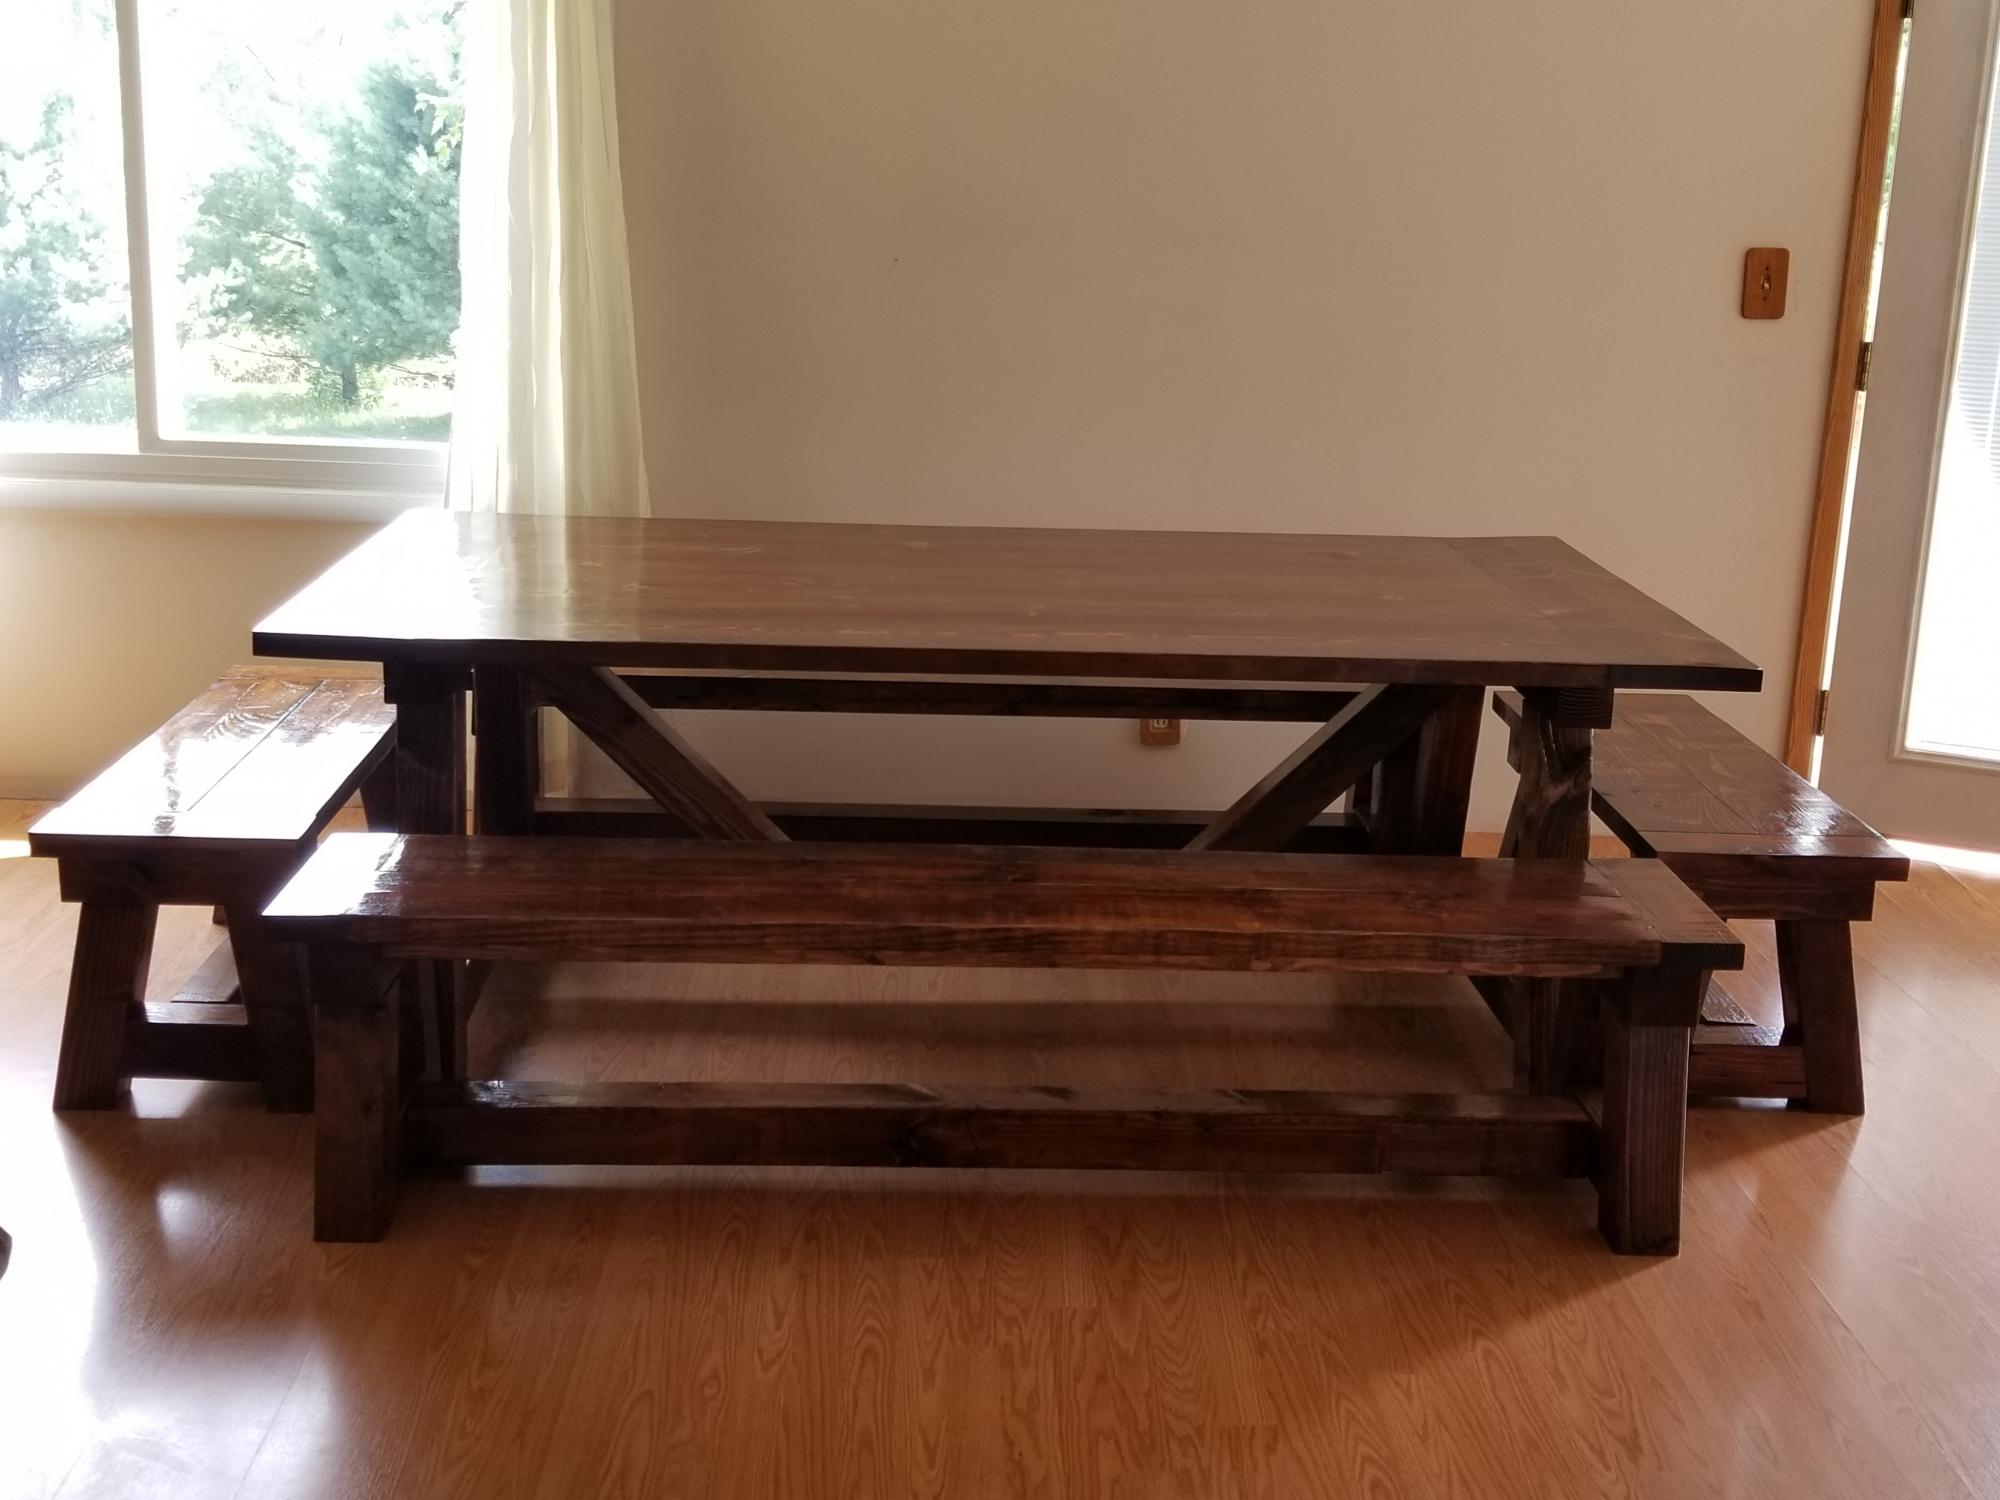
I have a friend who had a dream to have a Thanksgiving table that would seat her whole family! She asked for Two extra benches for the ends. She loves her new table, and I loved building it for her!

Estimated Cost
$300
Estimated Time Investment
Week Long Project (20 Hours or More)
Finish Used
High gloss polyurethane
Recommended Skill Level
Intermediate

Pool supplies storage shed

Submitted by Anonymous (not verified) on Sun, 06/25/2023 - 18:50

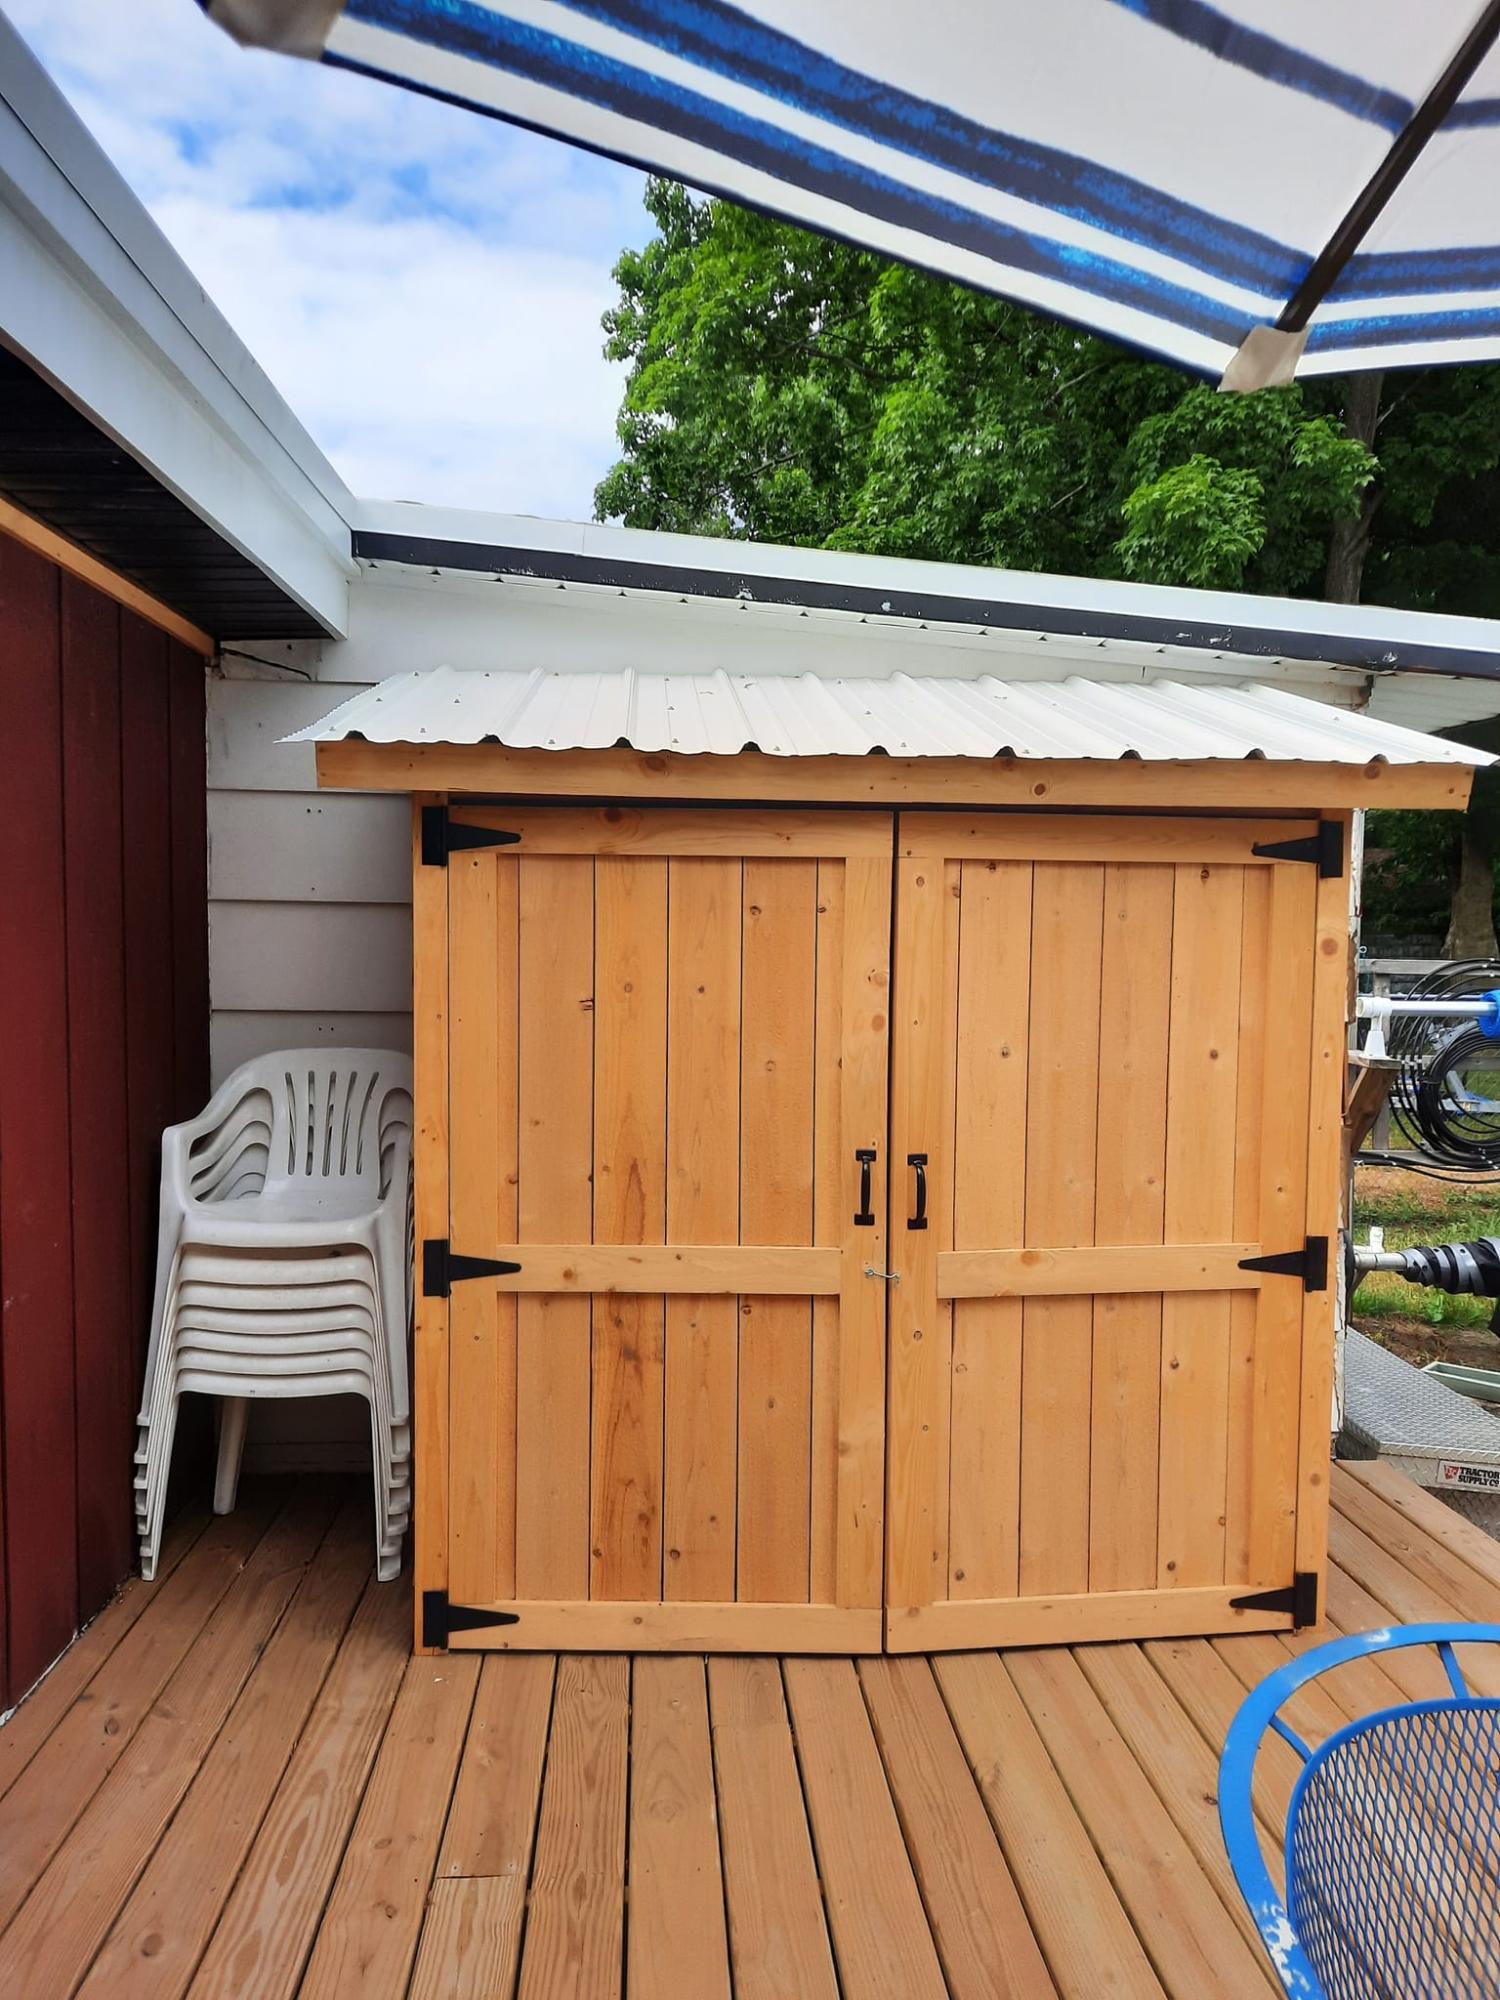
I was looking for a shed to keep pool towels and other deck and pool items. This shed hit every feature I was looking
for. My husband loved the plans. He's always saying he can build anything with a measured drawing and a
cut list. The only thing we changed was the roofing material. we were given some metal roofing by a friend.

Built from Plan(s)

Comments

Doll Farmhouse Bed

Submitted by angiemicn on Wed, 02/08/2012 - 02:41

I love this design and have made several for family and for sale. This was the one I made for Ana's promotion, Make one, take one. This is the one that was given to charity, Wings. this is a house in our area for battered women and their children. As an ER nurse who sends patients there, I realize the importance of a well made doll bed, (Doll given as well) 90% of the time these kids have to leave their homes with nothing, no toys, no clothes, and I hope seeing this doll bed would help some little girl forget about the trauma she's been through, if only for a little while, and let her be a little girl again.

Estimated Cost
45
Estimated Time Investment
Weekend Project (10-20 Hours)
Finish Used
sanded smooth, 2 coats of Kilz Primer, 3 coats semi gloss Ultra White, Polyurethane coat on top
Recommended Skill Level
Intermediate

Doll Bunk Beds

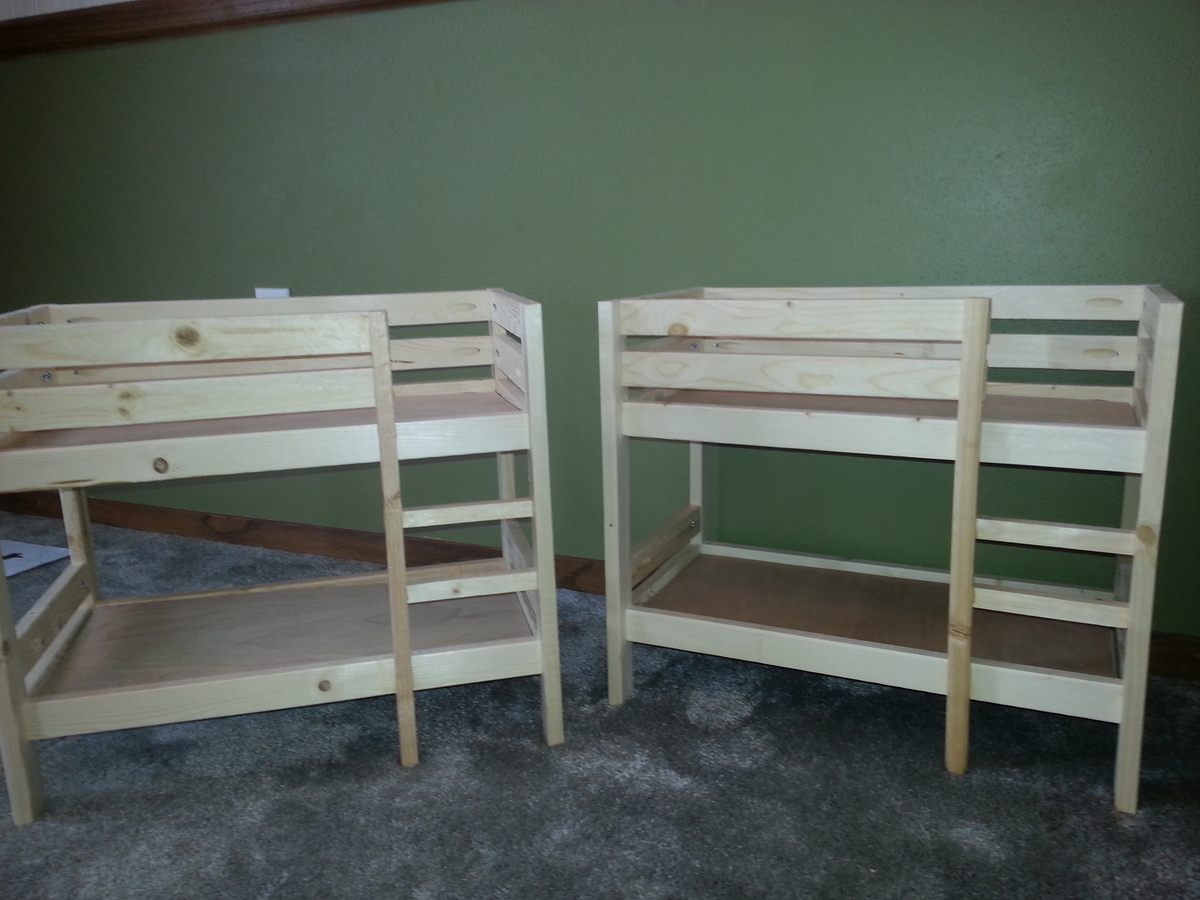
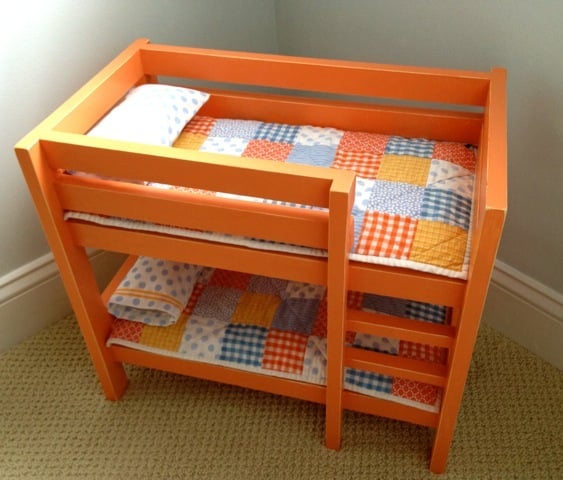
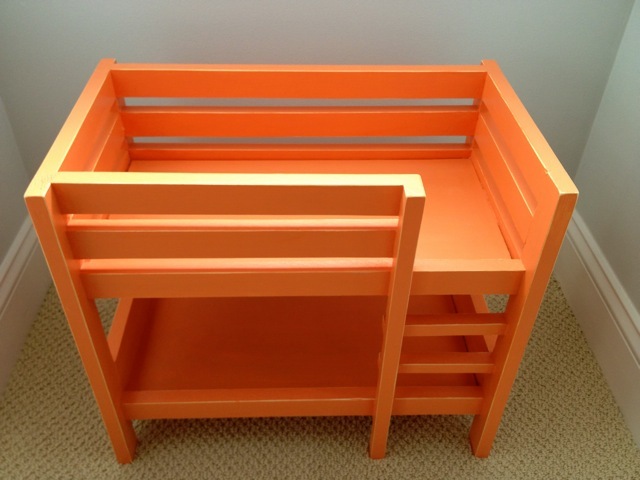
Started by making these bunk beds for my 9 year old and then I made another for my 6 year old. I couldn't help myself, so I made 12 more for other people to give as Christmas presents. Thanks Ana!

Estimated Cost
$10
Estimated Time Investment
Afternoon Project (3-6 Hours)
Finish Used
none or spray paint
Recommended Skill Level
Beginner

Vegetable Bin

Submitted by Anonymous (not verified) on Mon, 02/29/2016 - 10:55

I had a great time with my first project being this vegetable bin. I did have to have some help with the actual construction and I know it's not perfect. It's uneven and has flaws, but I think it gives it a little character.

Estimated Time Investment
Day Project (6-9 Hours)
Recommended Skill Level
Beginner

Bunk Beds with Climbing Wall

Submitted by Anonymous (not verified) on Tue, 10/08/2019 - 13:26

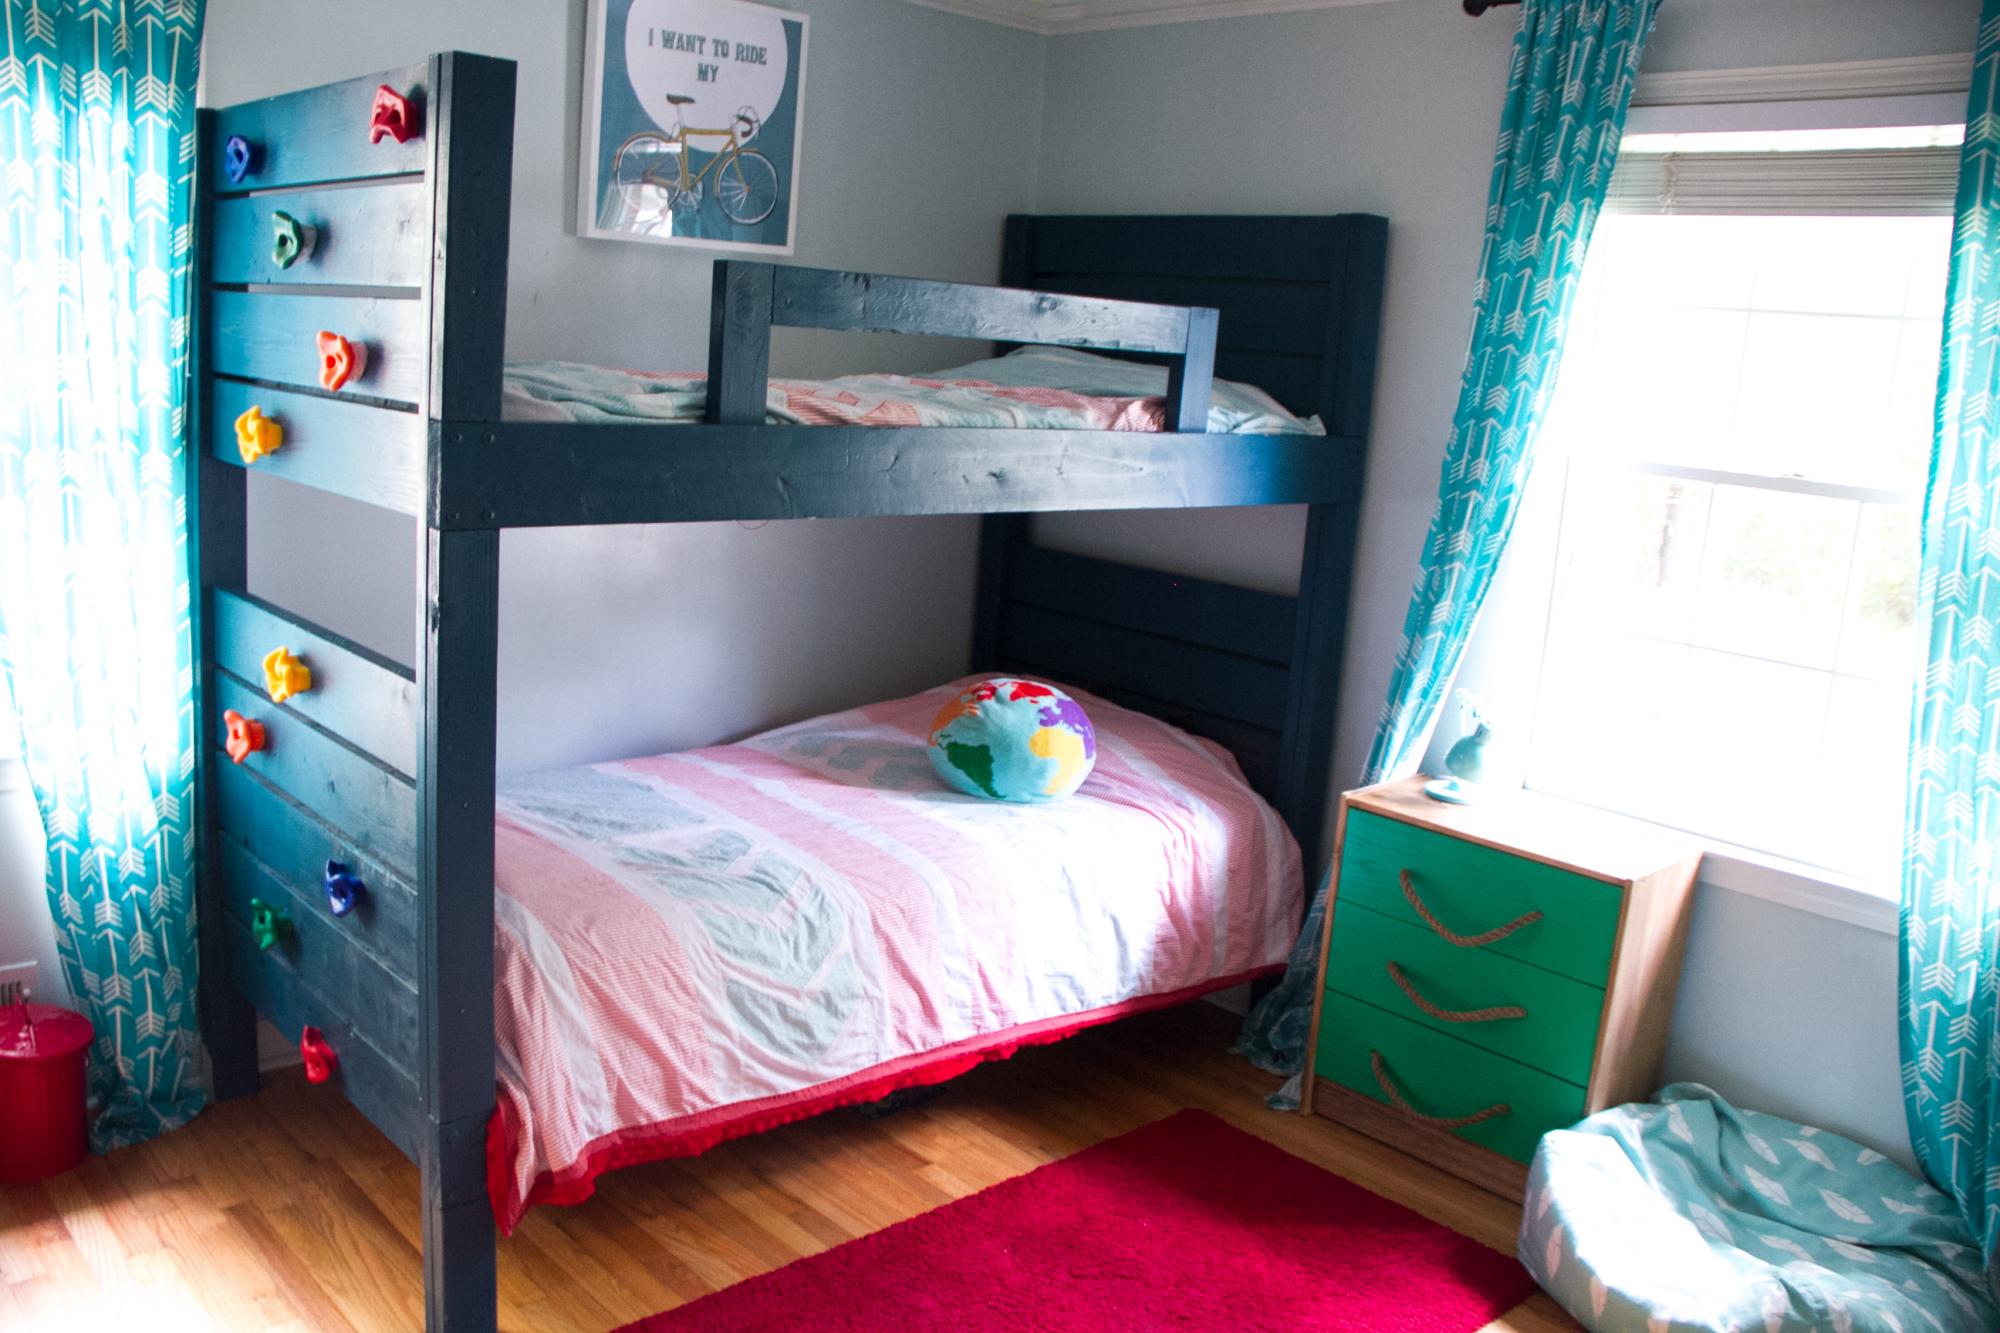
I built this bunkbed for my boys bedroom based on Ana's plans with a slight modification to make it more fun for them- a climbing wall on the end instead of a ladder! I followed Ana's plans which were easy and clear to understand and the result is super sturdy and strong! We had IKEA bed slats already and they fit perfectly on the cleats to hold up the mattresses. I simplified the guard rail a bit and used a dark teal paint to finish. A 10 pack of climbing wall hand holds was purchased from Amazon (link: https://www.amazon.com/gp/product/B074CM4DBN/ref=ppx_yo_dt_b_search_asi…)- I needed slightly longer bolts than what were provided to go through the 2x6s but found what I needed at a big box store. My boys (6 & 8) absolutely love it!

Built from Plan(s)
Estimated Cost
$150
Estimated Time Investment
Weekend Project (10-20 Hours)
Finish Used
paint
Recommended Skill Level
Beginner

doll bunk beds

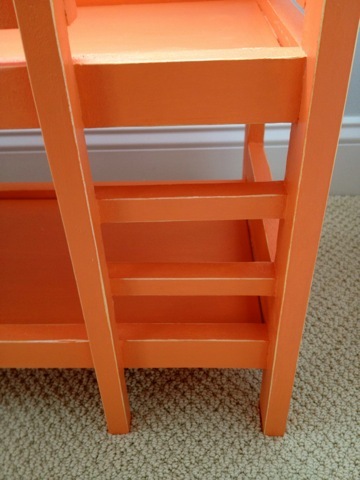
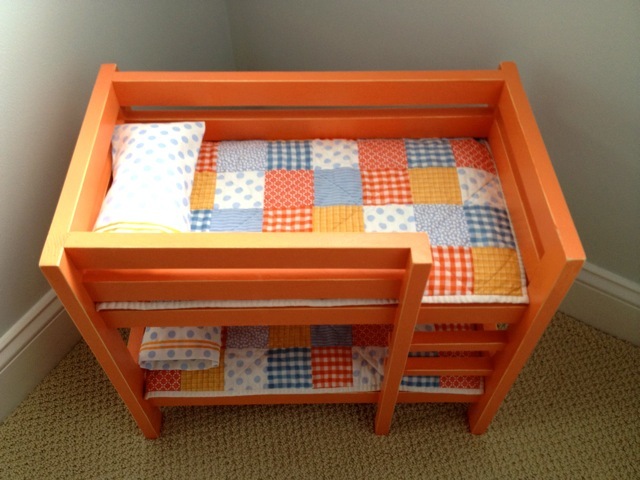
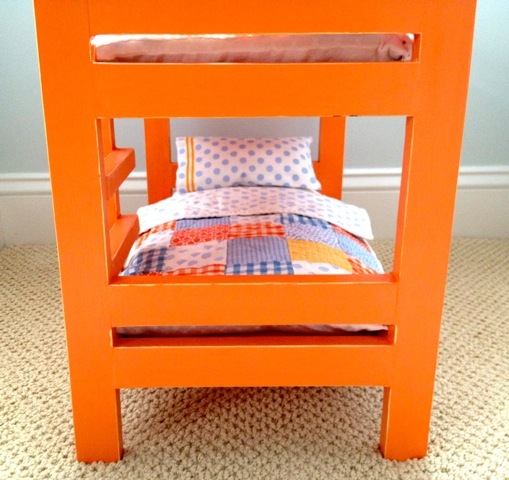
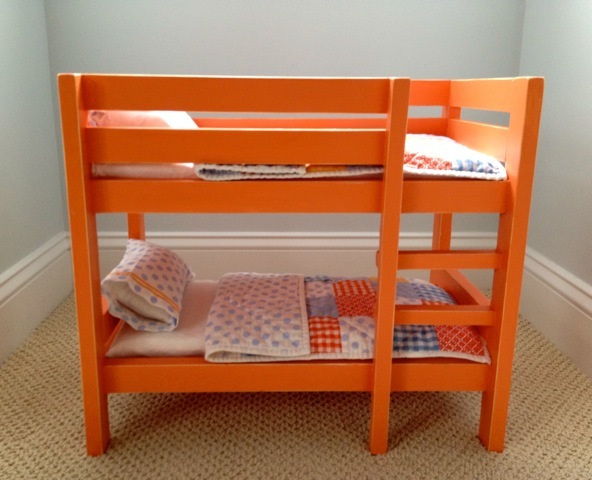
doll bunk beds painted tangerine with bedding

Estimated Cost
$20
Estimated Time Investment
Afternoon Project (3-6 Hours)
Finish Used
1. Prime
2. Two coats Glidden sunbaked orange
3. distress
4. seal with clear satin poly
Recommended Skill Level
Beginner

Comments

Back