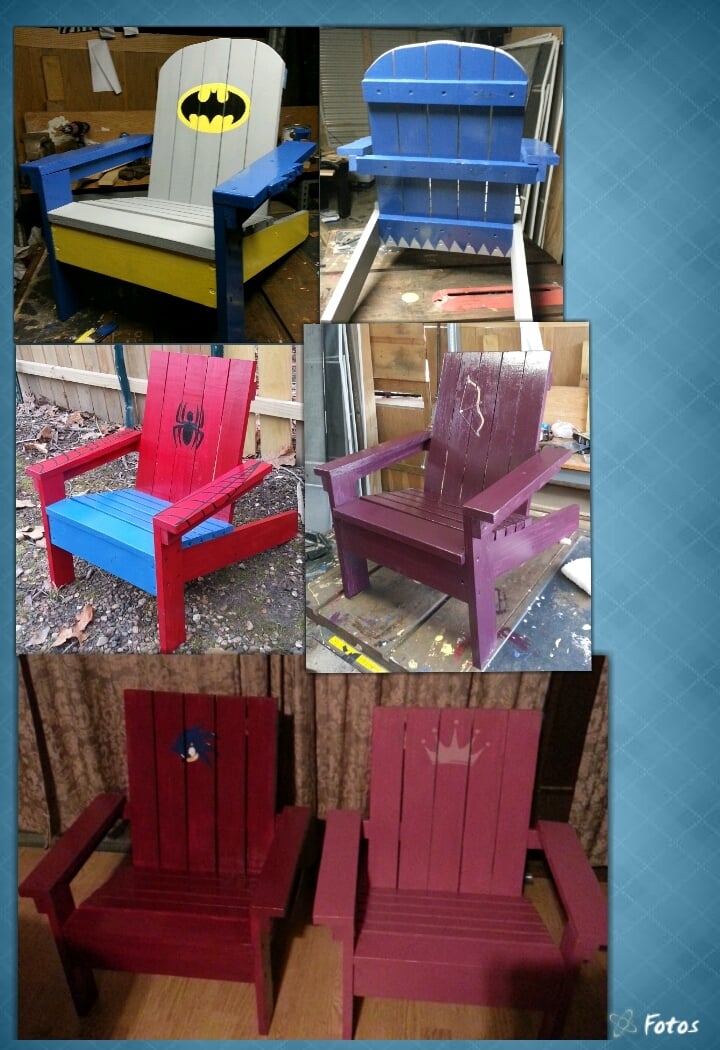
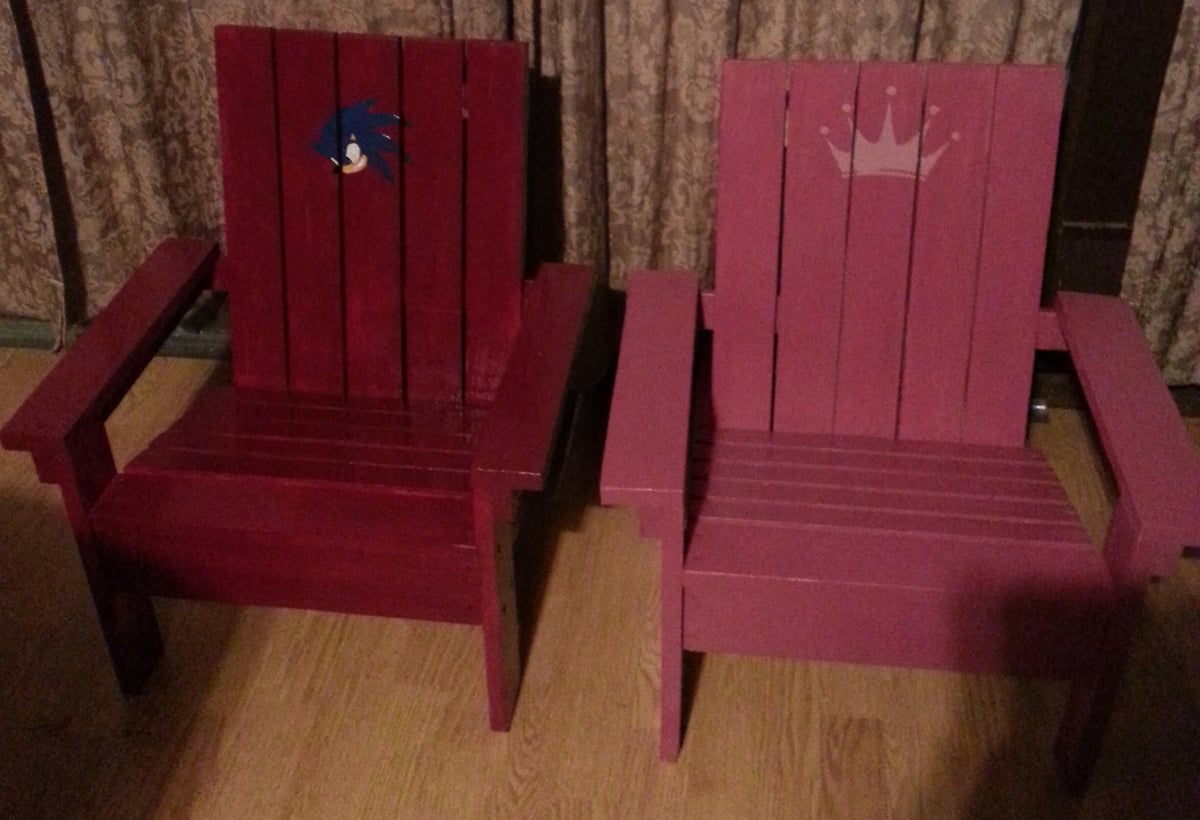
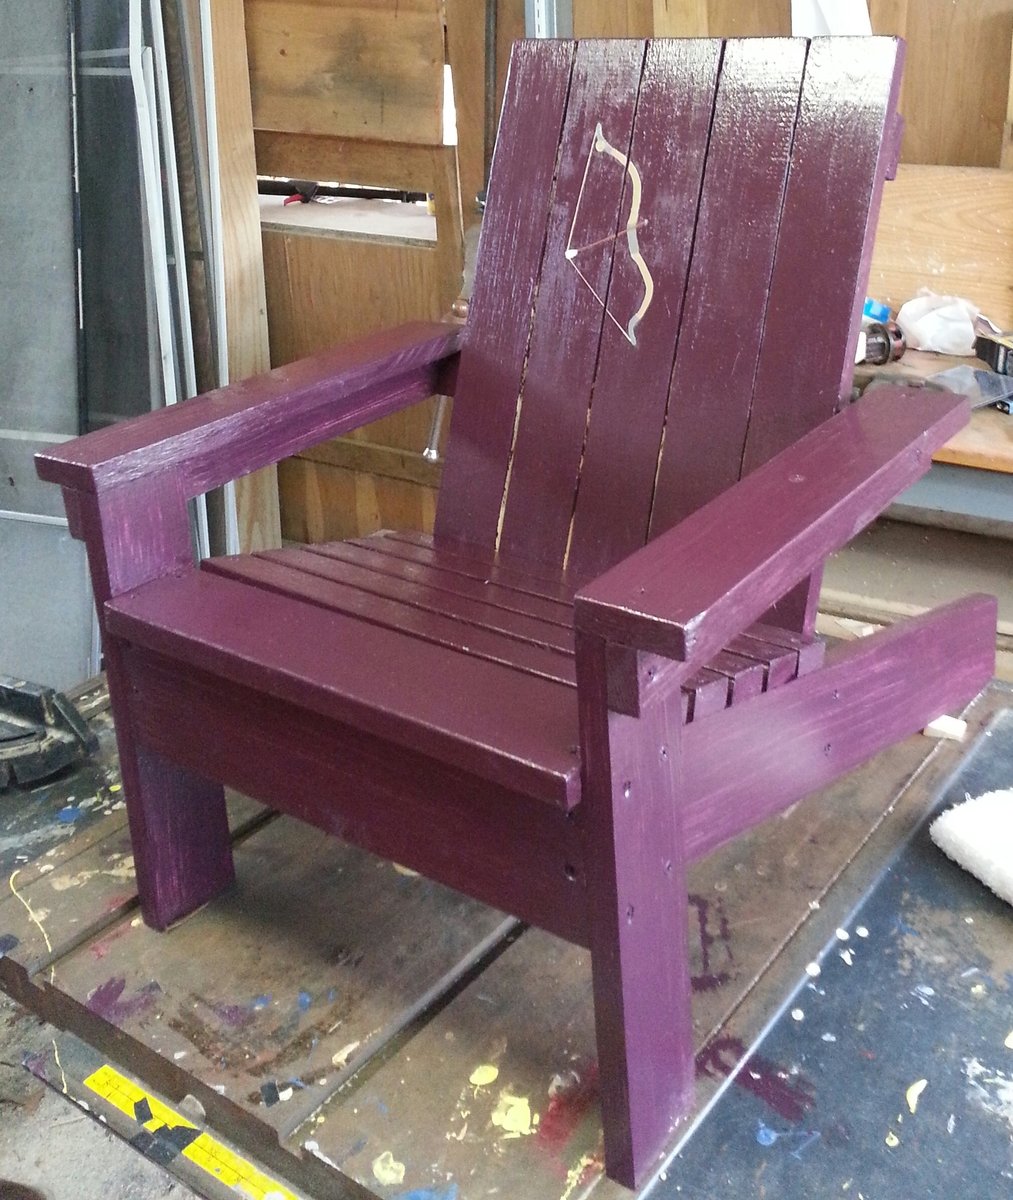
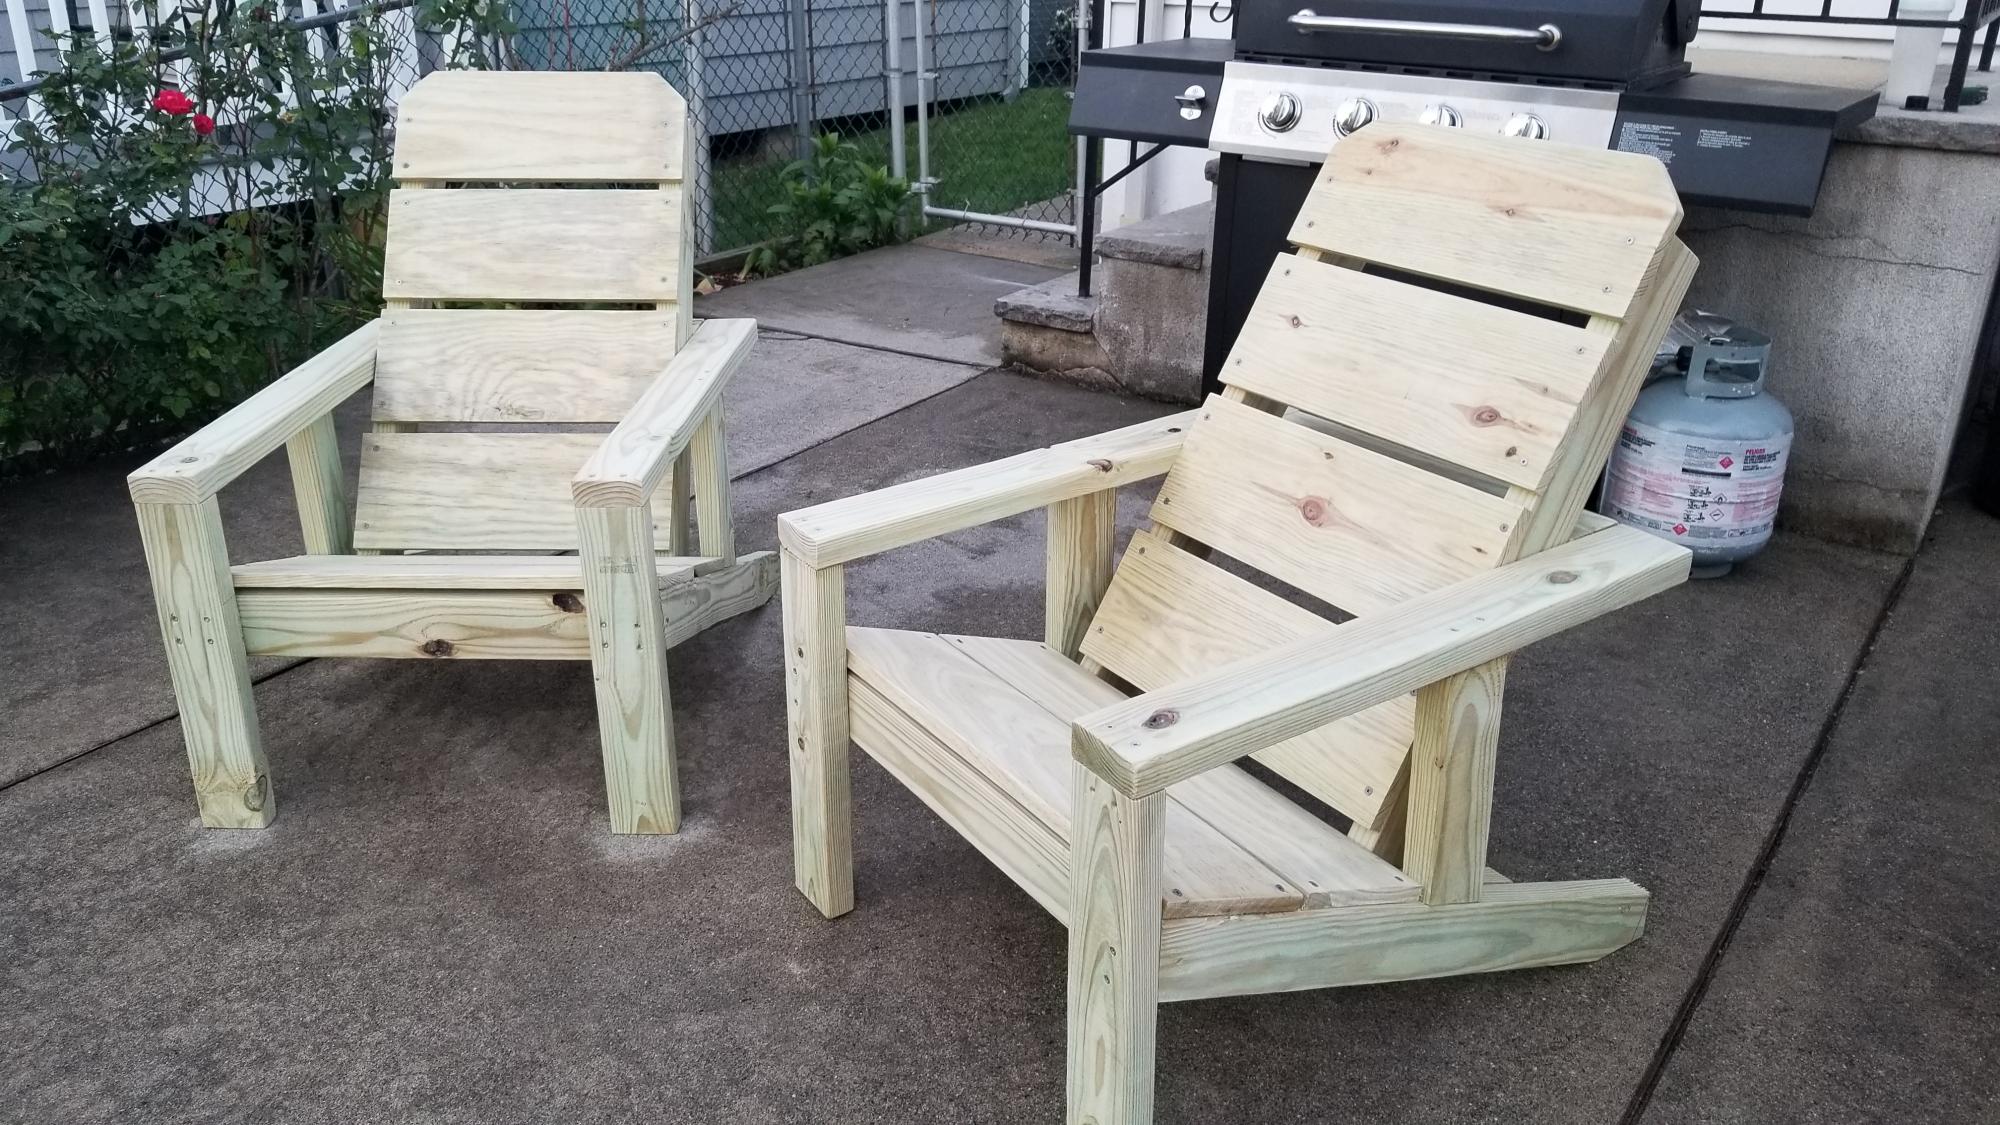
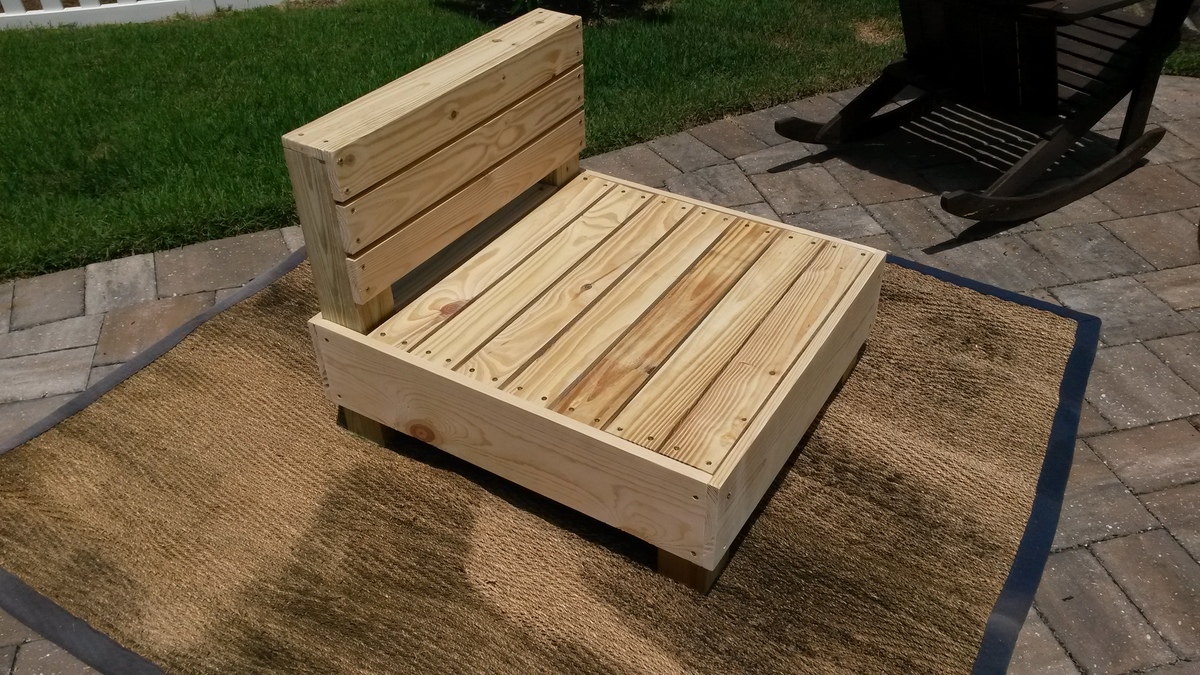
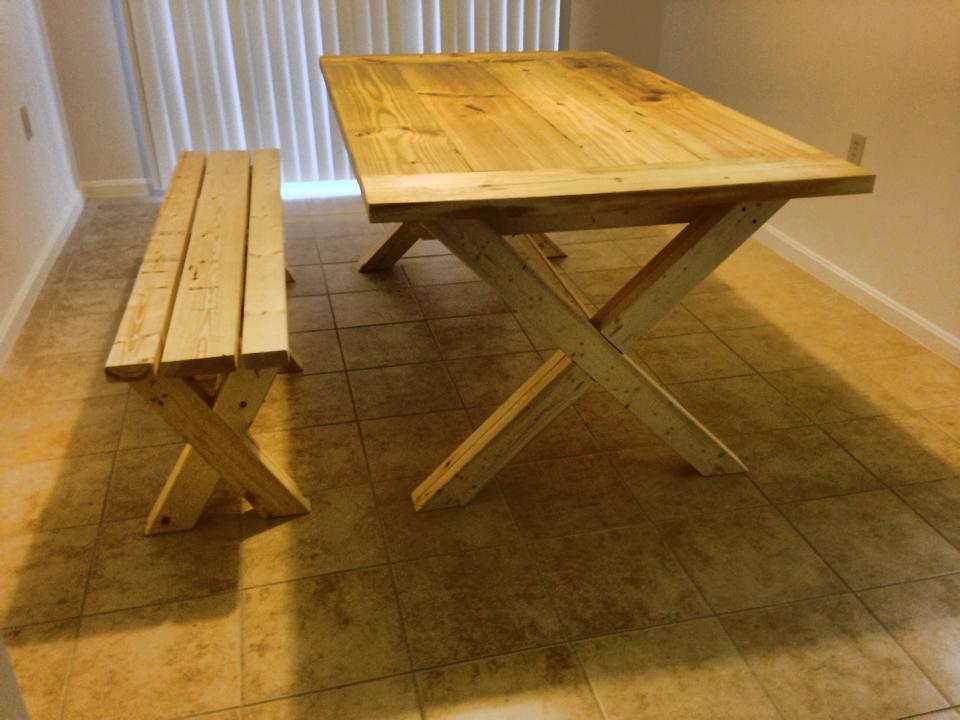
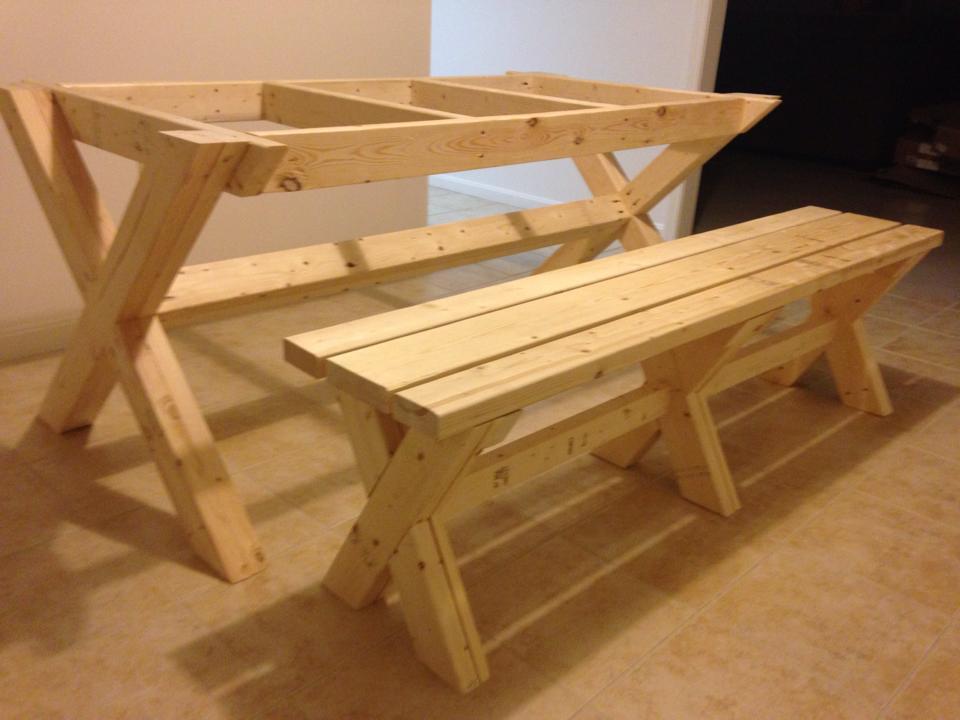
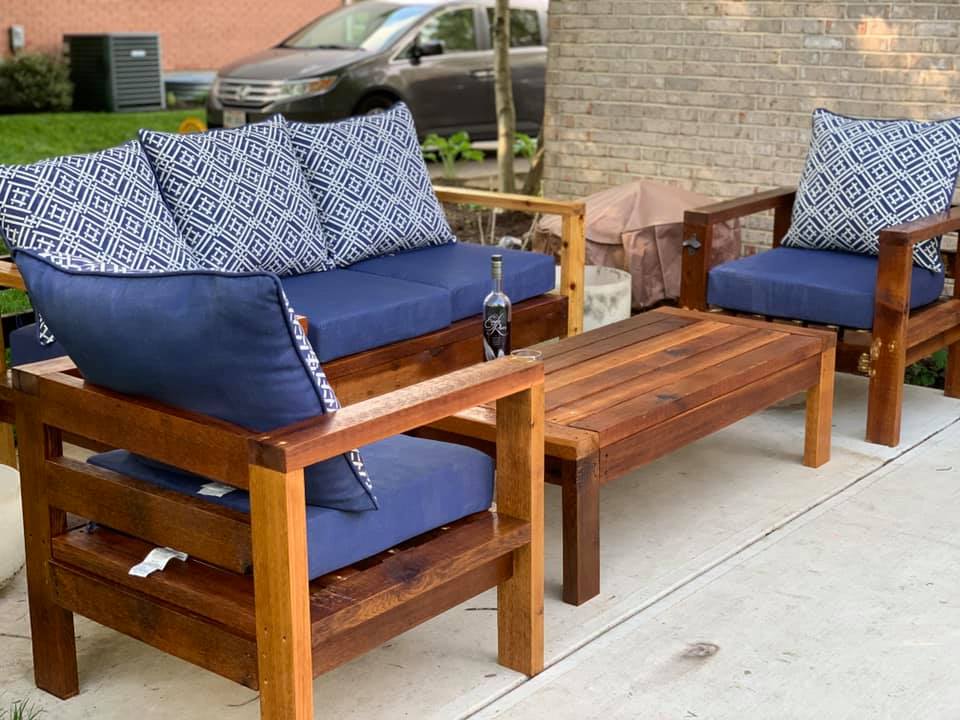
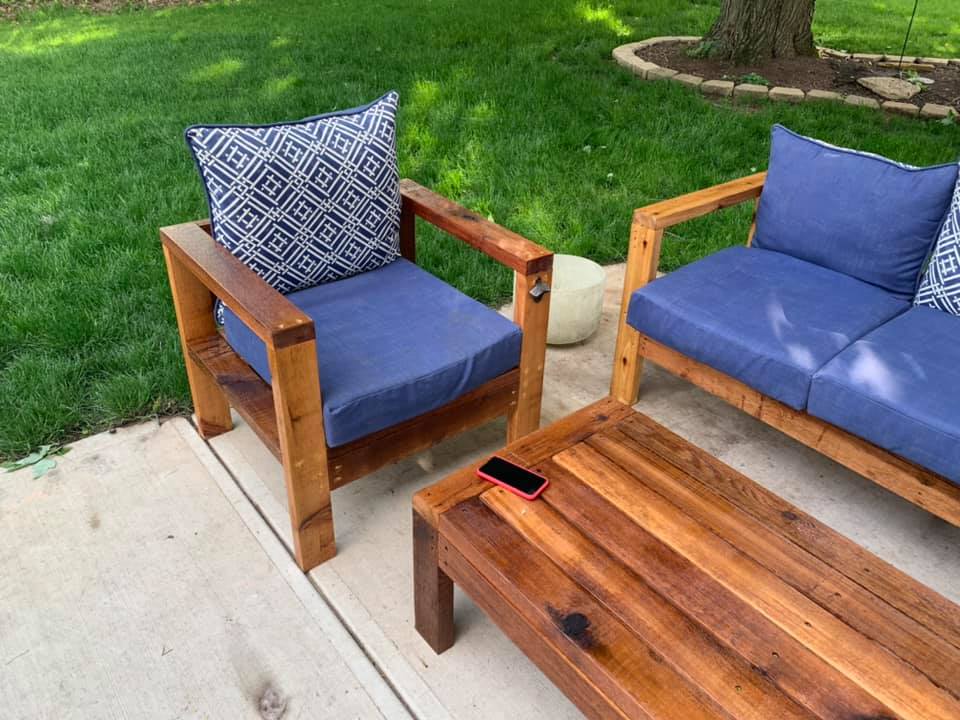
This is one of two chairs that I recently built to replace some outdoor furniture that only lasted 2 years in the Florida sun. Rather than buying a new set, I figured I could just rebuild them using wood which would last a lot longer. I built these off the measurements of the chairs I was replacing, and also had to keep the dimensions the same since they came with custom cushions that I wanted to re-use. They are approx. 15" high at the seat, 31" deep and 28" wide
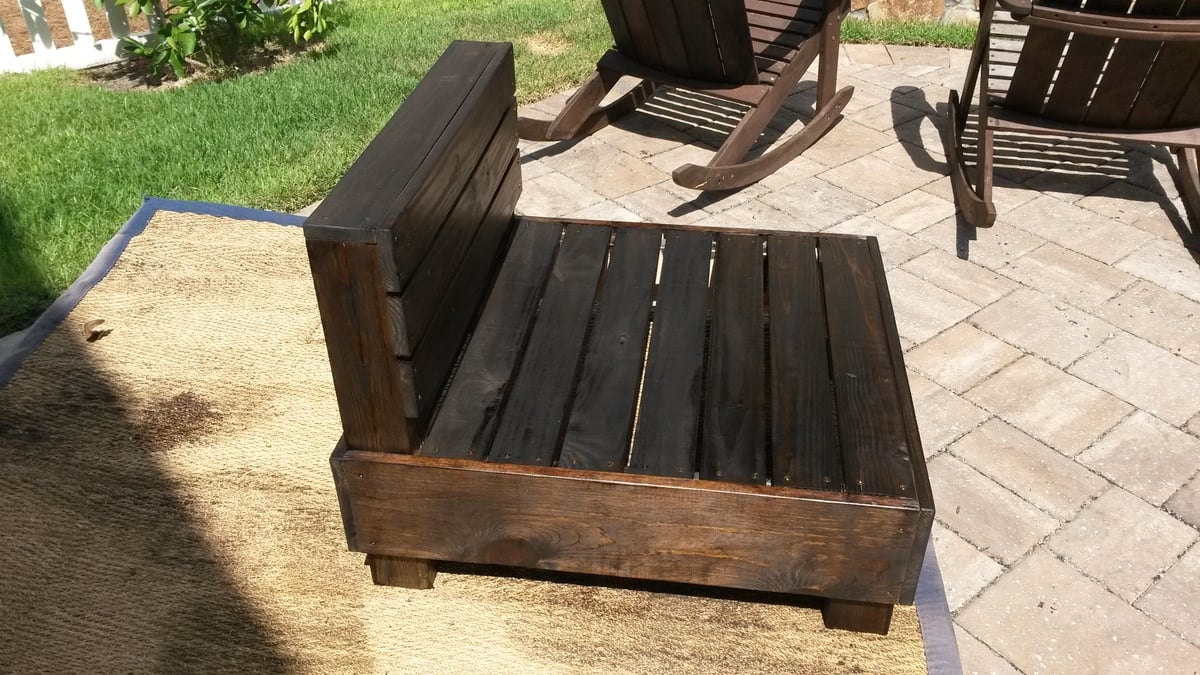
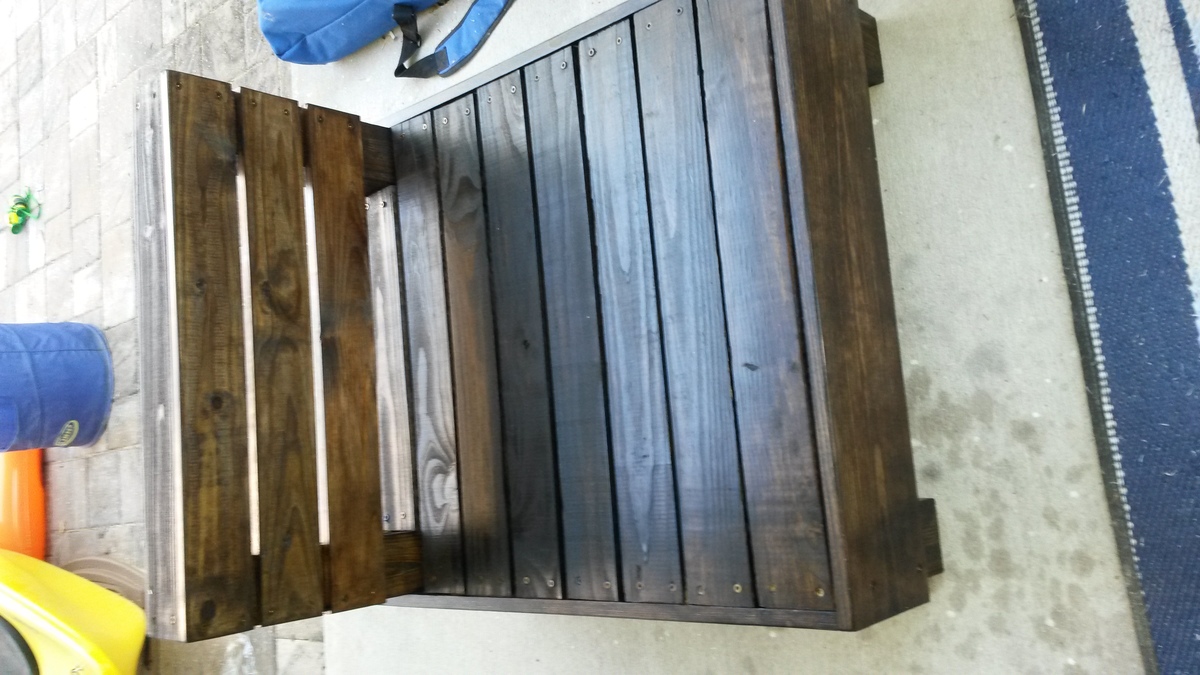
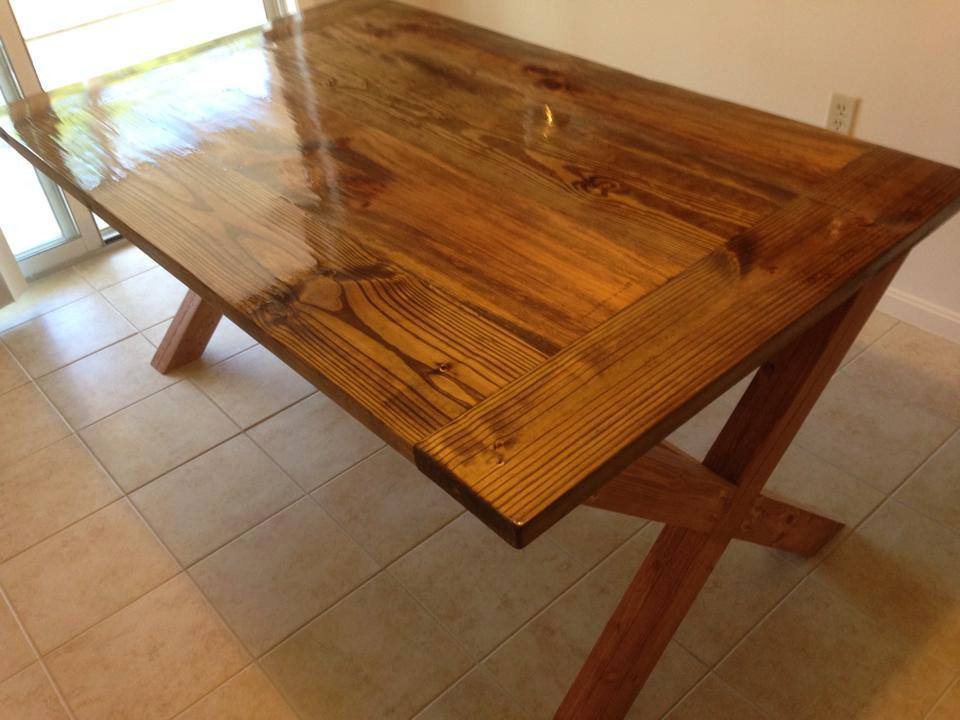
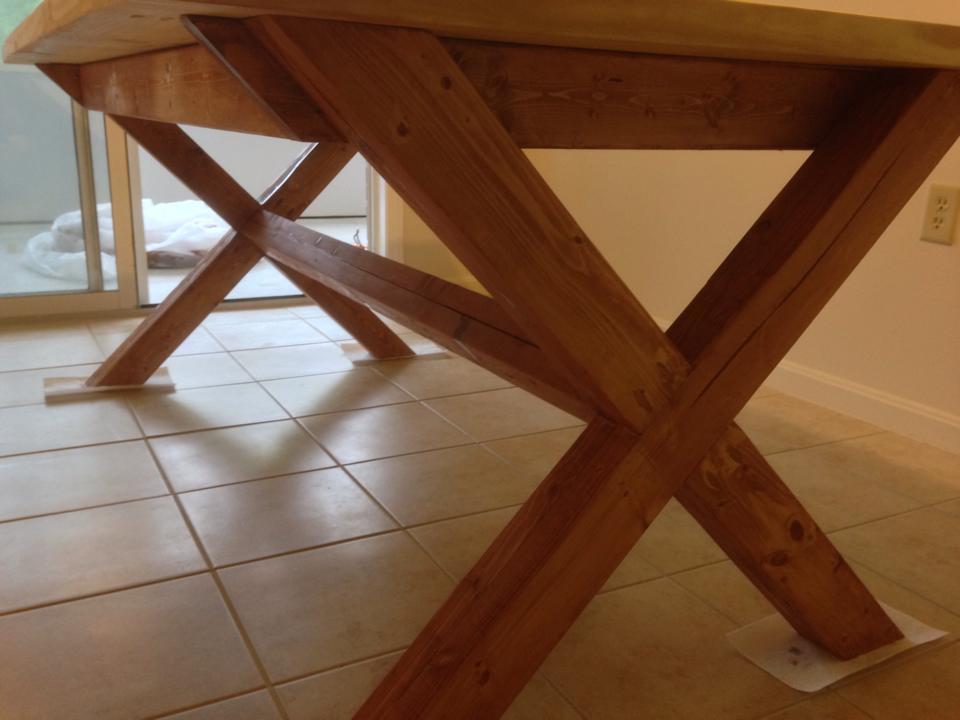
I used 4 PT 4x4's for the support in the corners, 4 - 1x10 common board for the outside edges and 12 1x4's. I used decking screws and stained it with a dark walnut followed by a coat of poly.
They are on the heavy side, but came out great and will definitely last longer than 2 years!