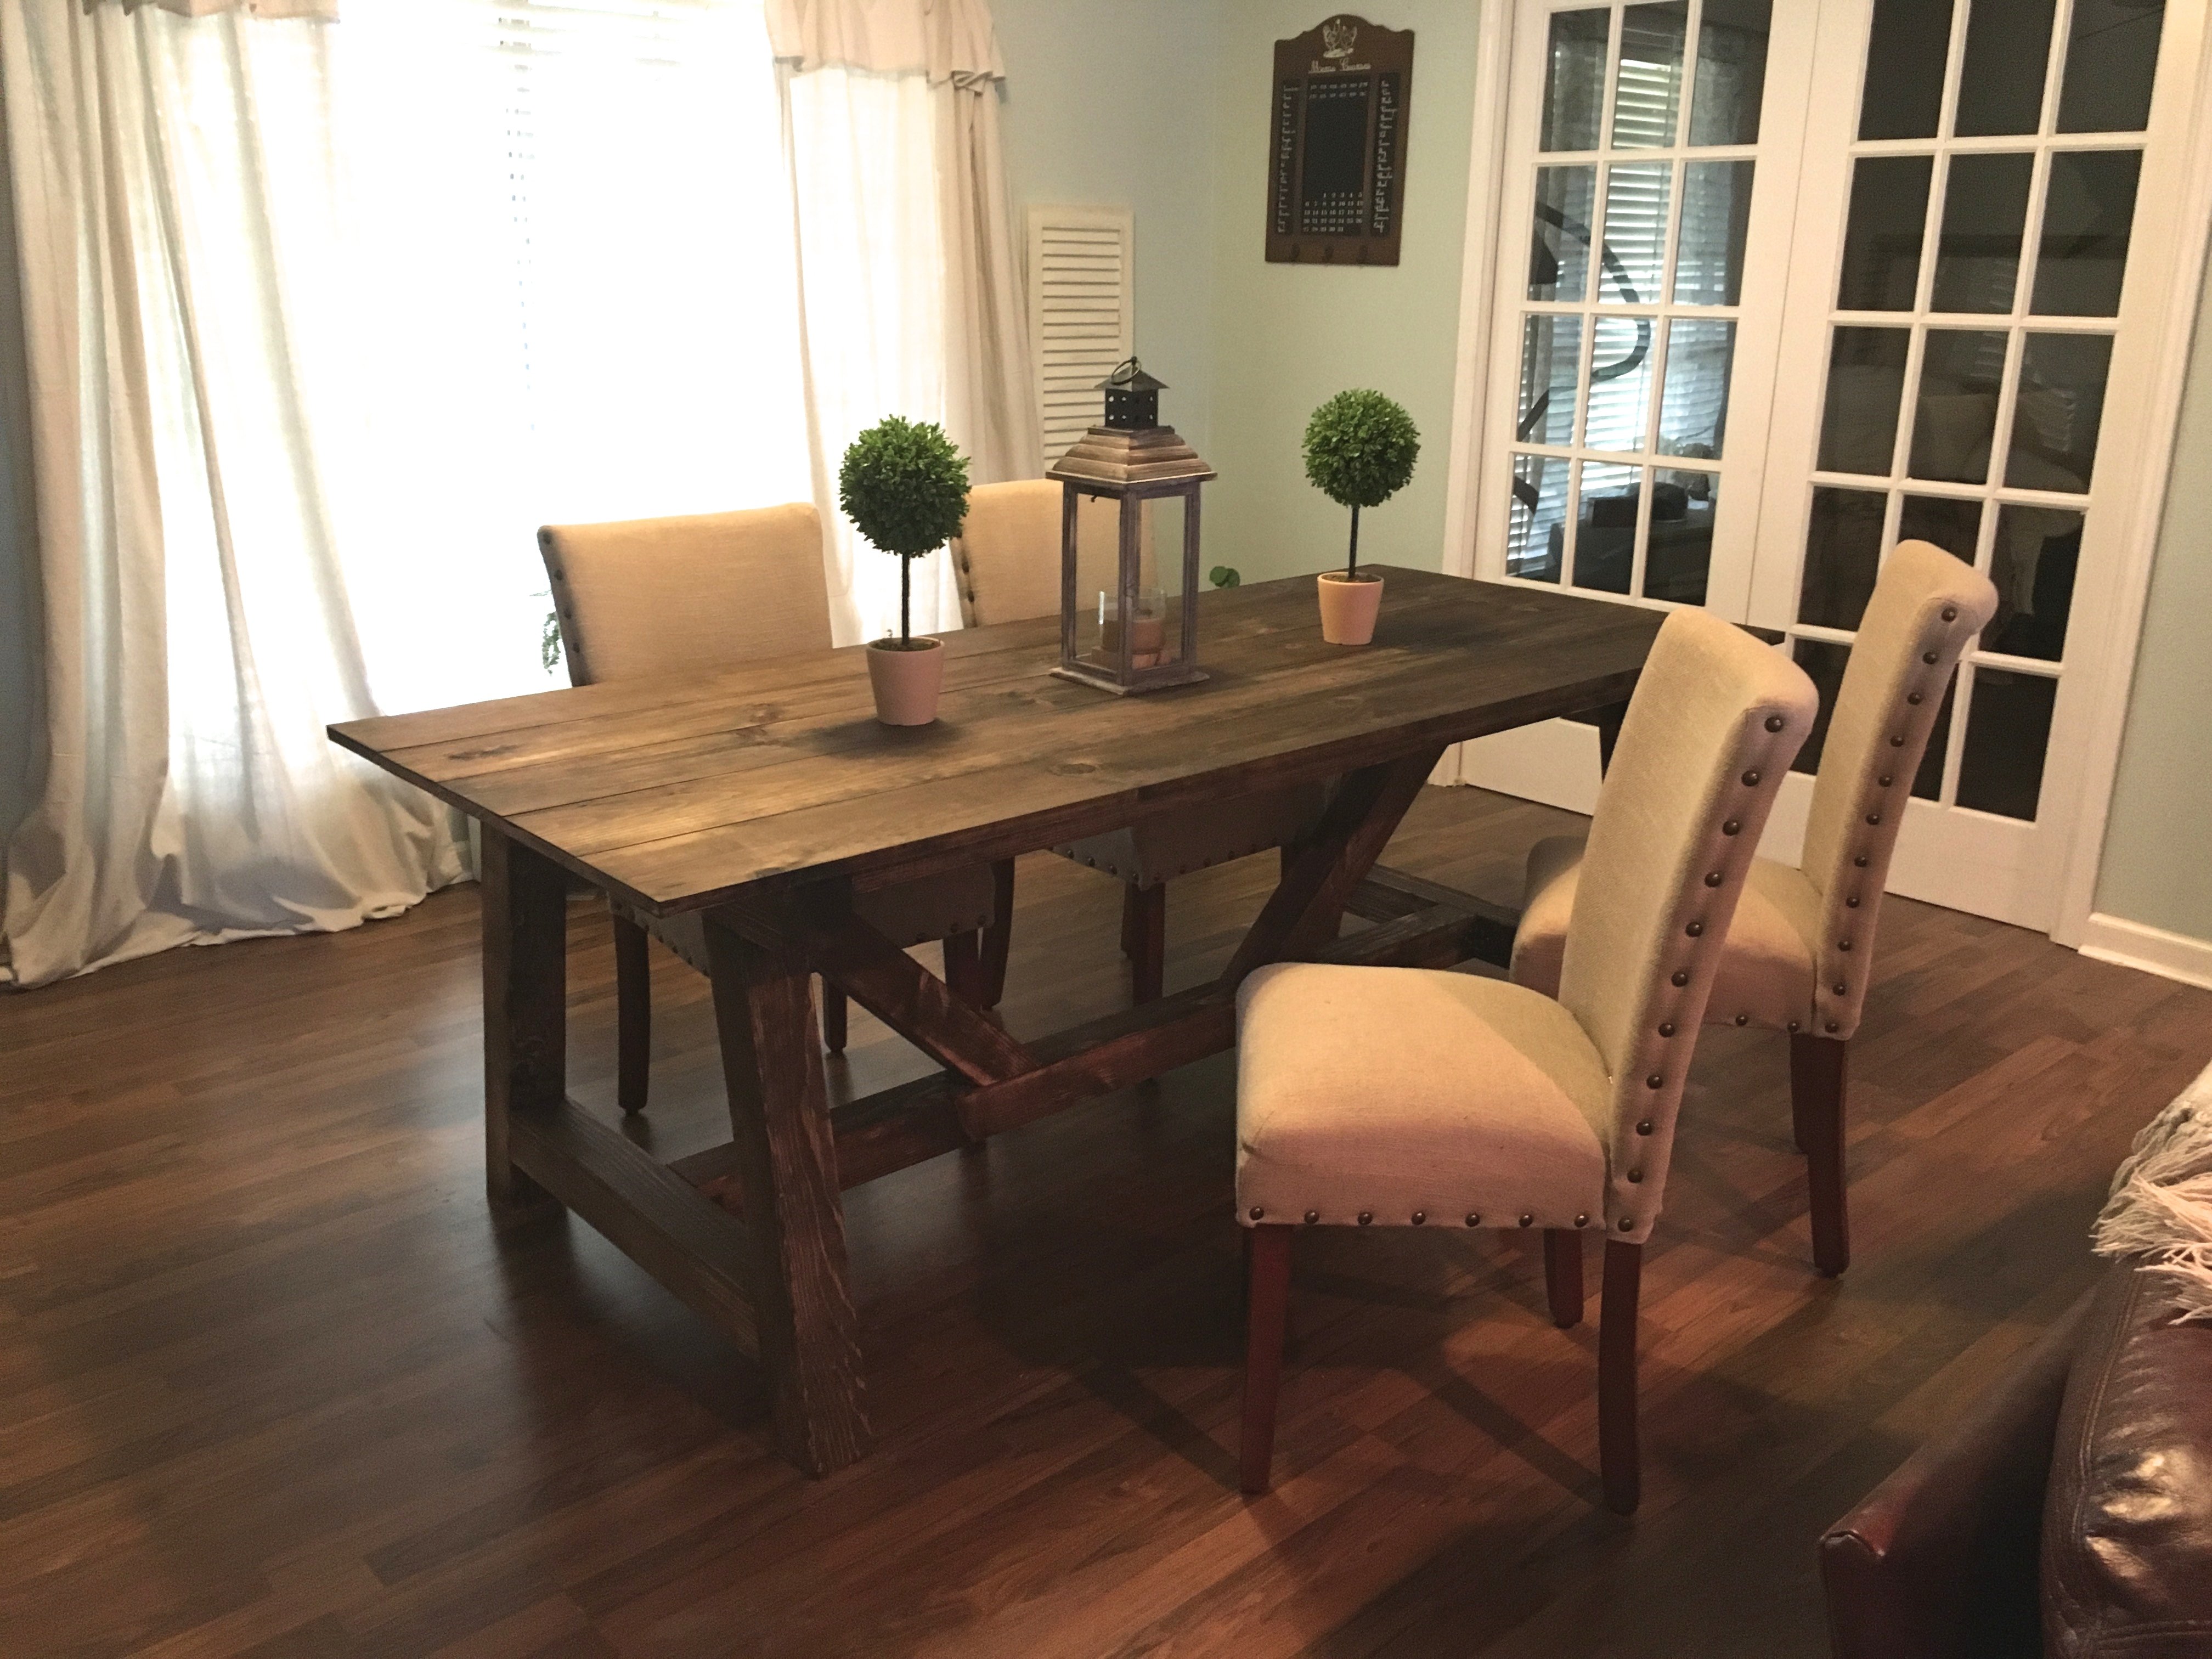
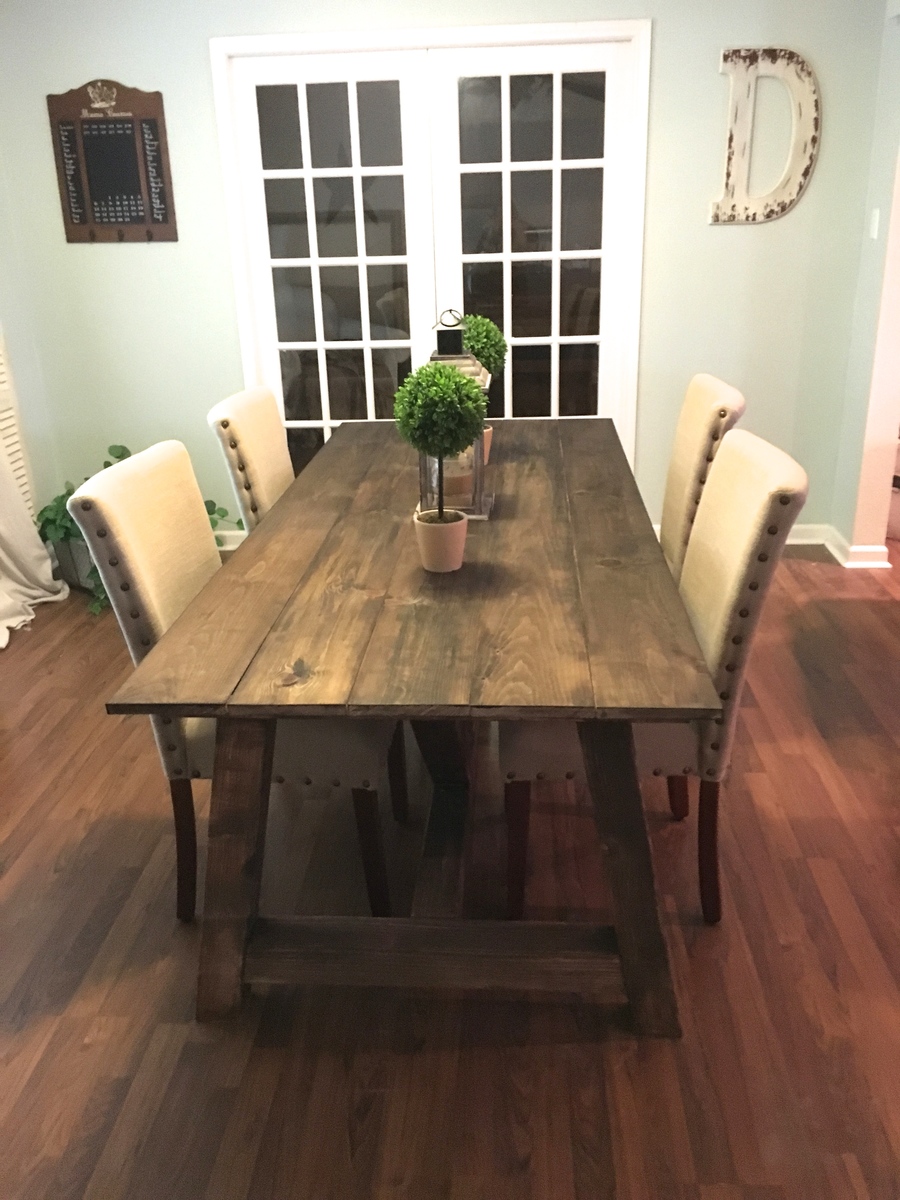
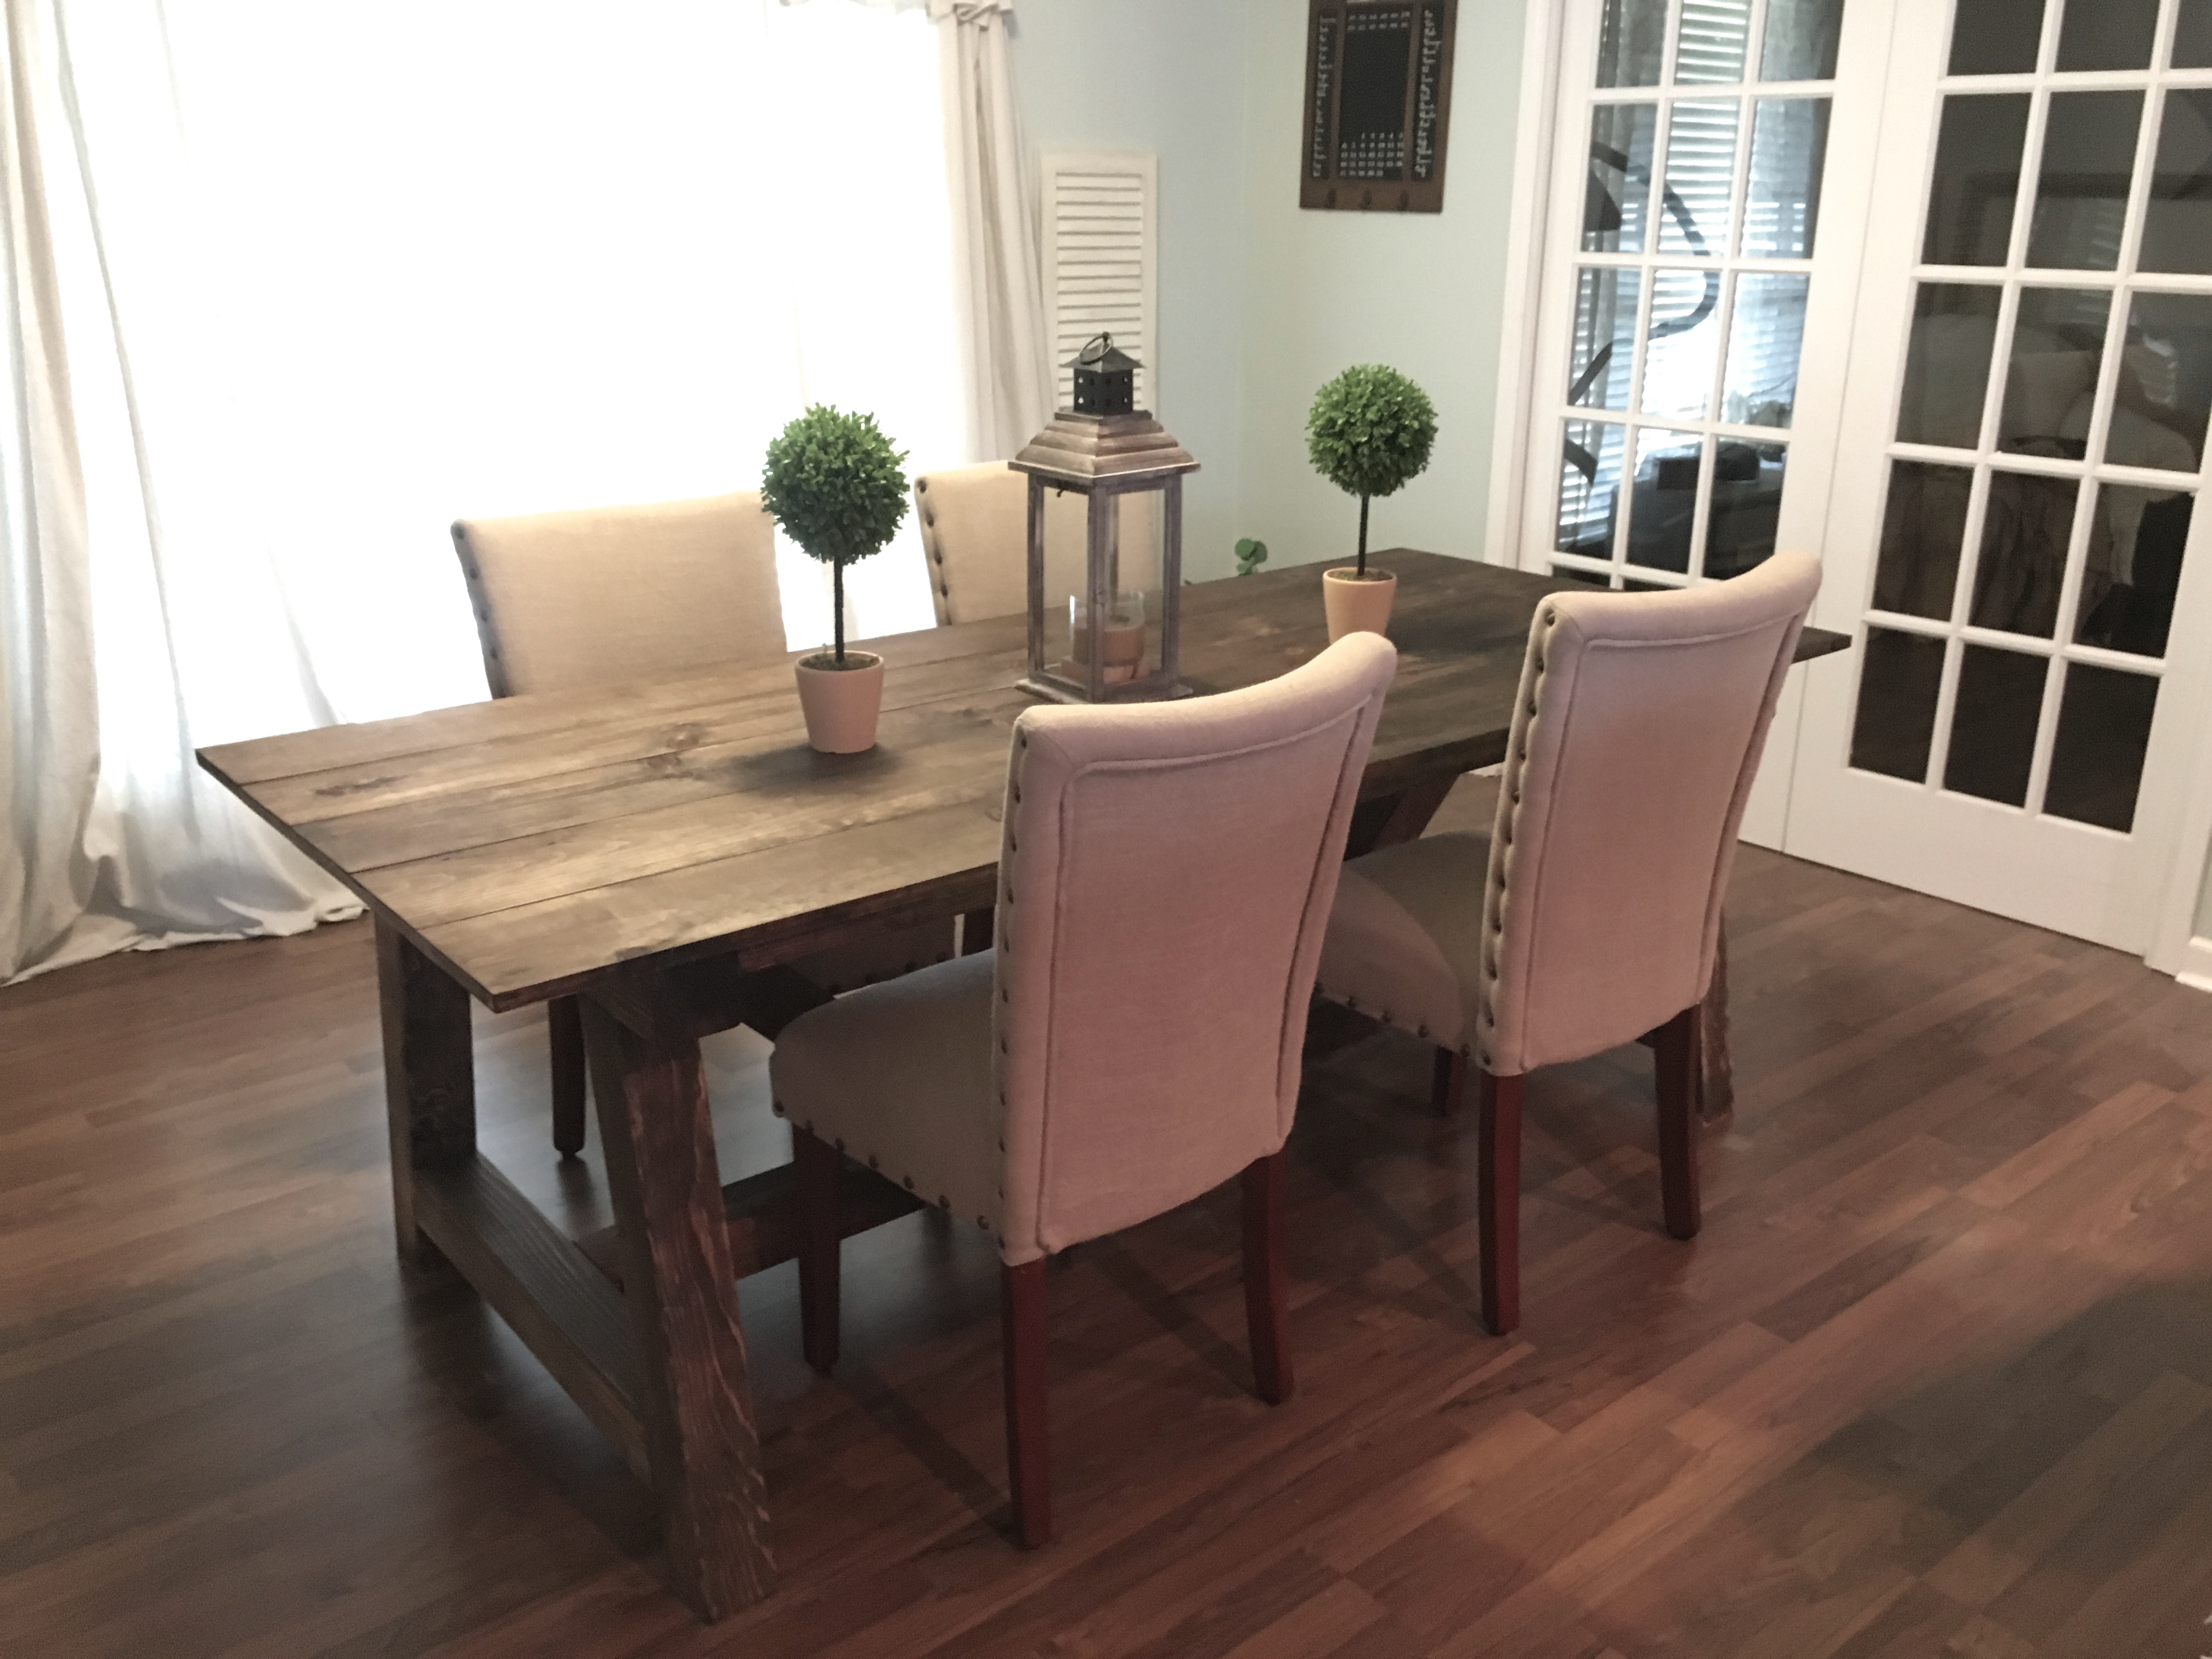
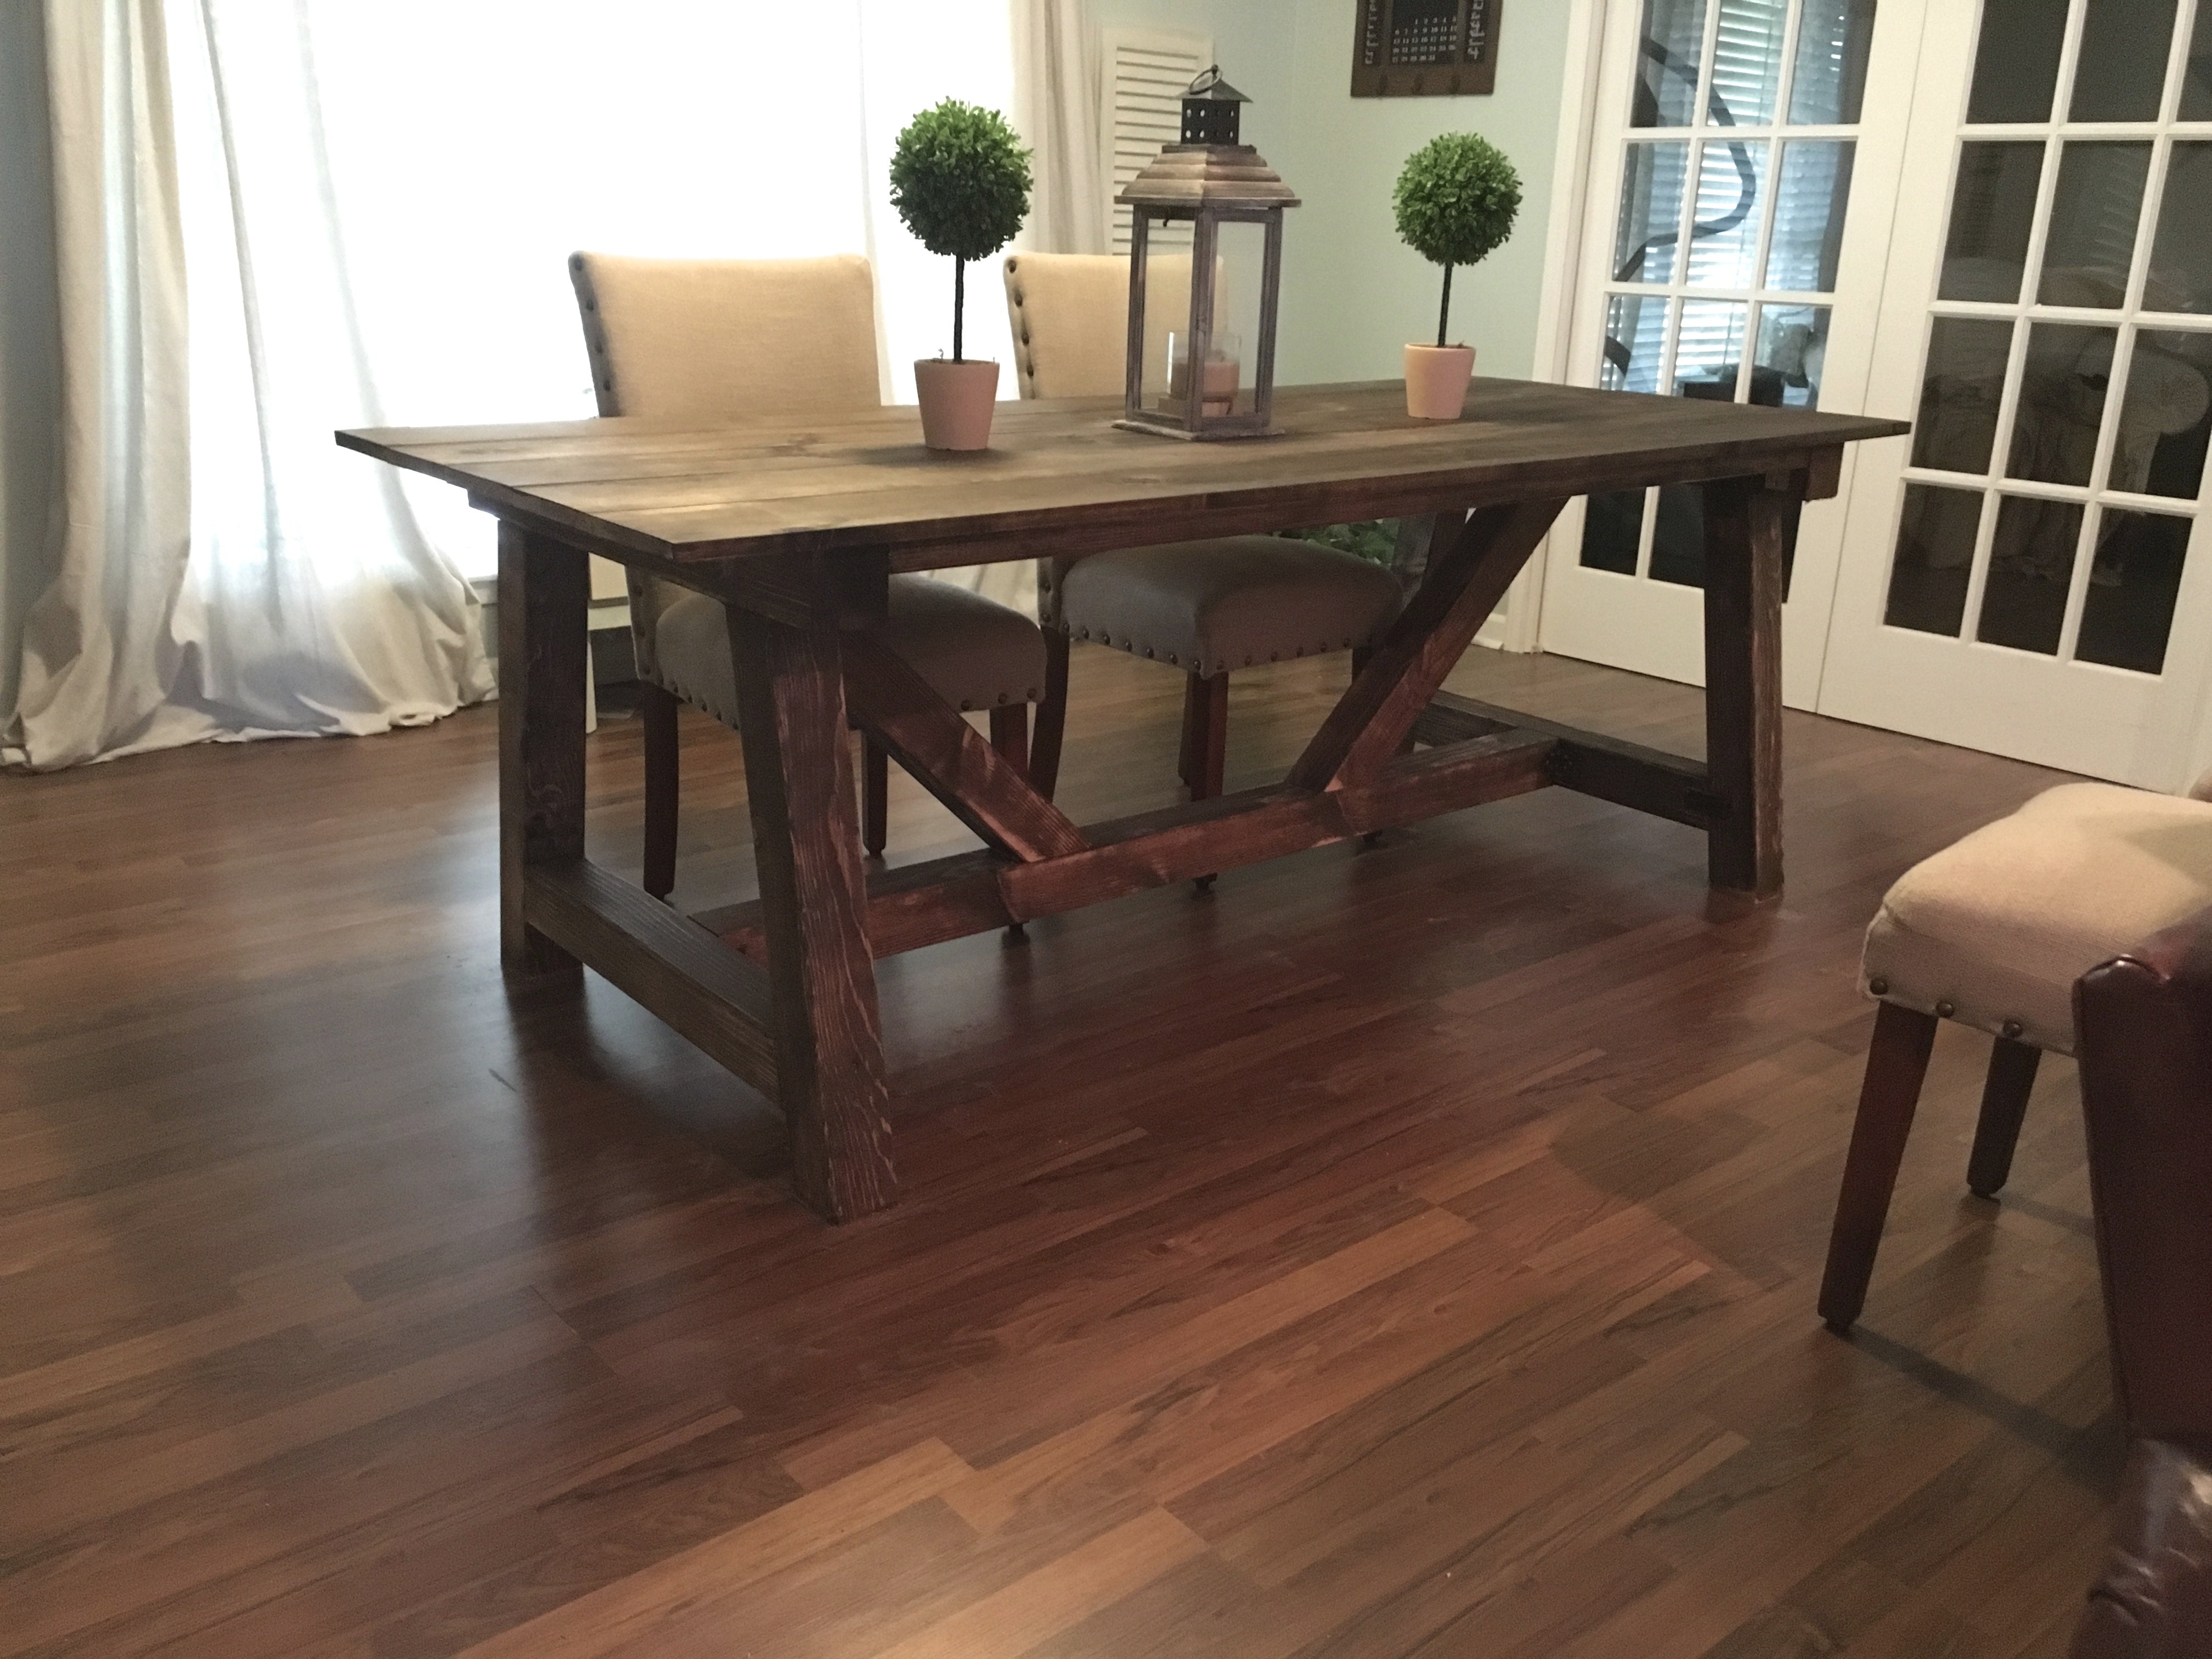
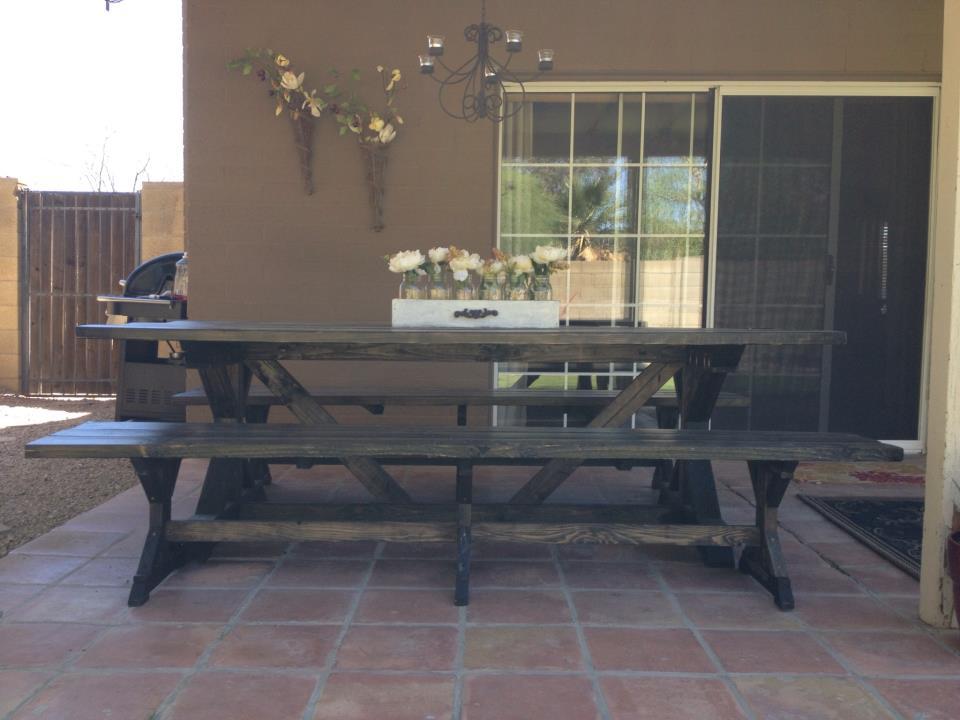
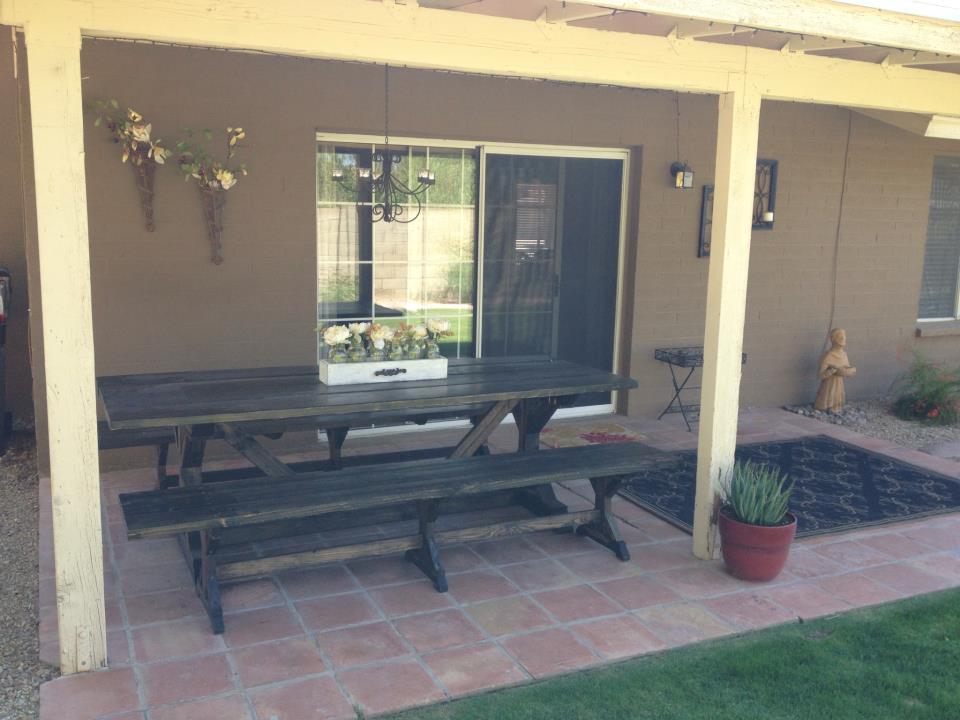
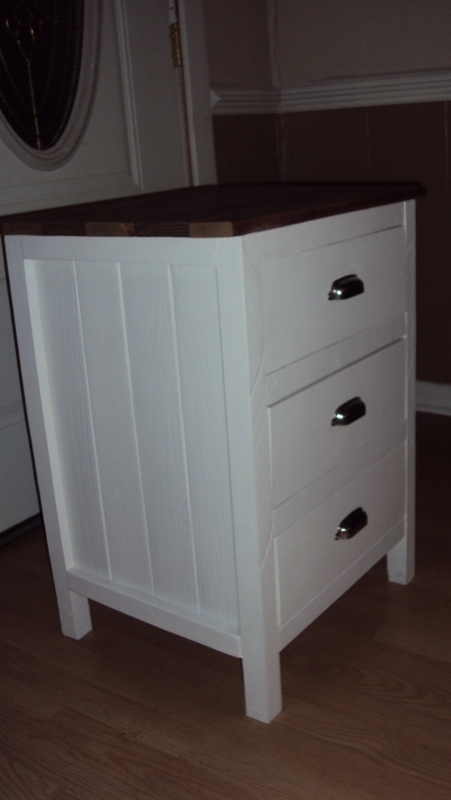
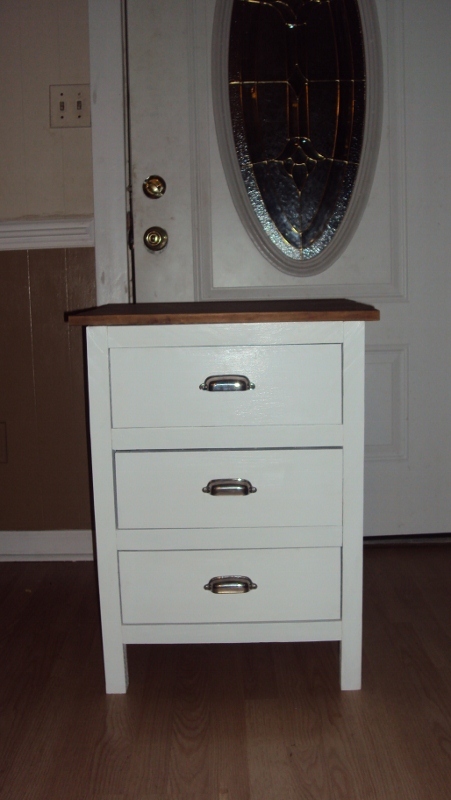
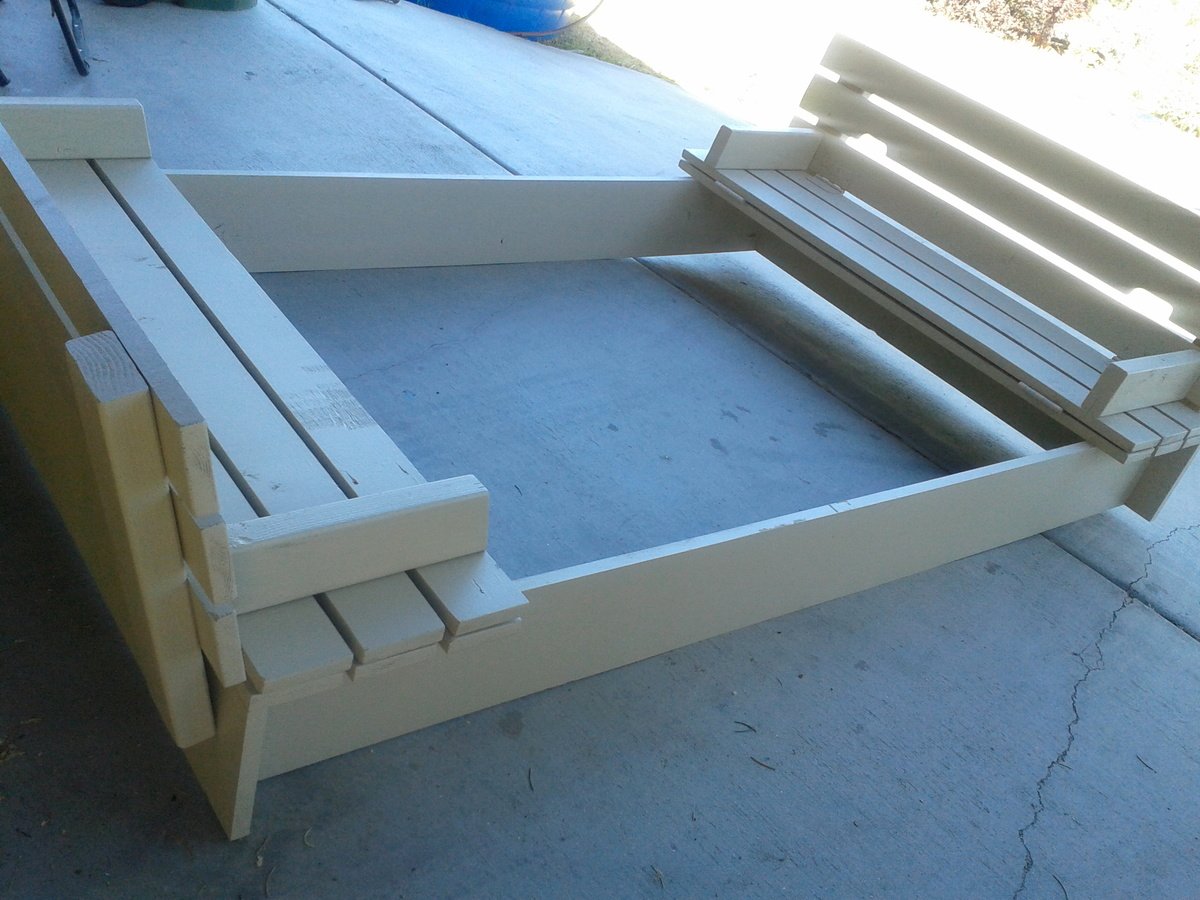
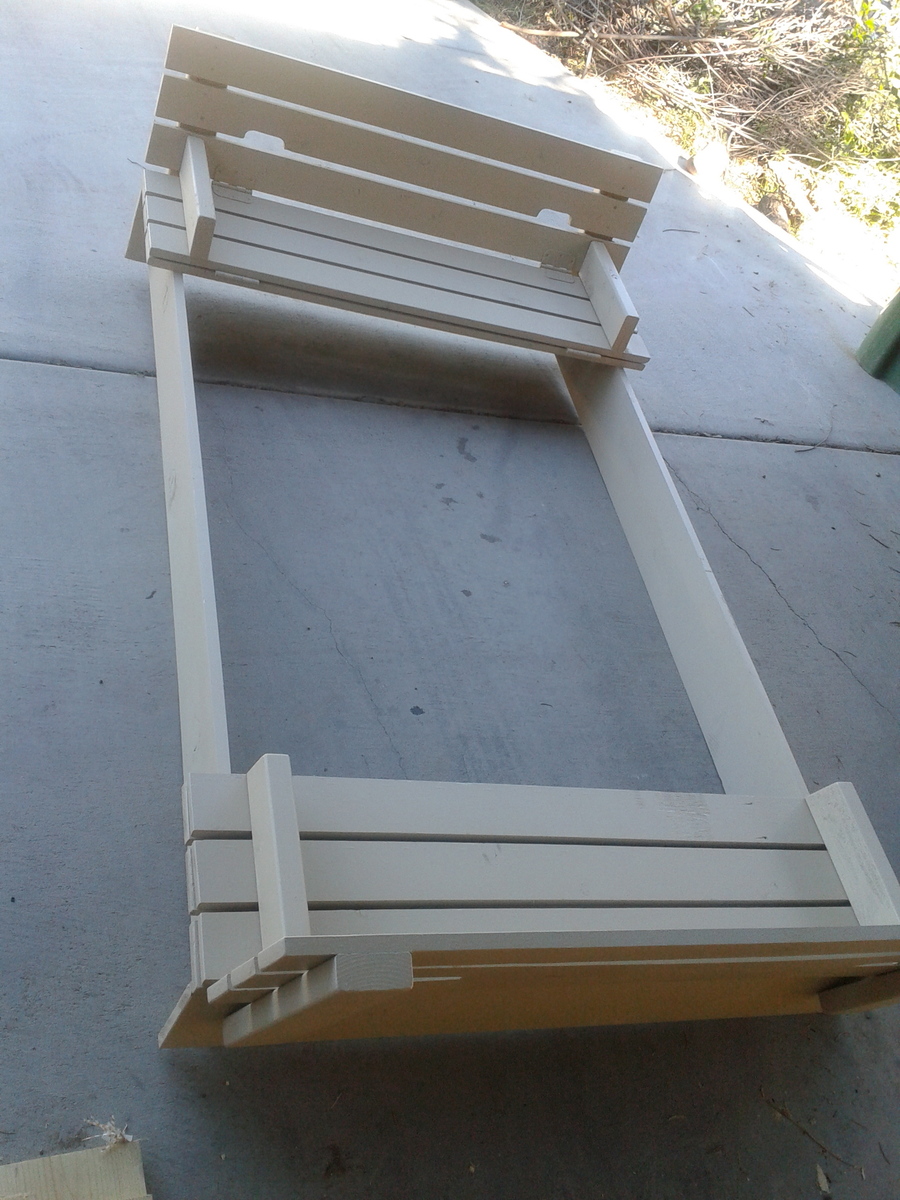
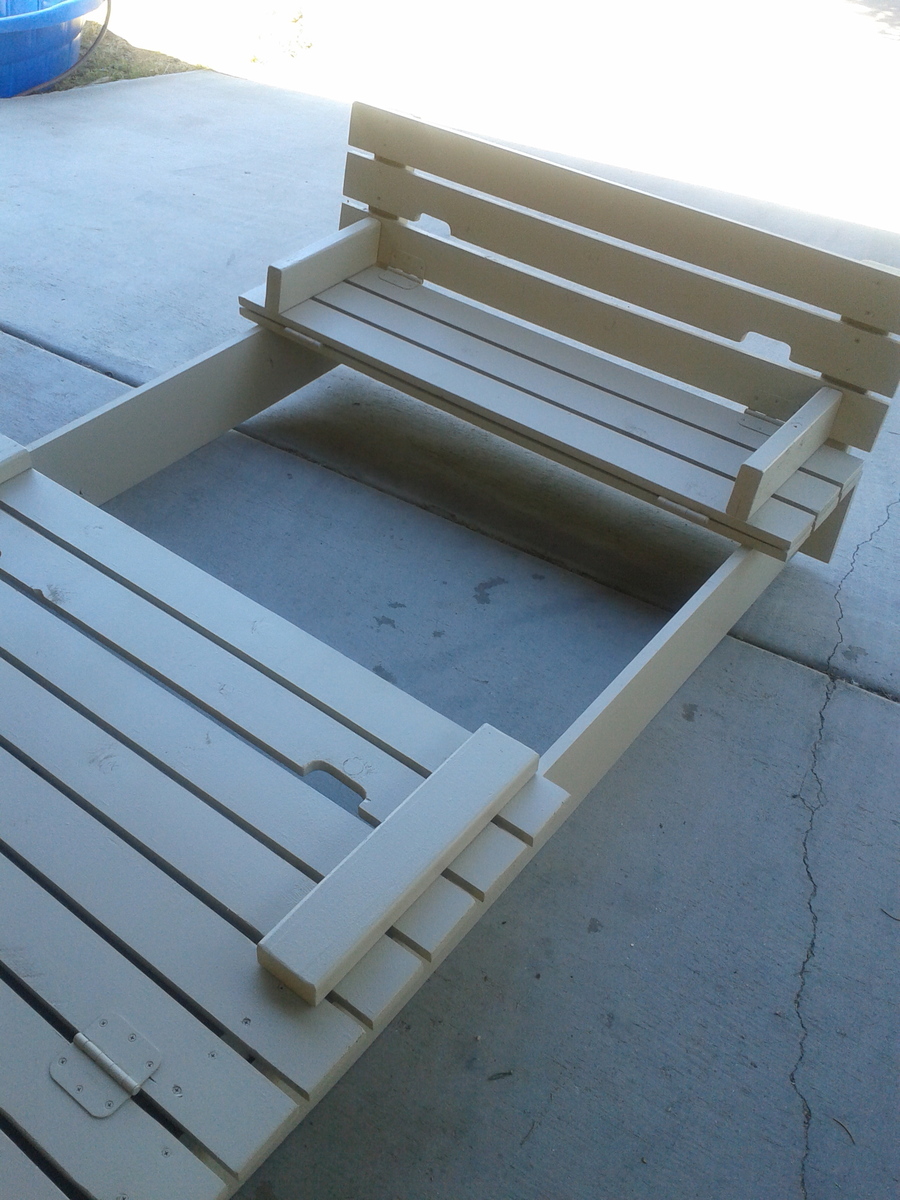
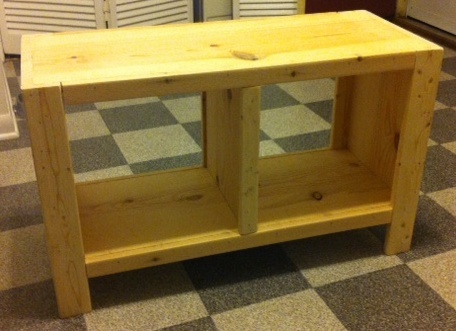
double pedestal table
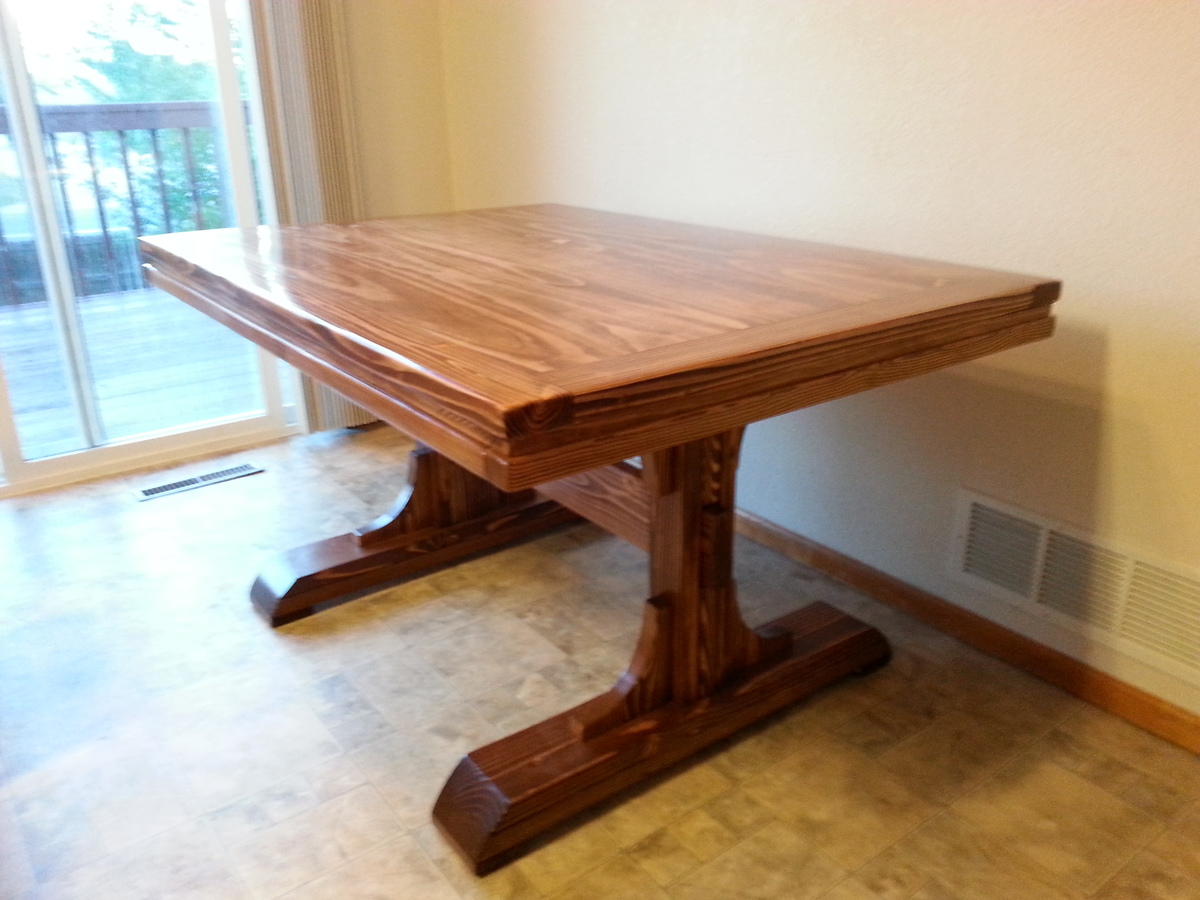
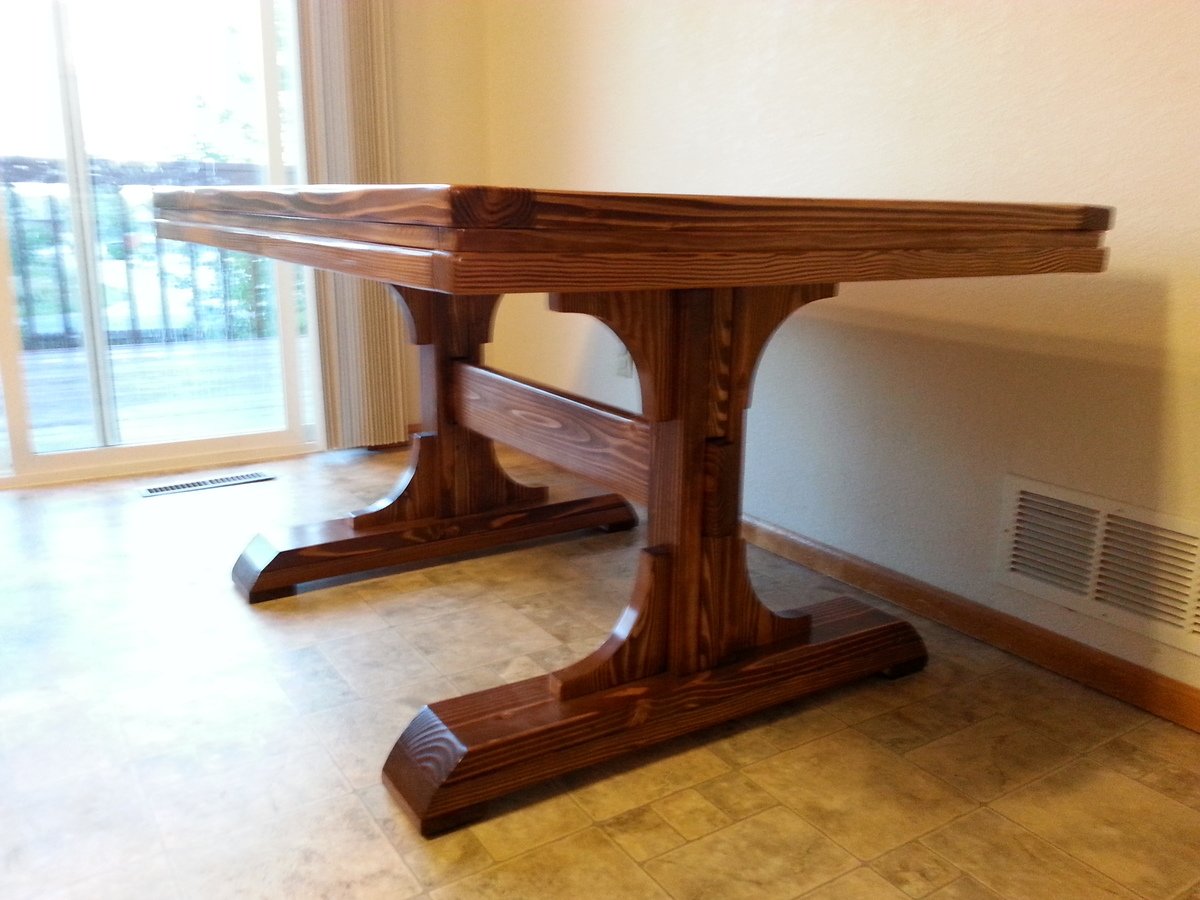
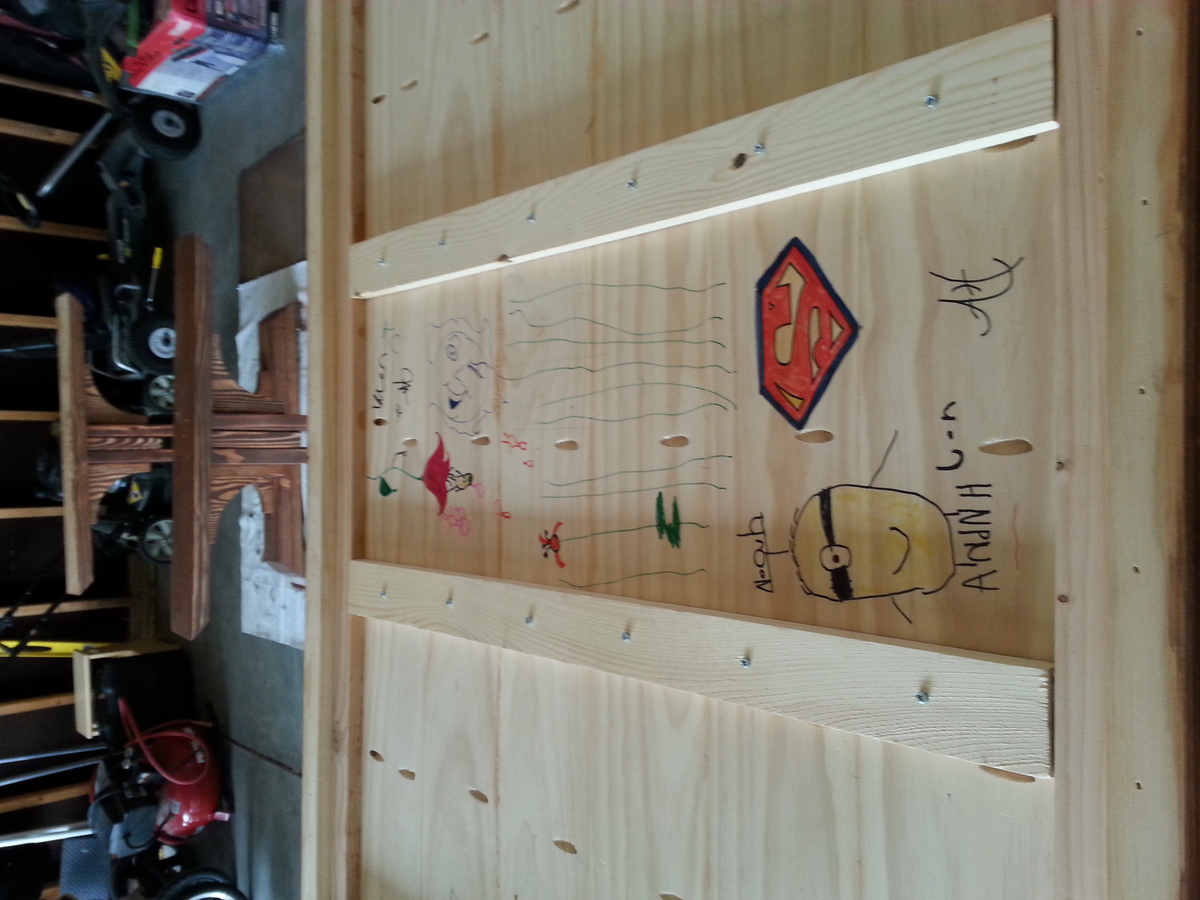
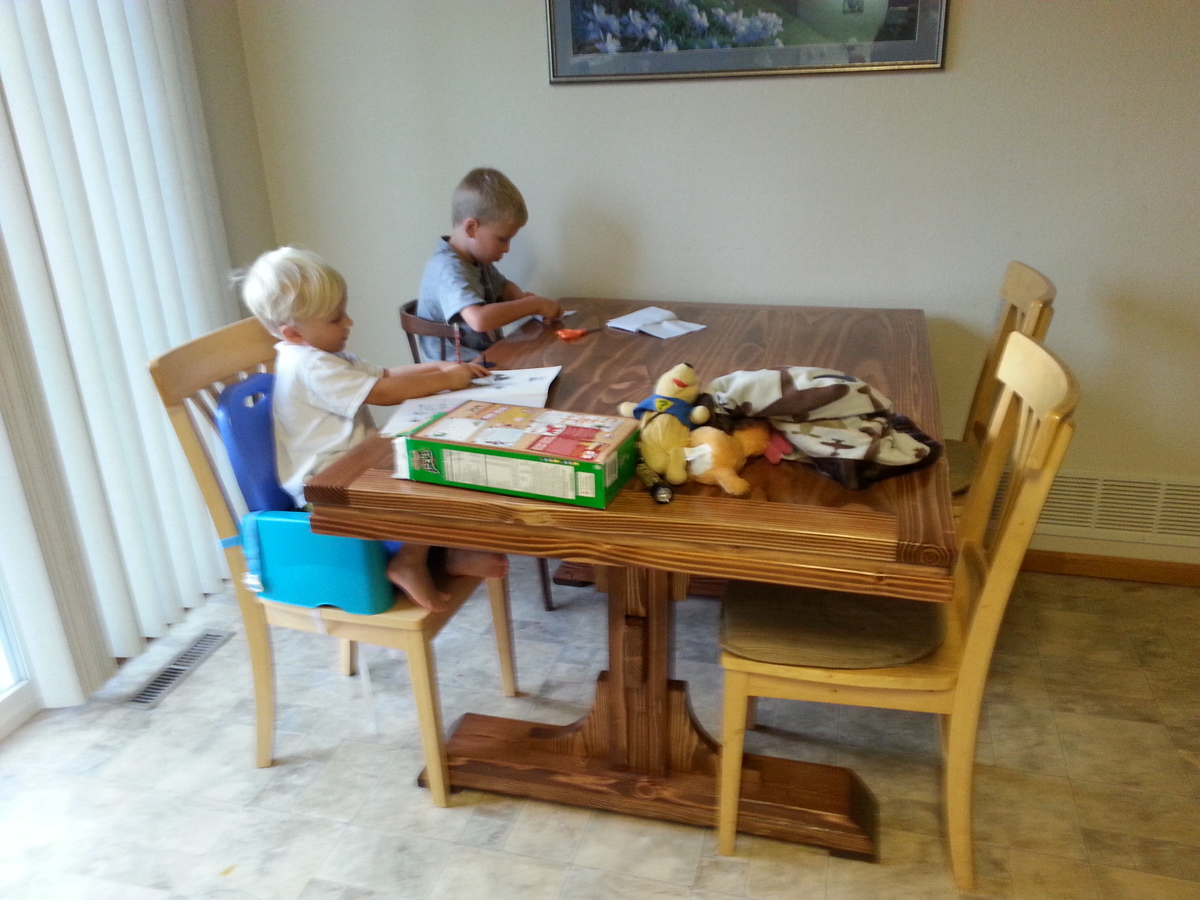
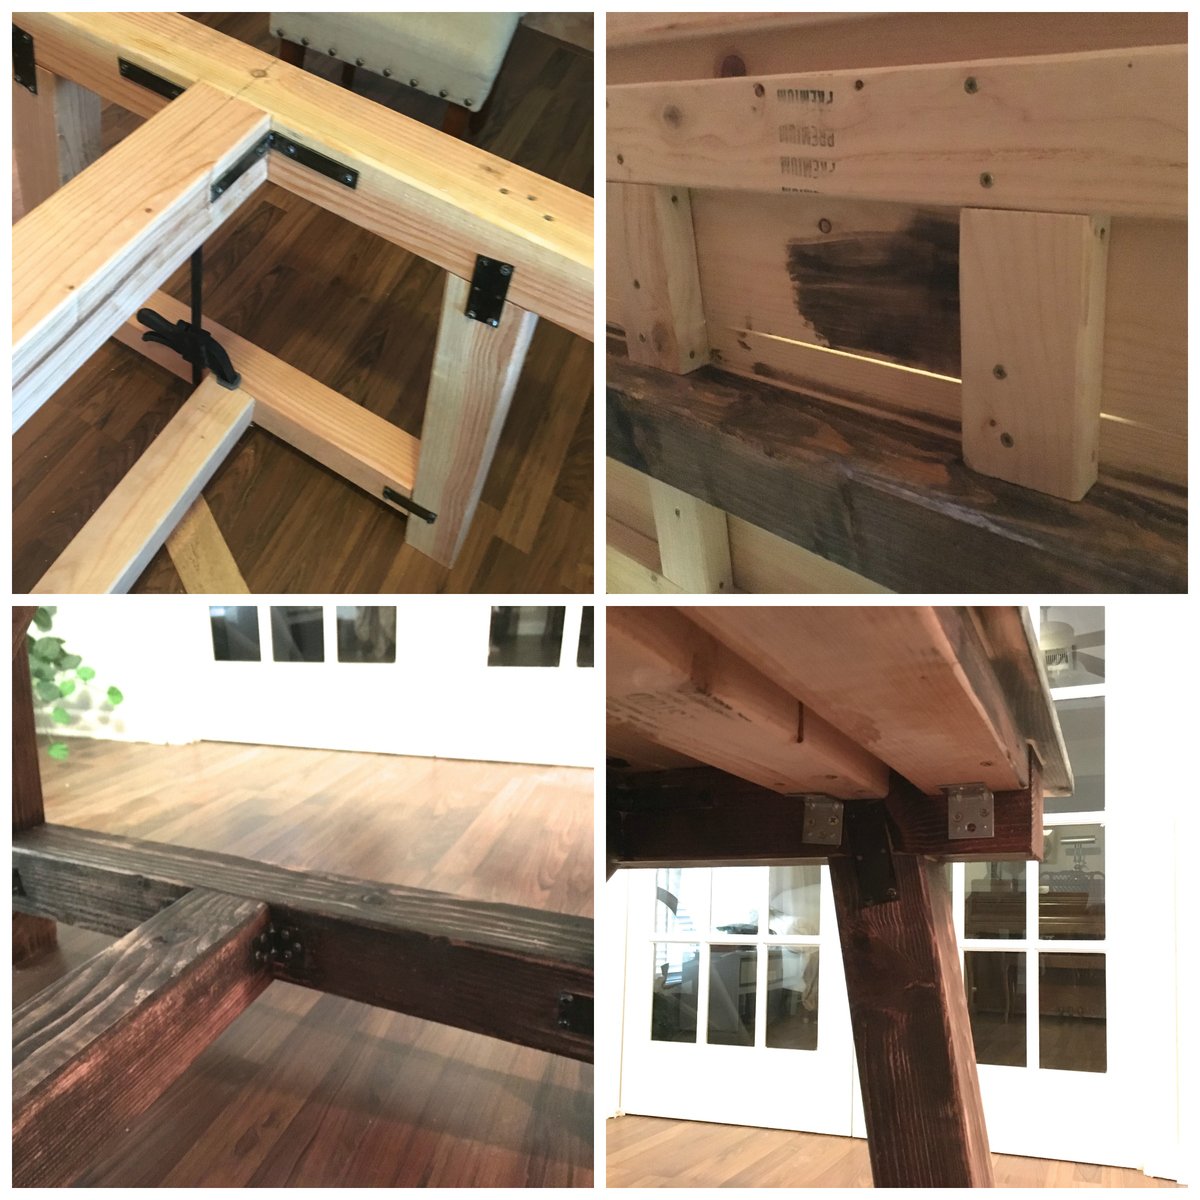
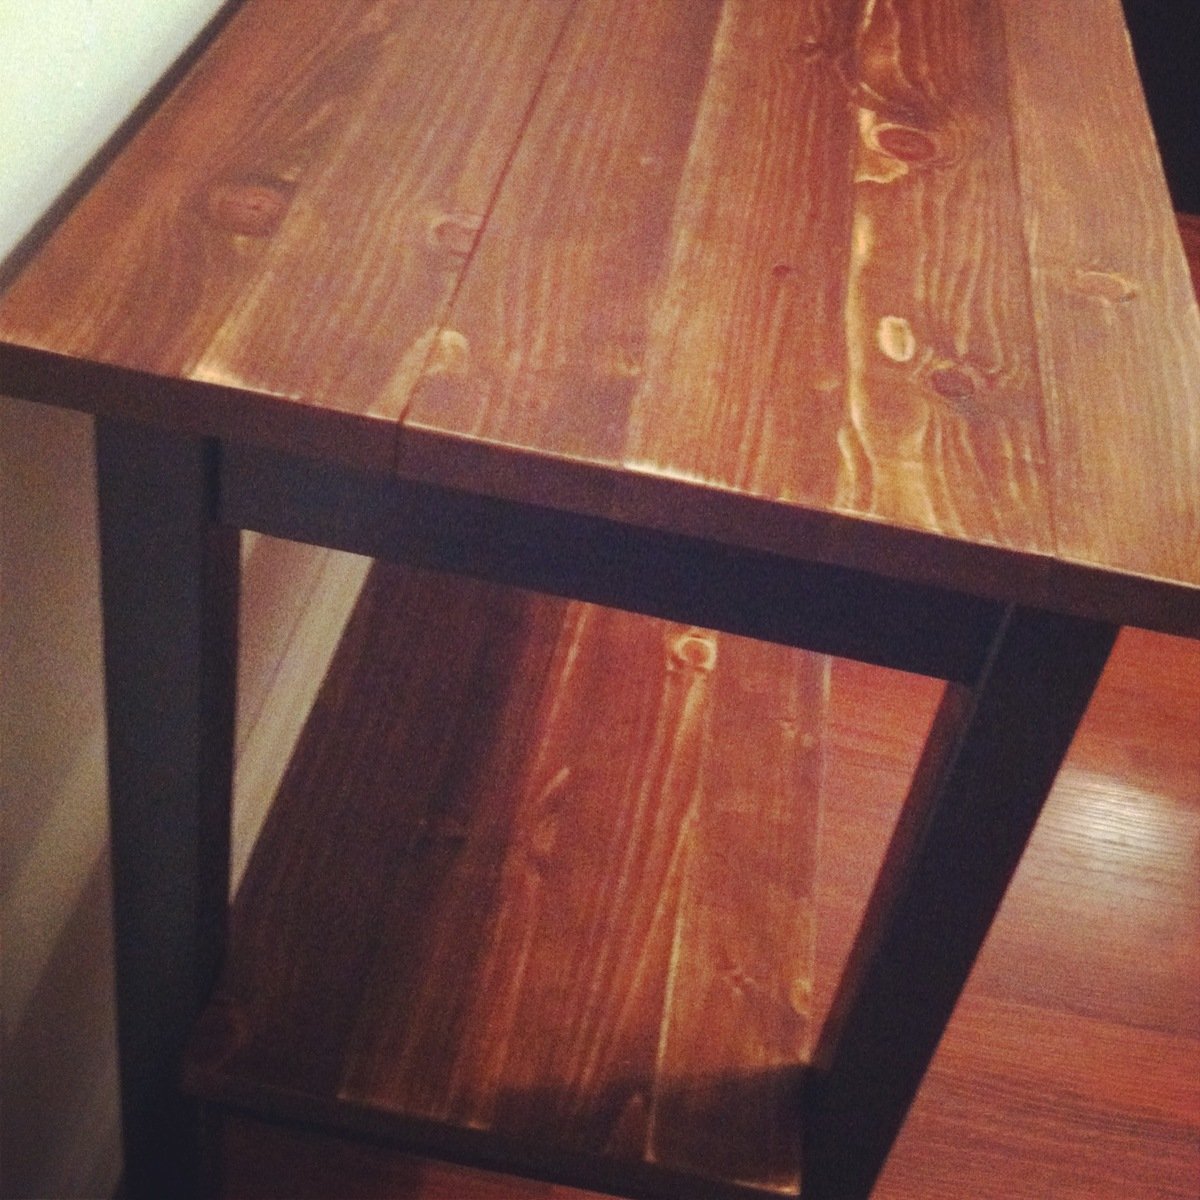
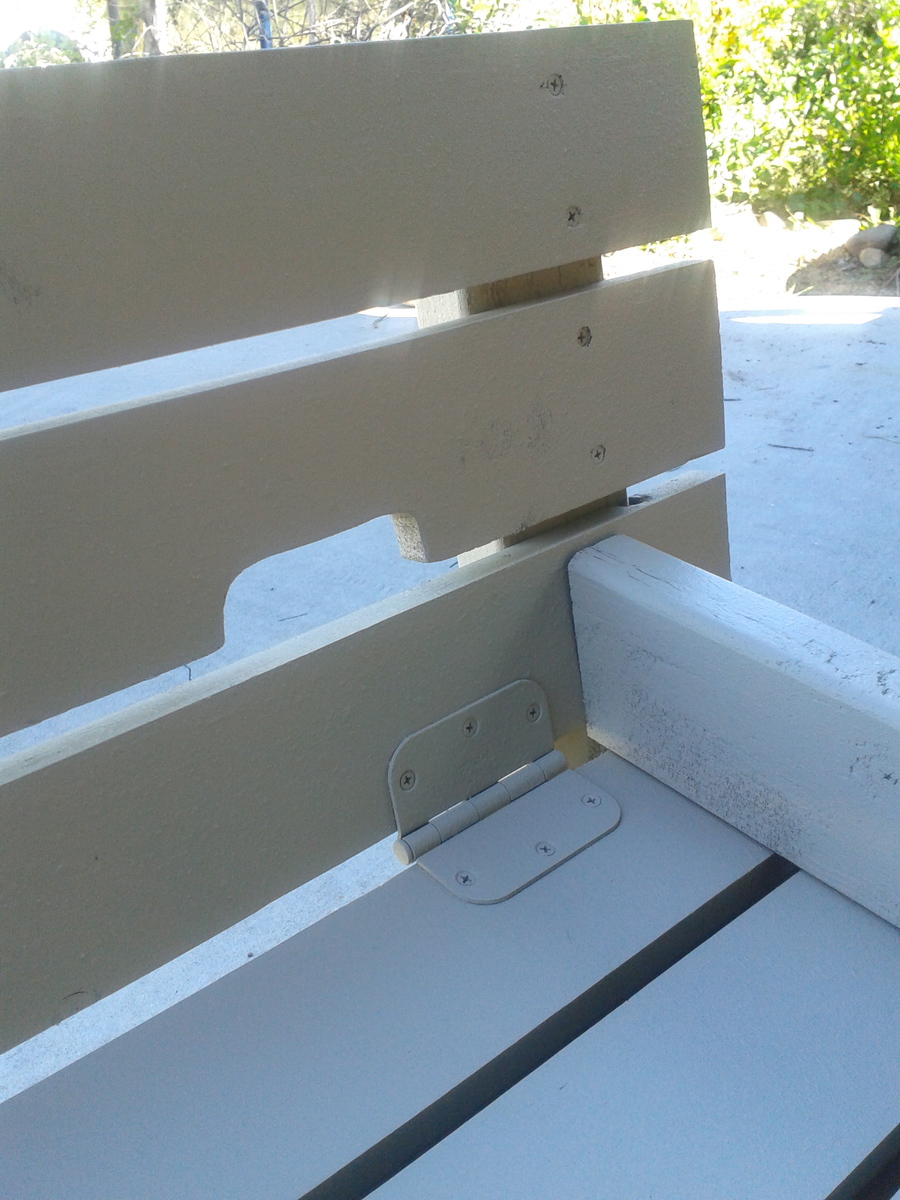
I think the hardest part of making this table was making it square. I think a tutorial video would be very beneficial. Took me a while to make due to life priorities, but it is finally done! Kids have already taken it over! My favorite part is letting them draw on it and make it theirs. Will be fun in the future to look back. We also wrote the date on it. I do think clamping is a must. I didn't do that at first and ended up taking the top apart and redueing it with clamps and glue.
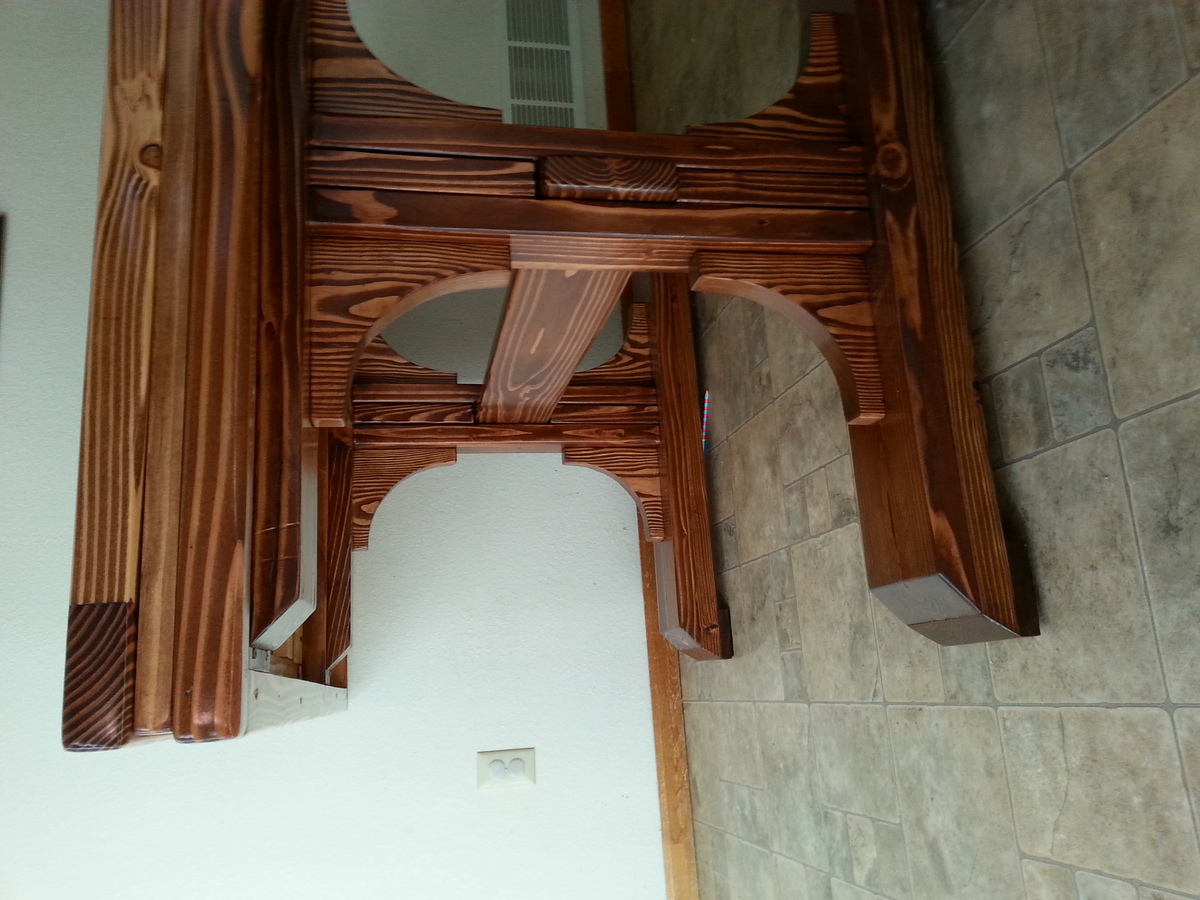
I didn't want cracks that food could get into, and those 2x4's are rounded. So I ran those boards through a table saw to make sure they are flush with the 1x6's.
Built from Plan(s)
Estimated Cost
$150.00 for everything. the 1x6's were a higher quality pine. the rest was the cheaper pine.
Estimated Time Investment
Week Long Project (20 Hours or More)
Finish Used
Wood conditioner, american walnut by rustoleum, 4 coats of minwax semi gloss polyurethane. LOTS of sanding was done on the top of this table. Including steel wool.
Recommended Skill Level
Intermediate


Comments
rockymtnmomma
Tue, 10/01/2013 - 19:04
Looks great!
That table turned out great! It looks nice and sturdy!