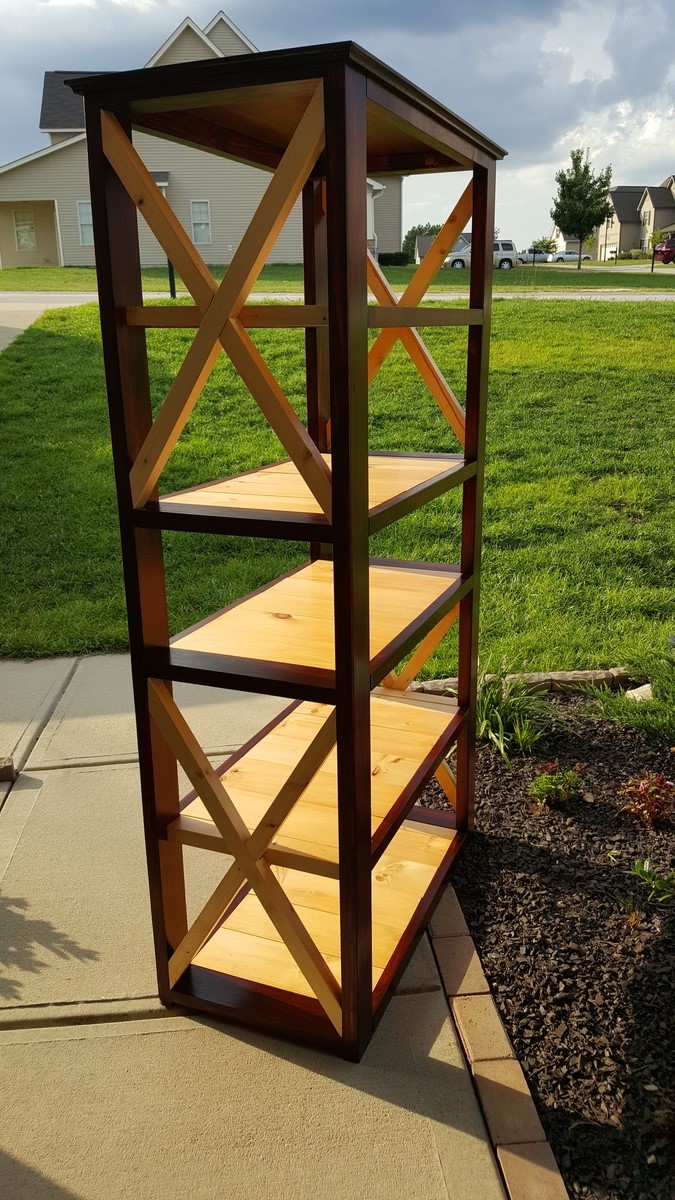
Farmhouse Hall Tree

Modified the top of Ana’s plan for a Hall Tree and very happy with how it turned out.
Steve Nadler, High Springs Florida

Built from Plan(s)
Modified the top of Ana’s plan for a Hall Tree and very happy with how it turned out.
Steve Nadler, High Springs Florida
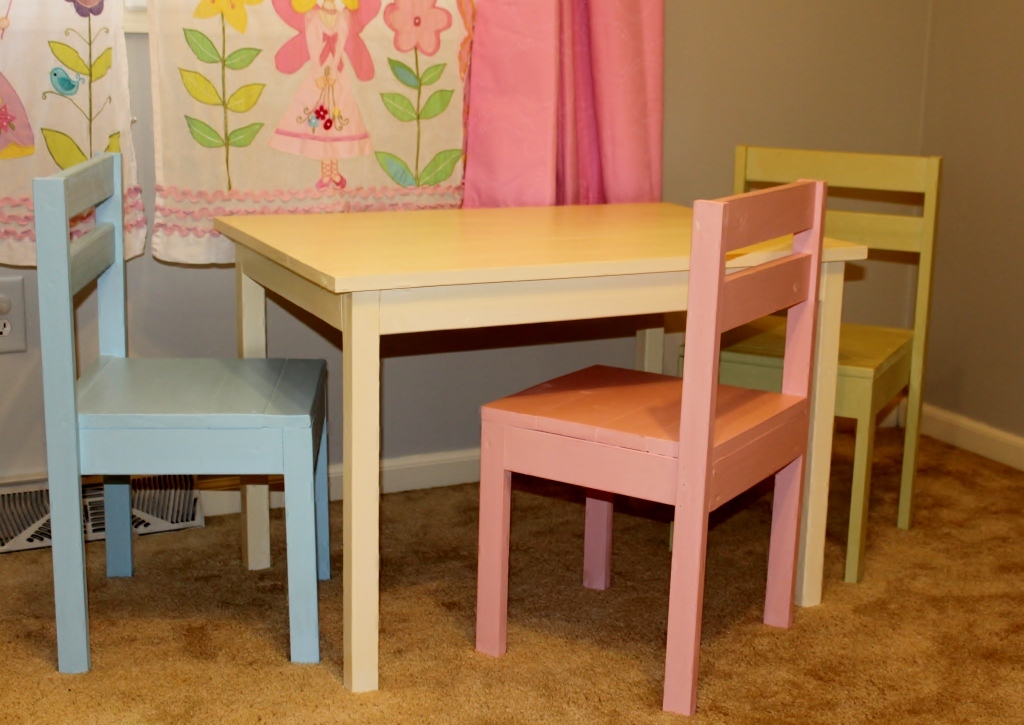
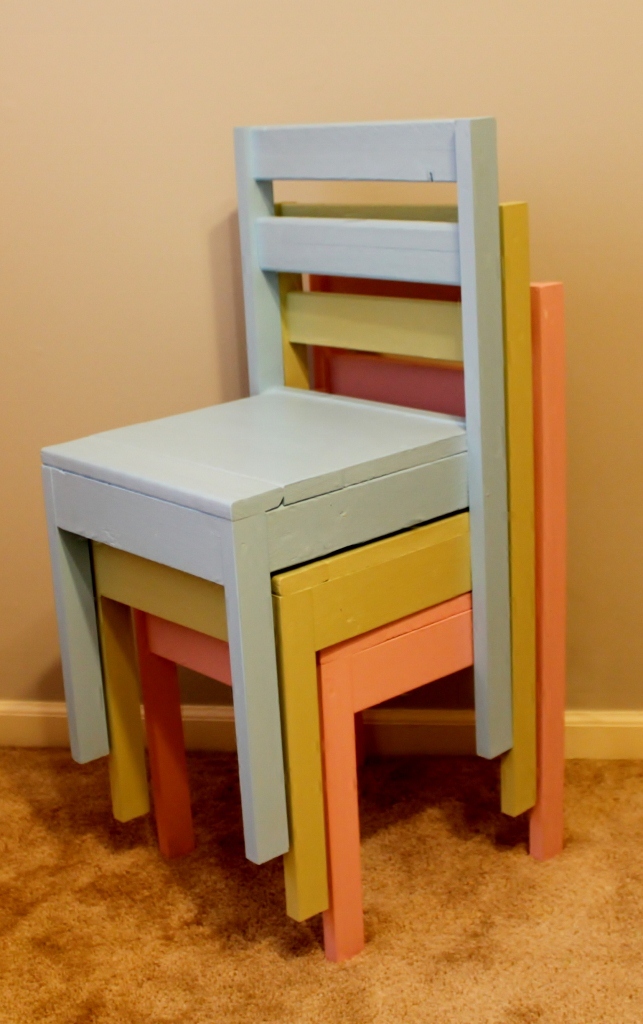
I made this table and chairs set to go with my daughters new playhouse bed. I used mostly of scrap wood for the chairs so they each have a slightly different look. The chair seats are solid rather than slats.
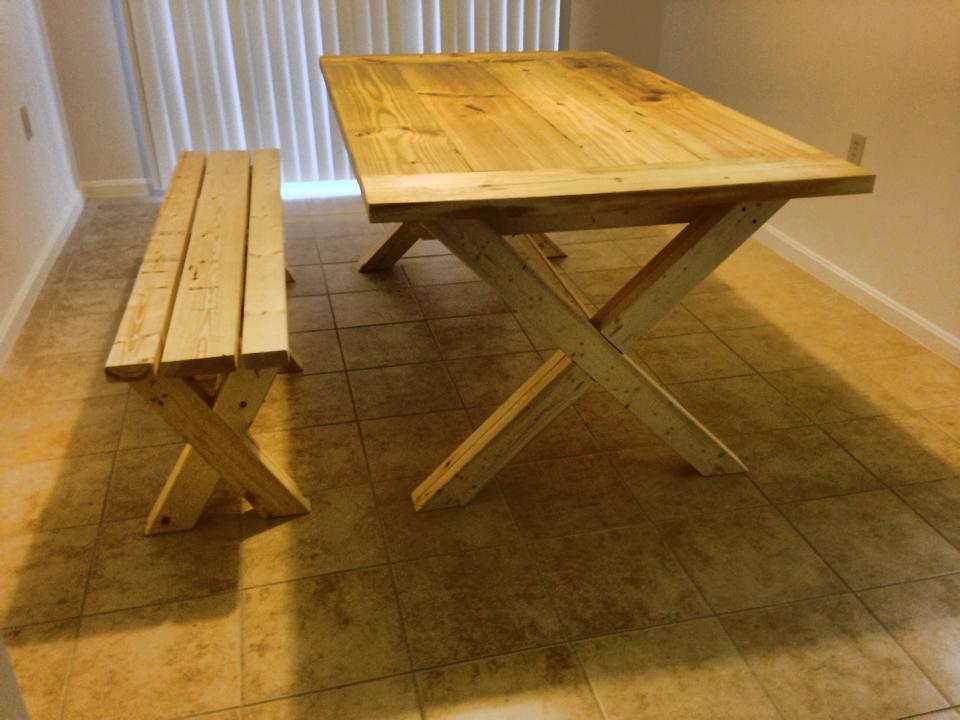
this is my intro to woodworking by myself and i think the table turned out ok. ana's website sure helped allot.
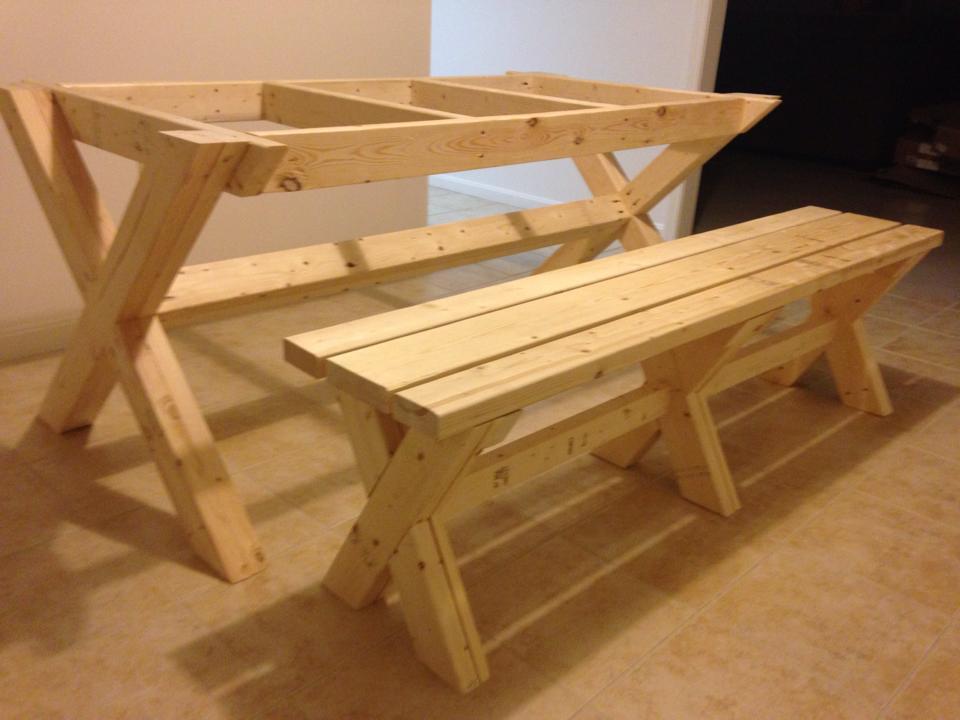
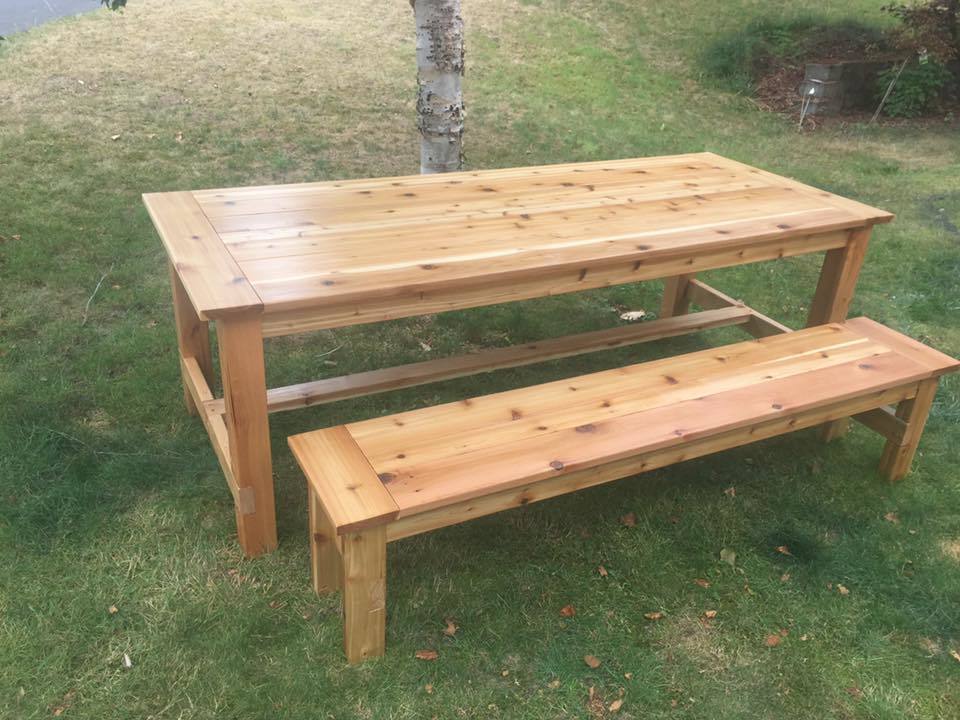
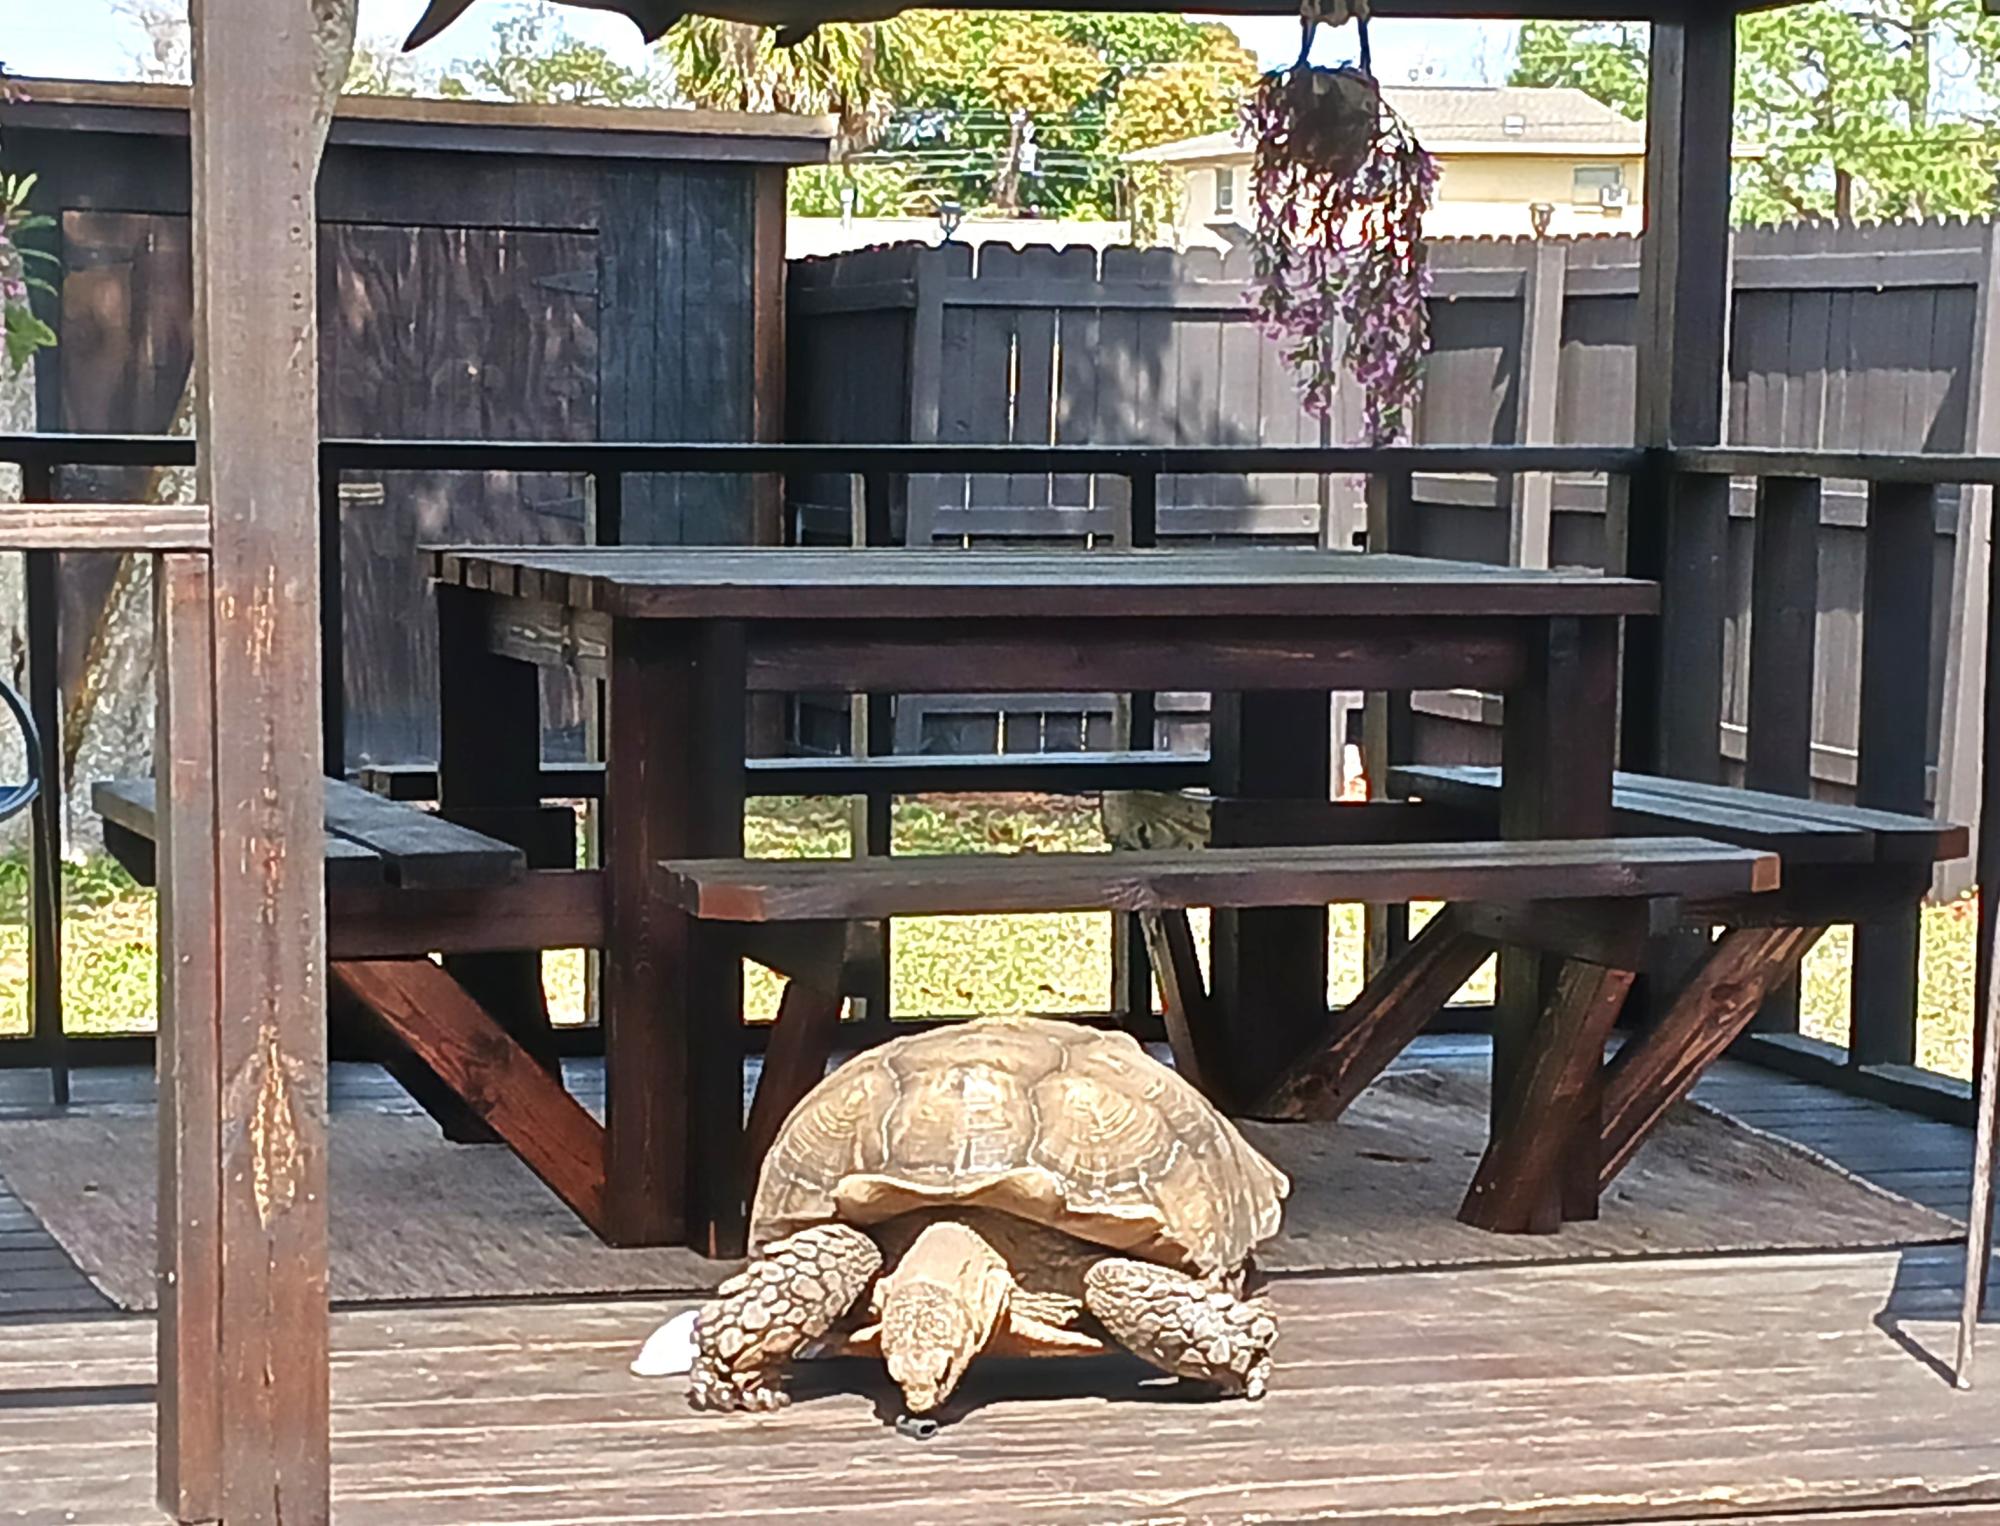
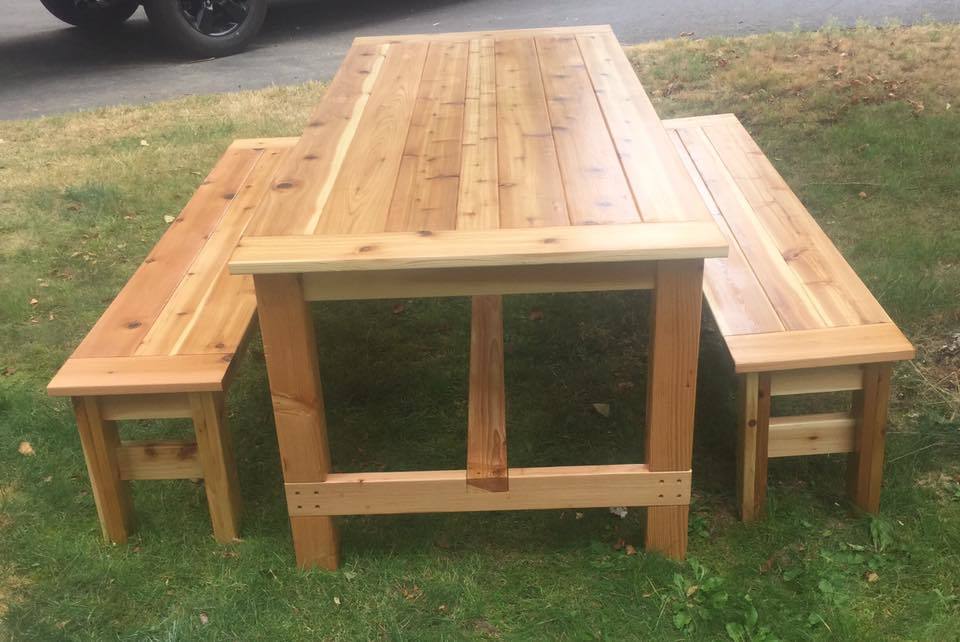
Plans were modified to change length of table to 8' and so that benches tuck under for winter storage. 5/4 cedar was used for table and bench tops-5/4 cedar was only available locally in 4" and 6" widths so we modified top slightly and made benches to match
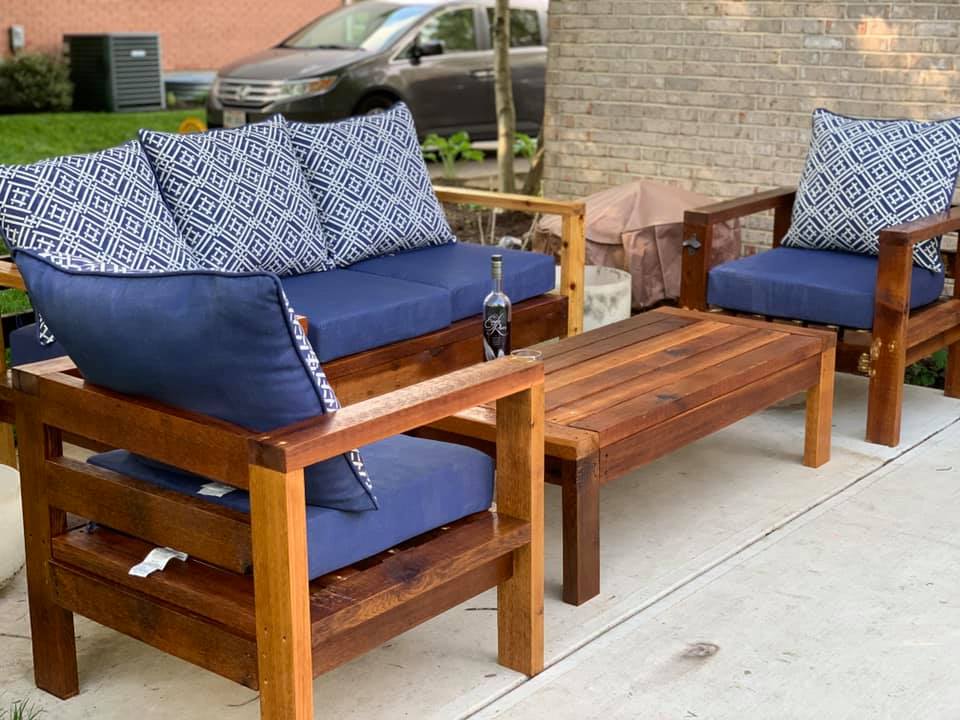
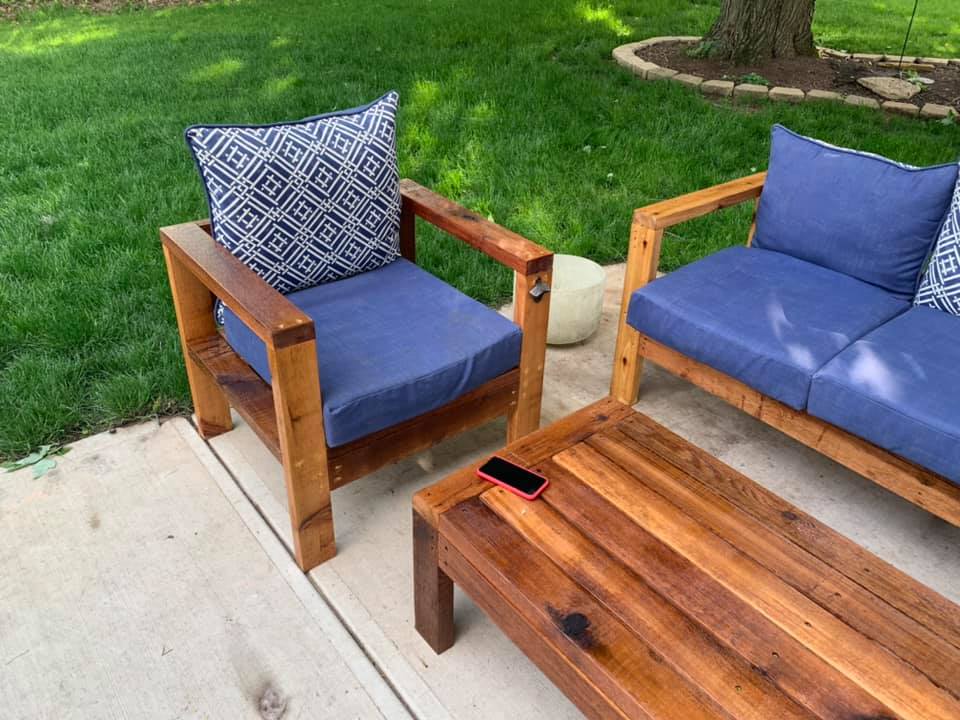
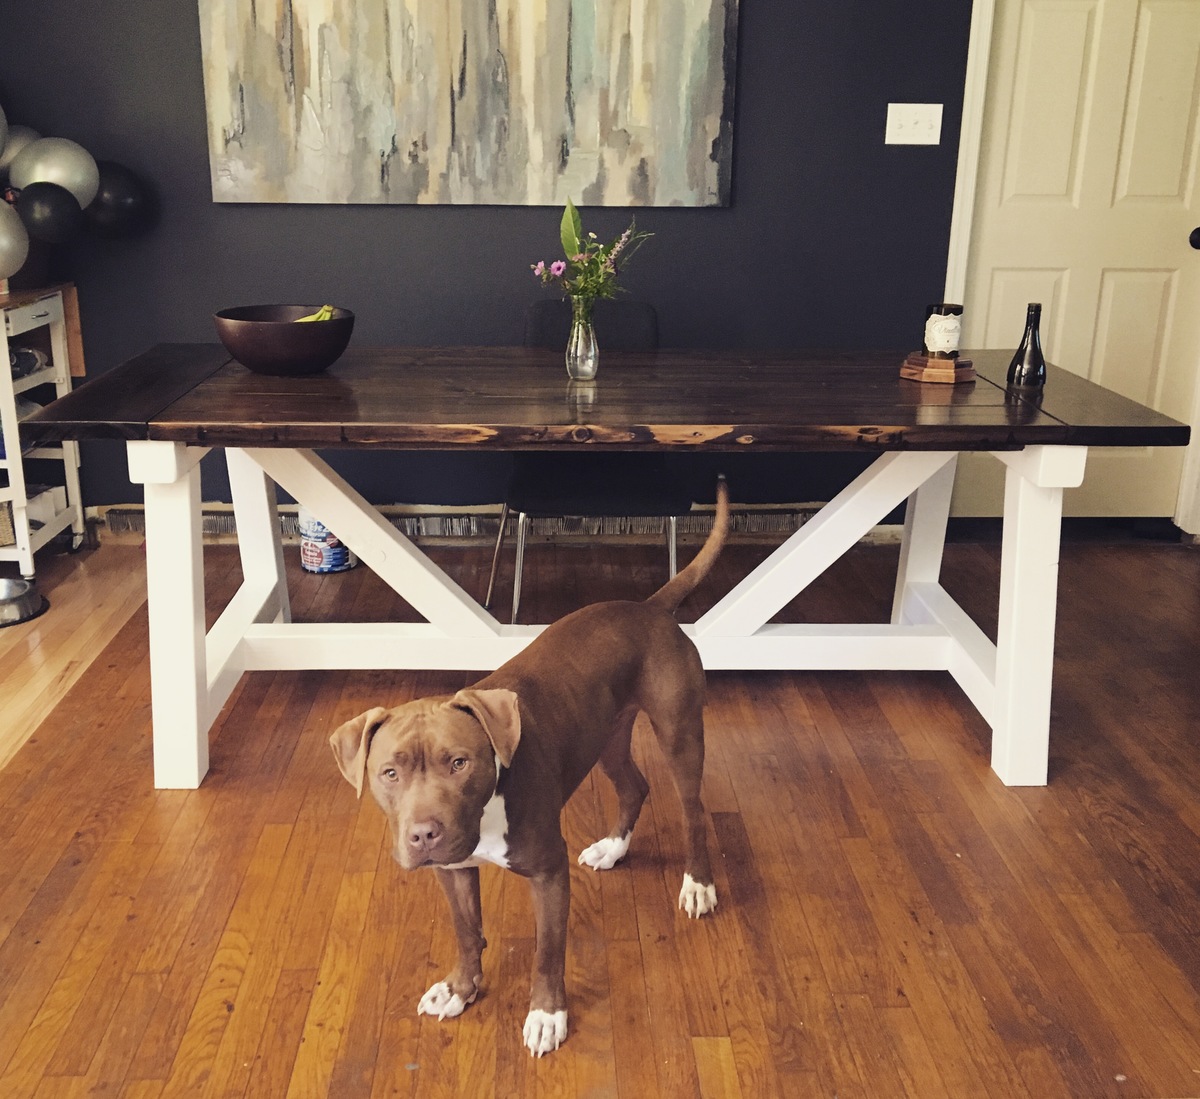
Been working from home for the past two months due to the health crisis. To stop from going crazy from being at home with my wife and four kids, I decided up pick up a hobby - here's where my homie Ana enters! I didn't want the sectional for my patio, but certainly the couch, chairs and table. The only mistakes had were my own (using wood putty, not sanding it well), but the plans were spot on. The only real issue I ran into was the cedar wood I used wasn't 1.5 x 3.5, but 1.75 x 3.5. This caused me to make additional cuts were I otherwise would not have needed it. Other than that, just remember to make the longest cuts first... I ended up needing to buy about five additional boards because it.
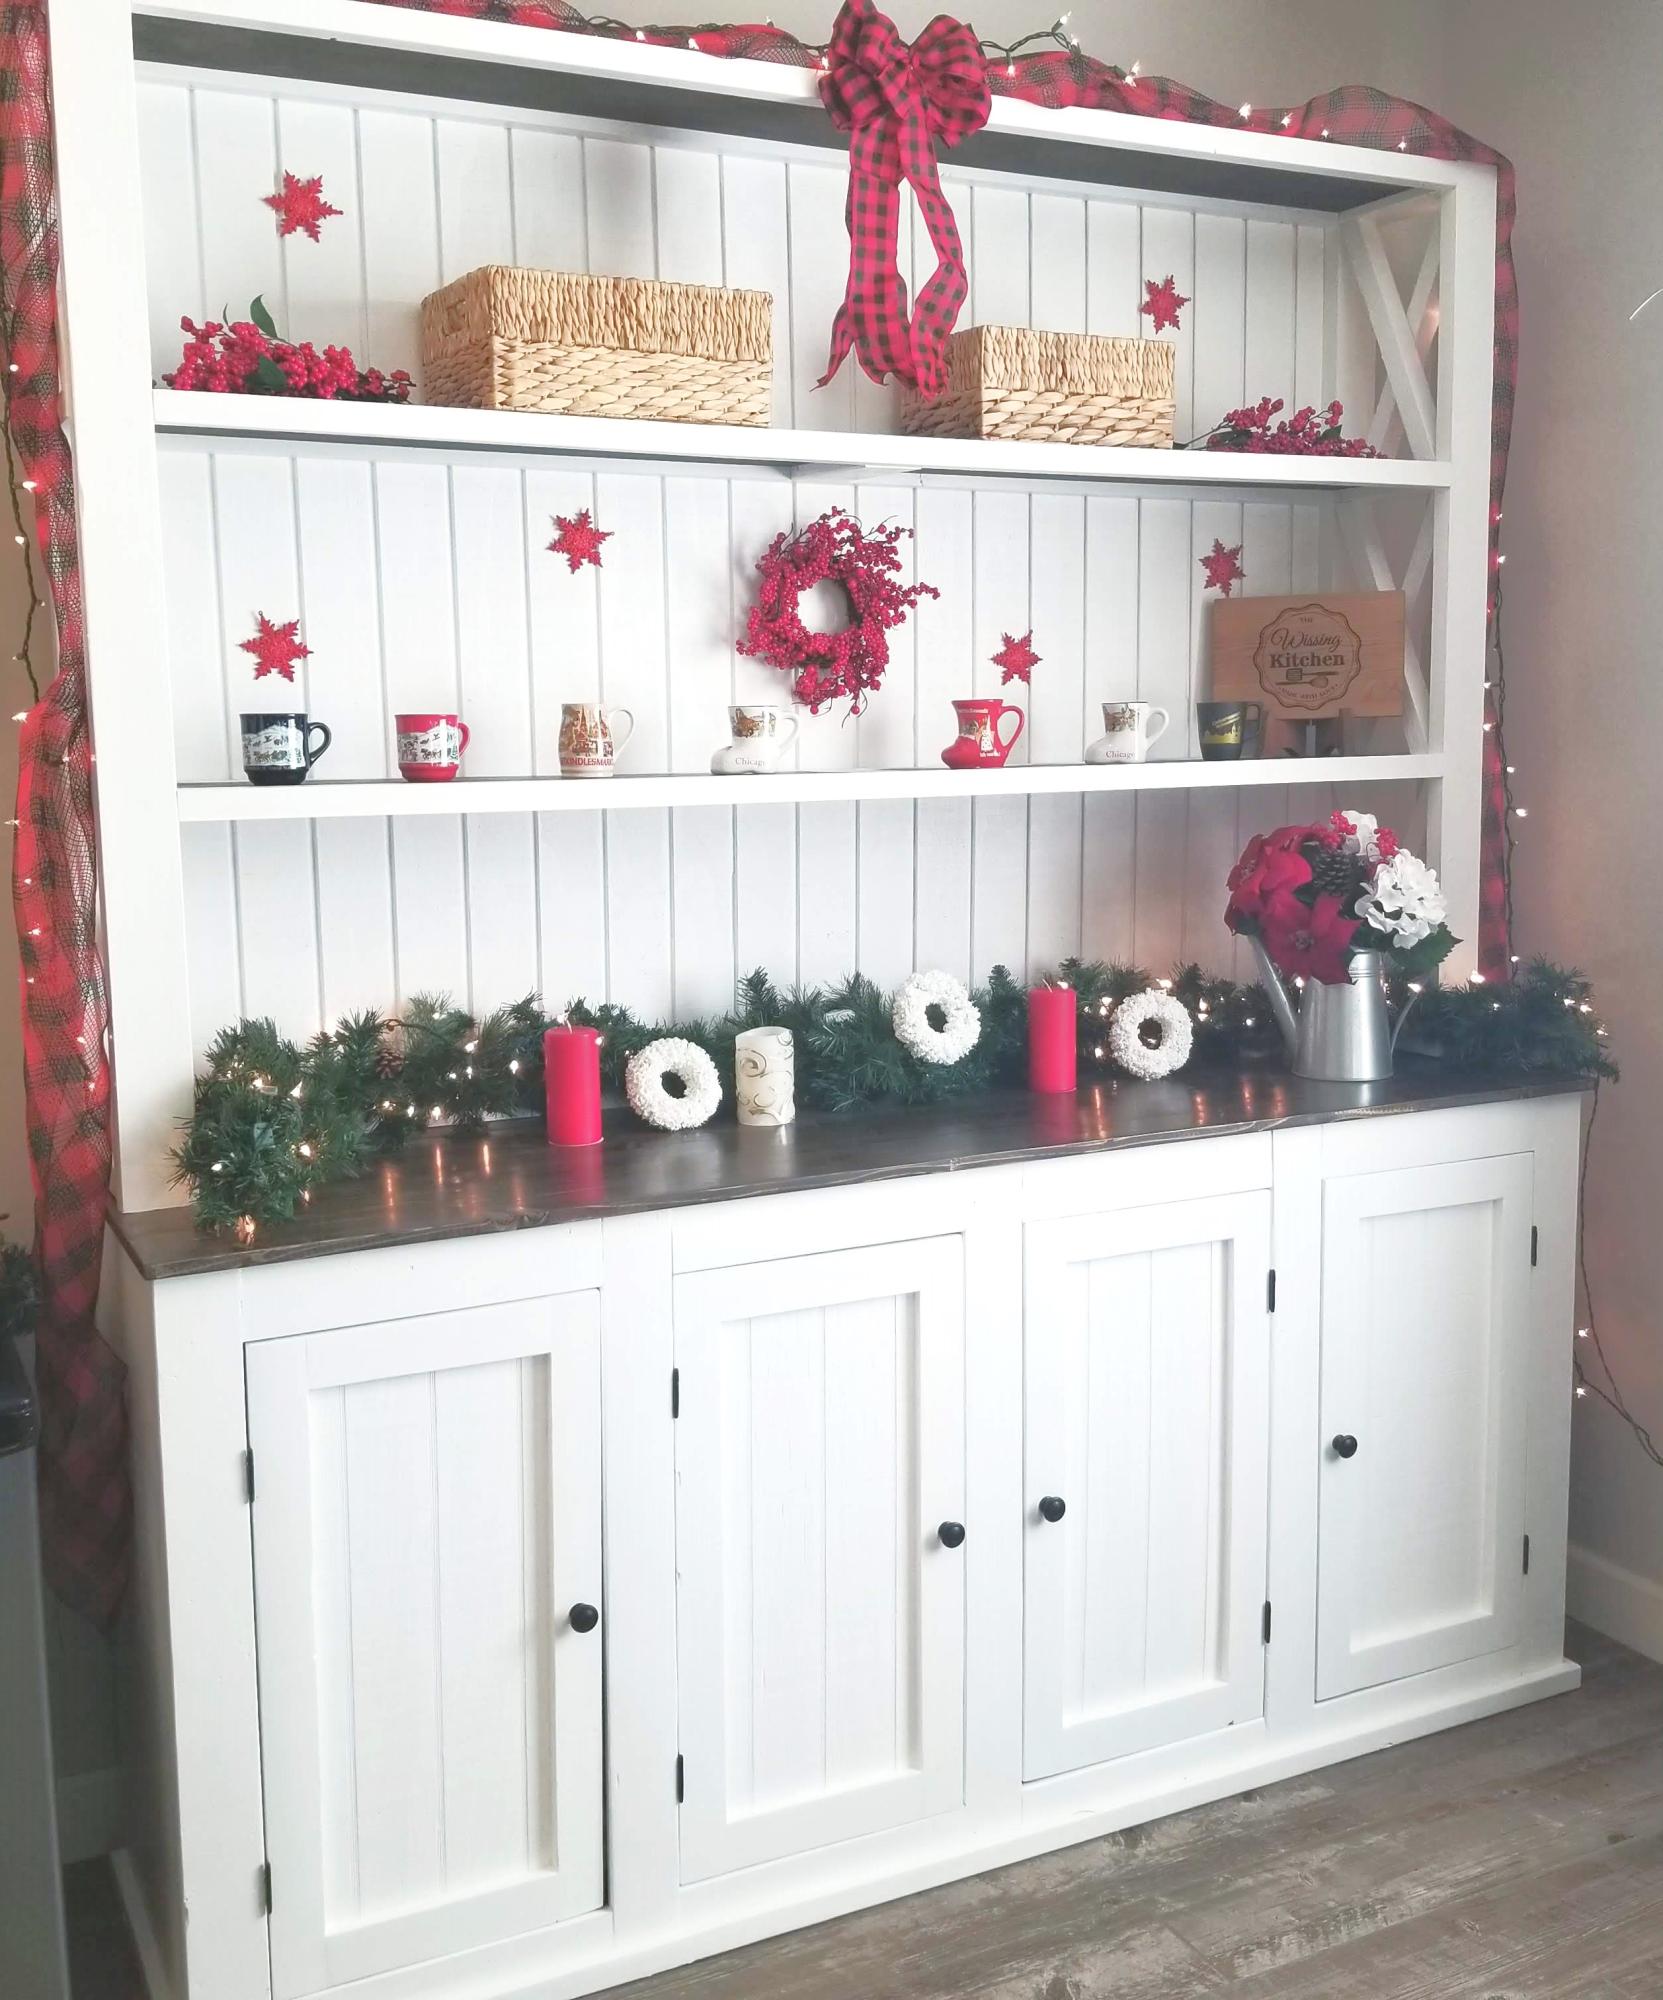
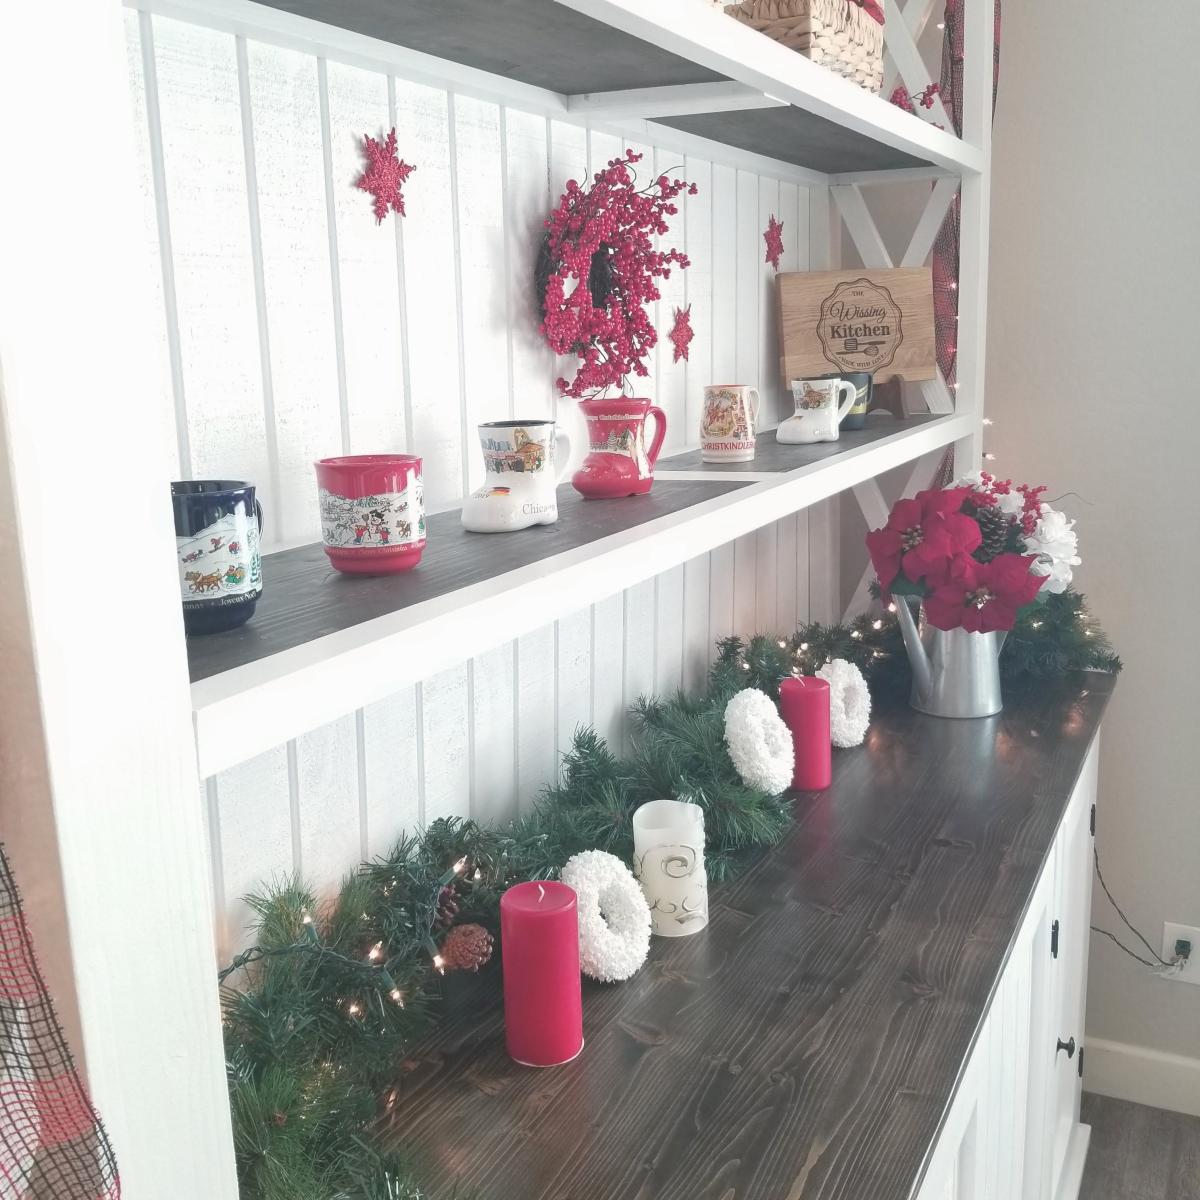
Sideboard and hutch project for my wife.

This small vanity is having a huge impact in our powder room! We were thrilled to remove the builder's grade prefabricated vanity and replace it with this custom built table finished in multiple layers of homemade chalk paint and that will soon house a vessel sink.


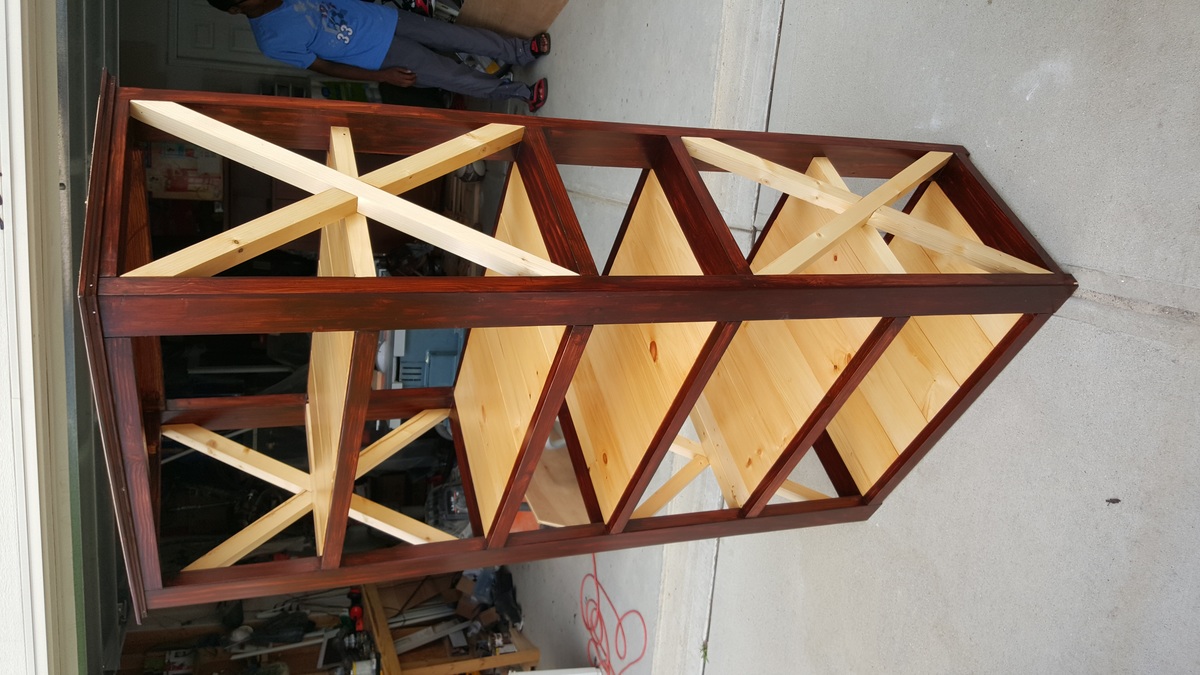
I built this book case for one of my Kids that wanted a new book case.

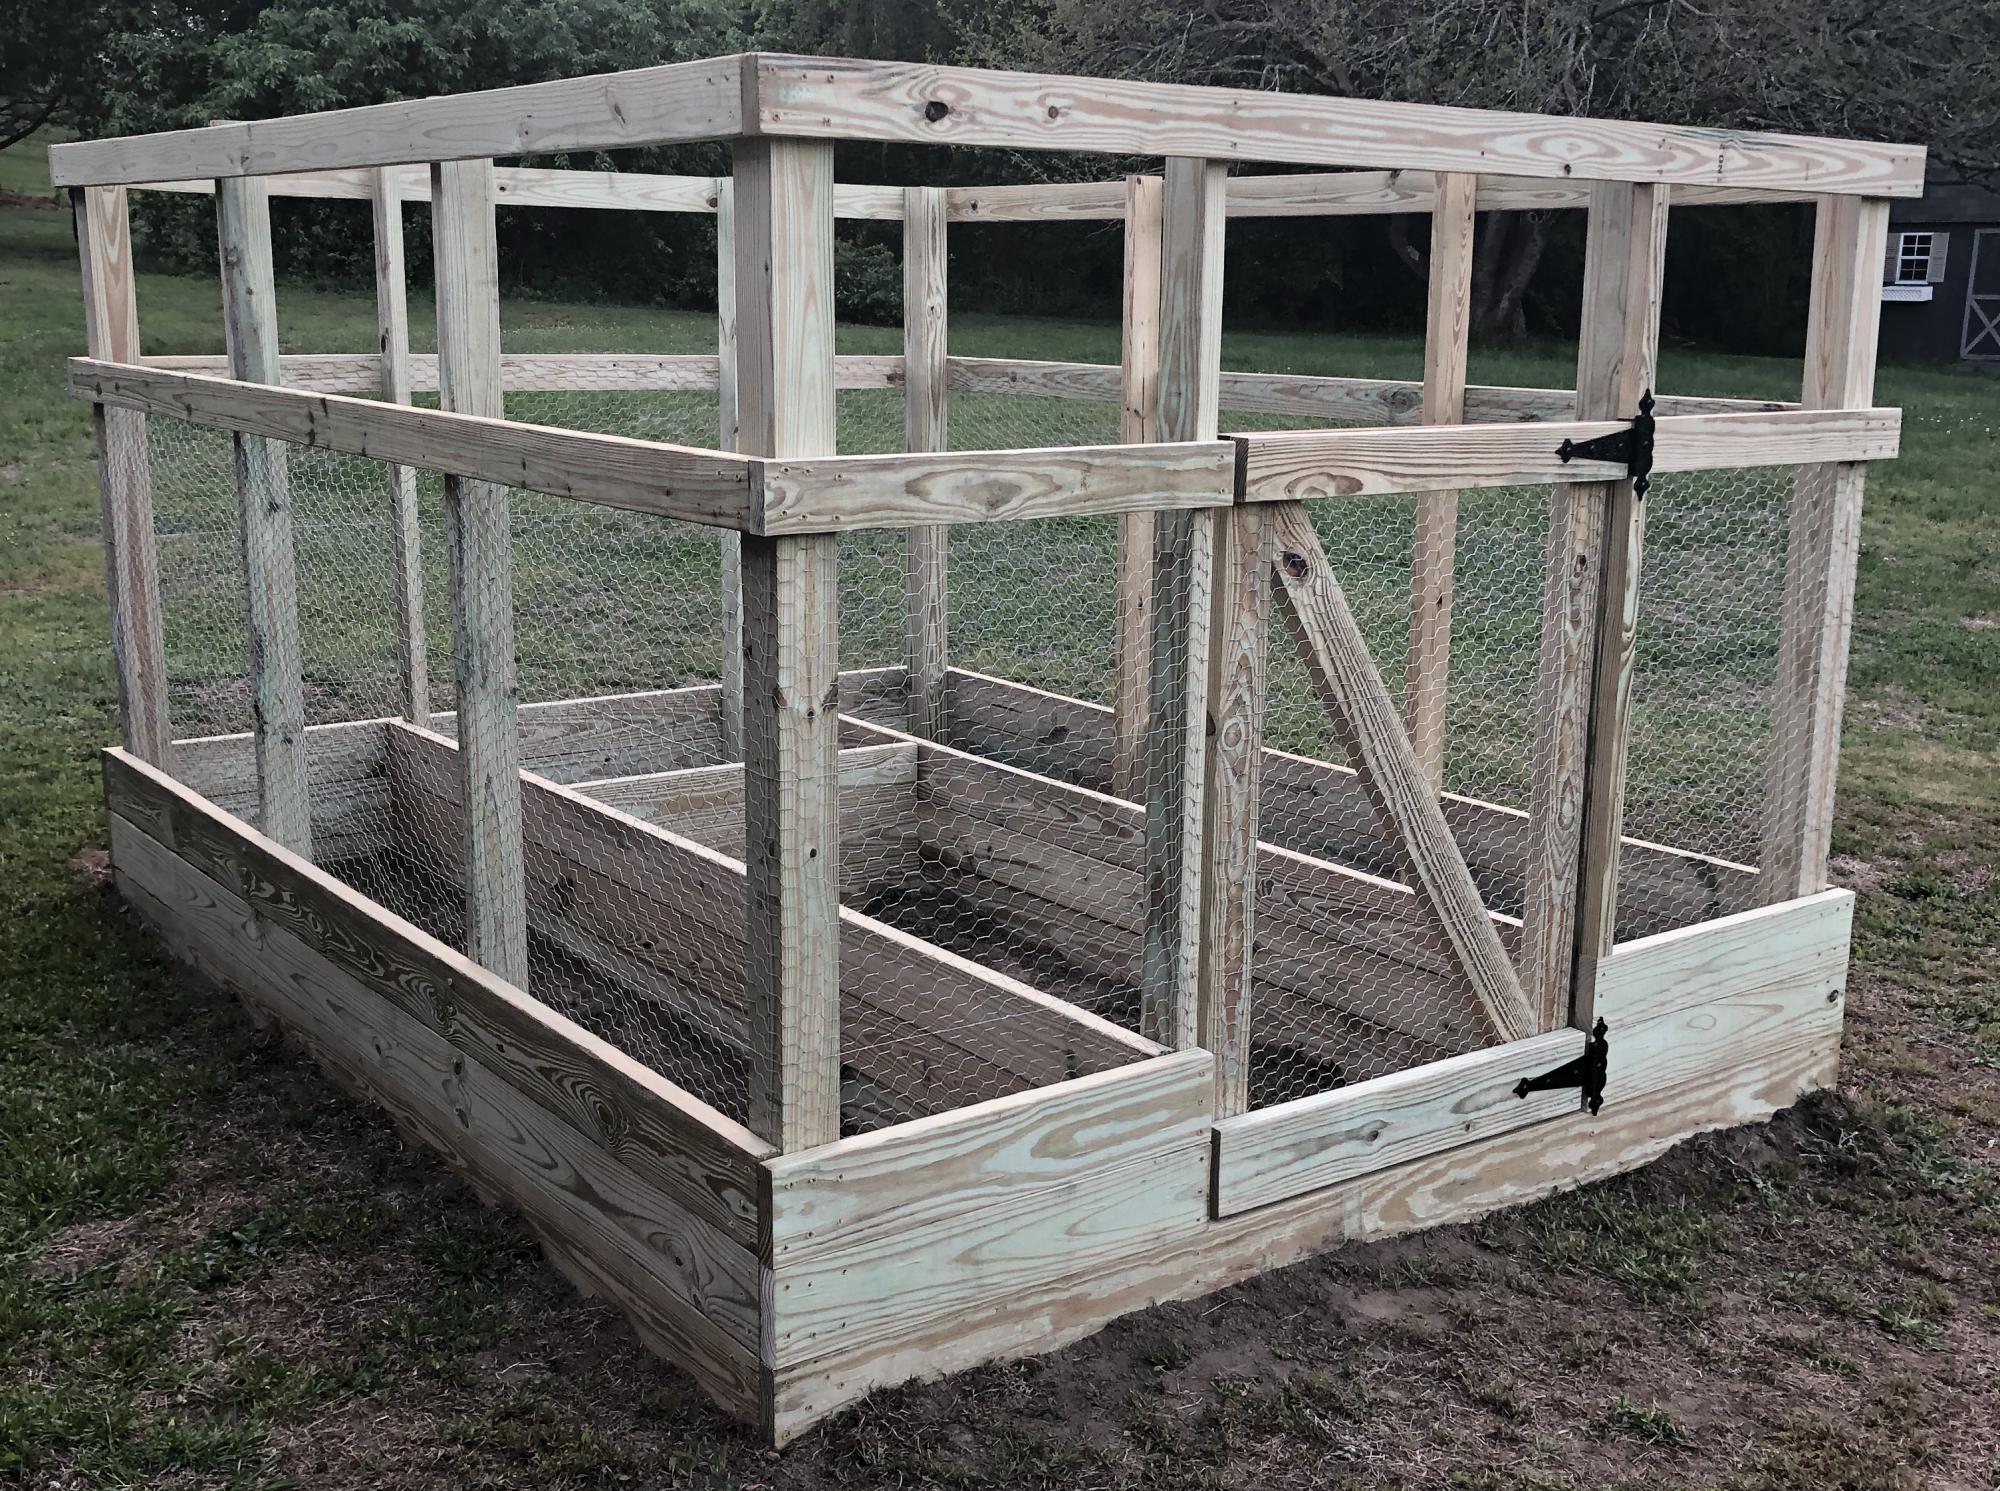
We perviously had a larger garden farther back in the yard, it was on the ground which is very hard and rocky. It was tough to till and maintain, so it was taken down a few years ago.
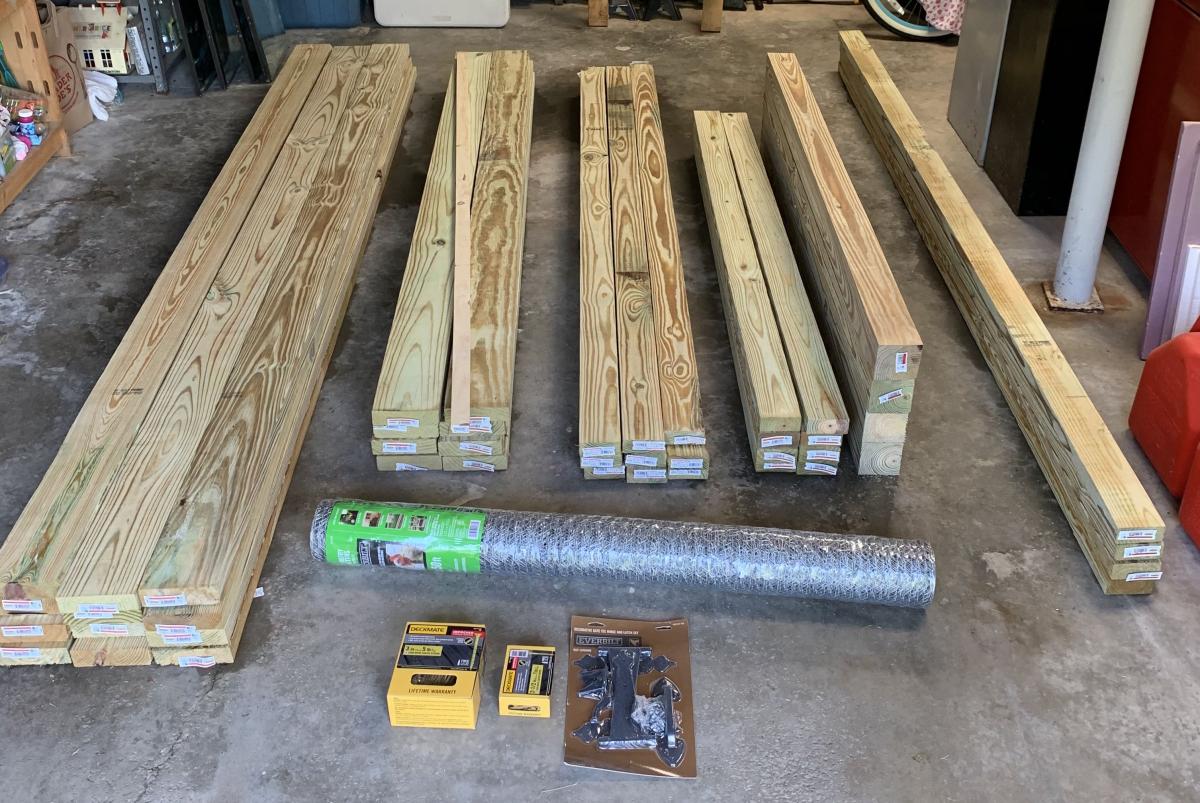
My wife and teenage daughter have green thumbs and have planted herbs and tomatoes in pots over the past few years, but this year they wanted something more substantial. After an online search we found this plan.
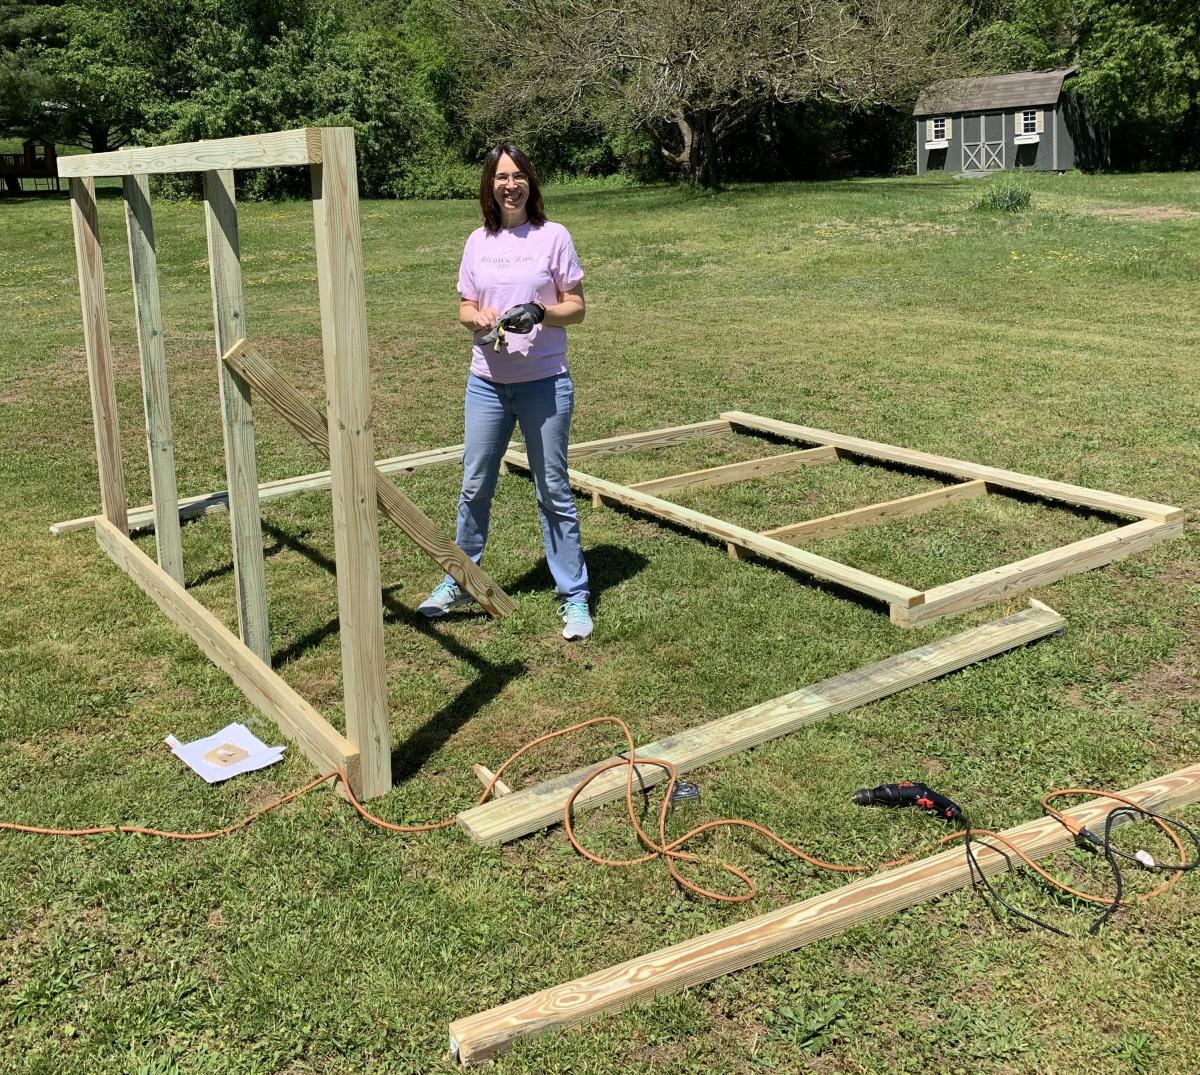
It was a bit small for what the girls had planned, so with a little bit of tweaking, we changed the depth of the enclosure to 10'. It was pretty easy to do. Also the girls wanted the beds to be a bit deeper, so we made them three 2x6's deep instead of two
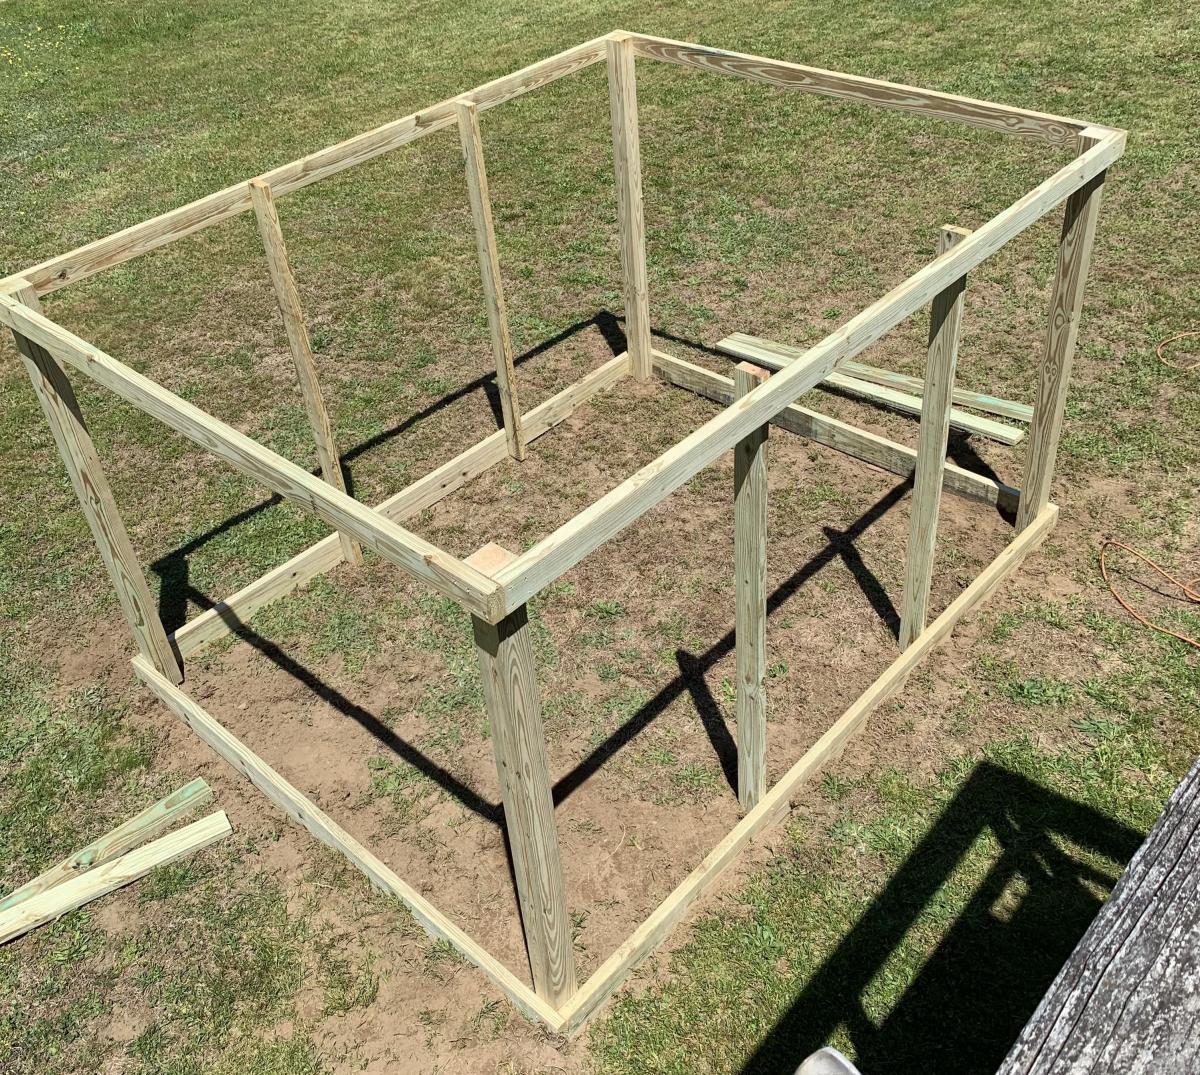
It was built by my wife and I in one weekend, well actually the truth is we built the entire enclosure, minus the door on Saturday about 10am and finish up about 5:30pm. I built the door the next day and we hung it together.
Just an FYI, I have quite a bit of woodworking experience and have a workshop with table saw, band saw and much, much more. I did use the table saw for most of the cuts, with the exception of the gate support which I cut using the band saw.
One caveat, if you have the lumber yard cut any pieces for you, make sure all the lumber is the same length. It's kind os a nit picky thing, but none of the lumber was exactly the length shown on the labels. If you want all the joints to be "perfect" I suggest measuring and cutting all the pieces to the correct length to match the plans.
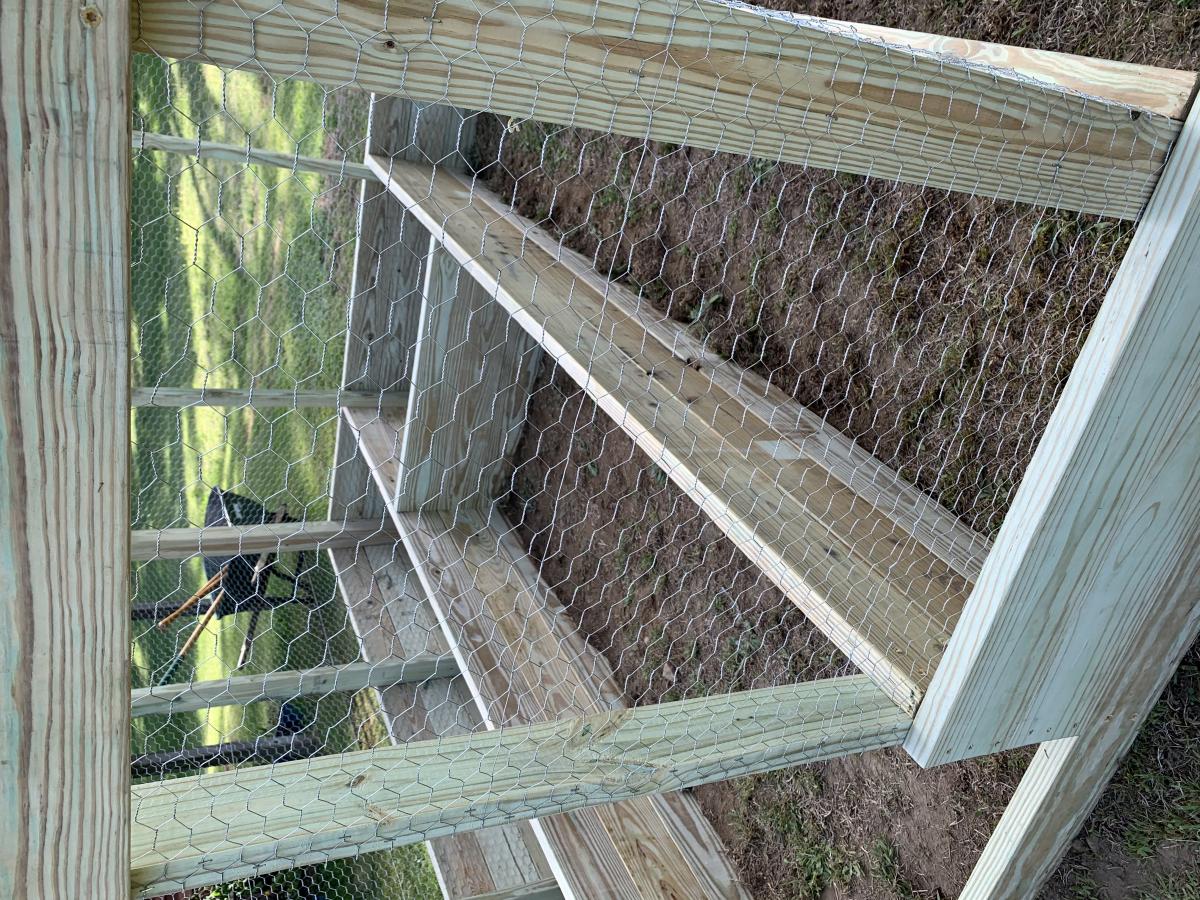
We also used an industrial hand held staple gun to fasten the chicken wire.
The cost of all the materials, including two sets of work gloves came out to $447.92 from Home Depot in 2020.
We are now waiting for a delivery of the top soil to fill the beds. Since we used weatherguard lumber, we are going to gat plastic sheeting and line the beds.
It was a fun project and my girls are looking forward to planting all their seedlings.
For fun we made a time lapse video, which I have uploaded to Youtube. If you watch closely, you will see that we started the build in one area of the yard and moved it because the ground sloped much more than we originally thought.
https://www.youtube.com/watch?v=h7vvBLy034U&list=WL&index=112&t=0s
I hope that our experience may help others in some small way.
Thank you Ana for making these plans available!!


Sat, 05/30/2020 - 18:27
Love the added length! Thanks so much for sharing photos of your build!
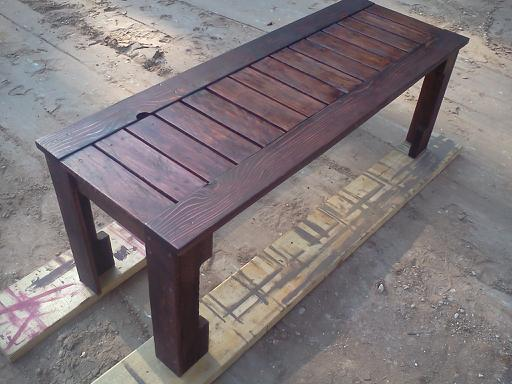
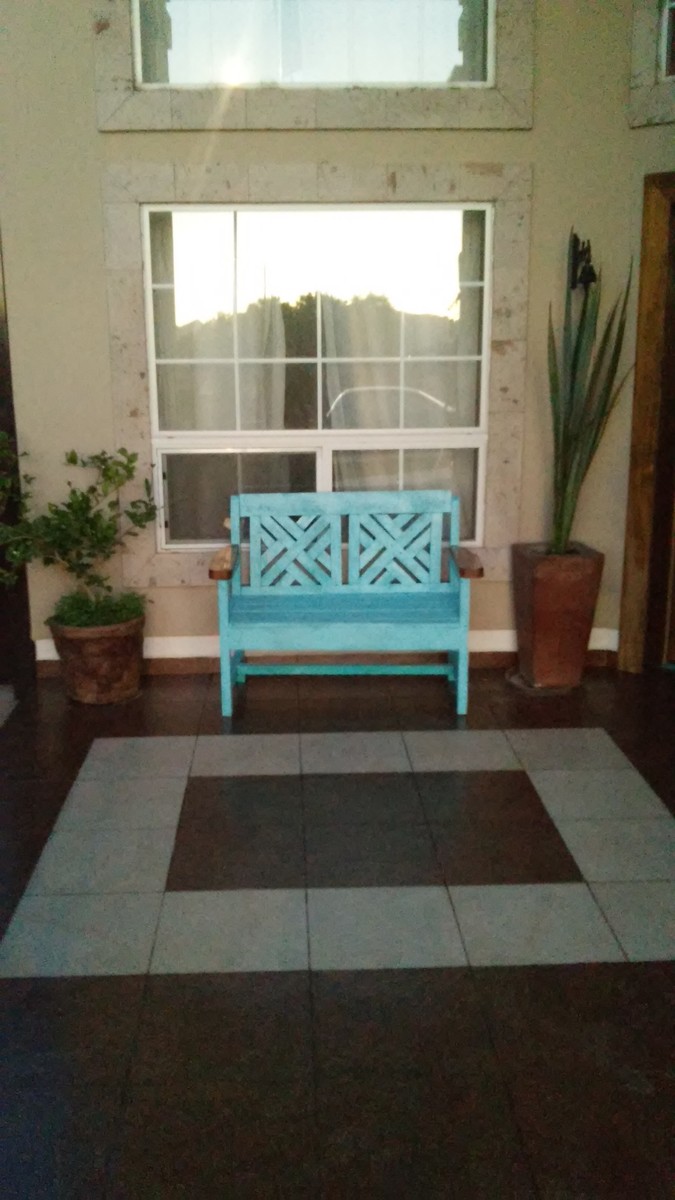
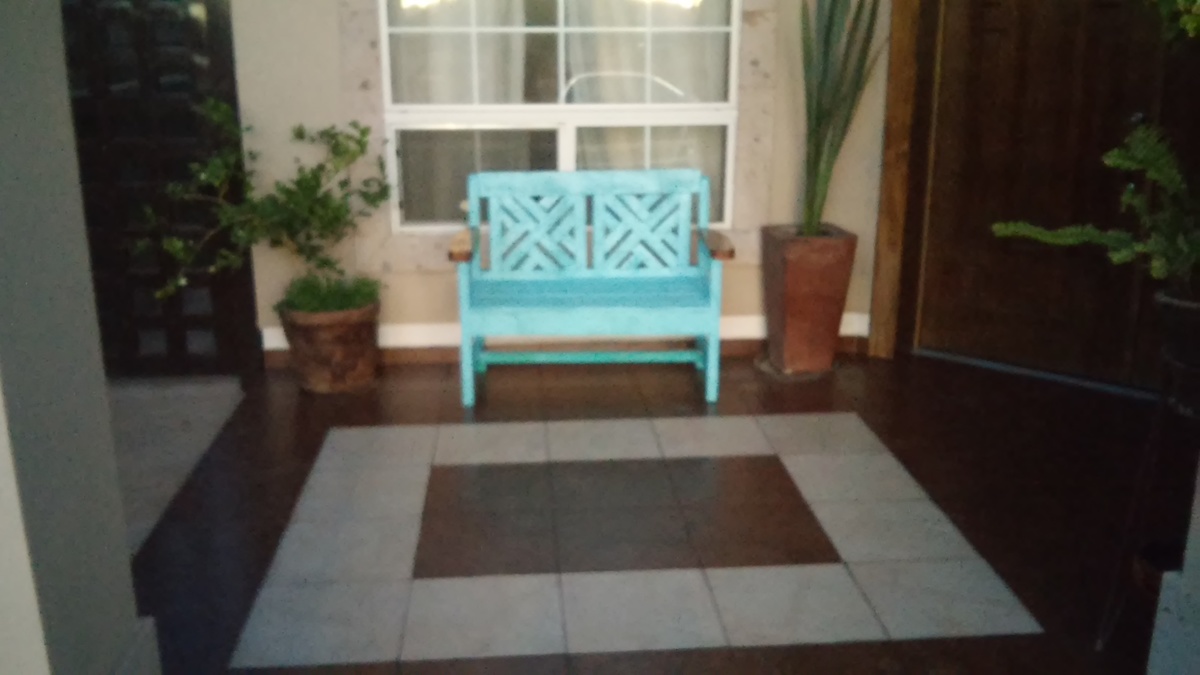
Your simple outdoor bench but a bit revised...I made it out of wooden pallets! the pallets were free from a local hardware store so the total cost of my bench...$9.00!

Mon, 07/23/2012 - 11:33
Loved the design of this bench! I am very much a diy person so I decided to try the pallet...it worked beautifully! Can't wait to get on to the next pallet project! good luck with yours!

Rustic console -first project..plan on adding X to ends
Thu, 05/15/2014 - 10:35
Love the finish and decor! Great job on your first build!
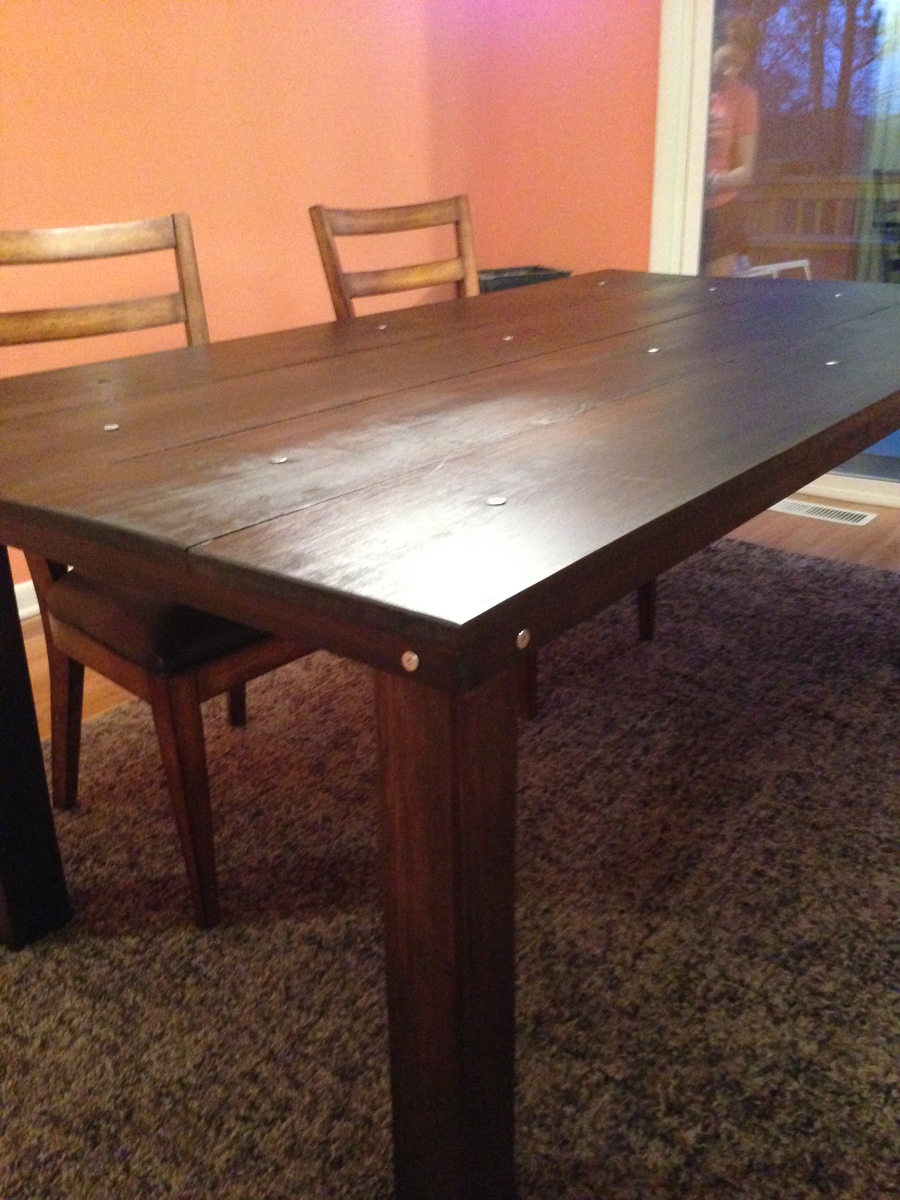
Fun to build, looks beautiful in our dark dining room. Used 5 tabletop pieces instead of 4
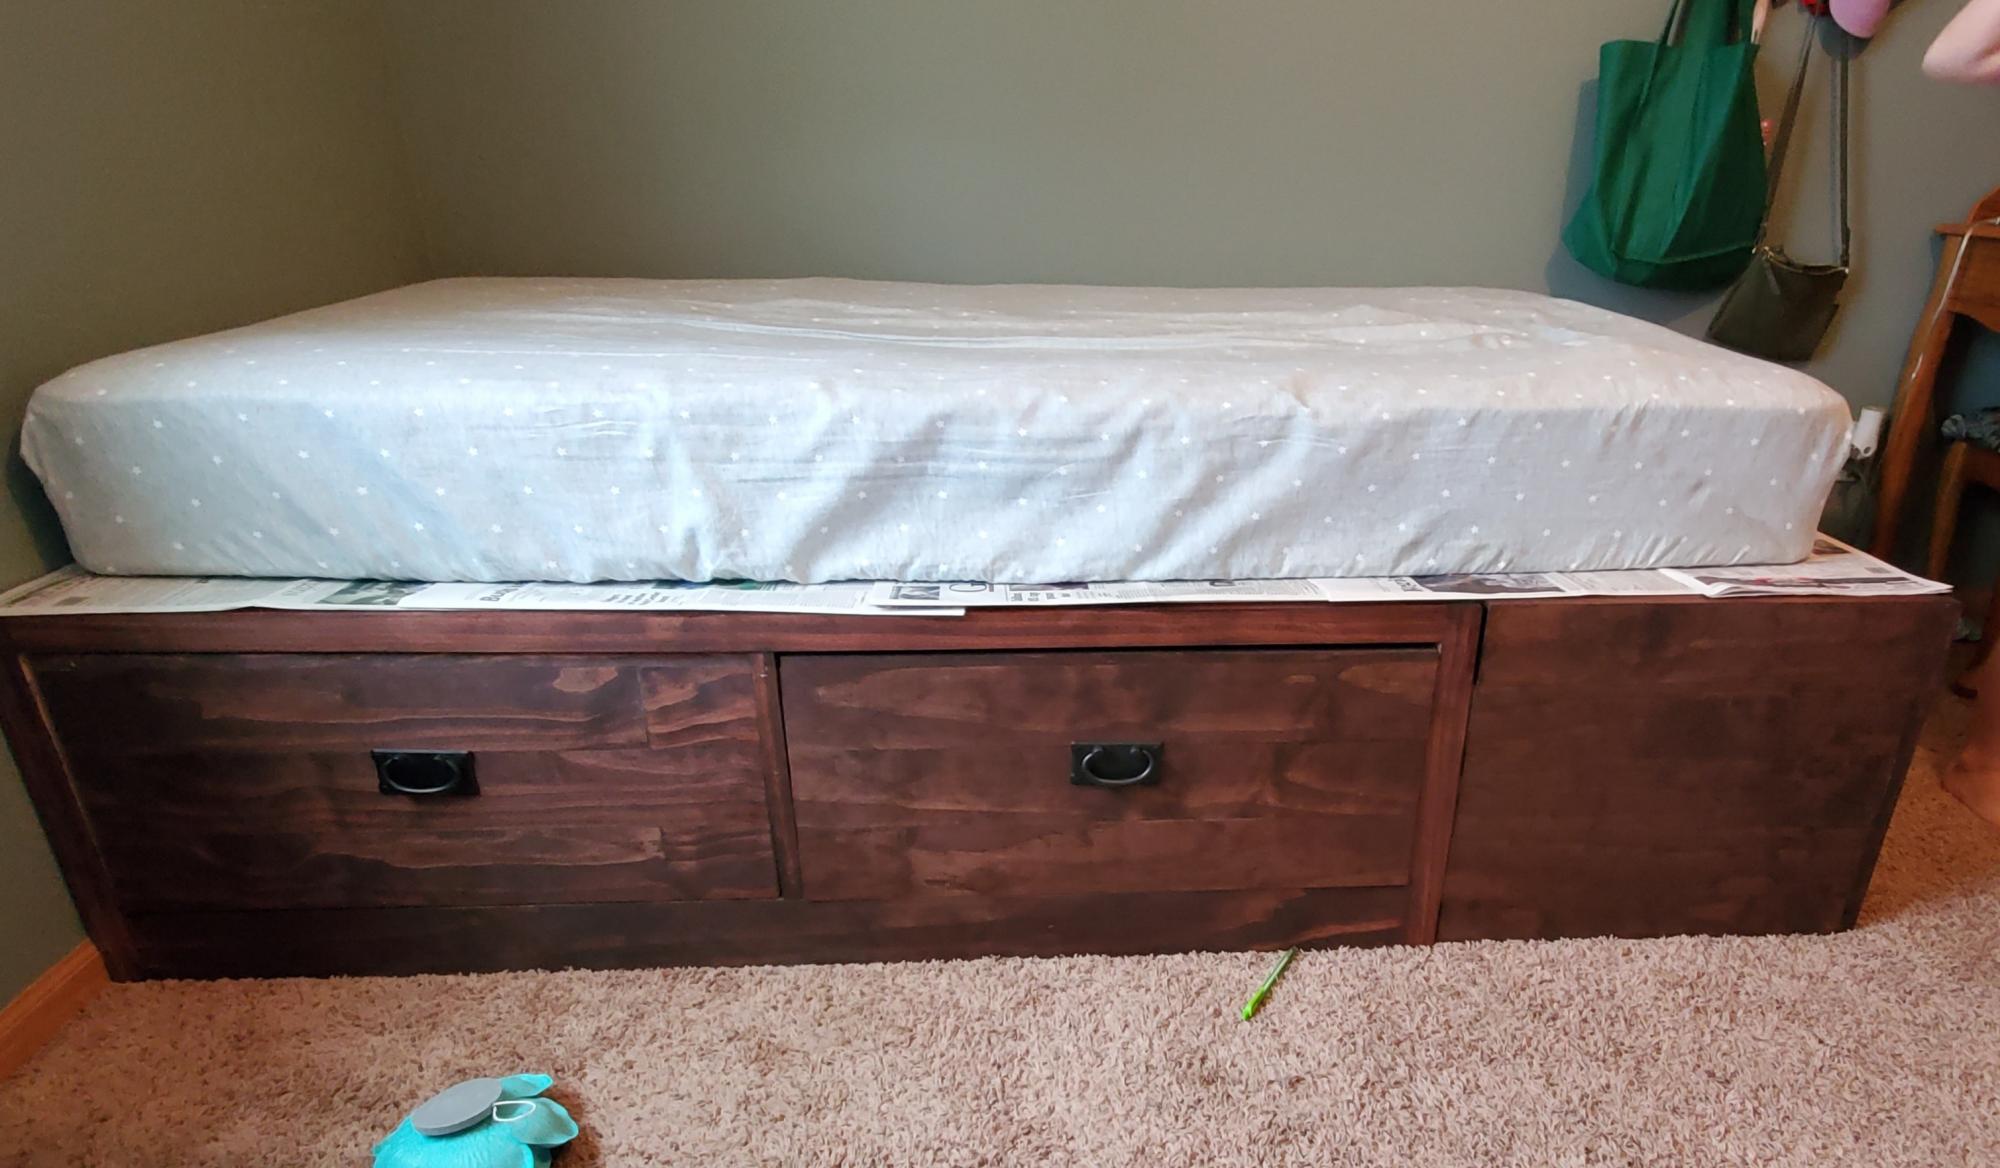
Saw plans on here and my girls loved the bed so we got rid of the bunk beds and now they have their own beds. The original plans were for a king or Queen so had to redraw the project out for twin size beds. I had never made drawers before so that was fun. Learned a lot and now onto the next project.
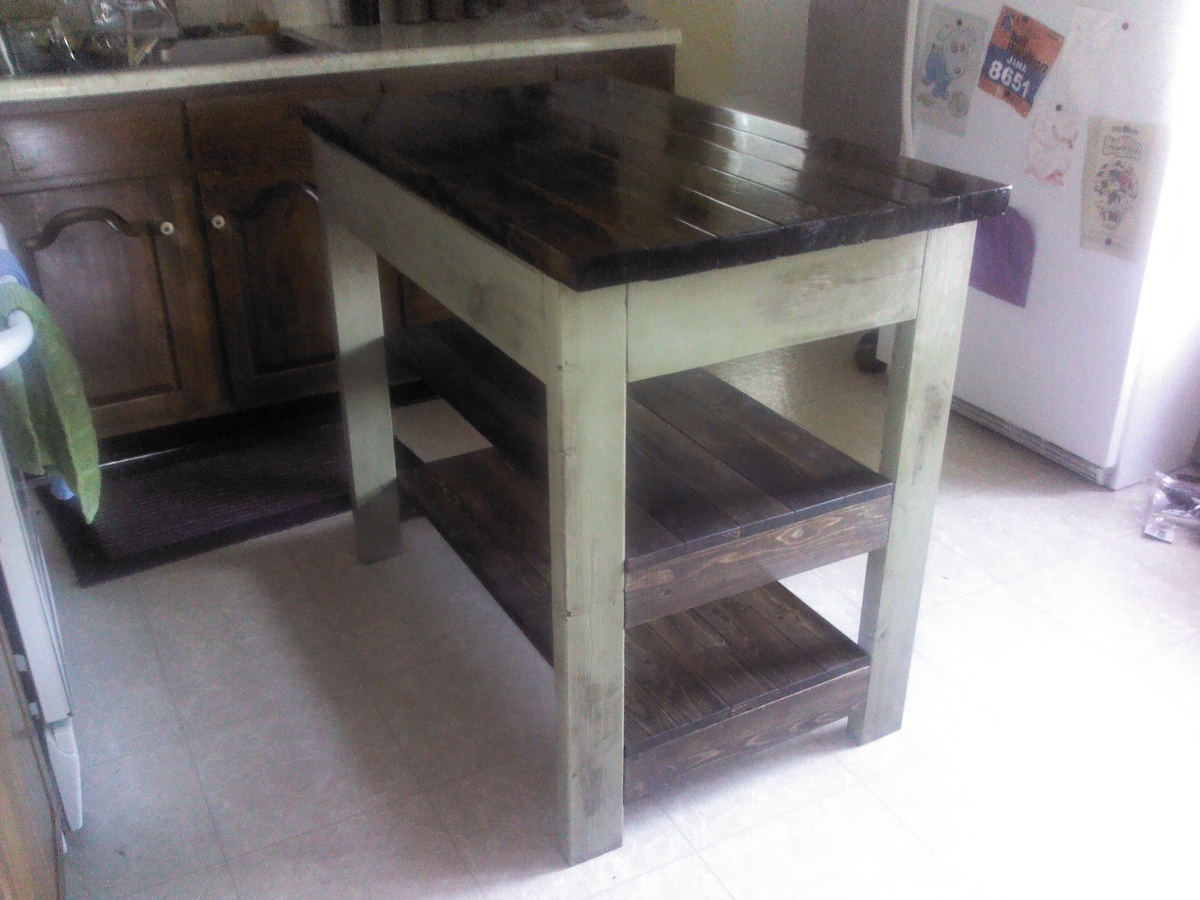
This is my first project. I made a lot of mistakes but also learned a lot as well. I have very little counter top space and so wanted an island for additional work space. I had to downsize it due to my small kitchen but it seems to be about right. I got a kreg jig for this and it makes for a solid project. Next up, a platform bed!
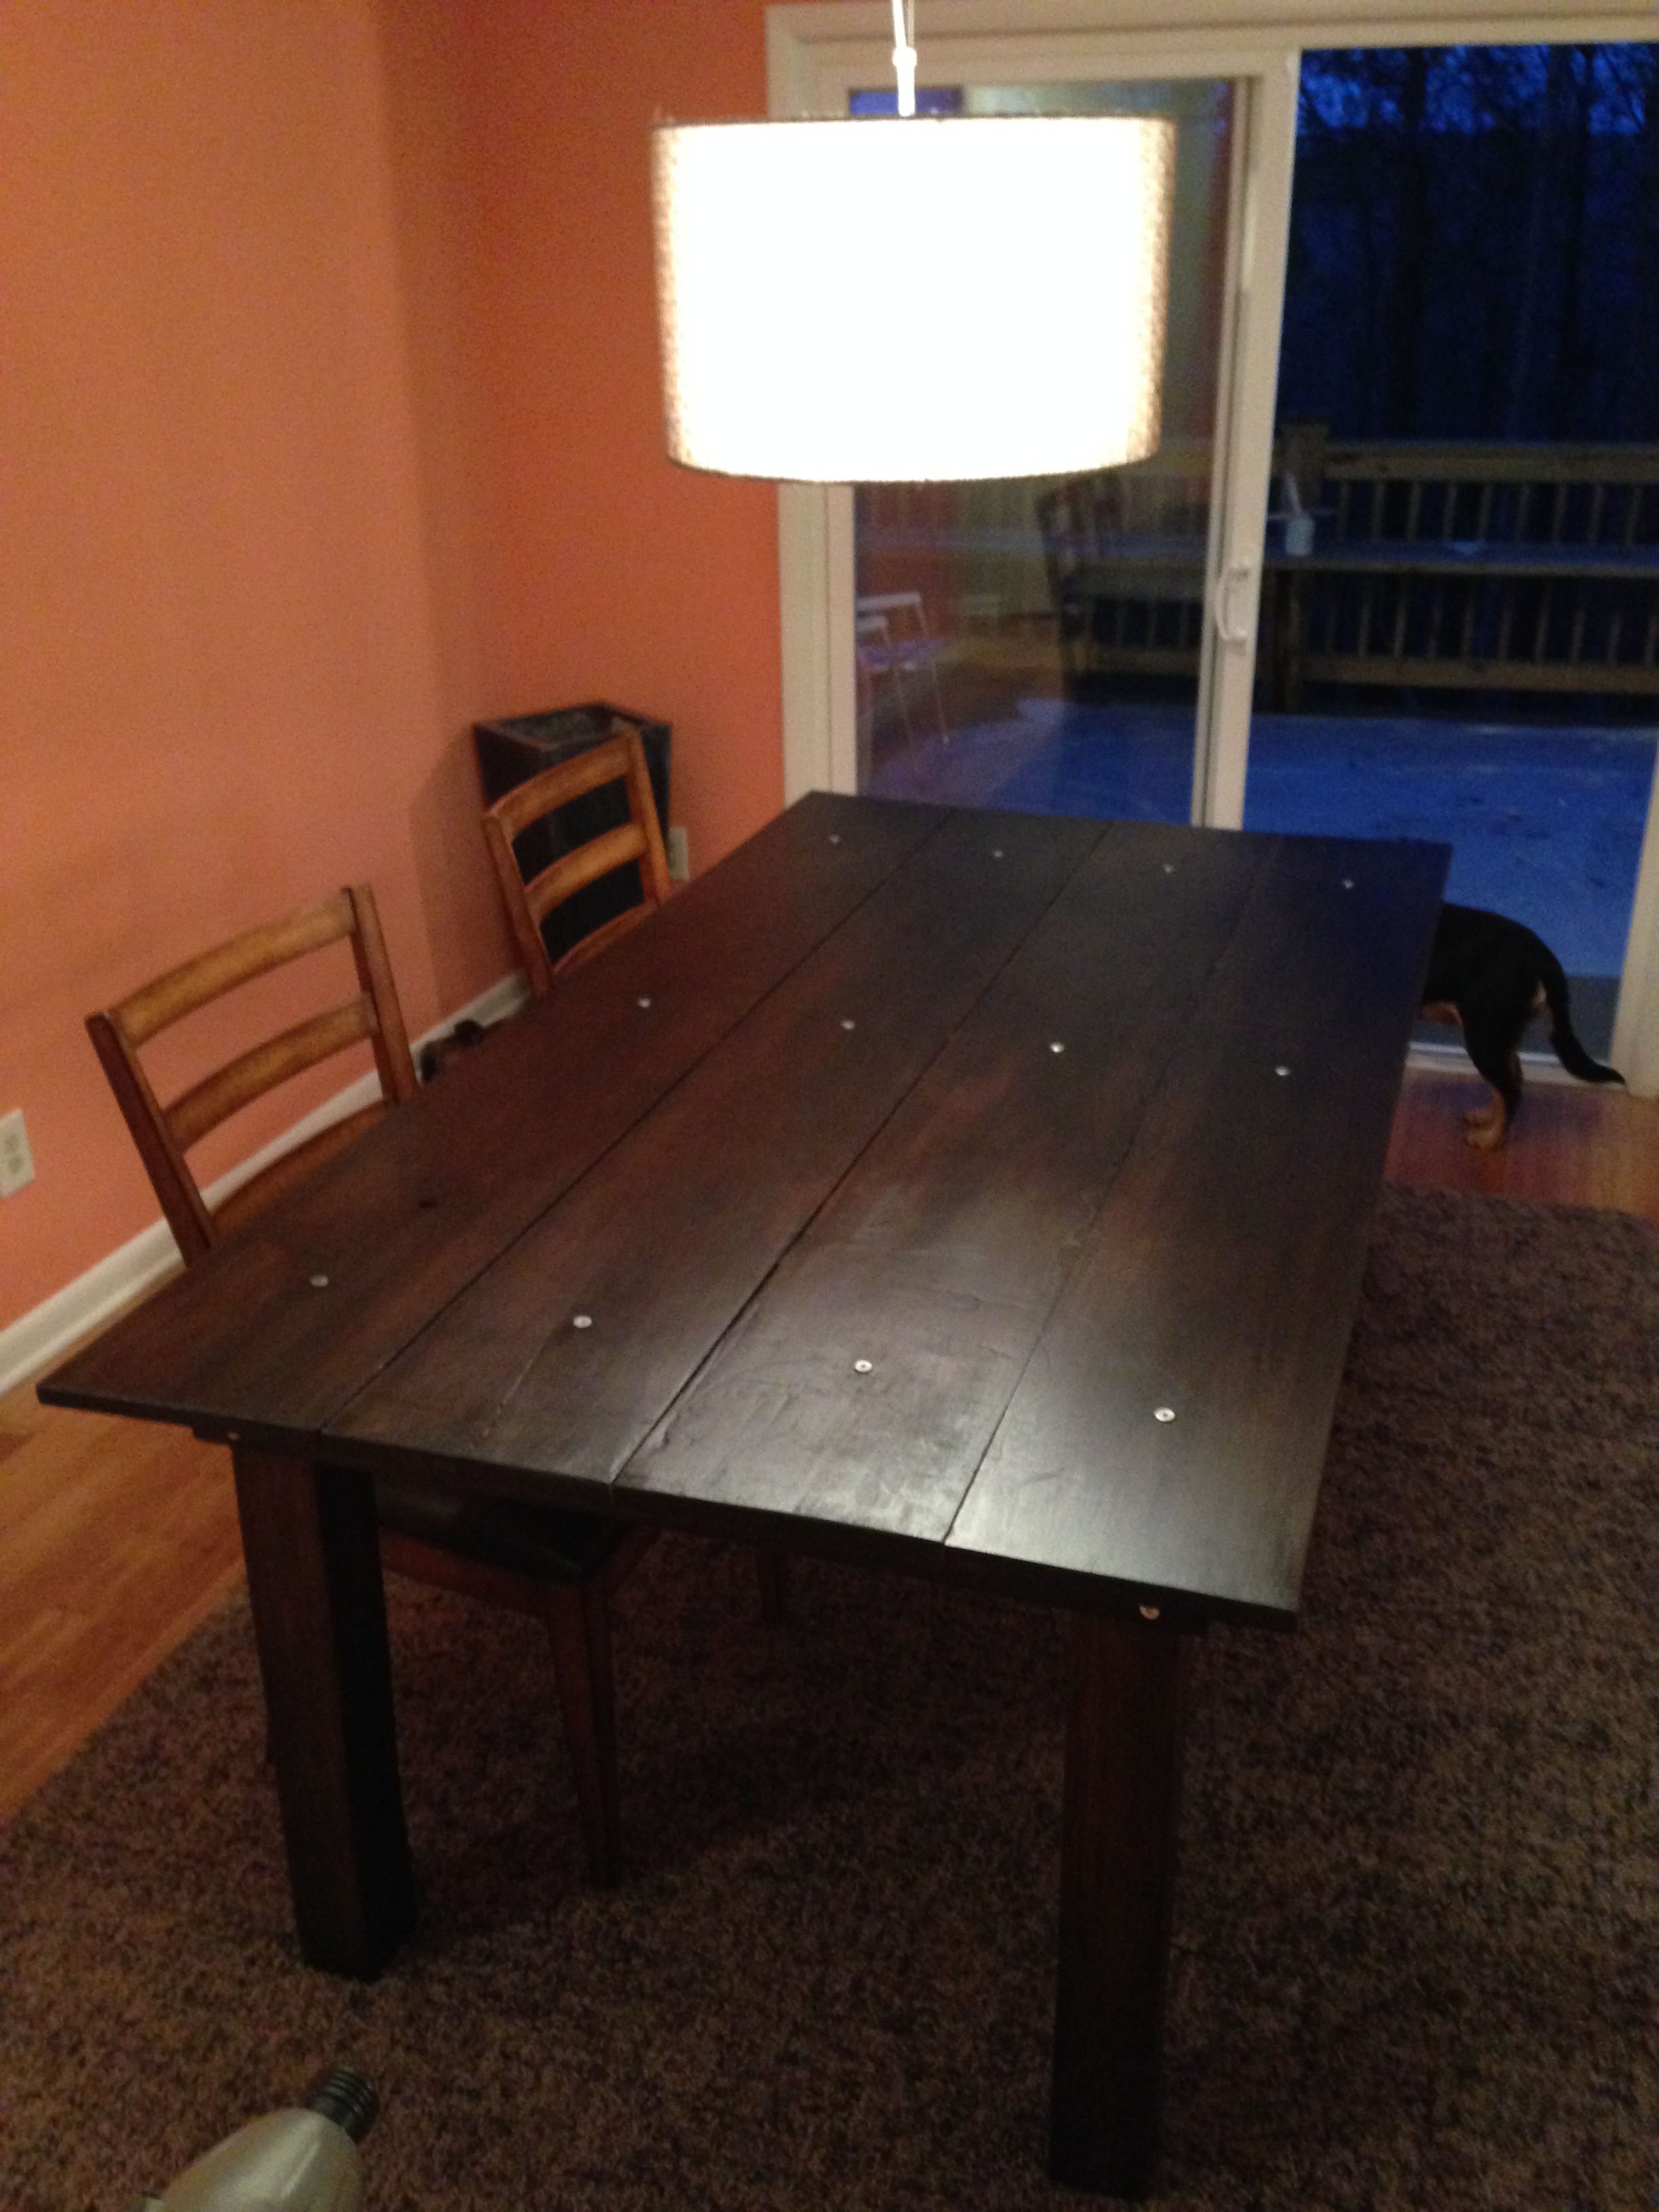
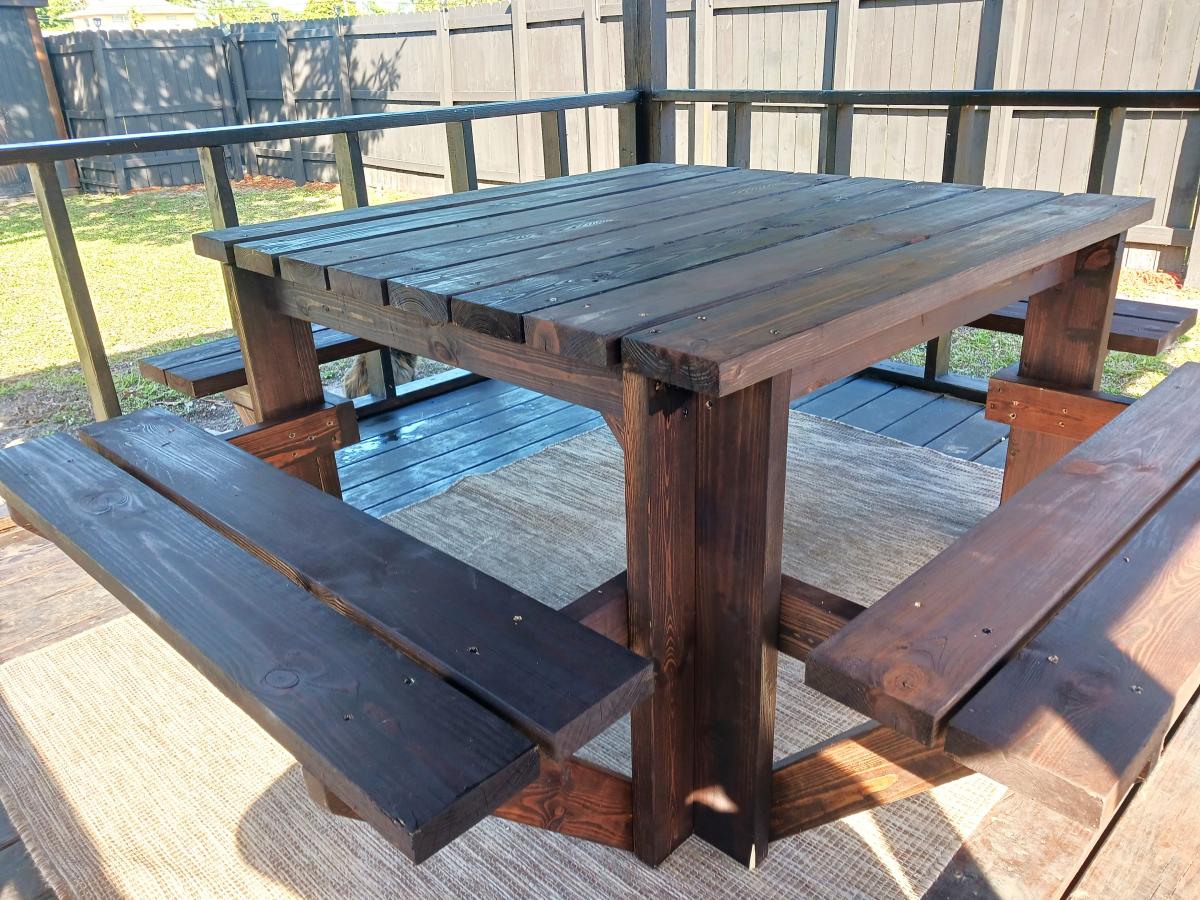
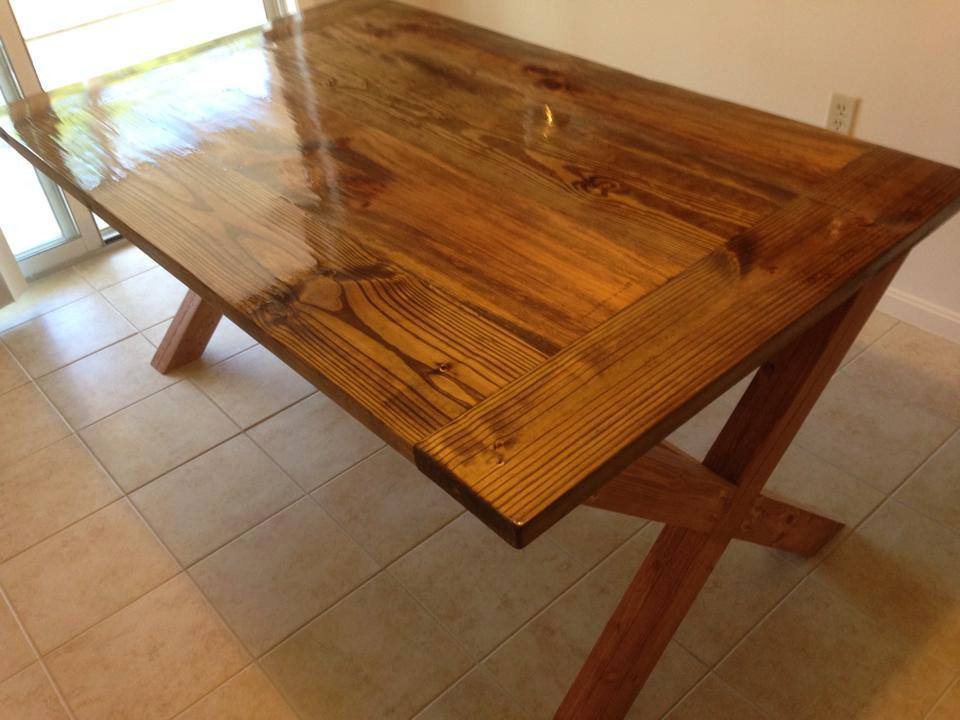
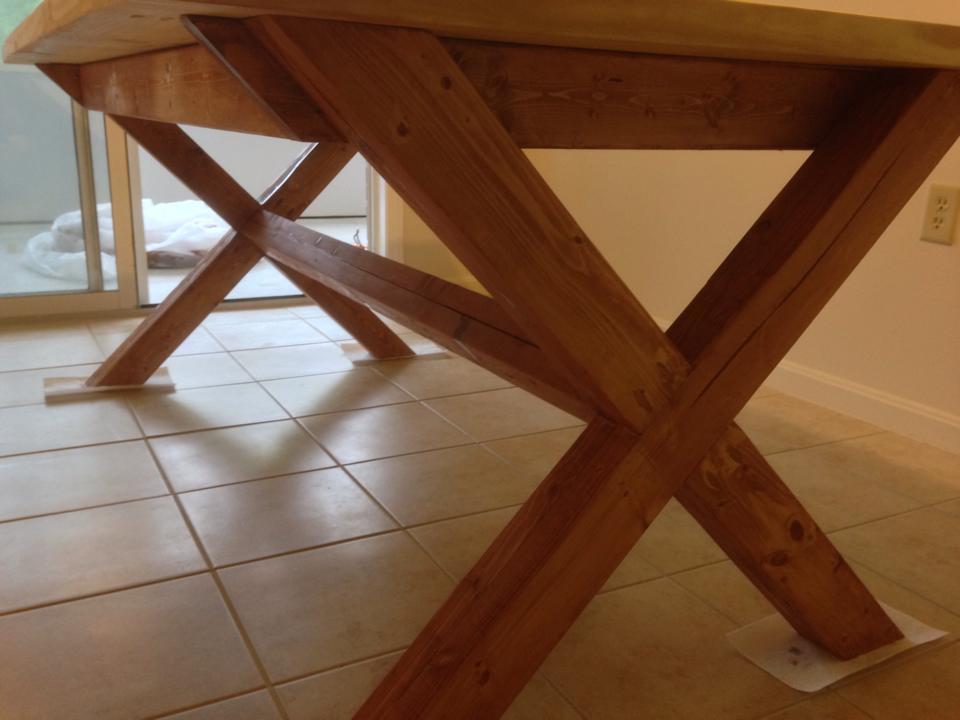
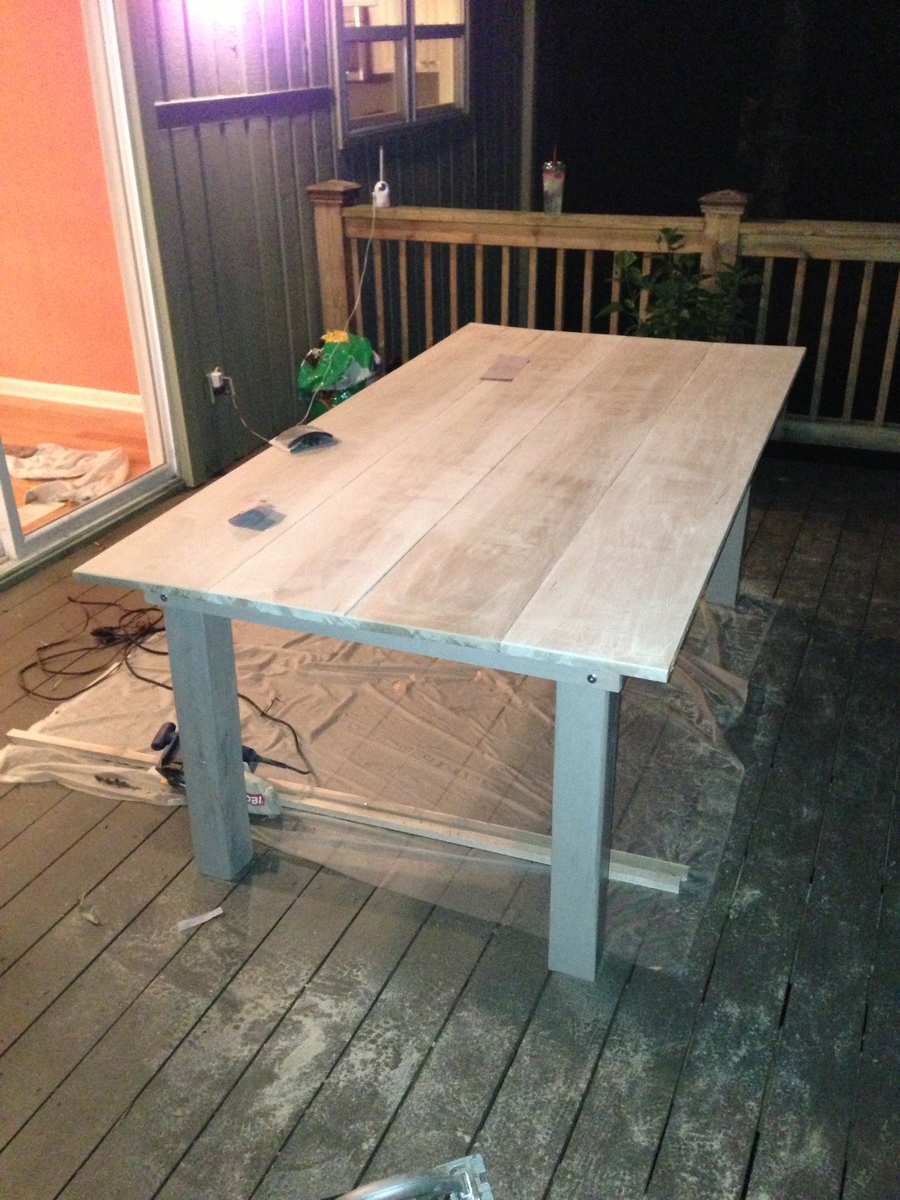
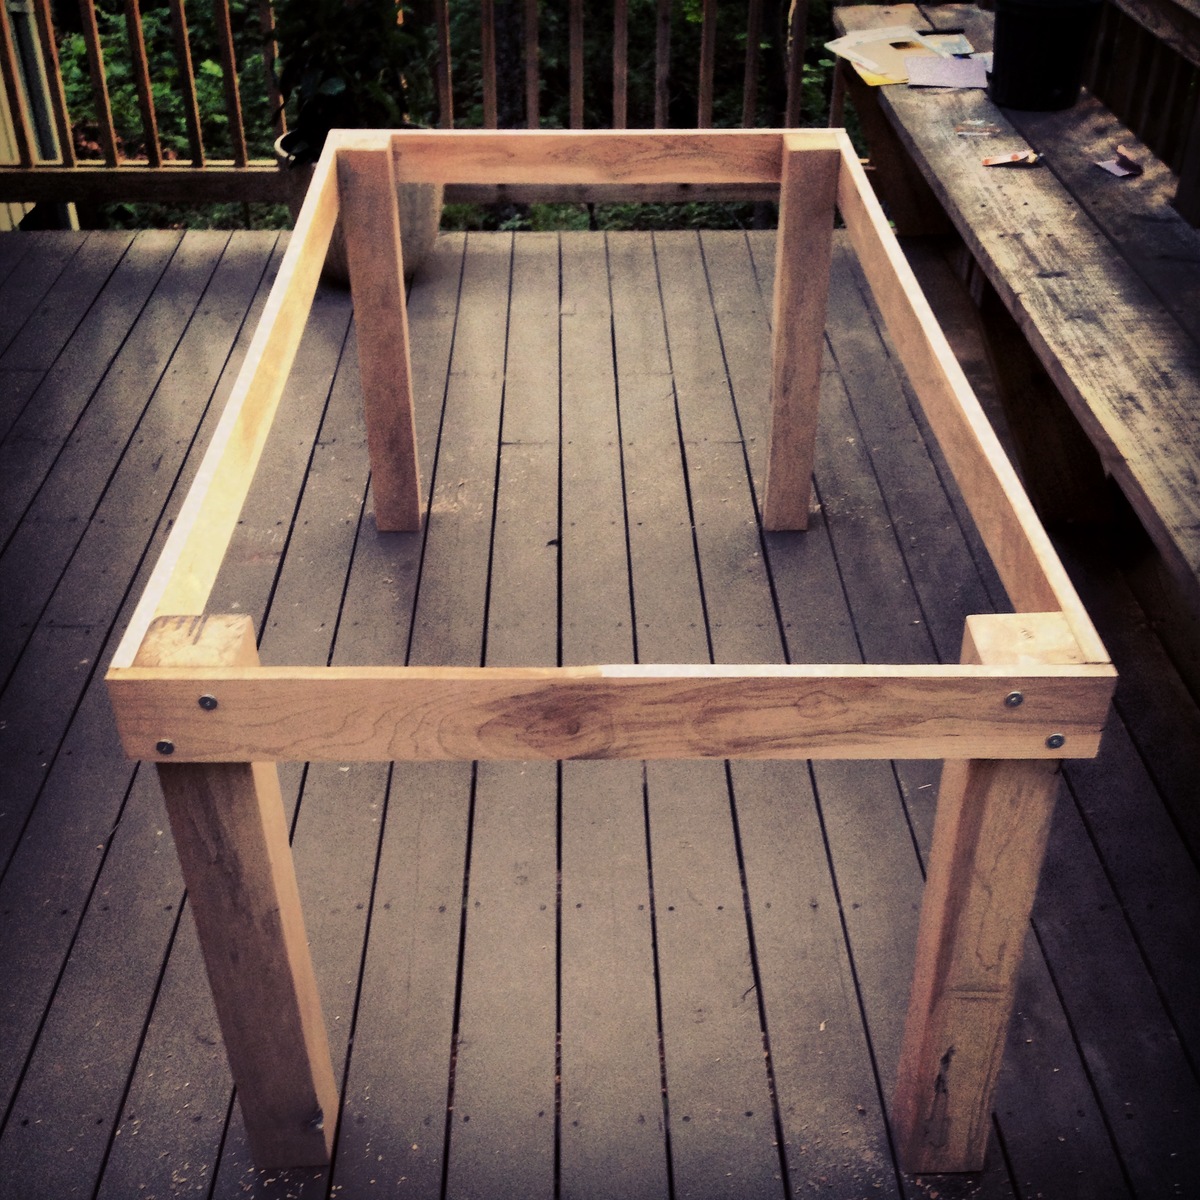
This was my first project in regards to building anything. I had some old milled wood from my grandfathers farm that needed some attention. The wood itself was milled about 60 years ago and sat under his house in a crawlspace ever since he moved from his farm in Kentucky to the city of Atlanta, Georgia. The wood itself was in rough shape and since I didn't have access to a planer, I had to sand the rough cut wood to the smoothness of my liking. I was very limited to the amount of wood I had so I took various ideas from your website and came up with my own version. I would not have even attempted the project had I not been inspired by your site. Overall I was distracted numerous times by life so it took about 6 months to finish. Speaking of finish, I highly recommend testing several large pieces of scrap before staining. I went with a driftwood color to a weathered grey before I finally finished with a darker kona color. By the time I was done, I had sanded the table 3 separate times. I love the table and made it to where I can remove the legs for easy transport. It is solid as a rock and very heavy.
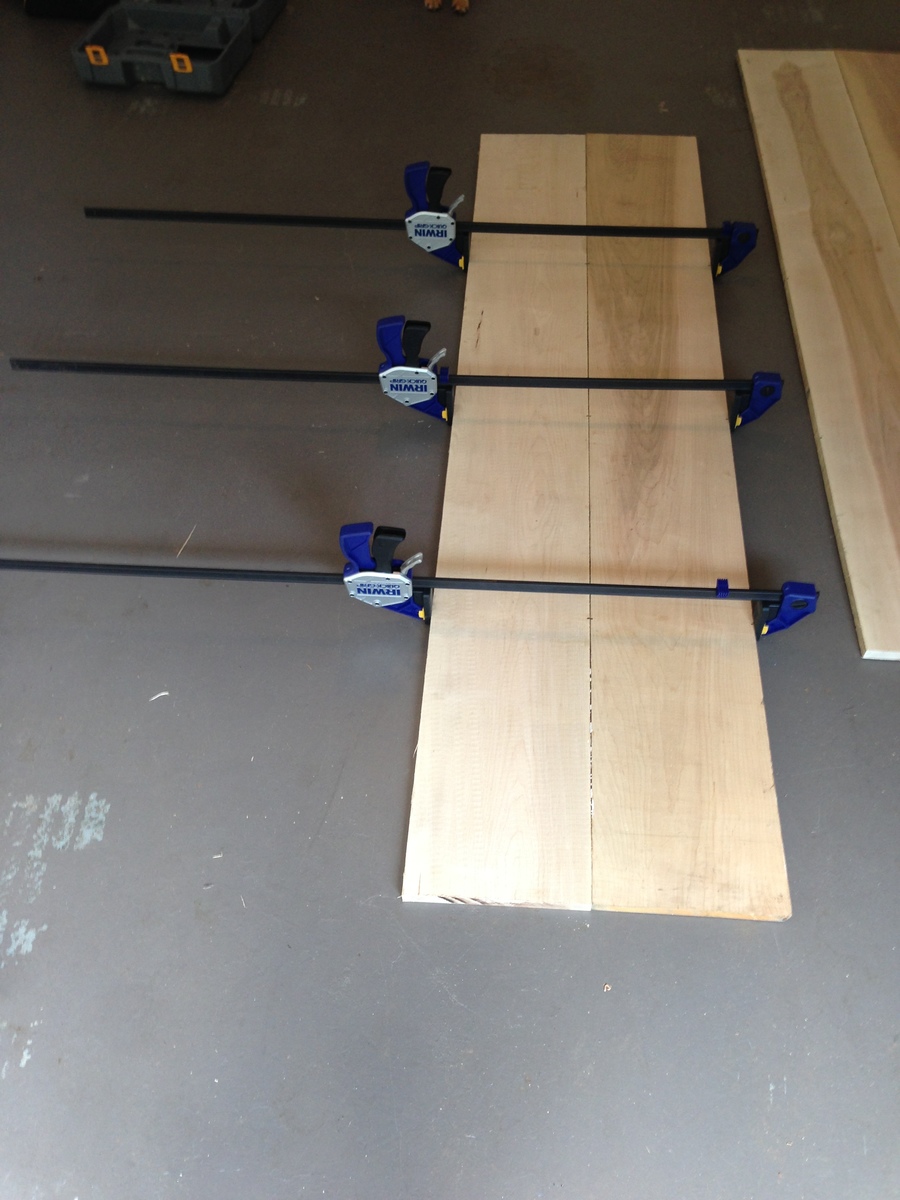
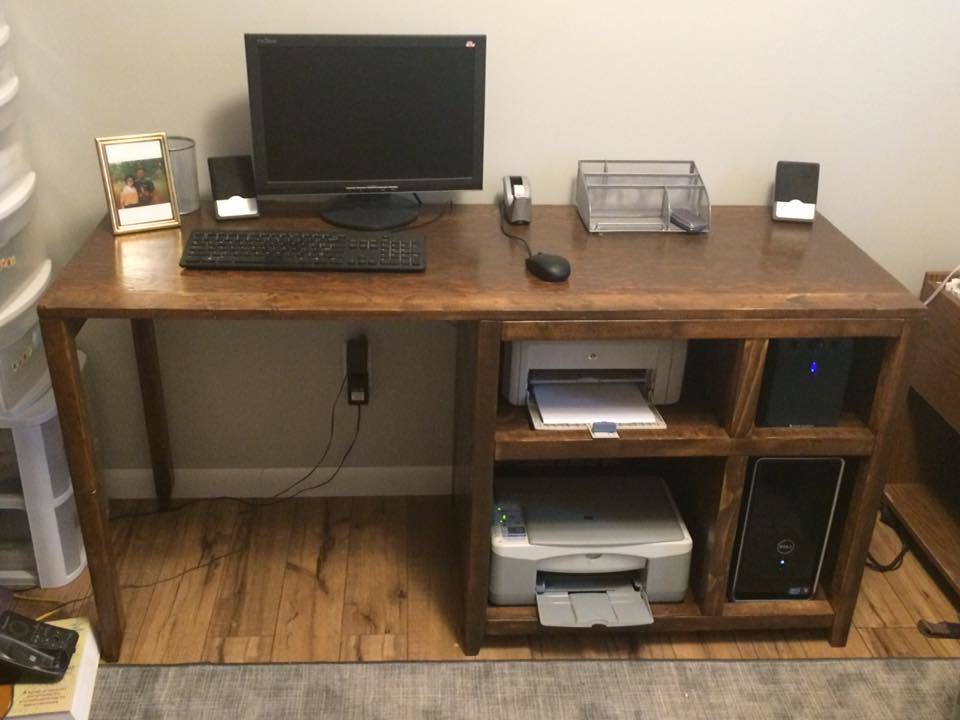
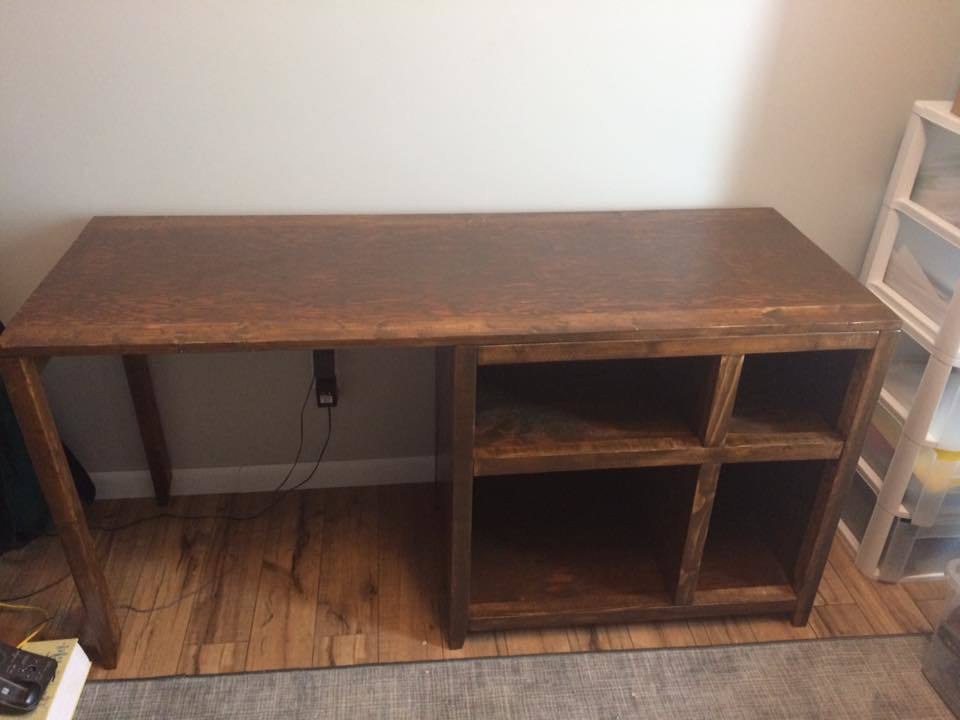
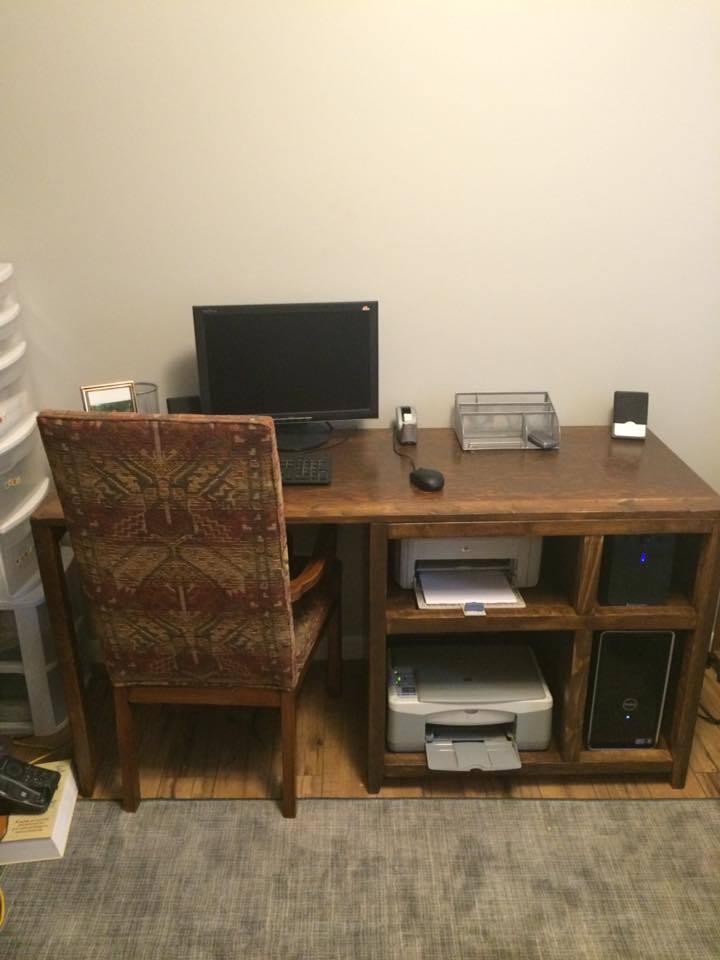
I did not add the draw and modified the cubbies to hold my computer equipment. I have enough space to add a center draw later and I will probably build a small platform for the monitor. The plywood was salvaged from the floor of my grandmother's house.
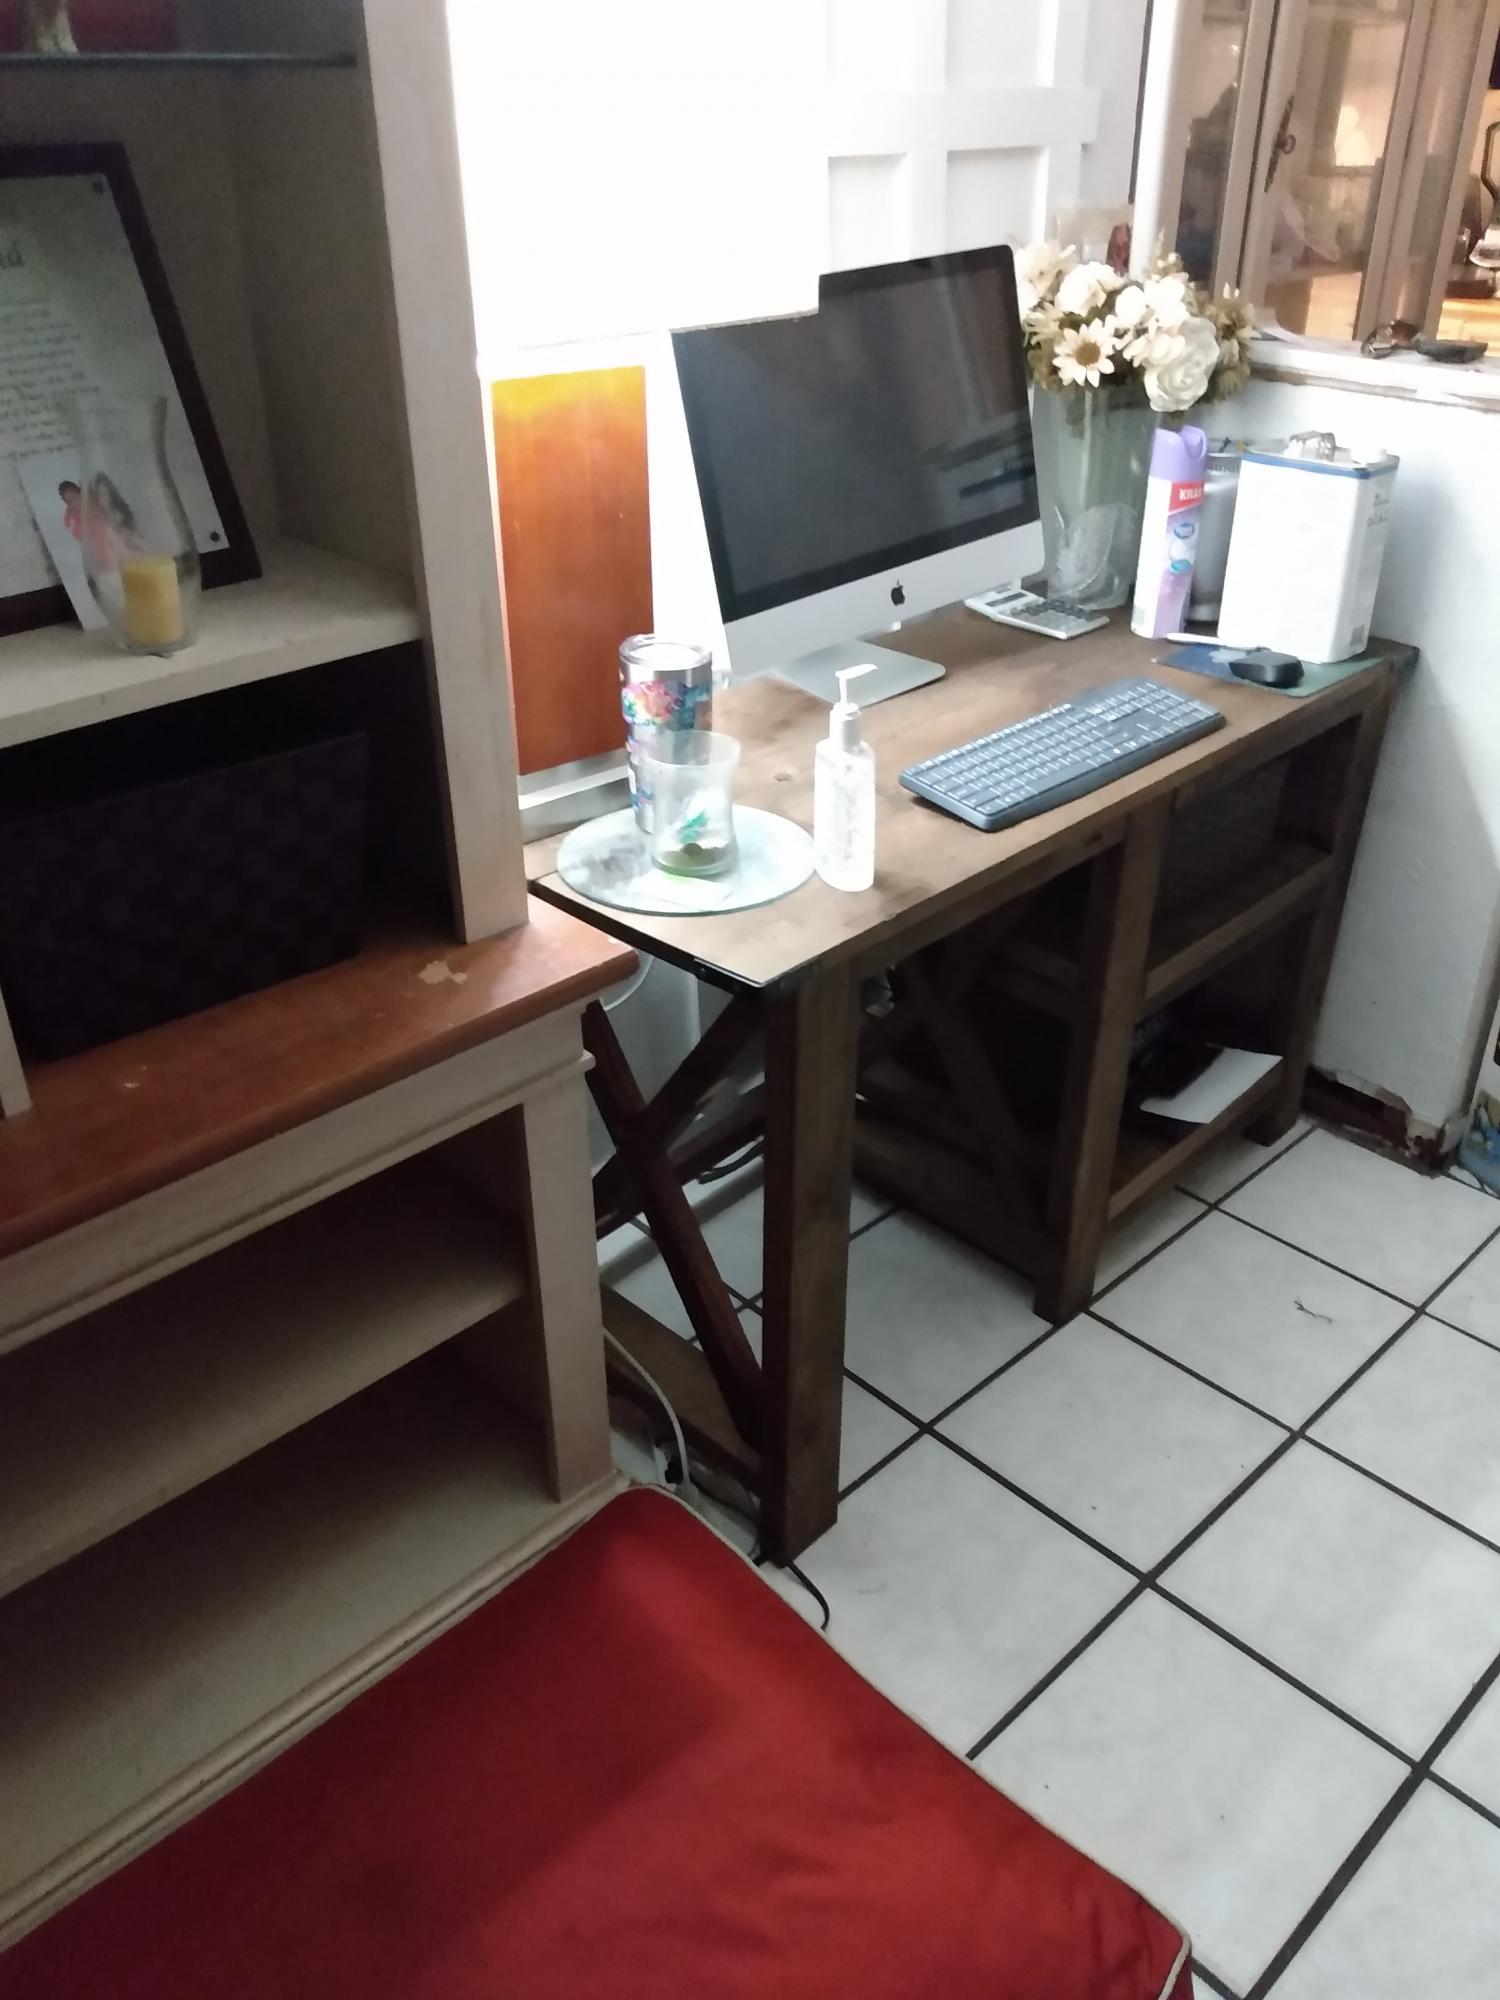
Had a little bit of time to do it
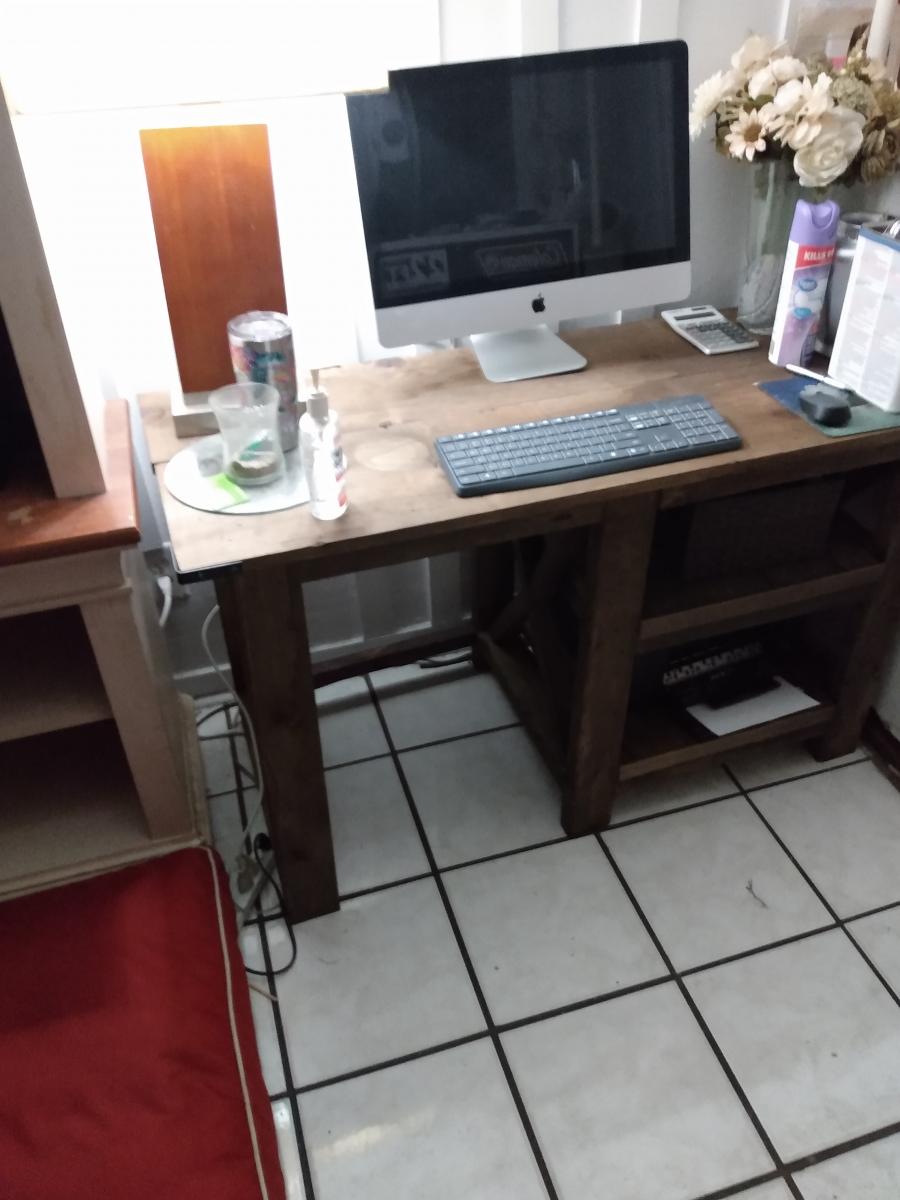


This was the first time that I built anything from scratch and I must say that I was really surprised by how good it came out. It’s not perfect but I’m really proud of the finished product.
Thanks Ana for making it easy.
Tyra Williams


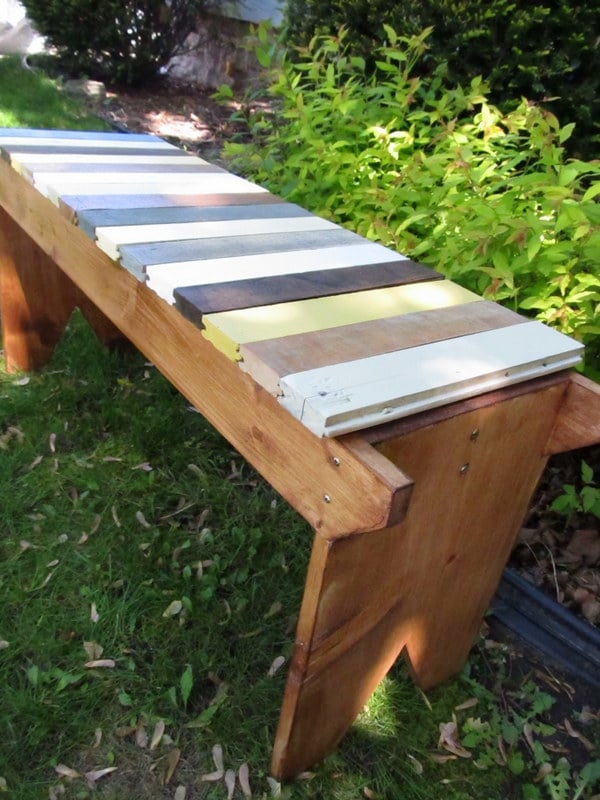
5 board bench with a few extra boards.
I had some leftover hardwood flooring pieces that i cut for the seat of the bench. I love color so this was a lot of fun!!!
Thanks!