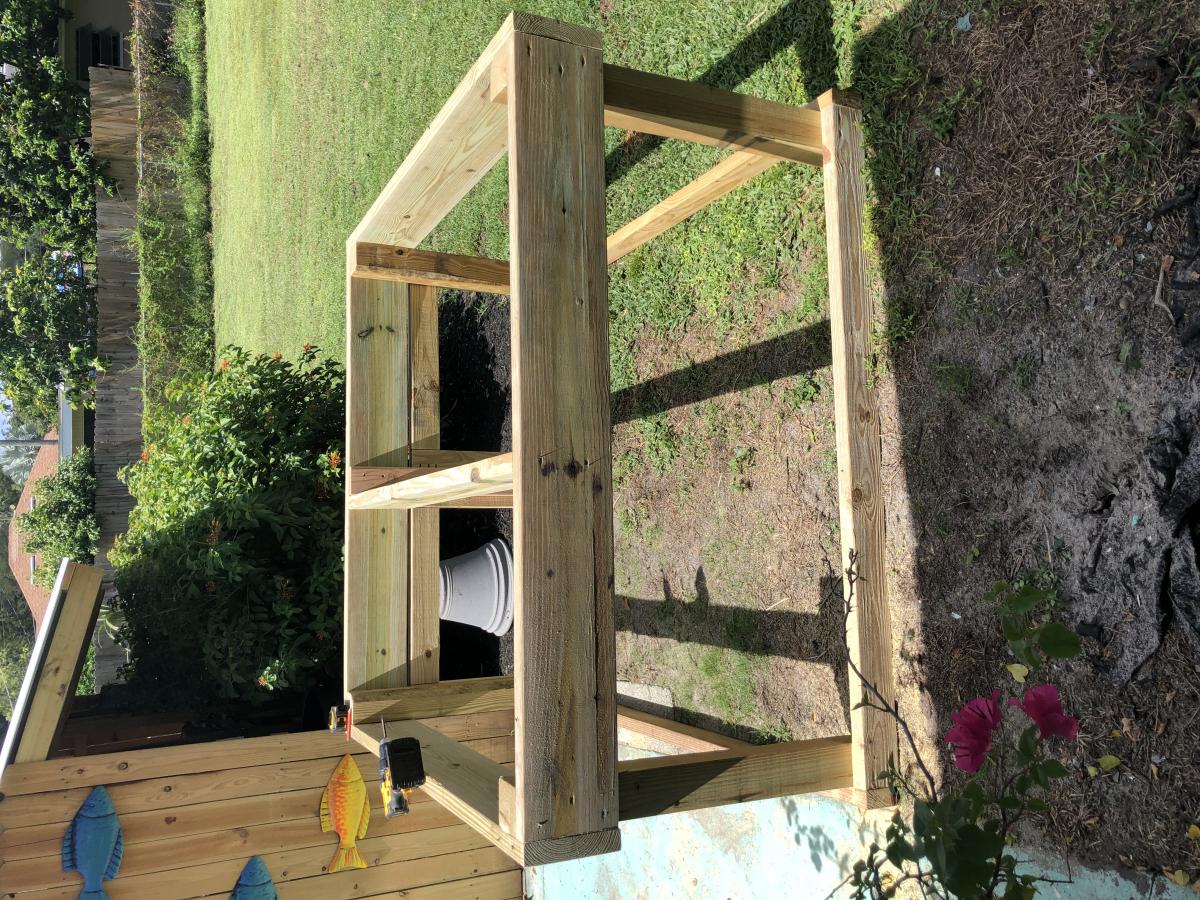
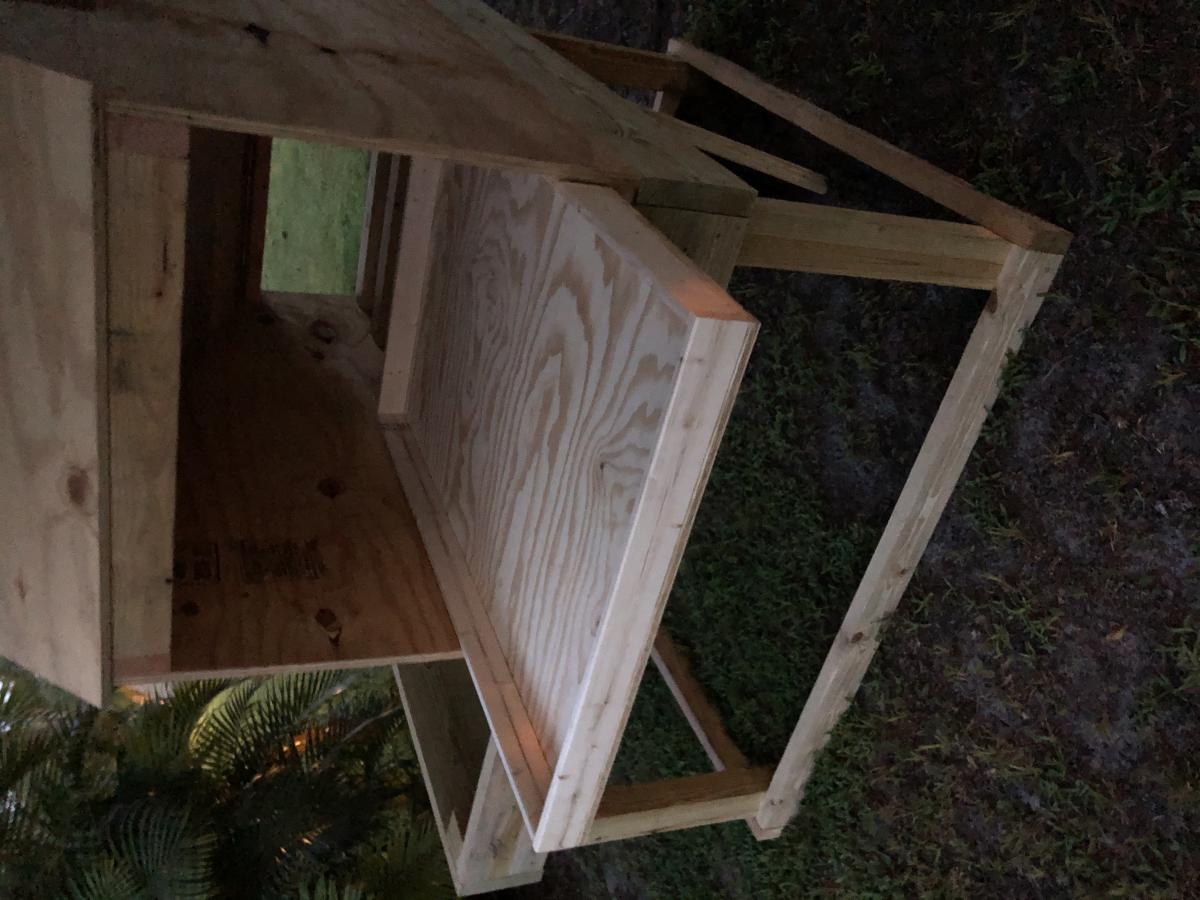
Made with my dad!!!
![](/sites/default/files/FB_IMG_1479441636652.jpg)
My dad was a lot more particular with this than a farmhouse table is intended to be. Lol
I followed the plans pretty closely. As you can see, I added an extra 2X4 inside the uprights. This gave me room to mortise the 2X4s that run under the table top. Very sturdy and useful. The third pic shows when we used this table for a birthday party. Matched up exactly with our dining room table! It only took one extra 2x4 to make the alterations.
My wife has been asking me for quite some time to build her a bench for the front porch. I finally found some time to make one. I looked at a lot of different benches on Pinterest, YouTube and other websites and I presented the options to her, and she liked this design the best. She only had one request and that was for the top to match the front door and the frame to be white. I have a step-by-step video of how I made the Farmhouse Bench (Click Here) to see the video.
This is the third time I built this table. Everyone who has it loves it because it is the "perfect size". This last build was someone not as rustic, so I opted a premade round table top. This probably added $15 to the project but saved at least an hour.
For my third project I built my brother-in-law the Fancy X Farmhouse table cut down to a size suitable for him and his girlfriend. When I read through the comments it seemed like alot of people had the same question: How do I attach the top?!?!?! As this was going to be used for an indoor dining table I didnt want to screw through the top if I didnt have to and I didnt want to use metal bracketry eithery. What I did required 4 inch screws and a 5/8 drill bit. Ive attached pictures to show where I placed the wood suport pieces. Two screws went through the top cross beam (connecting the two leg ends) into the center support piece and I put a total of 2 screws each through the sides of the two longer support pieces and into the top board of the legs. I used a 5/8 bit to drill about an inch (very rough estimate and essentially to countersink the screws an inch deep) into the 3.5 inch width of the 2x4s and then a smaller drill to pre-drill holes for the 4 inch screws. This allowed the head of the screws to sit about an inch into the wood and the threaded portion of the screw to dig deep enough into the second board without going through it. Overall it holds great and there are no visible screw heads on the top of the table!
FYI This technique DOES require aligning the cross beam with the top of the second 2x4 rather than the top 2x4 because you want to save enoughg room the support pieces. (See pictures)
First I had to flip the pantry door from opening into my small pantry to opening out. Doing this allowed me to utilize back of the door for this spice rack. Frees up quite a bit of space in our cabinets, drawers and pantry for other items. Substituted braided picture frame wire for the wood dowels; still keeps all items secure on the shelves but also allows for more flexibility when dealing with canister sizes that are very close to the amount of space in between shelves. Already had the paint from doing some baseboards as well as quarter inch ply. So, final cost was for 1x4's and 1x6's coming out to about $30
Built this over the weekend for my girlfriends sister. It was a great project and the whole family was able to work together on it, sanding and waterproofing it before assembling. The loveseat plans need a little tweaking. We ran ran the slats the same direction as the chair plans call for so we added a middle support for extra stability. We also pitched the seating down towards the back by 5* to make a more natural sitting position.
My first build! Came out great, my daughter loves it!
draft
With the help of friends and family, we managed to build this greenhouse rather easily. We had to start with the foundation since the spot we chose was not an even grade. We did this by filling sono tubes with cement and leveling each off so the greenhouse would have a solid place to sit. We then built out a frame around the outside of the cement tubes with some reclaimed 6x6's. After that, we filled the space with 5 tons of river rock and then got to work! After the foundation was ready putting the rest of the house together was a piece of cake. The frame was so easy to put together. We had a few minor kinks to work out here and there, I won't say this house came out 100% perfectly, BUT I am so happy with the end results. We chose to paint it a deep green color as a final touch. So far we just moved a few potted plants from our deck to the greenhouse for the winter. It has been working very well to keep the plants cozy during the colder days we've had. Eventually, I plan to build a potting station, shelving, and most likely a garden bed for winter harvests.
Mon, 11/09/2020 - 09:52
The foundation looks great the greenhouse looks amazing! I'm sure fun was had building it too:) Thanks for sharing.
Followed the plans pretty closely other than making it a tiny bit shorter to fit in the living room. The hardest part was just smoothing out the top because I could not find straight boards. ended up using a hand planer and a ton of sanding after it was put together.
Feels very solid.
My friend's 7 year old daughter custom ordered this bunk bed! She asked for a bunk bed for her 3 dolls and she even picked the color! I had a lot of fun building it and learned a lot in the process. As usual, finishing took longest. Lucky for me, my hubby likes spray painting :-)
Wed, 02/17/2016 - 17:41
Can you please post the plans for this bunk bed. I want to make it for my daughter to play with her dolls with.
Thank you
Brett
A first for me in many years, over 40+. Not really since basic wood shop projects in Middle School. Anyway, my son (and daughter in-law, but she doesn't know) had asked for a backyard patio bench for Christmas this year (2020) so what could go wrong. Anyway, the plans are straight forward in this design. He saw the picture of a stained version on YouTube and said that would be perfect. The project took me three late afternoons/evenings as my day job took priority. After making all the cuts and beginning assembly I could really see this coming together nicely once the four legs were attached. Between wood fill and sanding I asked what finish they preferred and was told he would finish that part. So I sanded the exterior on it and glad for having him finish the coatings as I was just finished it that point on Christmas Eve Day. The red bow is also first for me.
The table is one that I have been waiting for my husband to retire from the Marines to make me. We moved so often while in the military that I knew there was no need to buy expensive furniture just to get damaged. When I found the plans for this I was thrilled.
The edges of the table have been sanded to resemble the worn weathered look.
Please forgive the pictures. I will retake soon.
My sons awesome fort. It took some time to complete, as I was doing it on my own. The balancing and juggling act when attaching a few pieces would of made some priceless videos. I used plans from " Clubhouse Bed" as a general guide.
Fri, 02/08/2013 - 17:39
You did this all by yourself??? This is just fantastic...lucky little boy!!
In reply to Fantastic!! by Linda7
Sat, 02/09/2013 - 07:55
I did.. Thank you so much
Mon, 02/11/2013 - 06:28
I'm seriously impressed you did this by yourself. Not that you aren't able, but the fact that there are so many big pieces which would have been really awkward and cumbersome with just one person. Beautiful job! Love the screen name, too, definitely fits!
Mon, 02/11/2013 - 06:28
I'm seriously impressed you did this by yourself. Not that you aren't able, but the fact that there are so many big pieces which would have been really awkward and cumbersome with just one person. Beautiful job! Love the screen name, too, definitely fits!
Tue, 02/12/2013 - 08:05
thank you so much.. thank goodness I had a toddler trampoline to help hold at times as well as a ladder that allows me to pick its height and hold the floor up for me to at least get the bottom on
Followed the plans pretty close on this one.
Fri, 12/19/2014 - 17:34
I really love how this turned out. What stain did you use? Thanks!
I've started building the Triple Printers Console. I haven't quite decided on the color.
In reply to I really love how this turned by handmadewithash
Mon, 12/22/2014 - 18:19
The stain was Cabot's Dark Walnut wood stain.
My first end tables, used the Rustic x plan except for the bottom shelf. I used a white chalky paint, with a brown wax to give it the rustic look, and stained the top walnut stain. Working on the coffee table to finish the set.
We struggled with the angles because we made the table bigger than this tutorial suggests but all in all, awesome build.
I made this garden trellis with cheap 6' cedar fence pickets ripped down to 1 1/2" strips. Get the free plans and tutorial at The Handyman's Daughter!
This plan turned out perfect!! Such a great idea, thank you for the inspiration!
This table is made from beautiful reclaimed wood from local Washington DC buildings.
The matching benches are a great space saver for a small space!