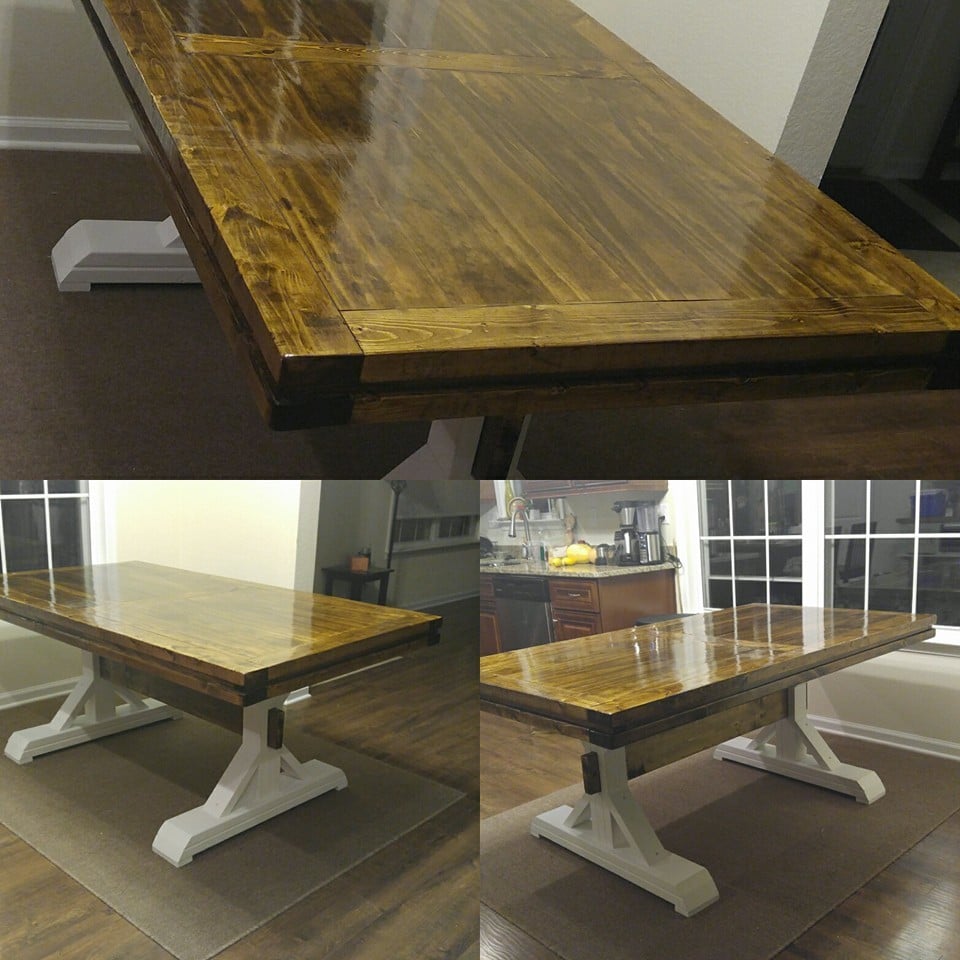
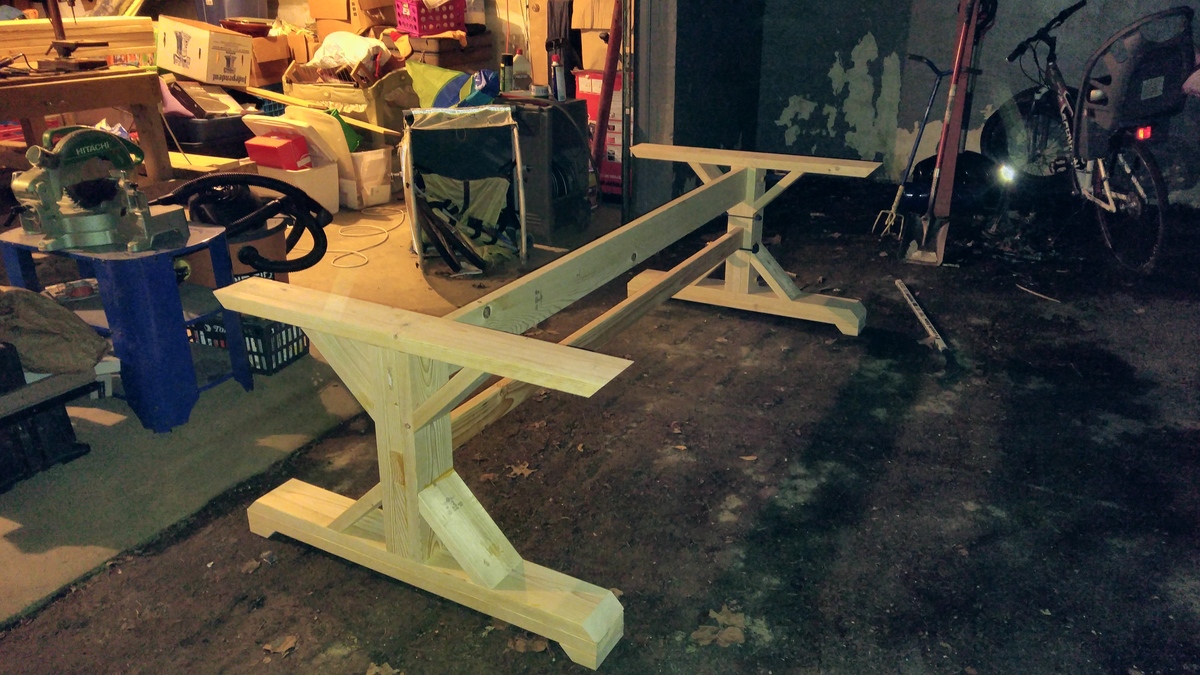
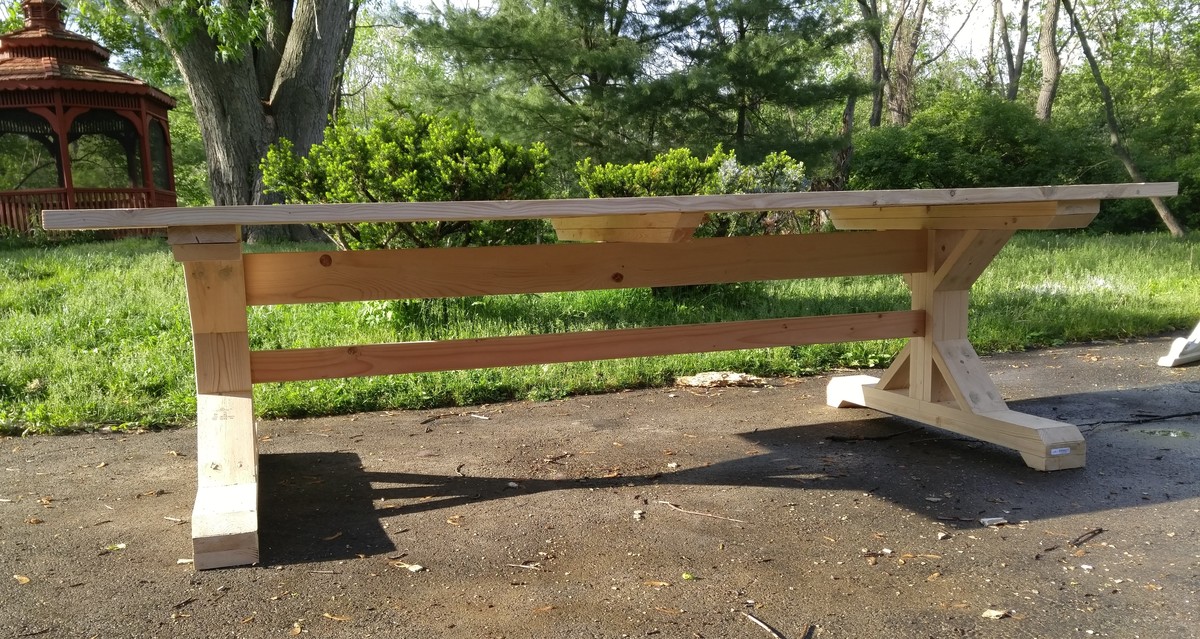
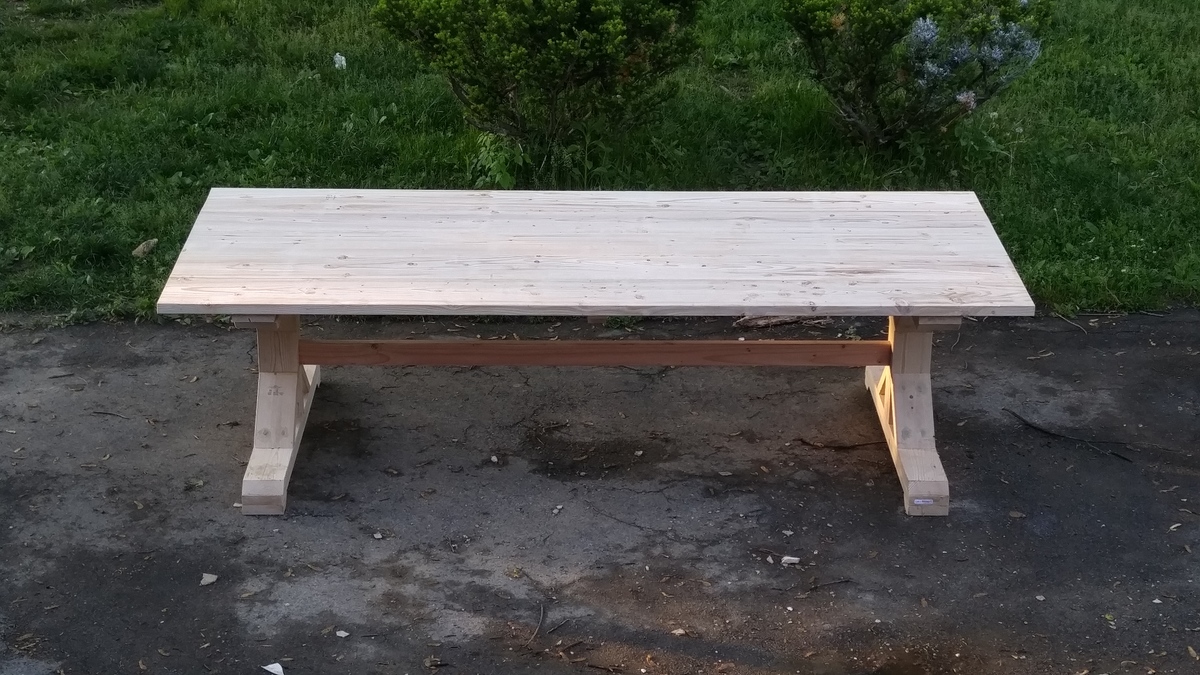
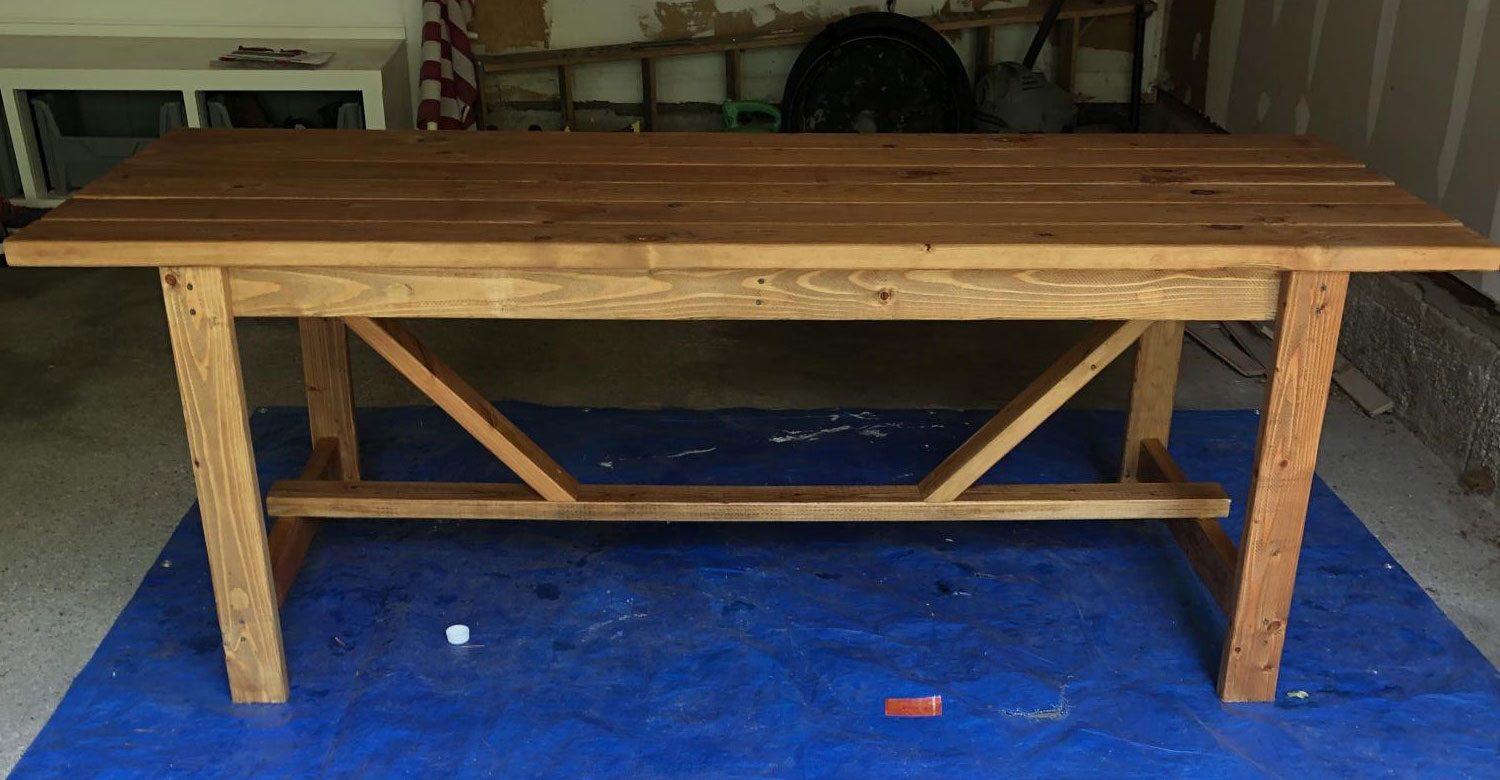
Farmhouse Tanle and Bench
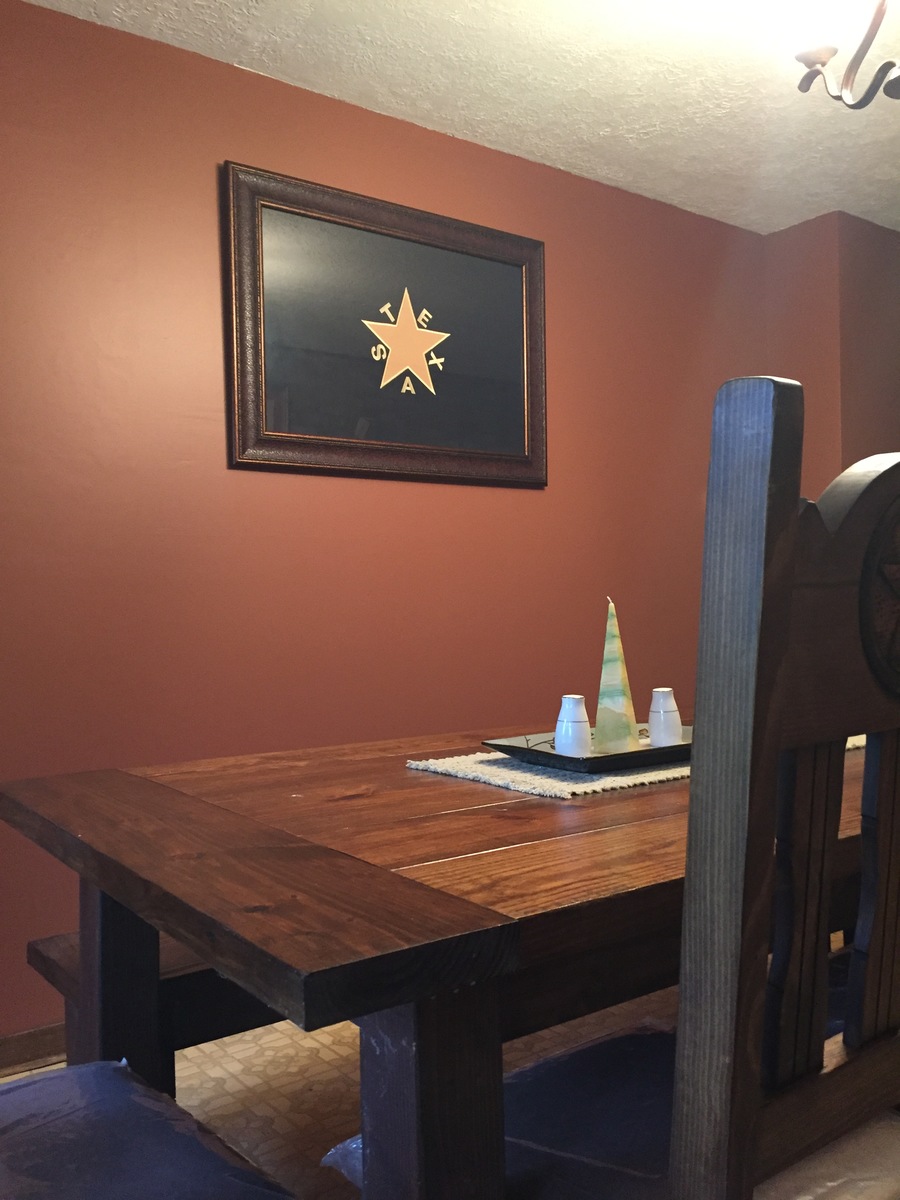
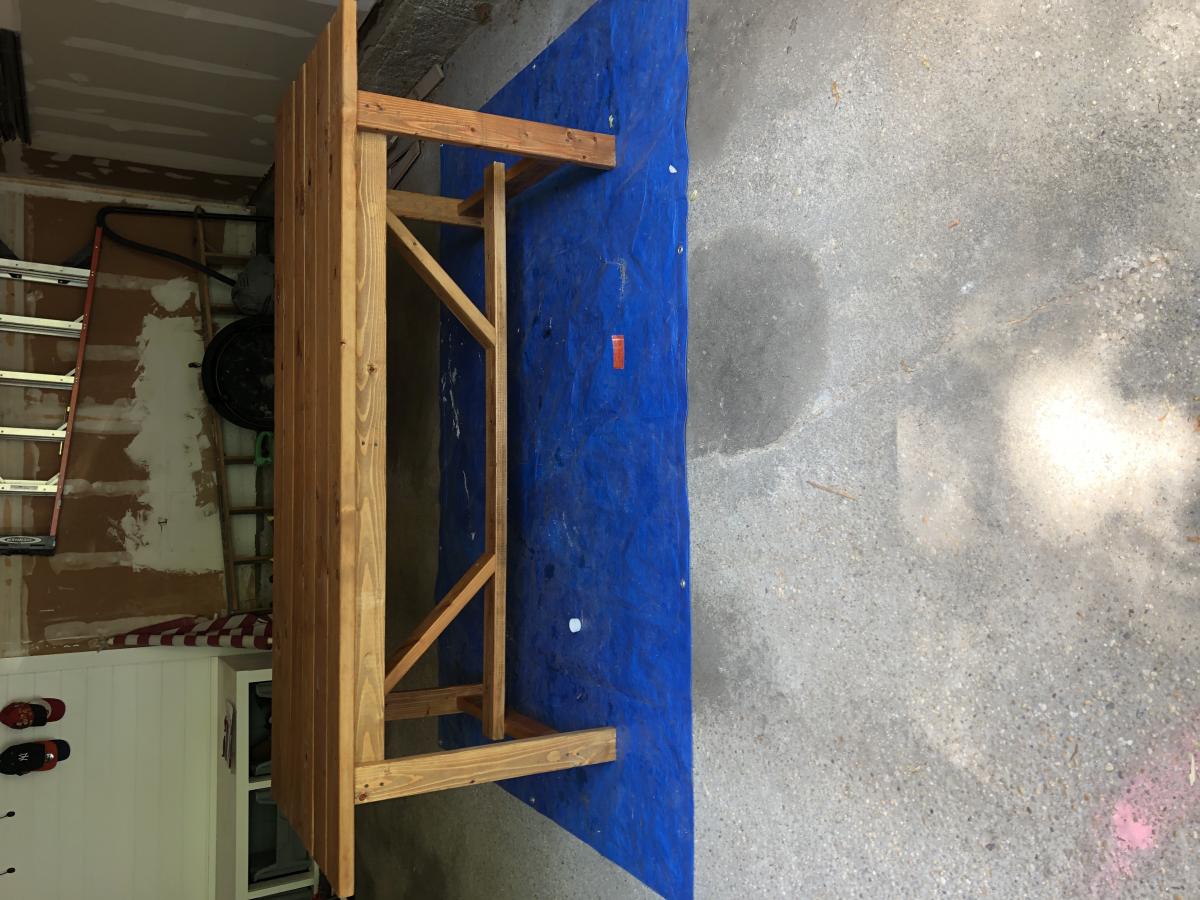
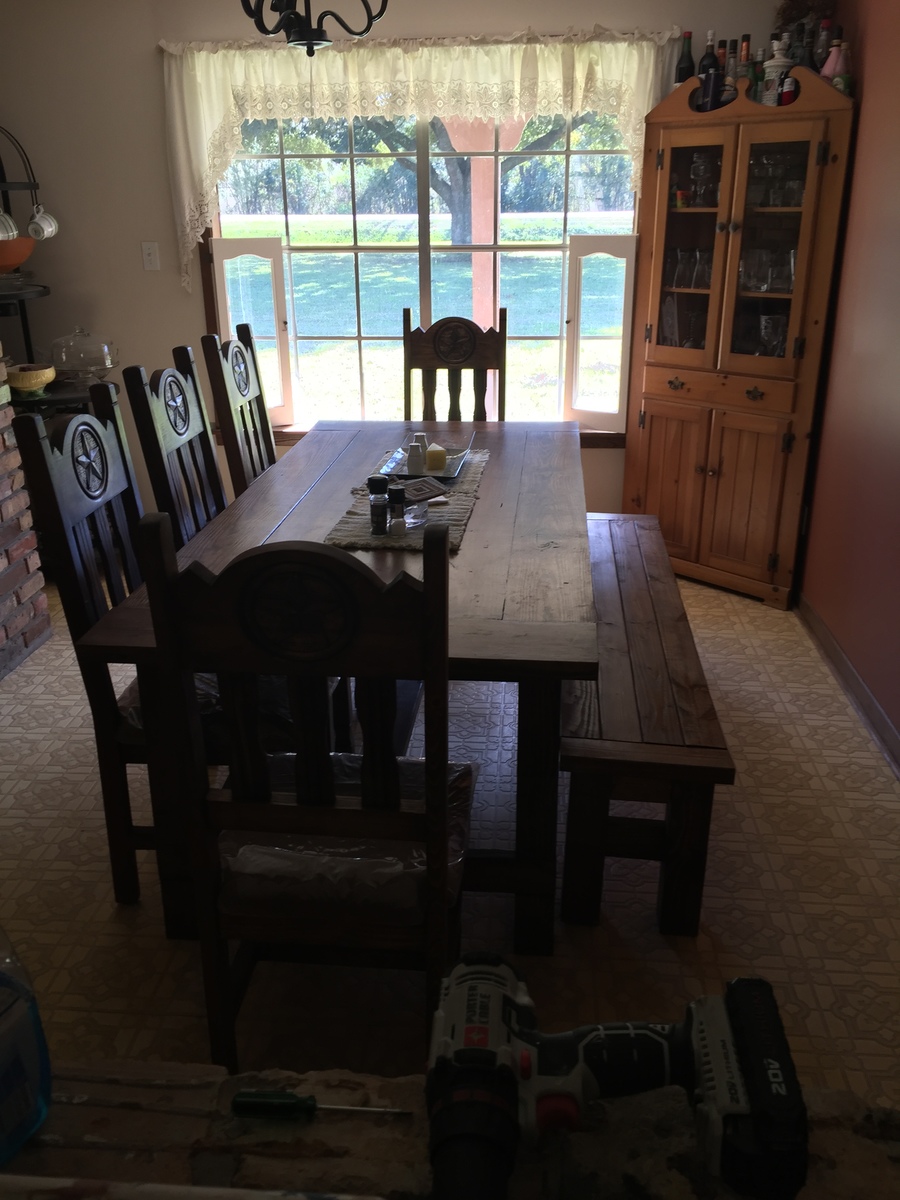
My wife and I built the farmhouse table and bench. We then followed the plans and made smaller versions for the living room - creating a coffee table and end tables.
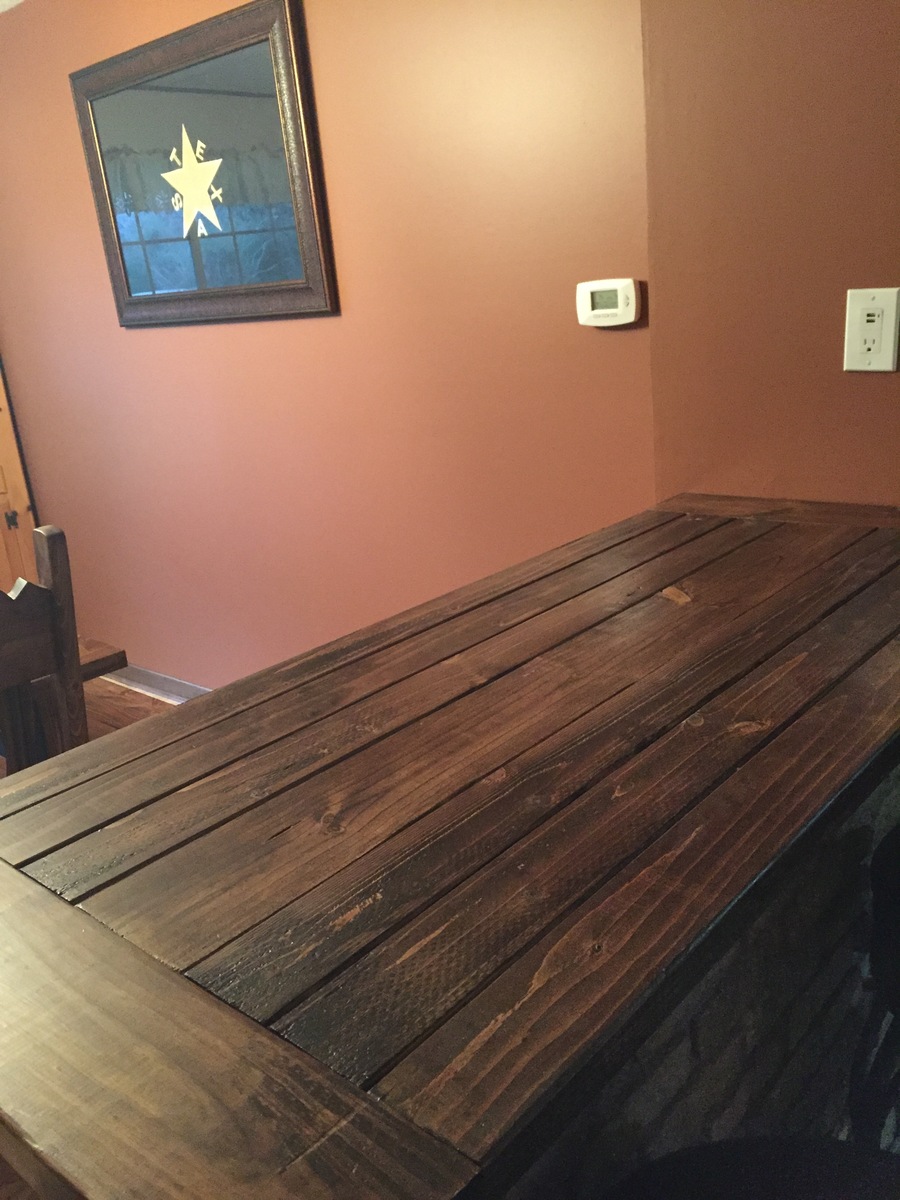
There was a horrible bartop seperating the kitchen from the dining room that was yellow 70's linoleum. We ripped that bar top off and made another small version of the farmhouse table for the bar top! Looks great!!

Built from Plan(s)
Estimated Time Investment
Weekend Project (10-20 Hours)
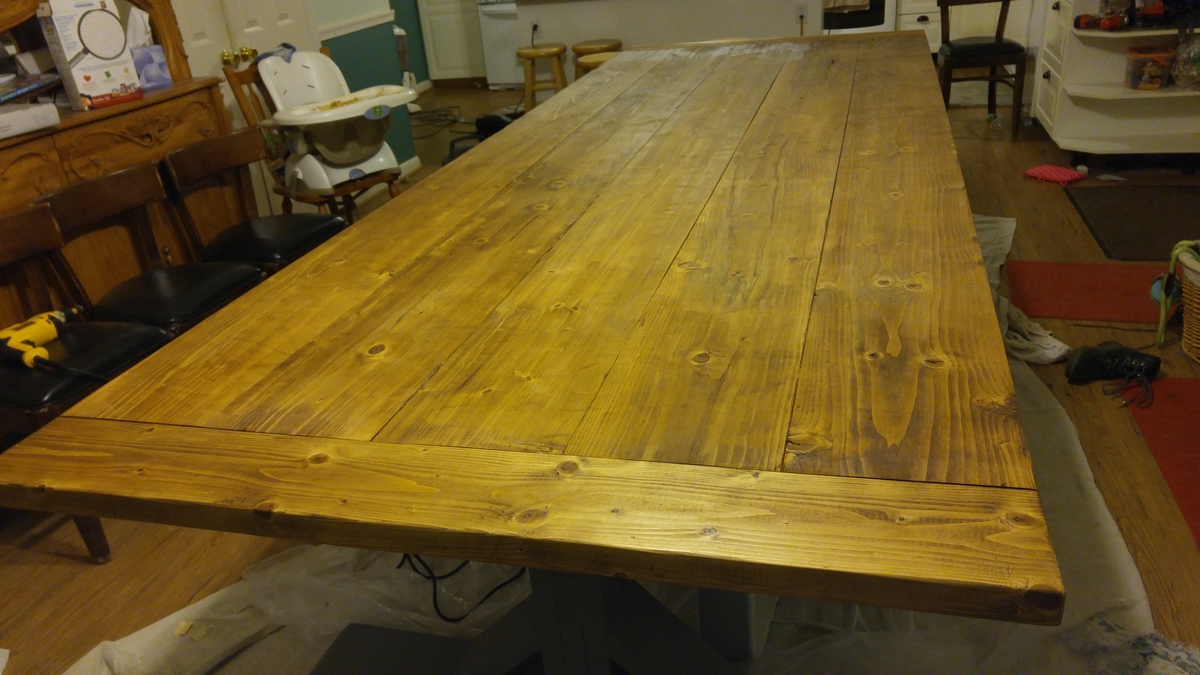
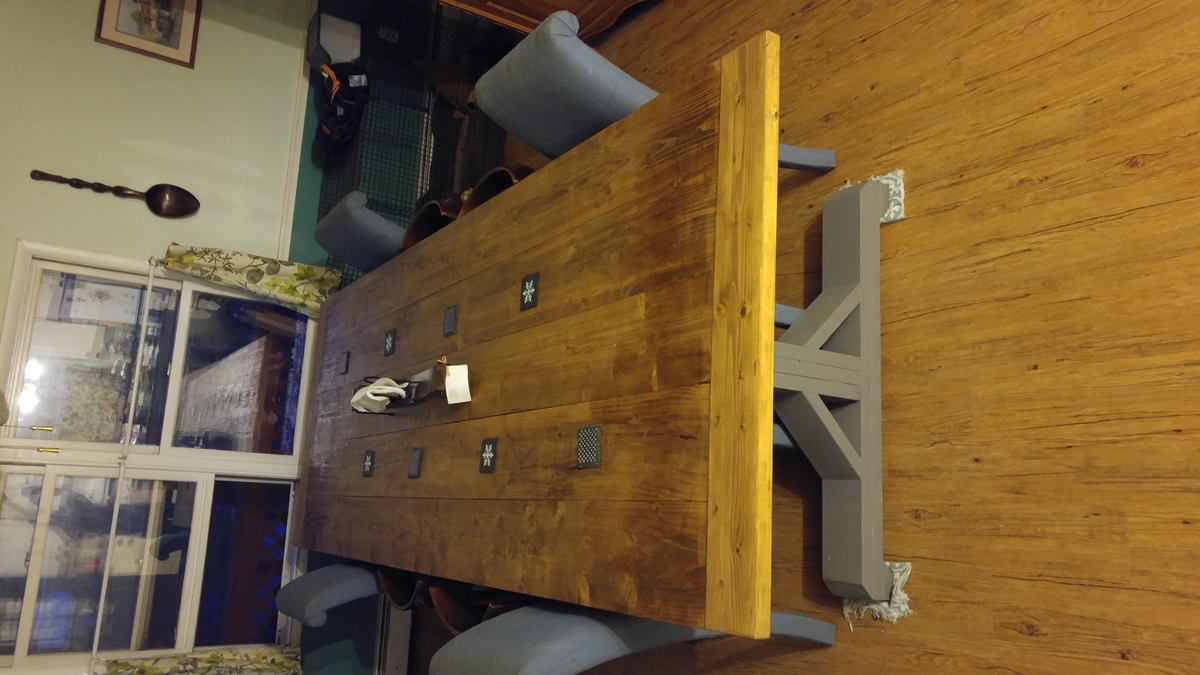
Finish Used
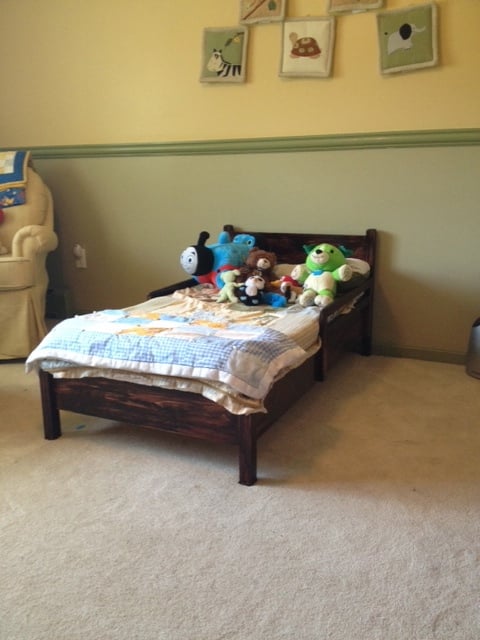
Provincial Stain and satin poly.
Recommended Skill Level
Intermediate