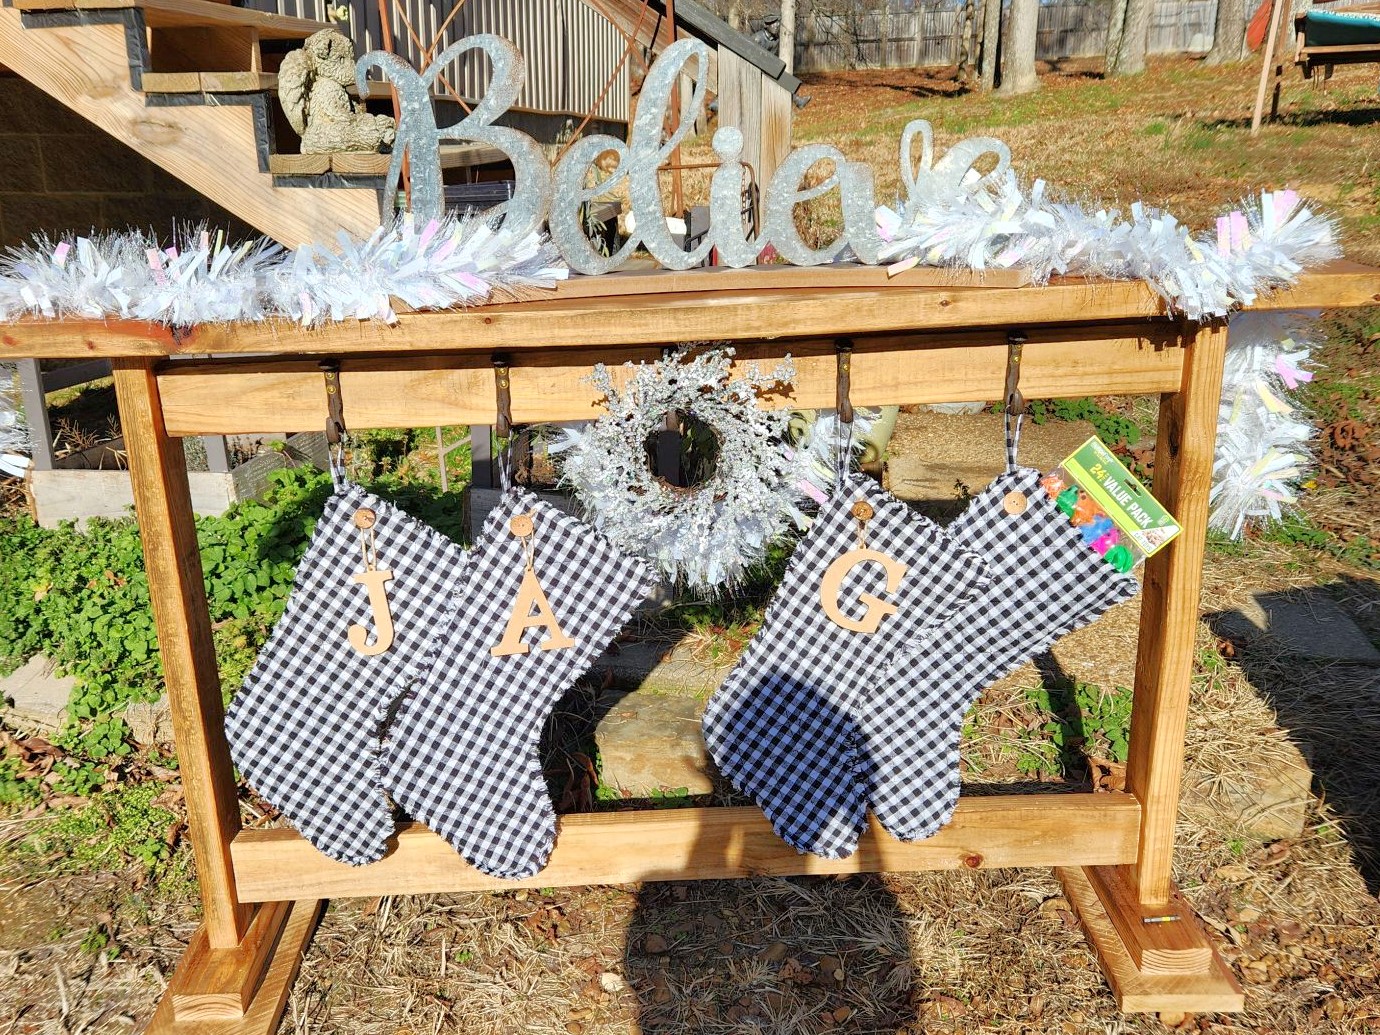
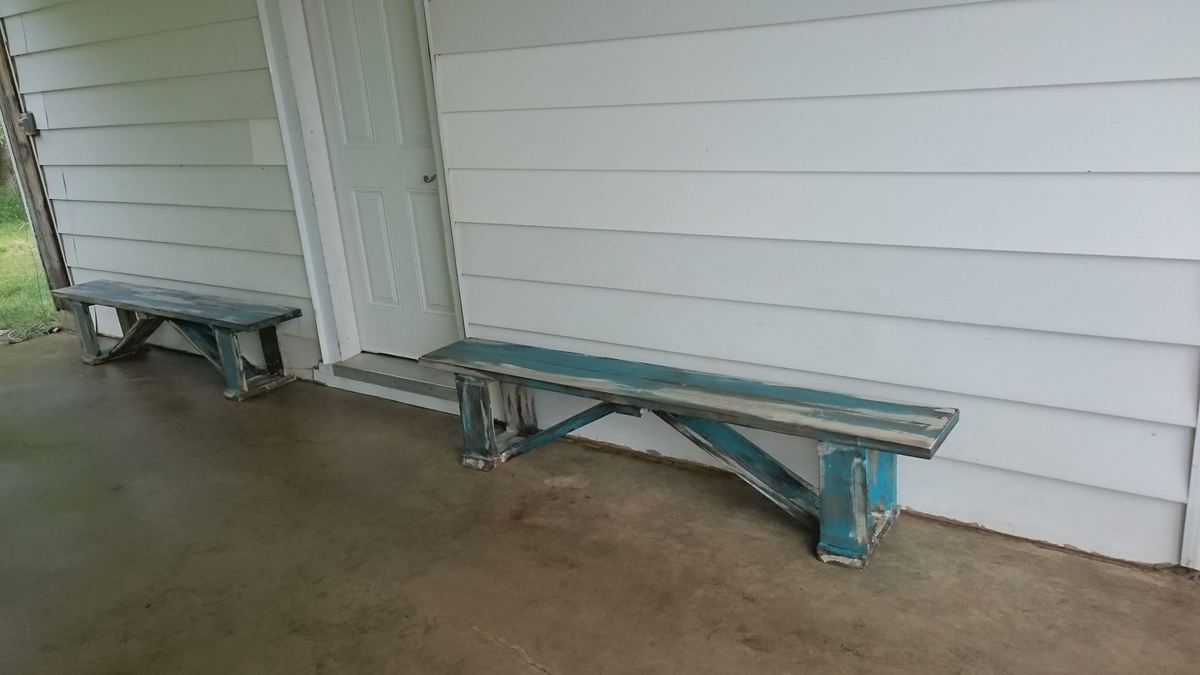
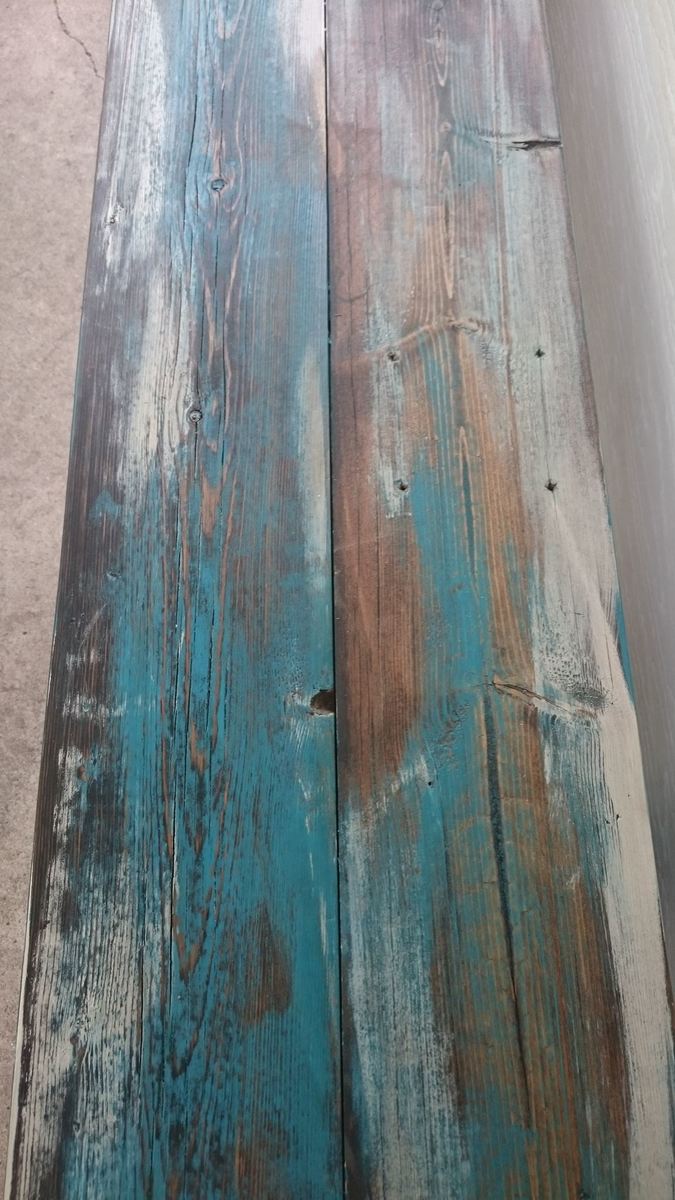
DIY Stocking Holder
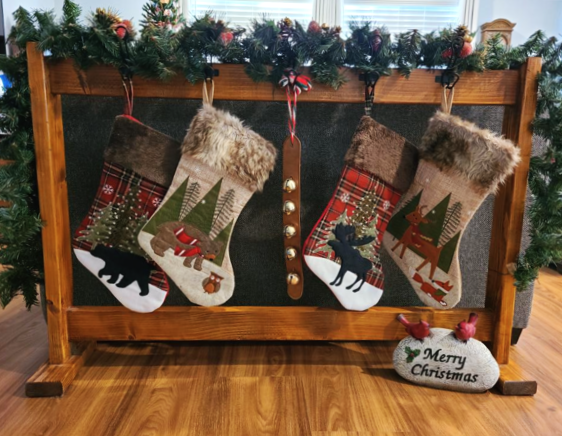
DIY Stocking Stand - Reader build
Built from Plan(s)
Seasonal And Holiday
DIY Stocking Stand - Reader build
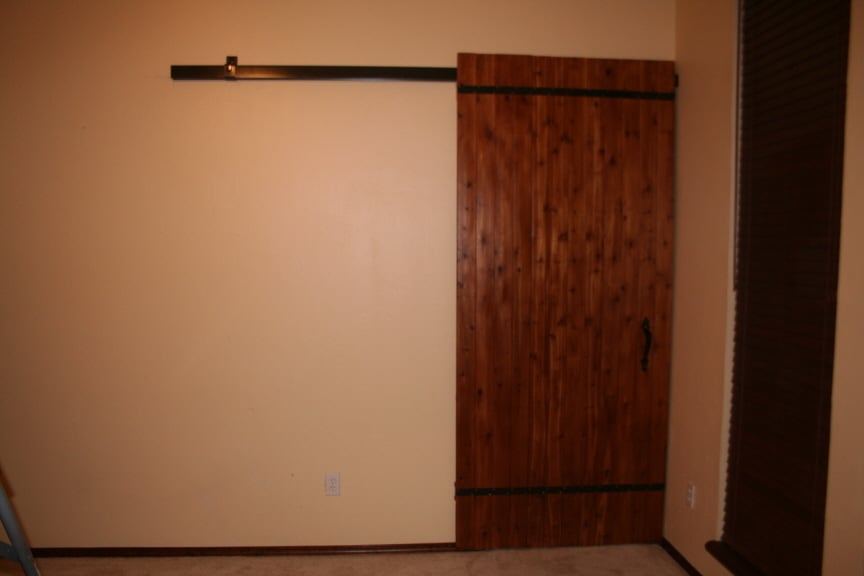
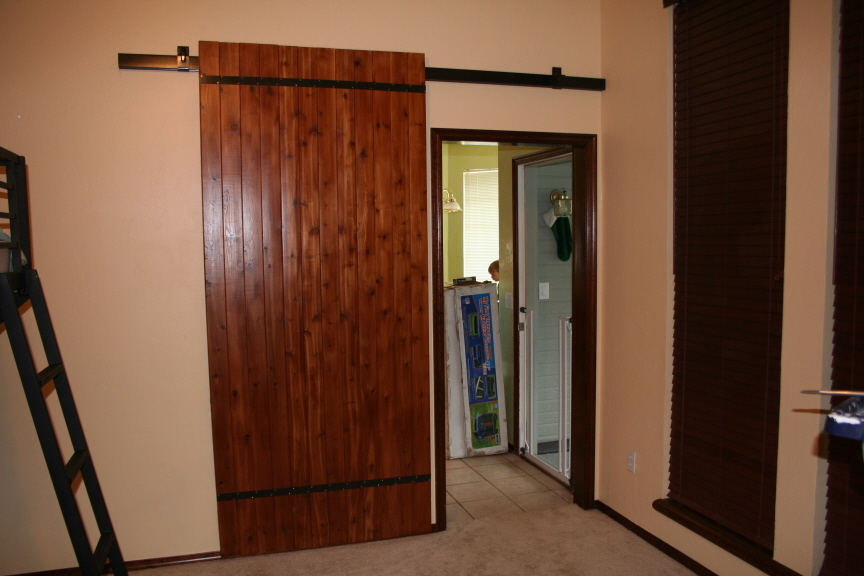
We turned a formal living into a bedroom so we needed a door to close off the kitchen/nook beyond. Since we were on a tight budget, we knew we could not afford the barn door hardware, so we found the next best thing:
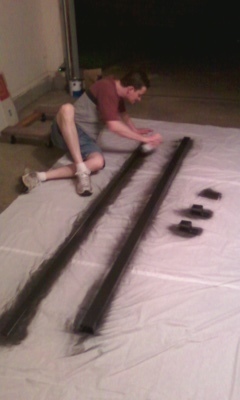
Stanley Trolley Box Track (from Lowe's). http://tinyurl.com/2z6wpn Yes, it's ugly looking, but we painted it black and modified how it was used. We got the 6' track with the box track hangers without apron. We bought the mount bracket, but that was a mistake. The door could not pass the mount on the right side and we ended up just attaching the track to the wall without the mount on that side (pic of door open shows both mounts before we were able to close the door and before we removed the mount on the right side). Had we known, both sides would have been attached to the wall without the mount. But, we went ahead and left the mount on the left side as we didn't think it hurt the look too much.
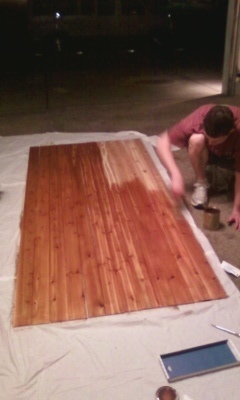
The door: We made another mistake. We meant to buy 1x tongue and groove wood (3/4" thick) to make our door and we somehow got 8' lengths of tongue and groove paneling 1/4" thick (OOPS): http://tinyurl.com/7ea6b3r It looks good, but it's ultra light weight (stain first, then put it together). We used a flat piece of aluminum to hold it together (also painted black - along with painted screws). Due to our mistake in depth, our screws were too long so we located a 2x4 directly behind the aluminum strip on the top and the bottom of the door for stability. It helped a lot. The location of the aluminum strip at the top is strategic because the 2x4 behind it is also what holds the box track hangers that roll on the track above. We put them a few inches in on each side from the edge of the door, drilled a hole vertical through the 2x4 (a little off center so the door wouldn't rub the track) where longer bolts were used to go all the way through the 2x4 and hold the door onto the track while being hidden behind the door. I also had to get smaller screws for my door handle to go on since the door was only 1/4" thick. But, it all worked out.
The backside: Due to the fact the door is so light, we added felt to the 2x4 at the bottom so it wouldn't damage the trim.

Wed, 06/13/2012 - 12:52
My mouth totally fell open when I recognized the door plan from my blog! Your door looks fantastic, even with the oopses ;) I'm glad it all worked out for you guys!
Thu, 06/14/2012 - 14:17
That's why I definitely wanted to link the blog post where the plan came from. It was a great idea and I'm thankful I found it. I don't think we would have been able to do the door without your blog. For one, they are too expensive and I wasn't sure how to do it without that expensive hardware. But, your blog helped us be able to do something nice and without spending too much money. It also functions perfect!!!
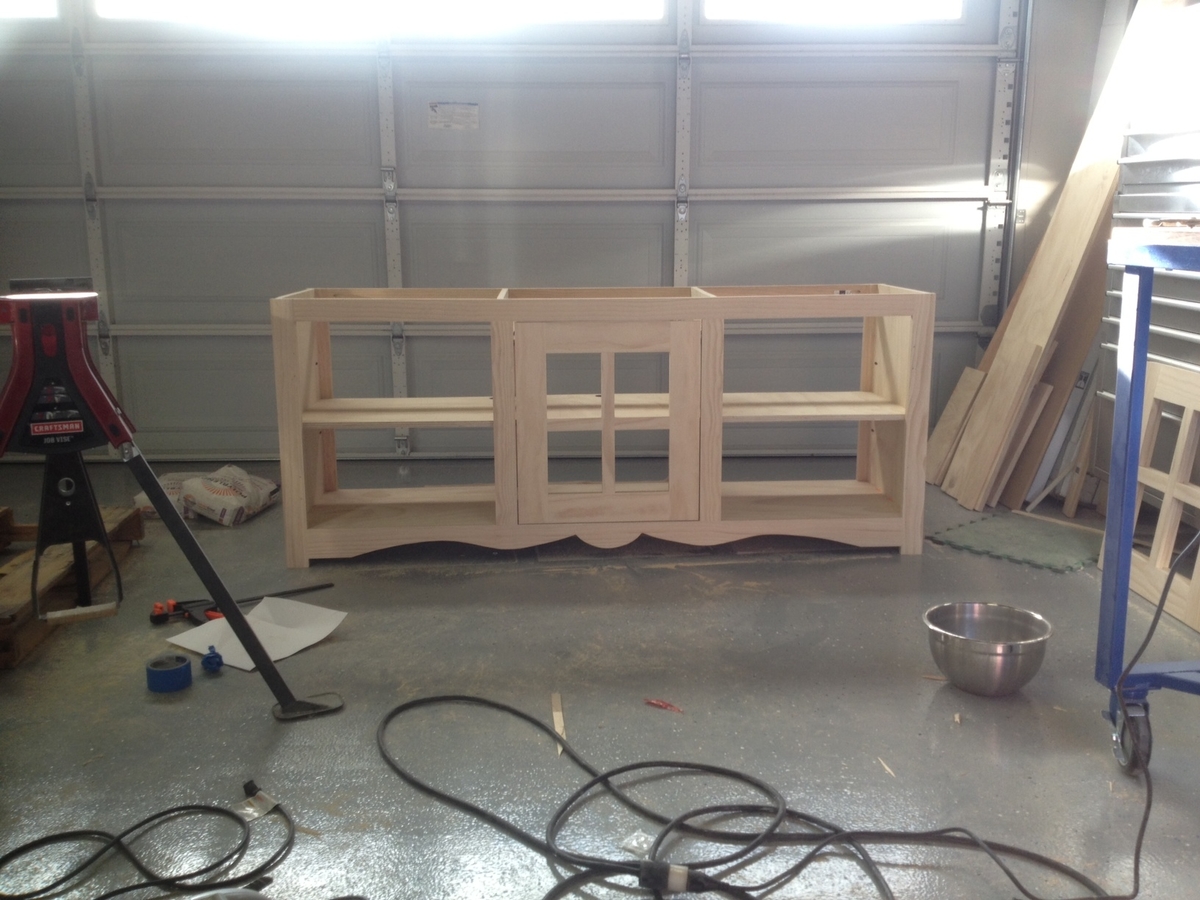
This was my second wood project and I am really happy with how it turned out. I basically followed the plans but made mine alot bigger. It measures roughly 6' long, 33" tall, and 20" wide. I wanted to let people know how I made the center door because the video used alot of tools and skills that I do not have.
I made the doors out of 4" and 2" select pine with PH's on the back. I then cut a 5/16" groove in the center on the outside of the stiles. About 7/8-15/16 of the way up the door I installed a 1/4" wooden dowel. On the cabinet frame I installed another wooden dowel that the door dowel rests on when closed, this is also the dowel that rides in the groove that was cut on the door.
The other difficult part (for Me) was the cut out design on the bottom of the frame. I did this by using a big bowl for the center and a really thin strip of wood. Once I cut out one side I just flipped the cut piece over and traced it to the other side.
I finished the top off with 3 coats Minwax Dark Mahoganey and 3 coats of Minwax Polycrylic.


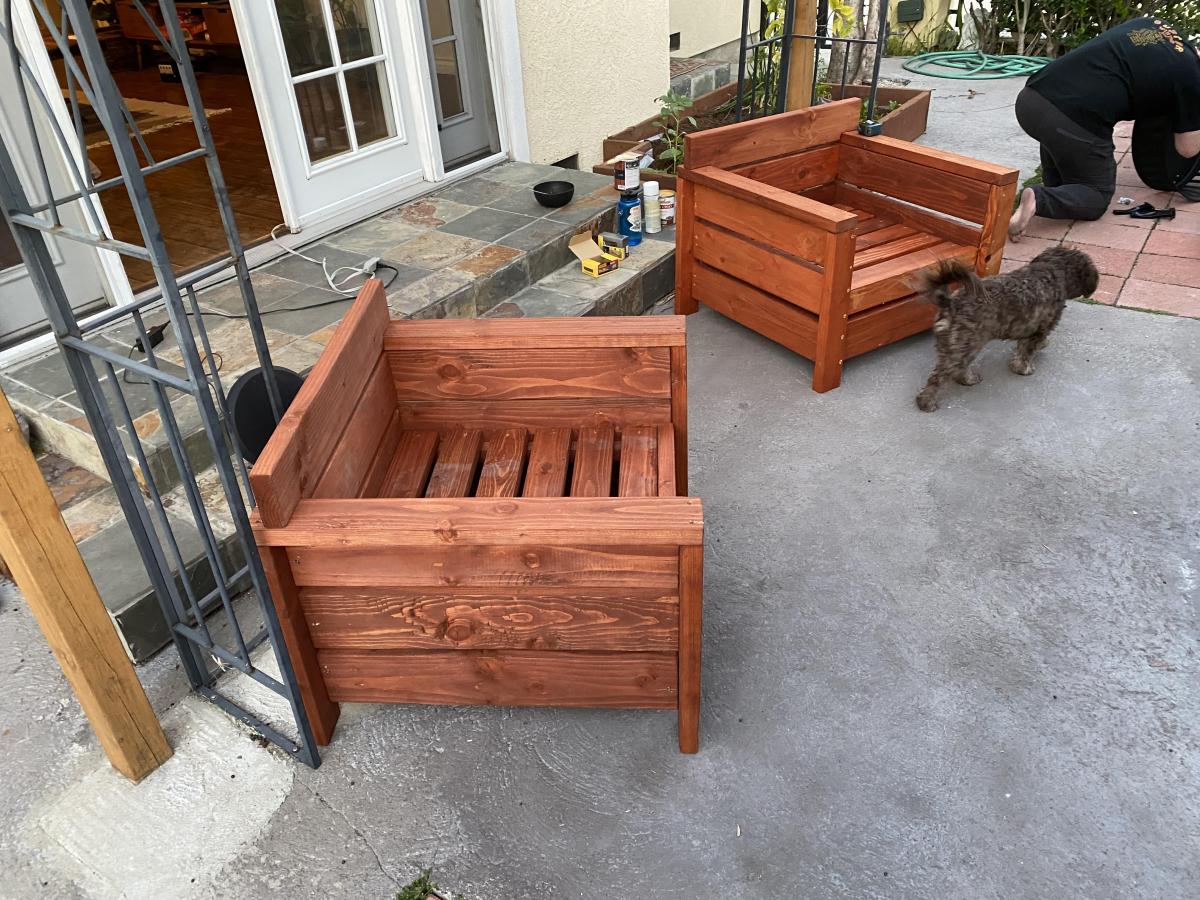
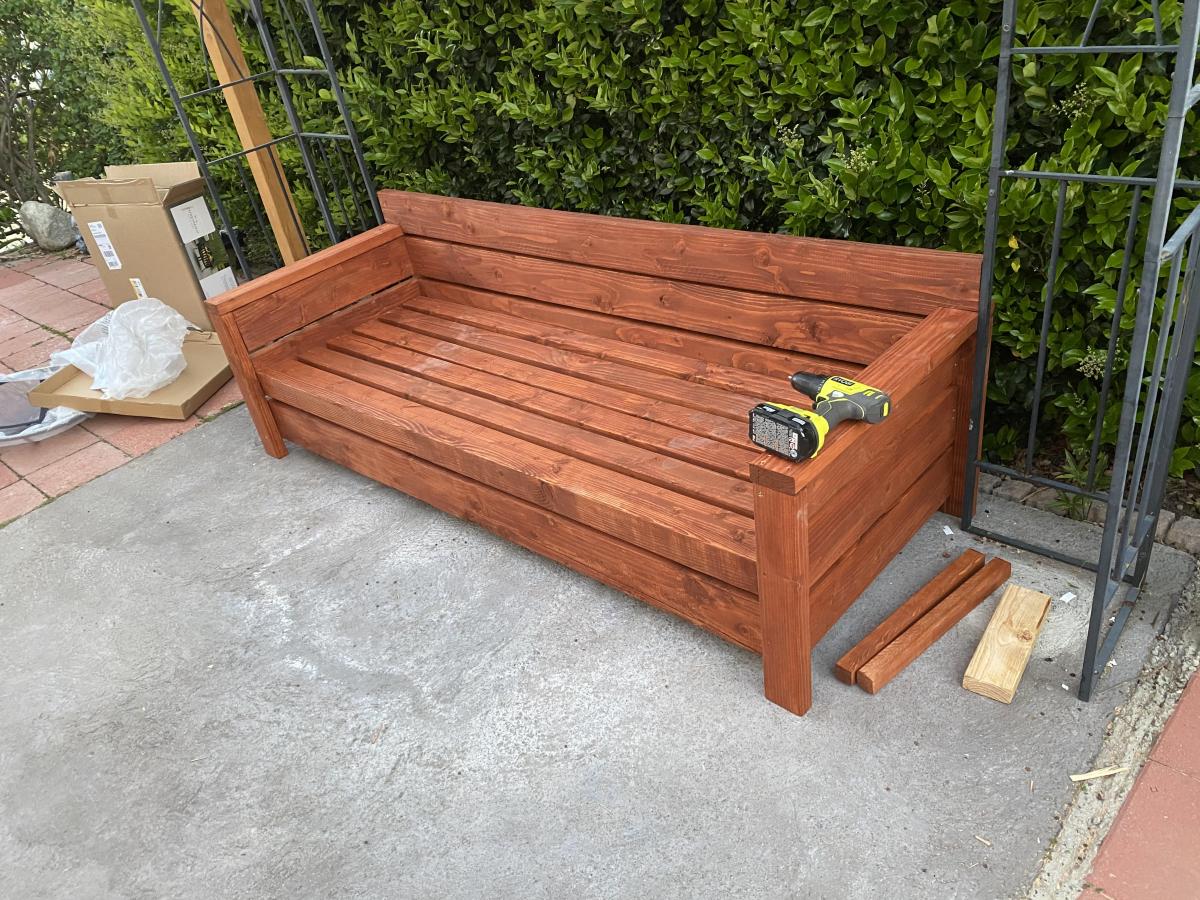
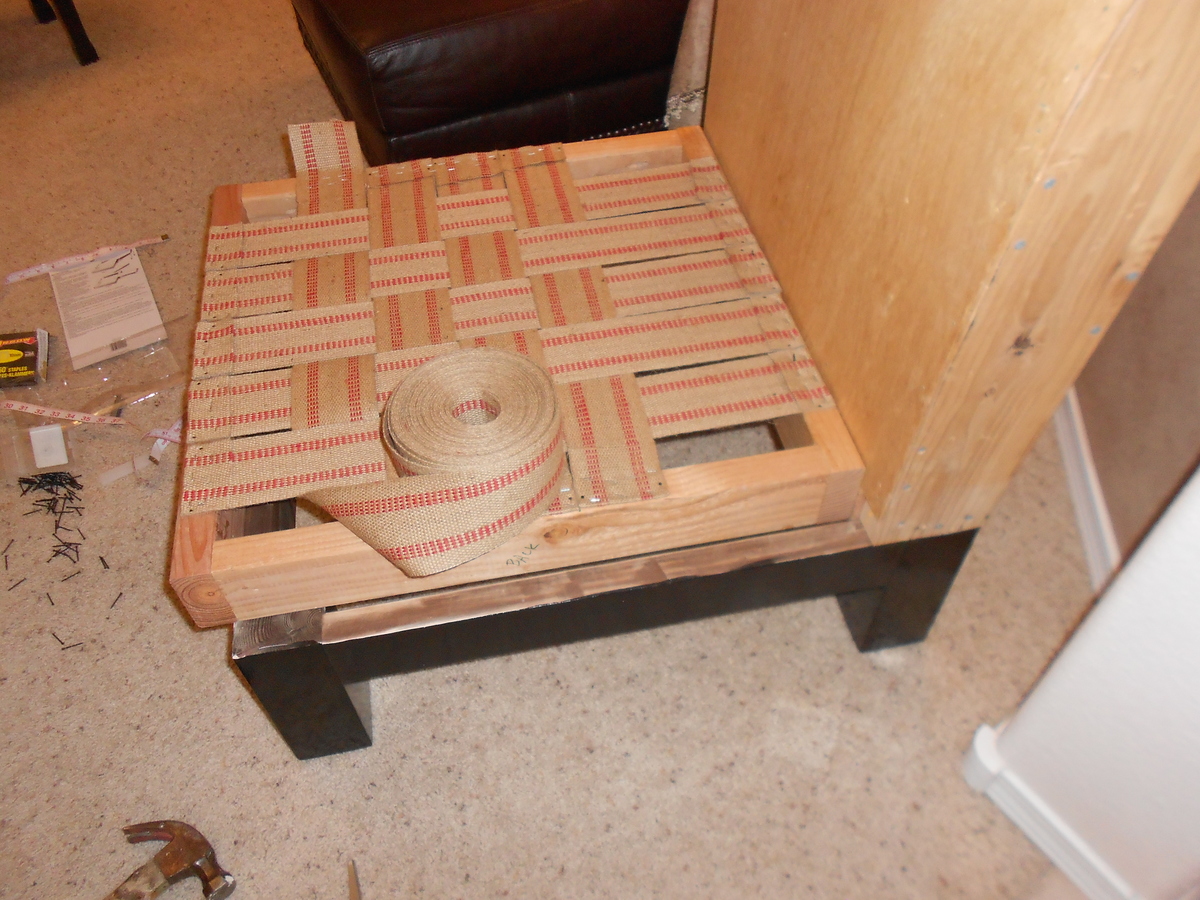
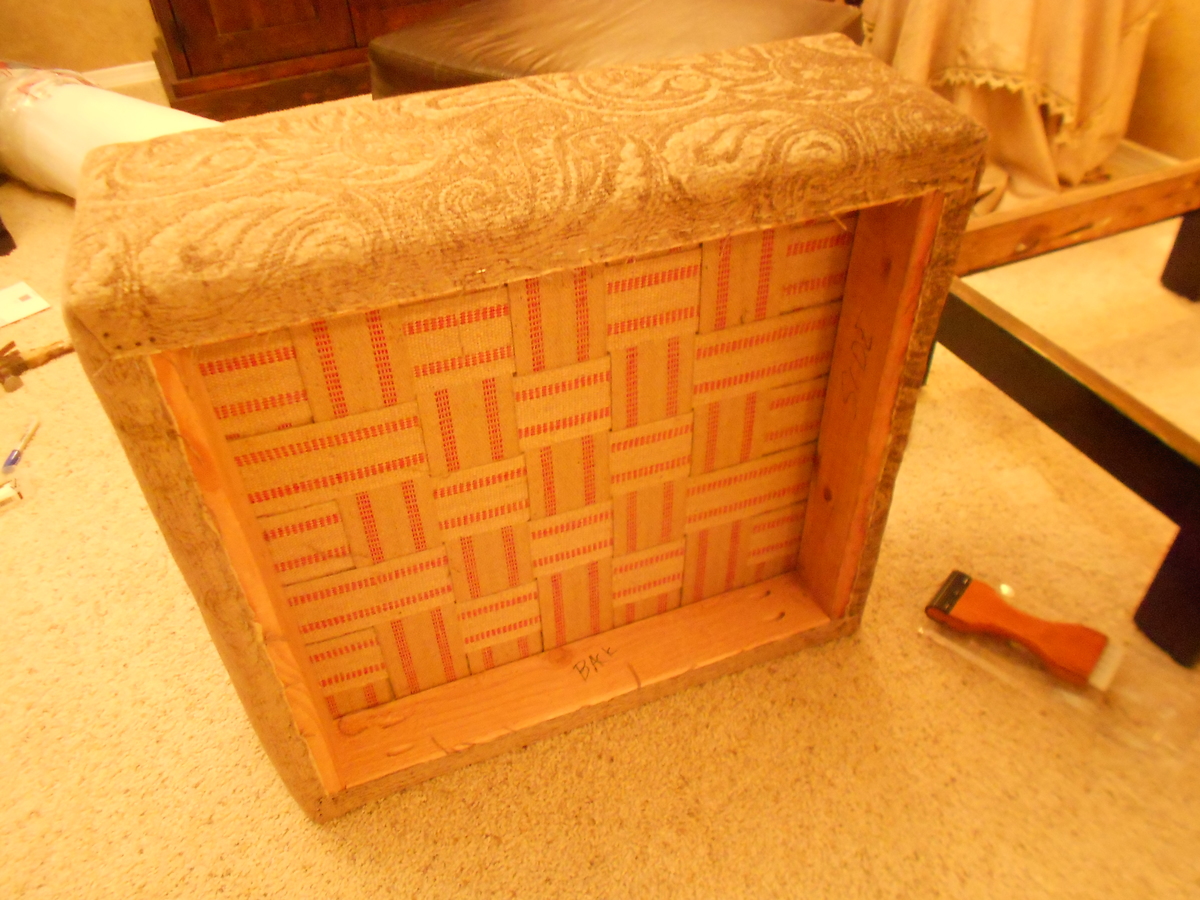
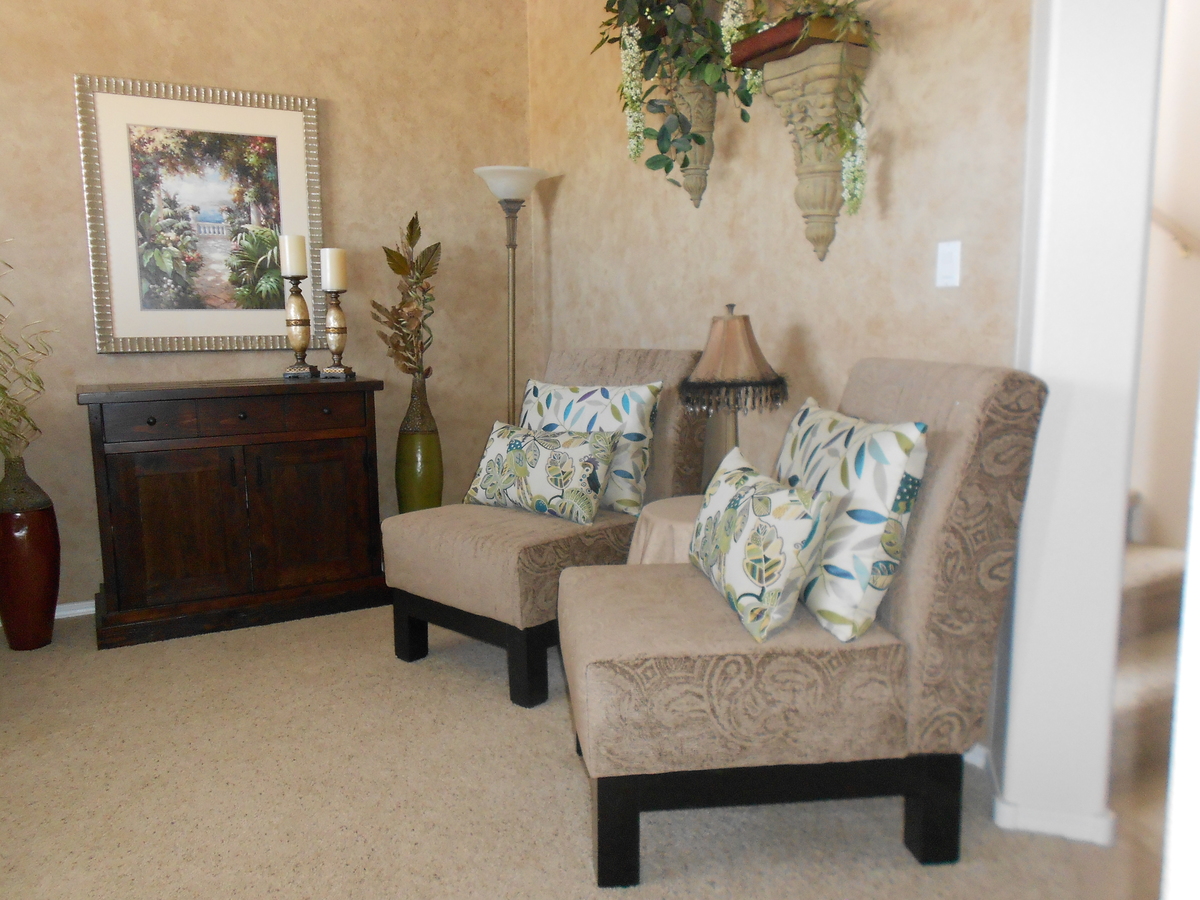
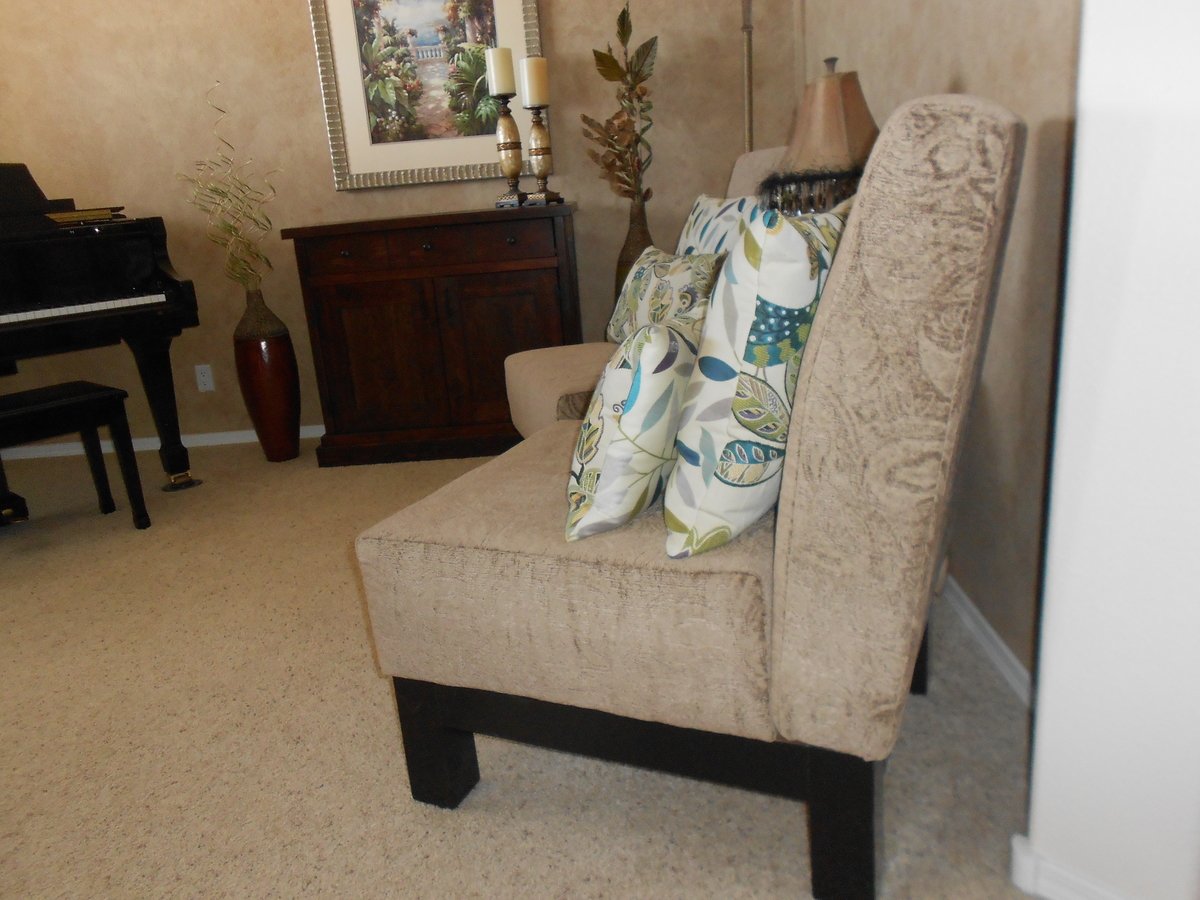
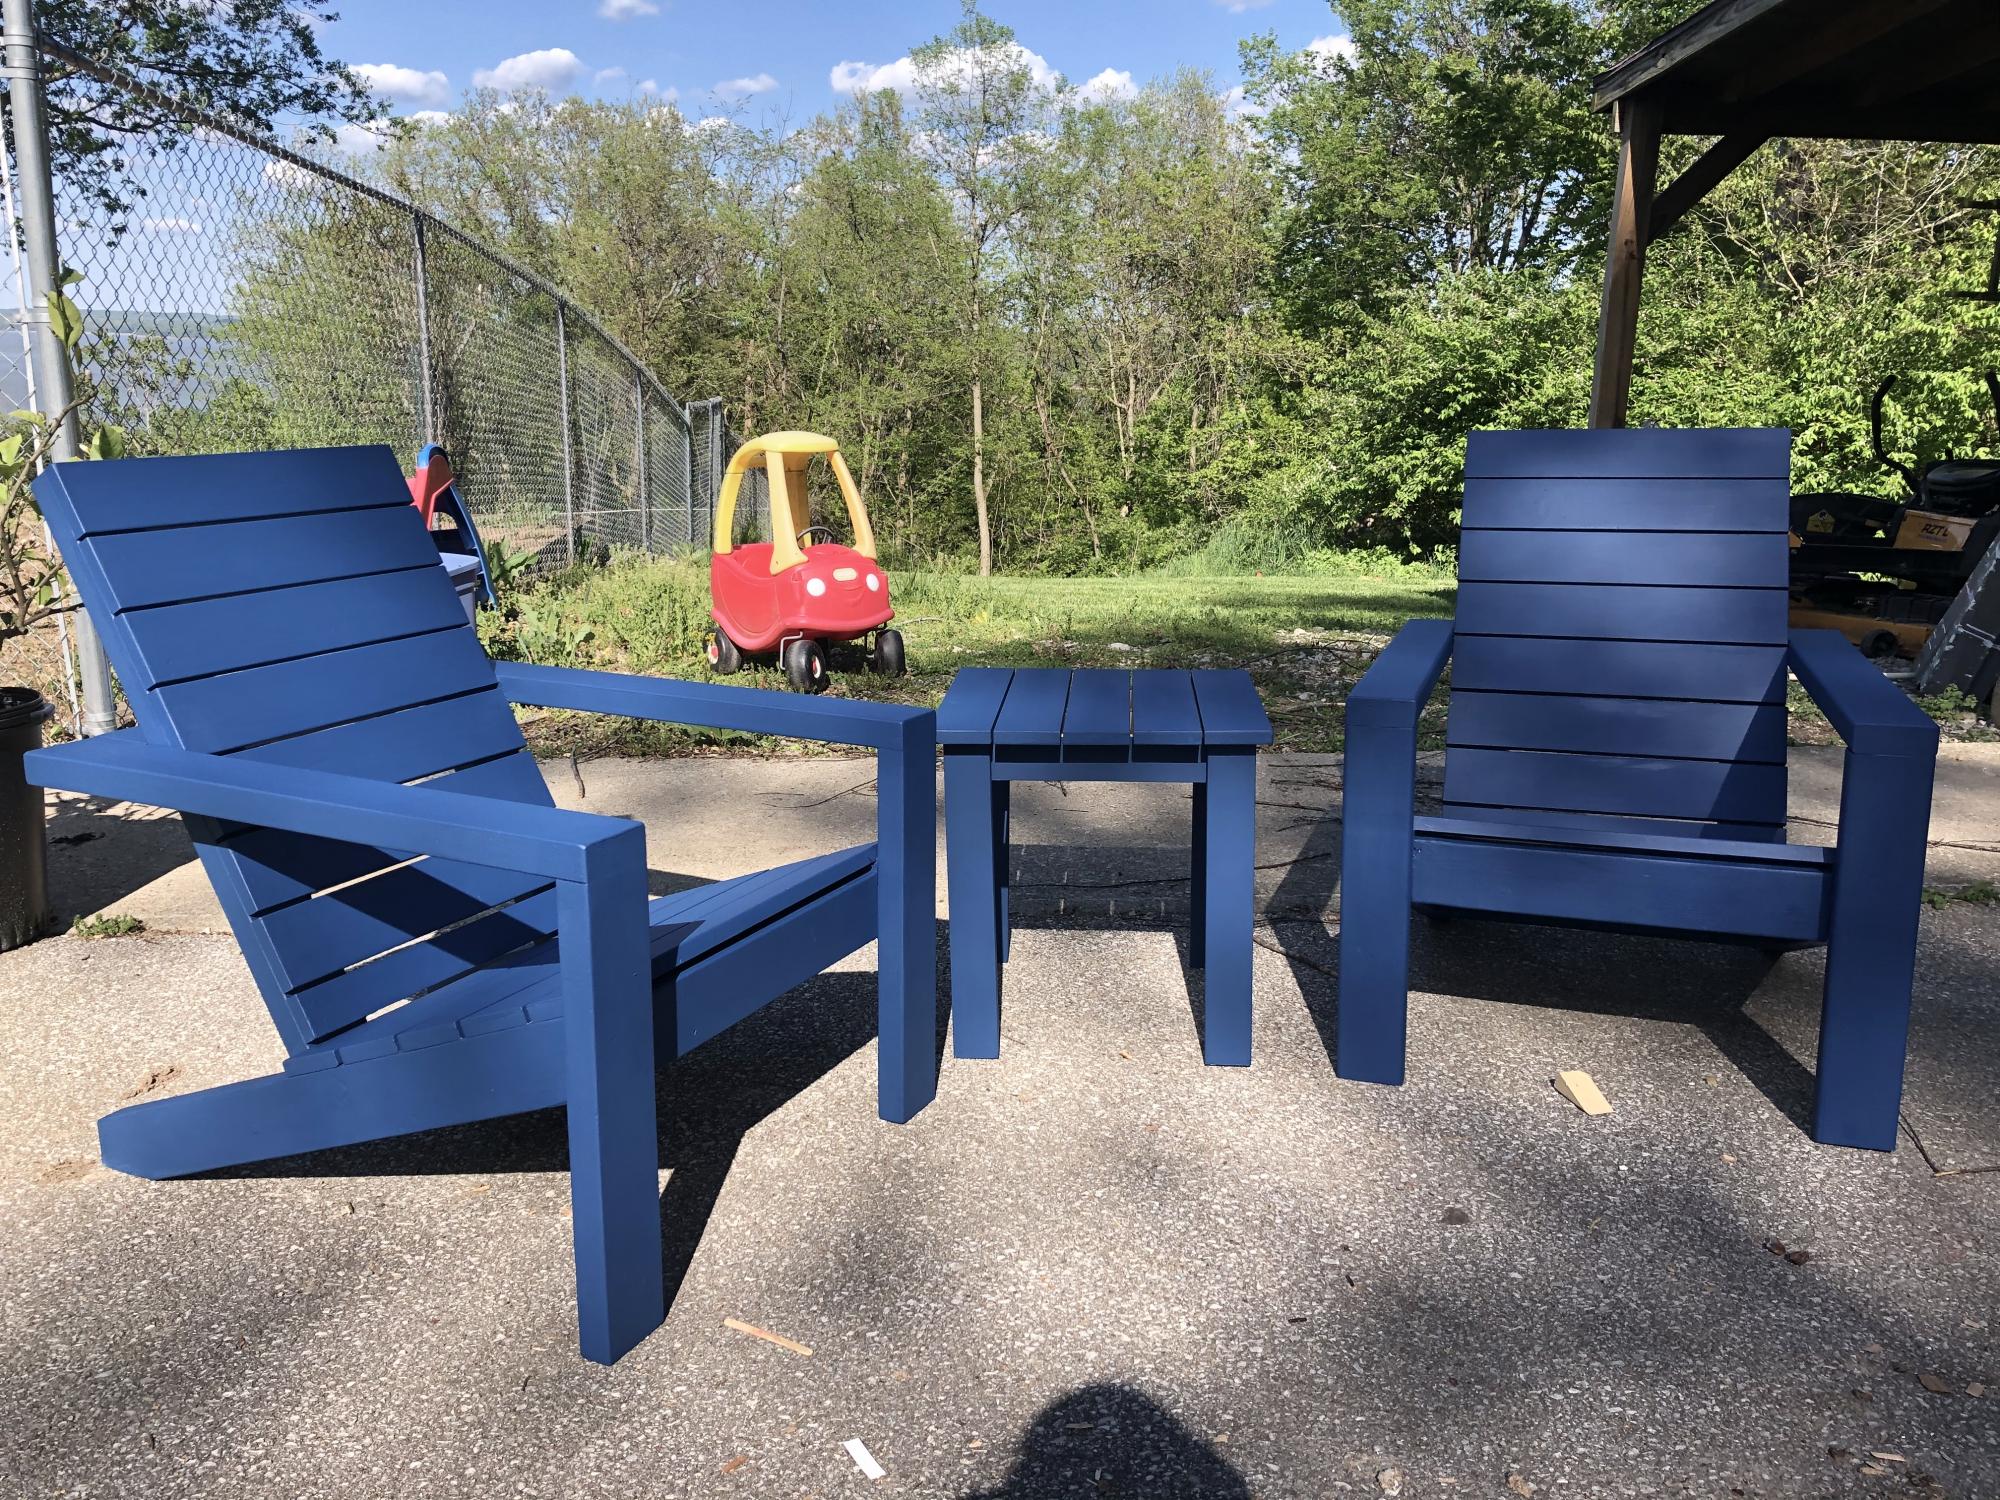
I made a few modifications to the Modern Outdoor Chair build, including adding a larger backrest and making a couch version that can fit 3-4 people. I felt the original plan didn't hold up the couch cushions well unless it was against a wall, so the modification solves this simple problem!
Wood was Douglas Fir for the price point, although I would've preferred a harder wood. The stain was Minwax Wood Finish in Gunstock 231, Which I felt really sold the Doug Fir as a darker, more elegant wood.
Cushions were from Target and were the cheapest I could find. They've already started to flatten a bit but I plan on restuffing them soon.
Sketchup file available if you need it, but didn't see a way to upload it directly.

Fri, 05/01/2020 - 08:02
Hello how can I get the sketchup file for these? I'm really interested in making both the chairs and the couch.
Sun, 05/17/2020 - 16:11
Hey smarincak, I'm not sure how to send you the sketchup file but if you send me a private message I can email it to you.
Sun, 05/23/2021 - 05:54
Hey Matt, I would LOVE to see the modification plans you made if you don't mind sending them to me. Thank you! Do you feel like the mods you made to the back were comfortable?
Fri, 05/22/2020 - 08:15
This is perfect and they look great! I was hoping someone had already created these with a higher back. If you don't mind sharing your plans, I would really appreciate it!
Fri, 05/29/2020 - 12:31
Love the chairs but would like the the sketchup file for the modification of the higher back. Thanks.
Sun, 06/21/2020 - 18:55
I would also like the sketch of modifications for higher back please!
Fri, 04/23/2021 - 09:28
Matt- Would you please share with me the plans and materials list for this project! I love it.
Fri, 04/23/2021 - 19:21
Love the modification! May I please get a copy of the sketchup file? Thank you!
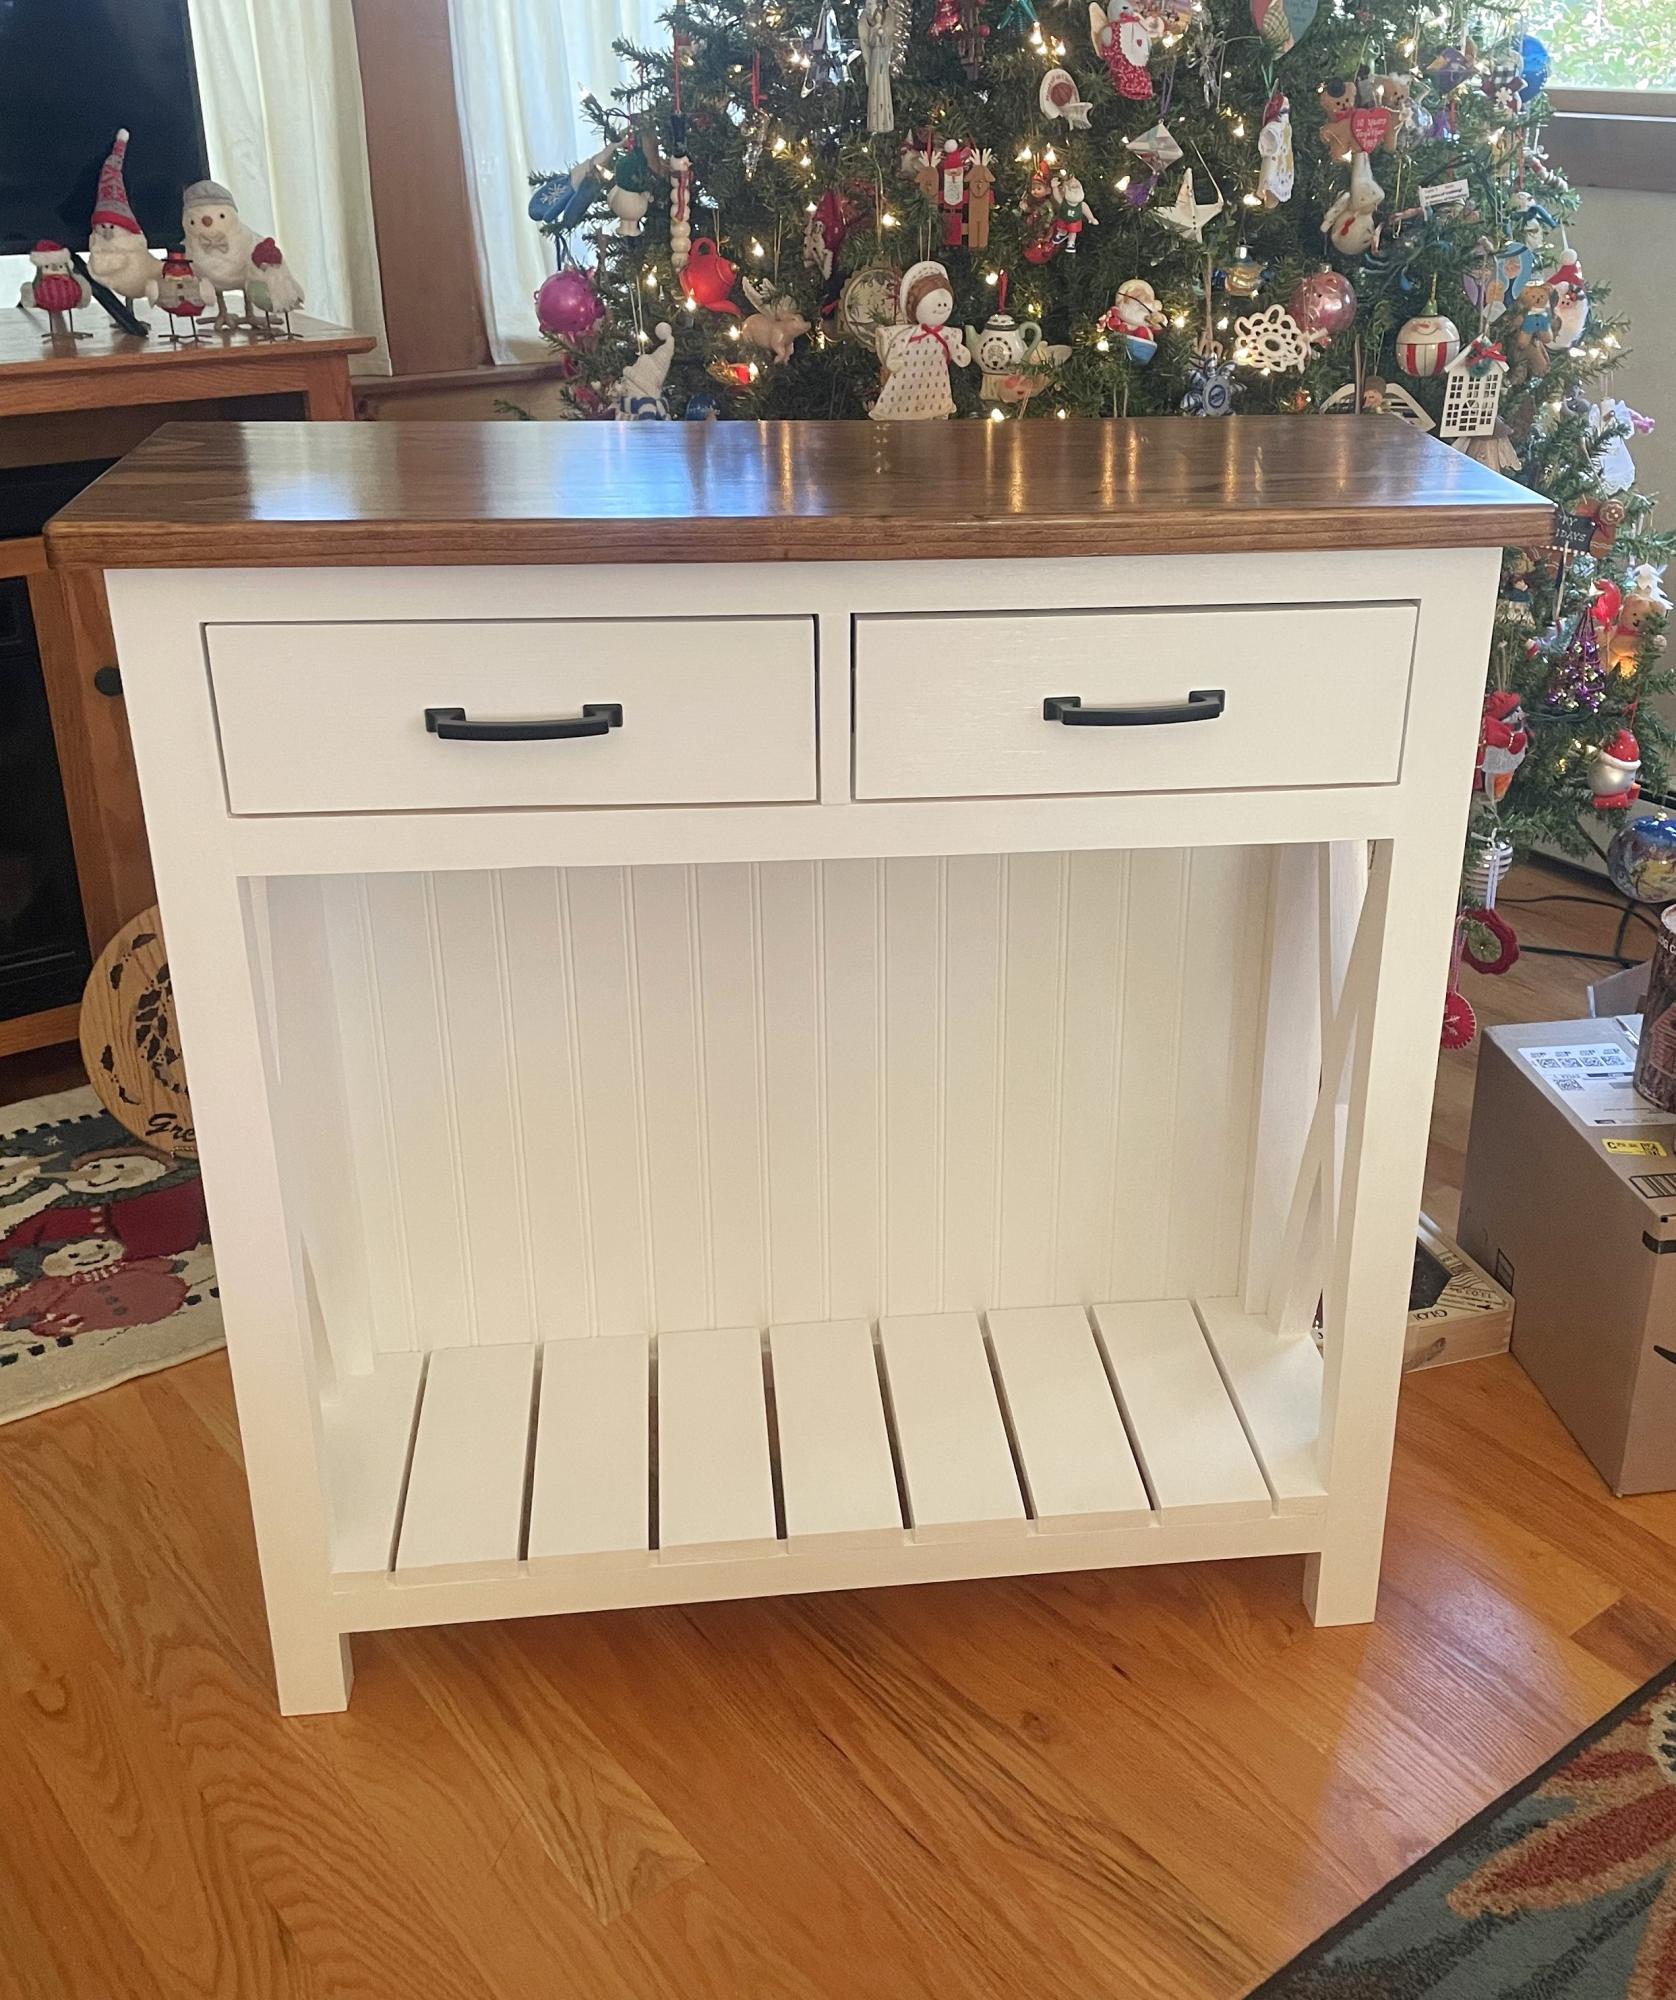
Made for my sons house. Just made a few changes to top with 2x6 and bottom with 1x6's.
ANW
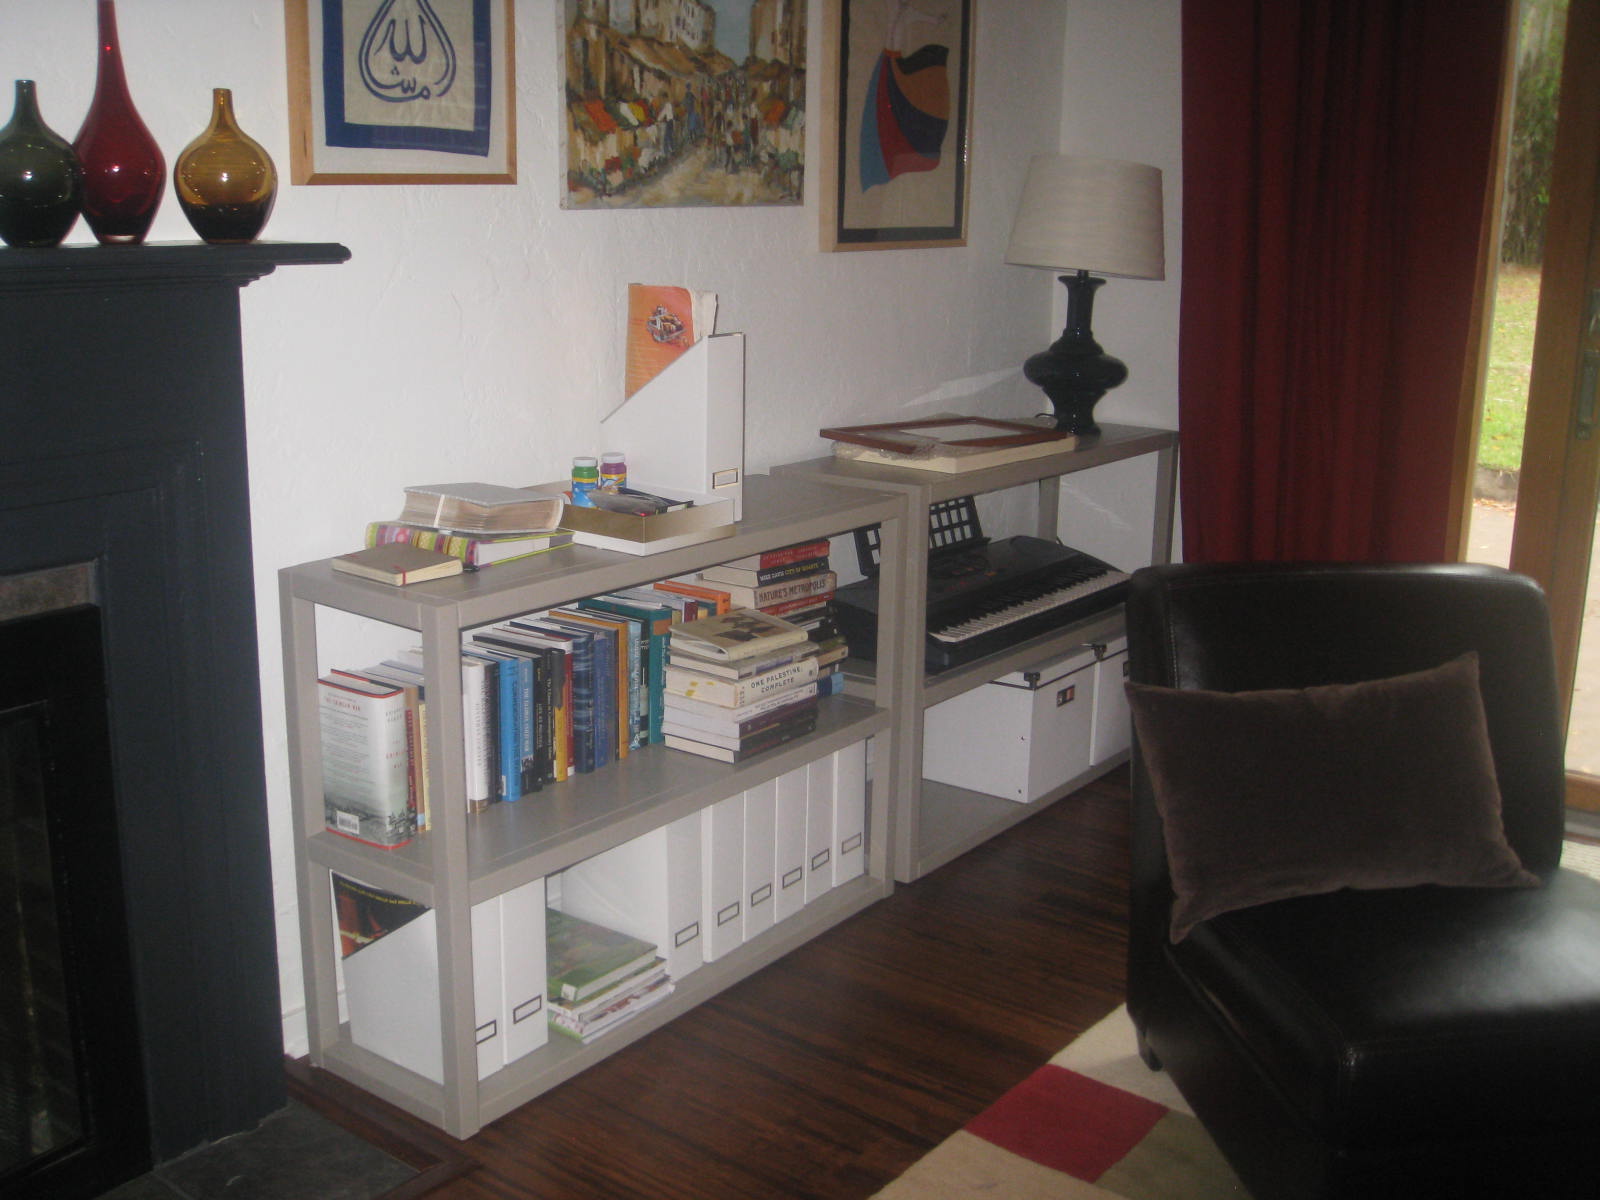
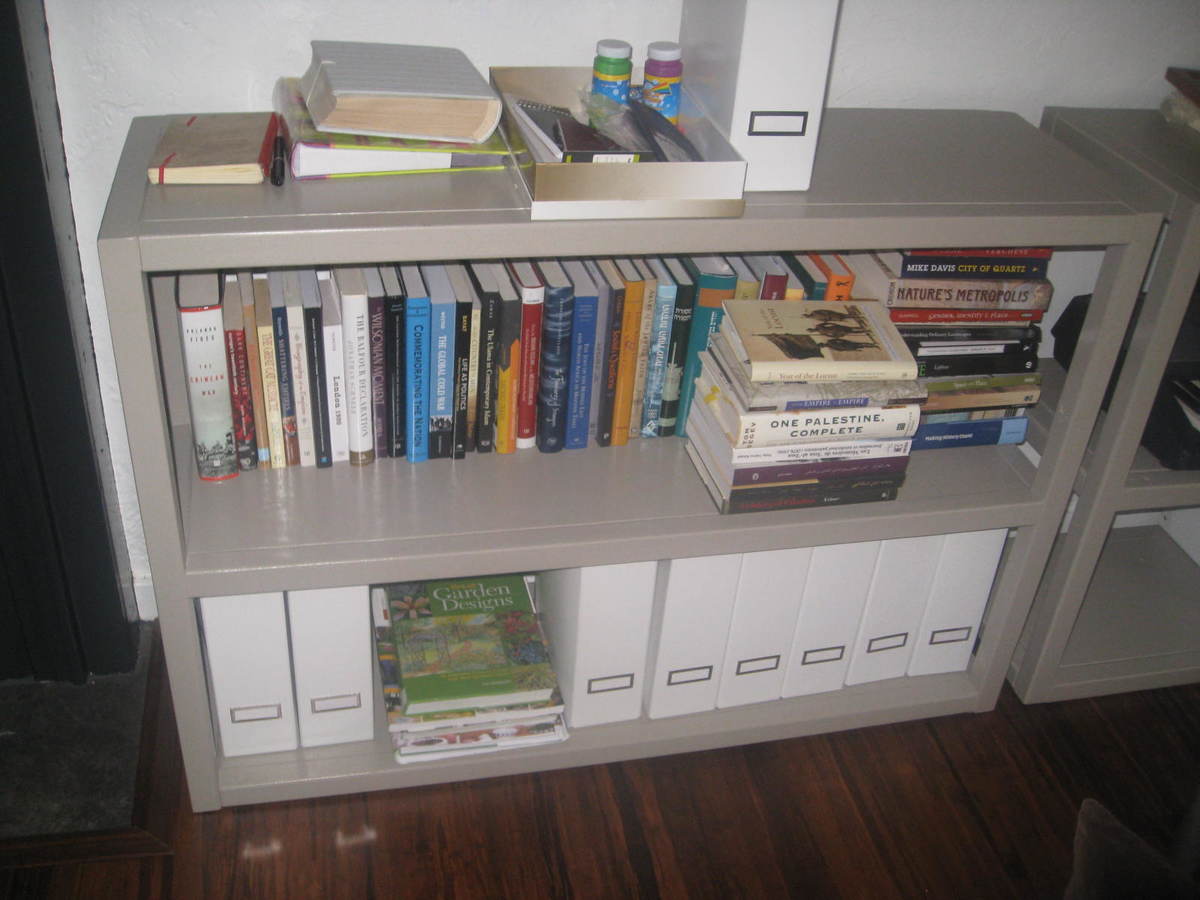
After following Ana's blog for over a year and bookmarking dozens of projects, I finally built my first project. (I built it months ago and have since built 3 other things...so this is addictive!)
I love the modern West Elm look but didn't want to shell out over $600 for two low Parson's shelves which still would not fit my dimension exactly, so this was the perfect project for me. Initially I had intended to stain the bookshelves a warm pecan color, as I think "modern craftsman" is more my style, but honestly the outcome was so wonky that I couldn't see that the shelves would look nice stained. Instead I painted them with what was supposed to be a color match to BM's Weimeraner -- lesson #1001, BM's paint cannot really be color matched. I may repaint in the future as this is not as warm as the original, but it's been fine for the past few months.
Honestly I had many building problems with my first project -- I had mistakenly thought working with 2x2s (pine) would be 'easy', but I found the opposite to be true (and since I have done another project with 2x2s since then I can confirm that we are not meant to be bffs). I did choose straight boards, but I had the guys at Lowe's cut them. Unfortunately in the future I will have to buy my own saw (and pick up truck and workshop, lol), because literally every single time there has been a problem, even when I check the boards at the store. The problems are generally small--1/4" or so--but of course this makes your project off square.
As a result there were noticeable seams between the 2x2s and the 1x12 boards. Of course caulk and paint hid all of that, but this was the main reason why I couldn't stain the project. I also had trouble with the 2x2s splitting when I used the Kreg jig -- luckily this happened only a couple of times, but in my next built it happened even more often, using Douglas Fir. (if anyone can help me with this, I would love to hear!)
Long story short -- it was a lot of work, it wasn't exactly what I had envisioned, but I love the final product, seams, warts, and all. It fits our space perfectly, it's incredibly sturdy, and the power of making something myself--even imperfect--is amazing. Since then I have built an activity table and a picnic table for my kids, and I even felt confident enough to design and build my own window box. (sure, it's not complicated, but I credit Ana's "training" entirely. of course I haven't yet installed it, but that's a different problem)
Thanks, Ana!!!
I mostly followed the plans except for a few modifications in order to use the wood I got for free. I did use 4x4s instead of 2x2s for the legs because I wanted the chunkier look. I might chop them off and put on some fancy feet, but for now I think they look fine. The most expensive part was the foam cushions. I got the good stuff because I wanted the chairs to be comfortable, and they are!
simple build looks great inside and out

I used Ana's plans for the Rustic X Desk and made it a little longer to add the second side of shelving. I squared off all the edges of the 2x4s and 2x6s, so had to figure new measurements. I also widened the space between the shelf towers. I used drawer slides on the bottom shelves on each side for easy access to the printer and other items. I used whitewash stain for the body and Early American for the shelves and desktop with wipe-on poly.
Wed, 12/09/2020 - 11:04
Super cool build, thanks for sharing, love the sliding shelves!
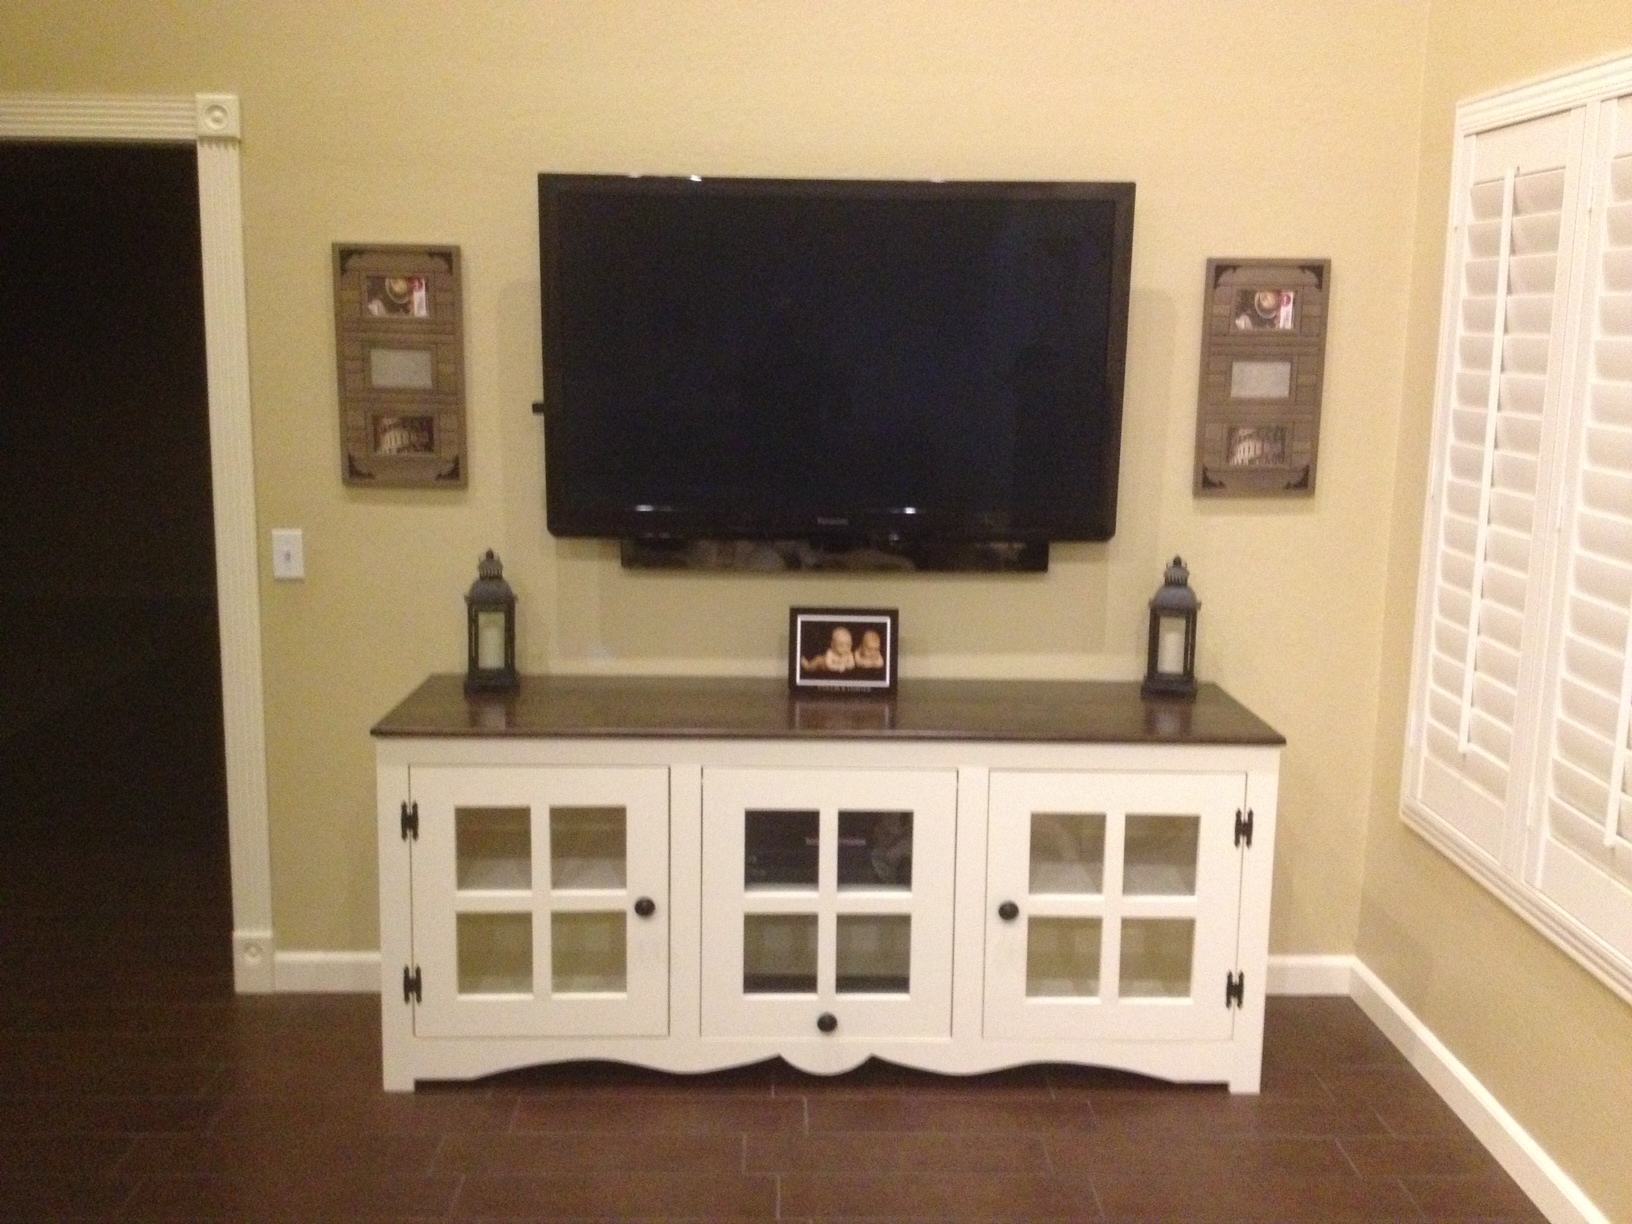
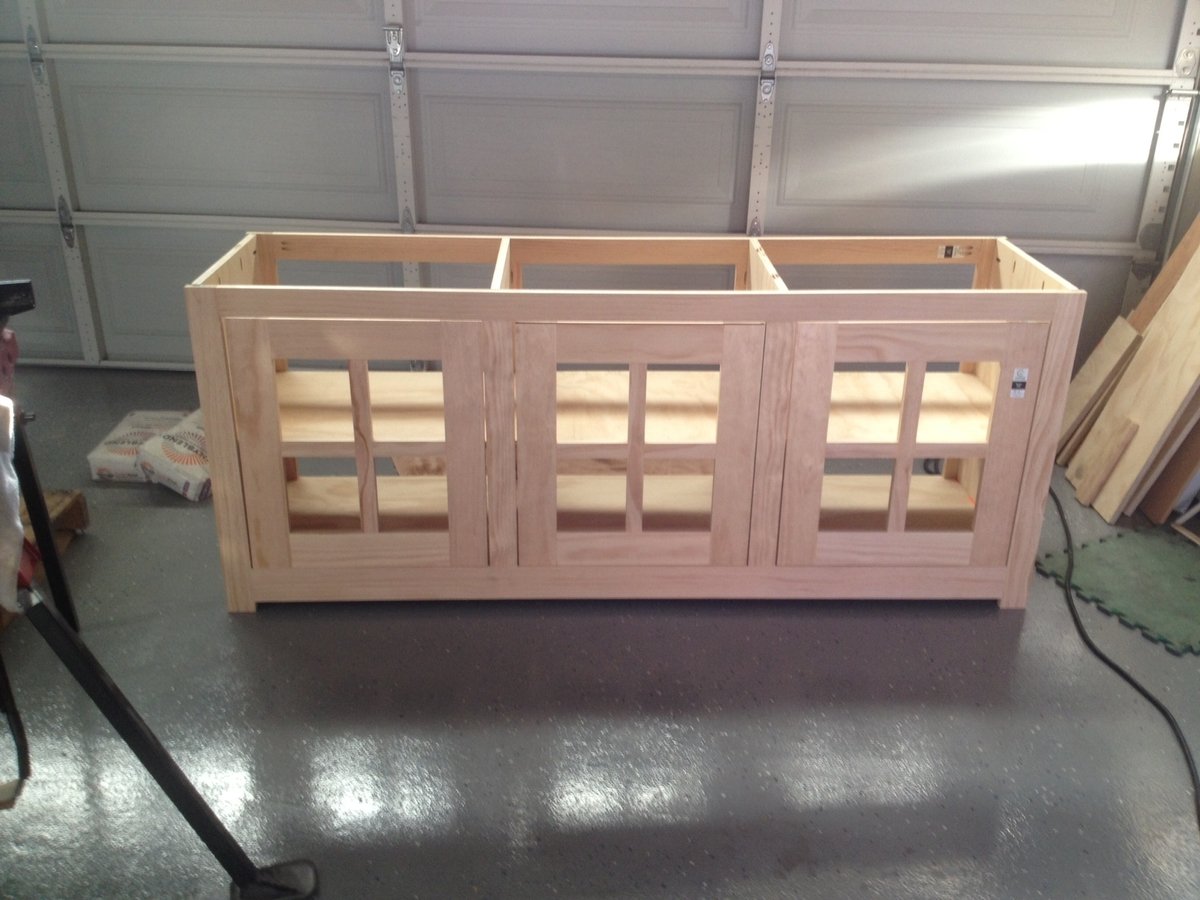
I ask my kids and spouses if they would like me to build something special for Christmas each year . Last year I surprised my daughter with a beautiful coffee table. This year she said Dad can you make us a TV stand that is a similar look to the coffee table. She provided me dimensions and had this piece in time for Christmas. Love your website Ana.
Thad
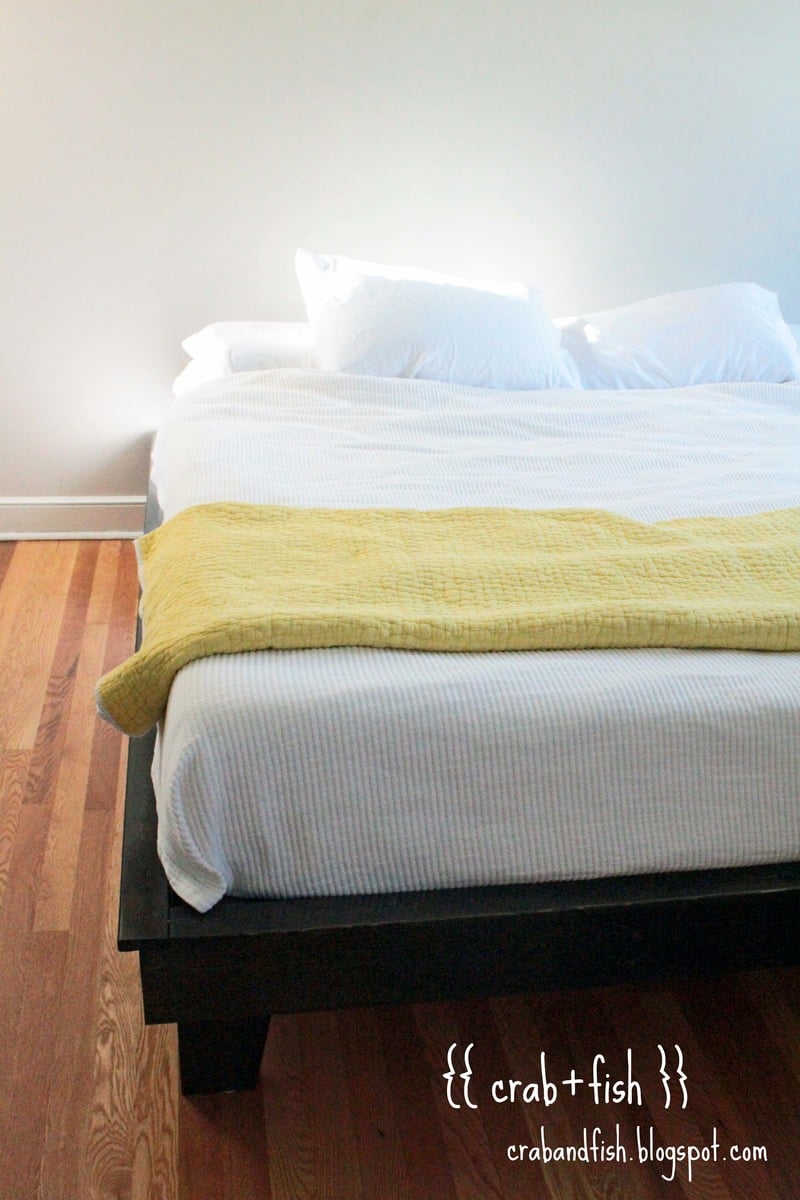
please see the full post here:
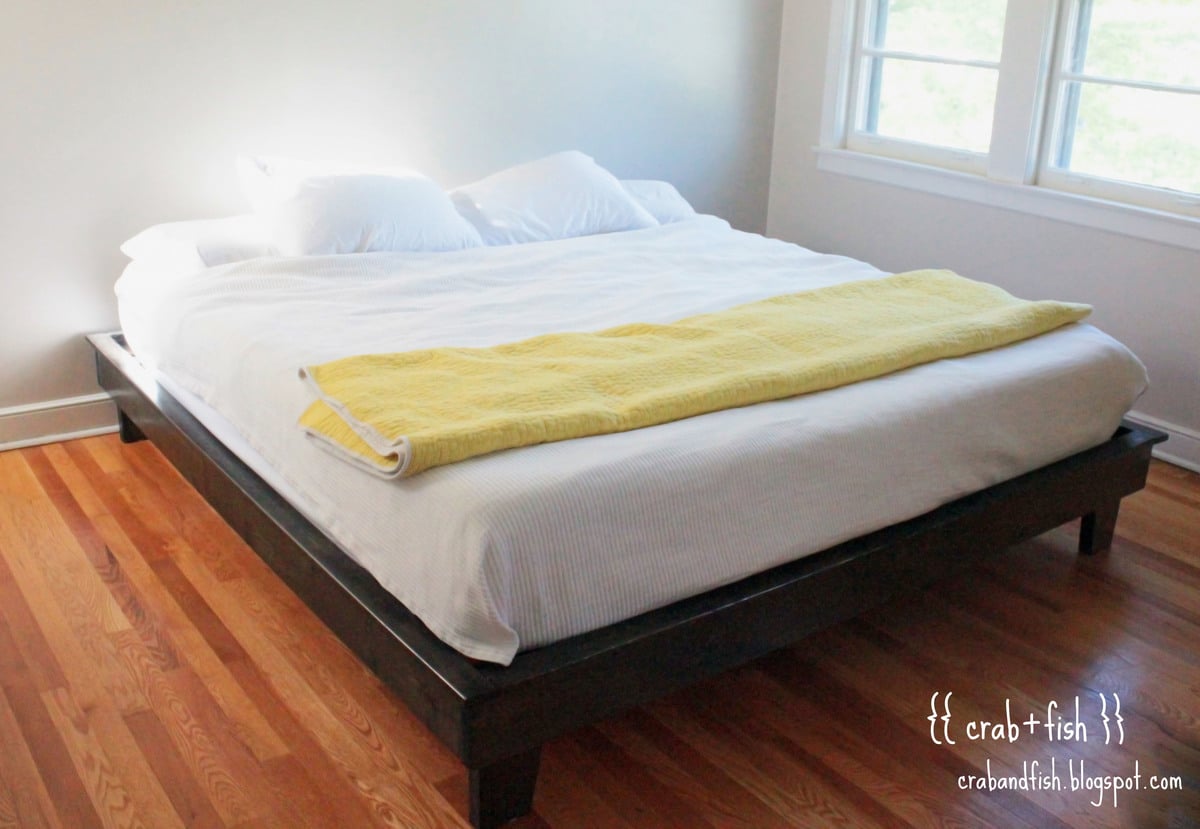
http://crabandfish.blogspot.com/2012/05/aaaahhhhi-love-our-bed.html
we built the hailey platform bed, modified for a king size mattress. we included four extra feet under the bed for additional stability.

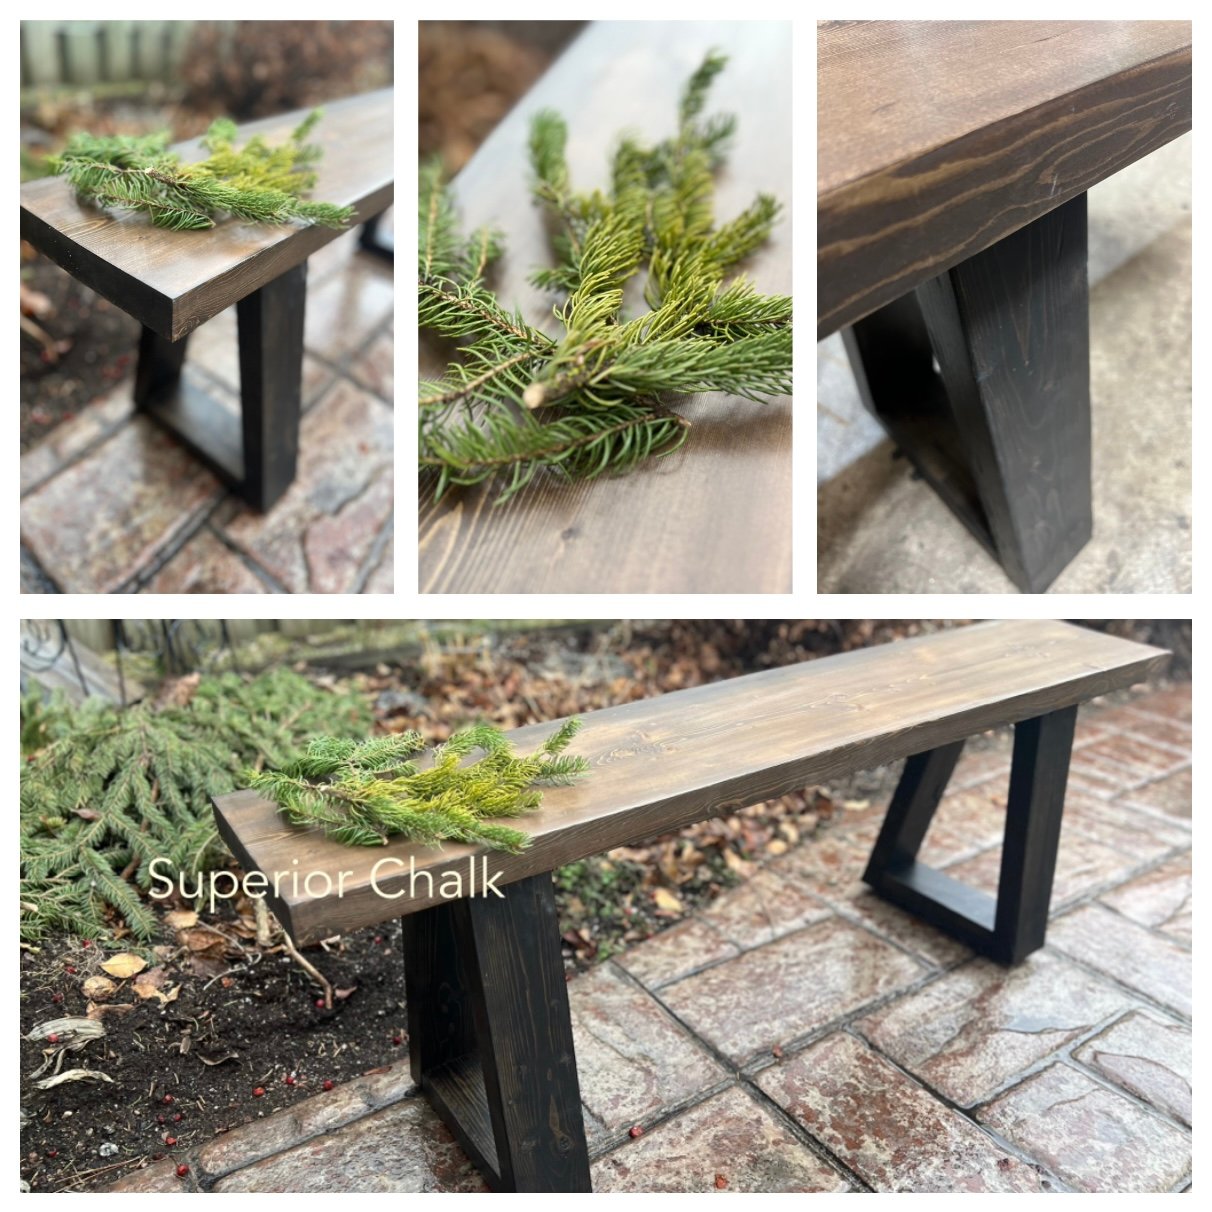
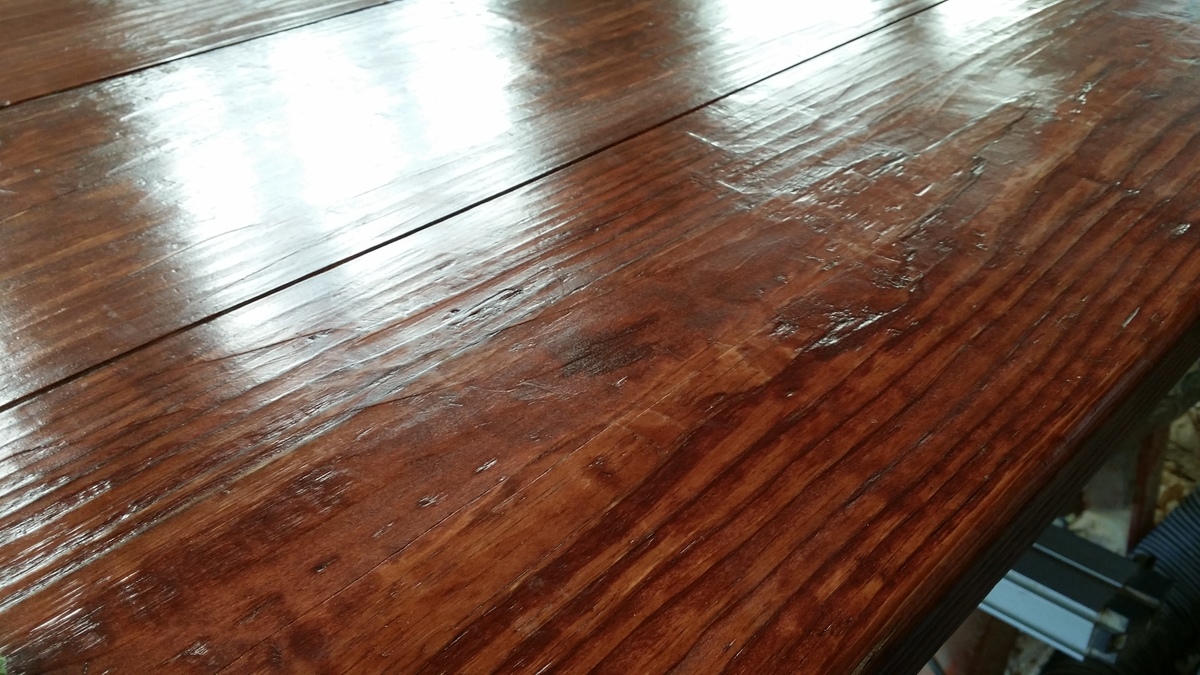
This a great project that I built for a friend. She wanted it to be a little distressed, but she gave me creative license to I found a middle ground between rustic and distressed. I hand planed the top to create a great distressed look on the top.
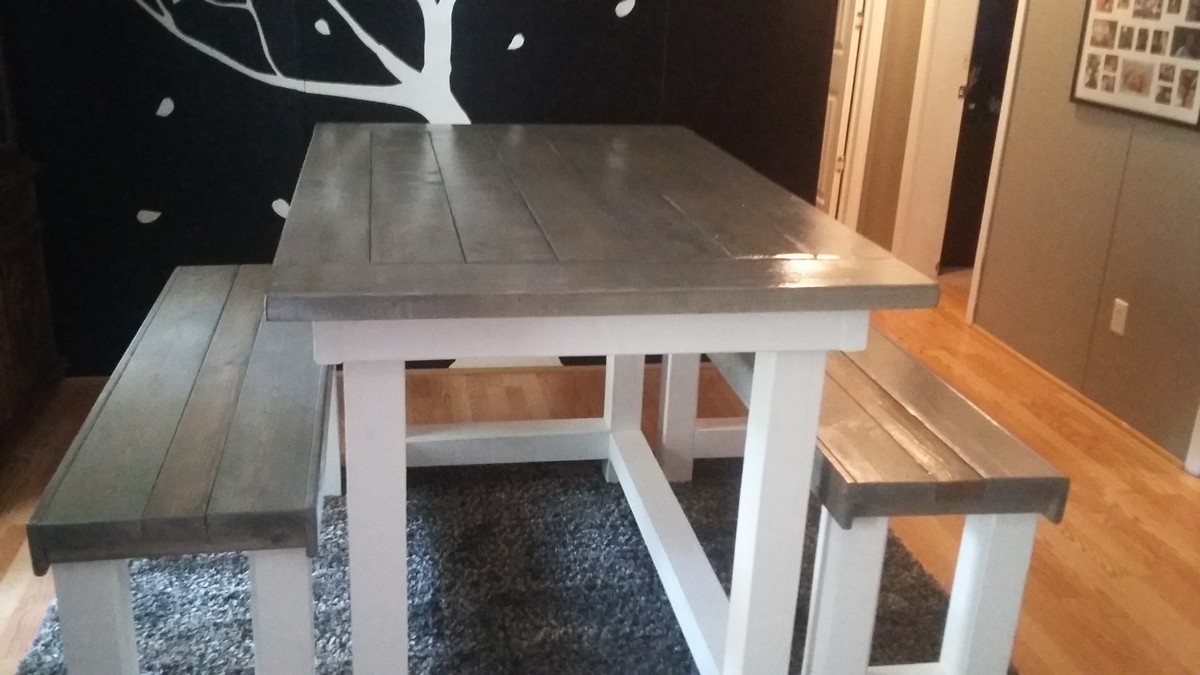
This is a great project, but I would just pass along to make sure that you have enough room and enough help. This table is large and heavy.
Turned out great! Not hard at all for a first project. Instructions were amazing. :-)
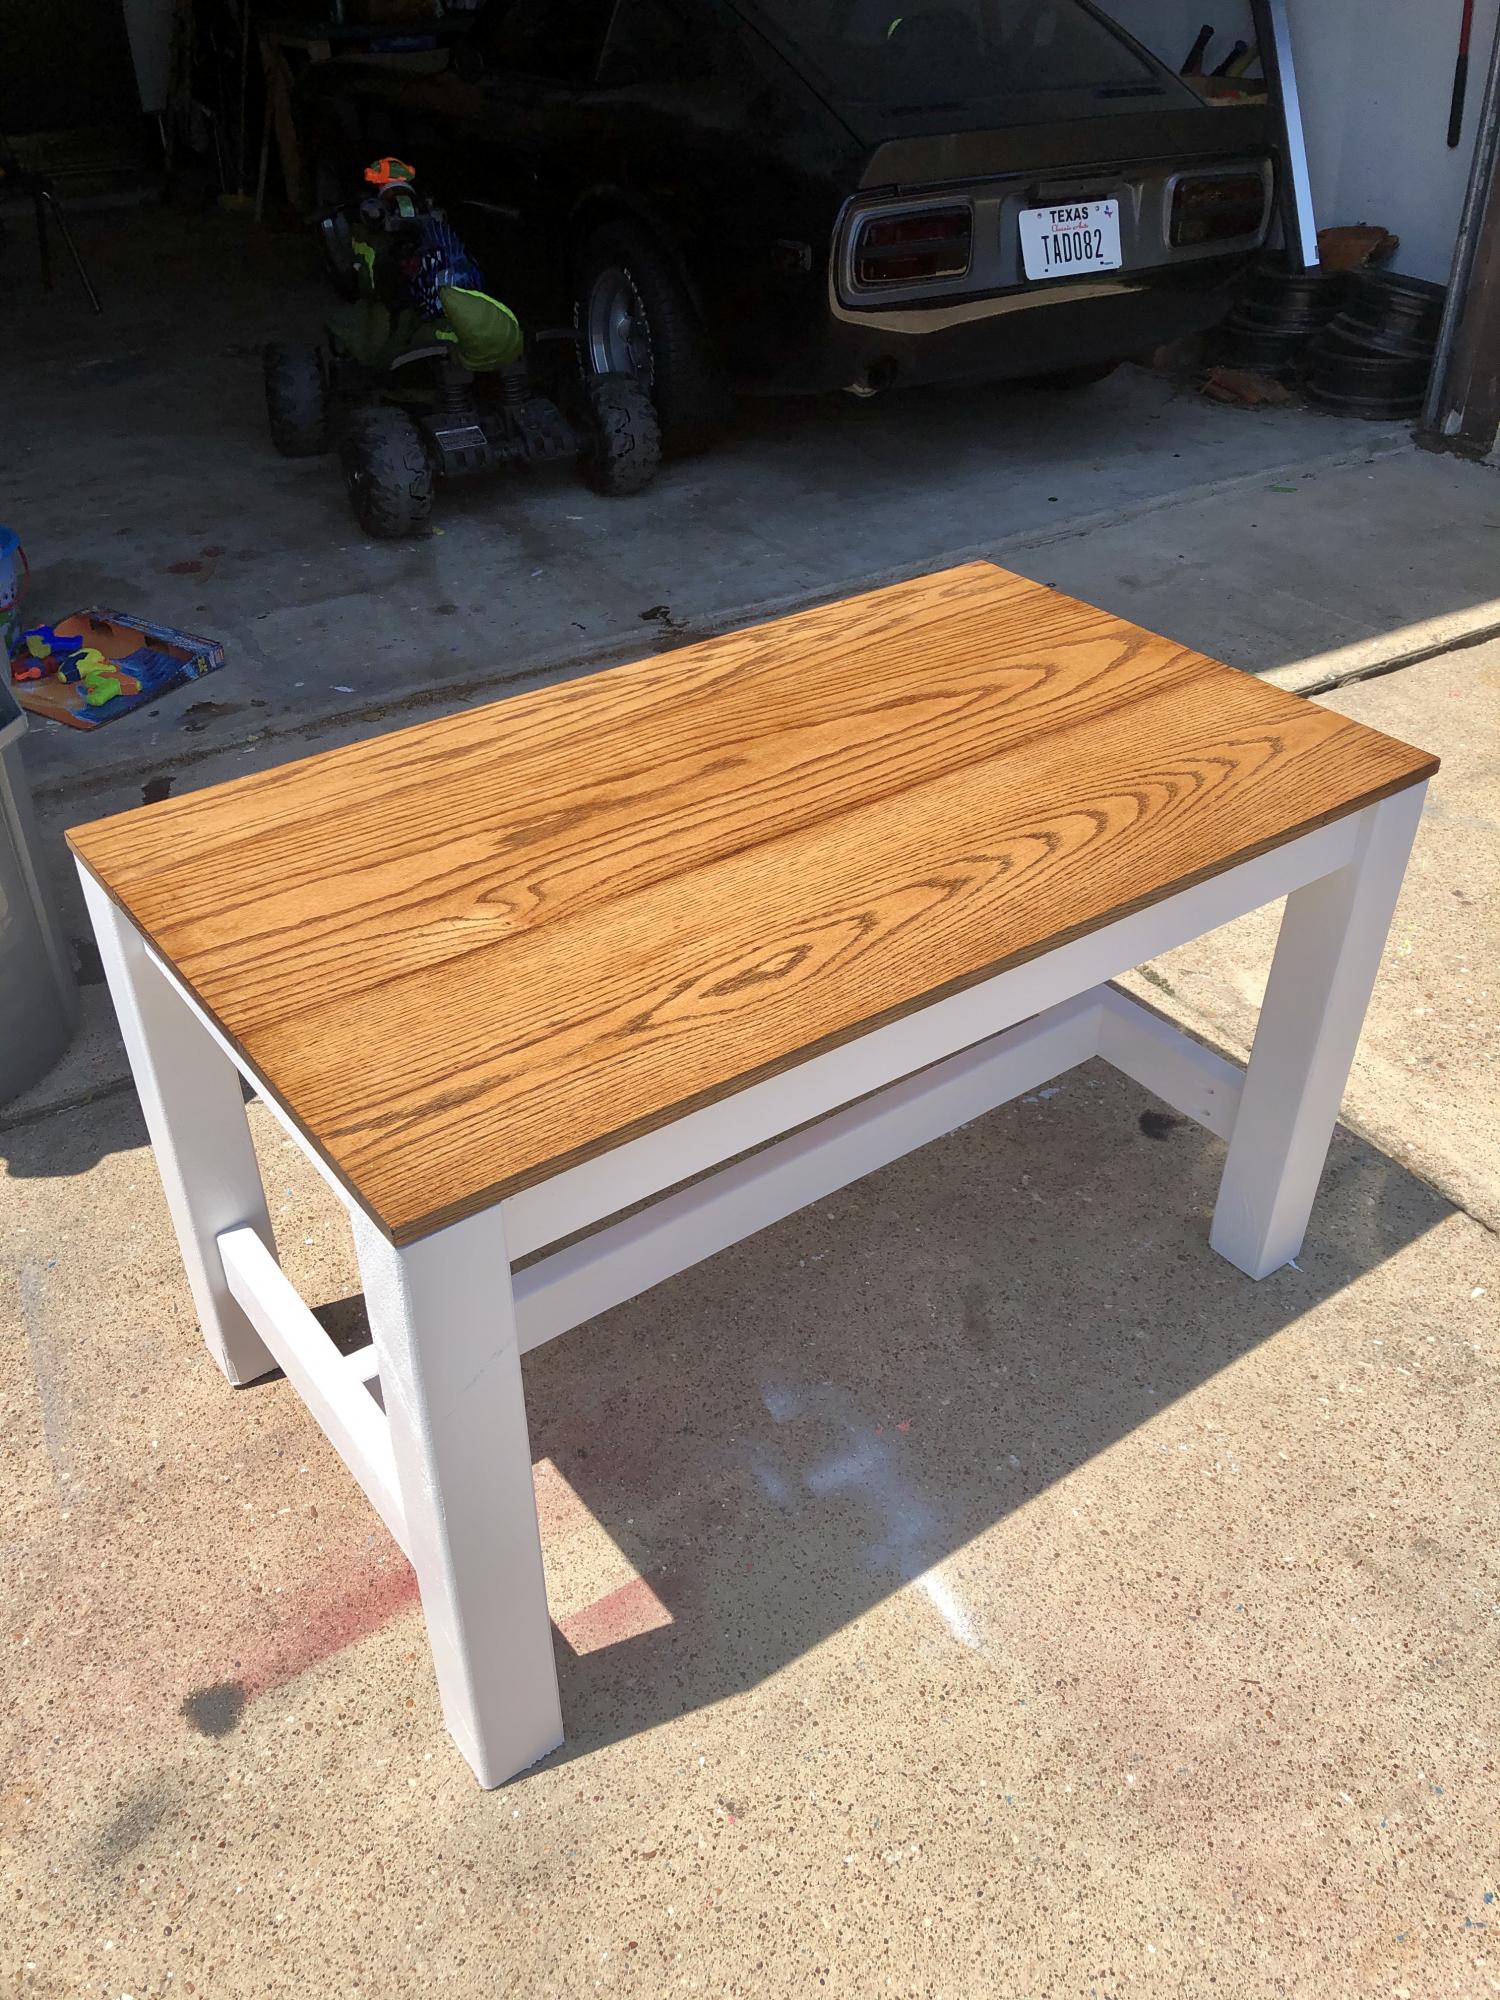
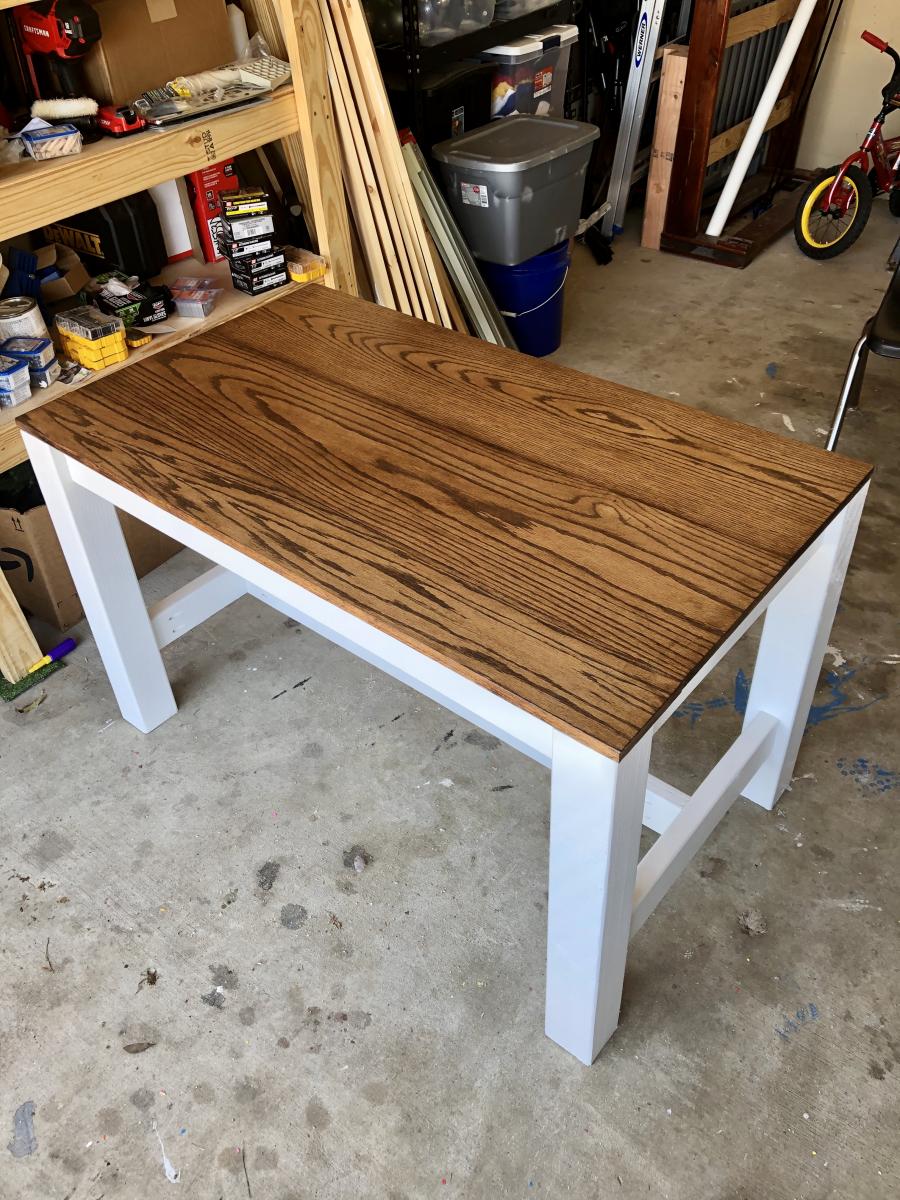
I liked the look of the “counter height table” and adjusted the height to make it a table for an office. I used 4x4s for the legs and oak for the top.
I used a biscuit joiner to join the top, a Dremel tool to carve grooves in the frame so I could attach the top with figure 8 fasteners (allows wood to move as it expands and contracts).
As a first-time user of pocket holes, I have to say they're brilliant! I learned from a lot the mistakes I made constructing the planter, but look forward to using variations of the plan for more planter projects. Thanks!
It took about two hours to construct, and then paint time. I used paint I had on hand (a paint store near me occasionally sells mis-mixed paint for $1/container), so I put on a white first coat and finished it with the green. It was a little too green, so I spray painted it with a light coat of bronze spray.
I attached the side slats to the outer 2"x"2 corner rather than the inner corner and subsequently found the 15-3/4" bottom slats a little too short. I had a spare furring strip on hand, so I cut another set a bit longer and they fit more securely. I haven't decided on finials yet; I may leave them off.
You can do this!
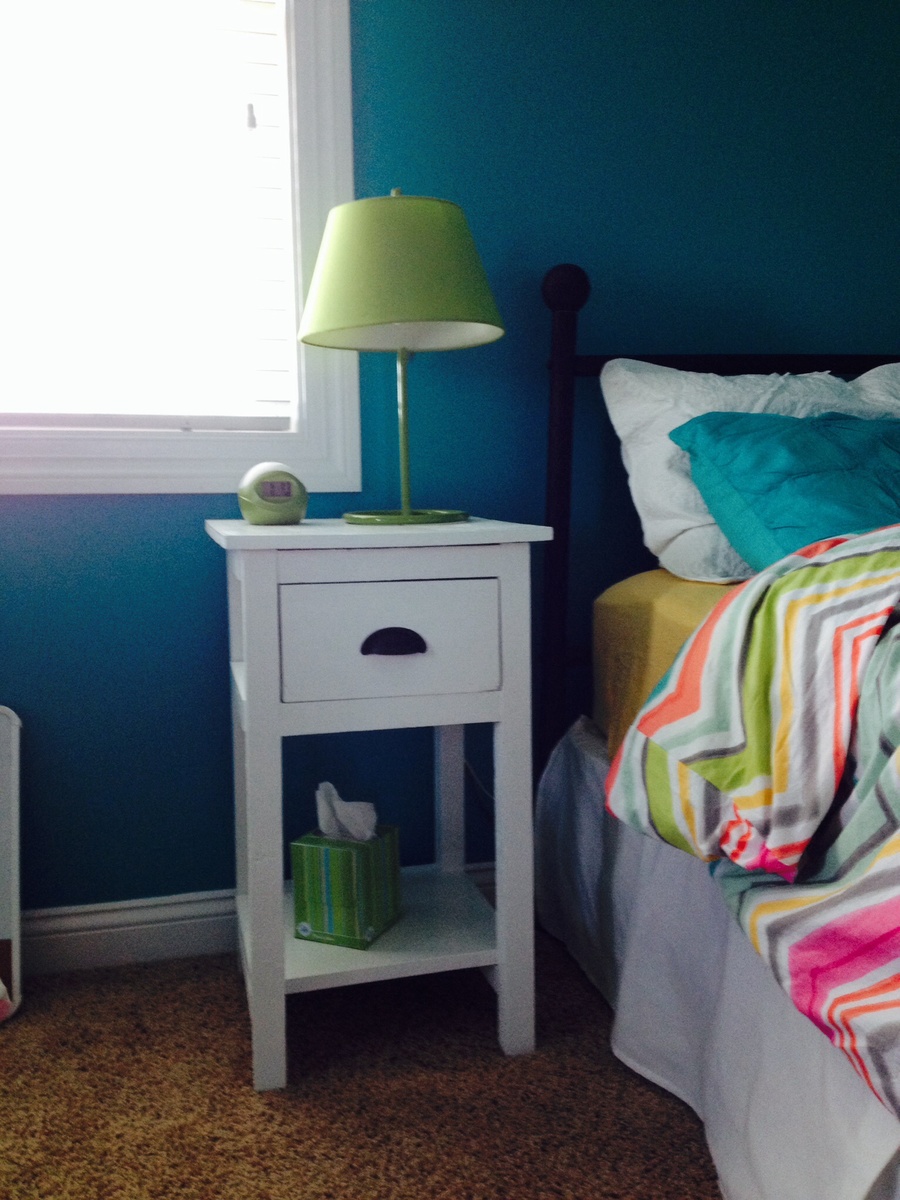
This mini farmhouse nightstand was my first building project. Of course Ana's easy to follow PDF's made it doable but check the tips above for cuts on your 2x2's. One rookie mistake I made was forgetting to double check my pieces. My 1x2's were actually thicker than 1" so they protrude from the side of my piece a bit. A sander could fix that. All in all so proud! Thanks to Ana and to everyone else for your brags.
P.S. A mini keg jig kit is SO worth the investment. I used standard wood-cost of about $20 including $4 for my drawer handle hardware. Kreg jig kit plus pocket hole screws were an additional $30 but I have plenty left for my next project;)
posted by Carmenh | on Mon, 2014-04-14 13:45 EDITREPLY
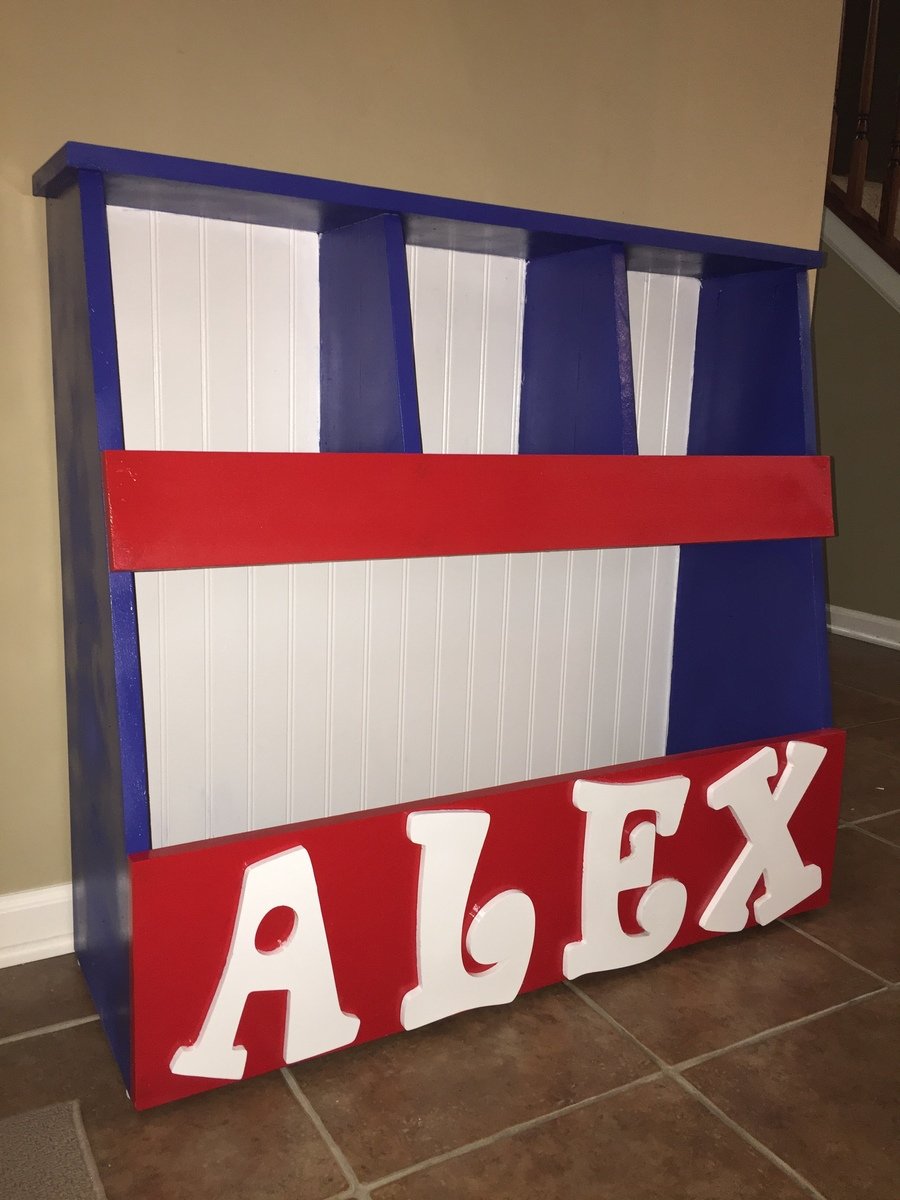
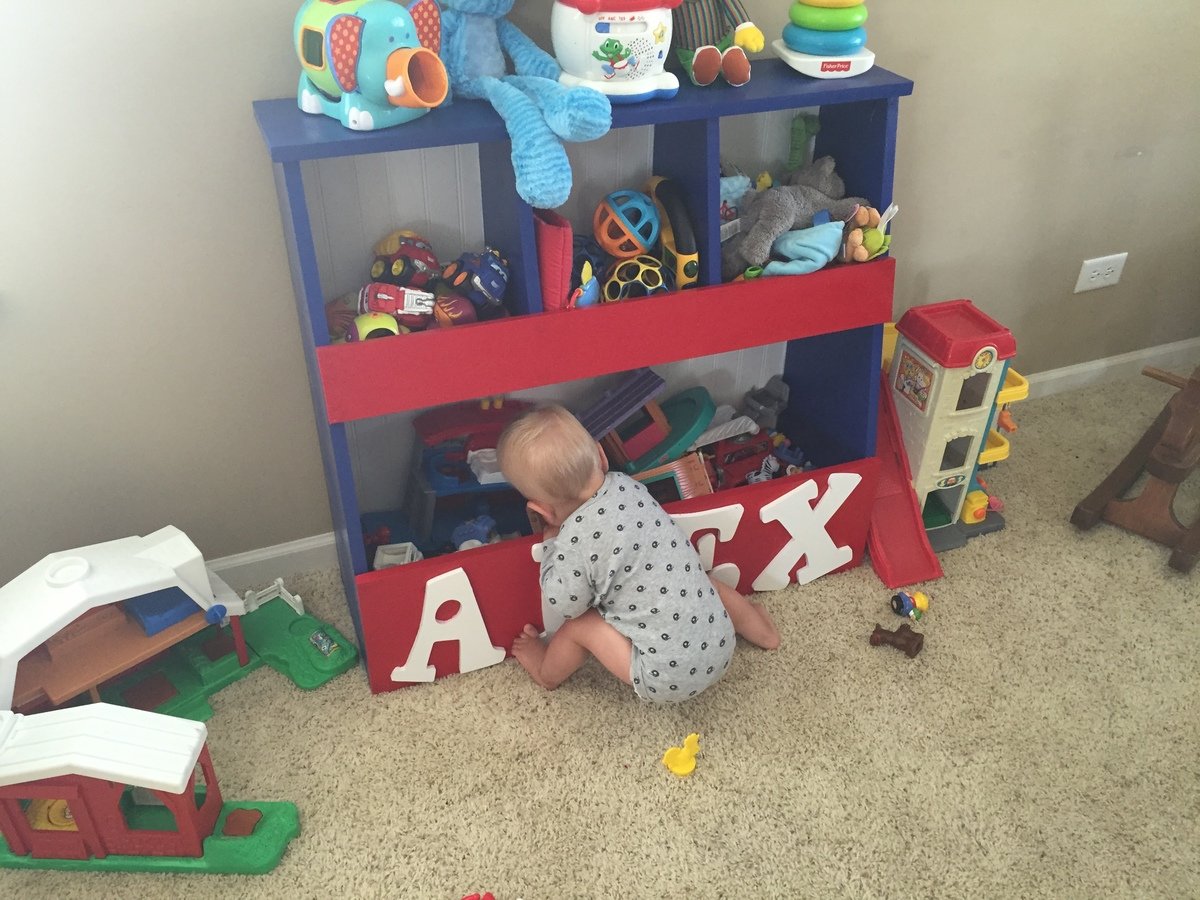
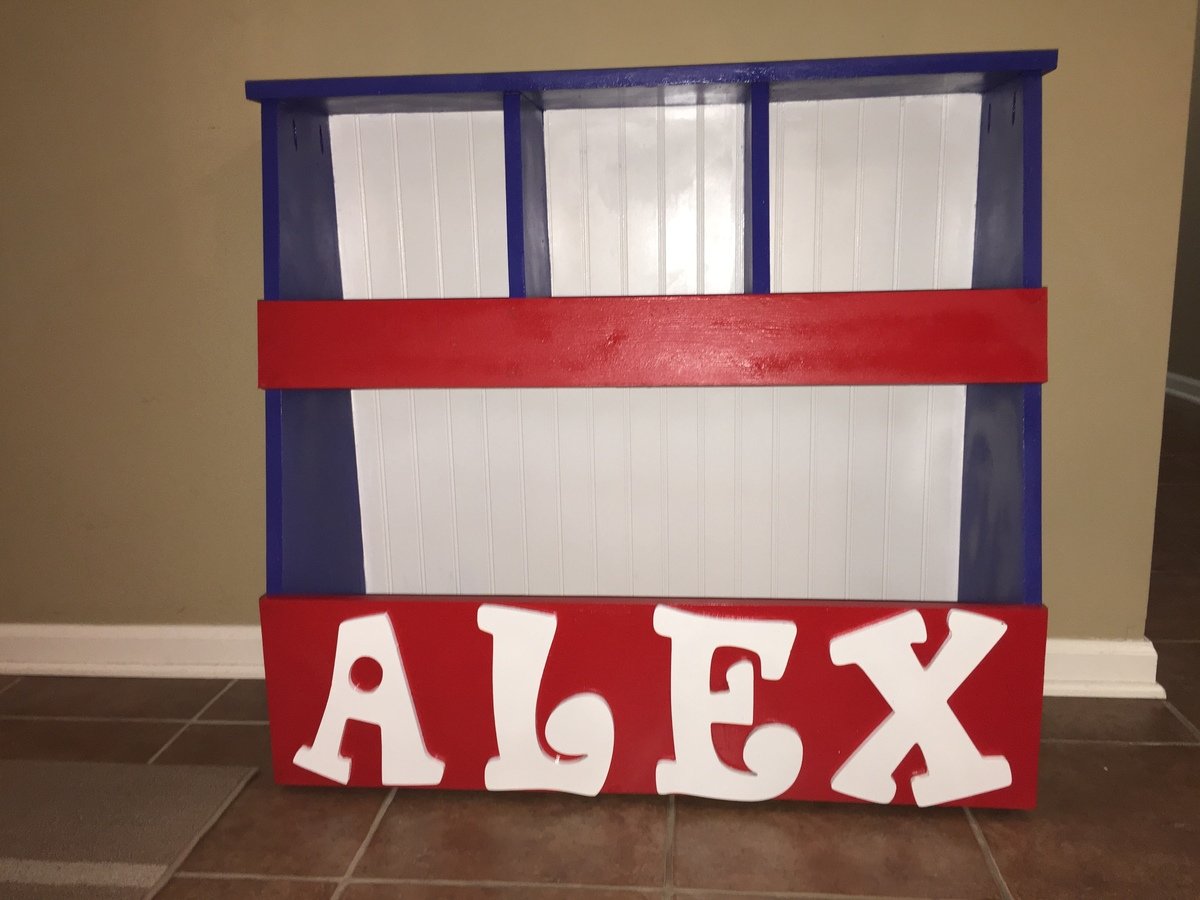
Super fun, and easy, to build this toy storage bin from Ana's plan. I took your advice, Ana, and made the top rail a little taller than a 1x4 and it's working great! I also used a prefinished (white) wainscotting panel for the back. I really like the way that turned out.
I bought the prefinished (white) letters at Hobby Lobby.
This bin is a fun, and functional, addition to our home.
Thanks again for the great resources, Ana!
I loved this plan for sturdy, yet economical Adirondack chairs. They were exactly what I needed for one of our Airbnbs. I liked the look of smaller back and seat boards, so I used 1x4s in place of 1x10s. The seat spacing worked out on the seat but on the back I had to rip one of the boards on the back down to 2.5 inches or so for it all to to fit. If I make them again, I’d probably just add a 2 inches or so to the length of the back 2x4s so the back board spacing would work out.
Thanks again, Ana, for proving such great plans for us all.
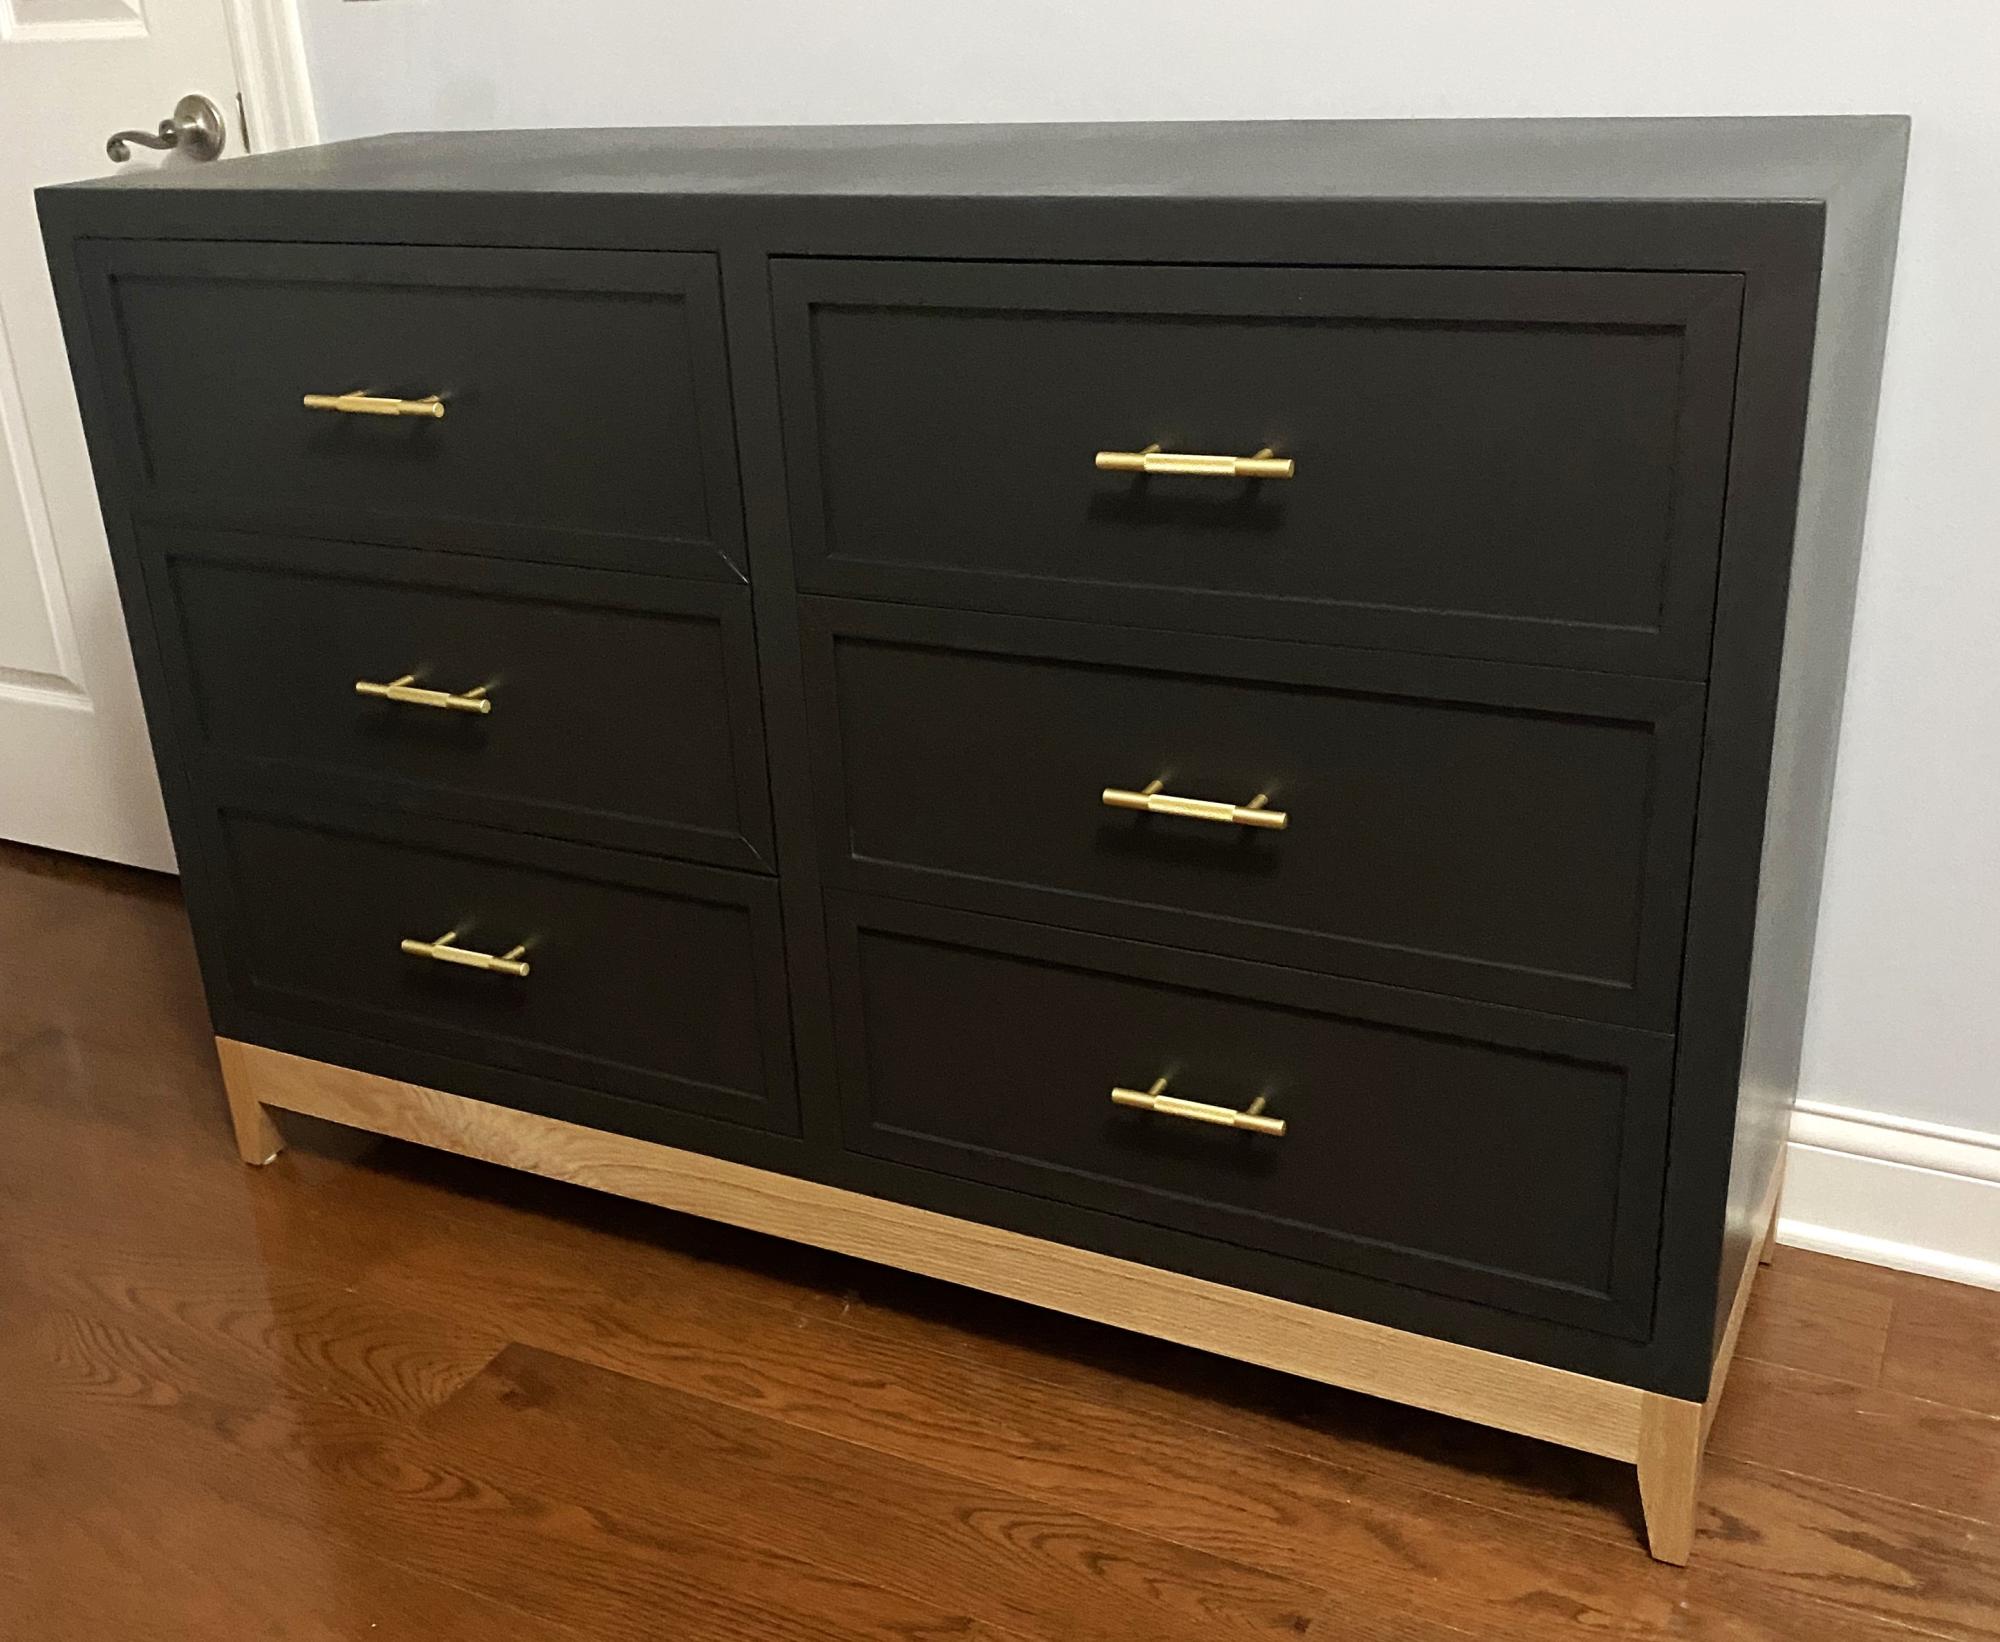
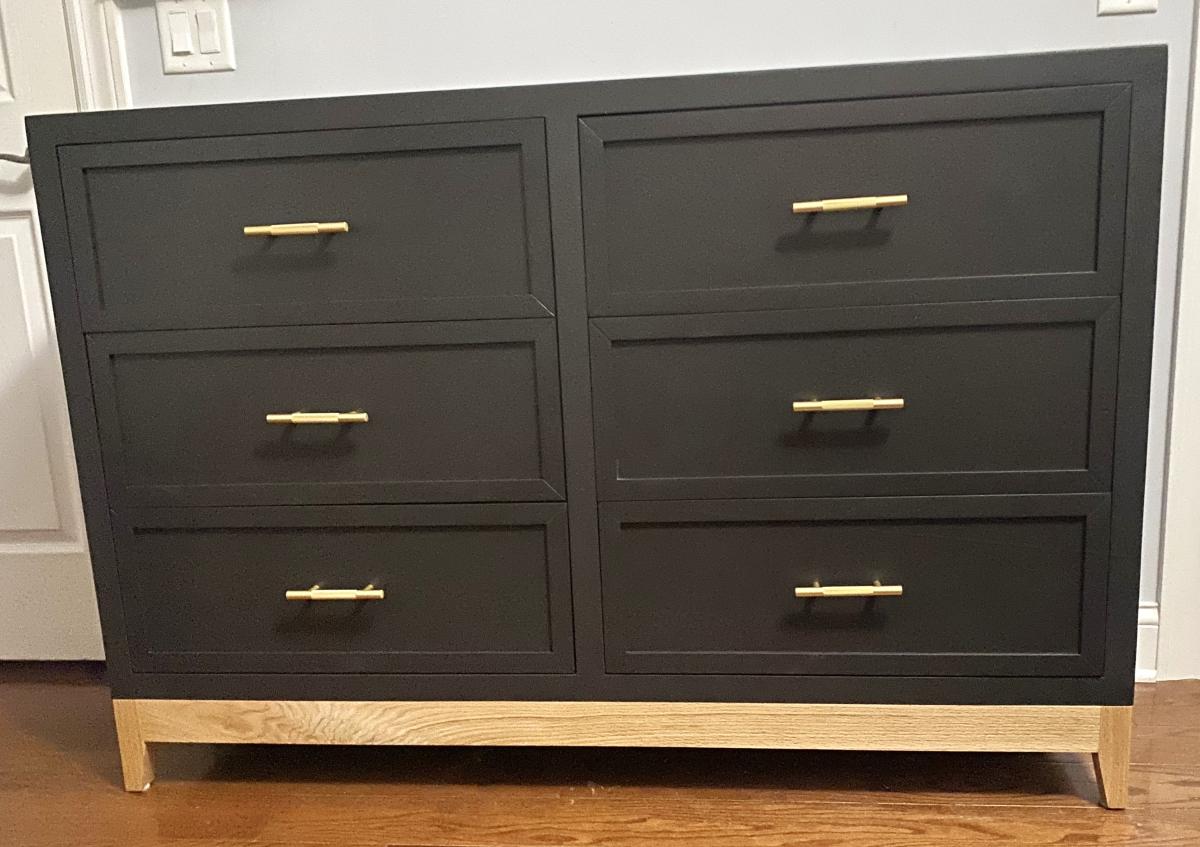
Built this dresser for my daughter’s room and added a modern base!
Kristen Kobeszko