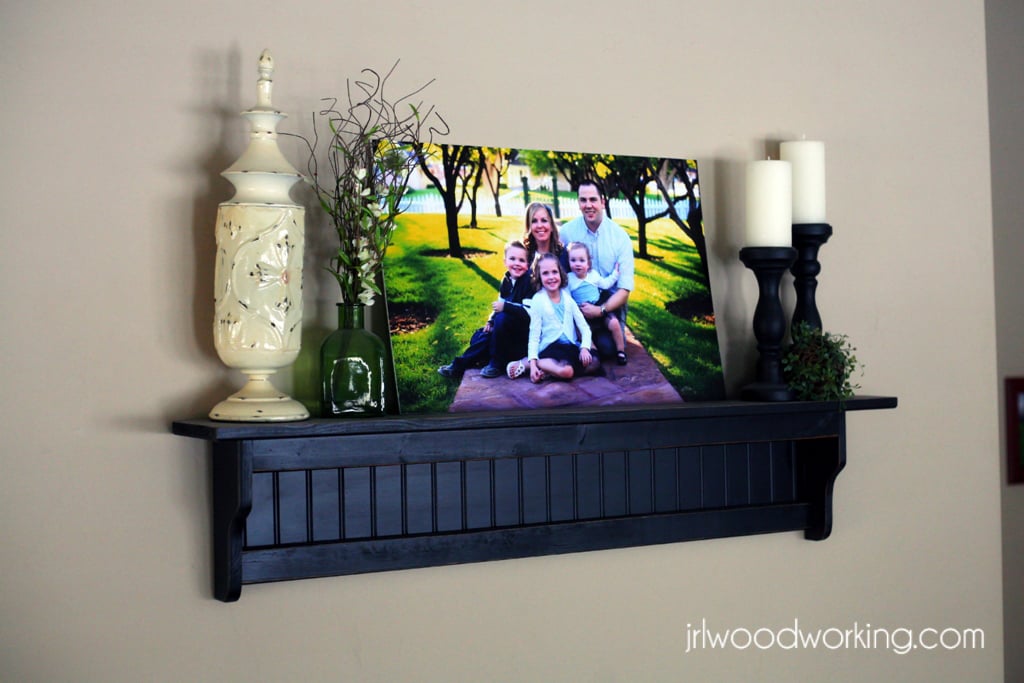
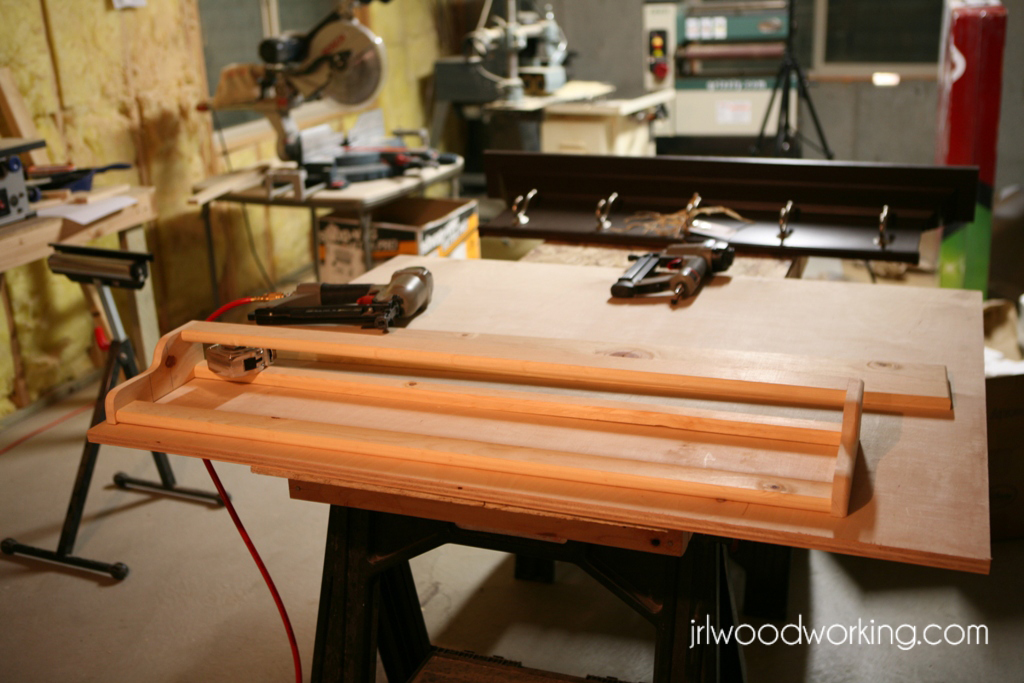
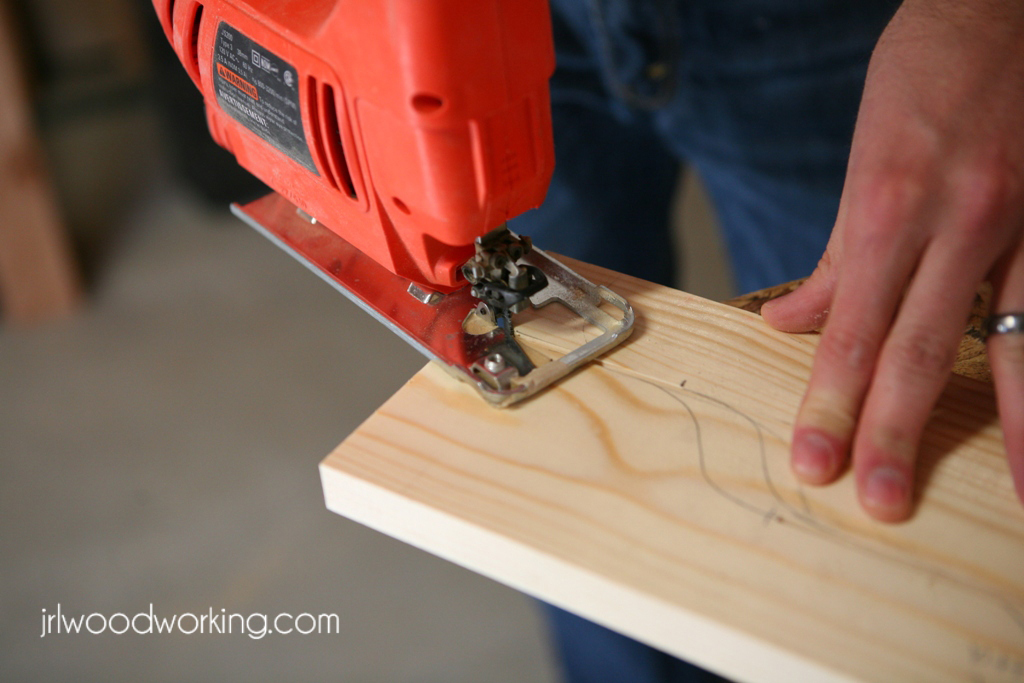
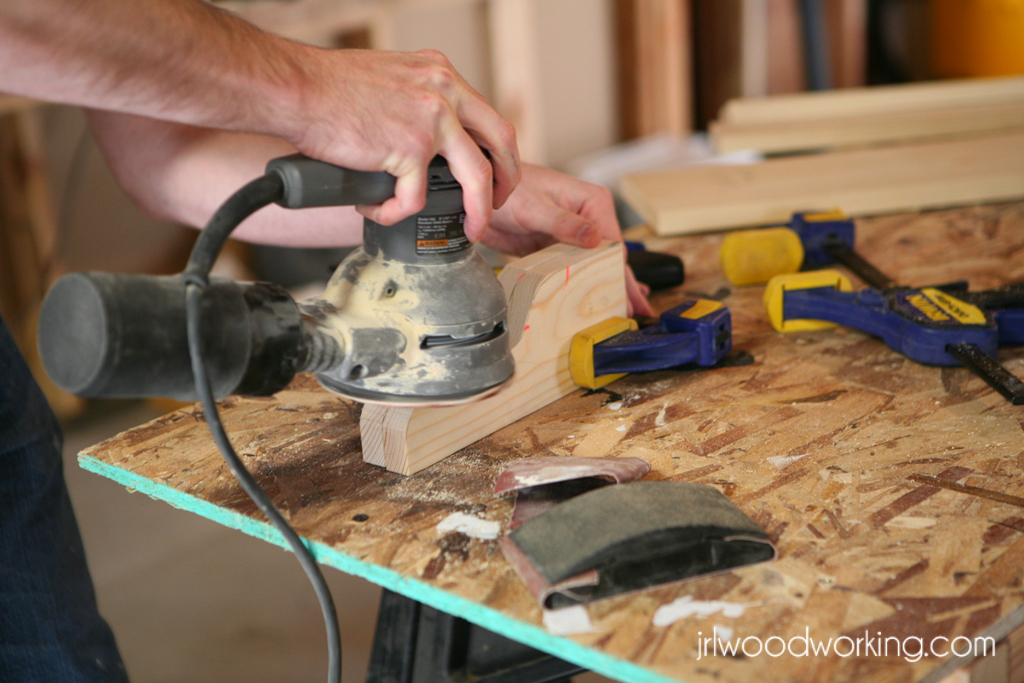
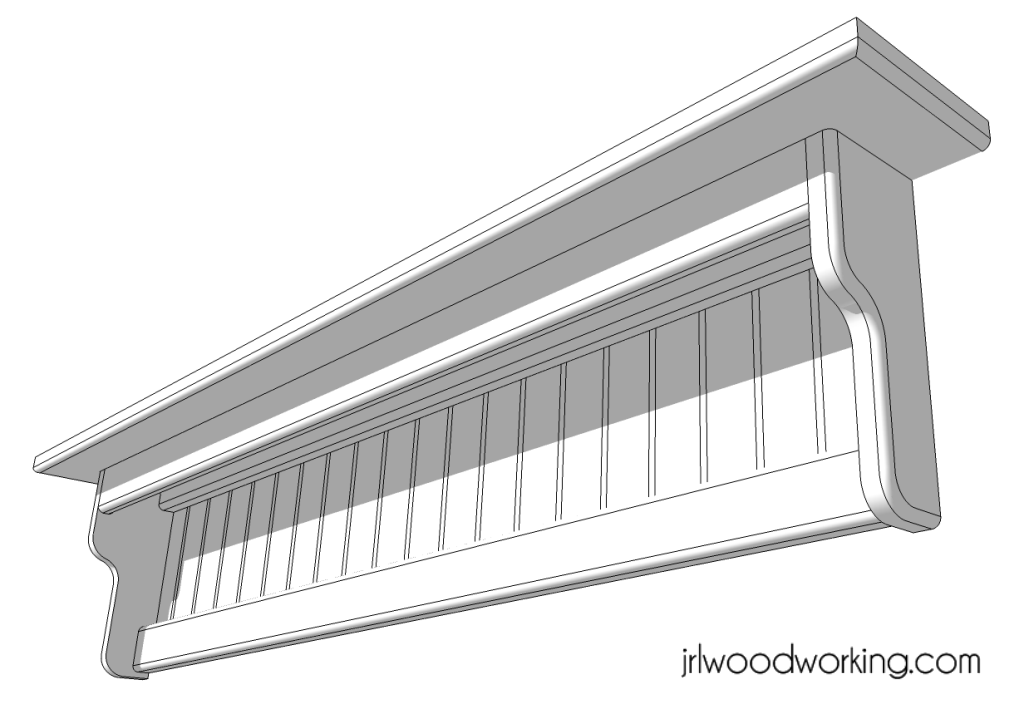
The 4-foot "classic beadboard" wall shelf is simple and cheap to make and it looks great for hanging pictures or decorations on the wall. The project requires only about $10 in materials, but it does required more advanced tools such as a chop saw, table saw, jig saw and router. Comparable shelves sell at between $60-$80.
I can build the project is about 1-2 hours, but it may take longer if you don't have all your tools set up. The plans are free on my woodworking blog at: http://www.jrlwoodworking.com/
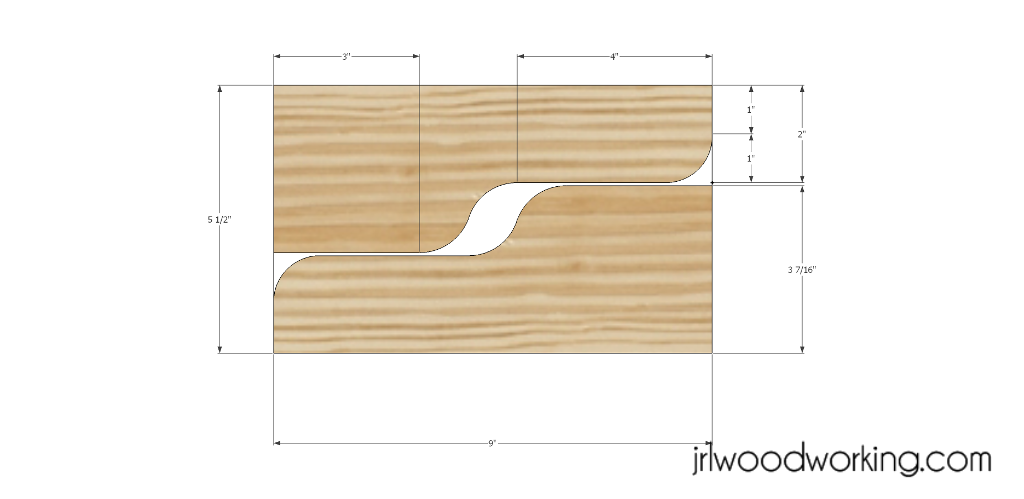
You can also make the shelf in 2-foot and 3-foot lengths, simply shrink all the horizontal dimensions by one or two feet.
Estimated Cost
$10 + paint
Estimated Time Investment
An Hour or Two (0-2 Hours)
Finish Used
We used Rustoleum furniture spray paint ( flat black) and distressed it with sandpaper. You can use a Q-tip and a cherry gel stain to make the exposed wood pop. I don't like to put a primer on it because when you are distressing the wood, the primer shows through and looks funny if it is not the same color as the finished color.
Recommended Skill Level
Intermediate