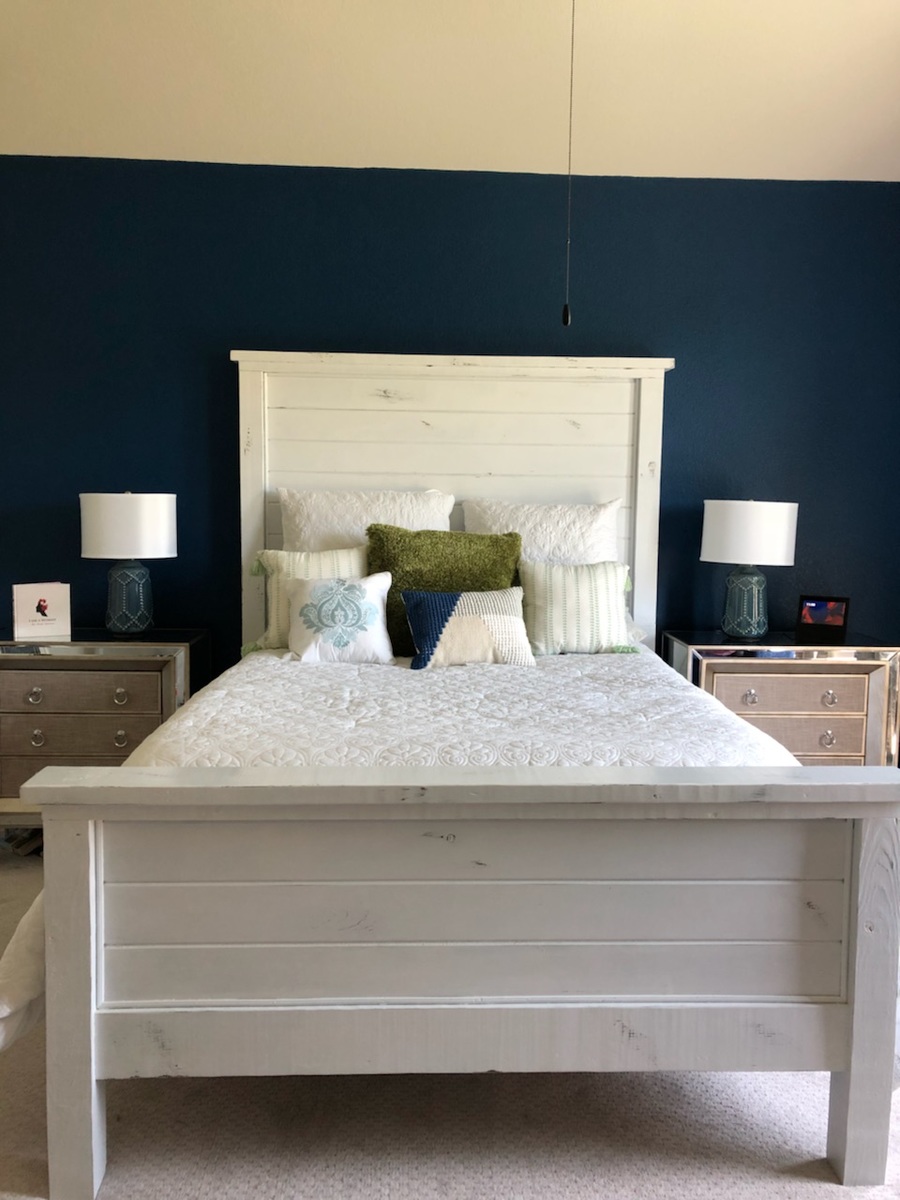
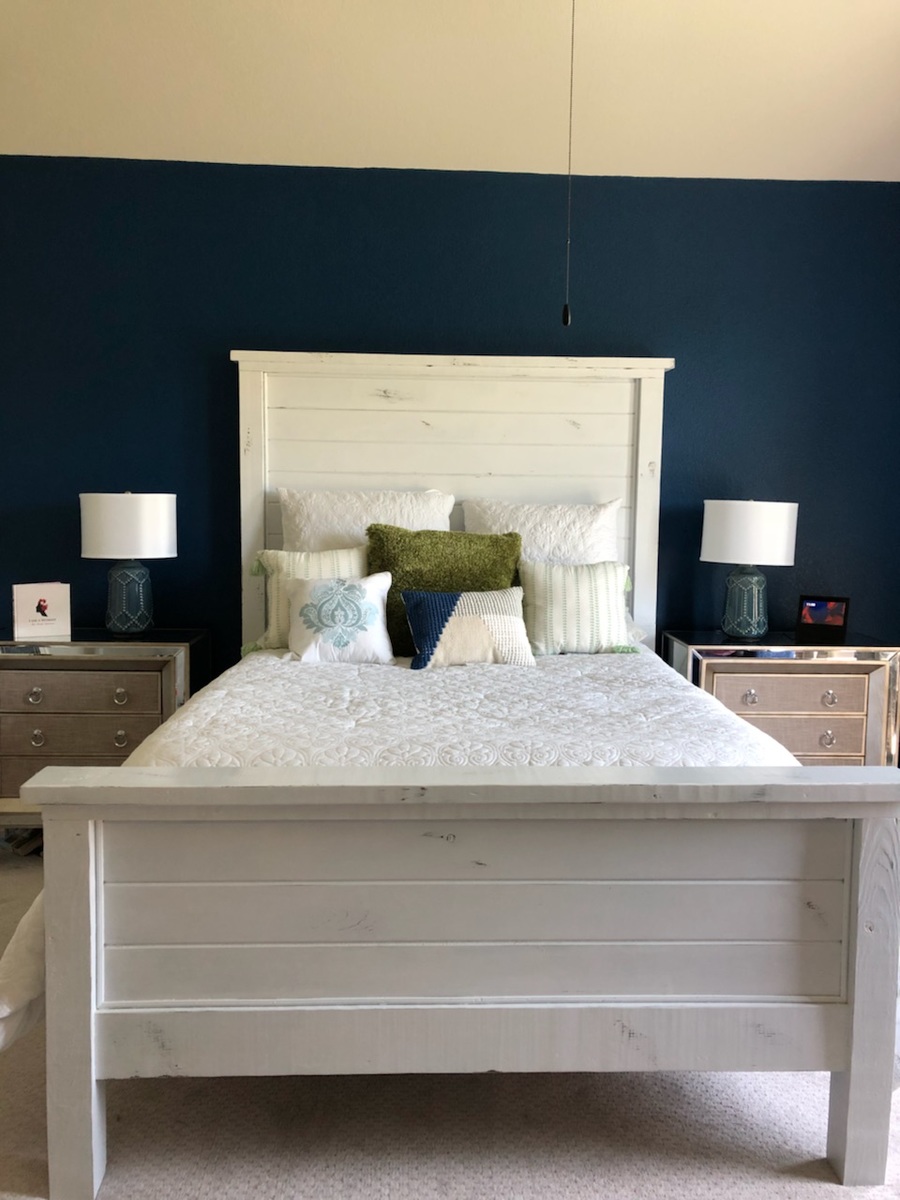
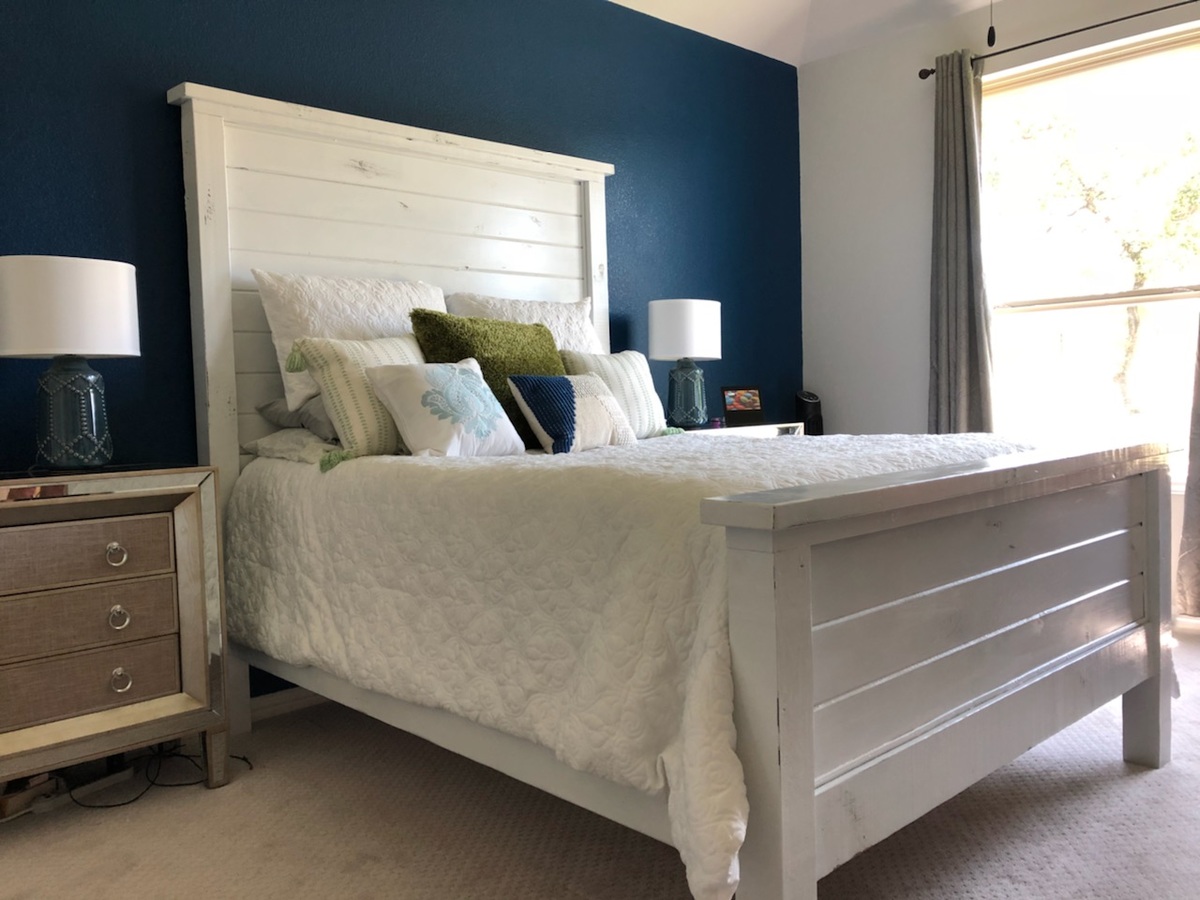
Haley Storage Bed
My husband and I were able to put this together over the course of two weekend days. Then it took me an eternity to paint/finish it. But we love it now and so does our little girl!
My husband and I were able to put this together over the course of two weekend days. Then it took me an eternity to paint/finish it. But we love it now and so does our little girl!
Thanks for the plans Ana!
I stuck to the design but changed the dimensions to suit the space and the boxes we intend to store. This made the shelves 7.5 feet high by 8.5 feet wide. The timber was supplied in 17’ lengths so this also meant very little wastage. The frame is composed of 2x4’s, the shelves are 4.5 x 1.5’s - as I wanted the shelves slightly shallower this meant I could get away with three boards for each shelf instead of 4 as on the plans.
For the short cross pieces I used woodglue and screws – to attach the long shelf pieces I just used screws. I predrilled holes in the first piece for each of the screws, but I didn’t drill a pilot hole in the next piece, the screws were self-tapping and didn’t need one.
The back wall is concrete block and I screwed each upright to the wall using wall plugs and screws. I’ve 2 young children and as the shelves are quite high I was afraid they might climb on them and tip them over otherwise. The attachment to the wall definitely makes the whole thing feel much sturdier – the structure is completely rigid.
The only real issue I encountered was that some of the boards were slightly twisted or warped – and I had to apply some force to keep everything square when I was gluing up. Overall I’m very happy with the end product, and found it reasonably easy to put together. Now its time to put the shelves to good use and start tidying up the garage!
Both of my children have moved into new homes within the past year. So it looks like I will be busy building things they need for them. Enjoy being able to do this for them! Thanks, Ana for the inspirations!
Wed, 07/04/2018 - 14:46
This is gorgeous! Love the taller headboard height and the wall paint! Thank you so much for uploading a photo, can't wait to see more!
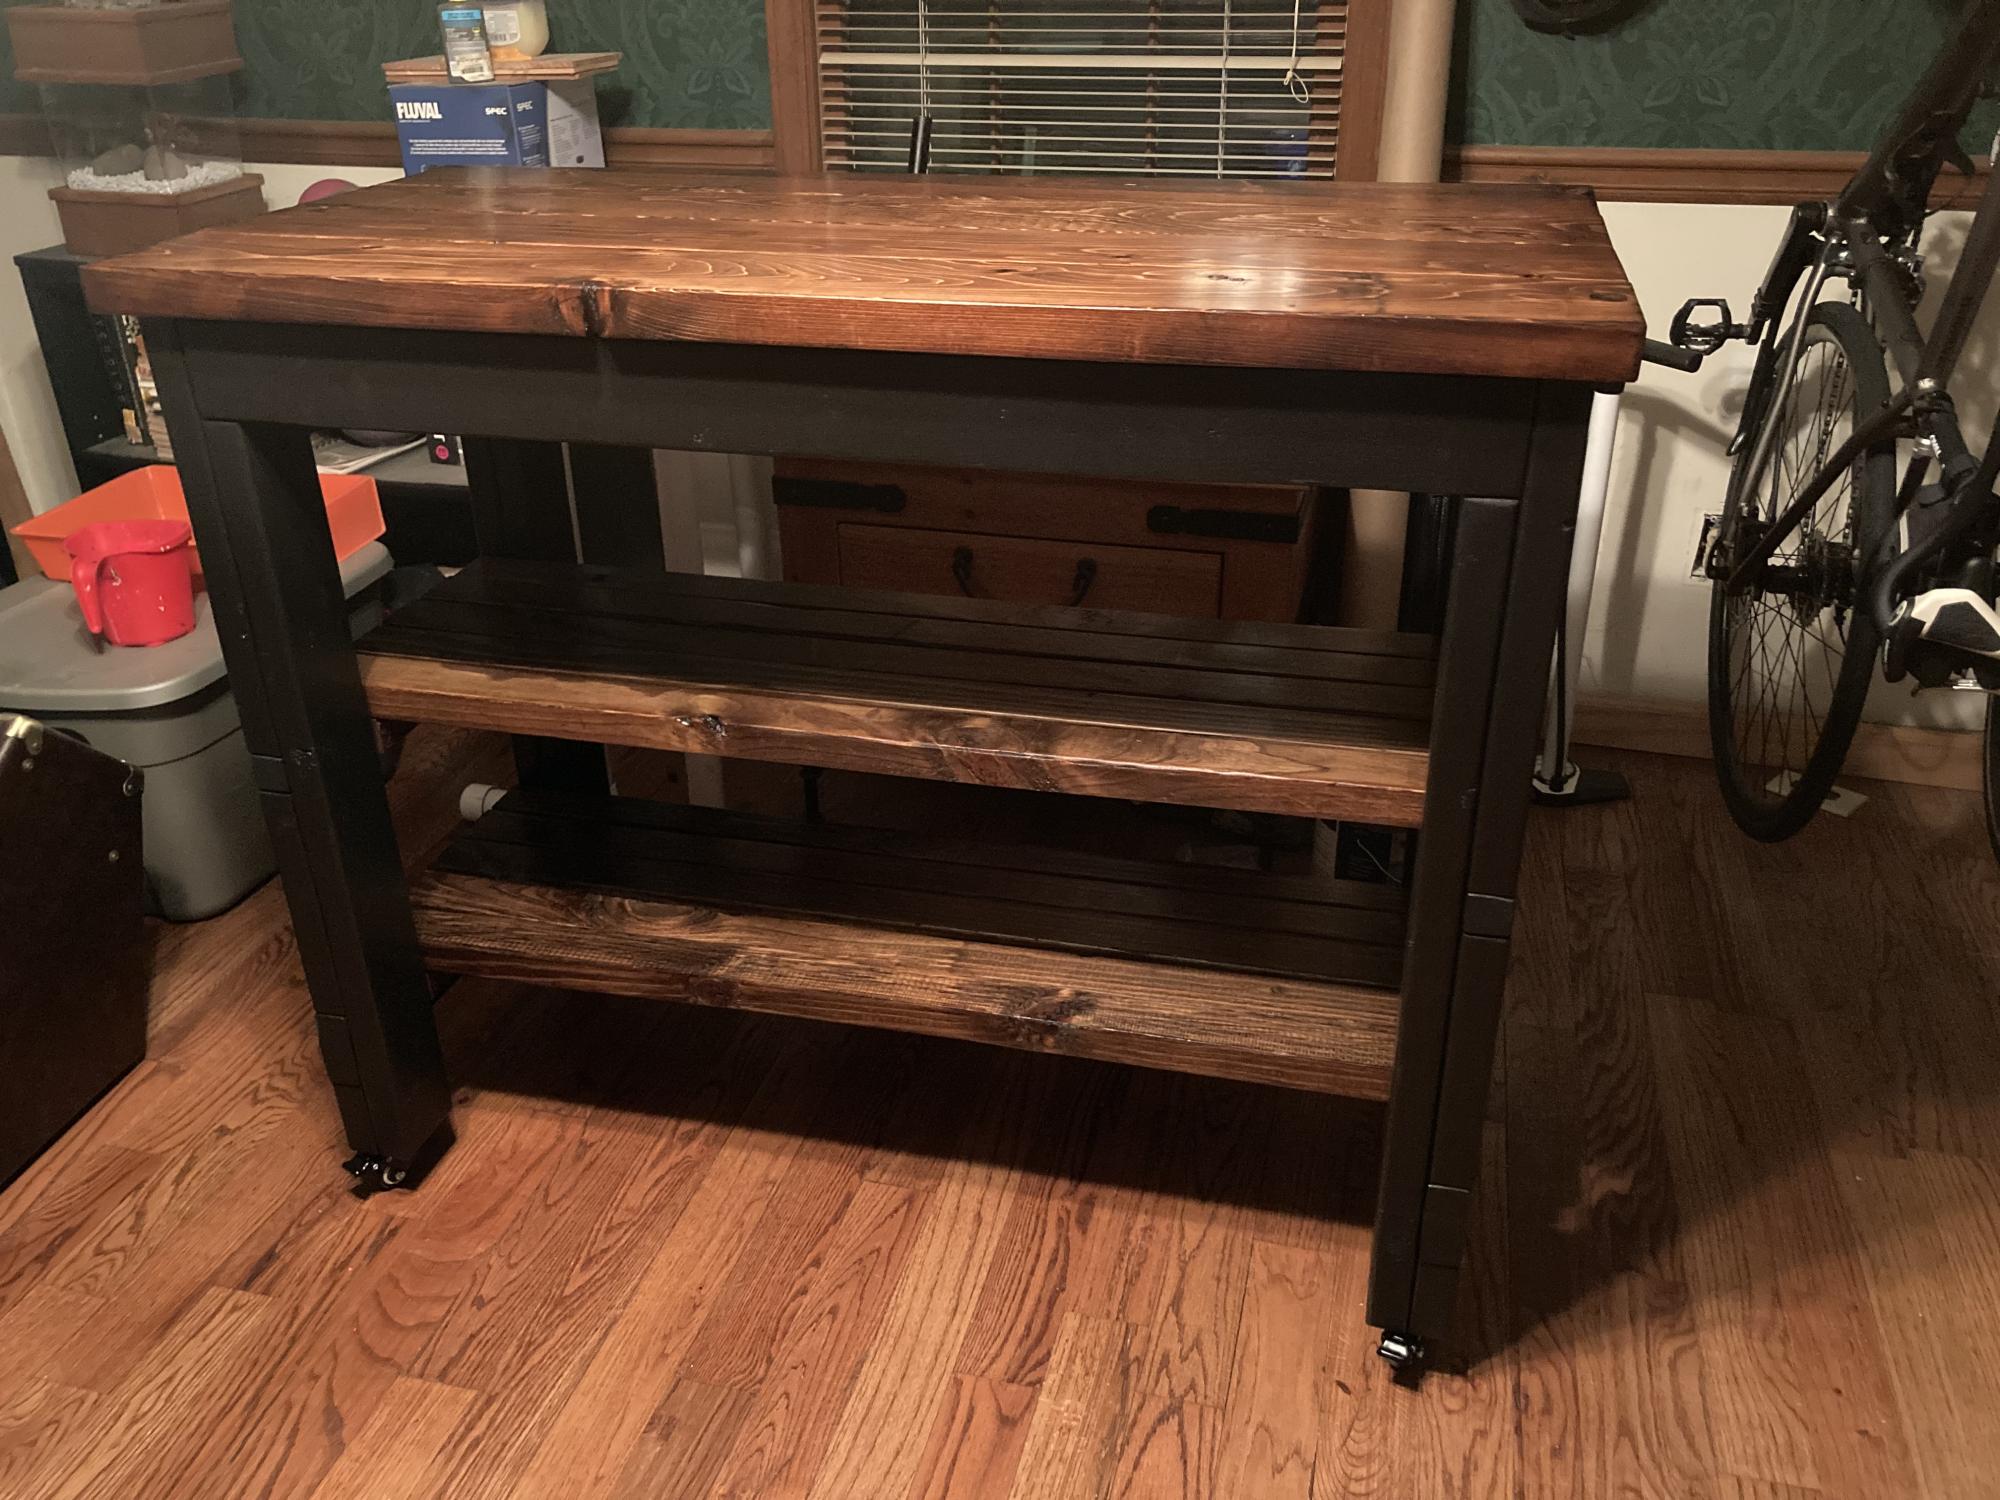
I built this for a friend so it will work for his kitchen….and he just loves it!
Very quick to do. I made a few modifications to the plans as you can see. I also stained the pieces before gluing and screwing together. My boys LOVE this one...

This was a first project choice when I needed to figure out what to do for some entry way furniture. Everything was so expensive in the stores and with my creative sense, I was influenced by the simplicity of some of the furniture featured at Hobby Lobby and told myself I could build that myself!! I looked through pinterest to gather ideas to build my own piece and came across a pin (hillary locker) and stumbled upon Ana-white.com where I found not only an inspiration but a whole how-to and blueprint to build with! Without counting the time spent trying to get home depot to cut all the pieces correctly the first time and chucking pieces with the saw blade they were cutting across the store almost hitting myself and my husband, saving up for the table saw so it would not happen again, and stopping to stay at my post as mom, I would say the project being worked on took 6-9 hours. there was a lot of stages like letting wood filler dry before sanding, letting primer and paint steps dry before continuing so it took time for stages. First project and time getting used to the new saw and kreg jig that I purchased but learned rapidly. I do suggest the kreg jig!!! It made the furniture so solid and professional. I suggest making sure the cuts are right on because it made the whole difference!


In reply to Great job! The beadboard by AnnieGetYourDrill
Sun, 08/11/2013 - 22:27
Thank you!!
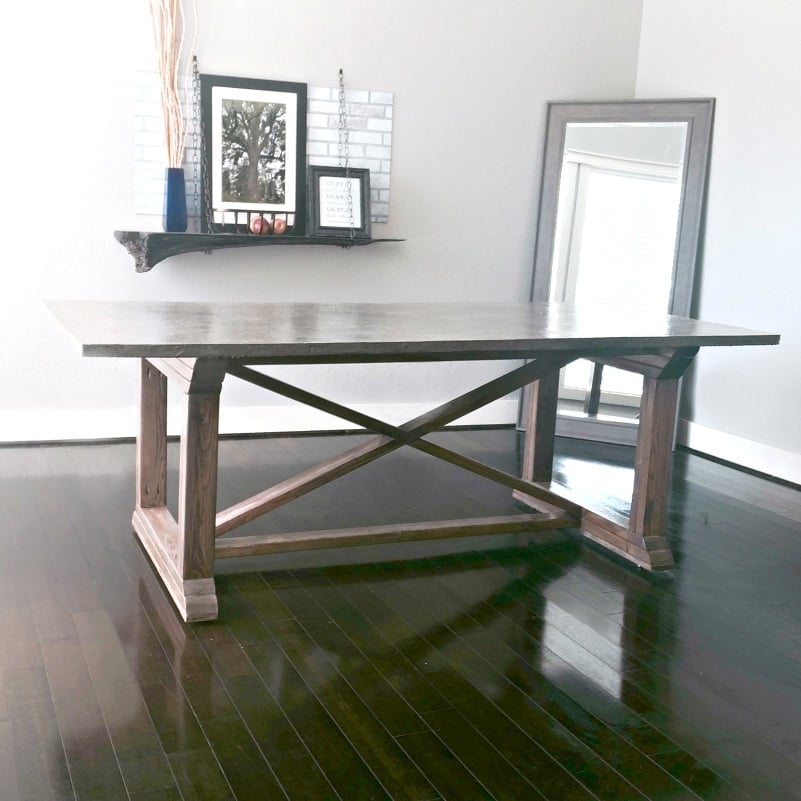
I built this dining table with a concrete top and a base using the Rekourt Dining Table plans.
In reply to Gorgeous! by Ana White Admin
Tue, 09/08/2015 - 19:41
Thank you so much and thanks for the feature today!
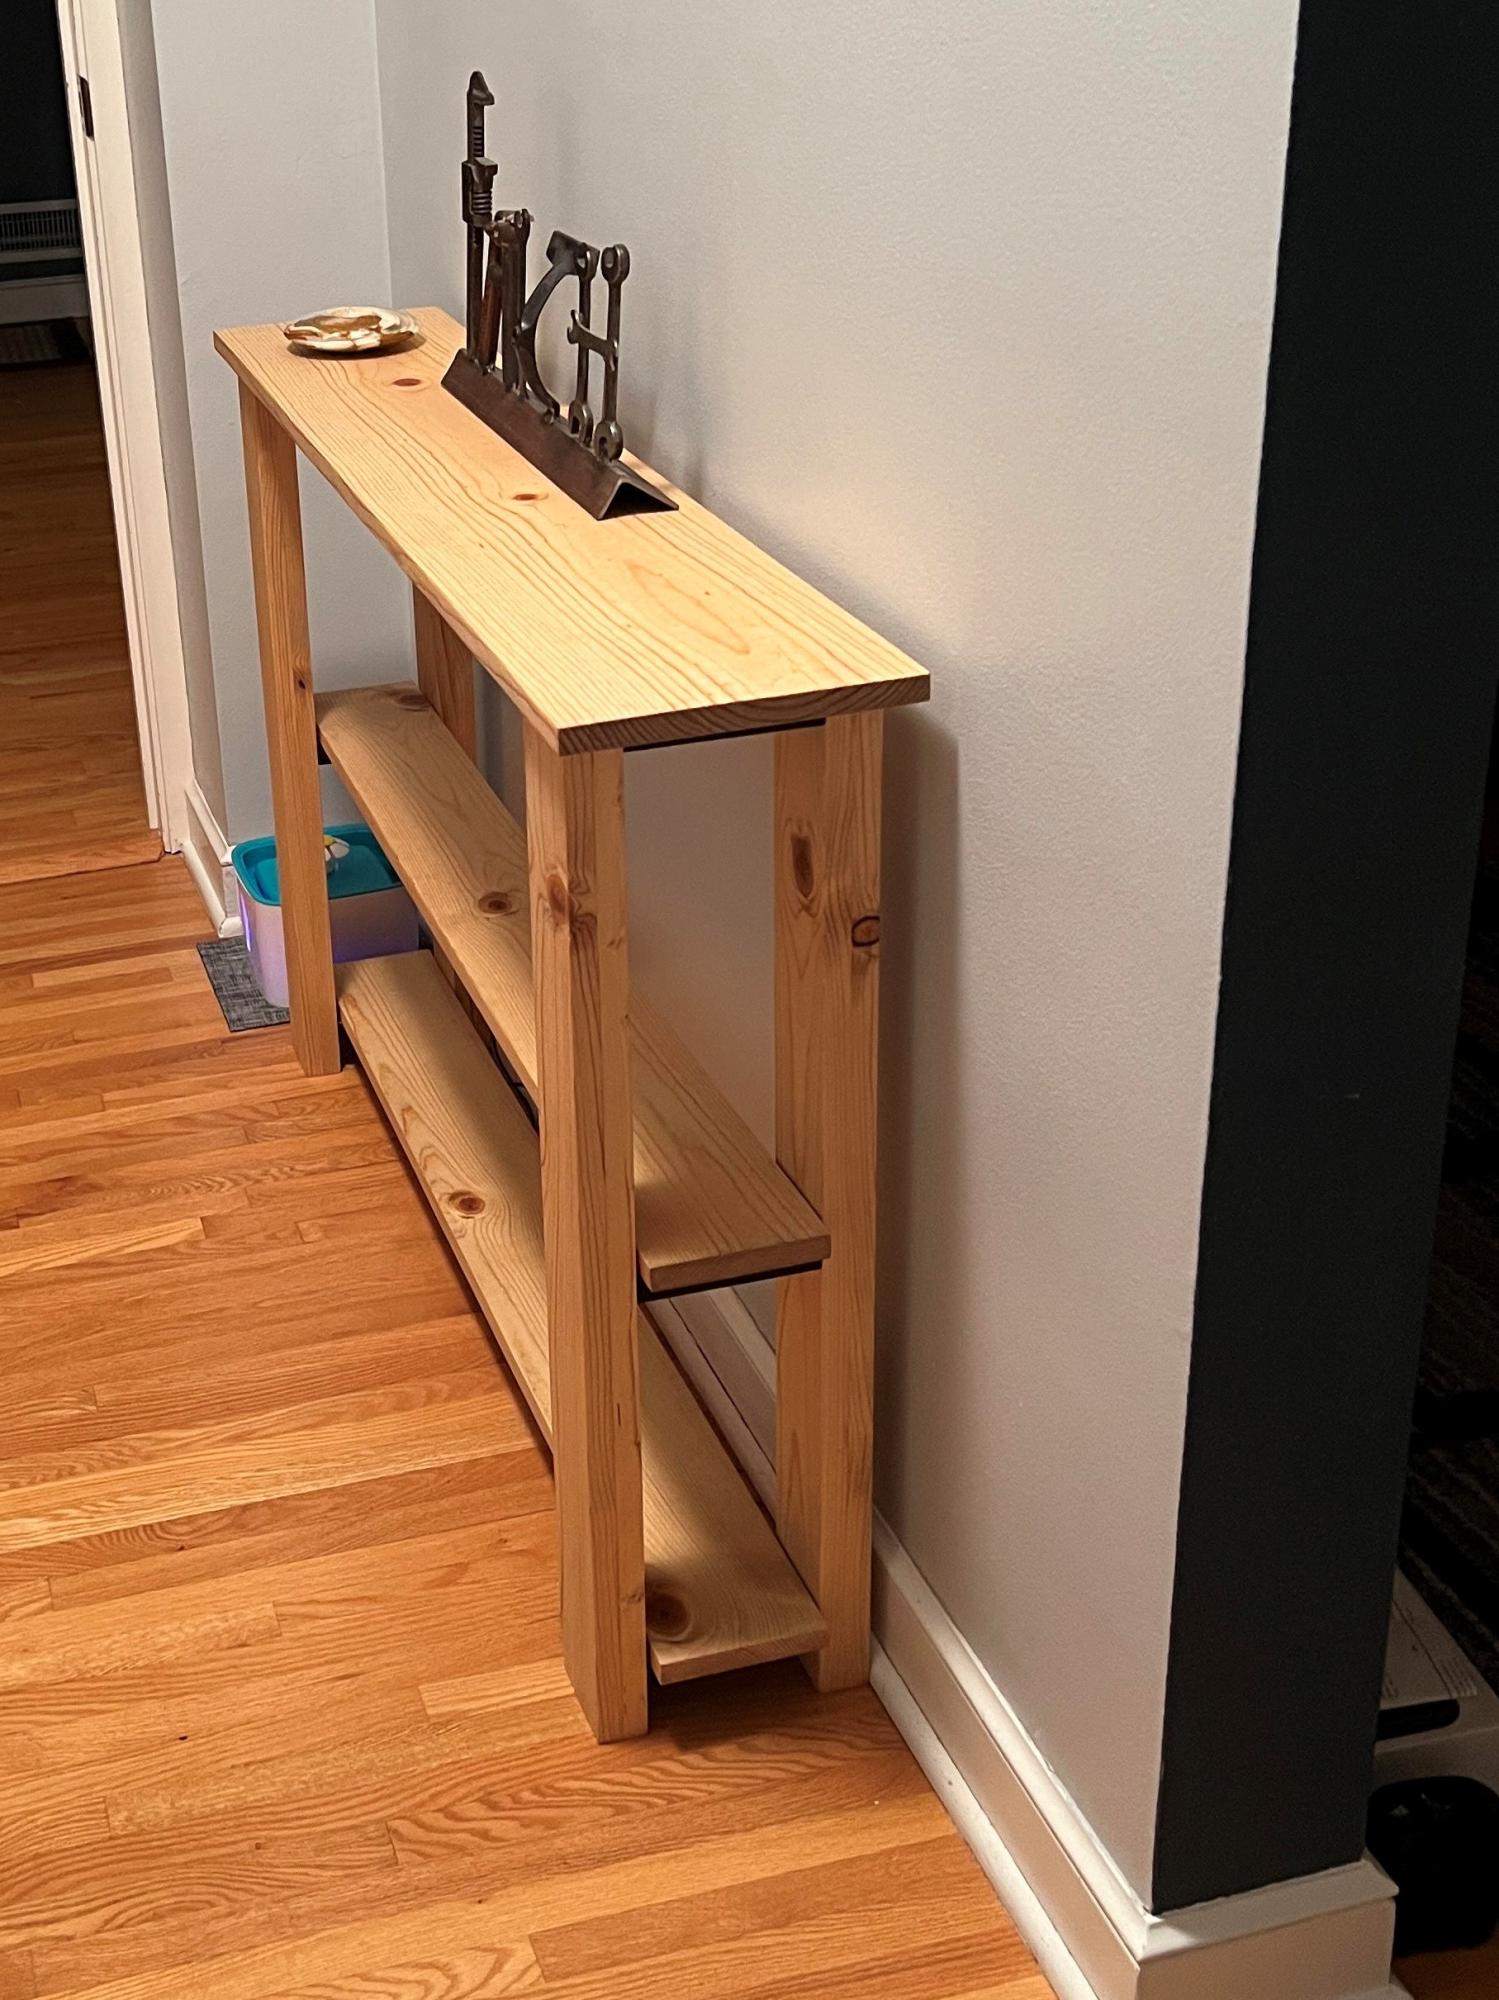
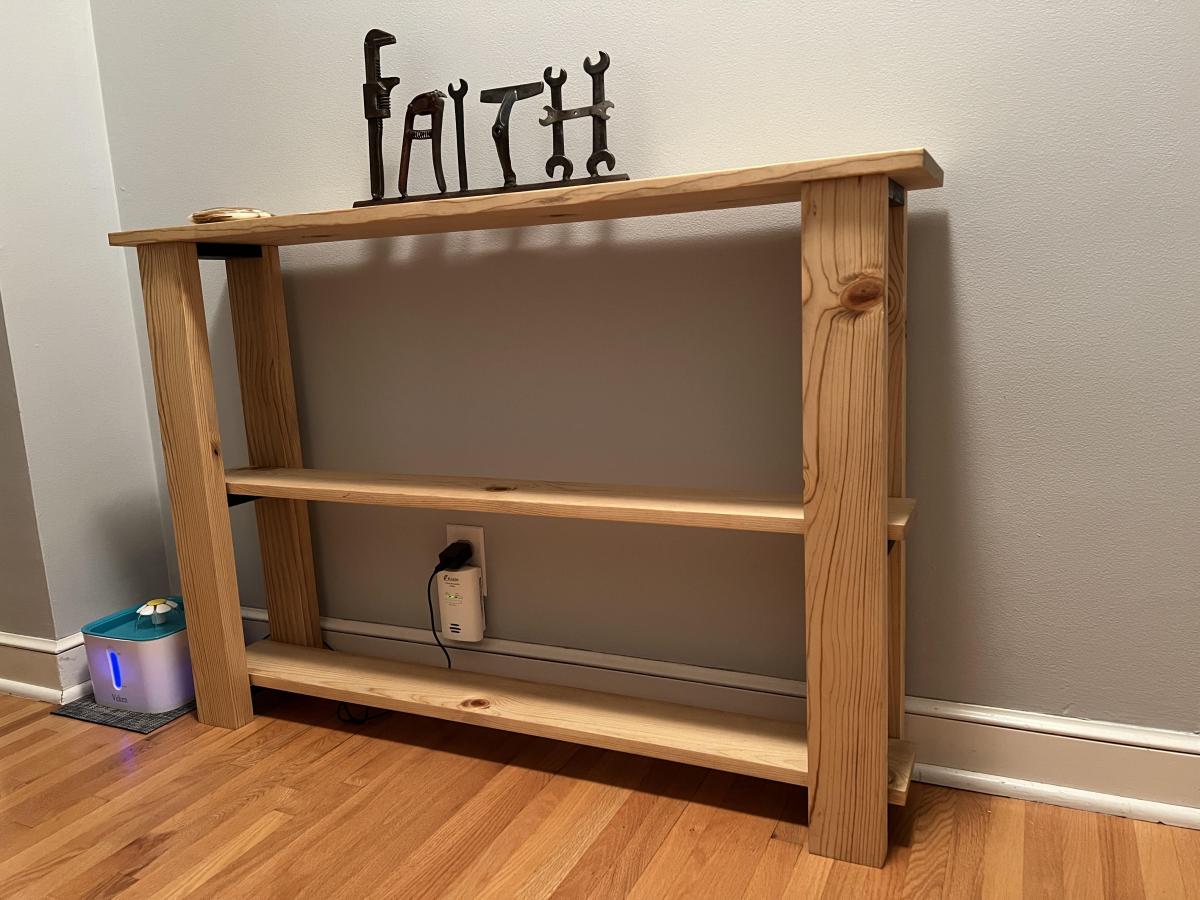
I used dimensional lumber for a little nicer look and laminated two boards for the legs. I used light walnut danish oil to finish. I adjusted the width and got It the perfect width for my hallway.
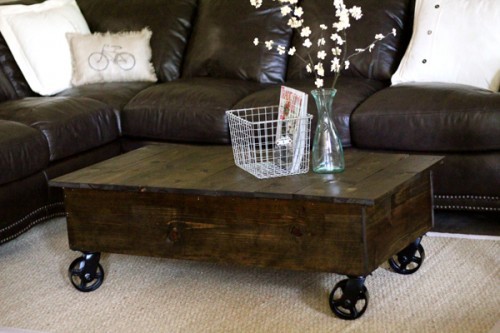
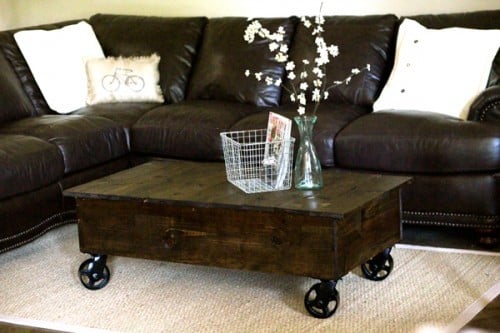
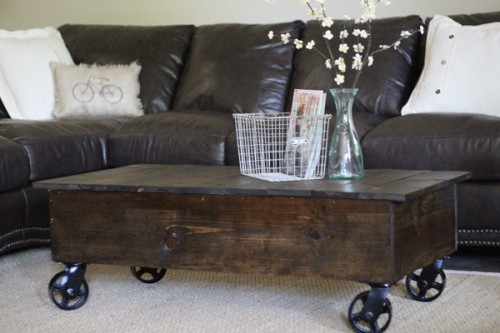
I used Ana's plans for her factory cart coffee table to create my new coffee table. It was super easy and cheap! I used 1x10's for the sides to make it a bit taller. I found my casters at Northern Tool for $12 a piece. That was the main cost of the table. I used Gorilla Glue and 2" nails to hold everything together. I had it done in a couple hours and I love it! You can see more details at http://www.shanty-2-chic.com/2011/06/crate-coffee-table-reveal.html !
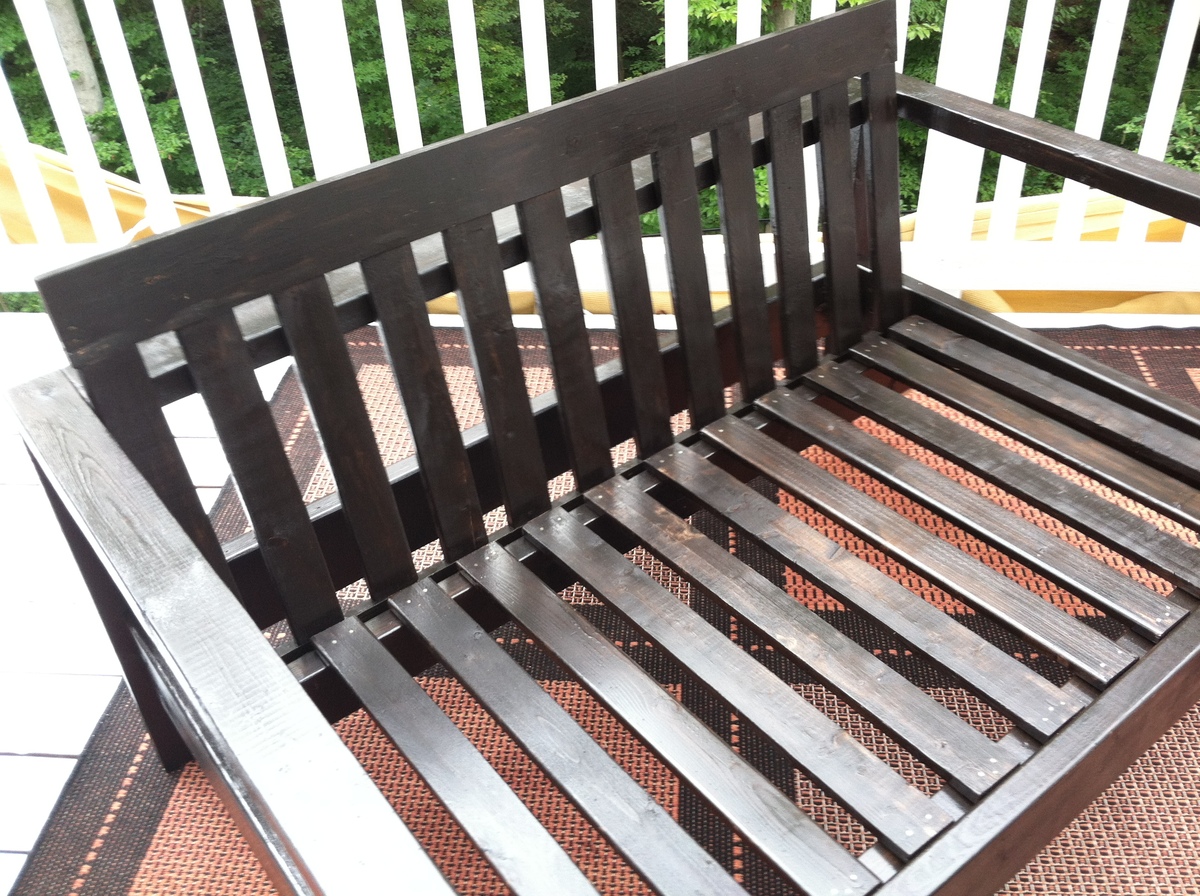
The wood for this project cost me about $50 from Lowes (and this was combined with making a 3ft square table and another love seat, so in total for all 3 was about $145).
I didn't add the trim pieces (I felt they were unnecessary and more likely to come apart or fall off), I used only 1x3 for the slats on the seat and back, and 1x4 for the seat back top rails. I used 2x3 for the legs because the 2x2 was horrible quality and I used a 2x3 for the front cleat, which I think makes it stronger.
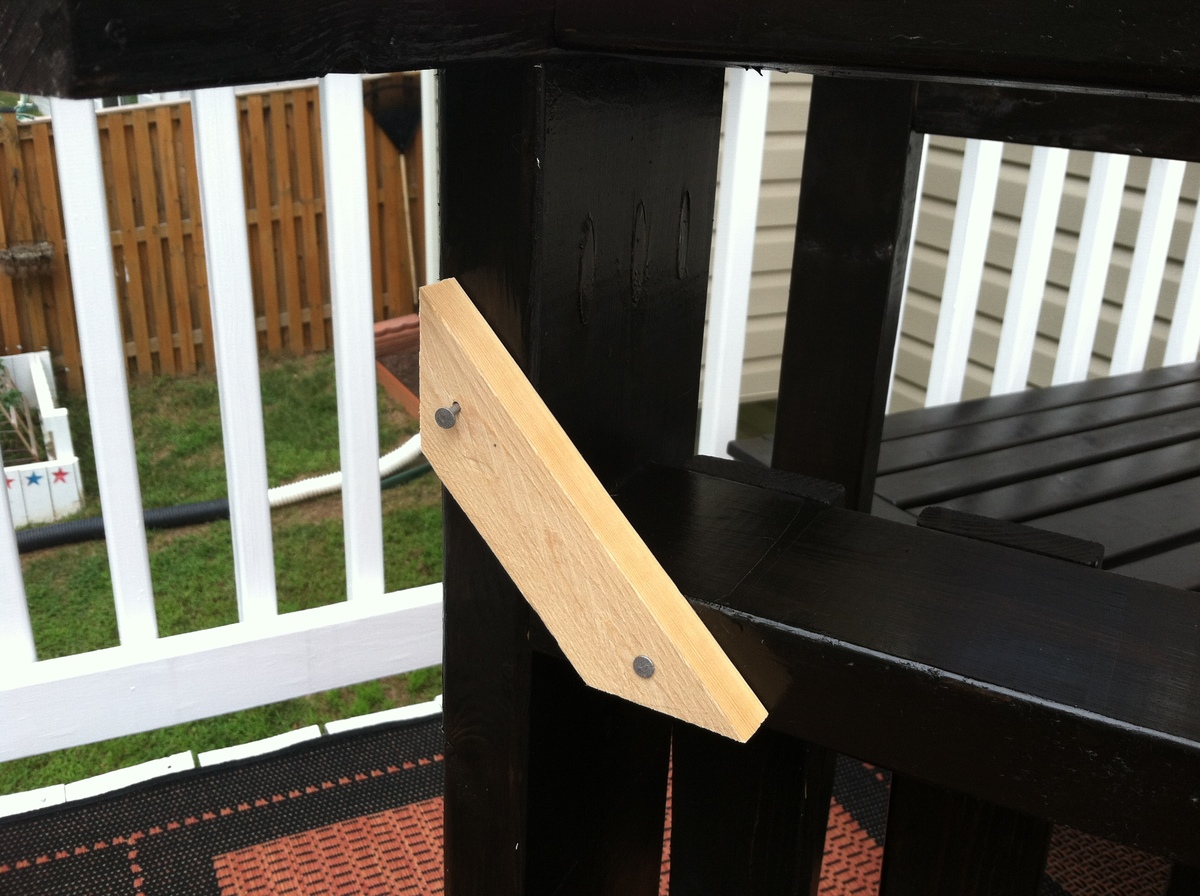
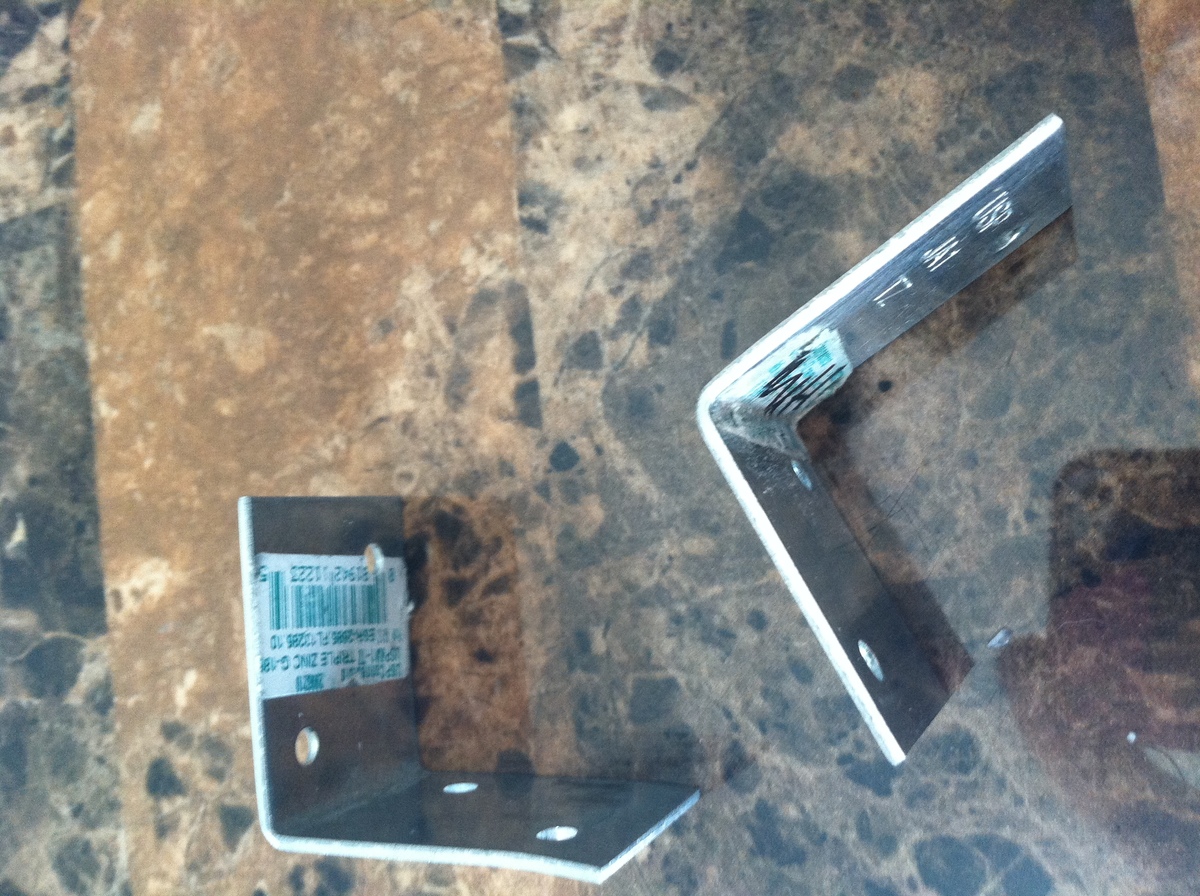
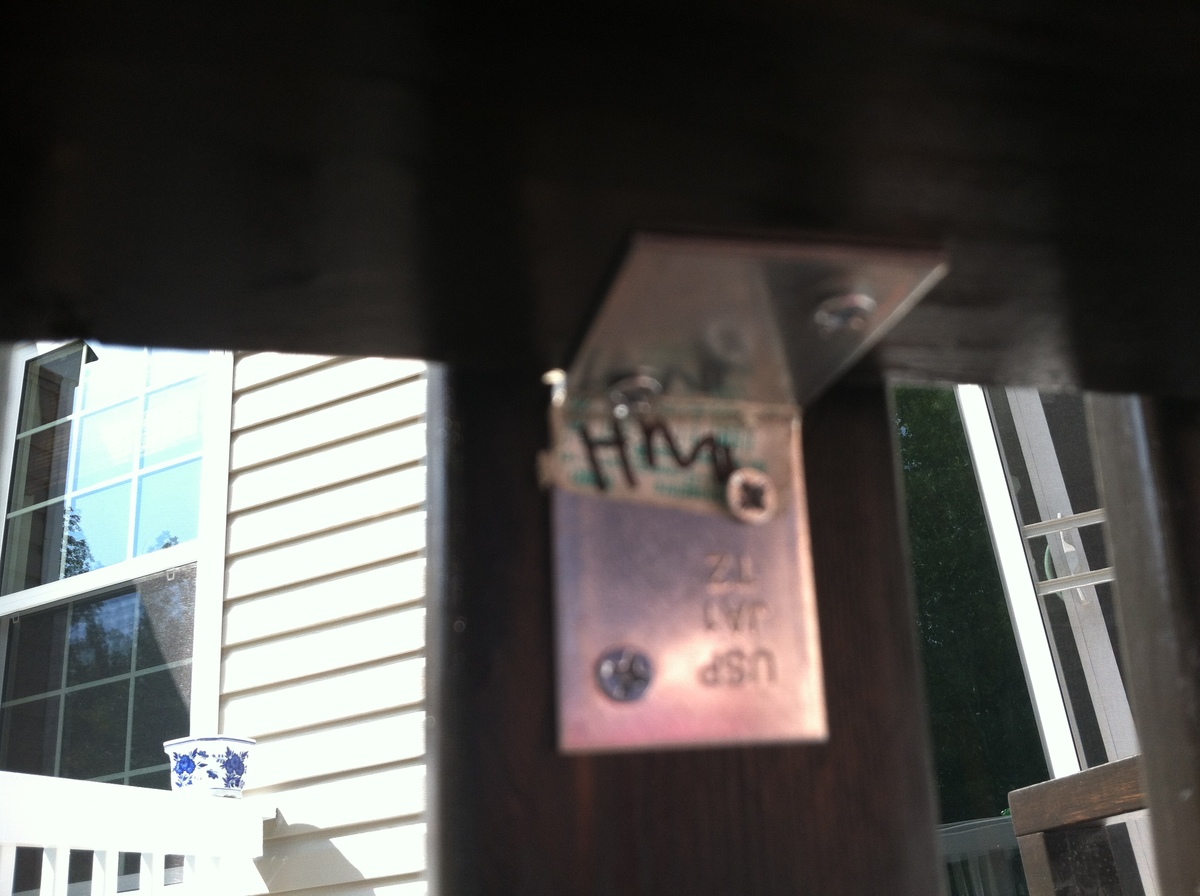
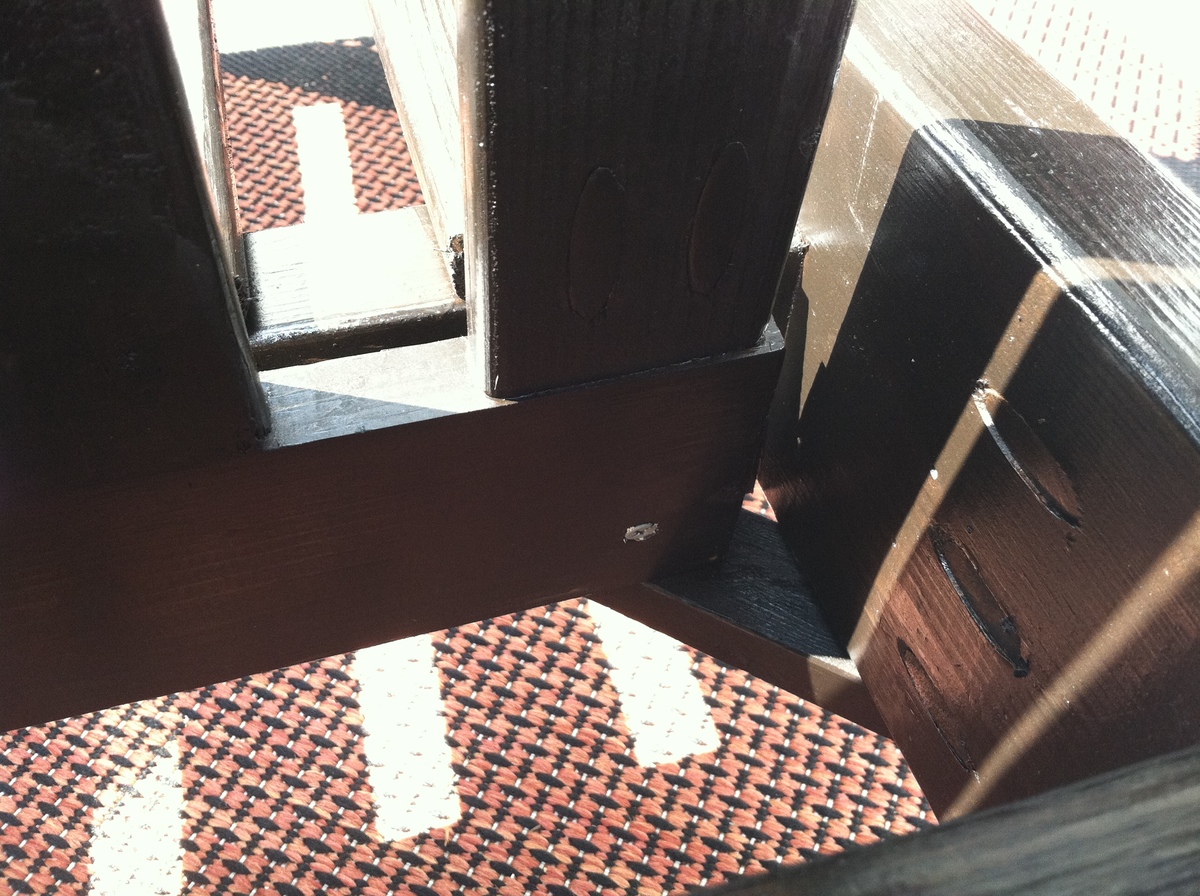
I also didn't attach the back the way the instructions say as I thought all those screws would look ugly, so I fashioned a wooden corner brace to hold the back in place, and used metal corner braces and screws (in 3 places, UNDER the back rest 2x4) to hold the seat back still and then only 2 screws to hold the bottom of the back in place. I added photos of these changes to help you see what I did.
One HUGE TIP - assemble the frame (minus the slats) and stain / paint that part, THEN stain and polyurethane the slats before attaching - it's horrible to try to stain or paint with the slats in place as there are too many tiny gaps to fill!
All in all, I think this plan of Ana's is brilliant - it's simple, rustic looking and yet looks great on my deck - I will take a photo of the 2 sofa and table as soon as the second sofa dries enough to finish assembly.
First sofa took me a little longer as I was getting used to the Kreg, second sofa has taken me about 6 hours in total so far.
One issue I do have is that I think I would use a 2x4 for the top rail of the seat back, simply because the 1x4 has a tendency to split easily.
If you make this project, you won't be sorry, it looks awesome!
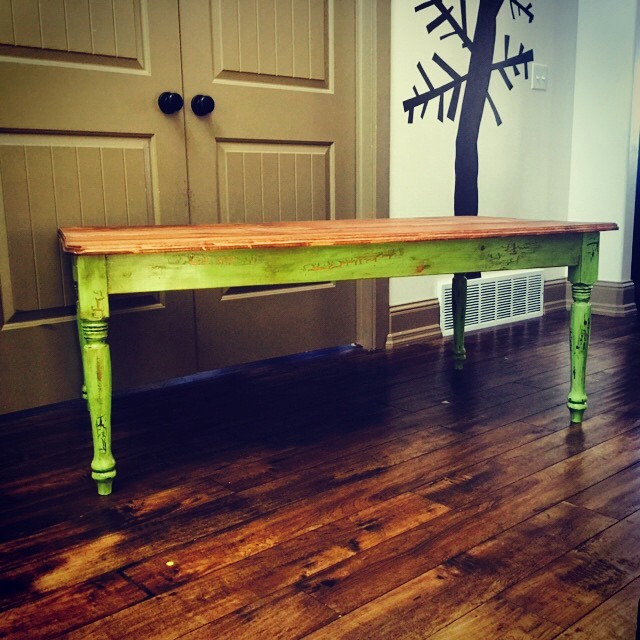
We were unable to find a table that all 5 of our kids could sit at together in our toy room, so we decided to build one. We were able to use mostly scraps of wood that we already had in our garage. I distessed the legs and table top since I knew the kids would be playing with it every day. We love the way it turned out and the kids love playing on it!
Sat, 09/12/2015 - 19:18
I love the colors you picked out. What did you use?
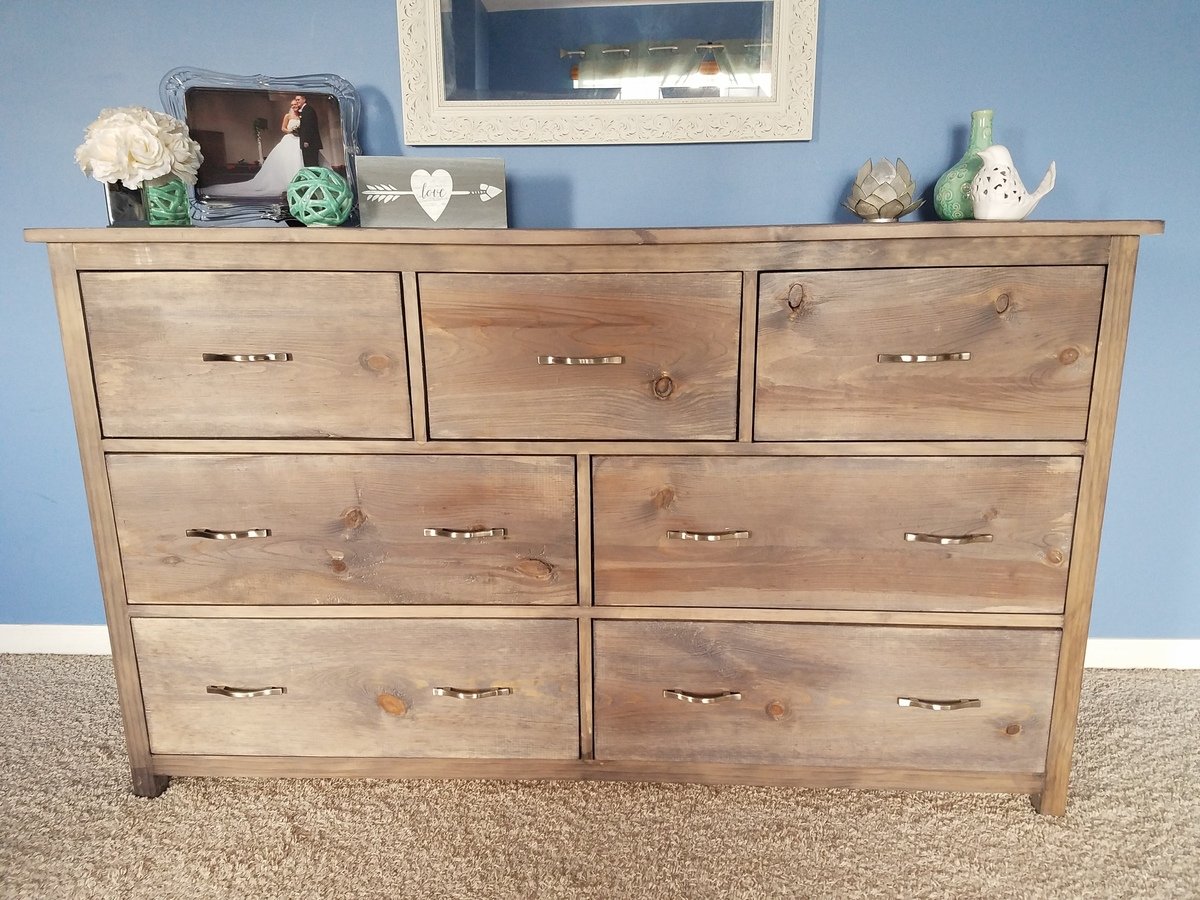
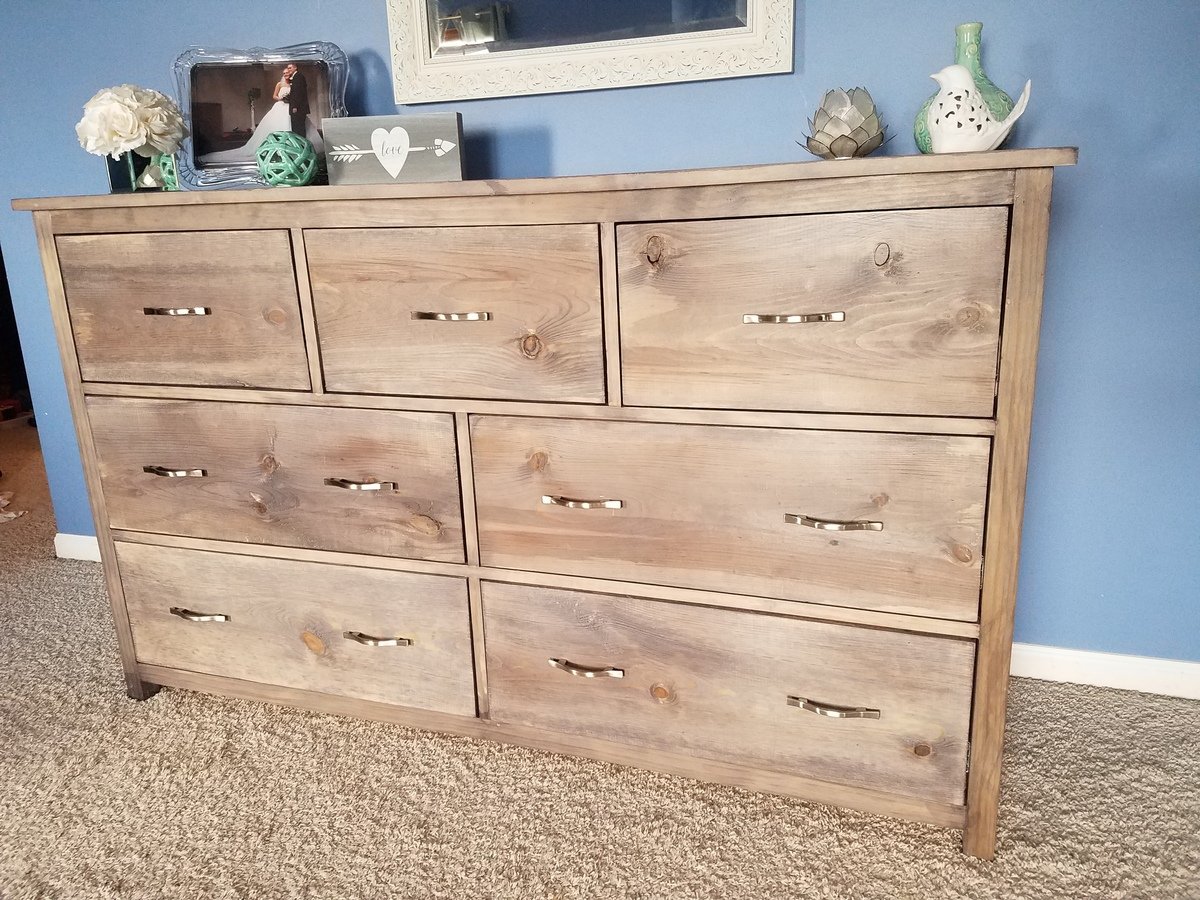
First time using drawer slides, and what a learning curve it was! The color is Varathane Weathered Wood Accelerator. This piece is huge and heavy! Absolutely love it and rebuilding other bedroom pieces to match this color. I also built a matching dresser which is taller and much more narrow. It can be found here: http://www.ana-white.com/2018/08/DIY_furniture/tall-bedroom-dresser
Mon, 03/01/2021 - 12:41
Are there plans for this dress, or the tall matching one?
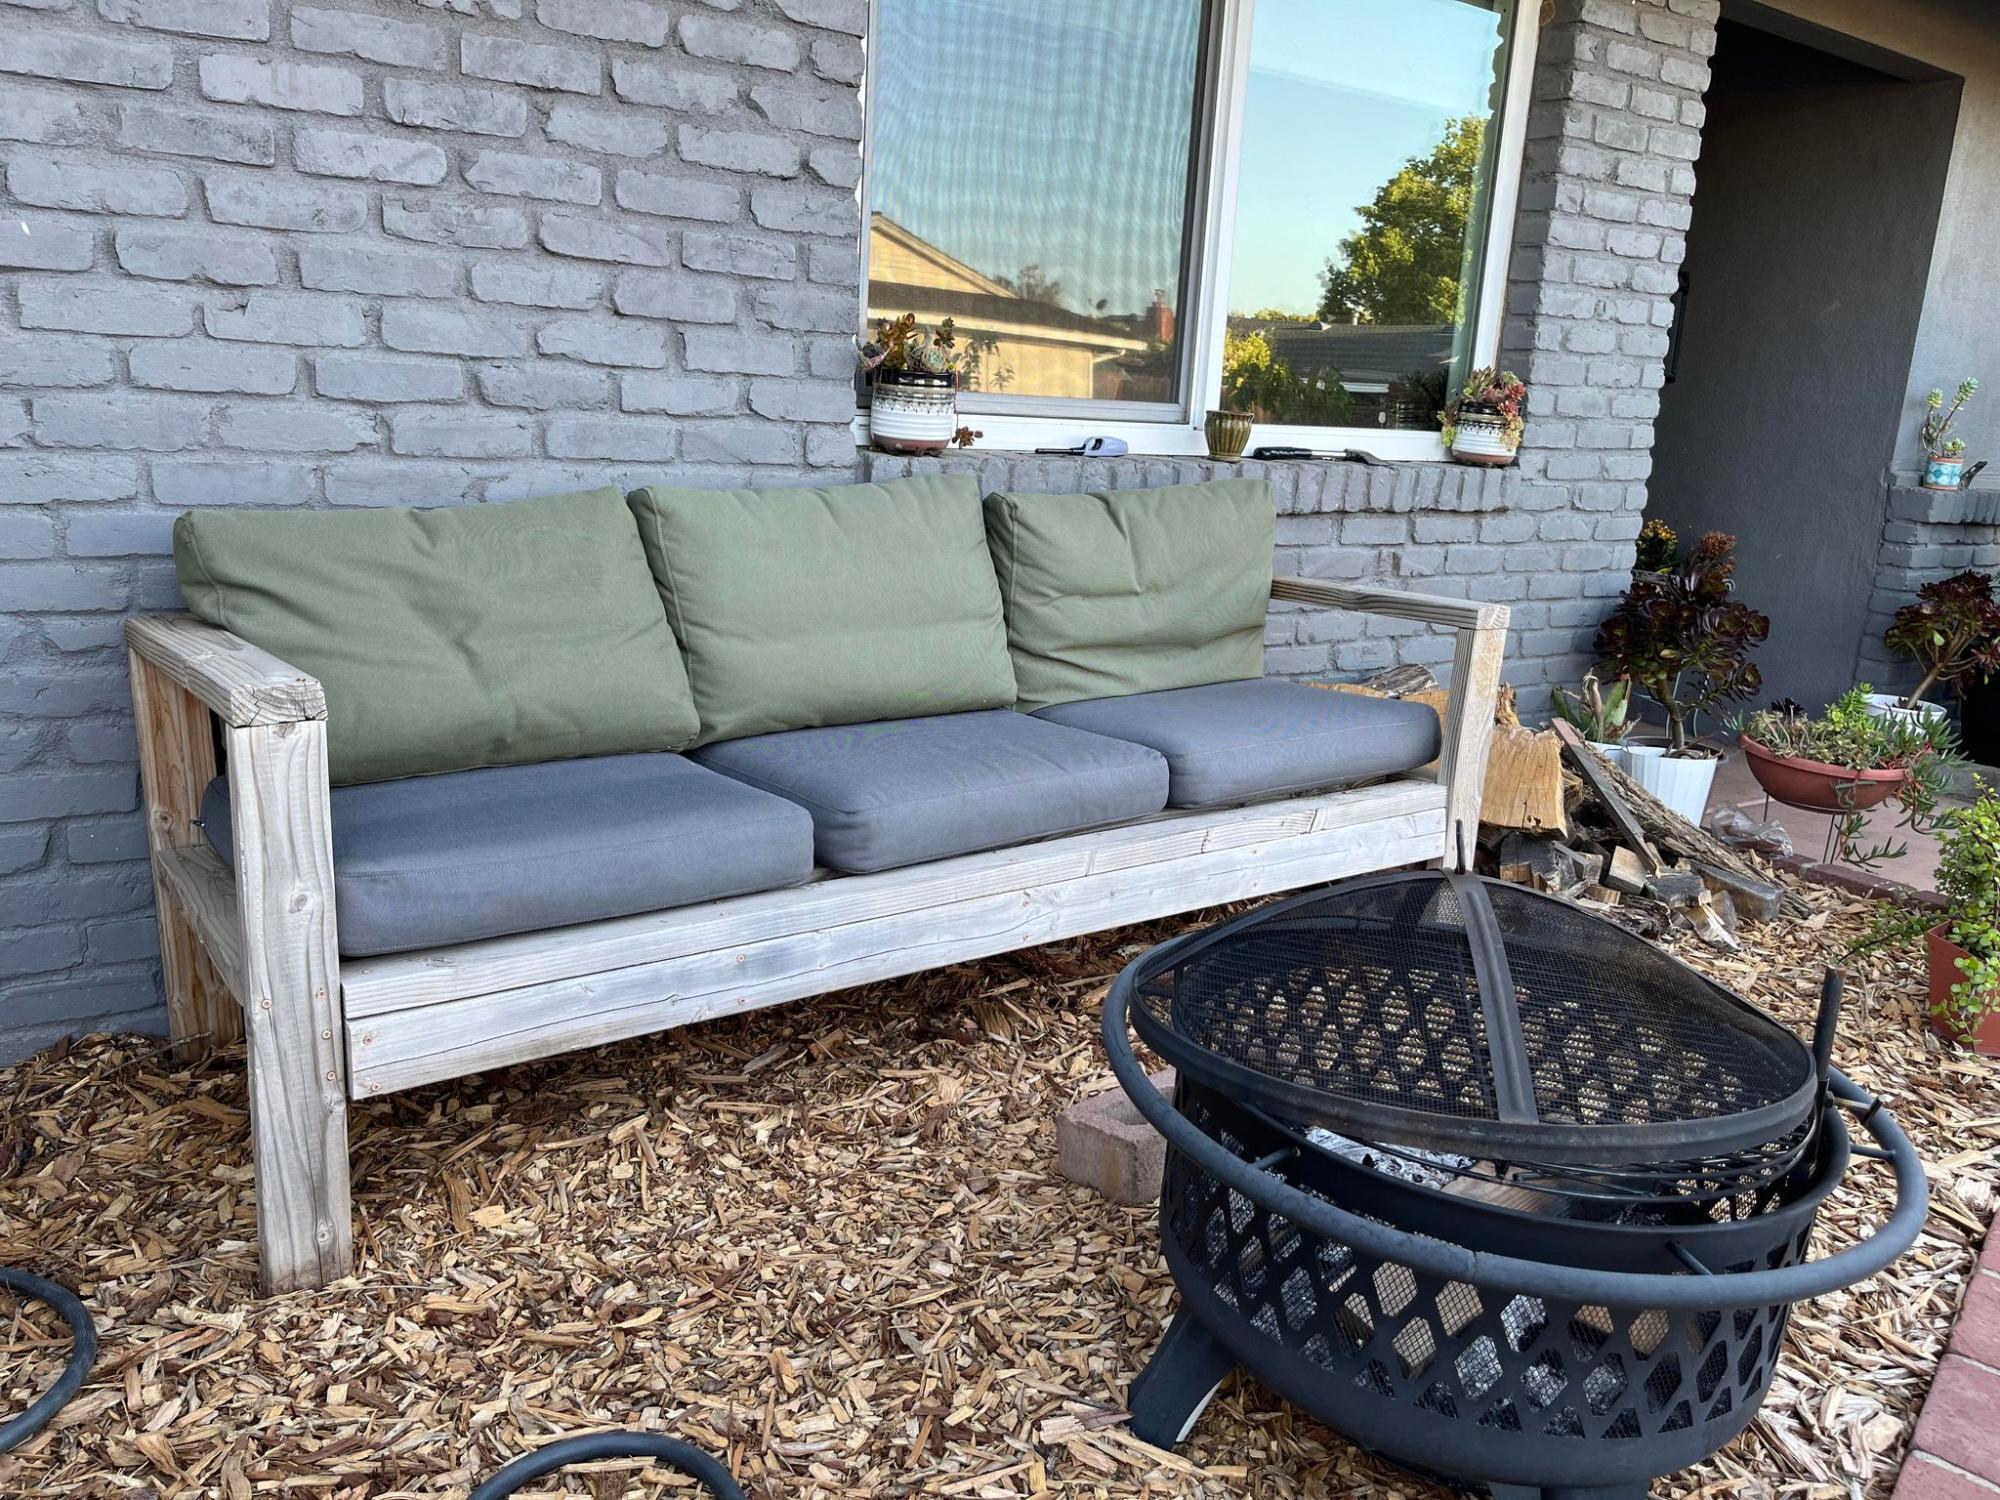
My husband loves seating on this sofa while reading his scriptures or sometimes to take a nap. I got the cushions and pillows from Ikea. I can't wait to build another one or two, possibly with my sister-in-law. Thank you for the tutorial :-)

Hanging the board and batten wall is incredibly easy and fast! It's when you decide to paint it black that complicates things!
You can check out the whole tearful/funny experience here http://isteppedoutofmycomfortzone.blogspot.com/2011/04/and-opened-can-o…
Sat, 08/06/2011 - 16:26
This looks great!!! I love your board and batten. I also love the shelf within the frame.
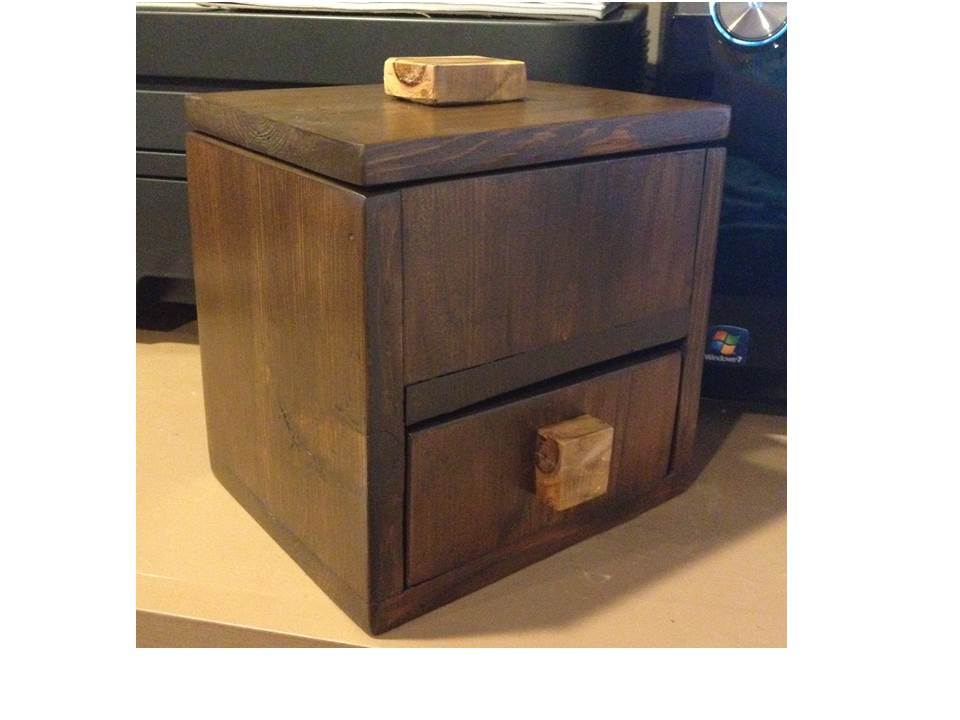
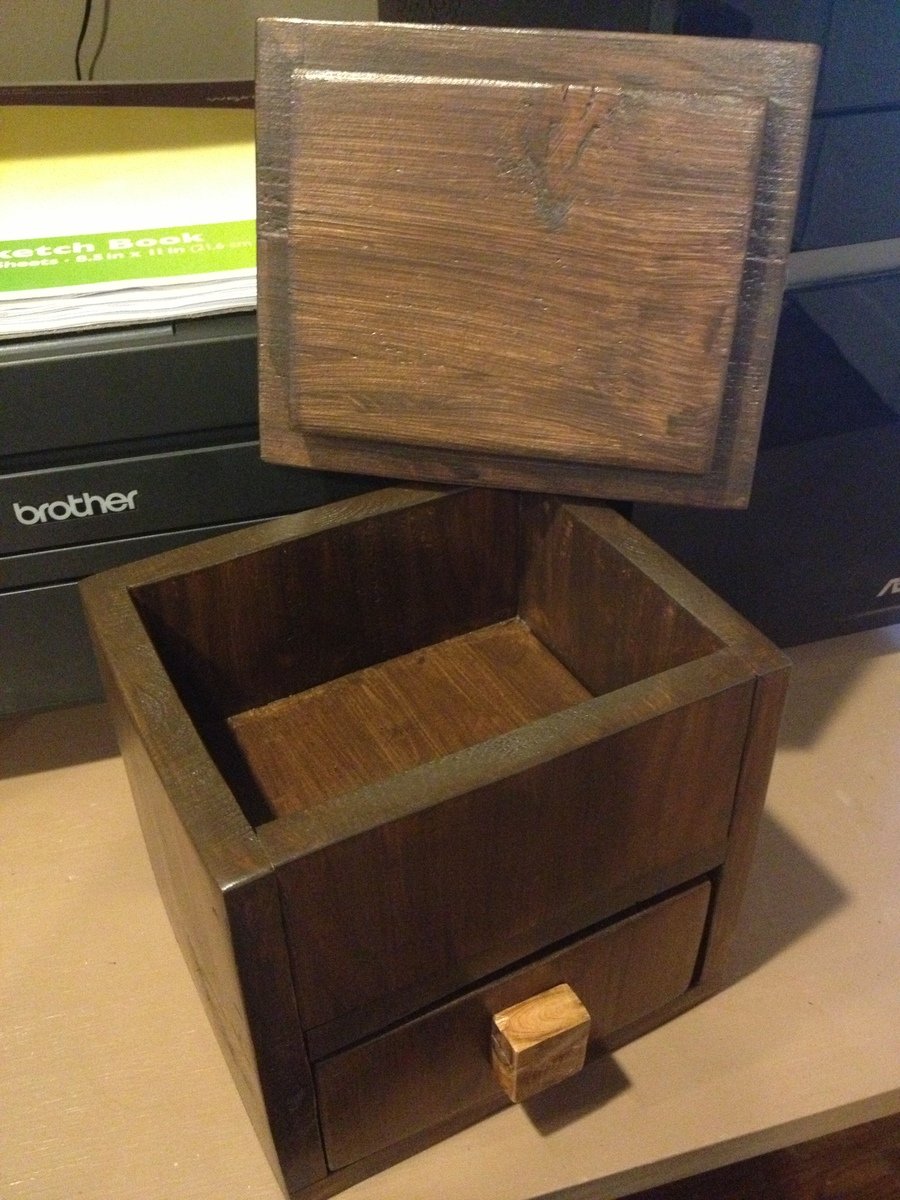
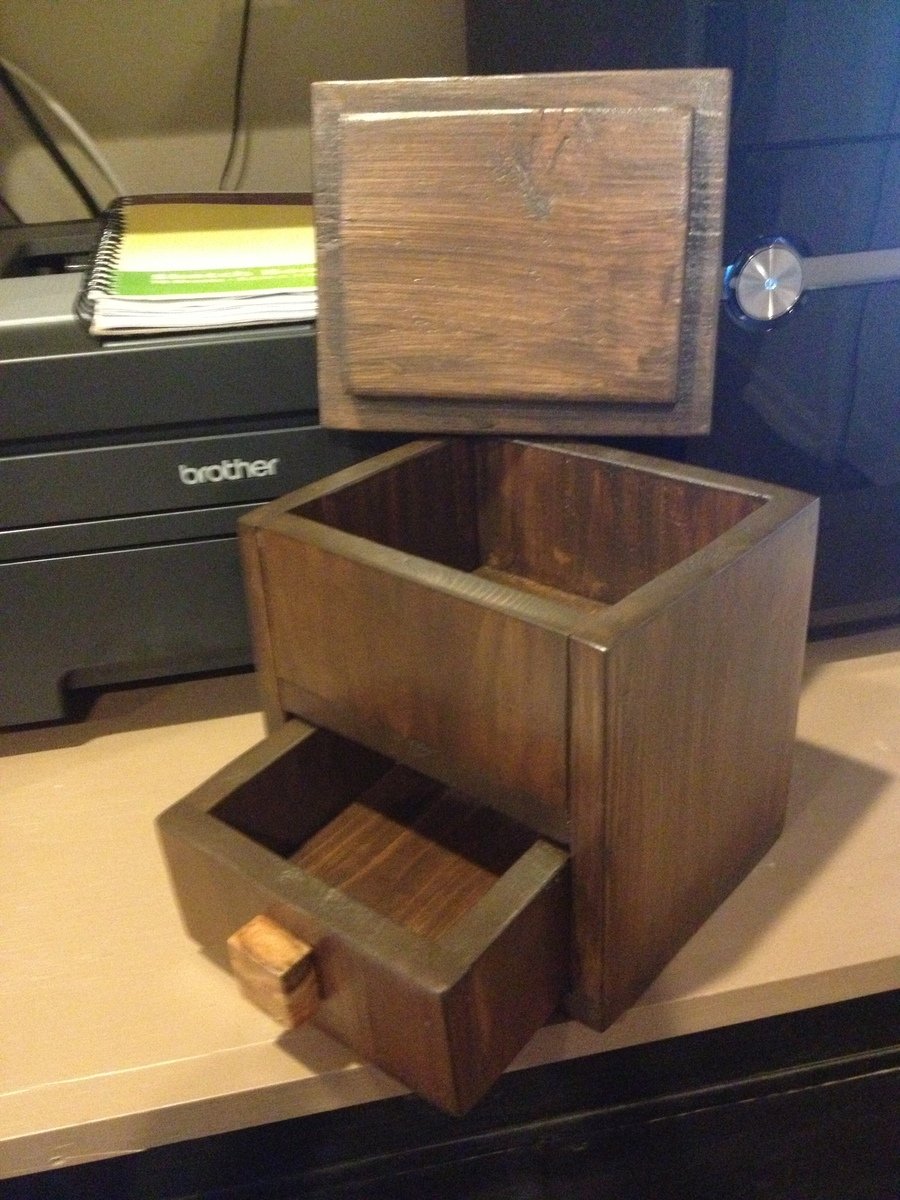
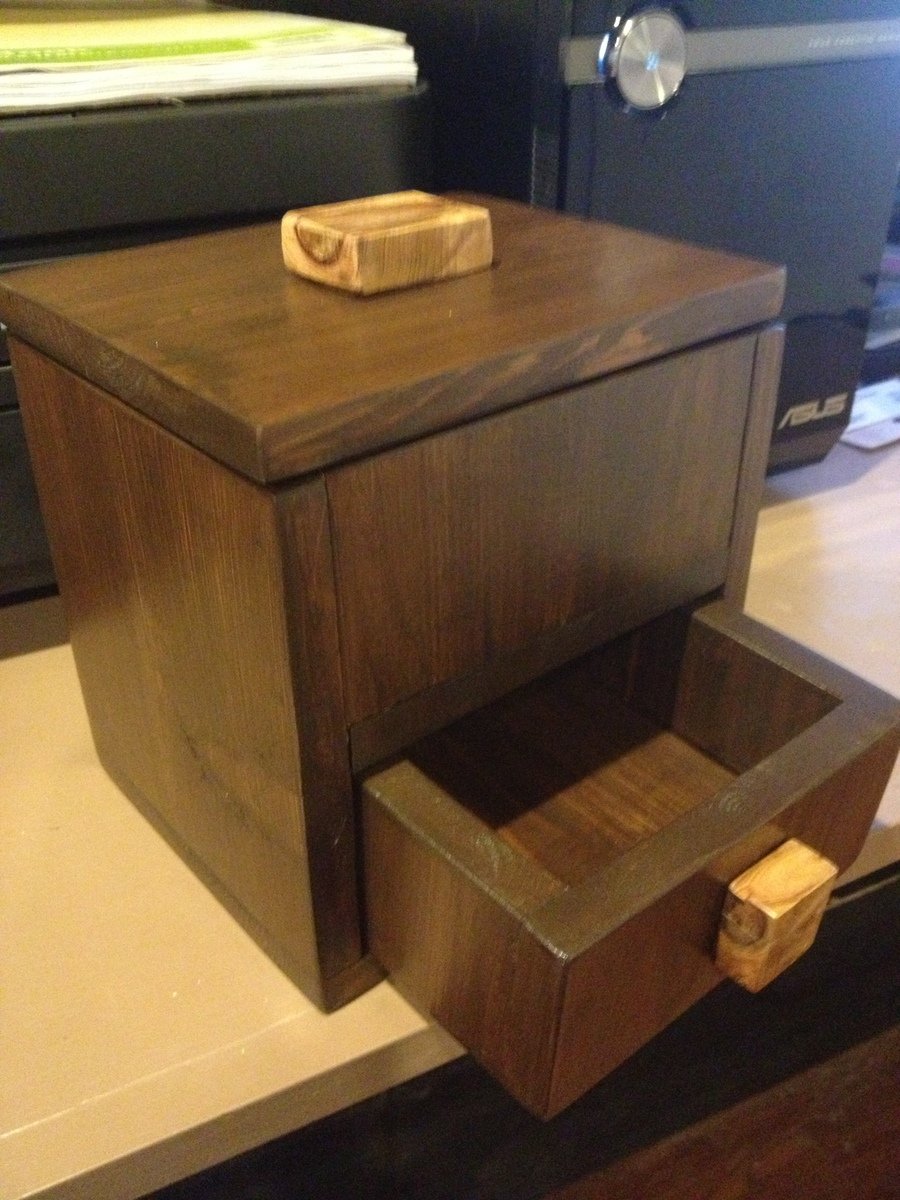
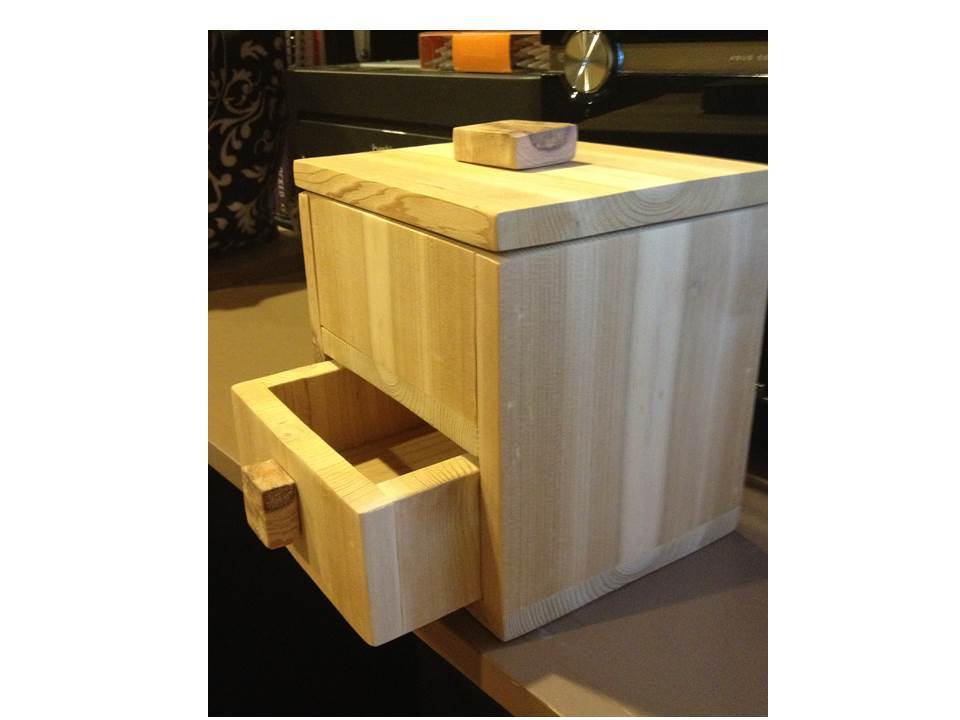
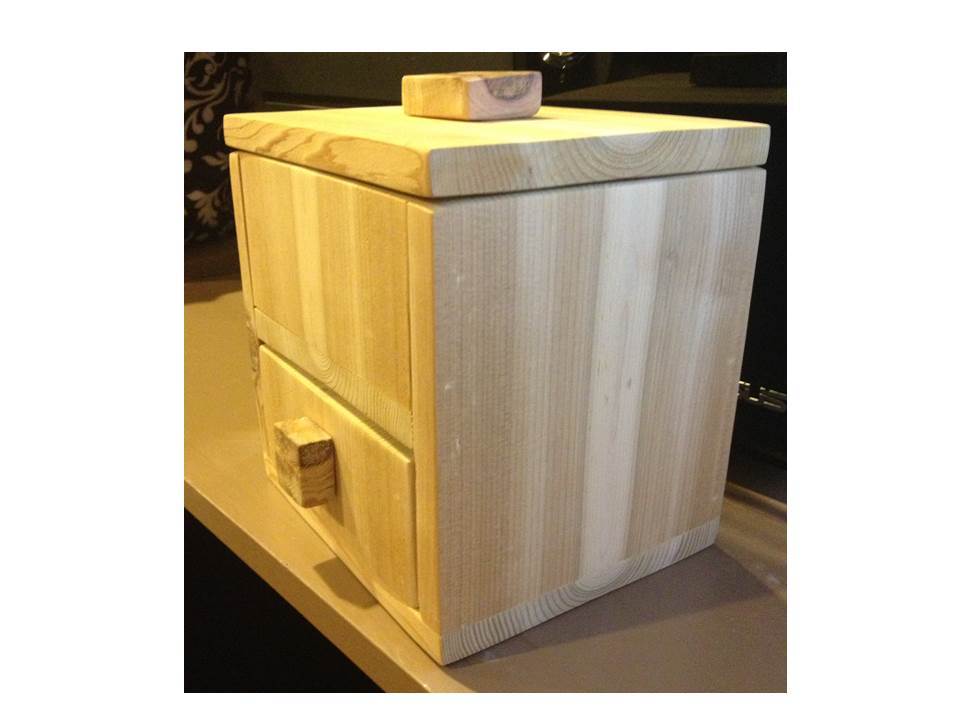
I built this as the prototype for the 1-Board Cedar Trinket Box plan. My goal had been to create something that would make a nice gift, only use 1 cedar fence picket (about $3 in wood), didn't require any special cutting or ripping, and could be made with just your miter saw and brad nailer (you could use regular nails and hammer too, but I love my nailgun!) Also highly recommend using a palm sander for this. (Love my power tools!)
As I was building I discovered the beauty of cedar, the imperfections of cedar fence boards, and the value of prototyping. I added some tweaks to the plan to identify the places where you should build the first part, then measure, then cut the next part.
This took about 2 1/2 hrs to build, which included a whole lot of sanding. I started with 80-grit, then 220 grit to get the board surfaces smooth. After the prototype was assembled and I noticed how much cupping there was in my fence board, I broke out the 60-grit and went over all the high spots to smooth them down. Next time I'll be much more careful to choose a board without much of a cup. It did give some real interesting grain patterns though, so it all worked out in the end.
For pulls I cut a couple of interesting looking knots from my cedar board and glued them on. The next one I'd like to try some strips of leather or maybe a rope knot for pulls.
Fri, 08/16/2013 - 17:44
Joanne, I am so blessed to see how creative you are every day, how you approach your builds with others in mind, and how you work with the situations you encounter and turn things into functional and beautiful pieces! =D Thank you for sharing your creativity with passion and drive!
Sat, 08/17/2013 - 05:10
Thank you so much for your kind comments! I have gained so much from the experience of participating on this site, I am hoping sharing this might be helpful to fellow readers/builders. Building, and sharing it here brings me joy, and I want to share that!
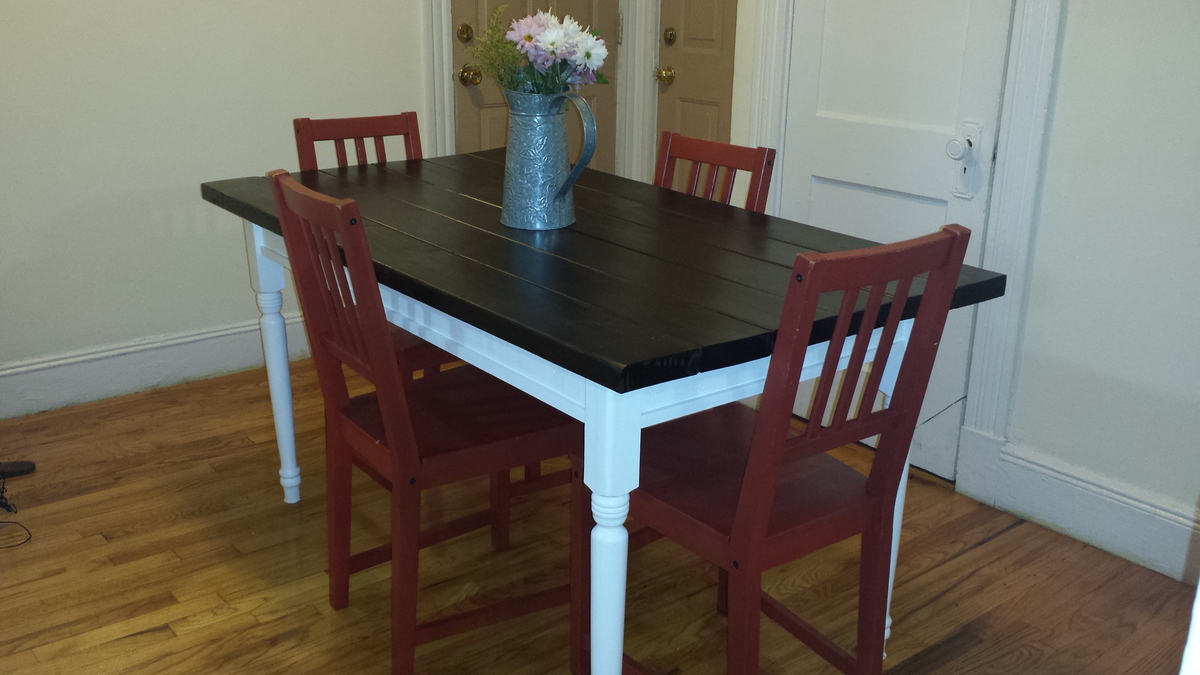
We scaled this table down to fit in a Boston apartment dining room, which also serves as an entryway. We used six 2x6's instead of seven, and cut them down to 5' instead of 6'. We also went with standard Home Depot table legs in the interest of cost. This was our first-ever Ana White project and the first furniture my dad has ever built - and it was great to be part of the process (I mostly attached the screws, sanded, stained and painted while he did all the hard work. I bought the chairs for $5 each off Craigslist and intended to sand and re-finish them to match the table, but I've received lots of compliments on the red! I absolutely love this table and eat at it daily.
Sun, 10/11/2015 - 14:26
Great first project and what a deal on the chairs! Looks fabulous!
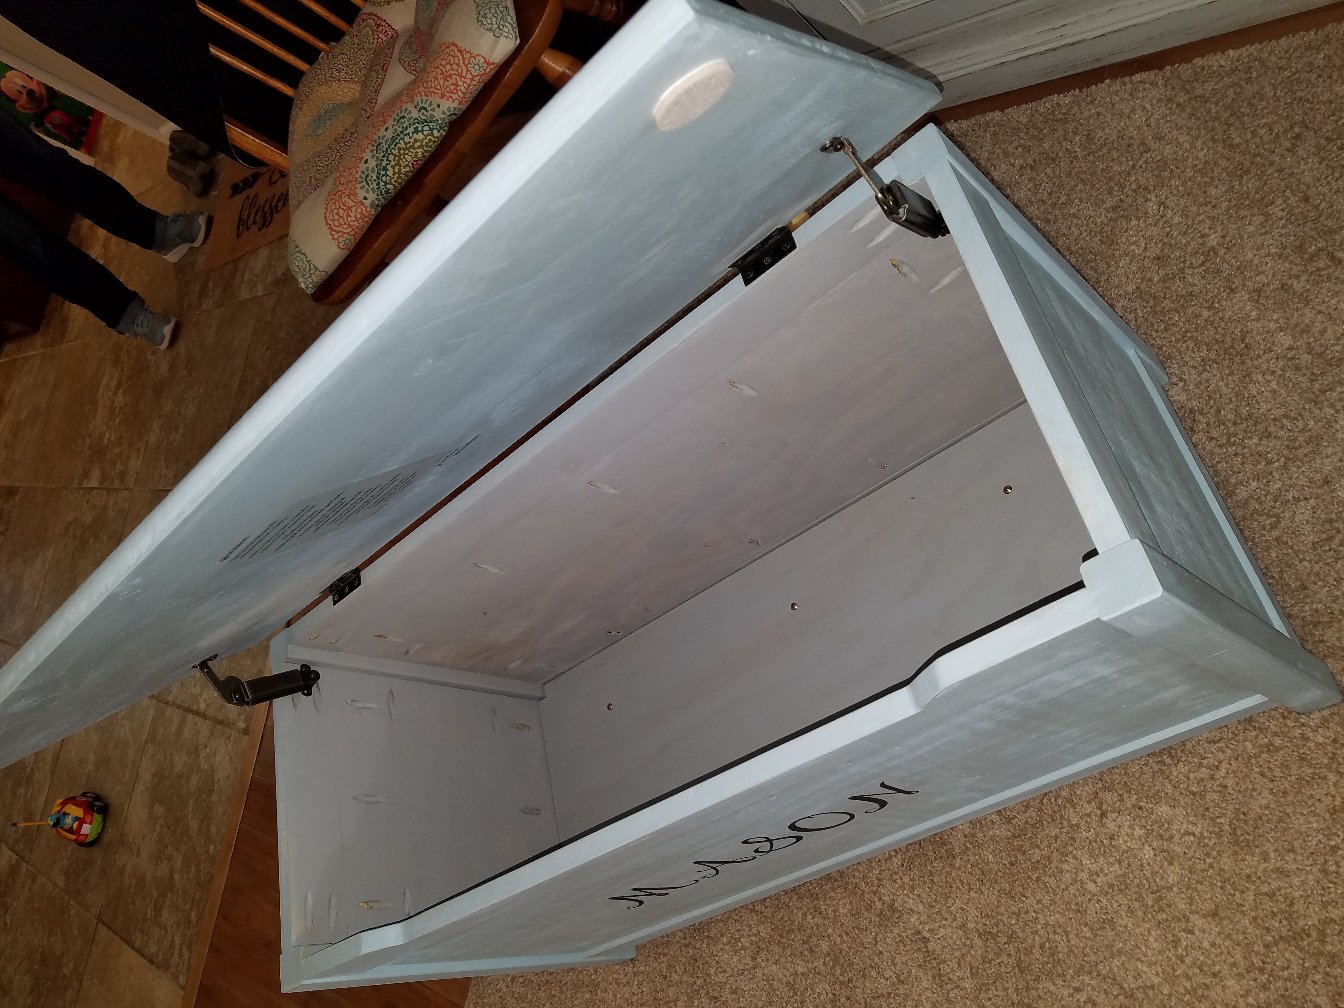
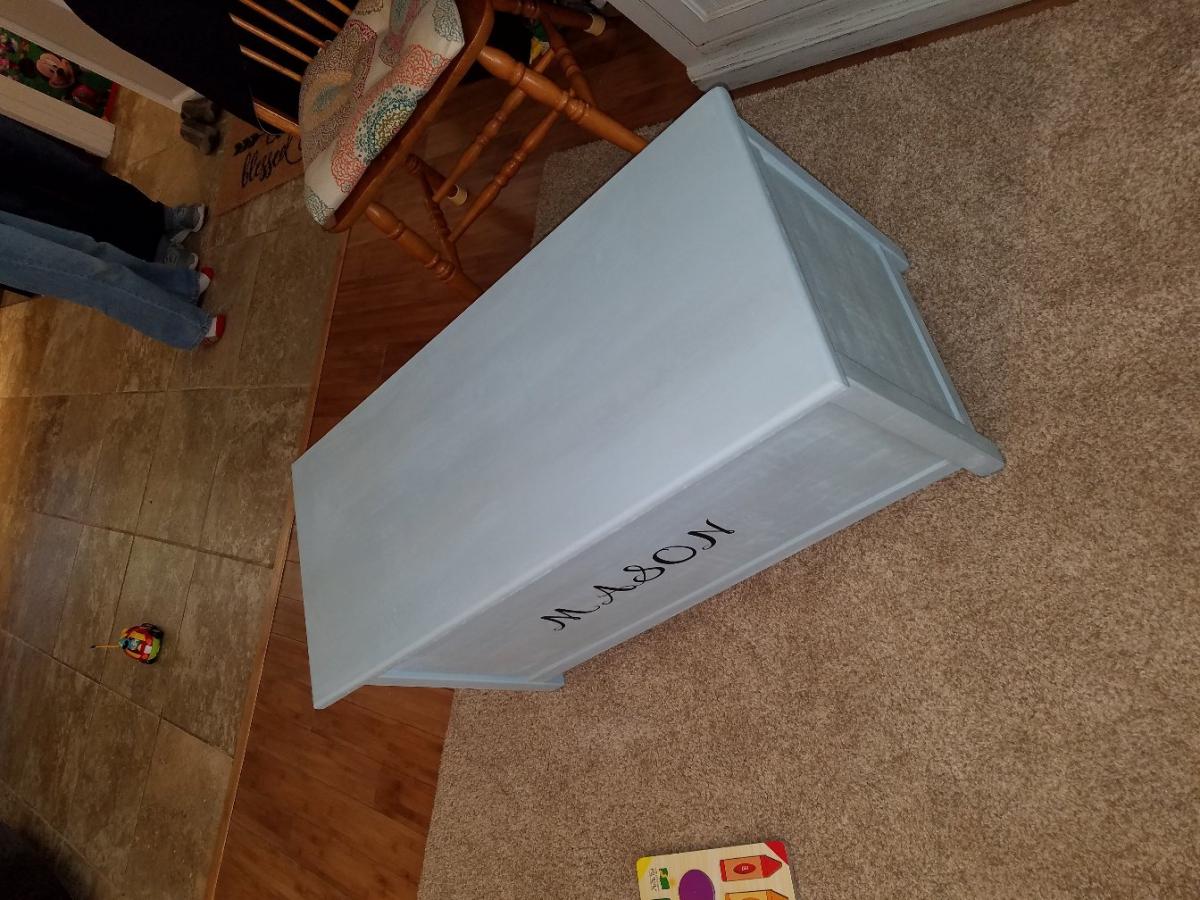
Loved these plans. I made this with your plans for our grandson.
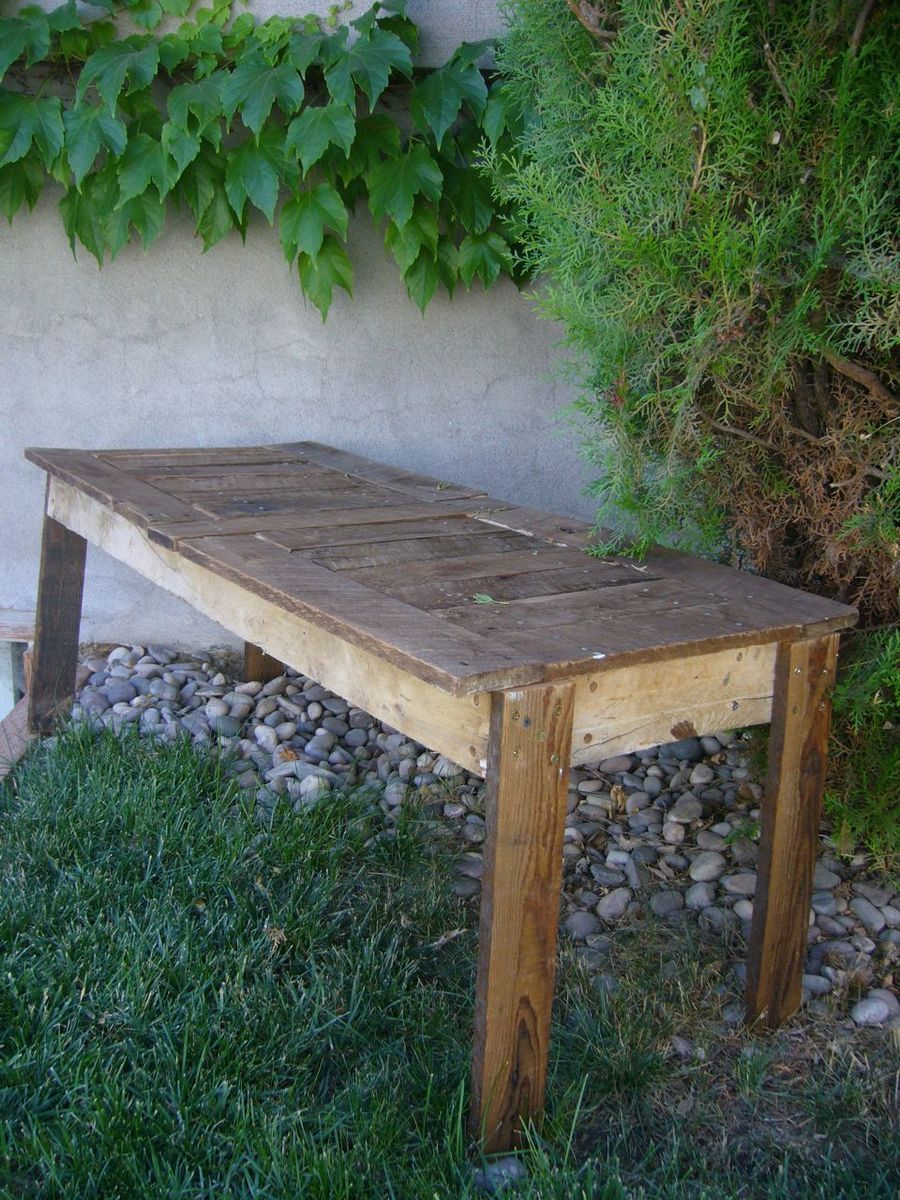
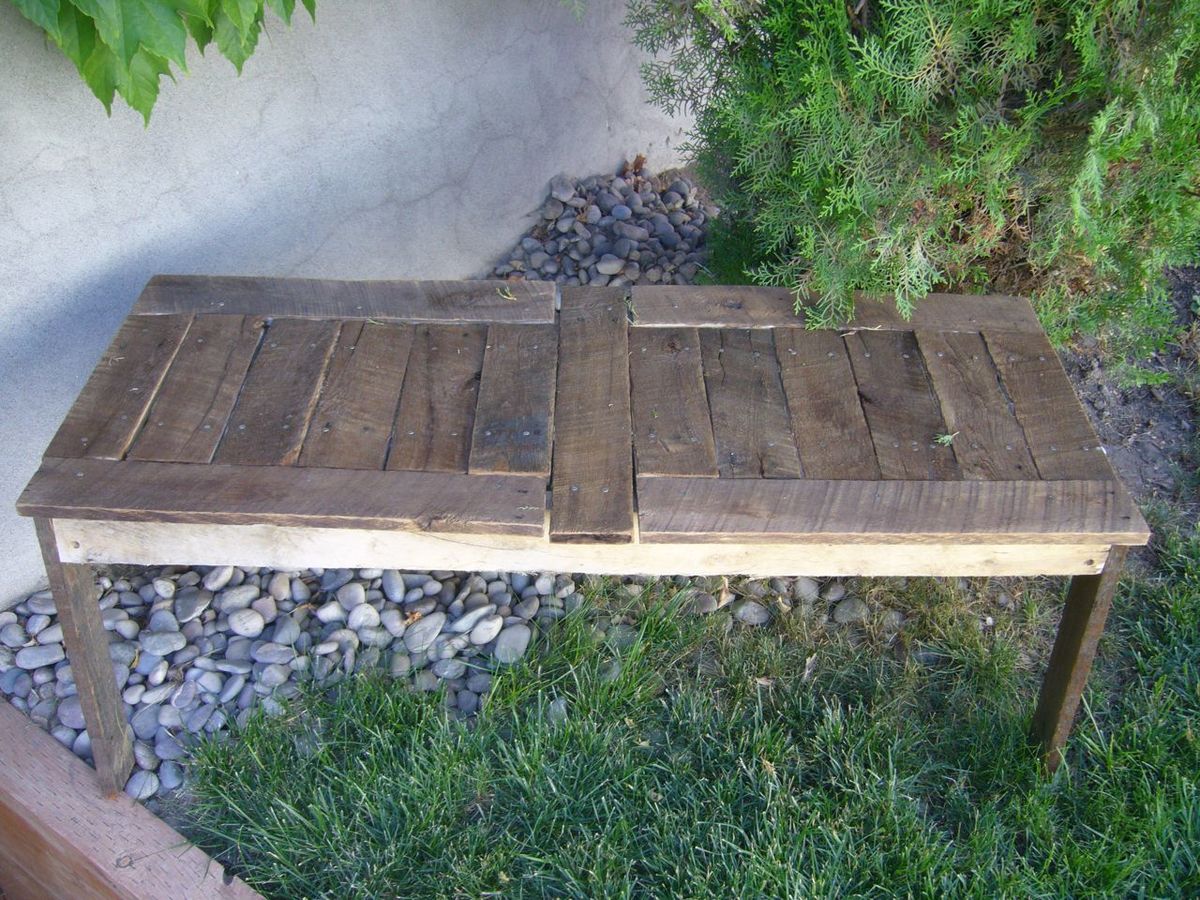
The side of our house needed some character, and this pallet wood bench was the perfect solution. Very rustic, very worn, very out of square and poorly measured, yet cute, sturdy, rich and perfect. The weathered rough sawn oak pallet that we made this out of was so heavy it took two to carry out of the weeds it was found in. The bench probably weighs 100 pounds. The hardest part? Getting the 100 year old pallet apart. Bring all your muscles (or a saws all!). Perfect for decoration and if need be a quiet spot to sit and think.
Comments
[email protected] (not verified)
Wed, 09/14/2011 - 14:39
Cute
Your bed looks amazing!! Did you make the footboard taller?
I want to make this for my niece :)
Chernandez
Wed, 12/28/2016 - 15:12
Great weekend project
This was an easy two day project that turned out great. My daughter loves it. I made the foot board taller to keep the mattress from sliding off. Thank you for the plans.