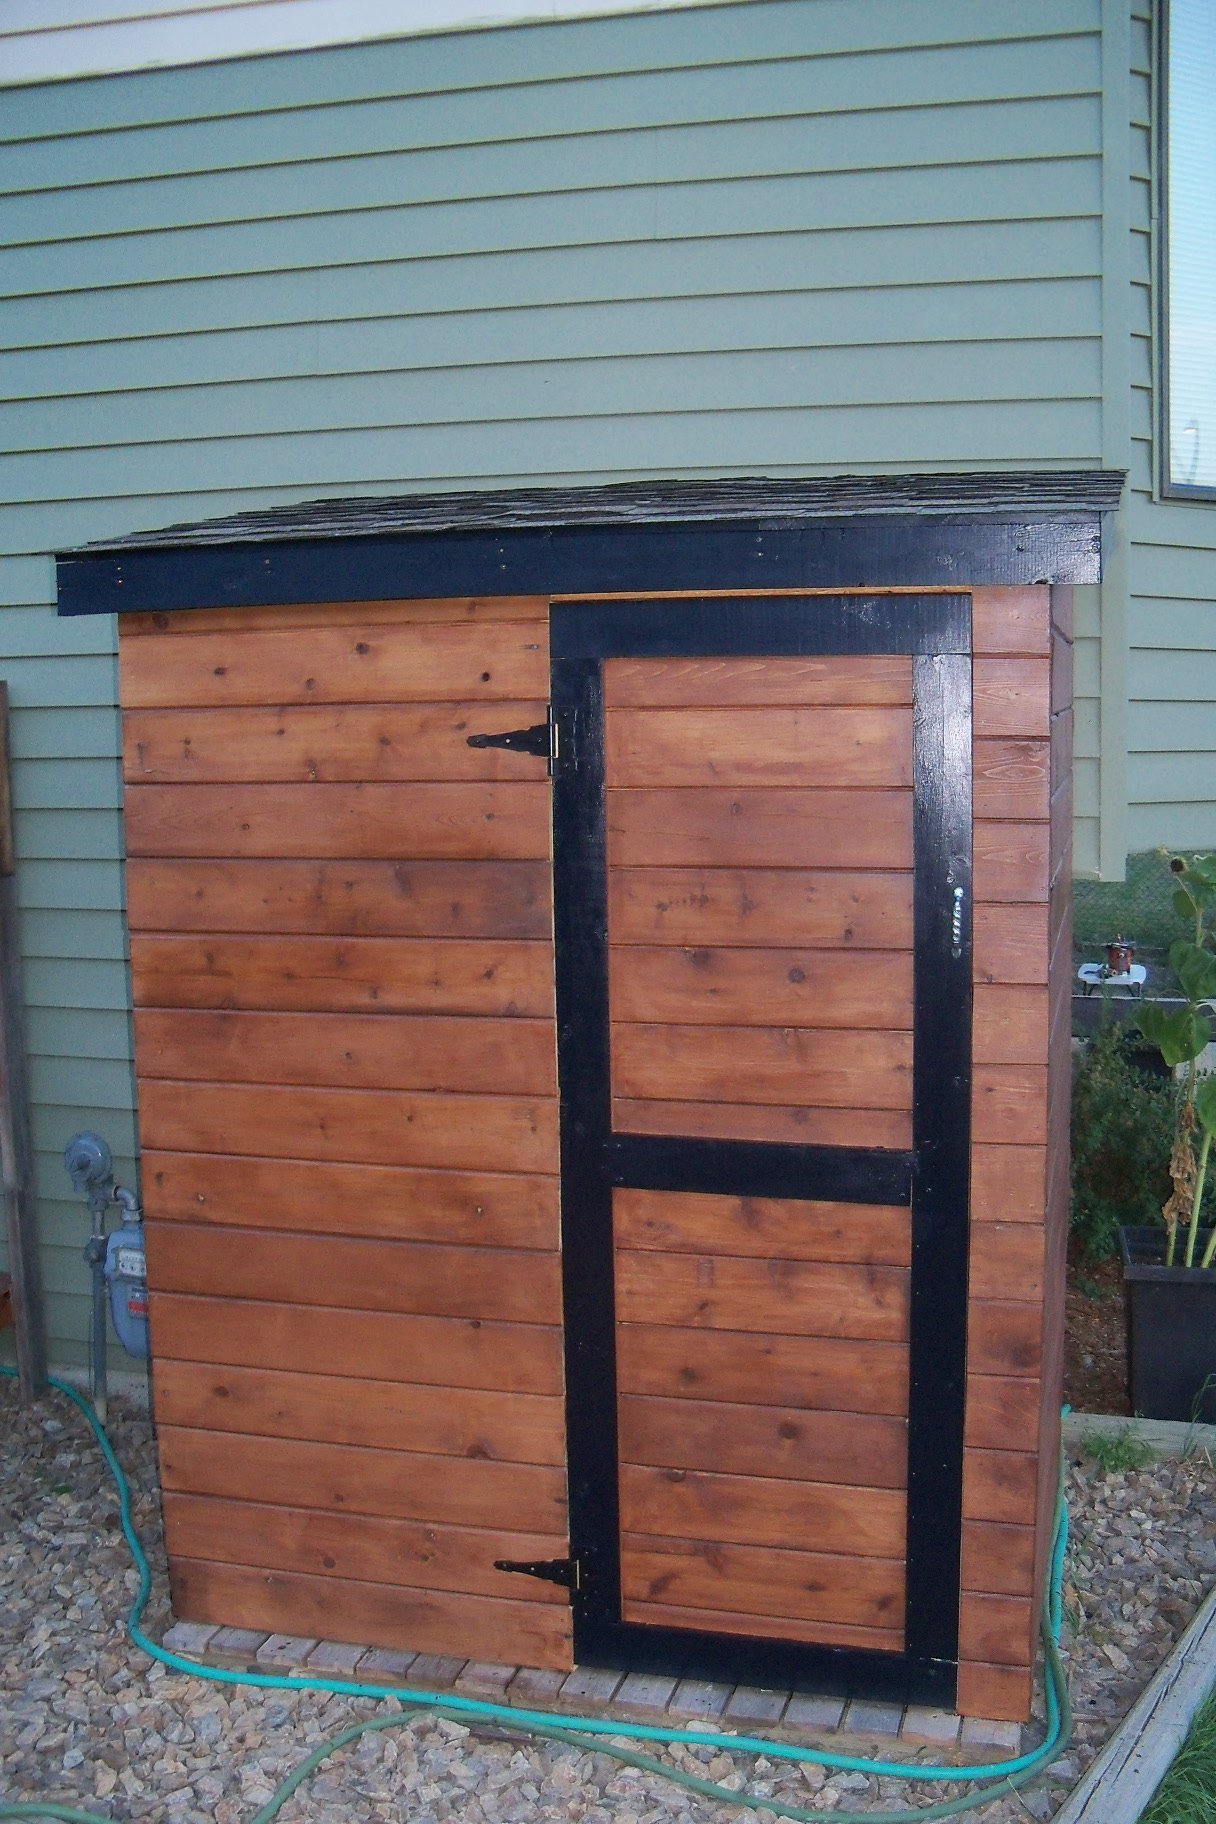
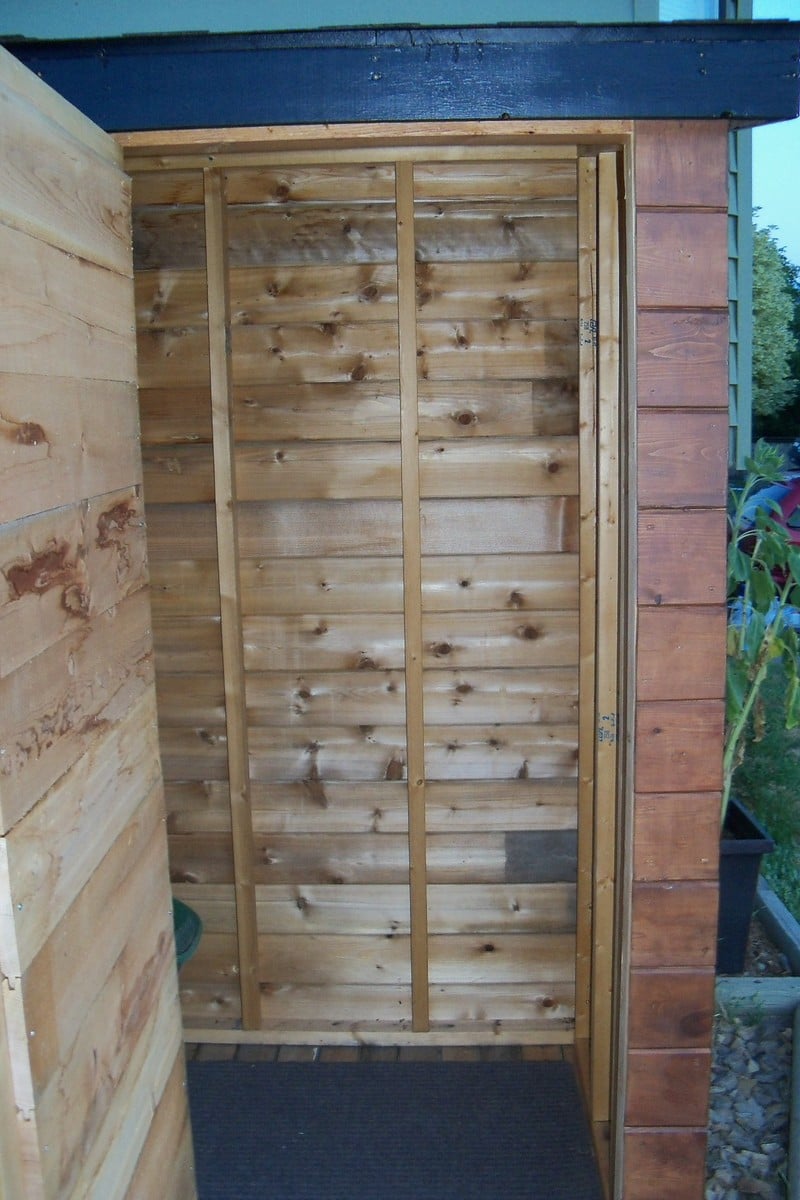
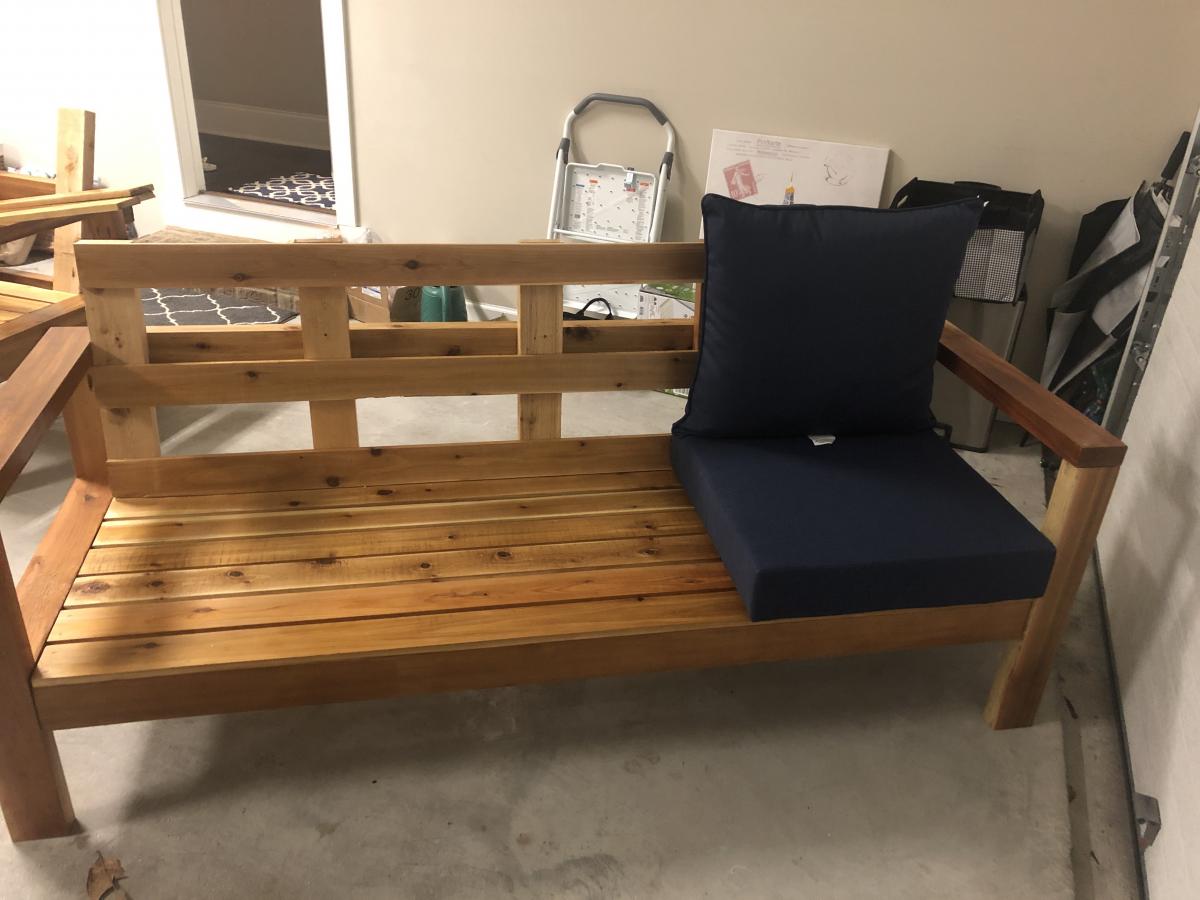
chicken coop
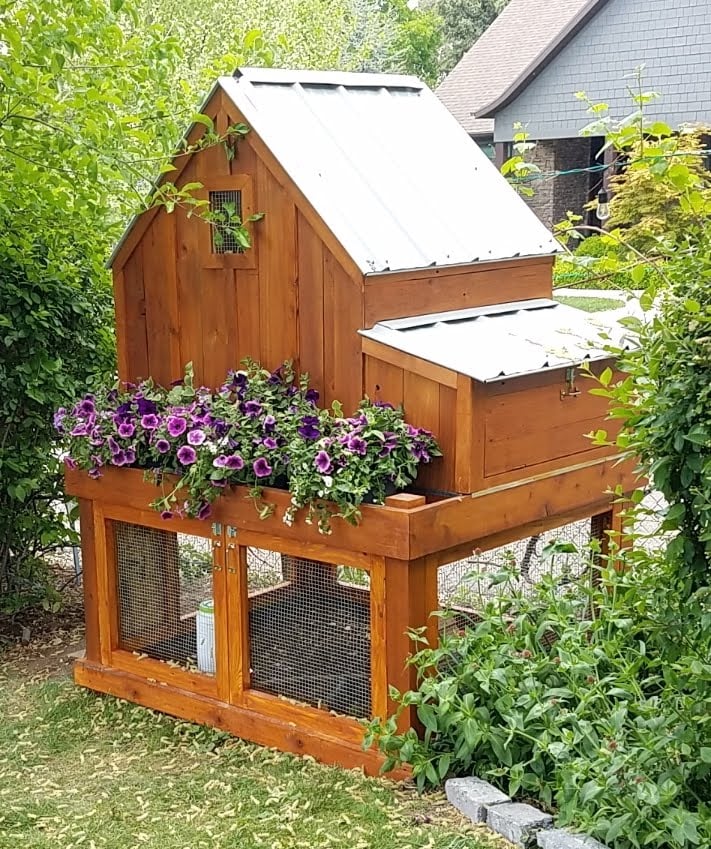
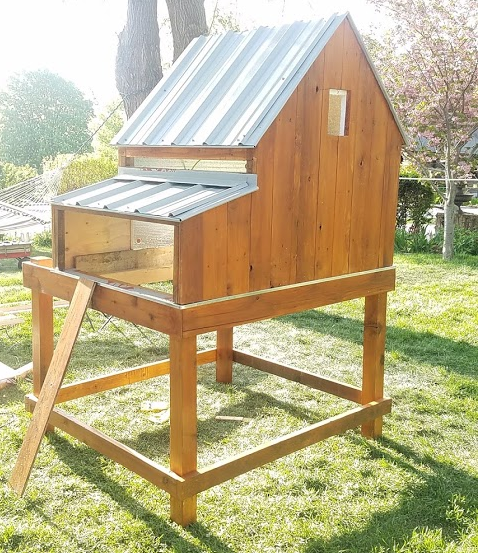
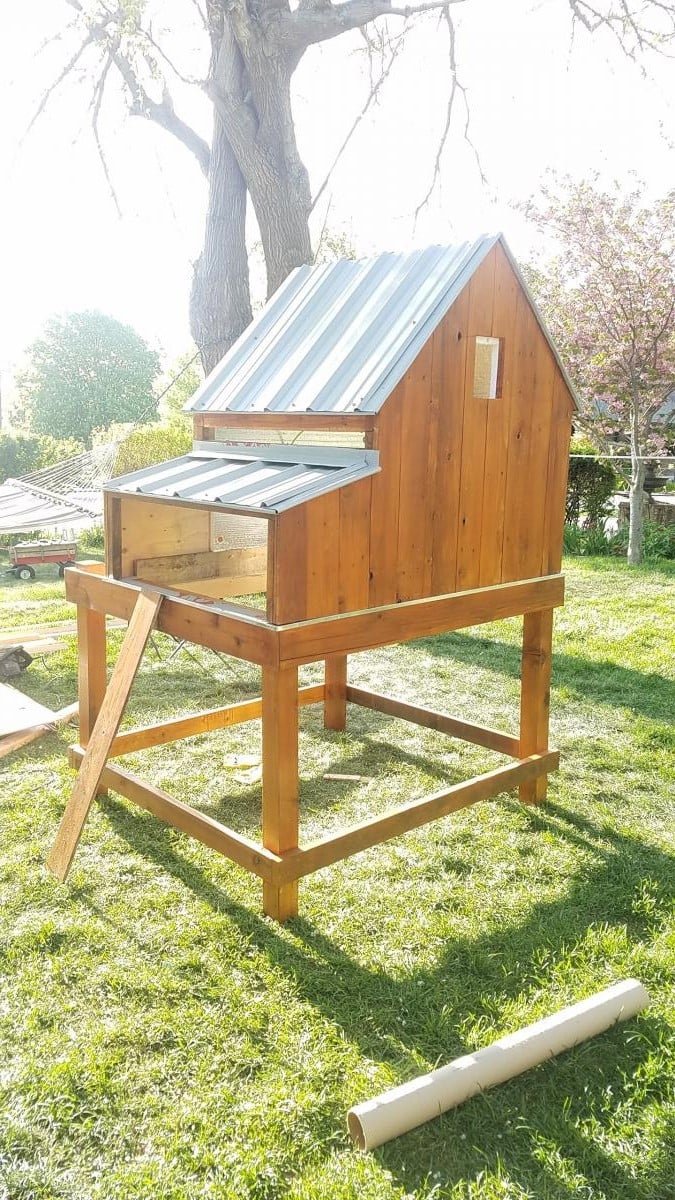
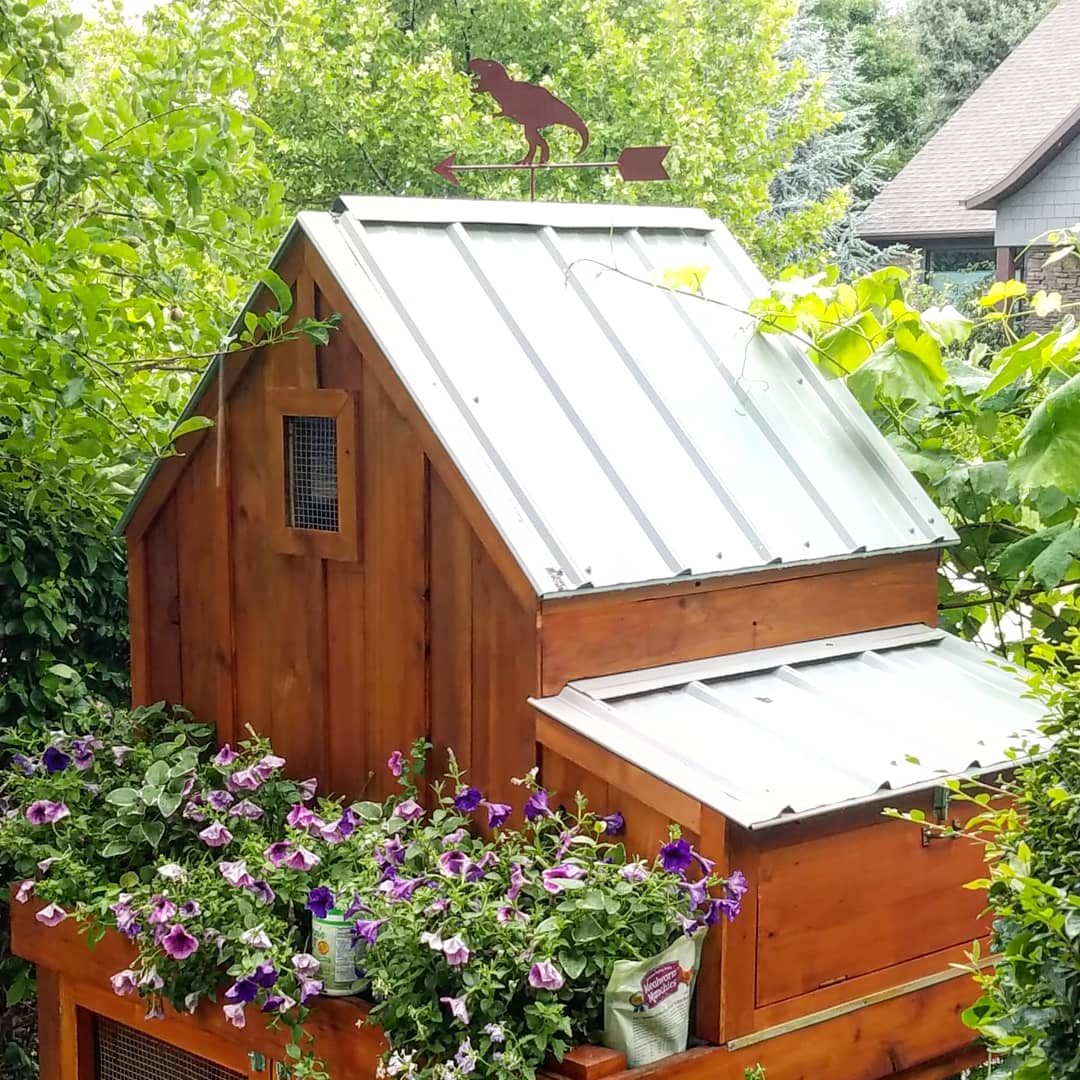
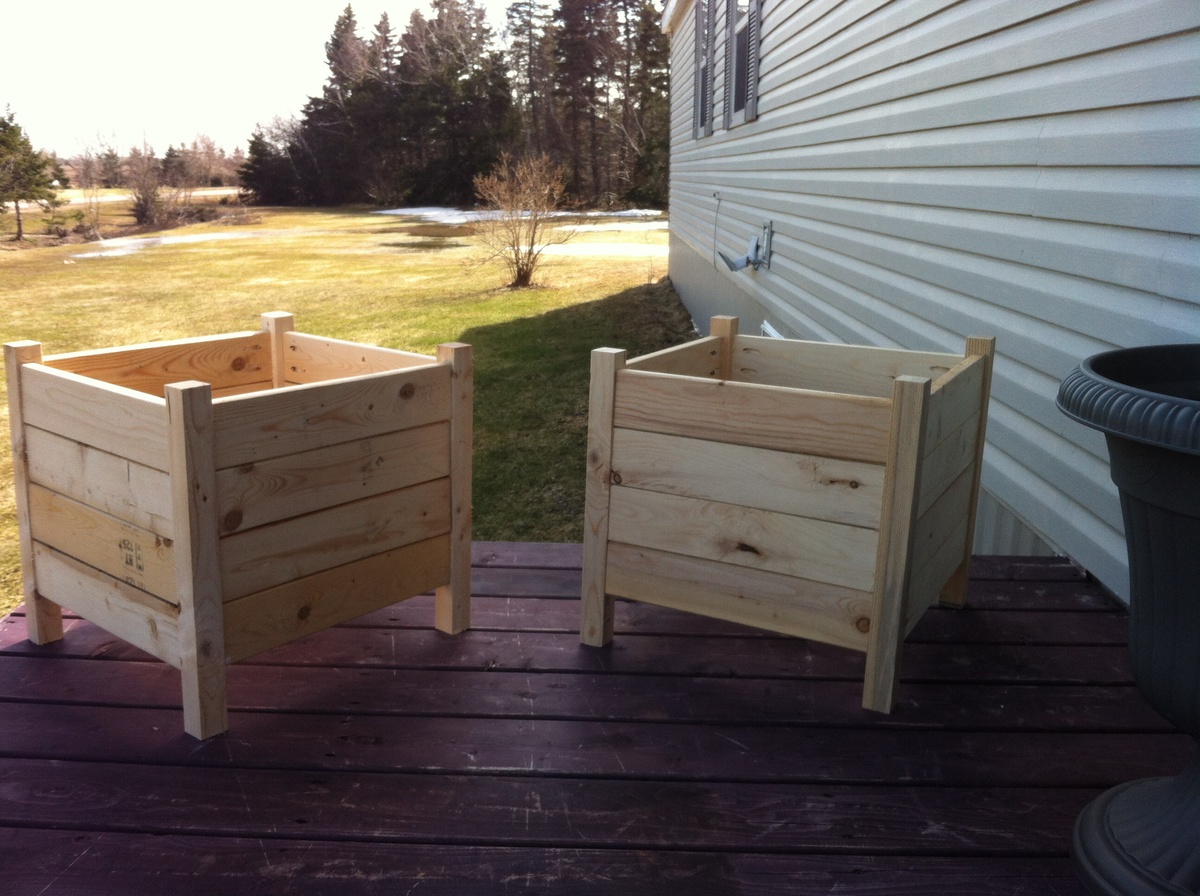
Modified to make the coop bigger and the planter smaller. Added 1" foam insulation on the inside and changed the design to use the "deep litter" method. This means the coop bottom goes all the way to the bottom of the support beam rather than using a removable tray. Added a steel roof with a ridge vent at the top. The chicken run under the coop is lined with buried hardware cloth so no animals can dig under the coop. All hinges are mortised and doors flush mounted. The coop is wired for power for a heat lamp. The planter is lined with a metal tray. The coop can be separated into two pieces so you can move it or rotate the top 180 deg if needed (so you can get to the eggs from the left or right side). Great plans, thanks Ana!

Built from Plan(s)
Estimated Time Investment
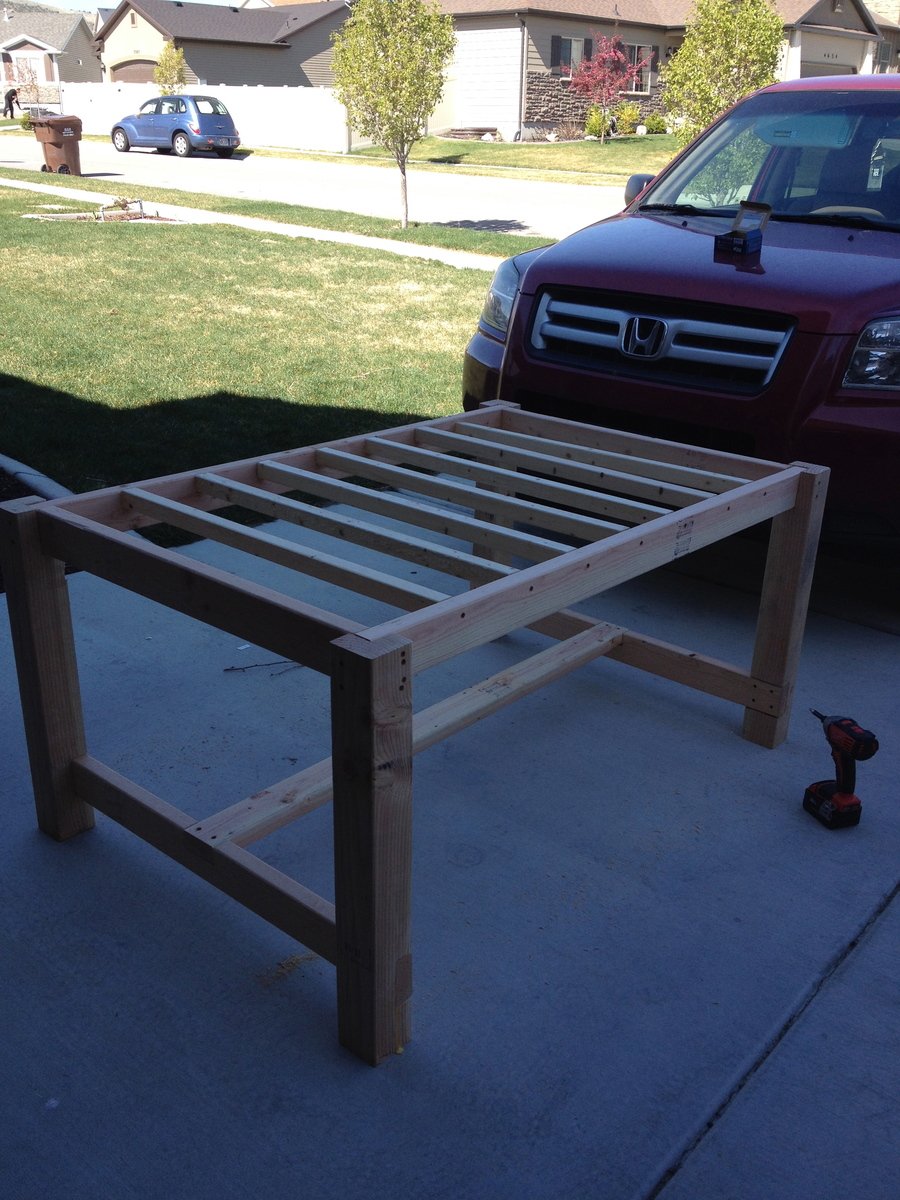
Week Long Project (20 Hours or More)
Finish Used
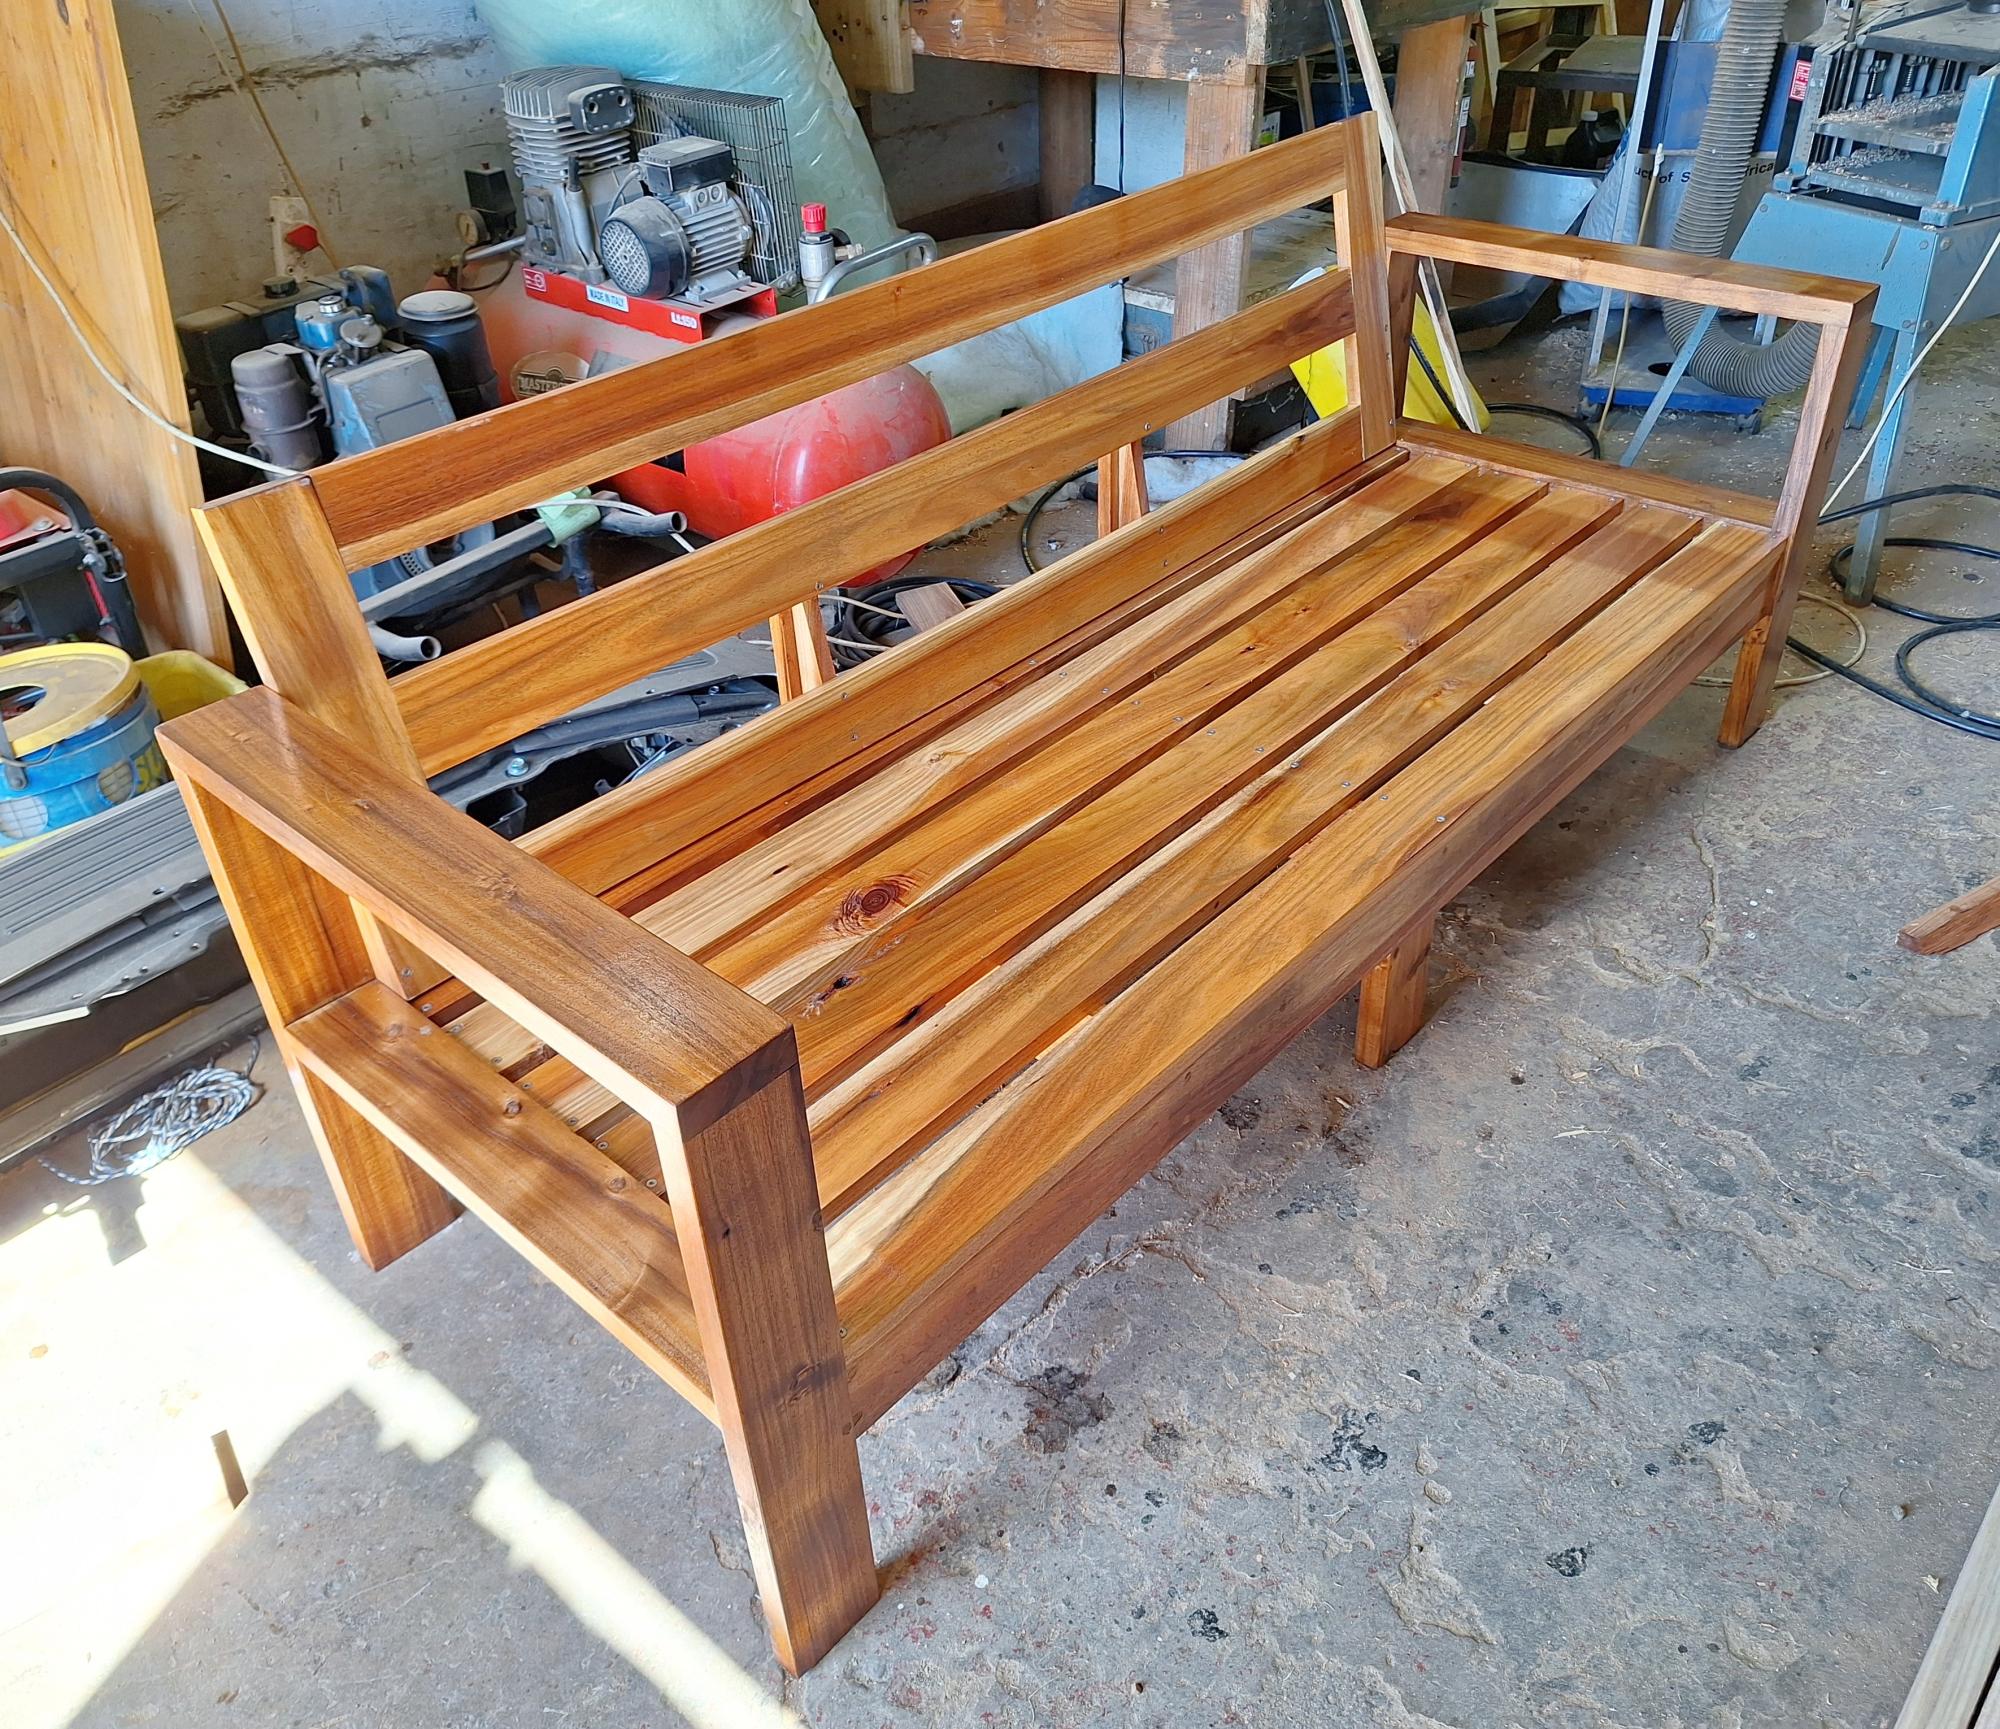
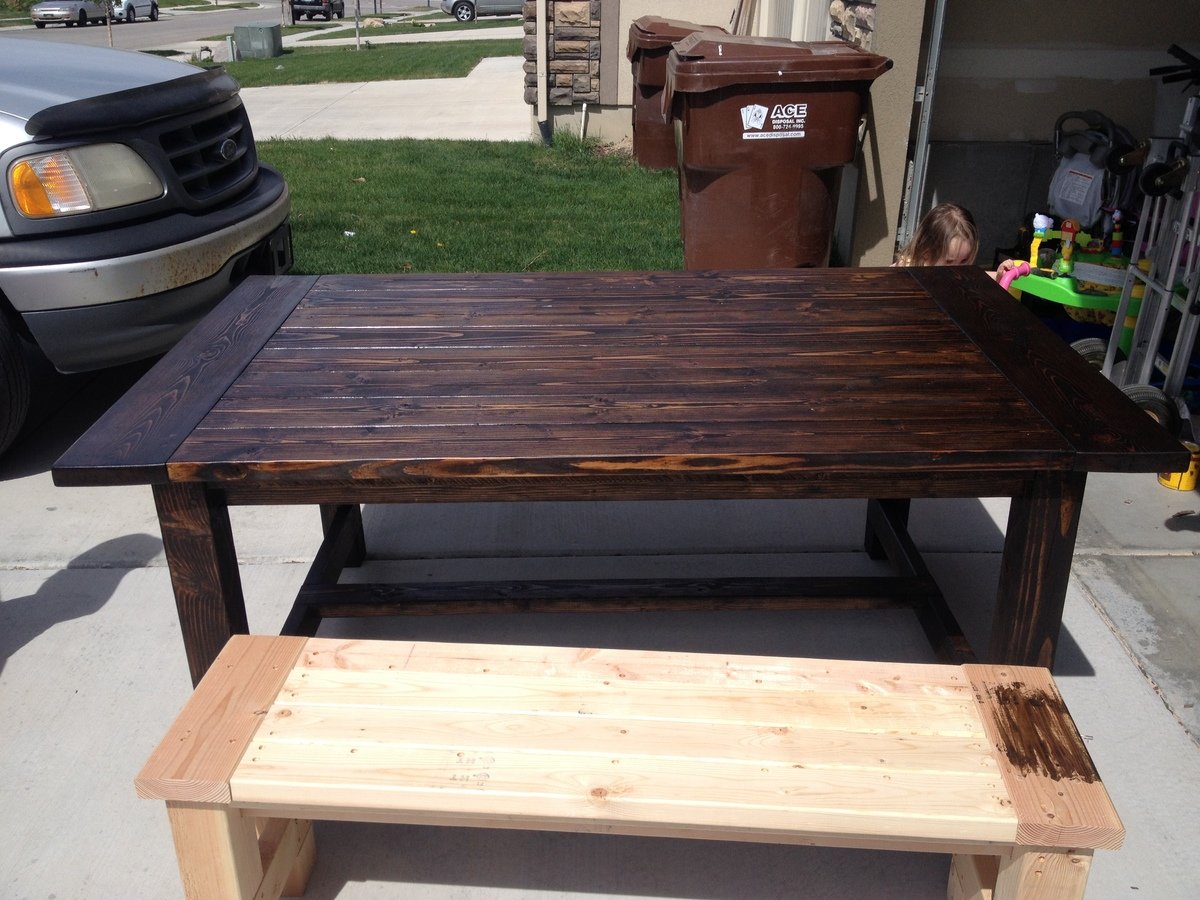
cedar deck stain. Olympic. brand
Recommended Skill Level
Advanced


Comments
Ana White
Tue, 05/12/2020 - 15:09
Amazing! Thank you so much…
Amazing! Thank you so much for sharing a photo, this is truly beautiful!
carliek
Sun, 09/27/2020 - 14:42
Do you have the exact…
Do you have the exact measurements that you used for this one?