Farmhouse head and footboard
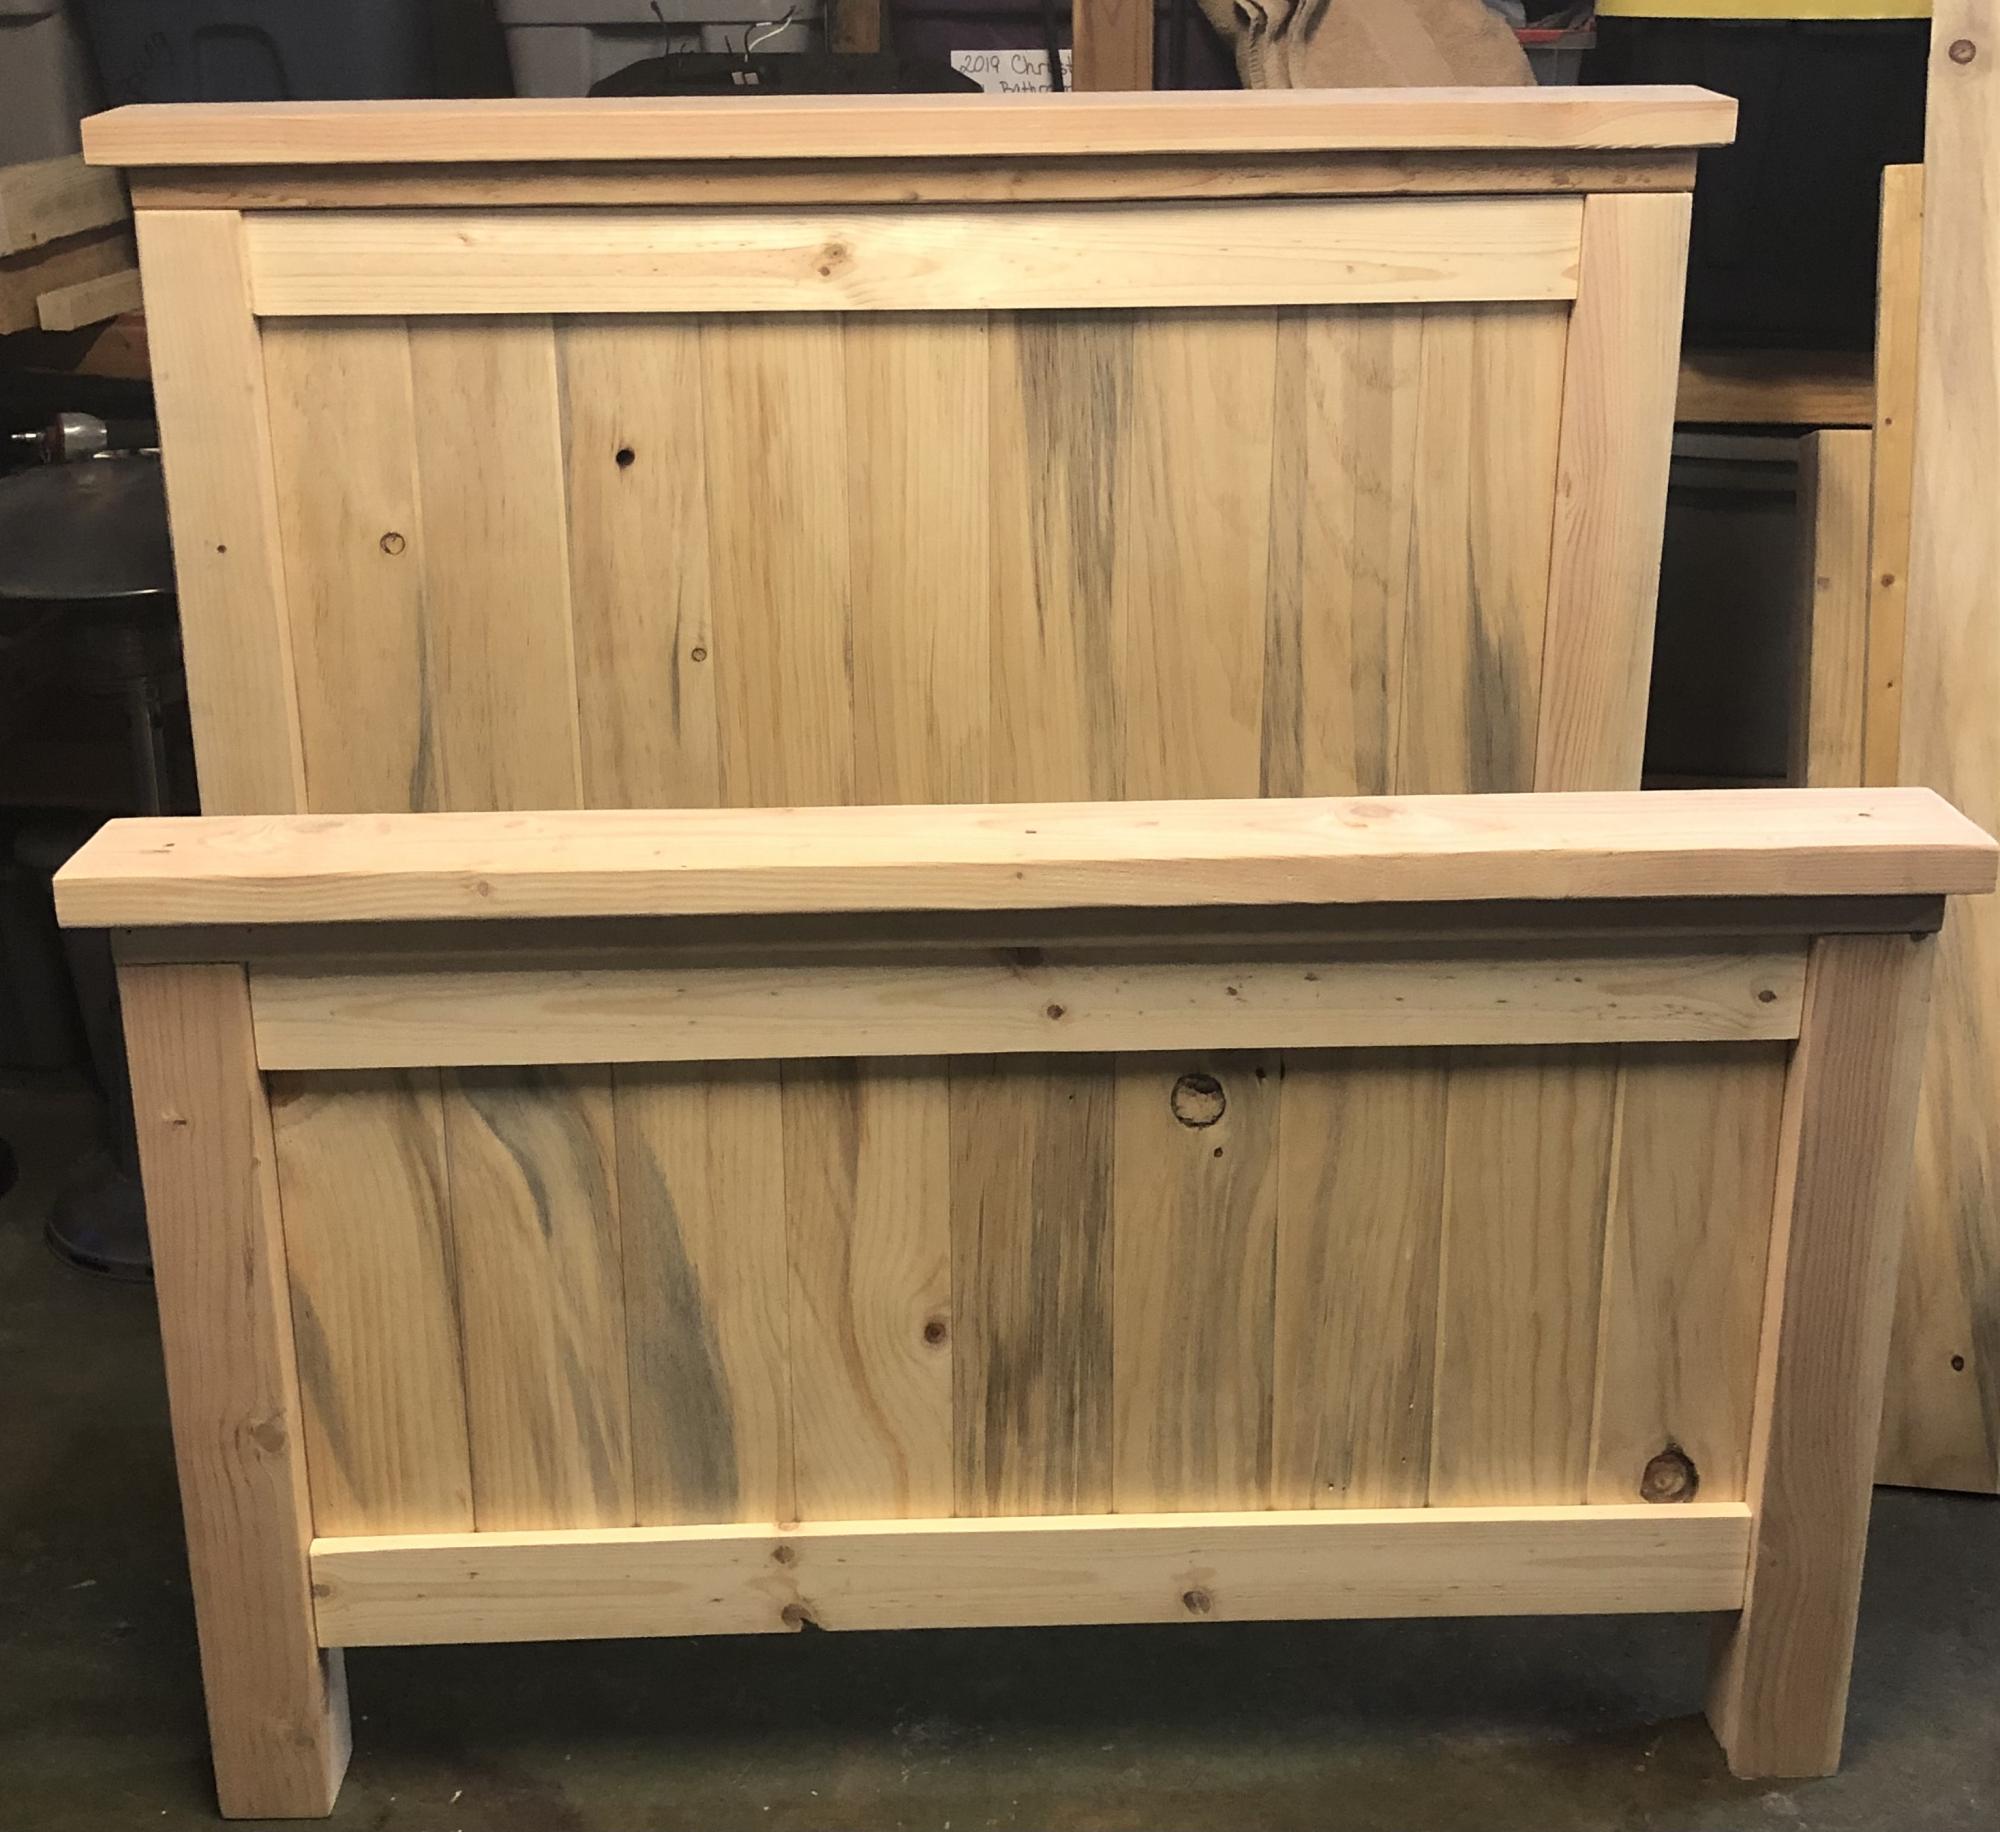
Still need to paint it. Perfect weekend project. Such an easy build! Thank you!
Built from Plan(s)
Still need to paint it. Perfect weekend project. Such an easy build! Thank you!
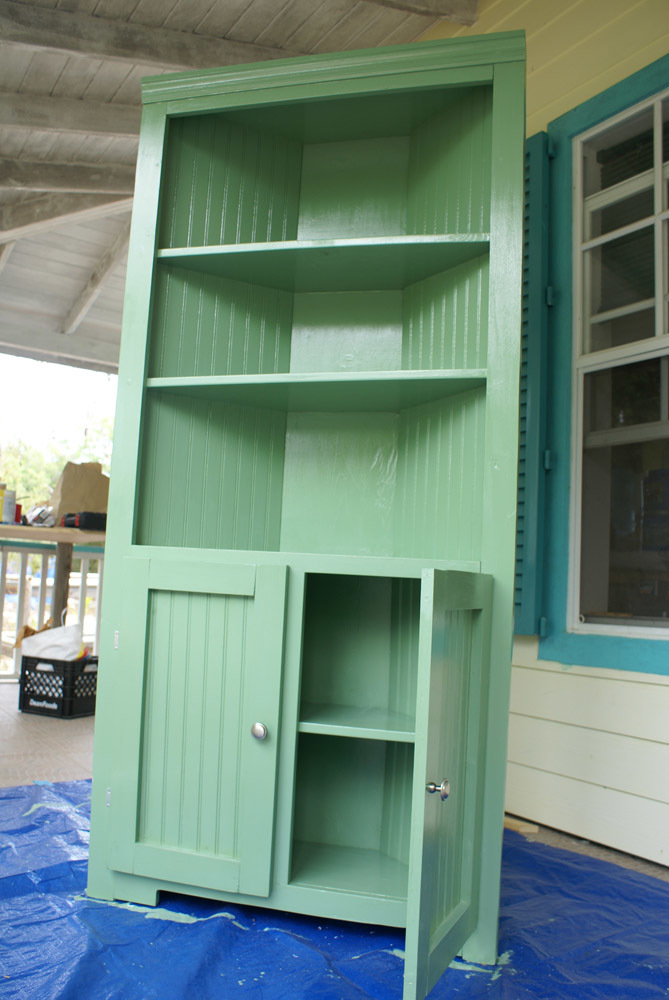
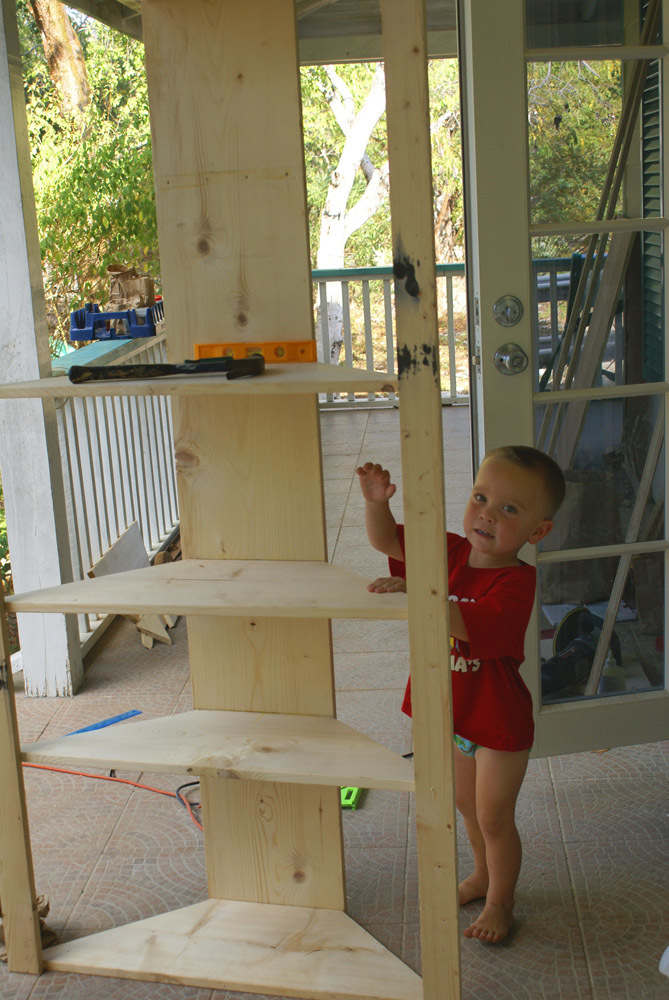
This was my second project. I wanted to get practice working with corners so I could do a media cabinet eventually and this was a great starting point. This cabinet is a great addition to our dining area too! My little helpers were never far away :)
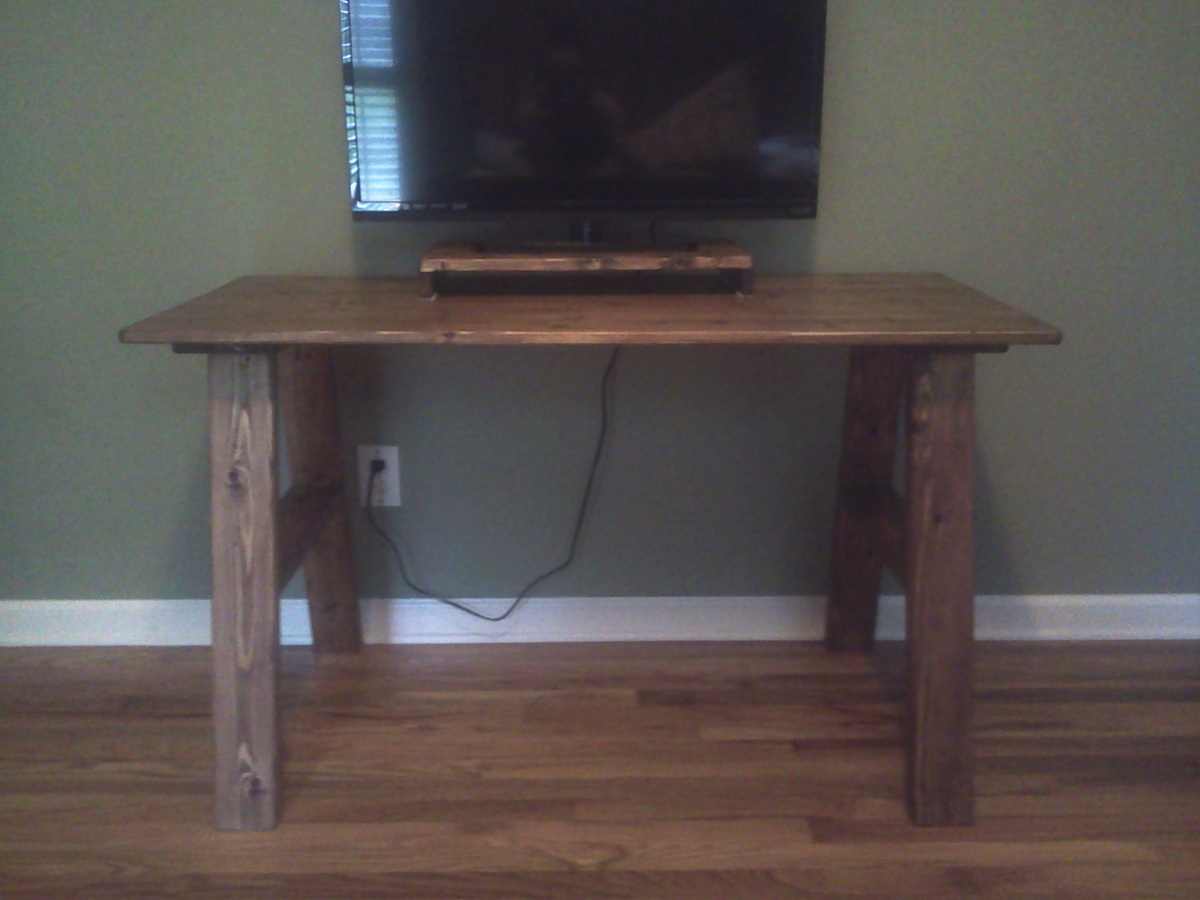
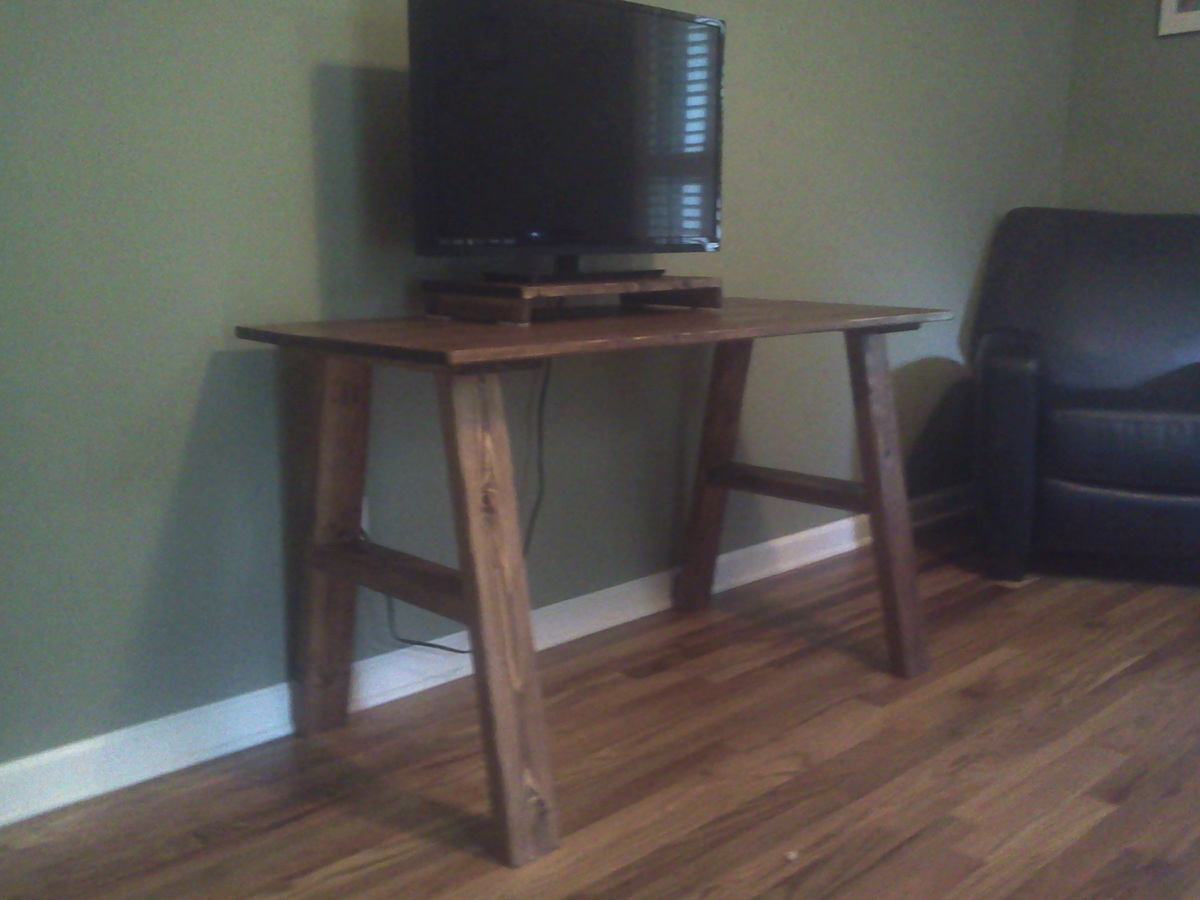
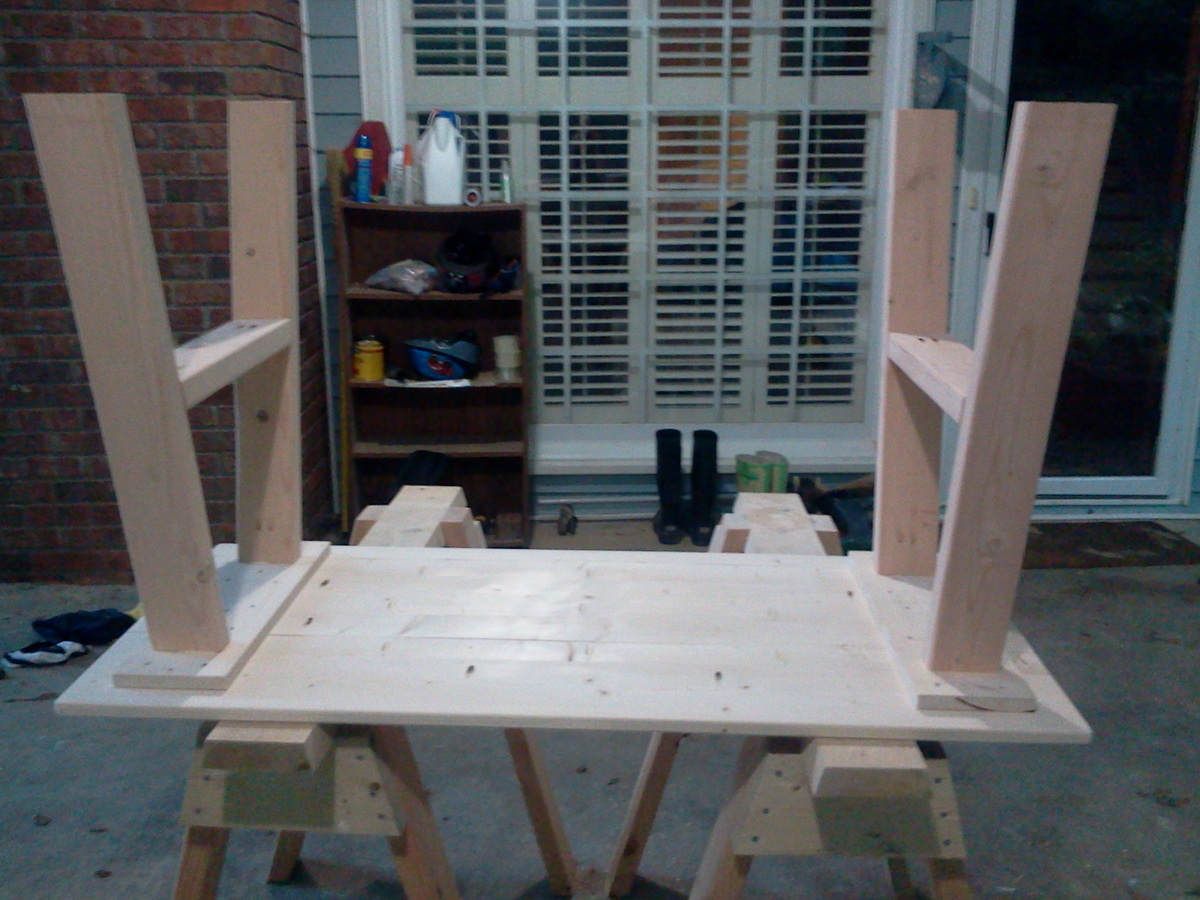
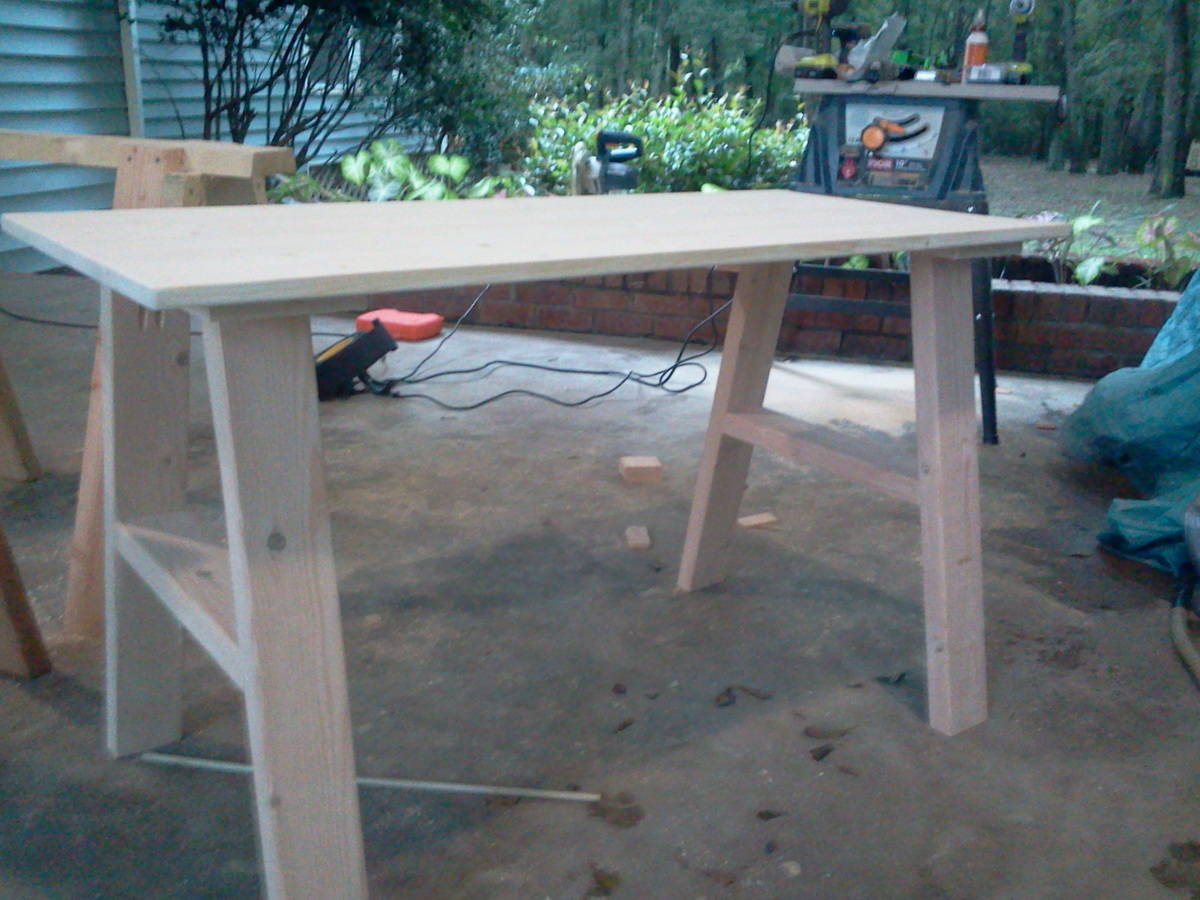
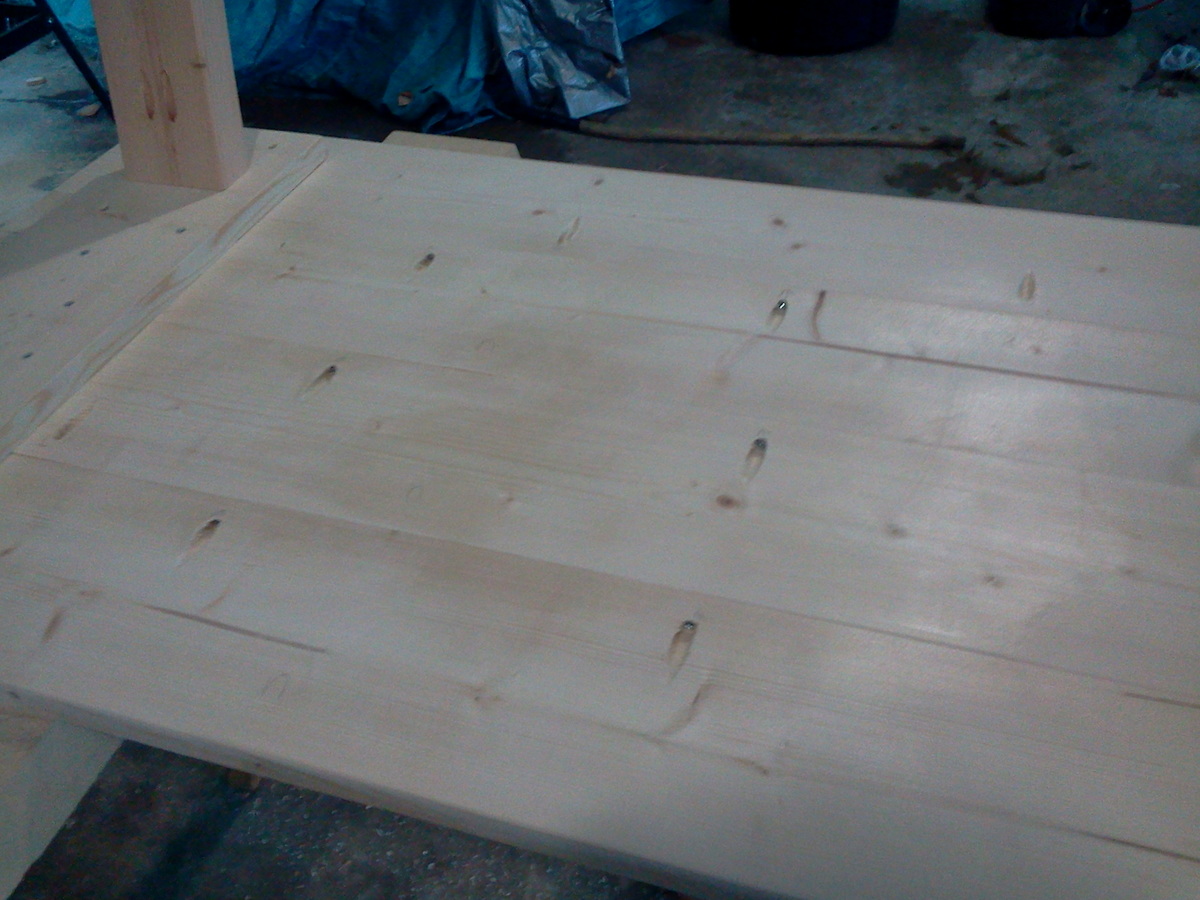
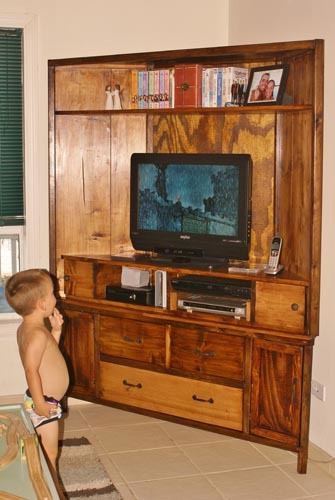
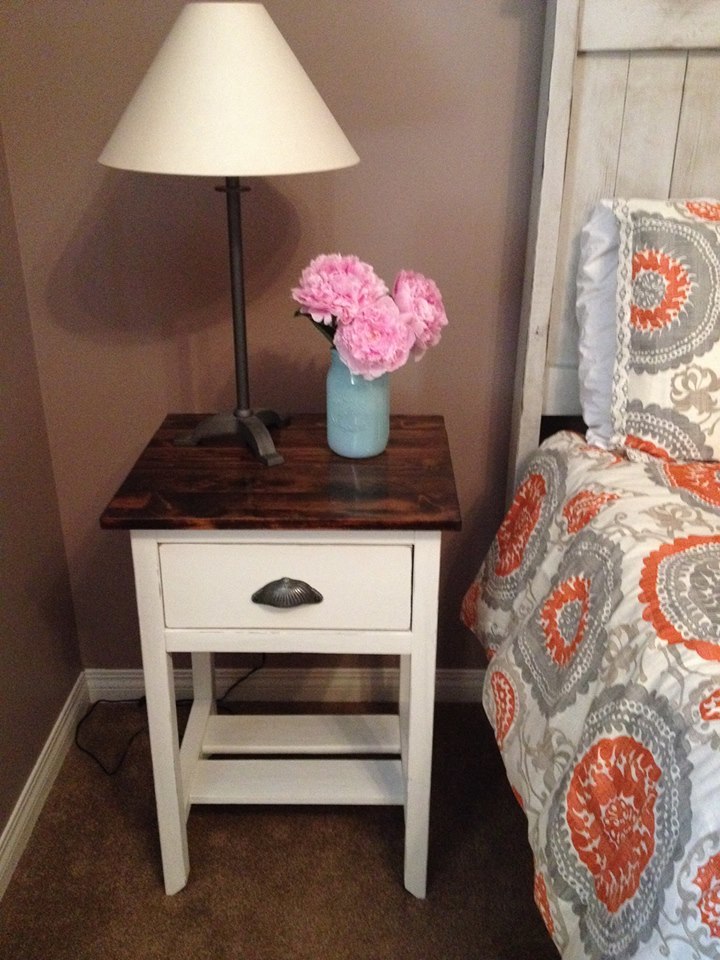
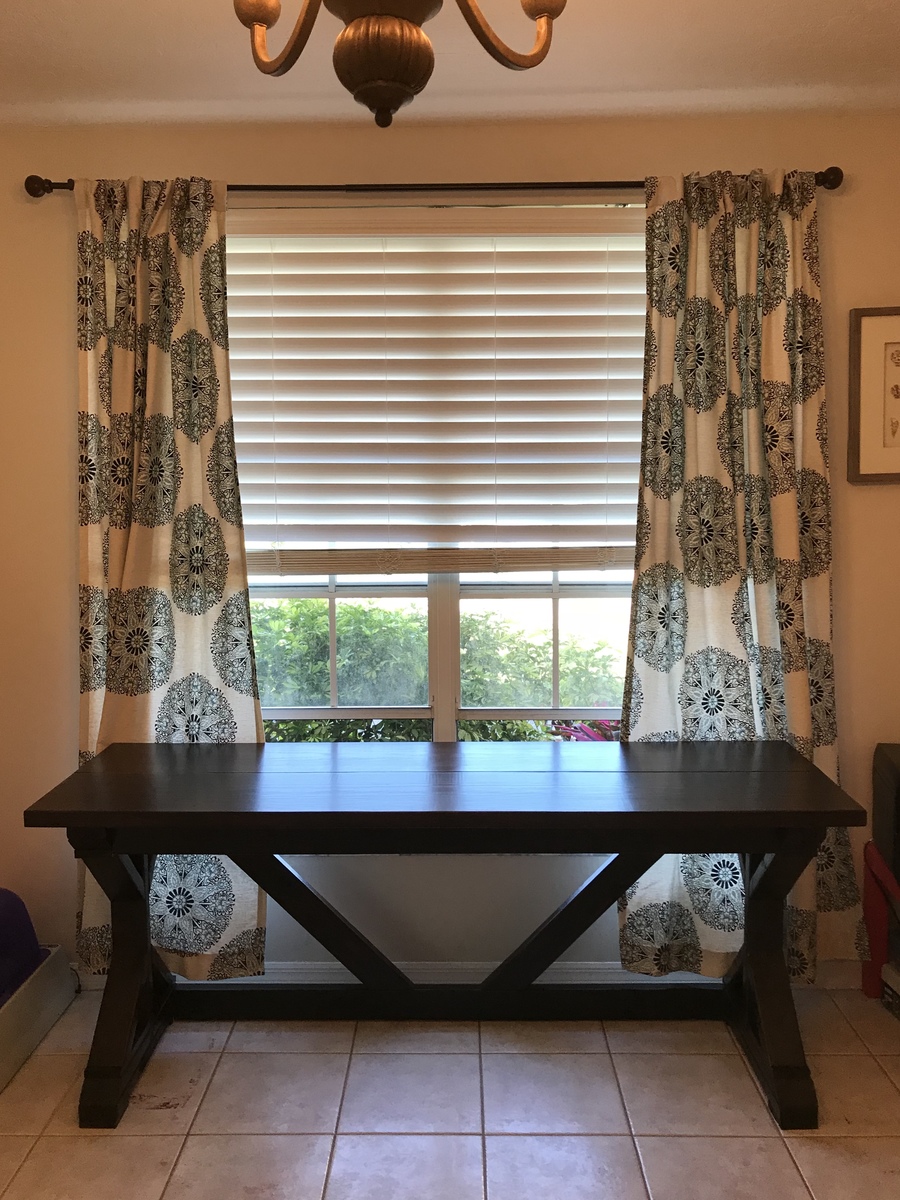
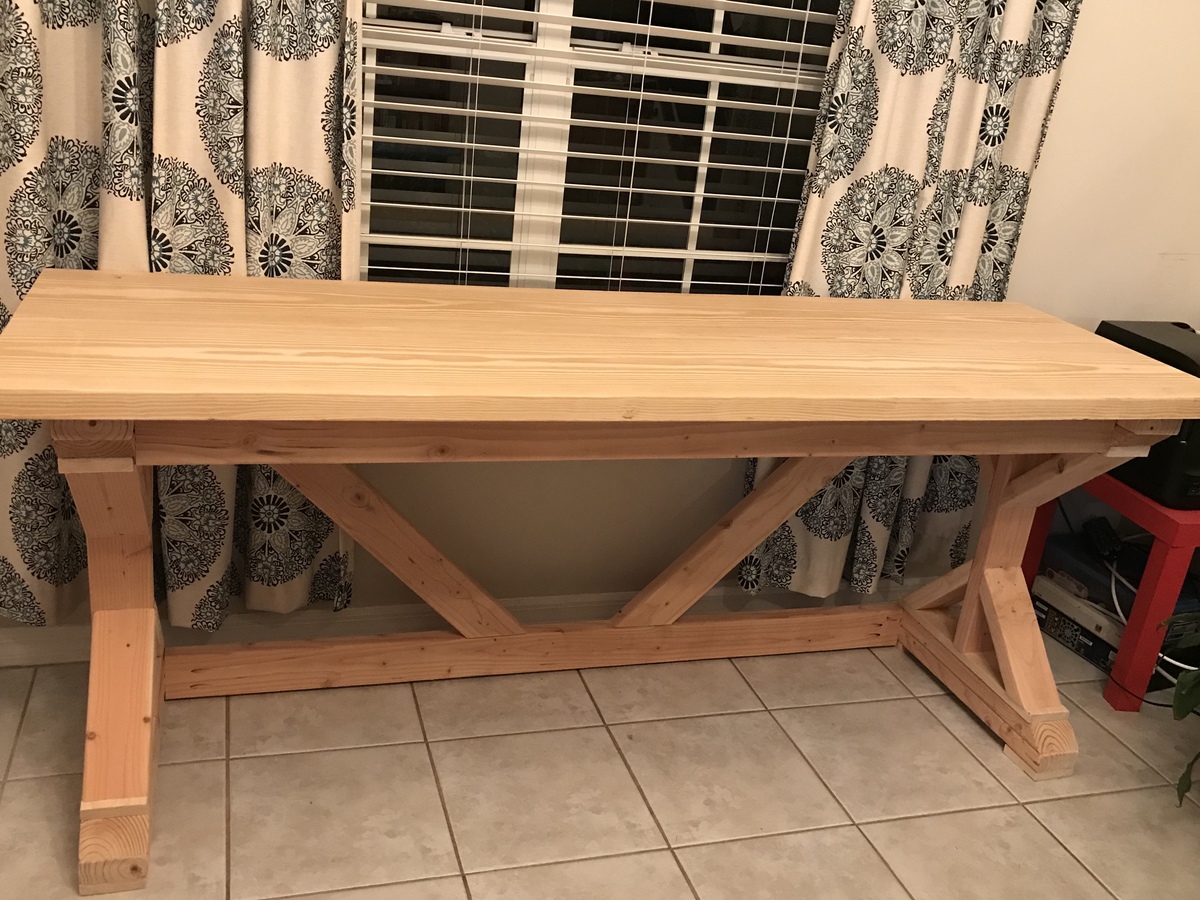
My husband asked me to make a small and inexpensive table for our new TV. I decided to make a desk so it would be able to be used later when we move the TV. Very easy plans. Easy assembly. Great beginner project. I used 1X6 for the top instead of 2X6. It was less expensive and seems to work just fine. I also threw together a small TV stand so the DVD player can go under the TV and not clutter up the table. It's 3 1X4's @ 20 inches. And I made the sides by ripping the leftover 1X4 in half the same width as the top. I spent $30 in wood and have some scraps left over for another project.

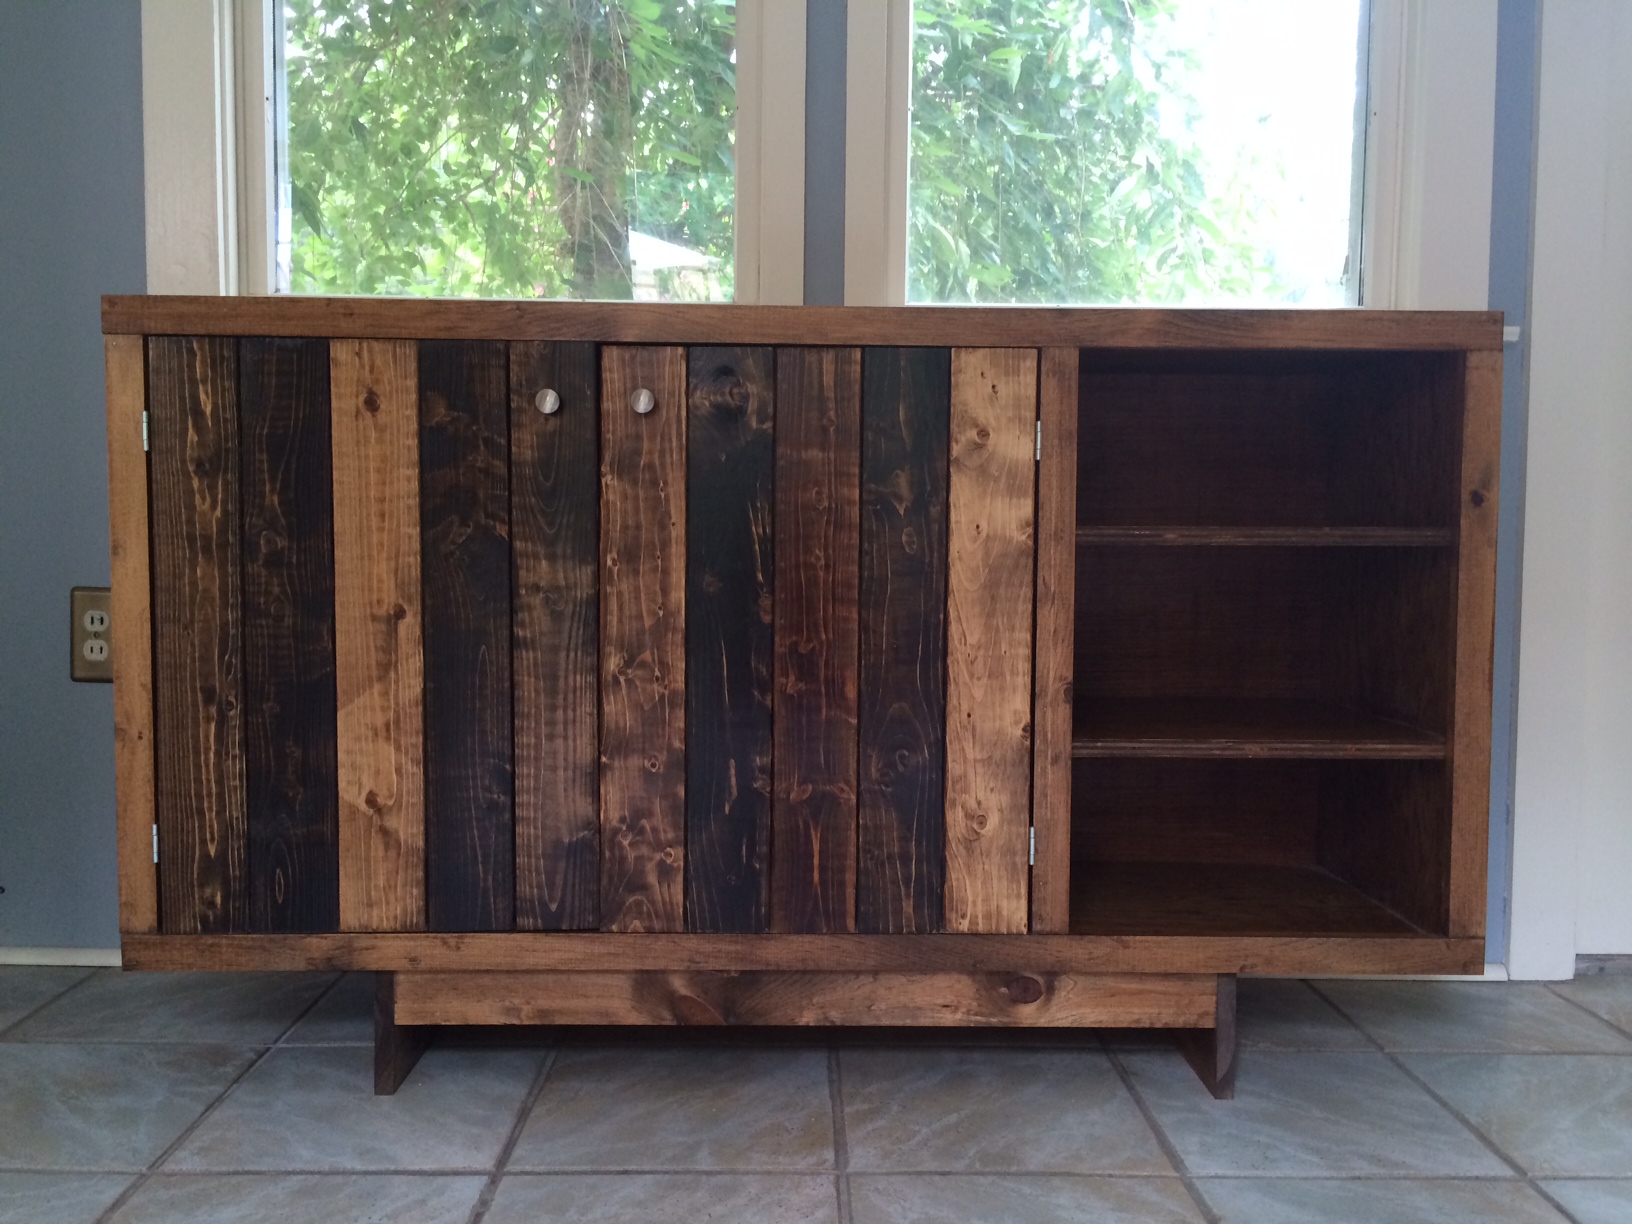
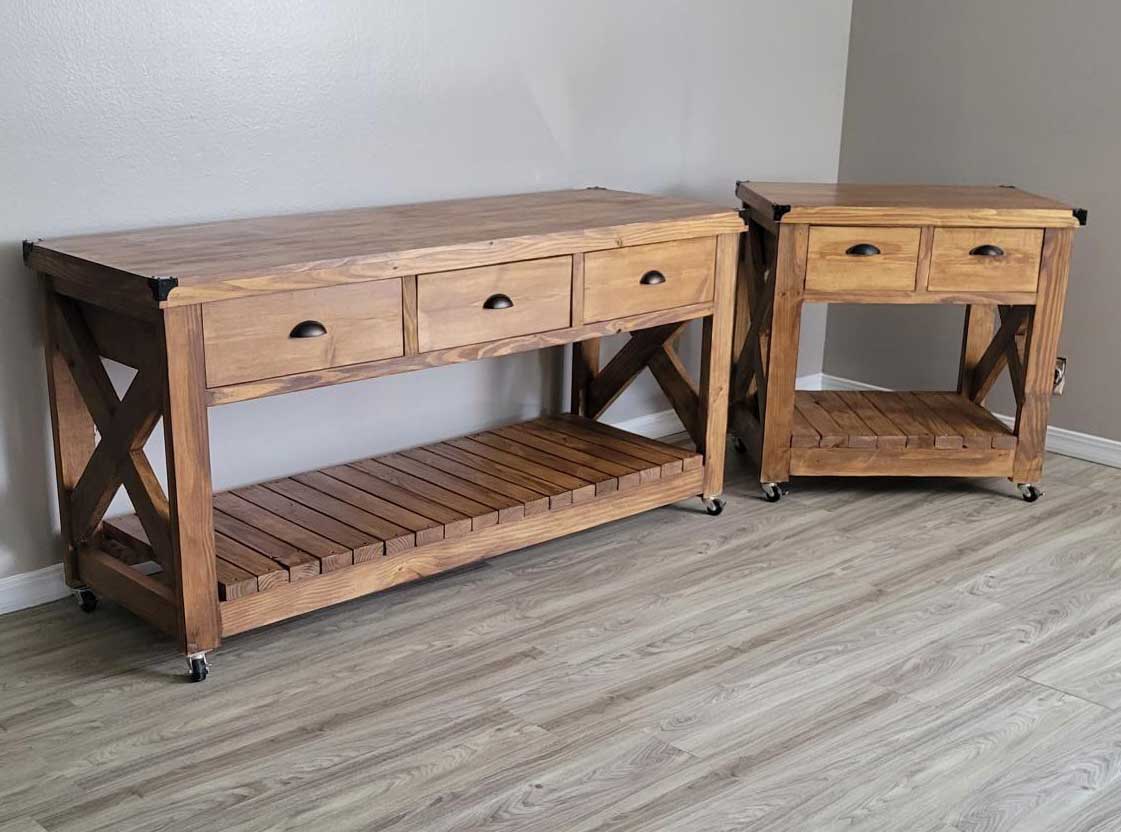
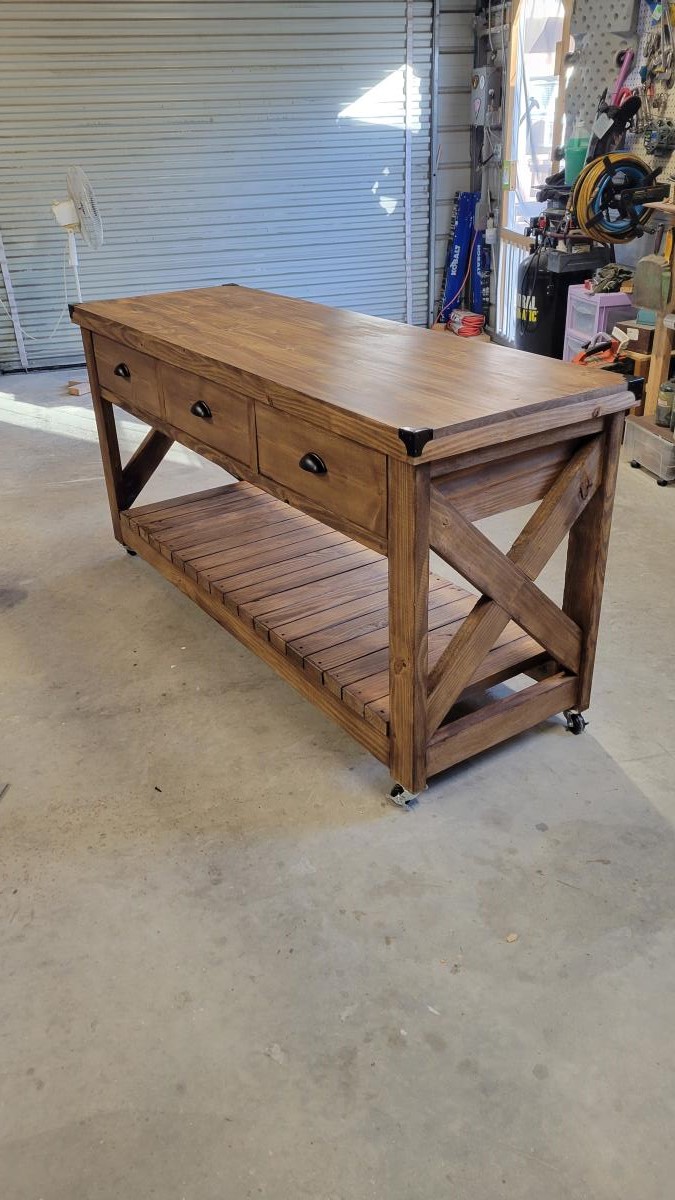
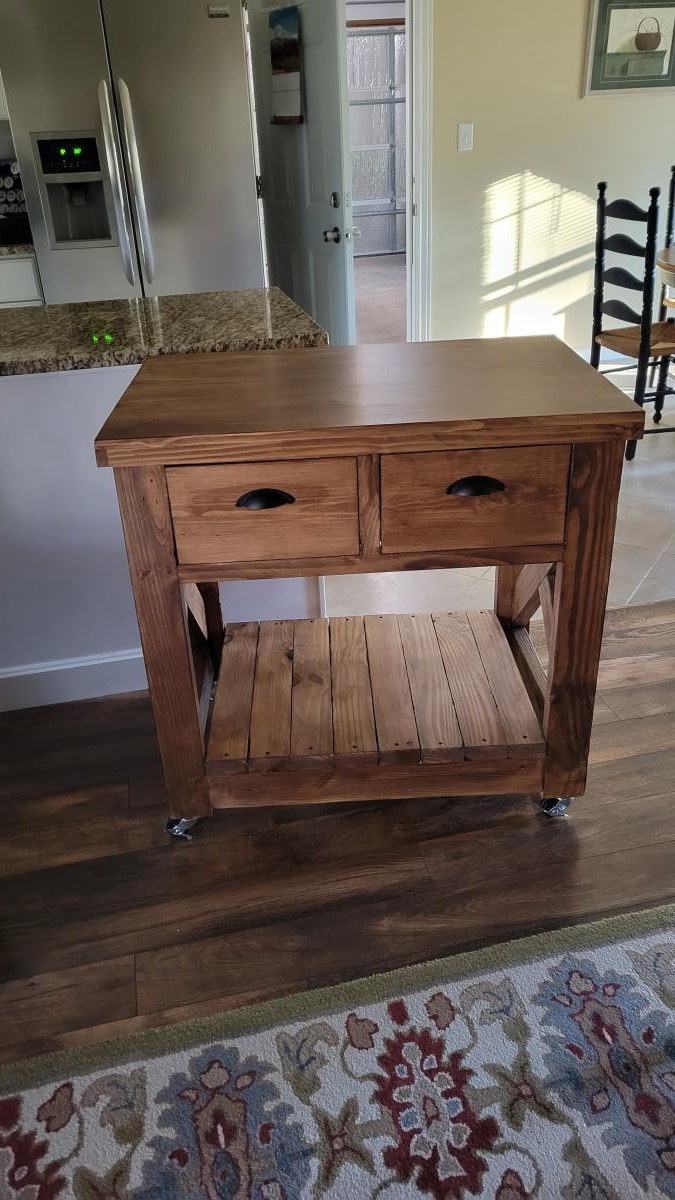
After unsuccessfully searching for the perfect sideboard for my office space, I got up enough courage to make one myself. I am so thrilled with the finished project!!
Used this plan and tried to Gary a rustic look.
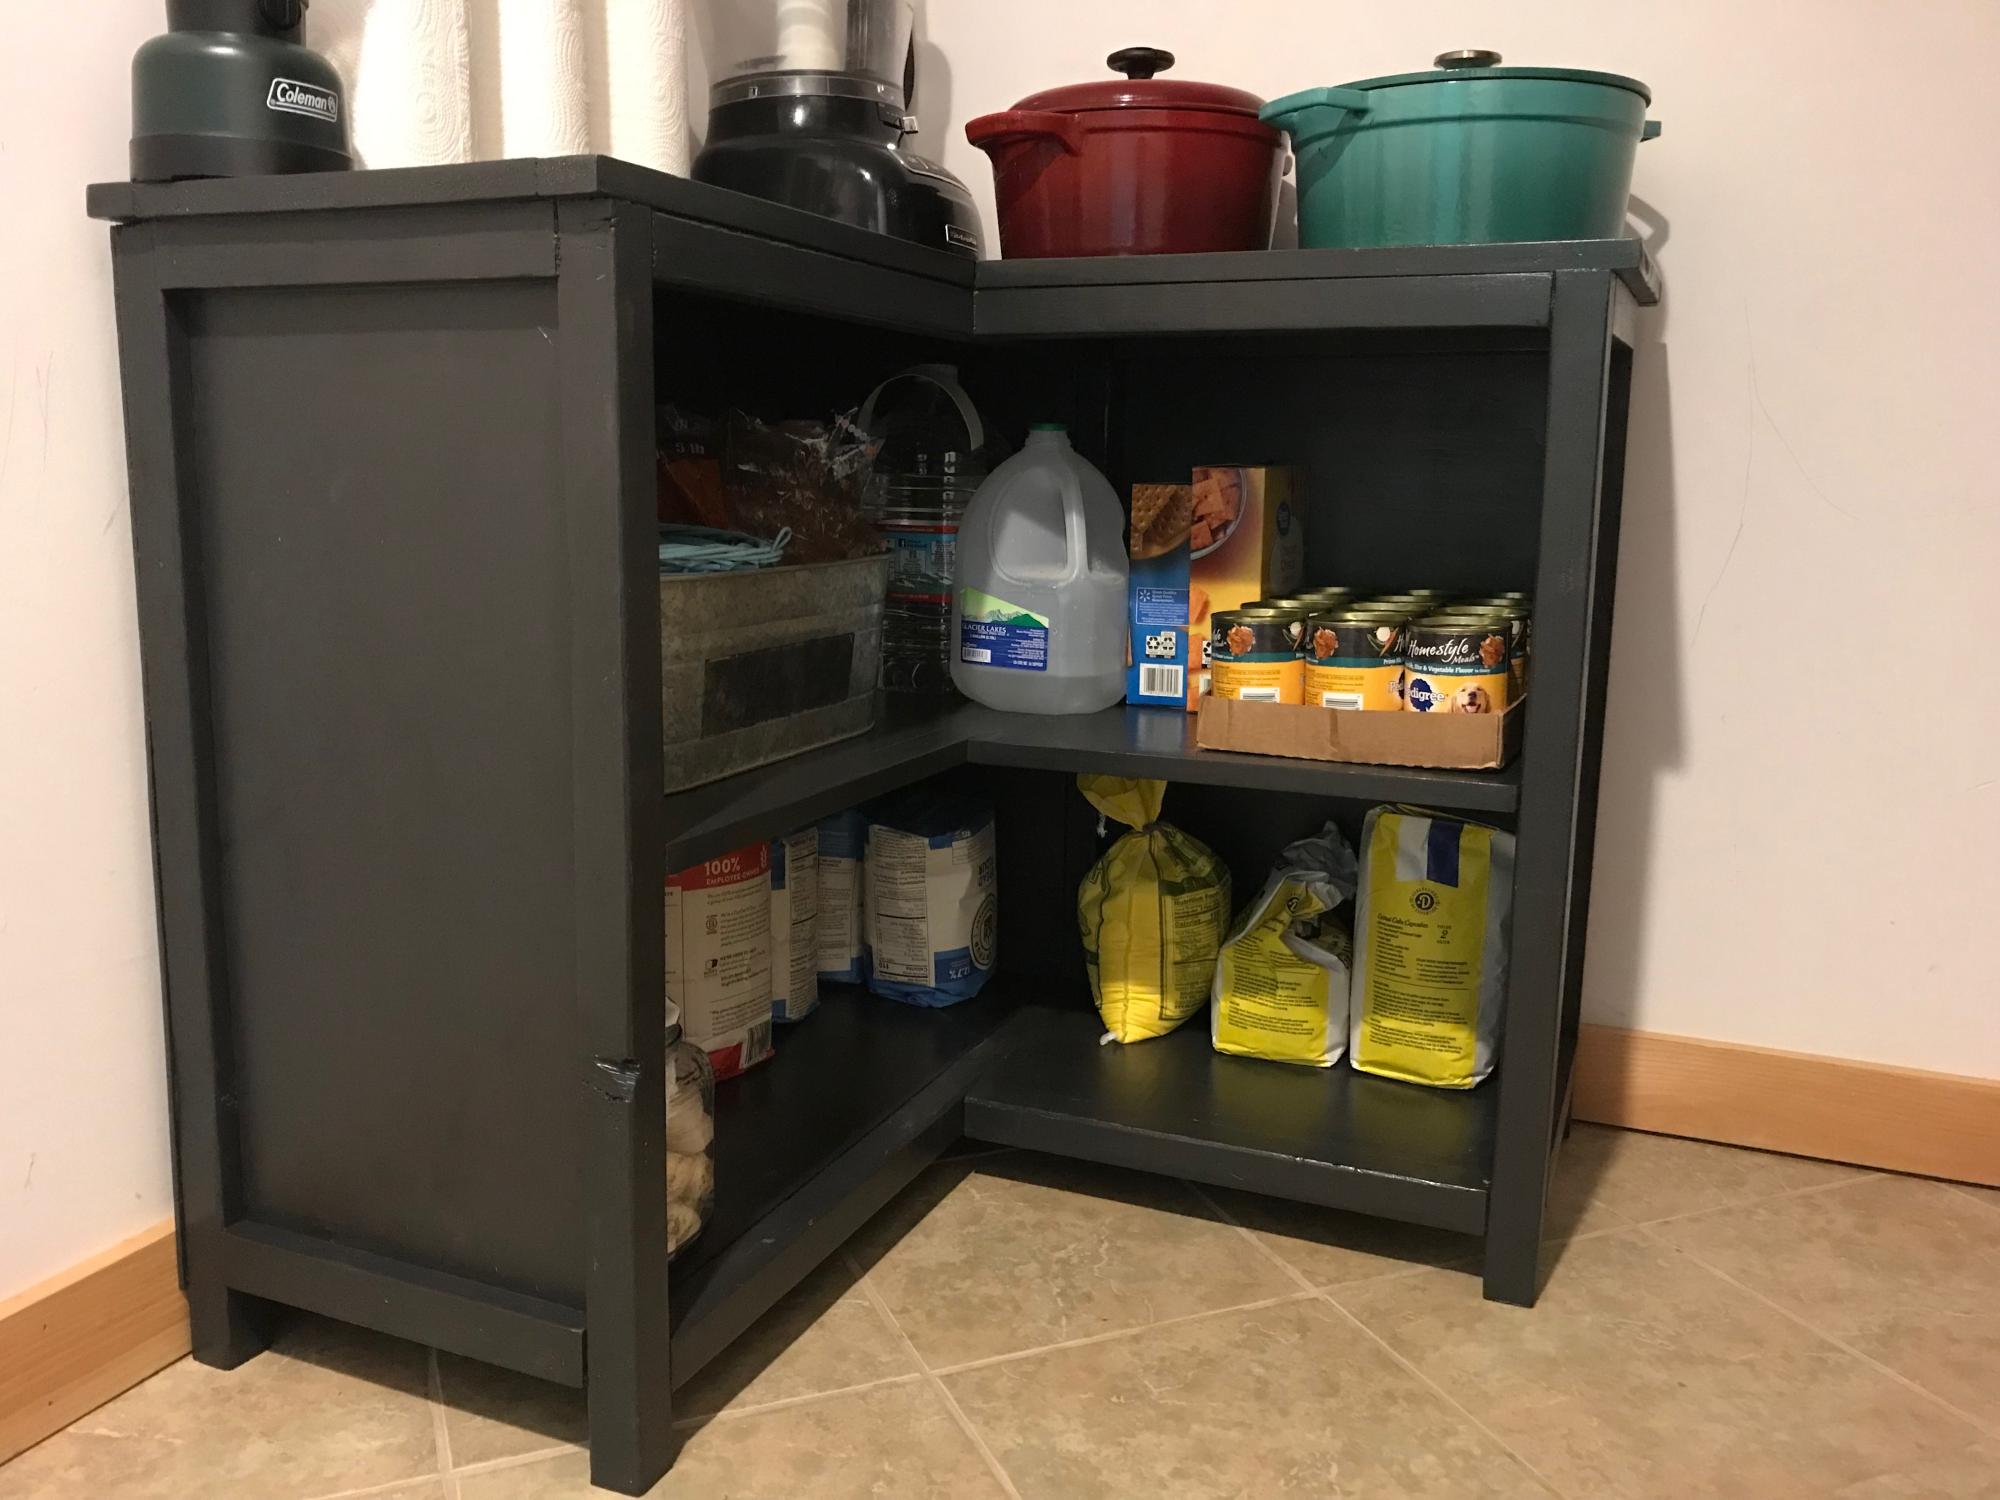
I built this corner shelf as part of my spring organizing effort. I have to say, that the shelf looks too good to be left in the basement's corner.
Wed, 03/30/2022 - 10:20
Great way to get organized and make it look beautiful too!
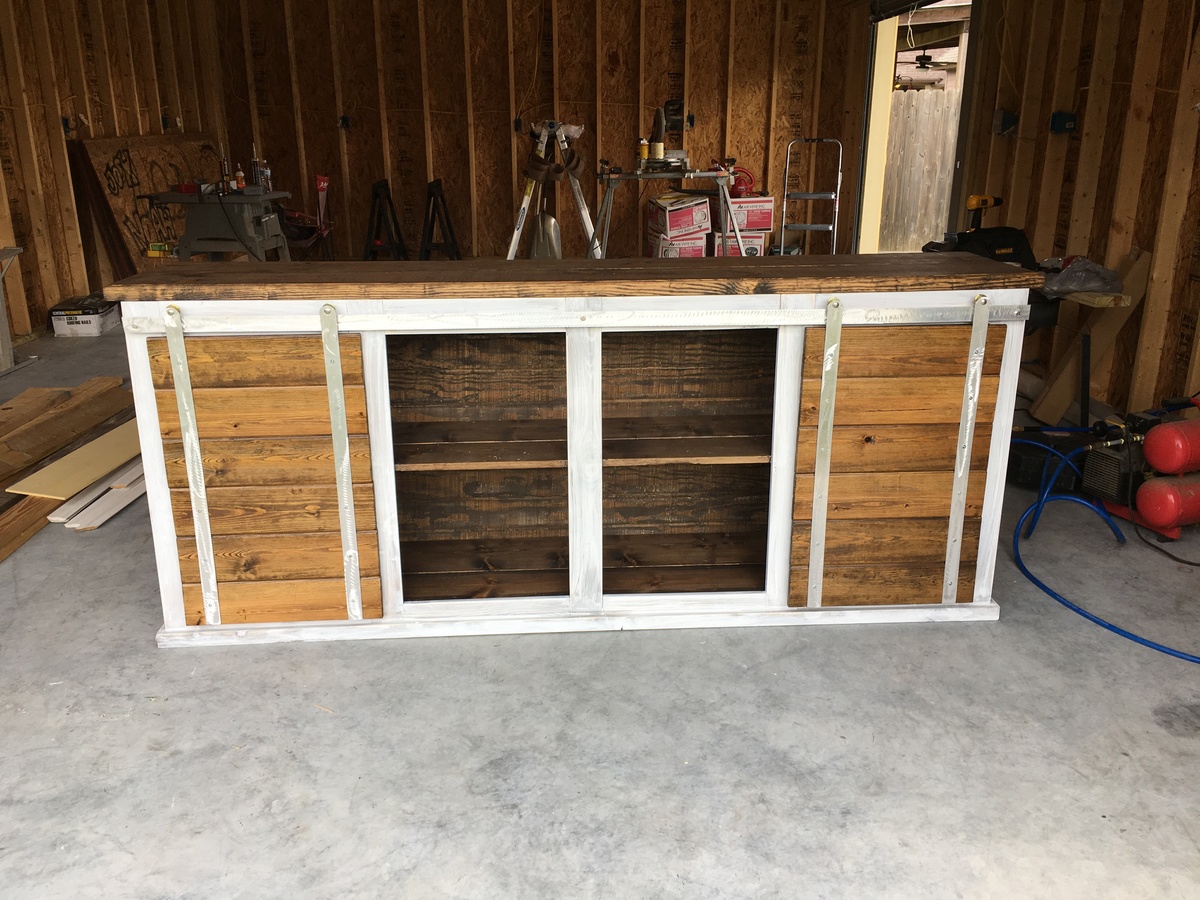
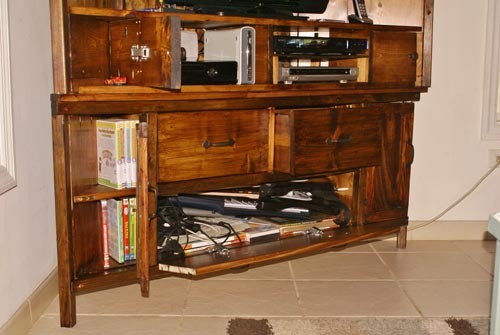
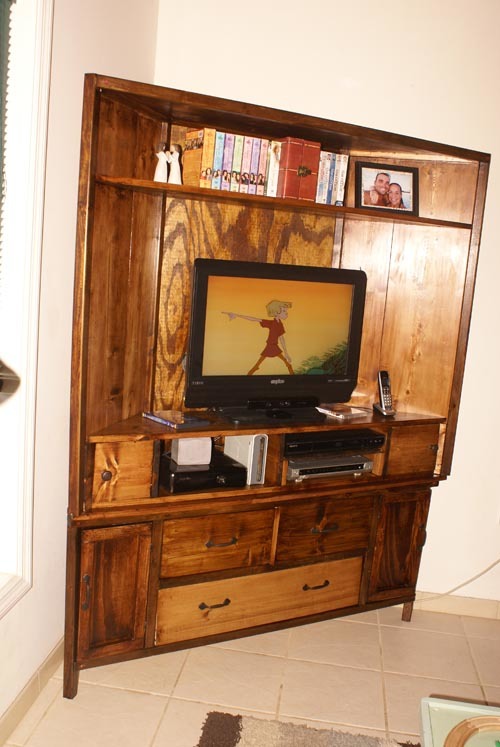
We were in desperate need of a corner media unit. I just know that Ana will post something incredible for this soon, but we just couldn't wait any longer. SO...I 'TRIED' to modify her lovely Cabin Collection Media Console & Hutch. Her plans were great, and I pretty much followed them step-by-step and just modified corners and things to fit my need. I'll emphasize...it is NOT perfect by any means and is probably not 'done-by-the-book', but it hides all of my hubbies gamer items (rockband guitars and keyboard, wires, controllers, games, etc). AND, I built it with growing room for his biggest wish, a new t.v. :)
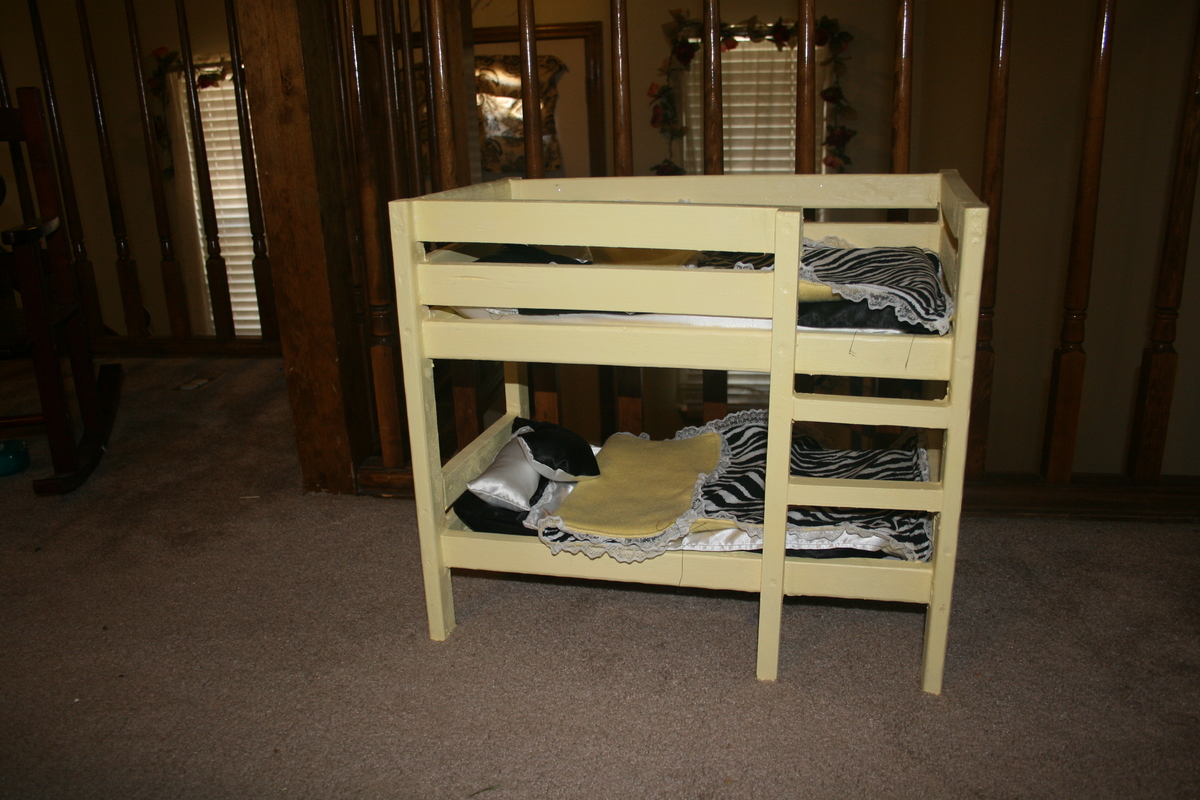
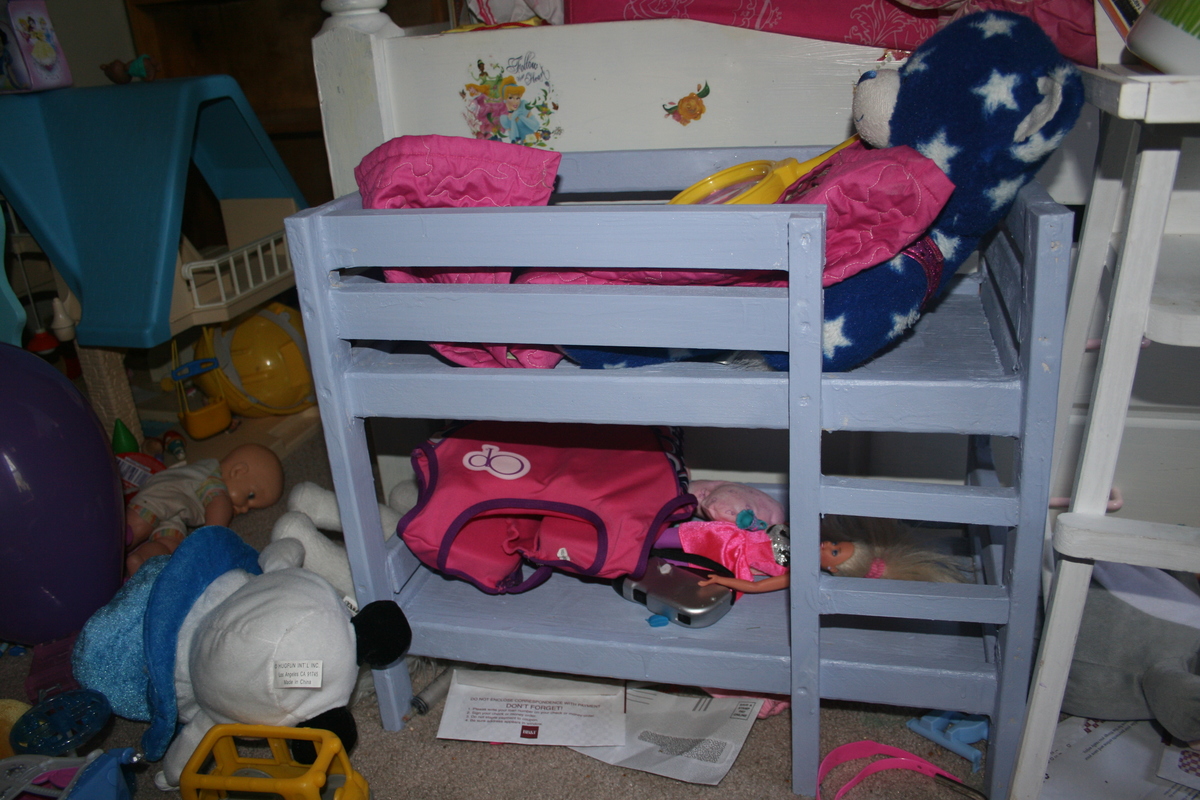
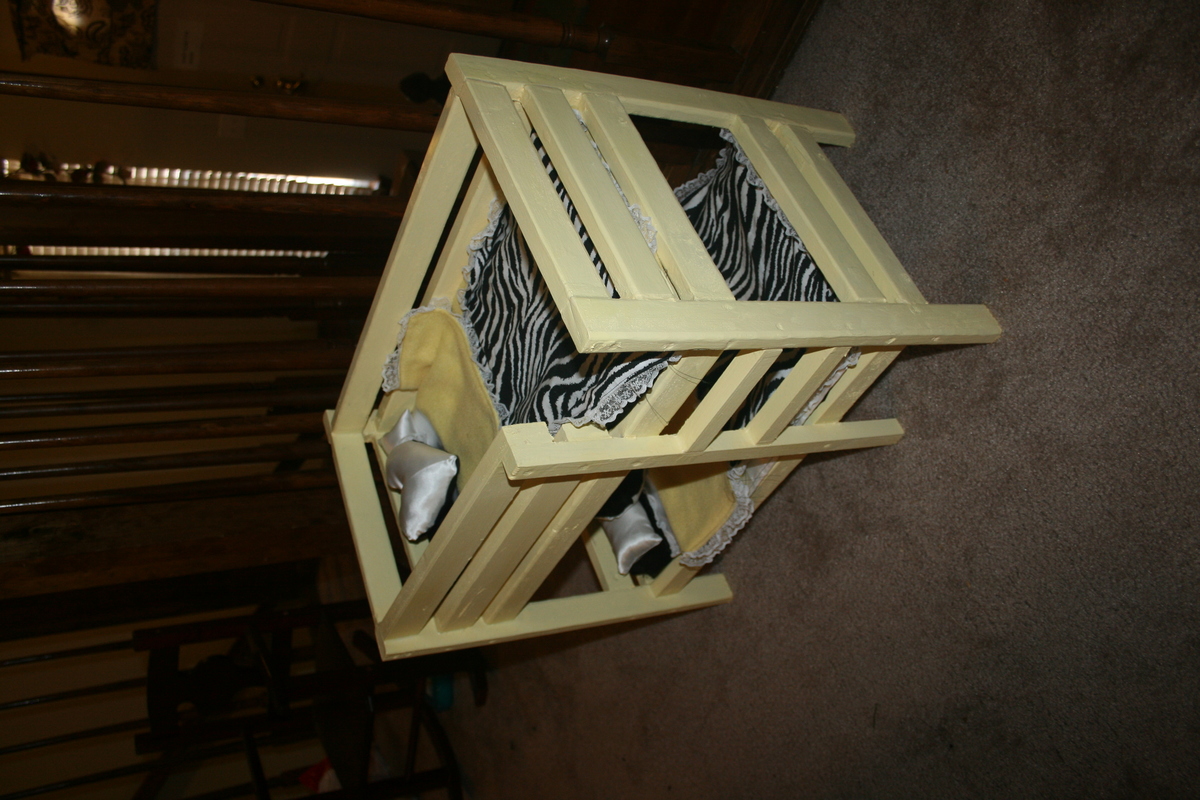
I made these bunk beds for my daughter and her best friend for her best friends birthday. My 4 year old daughter helped putting them together and painting so she got one too:) We used the paint sparkle add-ins from lowes with sample paint colors in each girls' favorite color. I haven't finished the bedding for my daughter's yet, but as you can see, it is working just fine without bedding:)
I made two of these tables for a friend. She was very happy with them. One of my first projects.
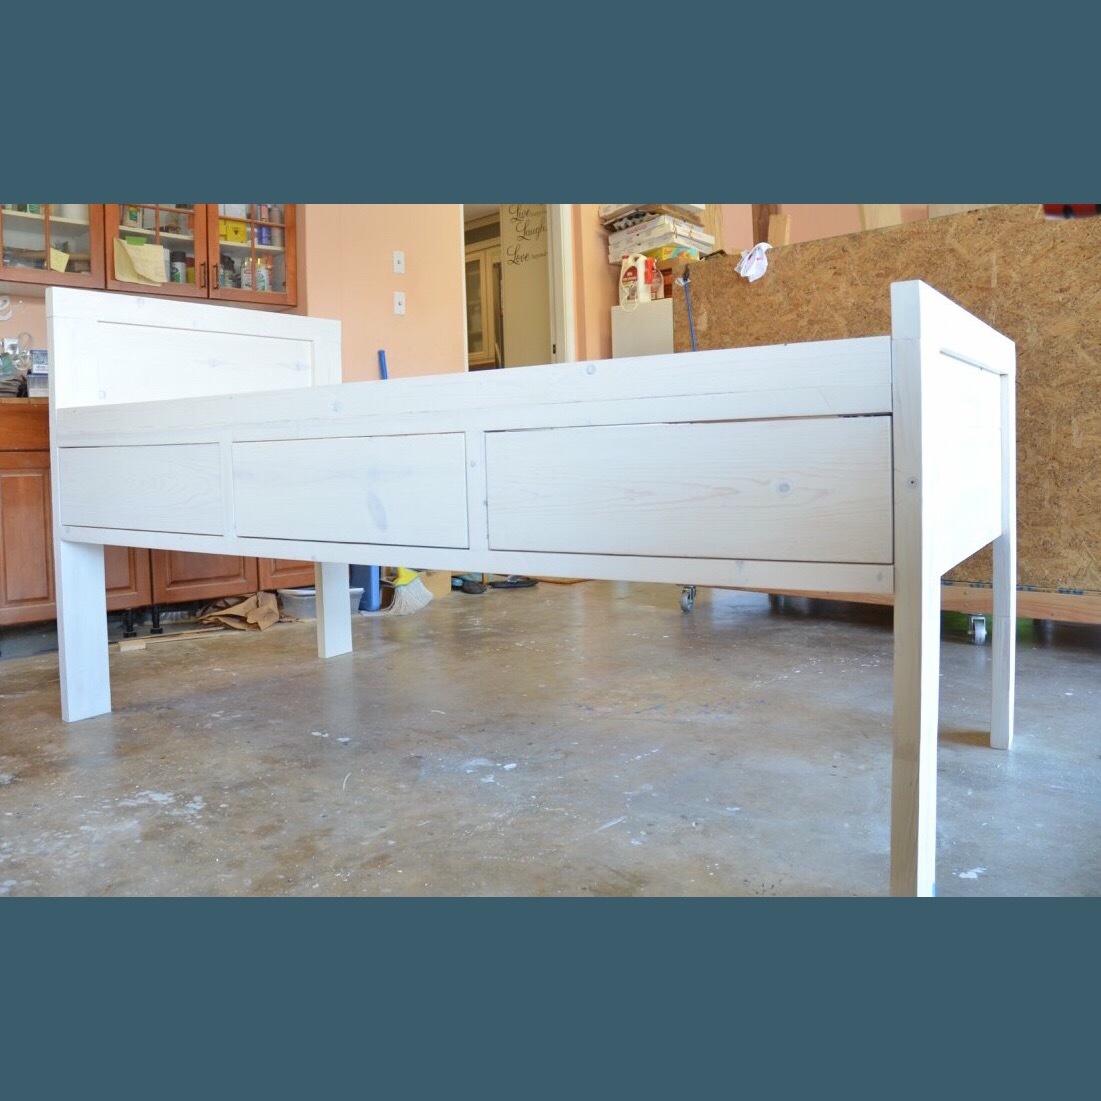
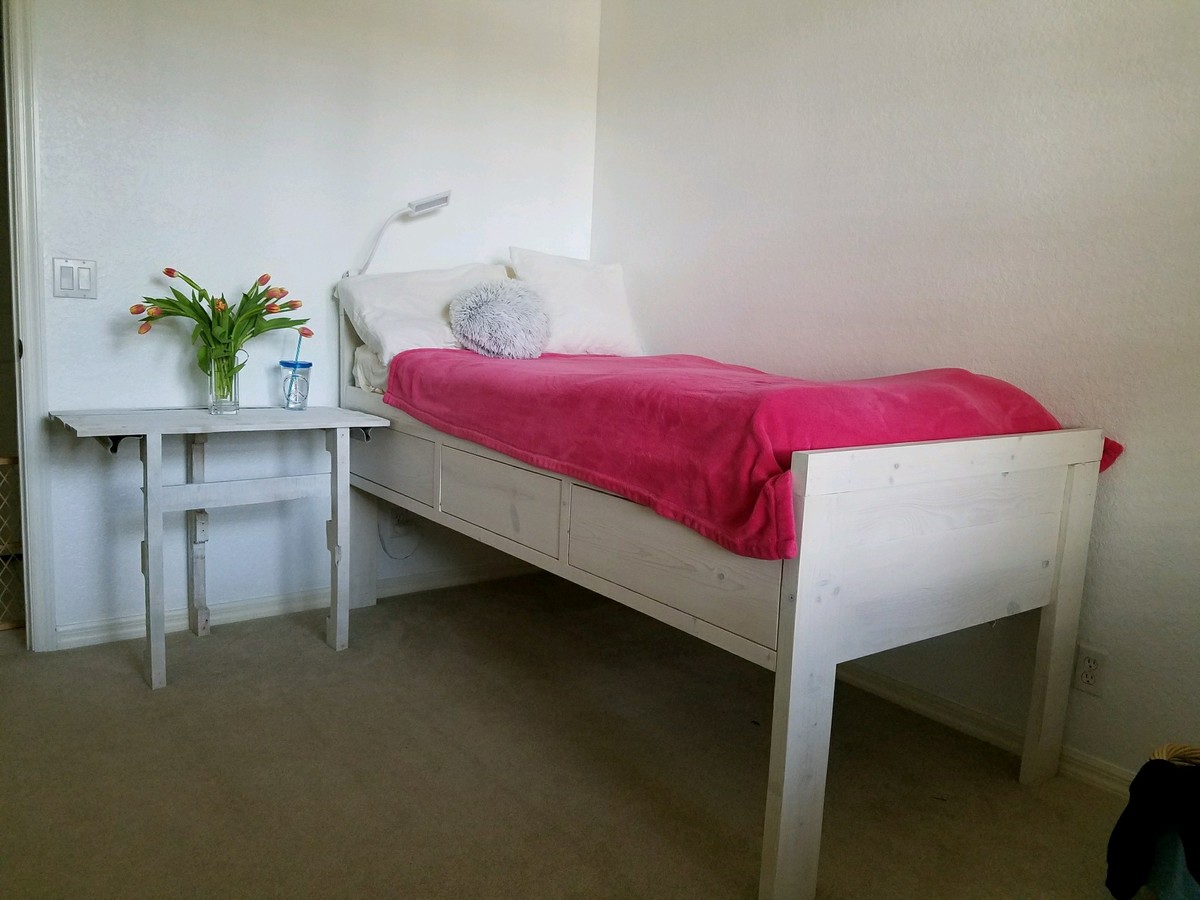
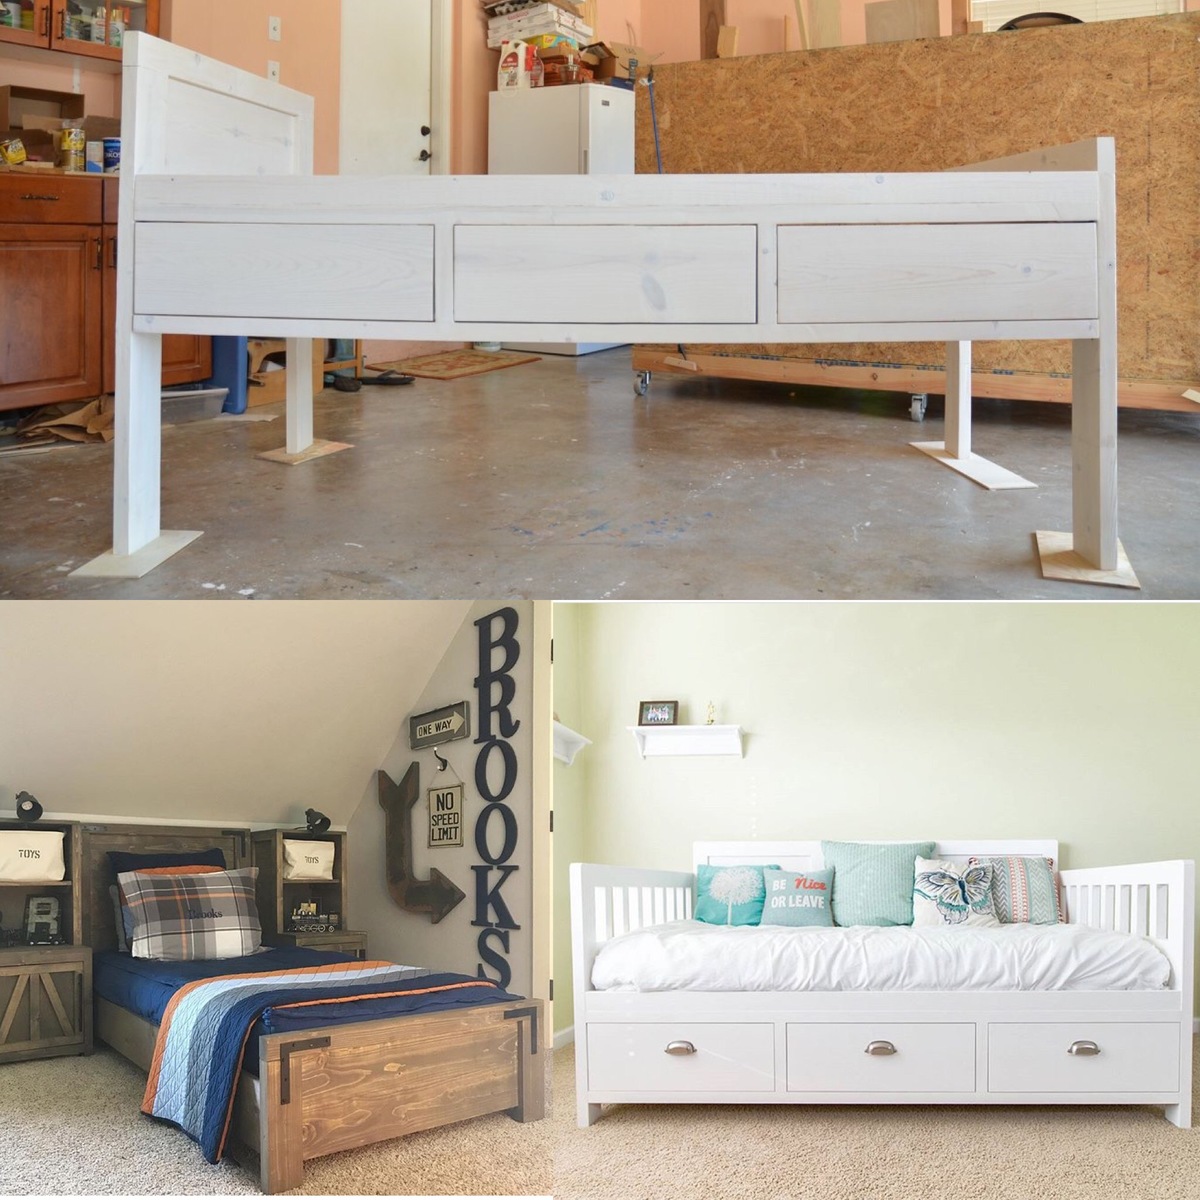
I took plans from two makers and changed them to fit my needs.
I took the base from the Fix This Build That DIY Daybed with Storage Drawers plans. And I used the headboard/footboard concept from the Shanty-2-Chic DIY Modern Farmhouse Platform Bed plans and made this extra tall, extra long twin size bed.
I made it for a client (friend). It is for her daughter. White washed instead of paint of stain.
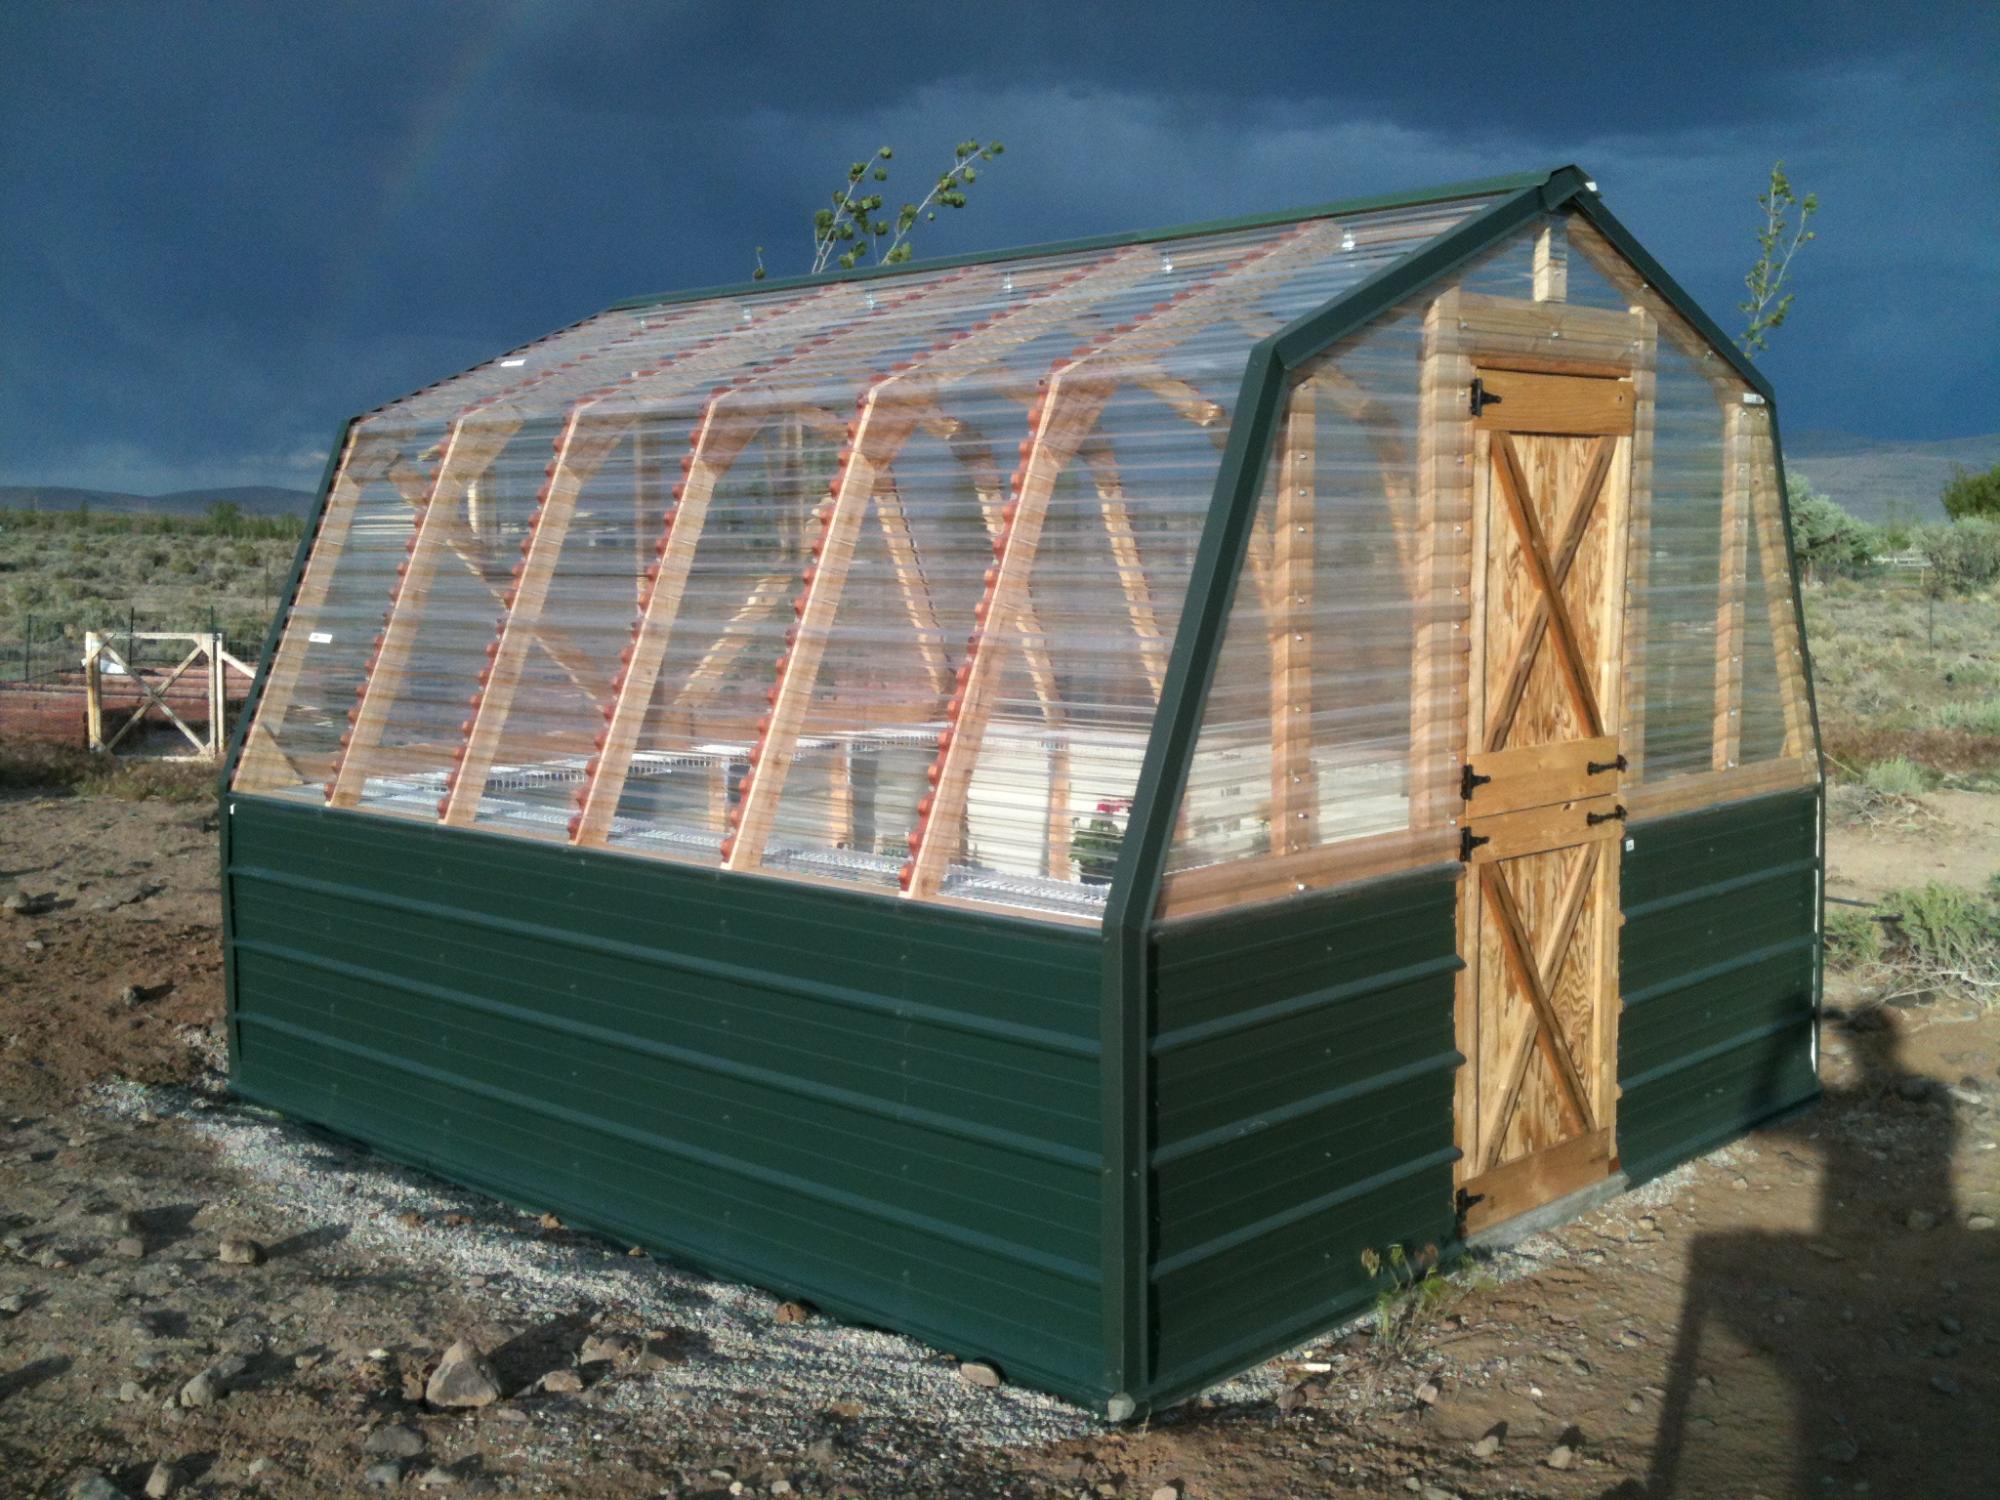
We built the first one about 8 years ago, and then the wind flipped it over and scattered it all over the back part of the property. I then dug footings and anchored the second one down; I was able to save the Dutch Door I made for the first one. Thanks for the plans!!!
Fri, 04/08/2022 - 10:35
That's not going anywhere! Thanks for sharing, it looks amazing!
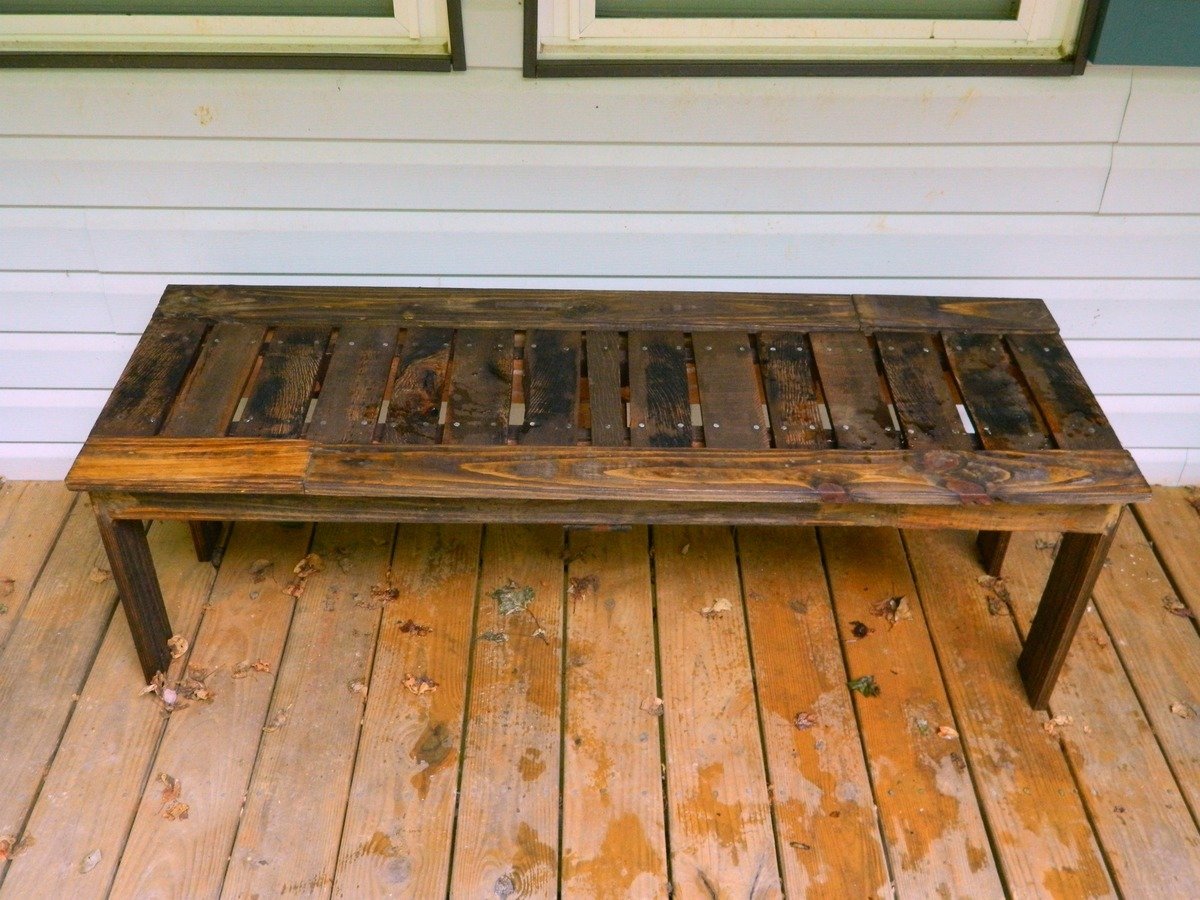
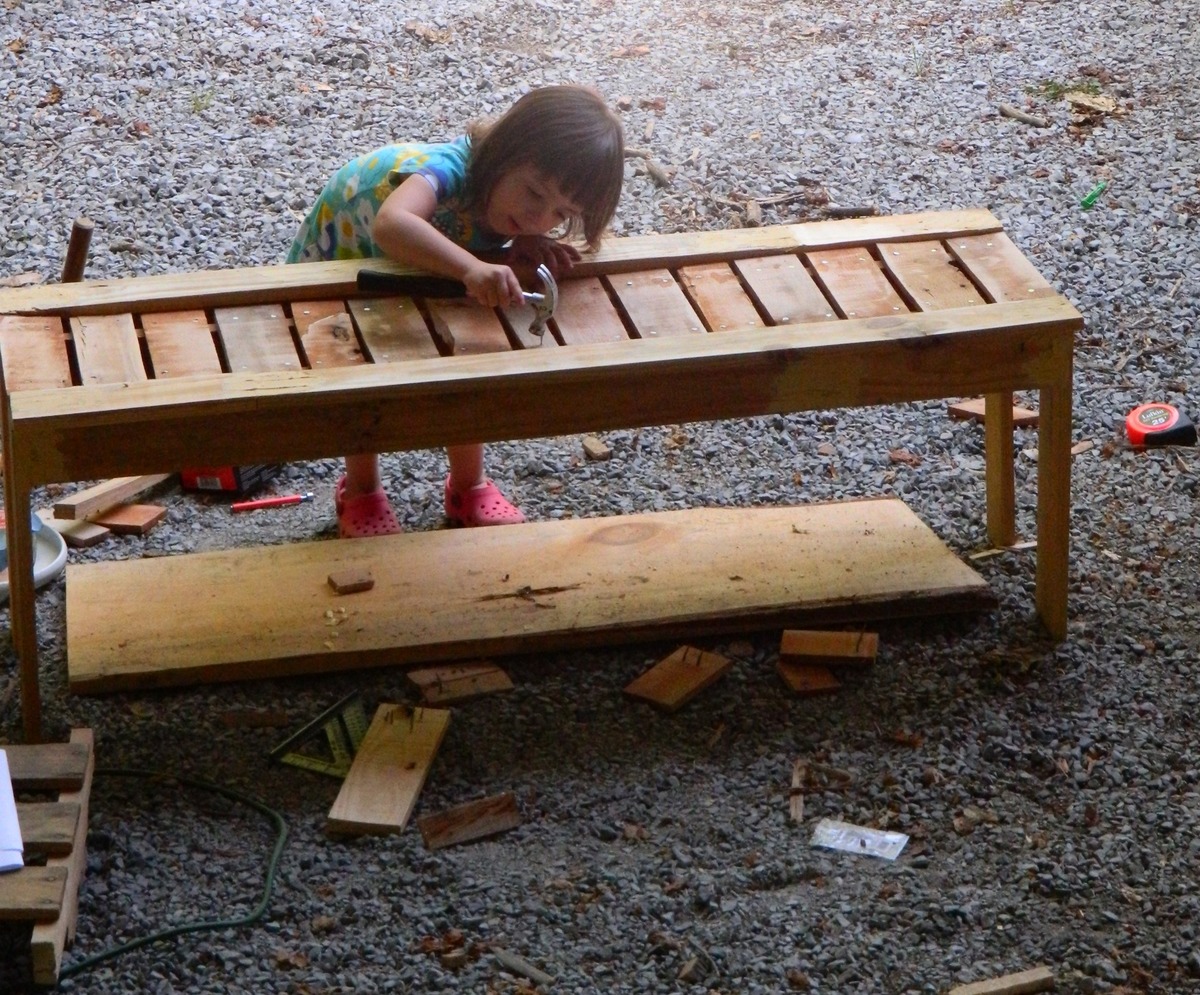
I had some left over wood from pallets and I really liked the look of the simple outdoor bench. One pallet was made out of some type of red colored wood and I decided the slats for the seat would look good in the red colored wood. The rest of the bench was from a lighter colored pallet. I used nails and glue to attach the seat slats so that my daughter could help. She loves to help, but does not like my drill even if she has hearing protection. See more at http://www.makeitlovely.com
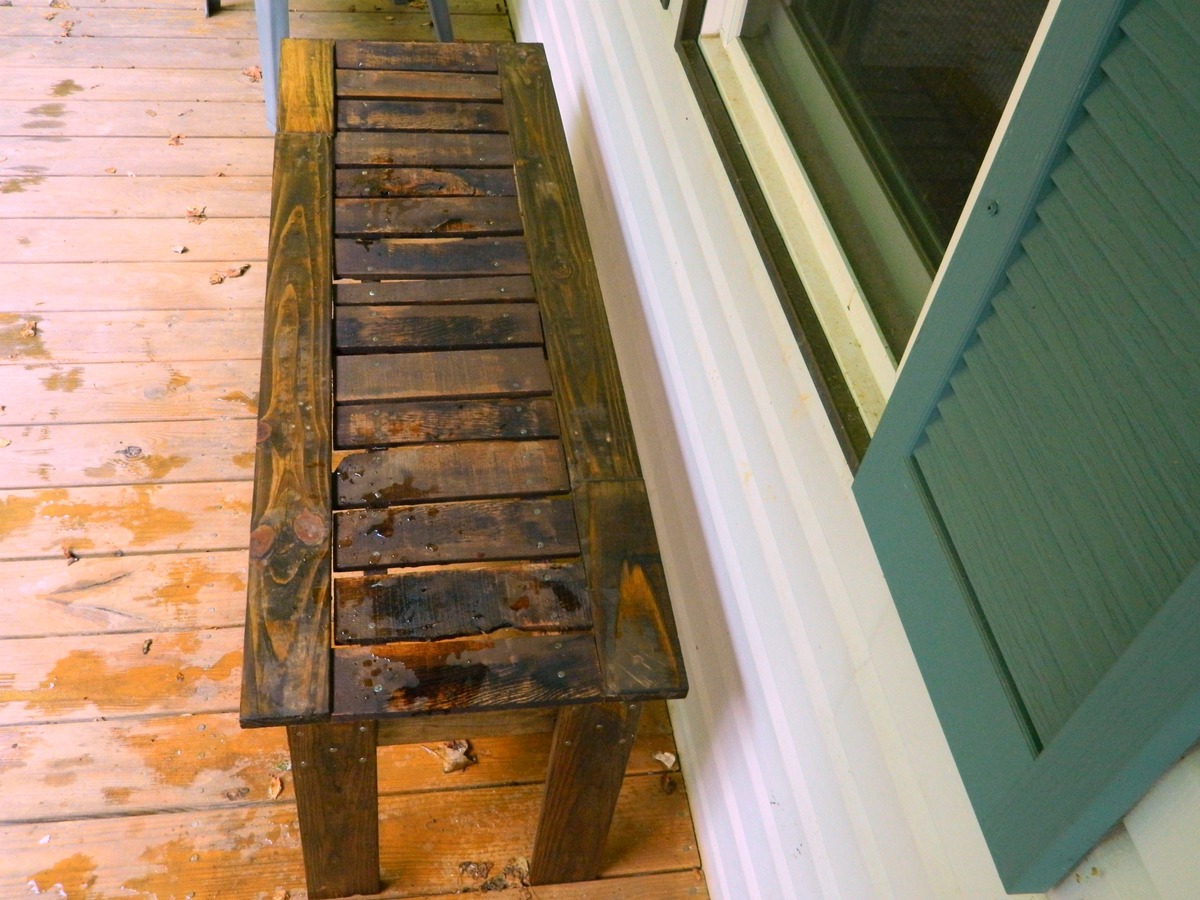
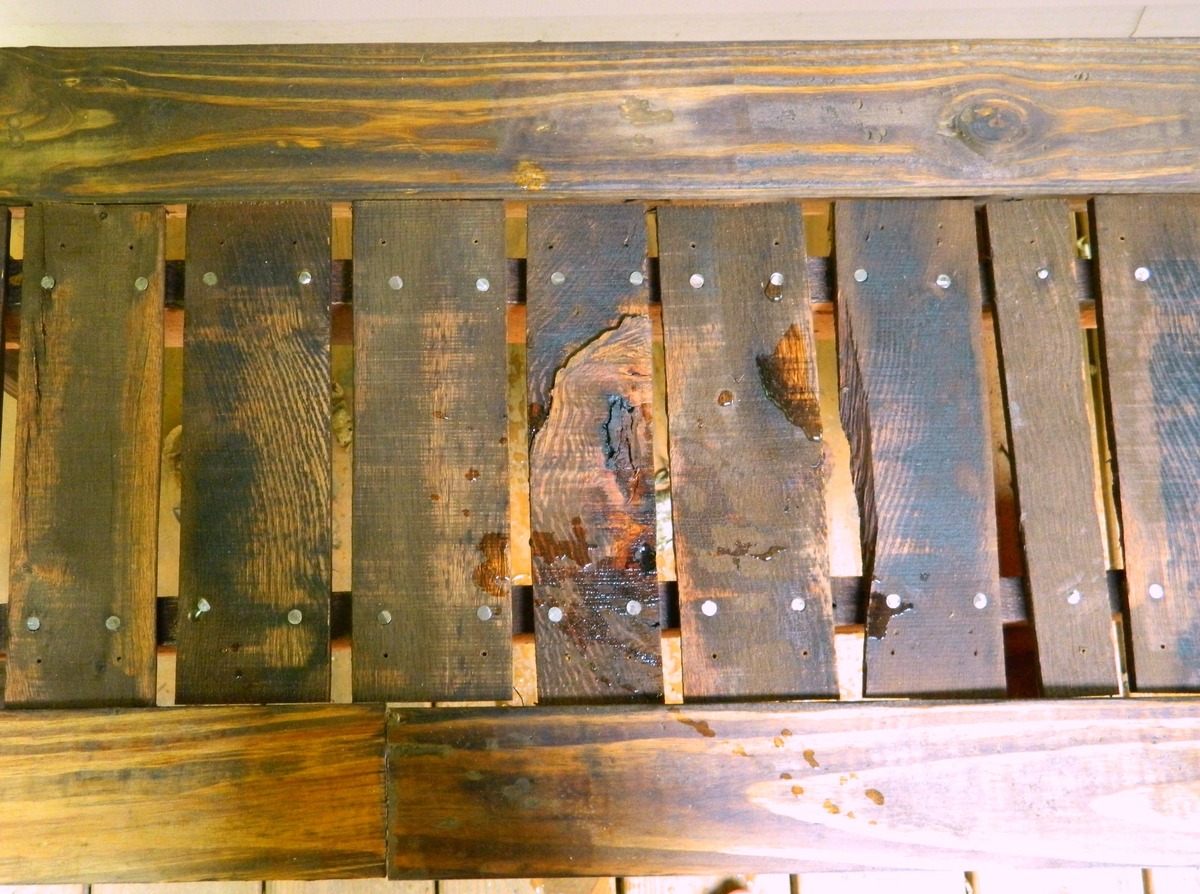
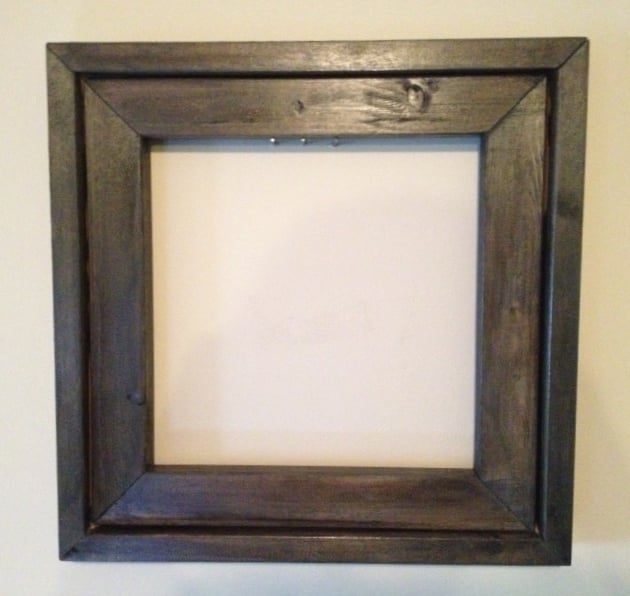
My first DIY project EVER. Not really a brag....but I'm pretty proud of it. Amazing what you can do with a $1 piece of wood and some stain. Some sides are slightly uneven, some nails might be crooked. It has character and I will always remember it as my first! It's liberating to create something beautiful with your own two hands :)

Sun, 07/21/2013 - 23:45
Looks pretty fine to me! I really like your choice of stain, too! Keep building!
Val

I took the workbench plans, less the casters. I also added the shelf on top. It was fun to take the plans and then sketch out new specs to adjust for the rack
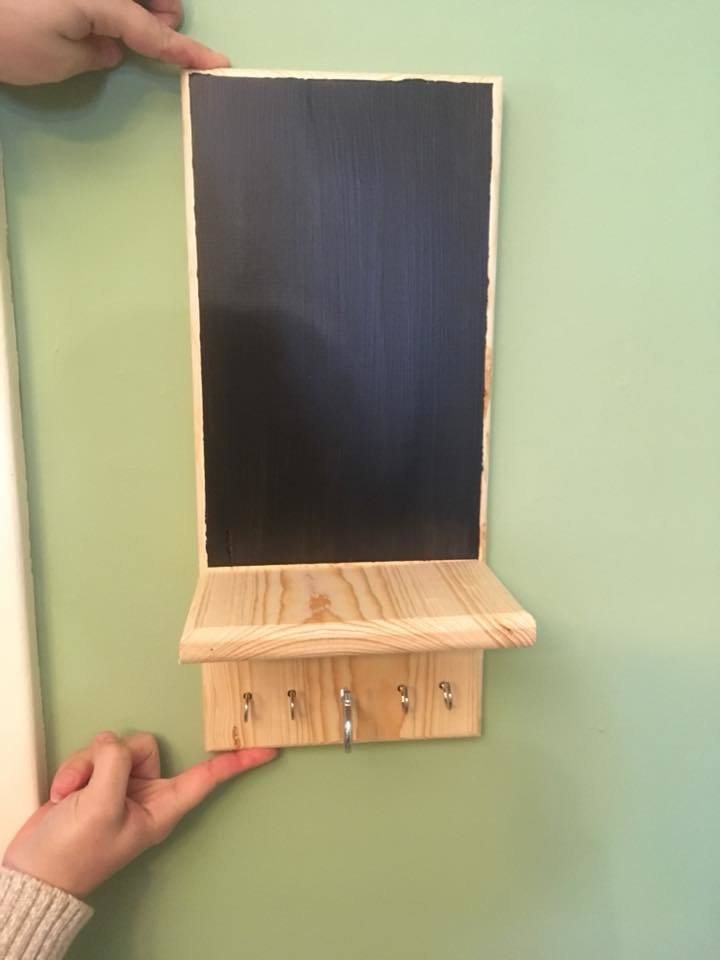
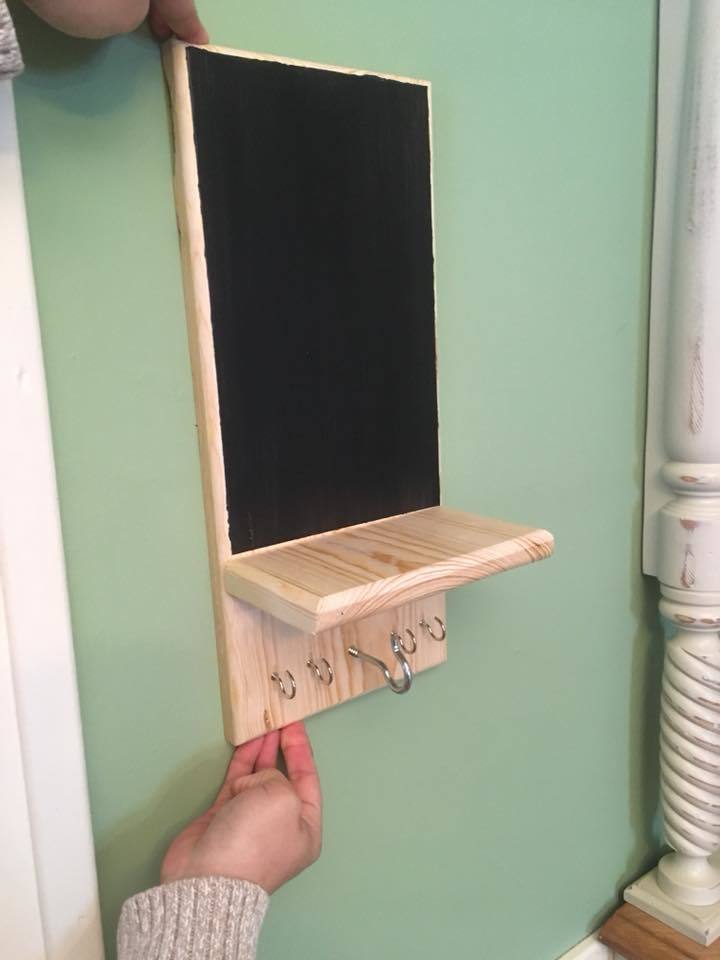
This is a basic key organizer but the big hook it for a dog leash. The sides are routered and the middle is chalkboard paint for writing. A friend just suggested putting a route to hold the chalk. I will add that later.
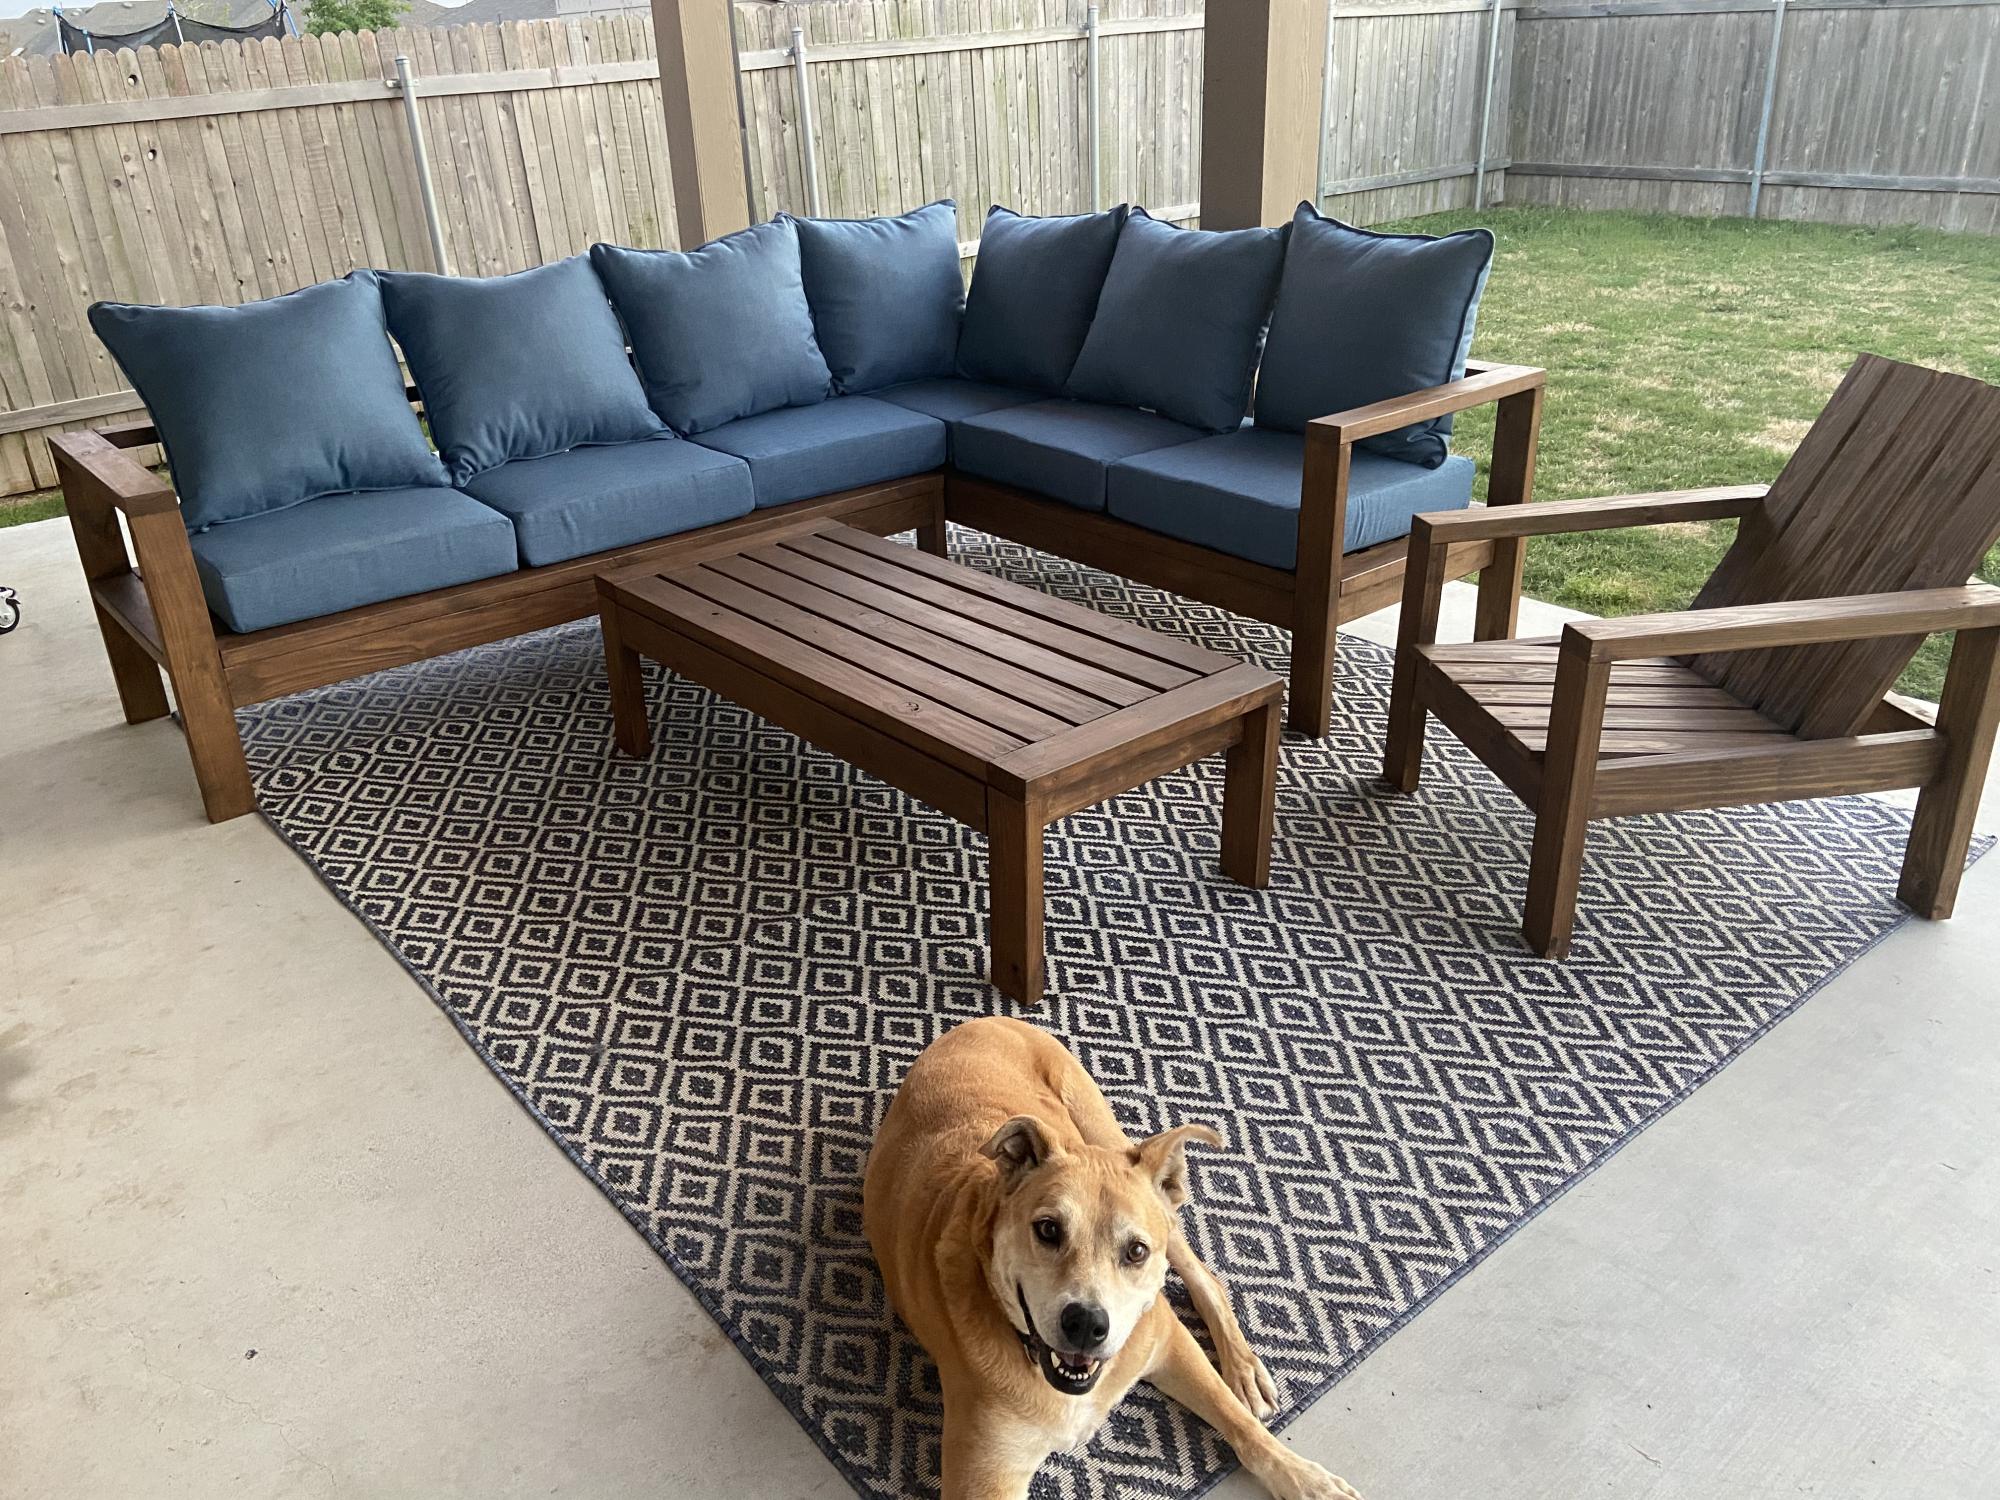
My husband made 4 pieces from the 2x4 outdoor collection. It was his first time doing a wood working project. The step by step plans made it easy and manageable!
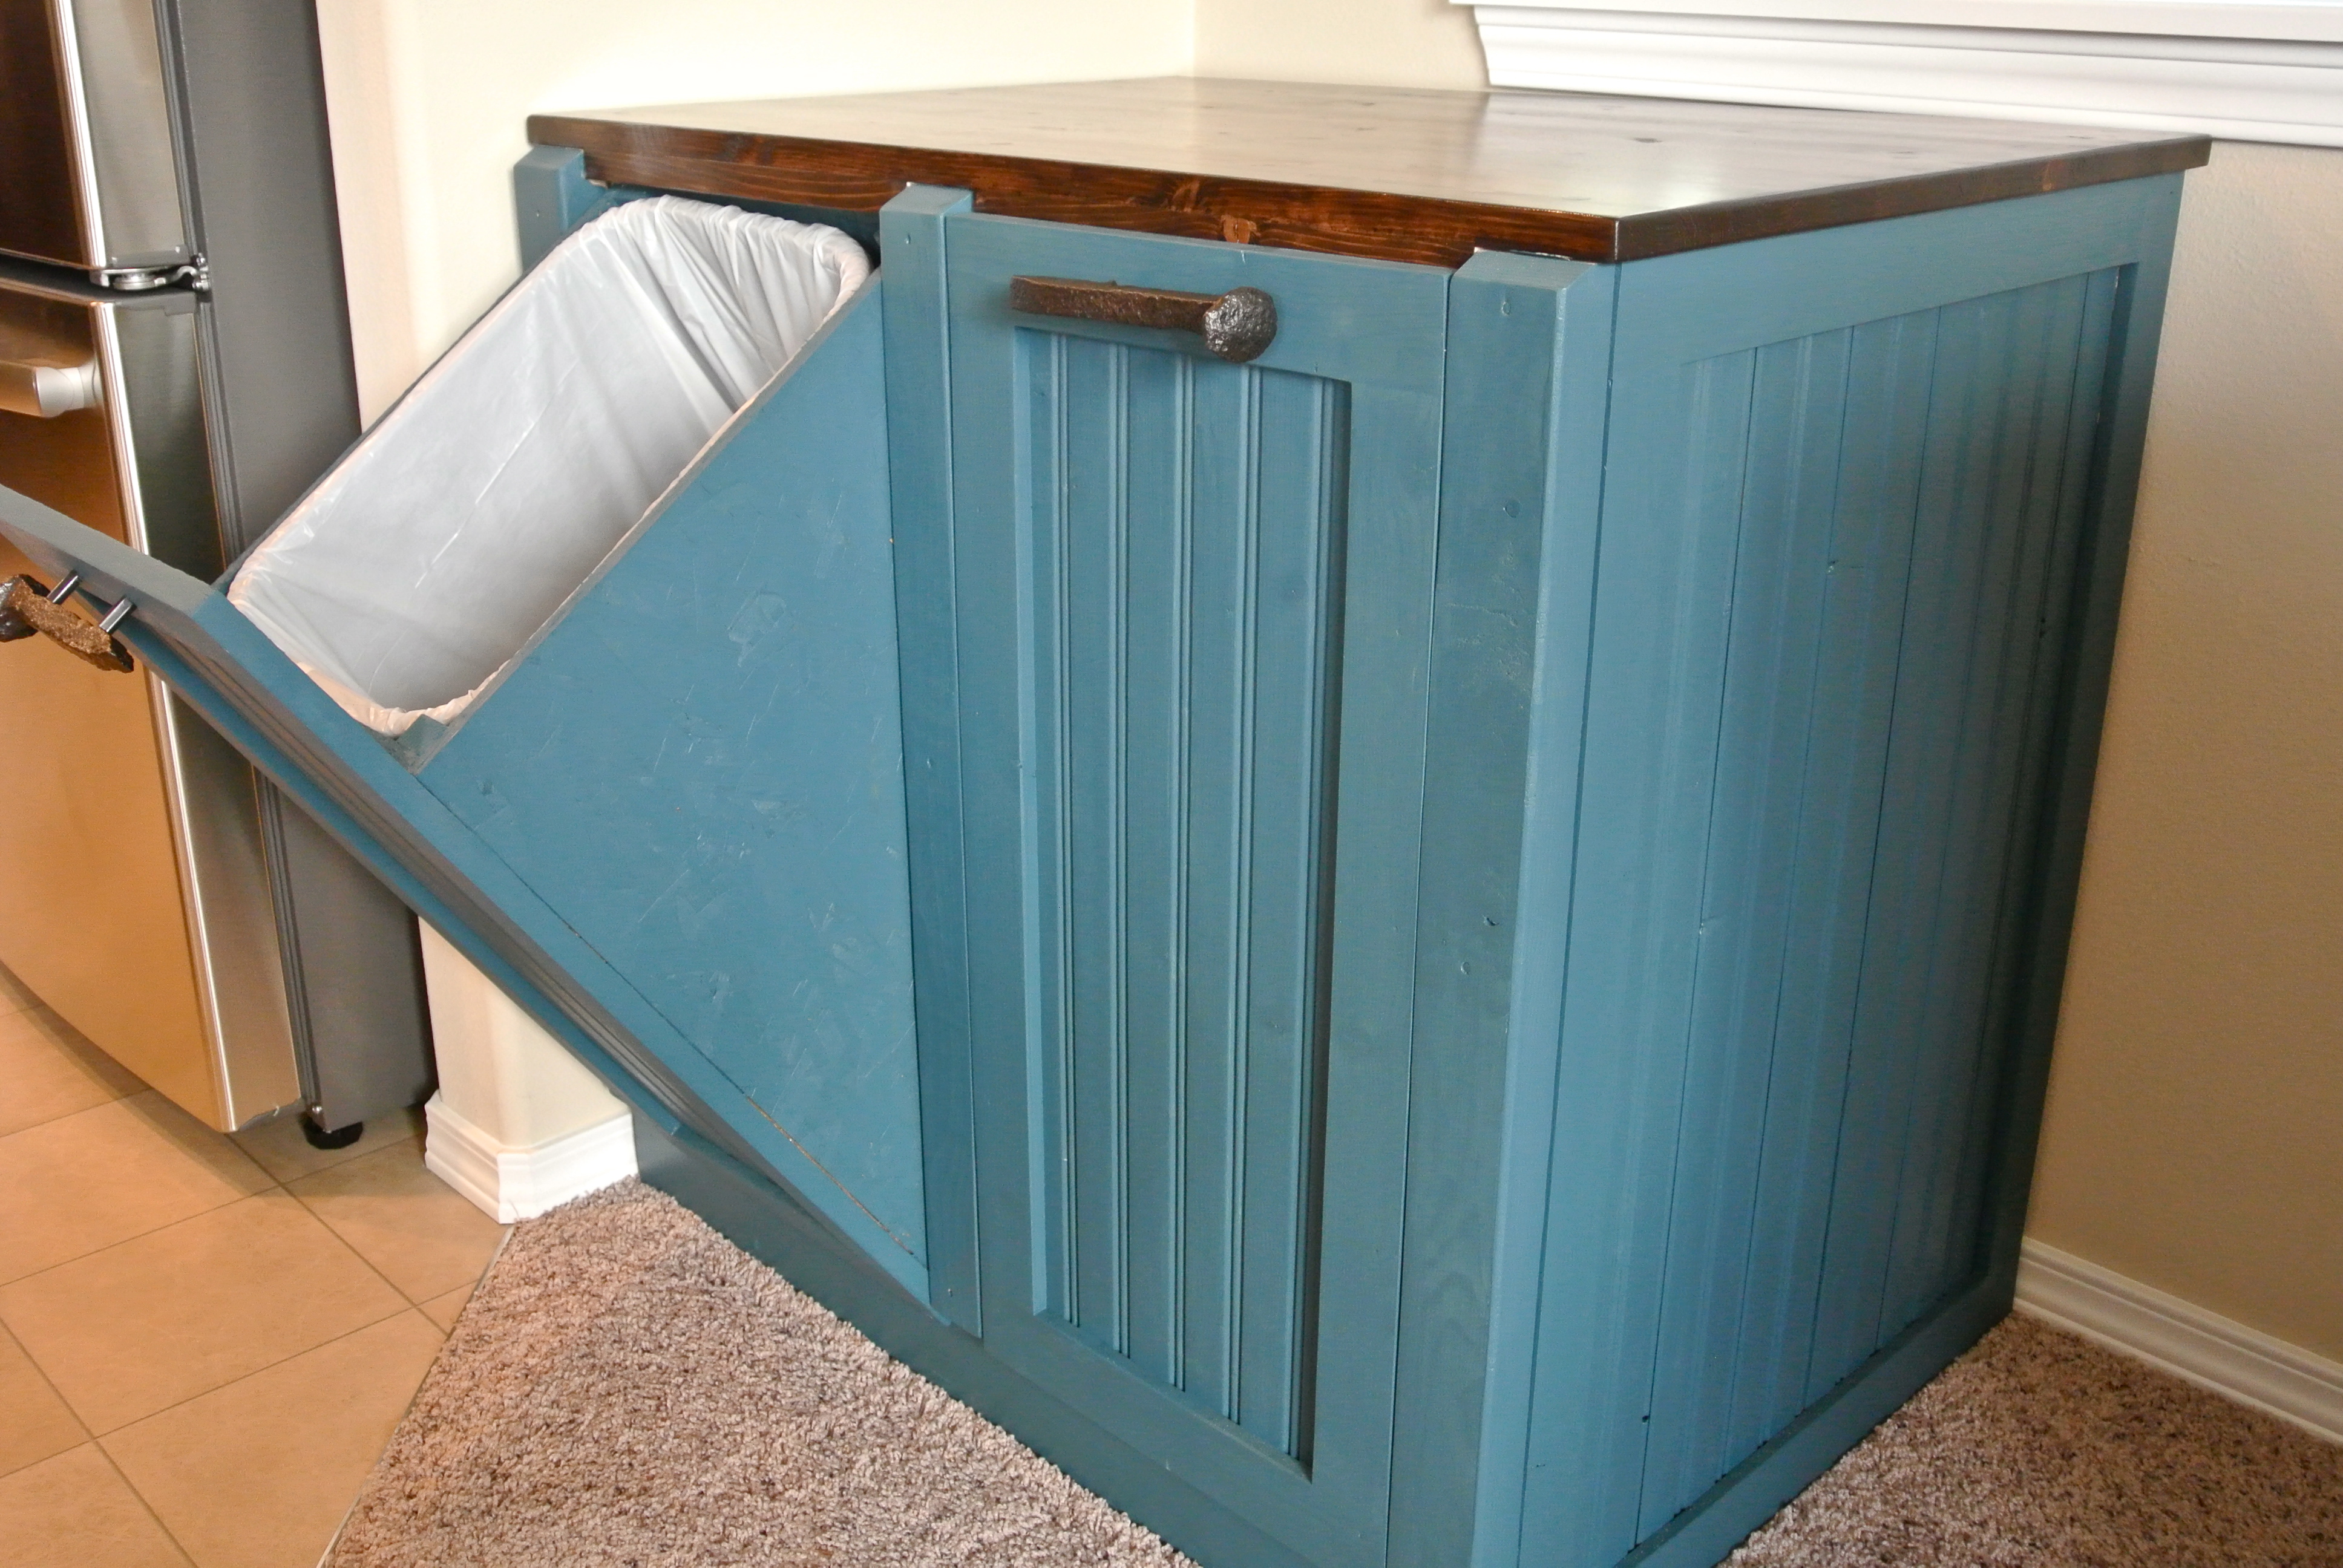
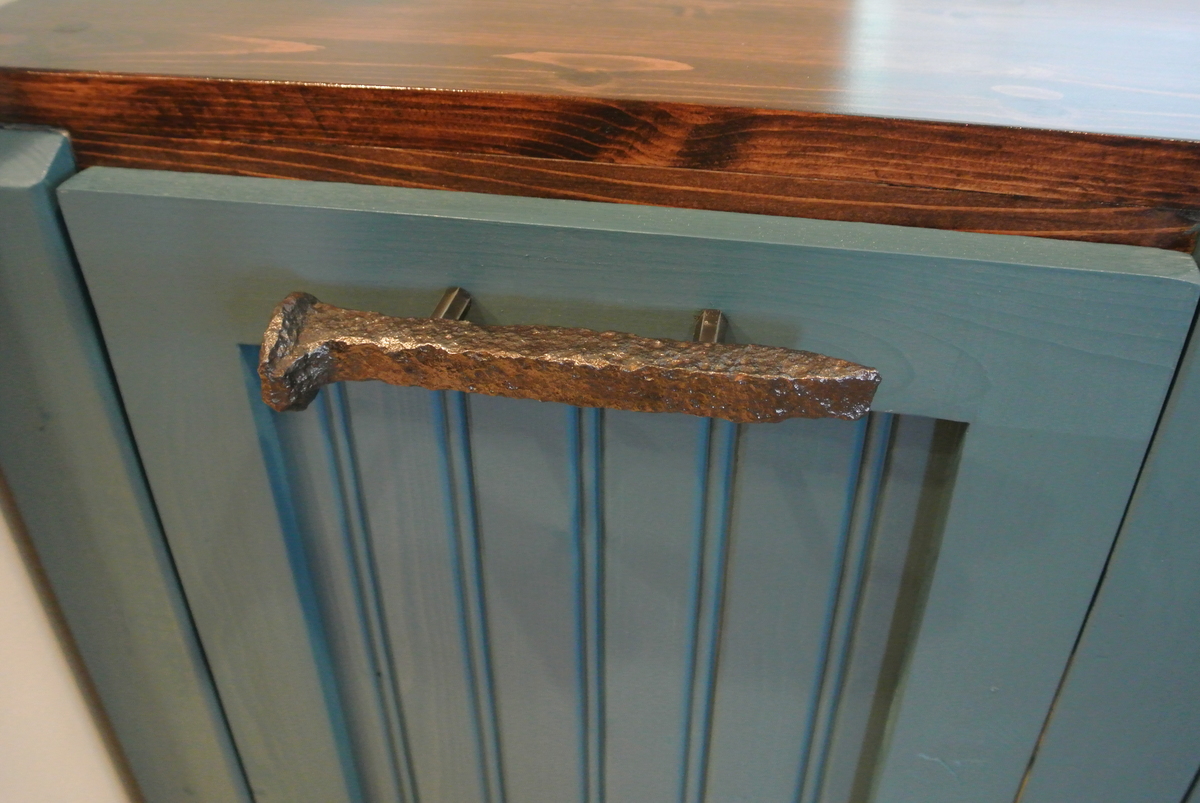
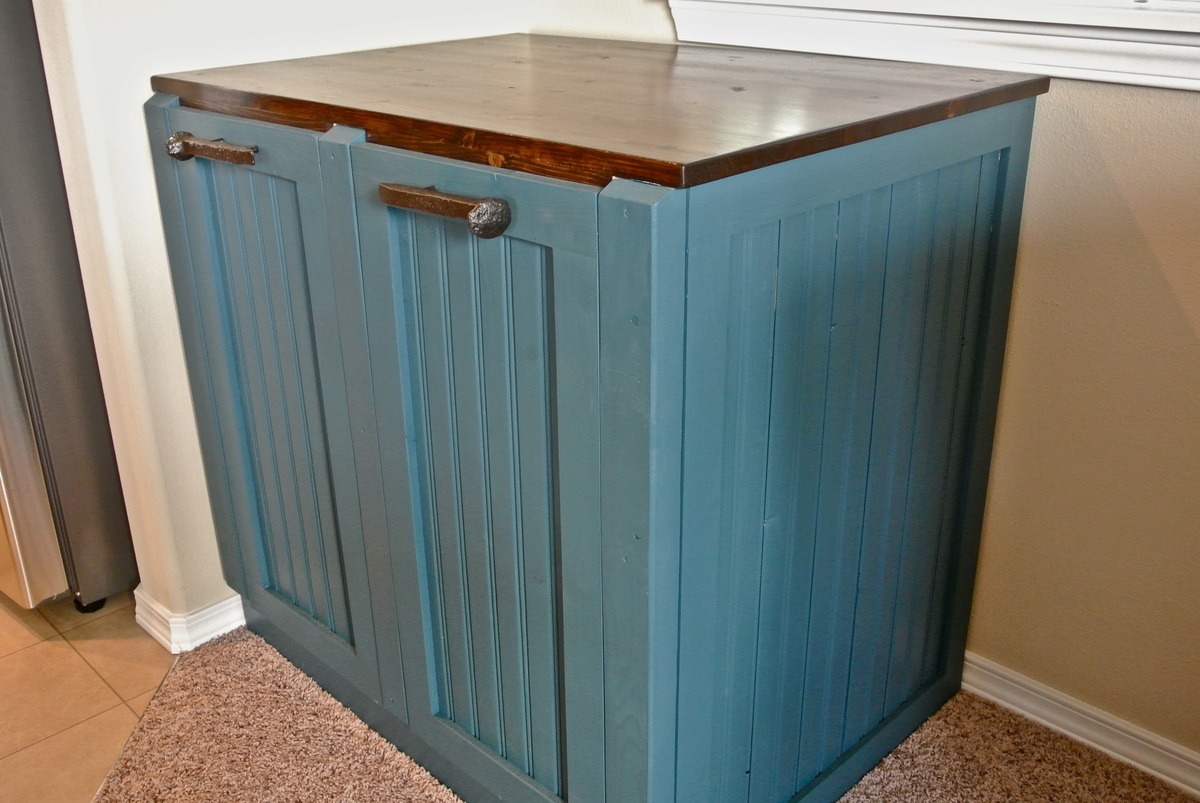
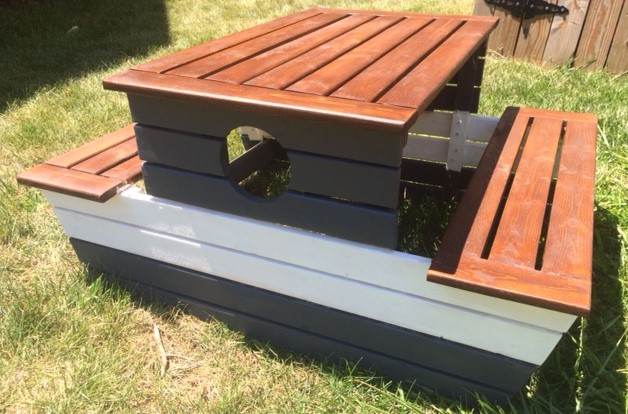
We just moved in to a newly built house, so it was important for everything to have a place. I don't like the garbage can to be under the sink, and my wife doesn't like the can just out on the floor...too many missed hook shots with the coffee filters I guess! This cabinet solves many kitchen problems all at once. An attractive cabinet that hides garbage and recycle, yet is easy to get in and out of. The railroad spike handles are something we sell on Etsy, as well as knobs and shelves. The shop name is YeenYus.
Wed, 07/24/2013 - 21:15
Yeah, I kind of built this on the run with nothing but the space it had to fit into. But it is 34" wide 32" deep and 24" high. I needed it to fit under the window and used the Home Depot garbage bins as the starting point.
I build a lot of stuff...and this was a tough one. The frame is 2x4's with pine facing and bead board. 4 hinges, stain and paint...less than $100.
I'd love to work with you on this if you want. The hard part was engineering the bins falling forward equally and not binding up. The back of the bin actually hits the counter top perfectly now. But you can see that I had to put an extra 1" under the top for it to hit something.
It' gonna take some work but this thing looks and works so smoothly. You can do it...I can help!
I made easy picnic table for my son over the weekend. The plans are very straight forward and easy to follow. This table fits two toddlers on each side but it was smaller than I thought it was going to be. I think my son will grow out of this by the time he is 4.
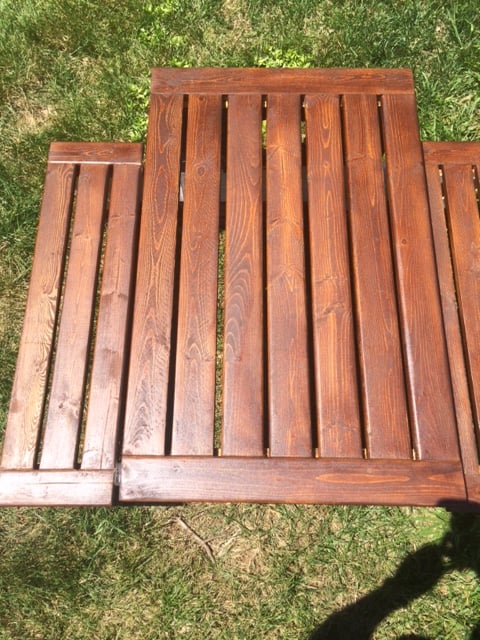
We estimate that the cost of this project was right around $50, but we had a lot of tools and materials already. This was a fun project and a great piece for the cost. I would suggest staining as much as you can before assembling those legs! Staining and applying poly was a pain in the butt! We used a dark mahogany Minwax stain and 2 coats of Minwax poly. It took us a while to do it because we have a 11 month old that keeps us on our toes.

Sun, 05/24/2020 - 15:04
Hello Ana. Will you be posting the plans for this desk? I like it. I would like to build it for my house. TIA.
In reply to Hello Ana. Will you be… by hcorletto
Sun, 05/24/2020 - 15:09
Disregard my comment, I found the plans. Thank you.
Thu, 07/23/2020 - 16:41
Yes I would love to have the plan for this table as well
Used Ana's plans with a little modification.
I built 2 different sizes and donated to our church for their fellowship hall.
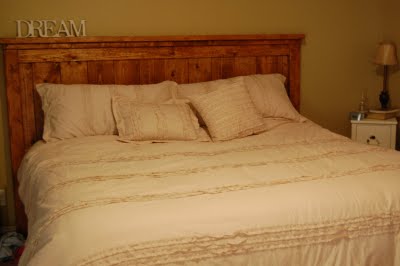
I have been dreaming of building a bed since I found Ana's website over a year ago. I bought the wood in January and slowly worked on it over 3 months, mainly because I was uncertain that I could actually do it myself! After spending about 3 hours in a row to finish it, it is finally complete! I am so happy with how it turned out and friends of mine cannot believe that I did this BY MYSELF! View more on my project at http://thevpfamily.blogspot.com/2011/05/lumber.html or http://thevpfamily.blogspot.com/2011/06/did-you-guess-bed.html

Fri, 06/10/2011 - 11:45
The bed turned out just beautiful! Love the finish, and $75? Wow! Thank you so much for sharing with us!
Comments
Ana White Admin
Wed, 03/09/2022 - 14:10
Beautiful Bed!
WOW, that looks amazing, thank you for sharing!