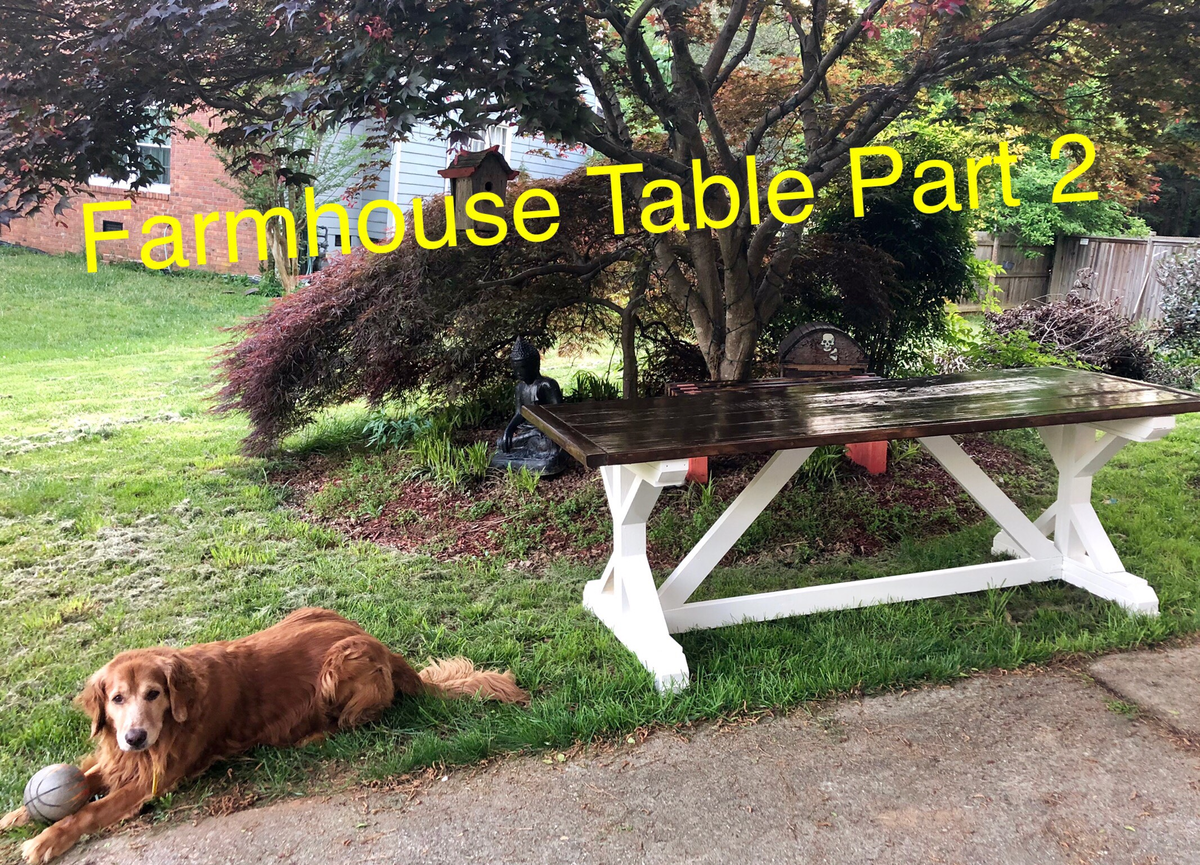
Truss Shelves
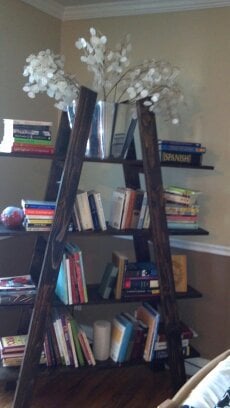
First project! Cut the tops at the wrong angle. Stained with Miniwax Dark Walnut. Had some kreg jig troubles but all-in-all very happy with the results.
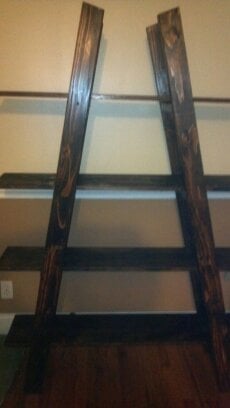

First project! Cut the tops at the wrong angle. Stained with Miniwax Dark Walnut. Had some kreg jig troubles but all-in-all very happy with the results.

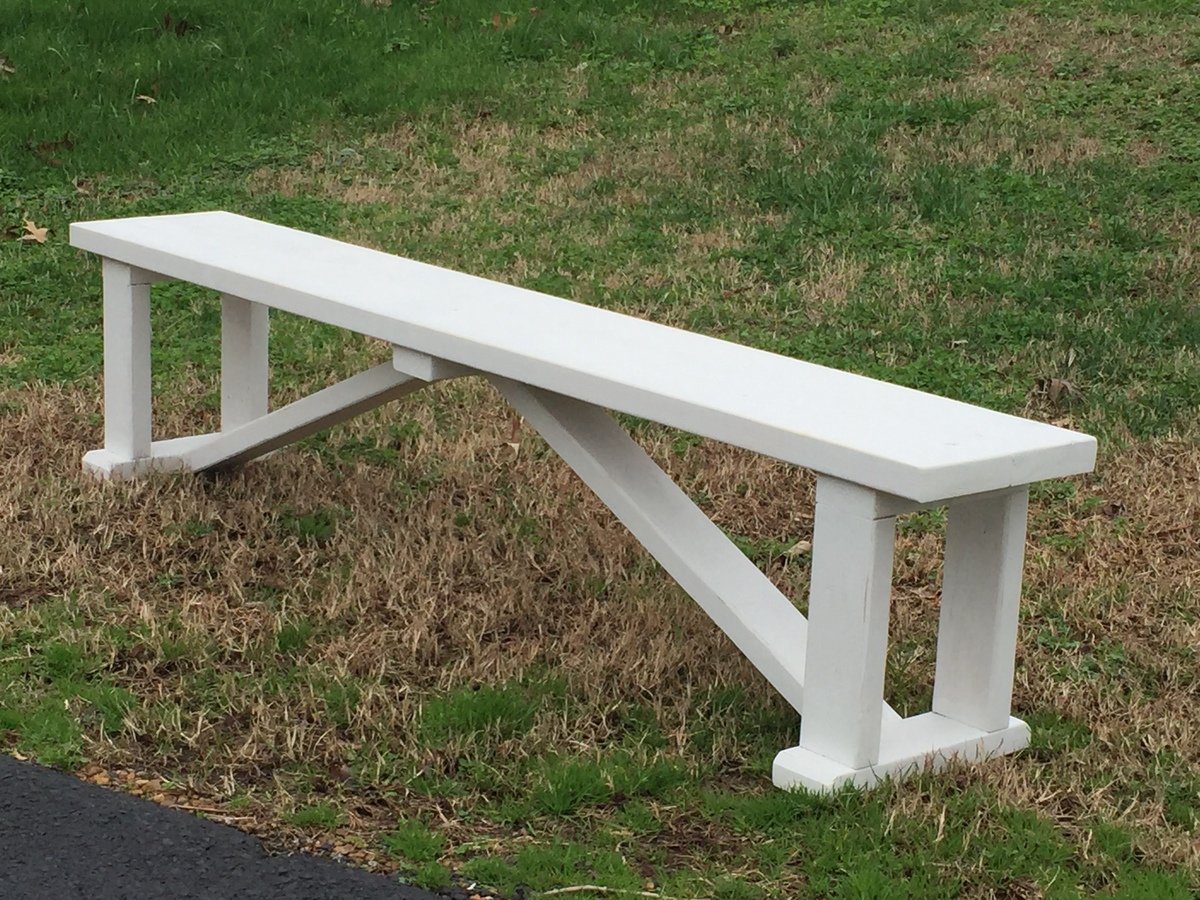
Easy project and fun to do!

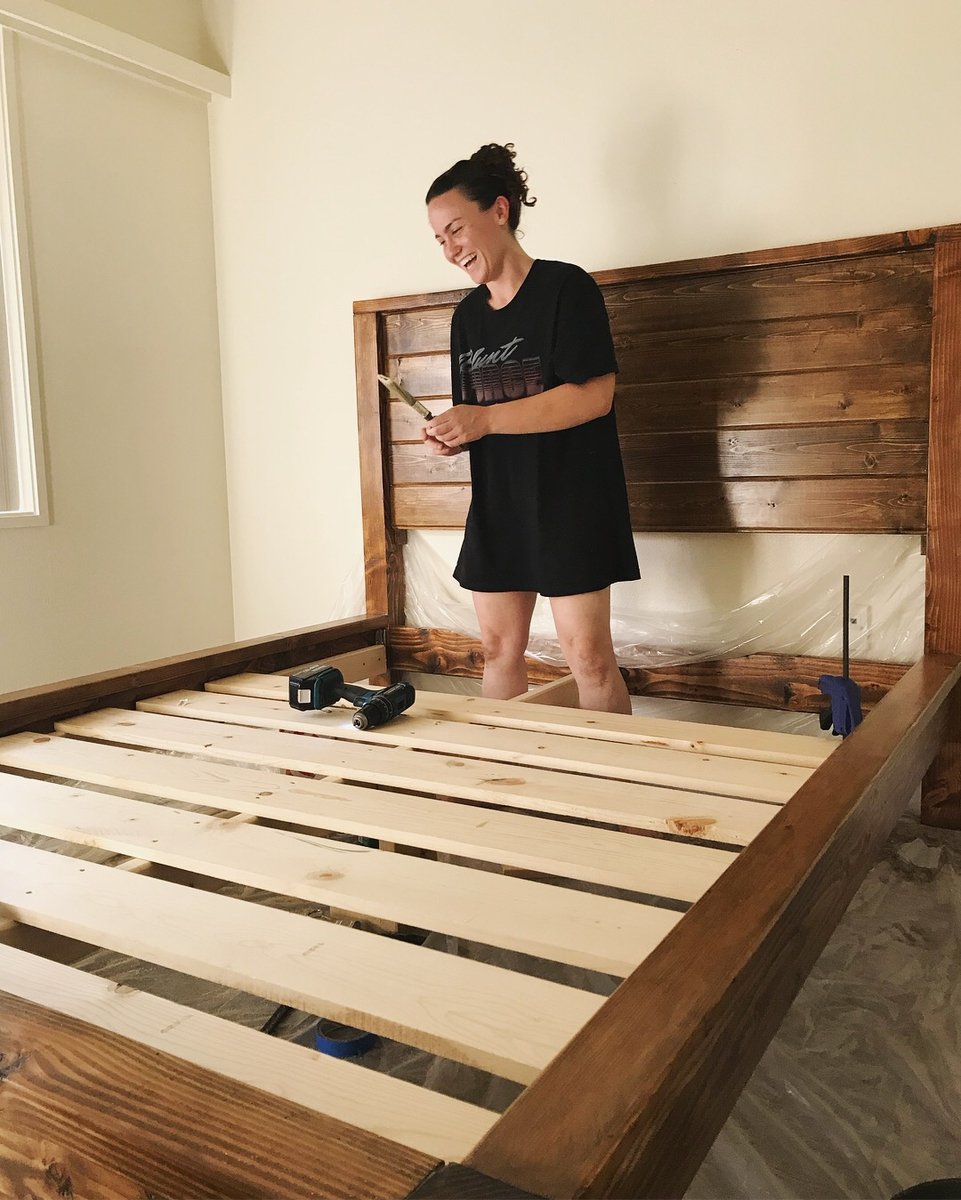
This was my first BIG project. I worked on it for a few hours every day for a few weeks. The most tedious part was sanding, but that is because I wanted to go the cheap way and got my wood from HD. I also did this (mostly) by myself, but having a partner definitely would have made the process go faster (especially for attaching the side rails to the headboard/footboard). I used bed rail brackets to make things easy when I move. I also made the bed a little higher than Ana's plan because I wanted a lot of under-bed storage.
Have questions!? Just ask! This was such a rewarding project :)
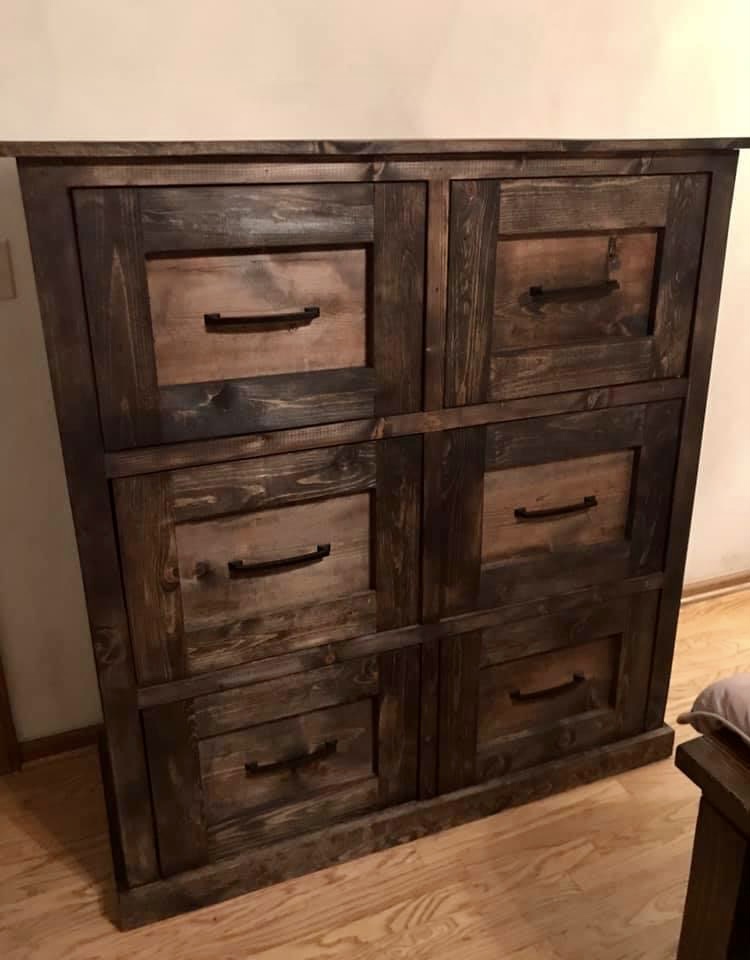
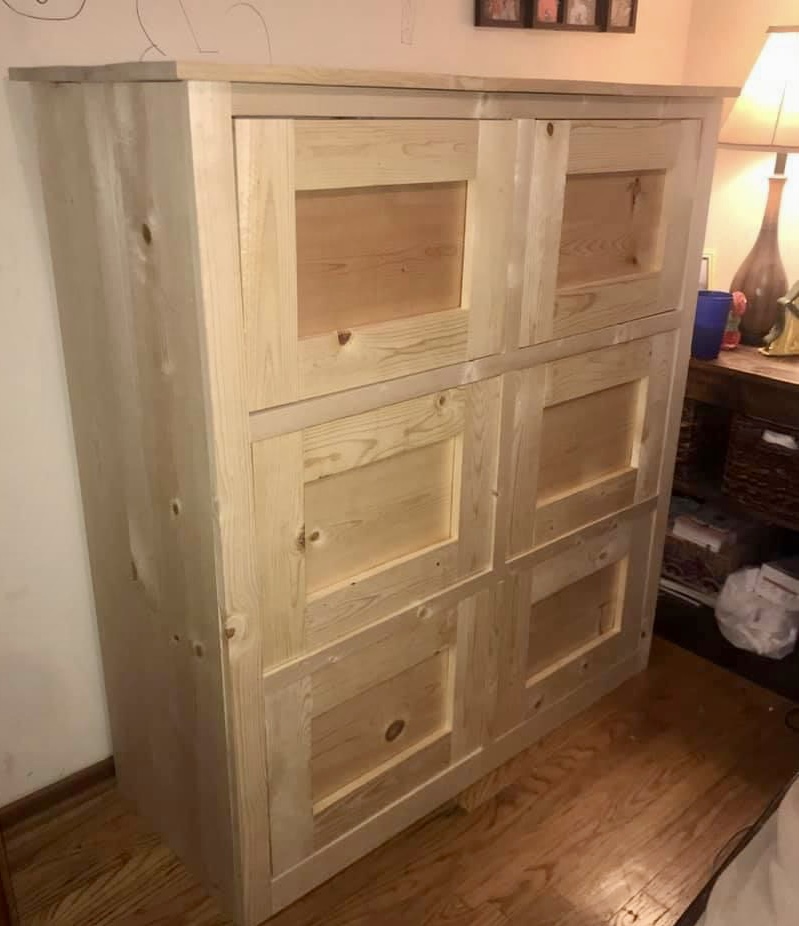
I got the idea to build this chest of drawers after watching your mudroom bench tutorial. They turned out great! It’s very sturdy and holds a lot of clothes. Thanks again for the great videos and plans👍.
Leslie
Fri, 02/03/2023 - 18:09
Way to think outside the box! Thank you for sharing, it looks great!
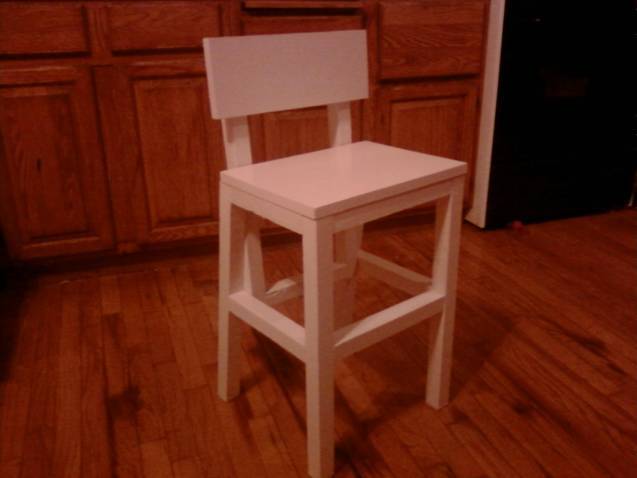
I made this chair for my two-year old niece so she can sit at the table like a big girl. We call it the "Share Chair" because she has to share it with her two sisters. It was fairly easy to make; I think I spent more time painting it.
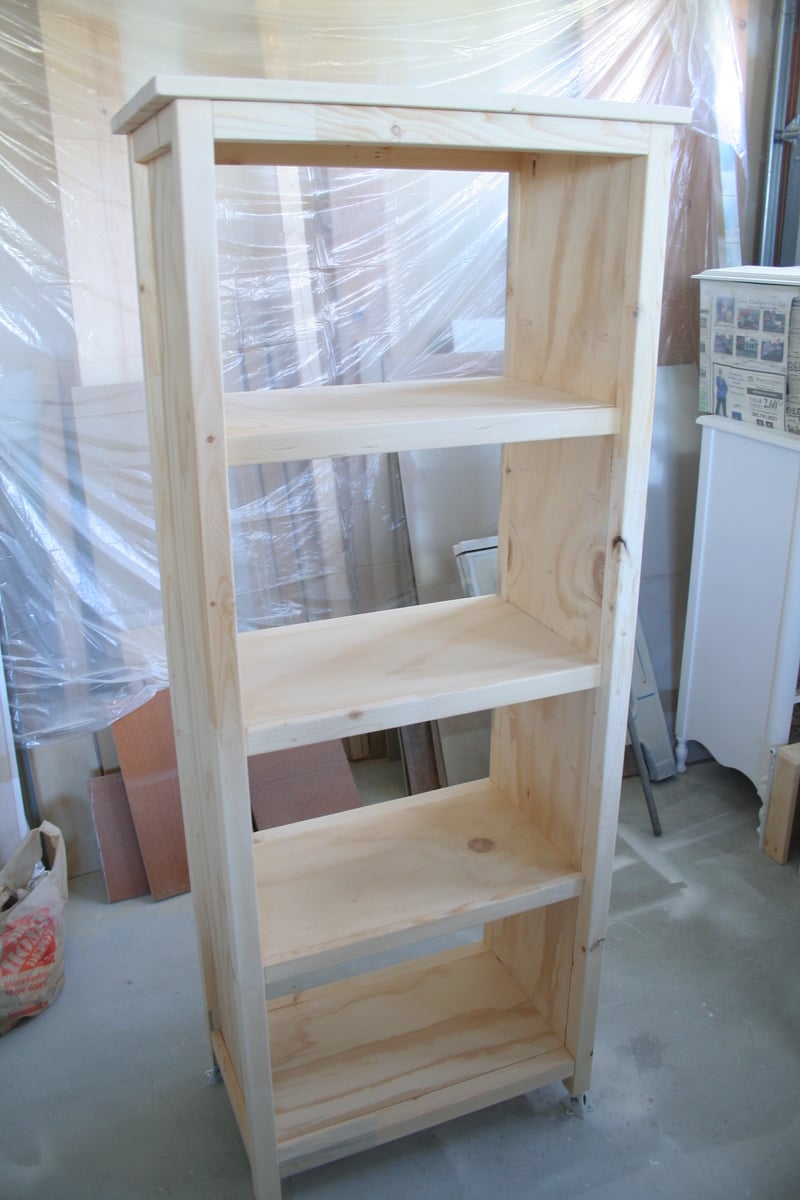
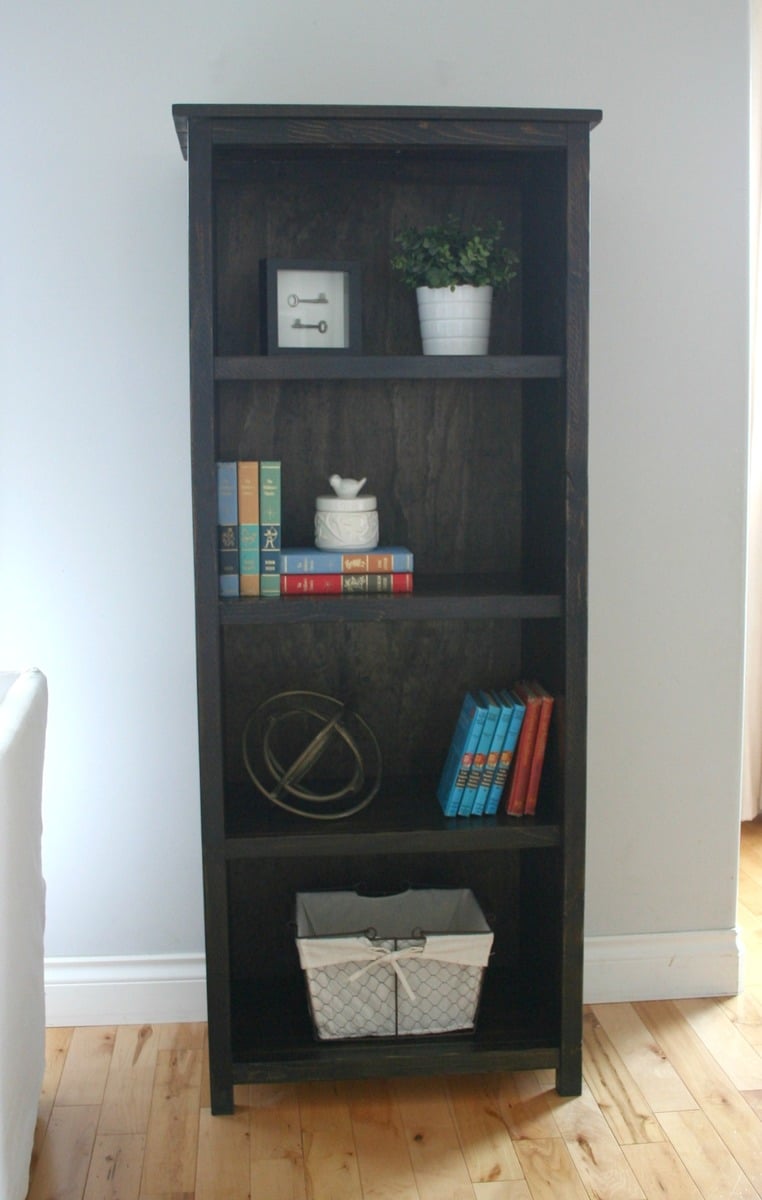
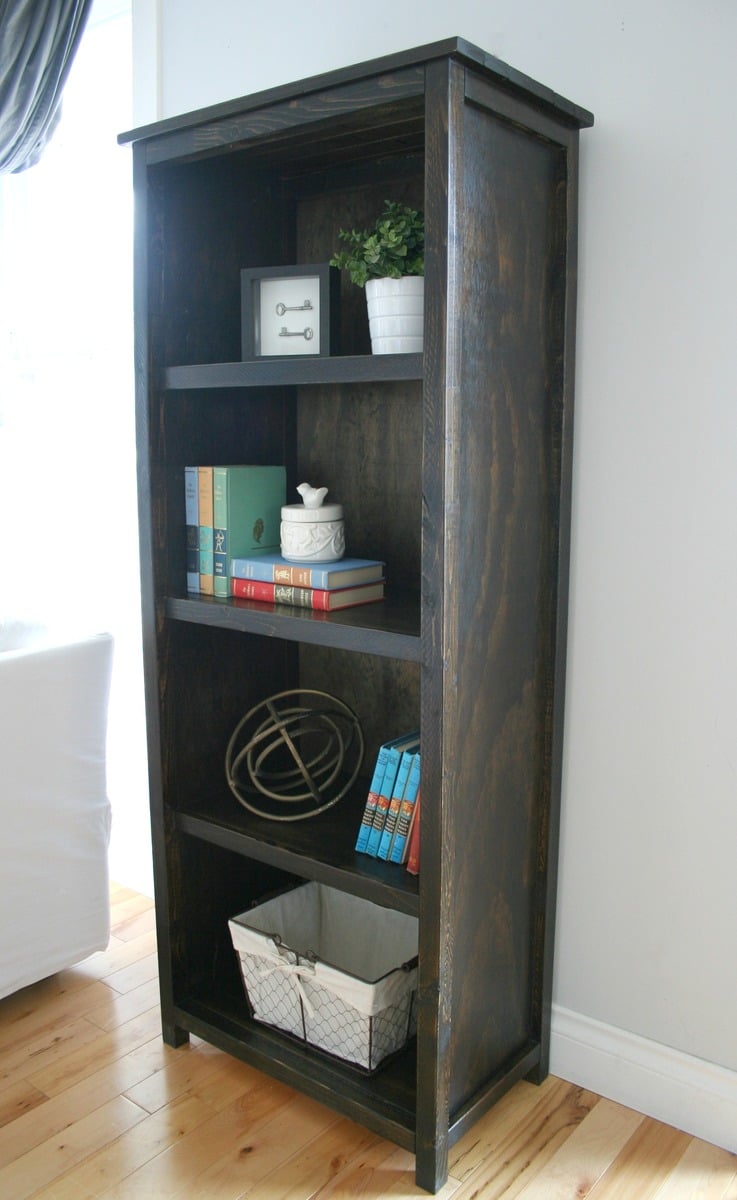
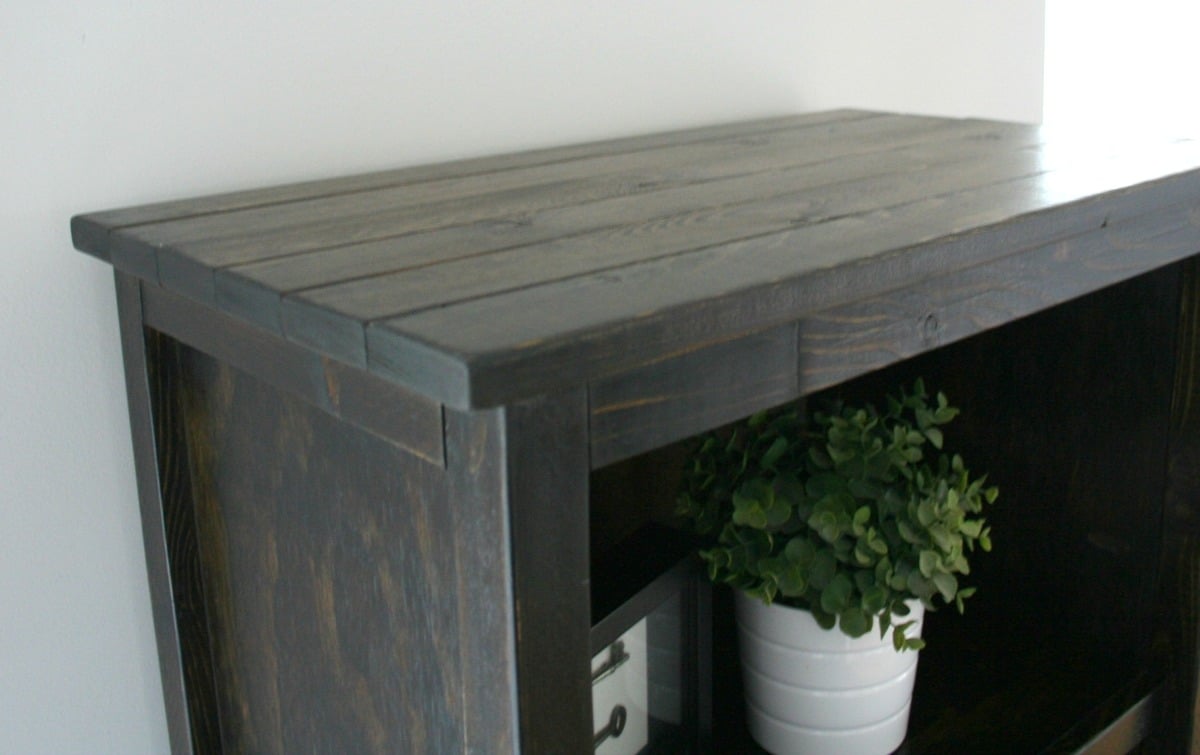
While staging my sister & brother-in-laws home so they could list it for sale, I ended up with an "empty wall" in their living room and nothing to fill it with, but knew a small bookshelf would work perfectly! I loved the look of the Kentwood bookshelf plan. I'm not the fastest builder, but after a couple hours, I had everything cut, all pocket holes drilled and everything fully assembled. I only applied one coat of stain and a single coat of poly and skipped adding a back...for now. I may go back and add a back later, but for now I'm thrilled with it (and so was my sister!)
Edit: I finally added a back to the shelf - just in time to sell it to a friend. ;)
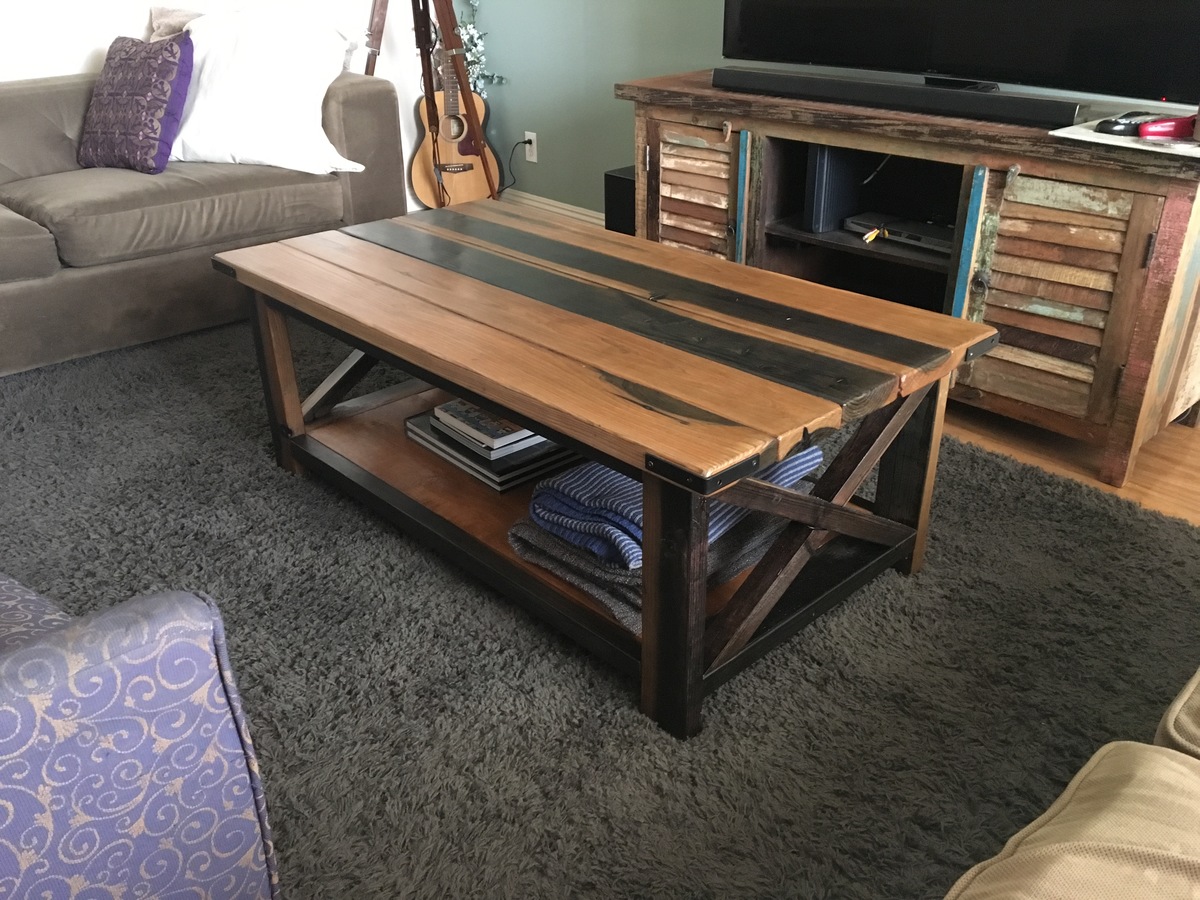
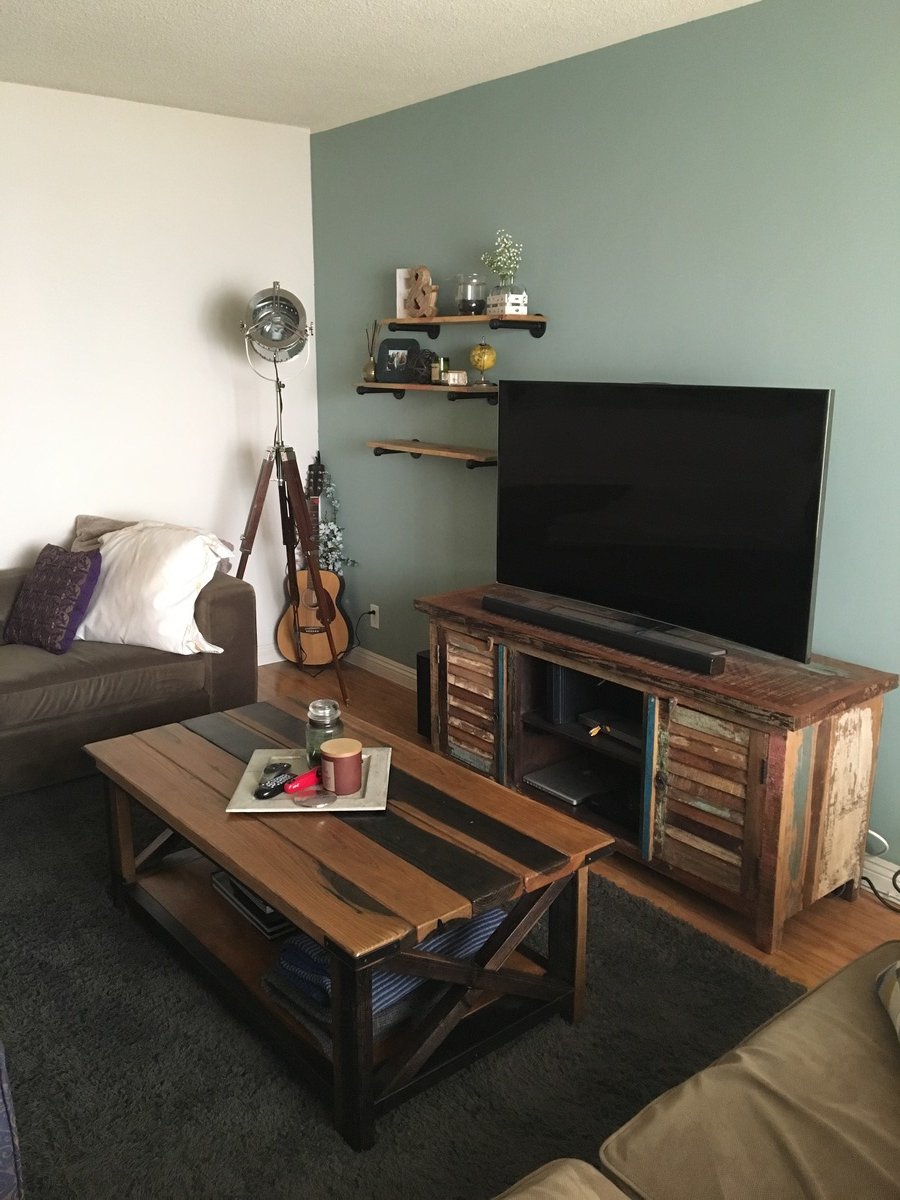
This is my first attempt at a rustic coffee table build based on Ana's designs. I used redwood (mostly) and pine for the bottom shelf. The solution was created using white vinegar and 00 grade steel wool. The solution was not diluted (should have done 50/50 with water) and sat for about 15 days (only needed 5-7 to dissolve all wool).
Hope you enjoy!
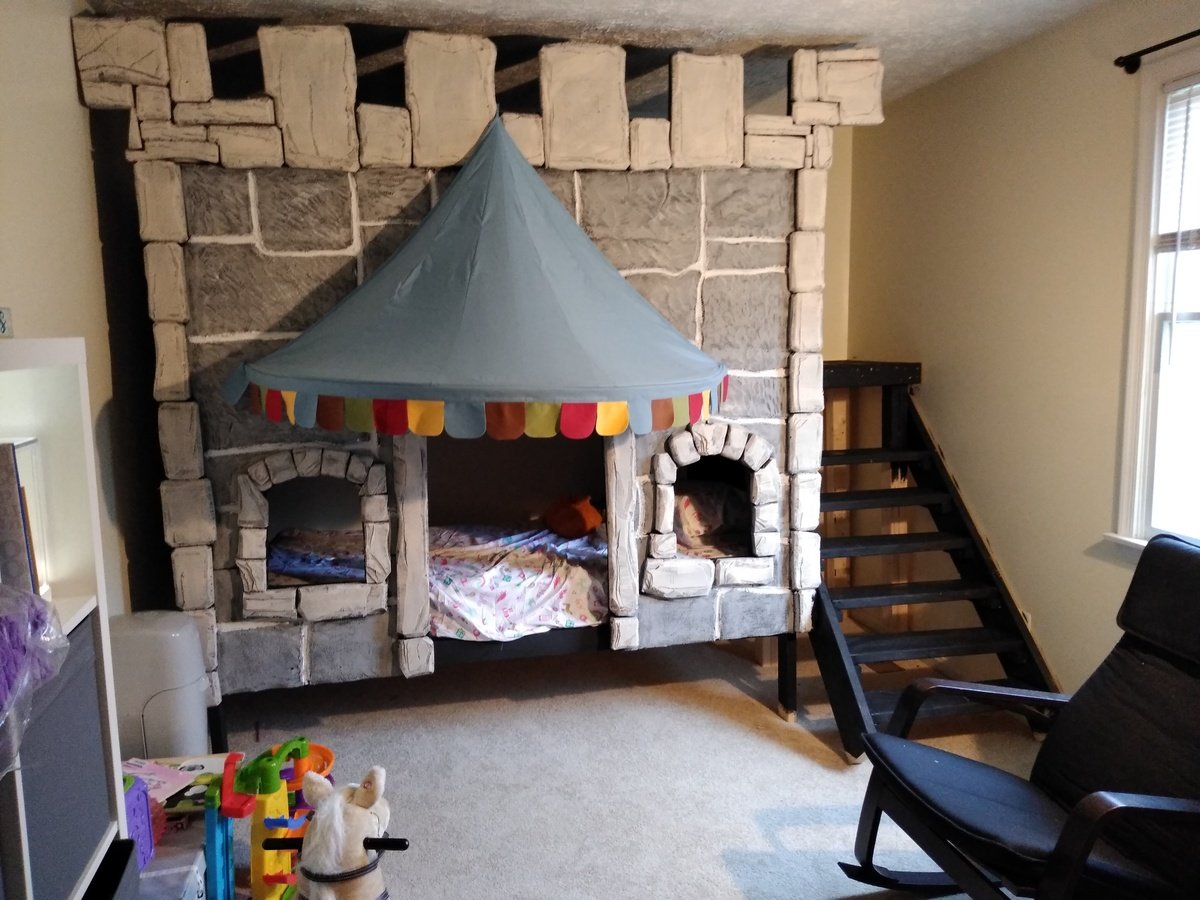
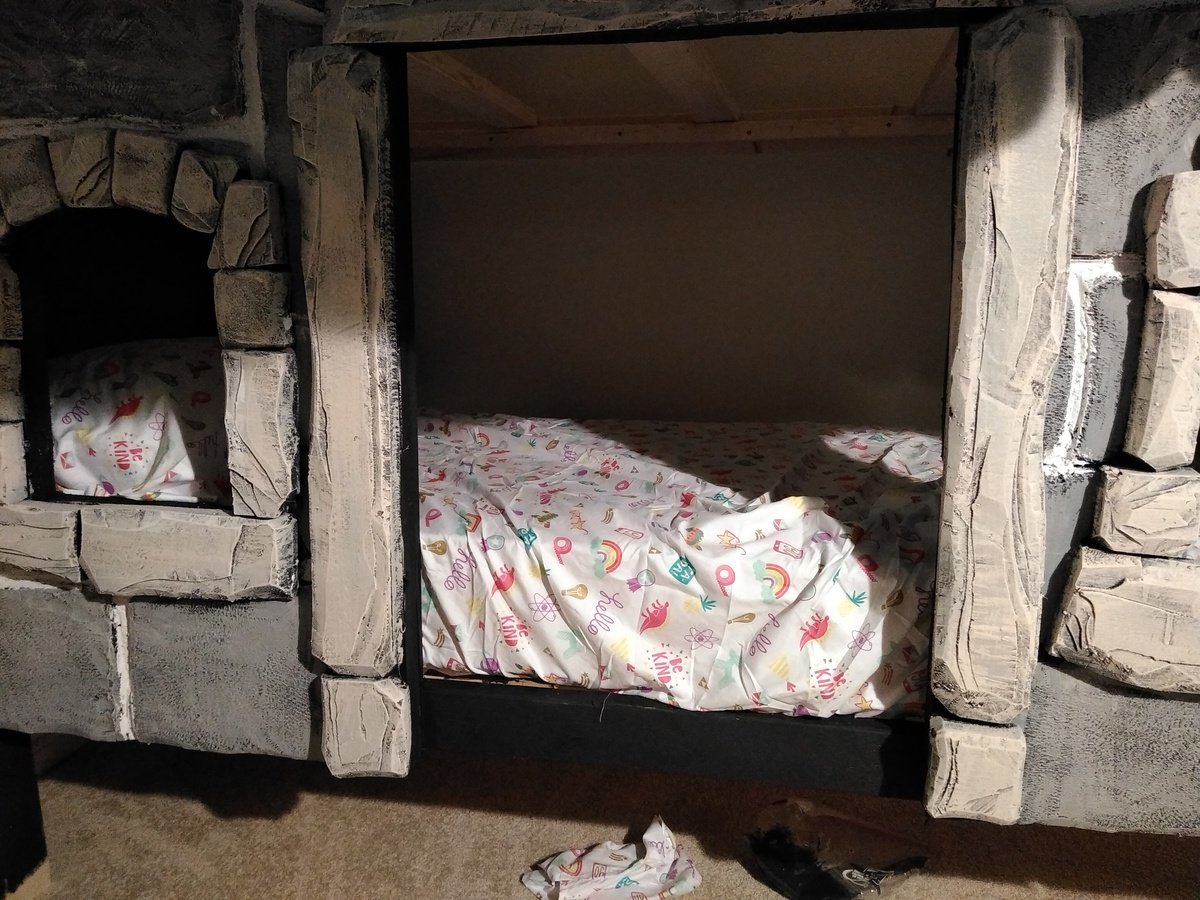
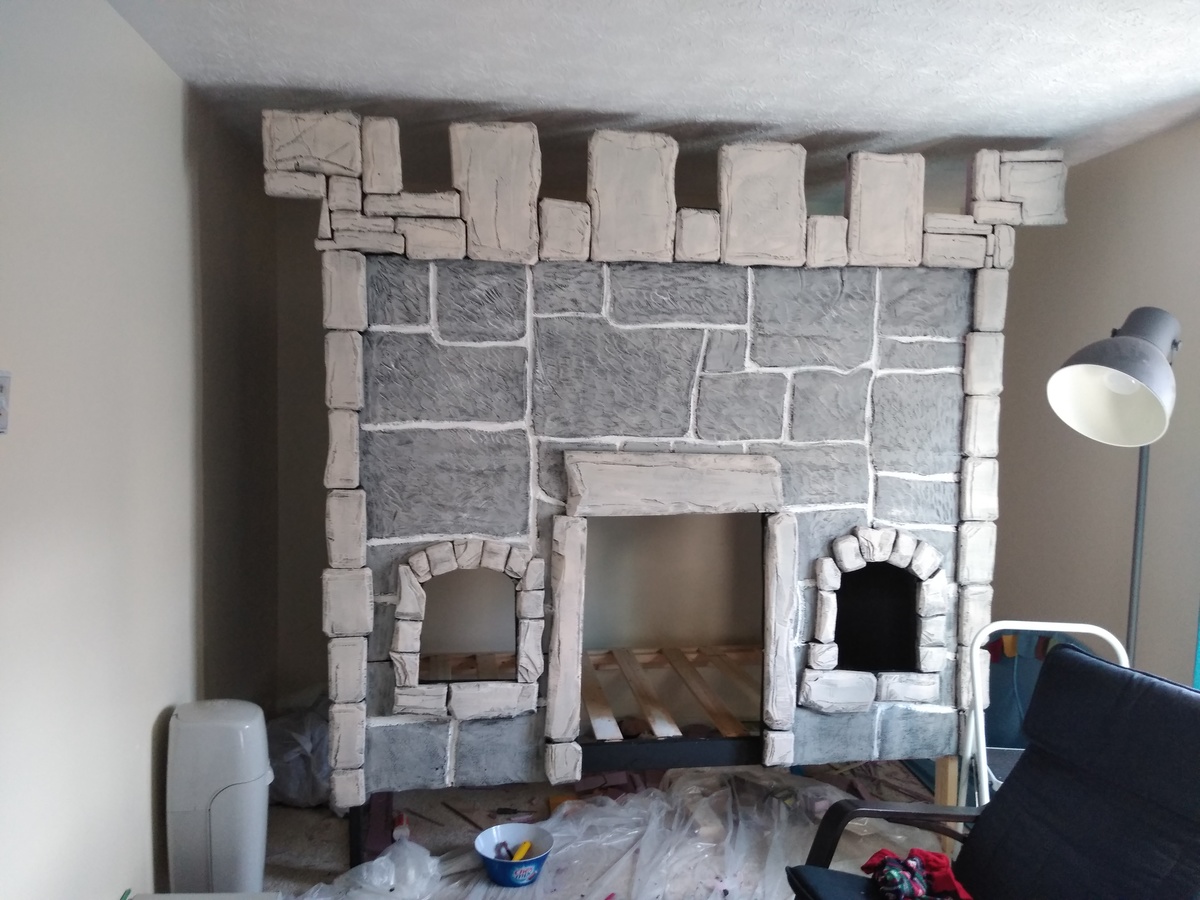
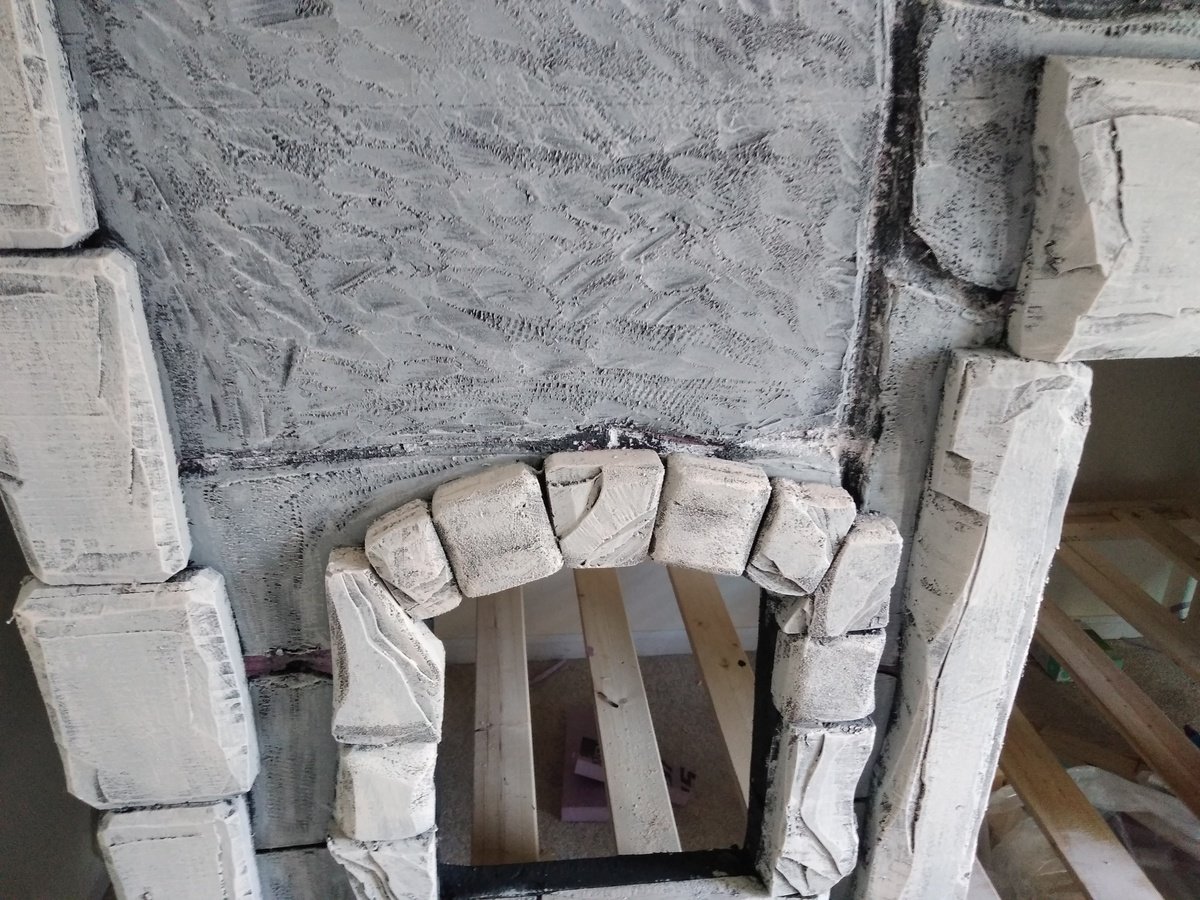
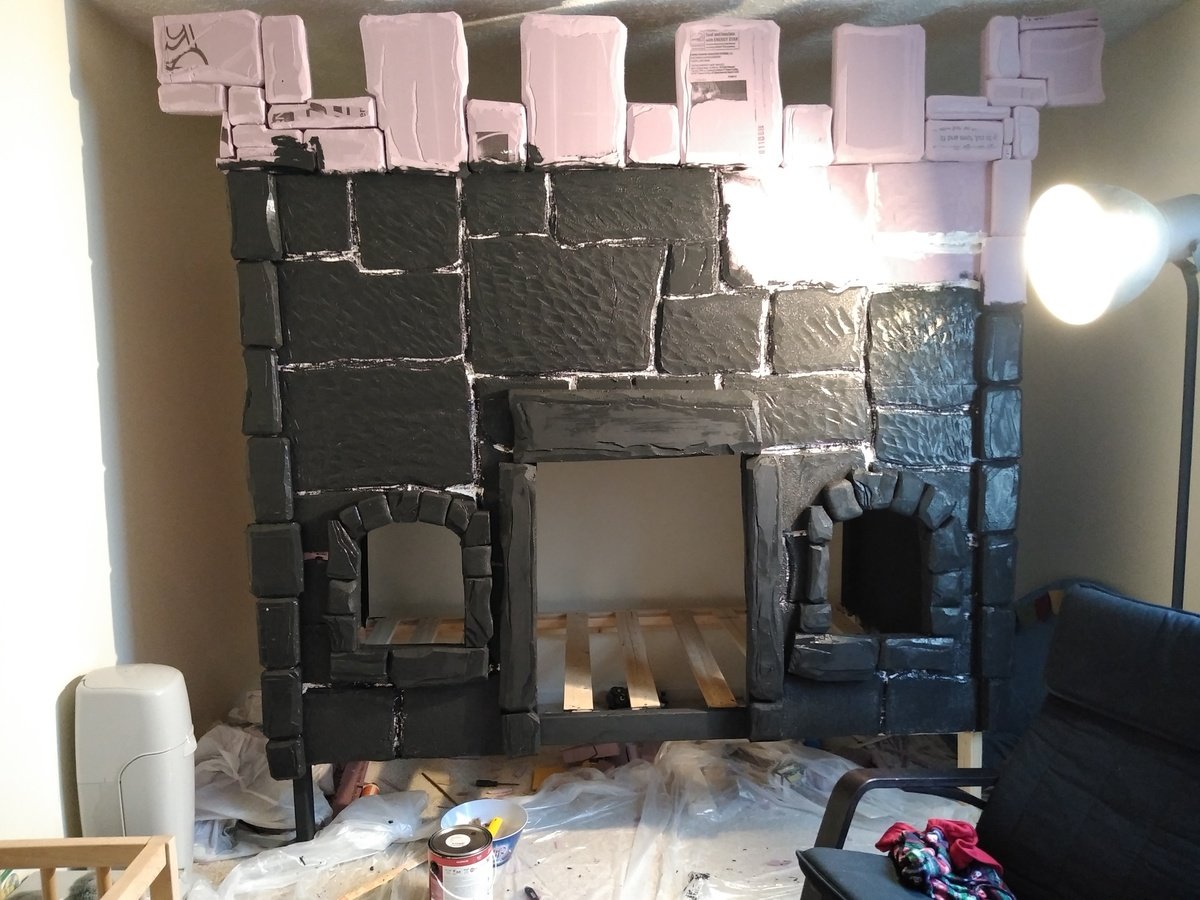
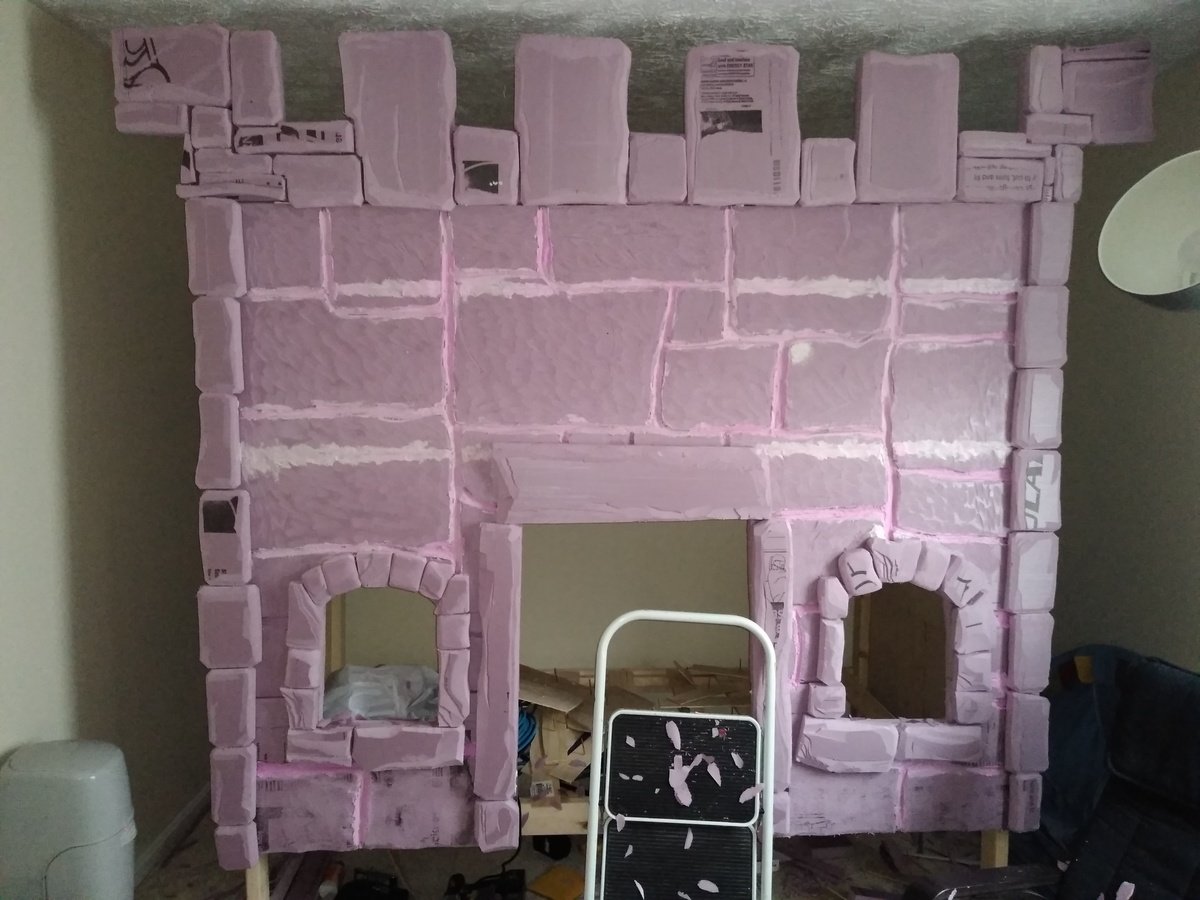
Used the frame portion of the plans and the window/door layout, skinned in plywood, then skinned in insulating foam board, carved and sculpted to look like stone. Then painted with a combo of 5 different colors. My daughter loves it.
Higher chair for kids by Kristie

This project was a lot of fun and didn't take very long. Already thinking of making another one with different color finish.


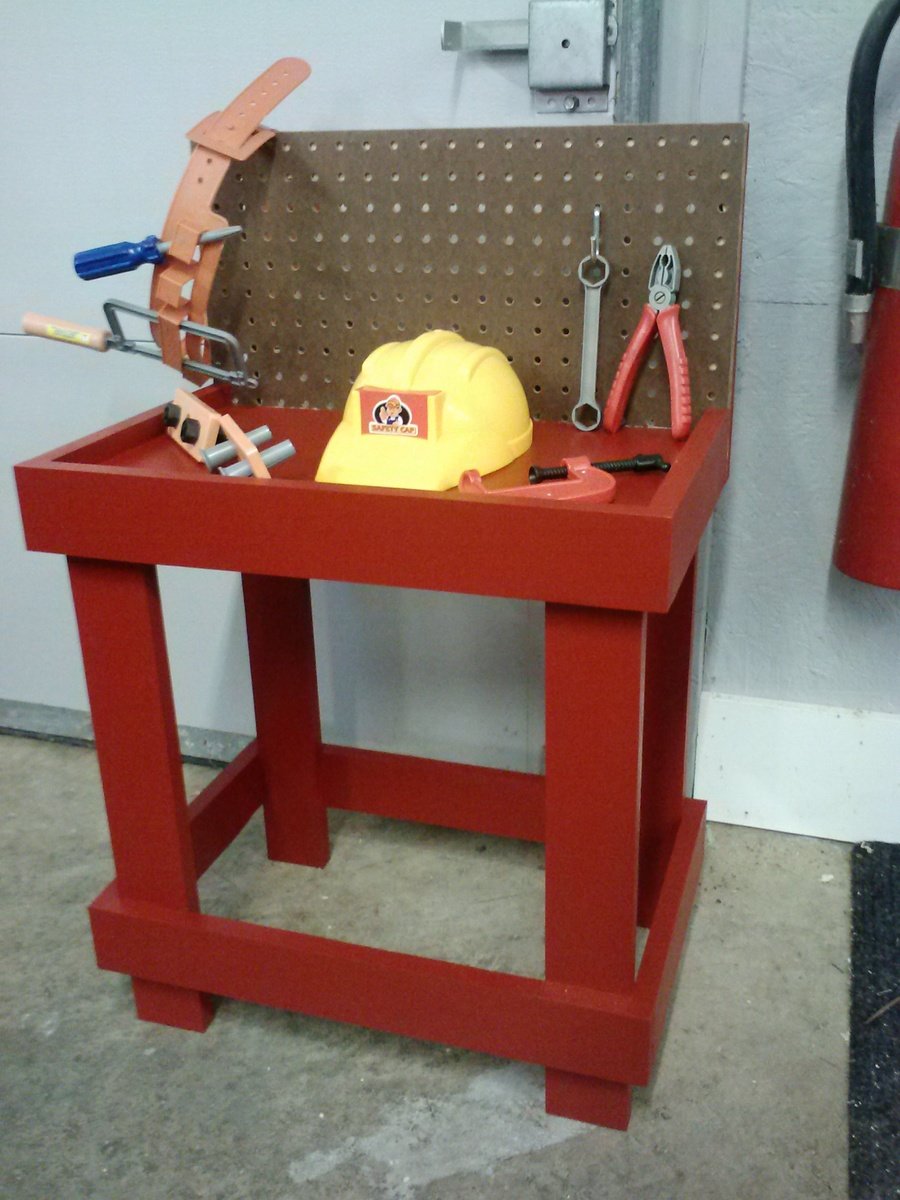
Second project for annual church craft show. Loved the idea of using pegboard, so I modified it accordingly. Guessed at cost as we bought 2X6s and 2X12s on clearance and ripped them down ourselves which brought the cost down.
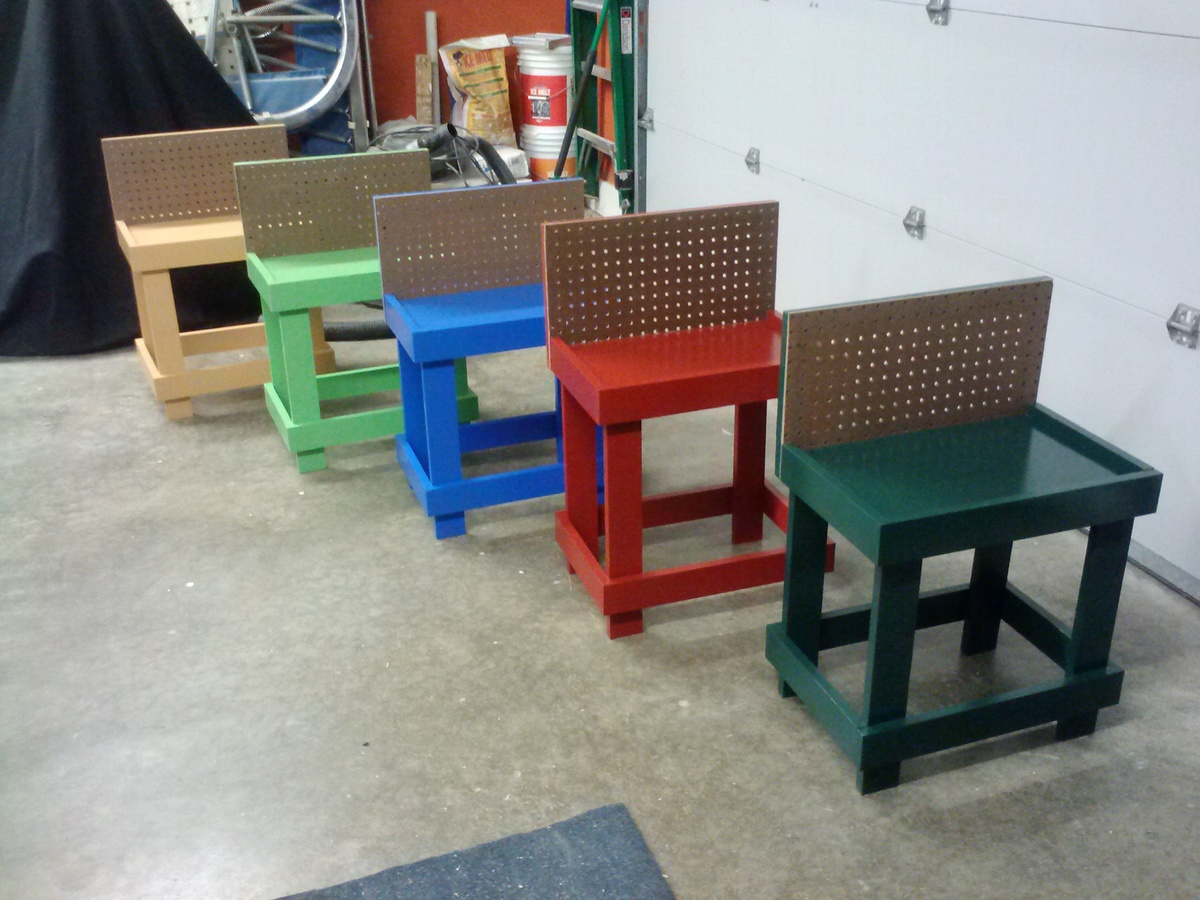
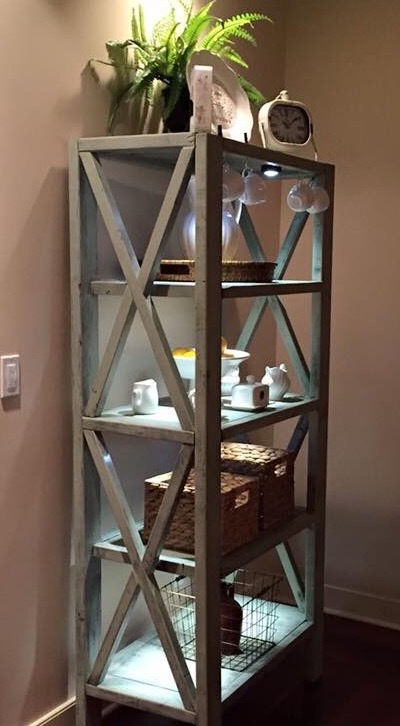
easy to follow steps. Good weekend project for a beginner. I just got tools for Christmas and I tackled this without prior building experience. Excited for more projects
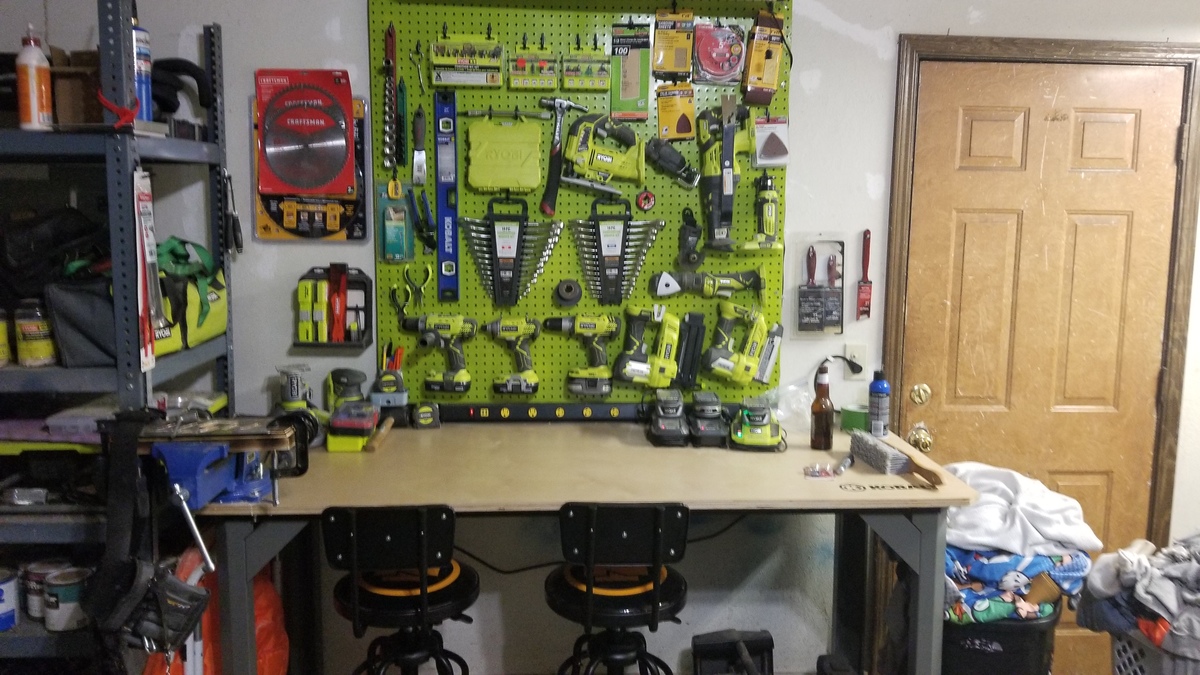
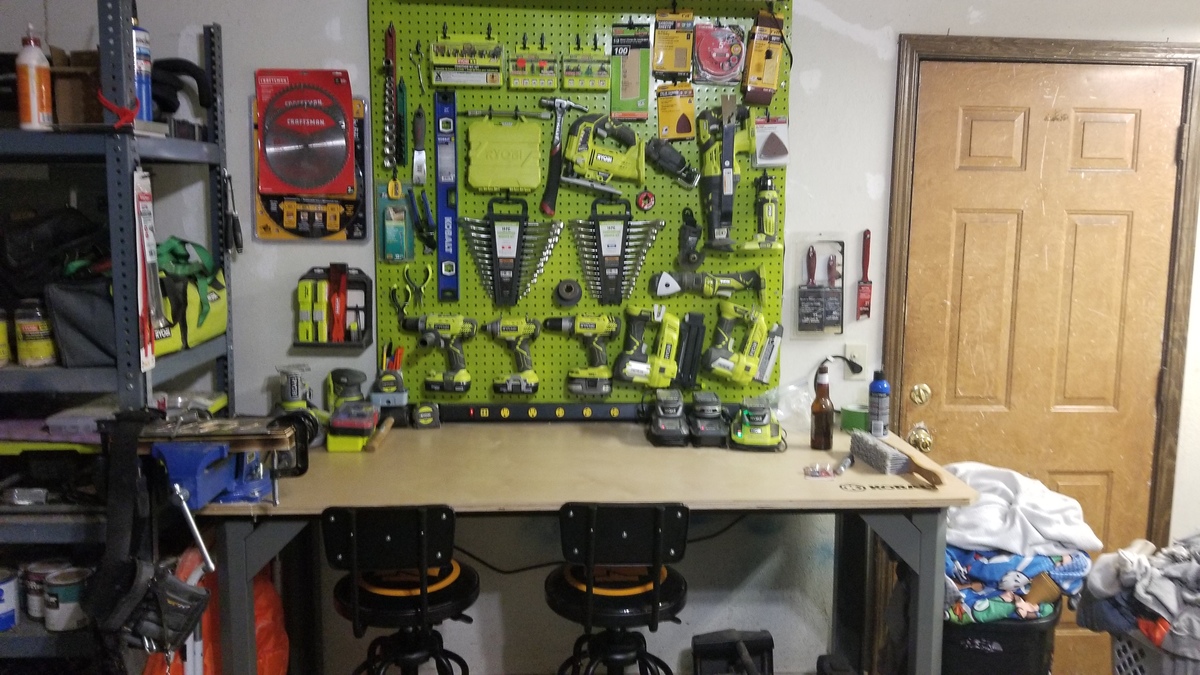
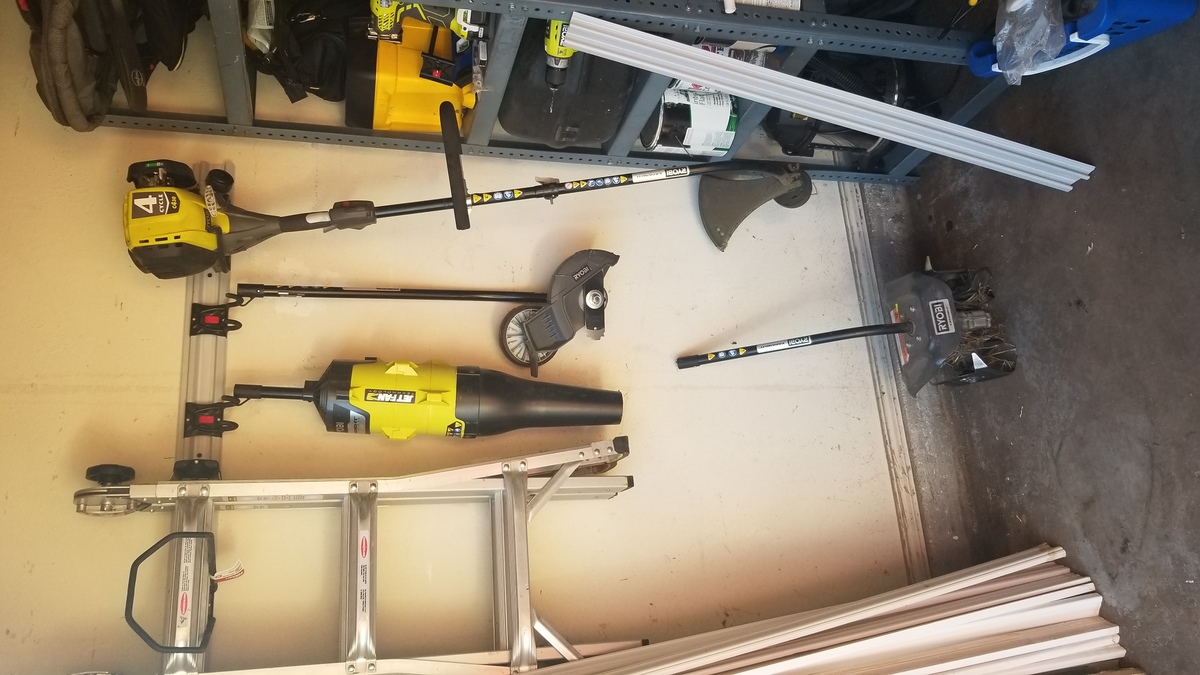
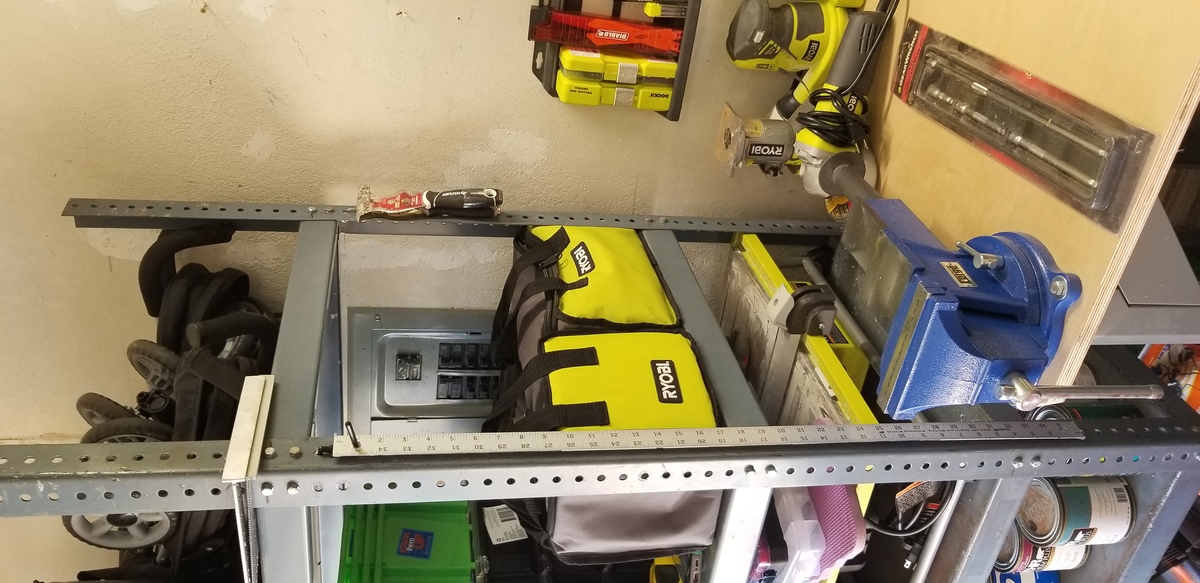
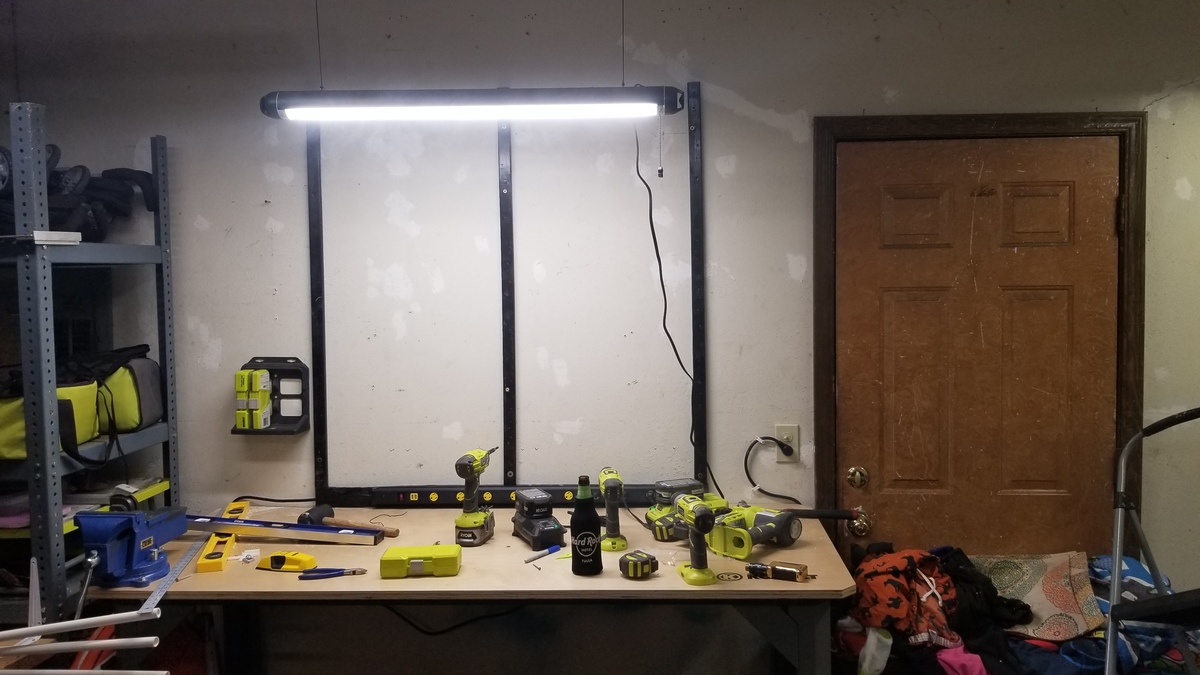
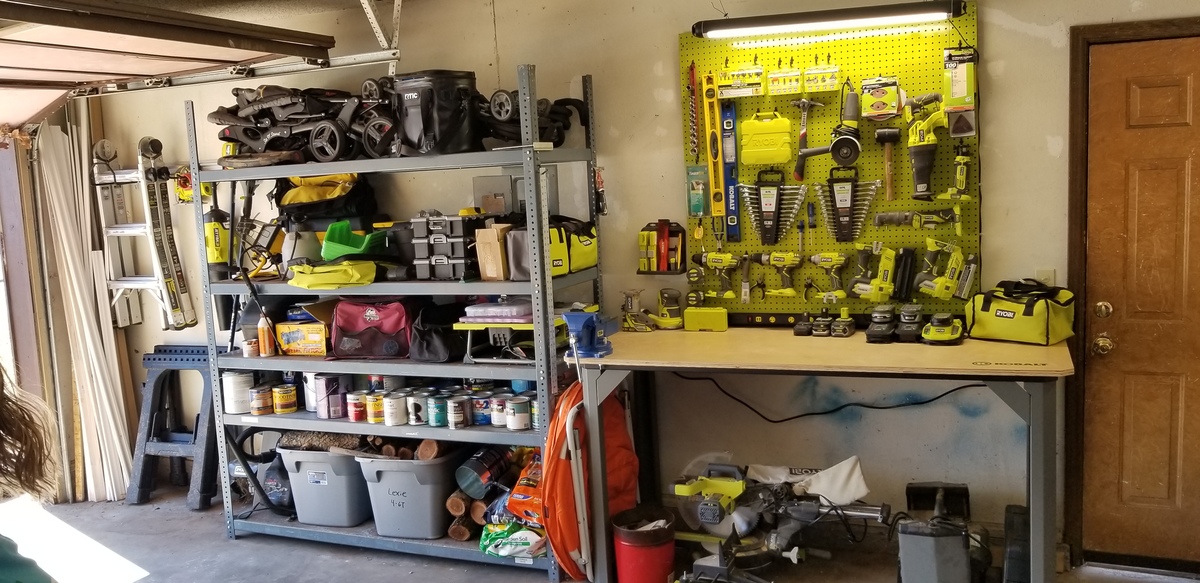
Needed to do a little spring cleaning in the garage and organization.

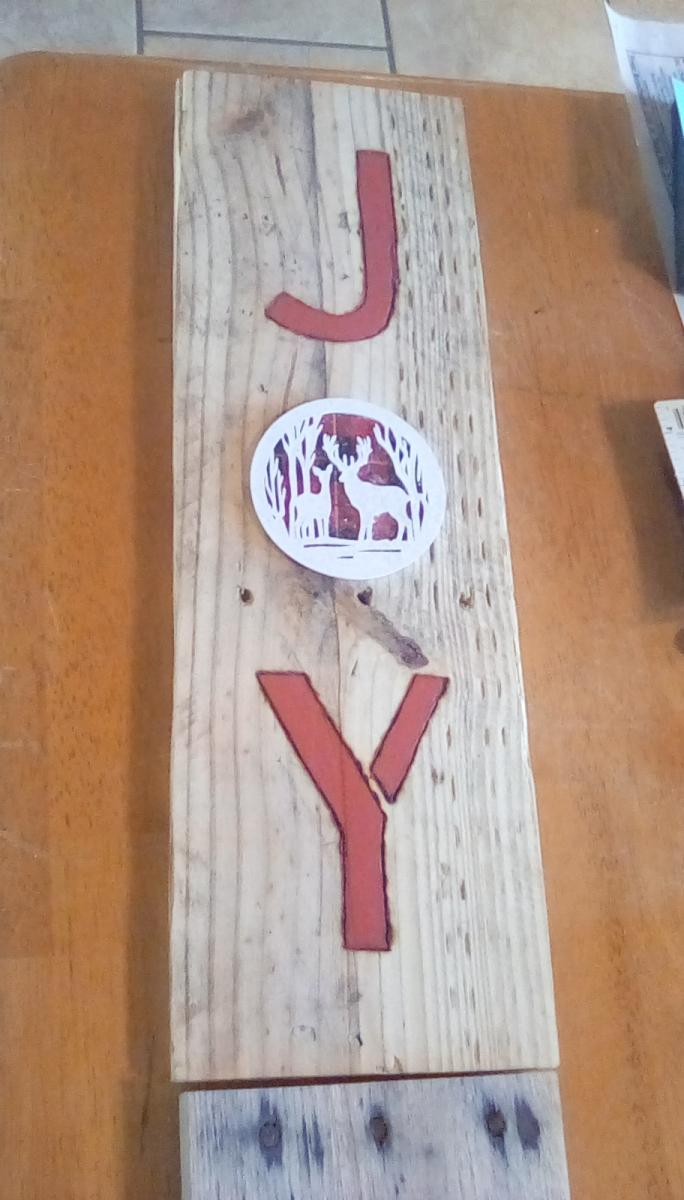
Chose to adapt Ana's JOY Christmas sign since I had to make 16 of them. Used barn boards and some pallet boards and also taught myself how to do wood- burning to outline the letters. Thanks for the great idea!


I loved working on this easy upholstered bench. It was so much fun and so simple. I followed the plan except I raised the bench to 20 inches, because my husband and I are quite tall. I also wrapped the fabric underneath about 1/2 inch and stapled it so it has a tighter look. Thanks for the plans Ana!
Wed, 10/26/2011 - 05:57
That is so cute, you picked a tricky fabric with the lines!
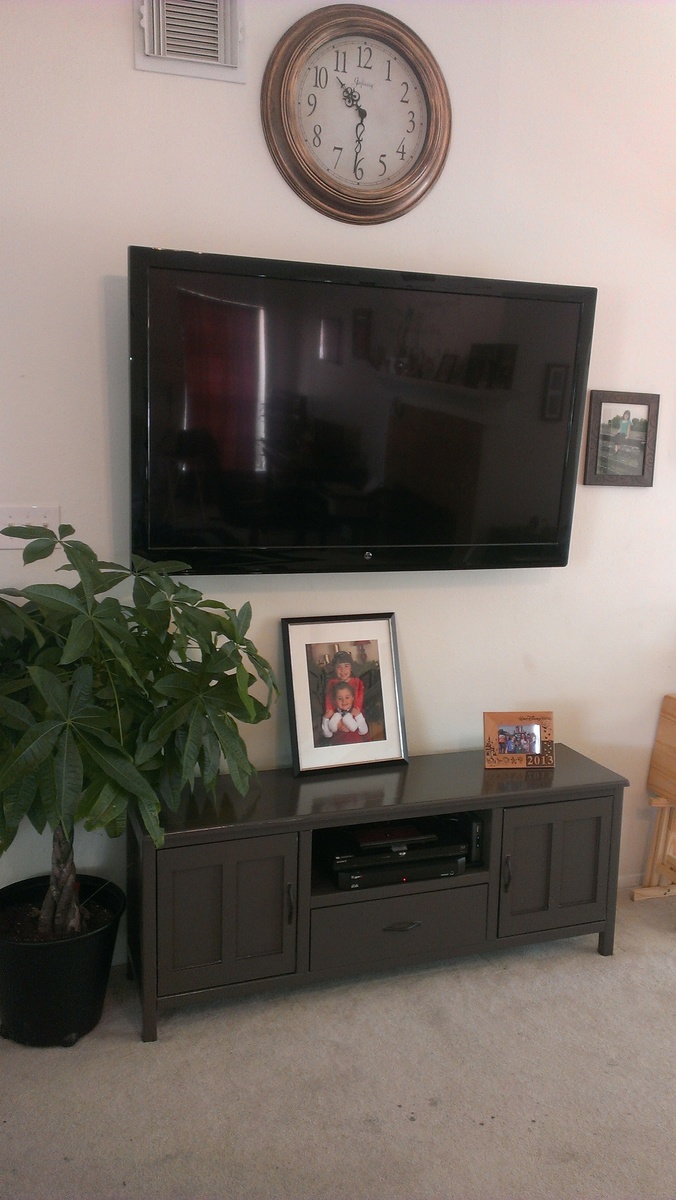
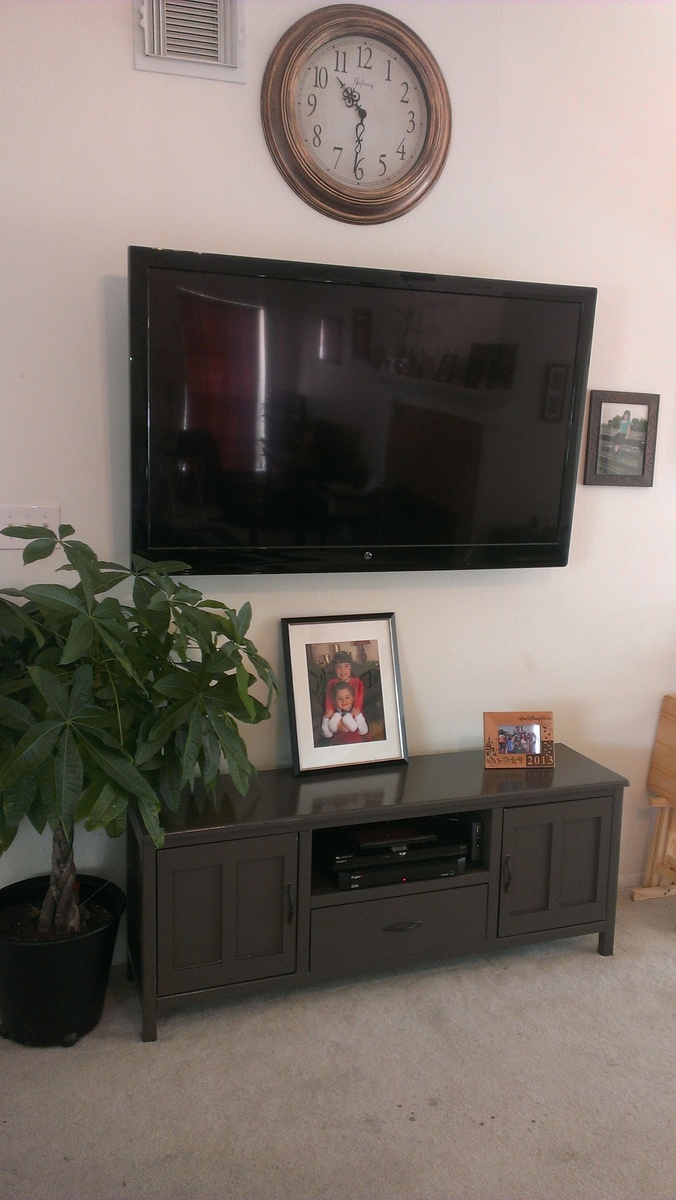
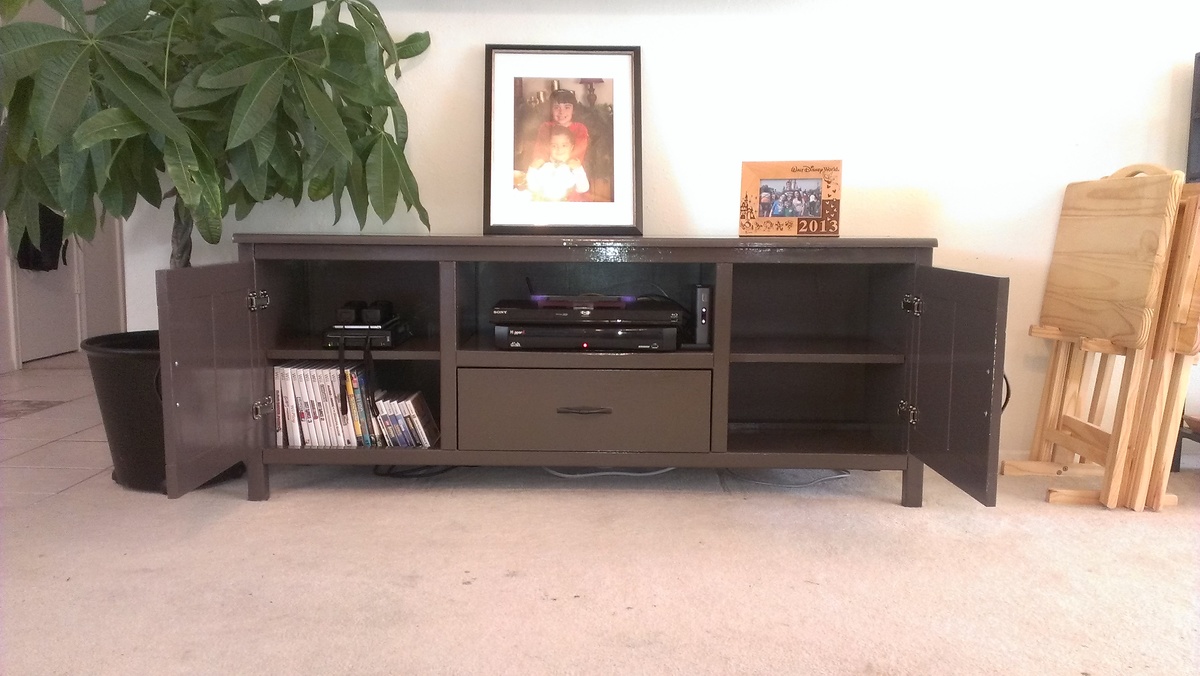
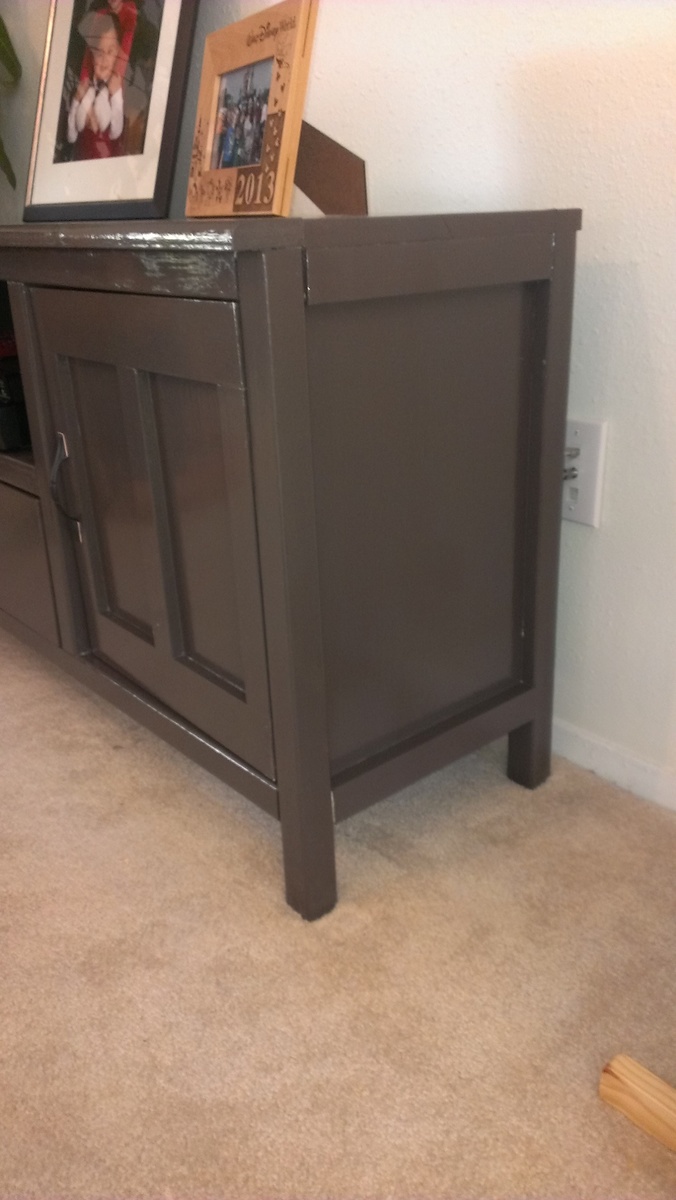
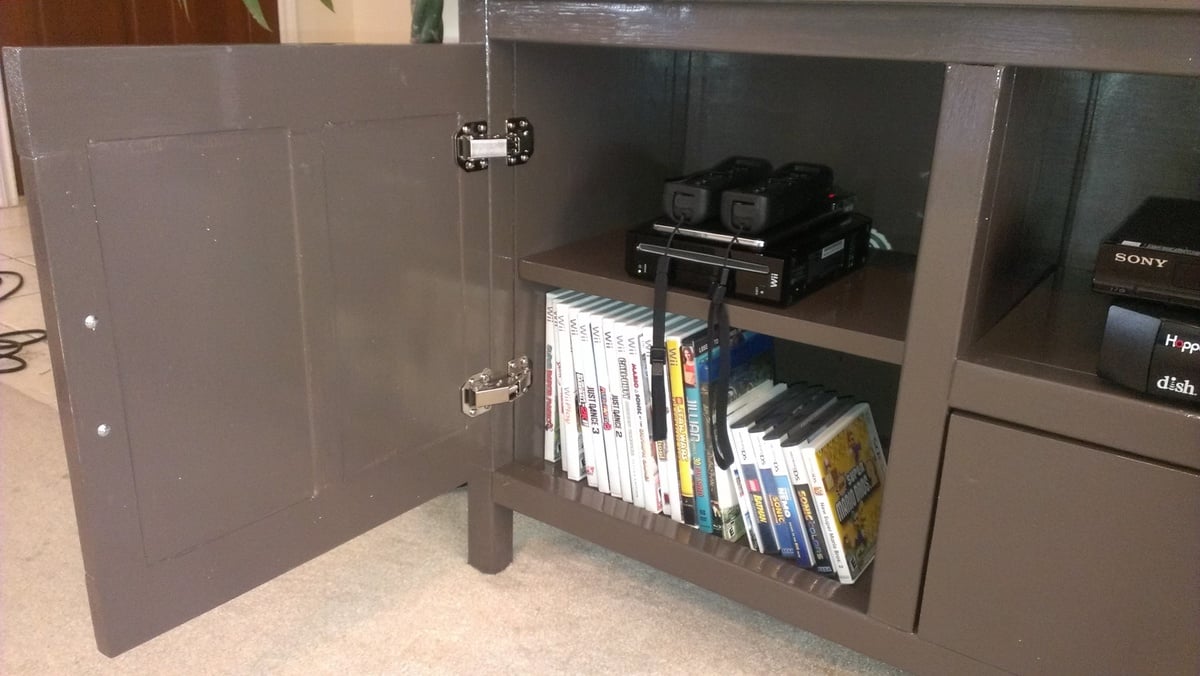
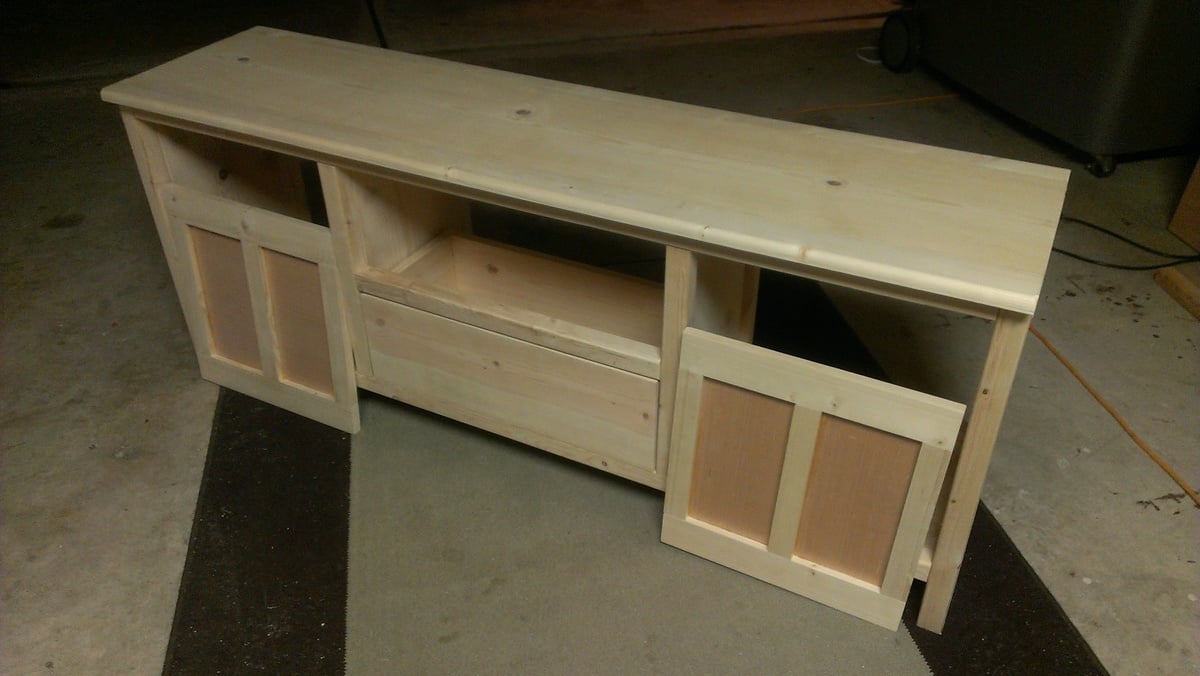
I had a ton of fun making this media console! It is my second big project, and I would still consider myself a beginner, but I paid very close attention to detail and I think it turned out great!
I stretched the console out by about 4 inches, so that if I ever decide to put my TV on it, it will fit.
Thanks Ana for your great website!
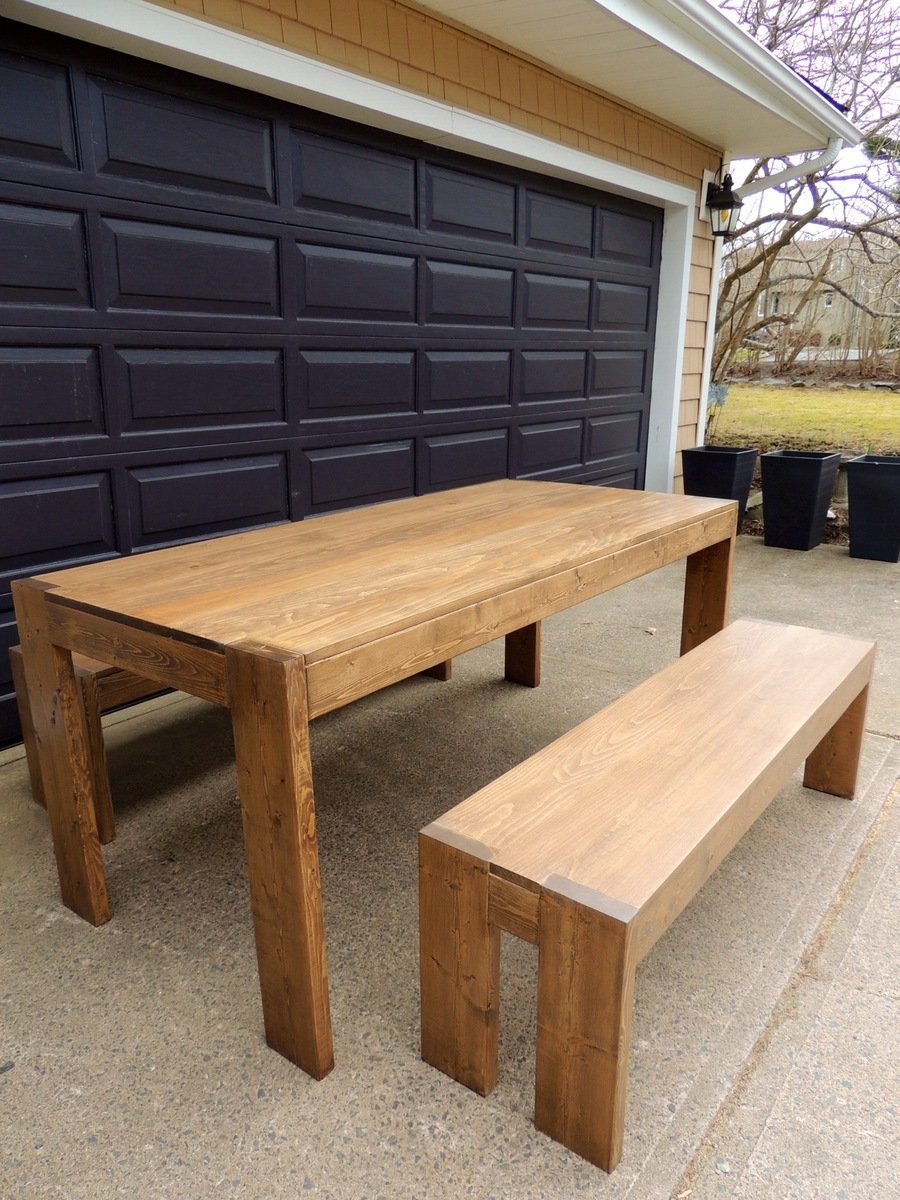
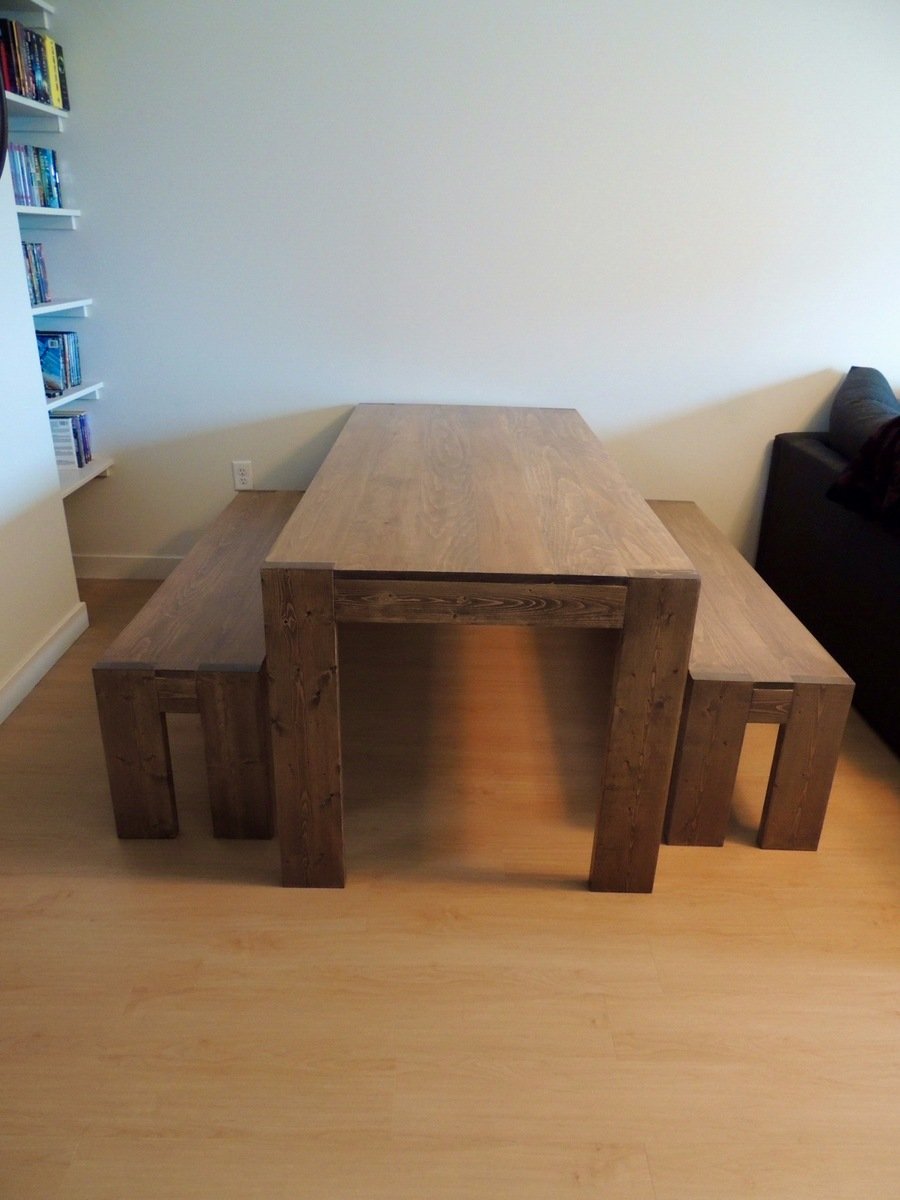
I built this table back in May so a little late posting. It is the second Modern Farm Table that I've built. The first was built for my sister and this one for my nephew and his partner. I am very happy and so are they with how it turned out. Thanks again Ana for your plans.
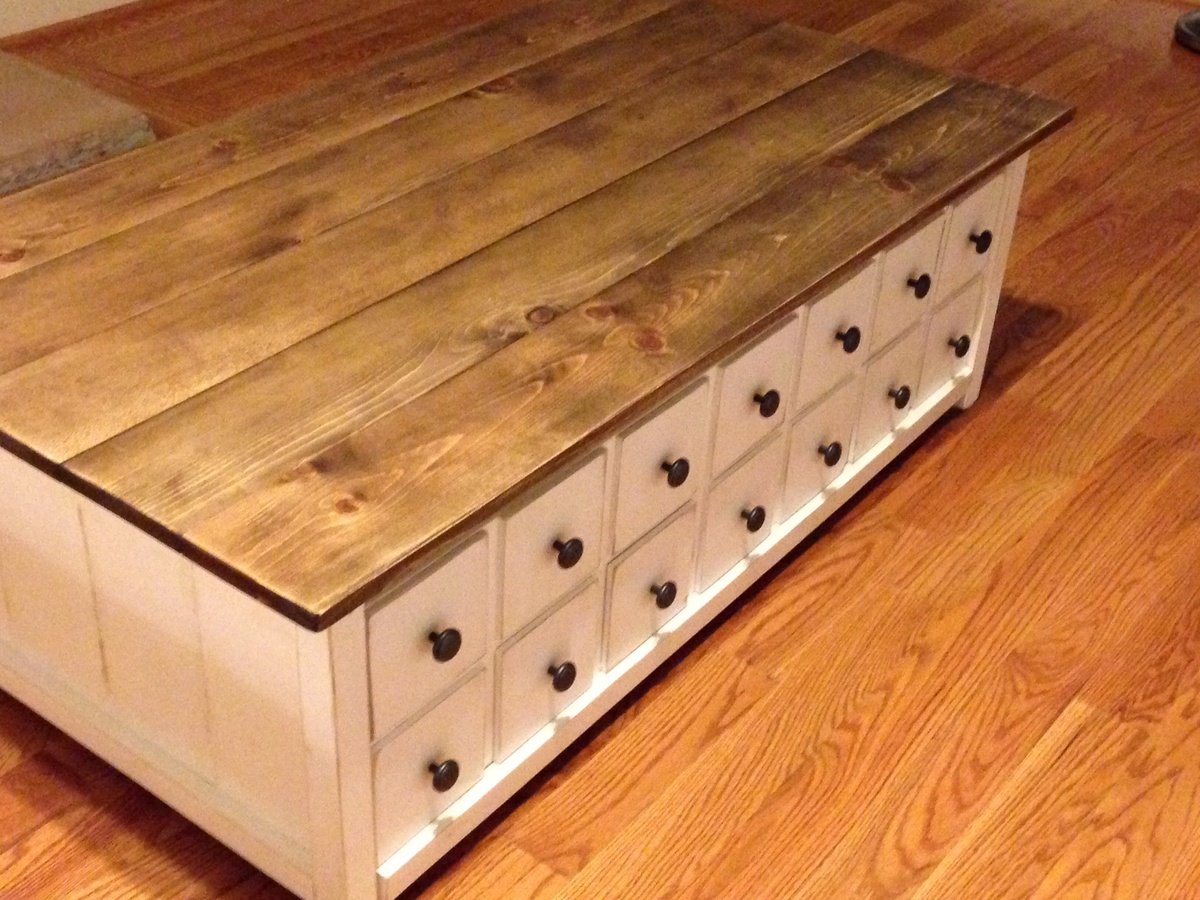
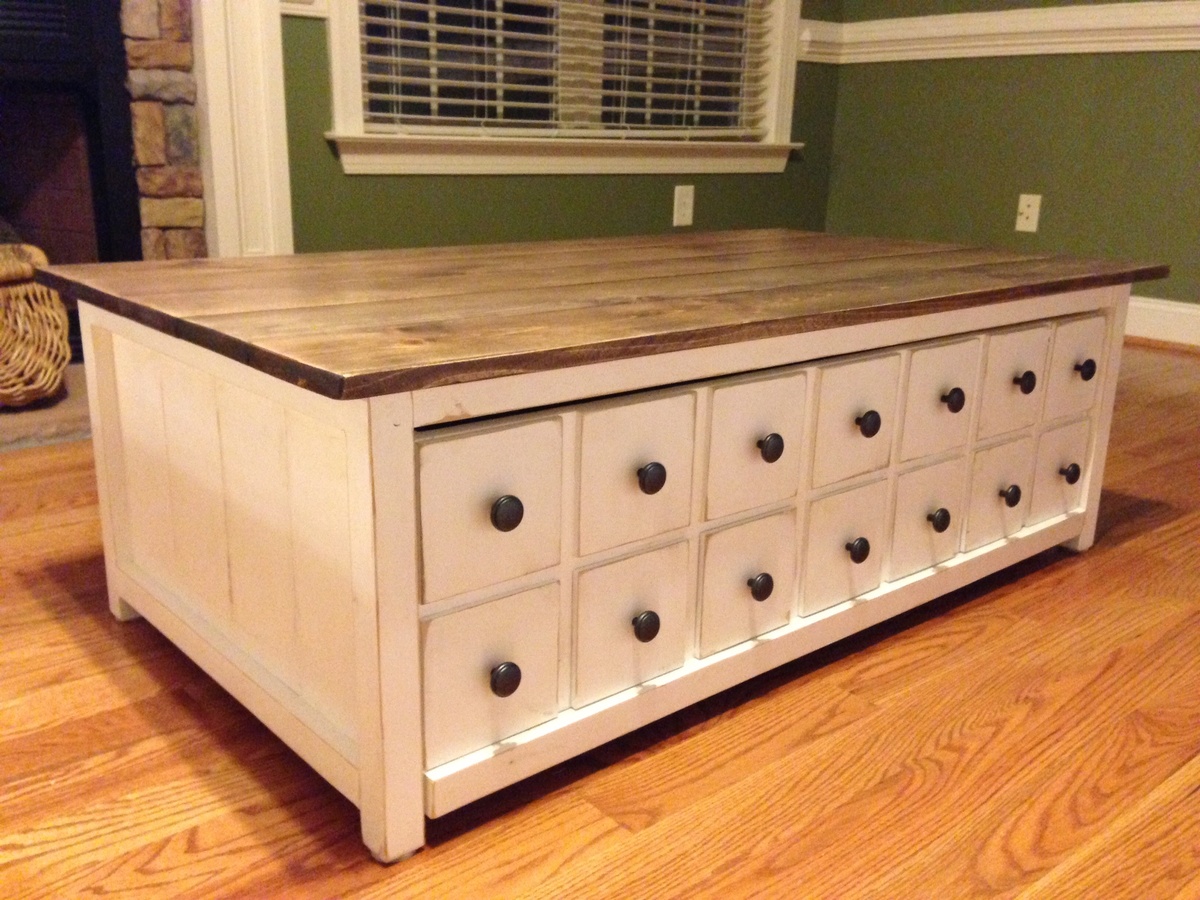
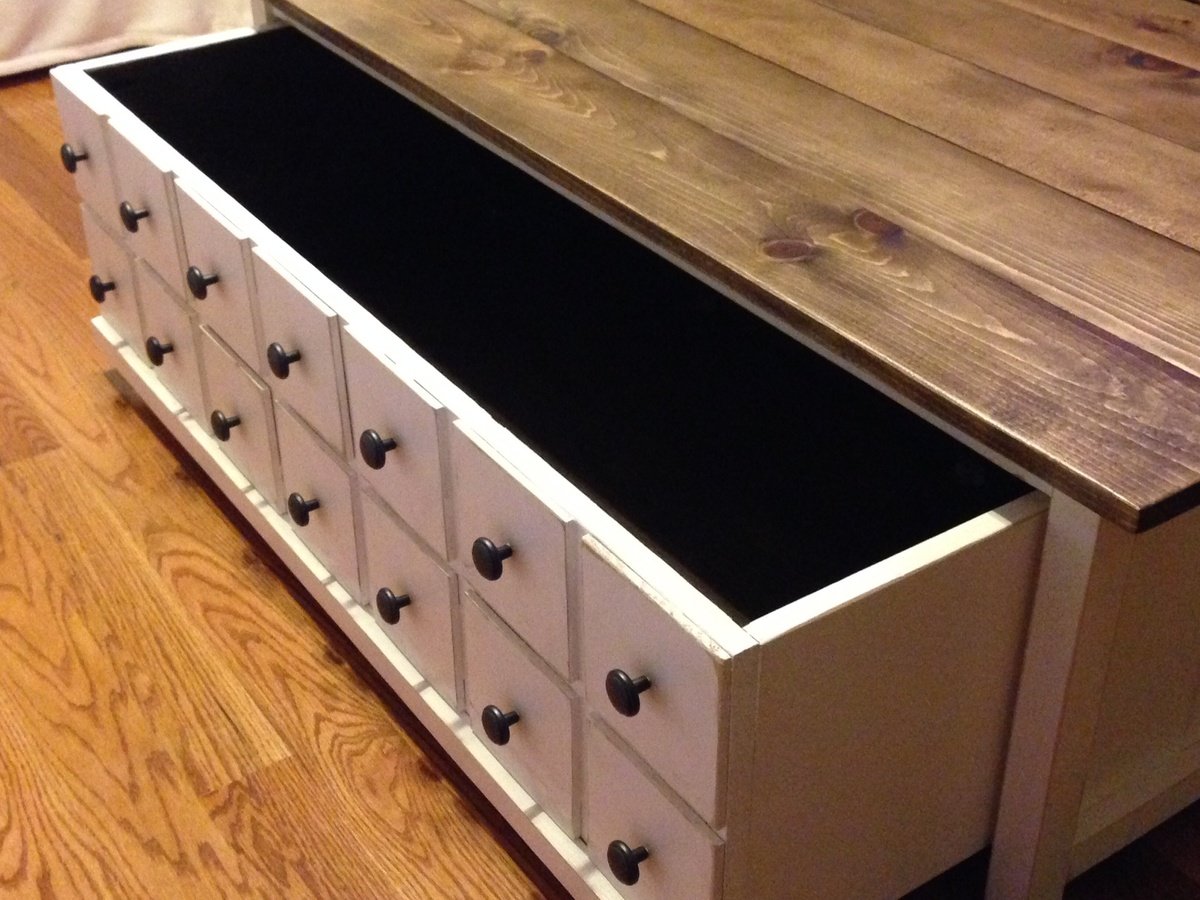
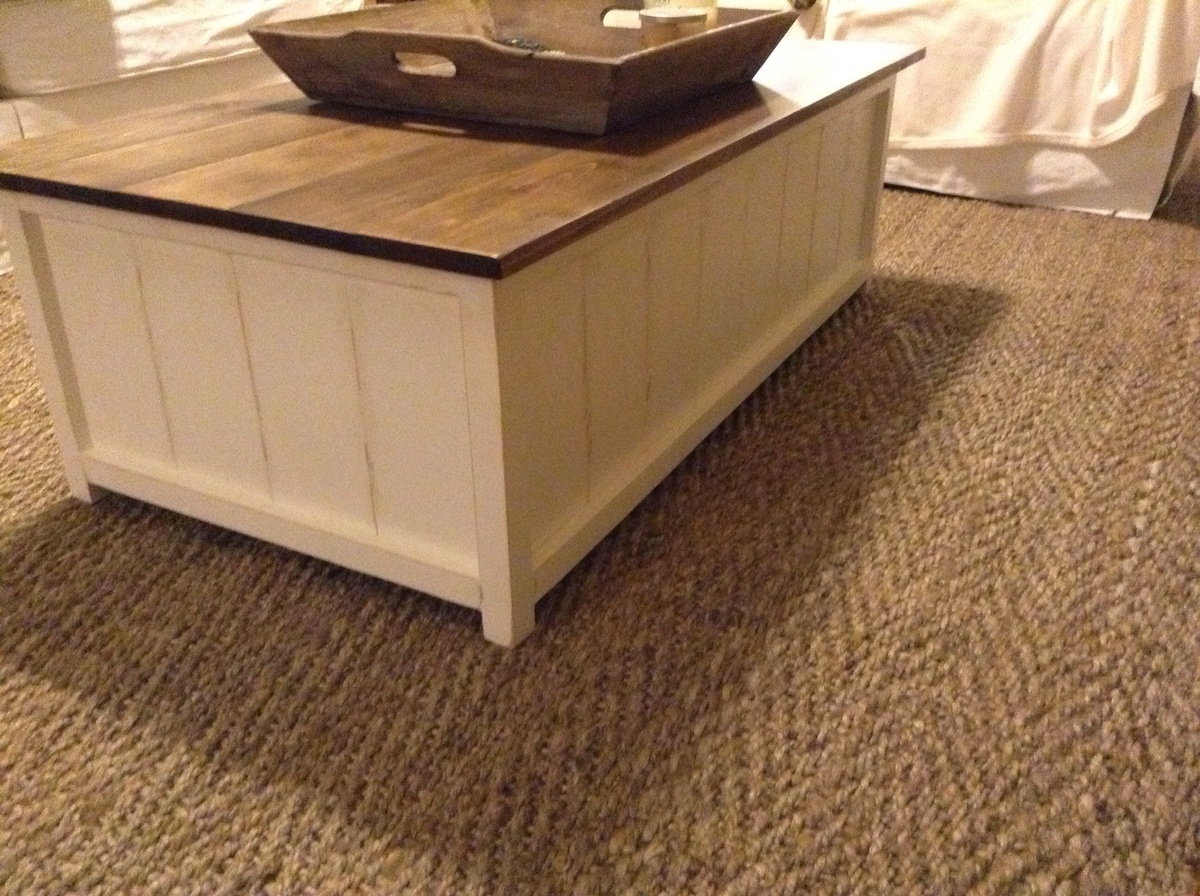
Love how this turned out! Great build, added a back to the table. It looks awesome in our living room.
Wed, 10/23/2013 - 17:48
Really nice finish. I am planning on building a table and I want the tabletop to look just like yours. I have never stained, but when you say rub stain and wipe immediately, what do you use to rub? Also what type of wood did you use for the top? Again, great job.

This was my first project, probably a little ambitious for a first project but the plans made it super easy. As soon as I was done with the 4 chairs (two armless and two corners), I immediately made two tables that we have used as side tables, as a single table and as seats. It was dirt cheap to make, probably less than $100 for everything, that’s a complete steal. The cushions cost twice as much as the entire build.


