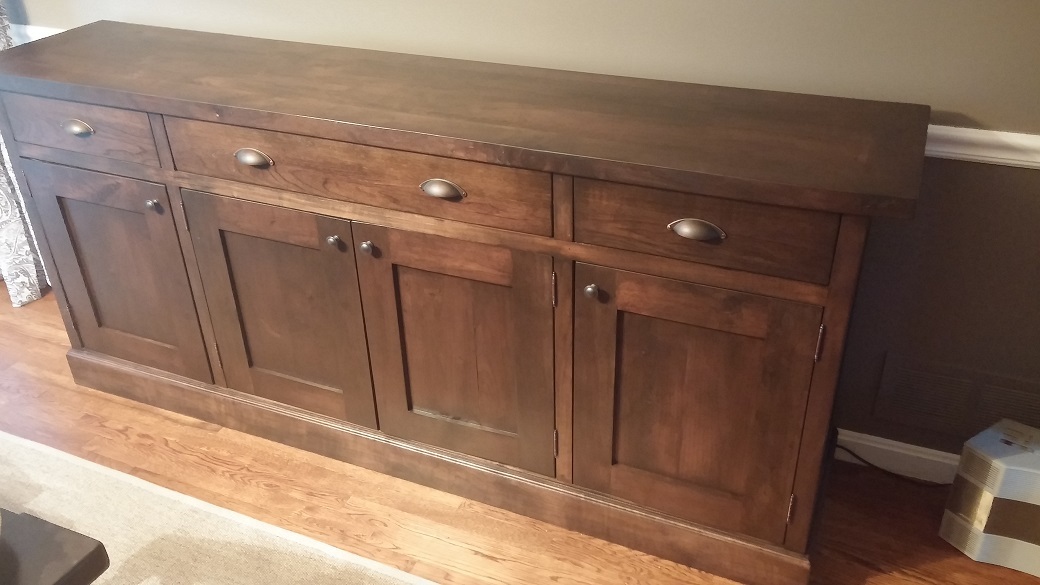
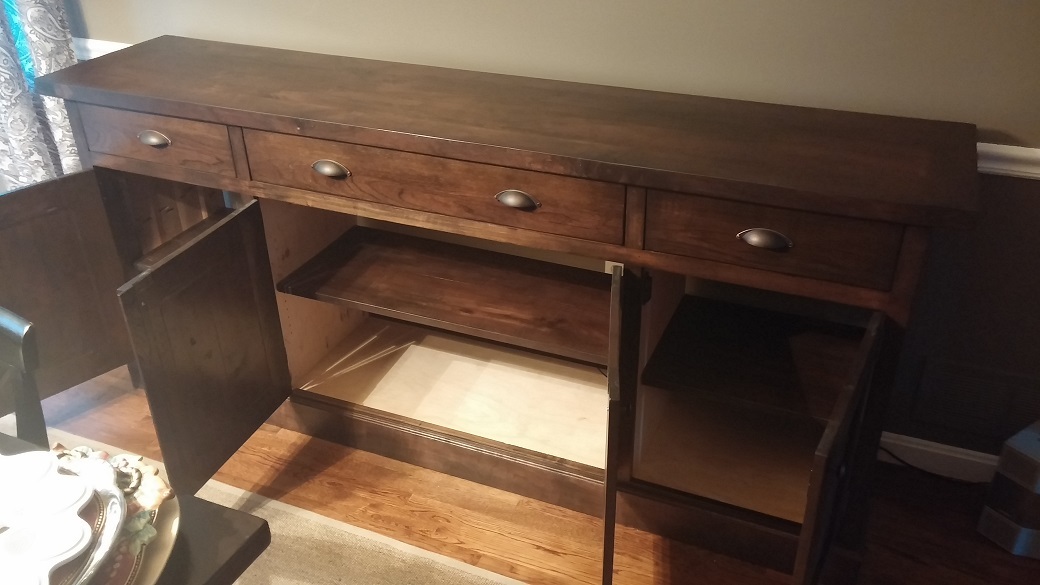
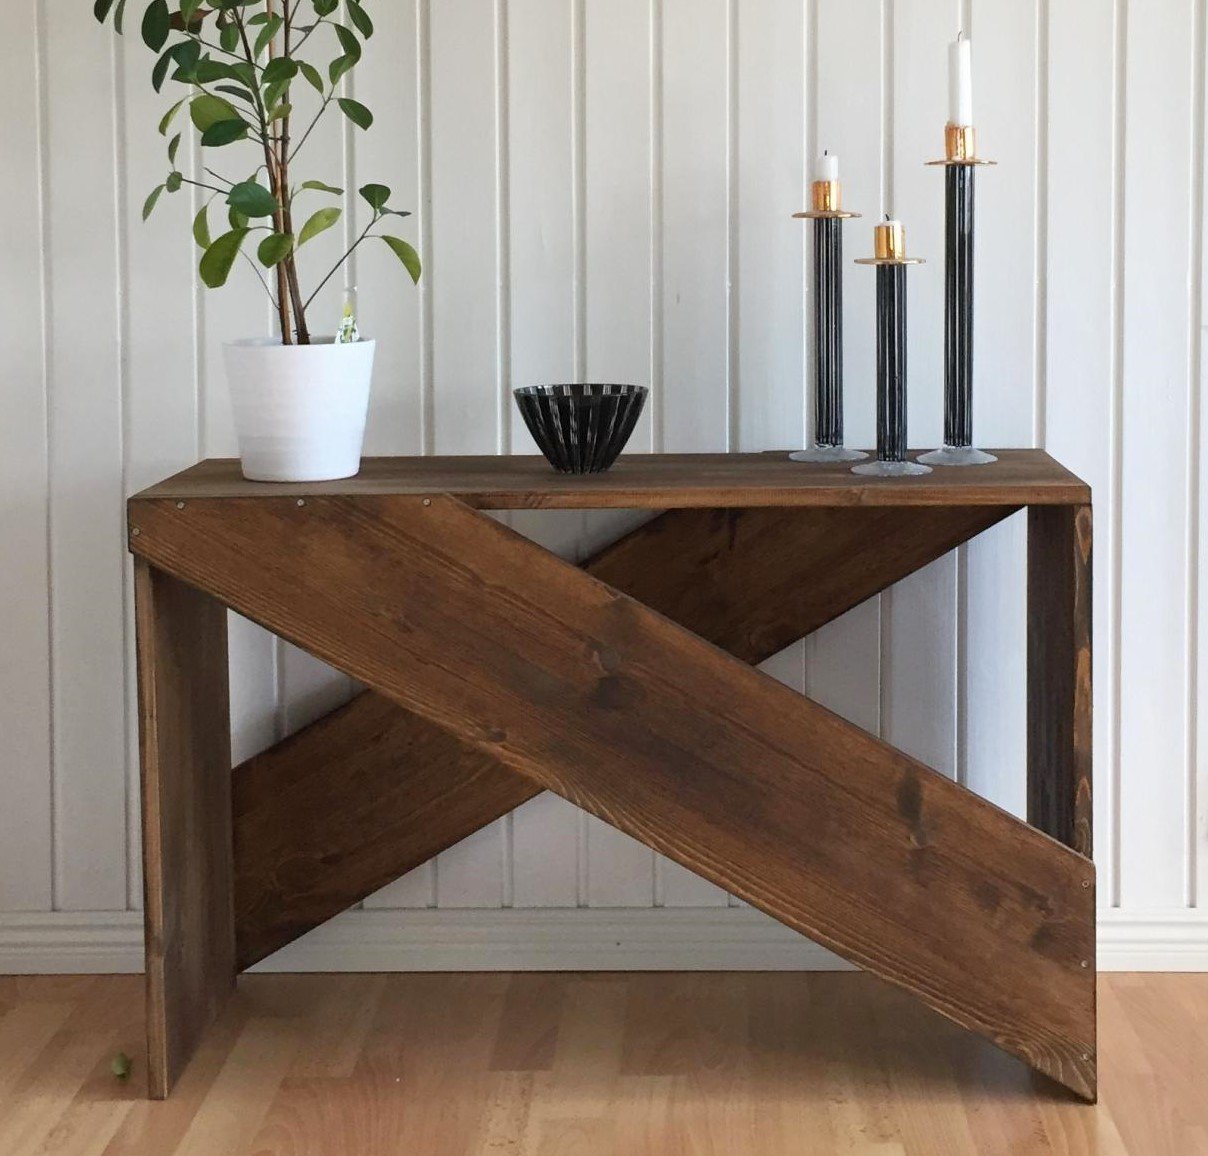
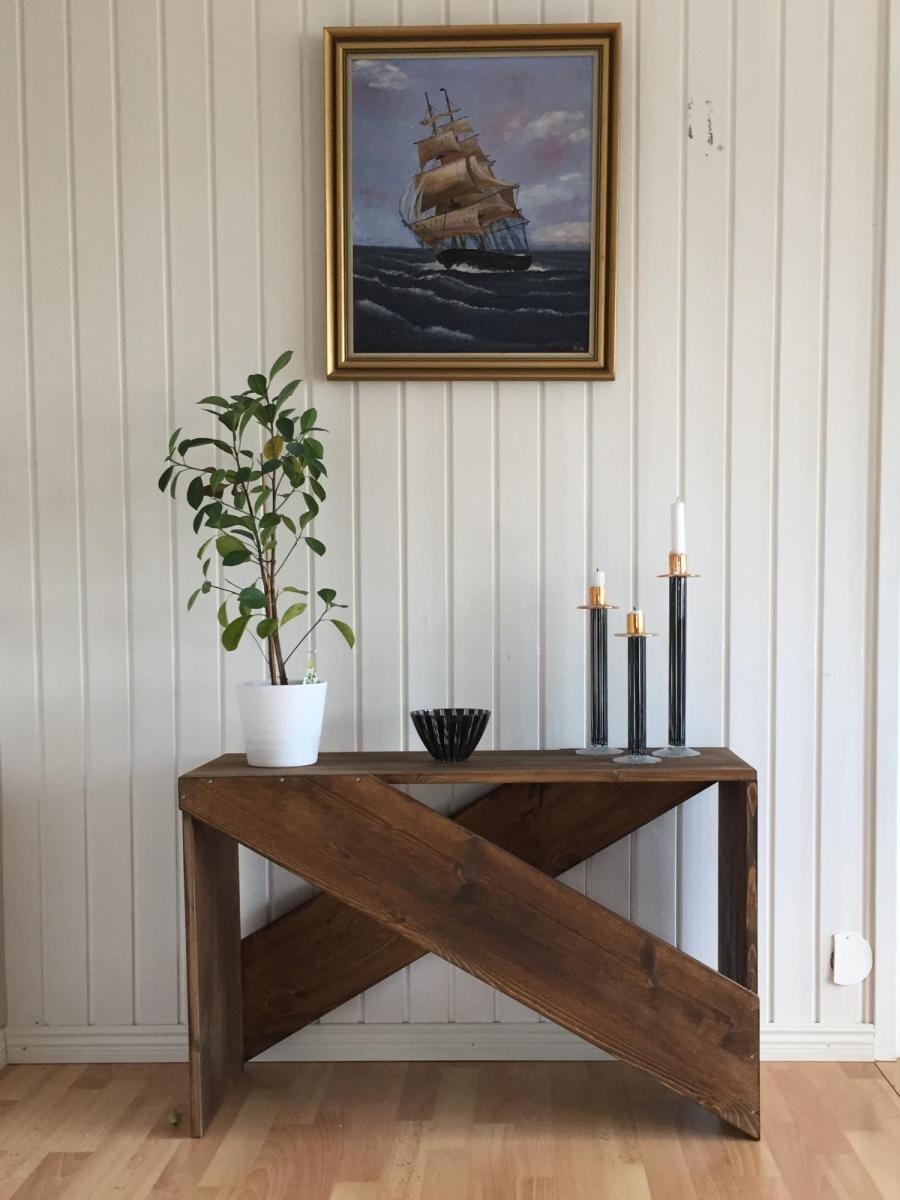
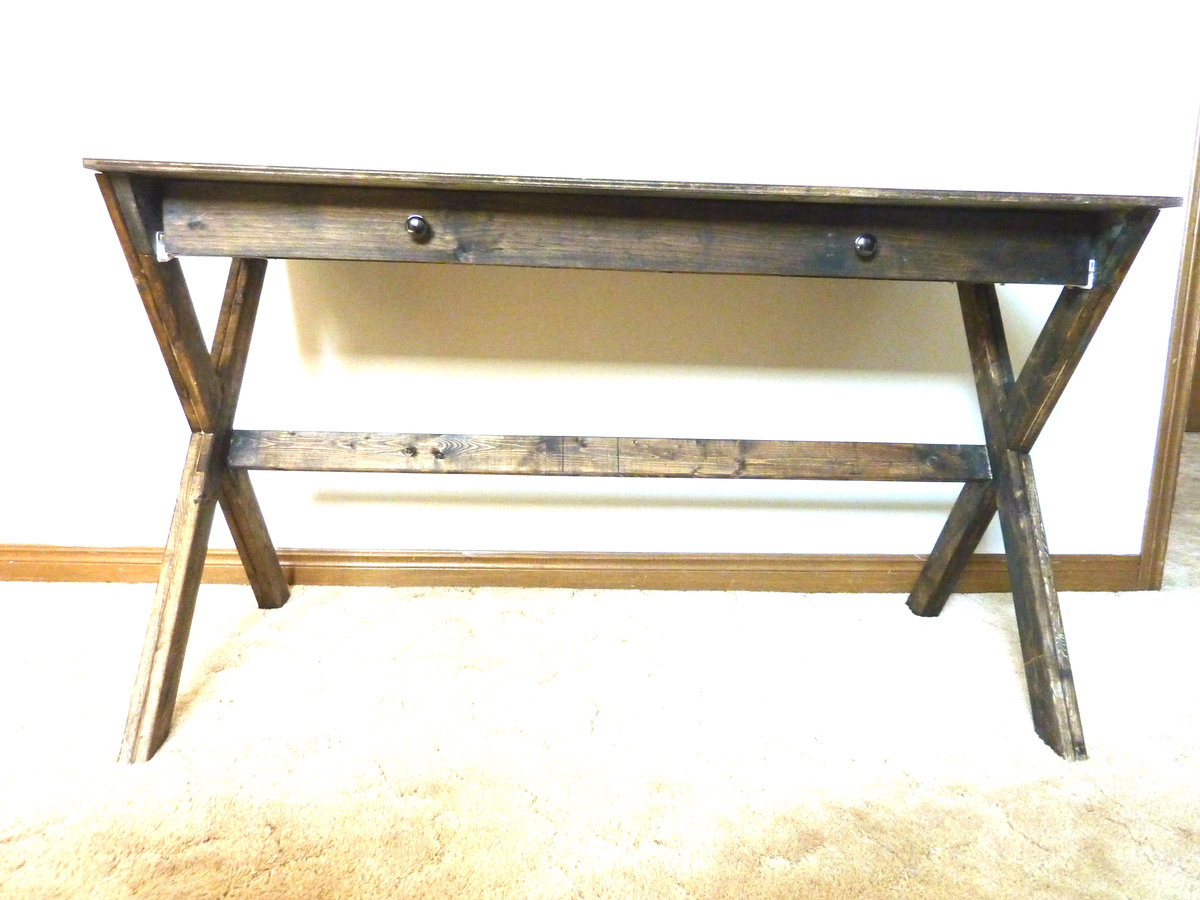
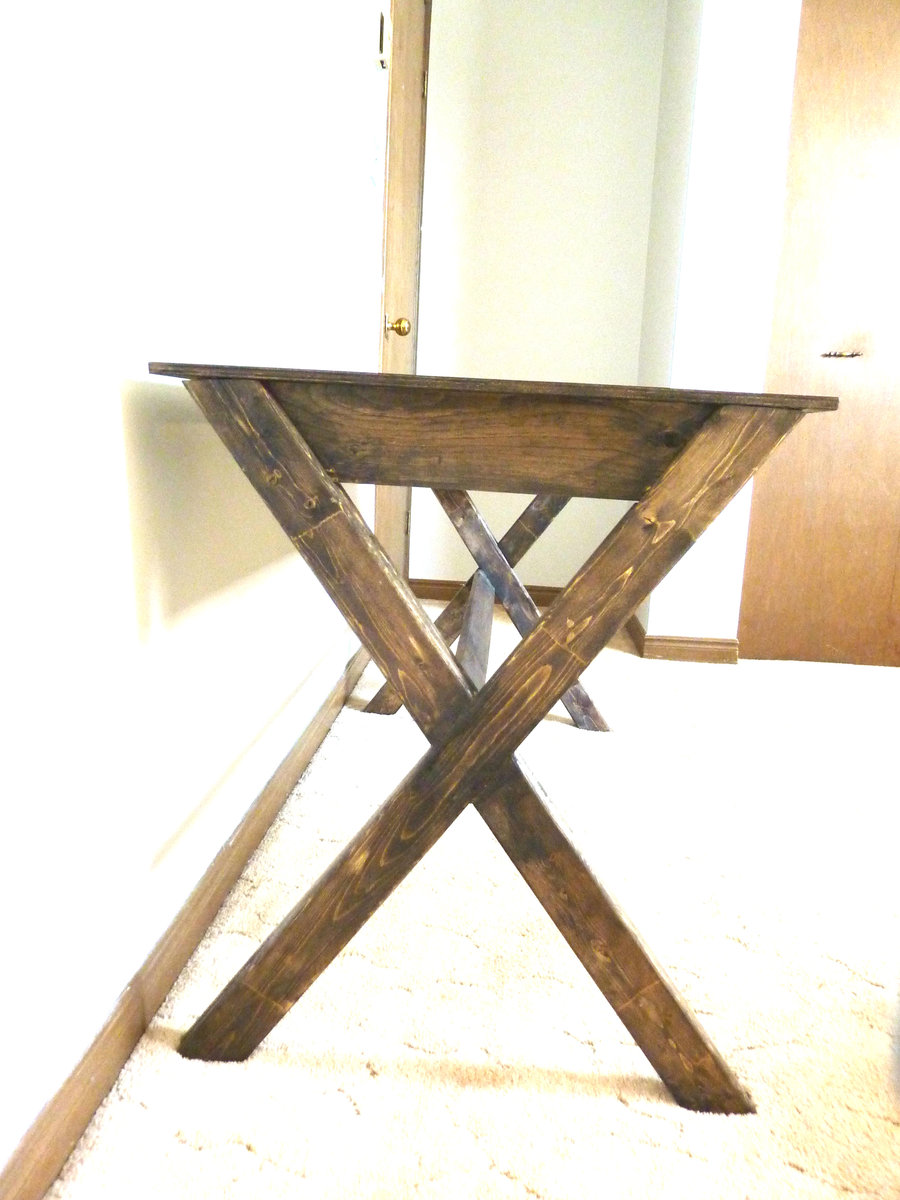
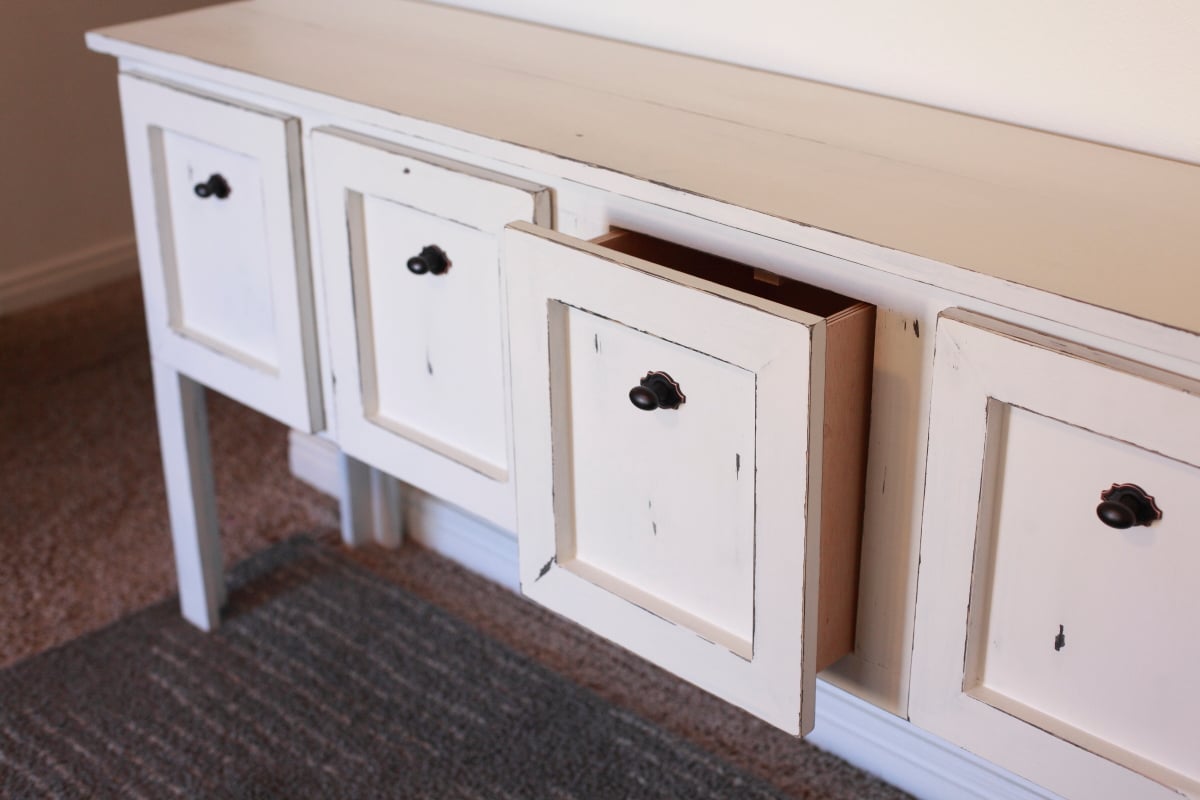
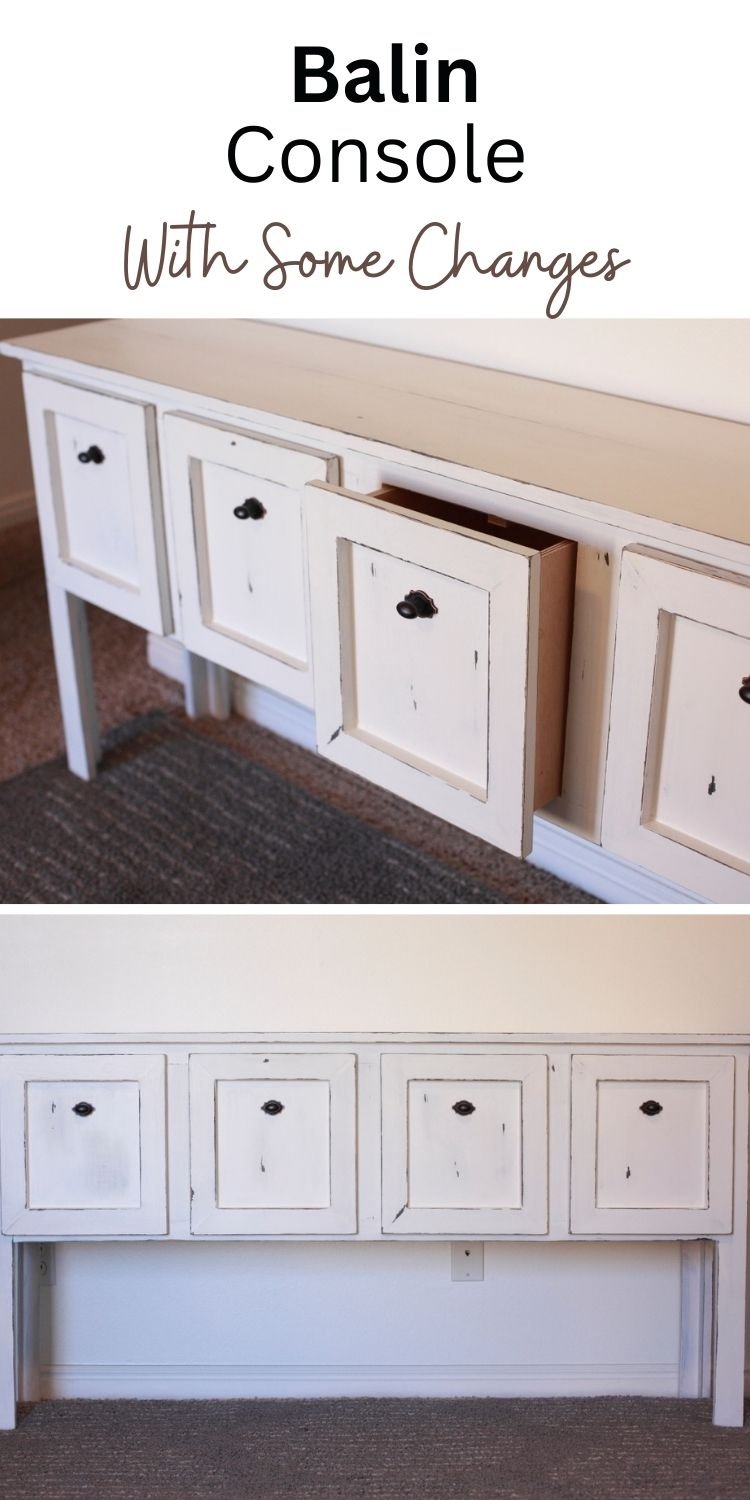
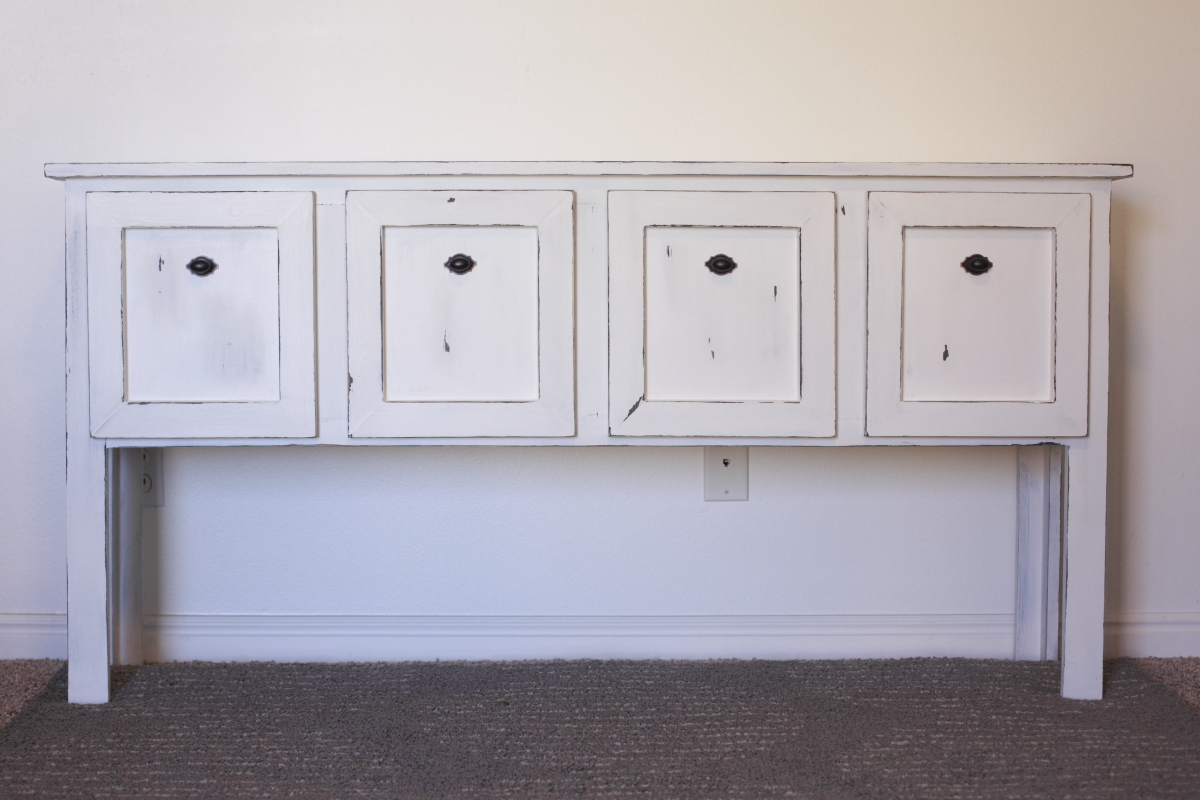
Walnut Sideboard Variation
This project was a labor of love for sure. It took me an hour here, an hour there over the course of several months before I finally finished it. I have never felt so proud of something I built, and I truly could not have done it without the plans written up on this site! Thank you so very much for the service you provide with your free plans!
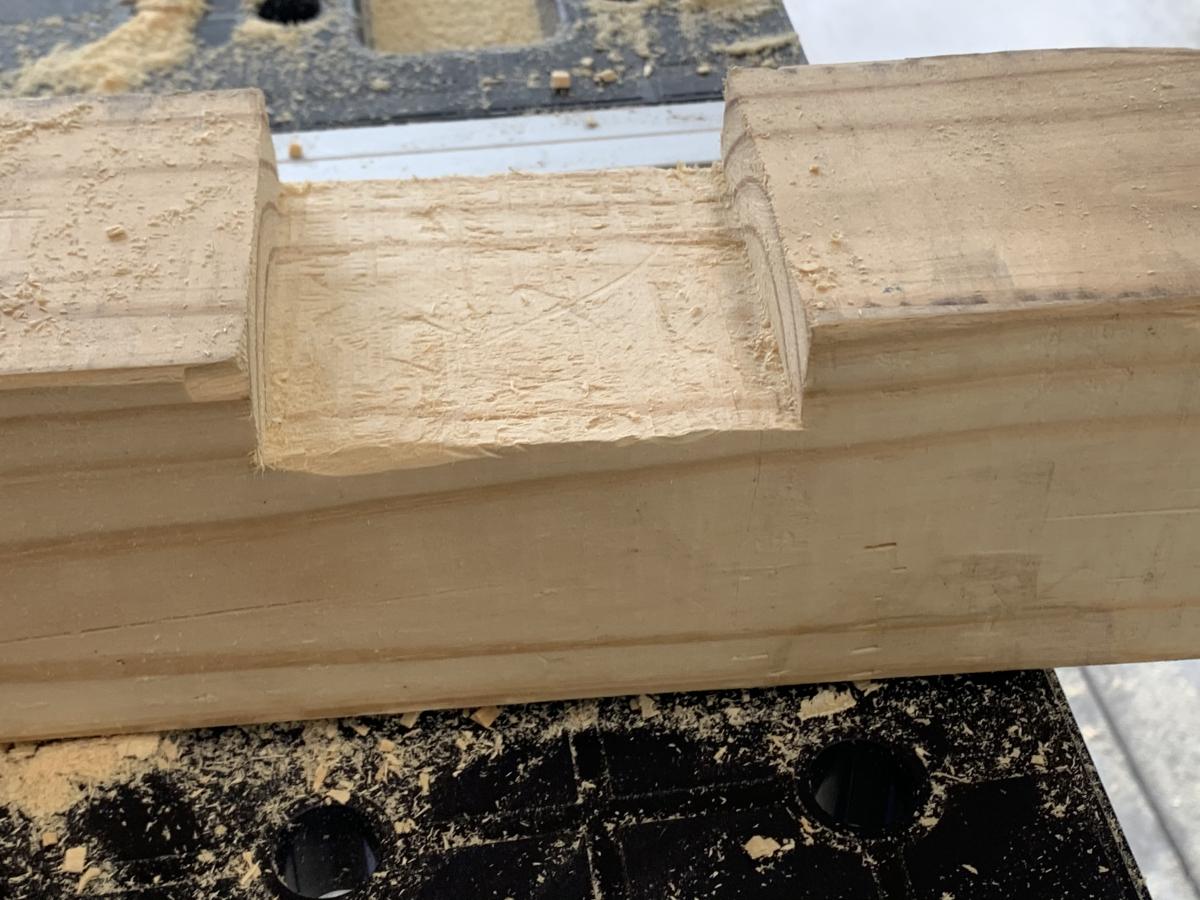
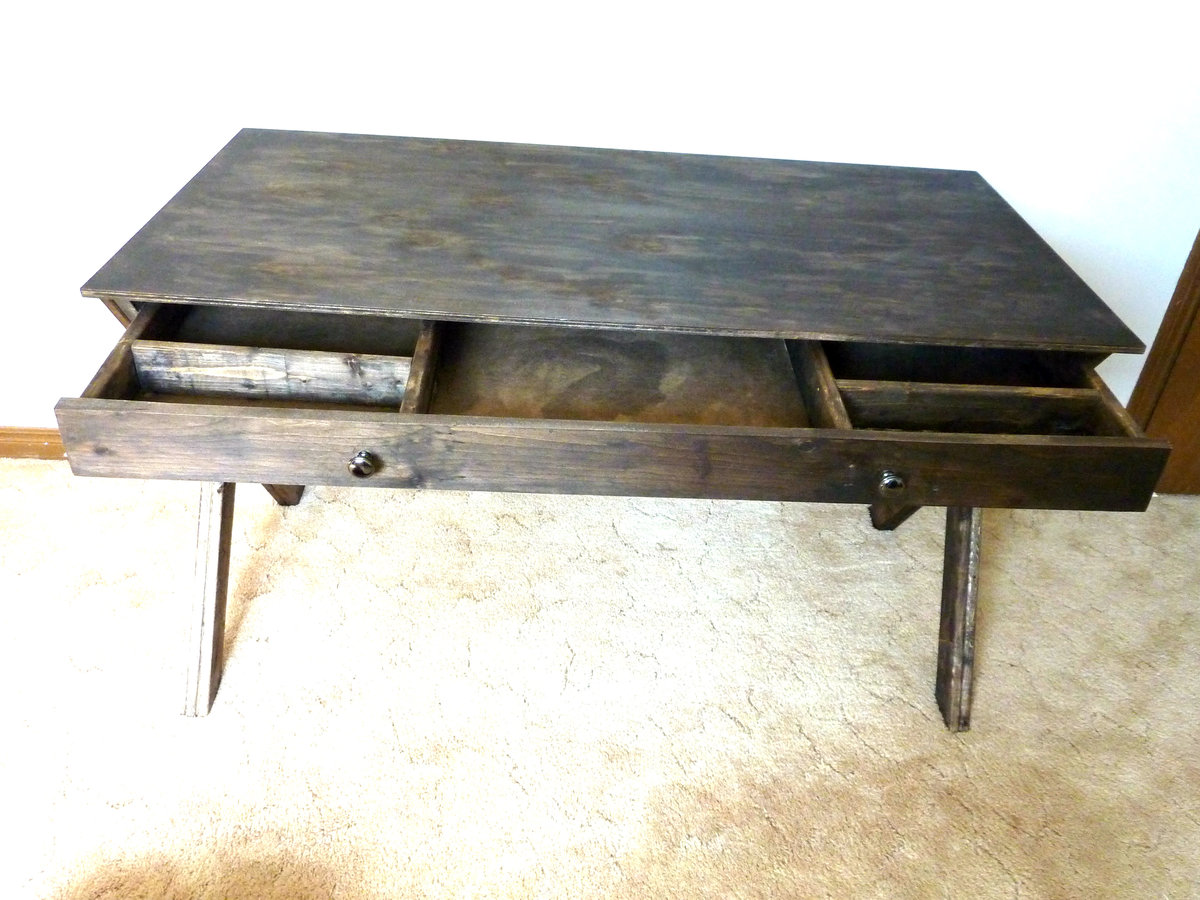
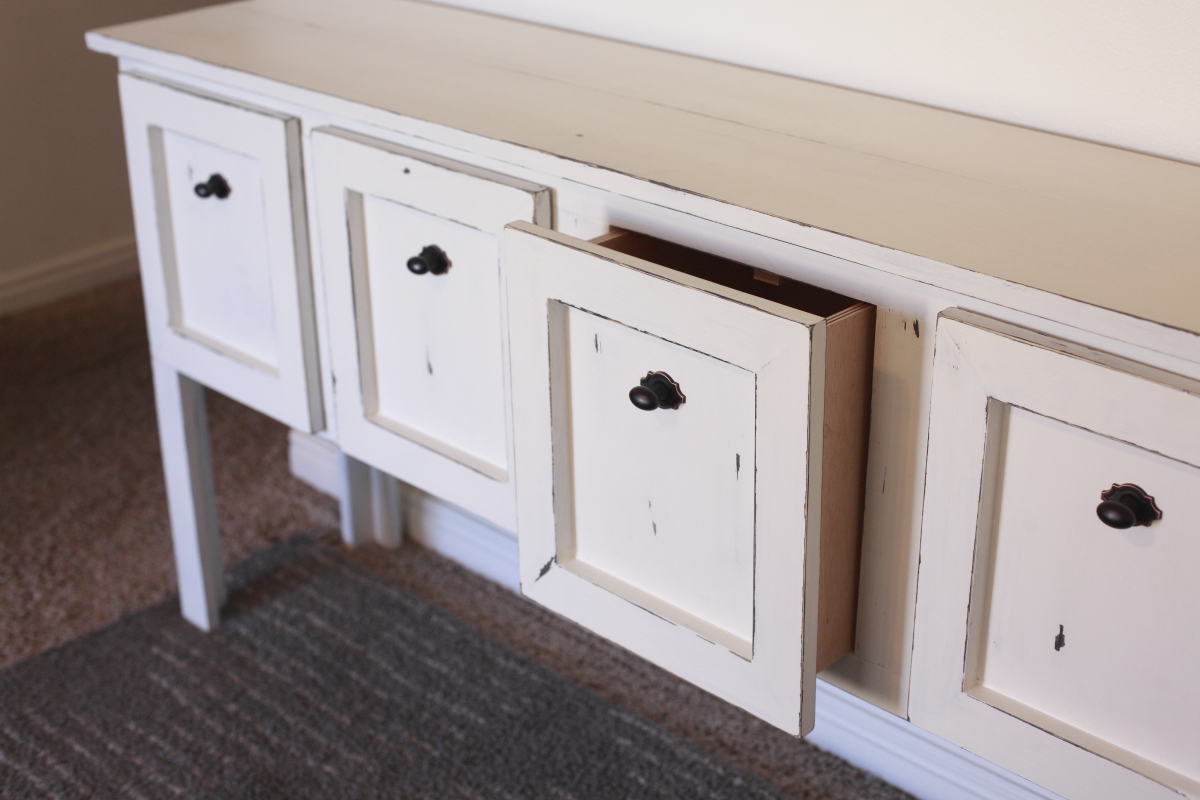
I started with rough-cut American walnut from a guy's basement. It had been stored for over 50 years in a nice dry climate. After planing it, running it through a jointer, and trimming off the crooked parts with my table saw, I was able to get everything to line up pretty well. I will say the drawers sure gave me a run for my money! Those are so difficult to get perfect!
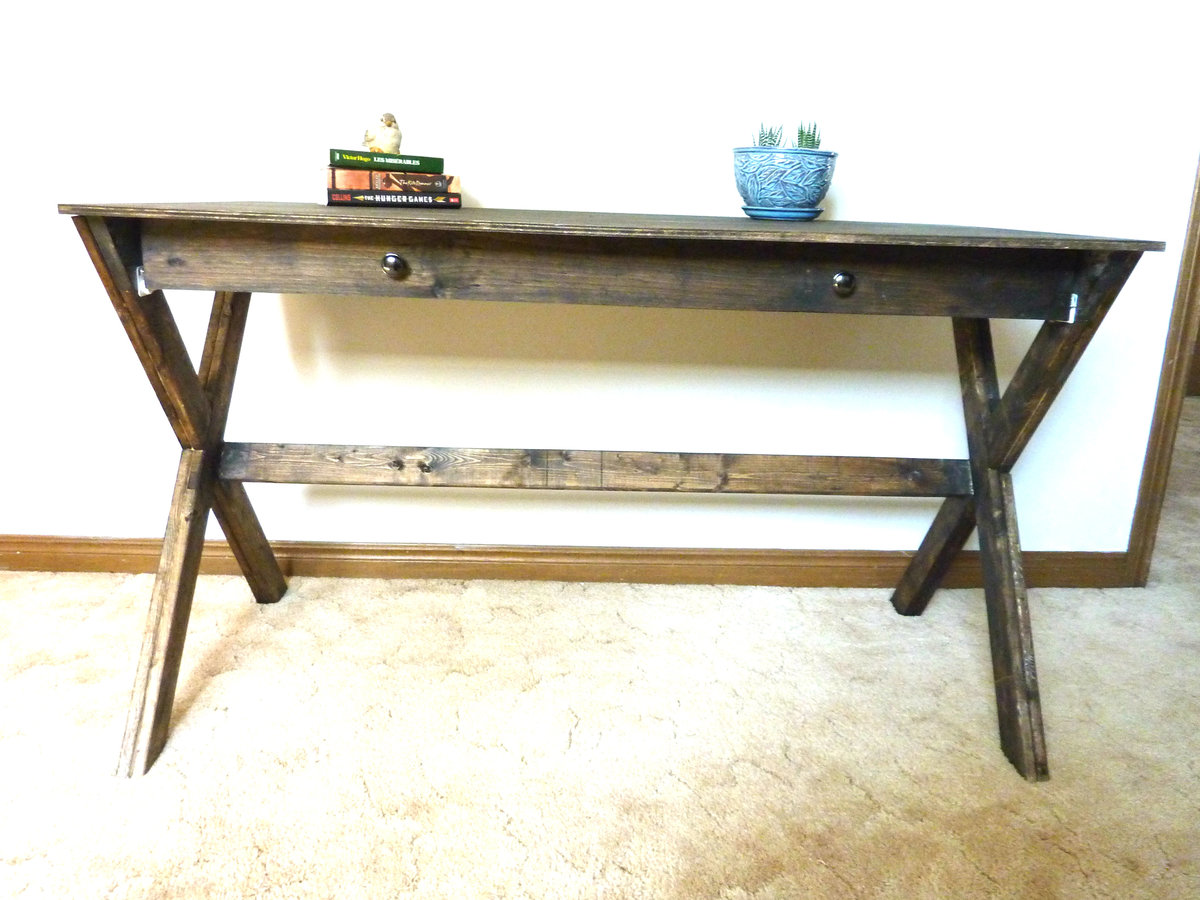
The stain I used is a Kona stain from Varathane. I truly couldn't be more pleased with how it turned out.


Comments
JoanneS
Mon, 02/02/2015 - 18:10
Wow factor!
This walnut sideboard has real Wow factor! Absolutely love! The finish looks awesome, and I'm so impressed with all the work you put into making the old walnut boards ready for building. It's an Instant Heirloom!
marenras
Mon, 02/02/2015 - 19:23
That walnut is gorgeous!
That walnut is gorgeous! What a beautiful piece. I wish I could find some 50 year old walnut from some guy's basement.
DanGuyver
Wed, 02/04/2015 - 06:14
Thanks!
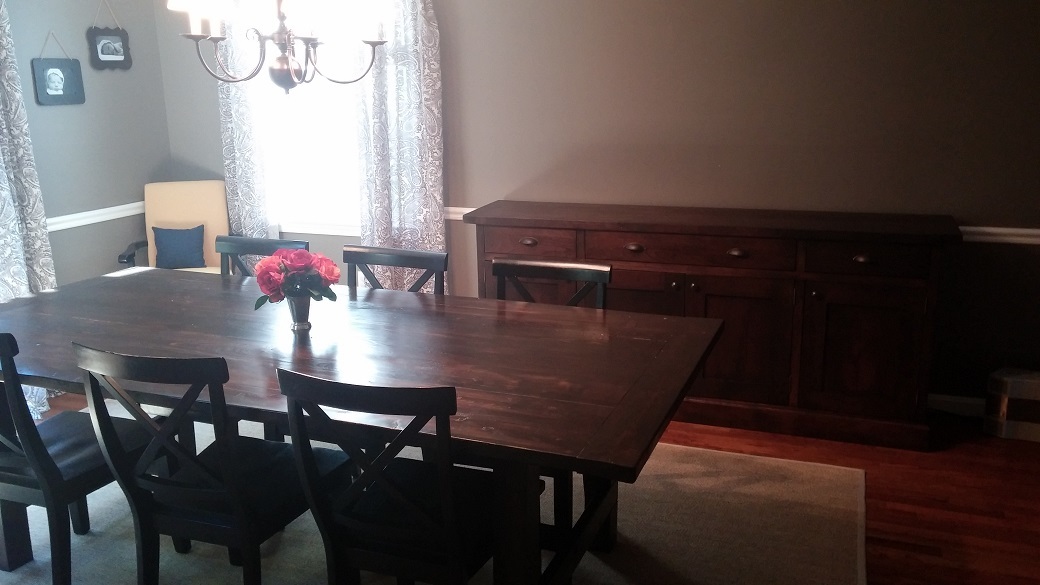
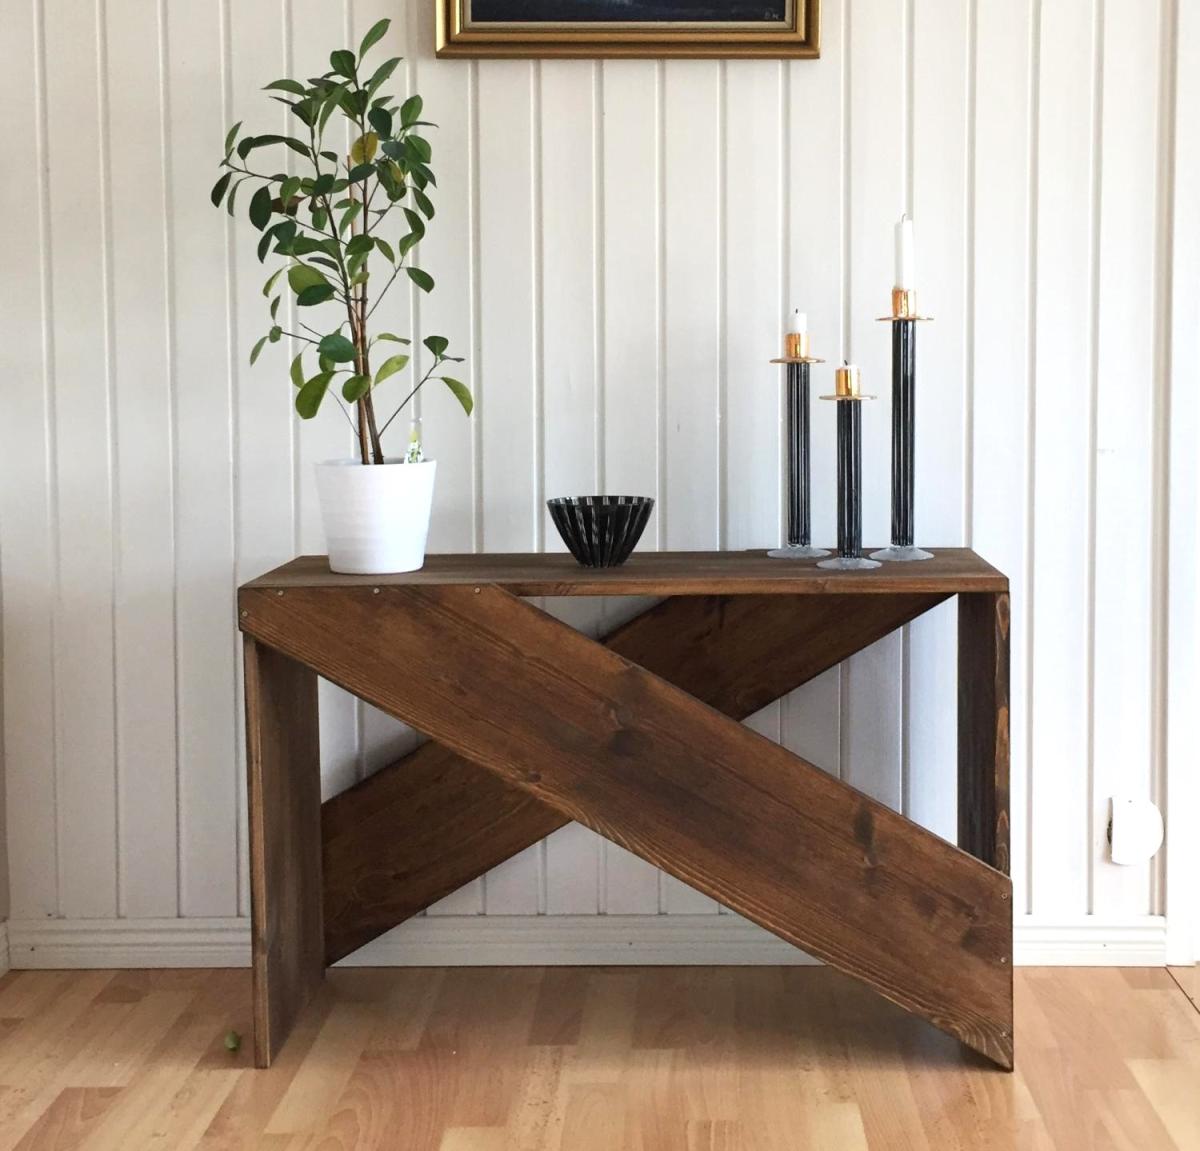
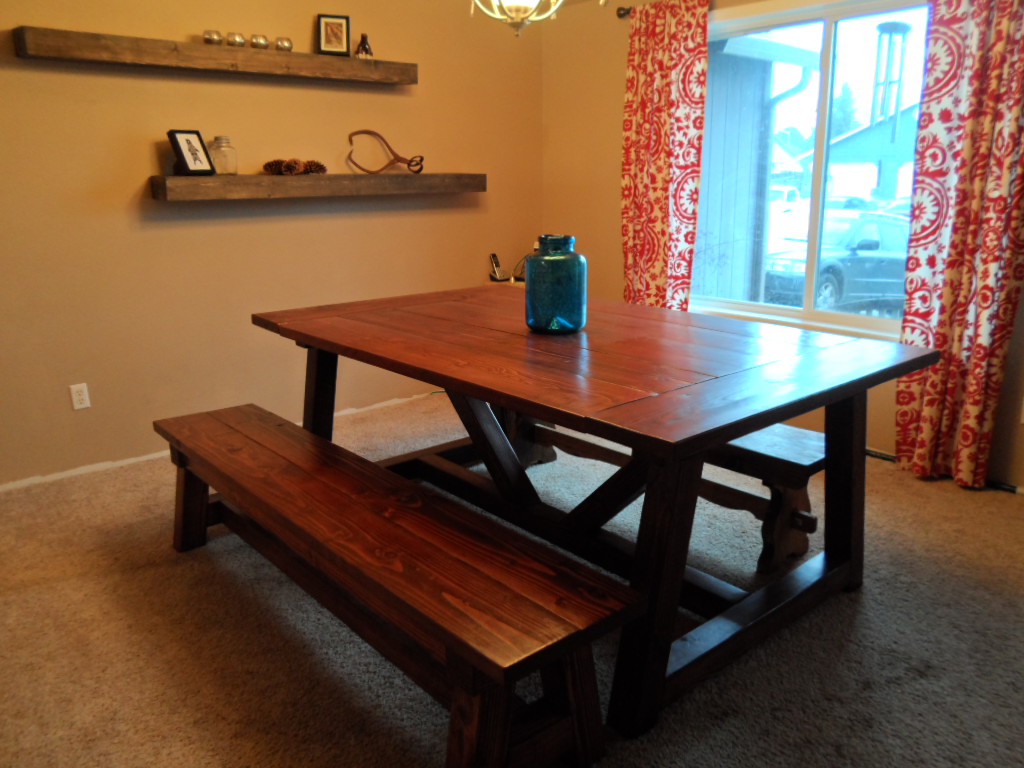
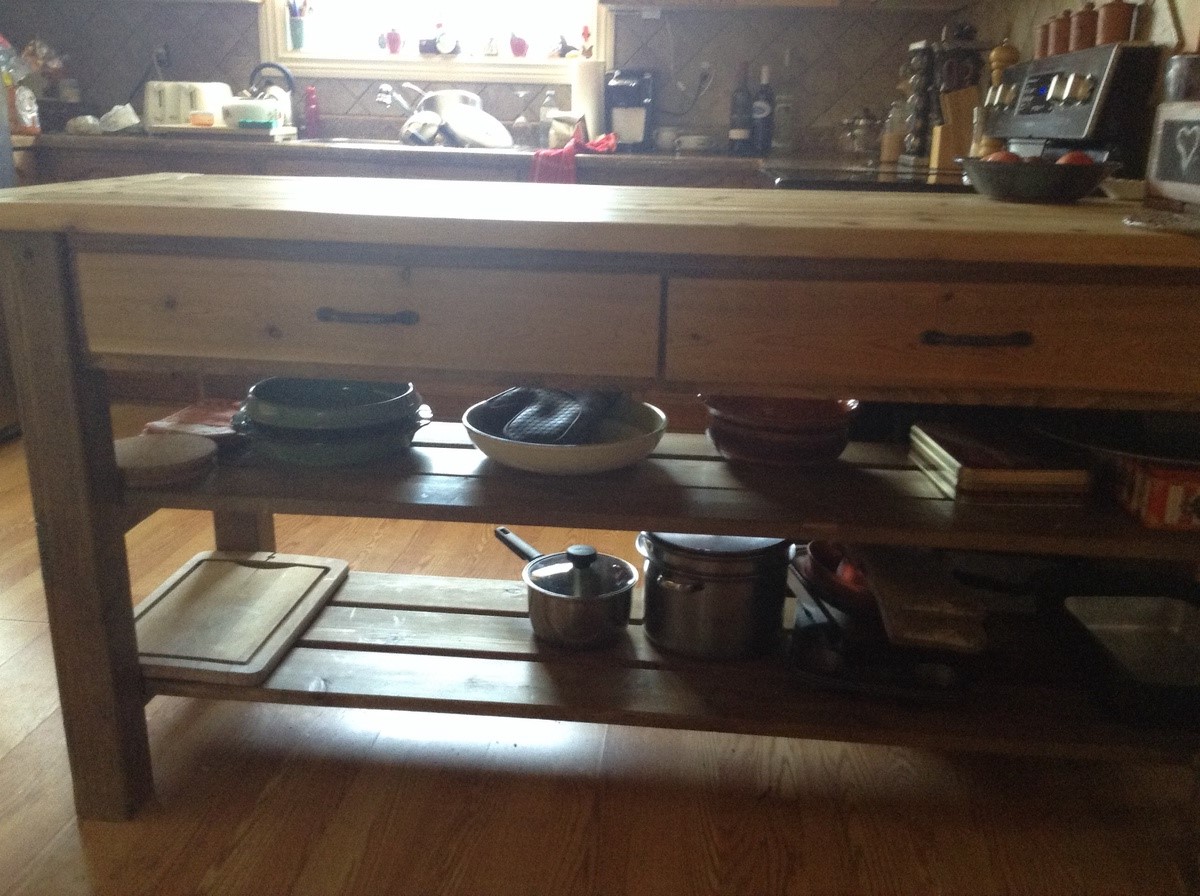
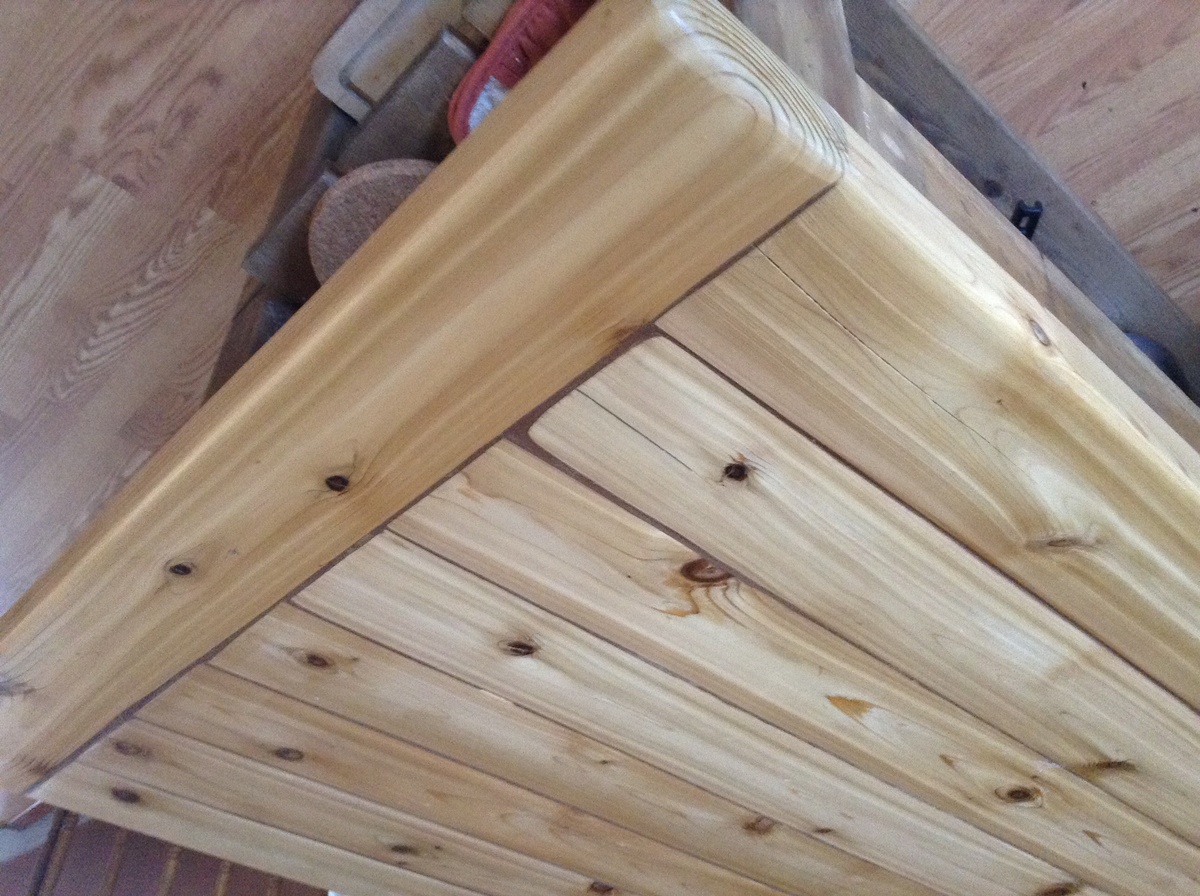
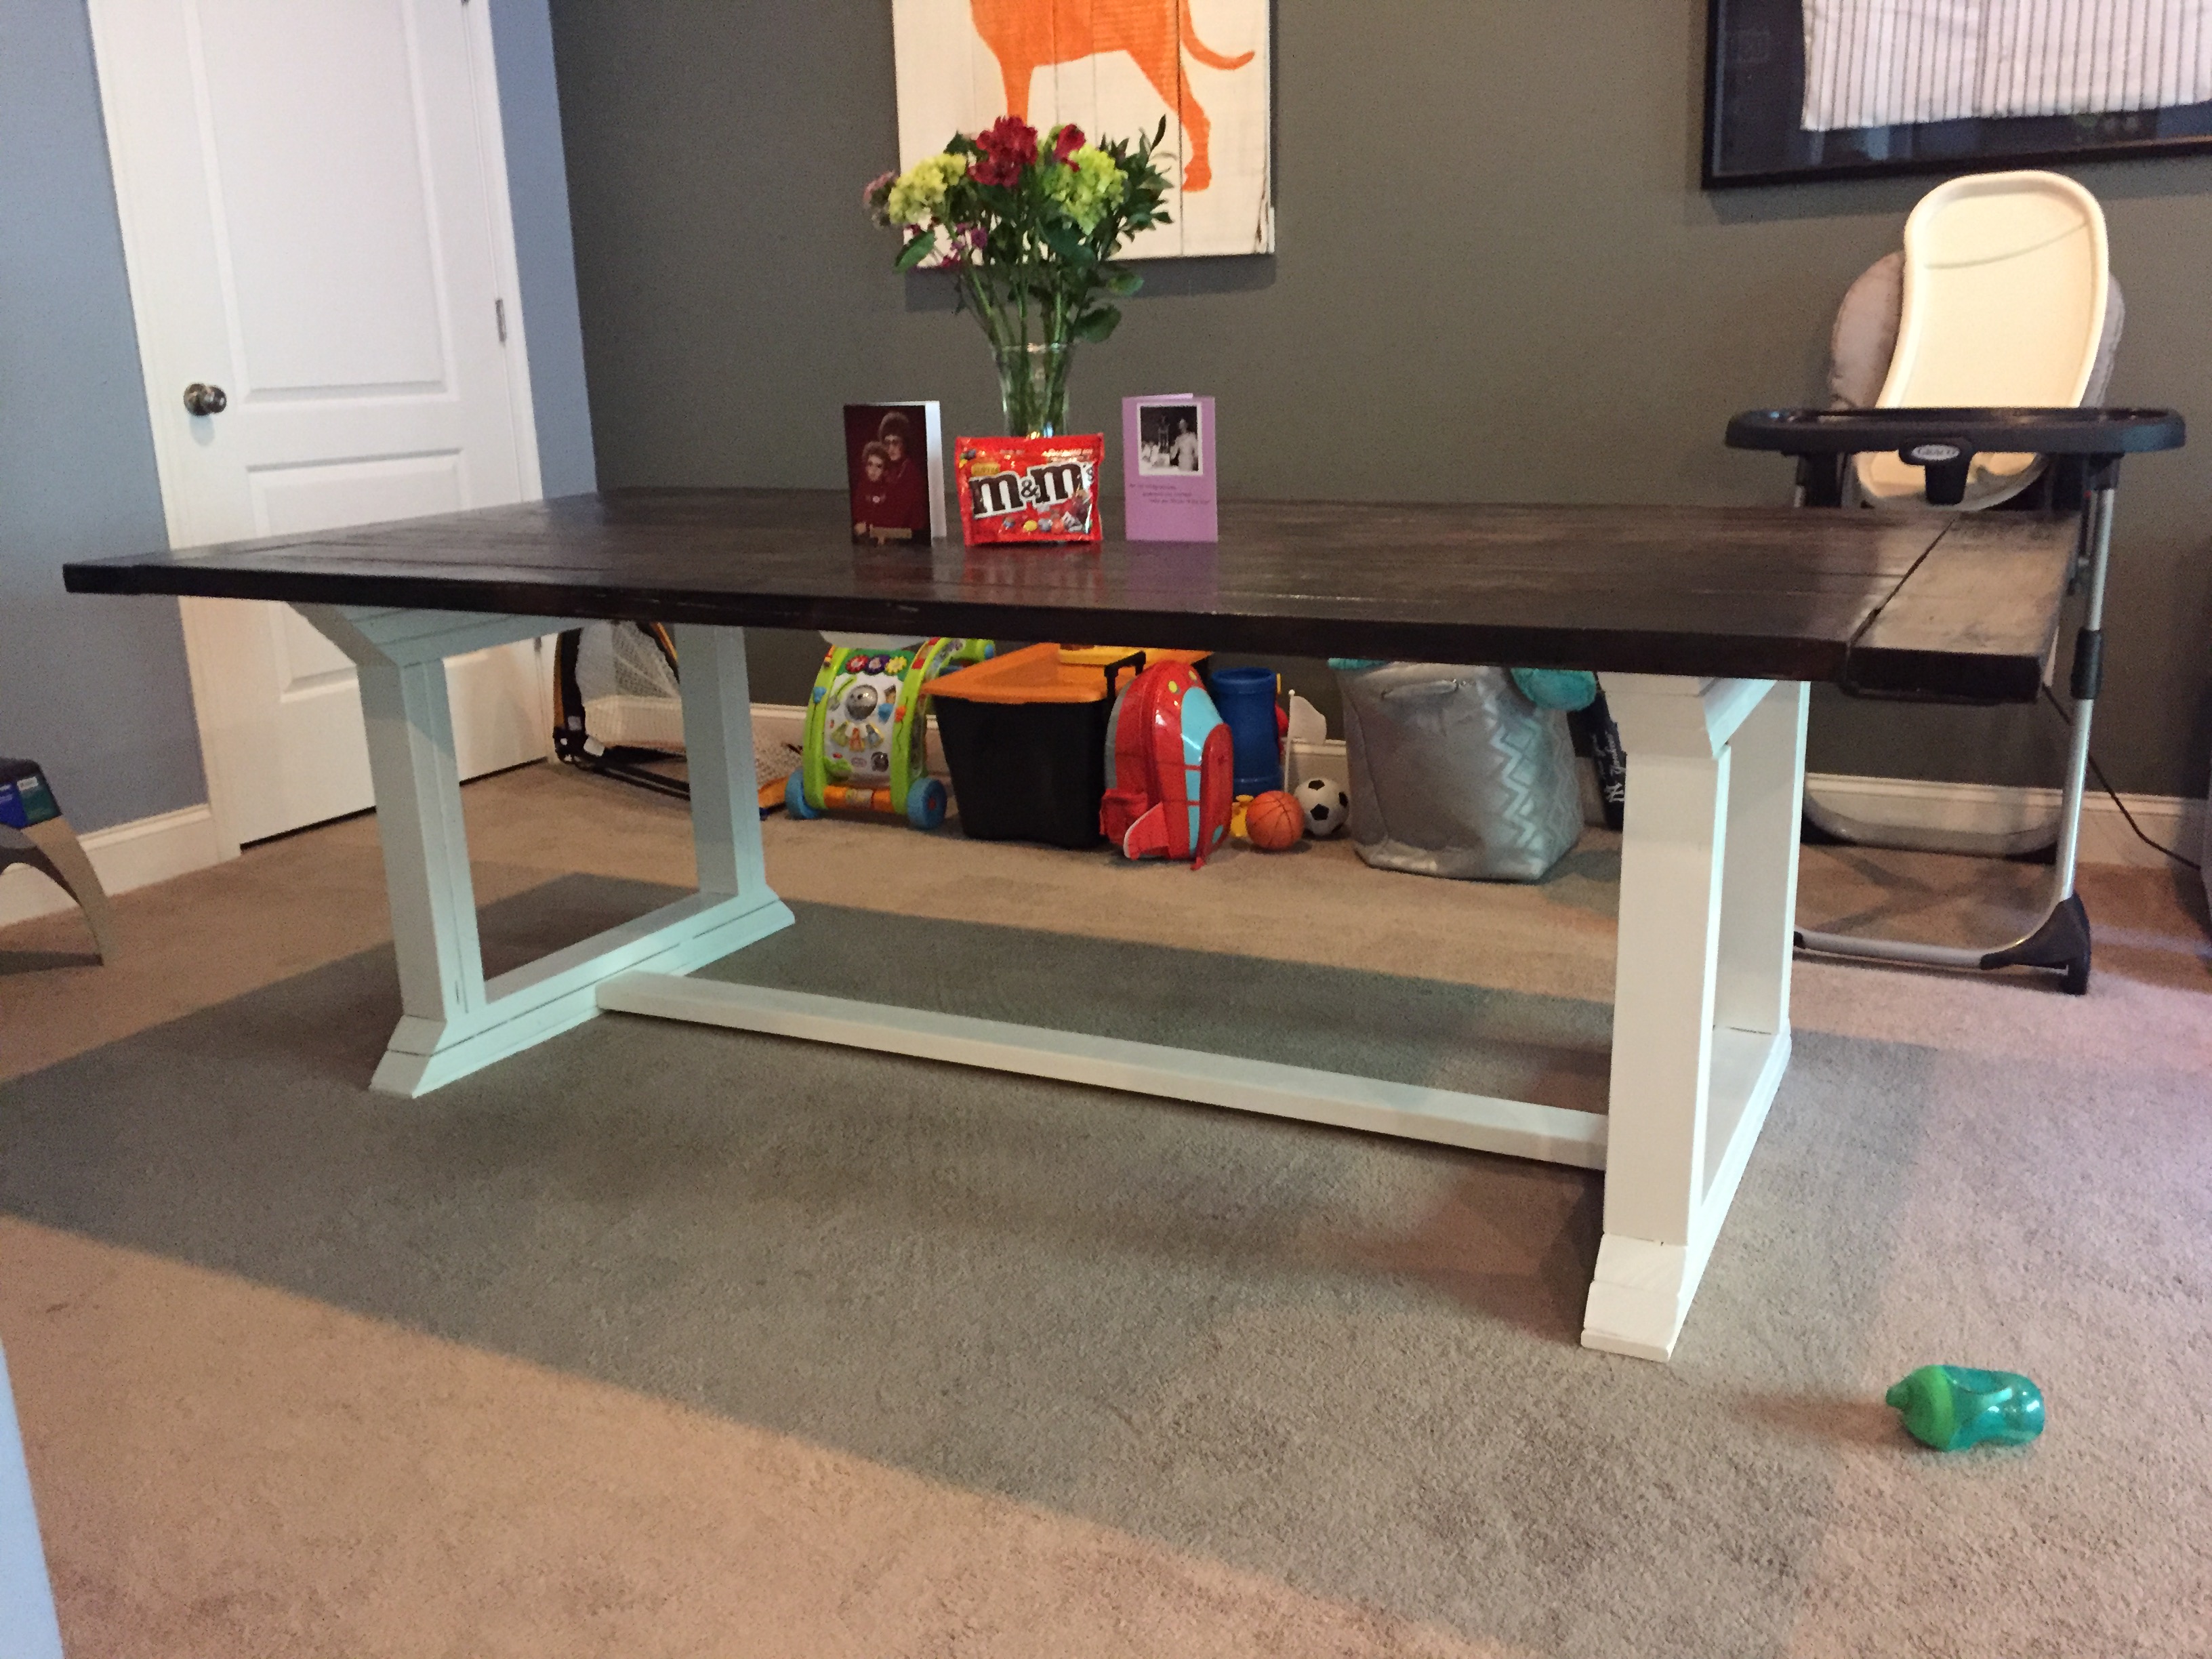
Thanks for the comments! I should also mention, that table was the "Rustic Farmhouse" from this site as well. And since that picture was taken I have built two more pieces from this site. I found a source for rough-cut oak lumber, and also managed to win an auction for a huge stack of maple that is currently drying in my basement. Hopefully I'll have many more projects coming soon. =)
Ana White
Thu, 02/12/2015 - 00:03
This is really awesome!
This is really awesome!