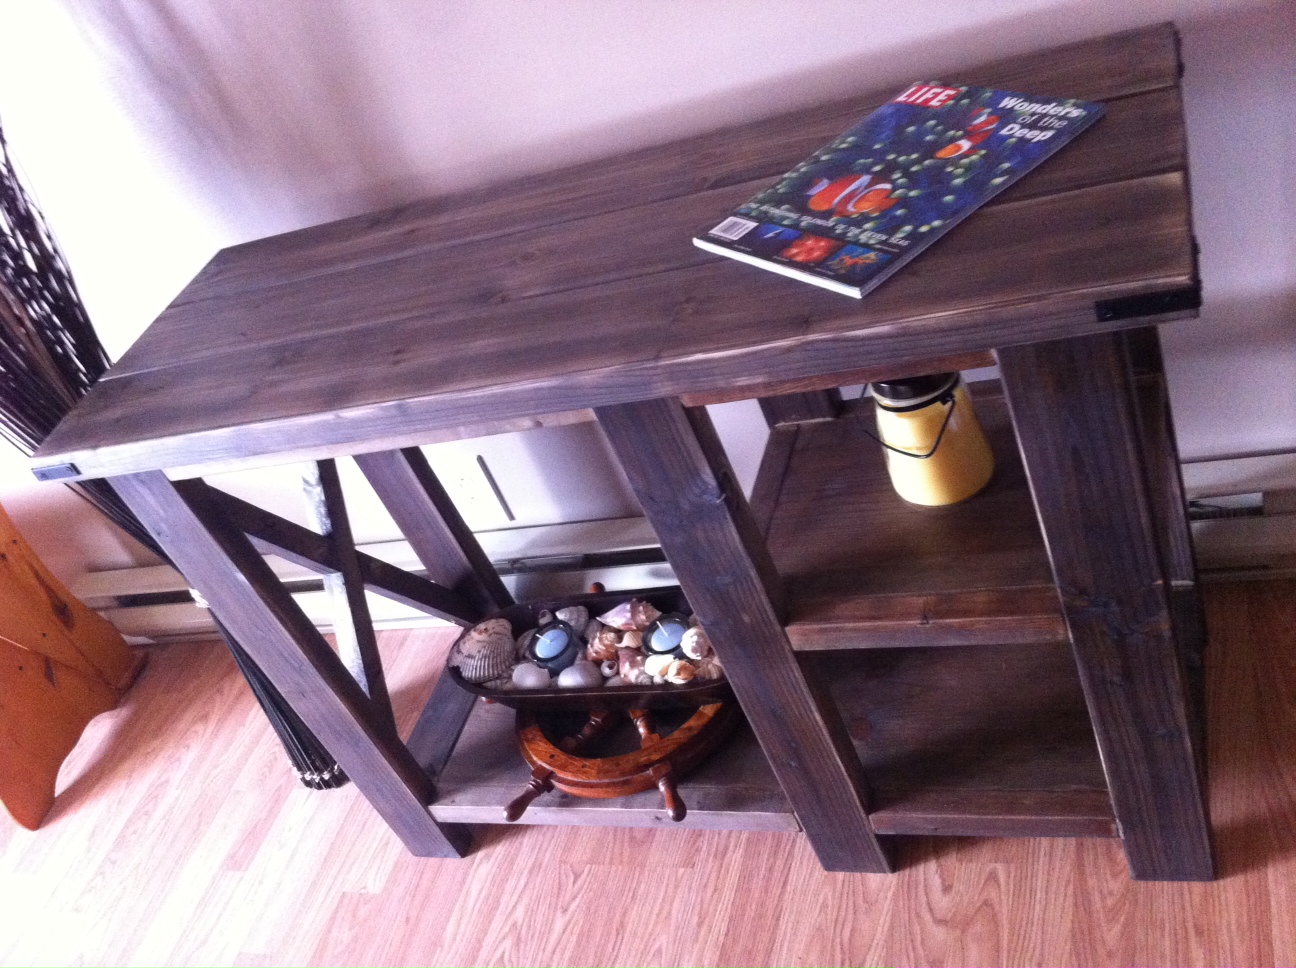
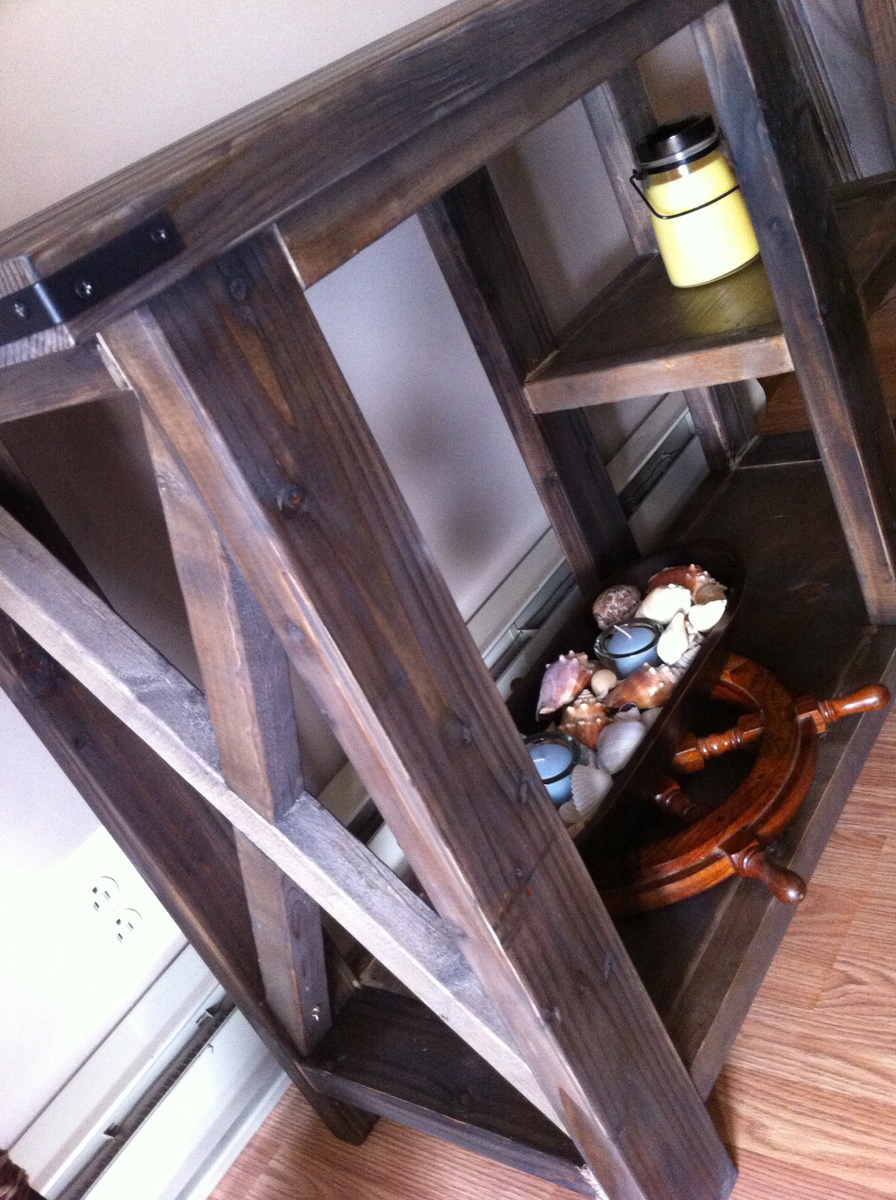
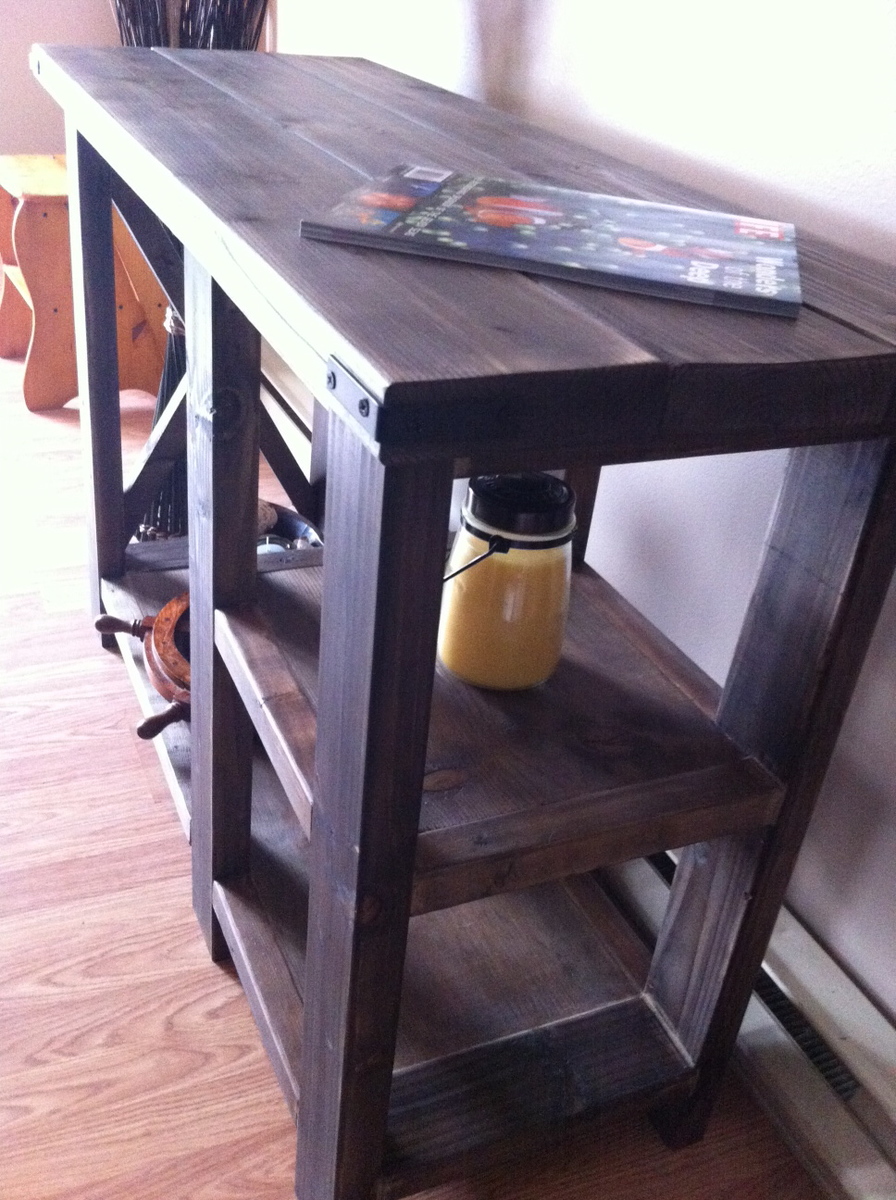
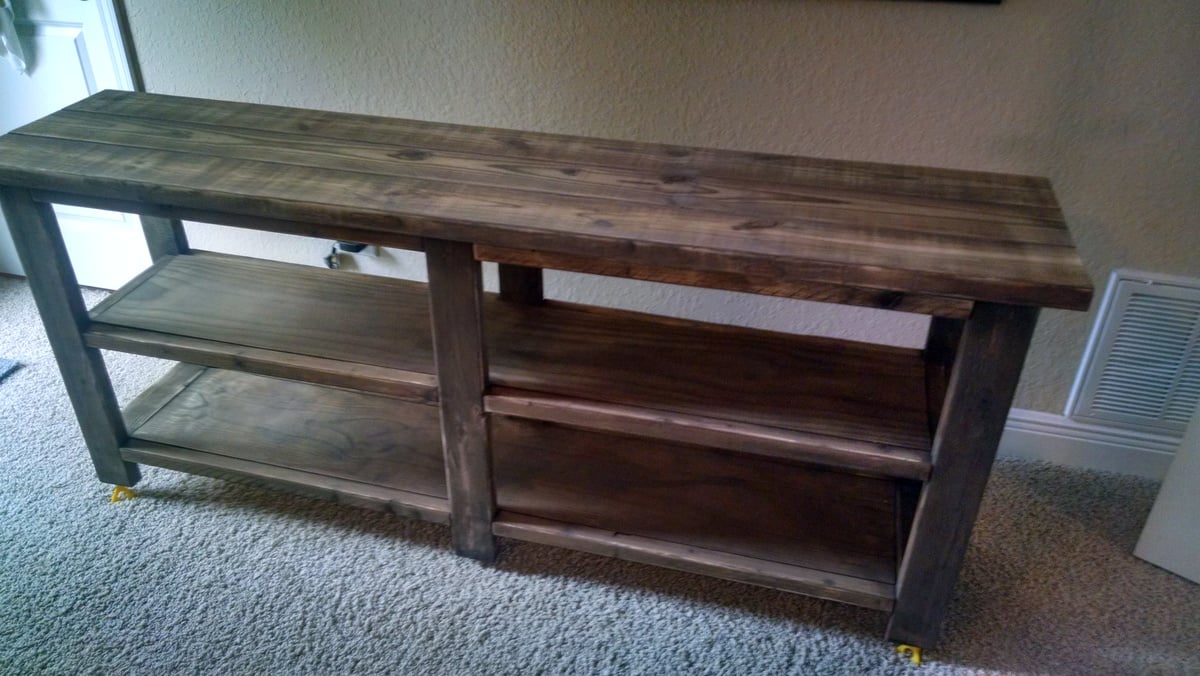
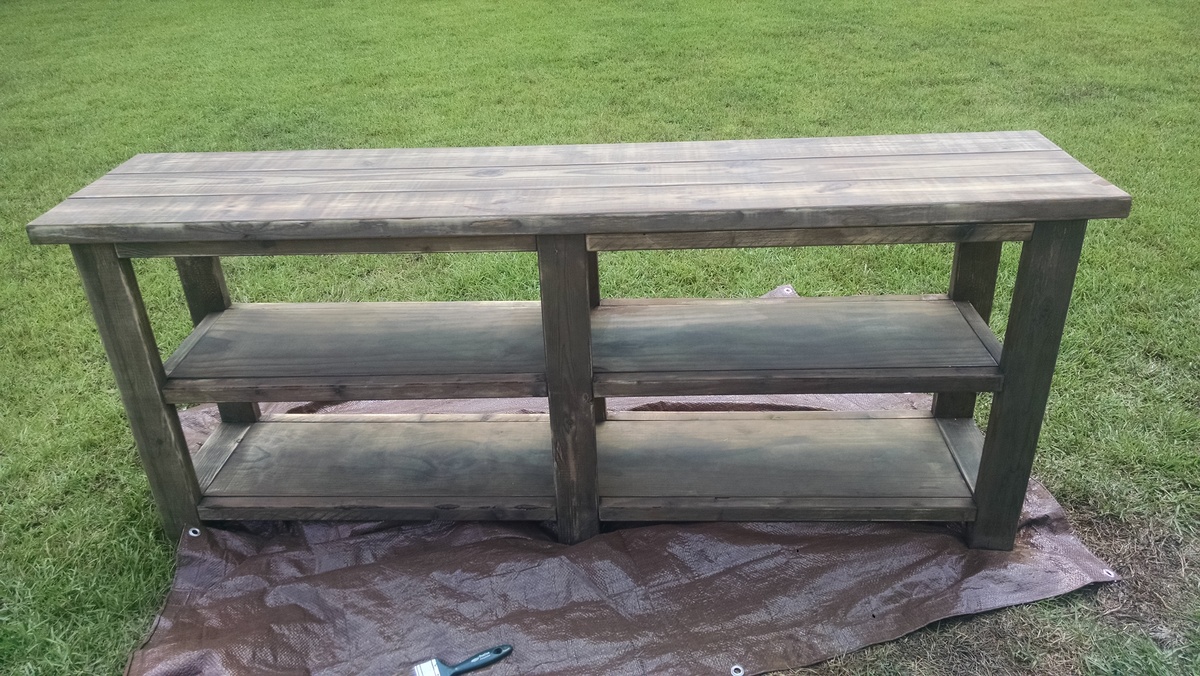
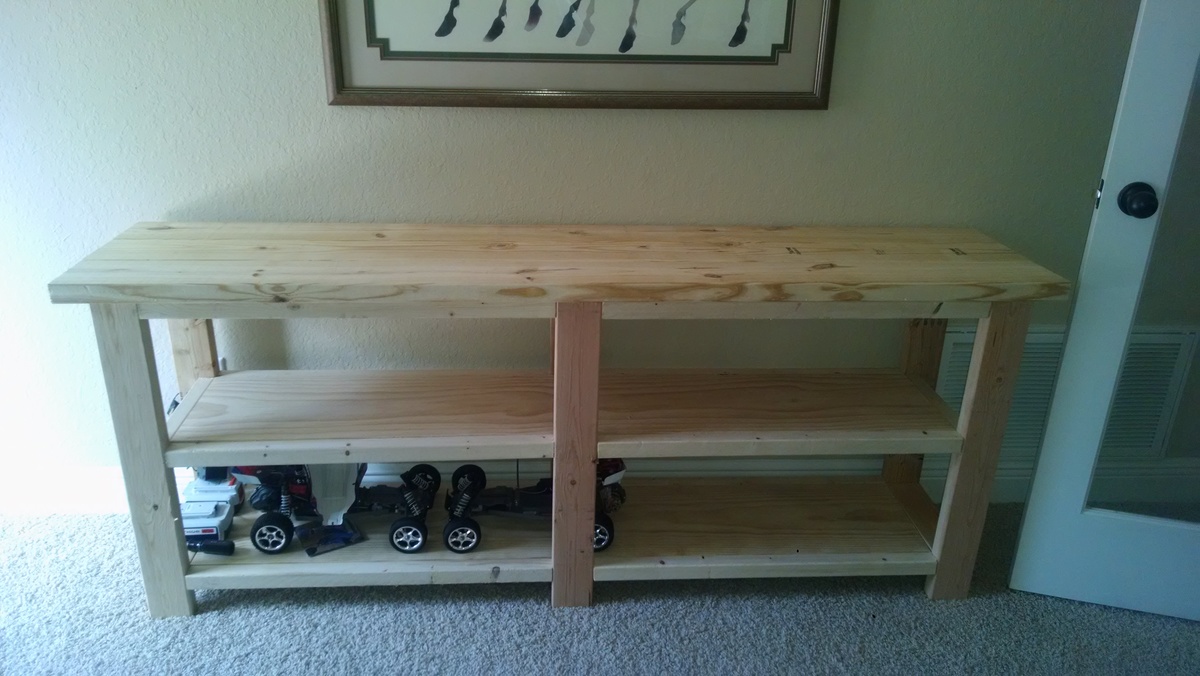
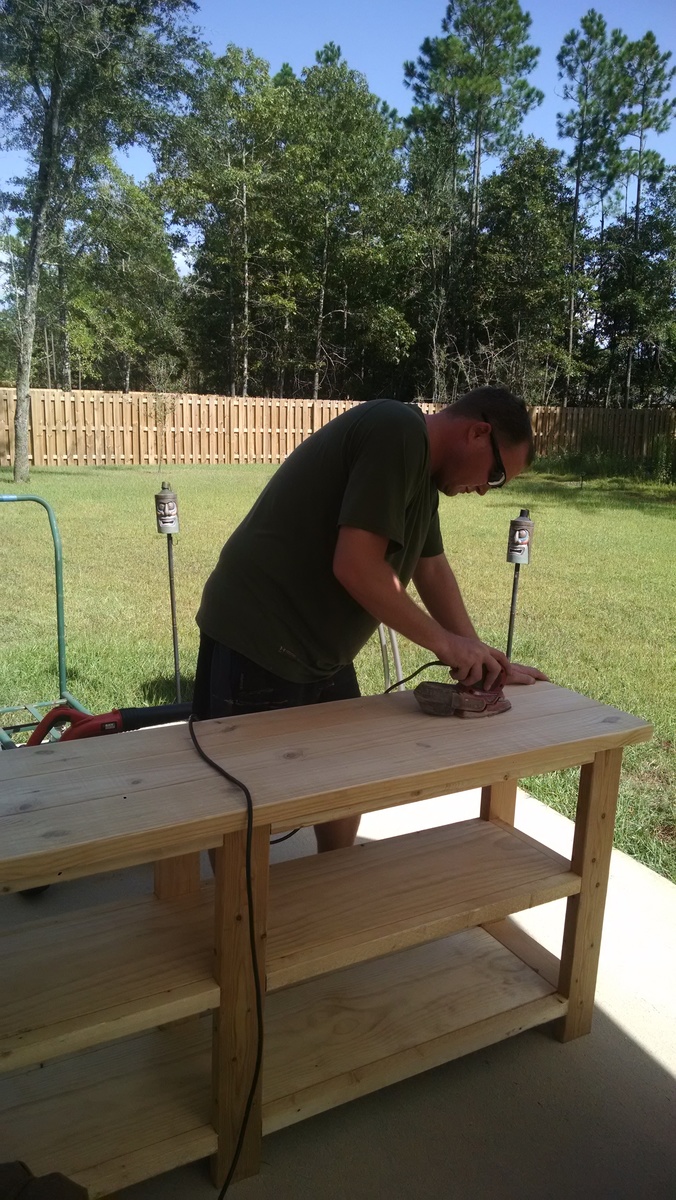
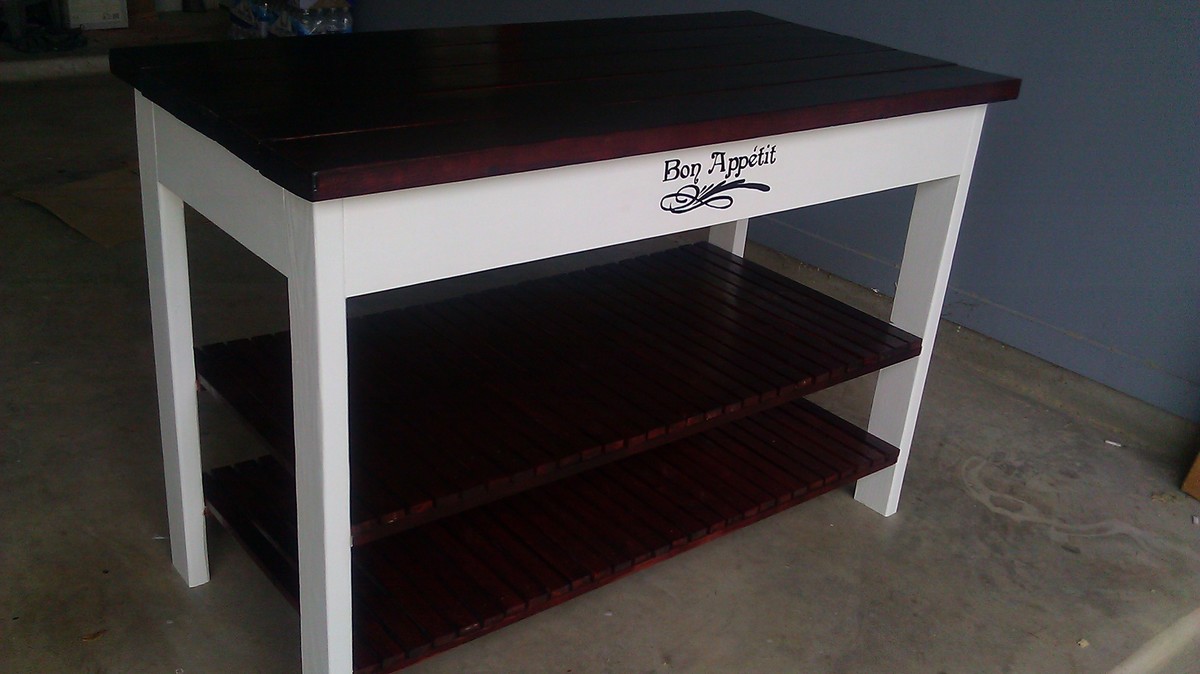
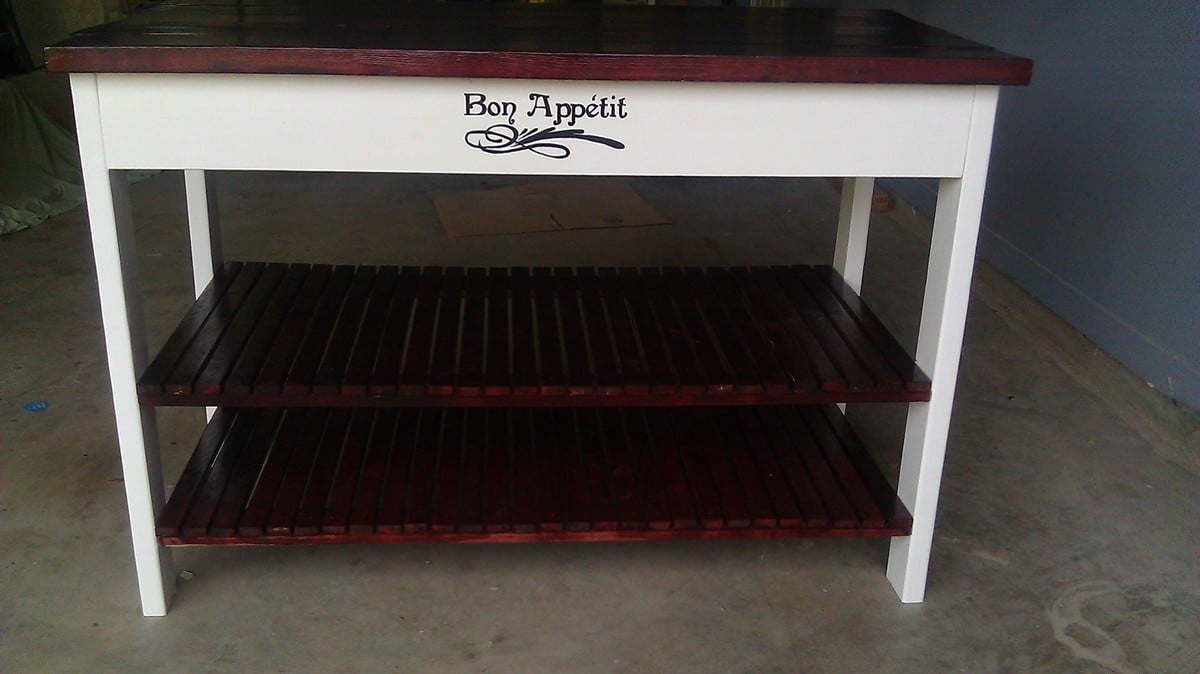
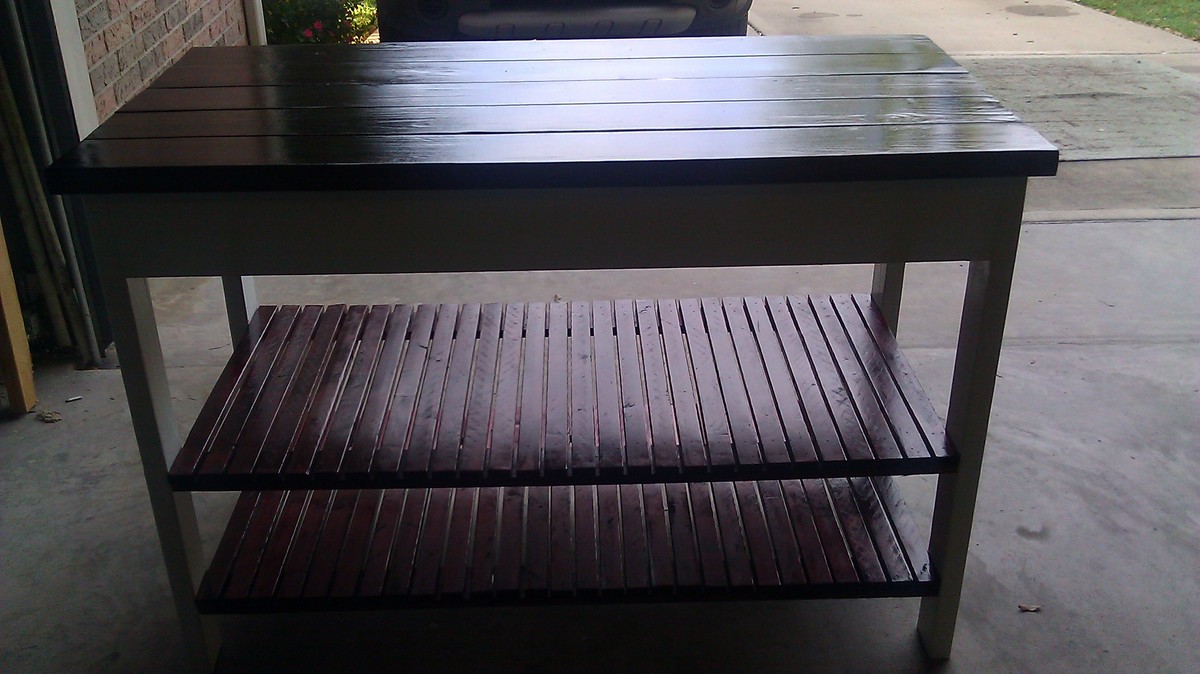
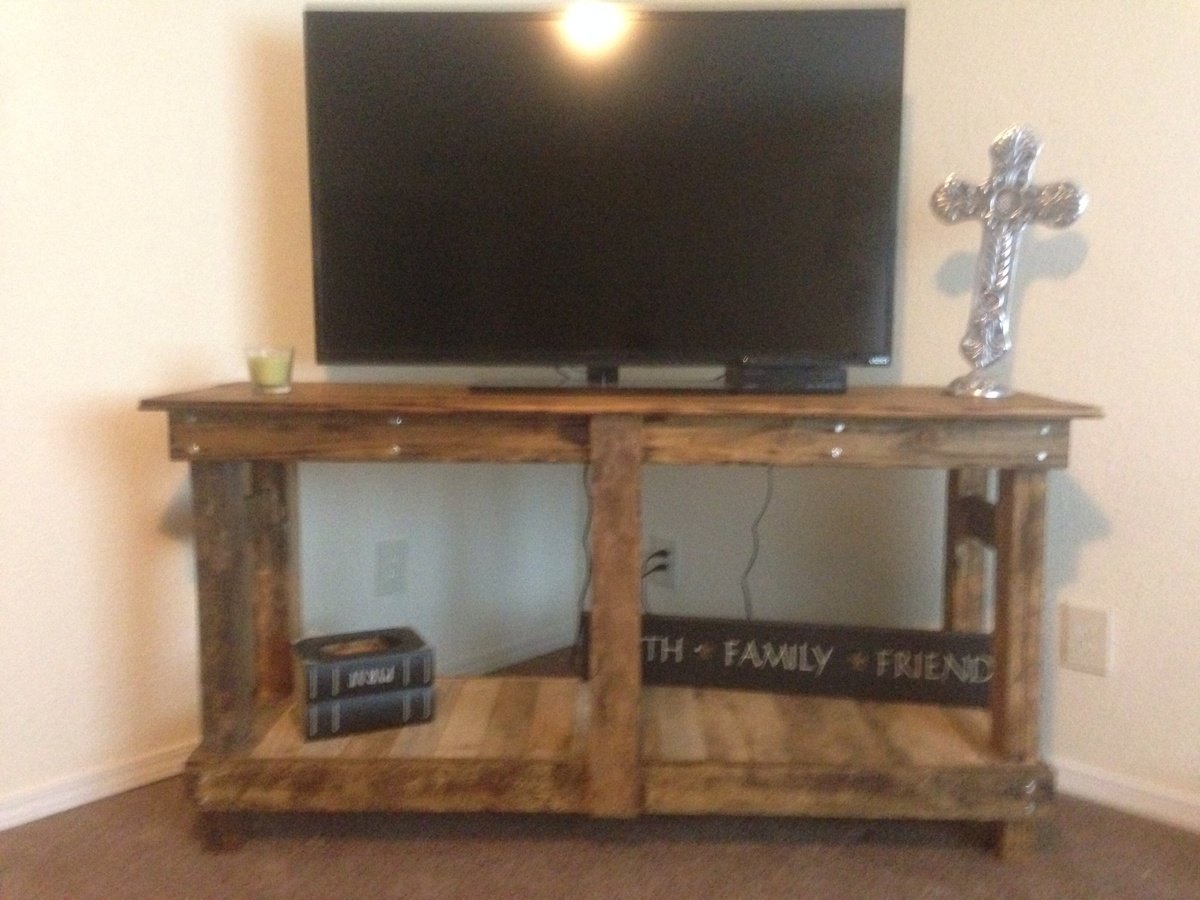
Rustic Hall Tree
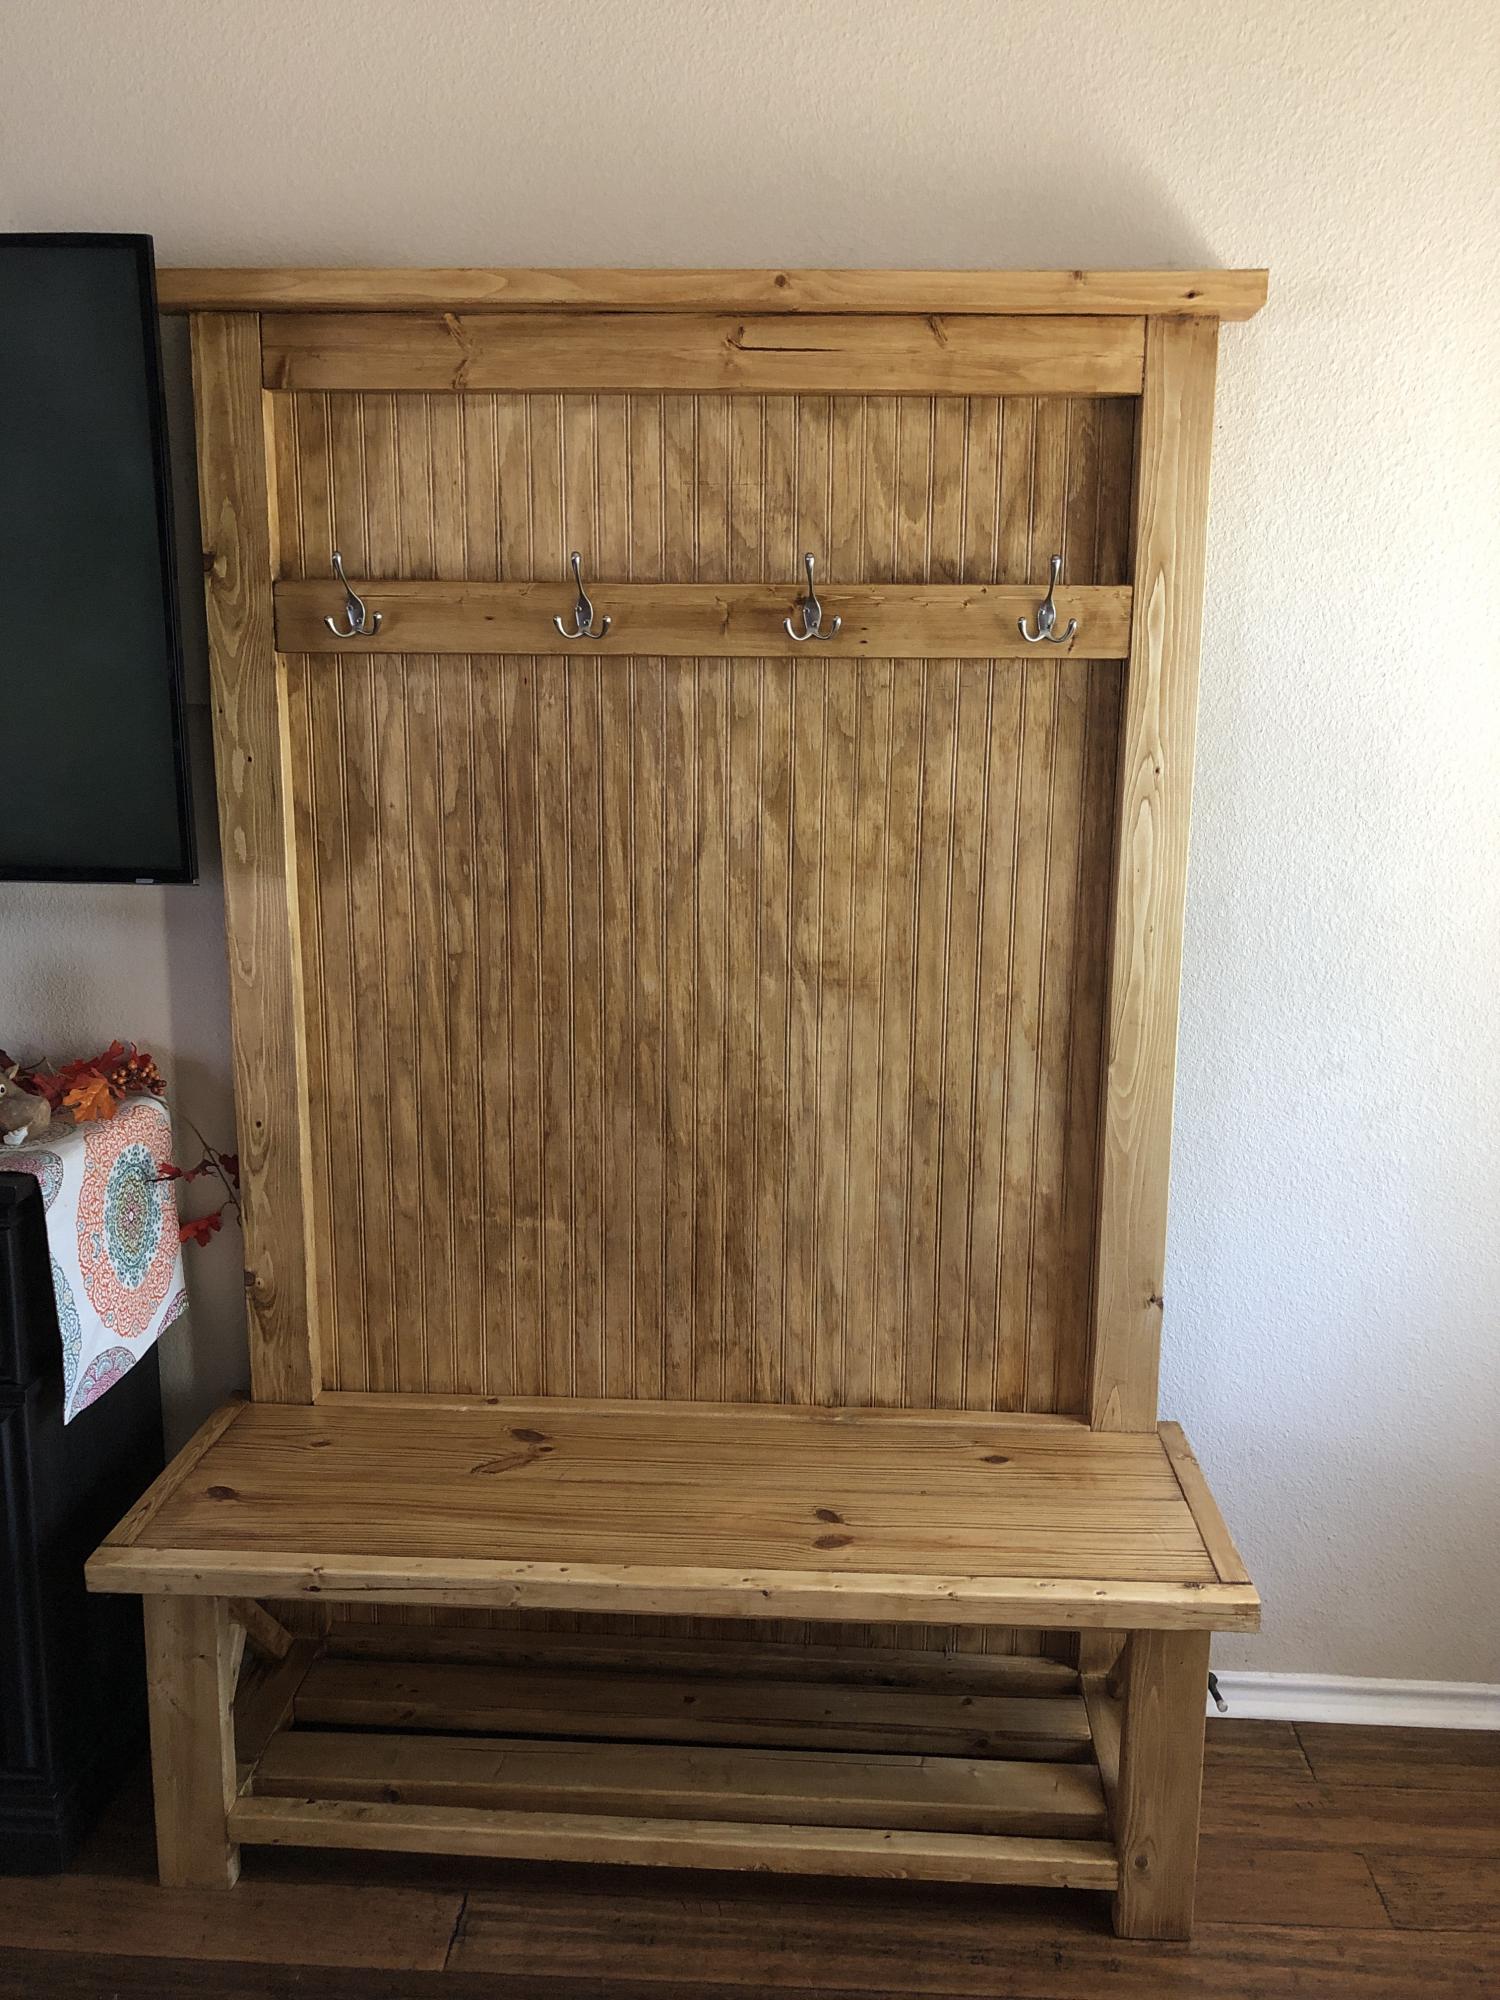
I have made several of these one for wife for our anniversary, Made another my mother for mothers day. Yes it is a easy weekend project.
Estimated Time Investment
Weekend Project (10-20 Hours)
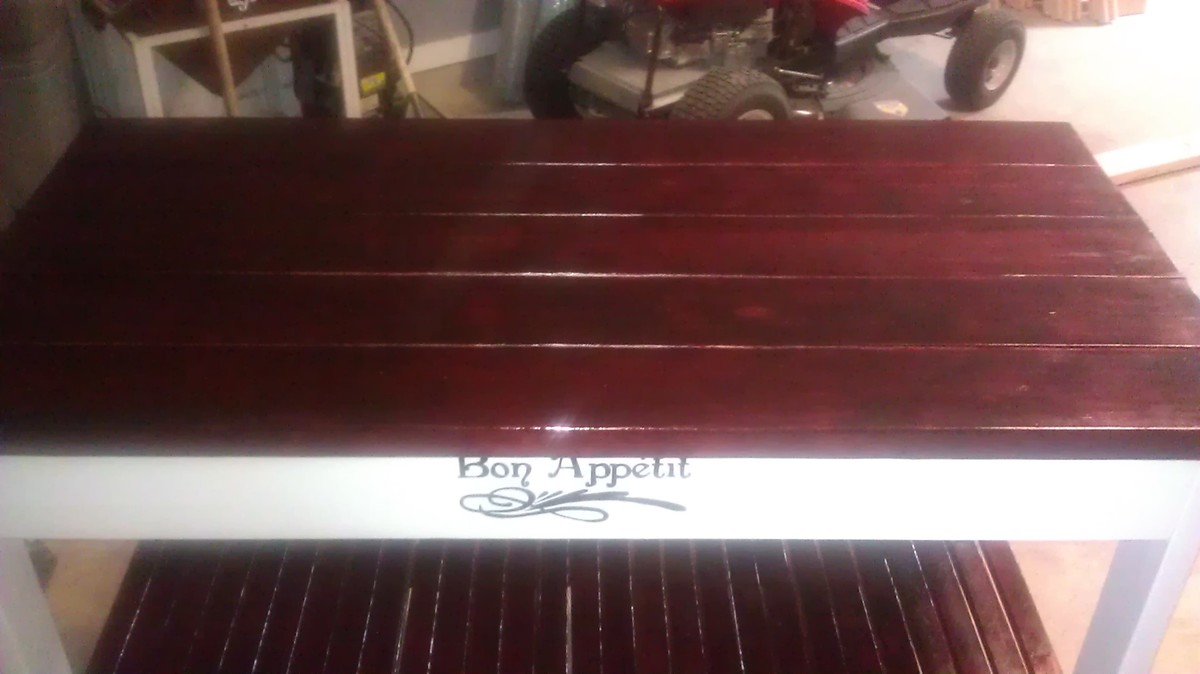
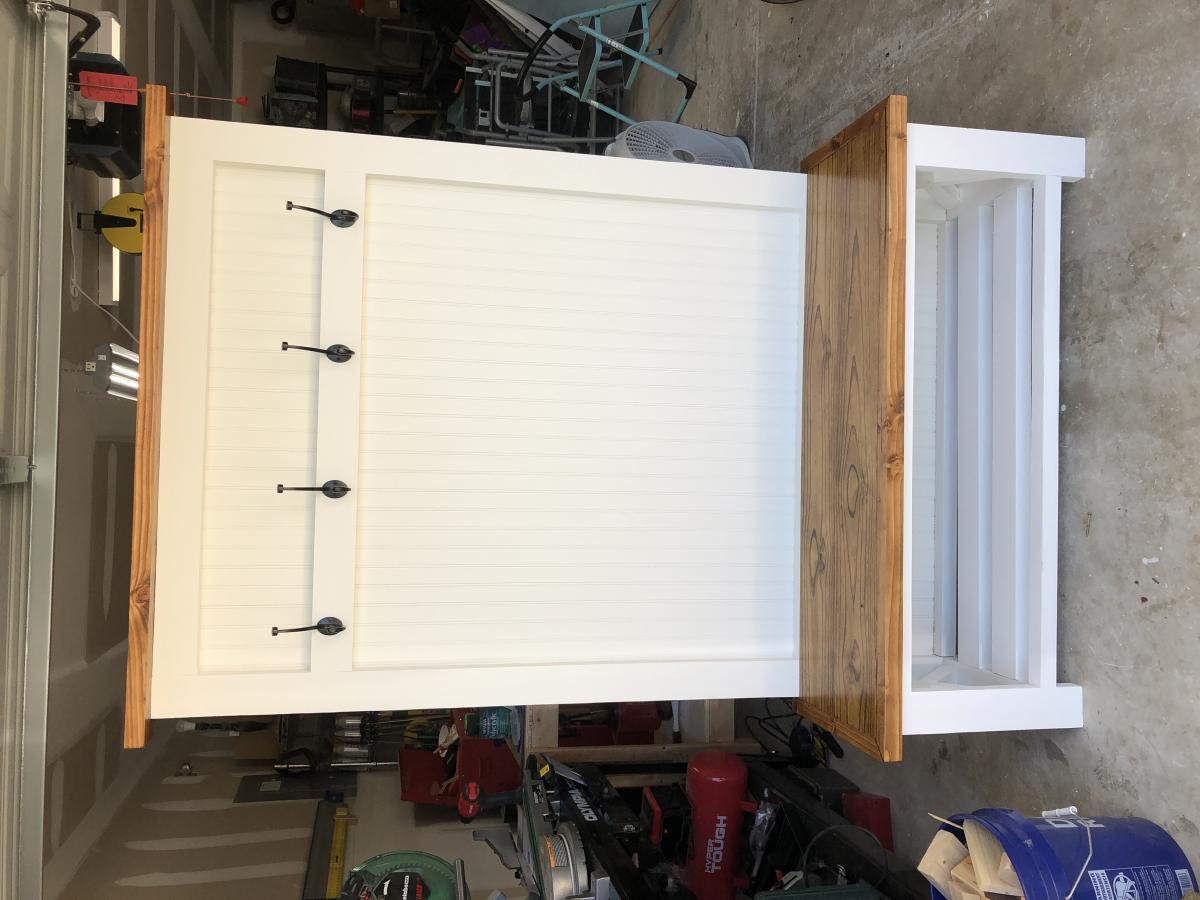
Finish Used
Minwax Golden Oak Stain Minwax Polycrylic . Second one Killz Satin White paint and Golden oak stain.
Recommended Skill Level
Beginner