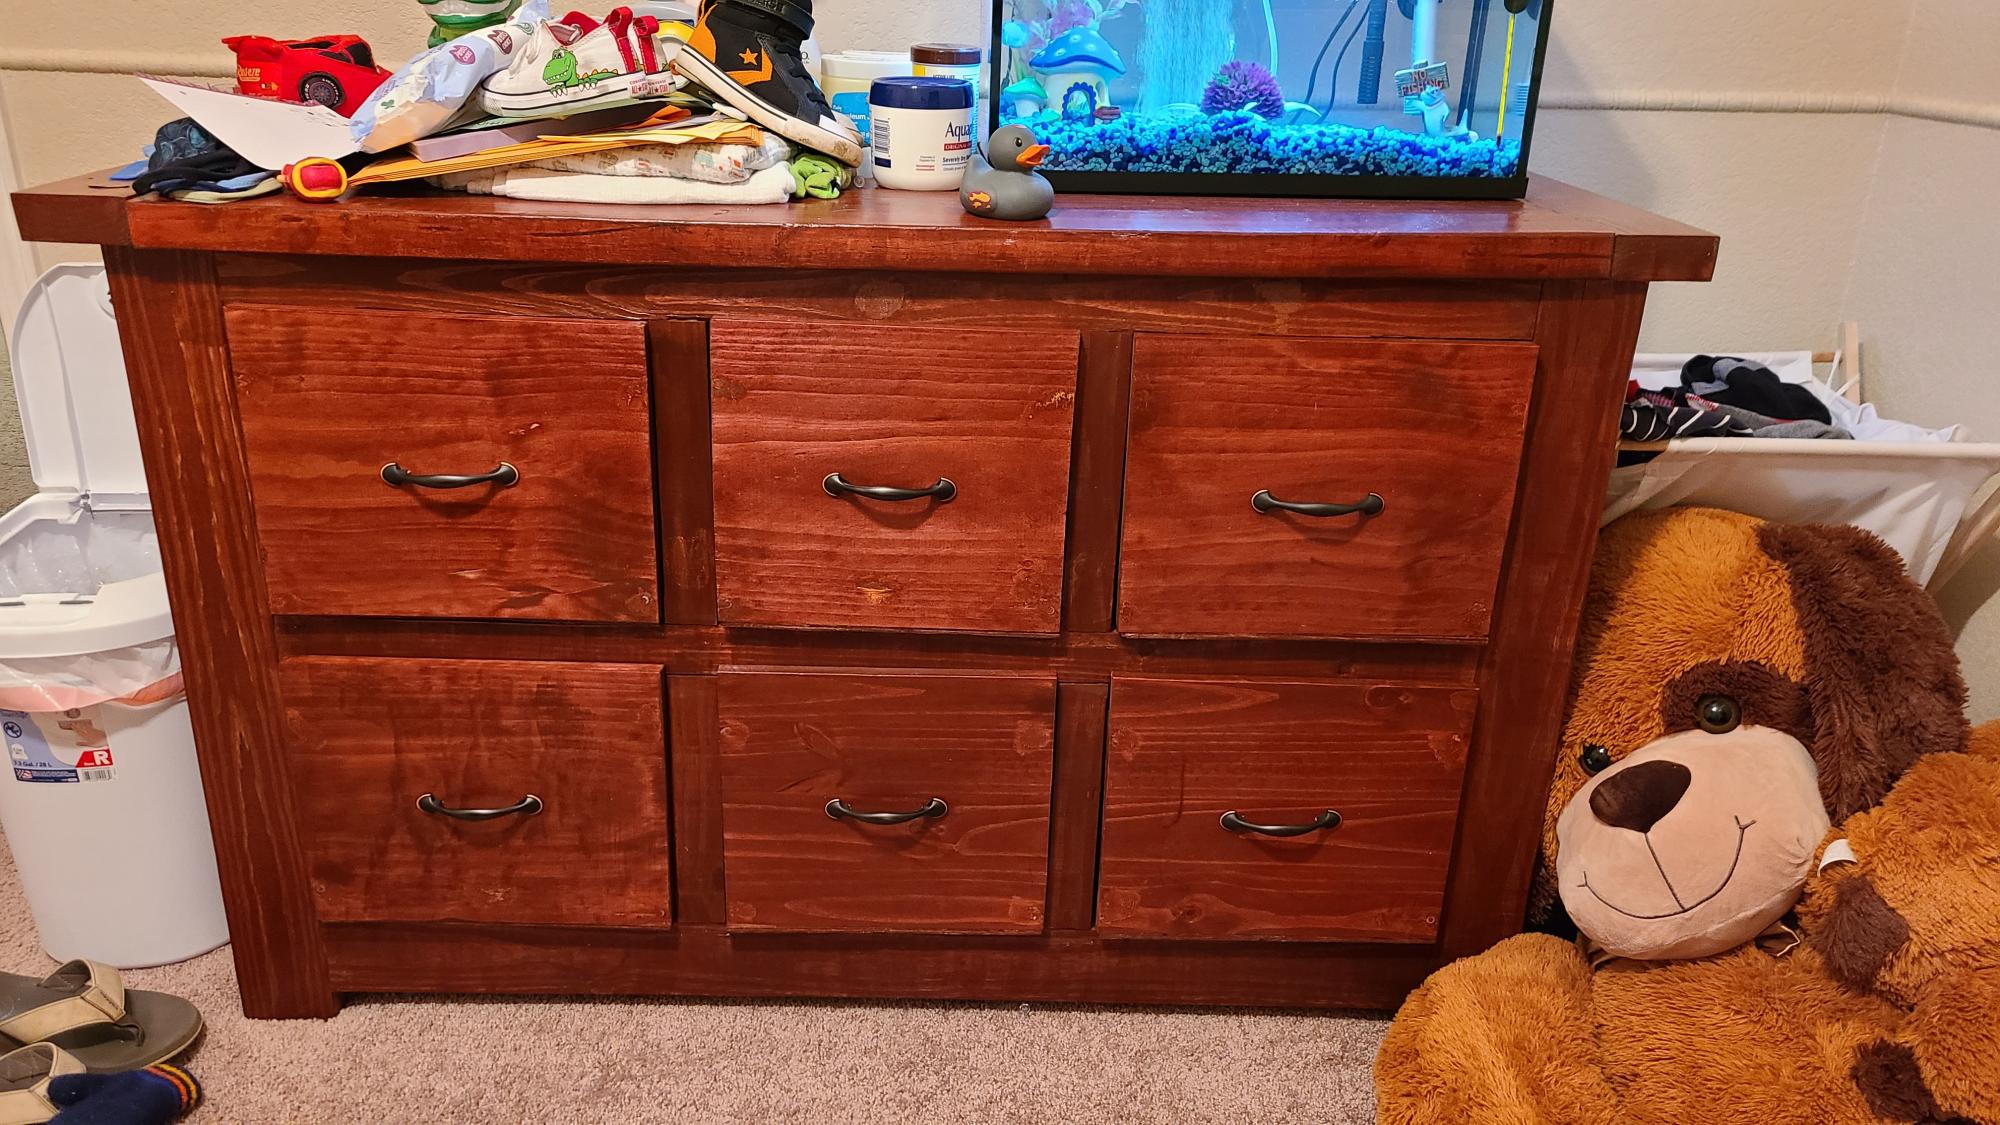
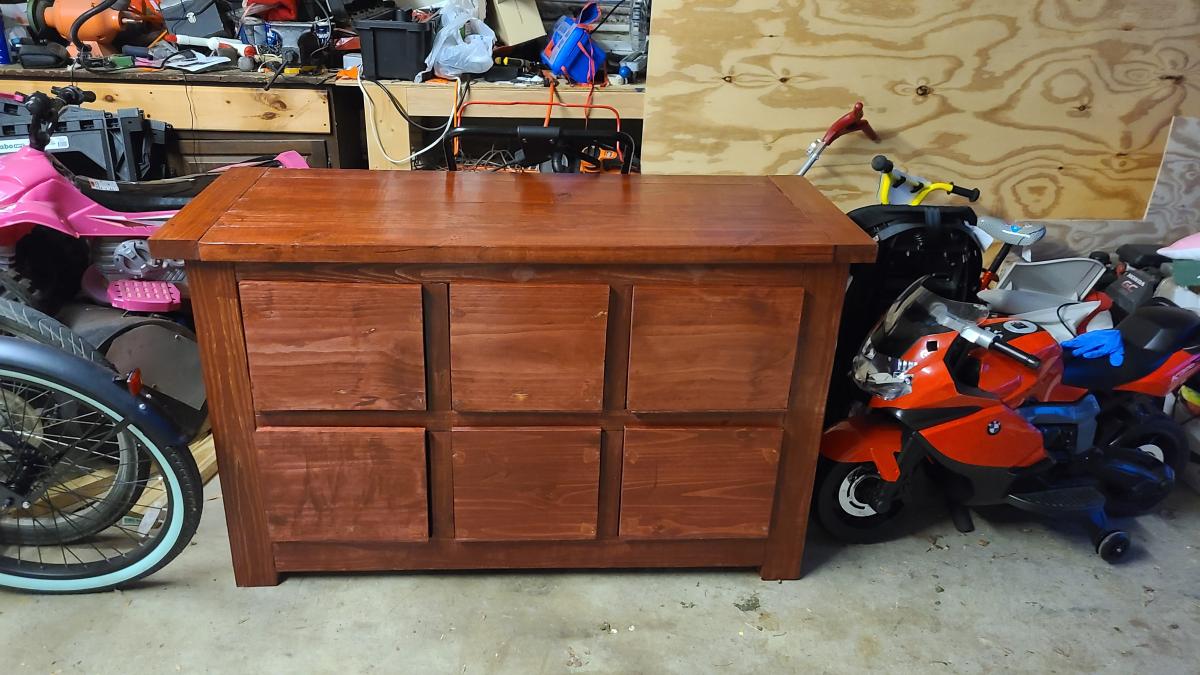
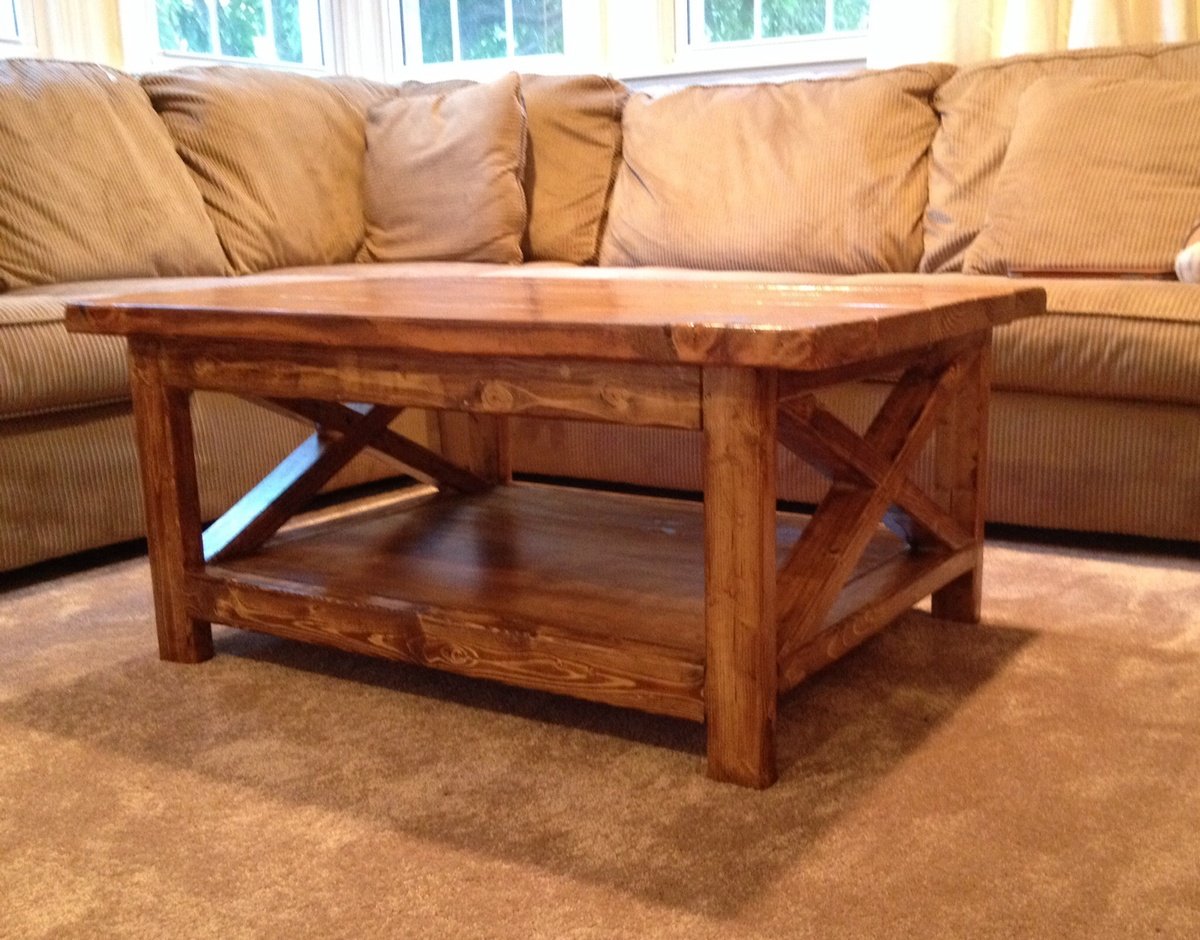
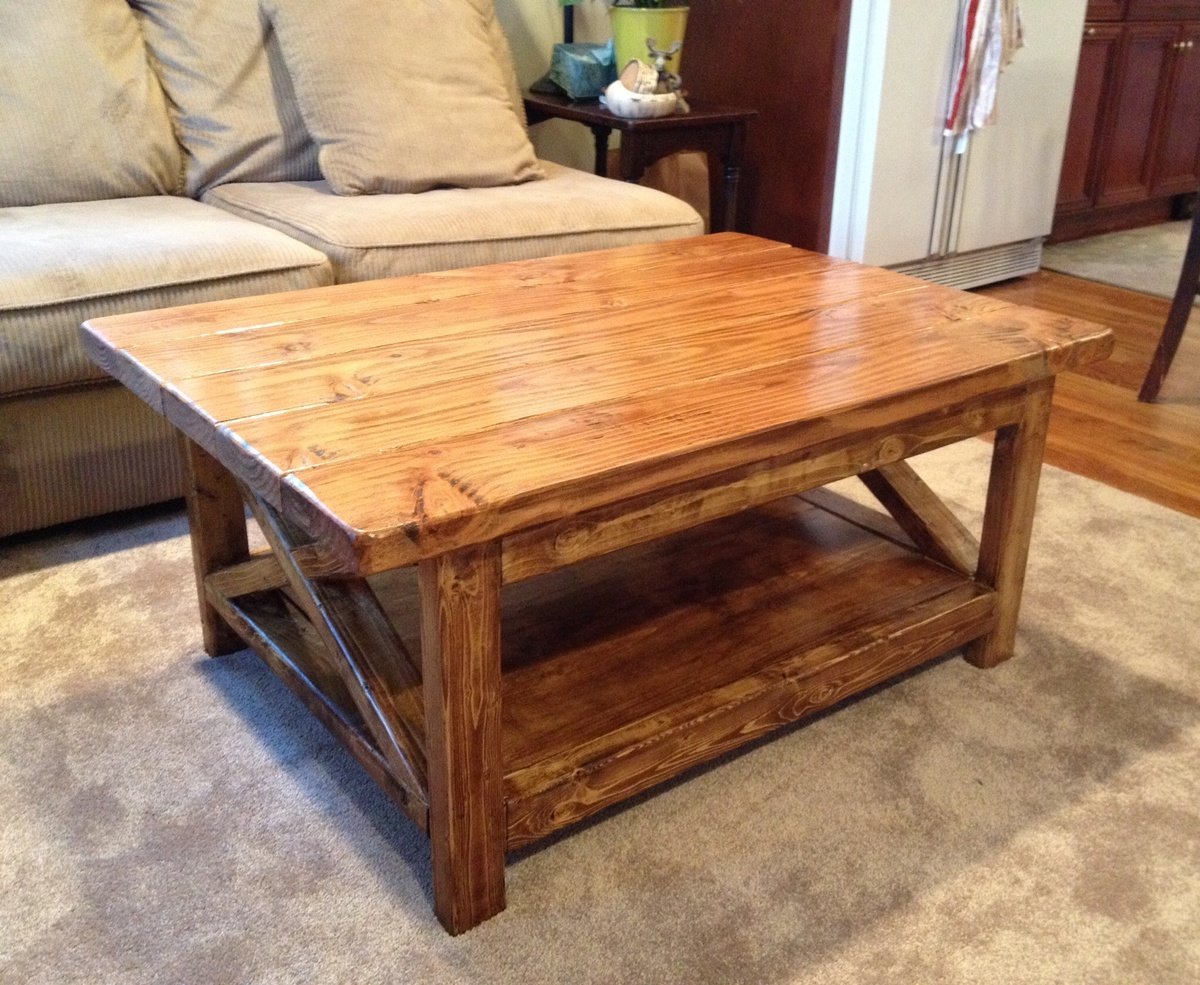
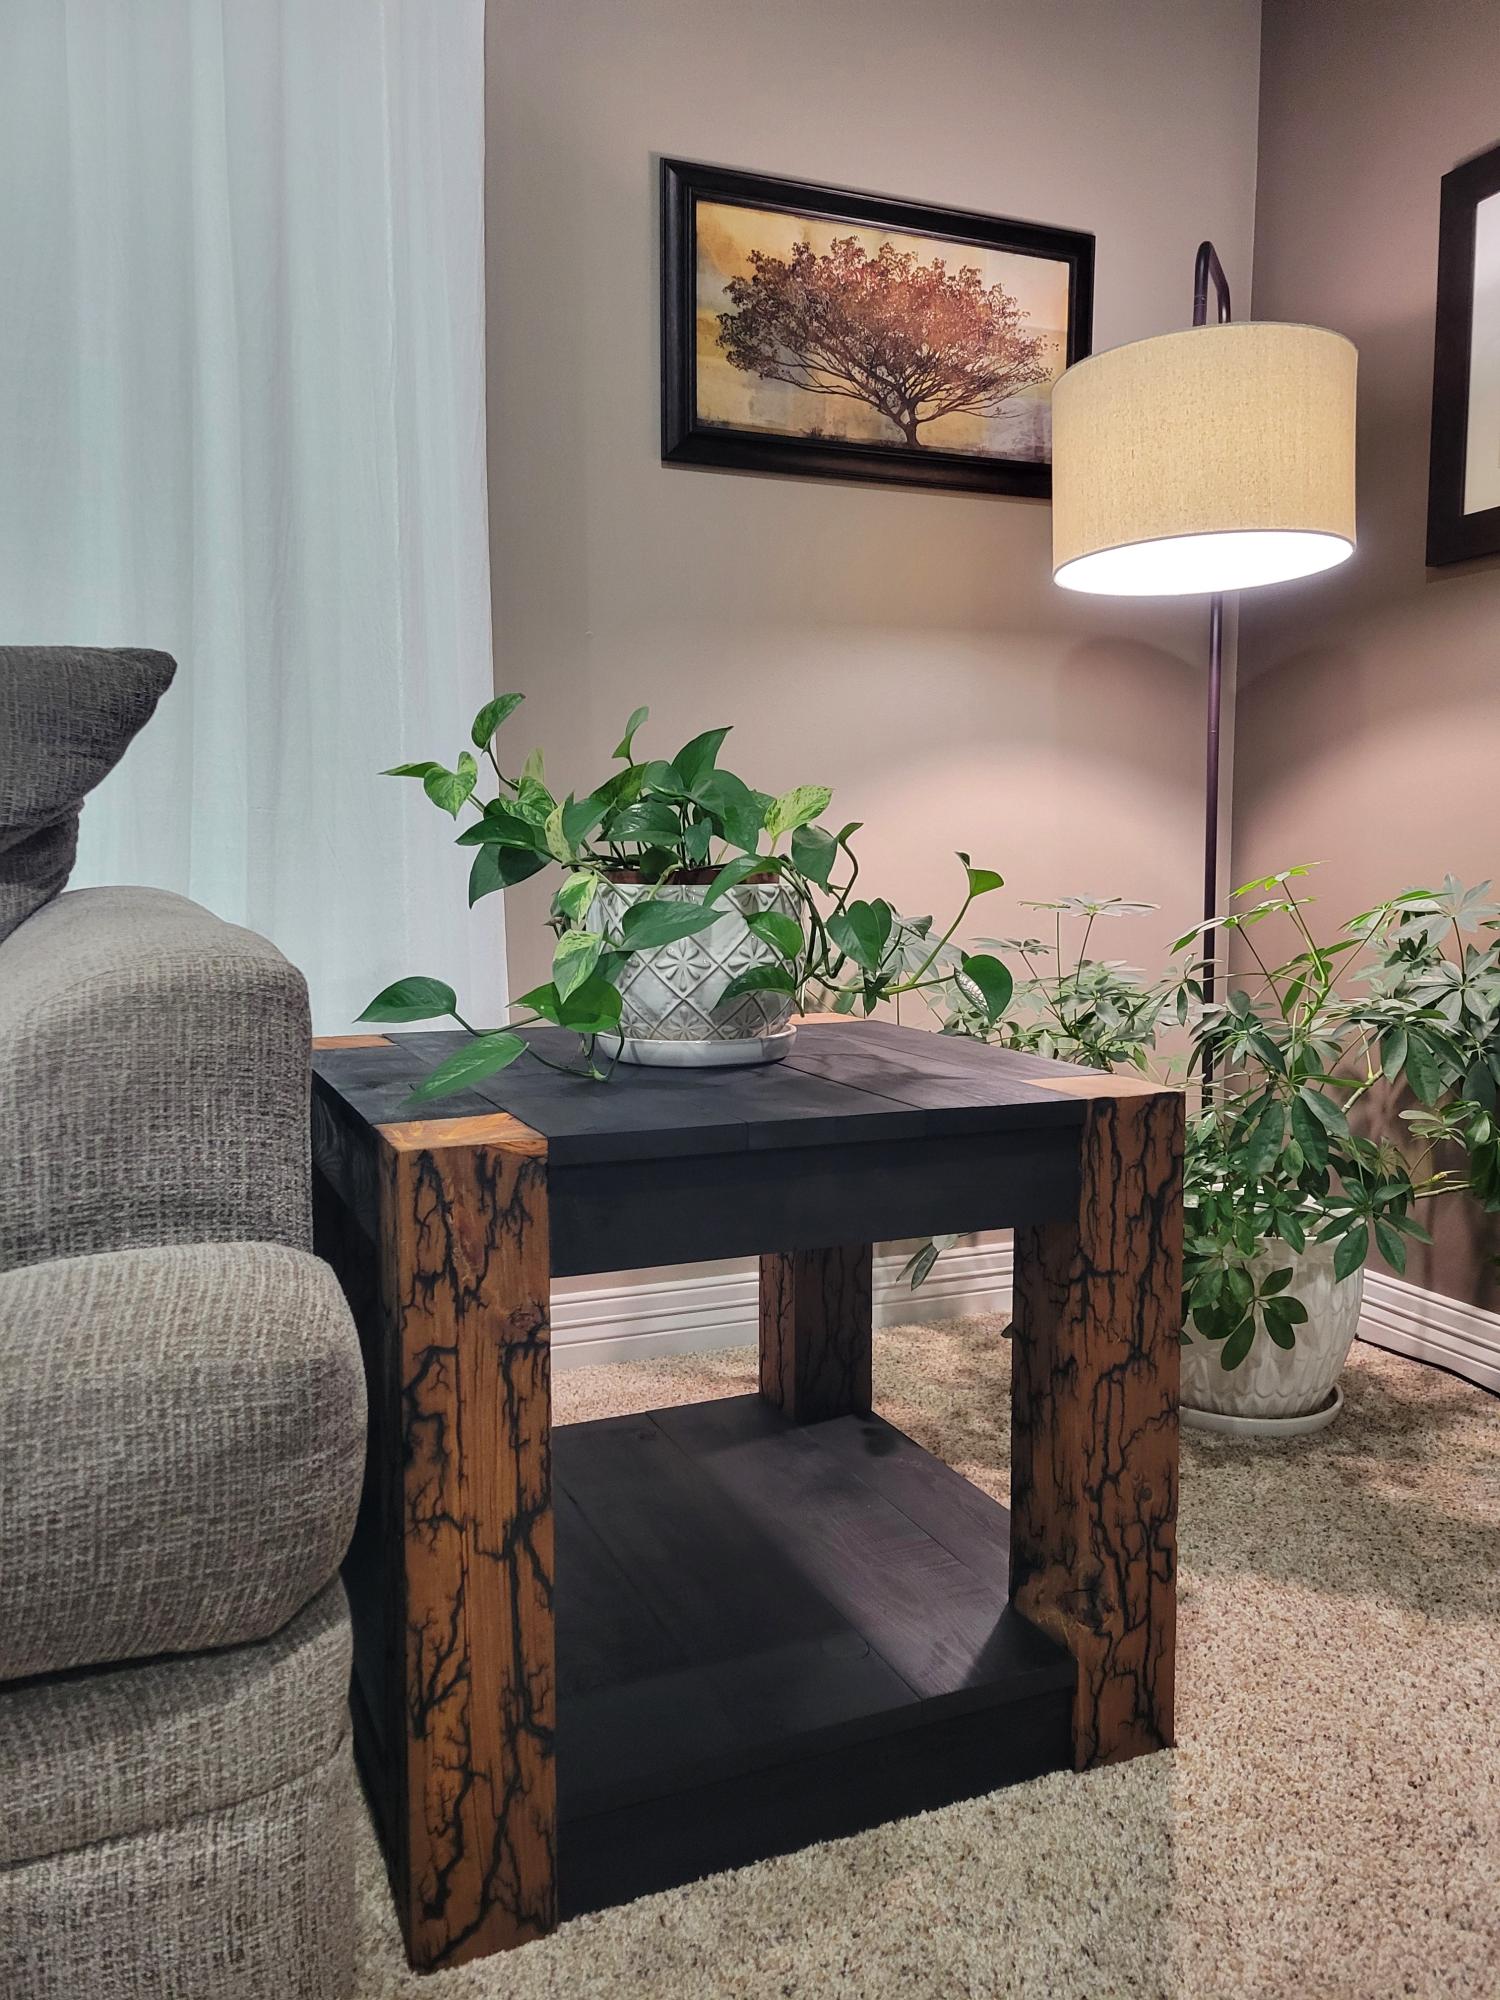
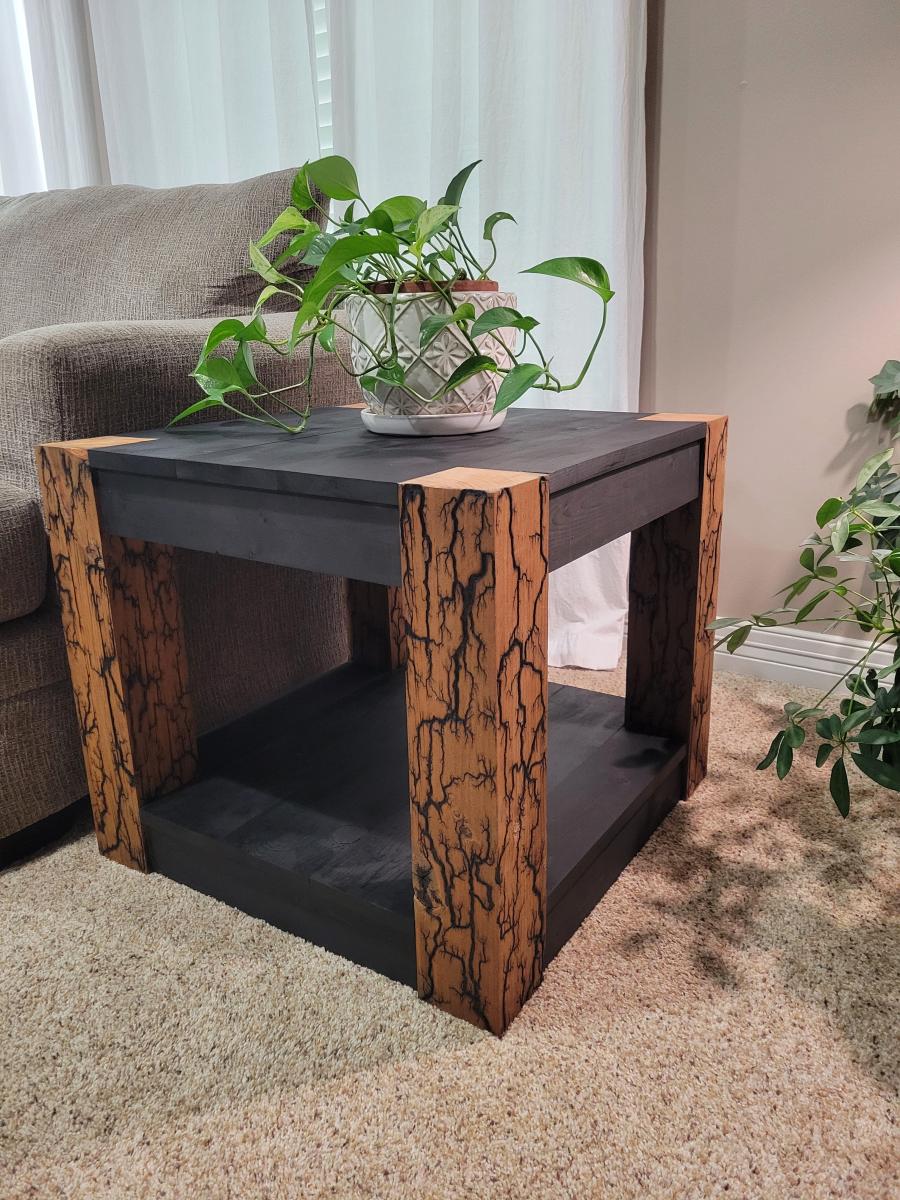
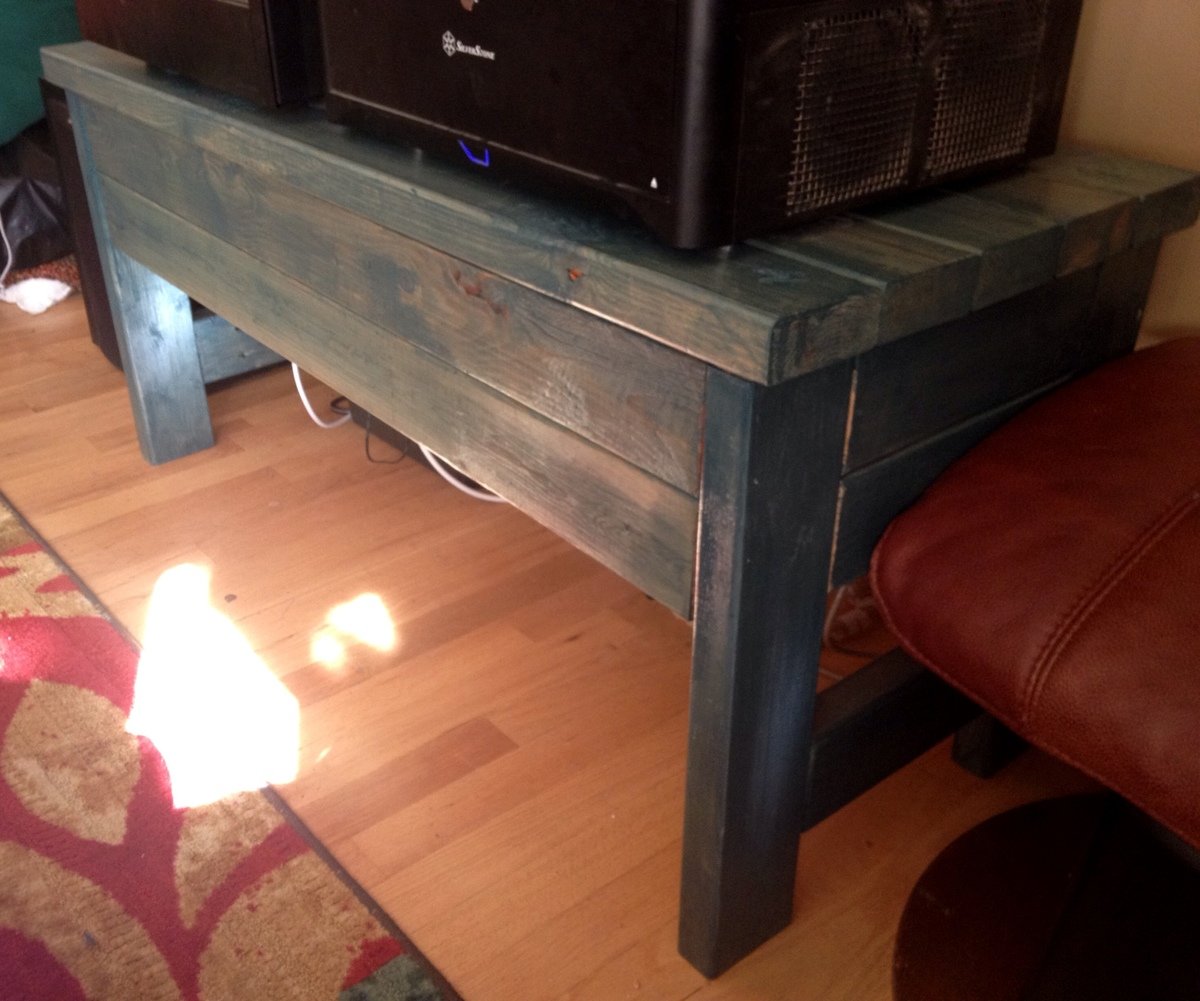
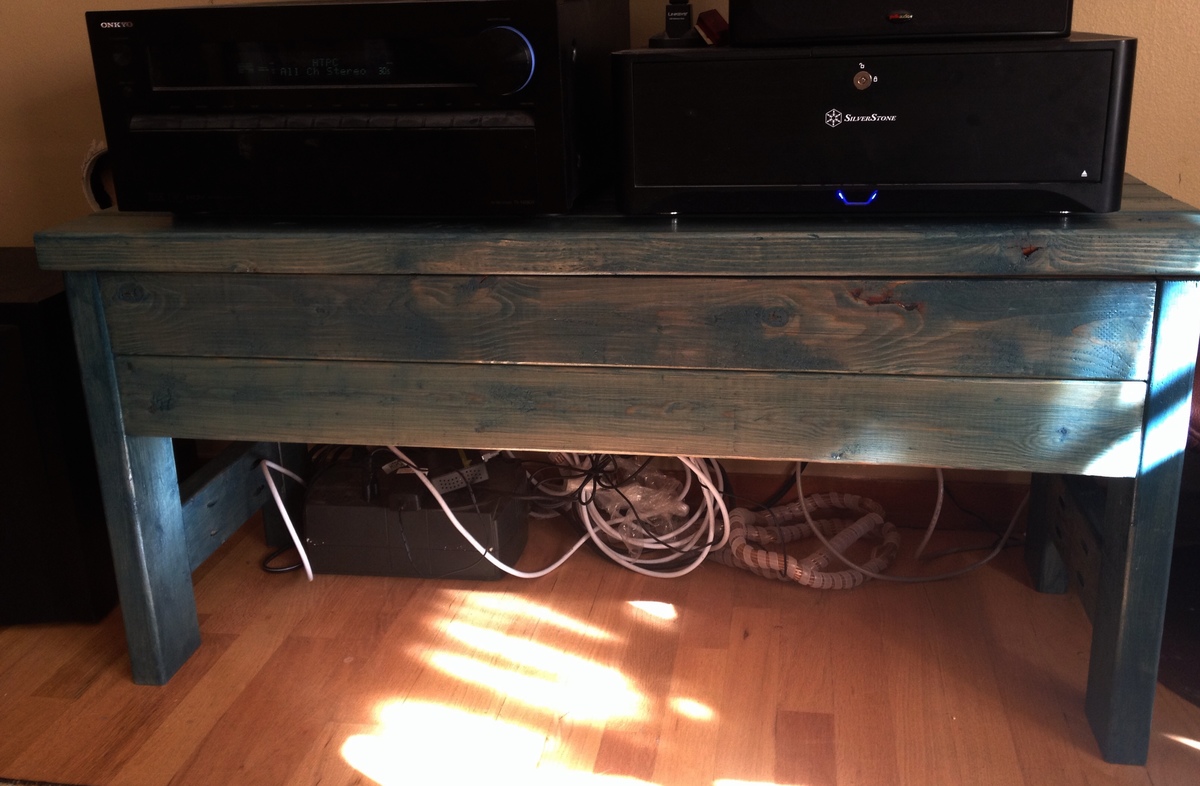
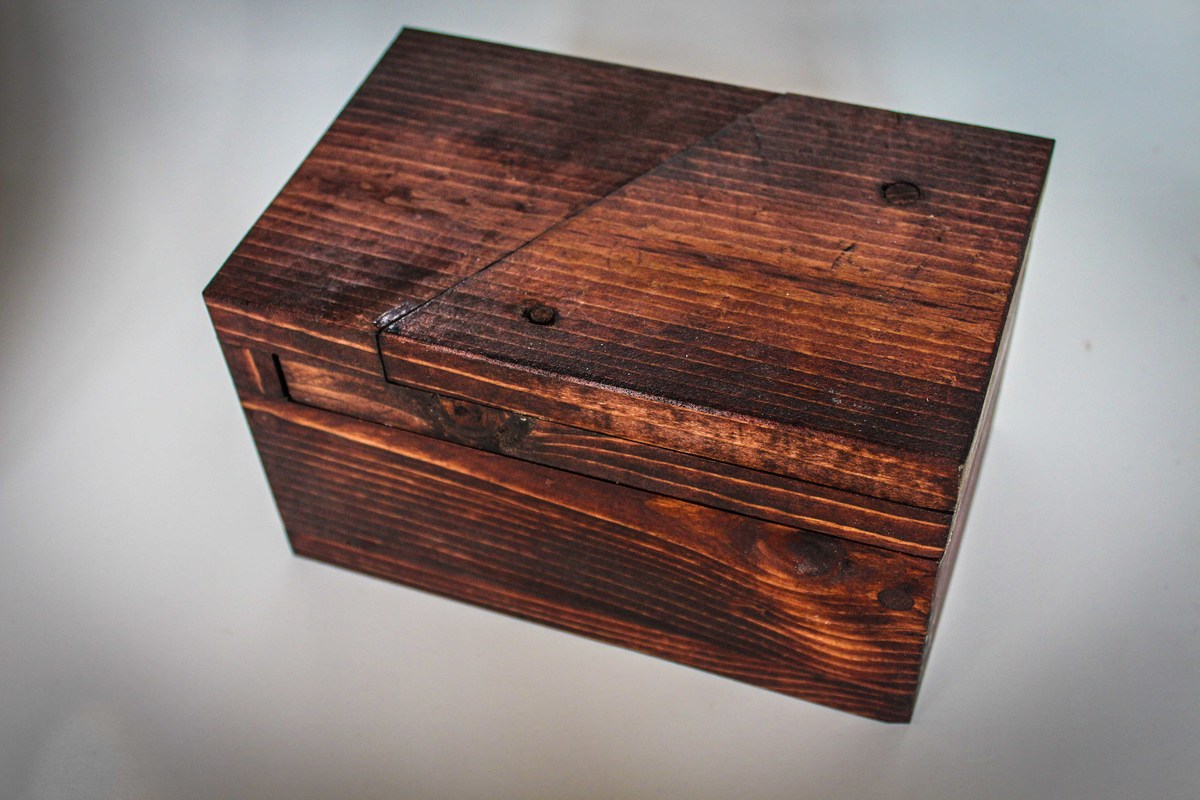
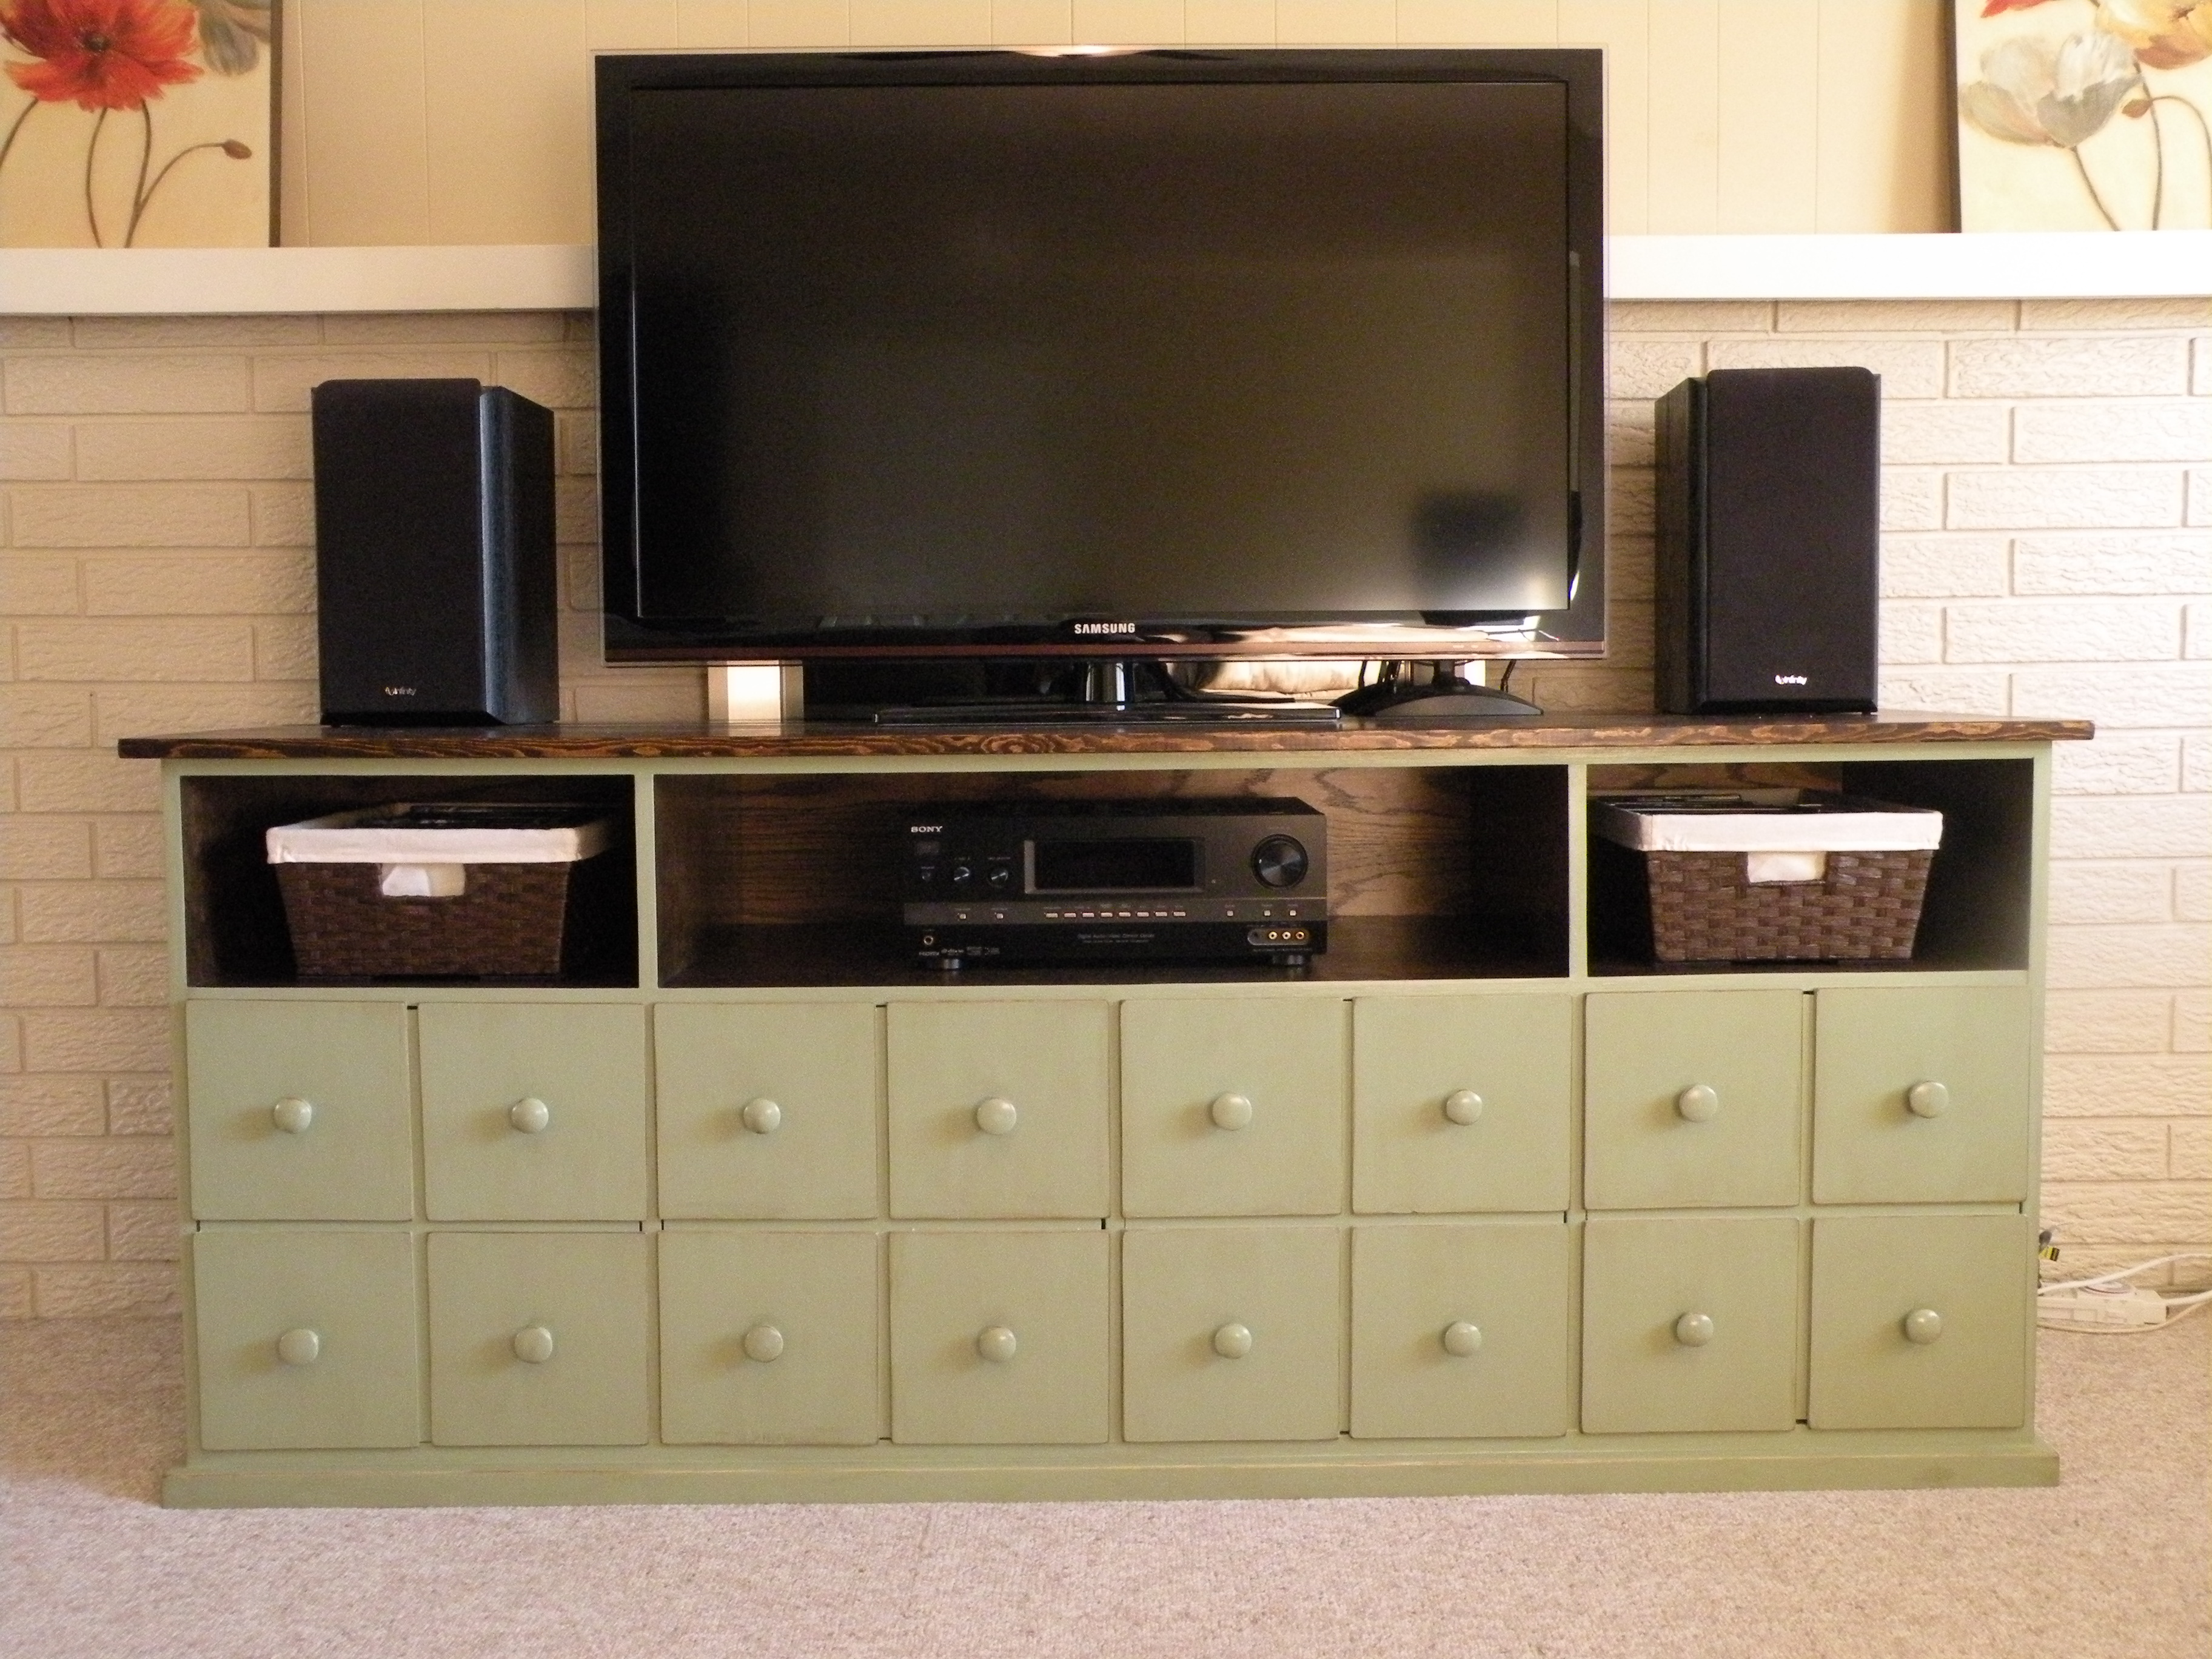
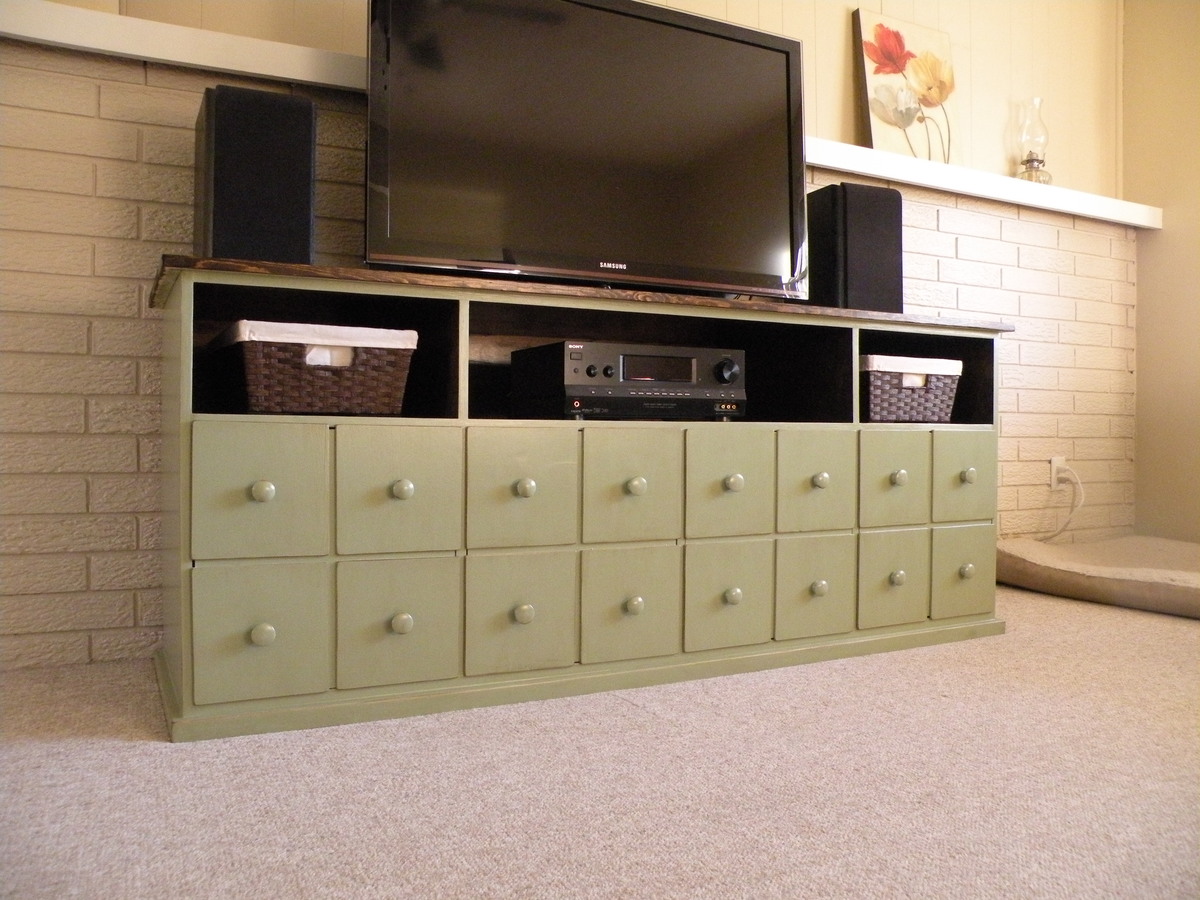
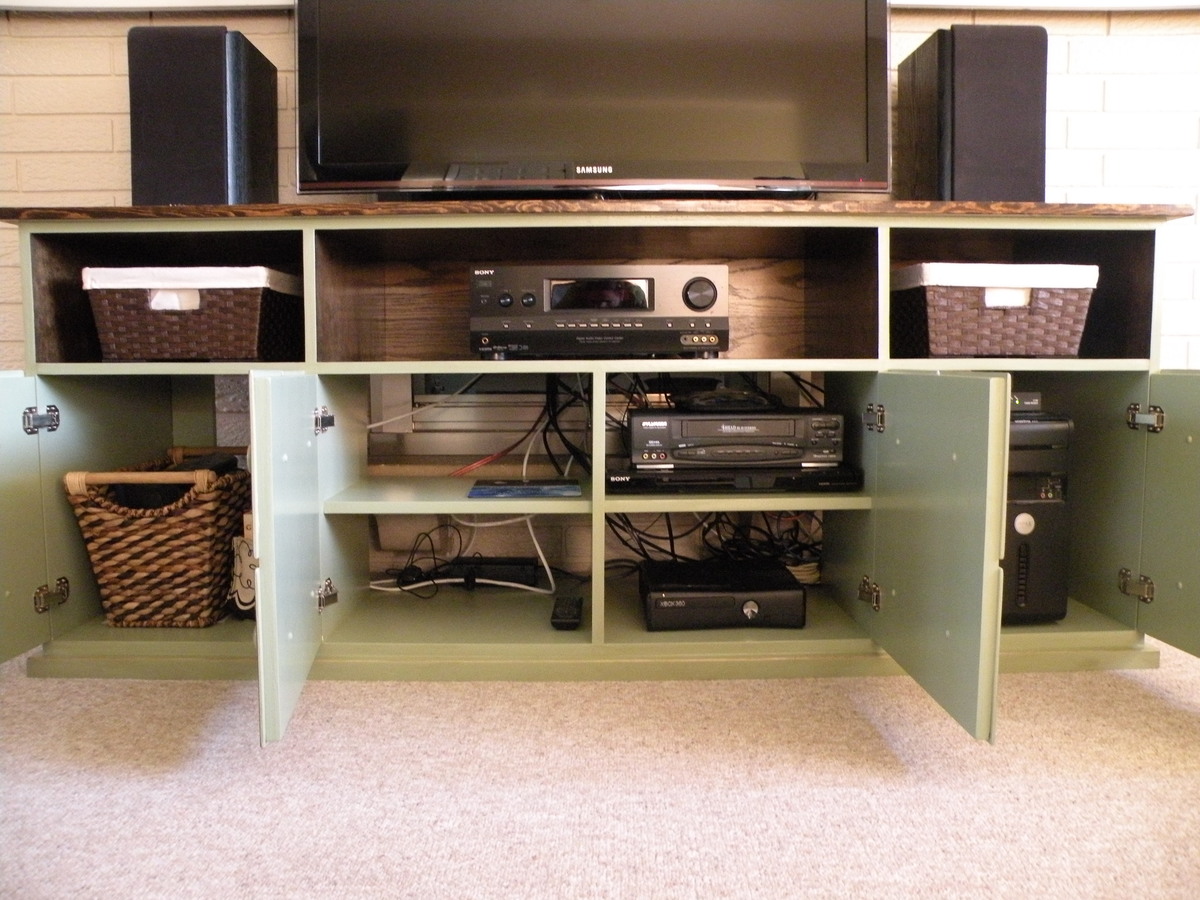
After clearing some doesn't-belong-here furniture out of my living room, my coffee table became the home to our stereo receiver and HTPC. This project was about getting my coffee table back, in a quick, inexpensive way. The photos *still* don't do justice, but since I've added the equipment, I am SO not hauling this back outside for glamour shots.
Size: Adjusted to fit under a wall-mounted flat TV:17.5"D x 21"H x 42"W. The adjustment was simple: use 5 2x4s instead of 4.
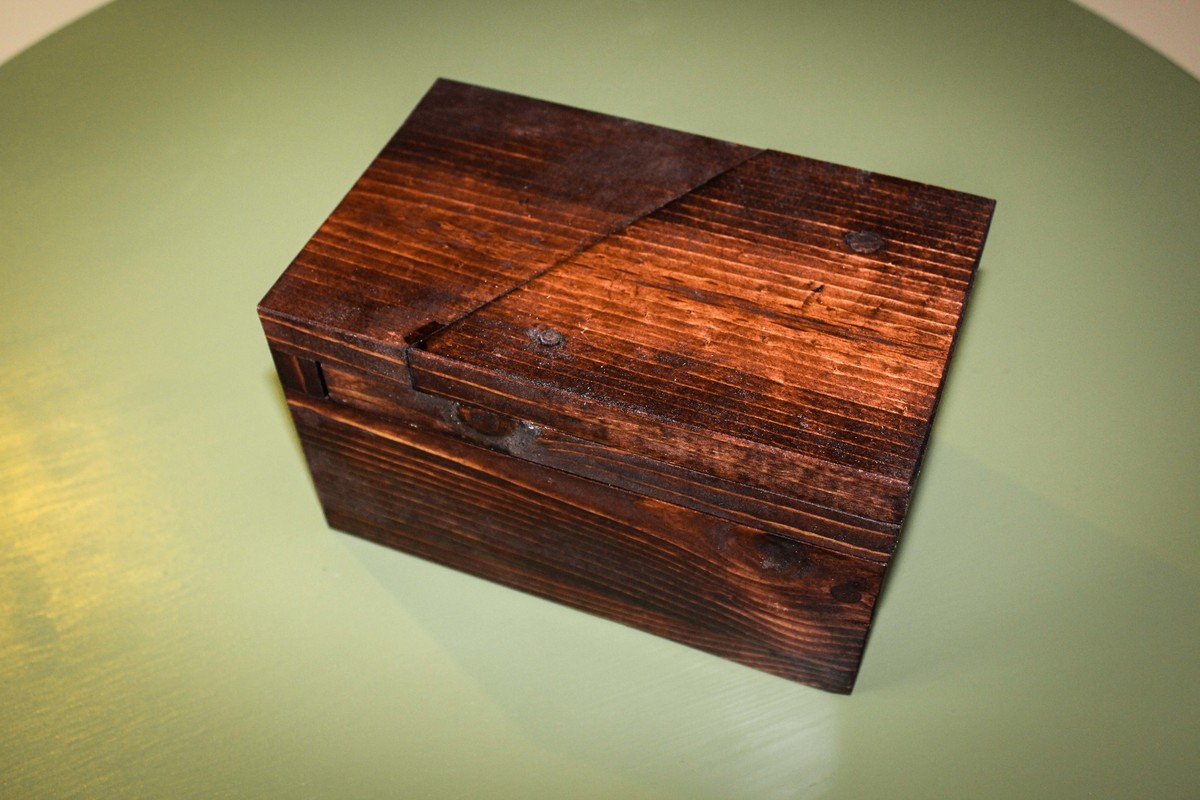
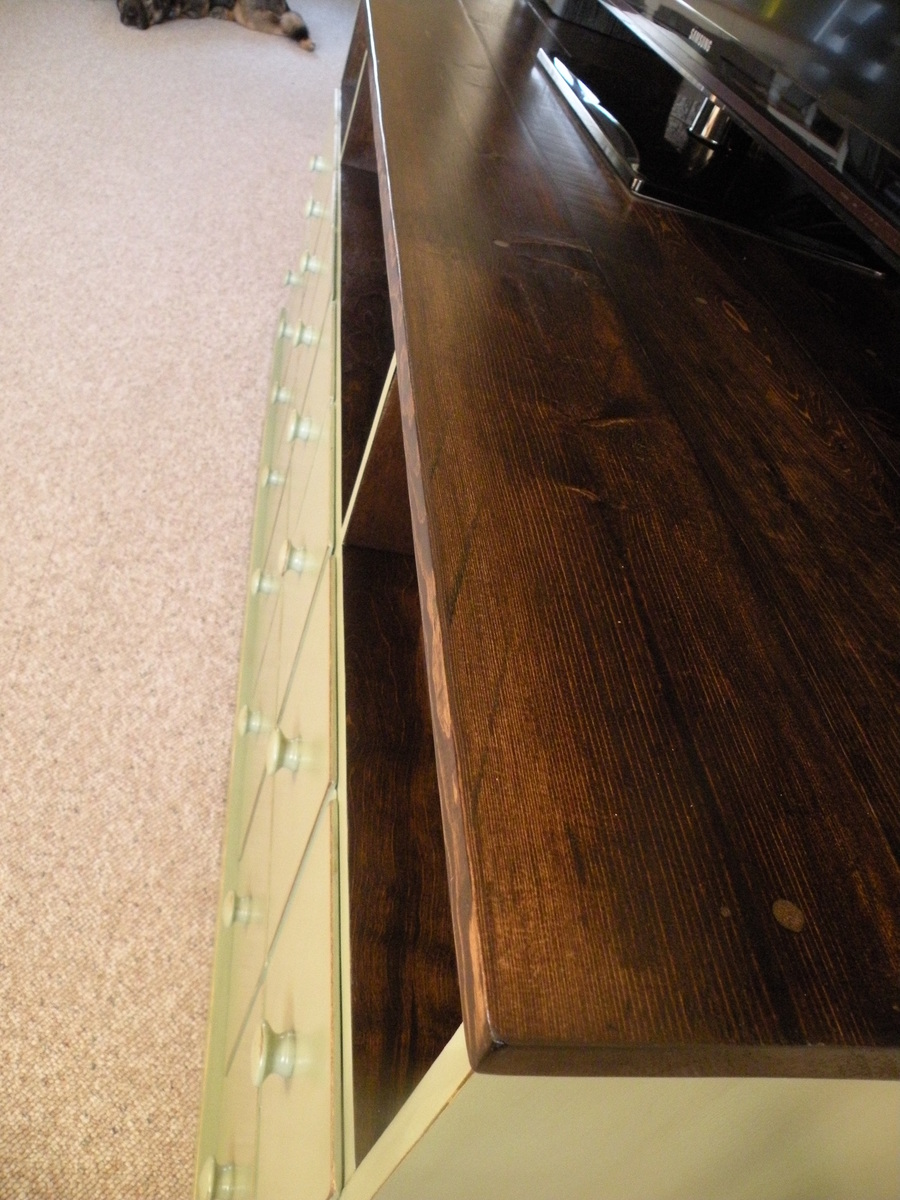
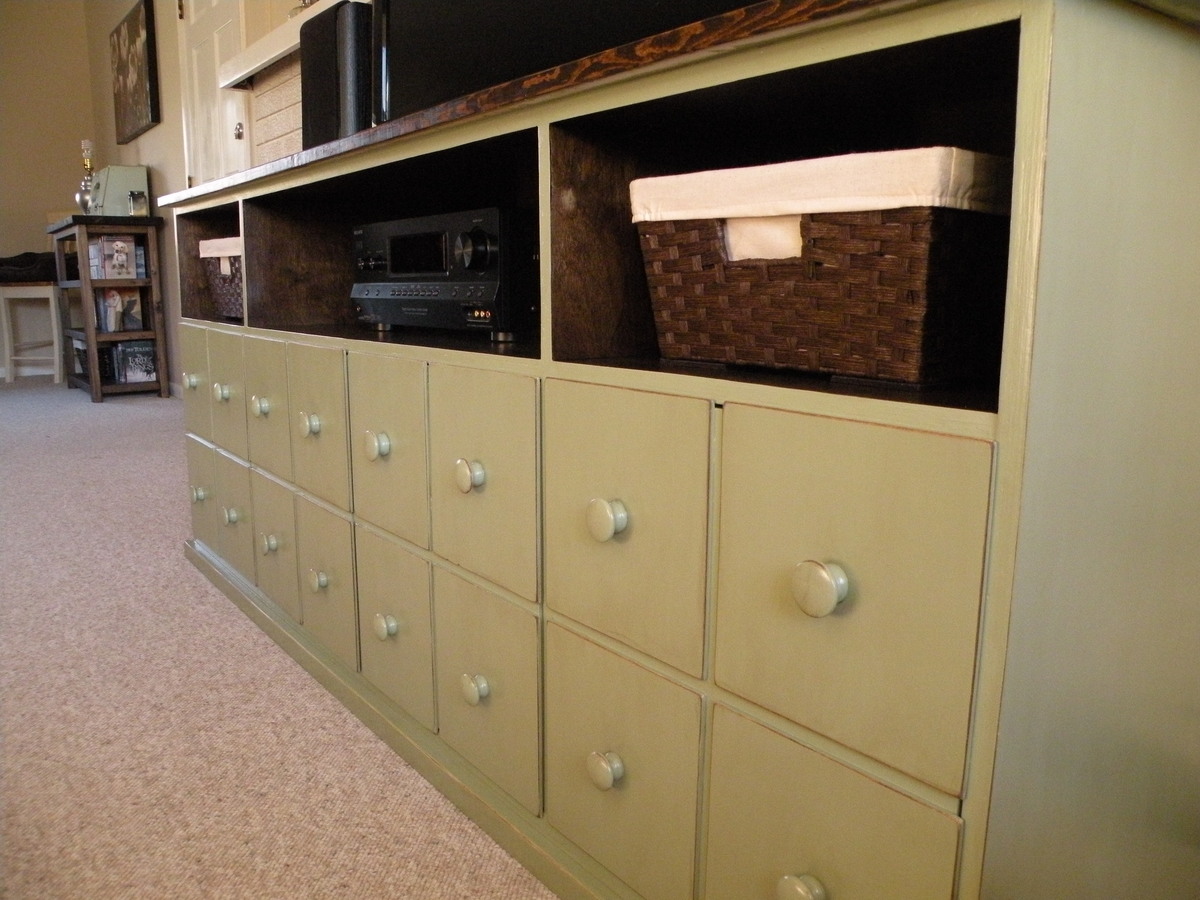
The photos also make the stain appear darker than it is -- it's truly a rich teal. I love the color so much, I'm going to strip my built-like-a-tank, 65-year-old wooden front door and stain it, too.
This is my first "real" project. I've built things before. Badly. Now, I have a Kreg, and I'm learning to be a little more patient with clamping and squaring for better results. :)
It appears that my next project will be the taming of the cable spaghetti.
Estimated Time Investment
Afternoon Project (3-6 Hours)
Finish Used
Cabot Premium Wood Finish in Stormy Teal. I'd planned to pick up a quart of paint, but this was so, so very perfect, and allowed for a rustic/distressed look that I love. http://www.cabotstain.com/colors-and-finishes/families/Premium-Wood-Finish-Colors.html
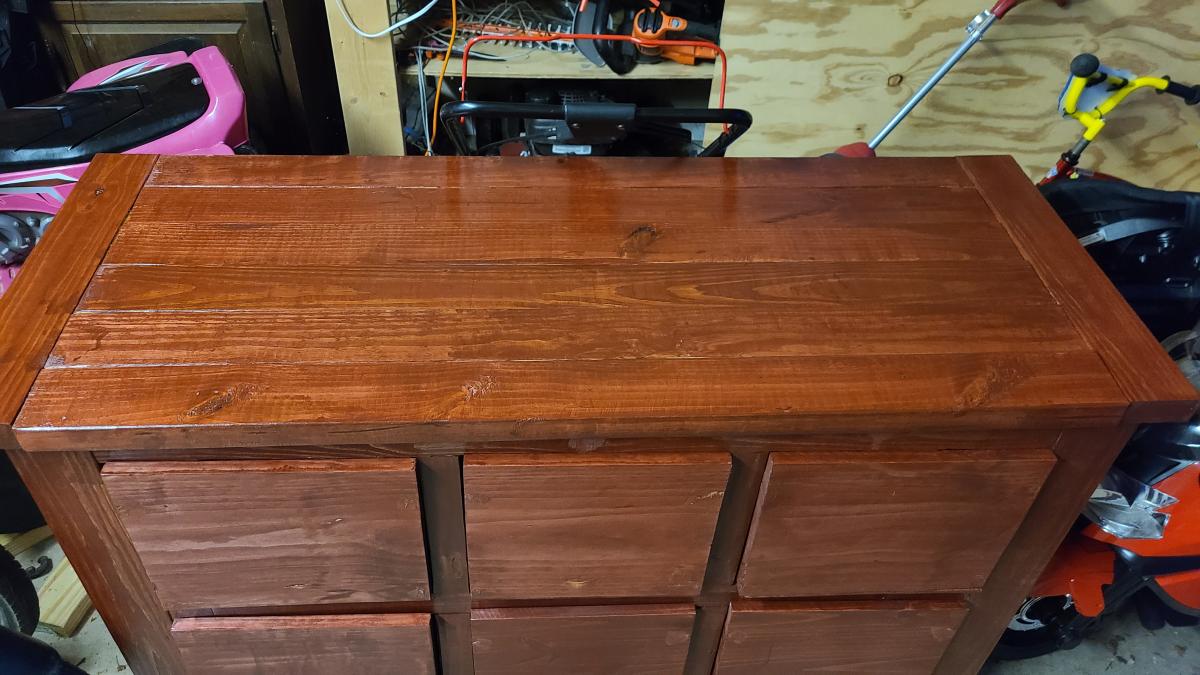
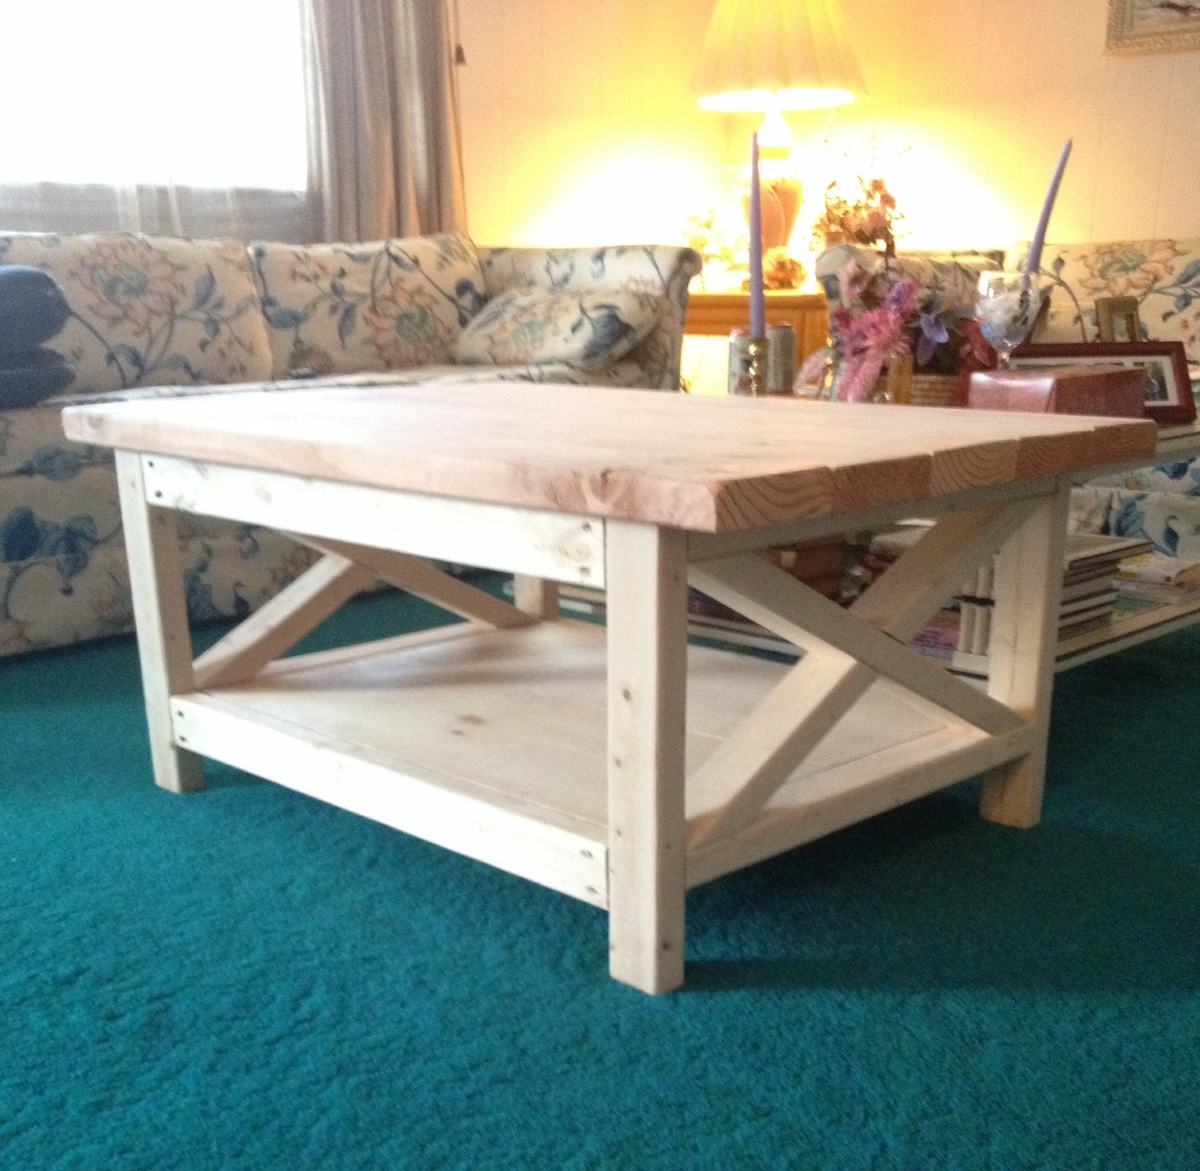
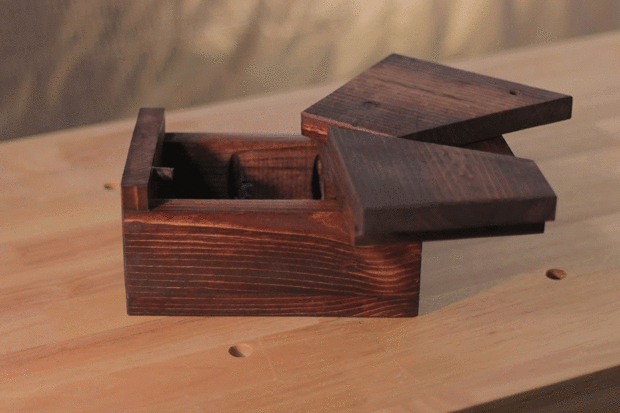
When I stained the sides, I did them pre-assembly and felt they were a tad dark. I stained the rest (front bib, top) after assembly with two very light coats, and I love-love-love the look. Is it blotchy? Why yes, yes it is. The stain sank into the wood more in knots and rougher areas.
A bonus to this product: not only is it water-based, but it SEALS along with staining. I'm lazy. This is good.
Recommended Skill Level
Starter Project