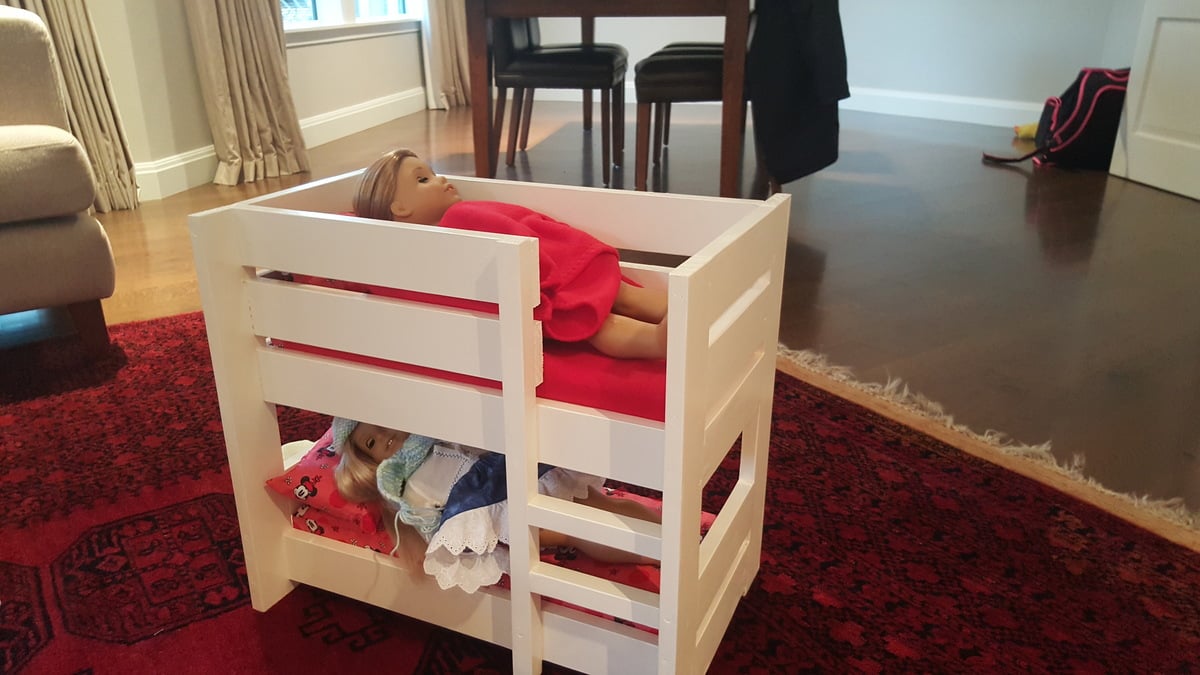
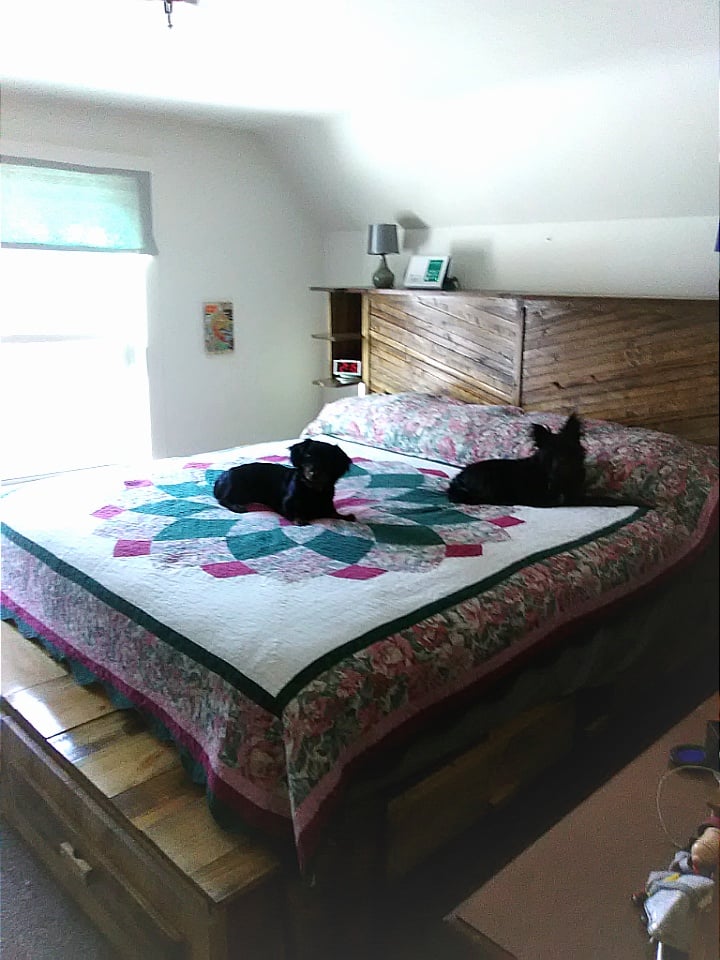
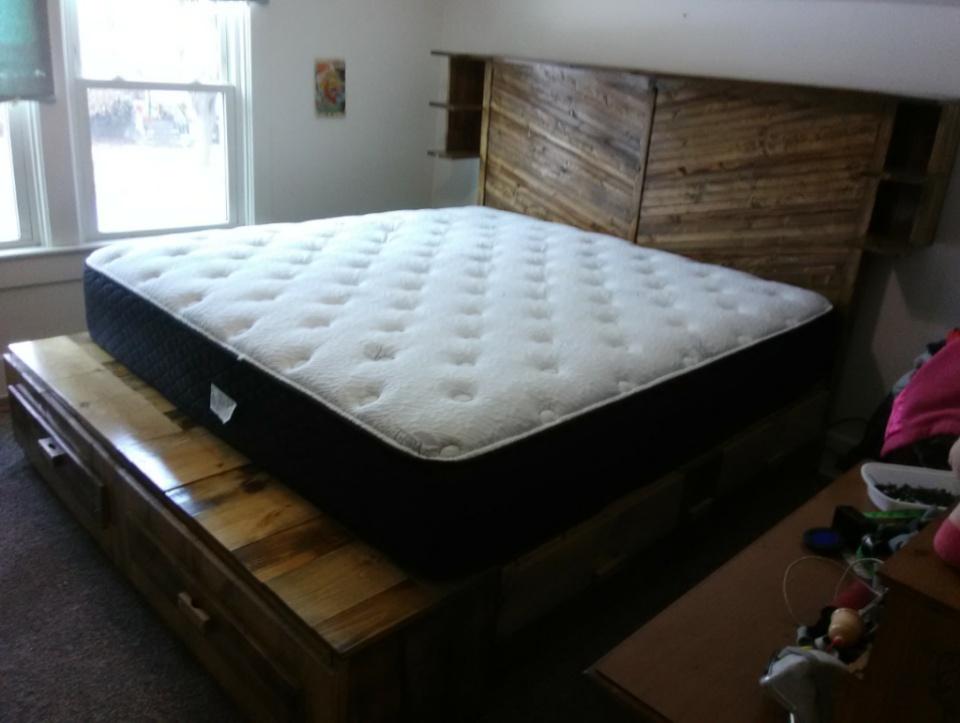
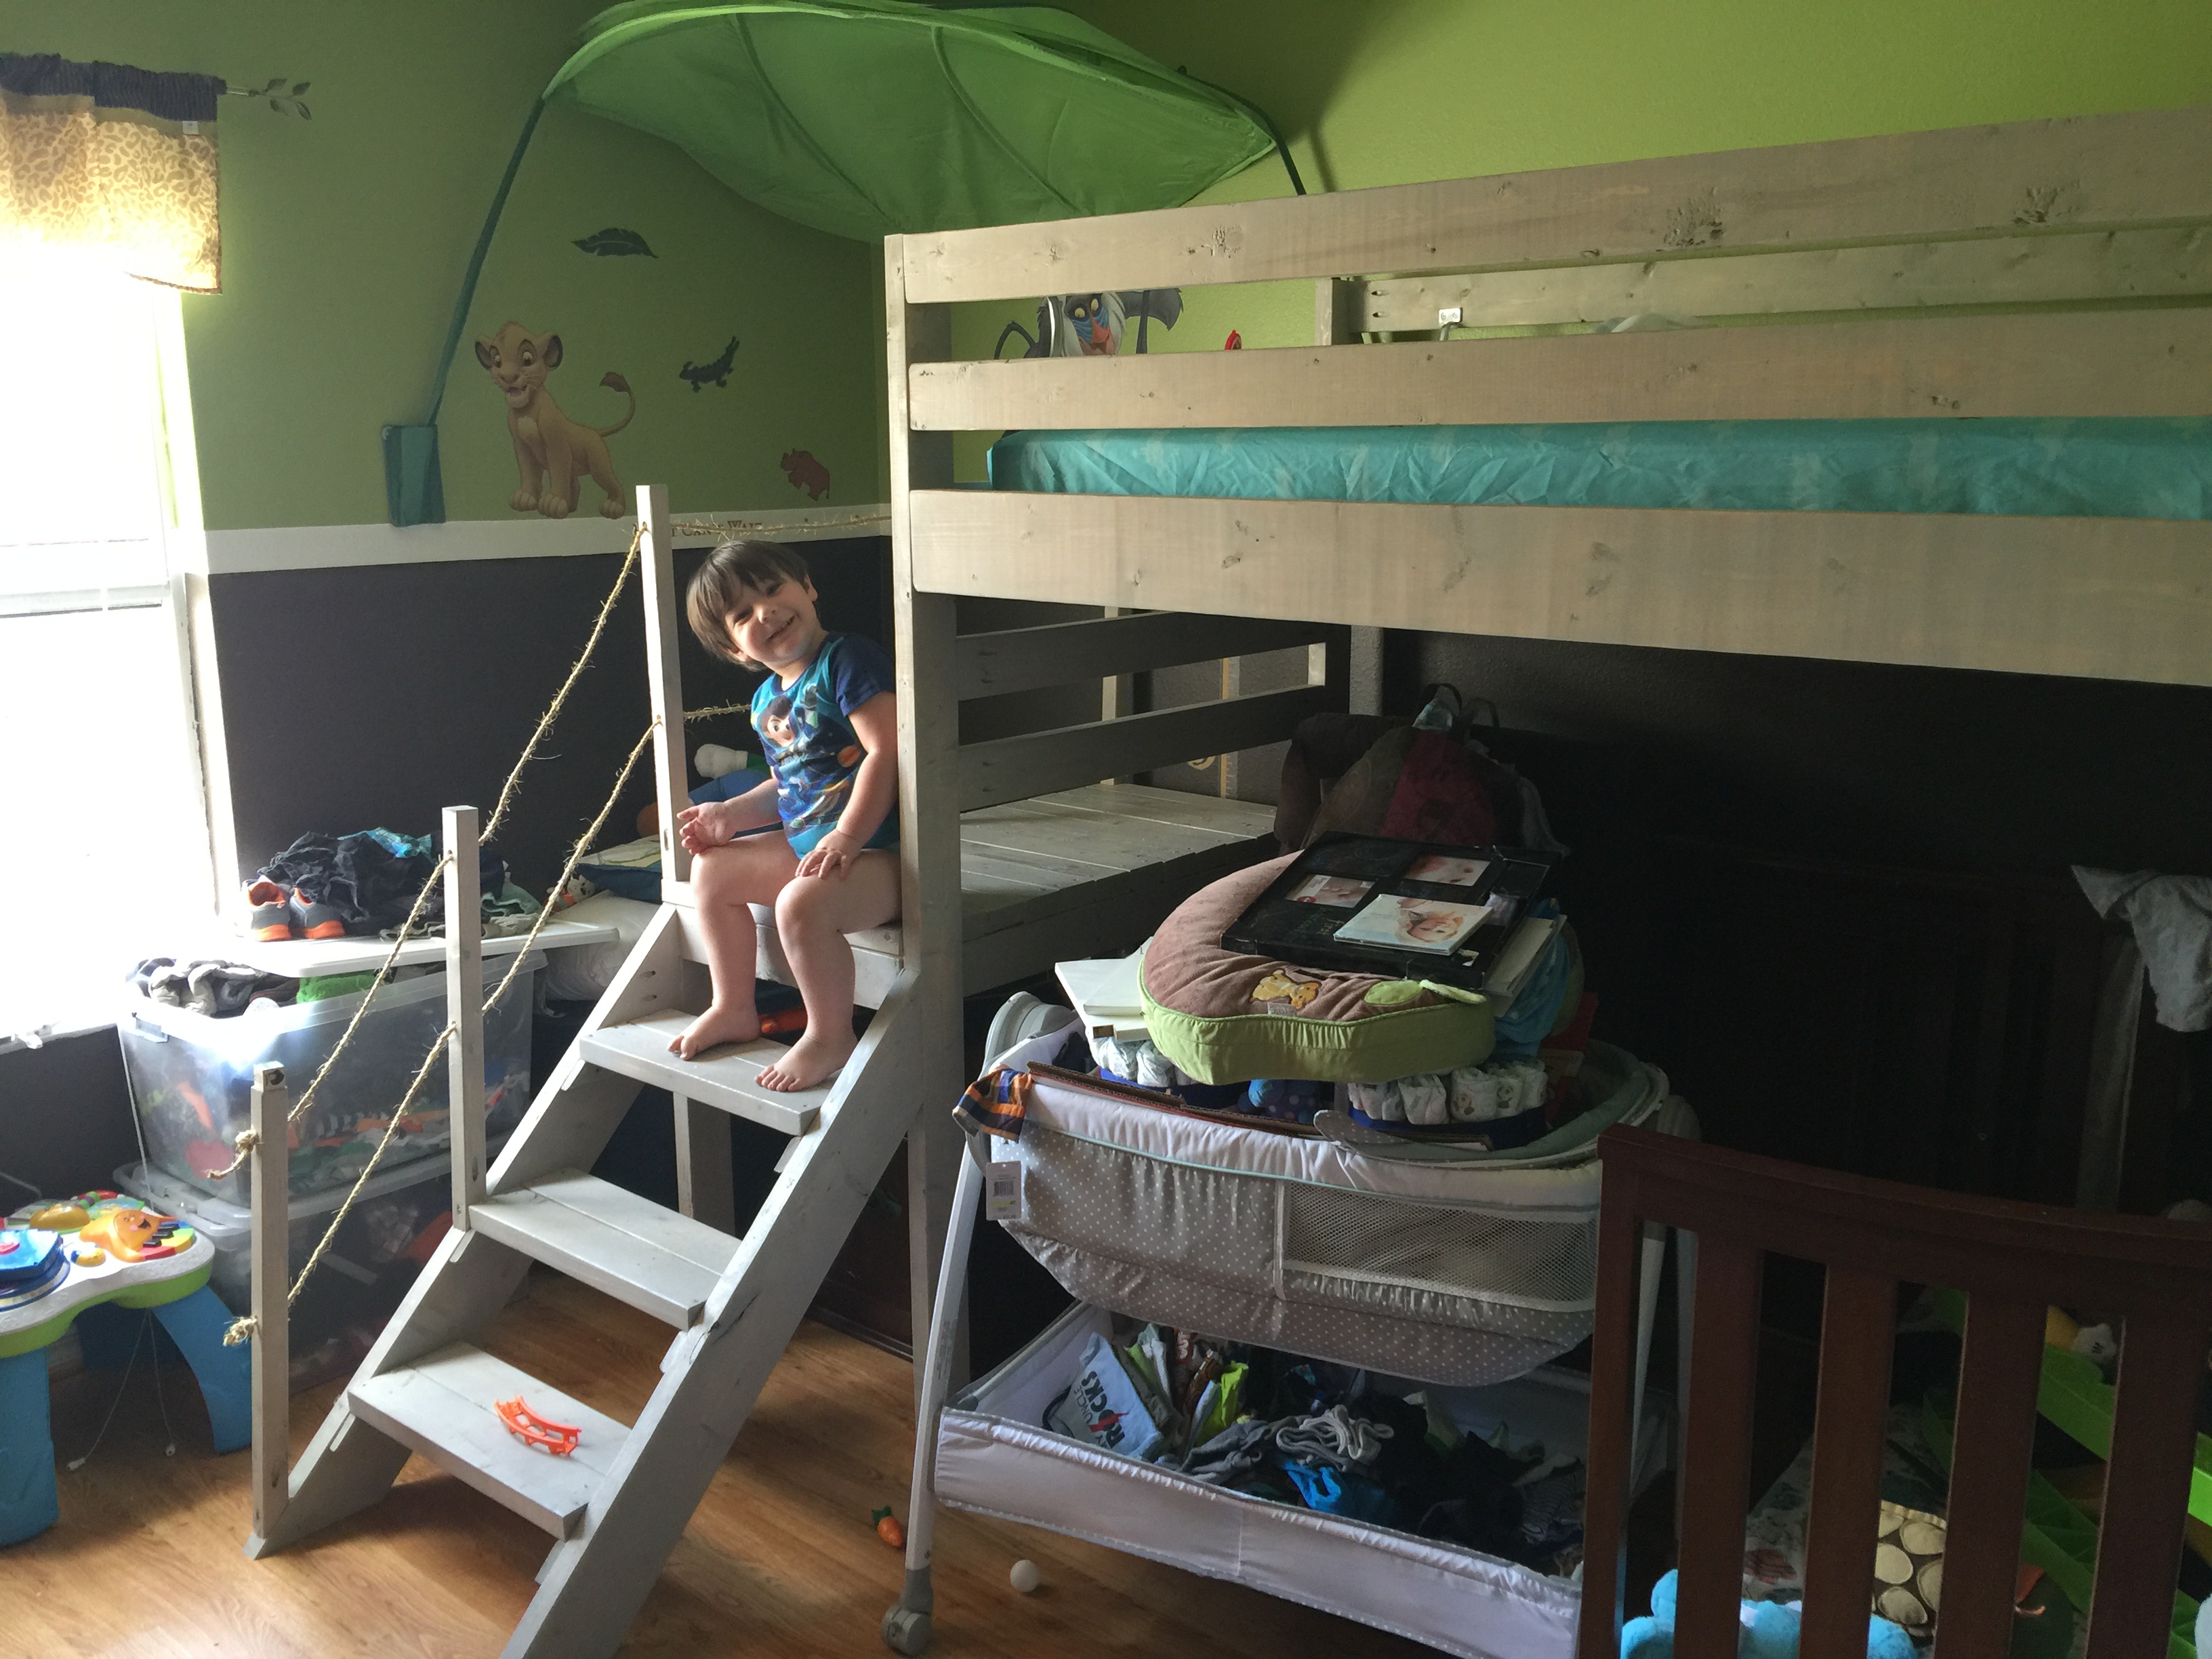
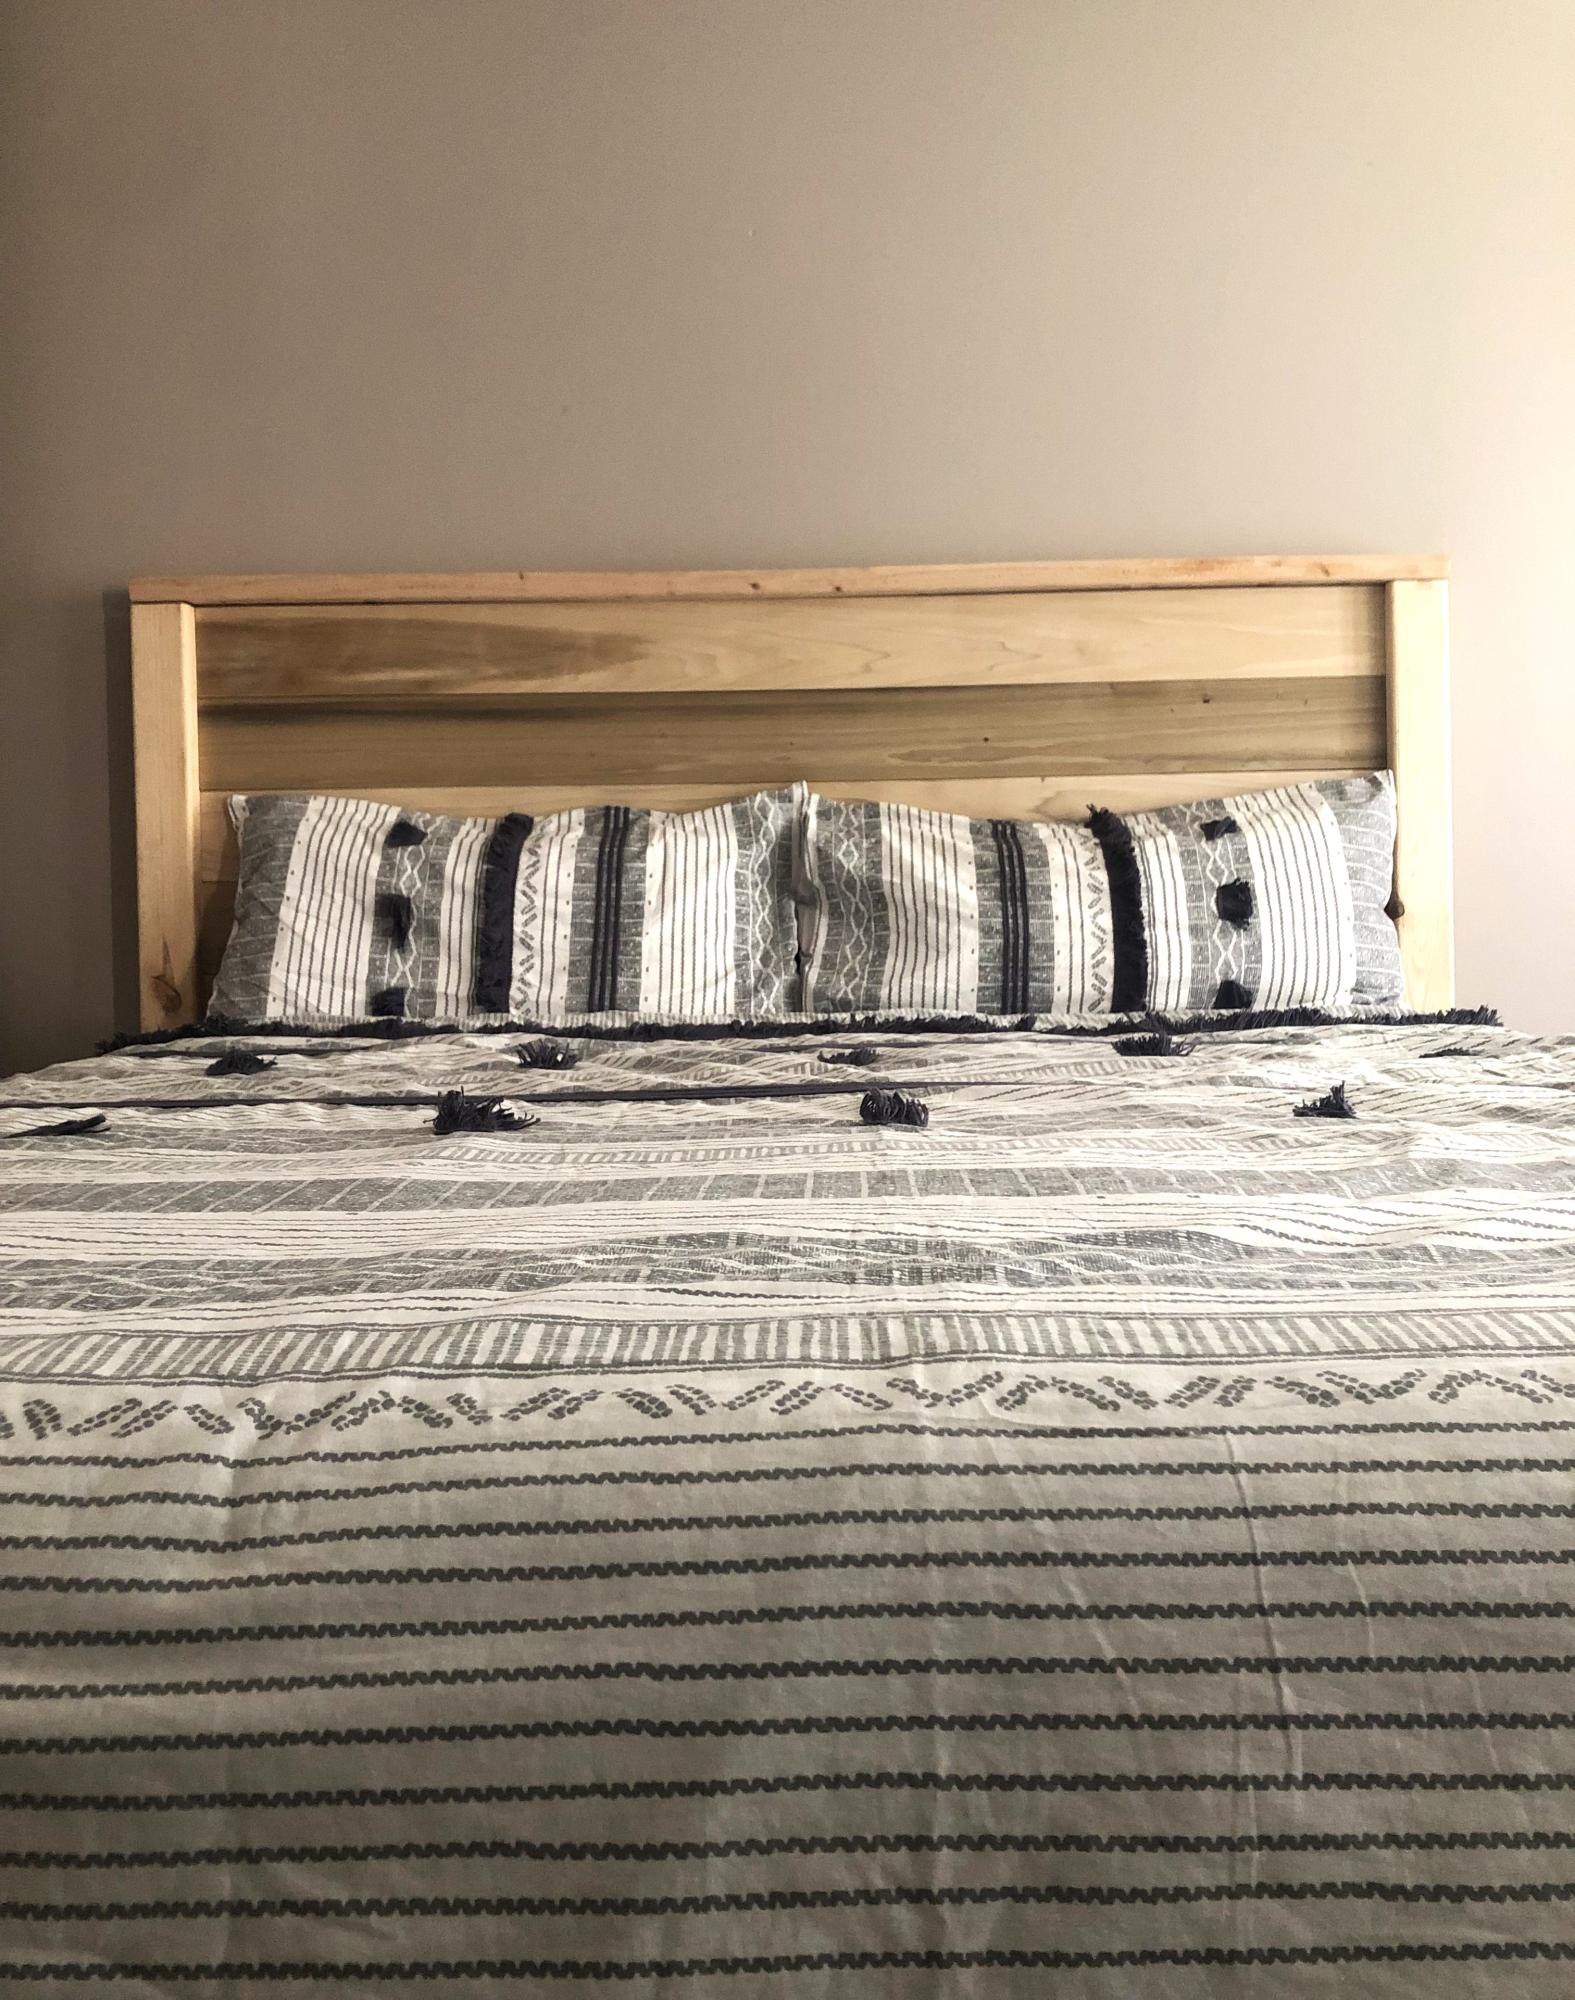
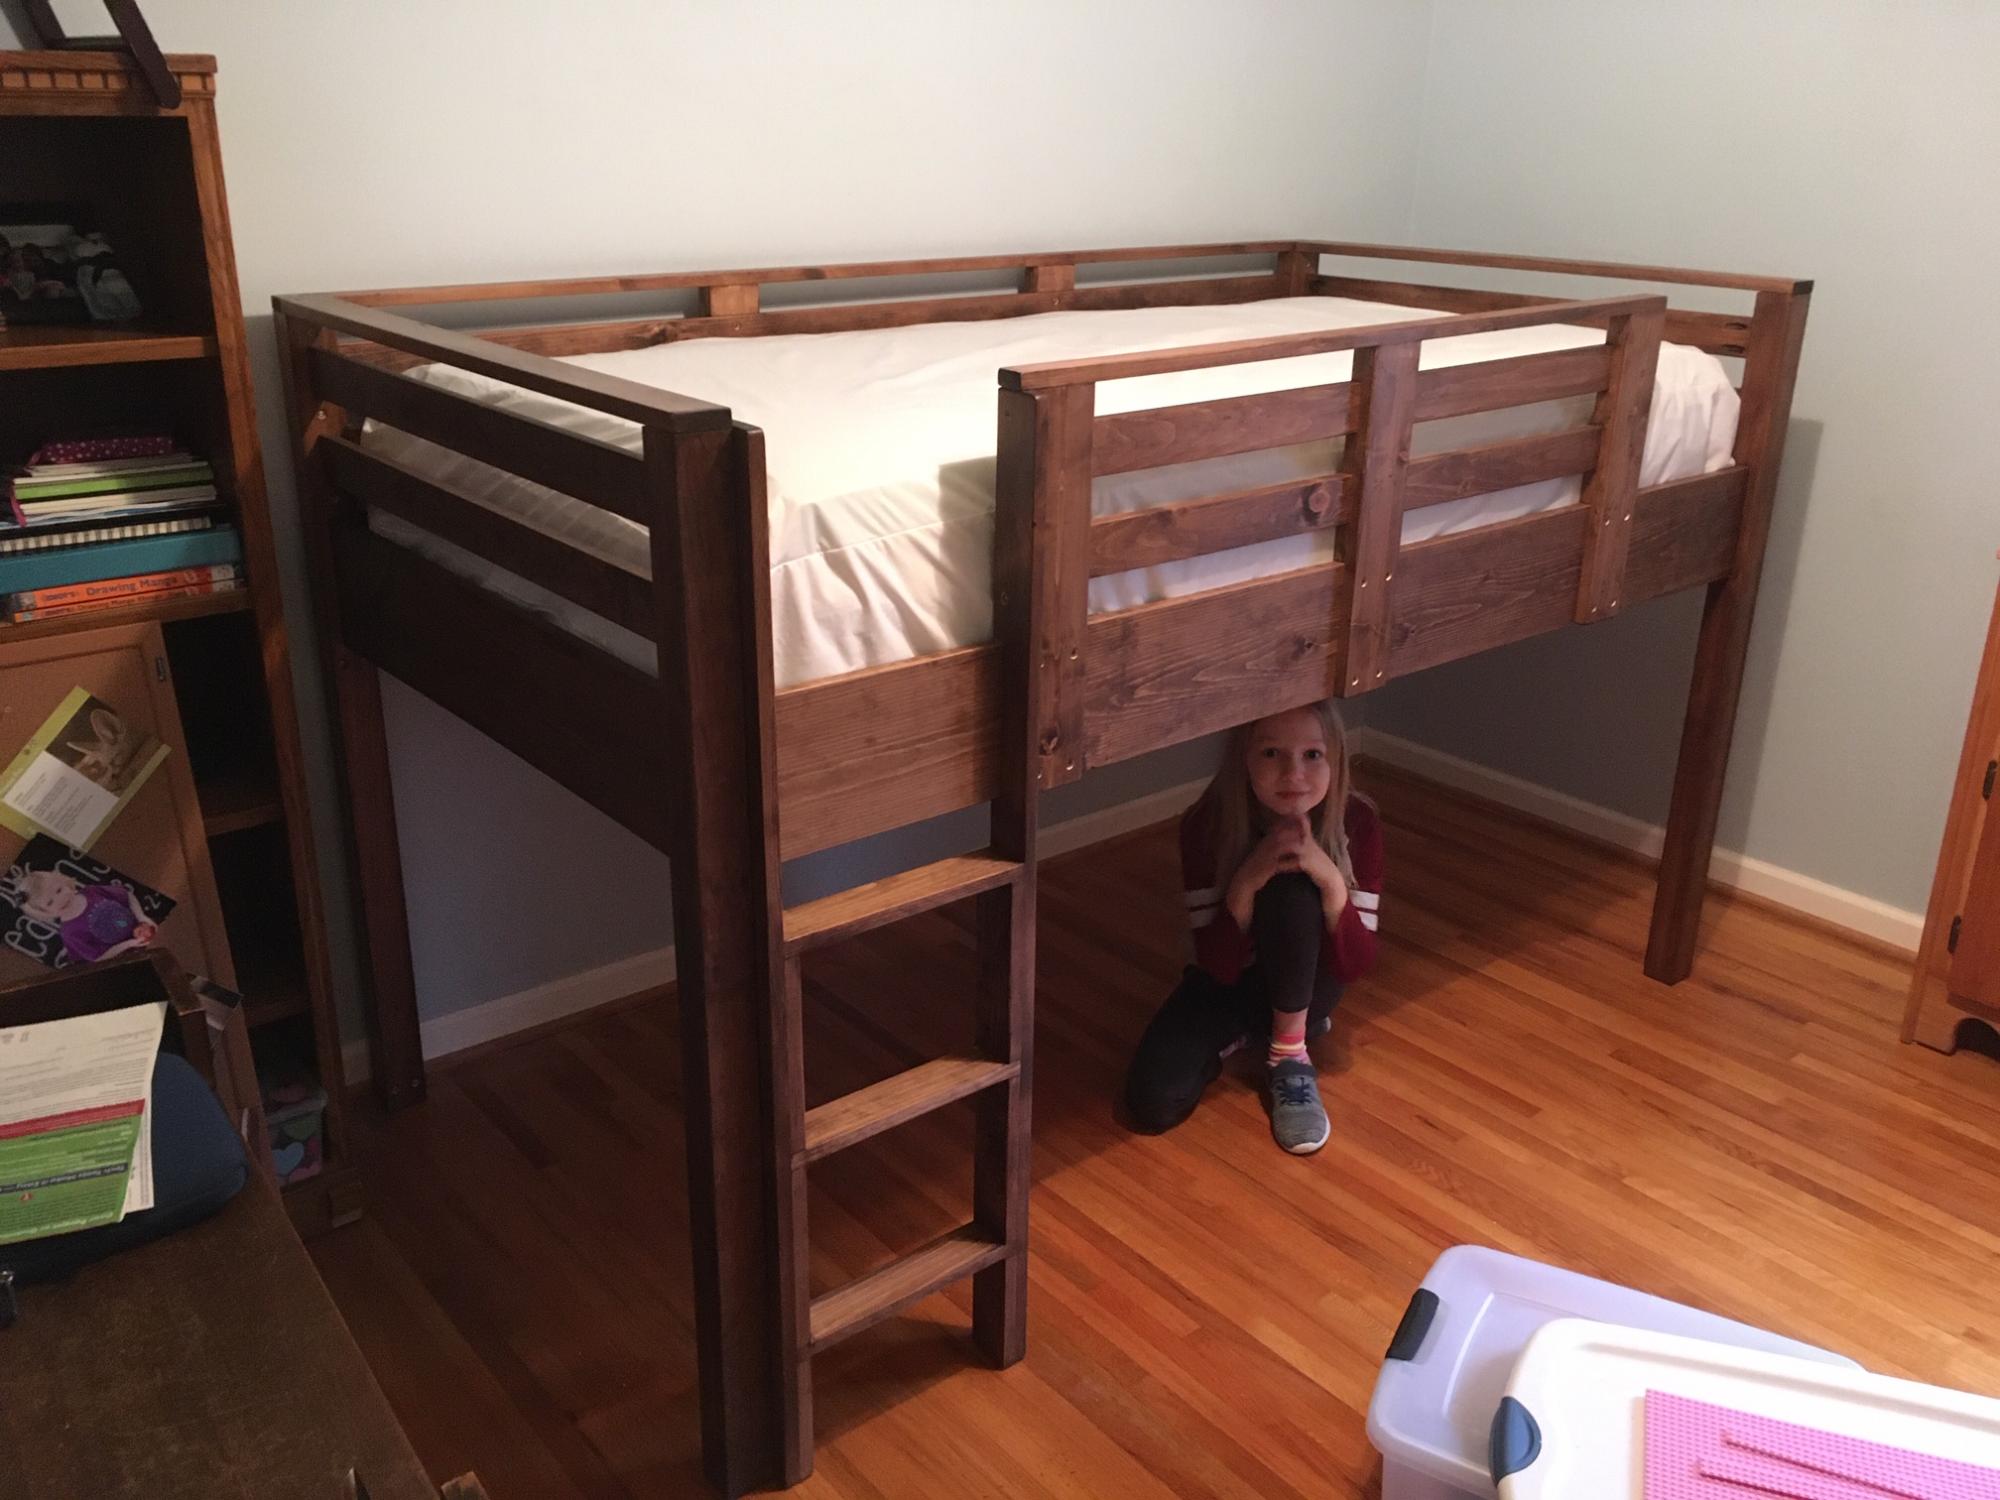
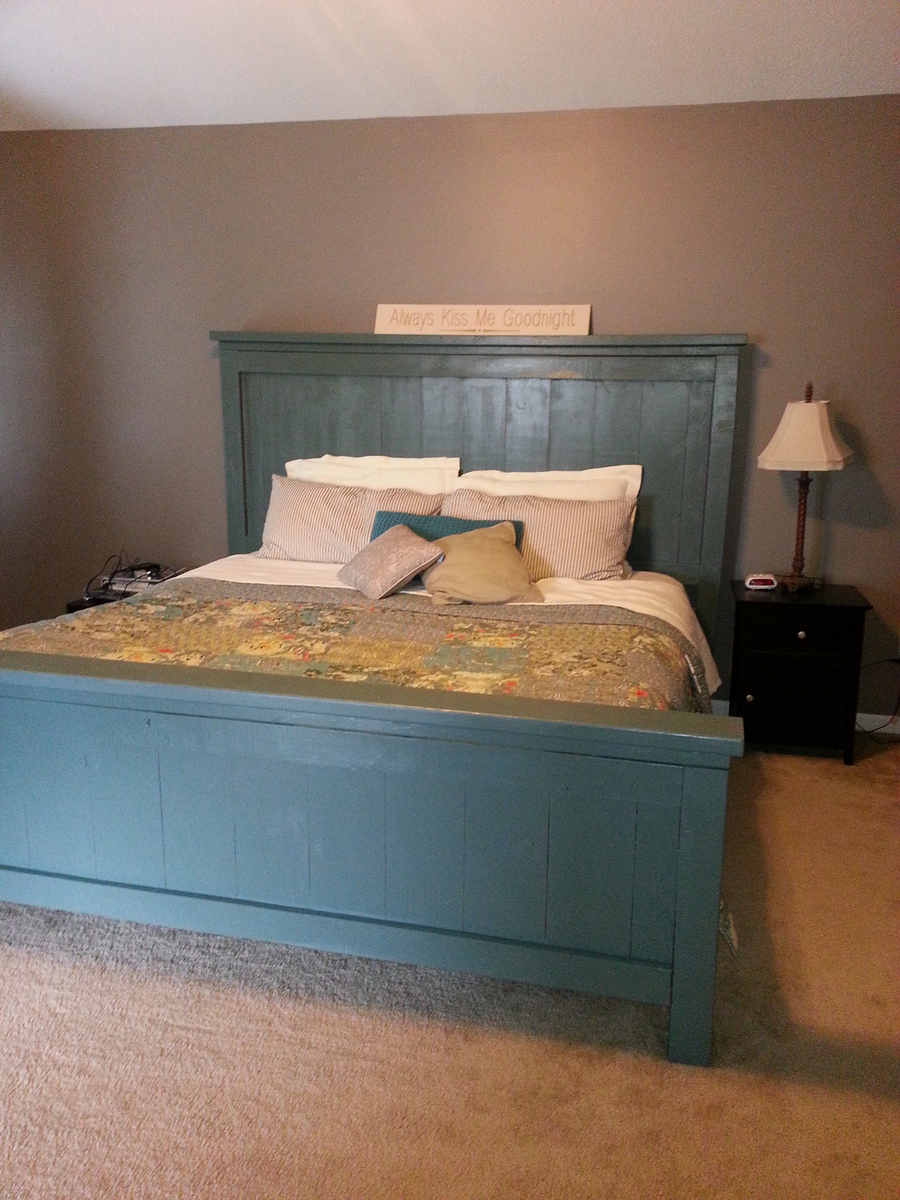
Twin Farmhouse Bed
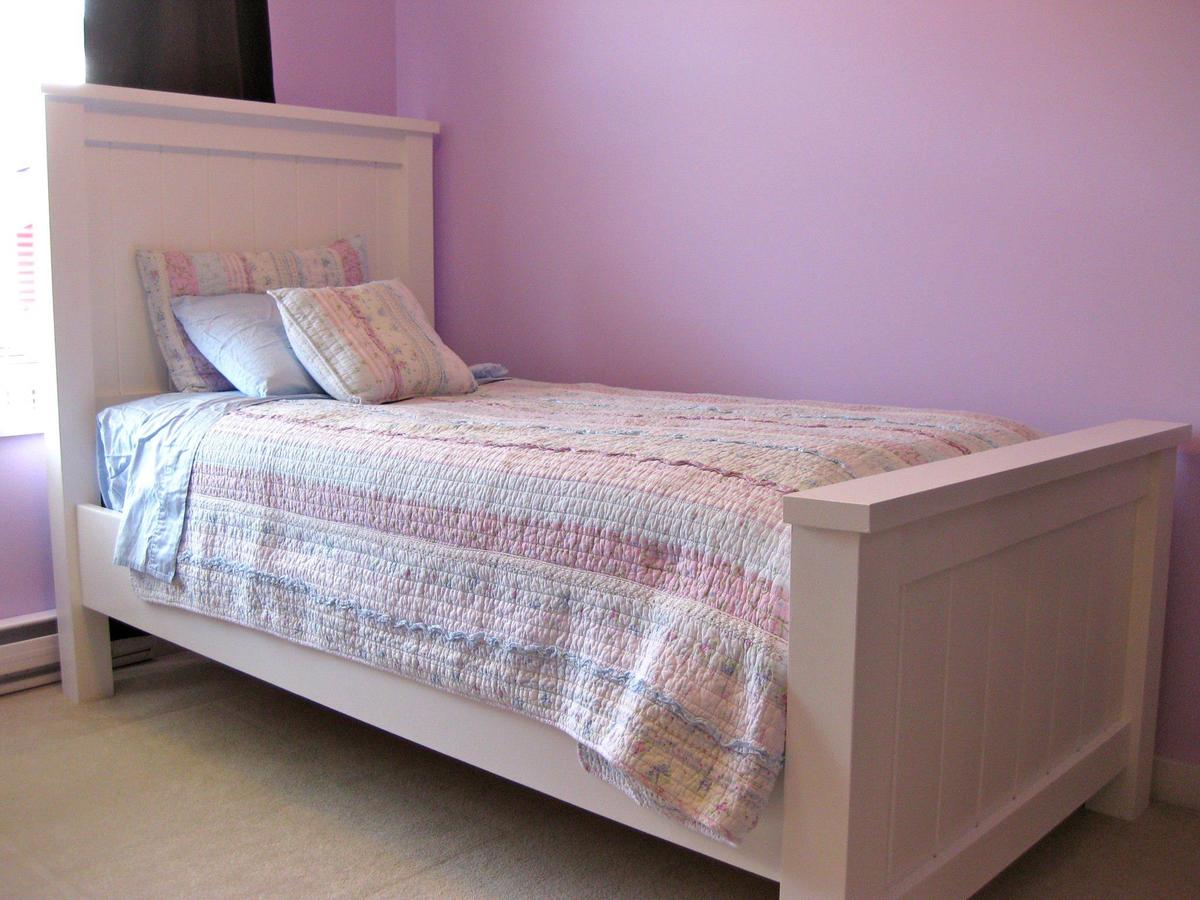
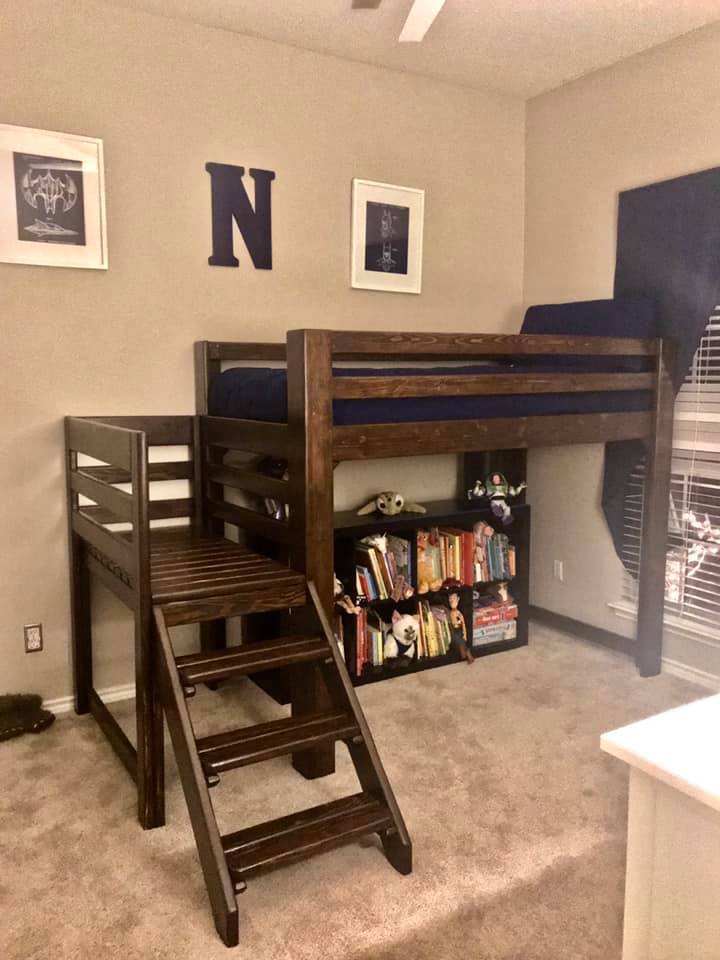
My handy Dad built this for my daughter using the awesome Plan as a base. Made a couple minor modifications (raised it up so more space under the bed; added brackets so the siderails can easily be removed; etc). Turned out perfectly!
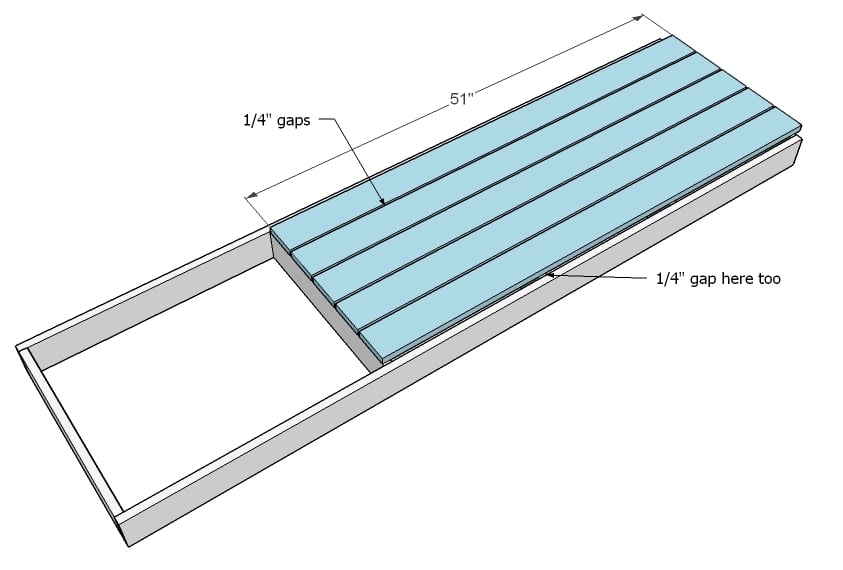
Built from Plan(s)
Estimated Cost
$250 (CDN)
Estimated Time Investment
Weekend Project (10-20 Hours)
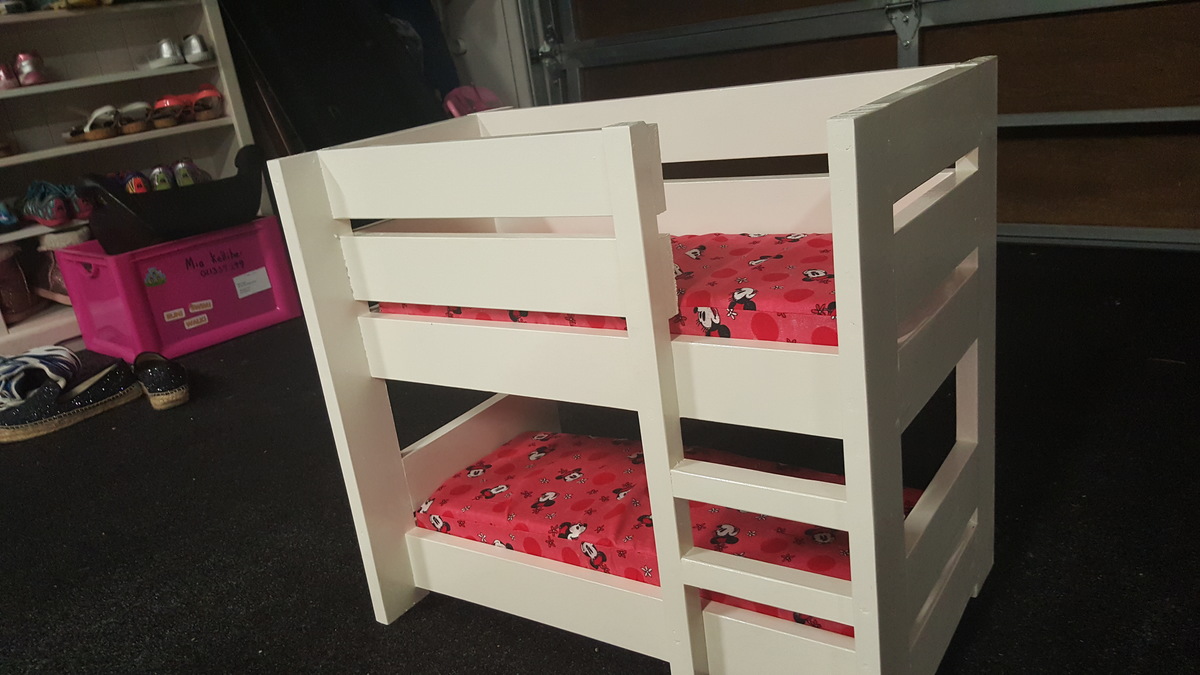
Finish Used
One coat of primer and two coats white semi-gloss paint.
Recommended Skill Level
Intermediate