Community Brag Posts

Little Kids Picnic Table with alterations

Submitted by jsle_bel on Thu, 05/12/2011 - 10:22

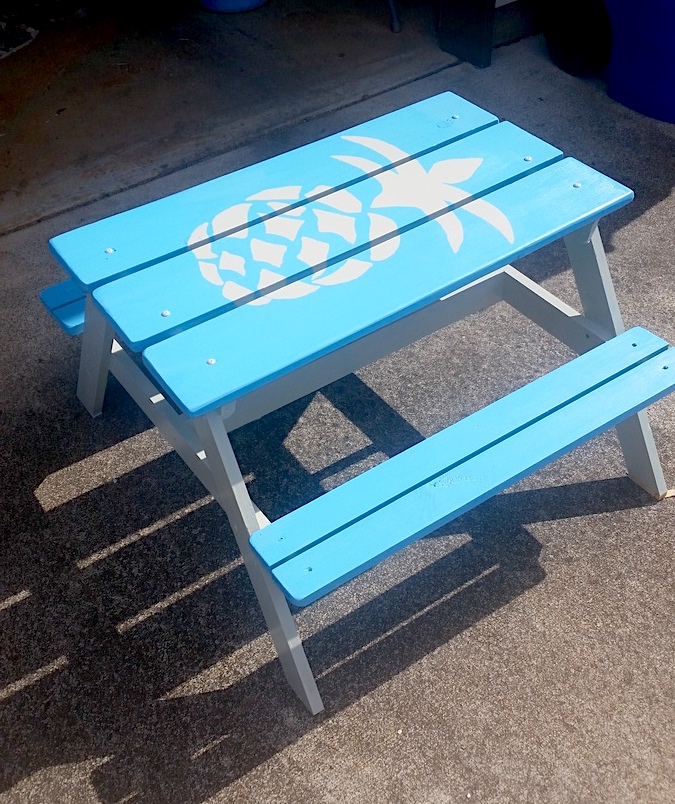
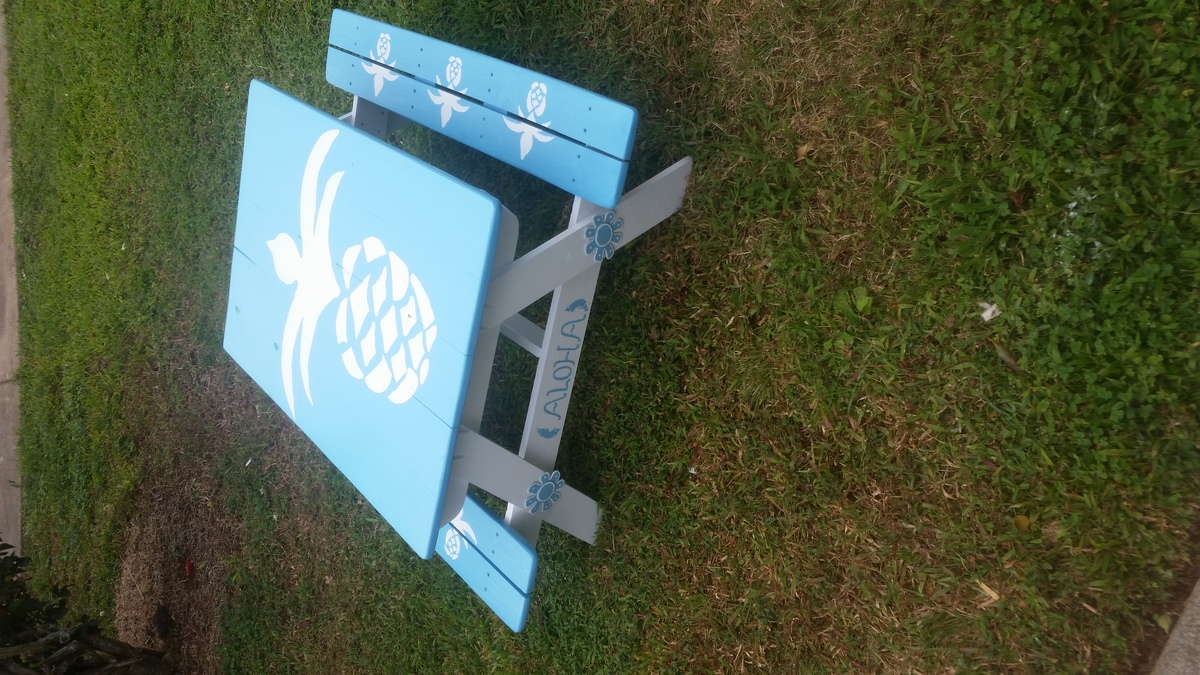
While out shopping with my 4 year old son we came across a picnic table that he absolutely adored. I had wanted to purchase a kids picnic table last summer but never got around to it. After checking out the price tag on this little gem I decided I would check out Ana White’s collection of plans before I spent $80!!! I made a few alterations in size and added extra support for those changes, but even with the added lumber I got it ½ off the $80 store price!!

Built from Plan(s)
Recommended Skill Level
Starter Project

Fancy X Farmhouse Table and Benches

Submitted by LeaG on Mon, 07/08/2013 - 17:38

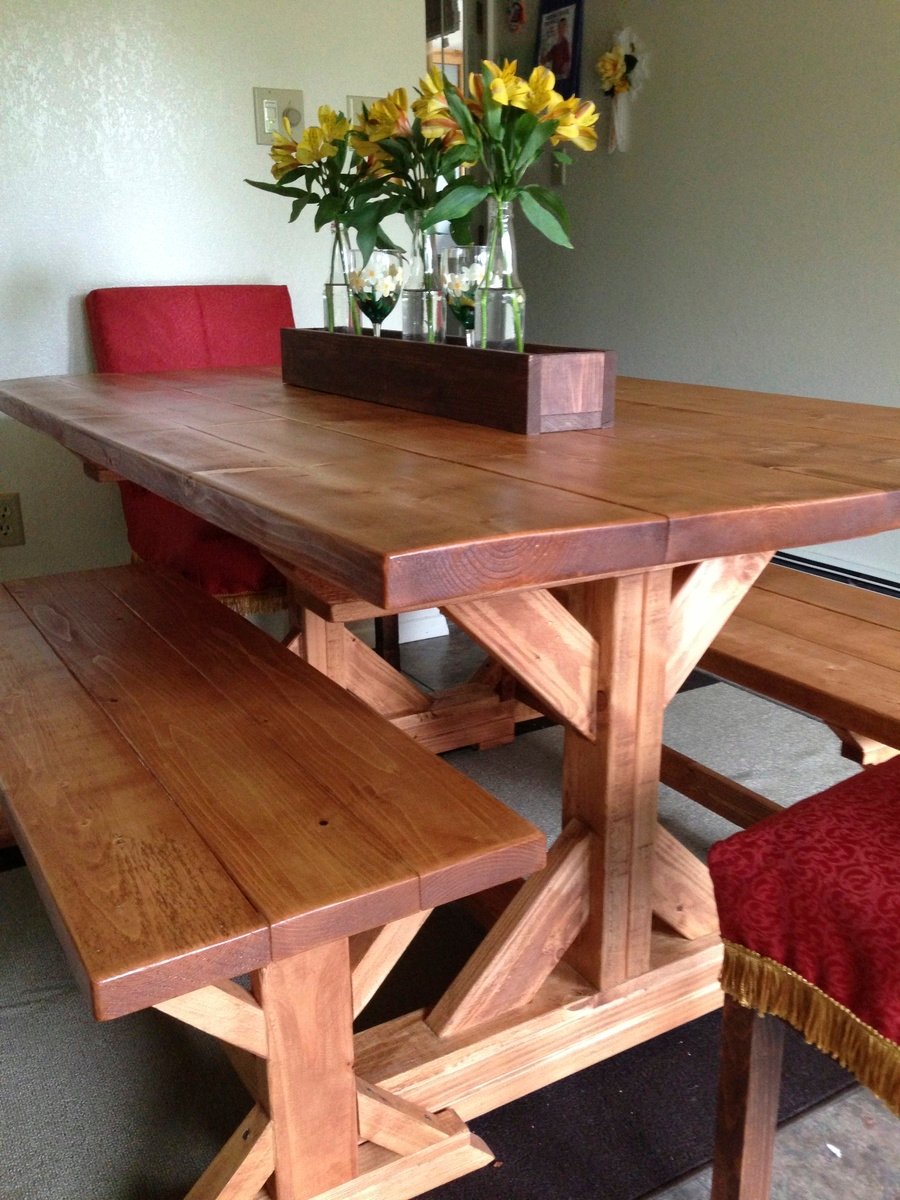
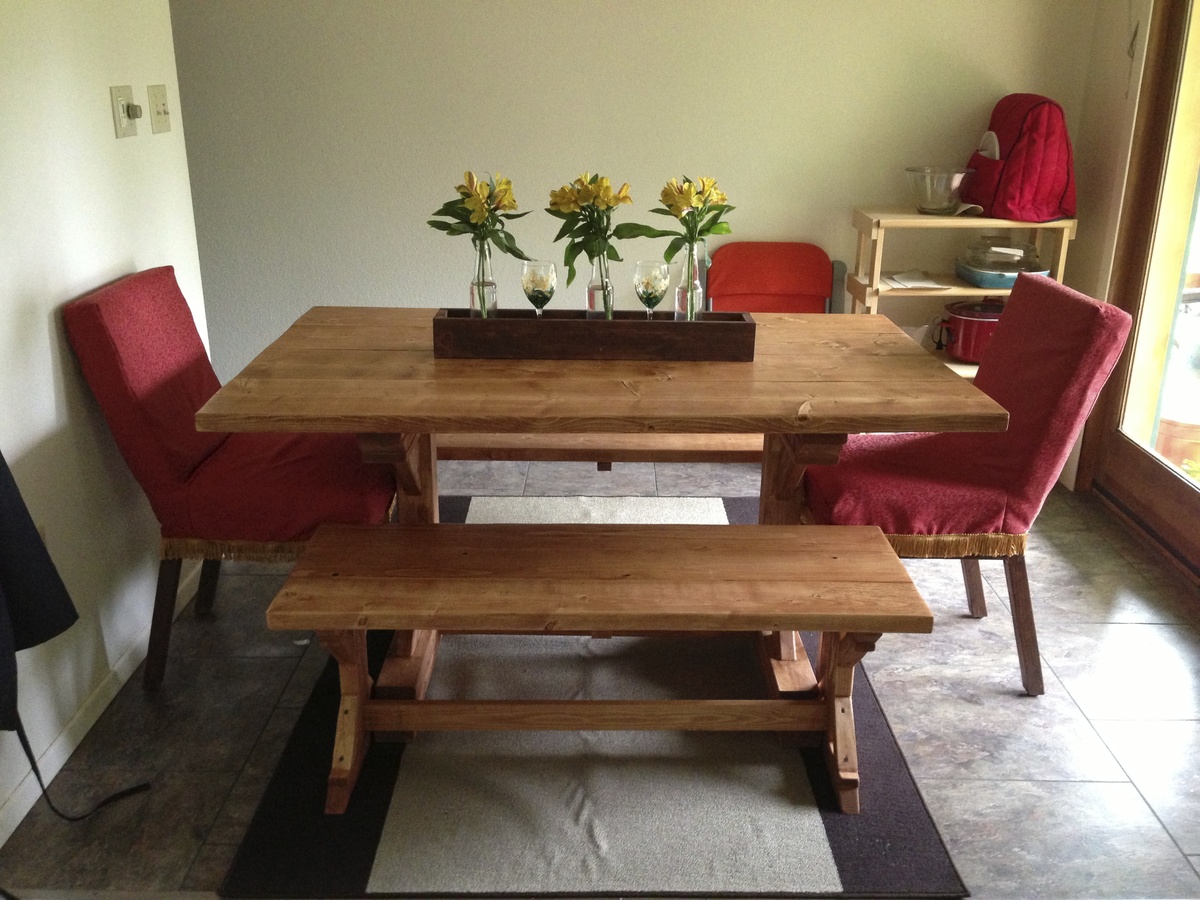
I was inspired to build this table after taking Ana's Adirondack Chair Class at Home Depot. Living in Fairbanks, AK means that the pickings are slim and pricy for quality furniture.

I shortened the table length to 5' to fit my space and made the benches 4' long and lined the legs up so they would fit comfortably under the table. I also made the chairs based on Ana's Parsons chair pattern.

Estimated Cost
About $250-300 Total
Estimated Time Investment
Week Long Project (20 Hours or More)
Recommended Skill Level
Beginner

Comments

Farmhouse Bench

Submitted by Ktosaka on Thu, 07/02/2015 - 20:36

This bench is a shorter version of the farmhouse bench to go with our existing table. It measures 45" long, 14" wide, and 18" high. I used the leftover wood from building our Farmhouse bed so it cost next to nothing. I used leftover 1x4's for the seat and leftover 1x6 for the breadboard ends. I didn't have enough 2x4's to make the 4x4 legs, but decided that the bench was sturdy enough as is. I used my Kreg jig, so I did not notch out the legs as the plan resulting in 9" stretchers and aprons. I did add an extra 2x4 to the inside of the leg piece to add stability and a surface to screw the top to.

Estimated Cost
I only had to buy screws for this bench as it was all left over from our farmhouse bed and the finish was from the county recycle center so I only paid about $8 for the whole project.
Estimated Time Investment
Afternoon Project (3-6 Hours)
Finish Used
I started out with Minwax poly shade in antique oak, but this wasn't dark enough. I used one coat Minwax Jacobean and one coat Minwax express mahogany to get the desired color to match existing chairs. I finished it off with two coats of Minwax Wipe-on poly.
Recommended Skill Level
Beginner

Made 14 crayon blocks as Xmas gifts!

Submitted by SammyS on Fri, 01/19/2018 - 15:46

I made 14 personalized crayon blocks from Ana White's plan for Christmas presents. It was affordable, easy, and everyone loved them!  I'm not sure who loved them more, the adults or the kids.  I made them for preschool classmates, friends, nieces, and nephews.

I am a mom of a 1 year old and 3 year old so it's hard to estimate how much time it took me.  I worked in half hour shifts during naptimes over a couple of weeks.  It's totally doable!

Here are some tips:

- Buy pine wood with sharp edges. Some of my wood had slightly rounded edges and that made for bigger grooves on the sides.  These were the ones that were harder to paint the letters.

- I followed the size dimensions for everything except the holes. I tried several times with Ana's plans, but the wood just kept cracking. I narrowed it down to just 26 crayon holes and spaced it about an inch from either end. This worked perfectly for me 14x!

- I tried many ways to drill the holes. My winning combination was to start each hole with a spade drill bit (drilled 75% through) and then finished it off with a regular spiral drill bit of the same size.  I found it cracked way less on the backside if I didn't use the spade bit all the way through.

- I used a simple piece of sandpaper to lightly sand in the holes.


LETTERING

I have a Silhouette machine. I cut out the words/names on vinyl, weeded out the letters and stuck them on the wood as a stencil.  I wrote their name on one side and "crayons" on the other.  Then I rubbed clear kraft glue in the letters to "fill the gaps" so no paint would leak through.  Then I painted over the glue and wood with acrylic craft store paint.  Worked perfectly. Looks crisp.  Some of the moms thought they were stickers.  I finished with a matte clear spray finish.

What does NOT work:

-I tried the method of printing on paper, tracing with pencil, and then hand painting. Mine looked awful. Maybe I just don't have a steady enough hand.

-I tried using permanent marker instead of paint.  Nope. It seeps into the wood and leaves you without crisp lines.

-I also tried cutting the letters on vinyl, sticking them on the wood then putting a clear coat on top.  This was OK... but it didn't look as good as painted.


Hope this can help someone!


Estimated Cost
I estimate this cost between $3-$4 per crayon block (assuming you already have the tools). Most of that cost was buying the crayons.
Estimated Time Investment
Afternoon Project (3-6 Hours)
Recommended Skill Level
Beginner

Flat Wall Book Shelves

Submitted by river4250 on Mon, 05/16/2011 - 16:30

This plan was a breeze to put together (go out and buy some clamps if you don't have any!!) until I finished it, then looked at my wall and saw the baseboards. I really wanted it to be screwed/nailed into the wall, so it needed to be flush. That's where the nightmare being. Eventually (over a week later) I got that finished, however, and am loving my little one's new bookcase! I just can't decide where to put it now, in her bedroom or in her playroom. Maybe I'll make another and she'll have two! :D This plan was very simple to follow, and the materials weren't expensive, so I could definitely do that.
Built from Plan(s)
Estimated Time Investment
Afternoon Project (3-6 Hours)
Recommended Skill Level
Beginner

modified chaise lounge

Submitted by jrh413 on Wed, 07/10/2013 - 09:36

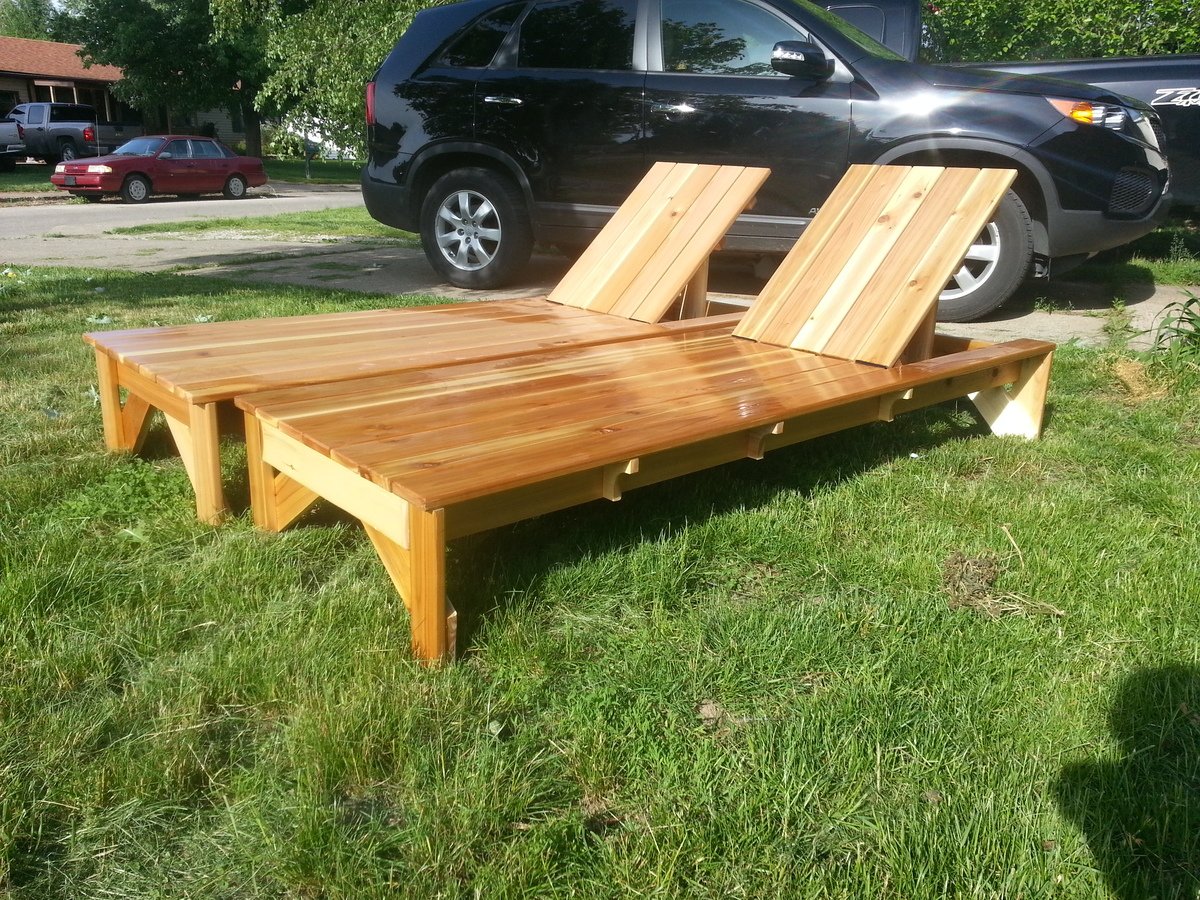
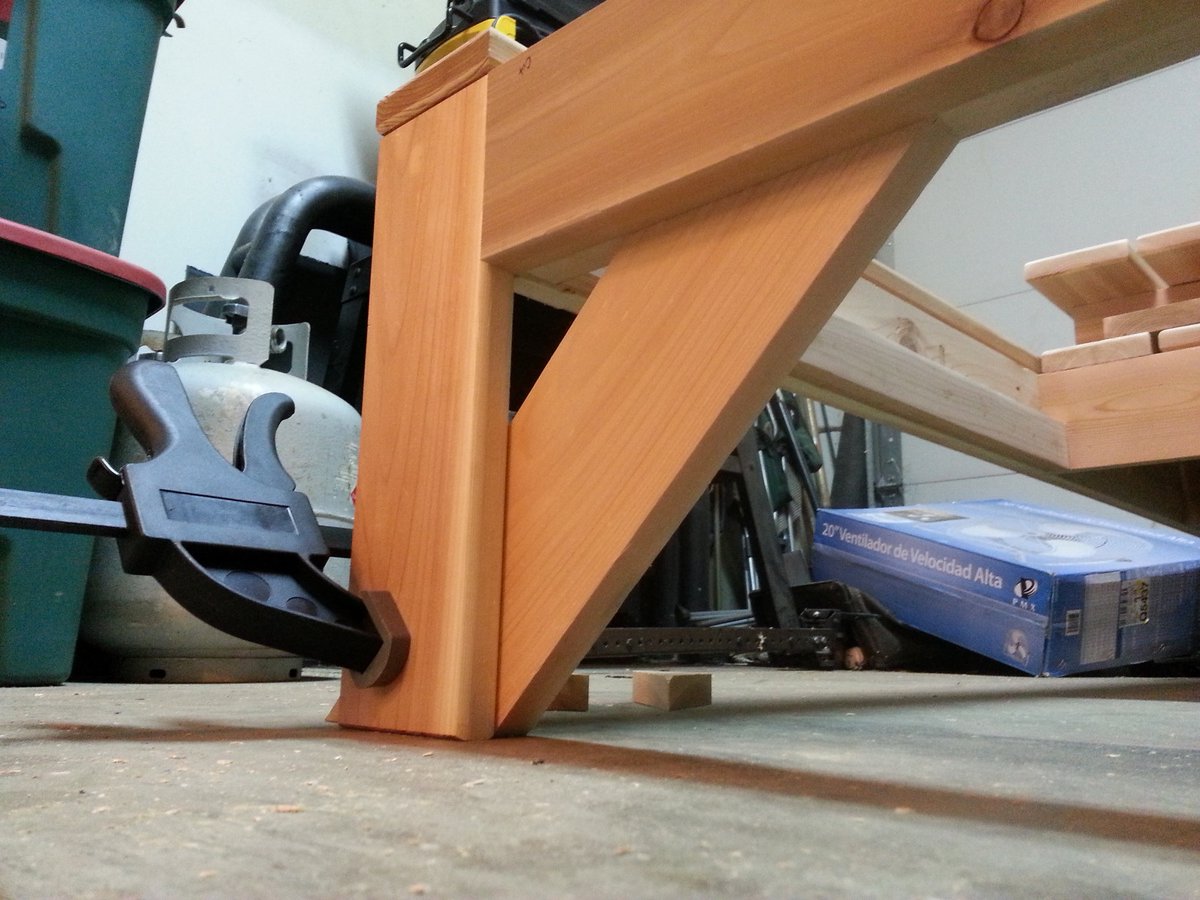
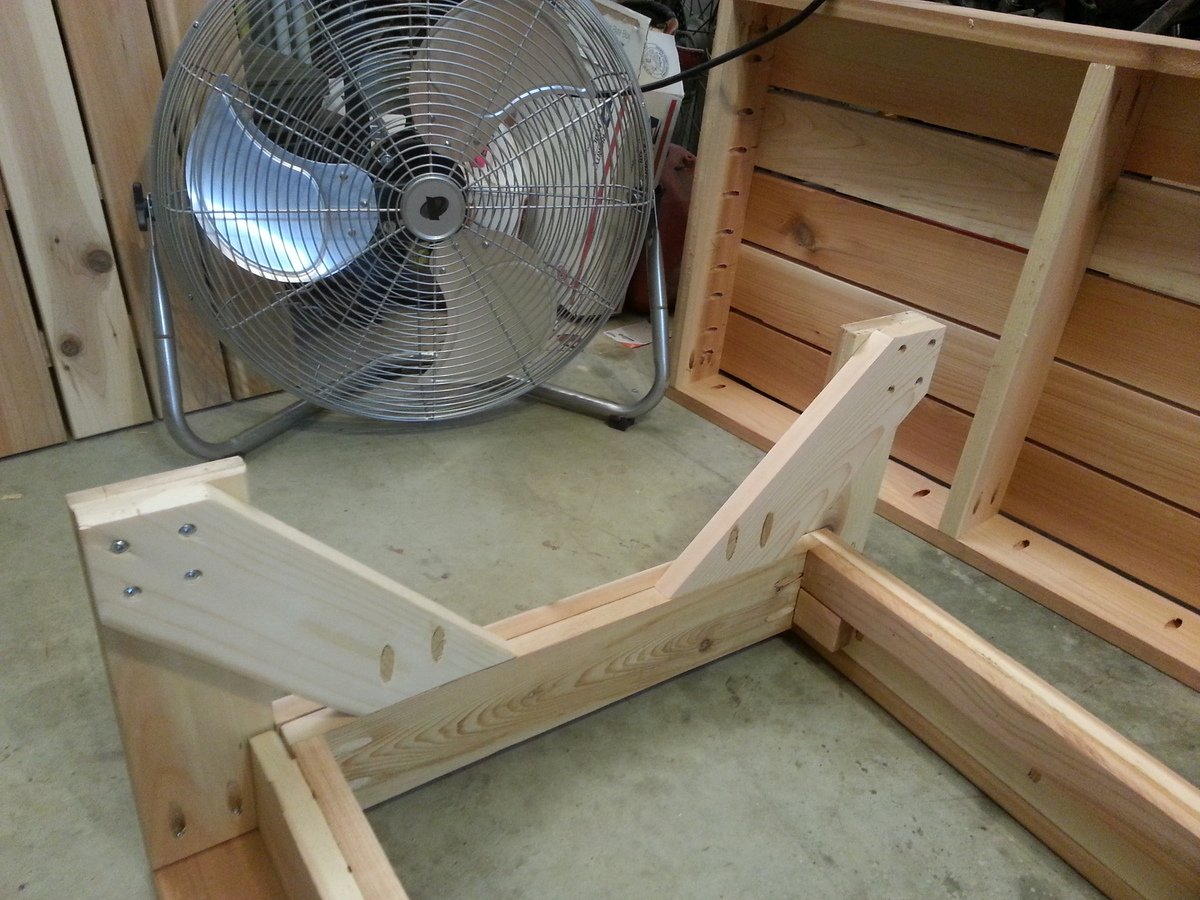
These are solid cedar. They also have several coats of polyurathane. They both got wet sanded and buffed for final coat. They were also modified with leg braces amd braces along side decking. Enjoy!

Built from Plan(s)
Estimated Time Investment
Weekend Project (10-20 Hours)
Recommended Skill Level
Intermediate

Comments

Twin Beds

Submitted by Jim Parker on Mon, 07/06/2015 - 17:29

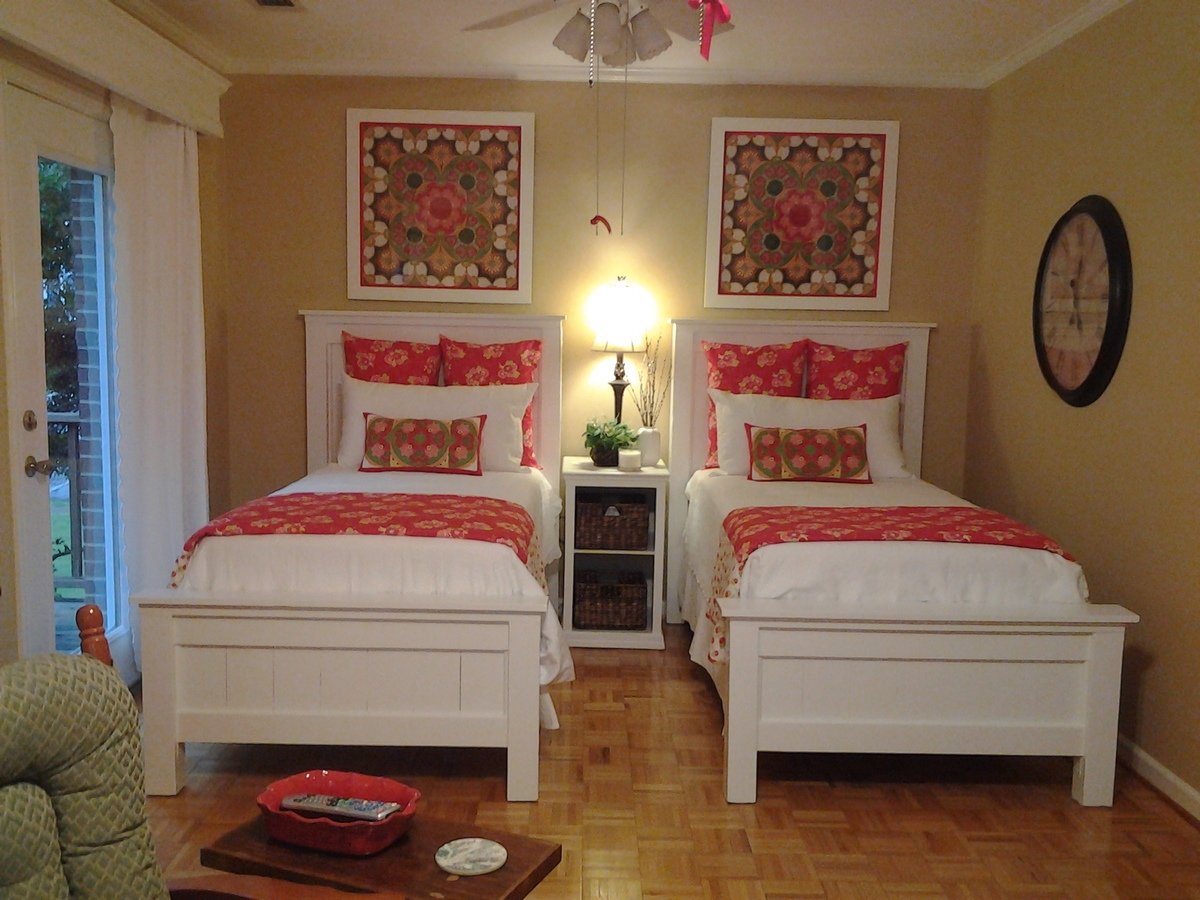
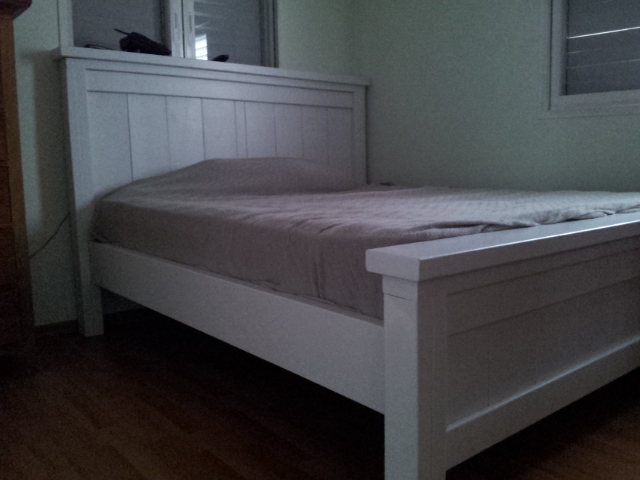
After accepting a job in a skilled nursing facility last April, our son move out of our house, taking with him all the furniture from his room. As a result, he virtually left my wife and me a blank canvas to do as we pleased. My wife wanted to put twin beds in the room, and as such, searched high and low for two adult twin beds, all to no avail. Then one day while looking on Anna White’s website, she saw plans for various types of beds, including adult size twin beds. She printed the plans for the beds and asked, “Can you make these?” I studied the plans for a moment, and said, sure. Because the plans were so detailed and easy to follow, I was able to construct both twin beds over the period of a weekend. For me, I found the shopping list and the cut order to be the most useful section of the plans.

Estimated Cost
Approximately $200.00
Estimated Time Investment
Weekend Project (10-20 Hours)
Finish Used
White primer, followed with two coats of white paint.
Recommended Skill Level
Intermediate

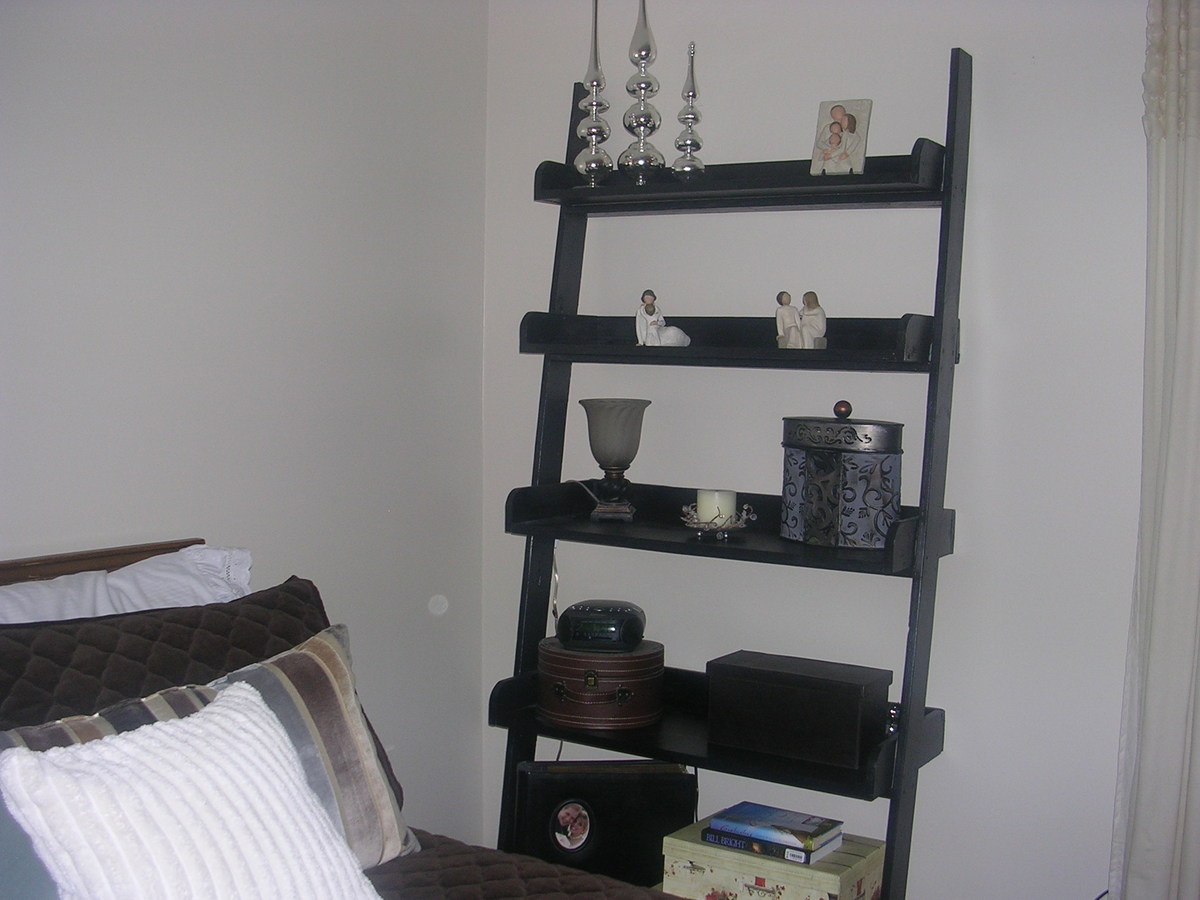
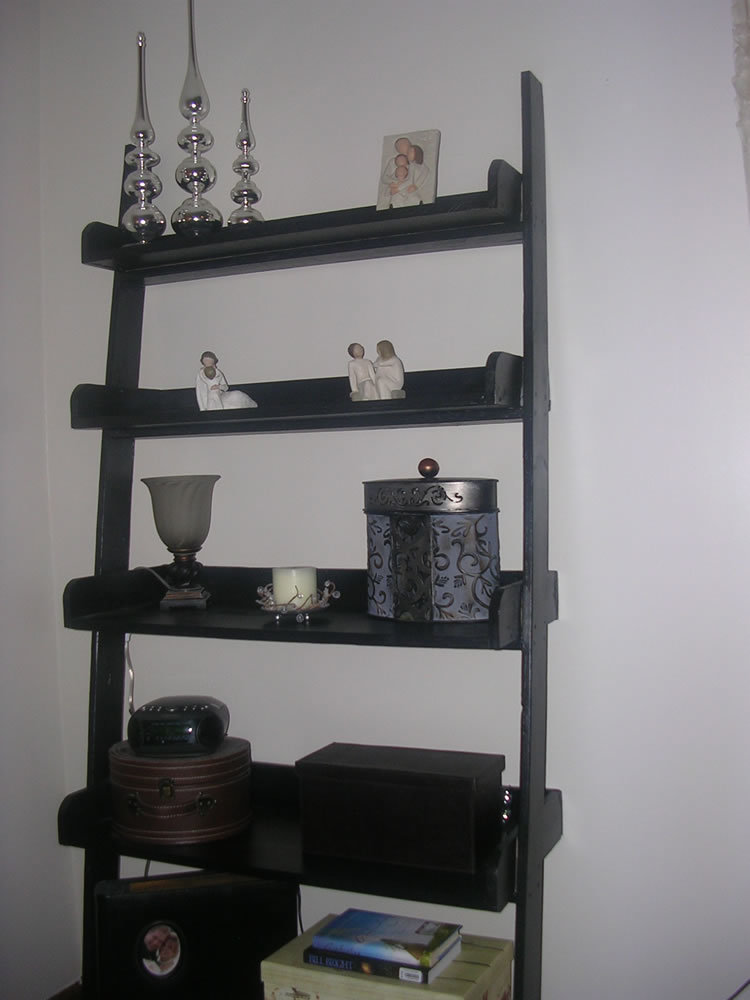
Leaning Ladder Wall Bookshelf

Submitted by Liz Miller on Thu, 01/25/2018 - 07:02

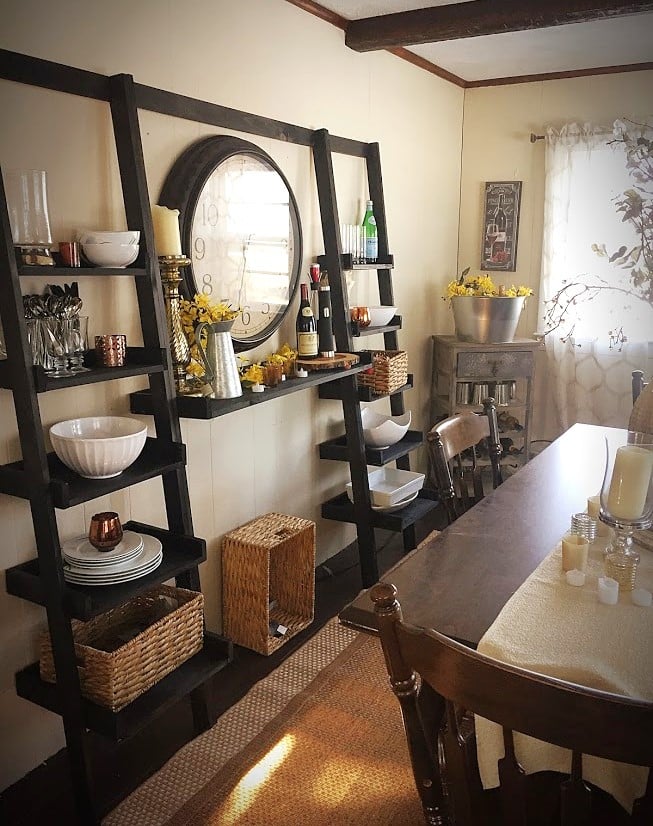
My dining room has no storage and I've been trying to find a place to store all of my bowls, serving dishes, etc; for some time now. I saw a leaning ladder shelf system at Crate and Barrel that I fell in love with but it was $500 which was out of the question. Last summer I built Ana's outdoor couches with absolutely zero experience and they came out great, so I decided to take a chance and try something else. This was my first time using a circular saw, and also my first time using a Kreg Jig! Honestly, halfway through this project I was concerned I bit of more than I could chew but I stayed calm and just kept following the plans. I'm so thrilled with how they came out! I ened up using a scrap piece of the 1 X 12 board for the "desk" piece to make the center a little bigger since I wanted it to serve as a serving board of sorts. I reenforced it with a support board since it was a little longer than the original plan called for.  I am beyond thrilled with how this came out, I honestly like it better than the one I saw at C&B since it's custom to my space! This was so easy if I could do it, anyone can. My total cost came to about $130. Not too shabby for a knock off! I'm already on to my next project. I don't think I can buy "factory" furniture again now how much better cost and quality I can get doing it myself! Thanks Ana!

Built from Plan(s)
Estimated Cost
$130
Estimated Time Investment
Weekend Project (10-20 Hours)
Finish Used
I used Minewax Charcoal, at first I thought it was too dark but I've come to like the dark color with the grain showing through. I only did one coat.
Recommended Skill Level
Beginner

Toy Box

Submitted by Nyk Cole on Mon, 01/17/2022 - 19:19

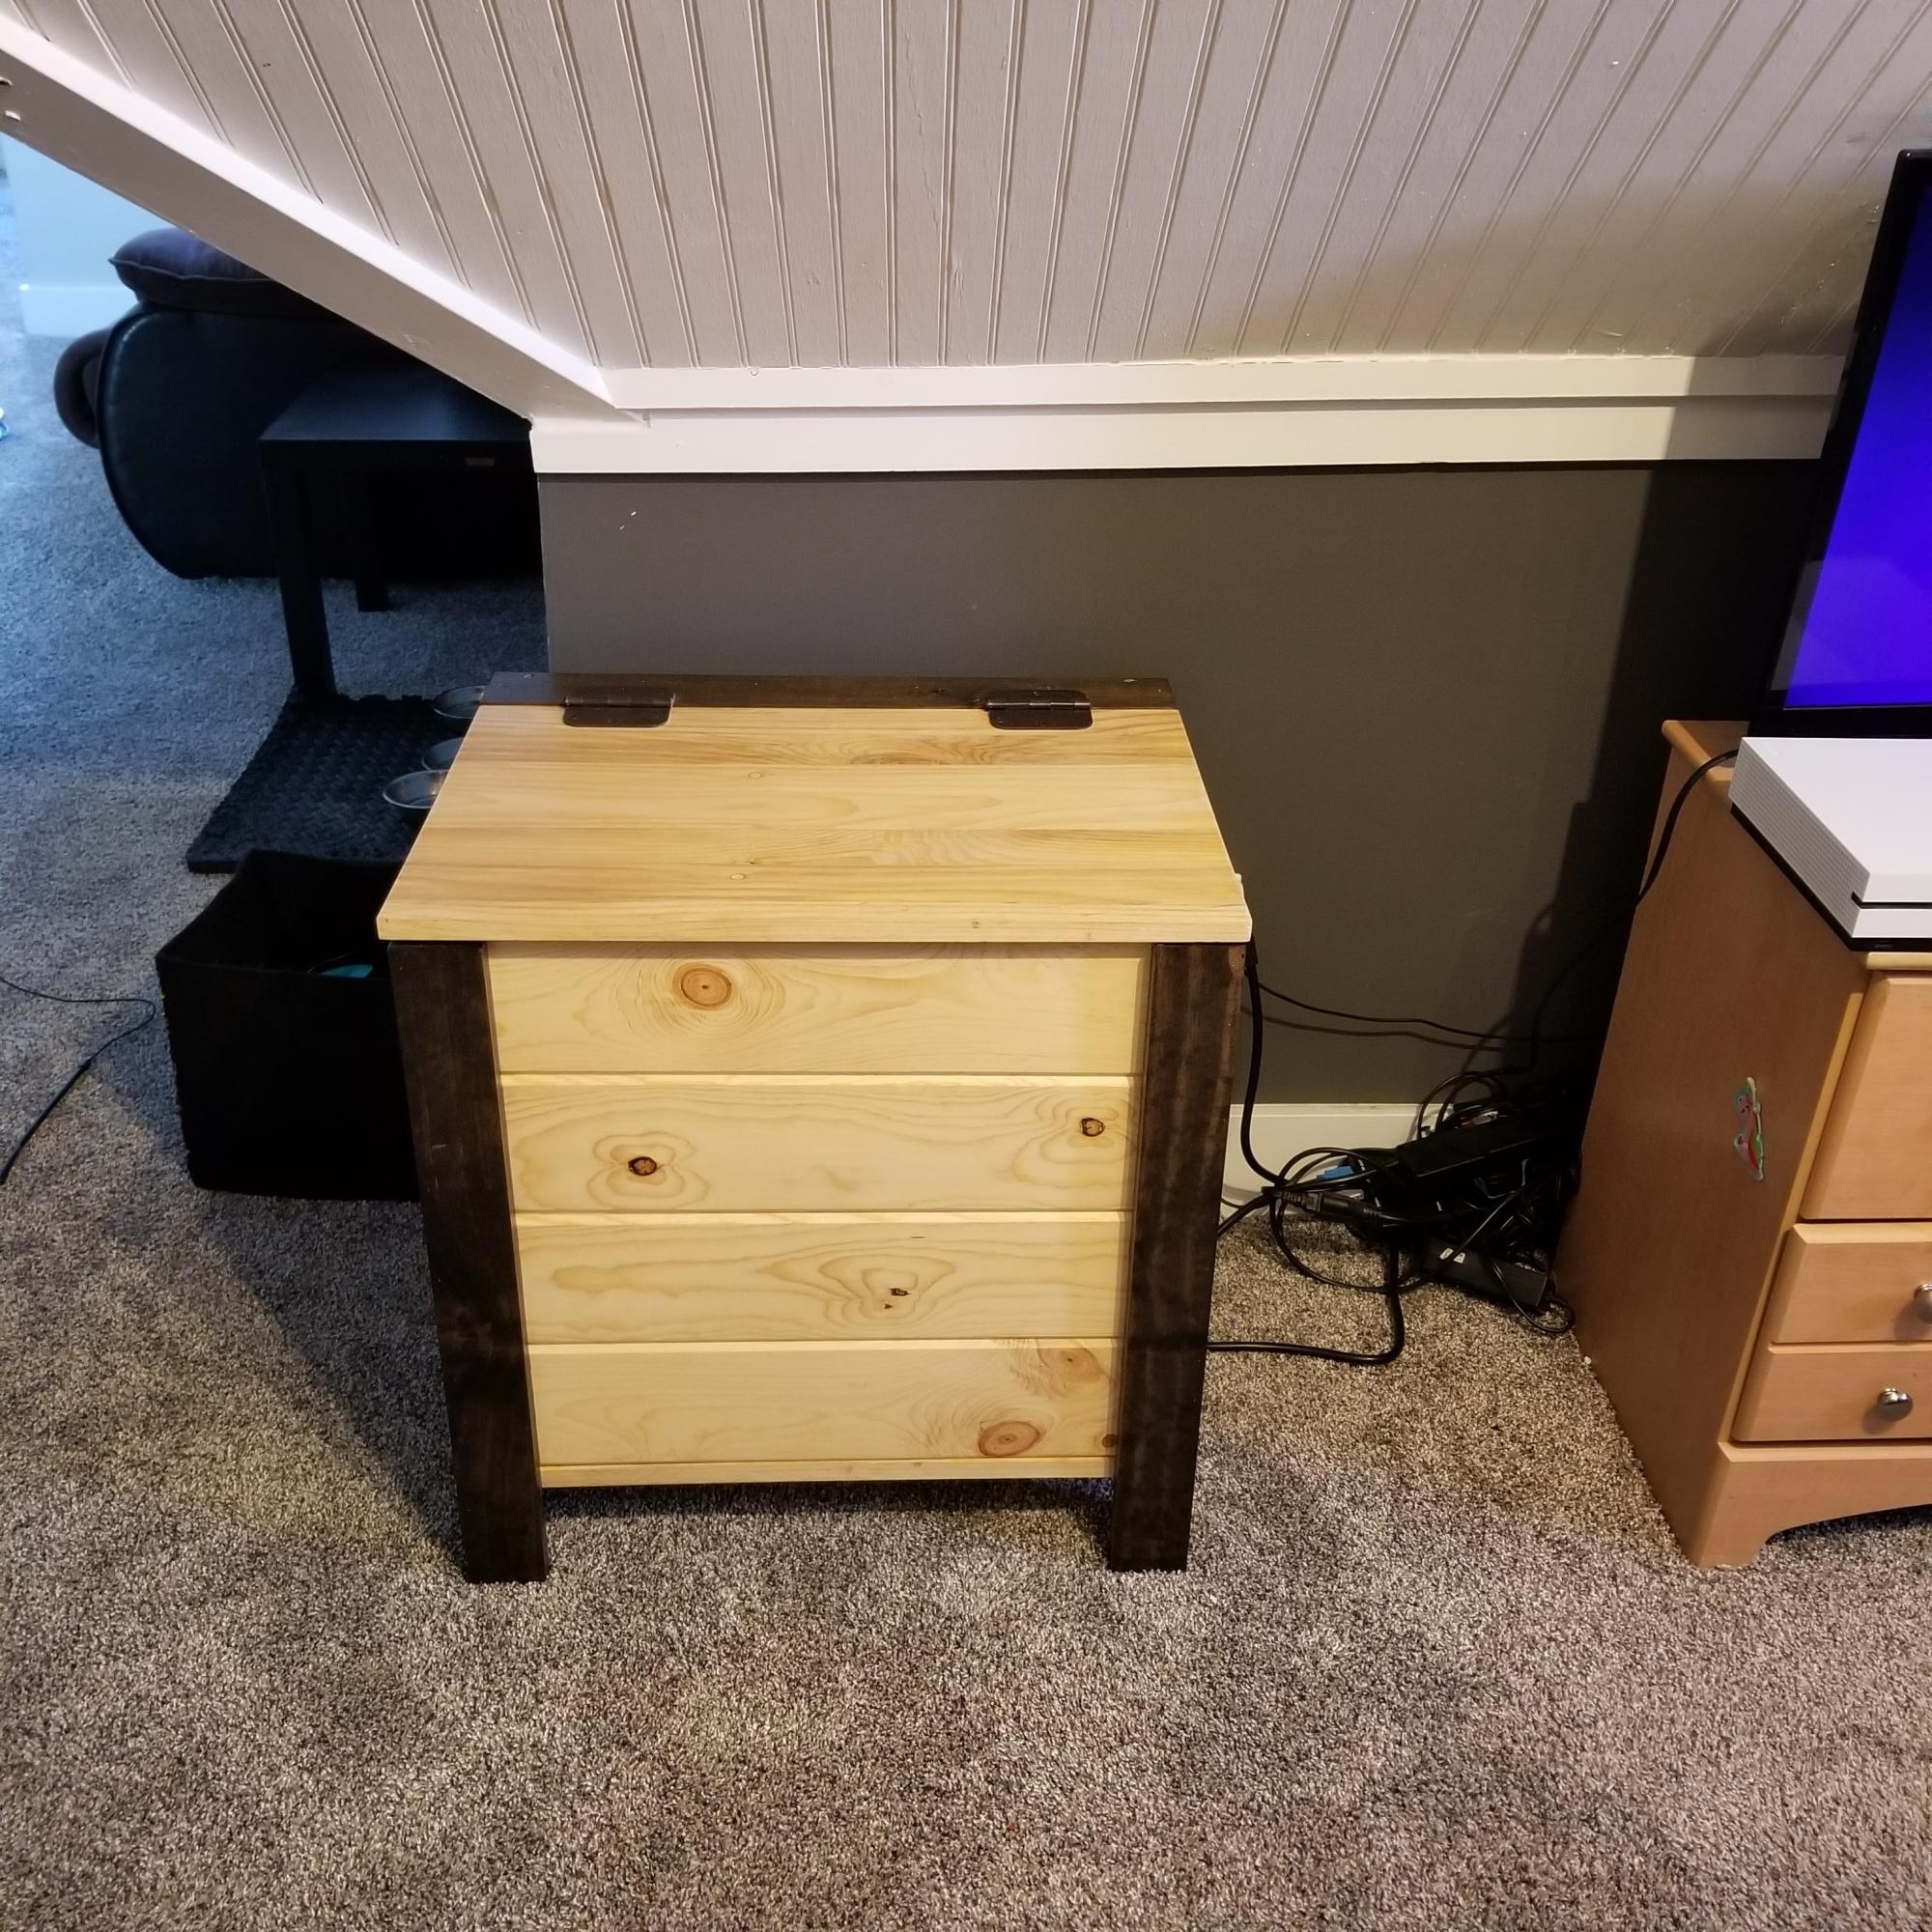
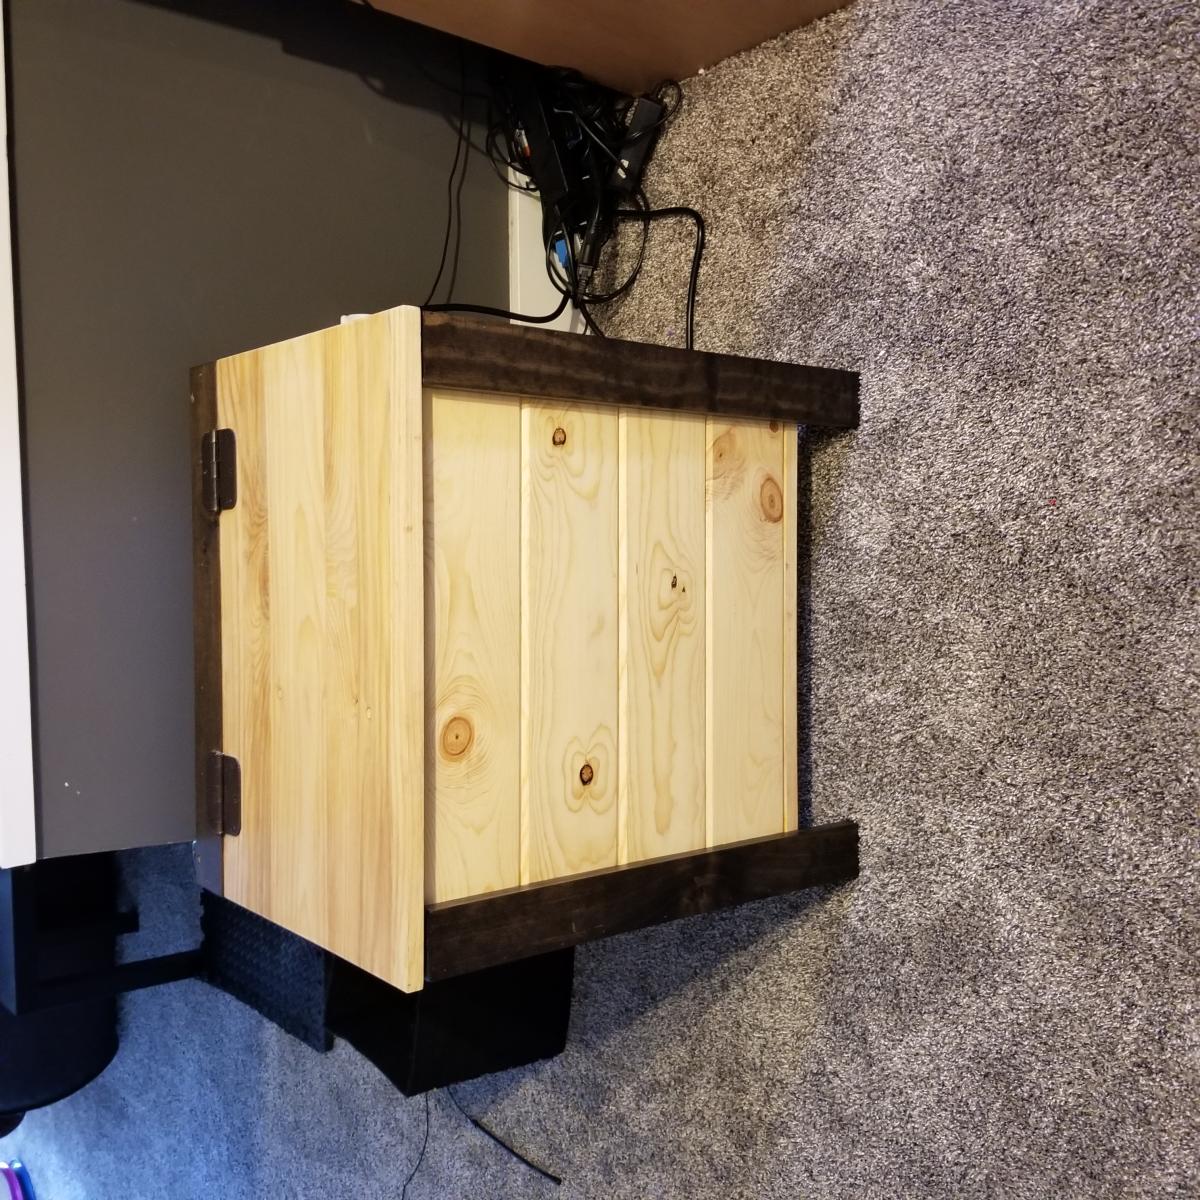
Reconstructed plans to build a toy box for my kids' playroom.

Built from Plan(s)

Comments

White Farmhouse Bed

Submitted by mtubin on Sat, 07/13/2013 - 07:40

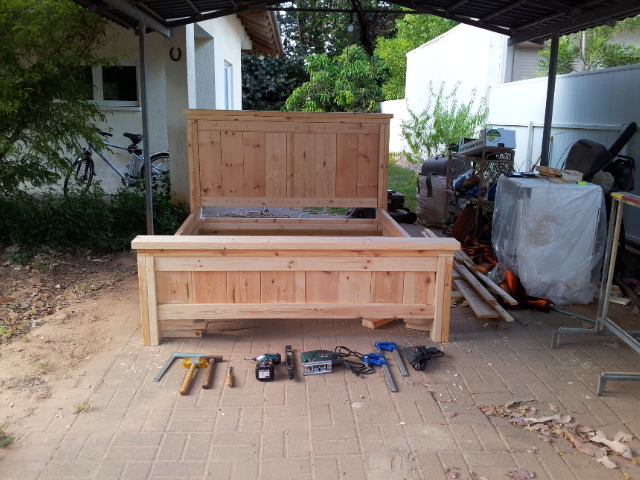
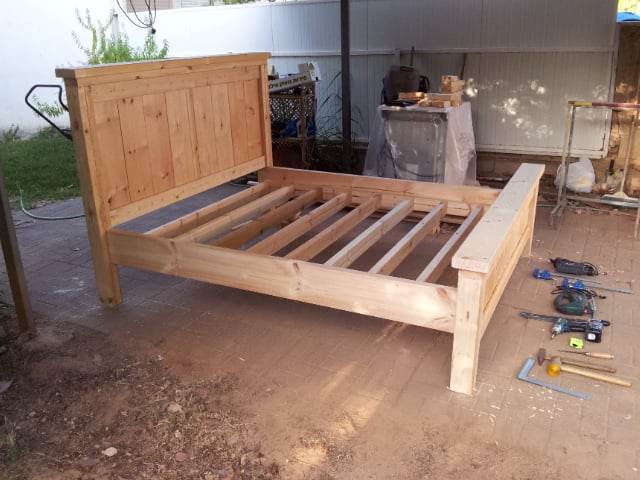
I'm done building my first ever bed. It was a little expensive (Around 350$).
I had a lot of fun; I made some changing in the connection between the bed frame and the footboard.
I also had to convert the measurement to centimeter and to the European mattress measurement.

Estimated Time Investment
Week Long Project (20 Hours or More)
Recommended Skill Level
Intermediate

Comments

Modified King Farmhouse Bed

Submitted by Jbland72 on Thu, 07/09/2015 - 21:13

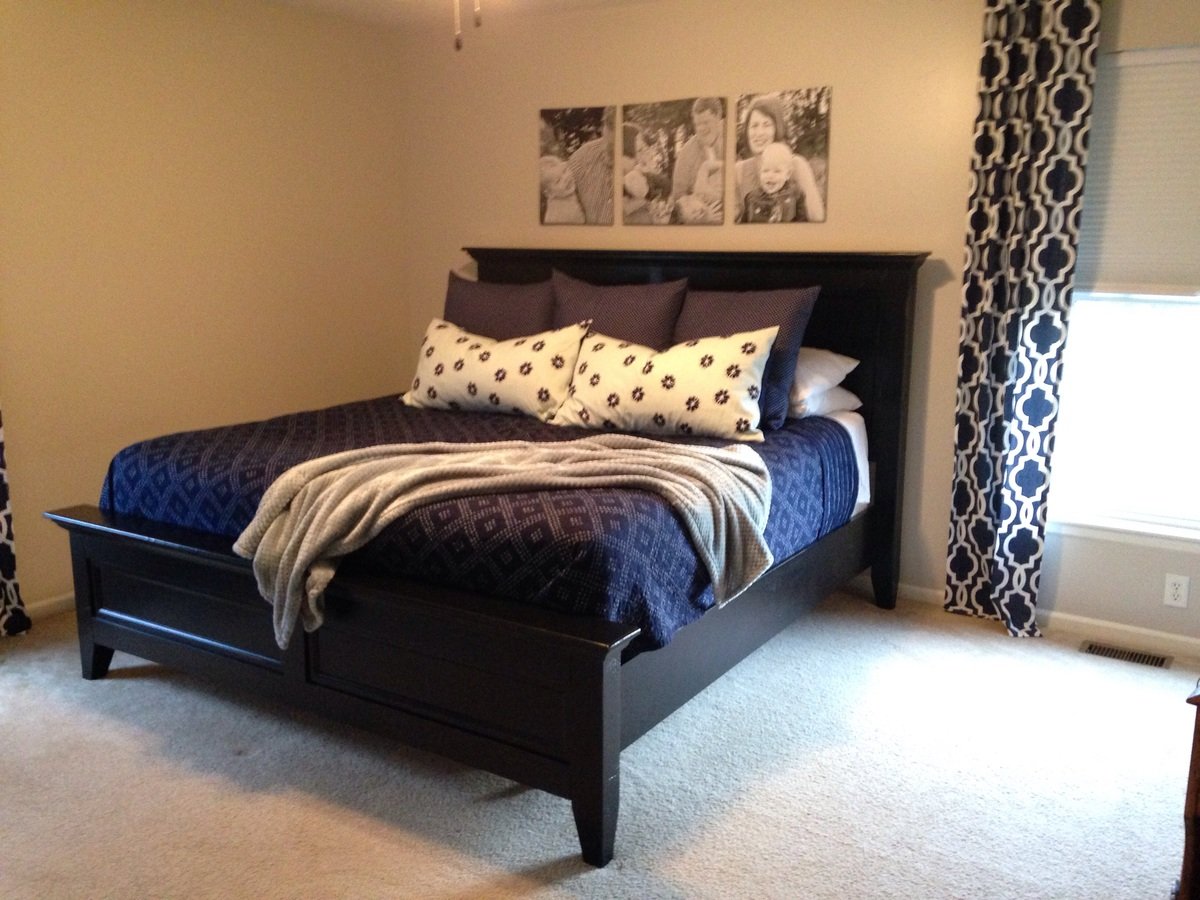
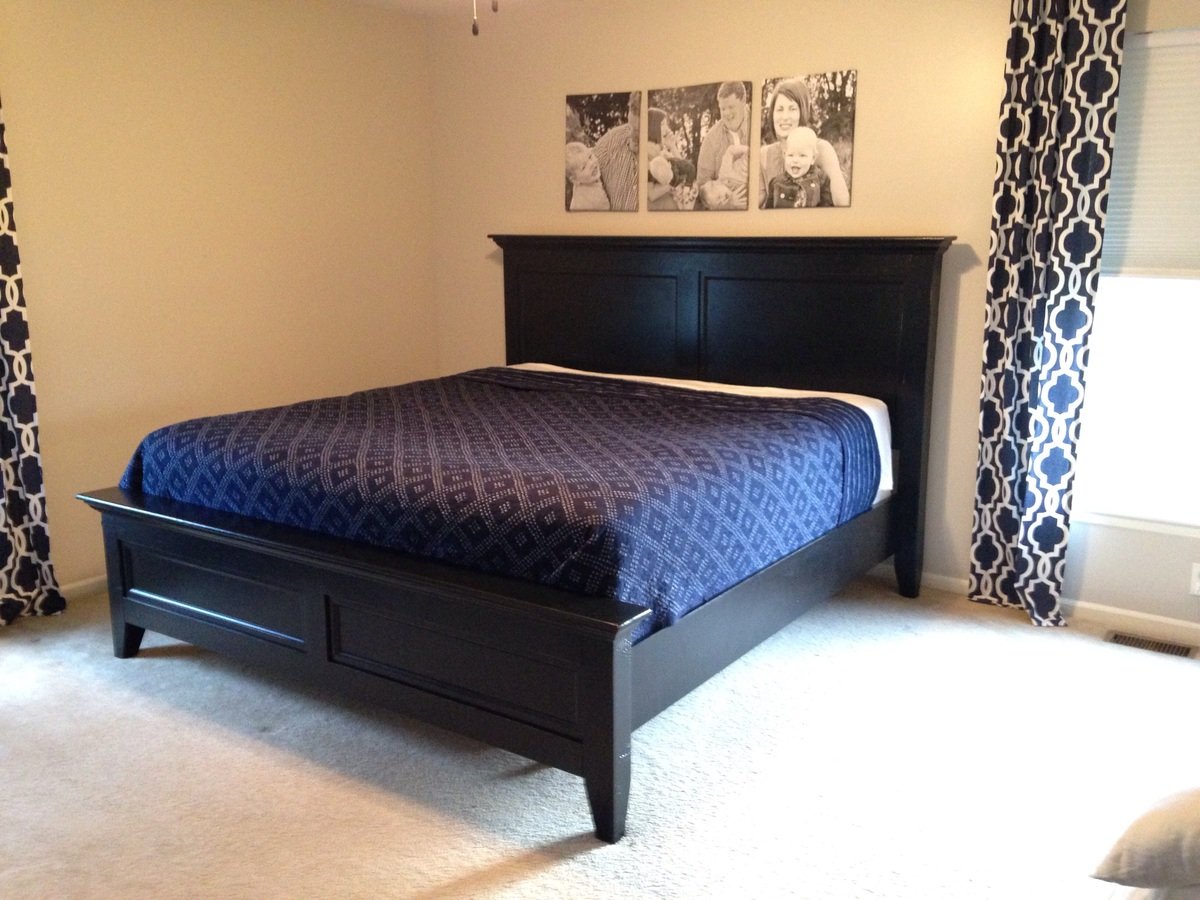
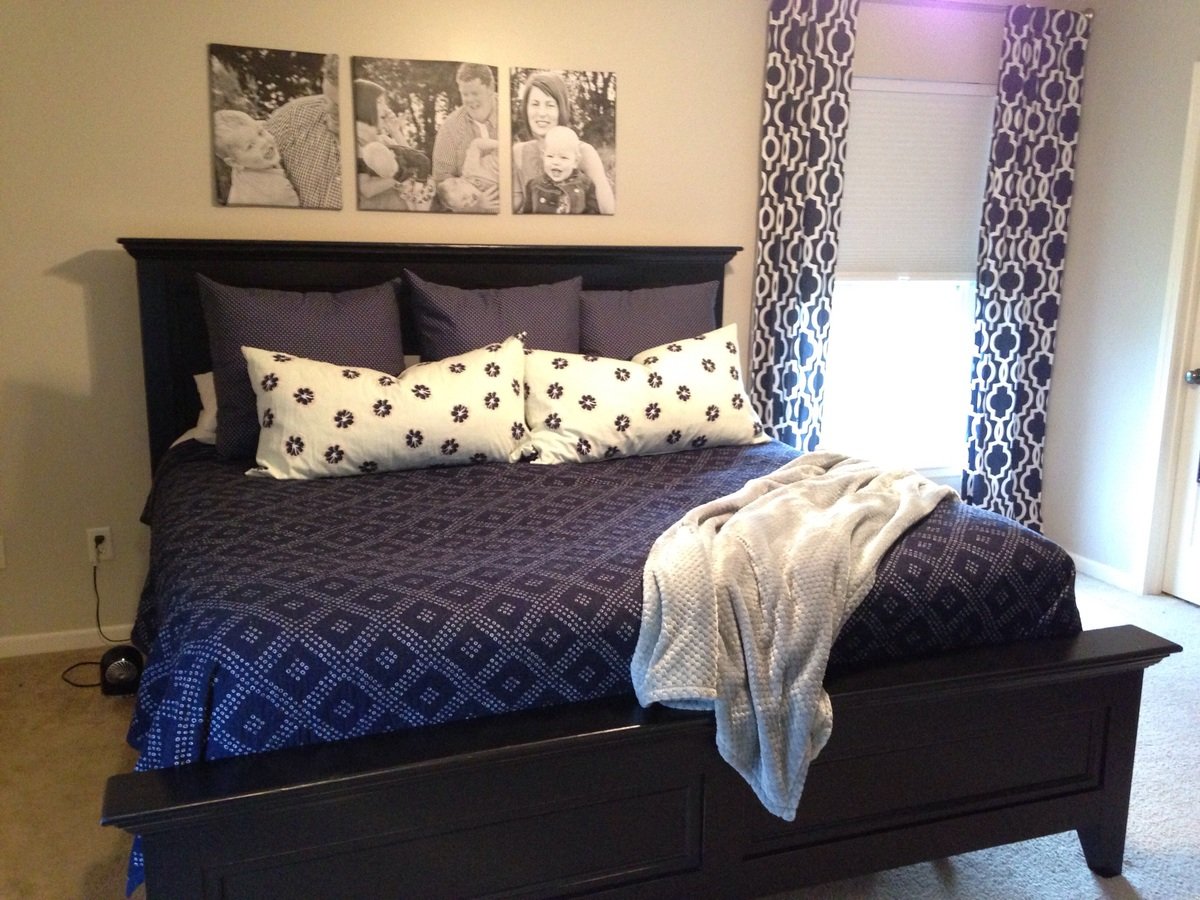
This was my first major project to build. I modified it to resemble Macy's Captiva bedroom set. I finished it with General finishes lamp black paint with some slight distressing.

Estimated Cost
$250-$300
Estimated Time Investment
Week Long Project (20 Hours or More)
Finish Used
General finishes lamp black paint and satin top coat.
Recommended Skill Level
Beginner

Comments

Leaning Wall Shelf - My First Build

Submitted by dhrider33 on Sun, 05/22/2011 - 17:23

Finally I drummed up enough courage to try a project ... the leaning wall shelf. My husband and I had a great time working on it together.

Estimated Cost
$50
Estimated Time Investment
Day Project (6-9 Hours)
Finish Used
Primer / Paint
Recommended Skill Level
Starter Project

Headboard Benches

Submitted by LARMO on Sun, 07/14/2013 - 13:11

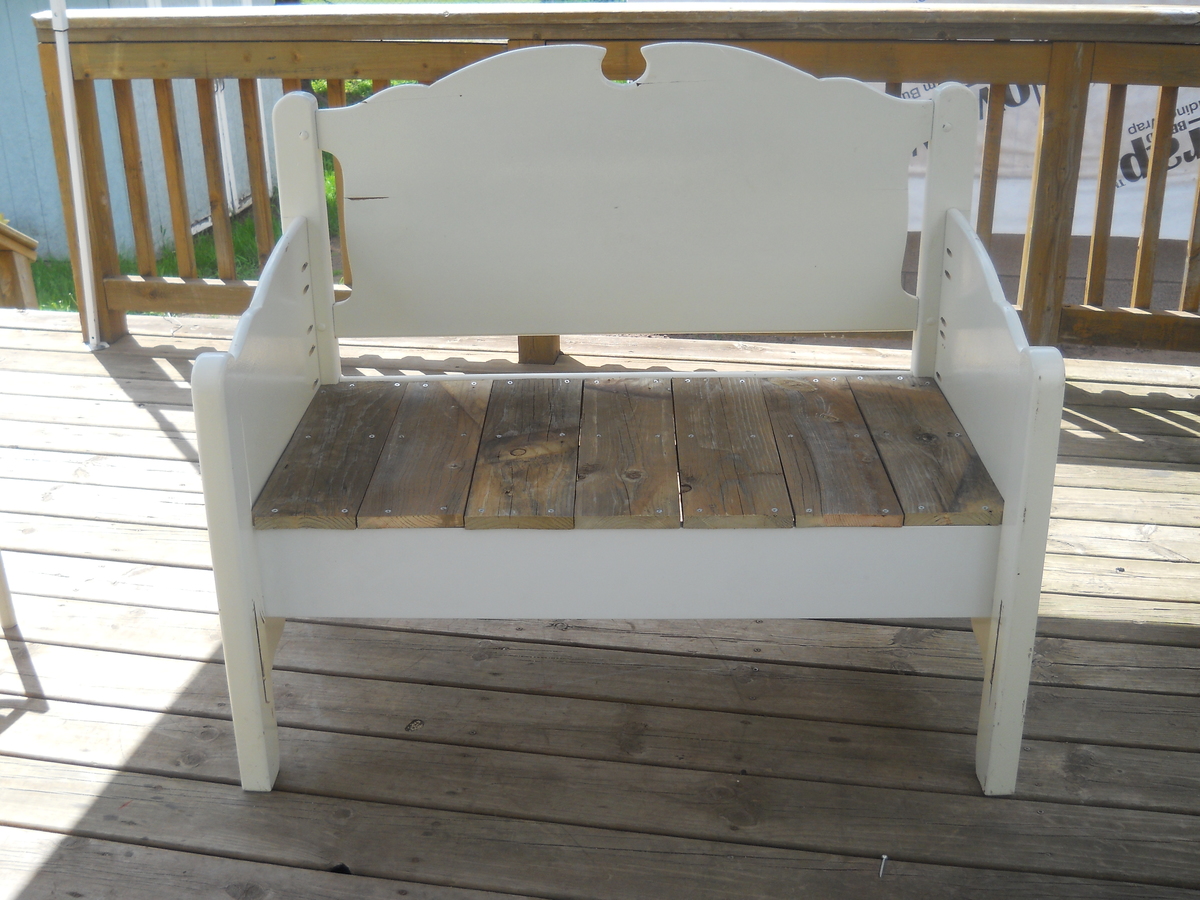
Both footboards were cut in half attached with Kreg jig frames built for the seats out of leftover 1x2 and the seats were from leftover 1x6 fence boards cut to fit. Both headboards were oak the first was stained using 3 coats of pittsburgh exterior stain . The second was originally painted white so I left as is and added the seat as the other and left it rustic looking.

Estimated Cost
under $30 for both stain and phs
Estimated Time Investment
Afternoon Project (3-6 Hours)
Finish Used
Pittsburgh barn red
Recommended Skill Level
Beginner

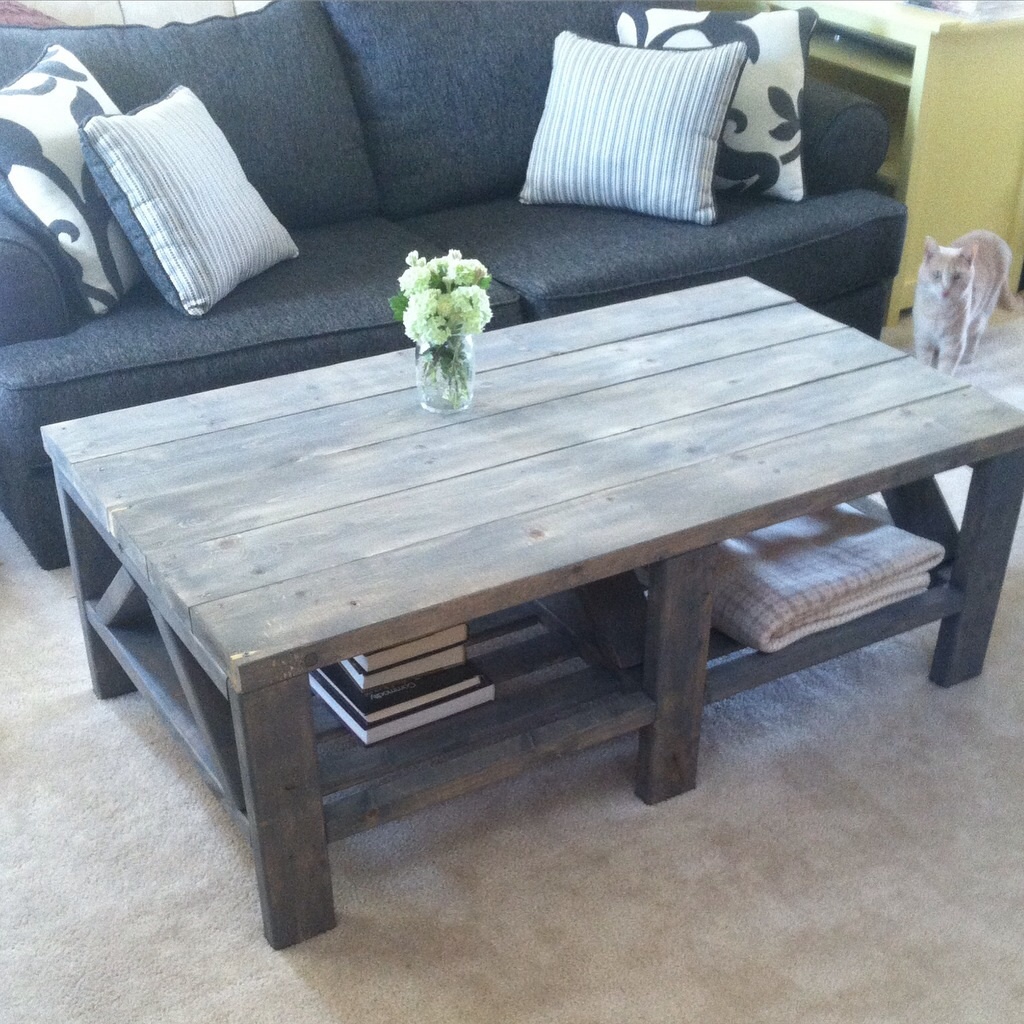
Weathered Gray Triple Truss

Submitted by SunDay35 on Tue, 07/14/2015 - 09:01

The most difficult part of this design are the beveled pieces that creae the truss. The angles have to be exact

Built from Plan(s)
Estimated Cost
$100
Estimated Time Investment
Weekend Project (10-20 Hours)
Finish Used
Rustoleum Weathered gray, wood conditioner, matte polyeurathane
Recommended Skill Level
Intermediate

Comments

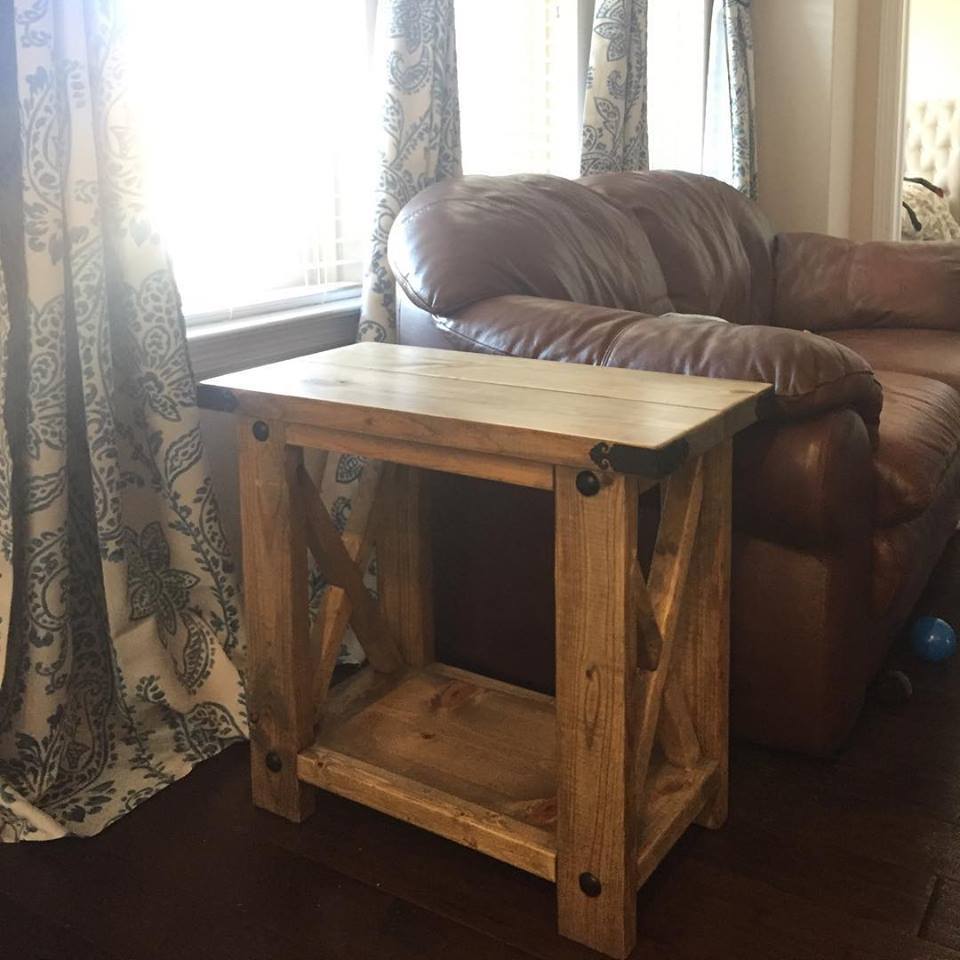
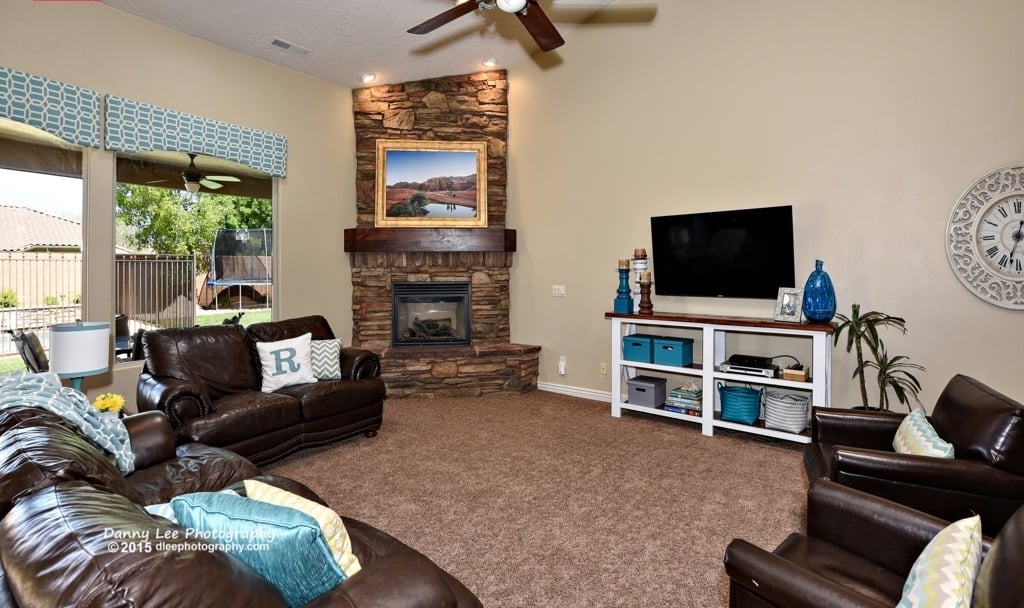
Rustic X End Table

Made two of these and I made them a bit thinner as I wanted these to be on the end of the sofa where there was not a lot of space. Matched the hardware with my rustic X console table I made a few years back.

Built from Plan(s)
Estimated Cost
$25 each.
Estimated Time Investment
Day Project (6-9 Hours)
Finish Used
Weathered Oak with a a wipe on poly and an additional layers of polyurethane on top surface.
Recommended Skill Level
Starter Project

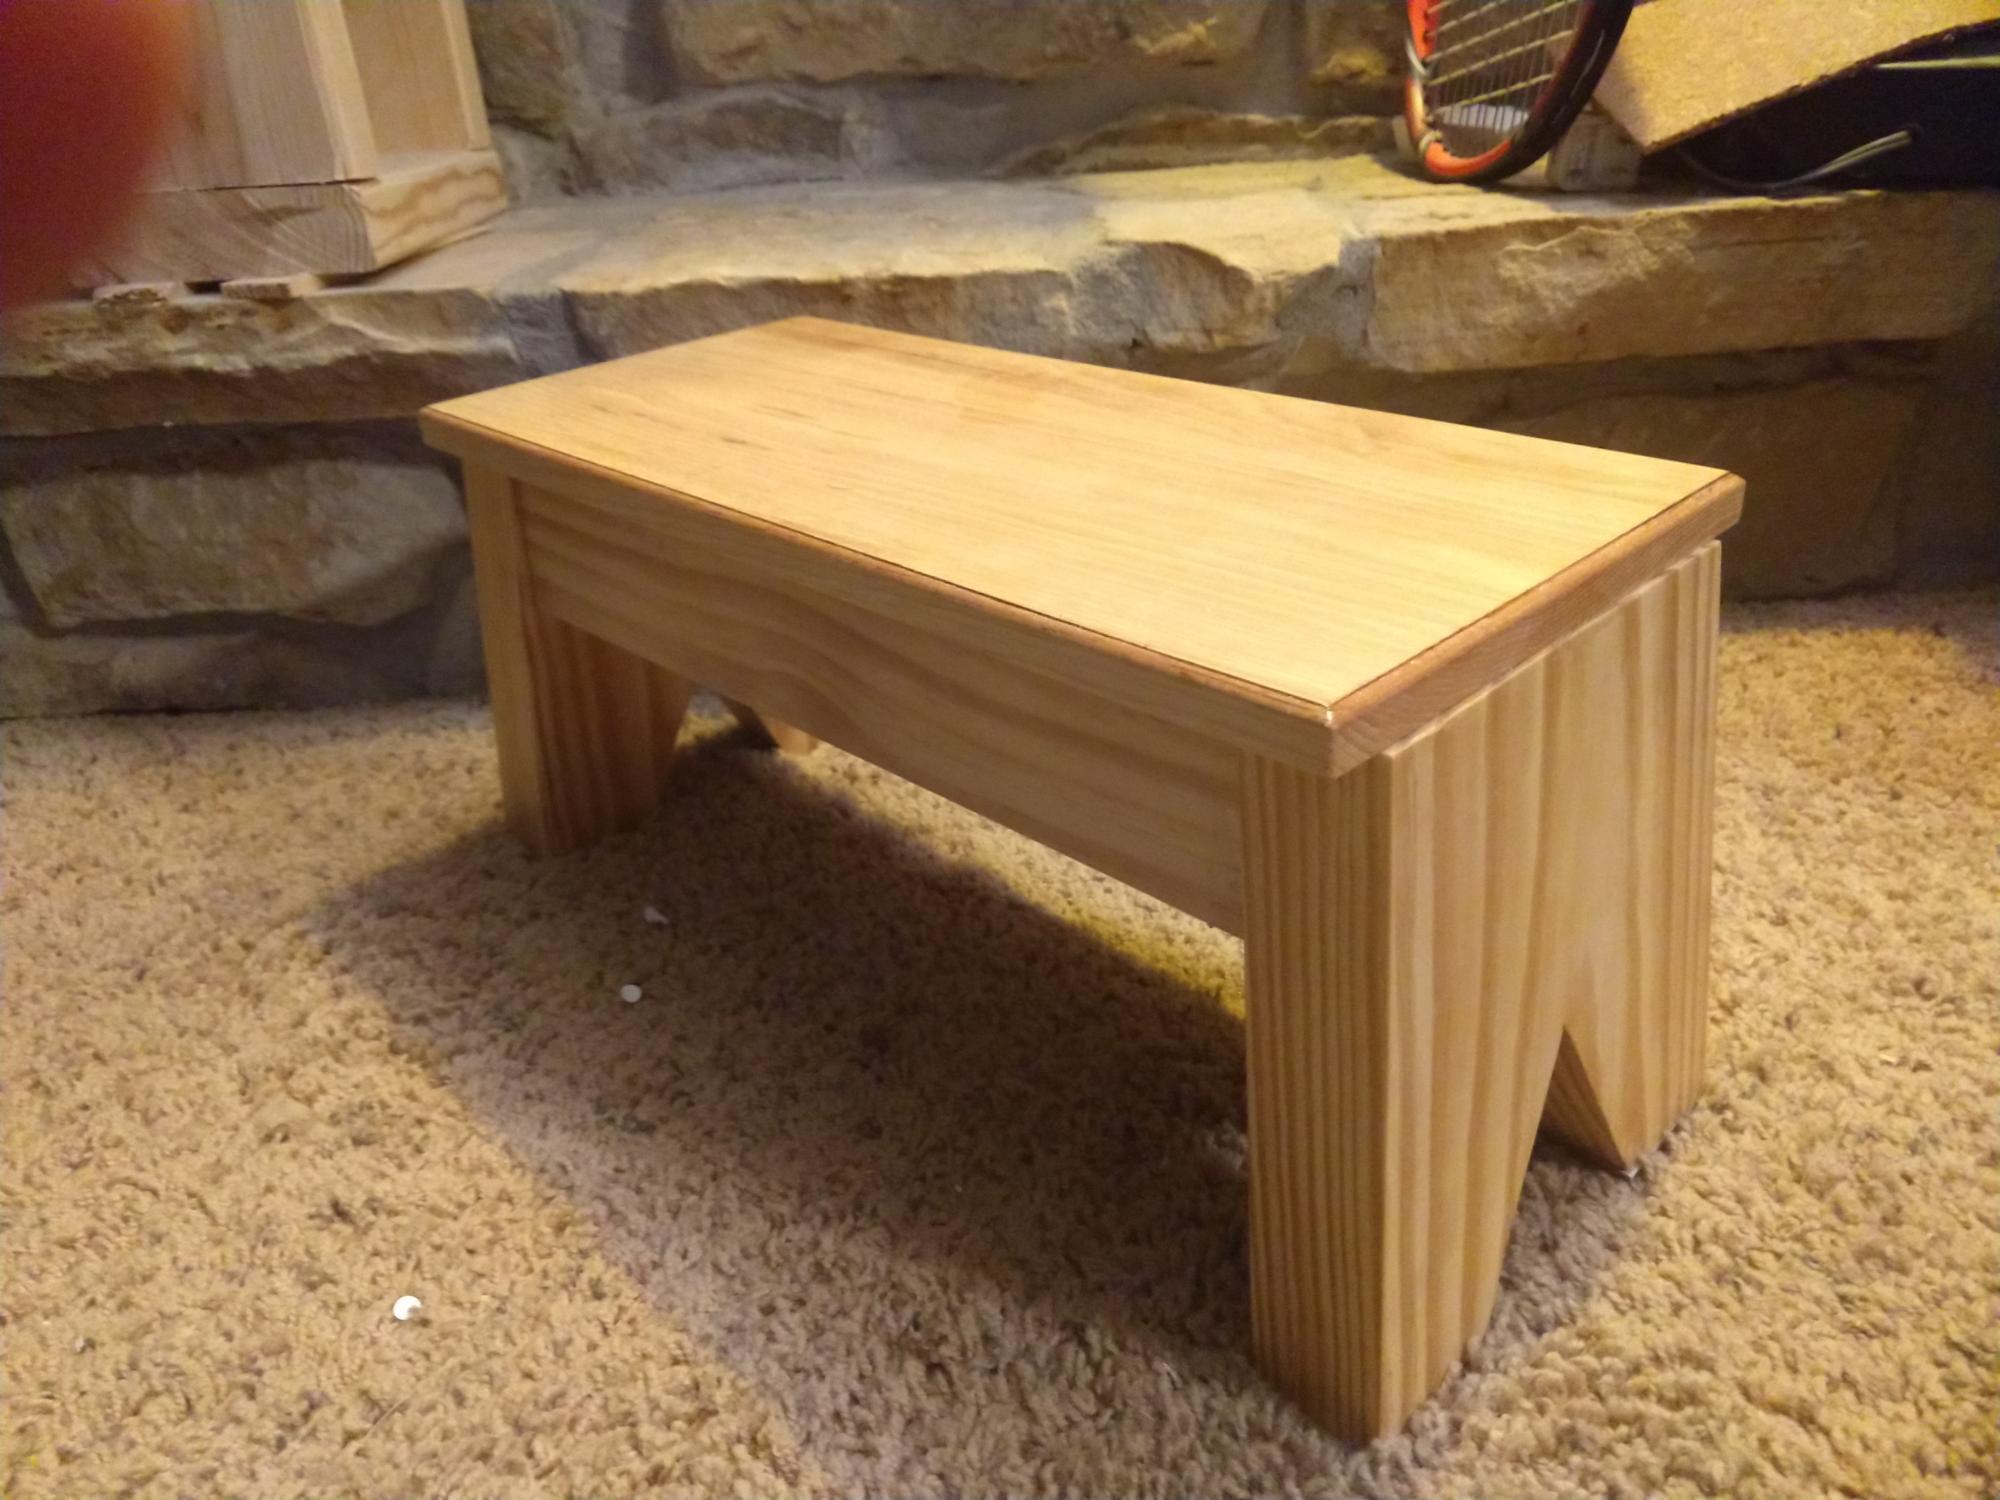
Beefy step stool

Submitted by wudrite on Sun, 02/13/2022 - 12:12

Legs made of 2x10 southern yellow pine scrap for strength & stability. Rails made of radiata pine scrap. Top made out of hickory panel reclaimed from $0.50 restore cabinet door for strength & weight while looking sharp. Legs & rails have 2 coats, top as 3-4 coats of platina shellac. Was fun to do a scrapwood project that provides something both nice & practical. Result extremely stable, no amount of weight seems to phase it.

Comments

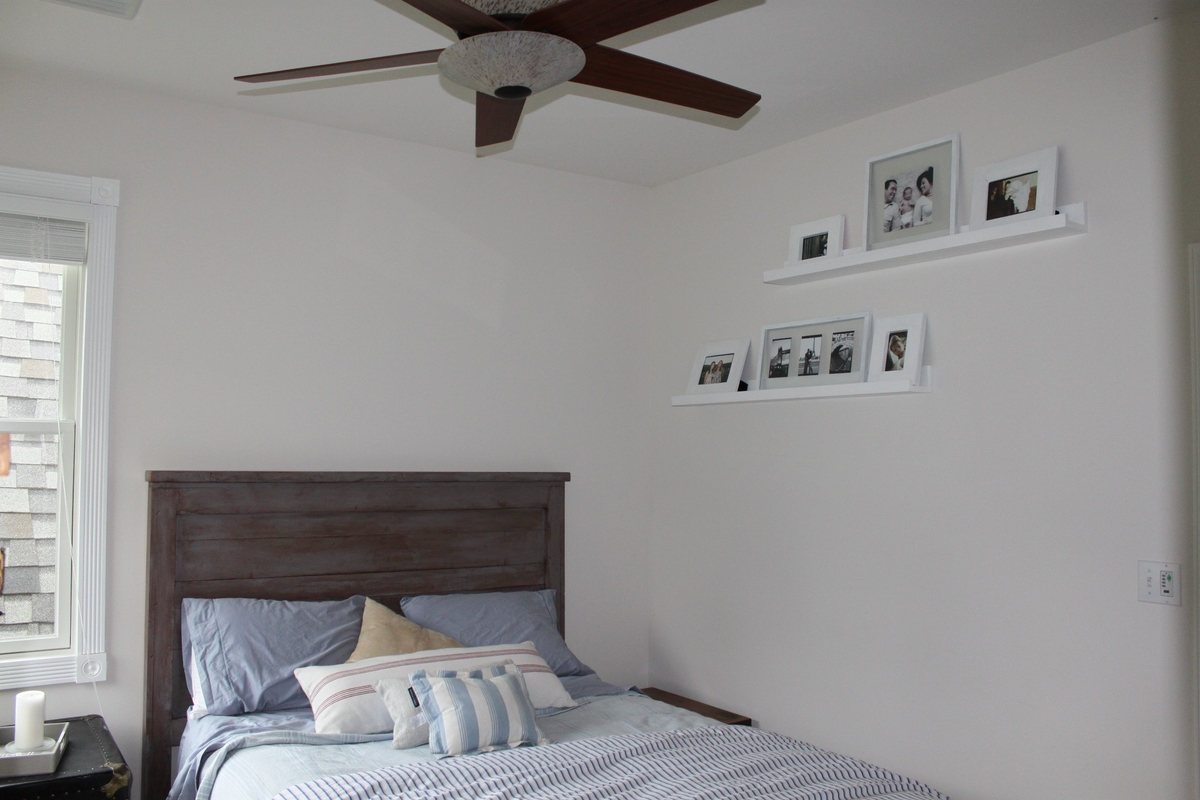
Guest Room update

Submitted by nlaupp on Wed, 05/25/2011 - 15:18

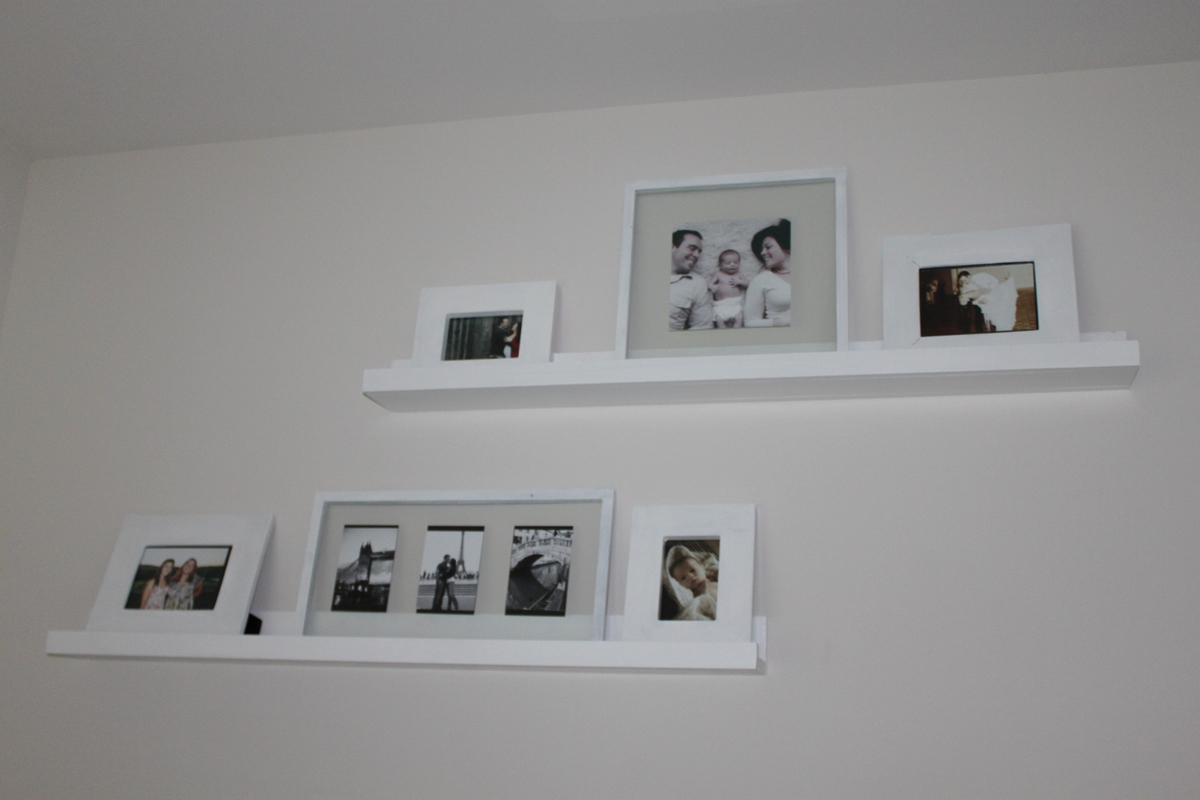
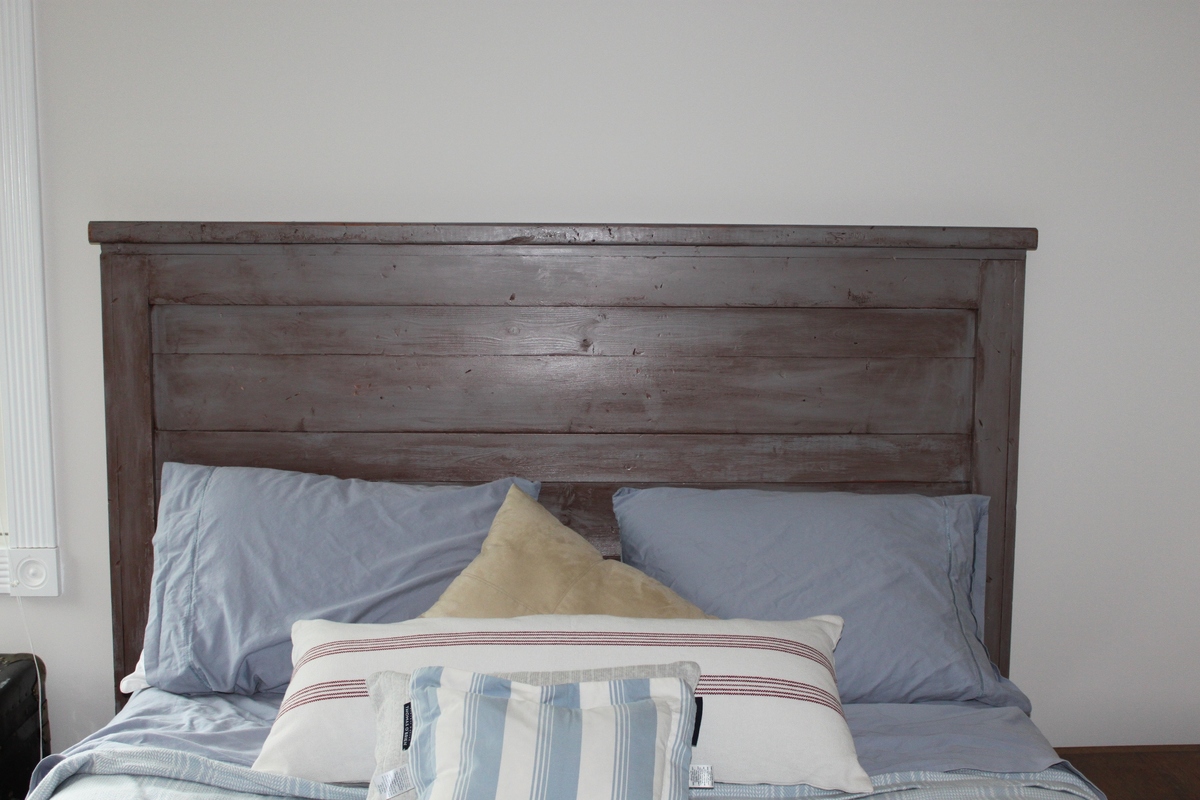
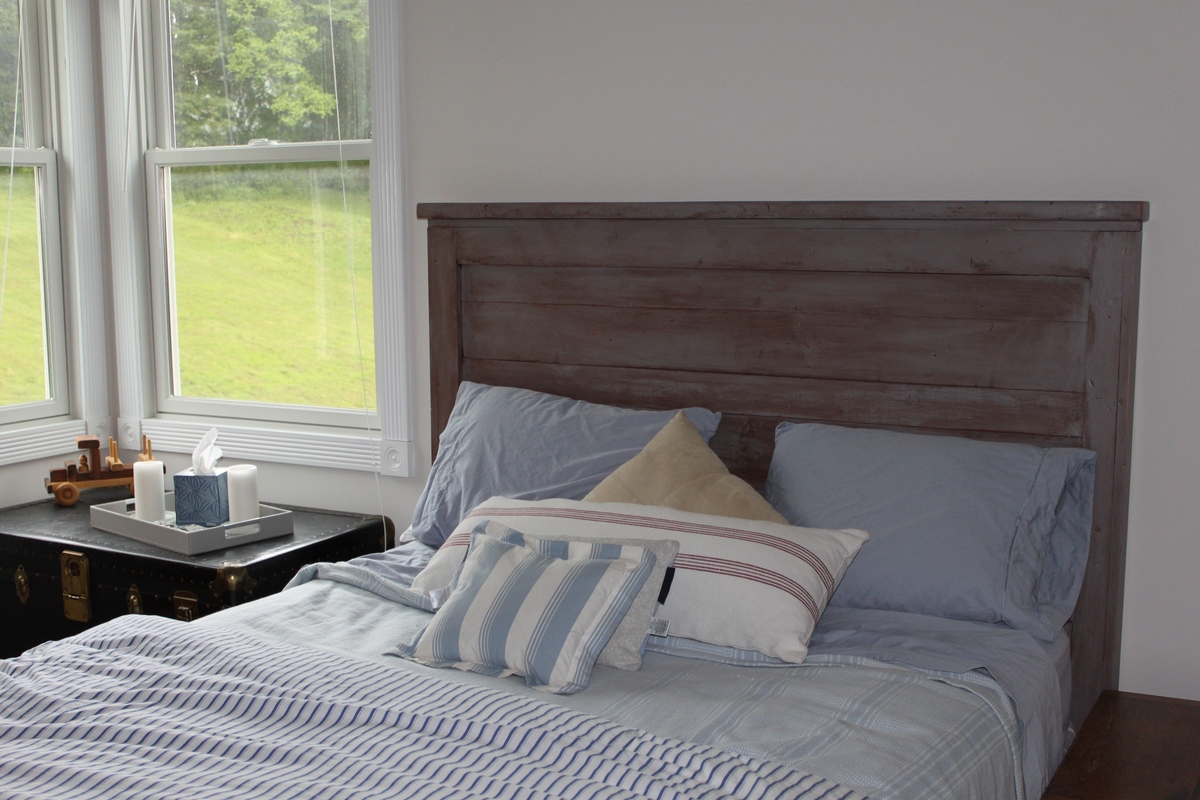
Our guest room had to be ready for some friends coming in town for the week. Before this room had no shelves and worse yet; no head board. Turned this boring room into...well a less boring room. In the picture are my first two projects; the Ten Dollar Ledges and the Reclaimed-wood headboard.

Estimated Cost
$200
Estimated Time Investment
Weekend Project (10-20 Hours)
Finish Used
The ledges were just painted with a glossy white and the head board was painted with a flat charcoal, distressed, and finished with a mahogany gel stain.
Recommended Skill Level
Starter Project

Sweet Pea Bunkbed - Modified

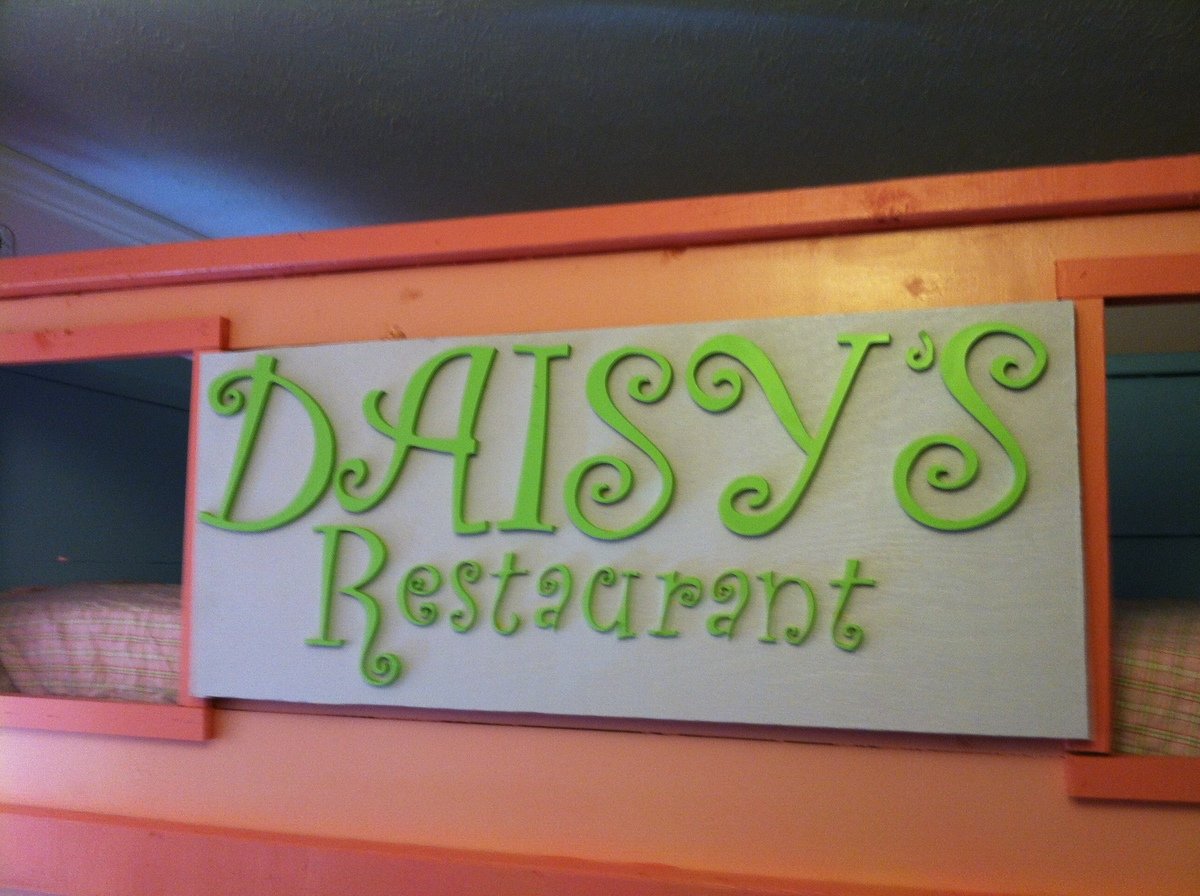
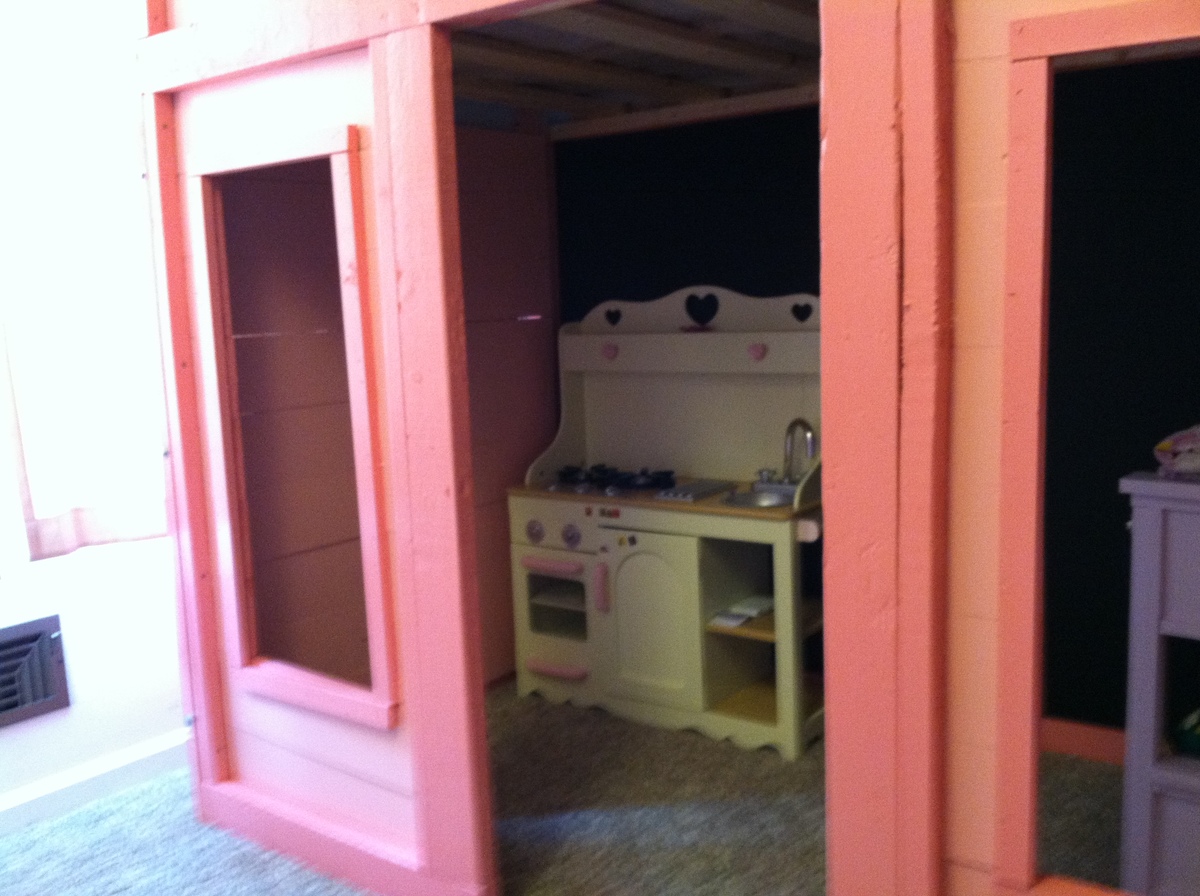
I took the basic plans for the Sweet Pea Bunk Bed and modified them to make a loft bed for my daughter. She dreams of opening her own restaurant when she gets older. The bed is on top and her restaurant is below. I made a chalkboard on the back wall of the bottom section. Curtains will be added sometime in the near future in her restaurant as well. Now she wants a cafe table and chairs as well.

Estimated Time Investment
Week Long Project (20 Hours or More)
Finish Used
Olympic One Gloss and Valspar Chalkboard paint
Recommended Skill Level
Beginner

Comments

Loft bed for our girls

Submitted by RenayW on Sat, 07/18/2015 - 05:33

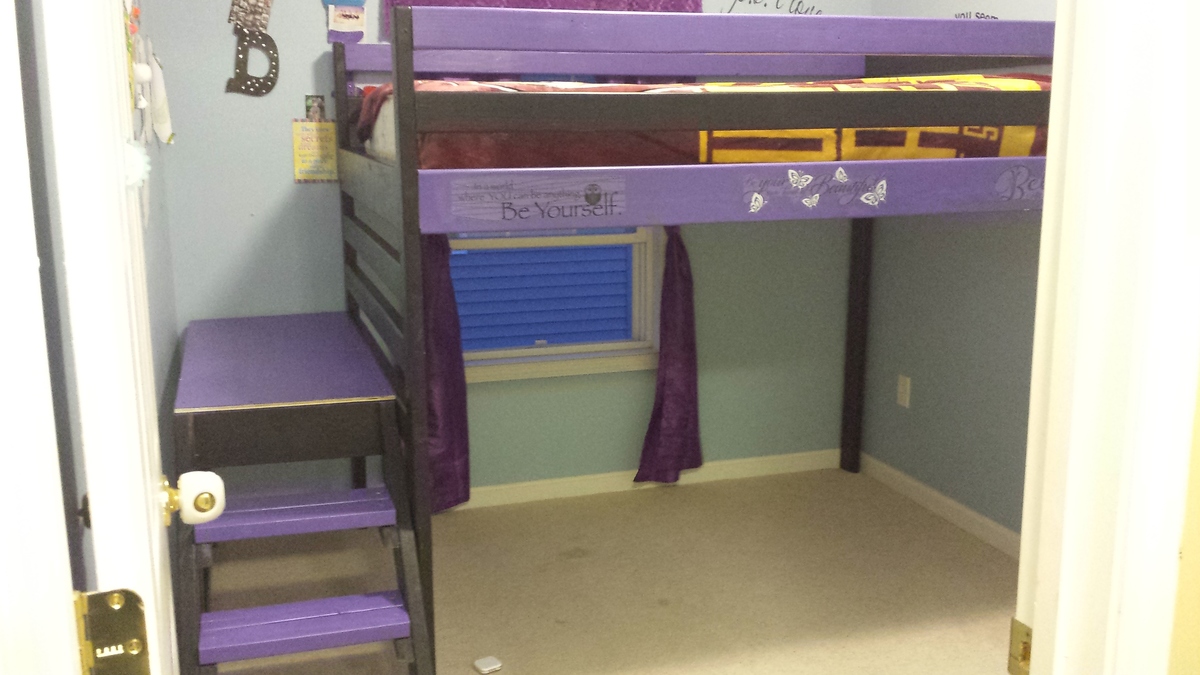
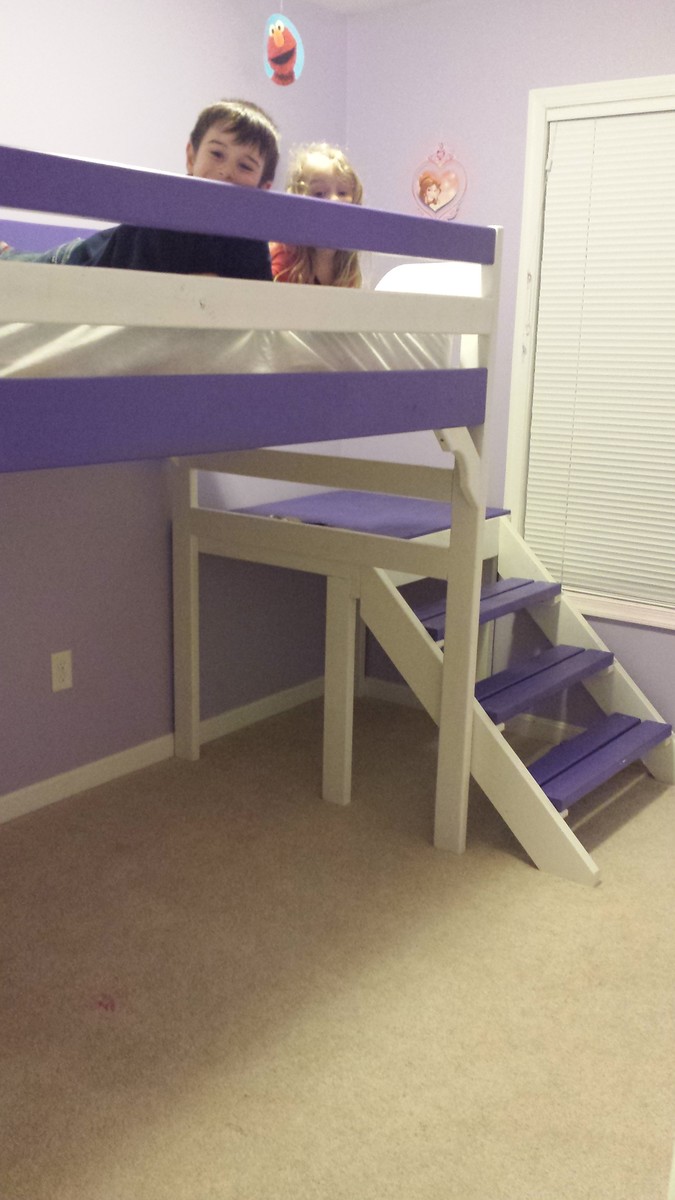
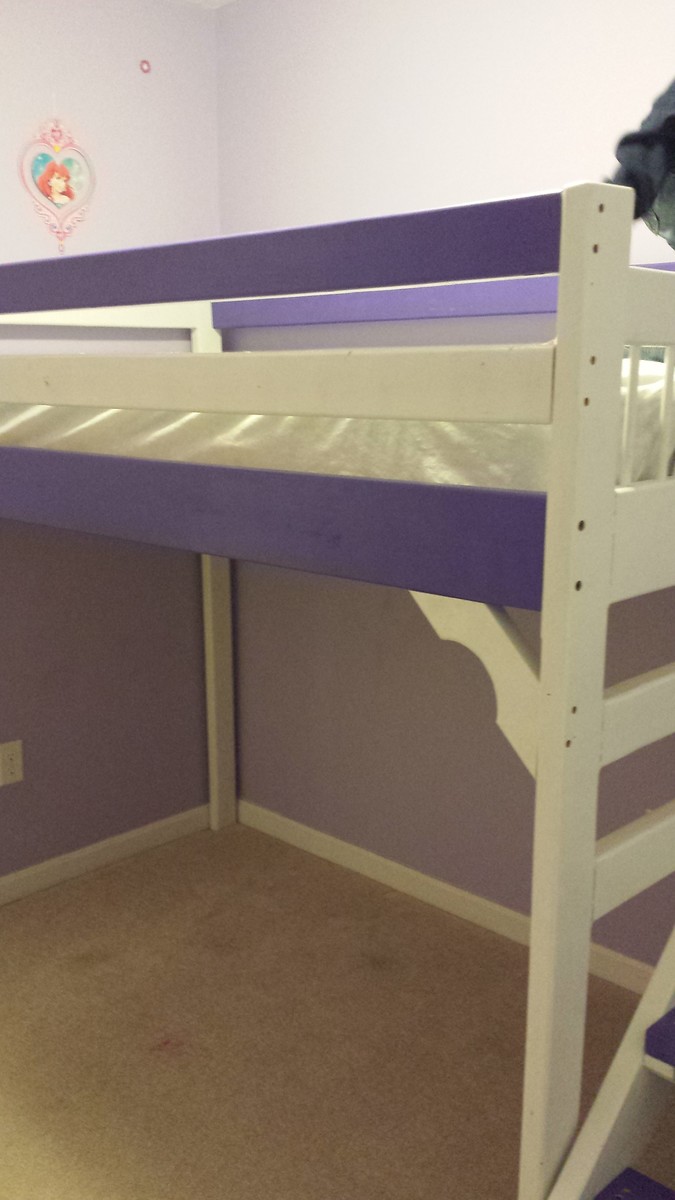
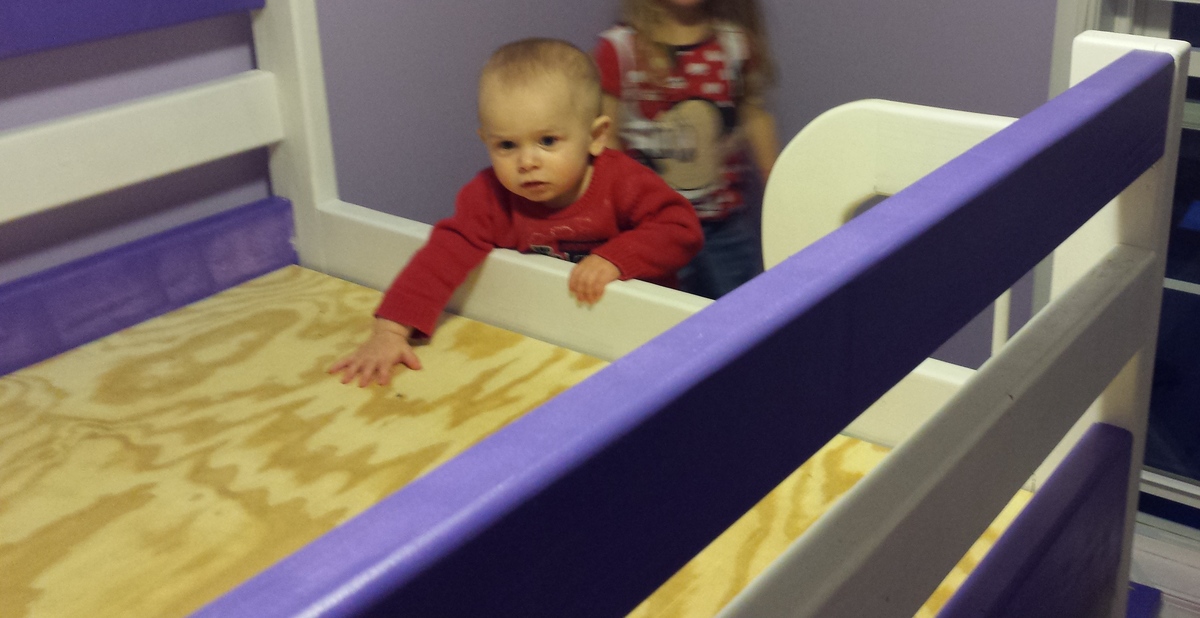
The first picture is of our oldest daughters bed (purple/black). We took the original design and increased measurements to fit a full size mattress and adjusted platform to fit room size. The remaining pictures are of our youngest daughters be (purple/white), which is only a twin. 

Some of the tweaks we made were:

* building for a full size bed

* adjusting platform and stair width so the entire bed went from wall to wall

*adding brackets in all 4 corners for extra support (not shown in purple/black bed - weren't added at time picture was taken, just used triangle pieces of extra wood for brackets)

* Used plywood as bunkie board for both beds. Twin - 1 sheet just layed on top of cleats, fit perfect; Full - 1 1/2 sheets, used 'H' clips to hold the two pieces together when on frame and screwed down onto the cleats.

* shortened platform on purple/white bed  bringing the stairs back a little to go under window

* added design element at end of purple/white bed to ensure entry on and off the bed would be safe and always on platform since it was shortned

One thing we did that wasn't mentioned in original plans, unless I either overlooked them or is a standard procedure when working with wood (seeing as I am a complete novice) all the wood we purchased need to be checked for quality - needed straight boards with minimal cracks and all the wood needed to be sanded down. Overall the project wasn't difficult, but I was guided by an expert. It took us about 20hrs over a period of three weekends to finish both beds from purchasing material to setting up in room. But that was due to emergencies, work schedules and traveling to the workshop we were using.


Estimated Cost
We purchased material for both beds at the same time, total cost was about $300-$330....so roughly $150-$160 each *(note full size material cost a little more)
Estimated Time Investment
Weekend Project (10-20 Hours)
Finish Used
Used a primer on wood and then paint color of choosing
Recommended Skill Level
Beginner