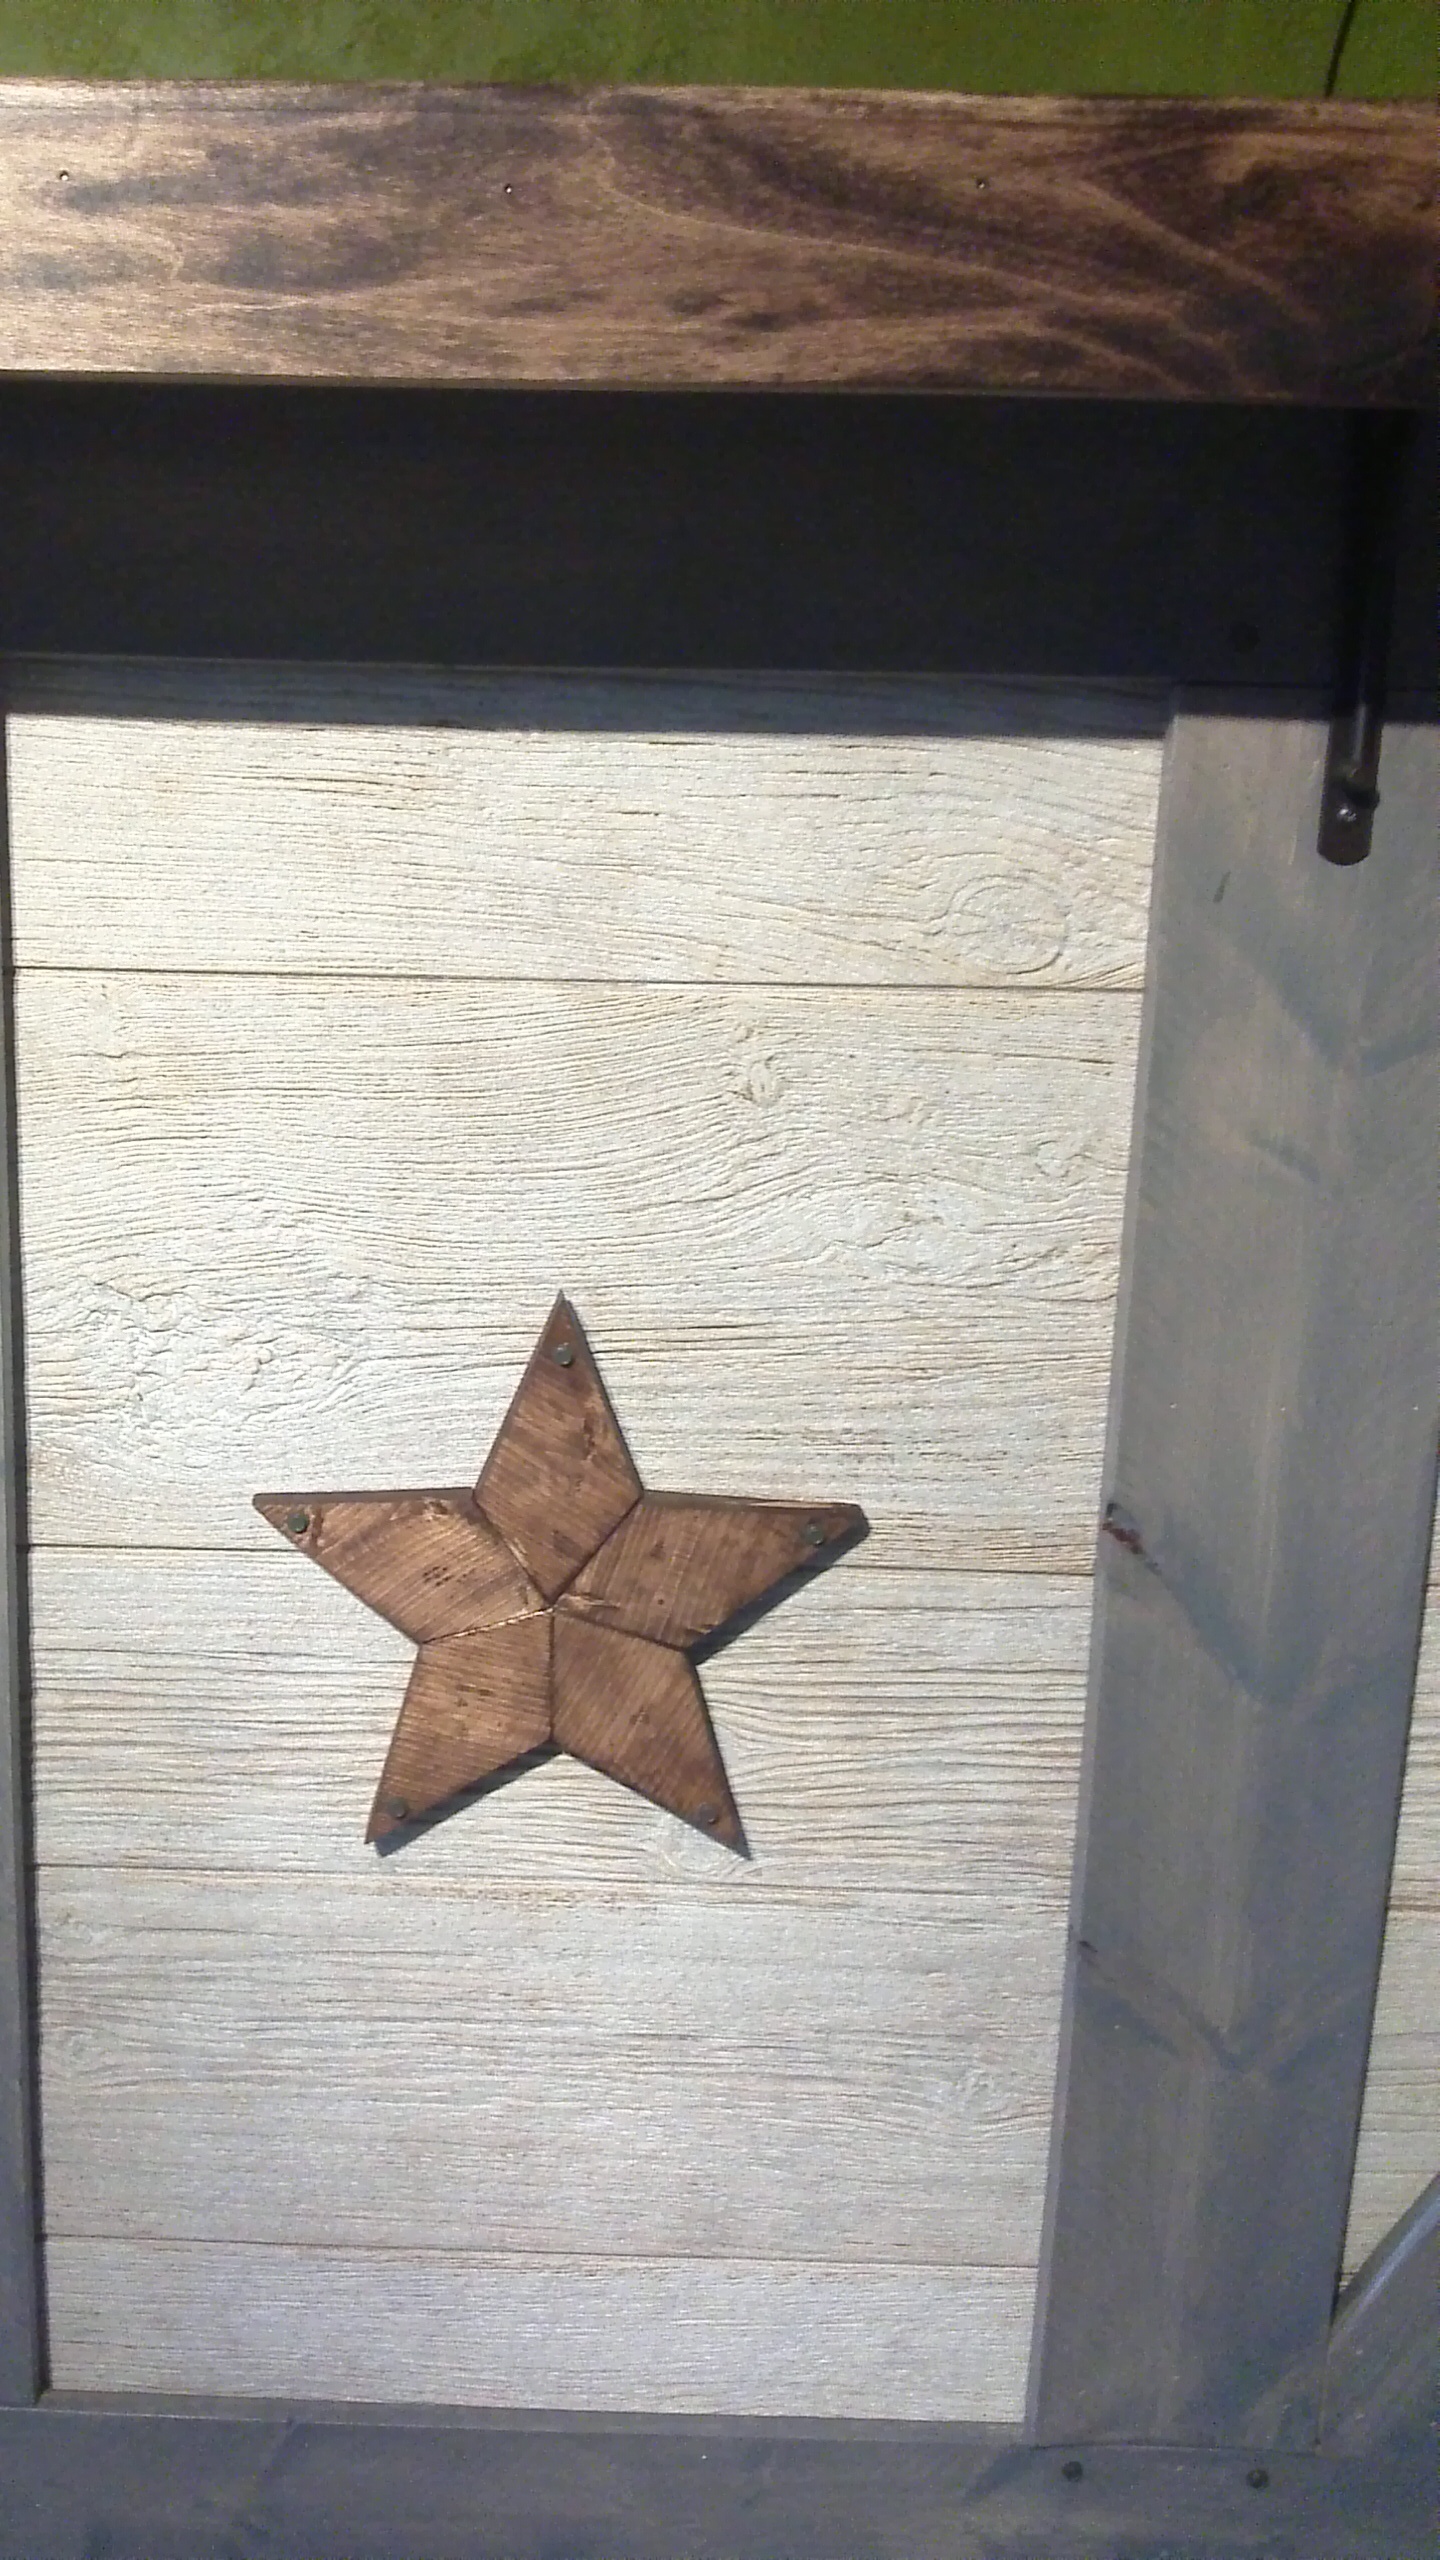
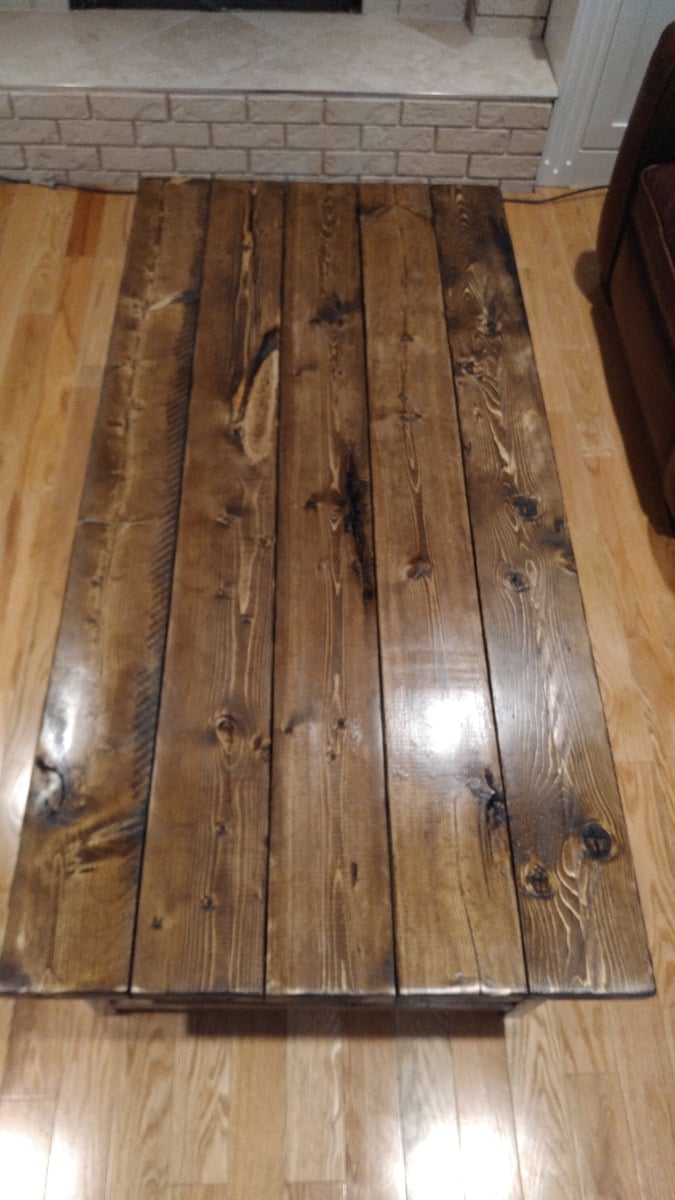
A star for the bar!
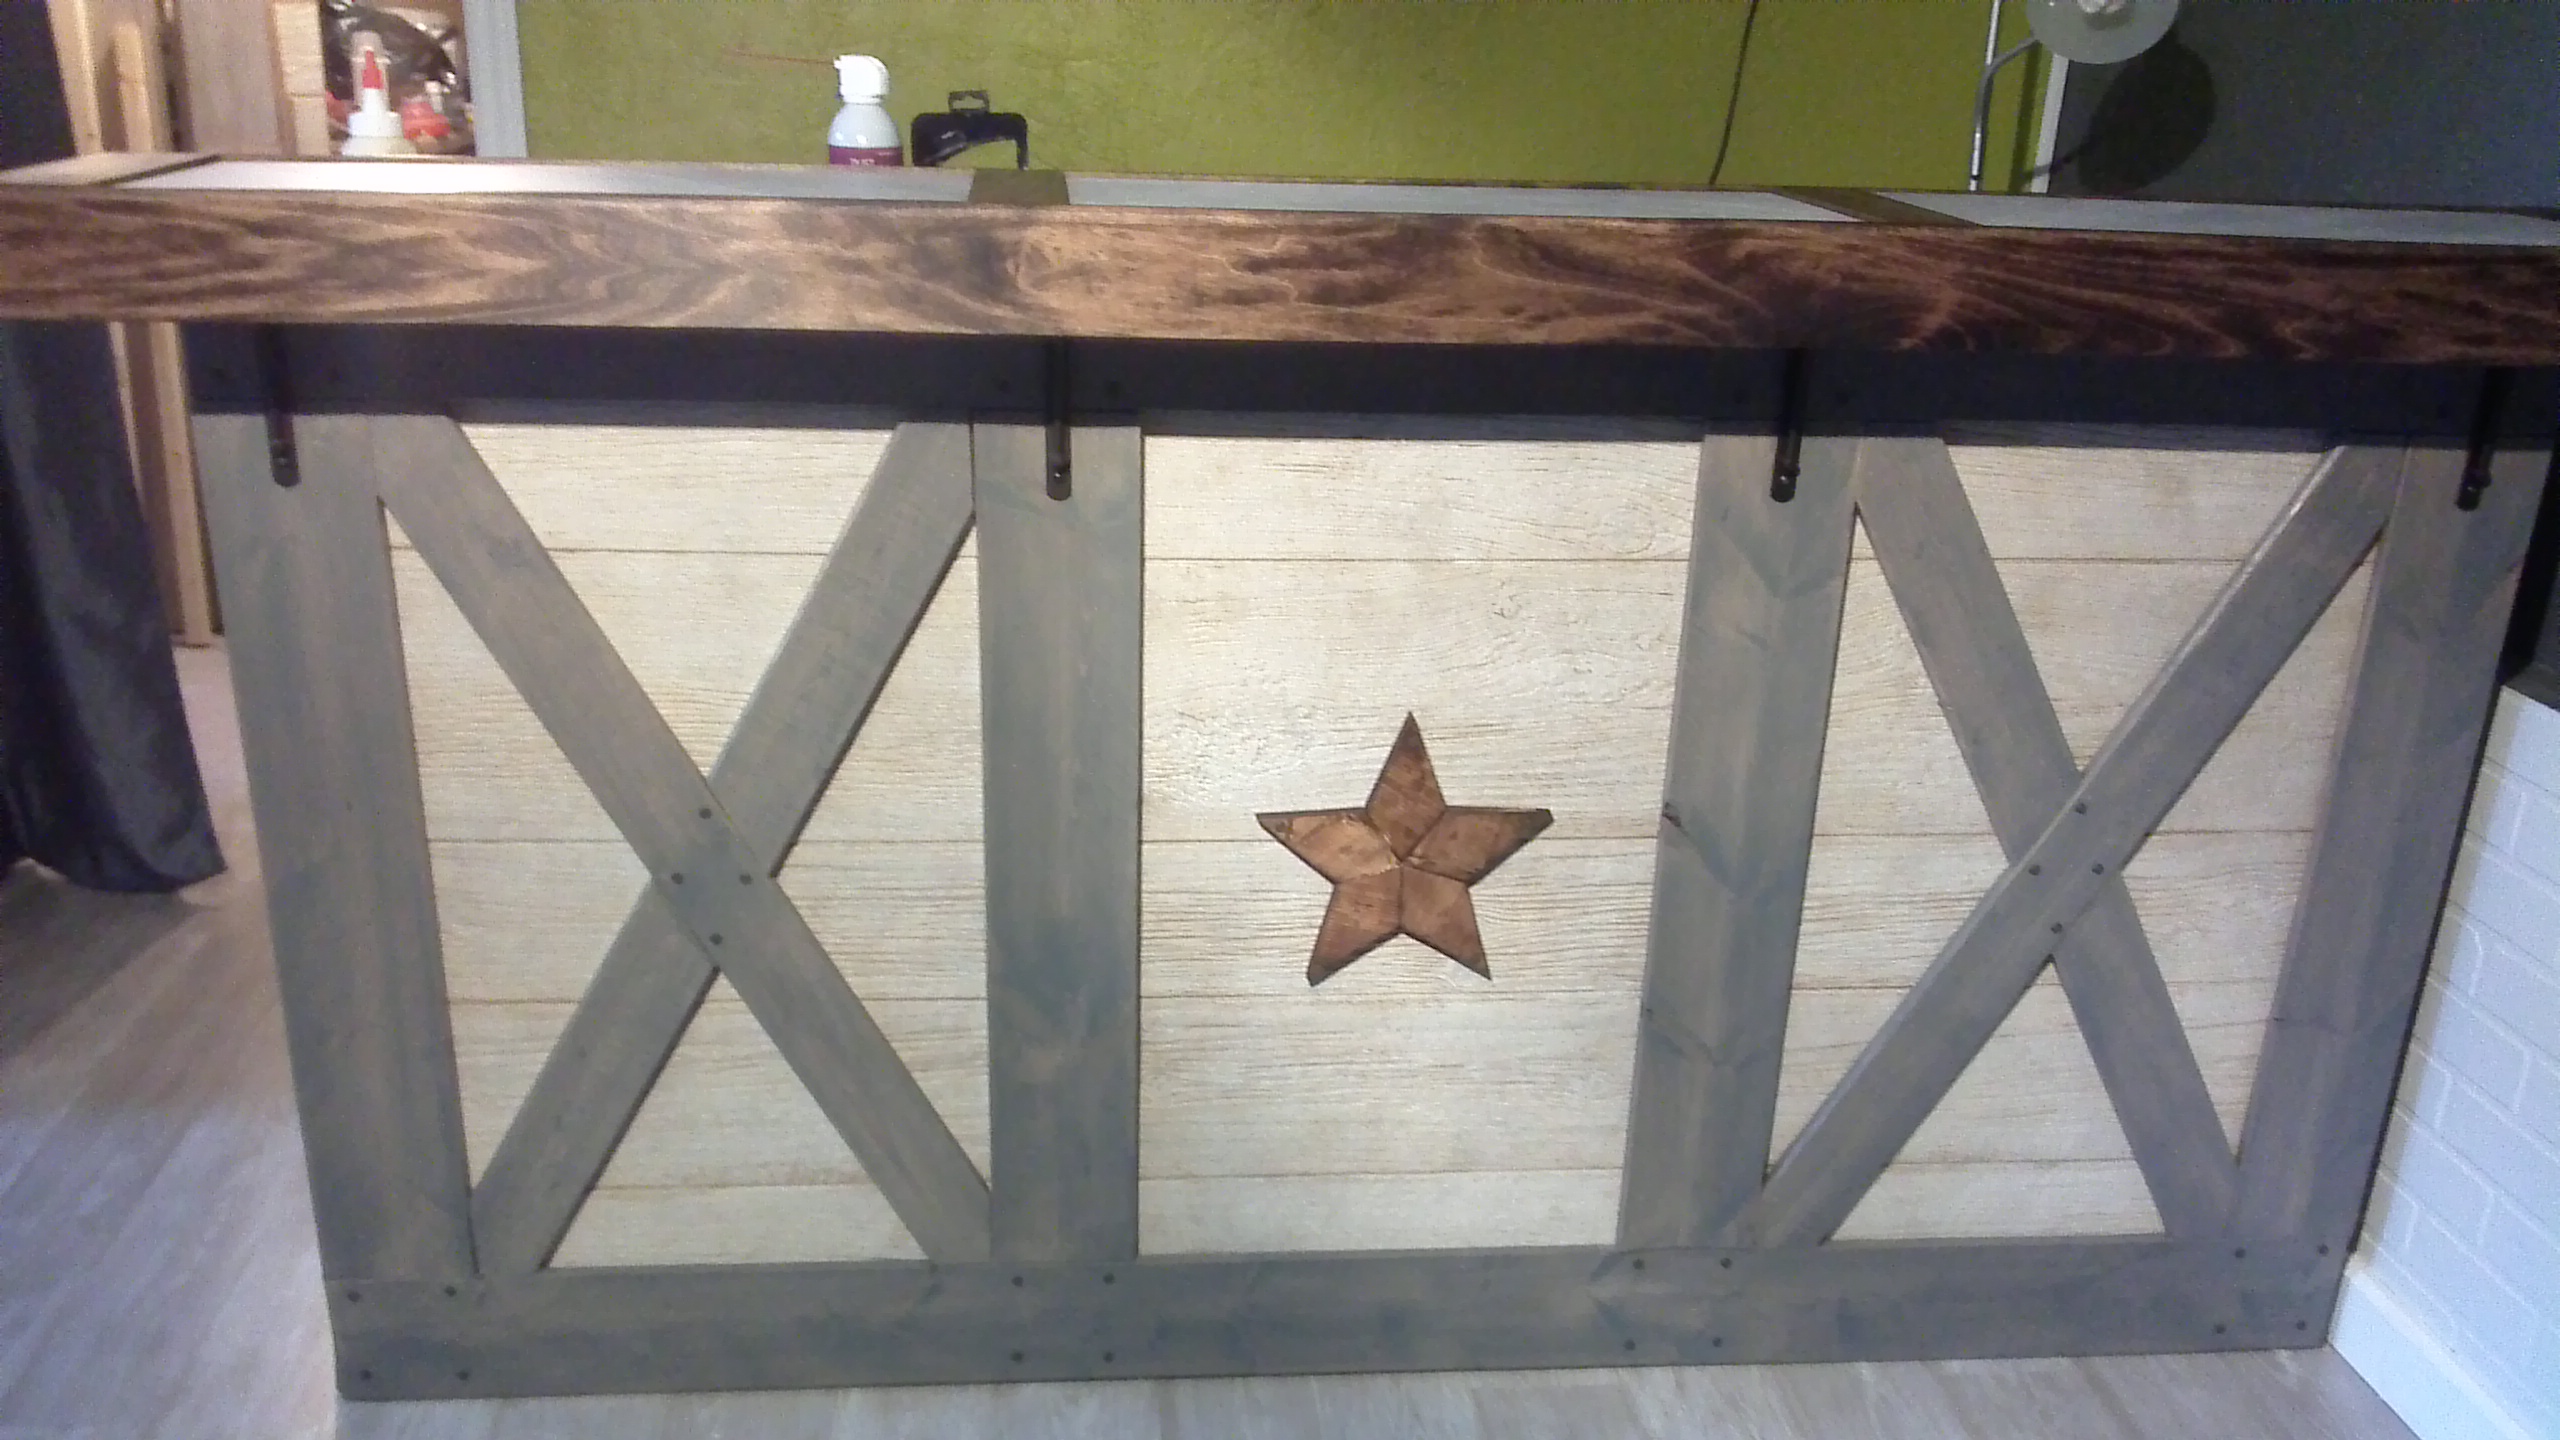
This plan worked great to add a finishing touch to the front of our rustic barn themed bar project. Love it!
Built from Plan(s)
Estimated Cost
$5
Estimated Time Investment
An Hour or Two (0-2 Hours)
Finish Used
MinWax stain in Provincial
Recommended Skill Level
Beginner


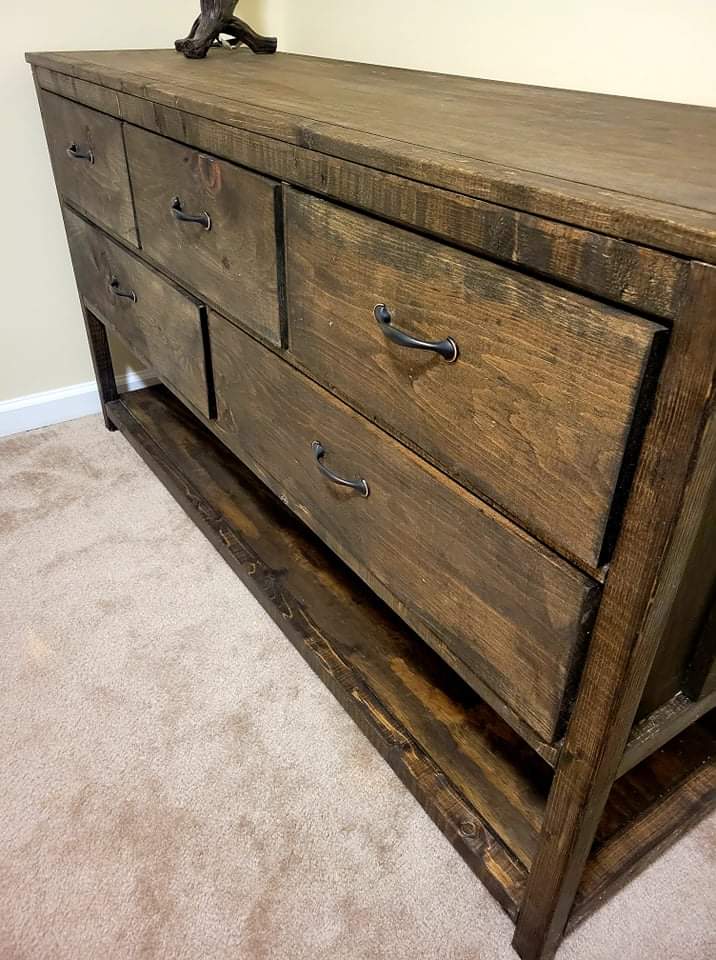
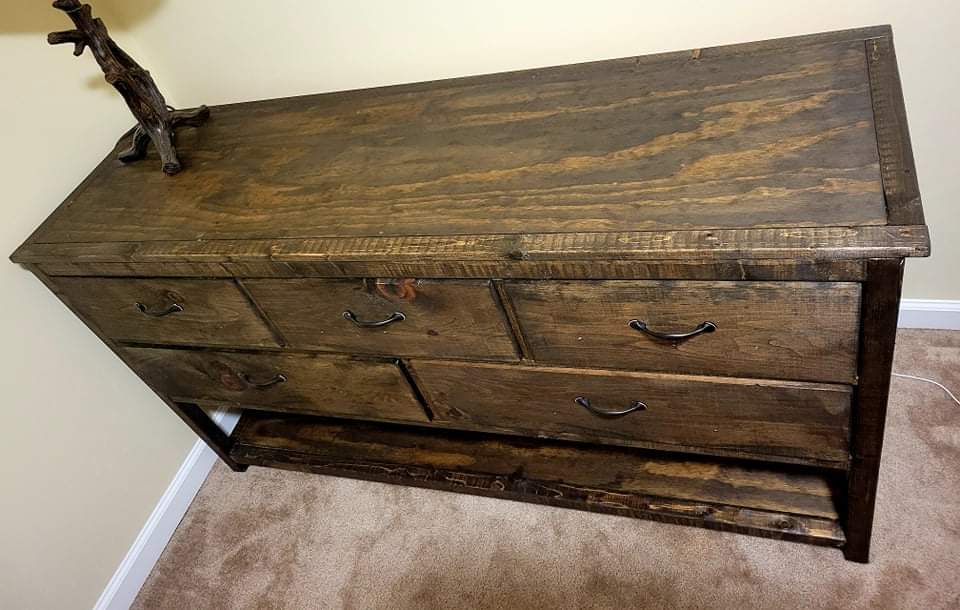
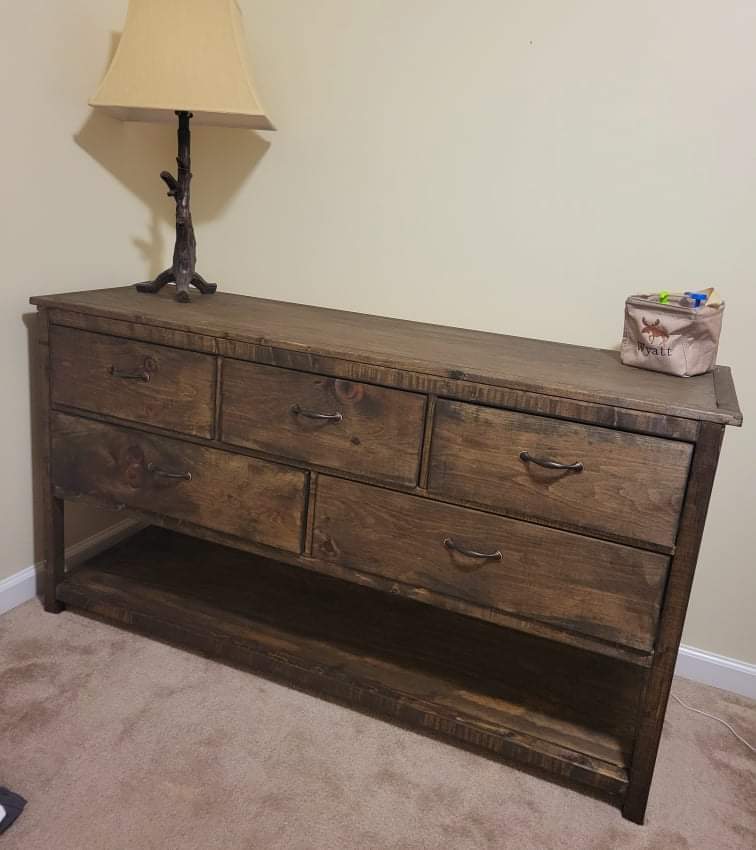
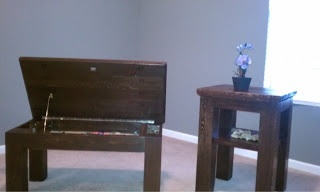


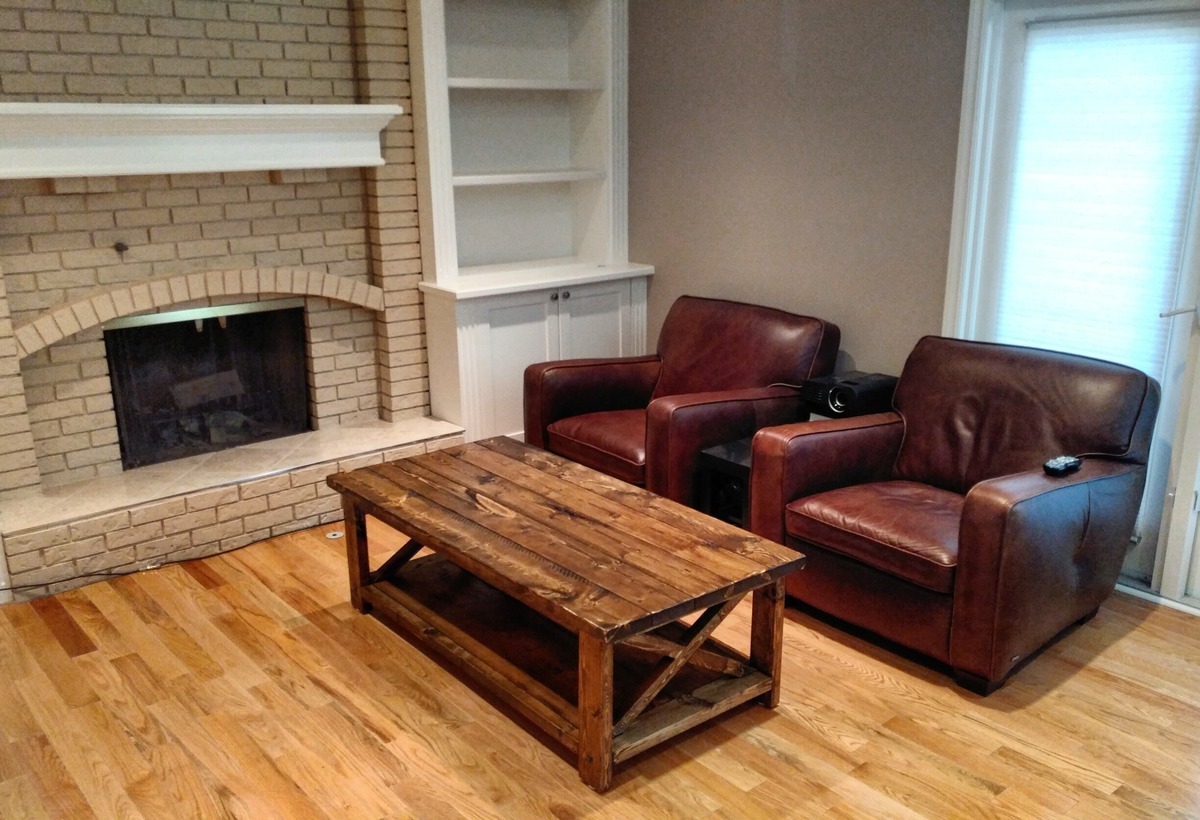
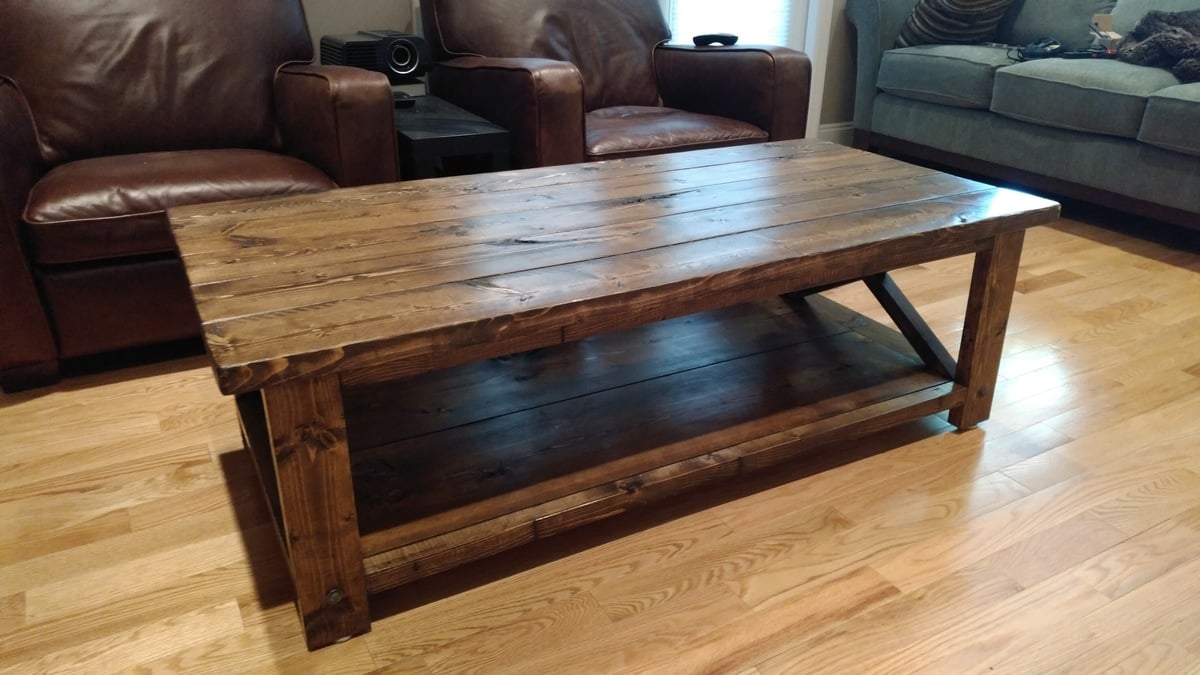
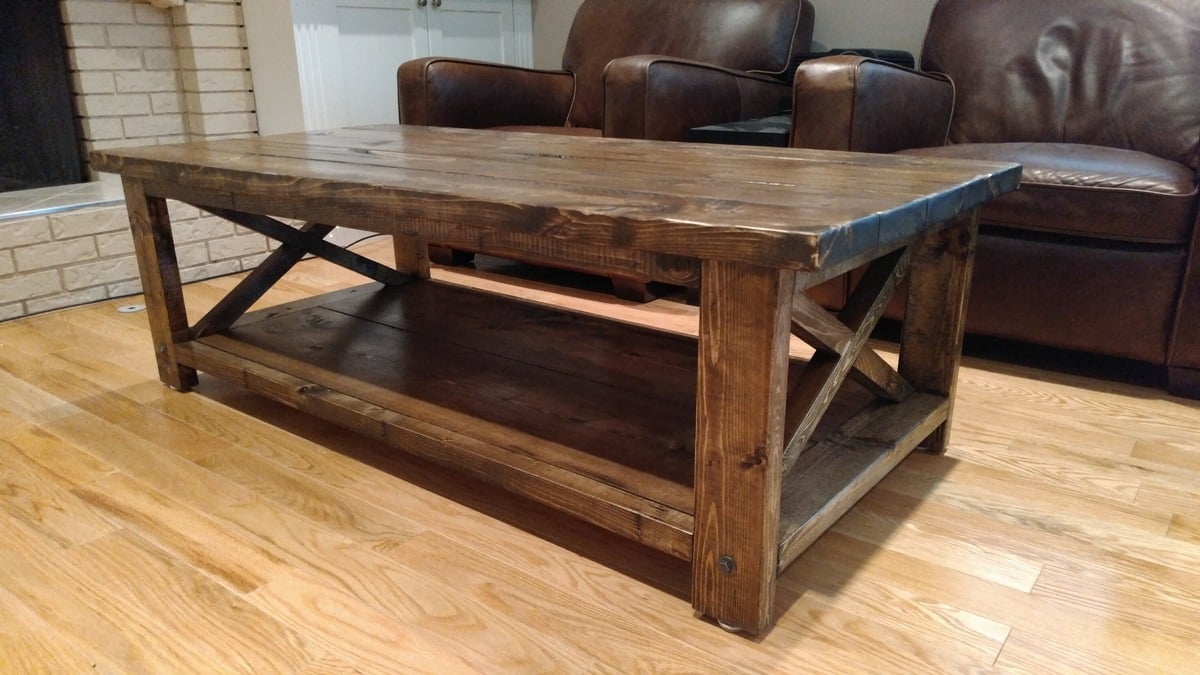
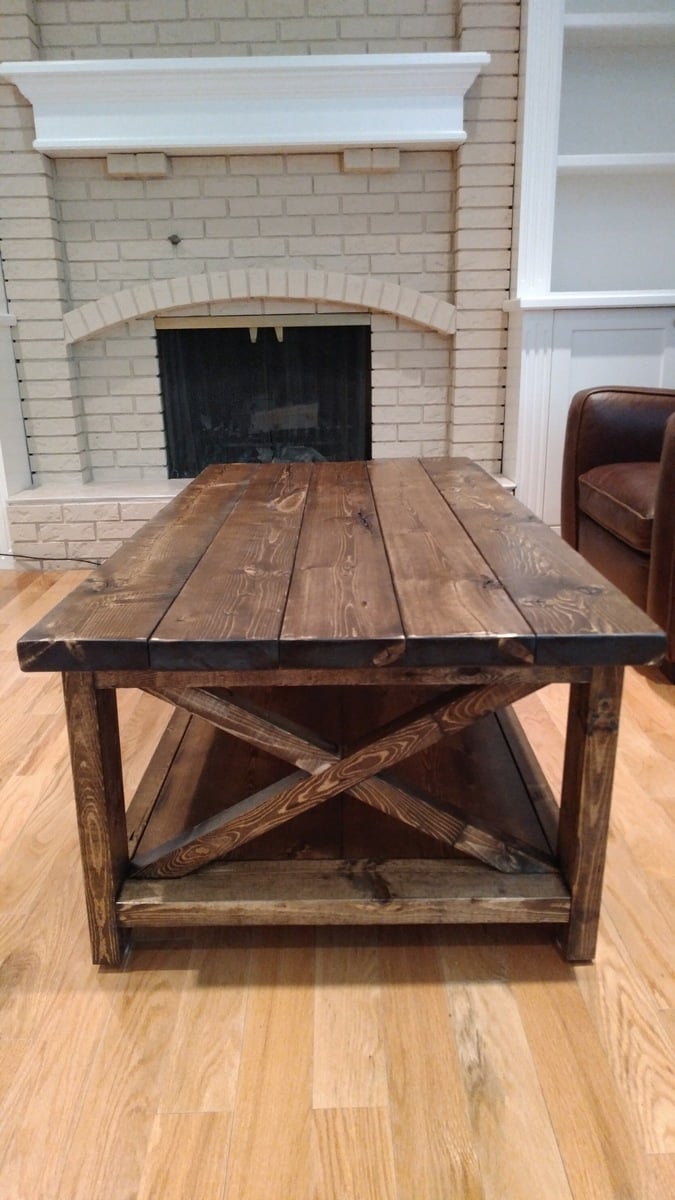
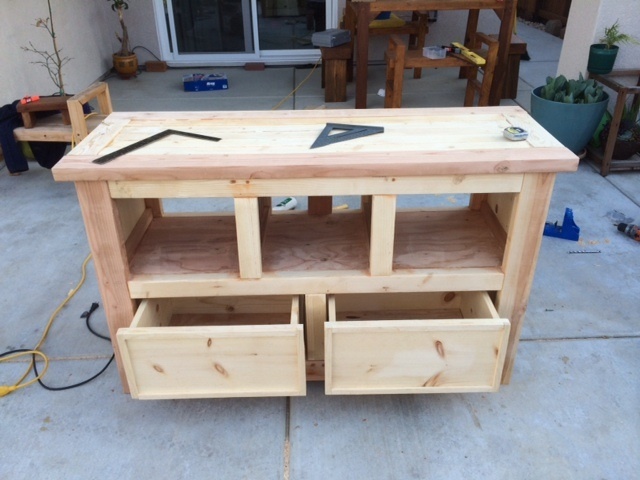
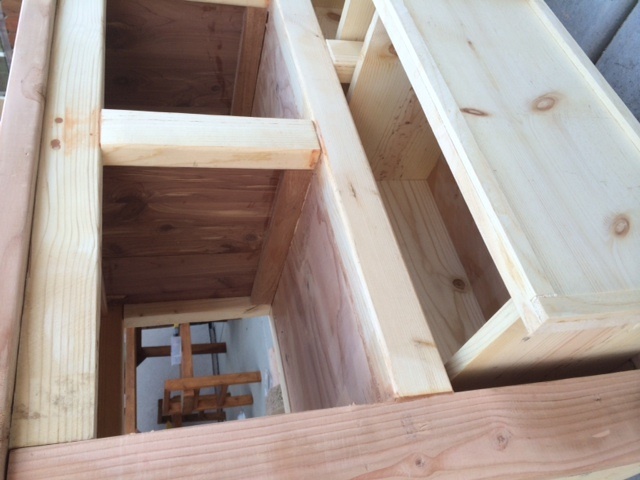
 . Painted walls, added new flooring, still have to customize the closet, but with Ana's help that will be a snap. I would have never gotten the courage to do some of the builds I've done without Ana's site. Thank You Ana!!!


Comments
Ana White
Thu, 03/26/2015 - 15:13
This is awesome! You did a
This is awesome! You did a great job!
canadiancray
Sun, 02/21/2016 - 07:27
Are there plans for this bar?
Are there plans for this bar?