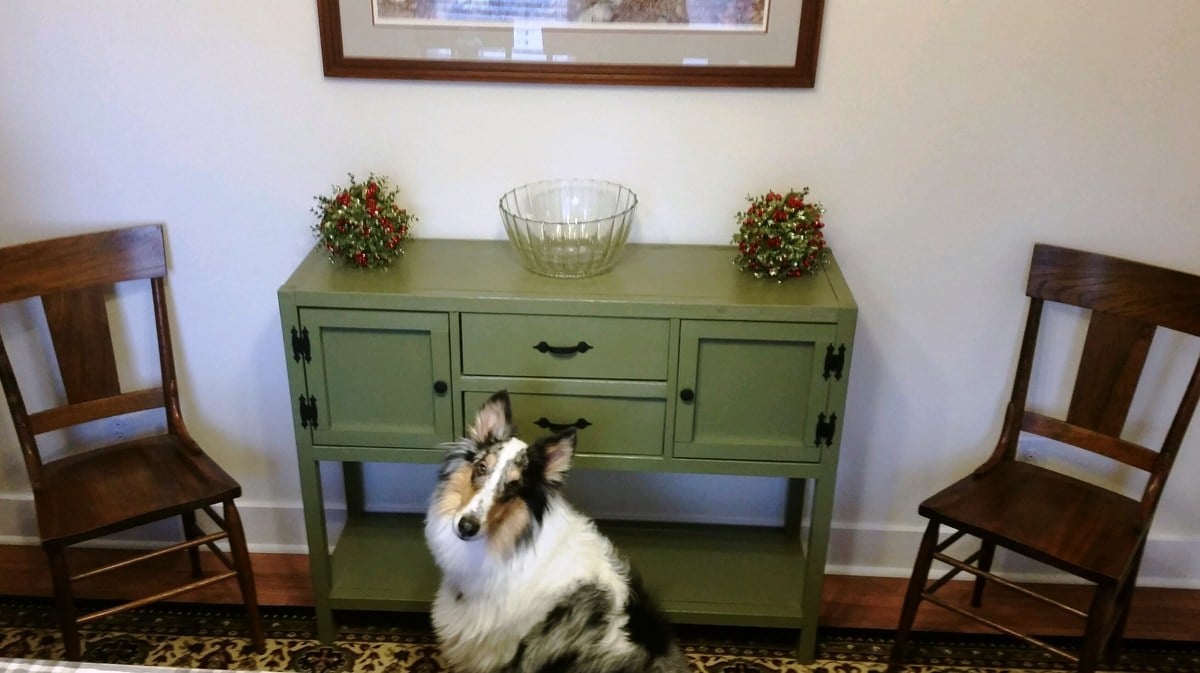
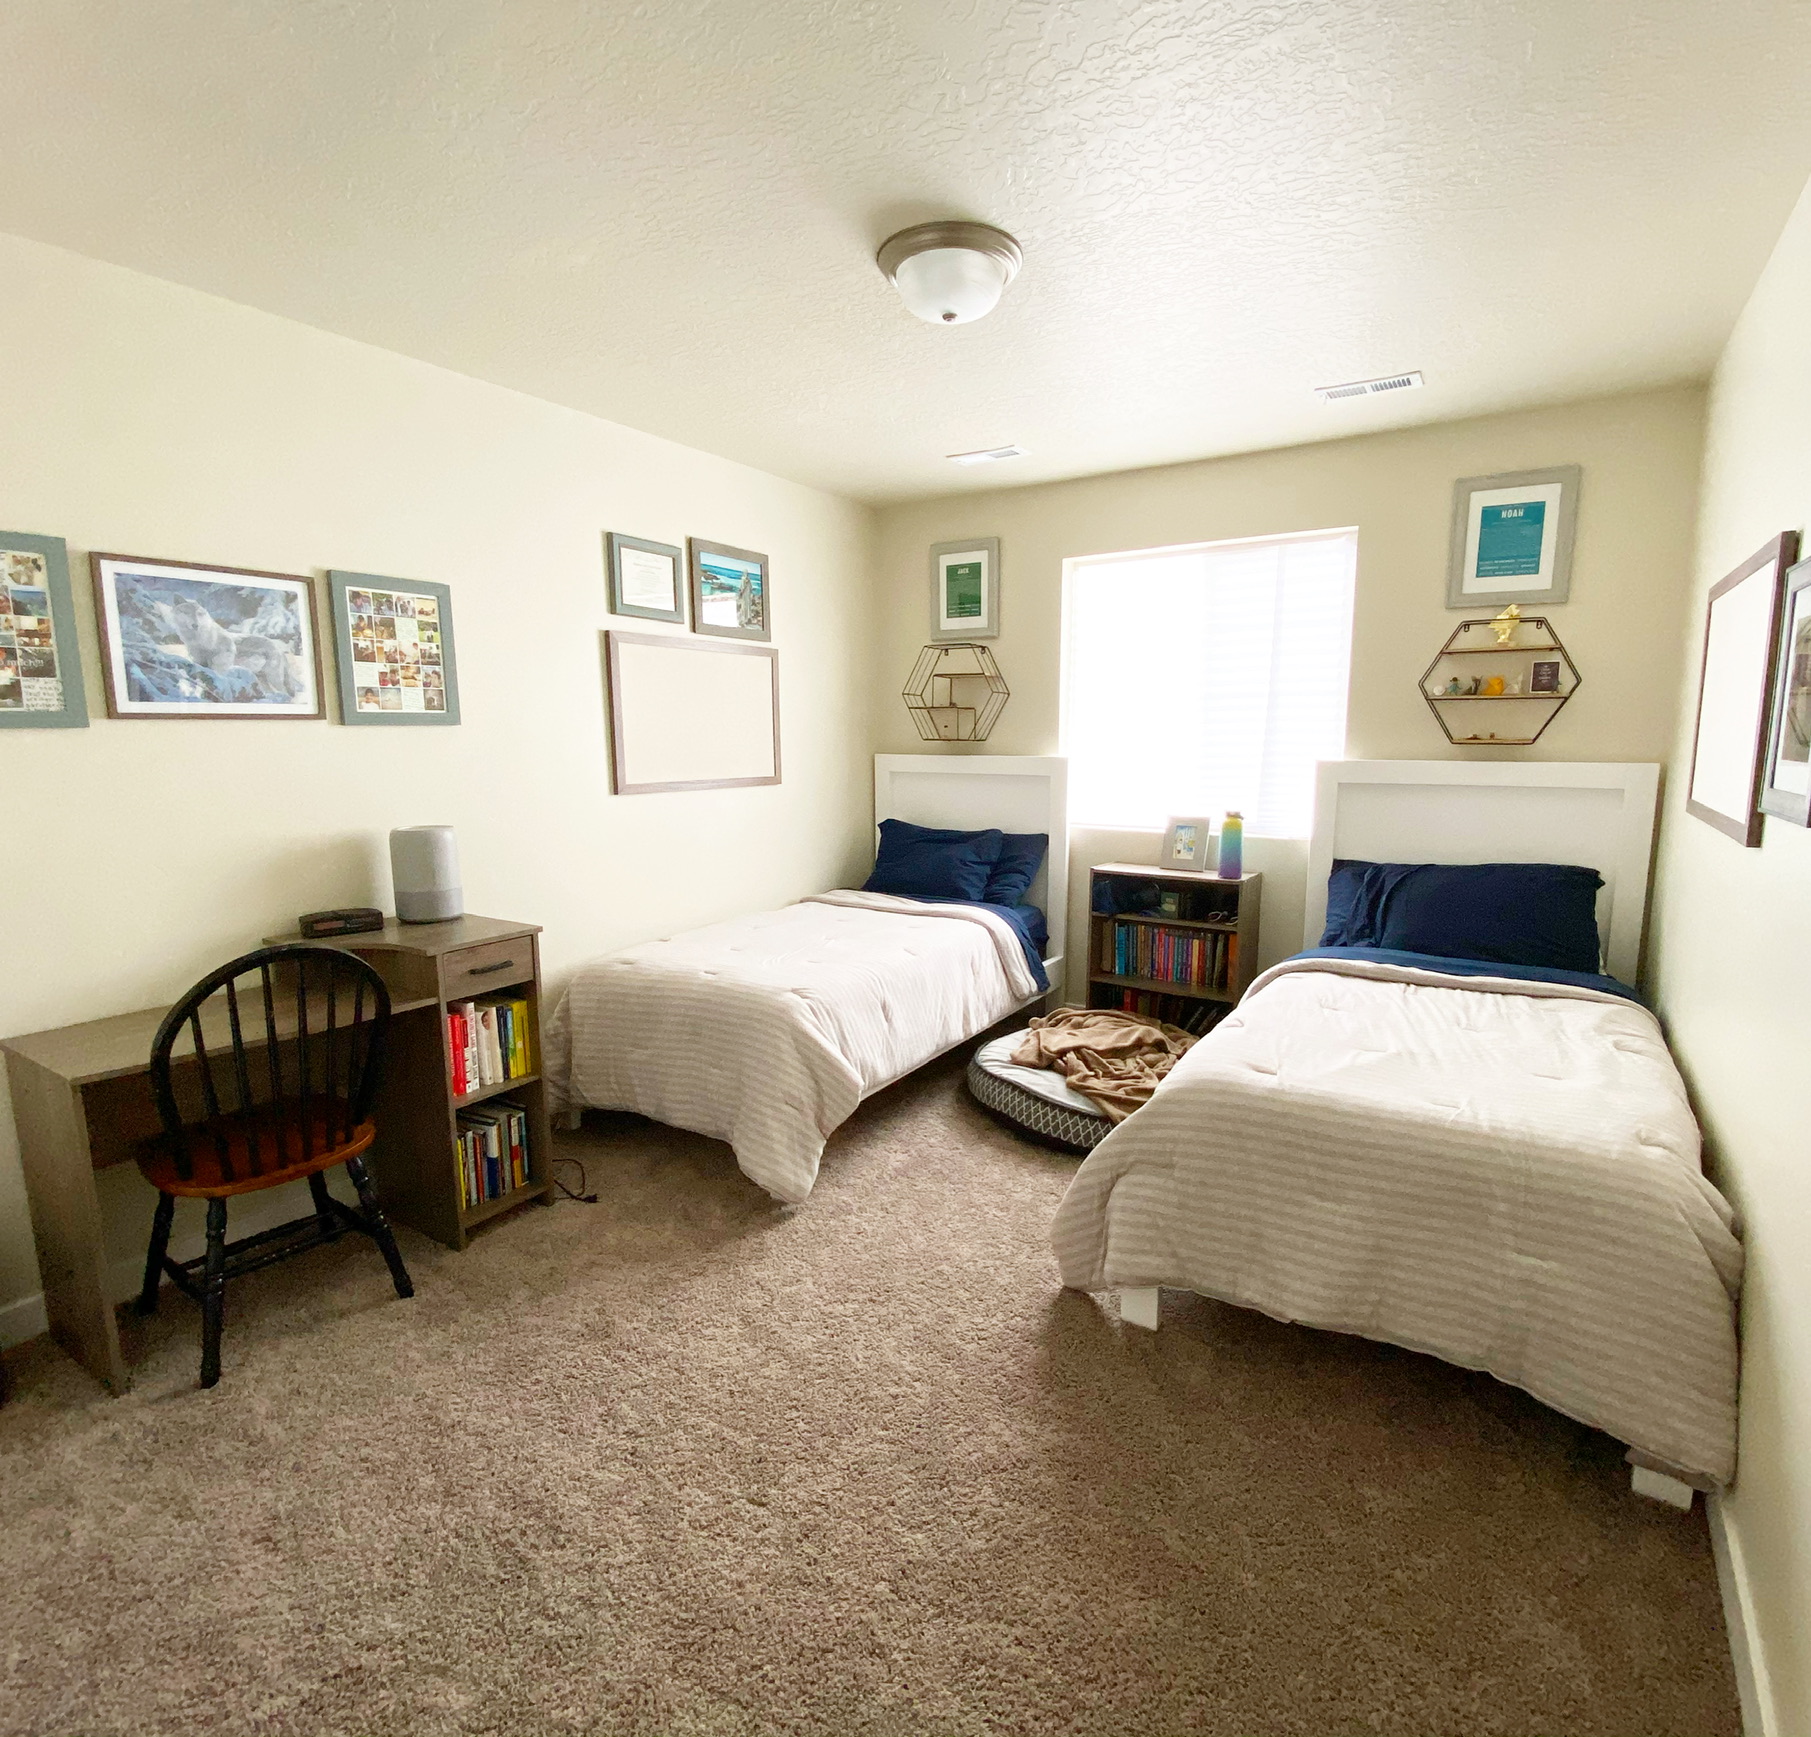
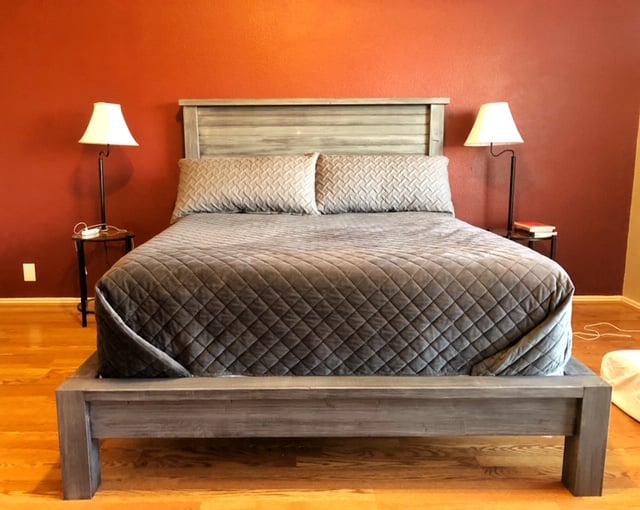
Community Brag Posts

Kitchen island

Submitted by adk_native on Sun, 07/14/2013 - 18:36

Needed a kitchen island and loved this plan when I found it on your website. I have tools to cut the lumber but thought I would let Lowes cut the lumber to save me some time. Ha! Made small corrections with what you need like just 2 2x4s to make the 4 legs. Like Ana said, it's all about math. Thank you for the plans. Friends already wanting me to make one for them, ha. Ps...my dad is sold now on the kreg jig!

Built from Plan(s)
Estimated Cost
100
Estimated Time Investment
Weekend Project (10-20 Hours)
Finish Used
Heavy cream color paint. 1 coat of red elm gel stain by minwax. Left it on for awhile to get a good dark color. 3 coats of minwax semi-gloss polyurethane.
Recommended Skill Level
Beginner

Weathered Gray Triple Truss

Submitted by SunDay35 on Tue, 07/14/2015 - 09:01

The most difficult part of this design are the beveled pieces that creae the truss. The angles have to be exact

Built from Plan(s)
Estimated Cost
$100
Estimated Time Investment
Weekend Project (10-20 Hours)
Finish Used
Rustoleum Weathered gray, wood conditioner, matte polyeurathane
Recommended Skill Level
Intermediate

Comments

Out door bench, temporary couch lol

Submitted by grayp on Fri, 02/11/2022 - 17:42

Thank you for your video and free plans. You are amazing. Took me 6 hours and I had it complete. I did have trouble with the two too back pieces, the pocket holes would not go in, so I screwed the back. I retired and took on wood working and by far…you make everything so simple….thank you

Comments

Computer Table

Submitted by jilllo27 on Wed, 05/25/2011 - 15:53

We needed a narrow, tall table for our computer. I used the tryde coffee table plans and altered it to our specifications. I wanted more narrow legs, so we cut the 4x4's to 2 1/4 x 2 1/4 and made them longer so our computer is at standing height. I also chose to eliminate the pieces at the "heads" of the table. Instead of using 2x4's I used 1x2's, 1x4's and 1x6's. It's perfect for our small space! We love it.

Built from Plan(s)
Estimated Cost
$50
Estimated Time Investment
Day Project (6-9 Hours)
Finish Used
Minwax Provincial
Recommended Skill Level
Beginner

Sweet Girl's Loft Bed

Submitted by kvdoyle1 on Tue, 07/16/2013 - 21:48

My husband and I just bought our first house, and we realized that our daughter's full sized bed just wasn't going to fit in her 11x10 bedroom (neither was a twin bed--not with the rest of her furniture). So I enlisted my father-in-law, who I've learned is quite handy, to build this loft bed. It is so perfect in my girl's new room, and I know she's going to have it for years to come! Underneath is the perfect spot for her desk, and the shelves house all of her books perfectly (and she has A LOT!). I'm so excited that my ideas and dreams for her room have come to life!

Estimated Time Investment
Weekend Project (10-20 Hours)
Finish Used
white paint
Recommended Skill Level
Intermediate

Loft bed for our girls

Submitted by RenayW on Sat, 07/18/2015 - 05:33

The first picture is of our oldest daughters bed (purple/black). We took the original design and increased measurements to fit a full size mattress and adjusted platform to fit room size. The remaining pictures are of our youngest daughters be (purple/white), which is only a twin. 

Some of the tweaks we made were:

* building for a full size bed

* adjusting platform and stair width so the entire bed went from wall to wall

*adding brackets in all 4 corners for extra support (not shown in purple/black bed - weren't added at time picture was taken, just used triangle pieces of extra wood for brackets)

* Used plywood as bunkie board for both beds. Twin - 1 sheet just layed on top of cleats, fit perfect; Full - 1 1/2 sheets, used 'H' clips to hold the two pieces together when on frame and screwed down onto the cleats.

* shortened platform on purple/white bed  bringing the stairs back a little to go under window

* added design element at end of purple/white bed to ensure entry on and off the bed would be safe and always on platform since it was shortned

One thing we did that wasn't mentioned in original plans, unless I either overlooked them or is a standard procedure when working with wood (seeing as I am a complete novice) all the wood we purchased need to be checked for quality - needed straight boards with minimal cracks and all the wood needed to be sanded down. Overall the project wasn't difficult, but I was guided by an expert. It took us about 20hrs over a period of three weekends to finish both beds from purchasing material to setting up in room. But that was due to emergencies, work schedules and traveling to the workshop we were using.


Estimated Cost
We purchased material for both beds at the same time, total cost was about $300-$330....so roughly $150-$160 each *(note full size material cost a little more)
Estimated Time Investment
Weekend Project (10-20 Hours)
Finish Used
Used a primer on wood and then paint color of choosing
Recommended Skill Level
Beginner

Doll Mattress

Submitted by cslavinsky on Mon, 02/05/2018 - 16:07

I'm building a doll bunk bed from Ana's plans later on for a friend's daughter.  I figured that since I had all the materials to do the linens, I would get that finished now.  I used the plans from Ana's 18" doll mattress instructions and created these two sets of beds - they're "sisters" but not twins, since I ran out of materials to make 2 quilts.  Since it's going to one recipient, I figure she won't mind having 1 quilt and 1 blanket that coordinate.  The mattresses were SUPER easy to put together, and I opted to keep them plain without buttons, in case I want to make fitted sheets at another time.  Took me about 10 minutes to make each mattress.

Estimated Cost
Less than $10
Estimated Time Investment
An Hour or Two (0-2 Hours)
Finish Used
Fabric used is from Amy Butler (Love).
Recommended Skill Level
Starter Project

Pantry build

Convert understairs closet to Pantry using 3 upper kitchen cabinets as lower cabinets with basic 2x2 shelves.

Comments

The Chair

I love Ana White and her designs. I love that she makes the plans easy for a novice like myself to create something functional and beautiful. I love that this project cost me a total of $8.00 for all the supplies, including fabric which was a thrift store score. I love that my Xi loves it. I love that Farm Girl wants one for herself in green. This was a fun project.

Edited to add the green chair for Farm Girl. She was very happy...

Estimated Cost
$8.00
Estimated Time Investment
An Hour or Two (0-2 Hours)
Recommended Skill Level
Beginner

Scrap Wood Seating

A great beginners project. I put this simple bench together with scraps I had. For a full tutorial come over and check it out
http://www.ahouse-2-home.com/2013/07/17/scrap-wood-seating/
... If you have any questions be sure to leave us comment.

Happy Building!
Vanessa

Estimated Cost
$10
Estimated Time Investment
An Hour or Two (0-2 Hours)
Finish Used
Stain - Minwax Ebony
Recommended Skill Level
Beginner

FIRST BUILD!! West Elm Early American Inspired Sideboard

After unsuccessfully searching for the perfect sideboard for my office space, I got up enough courage to make one myself.  I am so thrilled with the finished project!! 

Estimated Cost
$140 all in (wood, screws, stains, polyurethane)
Estimated Time Investment
Weekend Project (10-20 Hours)
Finish Used
Minwax Early American on the body, trim and some door panels. Minwax Dark Walnut for the rest of the door panels.

In order to create the rustic look of the doors, I left the stains on for various amounts of time. I also taped off some sections for the initial stain, then lightly brushed over those spots to create a more weathered look
Recommended Skill Level
Beginner

Comments

First big project.

Submitted by tderringer on Sun, 02/18/2018 - 05:54

I needed a new desk and found some plans on Ana's website.Made a little modification to it for a little more work space. Turned out great I thought. Had never used pocket holes before, I think I'm hooked now.

Built from Plan(s)
Estimated Time Investment
Weekend Project (10-20 Hours)
Finish Used
Dark walnut stain and 3 coats of polyurethane.
Recommended Skill Level
Beginner

Modified Balin Console

Loved Ana's Balin Console, but the space I had available for this piece was only big enough for two drawers, so I attempted to change it. A few minor mistakes called for a few other modifications as well (the drawer fronts), but overall I am still happy with the product. The first nail and hammer only project I've completed (other than the ten dollar ledges). The passion for this new-found hobby continues, THANKS ANA!

Built from Plan(s)
Estimated Cost
$50 (island living cost more)
Estimated Time Investment
Weekend Project (10-20 Hours)
Finish Used
Nuwood Poly Stain- Walnut, 2 coats lightly sanded in between.
Recommended Skill Level
Intermediate

Fancy X Farmhouse Table

Submitted by daddydrew on Fri, 07/19/2013 - 12:28

I think that this is my favorite project so far! It was a daylong project for the build and then another full day of sanding and finishing. My girlfriend needed a new table for a big dining room in her new place so she got this. She is happy it looks great and is extremely functional. I will add the bench that I made to match as soon as I get the pictures. I am available to do builds for people who like what they see and dont want to pay retail price for this stuff. check out my profile

http://ana-white.com/users/daddydrew

Estimated Time Investment
Weekend Project (10-20 Hours)
Finish Used
minwax expresso oil based stain
minwax polycrylic clear coat protective finish
Recommended Skill Level
Intermediate

DIY Closet Tower

My daughter's room needed more storage and the closet was the perfect place to add some! Visit the blog link for more pictures.

Built from Plan(s)
Estimated Cost
$100
Estimated Time Investment
Weekend Project (10-20 Hours)
Finish Used
Behr Primer and Paint in one, semi-gloss, matched to a piece of baseboard from my home.
Recommended Skill Level
Intermediate

my first reclaimed wood project

Submitted by aria_dia on Thu, 06/02/2011 - 20:12

I was going to make this project out of pallets, but all the pallets that I have access too were pretty beat up and falling apart, so my mom gave me some leftover cedar fencing that she had on hand.

This is my first build using reclaimed wood; the boards looked pretty straight when I got them, and even after they had set in my heated garage for a week, but when building time came I found that they are warped. The boards dont fit exact, but I think it gives it more character.

My husband and I are debating on if we should stain it, paint it or just seal it. We plan on using it for a silverware caddy, since the house we're currently in doesnt have a single drawer in the kitchen big enough for a silverware tray! We do plan on using rope for a handle on it, but I have yet to find a rope that I like the feel of in my hands (Im picky like that).

I made this using hand tools, and 16gage nails (what I had on hand). My brother is currently hoarding all the power tools at his house and isnt sharing so I must learn how to do everything old school again!

This is also my first build of anything since becoming a mommy for the first time (6 yrs ago!), since then I've generally stuck to reupholstering things. Now I want better, less expensive things than I could just buy.

Built from Plan(s)
Estimated Cost
free
Estimated Time Investment
An Hour or Two (0-2 Hours)
Finish Used
none, yet
Recommended Skill Level
Starter Project

Spices!

We had these spices in a cabinet, which were impossible to see stuff in the back. This was a perfect solution.

Now, we also had more spices then we know what to do with, so we added a second rack at the bottom of the door as well. I just adapted the plans to be 30 inches tall to accommodate the size of the lower portion of the door. This was accomplished by removing the 1st and 3rd measurements for shelves, and using the remaining for an extra tall shelf.

I also only used a finish nailer (and wood glue),to assemble, in combination with a brad nailer to hold the back plywood on.

I also chose not to include the dowel buttons on the end, and did not cut the dowels to length; they were inserted all the way through and trimmed off with a Japanese pull saw (get one, you will LOVE it), then fastened through the front with the finish nailer, then sanded flush.

I also elected not to paint to finish the piece and leave the natural wood.

Built from Plan(s)
Estimated Cost
$33, including the extra shelves.
Estimated Time Investment
An Hour or Two (0-2 Hours)
Recommended Skill Level
Starter Project