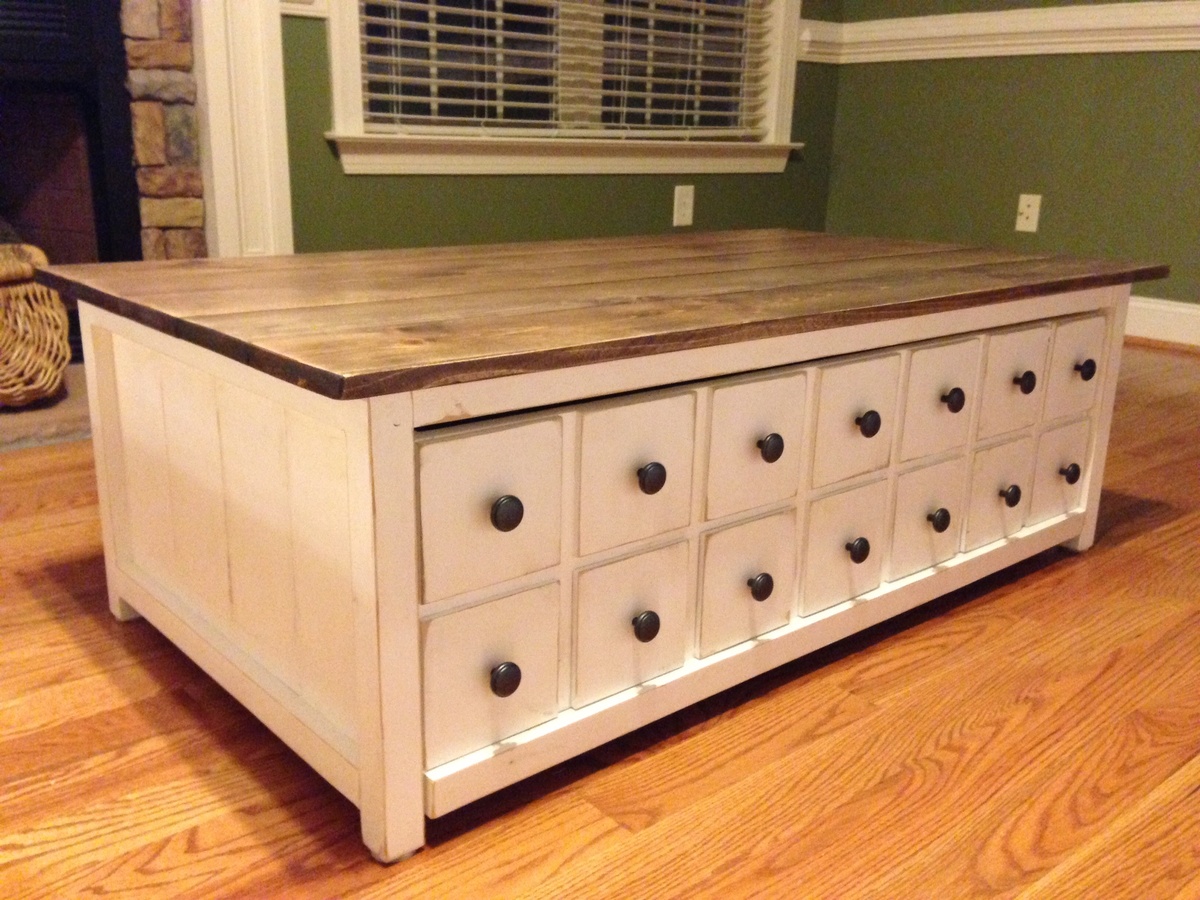
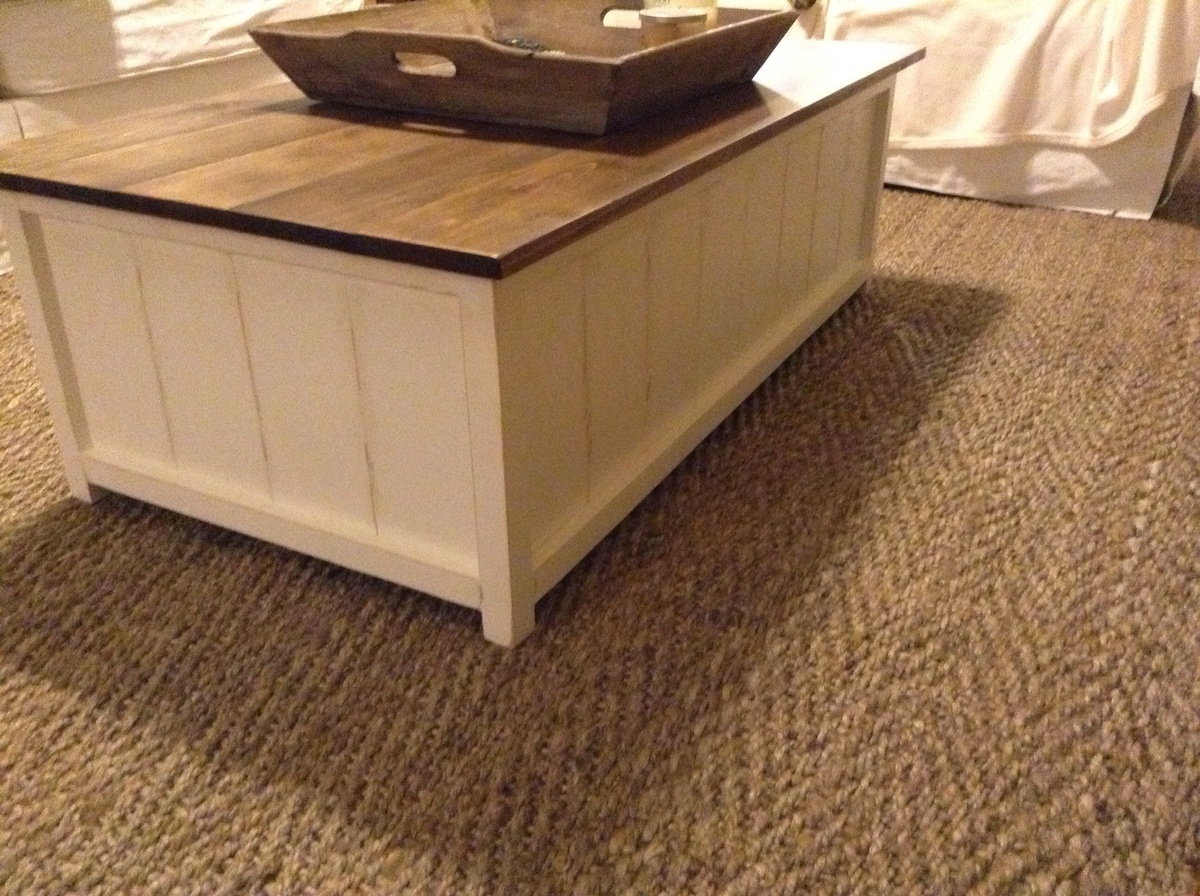
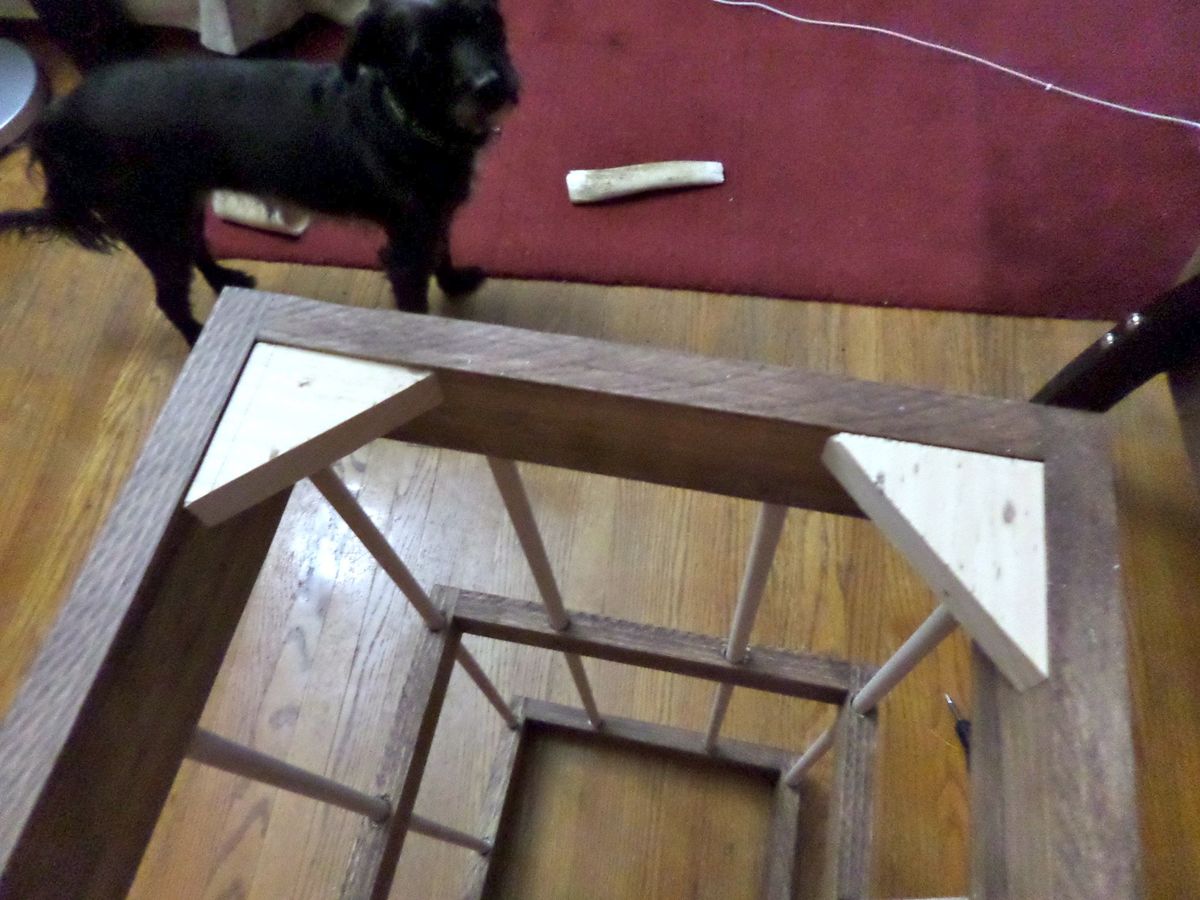
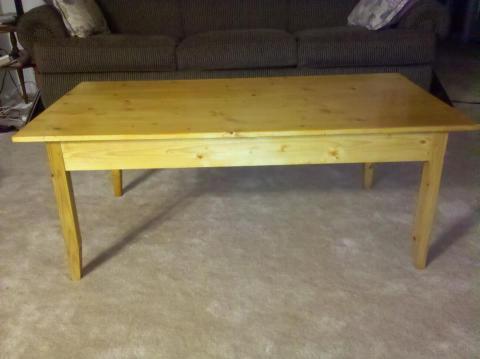
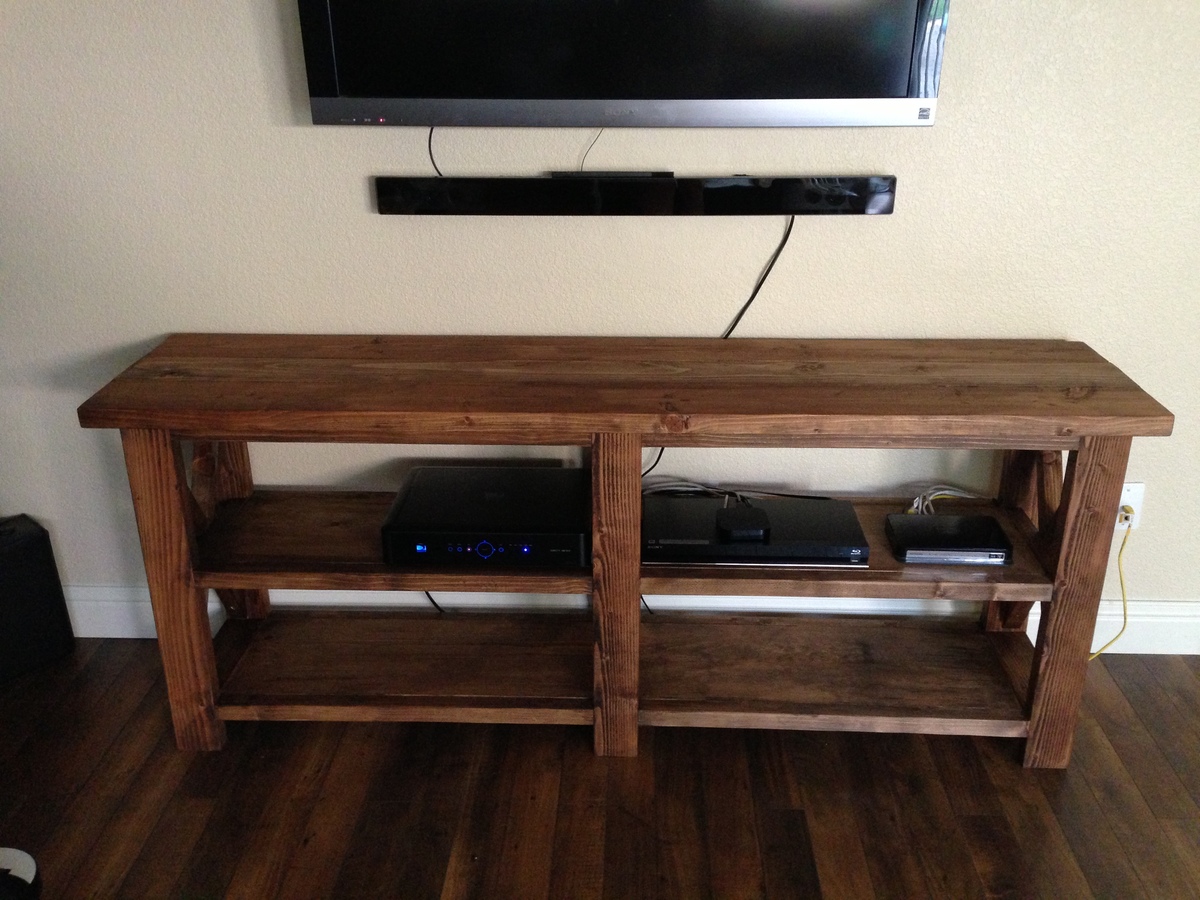
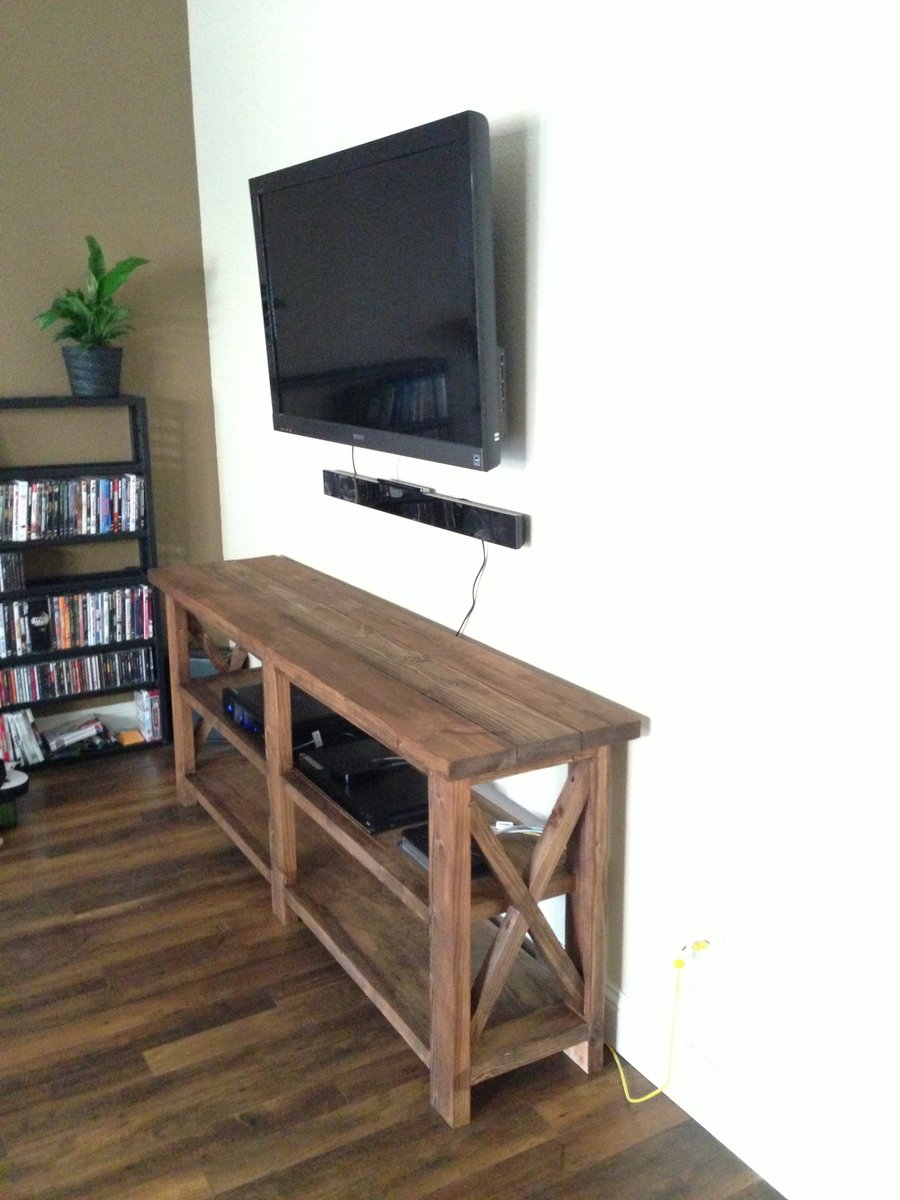
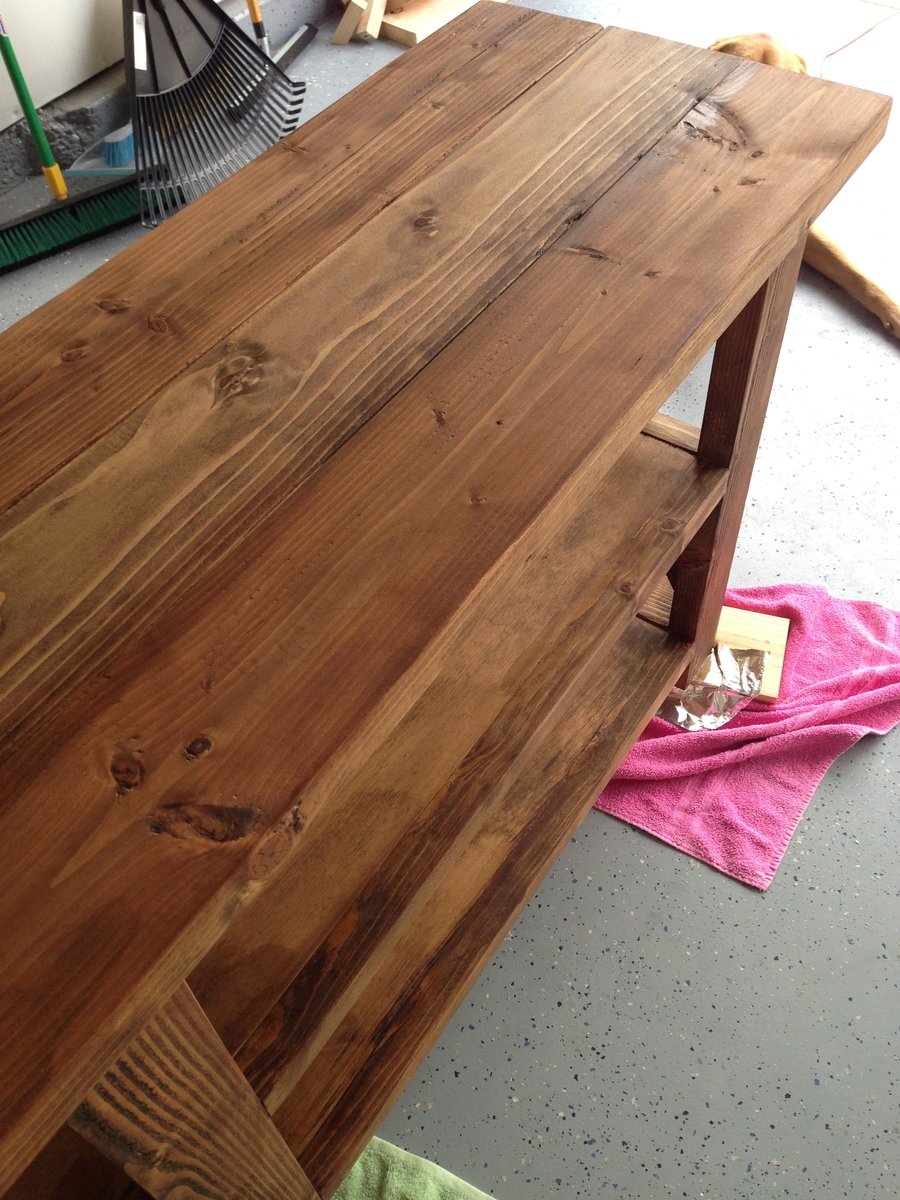
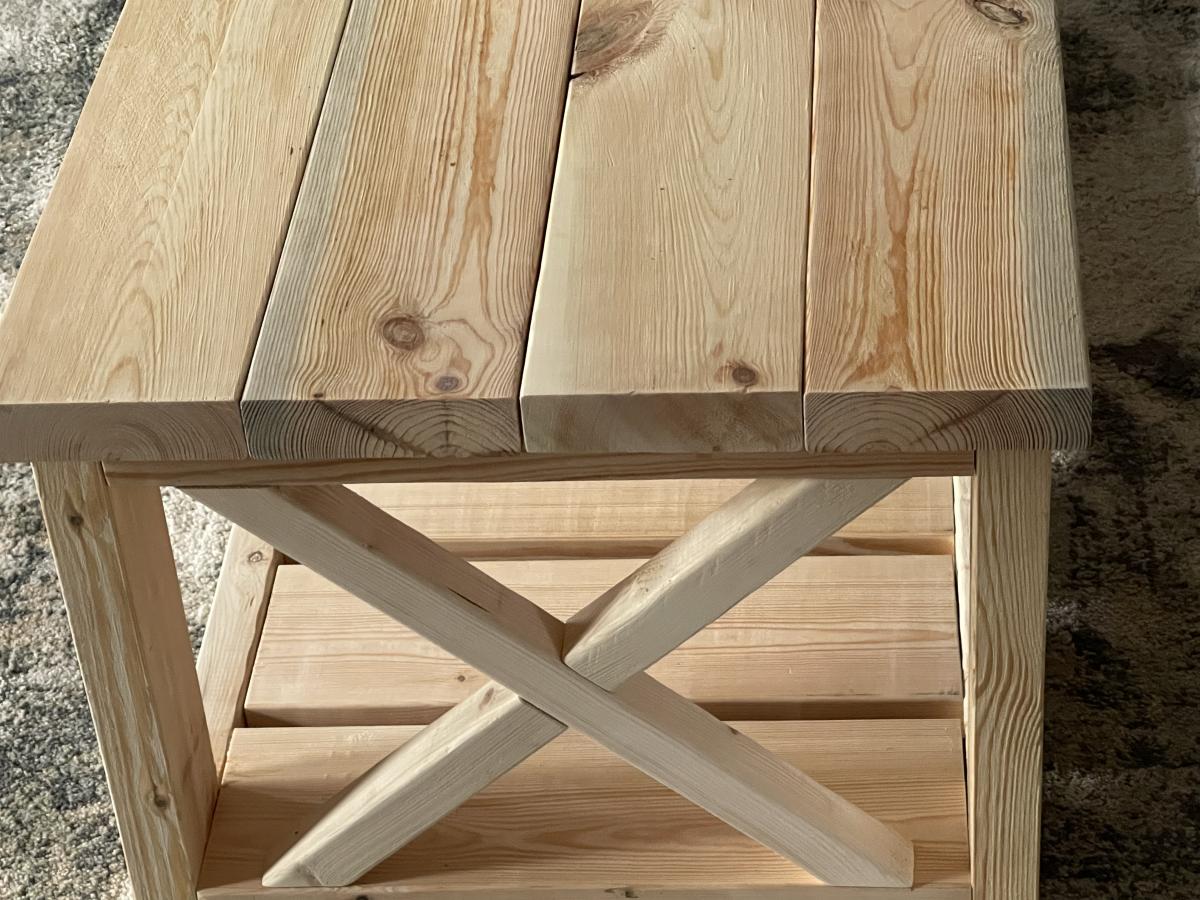
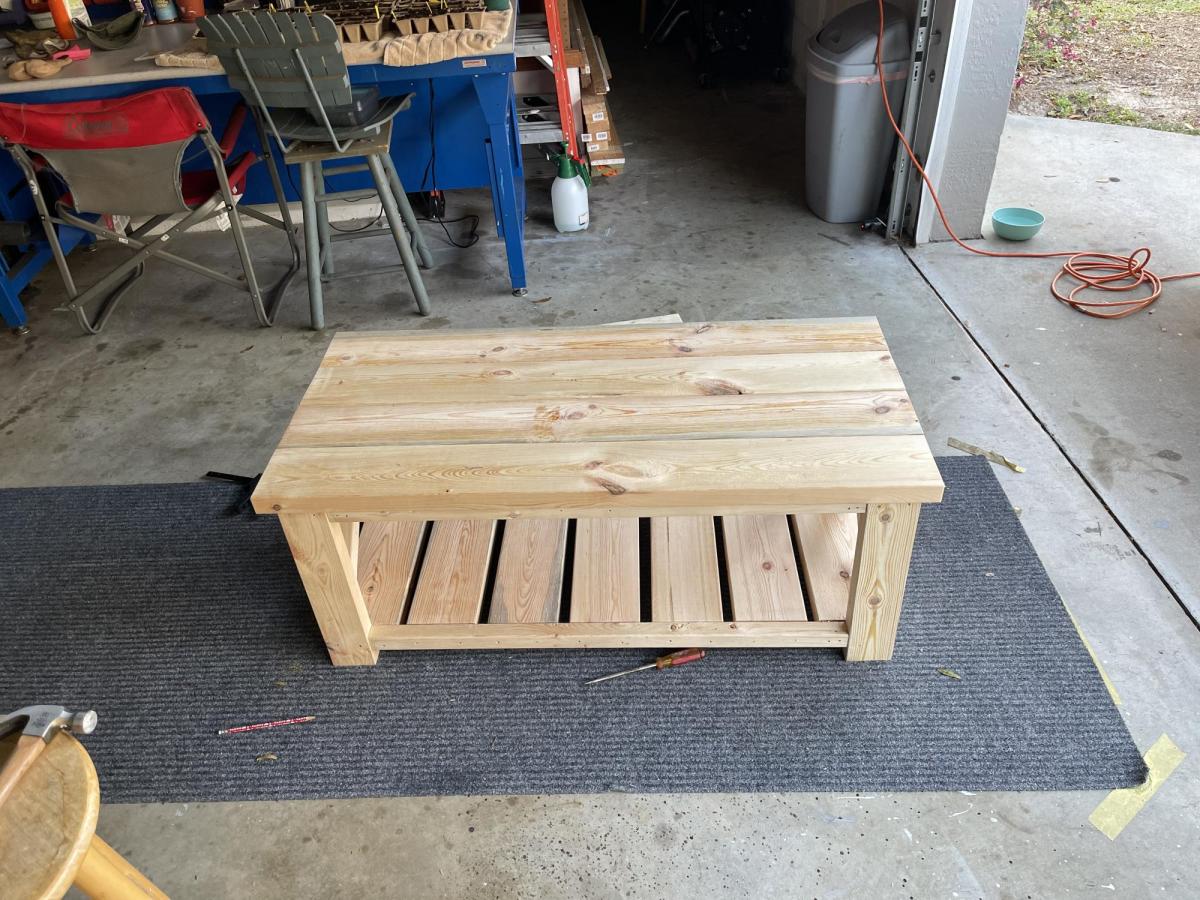
Coffee table

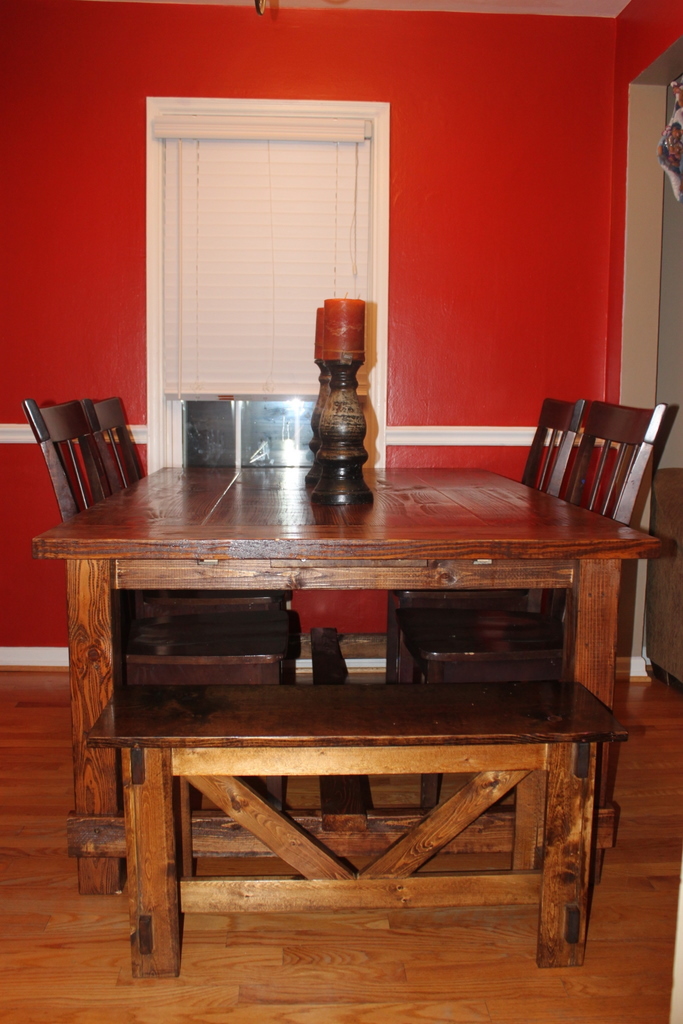
Love how this turned out! Great build, added a back to the table. It looks awesome in our living room.
Built from Plan(s)
Estimated Cost
$100
Estimated Time Investment
Weekend Project (10-20 Hours)
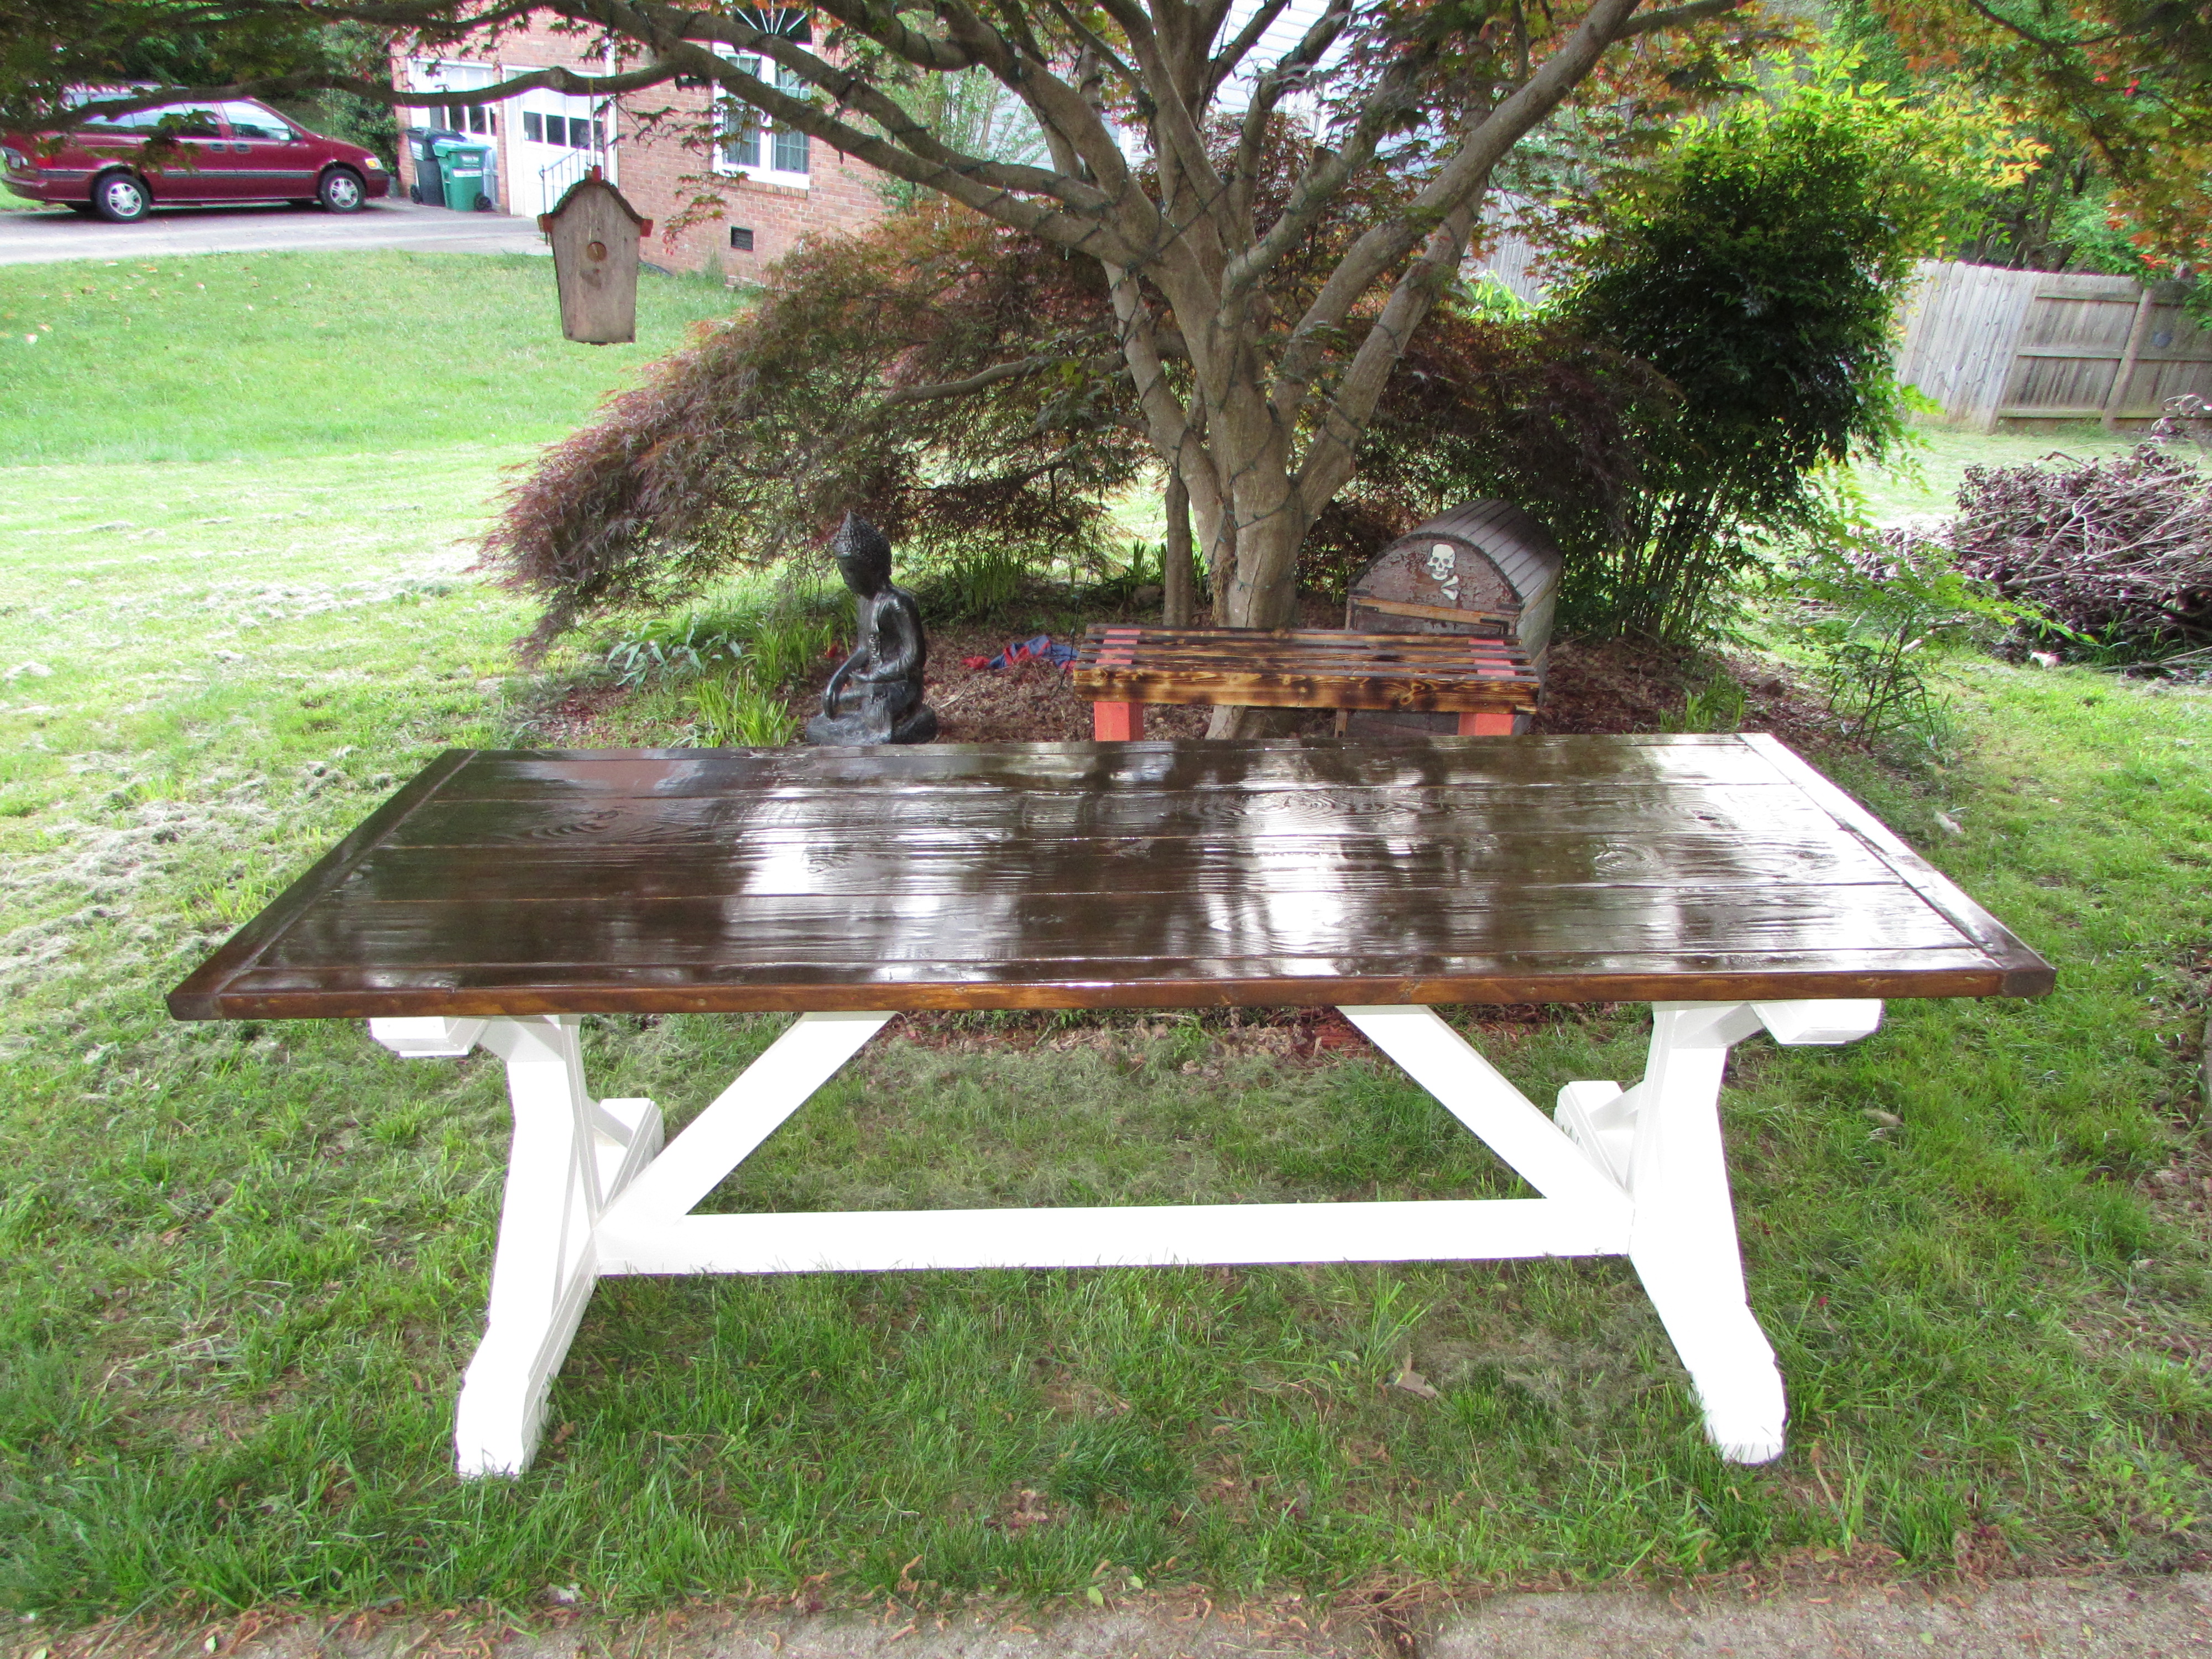
Finish Used
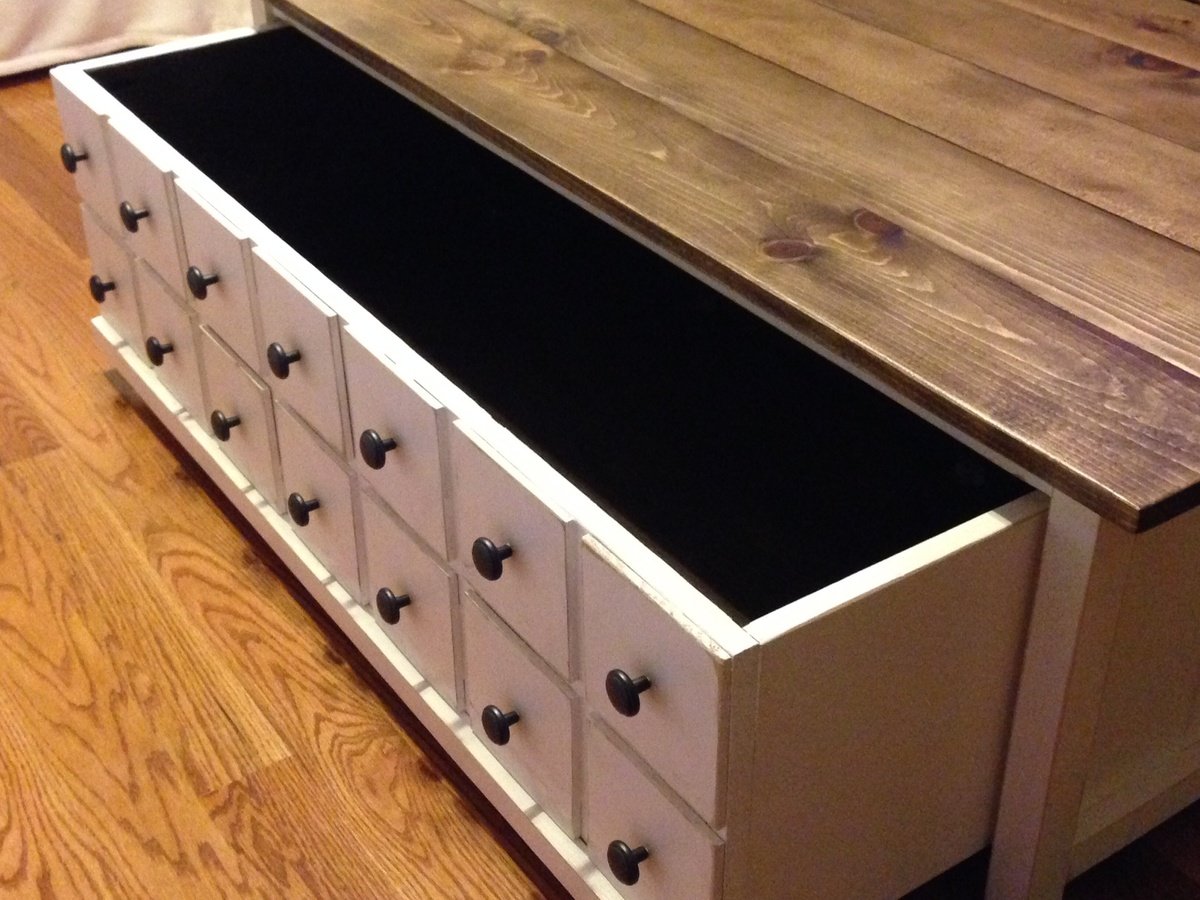
Minwax wood conditioner and minwax espresso stain for the top. Rub stain on and wipe off immediately. One coat and light sanding. Also did espresso on the interior of the box. Coffee distressing on top of the white base.
Recommended Skill Level
Beginner


Comments
joseph.ribecca
Wed, 10/23/2013 - 17:10
Table
Like the table, Cool fake draw's
bclute
Wed, 10/23/2013 - 17:48
Nice Finish
Really nice finish. I am planning on building a table and I want the tabletop to look just like yours. I have never stained, but when you say rub stain and wipe immediately, what do you use to rub? Also what type of wood did you use for the top? Again, great job.