Community Brag Posts

TWINNING!

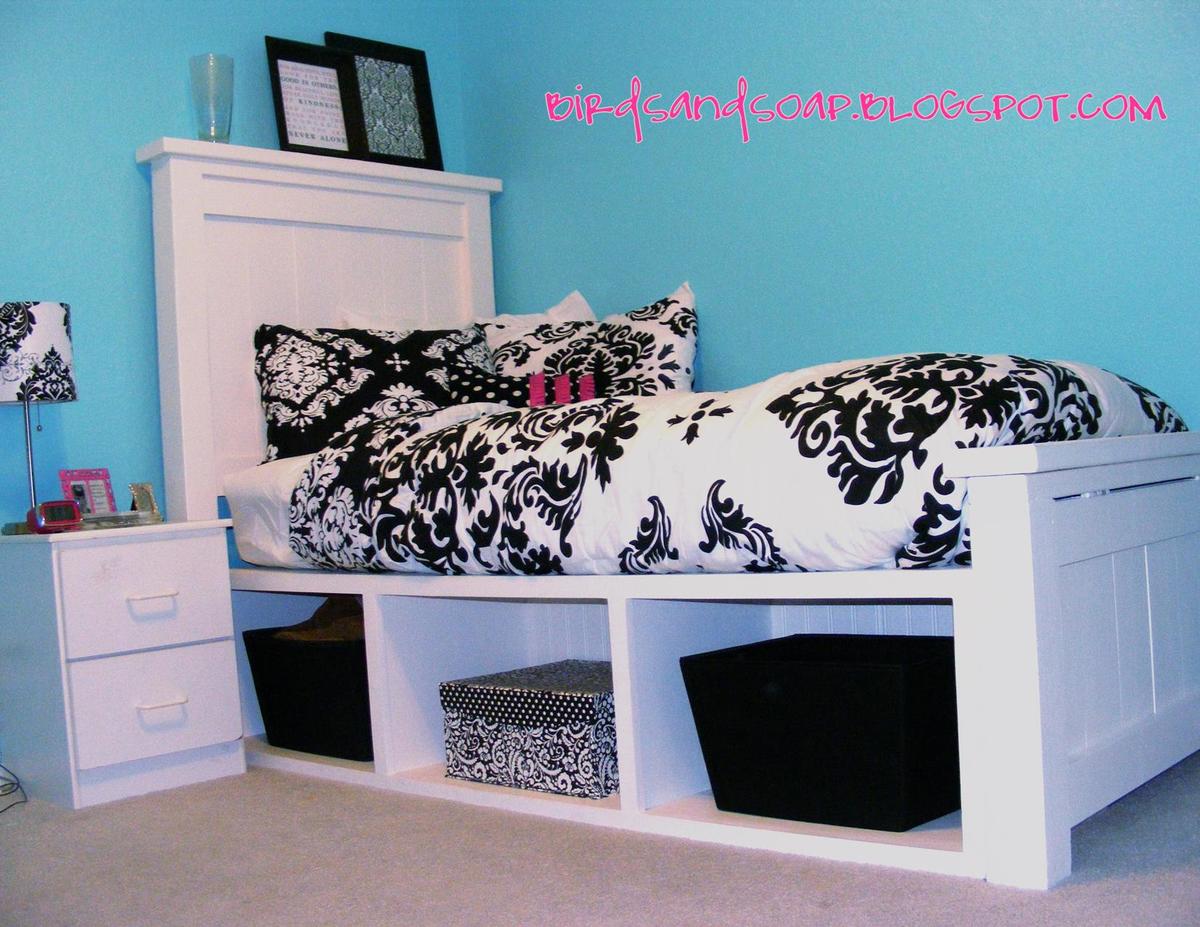
Twin Farmhouse Storage Bed With Hinged Footboard.
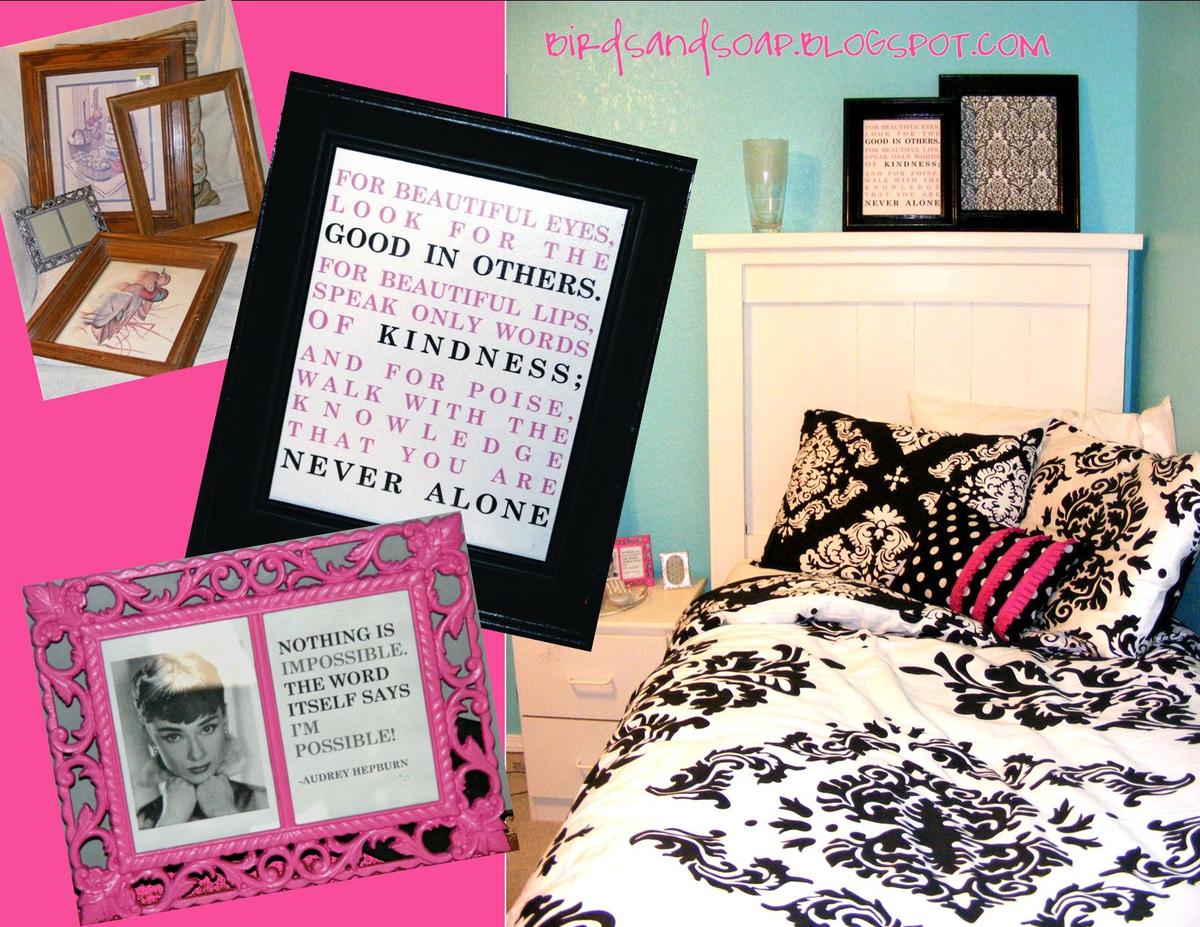
After making a queen-size for myself, I built this twin-sized version for my niece. Along with a "Breakfast at Tiffany's inspired" theme, she got a new bed and a new bedroom for her 15th birthday.
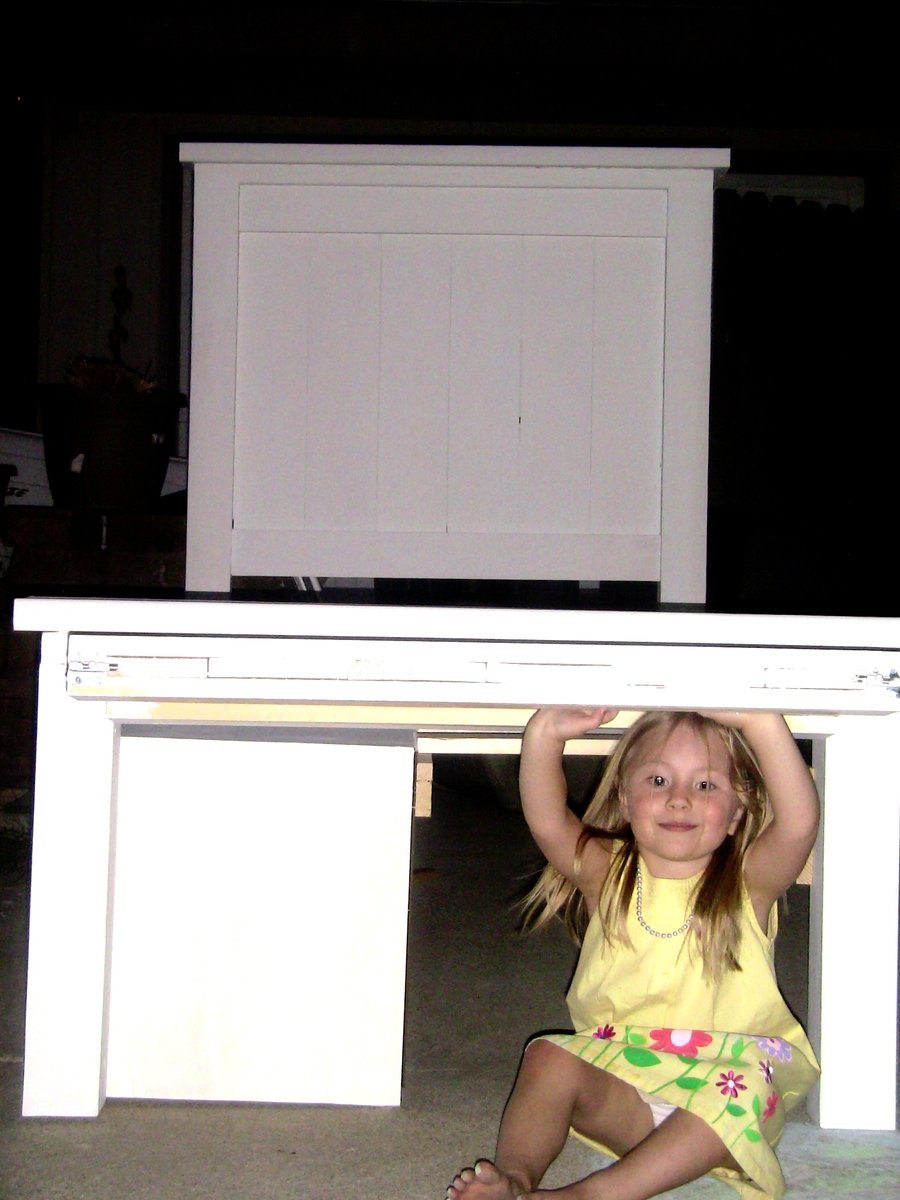
For this version of the bed, I made just one storage cubby because it sits against a wall. With the addition of the hinged footboard, she has a secret vault for storing her Super Secret Teen items (or shoes or snowboards). I followed the traditional farmhouse bed design, omitting one 1x6 in the head/footboard panels. This way, it is not as wide and the storage cubby meets the bedpost on center.
(Again, my daughter modeling the hinging action).
Estimated Cost
$150
Estimated Time Investment
Weekend Project (10-20 Hours)
Finish Used
Primed and painted with Olympic Heirloom Lace in Satin.
Recommended Skill Level
Beginner

Comments

kad050209 (not verified)

Tue, 09/11/2012 - 20:43

I'm wanted to make my daughter a bed simple to this... Was wondering, since you took one 1x6 piece out on each end... How many inches is the gap from the wall to bed? I want to have my DD's bed against the wall but, since she is only 3 I don't want a big gap for her to fall into! I hope you understand what I mean. Thanks.

In reply to by kad050209 (not verified)

birdsandsoap

Tue, 09/11/2012 - 21:53

The gap is actually determined by the widest part of the bed, which is the cap piece on the head and footboards. At most, your gap would be around 3 inches, but you can shove a foam pool noodle from the dollar store in that gap if you are concerned she will get stuck.

And just to be clear, I only removed (1) 1x6 from the headboard and (1) 1x6 from the footboard to match; not two boards from each panel. Wasn't sure if you understood.

Modern Craft Table

Submitted by dkzeh on Fri, 01/03/2014 - 19:45

Had hubby build this for my craft room over the holiday break. I have been looking for something to cut fabric on and help with some storage needs. I could not bring myself to pay the amount of money for some of these prefab MDF tables and or an arm or leg for one made out of some type of wood. He bought all of the wood and completed all of the cuts in one day. He spent another day putting it together and finished up the trim on the third day. It is currently set up in my sewing room and waiting for a fresh coat of paint. It looks great and will be perfect!

Estimated Cost
$300
Estimated Time Investment
Week Long Project (20 Hours or More)
Finish Used
Plan to use Behr Ultra White primer and paint in one.
Recommended Skill Level
Intermediate

Comments

Changing Table for Daughter

Submitted by Anonymous (not verified) on Fri, 11/08/2019 - 11:26

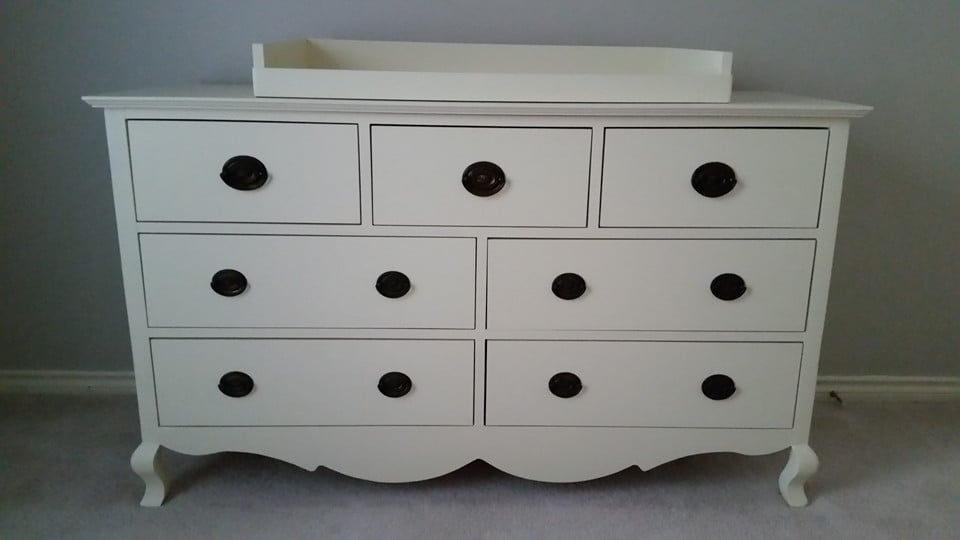
I made this changing table/dresser for my first born daughter from the Kendal Extra Wide Dresser design. I did build the legs and bottom of dresser a little different but overall kept to the design.

Built from Plan(s)
Estimated Cost
$300
Estimated Time Investment
Week Long Project (20 Hours or More)
Finish Used
Latex Paint
Recommended Skill Level
Advanced

Play Table and Chairs

Submitted by kristilmay on Tue, 03/13/2012 - 19:39

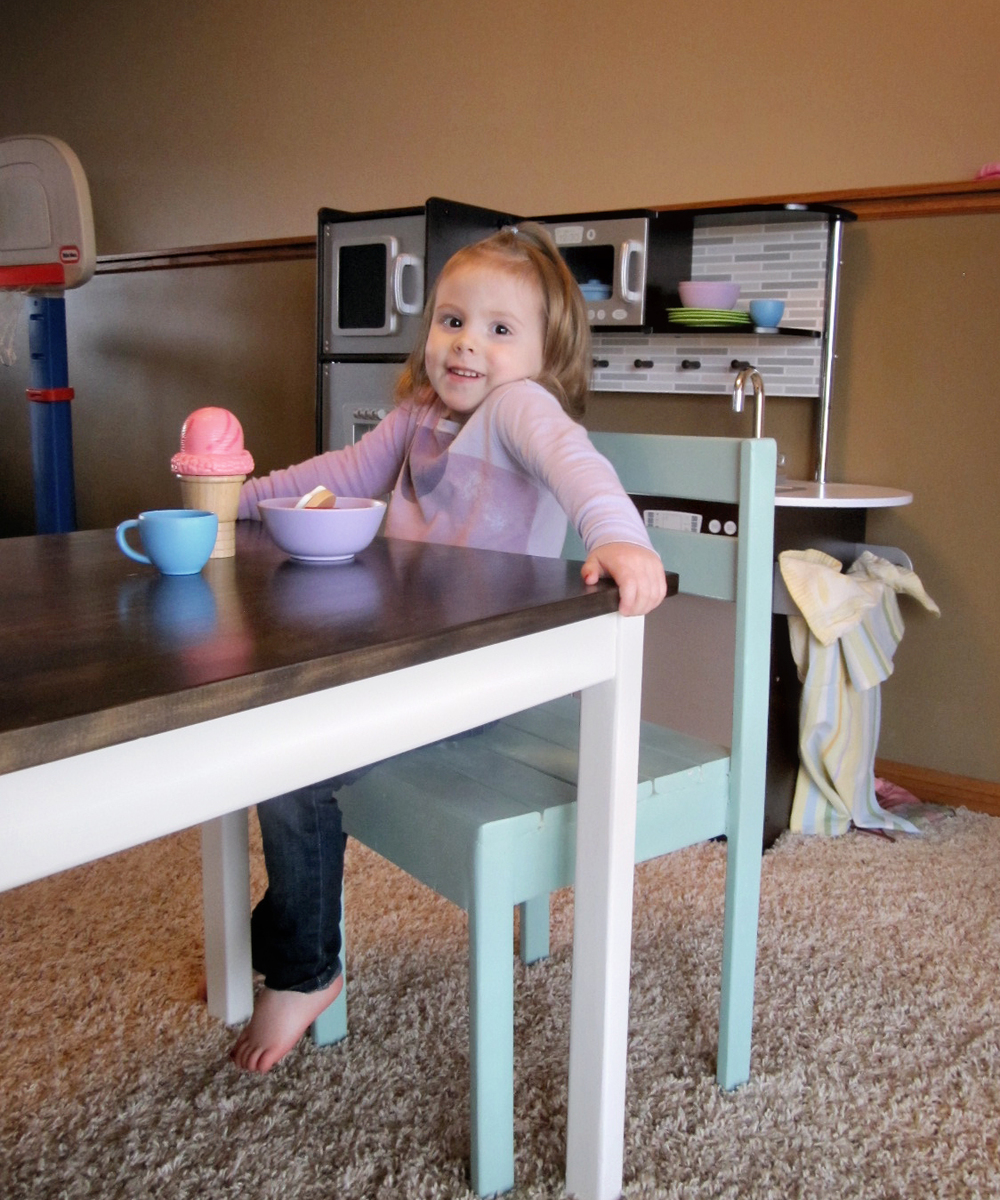
For my daughter's birthday I made her this table and chairs. Despite being very easy and cheap to make, they are very sturdy. I've sat at that table quite a few times with no issues at all. I love how they turned out.

Built from Plan(s)
Estimated Cost
$20
Estimated Time Investment
Afternoon Project (3-6 Hours)
Finish Used
Minwax Dark Walnut-top, Rust-Oleum's Heirloom white-table legs, Krylon- Catalina Mist (Spray paint)
Recommended Skill Level
Beginner

Comments

nancy

Tue, 03/13/2012 - 21:02

Simply gorgeous! Did you use any poly on the table top? The finish is amazing. Thanks for sharing. Now I want to make one too!!

kristilmay

Tue, 03/13/2012 - 21:32

Sorry! I just realized I didn't put that. I used Minwax Polycrylic. Thank you for your compliments!

Cindy from Indiana (not verified)

Wed, 03/14/2012 - 10:00

I think the title of my response says it all. ;-)

They really turned out beautifully. Great job!

Square Turned Leg Farmhouse Kitchen Table

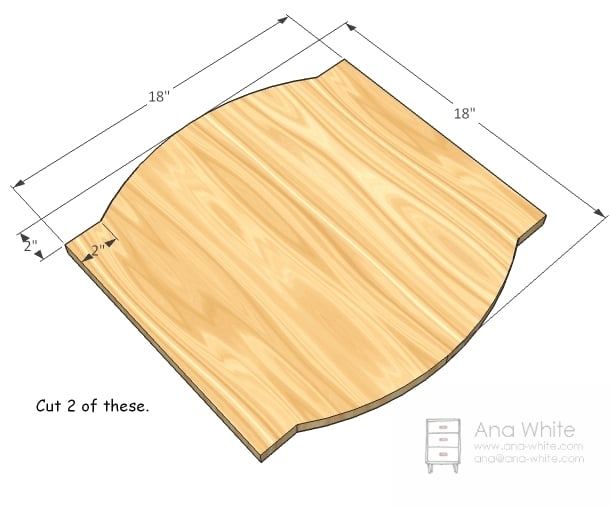
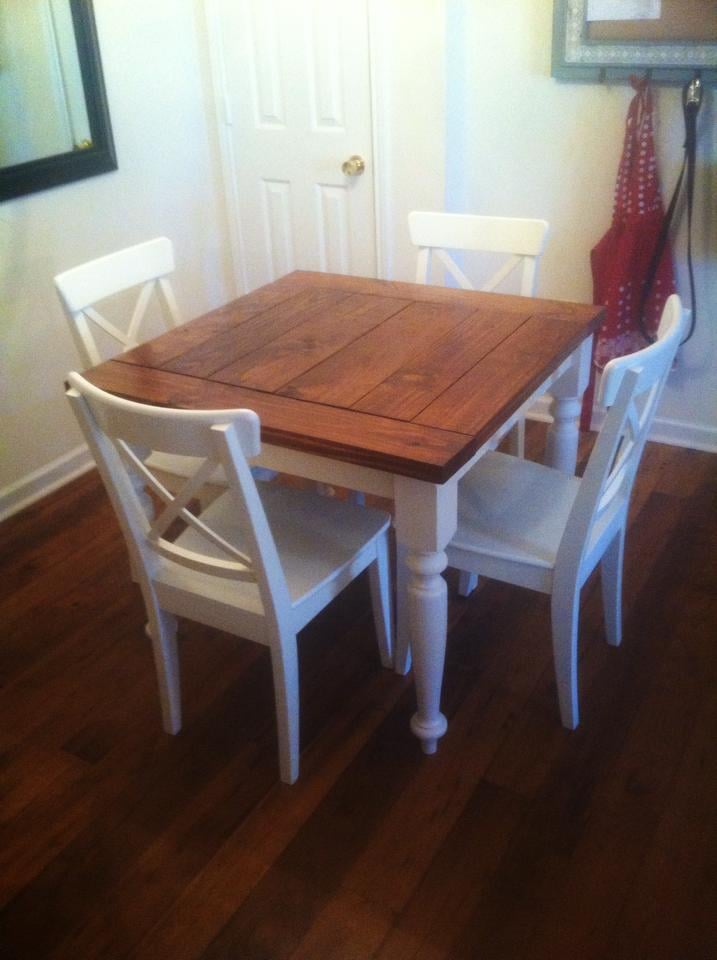
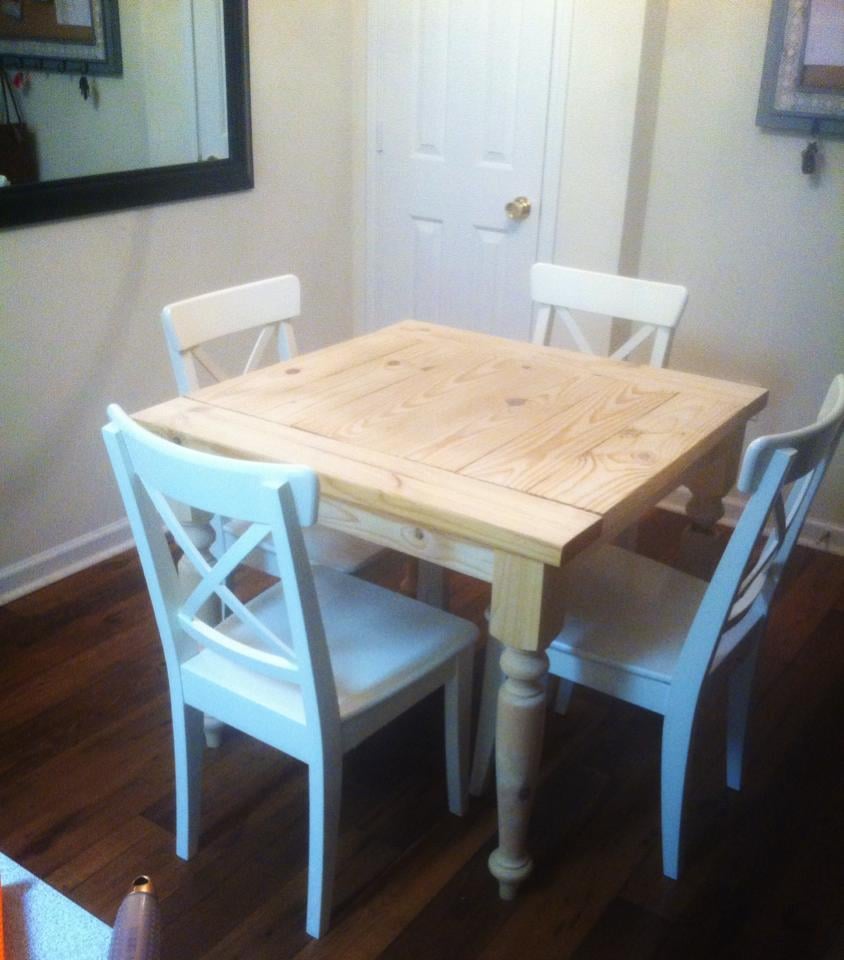
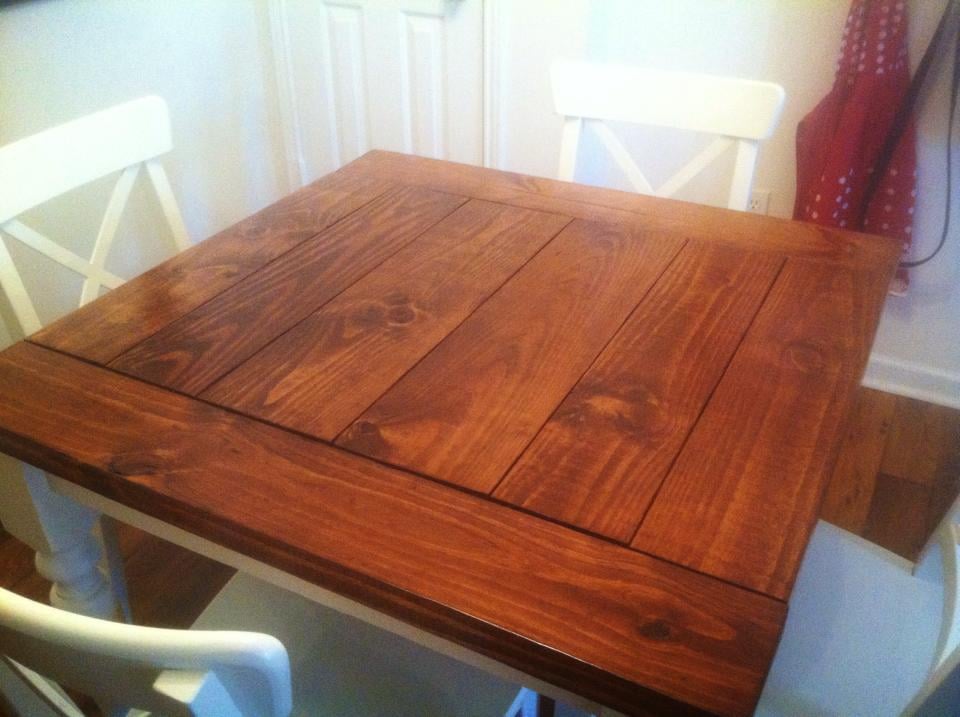
I had to do a 3ftx3ft square table since our eating area in the apartment isn't big enough for a dining table, but I really like how it turned out :) I also added breadboard ends because I can't stand how the cut ends look. I got the legs from osborne wood

Built from Plan(s)
Estimated Cost
$160
Estimated Time Investment
Weekend Project (10-20 Hours)
Finish Used
Minwax English Chestnut, Antique Beige Paint, and Helmsman Clearcoat
Recommended Skill Level
Beginner

Comments

Rustic X Console Table as TV Stand

Submitted by Anonymous (not verified) on Sun, 03/27/2016 - 08:19

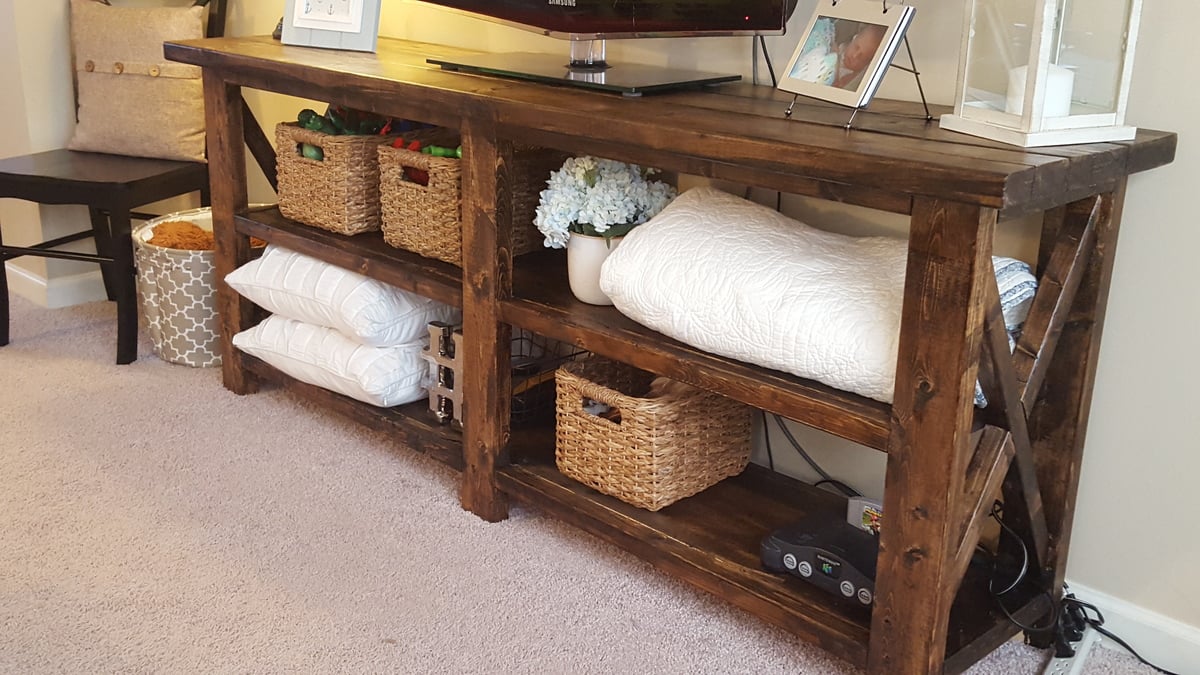
Hubby followed the plans exactly, using cheap whiteboard from Lowe's. I stained using Minwax dark walnut and a water-based Minwax poly with a matte finish. I would only use this kind of wood again if I were painting the project. It is hard to stain and my options were limited, because the wood doesn't take stain well. Love how "pottery barn" it ended up coming out, though!

Built from Plan(s)
Estimated Cost
$50-100
Estimated Time Investment
Weekend Project (10-20 Hours)
Finish Used
Minwax dark walnut
Recommended Skill Level
Beginner

1x3 Christmas Tree Shelf

Submitted by Ana White on Sat, 11/16/2019 - 13:15

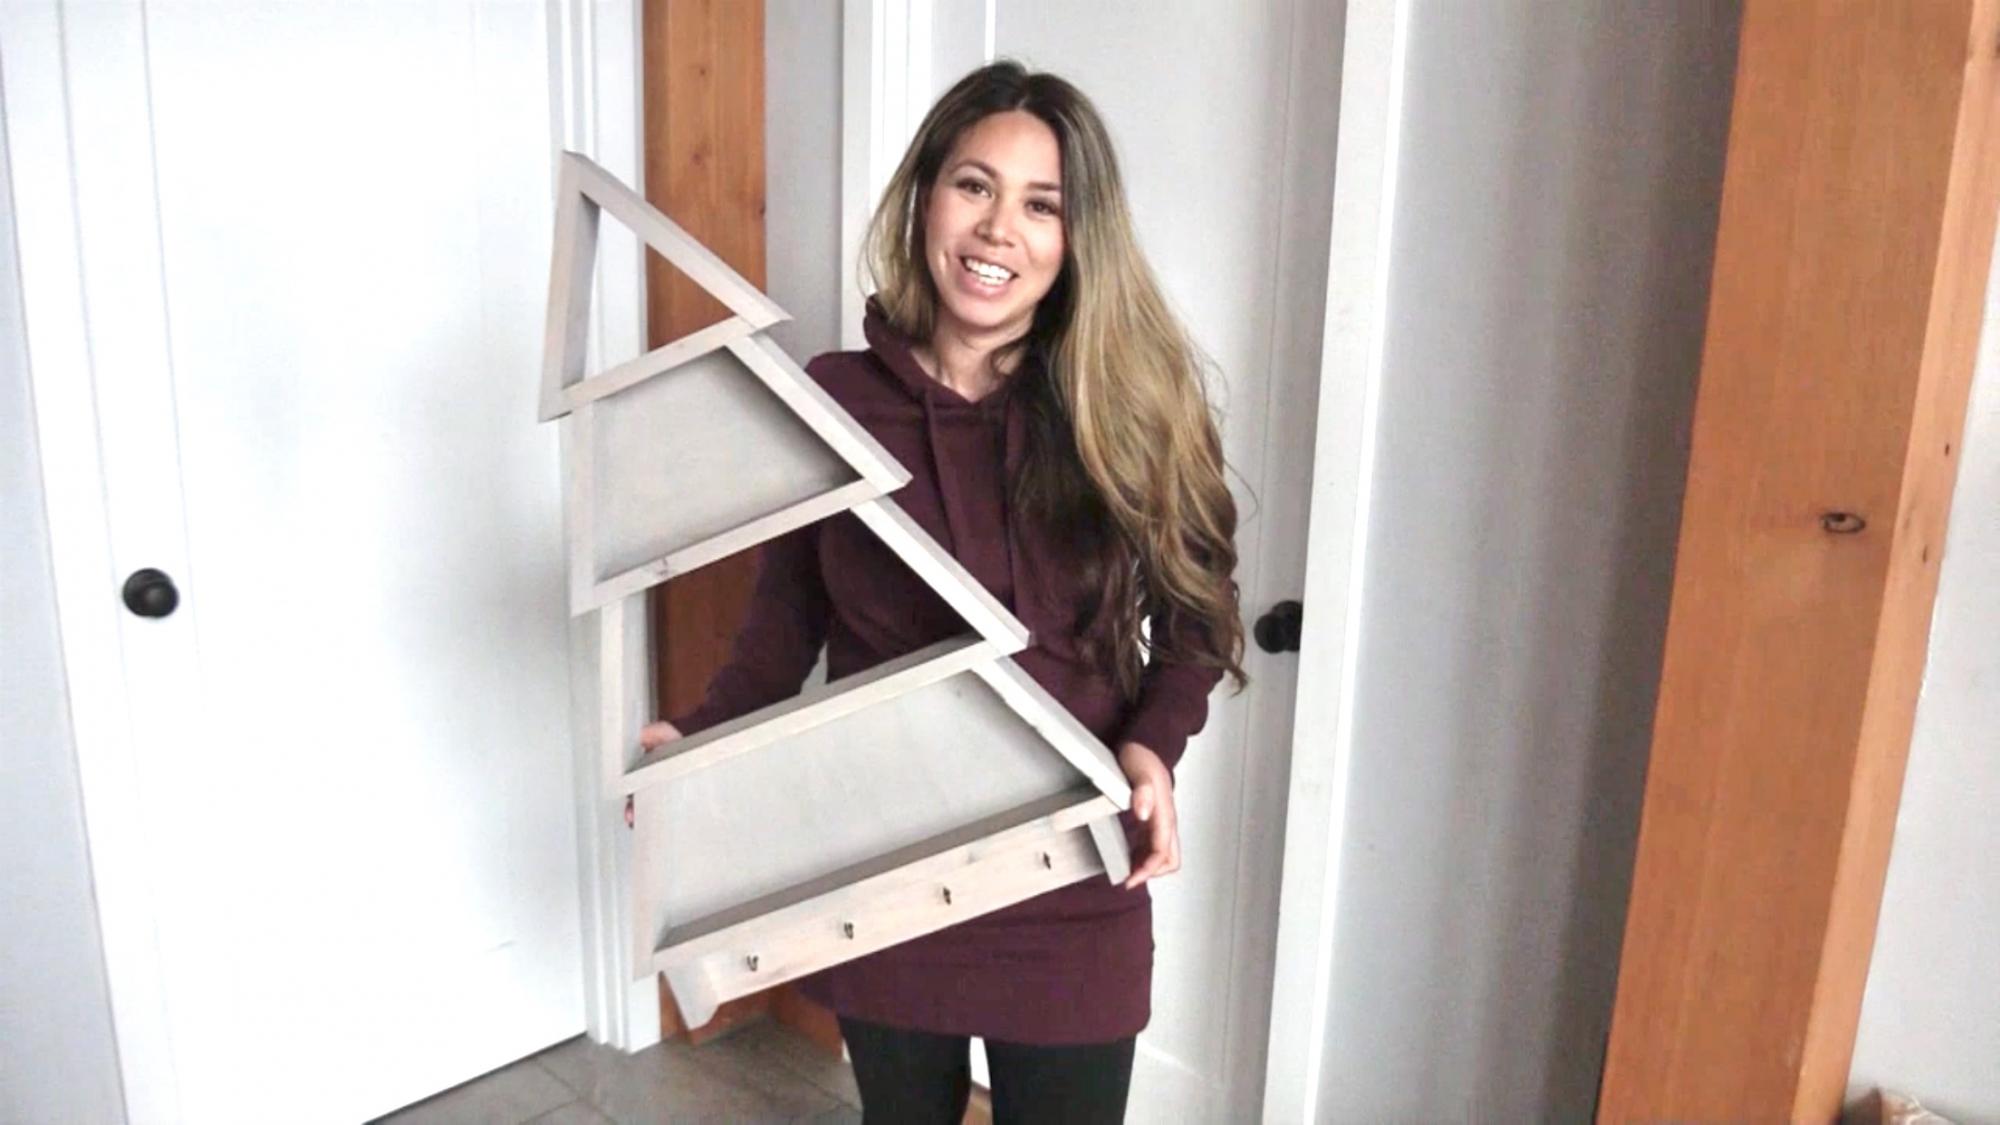
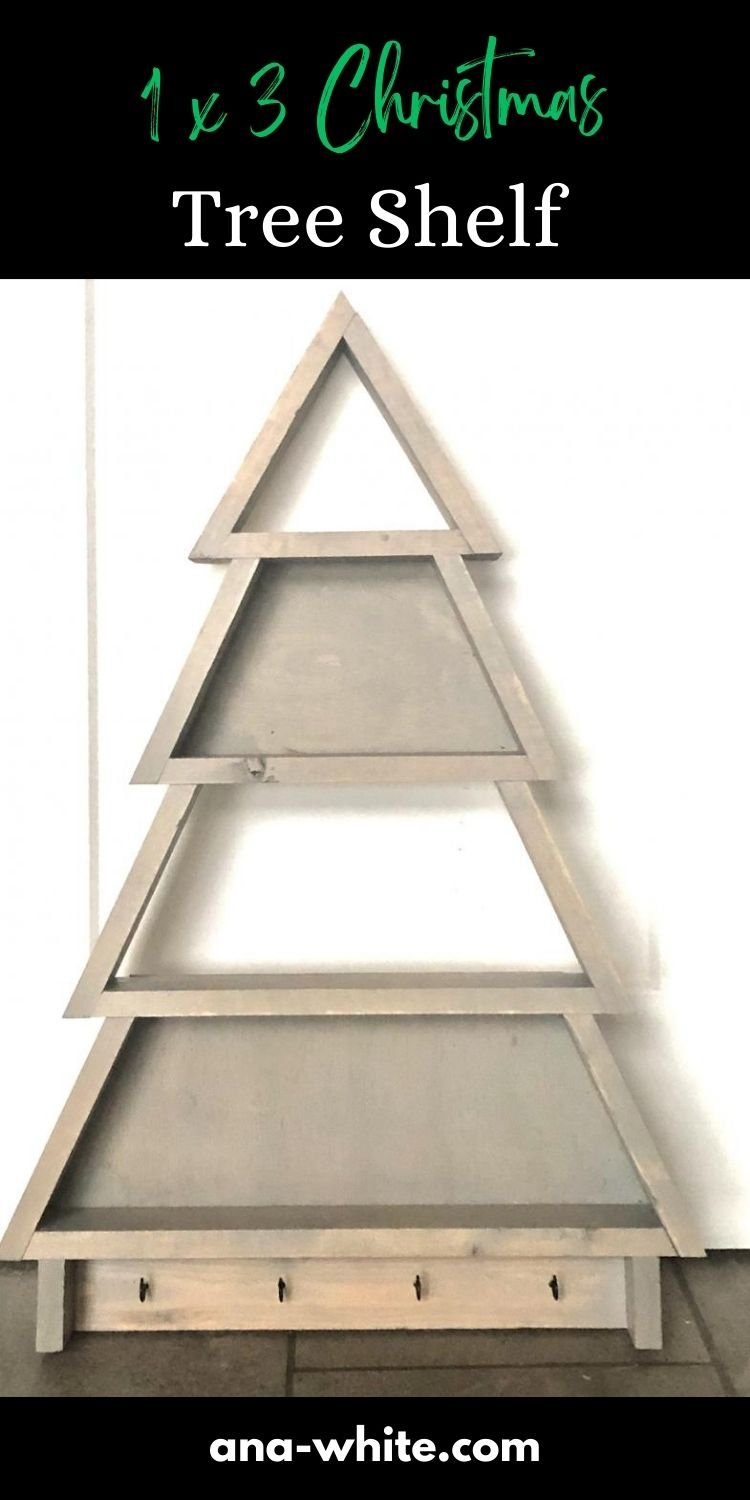
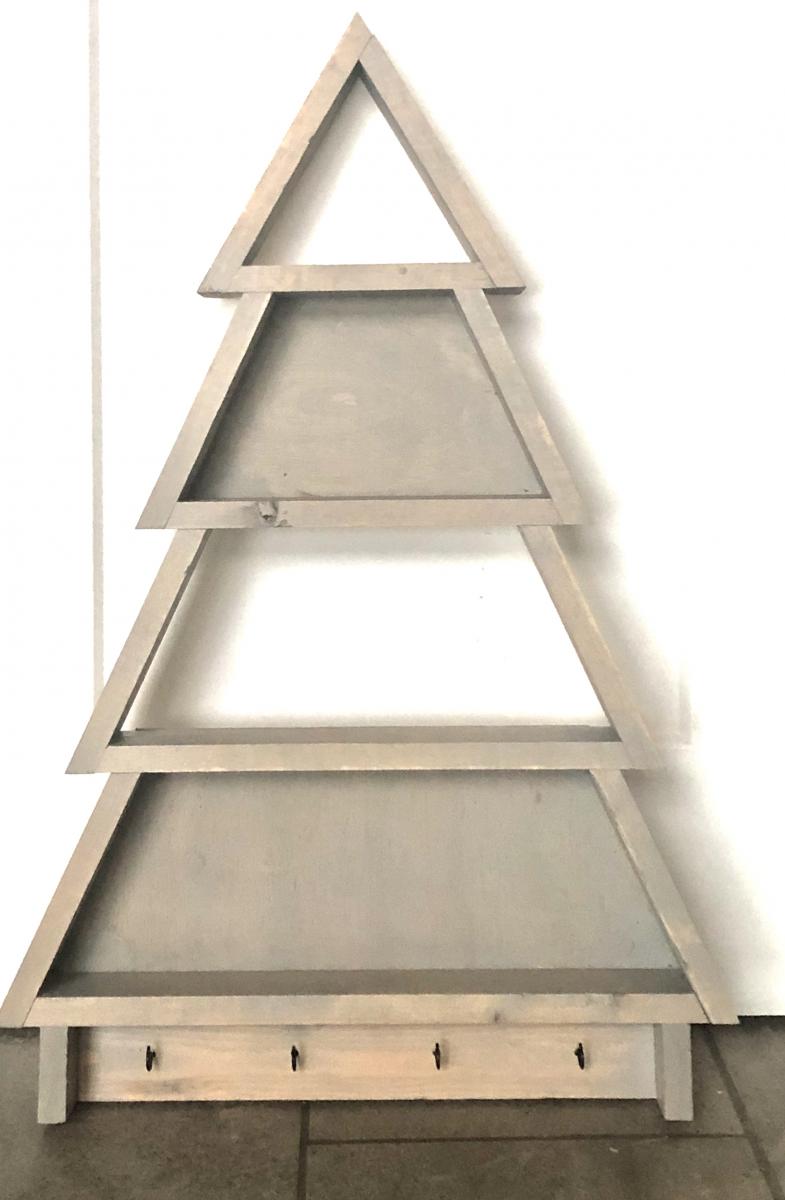
Made the Christmas Tree Shelf but used 1x3s and cuphooks.  It turned out amazing!

Pin For Later! 

1x3 Christmas Tree Shelf

Built from Plan(s)
Estimated Cost
$7
Estimated Time Investment
An Hour or Two (0-2 Hours)
Finish Used
Varathane sun bleached wiped on
Recommended Skill Level
Beginner

Comments

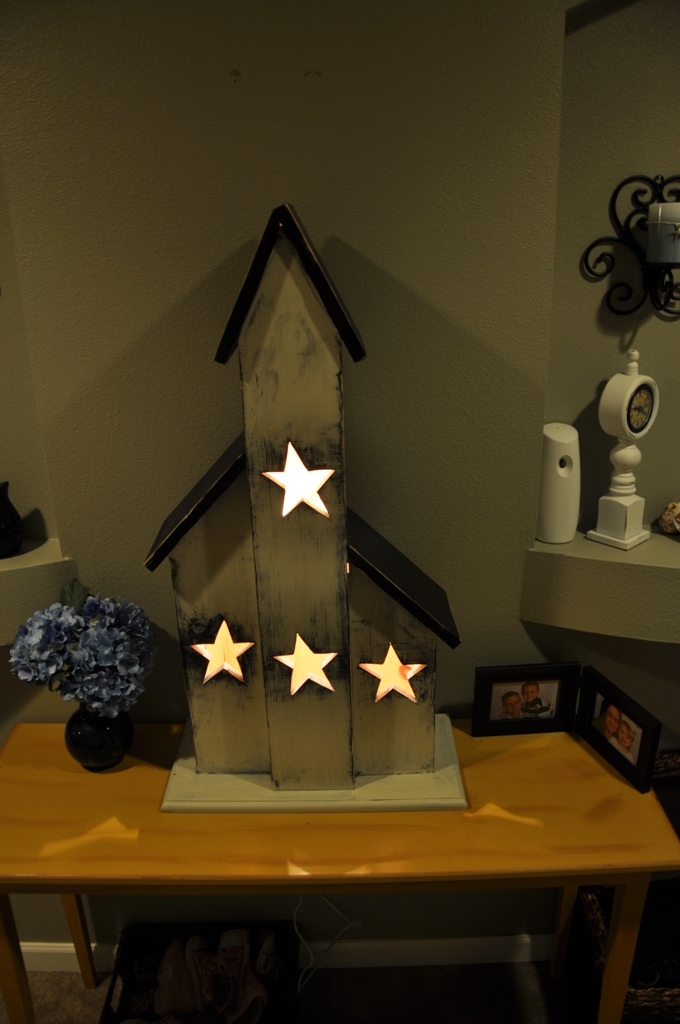
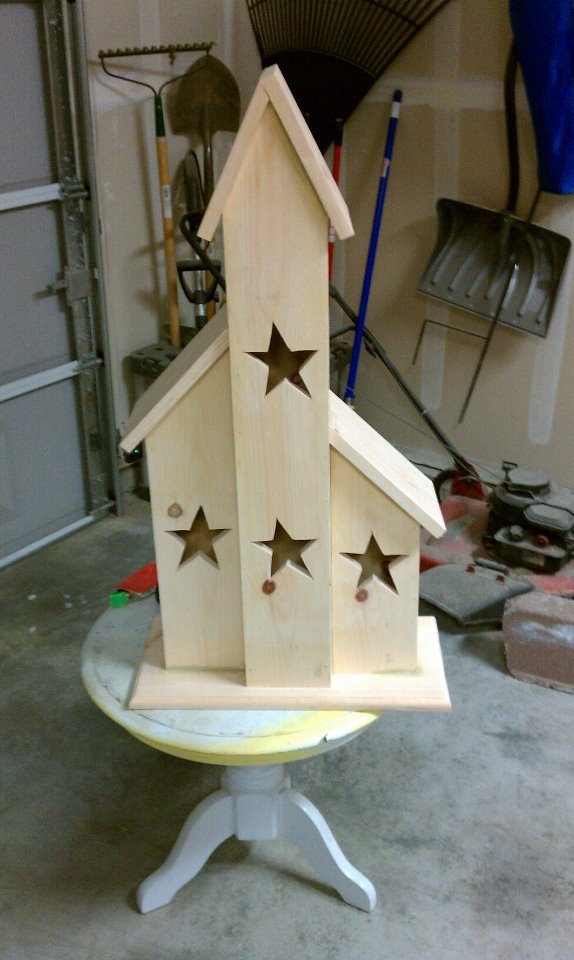
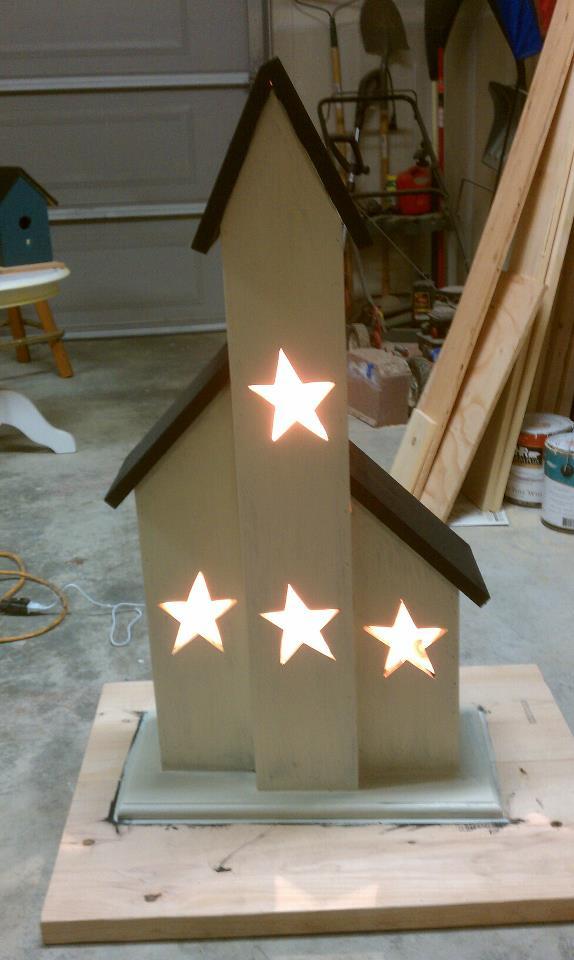
Lighted Saltbox House

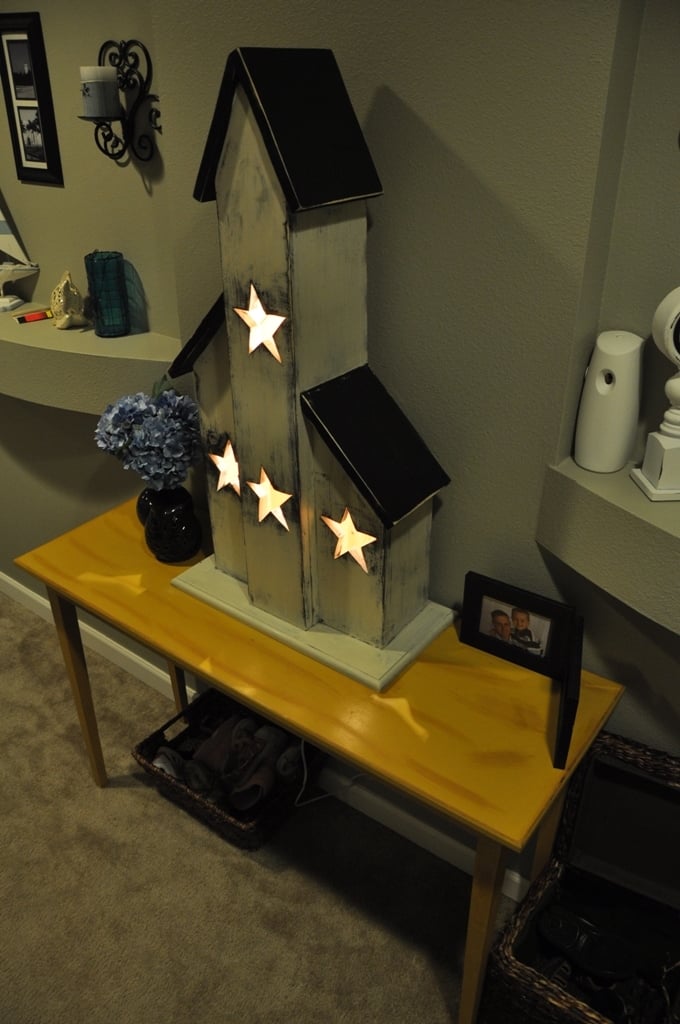
My wife went shopping one day in a primitive furniture shop and found this saltbox house that she loved. So I decided to get a picture of this house and build it myself. This project was a lot easier than I thought it would be. Hope you enjoy.

Estimated Cost
$18.00 for wood and left over paint sitting around.
Estimated Time Investment
Day Project (6-9 Hours)
Finish Used
One layer of black paint, covered with one layer of cream paint, distressed and clear coated.
Recommended Skill Level
Beginner

Comments

candrea1402

Sun, 08/12/2012 - 13:45

Love this one could you possibly give me the dimensions ? would love to try building this

Rustic X End Table

Submitted by Tonyjoe on Wed, 01/08/2014 - 08:45

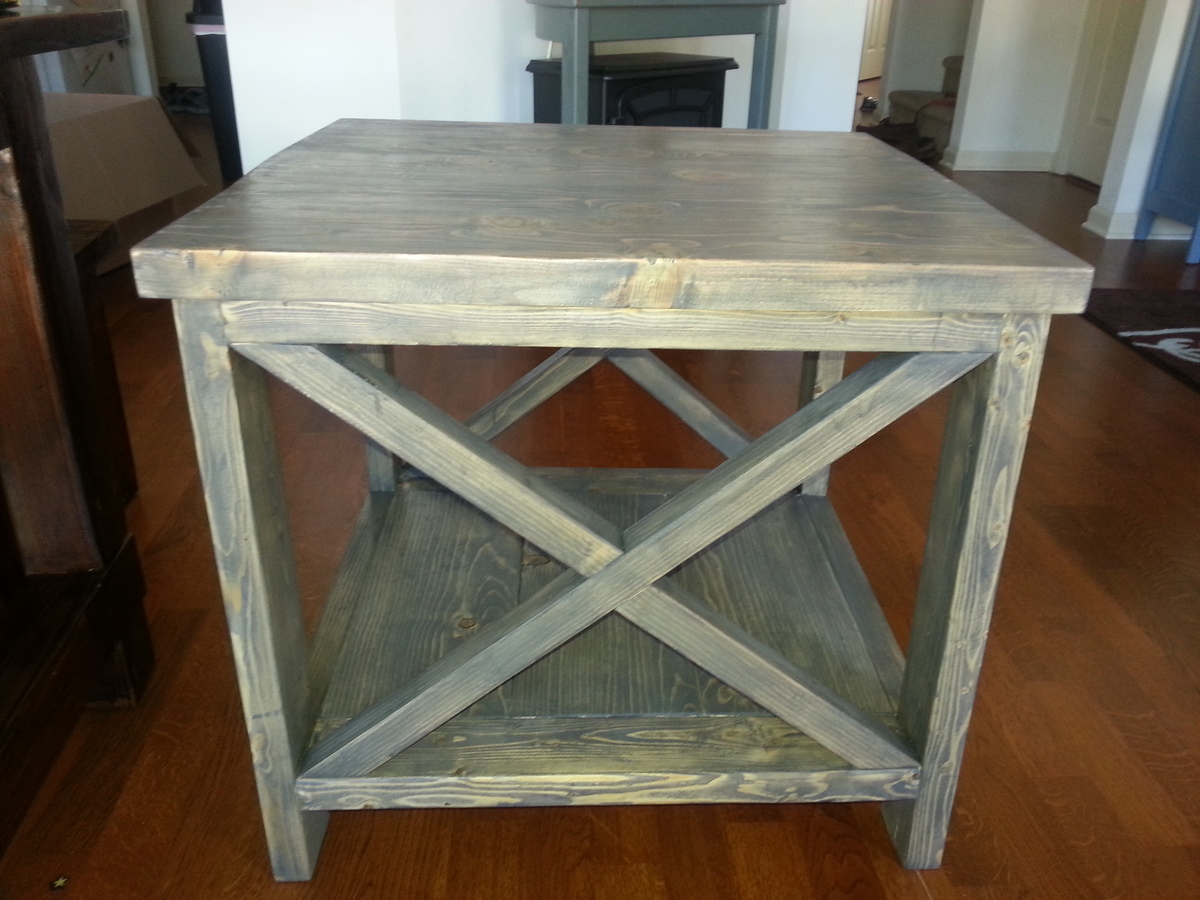
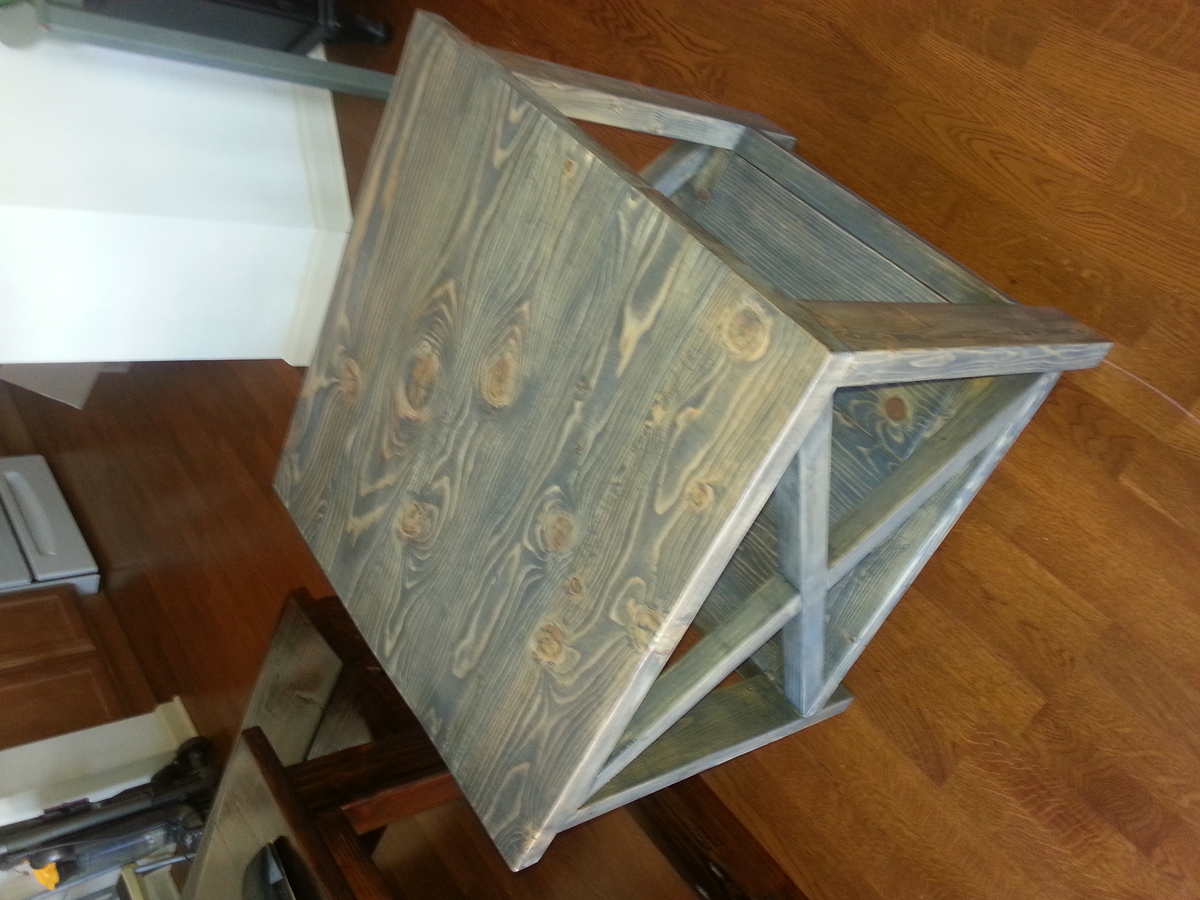
This table was my 4th build from the site and took my wife and I about 10 hours to build.

Built from Plan(s)
Estimated Time Investment
Day Project (6-9 Hours)
Finish Used
Minwax classic gray finish
Recommended Skill Level
Beginner

Modified Grandy Sliding Door Console

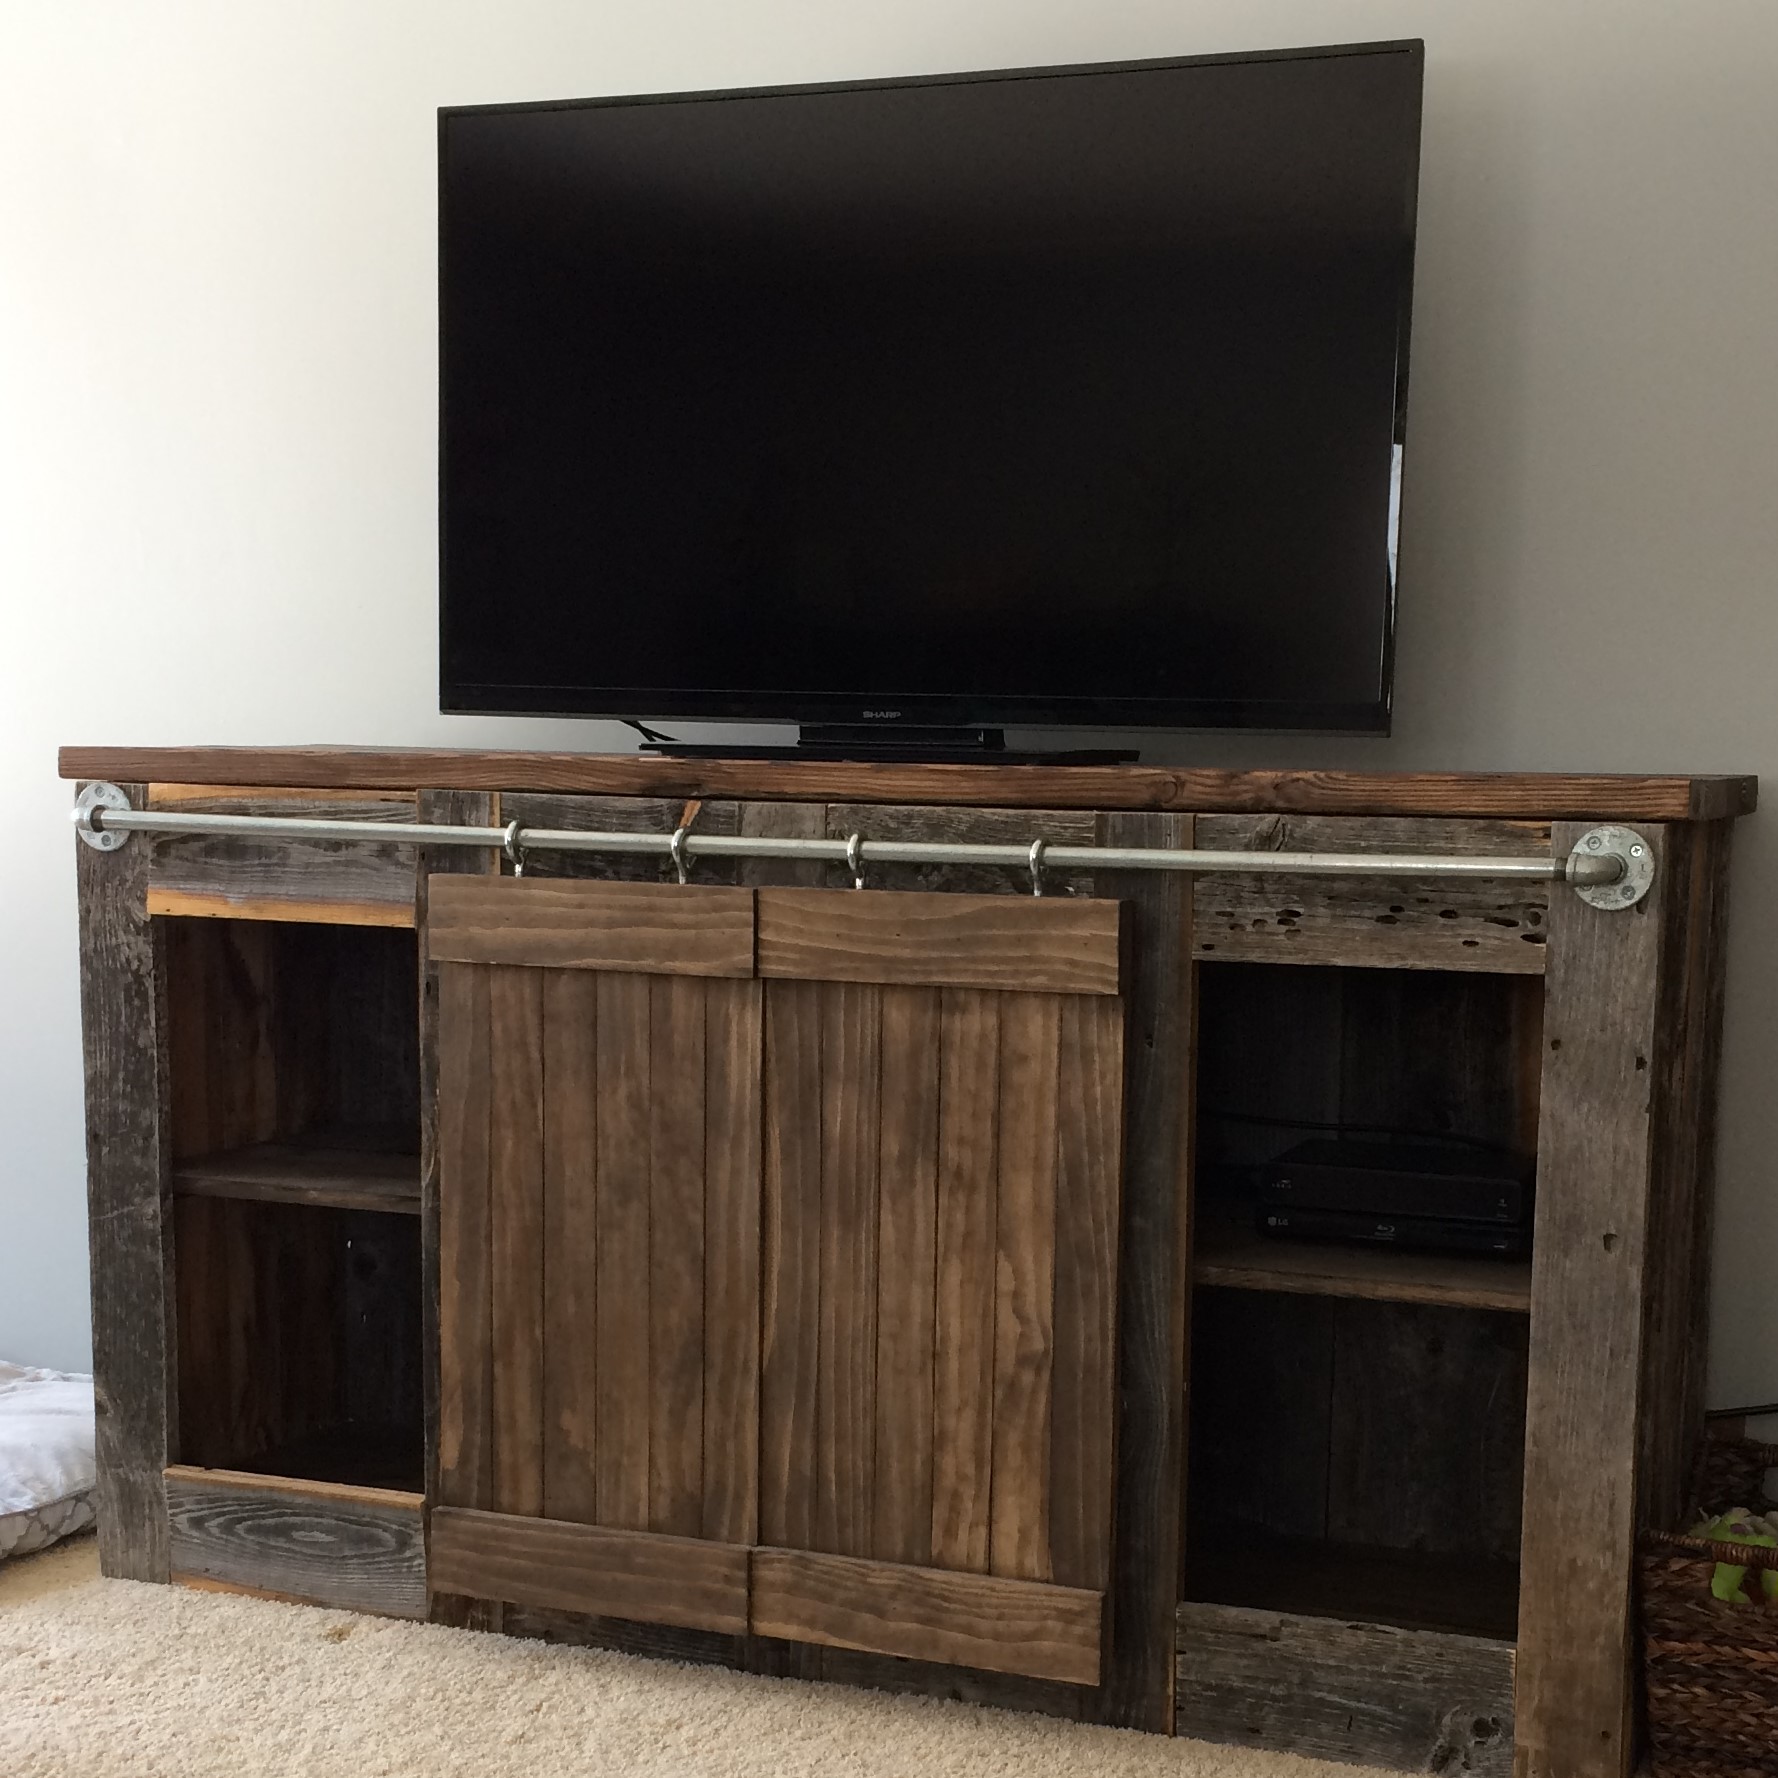
I made my console a little shorter (71 in). I used reclaimed wood for the exterior and sanded/stained wood for the shelving and doors. I used screw eyes and galvanized pipe for the sliding door hardware. A lot of fun!
Built from Plan(s)
Estimated Time Investment
Week Long Project (20 Hours or More)
Recommended Skill Level
Beginner

Comments

paolans12

Fri, 08/12/2016 - 09:15

It looks beautiful, do you have plans ?? would you mind sharing them ?? It'll be my first project ;)

Rustic X Bench for Entry

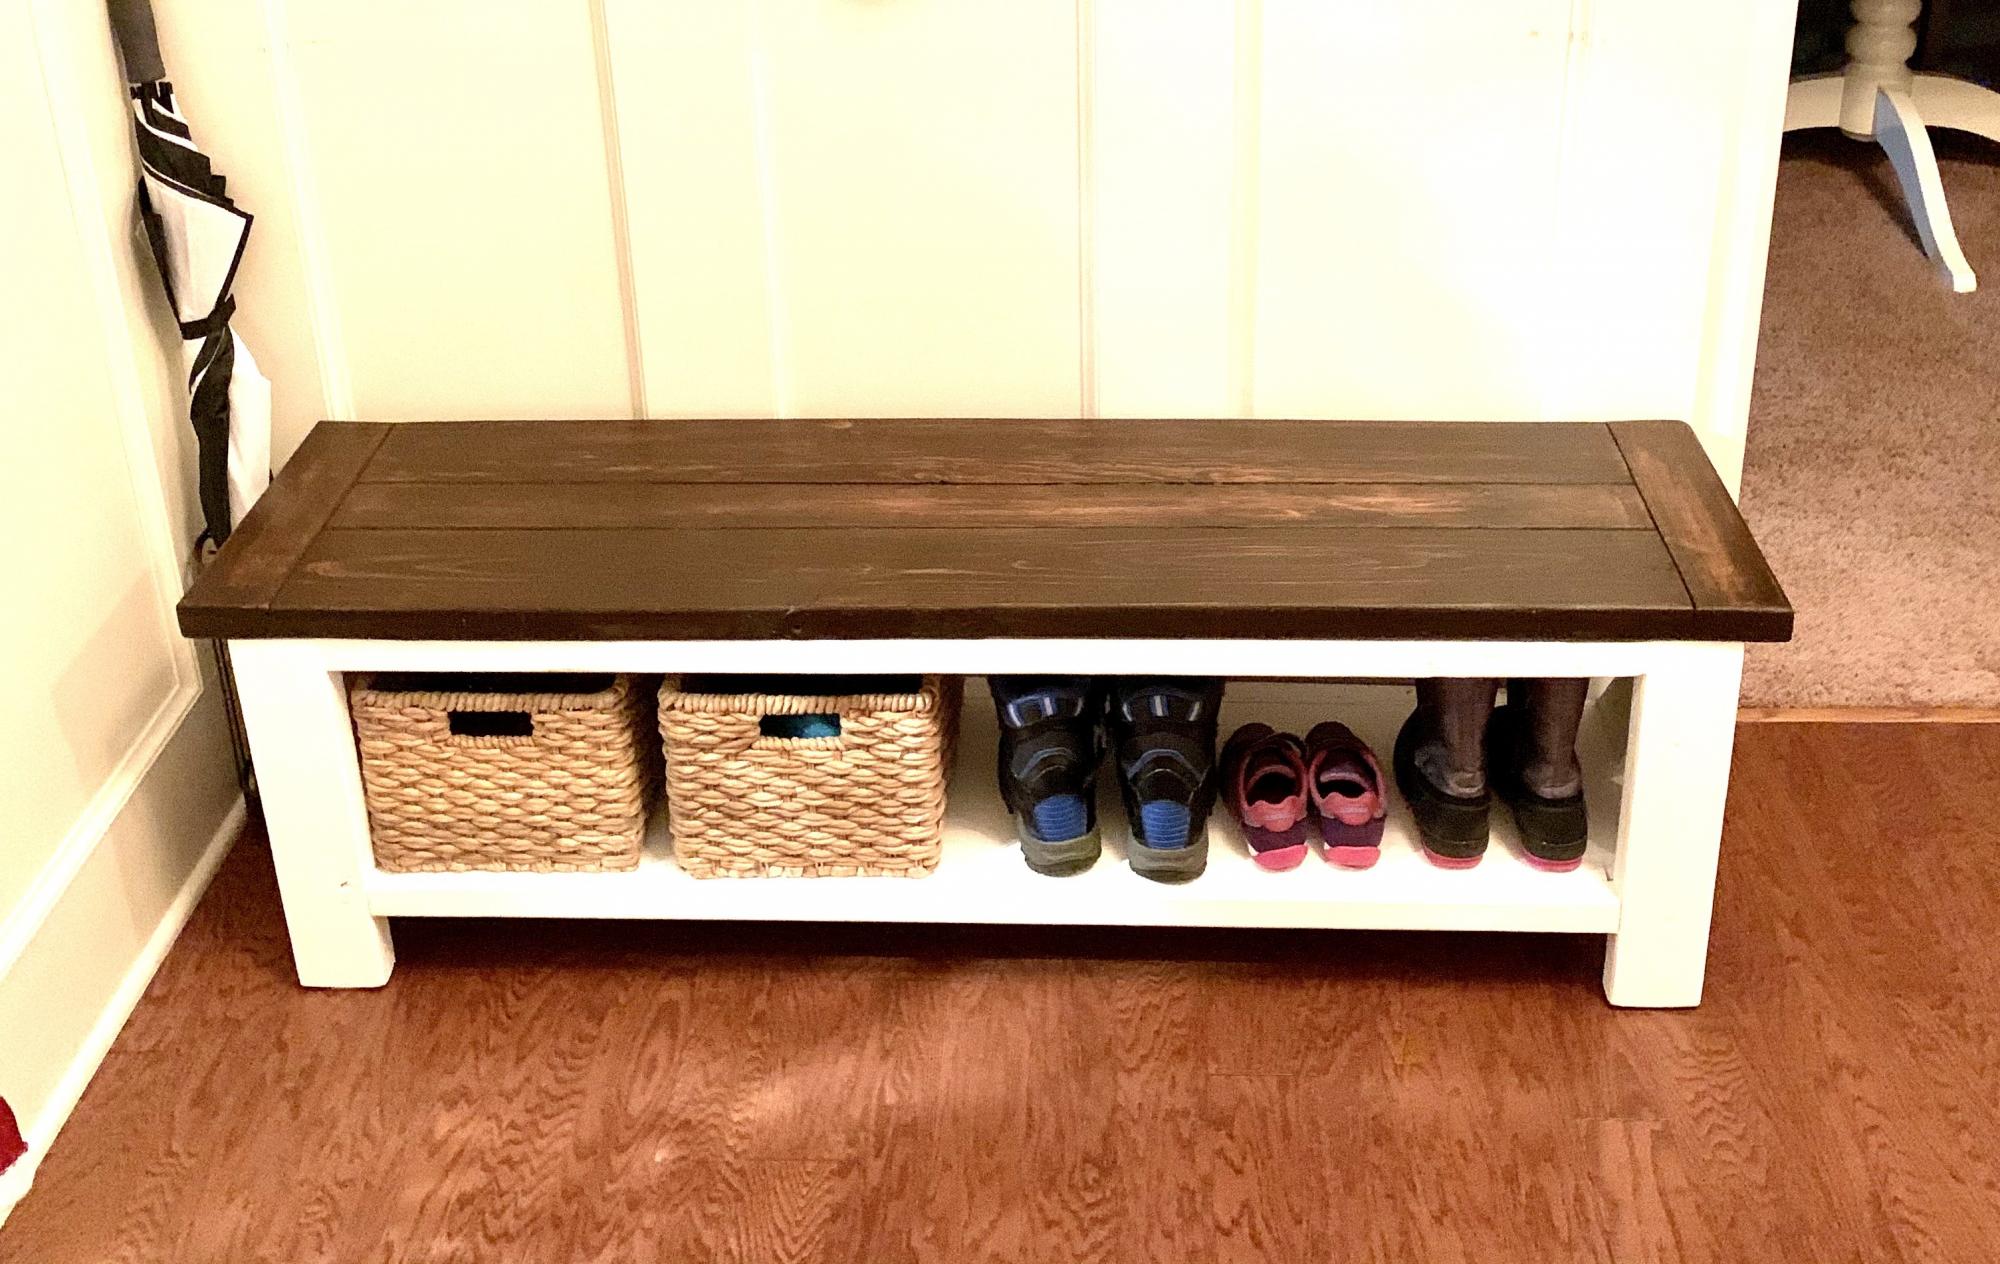
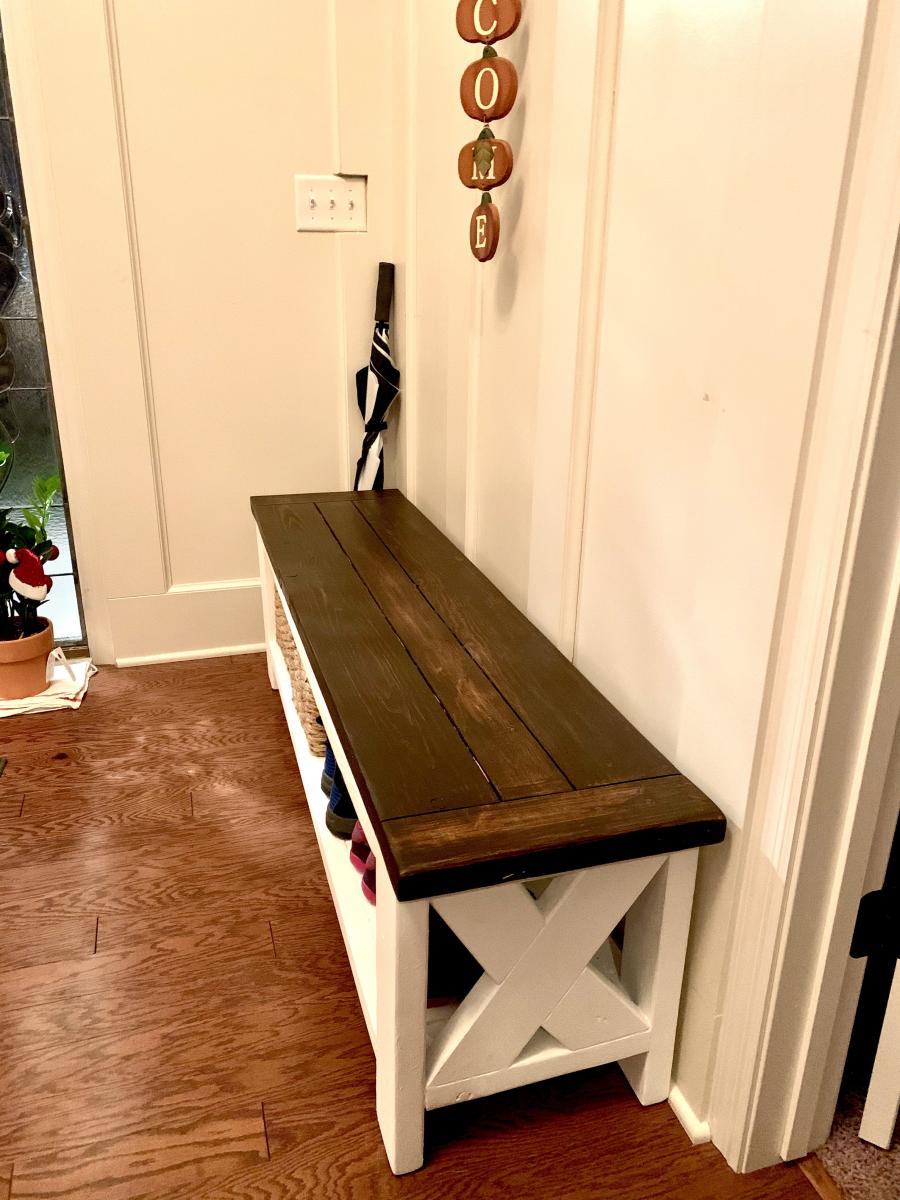
Made 2 changes to the plans which was using a 2 x 4 as a center top board to add some variety to the board width and also decided to go with breadboard ends which also used 2x4

Thanks for the plans!

Built from Plan(s)
Estimated Cost
$50
Estimated Time Investment
Afternoon Project (3-6 Hours)

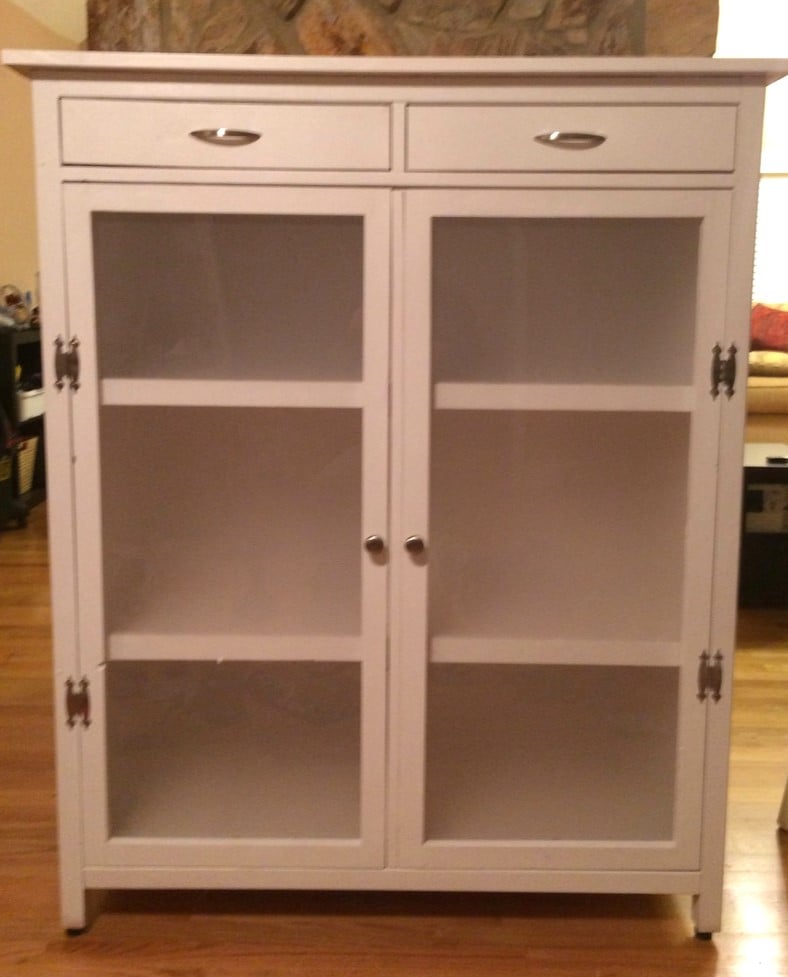
Hemnes linen cabinet finished!

Submitted by Crzymedic on Thu, 01/09/2014 - 16:29

This was my first build for Katy and she loves it! We used acrylic glass and used the frosted spray pains from krylon.

Built from Plan(s)
Estimated Cost
$150 plus what king of panel you use
Estimated Time Investment
Weekend Project (10-20 Hours)
Finish Used
white paint.
Recommended Skill Level
Beginner

Comments

Double Vanity

Submitted by krmoon81 on Thu, 03/31/2016 - 22:30

Well to make a long story short I started out just replacing an old tub in the bathroom which turned into a whole remodel!! I’m talking new toilet, floor, lighting and heck while I was at it lets knock down a wall and make some room for a double vanity. After all in a few years three teenage girls  will be fighting for sink space!!! Honestly I just didn’t want to spend $800 - $1,000 on a double vanity so I decided to take matters into my own hands. This was my first time building any type of functional furniture. I made a ton of mistakes but I also learned many valuable lessons. I really took my time....about 3 weeks...ok, maybe 4. Building this vanity was like cutting 101 for me. #1 lesson I learned, MAKE SURE YOUR CUTS ARE STRAIGHT!!! I also learned the value in test cuts and having a lot of patience and extra wood on hand. Anyone can do this, just be willing to put the time and effort in…and do lots of research.

Estimated Time Investment
Week Long Project (20 Hours or More)
Finish Used
Paint
Recommended Skill Level
Beginner

Comments

TV Console

Submitted by J. Davis on Fri, 11/29/2019 - 17:24

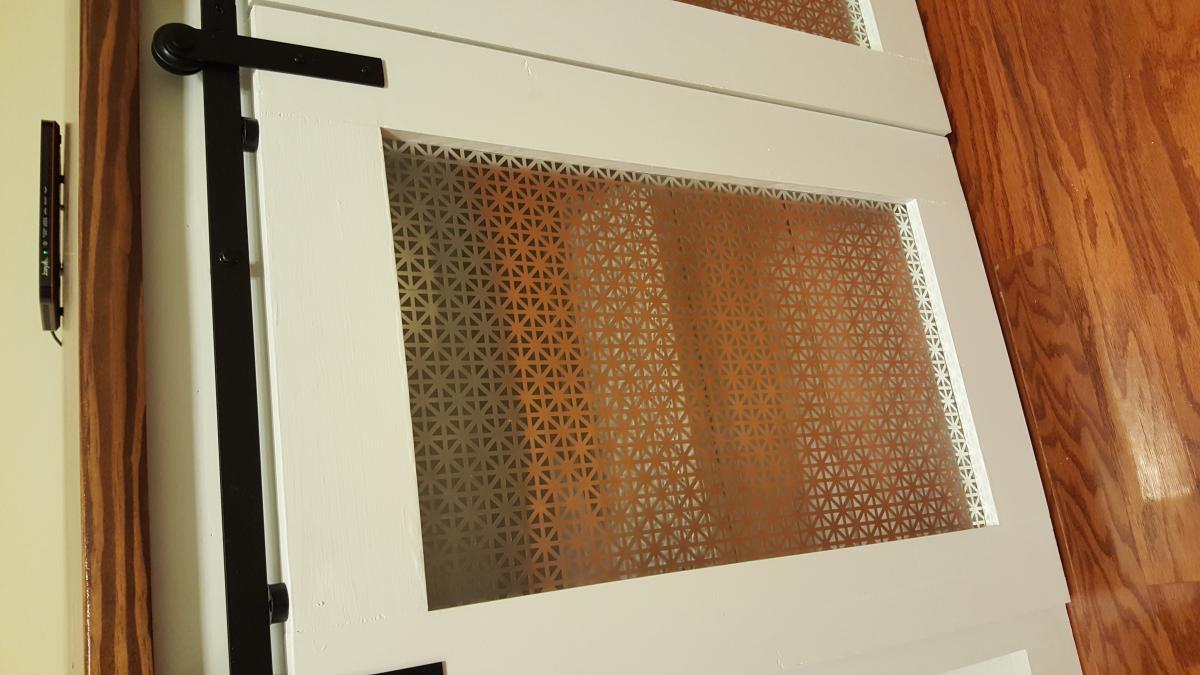
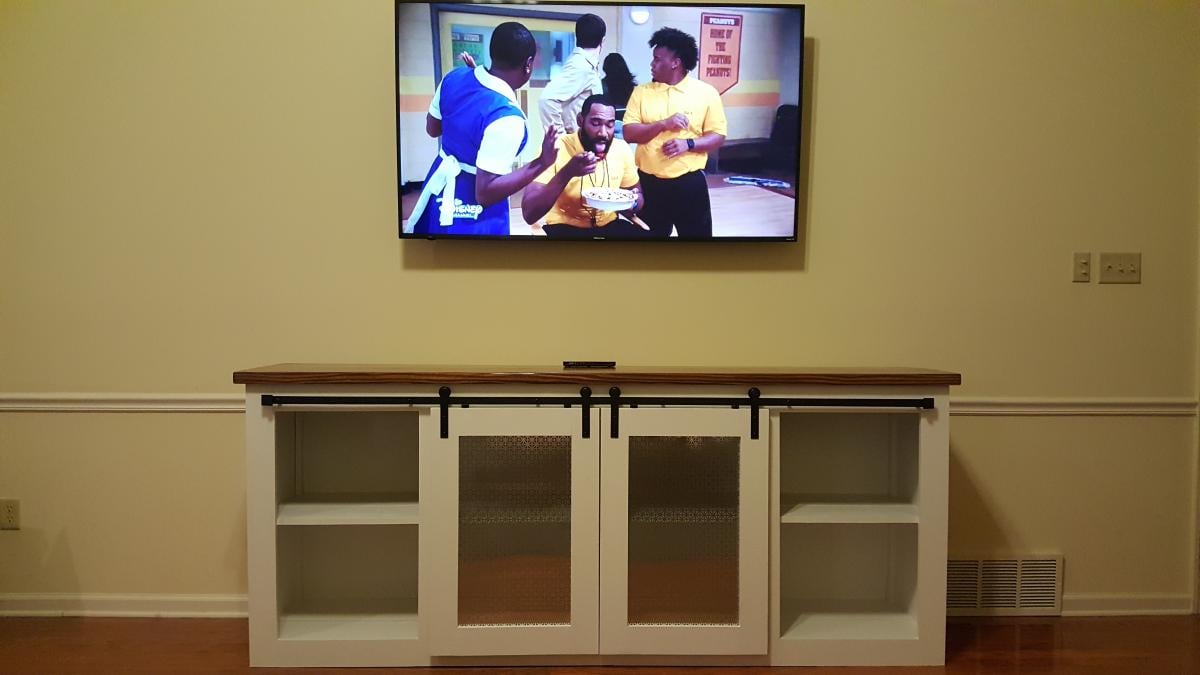
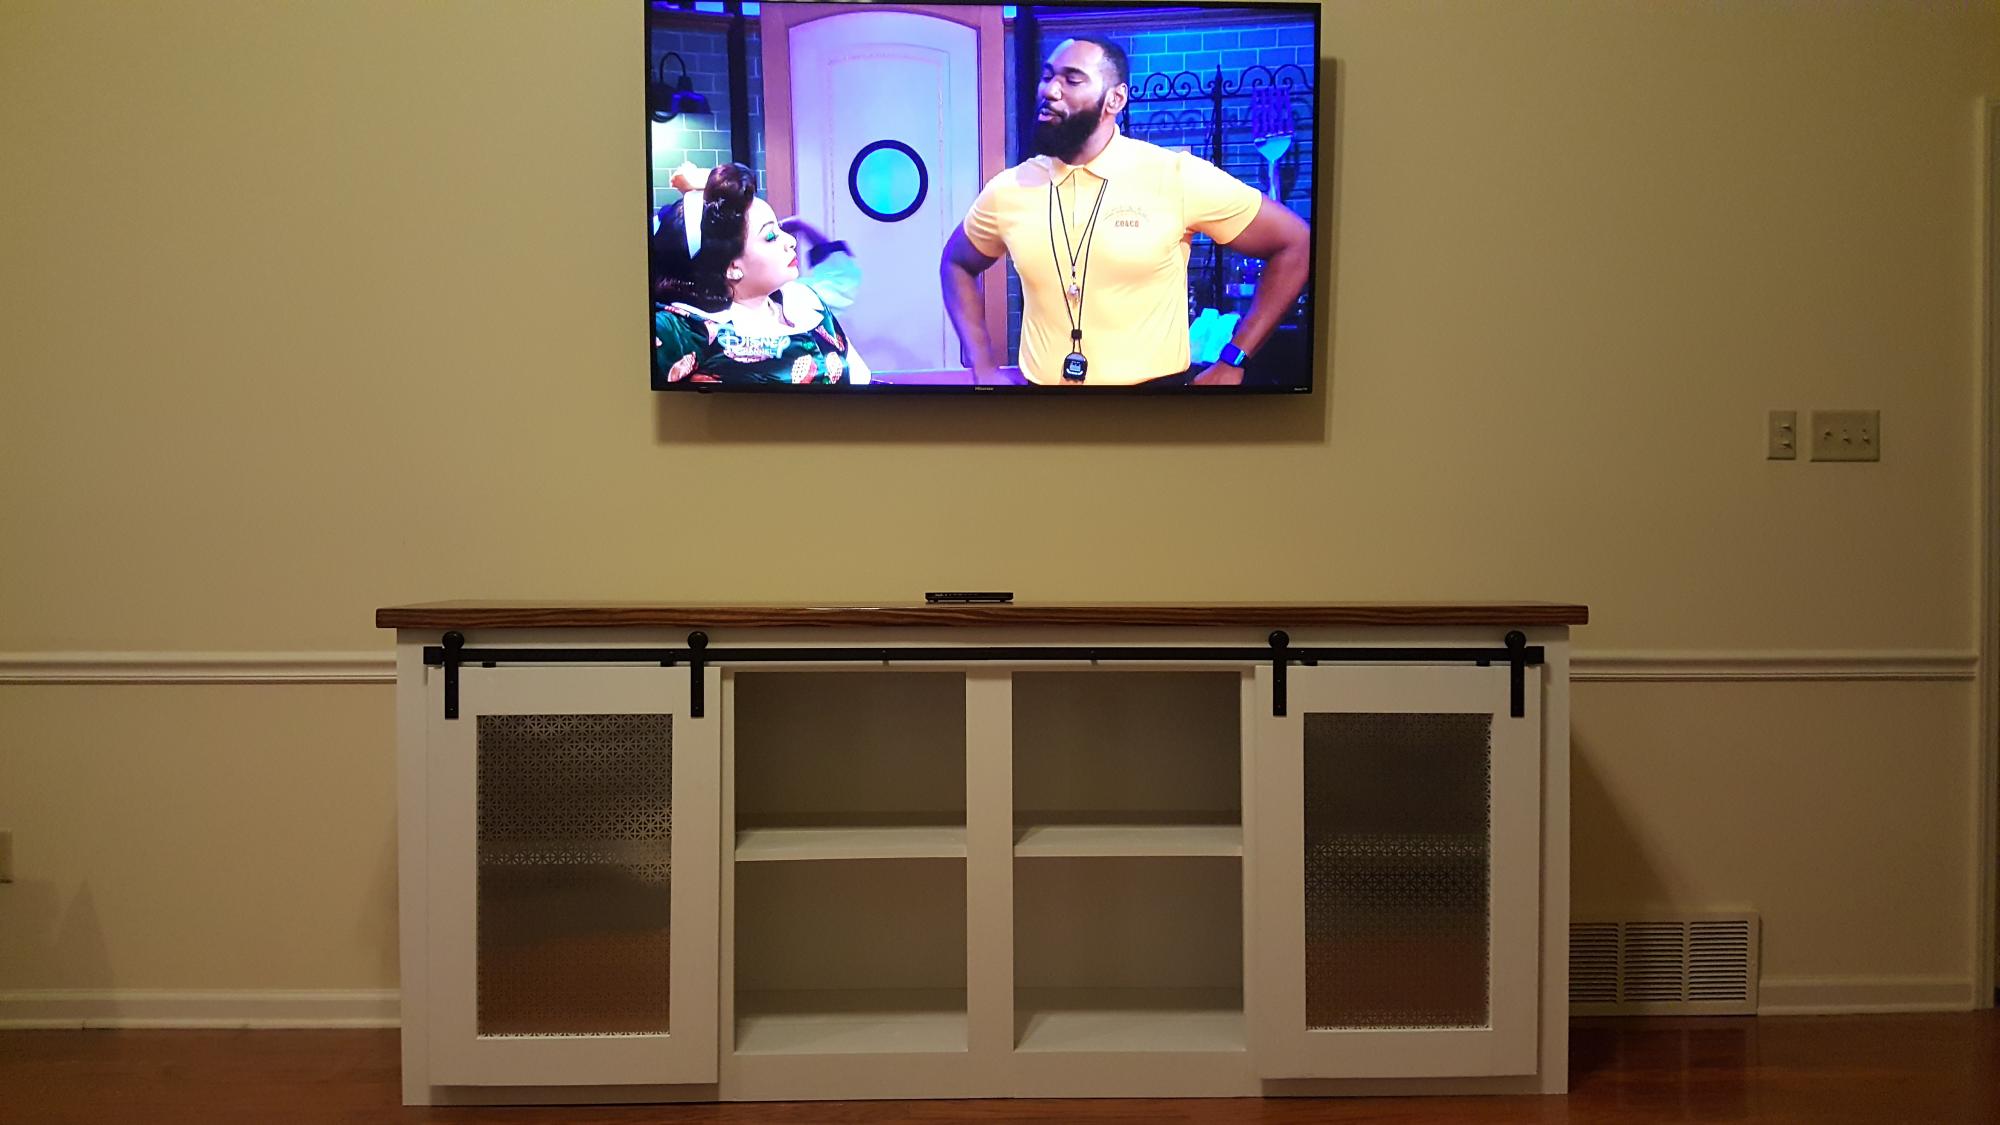
I used the Grand Barn Door Console plans to build my wife an entertainment center. Instead on the "barn doors", I framed them out and attached a patterned sheet metal, from the back.

Built from Plan(s)
Estimated Cost
200
Estimated Time Investment
Weekend Project (10-20 Hours)
Finish Used
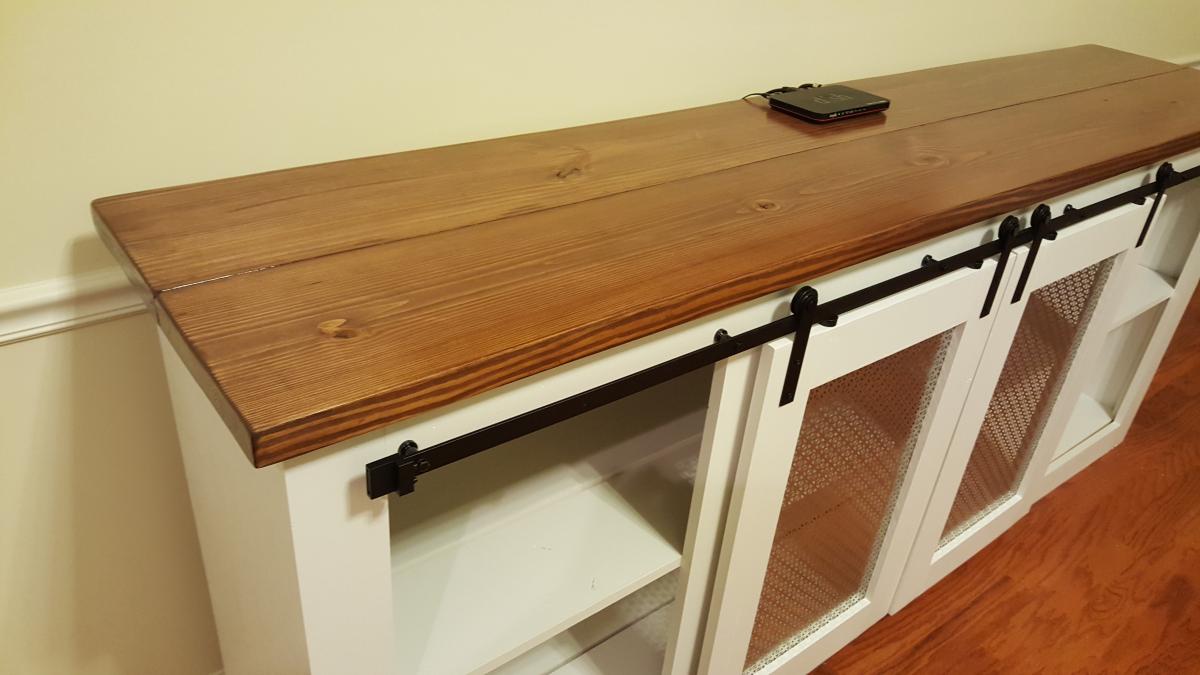
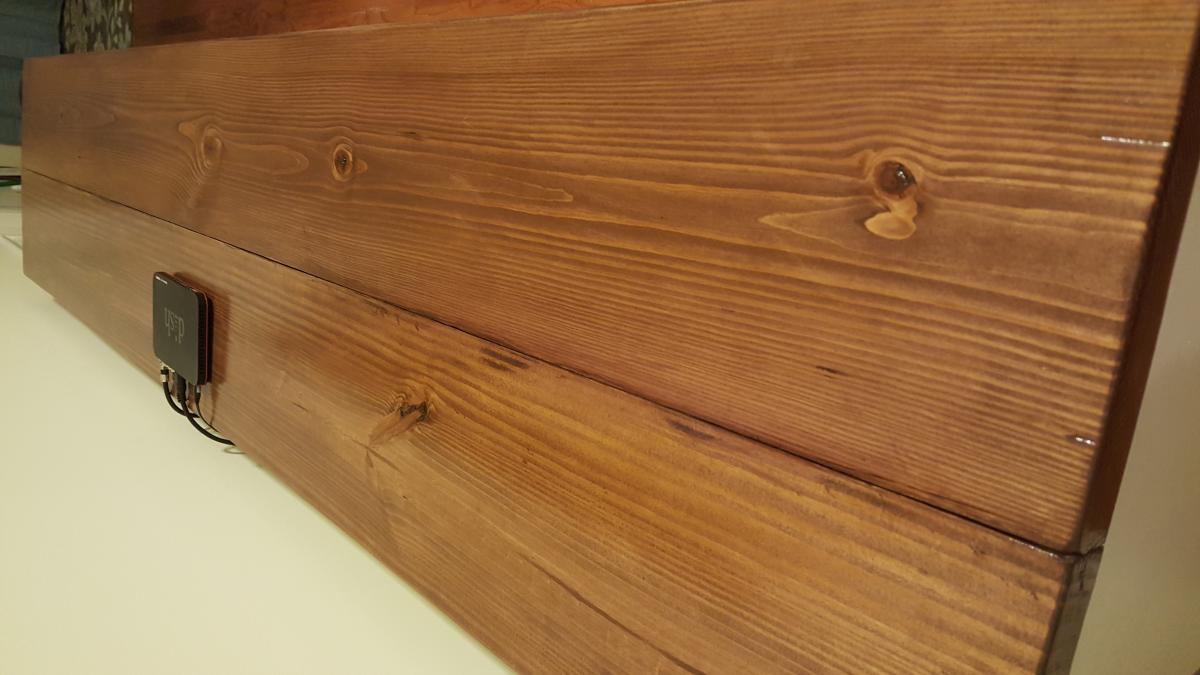
The base has 3 coats of white furniture paint. The top was sanded down to 120grit, stained, and polyed.
Recommended Skill Level
Beginner

Ten dollar ledges

Submitted by Spolitte on Wed, 03/21/2012 - 20:50

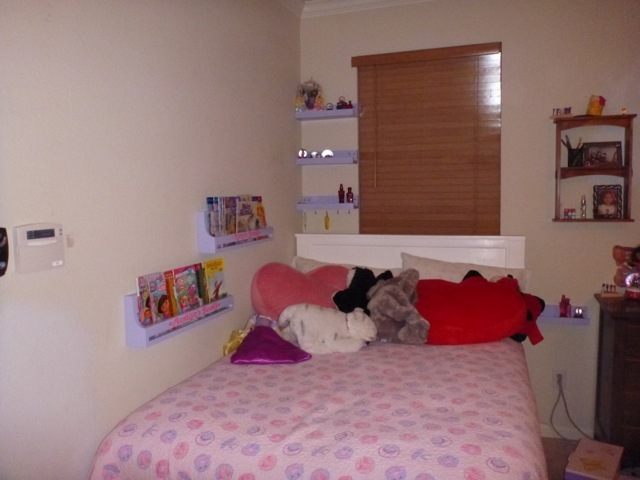
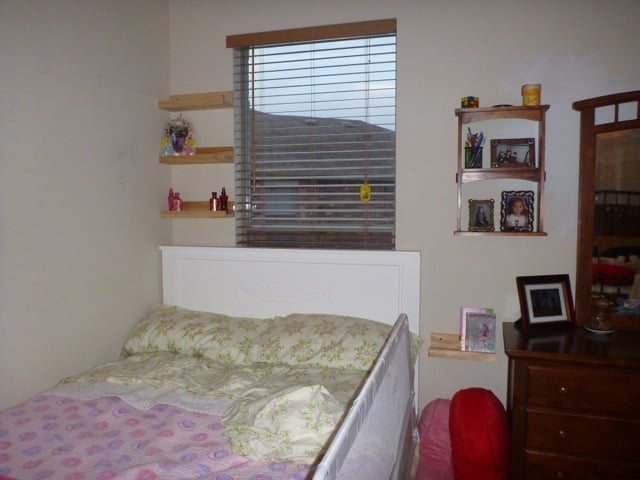
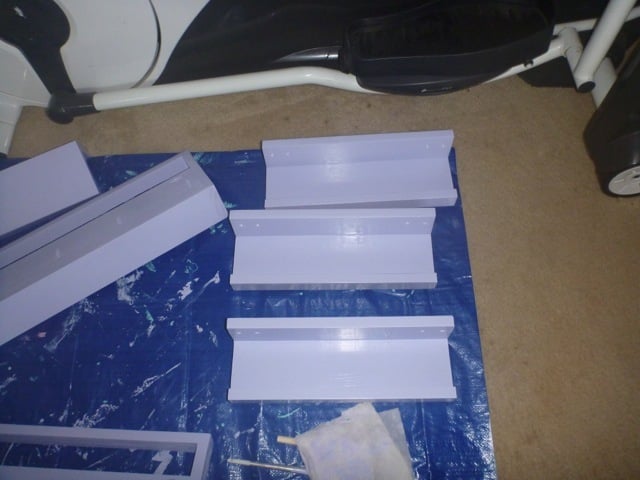
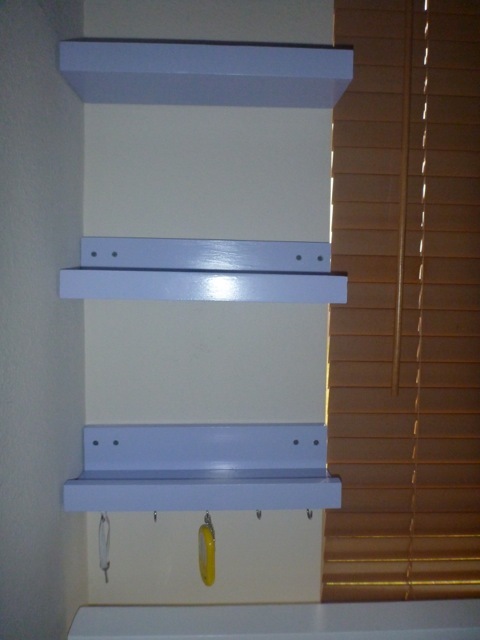
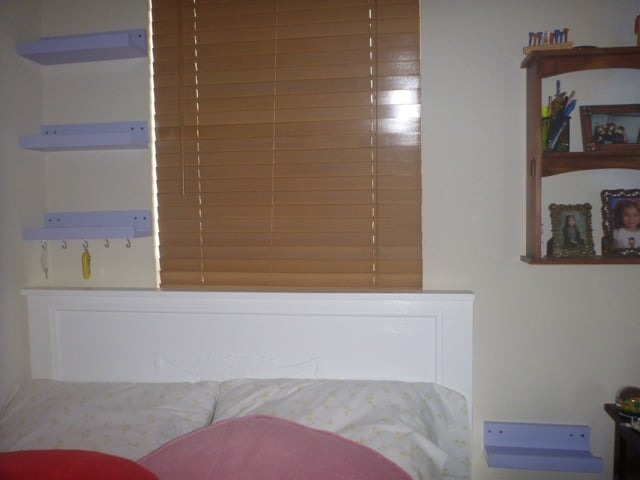
Here are a few of the ten dollar ledges we added around the girls bed. We had no room for tables so we thought we would give this a try. It's working beautifully. We hung the ledges in studs and they are standing up to constant use perfectly. The girls have space for their most cherished nik naks and a drink in case they wake thirsty in the night. We couldn't be more pleased. Now I'm seeing the possibility for ledges in every room.

Built from Plan(s)
Estimated Cost
6.00 minus the paint.
Estimated Time Investment
Afternoon Project (3-6 Hours)
Finish Used
No voc semi gloss for easy cleaning
Recommended Skill Level
Beginner

Comments

garryh (not verified)

Thu, 04/19/2012 - 19:01

If converting existing floor space into a half-bathroom, such a renovation can cost as little as a few thousand dollars, making the addition of a powder room one of the few home improvement projects where the value added to the home exceeds the cost of the renovation.water damage Pearland tx

hannah22 (not verified)

Sat, 04/21/2012 - 00:28

Before you go to use it...if it's been sitting for awhile...give it a good shake. As you can see in this picture...it does tend to separate a bit. But after a quick shake it's good to go. To use: spray on stains as you normally would. I usually let mine "soak in" for a few minutes at least. Then launder as usual.water damage Temecula CA

bobp22 (not verified)

Fri, 05/18/2012 - 19:54

I used to be more than happy to seek out this internet-site.I wanted to thanks in your time for this glorious read!! I positively enjoying each little bit of it and I have you bookmarked to check out new stuff you weblog post. Water Damage Anaheim CA

peak22 (not verified)

Fri, 06/01/2012 - 04:59

Quite insightful submit. Never believed that it was this simple after all. I had spent a very good deal of my time looking for someone to explain this subject clearly and you're the only one that ever did that. Kudos to you! Keep it up. Water extraction Lakeline OH

kim22 (not verified)

Sun, 06/17/2012 - 20:37

I'm so excited that I have found this your post because I have been searching for some information about it almost three hours. You helped me a lot indeed and reading this your article I have found many new and useful information about this subject. Paint Contractor Glendale AZ

milep (not verified)

Mon, 07/16/2012 - 22:55

The program is designed under the same model as new homes built for Habitat families where the veteran will repay the zero interest loan necessary for these repairs, which is then deposited into a revolving fund to assist additional families in need of decent housing. Mold Inspection Covington LA

ricky17p (not verified)

Wed, 08/01/2012 - 22:13

If you're involved in a head-on crash, the windshield must stay in place to keep you inside the car and to keep flying debris out. If the windshield flies out, so too may you or your kids. Improperly installed windshields can easily be dislodged during a crash. Architectural Engineer NYC

ricky17 (not verified)

Fri, 08/17/2012 - 06:48

You have to put efforts in home maintenance to make sure everything is in right condition. If any part of your house needs repairing then have it repaired immediately. If you neglect the problem for too long then it might become even more complicated. Masonry contractor West Hartford CT

ghikh (not verified)

Tue, 11/20/2012 - 00:17

This is represented partly in the significantly higher frequency and register neutrality of connectives such as tak or totiž when compared with the English so and therefore but primarily by the nature of the mental spaces set up by the Czech lexemes. water damage Anaheim CA

Waylanderman (not verified)

Fri, 11/30/2012 - 03:19

The contemporary strategy is often focused on the development of specific skills and abilities. As a result, it fails to provide with the broader education and, instead of the formation harmonious, balanced personalities, it breeds specialists trained to work in a specific field. This is a good example like the ones http://bestsamplepapers.com does. People prefer more broad basis.

Hailey Platform Bed and Kentwood Bookshelves

Submitted by kjw003 on Sat, 01/11/2014 - 16:31

Built the Hailey Platform bed with planked headboard, and two Kentwood bookshelves, for a guest room in our new house! The dimensions of the bookshelves were changed a bit to fit the space, but the bed (should be) built to dimensions in the plan for a full size bed.

Estimated Time Investment
Week Long Project (20 Hours or More)
Finish Used
Stain was apple cider vinegar vinegar and steel wool mixture. Sealant used was Vermont Natural Coatings Polywhey furniture finish (satin finish).
Recommended Skill Level
Starter Project

Study Desks

Submitted by rosiejane on Sun, 04/03/2016 - 21:54

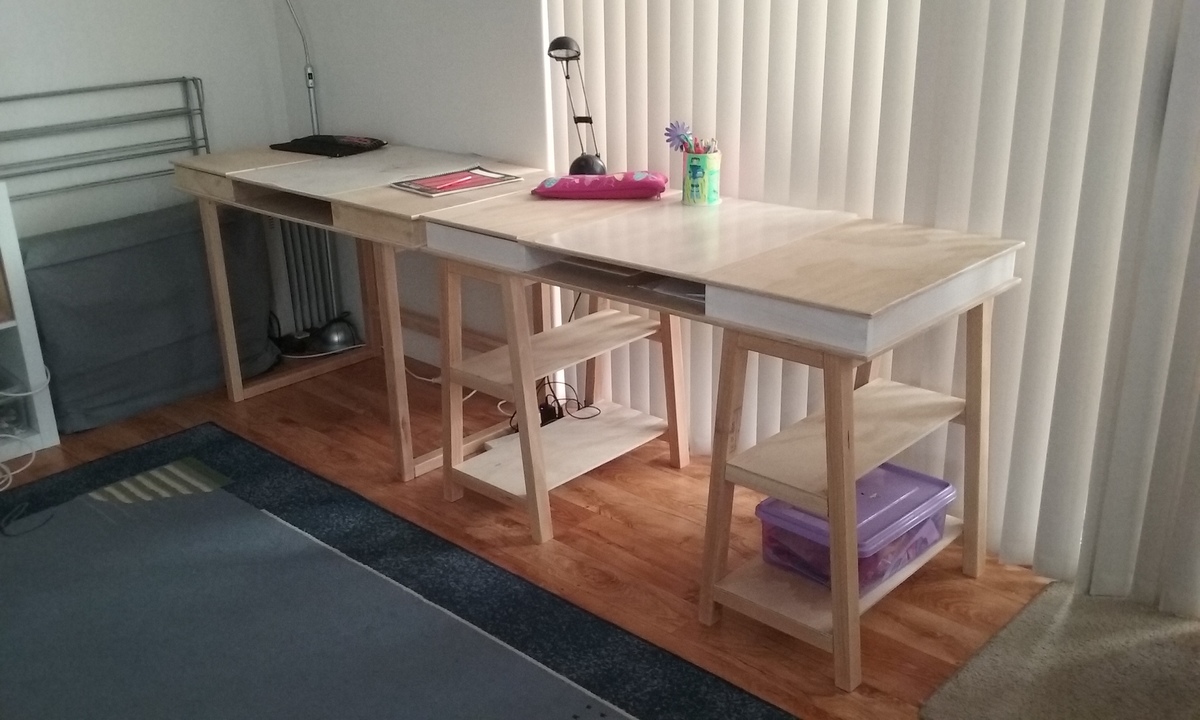
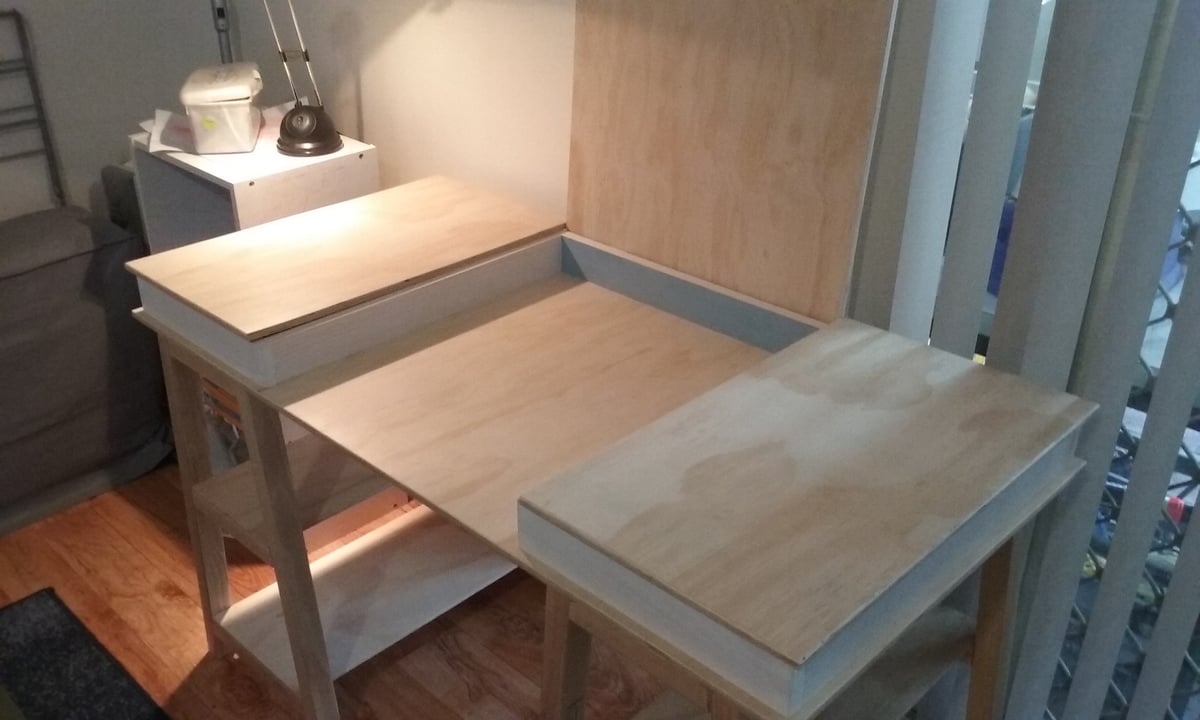
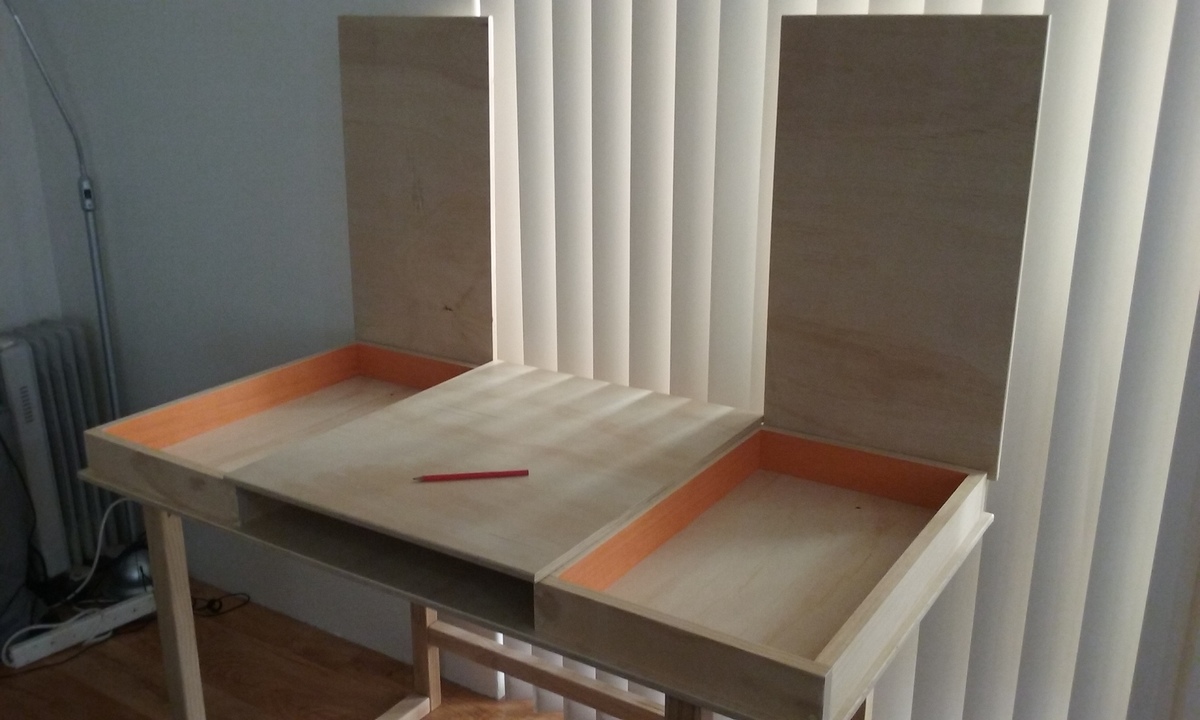
I built a desk each for my son and daughter. They got to choose the type of base. I used old bed slats 90x45mm (4x2) salvaged from verge ripped in half for the bases. I used 12mm plywood for the tops. 7mm ply for the shelves on the sawhorse leg version. Unfortunately, despite getting the straightest and flattest plywood available and subjecting it to all sorts of manipulation, a couple of the flip-top sections are warped to there are slight gaps on one side.
I modified the plan so that the middle section could lift up as well. The back 1x3 of the storage section extended the full width.

Estimated Cost
AUD$60 per desk
Estimated Time Investment
Week Long Project (20 Hours or More)
Finish Used
I experimented with a paint wash finish 50/50 paint/water for the inside of the storage sections. Everything was given a couple of coats of clear satin varnish.
Recommended Skill Level
Intermediate

DIY Farmhouse Cabinet

Submitted by Anonymous (not verified) on Thu, 08/10/2023 - 15:53

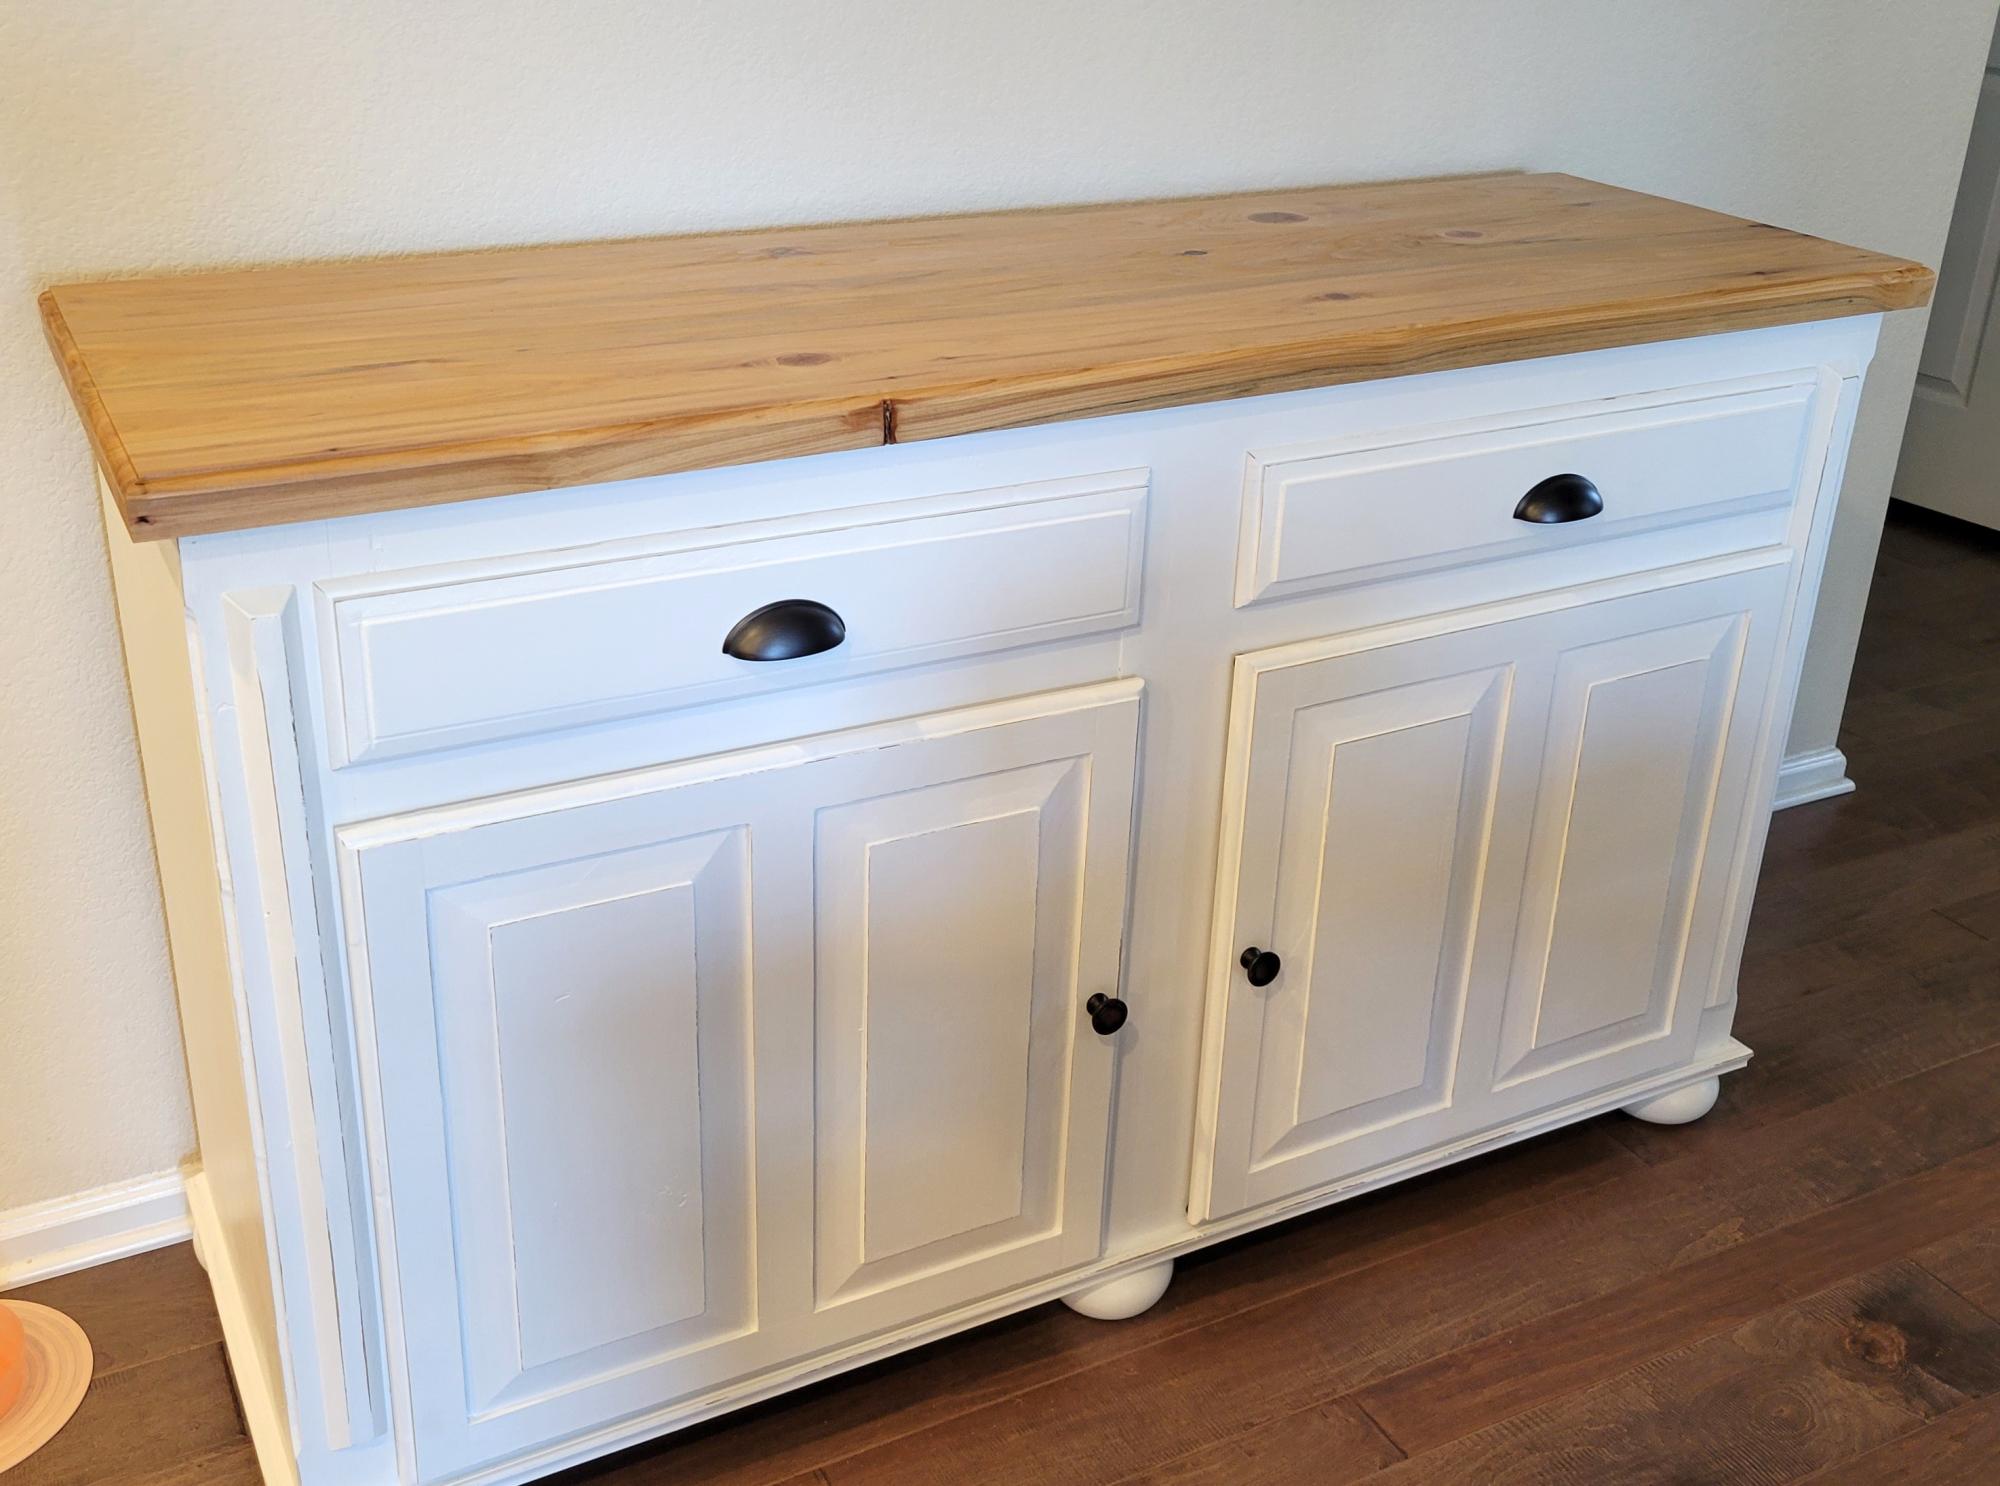
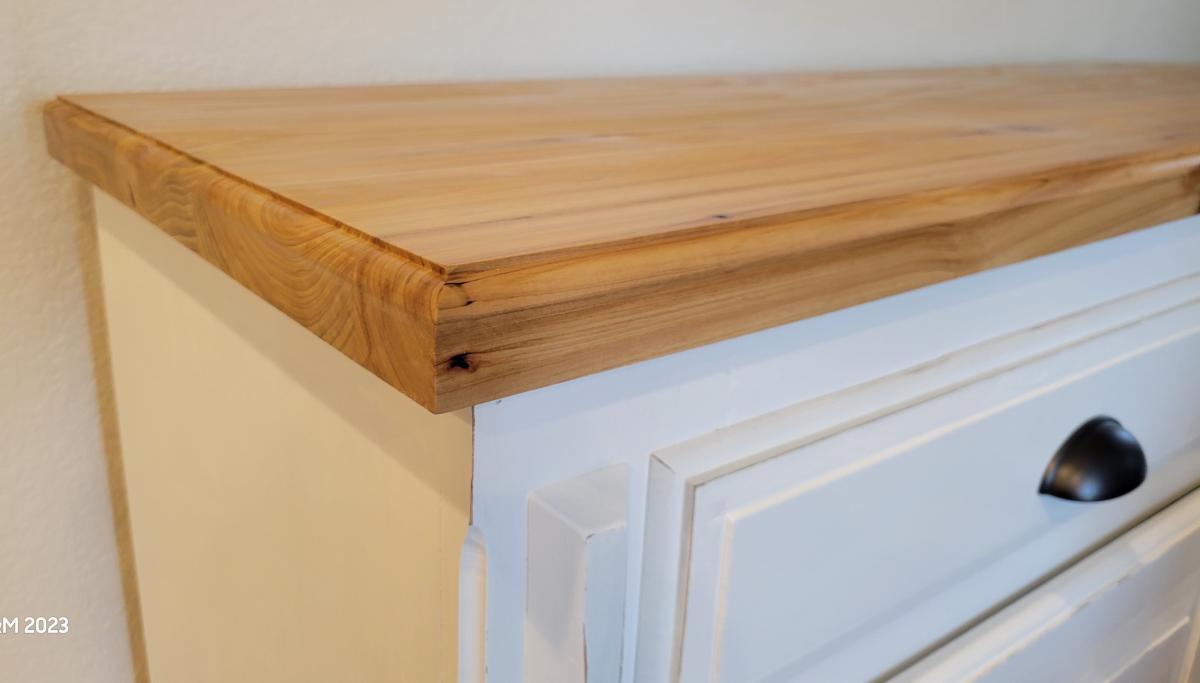
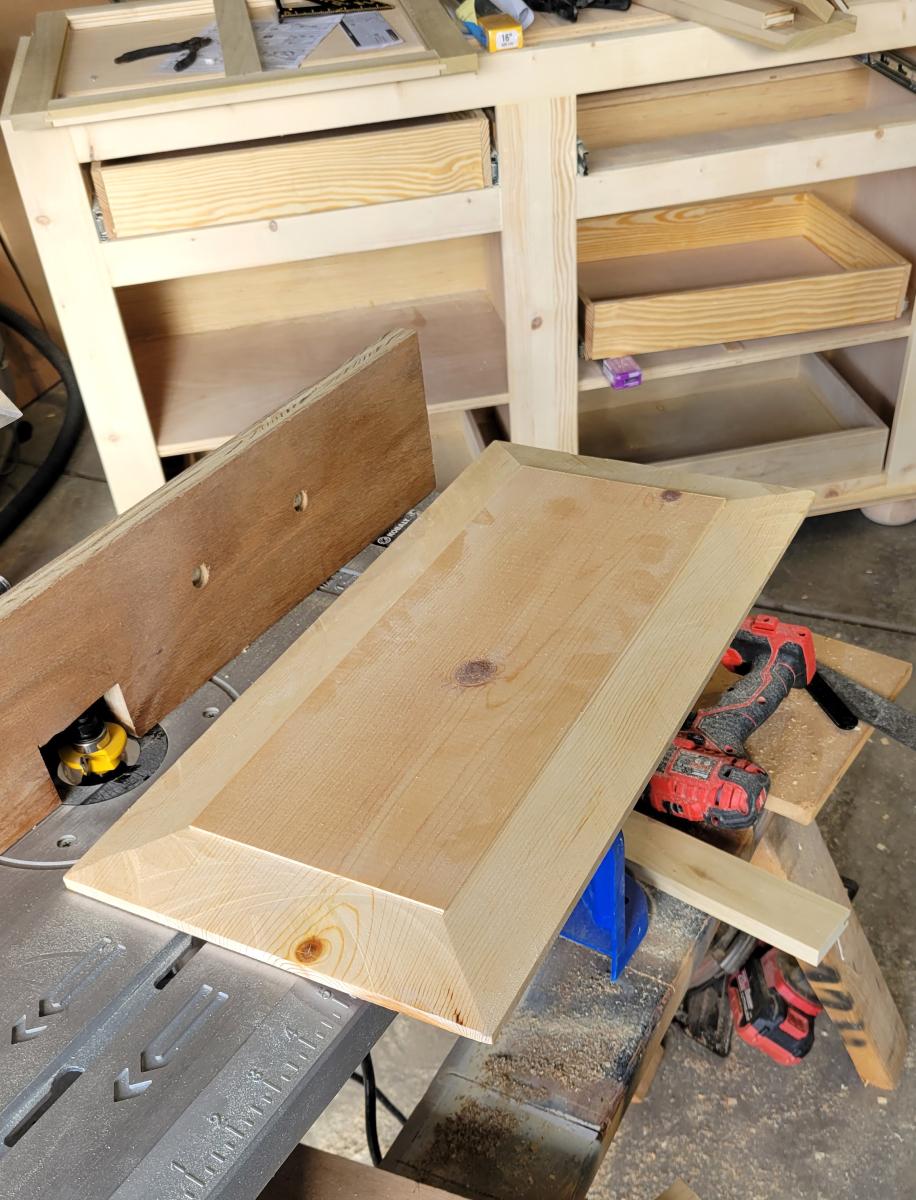
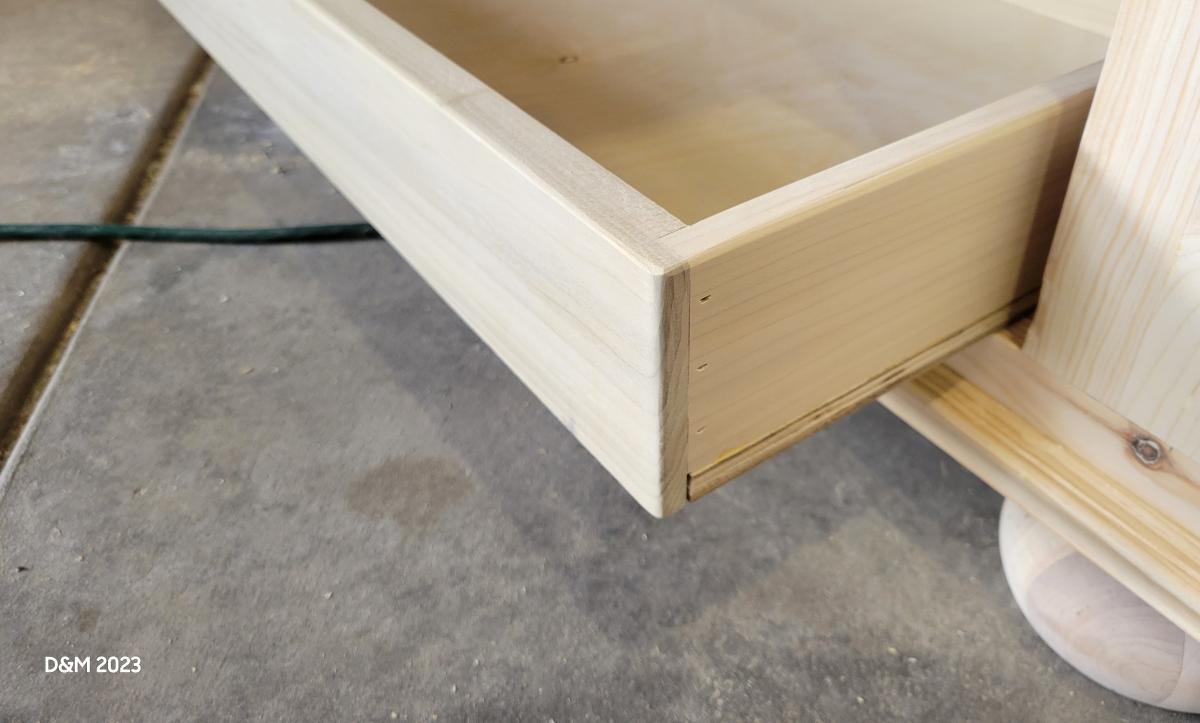
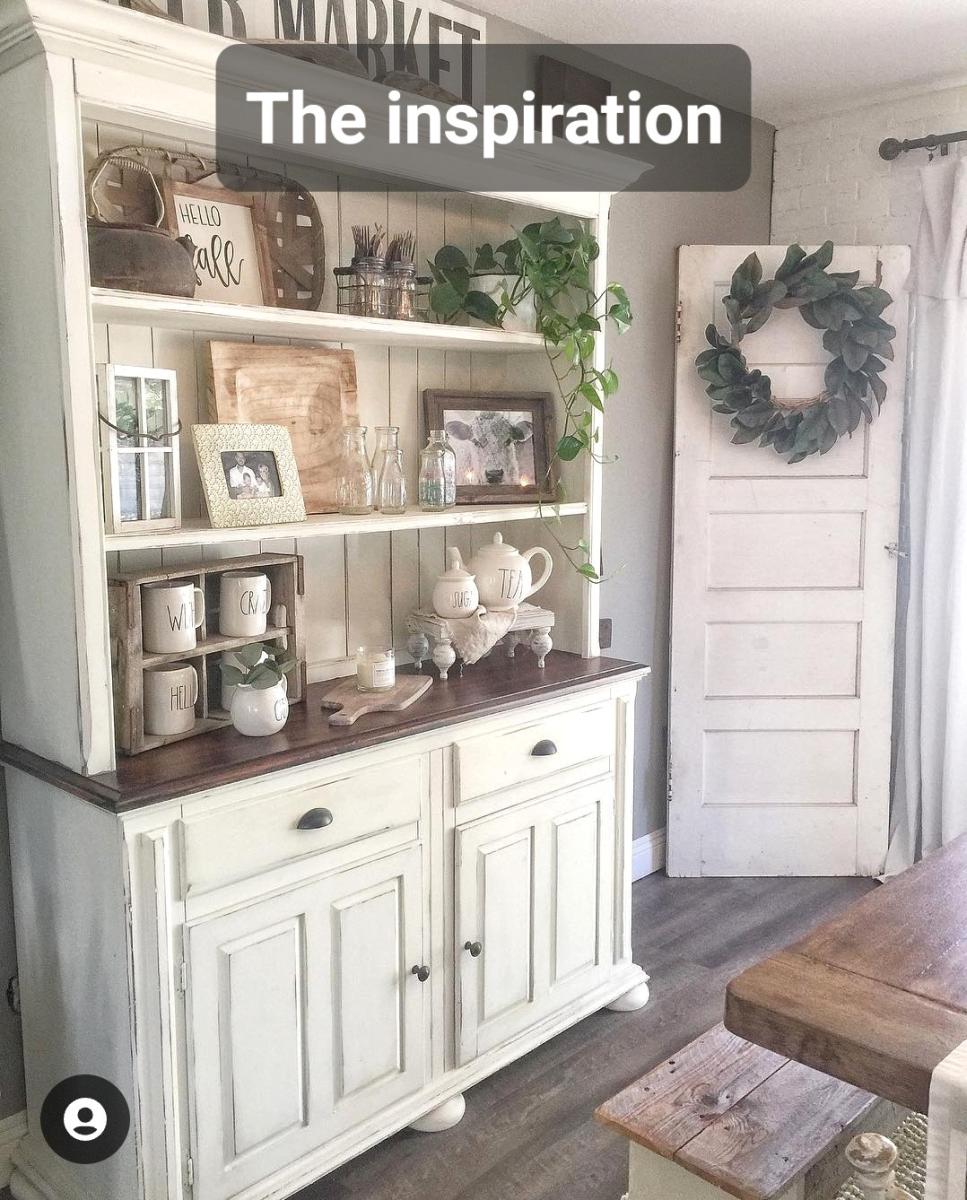
The inspiration for this piece came from an Instagram post. We decided on our overall dimensions (36" tall, 18" deep and 60" long), then more or less guessed what the size of the pieces for the face frame would be. We recreated it as best we could and I think it came out incredible. It has soft close drawers on top and the hand-made sliding shelves are also soft close. The raised panels for the doors were made on a table saw. The doors have soft close hinges. The cabinet is made from maple plywood, oak plywood, yellow pine and poplar. The top is made of cypress and stained with Minwax "fruitwood" color and semi-gloss urethane. Next step is to make the shelves which will be 48" tall overall.

Dave Patterson

Back