DIY Brew Station
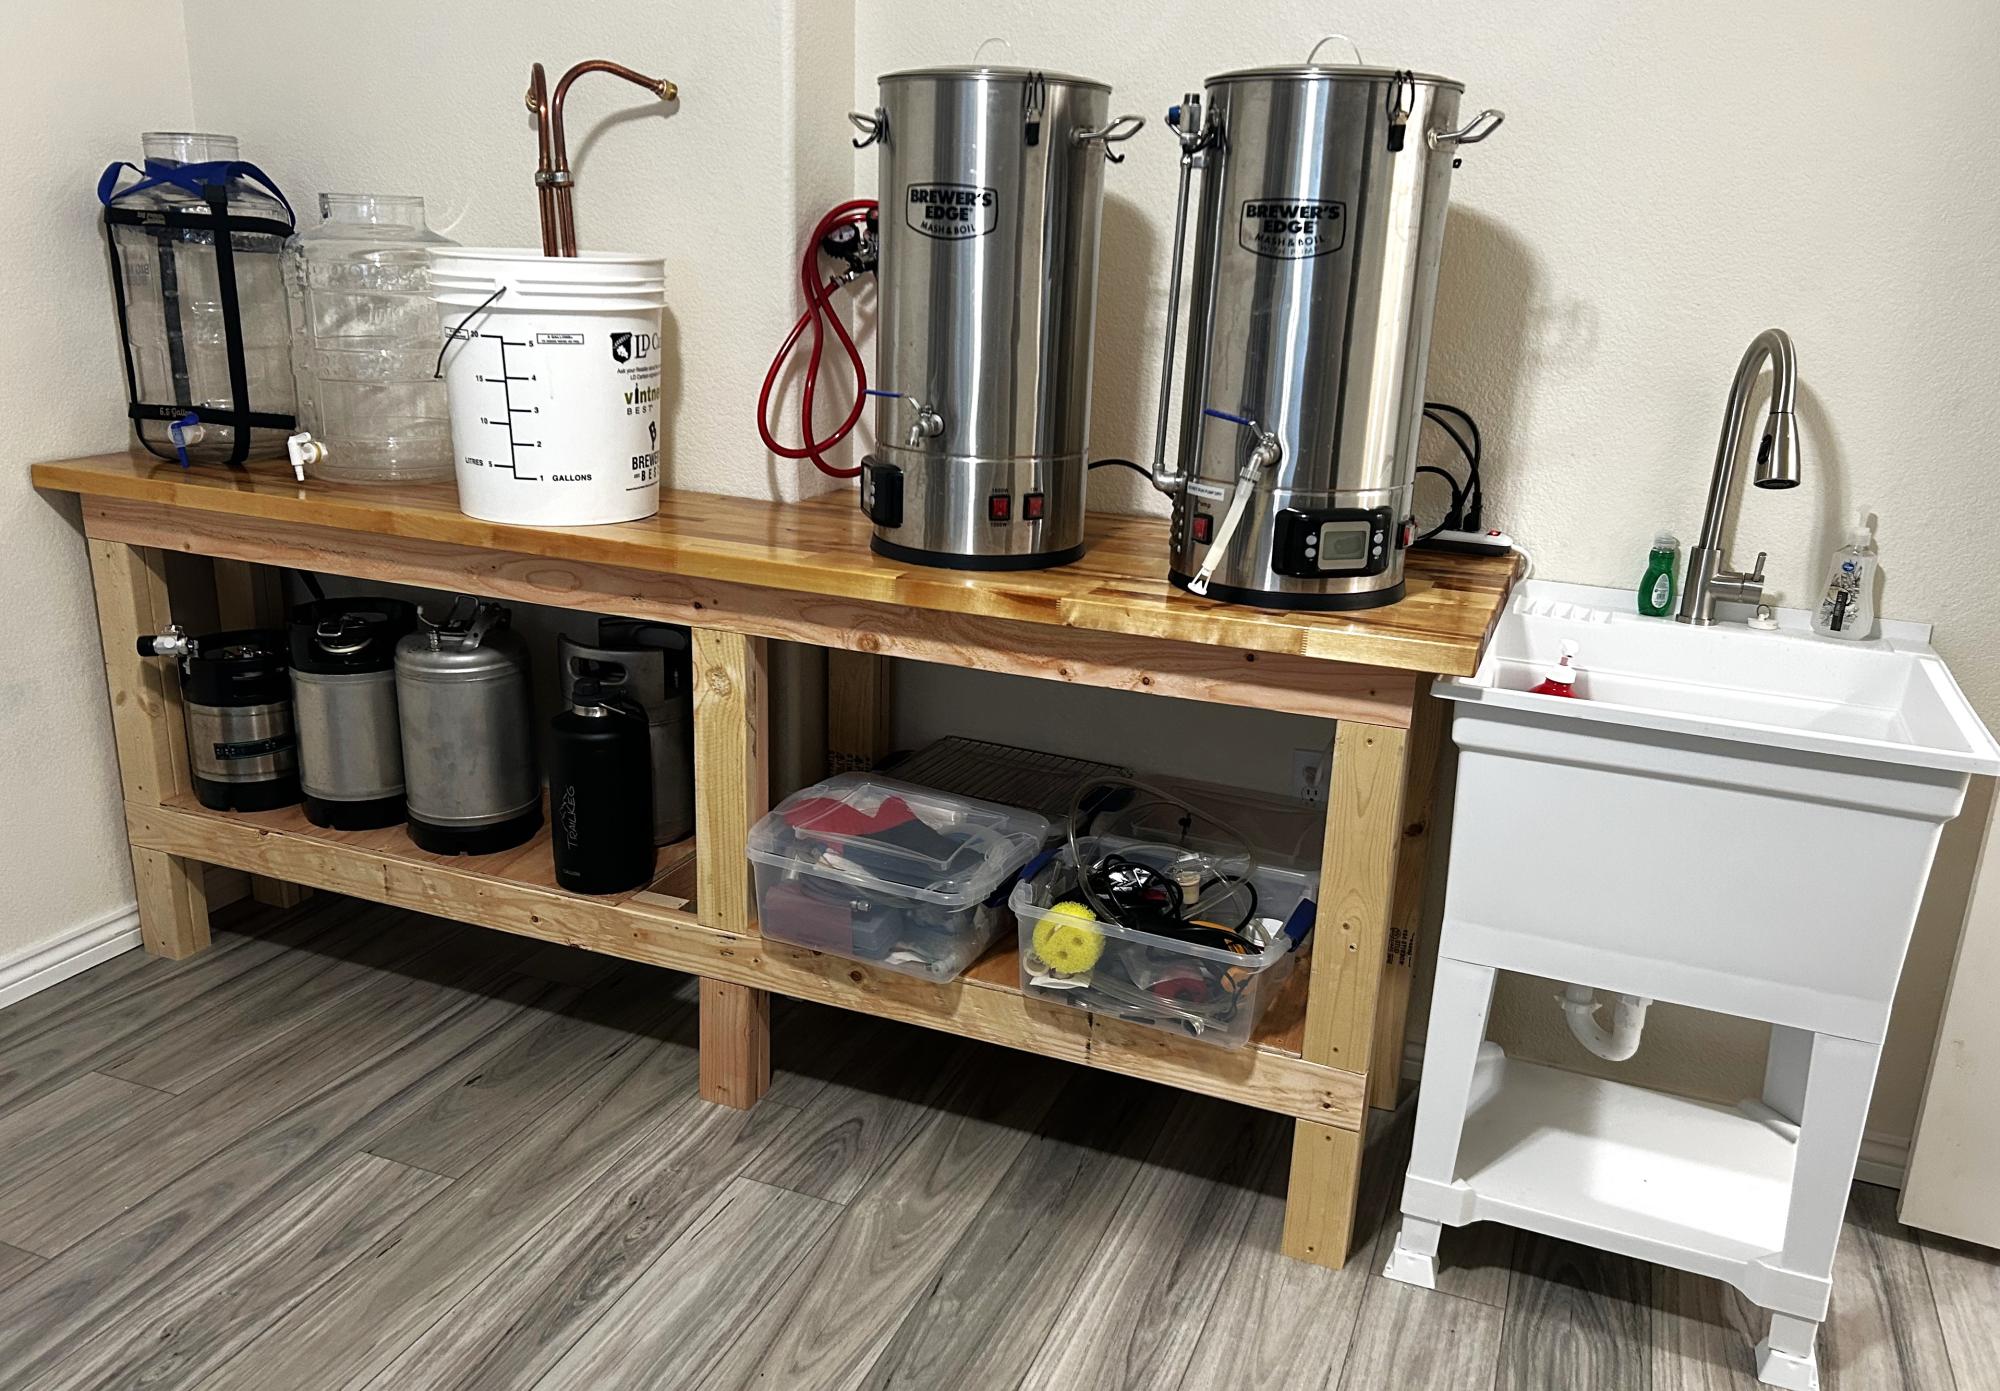
I used your workbench plan to build my Brew Bench. I changed the measurements to fit my space and used a butcher block for the countertop. Very sturdy and pretty easy project. Took one day to build.
Scott R

I used your workbench plan to build my Brew Bench. I changed the measurements to fit my space and used a butcher block for the countertop. Very sturdy and pretty easy project. Took one day to build.
Scott R
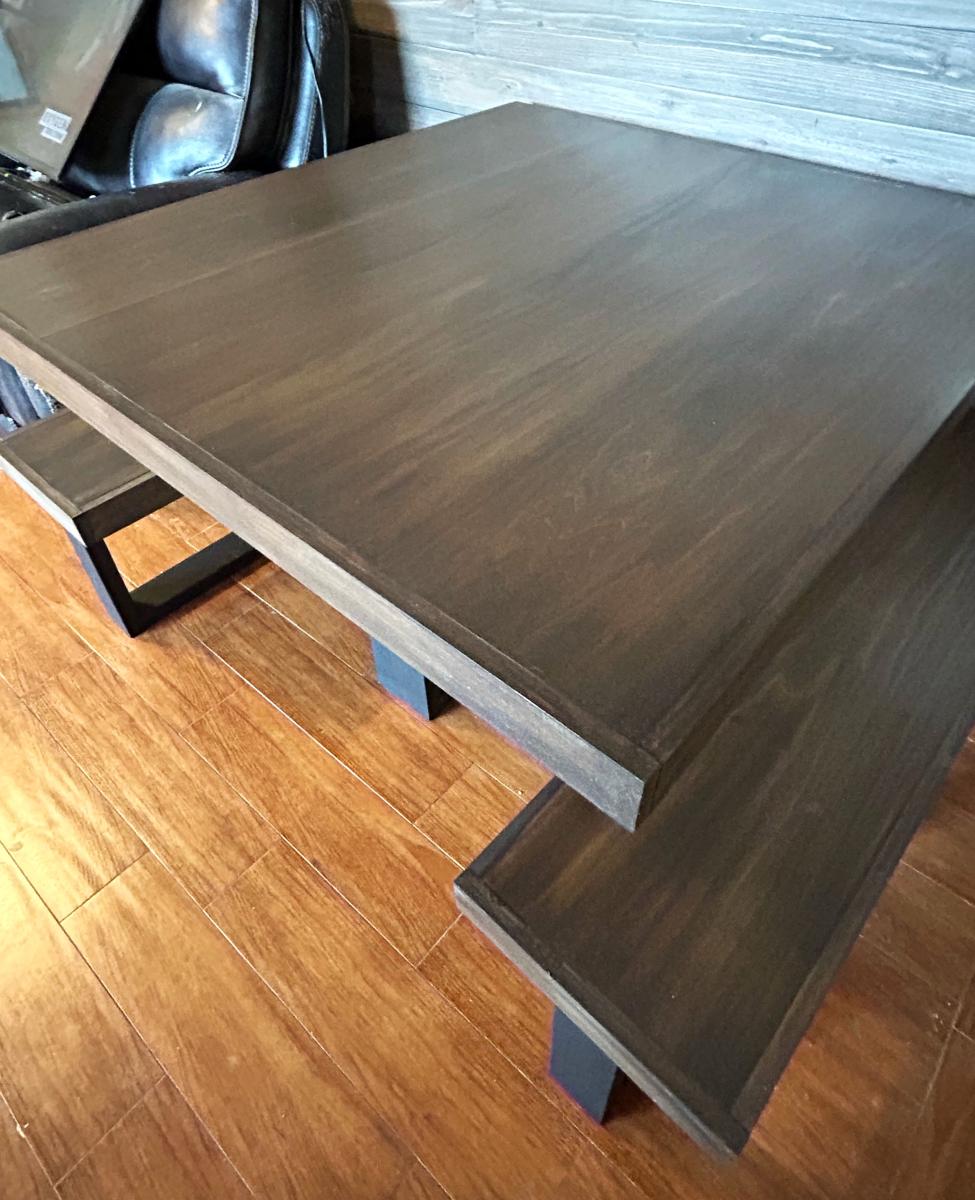
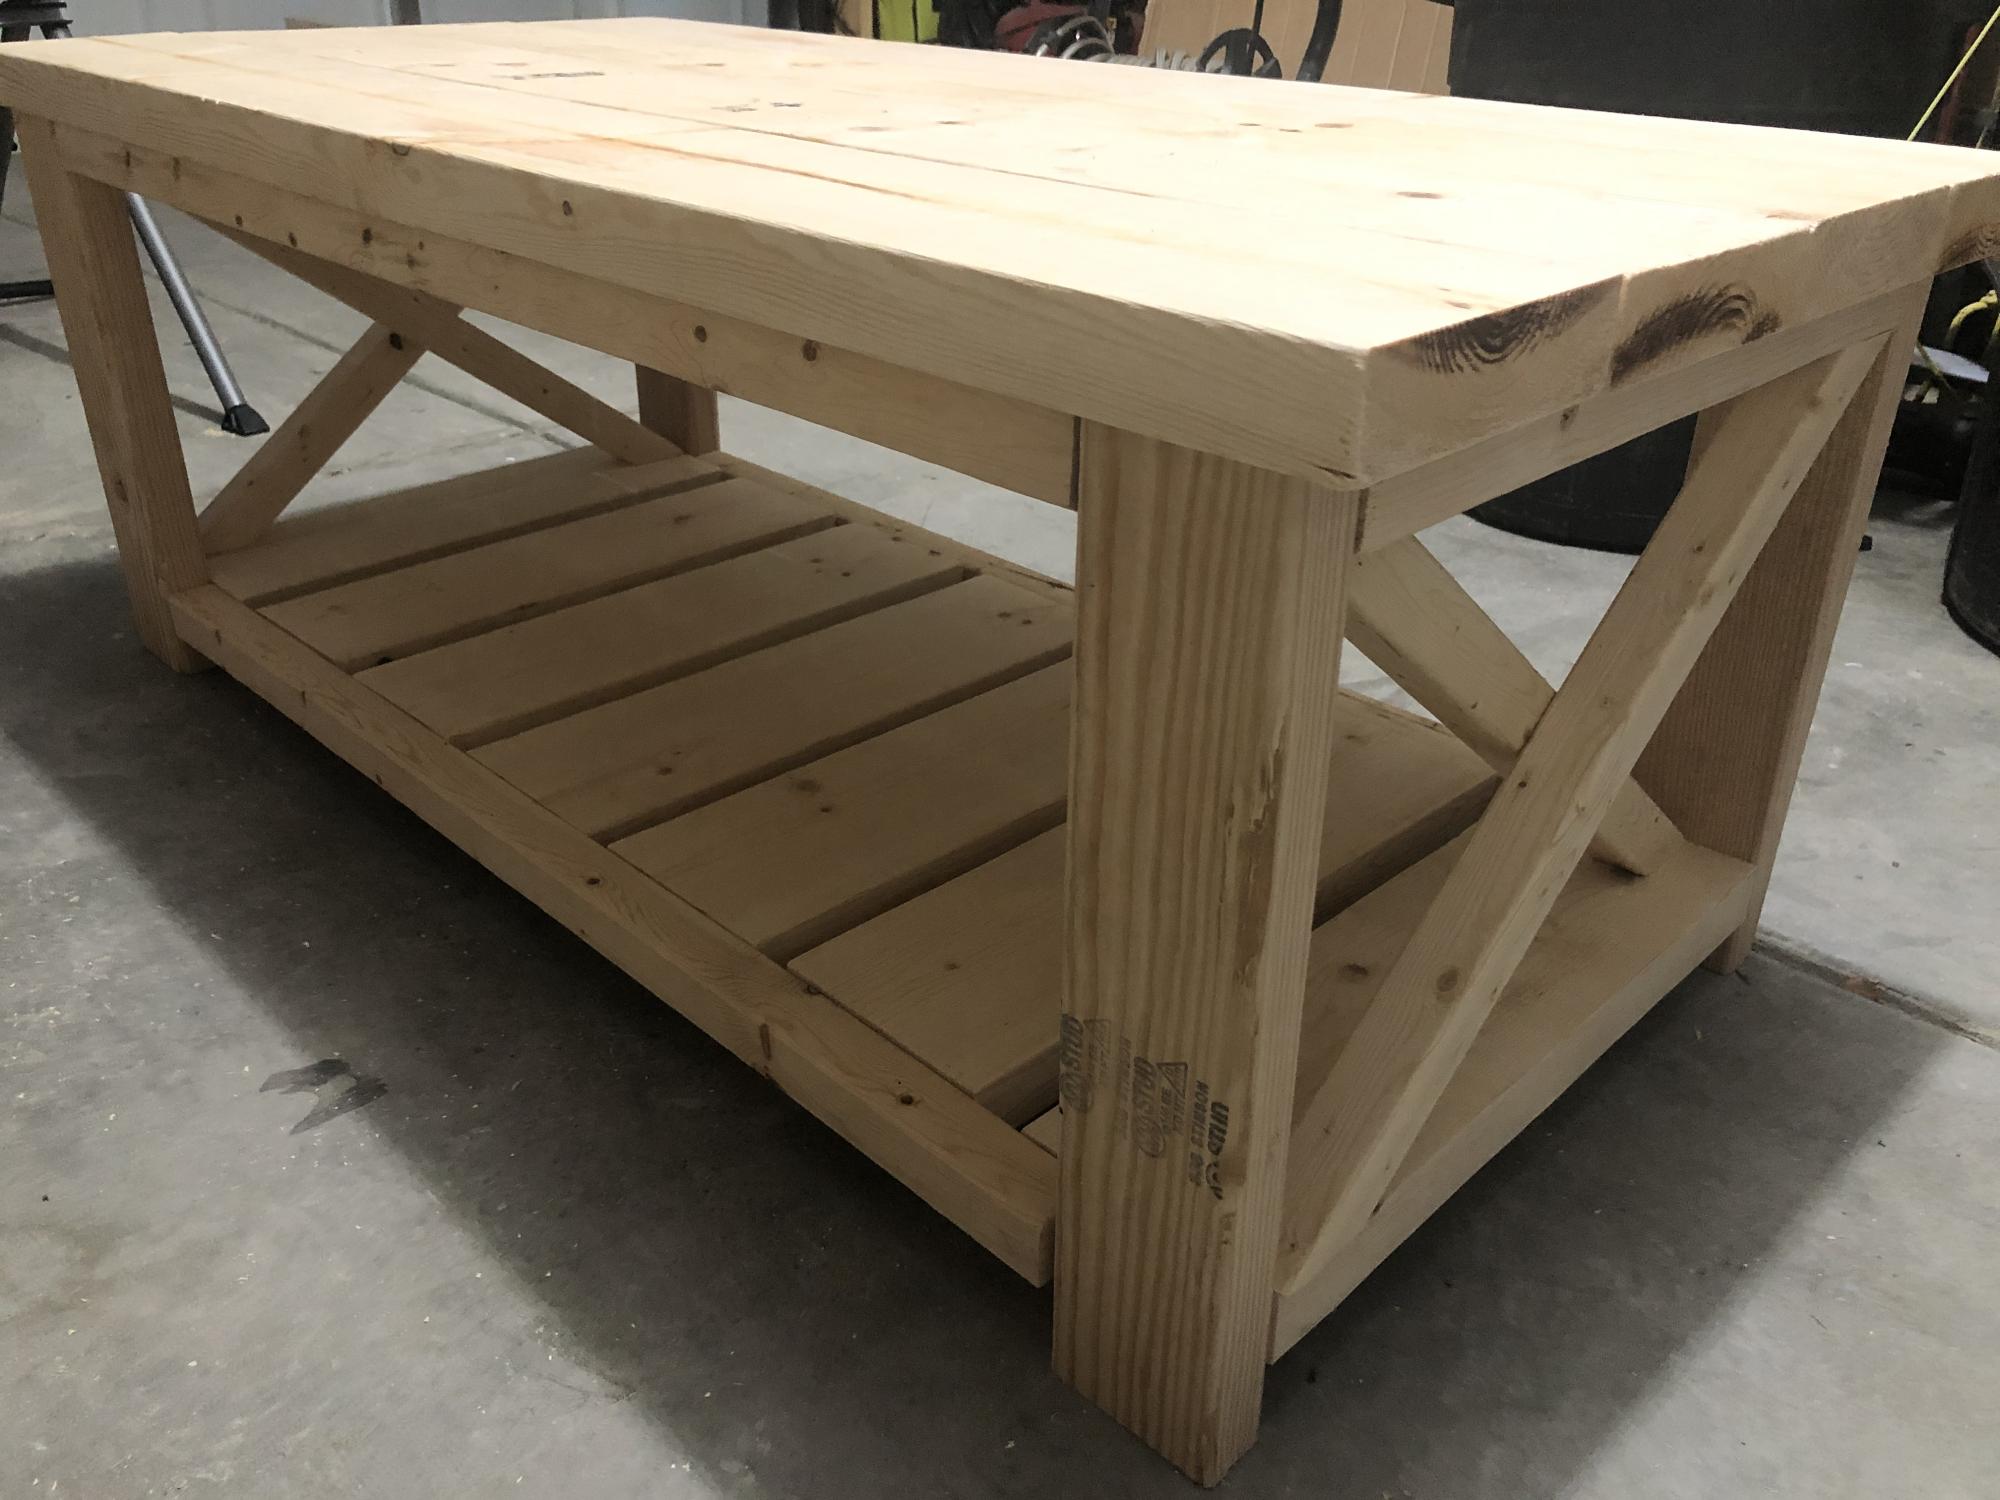
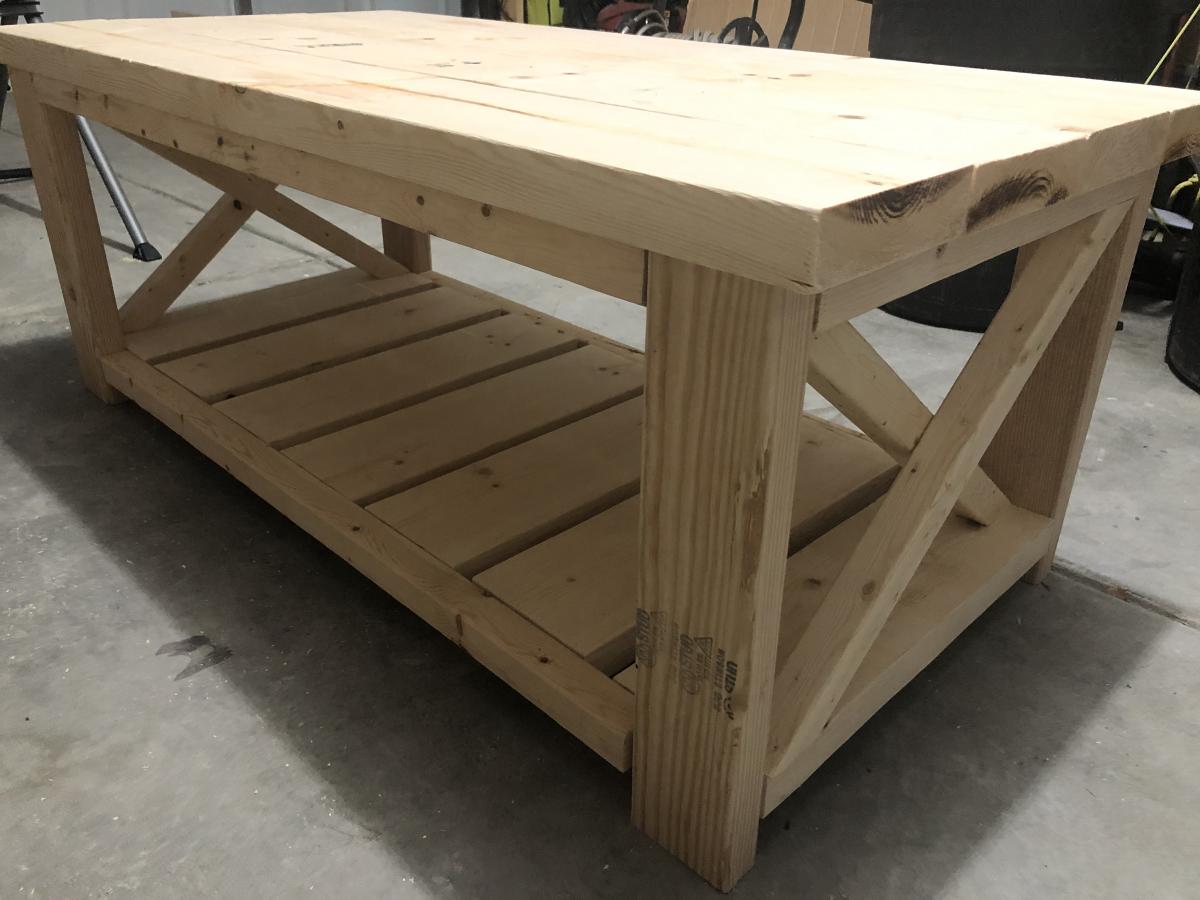
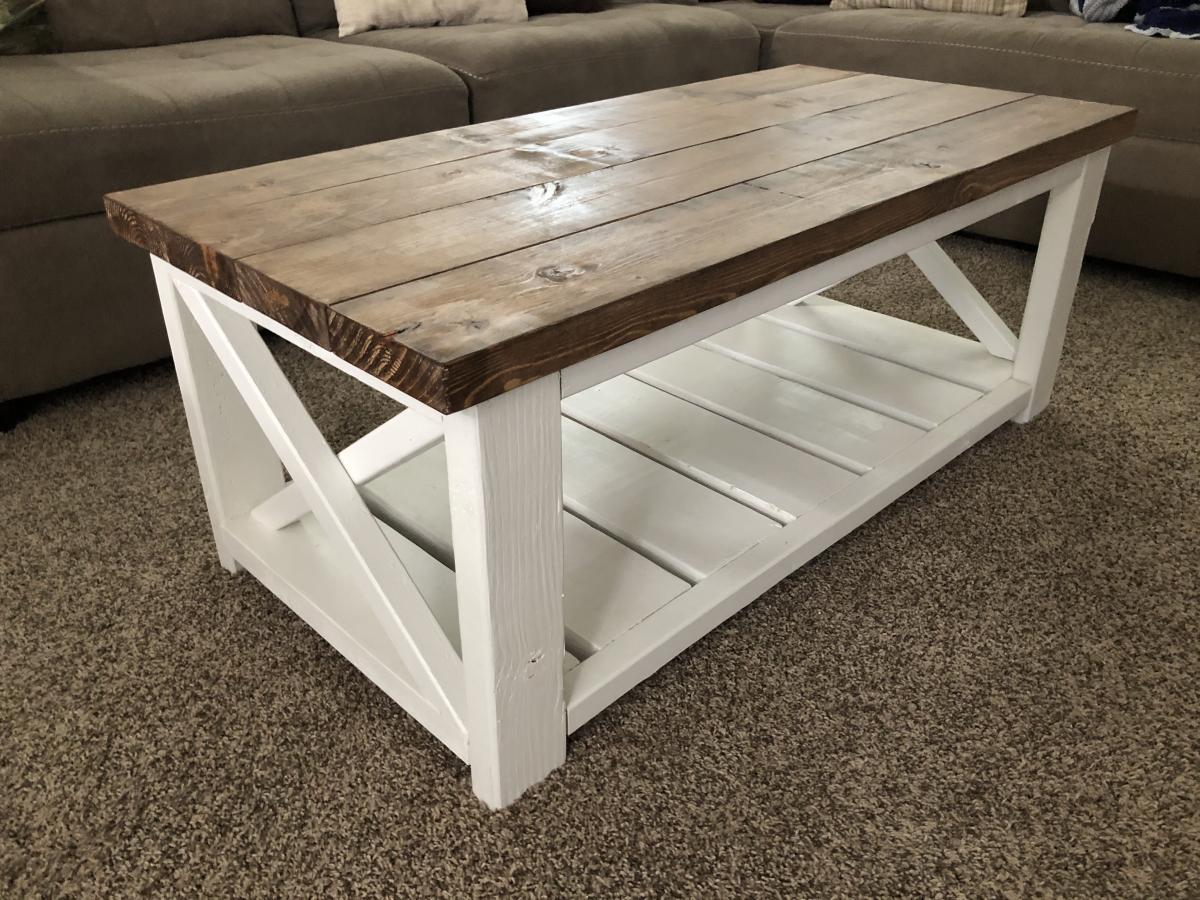
We changed the finish of the tables from the original plan, but everything else was the same. We loved the slats on the bottom of the table, and they turned out even better than expected. The two end tables are the first pieces of furniture we ever built, but the plan was very easy to follow without much knowledge needed. The kreg tool and screws are truly magic.

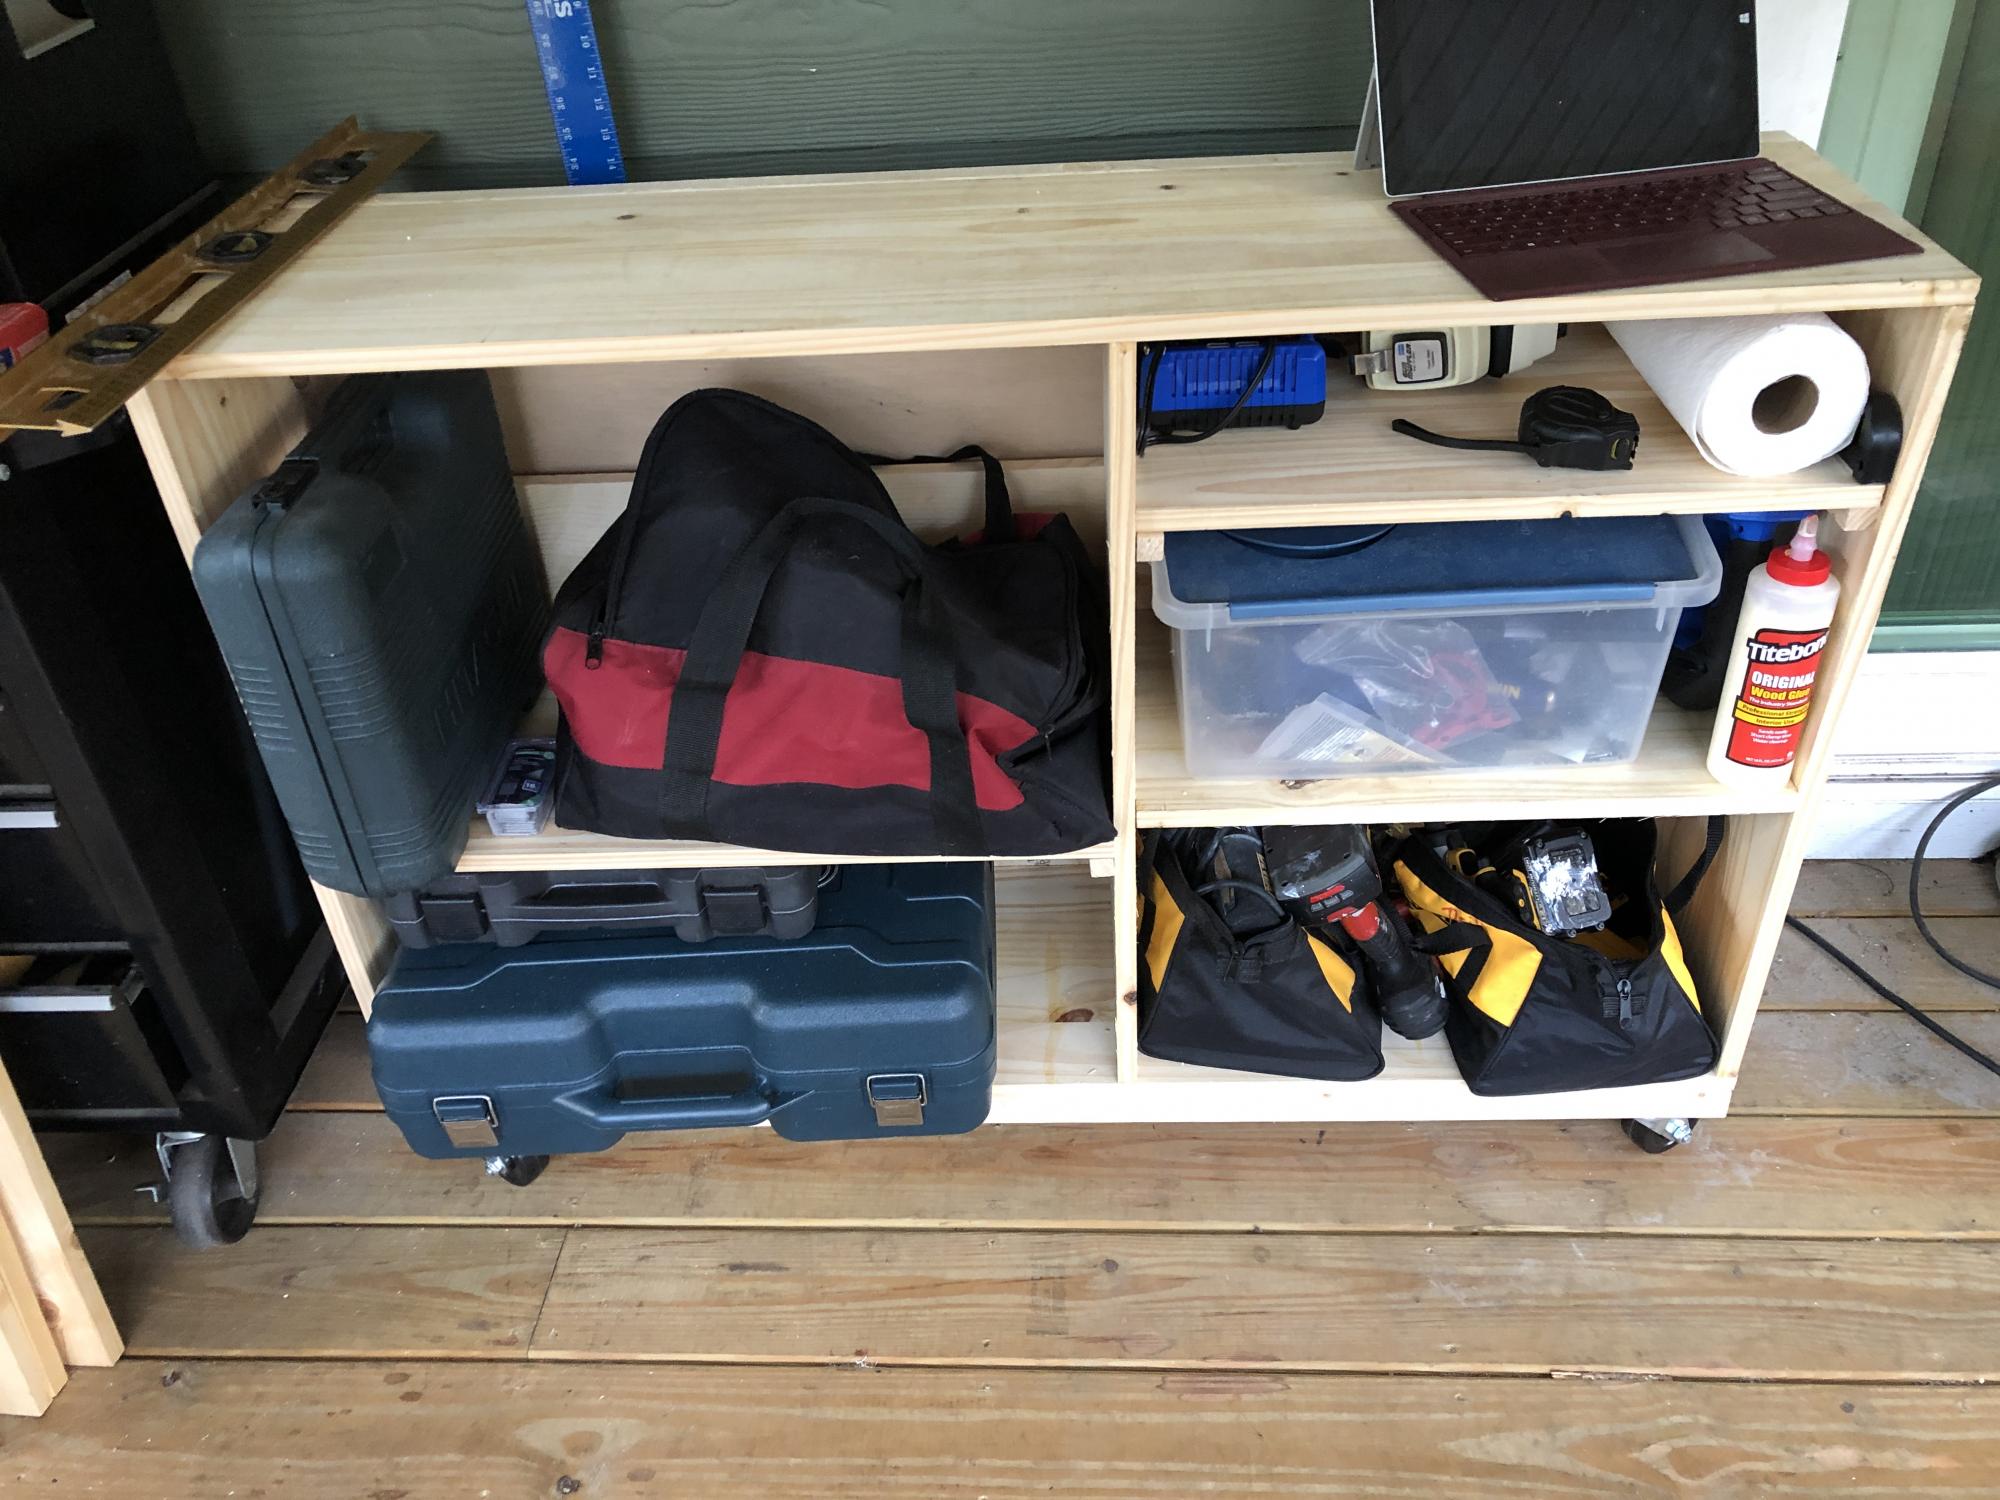
We do not have a garage yet, so this size works great to push out of the way when not being used and pull out for a workbench and also to extend the table top for the saw. The plans were easy to follow and easy to modify. I added a base made of 2x4’s to make it sturdier since it will be moved across a deck vs a level floor. I also added some boards behind the shelf to keep things from falling out the back and adjusted the height to match the table saw top. Next up will be a router table stand to replace the camping footlocker.
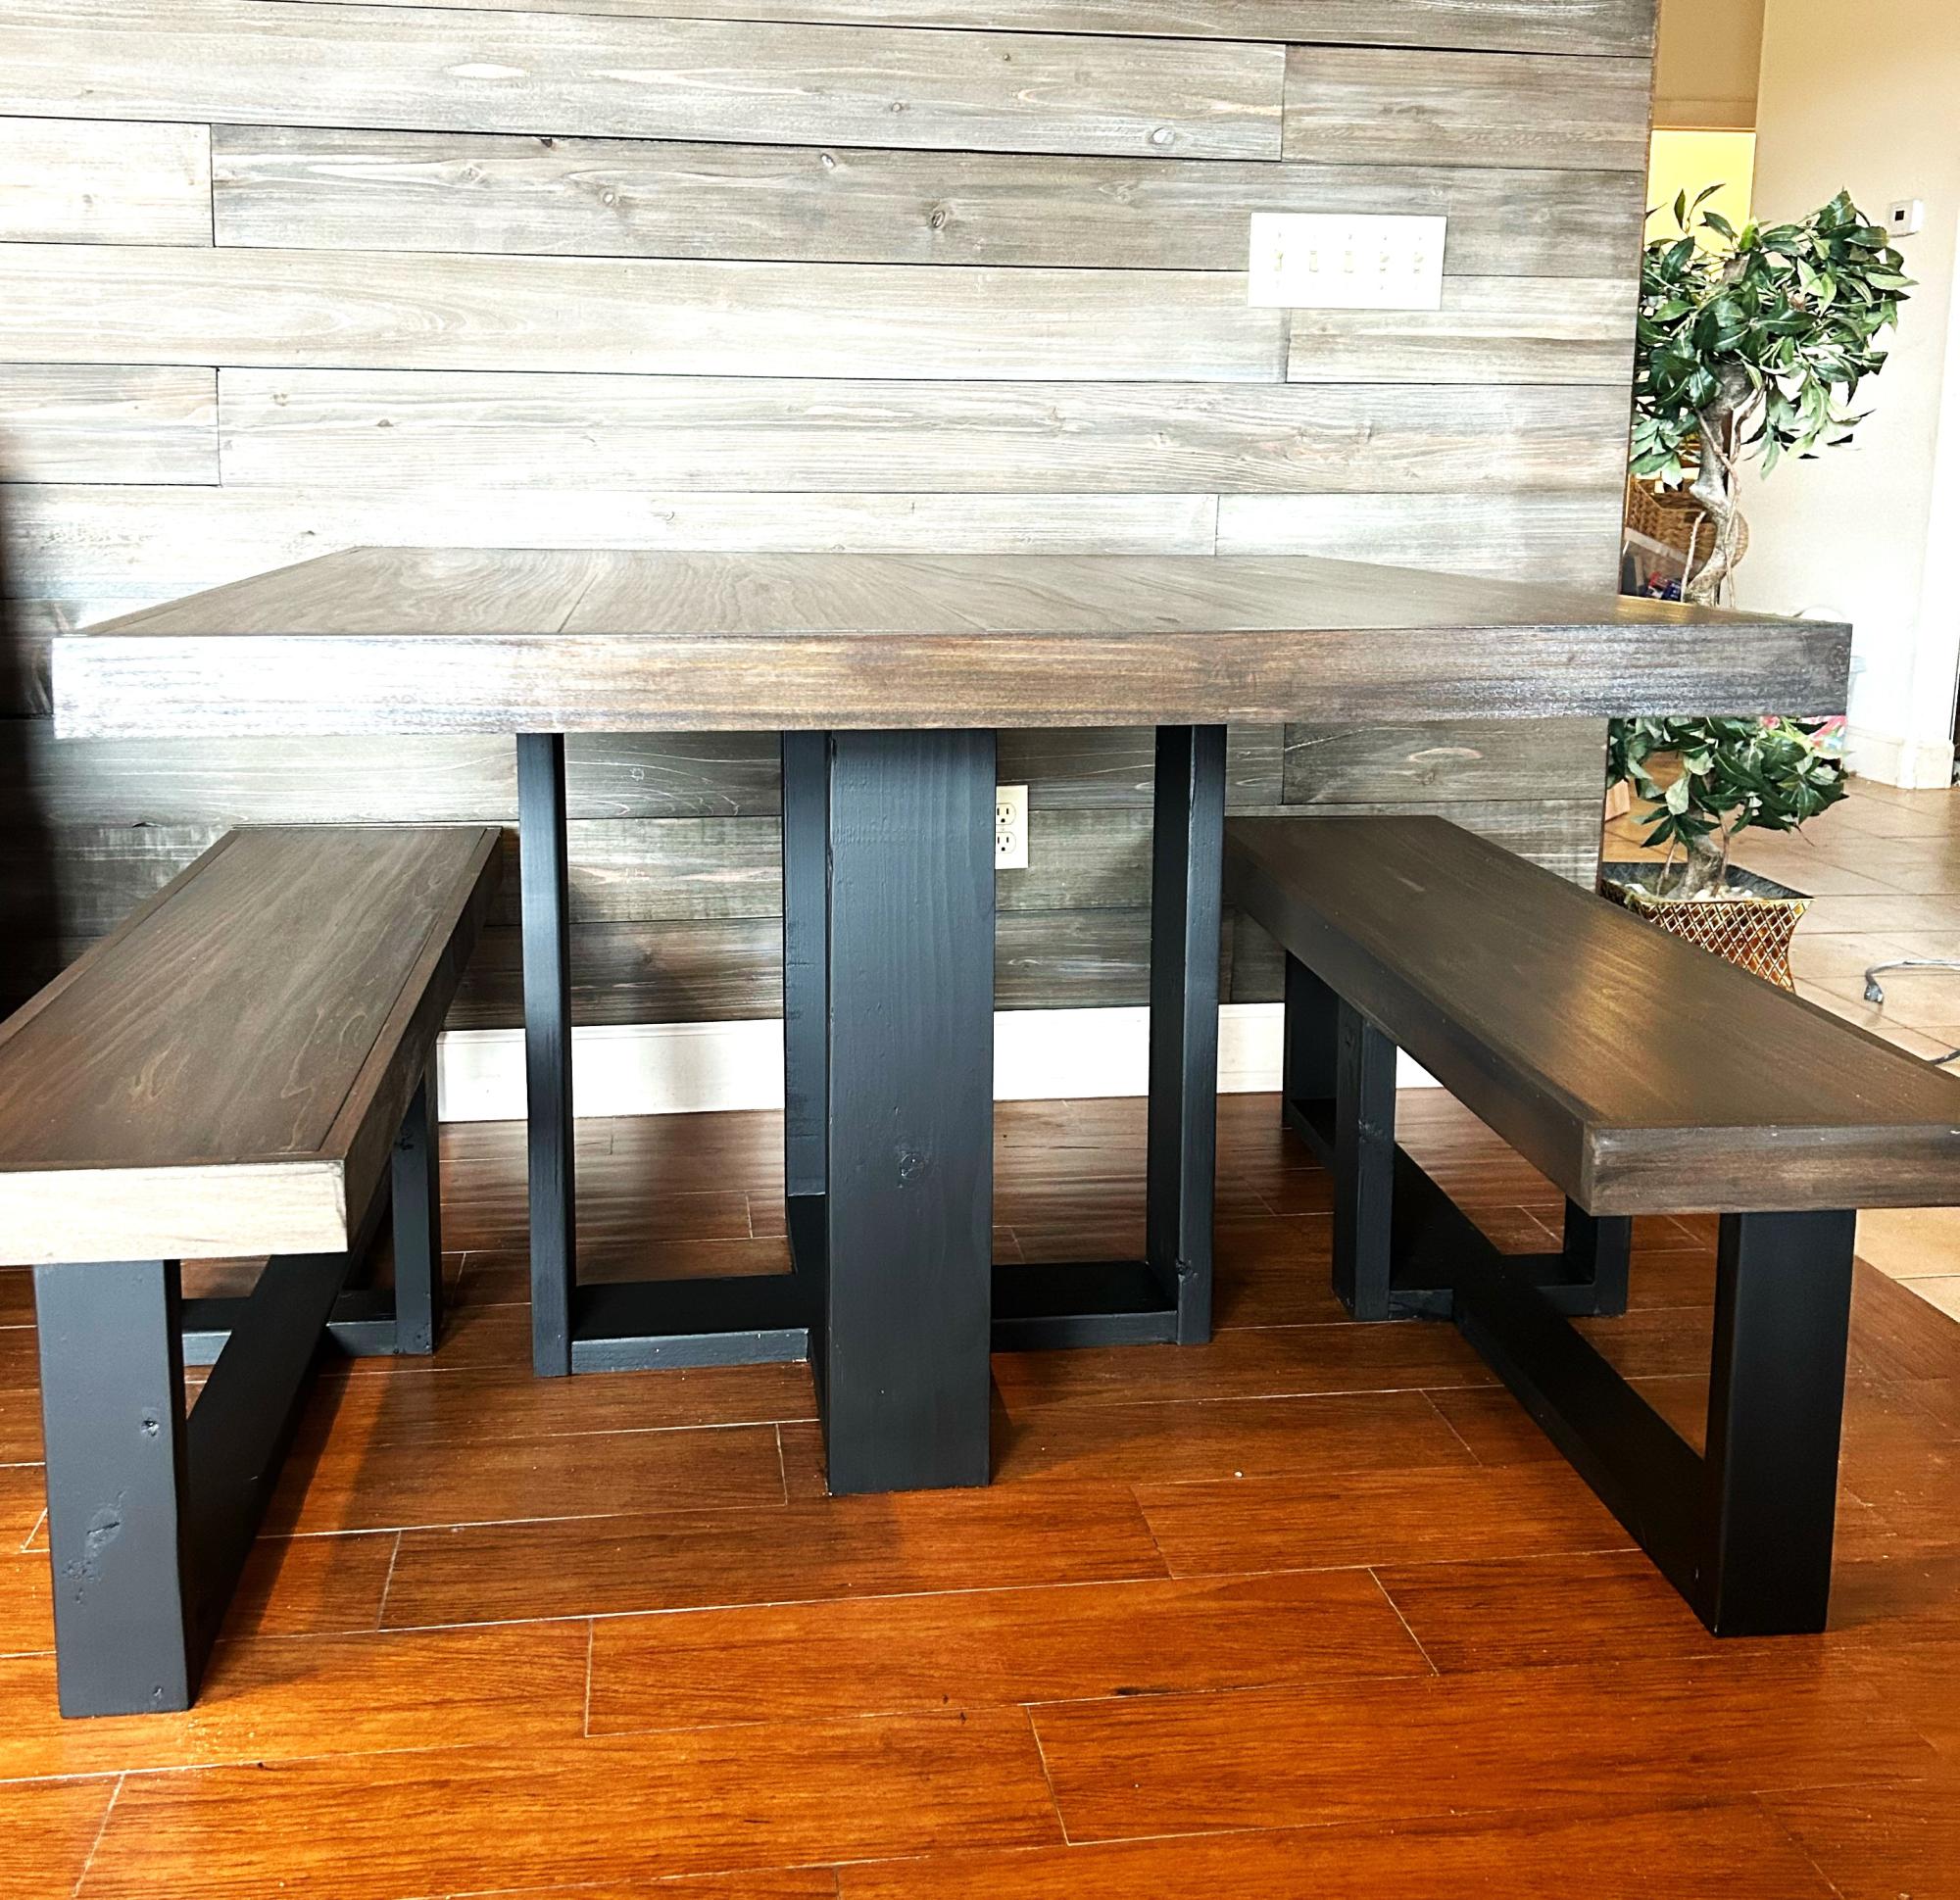
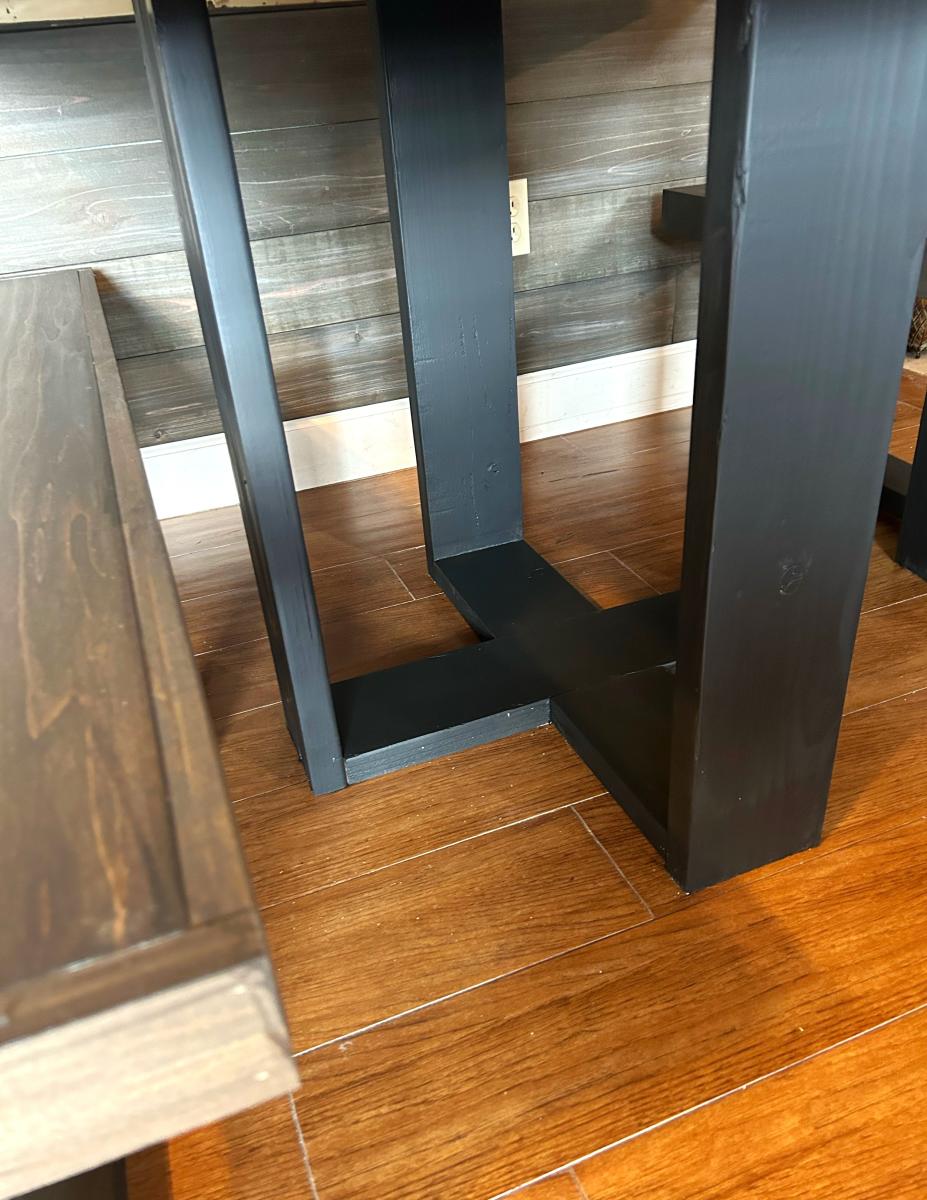
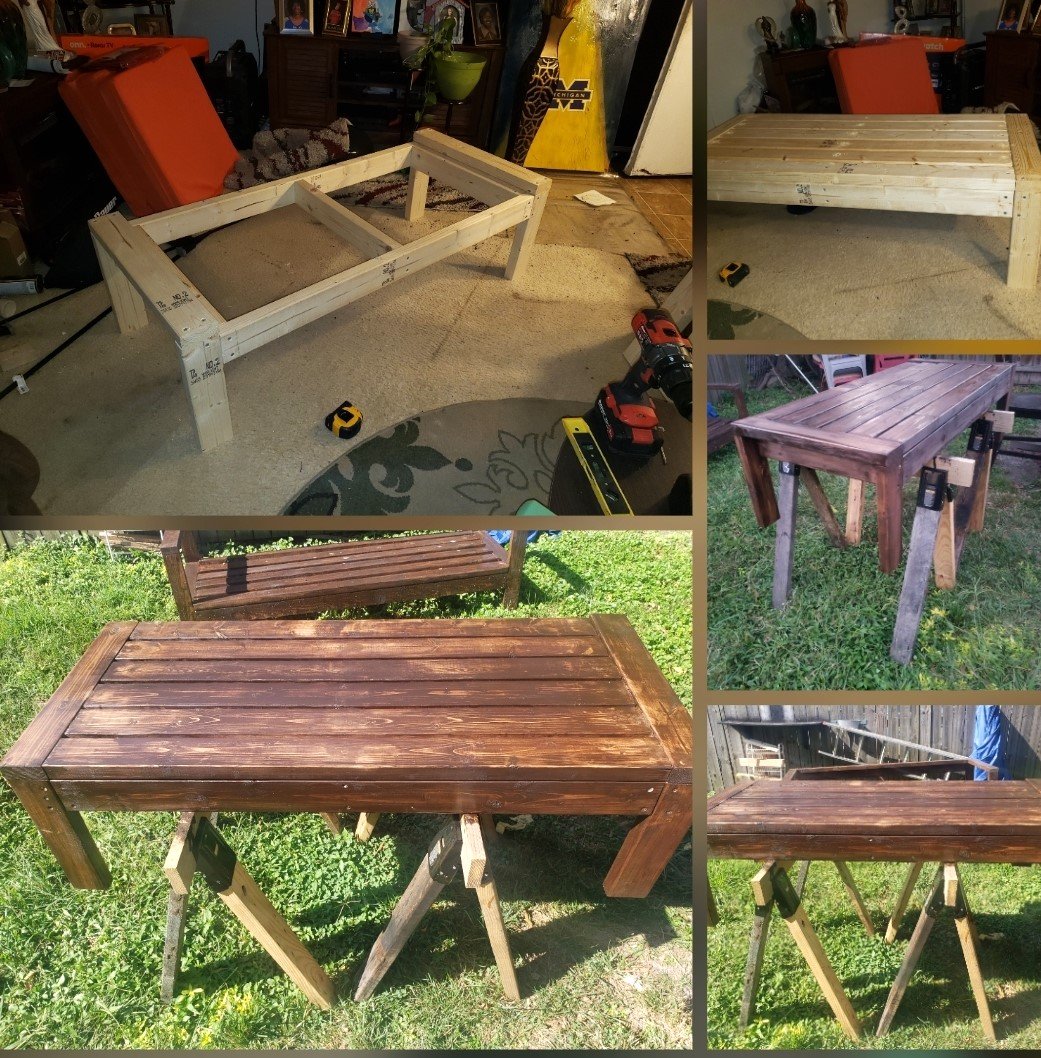
This is my first brag post! I modified the base to make benches. I am not super creative or any good at math, so I was super proud :D
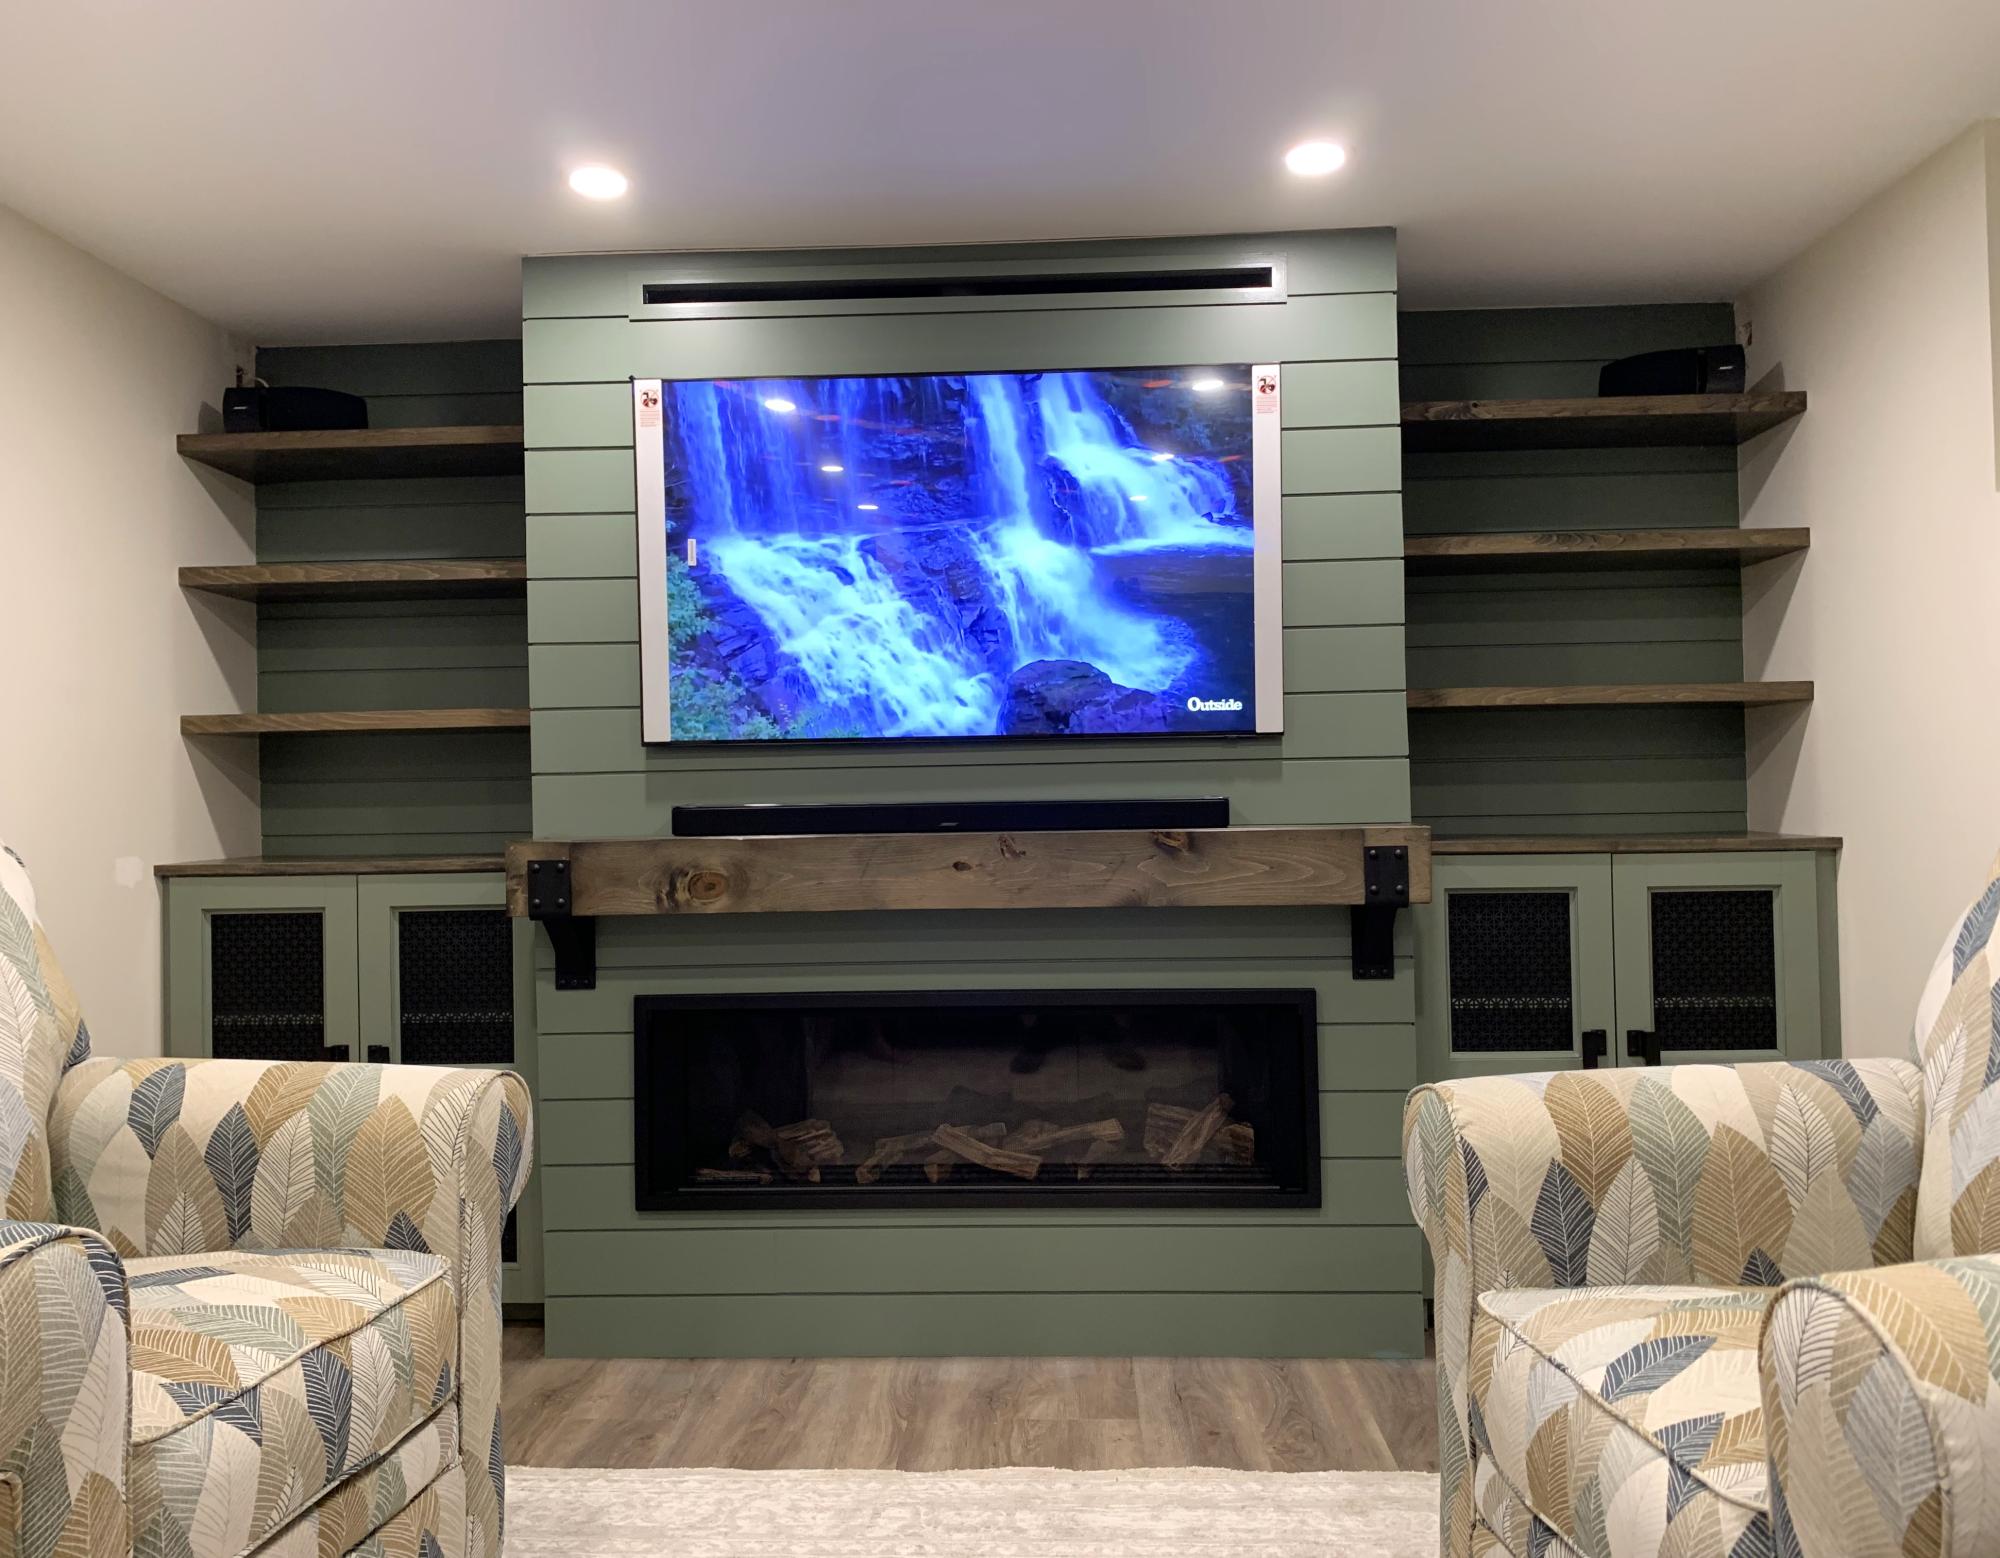
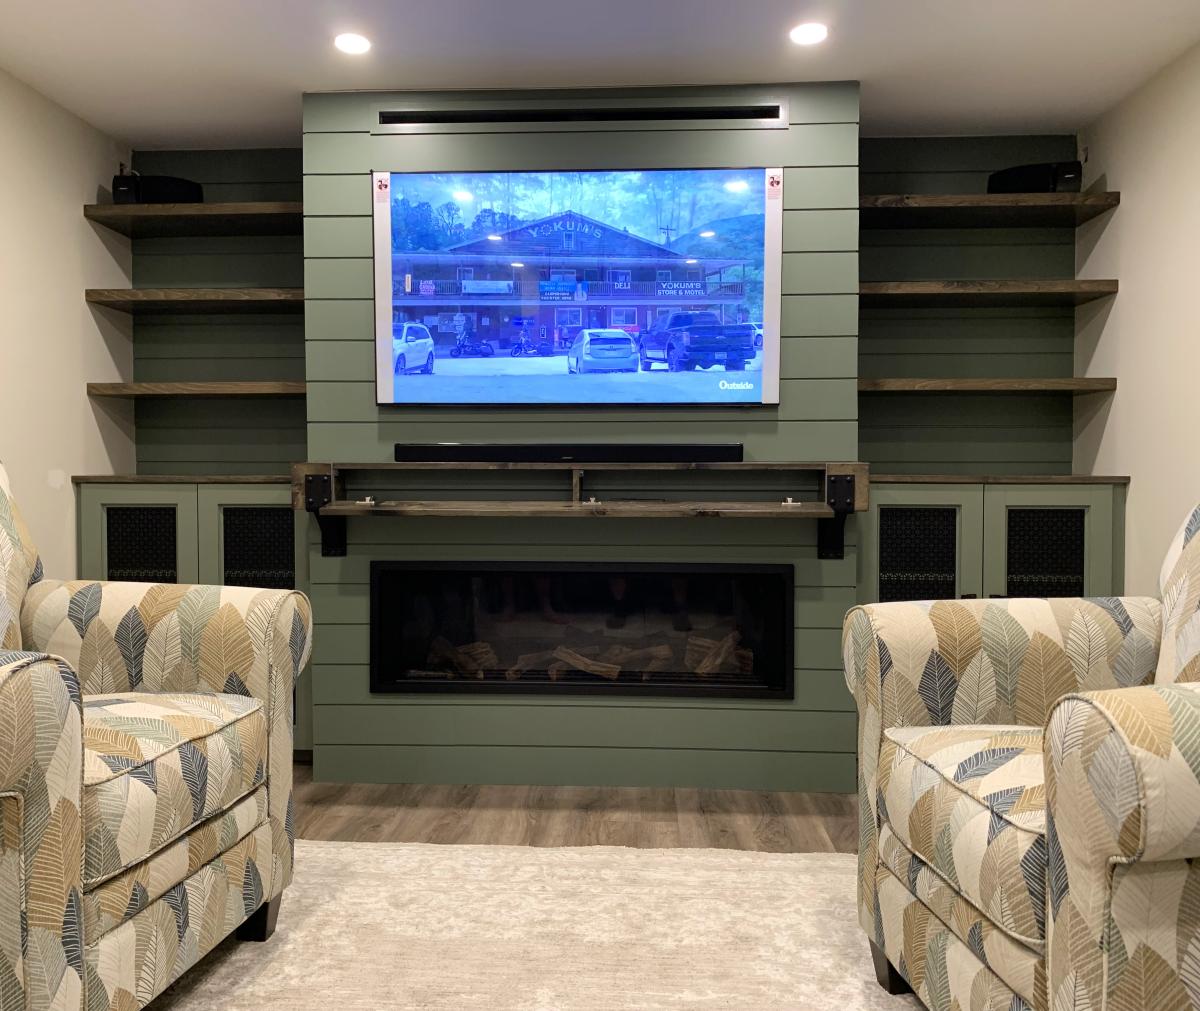
I modified these plans slightly so as the add wrought iron mantel supports. I increased the length of the top and bottom and then added 2 additional internal supports where I made cuts on the front board (just on the inner edge of the mantle support. love how it turned out.
Stacyw3838
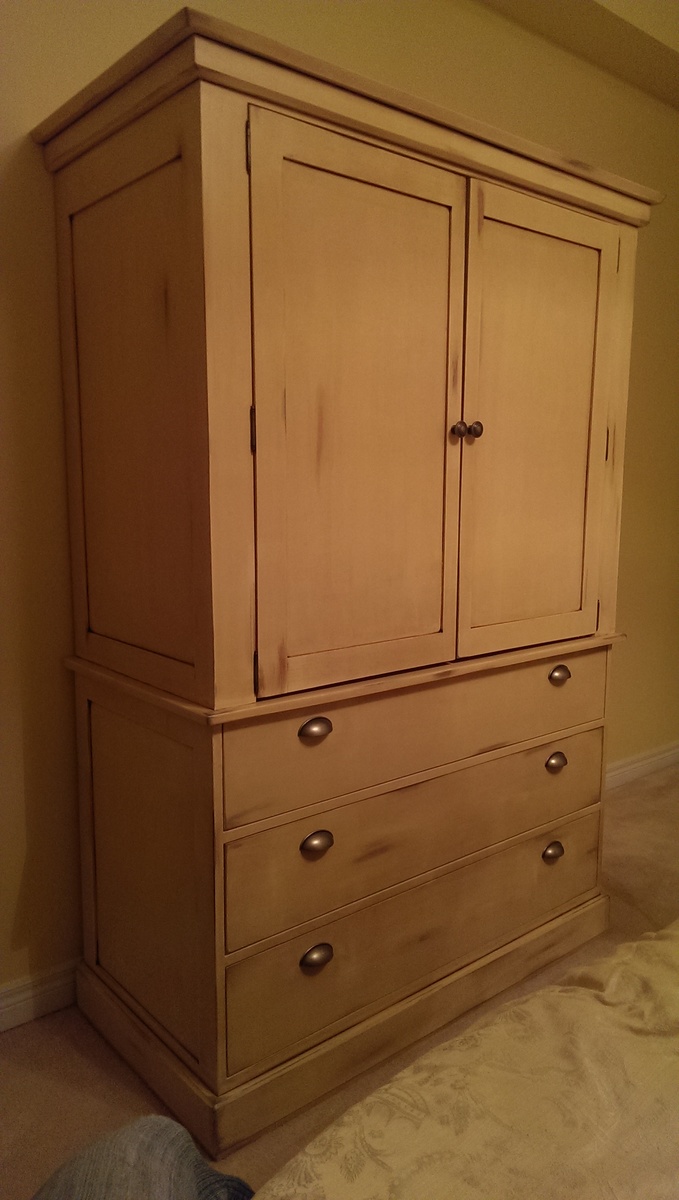
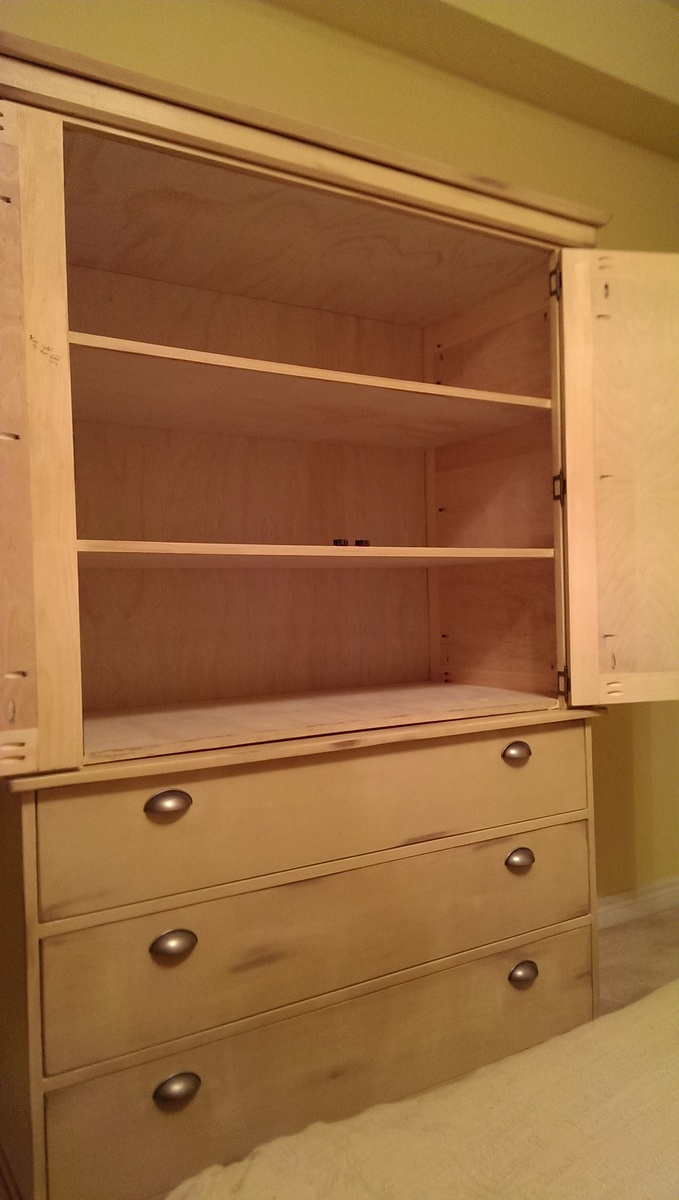
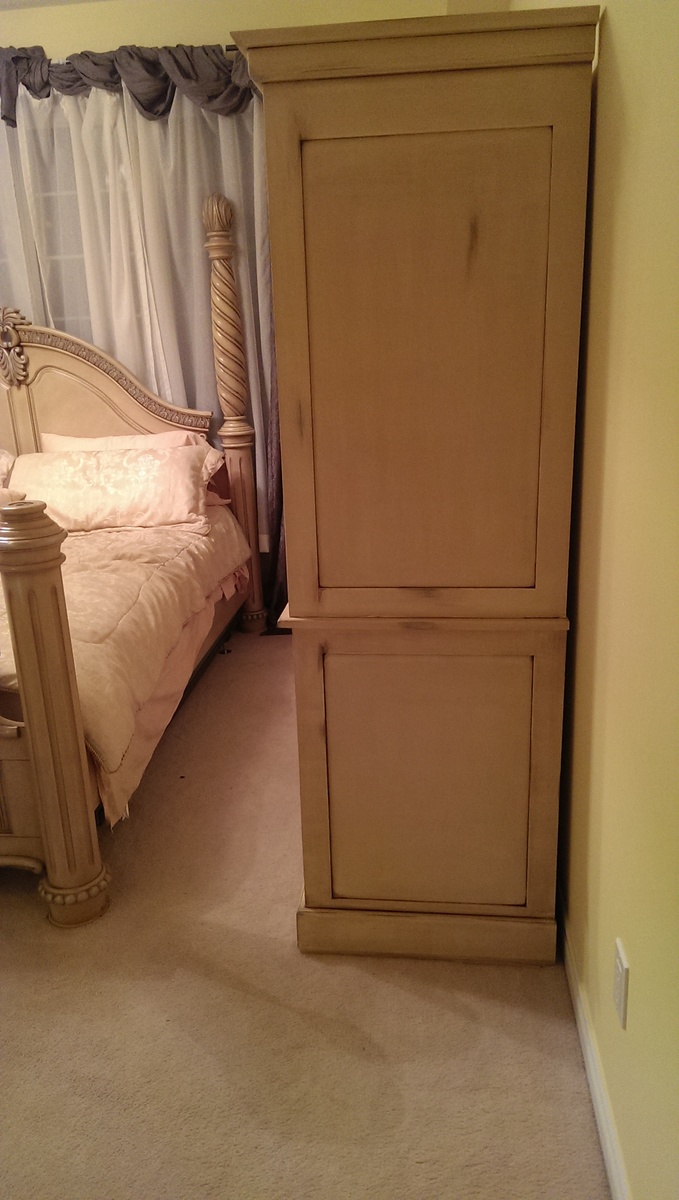
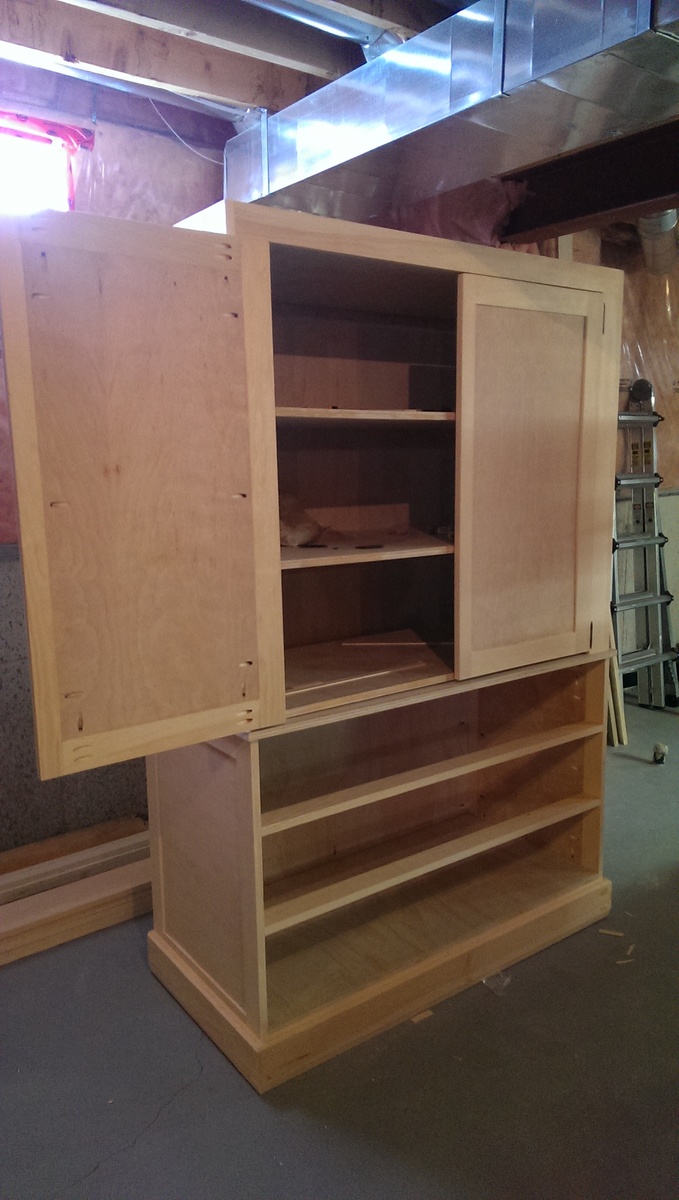
This is the first furniture project I have built from a plan found on-line - at Ana's Website. The plan was very easy to follow and I thoroughly enjoyed building this piece of furniture. I made some alterations to the upper cabinet as per shelving. I used an antique finish to match my bed. The match and design is perfect!
Mon, 02/03/2014 - 08:38
This piece looks like it belongs with the rest of your bedroom set. Great work.
Elite Motionz Buildz

I built my daughter a coat tree from Ana's plans and it looks basically just like Ana's-even the same color. My daughter-in-law saw it and wanted one for my granddaughter's room to hold her dressup clothes but she wanted a natural look, instead of painted and her room is basically natural wood, red and white so this is what I came up with. I would never have even known I could build a coat tree if I hadn't tried Ana's first!! This one was super easy and cheap, made mostly with scraps and some varnish I already had. I had to buy the balls, dowel and letter S.
I would encourage anyone to build one of these if they have need of a coat tree. You could even make it adult size if you combined Ana's plans with these plans and screwed in some hooks.
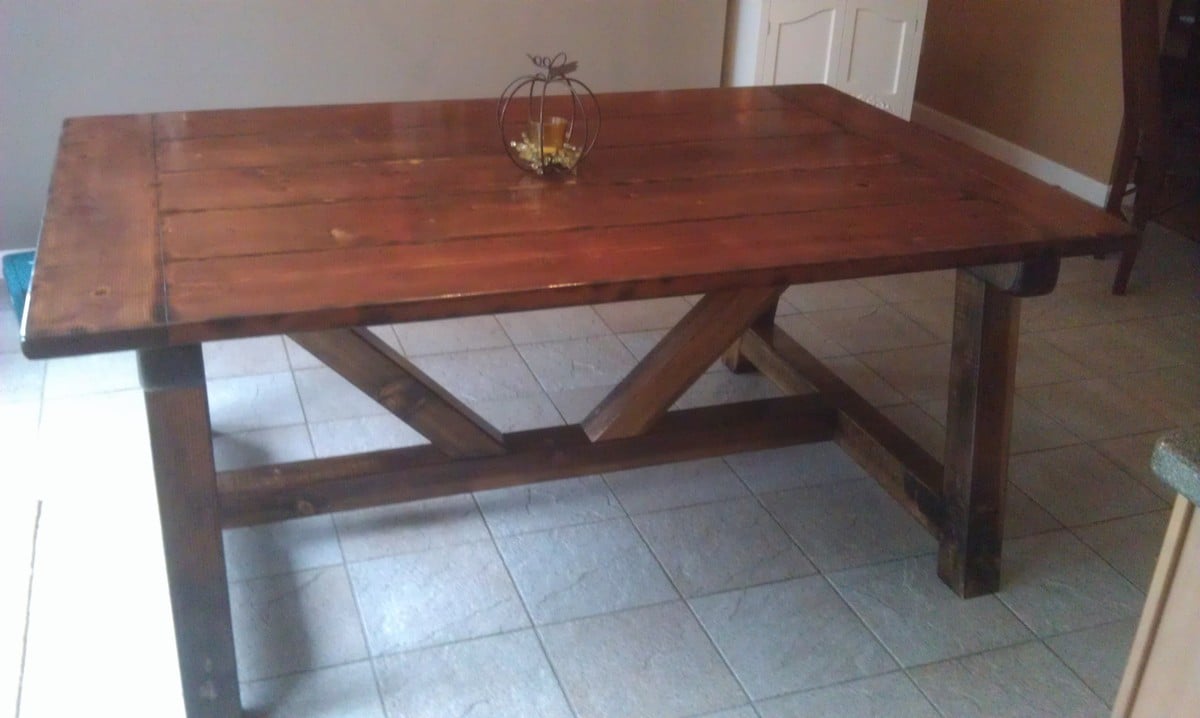
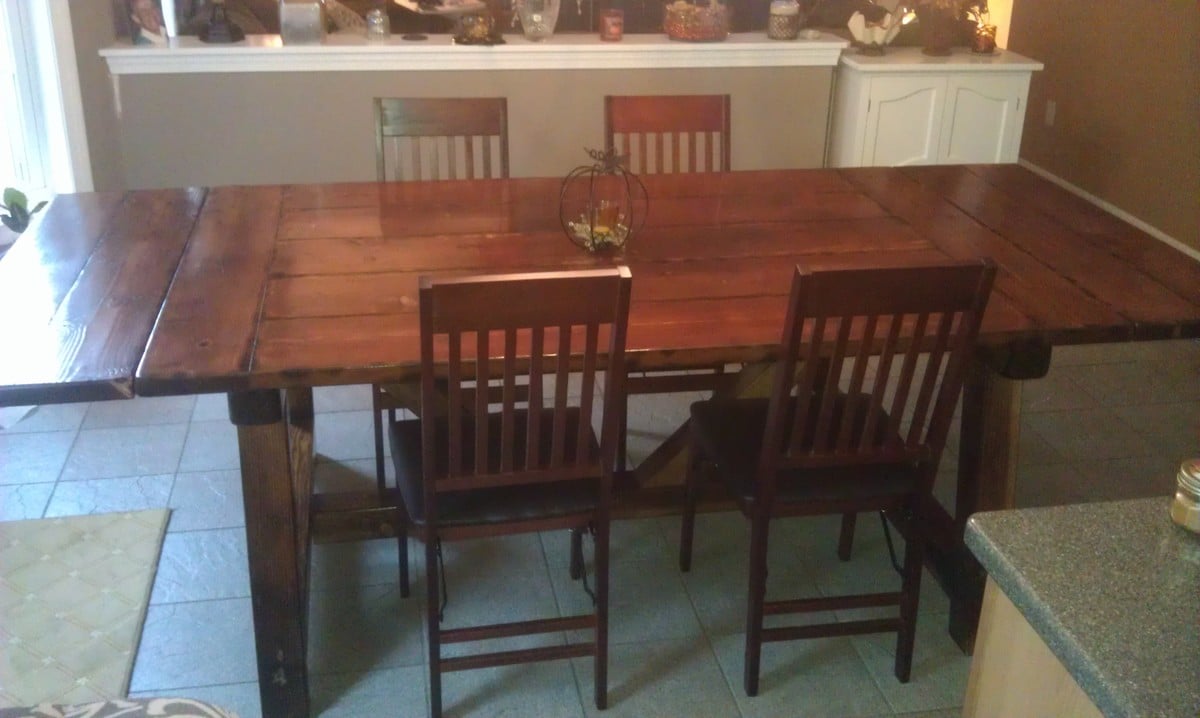
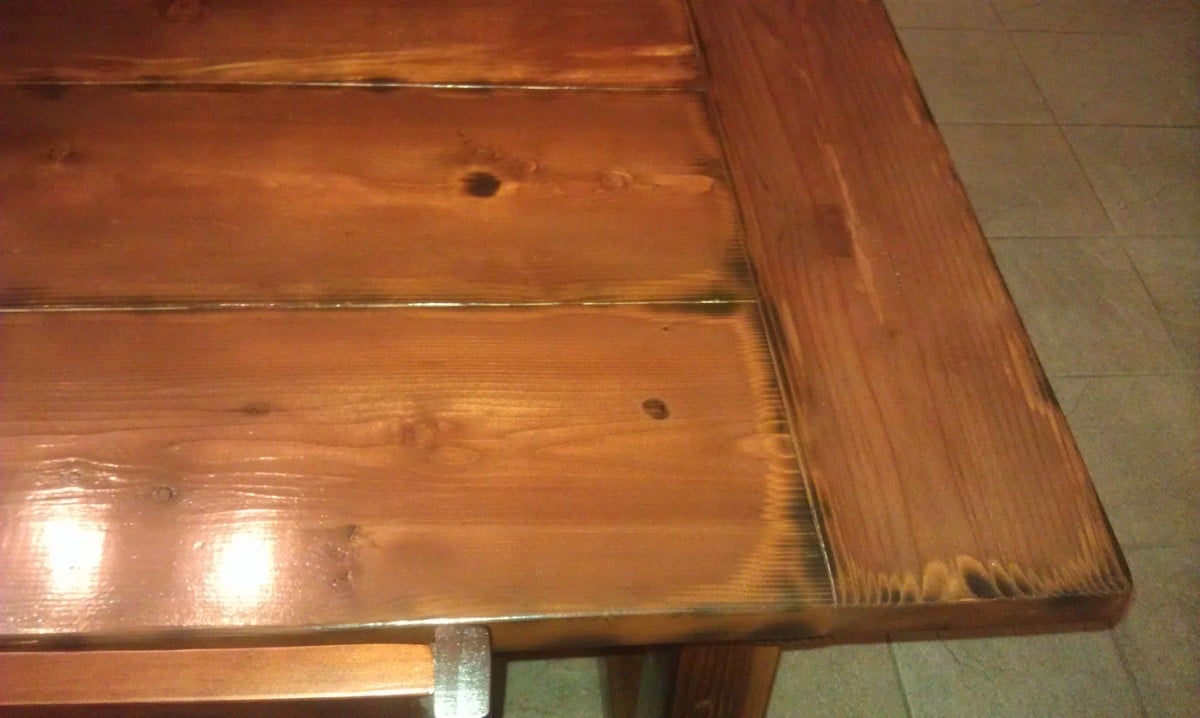
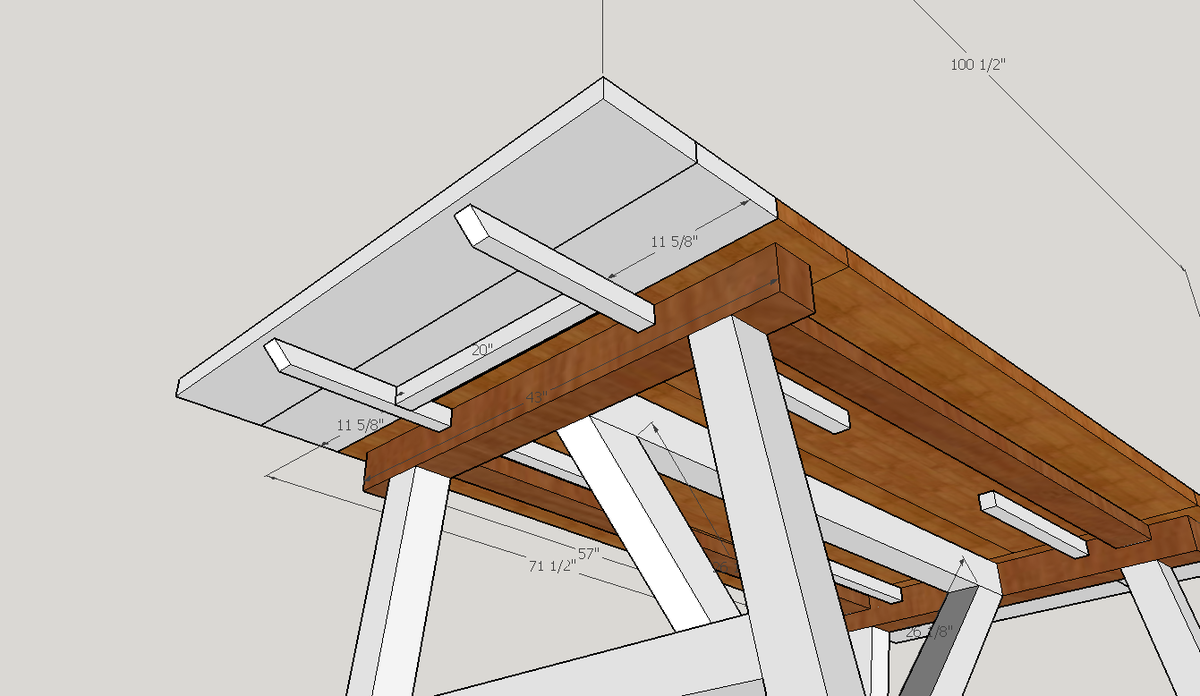
We needed a sturdy table but didn't want to spend a fortune buying one so decided to take a stab at building one. Our space isn't too large but also wanted the ability to expand the table with leaves if we have a large crowd. I built leaves by cutting notches in the horizontal leg 4x4 and then sliding in/out with 2x2's attached (see pic).
I will say it makes life a whole lot easier learning how to use Sketchup or some other design software. That way you can visualize what it will look like, cuts you need to make especially if you will be deviating from the original post design and don't want to do math in your head (like me).
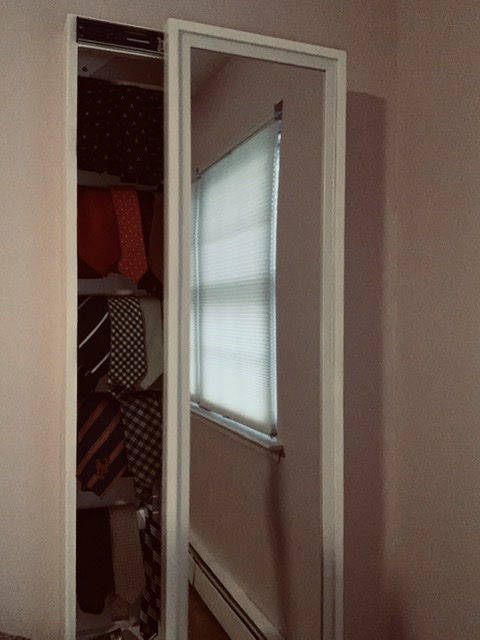
Adjusted the plans to have the sliding mirror be a hidden Tie rack. Love the adjustment and being able to hide ties in the room.
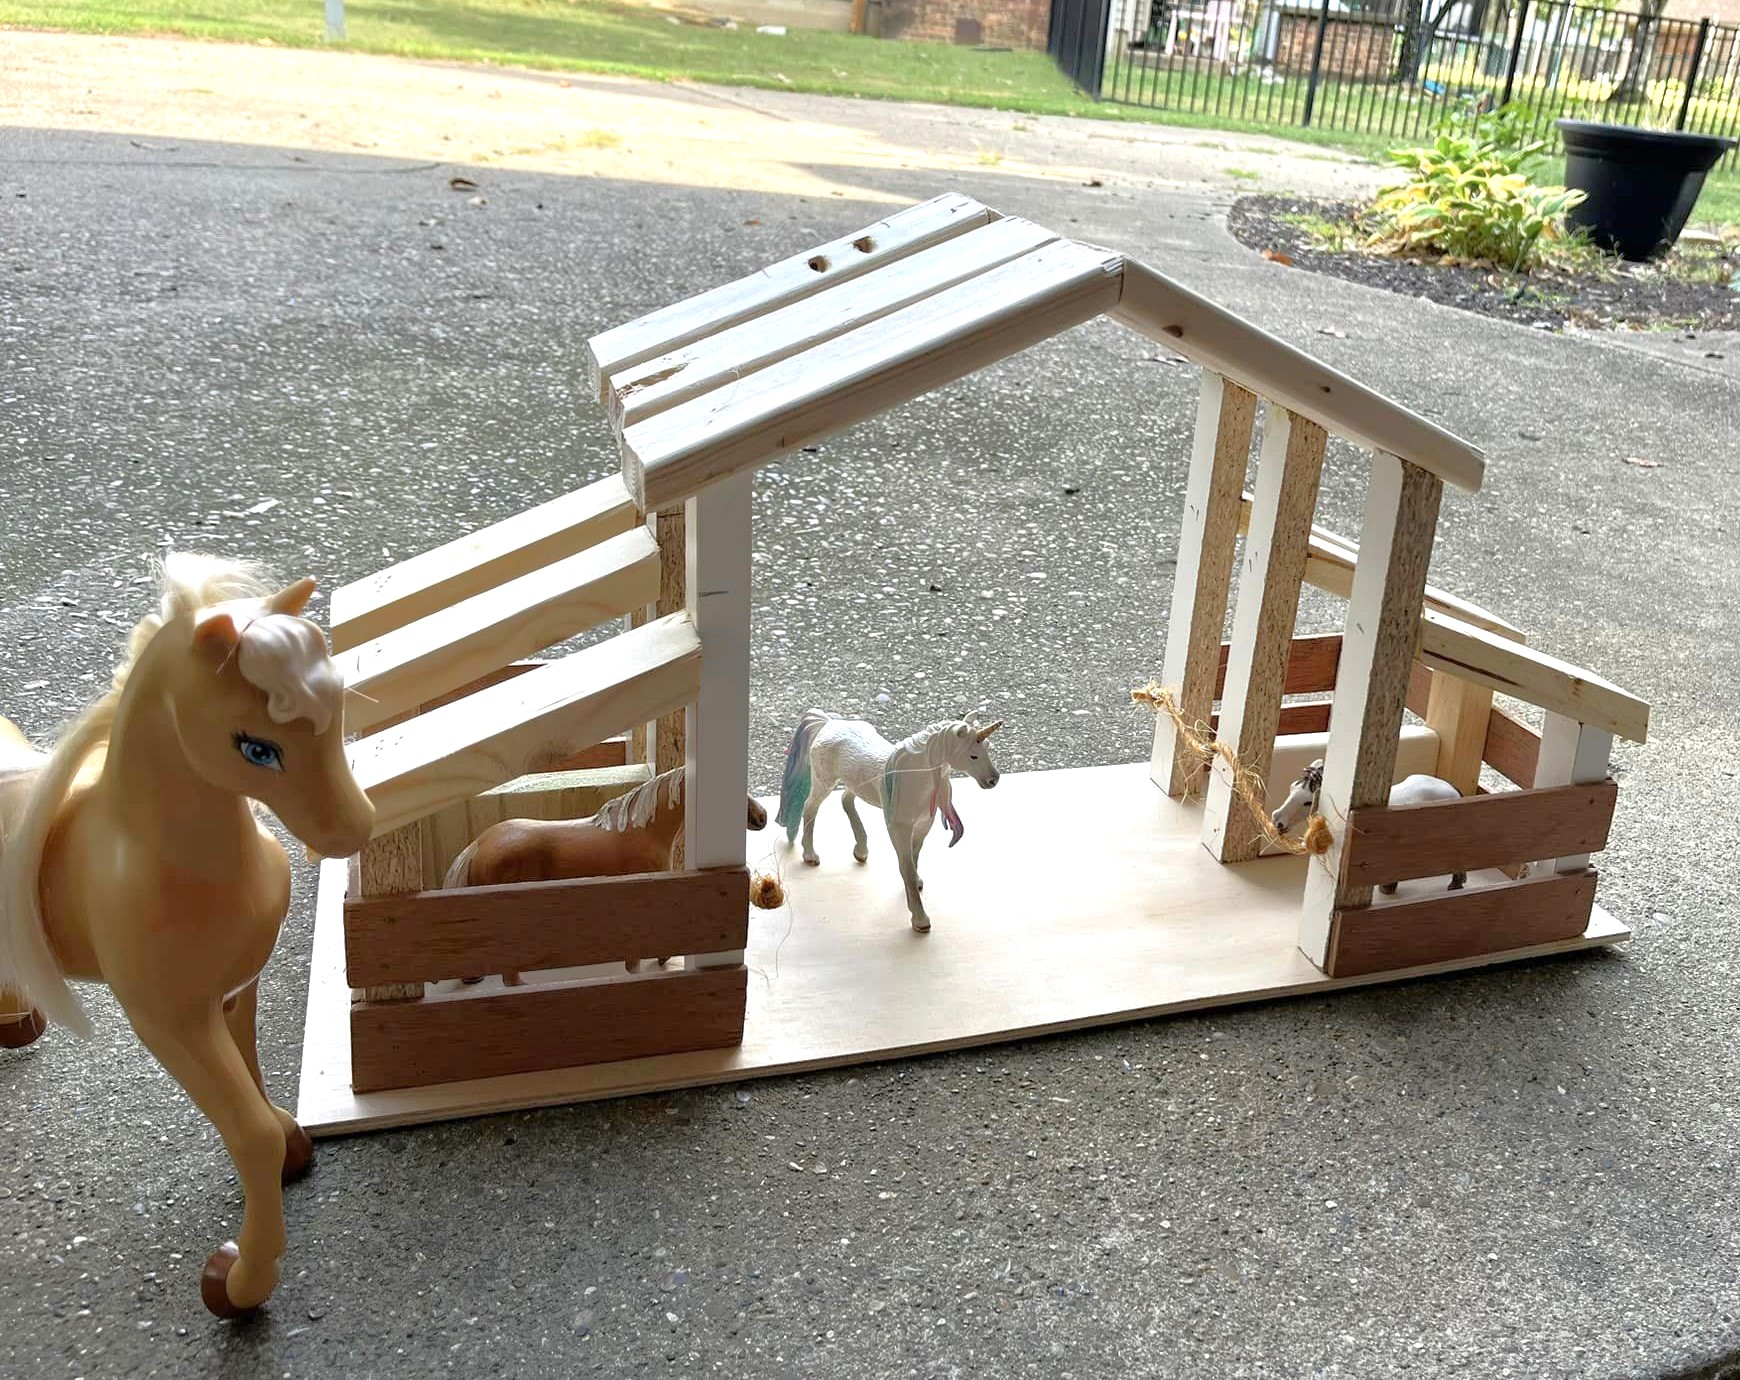
My daughter watched me do another build project and wanted something for herself. We built the Toy Barn from Ana White's plans using only scraps around the garage!
Laura Thompson
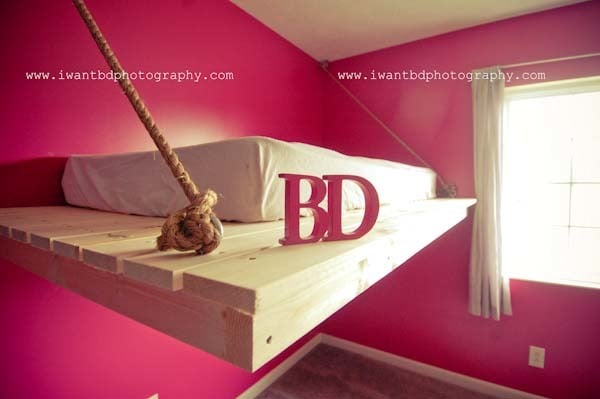
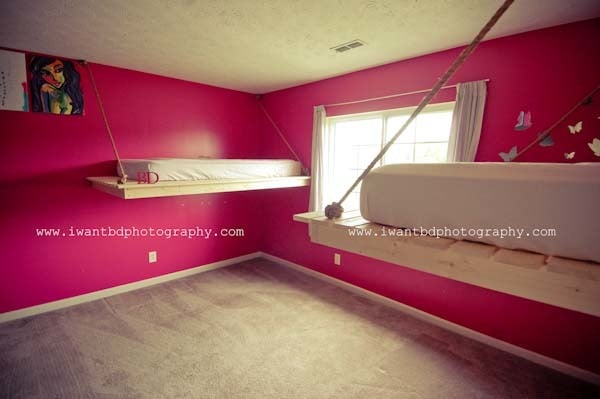
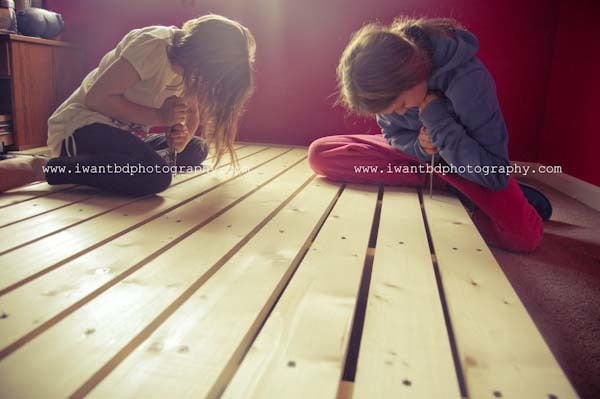
we love ana's plans, and we love the way this one was executed by the bumper crop. check out more pics of our girl version and how we did it at http://www.iwantbdphotography.com/archives/2661
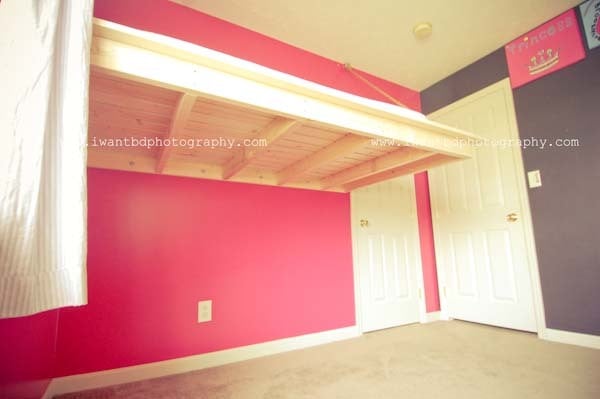
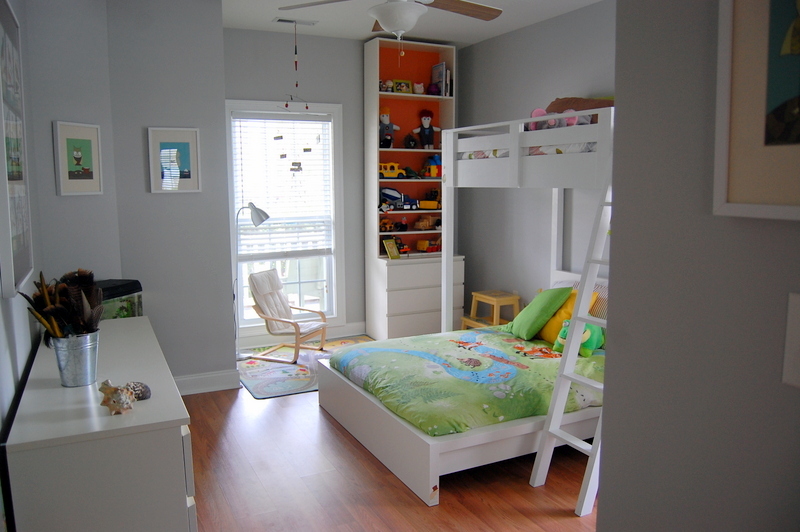
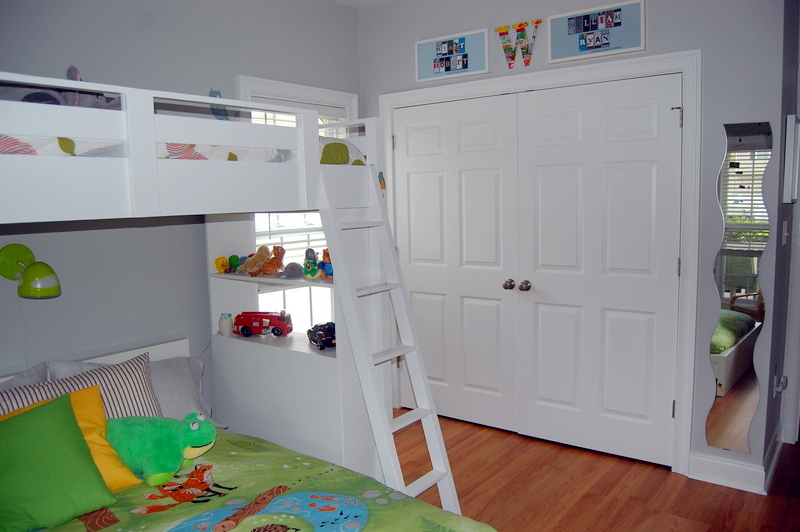
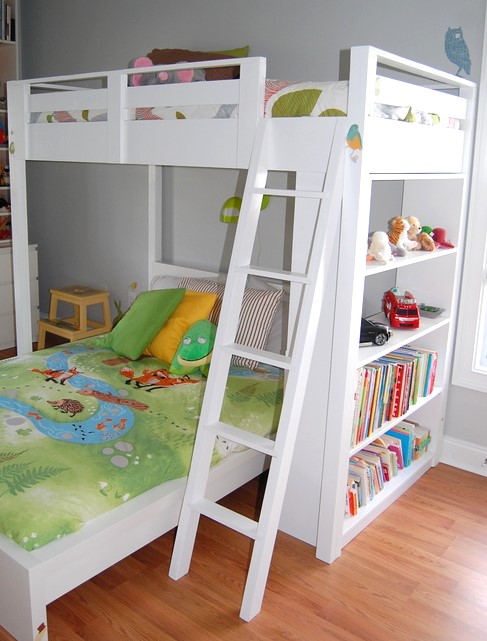
I did this project 99.97% alone (if you call "alone" with a 1-year old and 3-year old nearby). This was a challenging project that took longer than expected (one full week, working well into the night after the kids went to sleep). I used furring strips for the 1x3s and 1x4s. They cost about $2 less per board! Total cost of this project includes paint, screws, etc.
Tue, 05/29/2012 - 03:00
What a beautiful room. The bed looks just perfect in there. I love everything from the bed, to the bedding, to the wall color!
Mon, 10/22/2012 - 20:40
I have been looking for something similar to this but with a futon in the bottom. Anyone seen plans for such a critter?
Thu, 06/20/2019 - 11:46
AMAZING! I can't believe you tackled this with toddlers!
The plans were easy to follow.
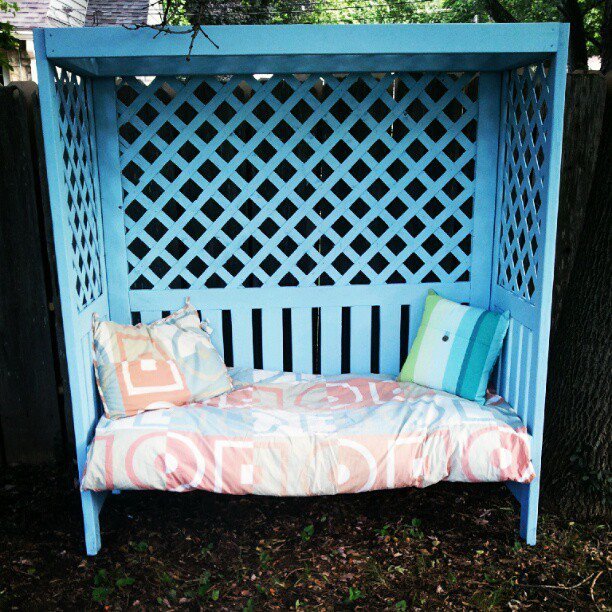
This was not built using one of Ana's plans. I have a book of 2X4 projects that my daughter gave me and actually got me started woodworking. This beauty was one of the projects. It was easy to build and easy to put together but not easy to paint. The lattice was the cheapest she could buy and was "furry". I tried sanding which took forever but it was still a mess to paint. I am including the link to the plans: http://woodtools.nov.ru/projects2/WoodPlan/lattice-bower.pdf
If you build this be sure and sand and paint before putting together-it's so much easier.
It looks amazing in her backyard and she is loving it.
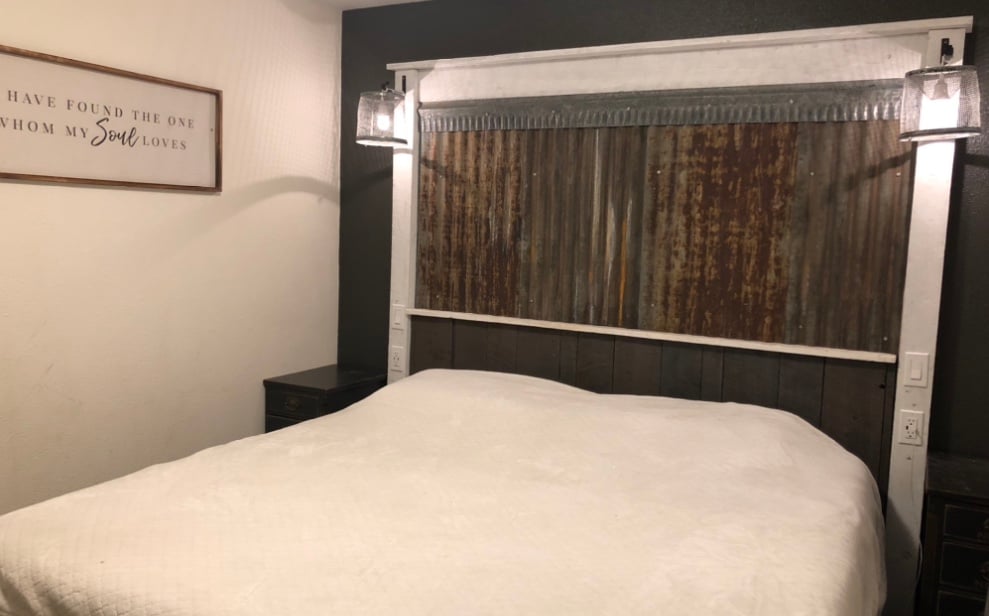
Fellow Alaskan here!
Wood and screw Materials costed $320
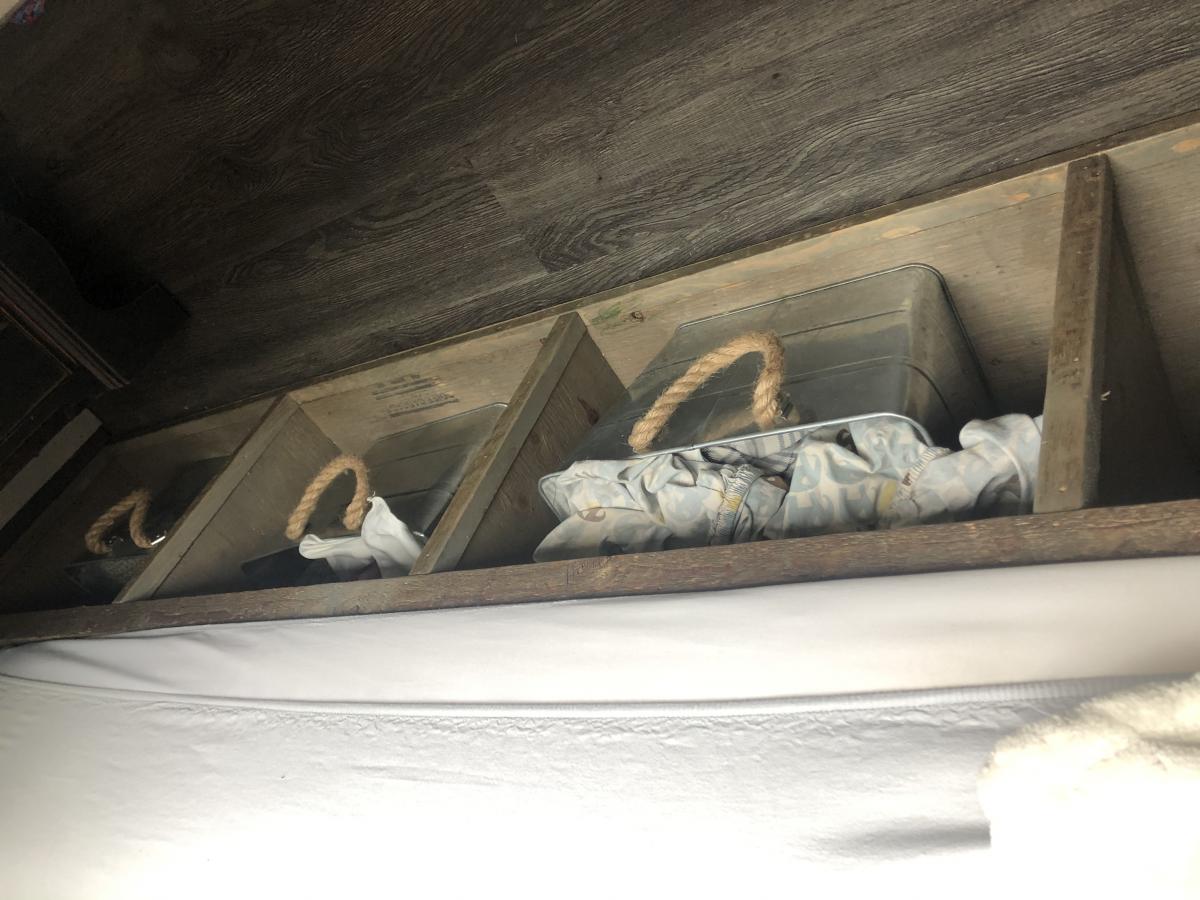
The metal storage buckets are outdoor drink buckets from Home Depot $200 for 8 of them!
There are 4 storage buckets on each side! We took this from your farmhouse plan and altered it for king size. And in after thought he made a baby co-sleeper to match, 30$ to make!
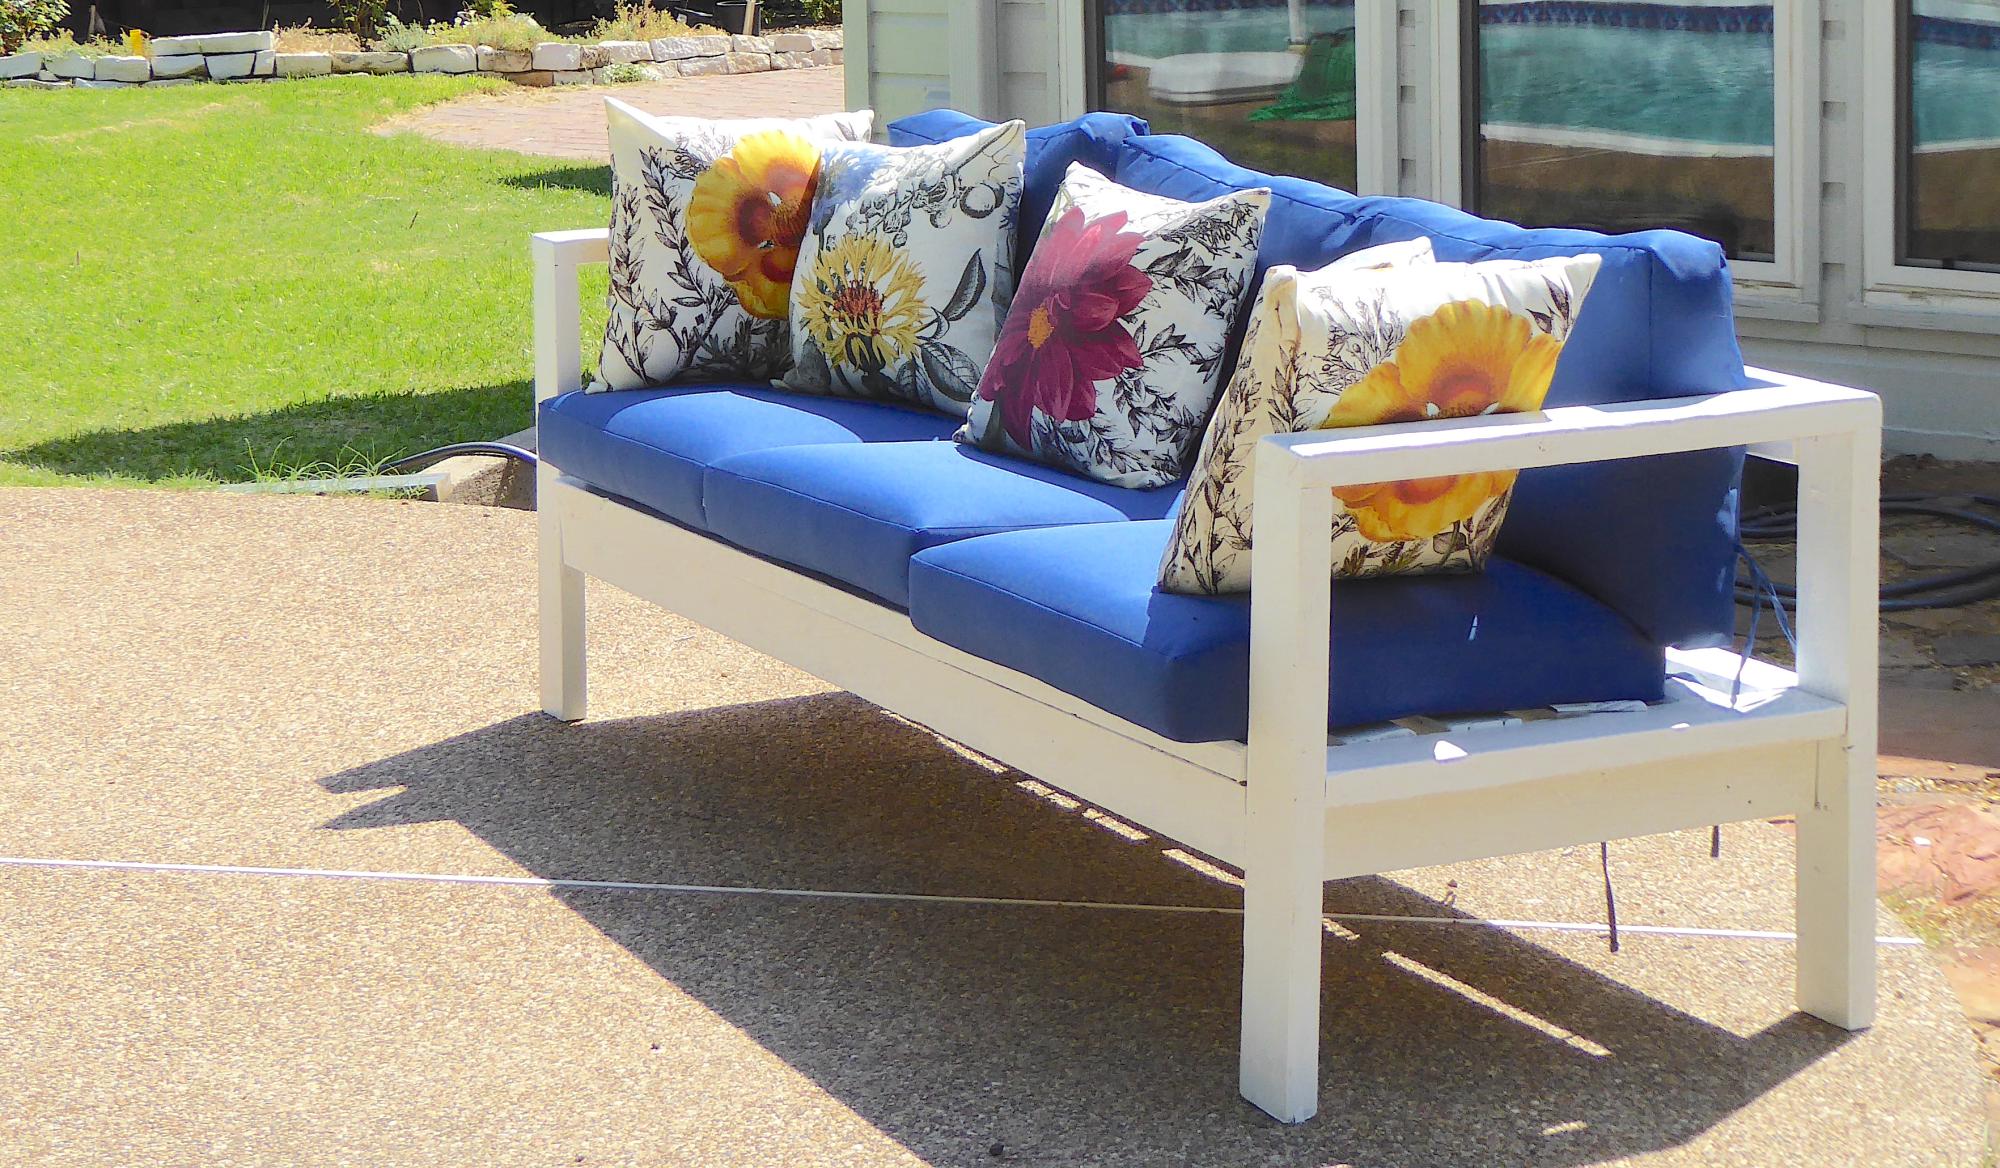
Made from wood salvaged from a renovation. Cushions from Improvements Catalog and Target.
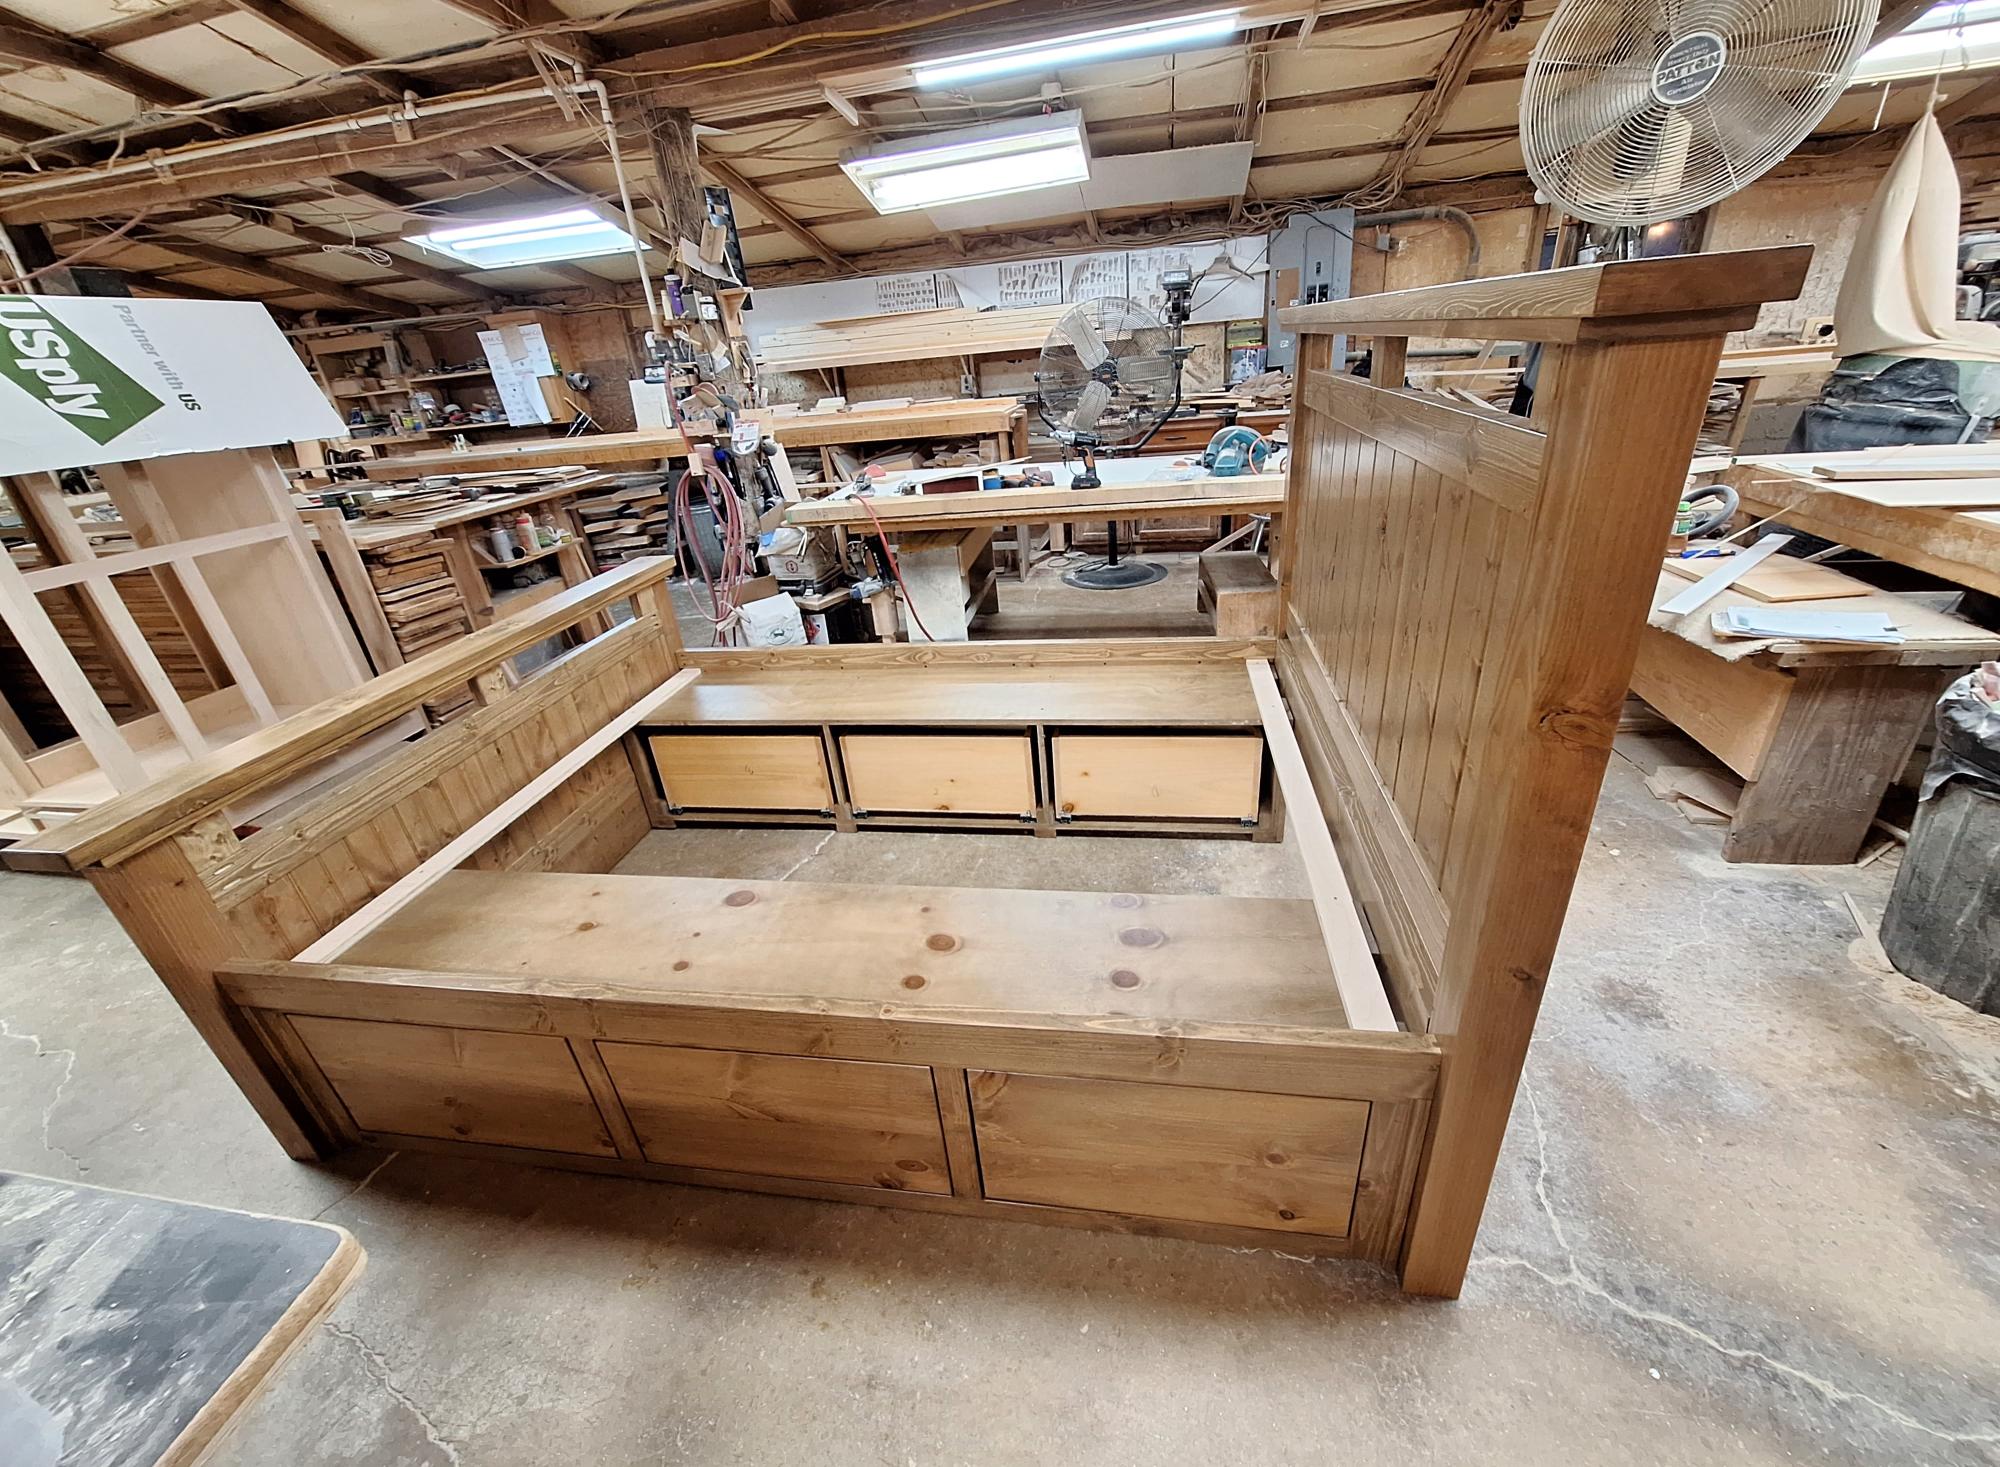
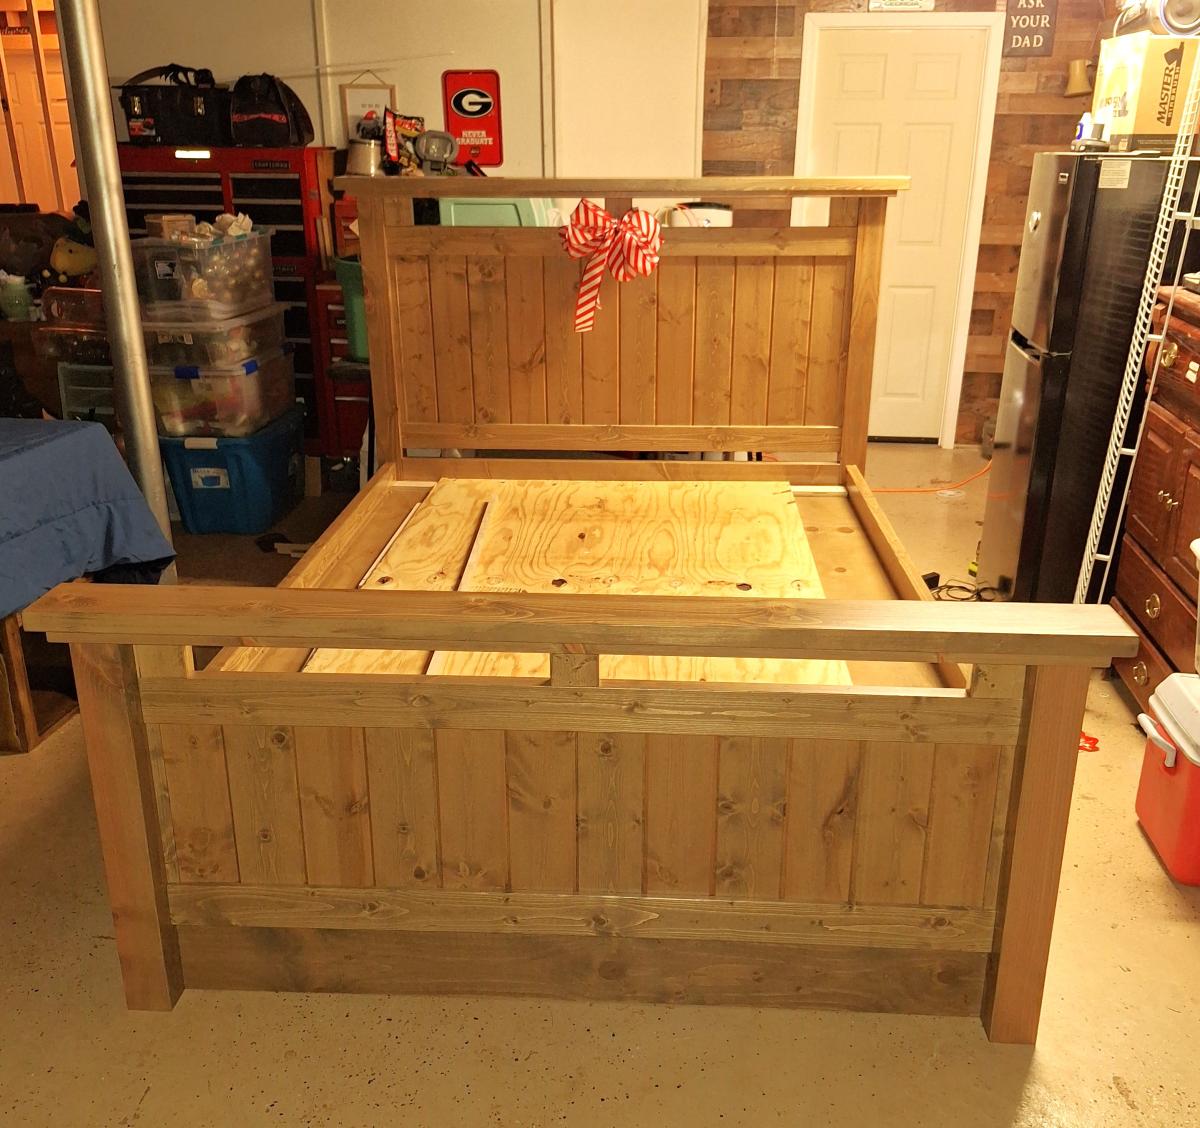
I took a couple of ideas and made this queen size storage bed.
Carol Hicks
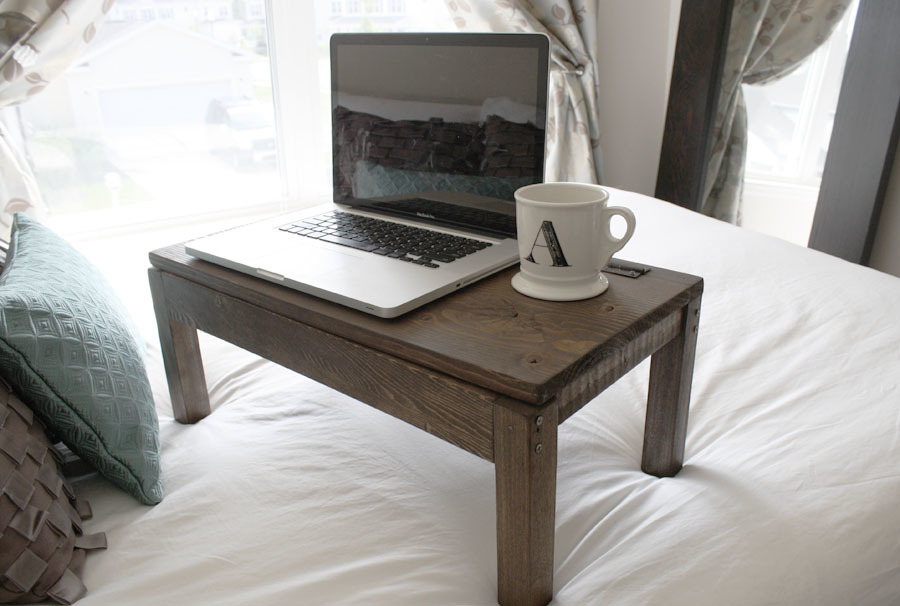
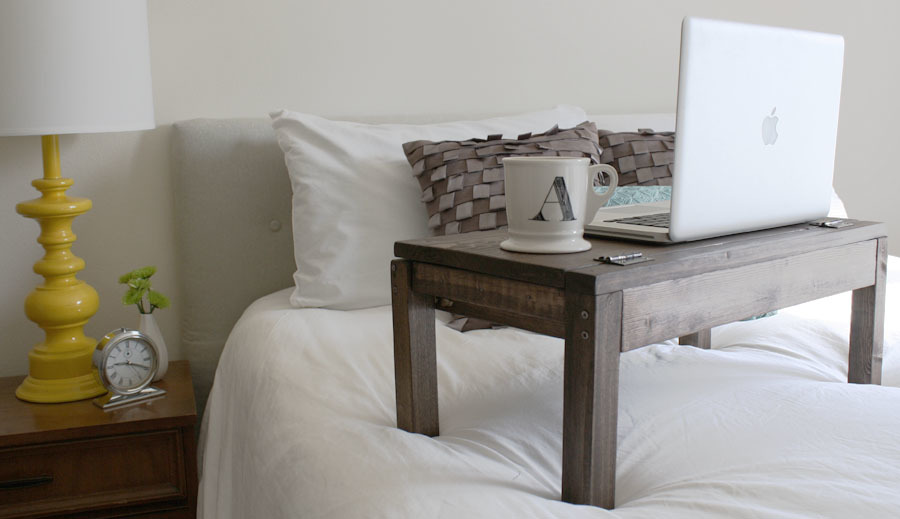
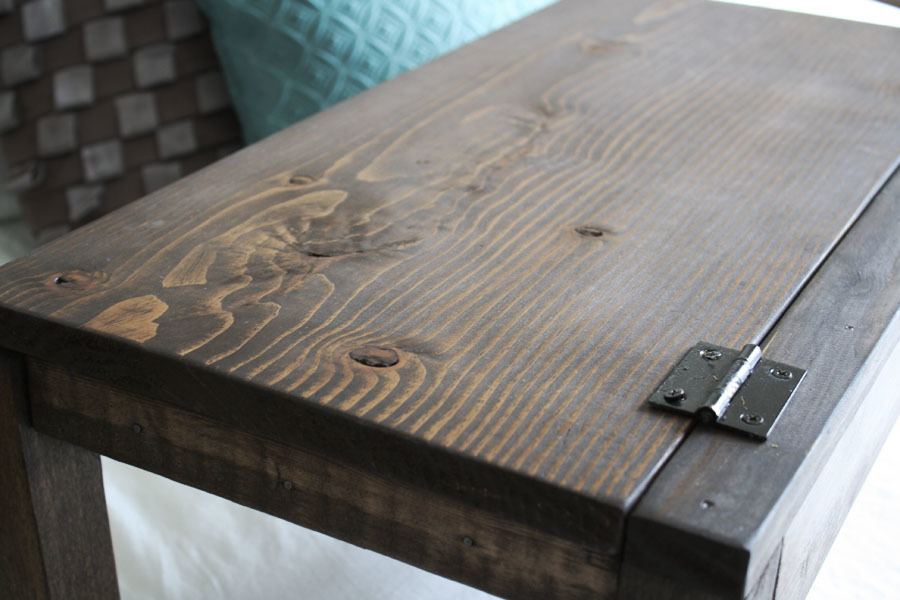
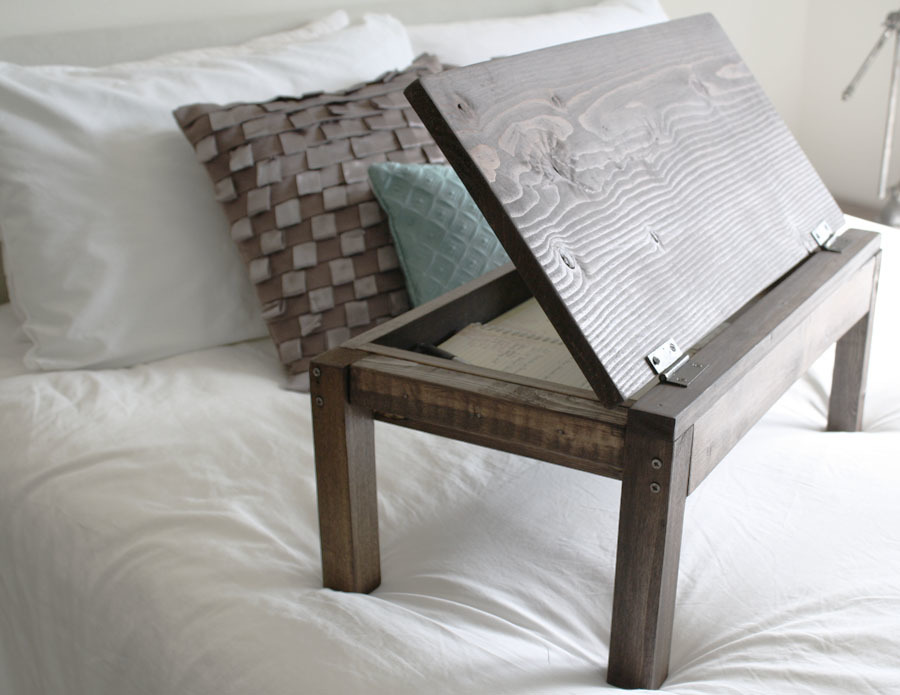
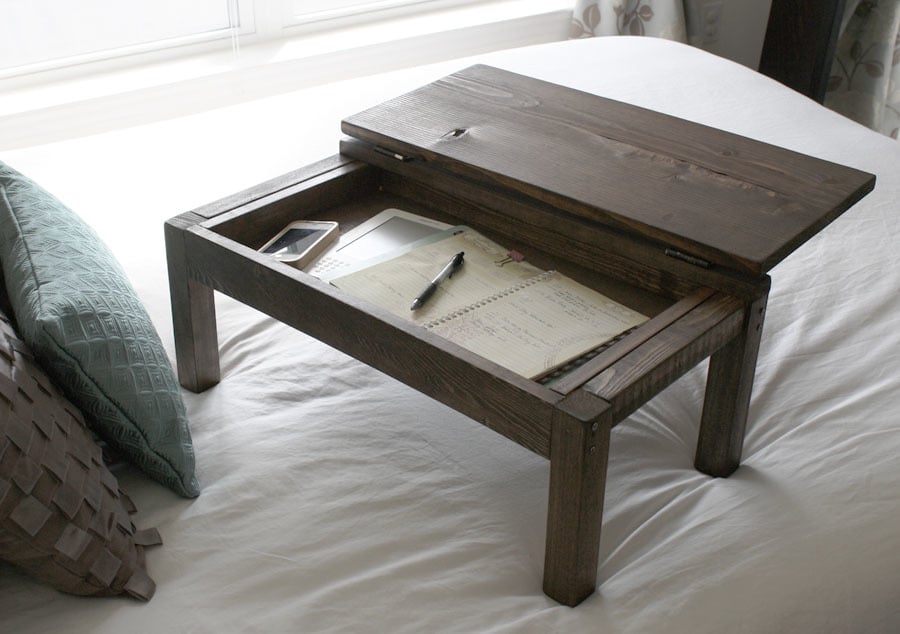
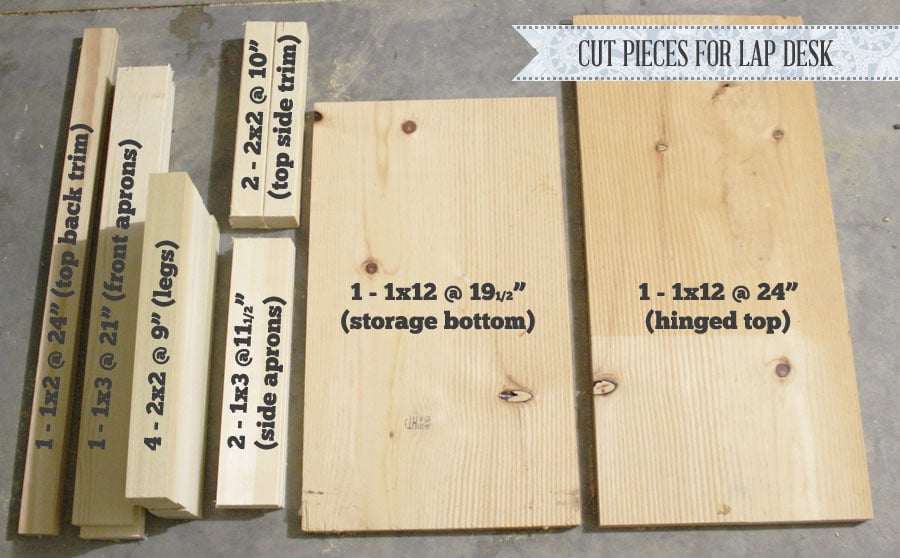
This was a really quick and easy build. I built it with two bucks and two hours with some scrap wood I had laying around. The only thing I bought was a package of 2 standard hinges ($2). Also, I deviated from the plan a little by not including the lower storage compartments (didn't want it to get too heavy), making the legs 4" shorter (so it's more comfortable to use in bed), and not building the storage dividers under the flip-top lid. Check out more info by clicking my blog link!
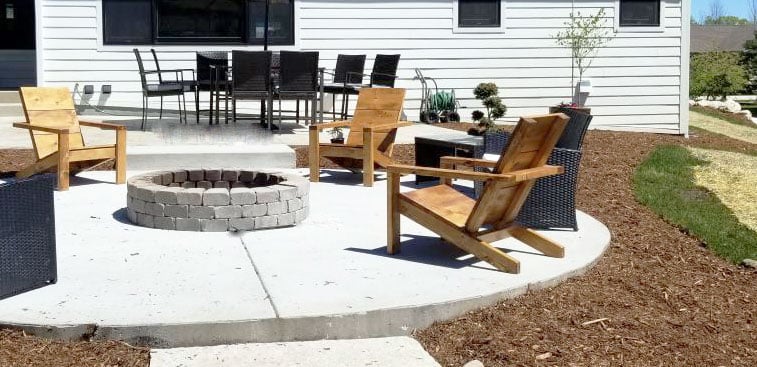
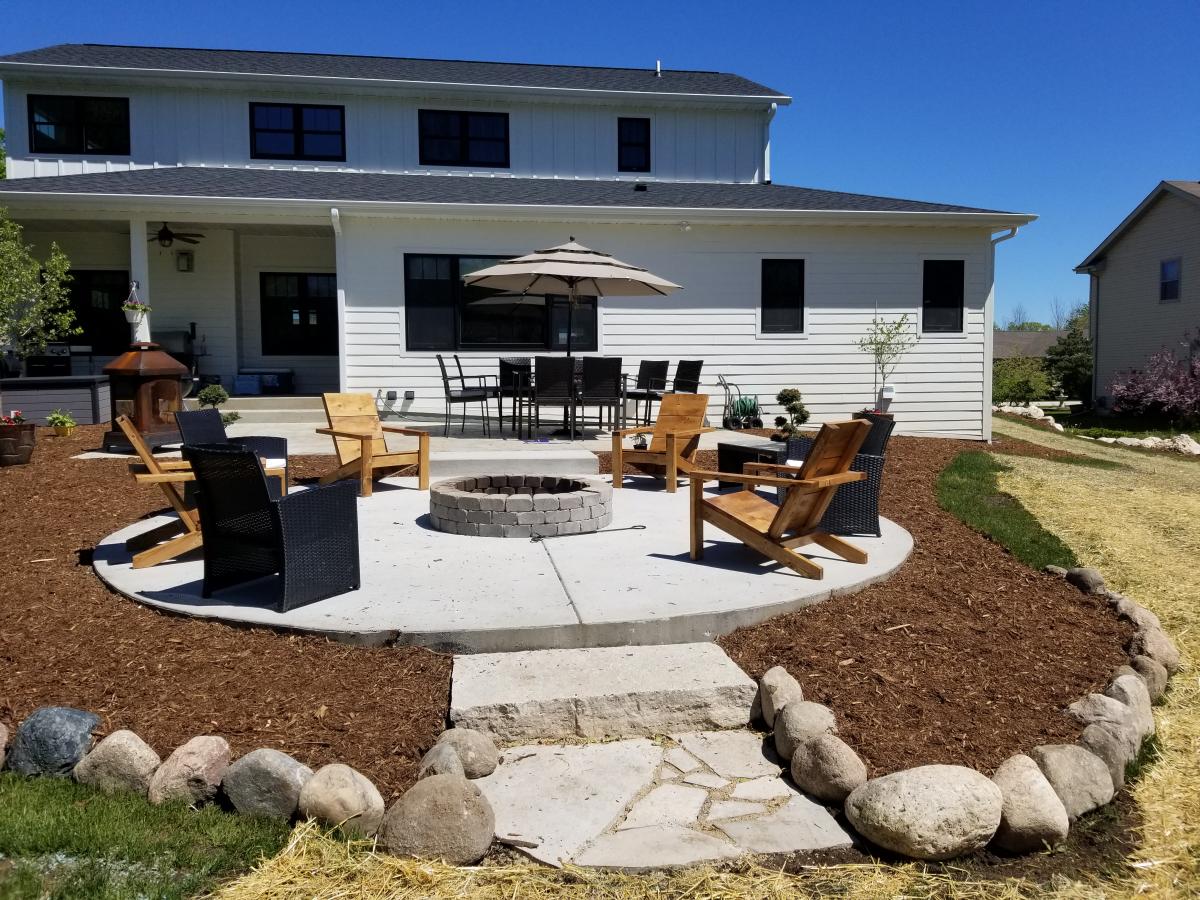
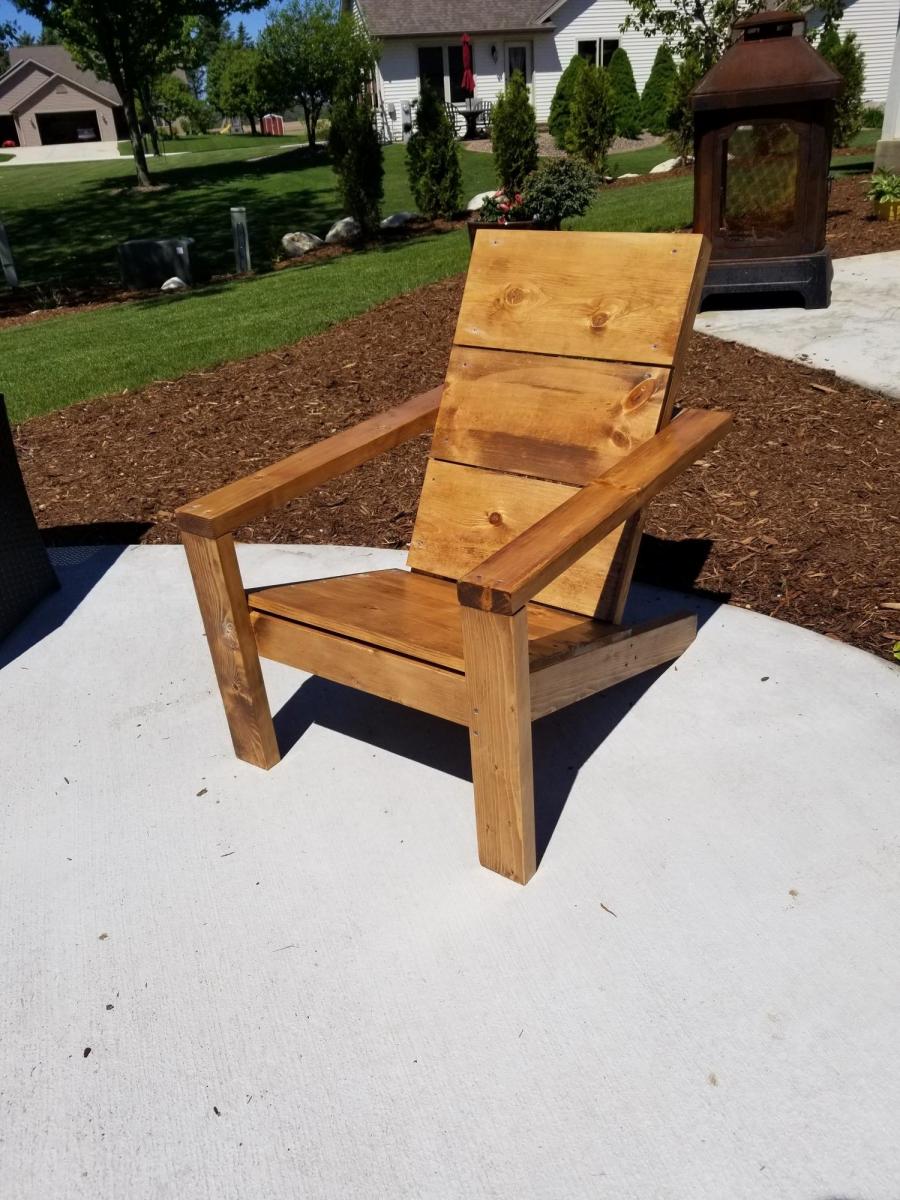
I made 4 of these chairs for around our fire pit. I chose to sand stain and poly before assembling and plan to add another coat of poly now that they are assembled. Sanding was the longest part of the process for me, but if you aren't as particular as I was about the finished project the time investment would be substantially reduced. I also of course had drying time for the stand and poly. Assembly itself was simple and the finished chairs are comfortable and sturdy without being overly heavy and bulky.
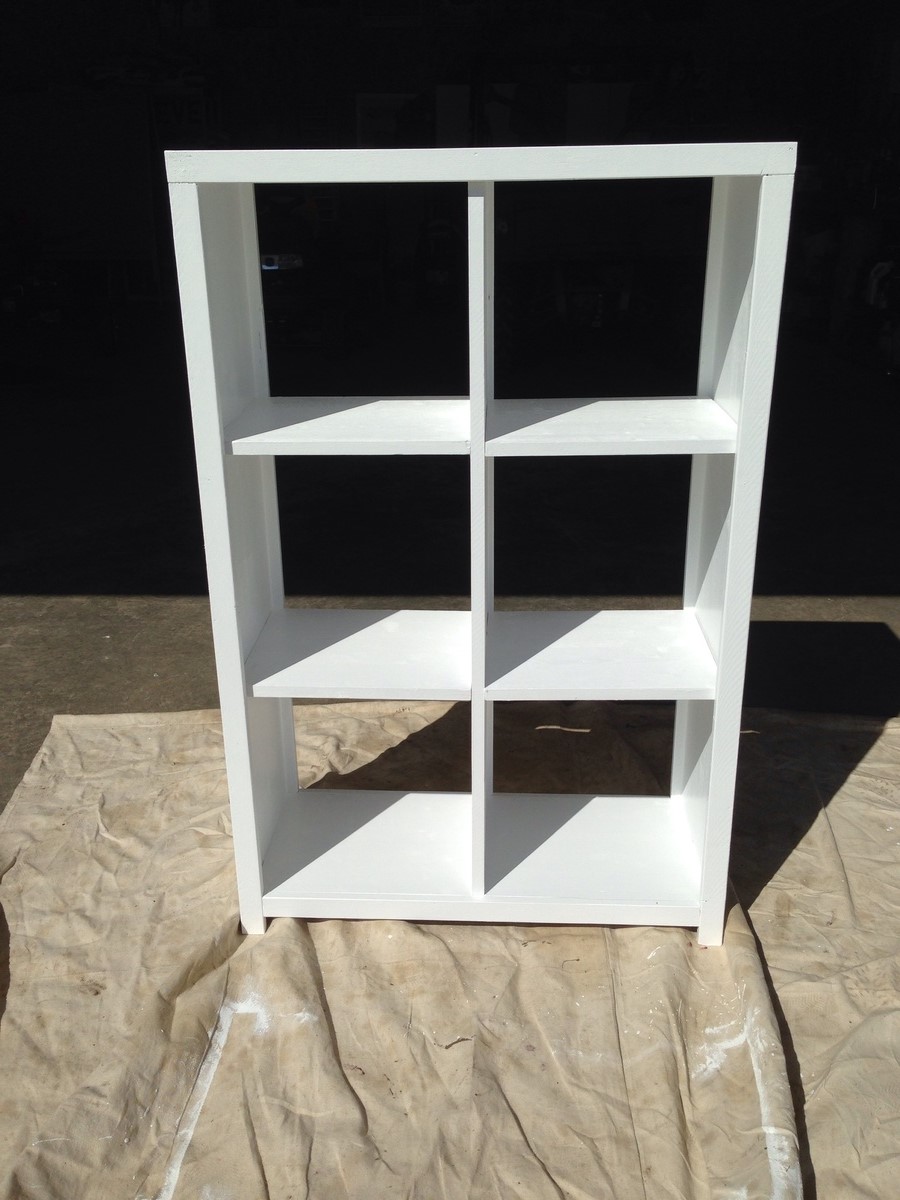
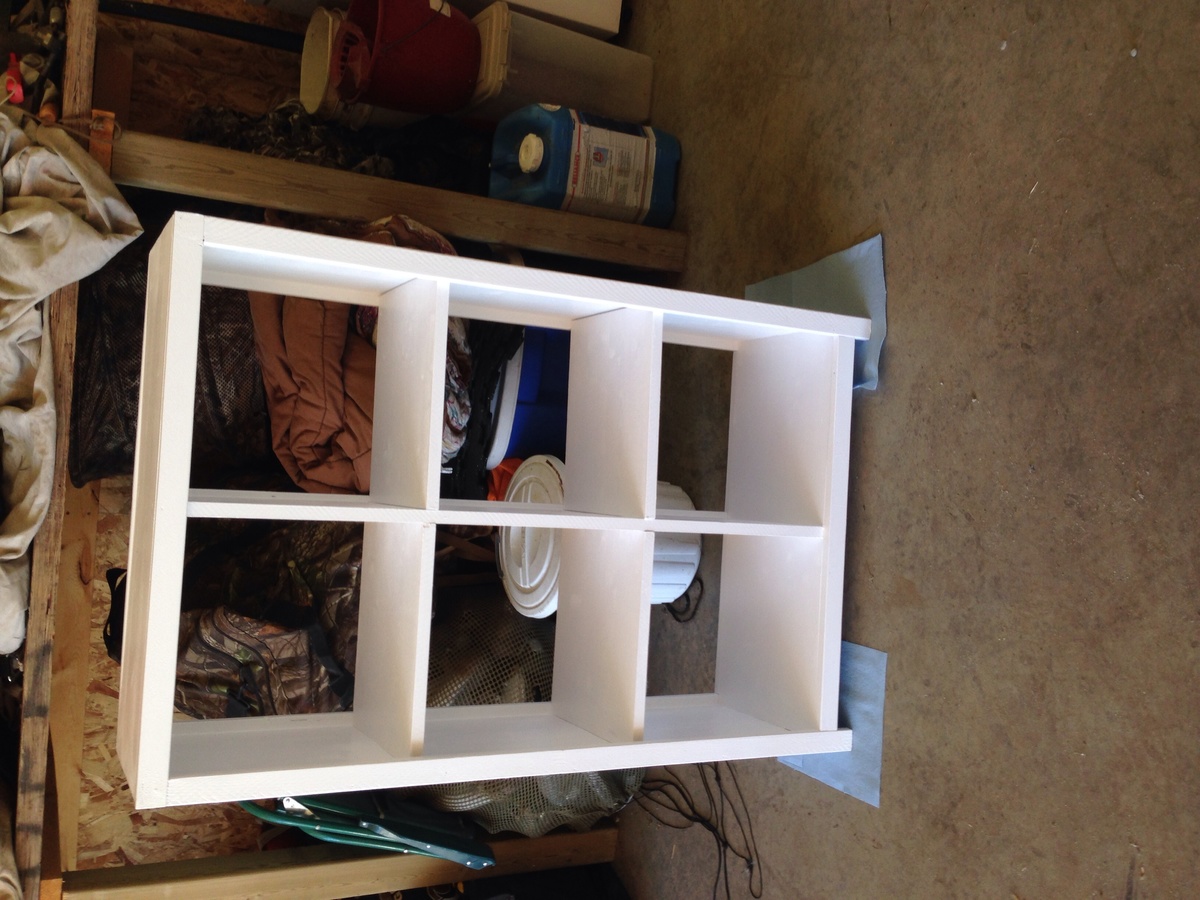
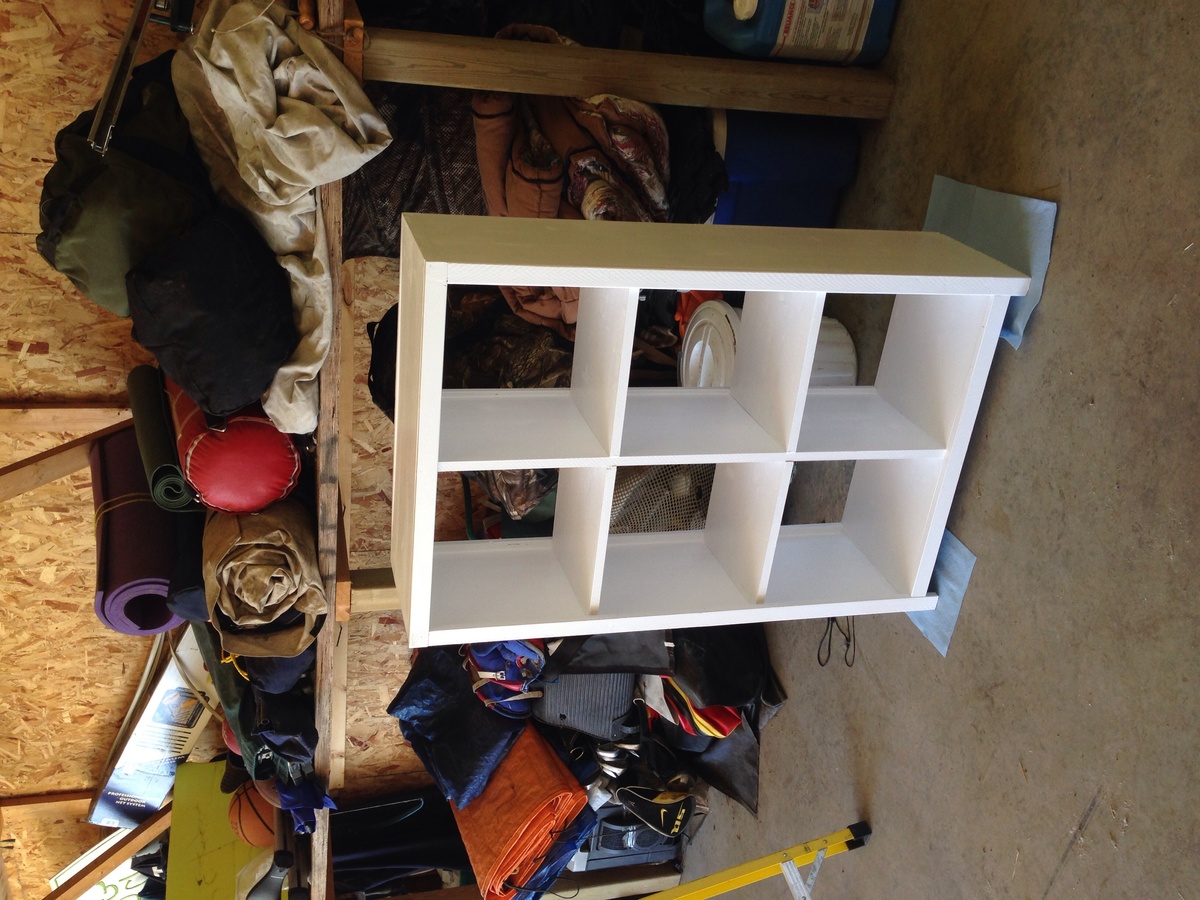
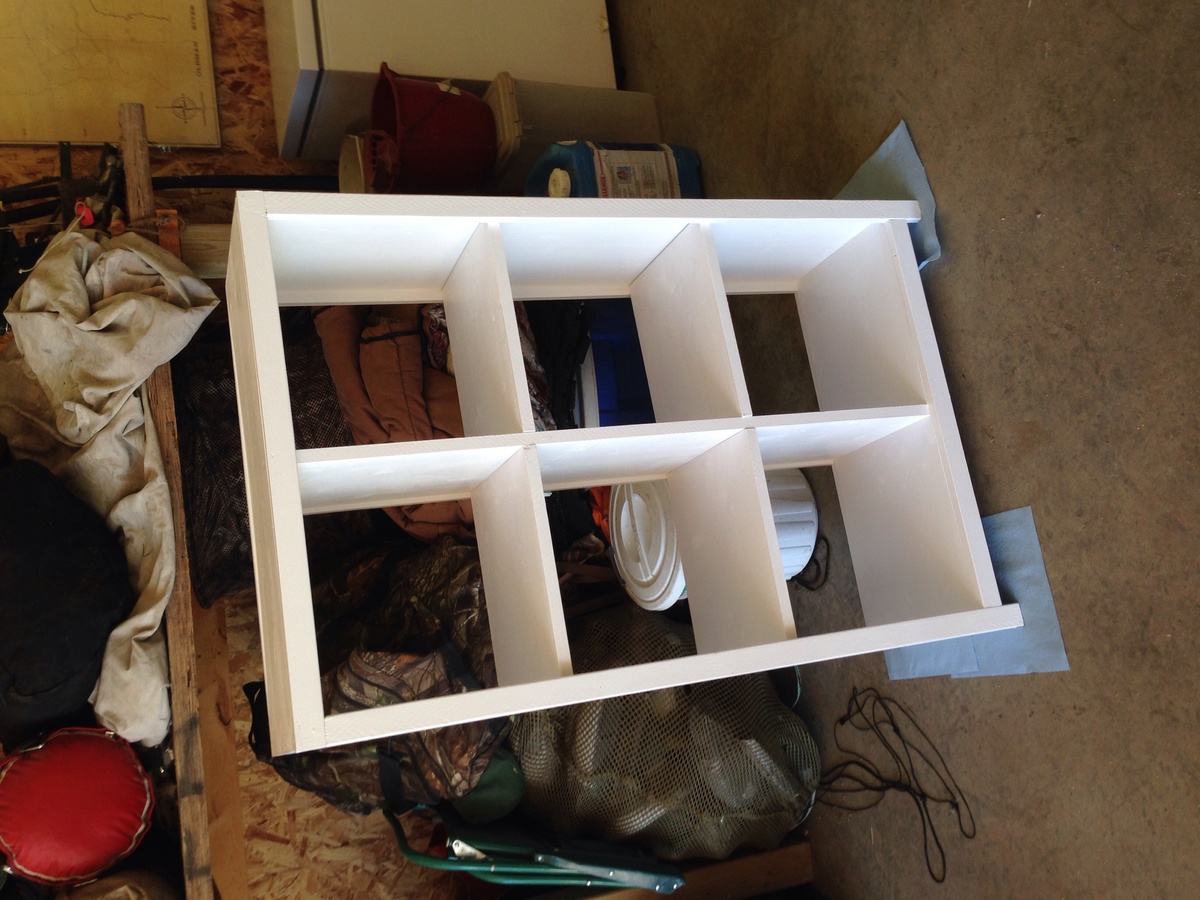
This was my first project. It is for our nursery. Painted white to match the crib and dresser. So much fun. Plan was great and very easy to follow. Thanks to the other brag post which mentioned there was a missing cut for the box (bottom shelf). 28 3/4. I used countersink screws with a 1/2" countersink drill bit. I also used shelf pins to secure the shelf. With the paint I noticed the shelfs were very snug. I would probably take off 1/4" off the shelf size if I built it again. Can't wait for the next project! Thanks.
Comments
Ana White Admin
Sun, 07/30/2023 - 15:43
Great project!
Love how you decided to use this plan, looks awesome!