Community Brag Posts

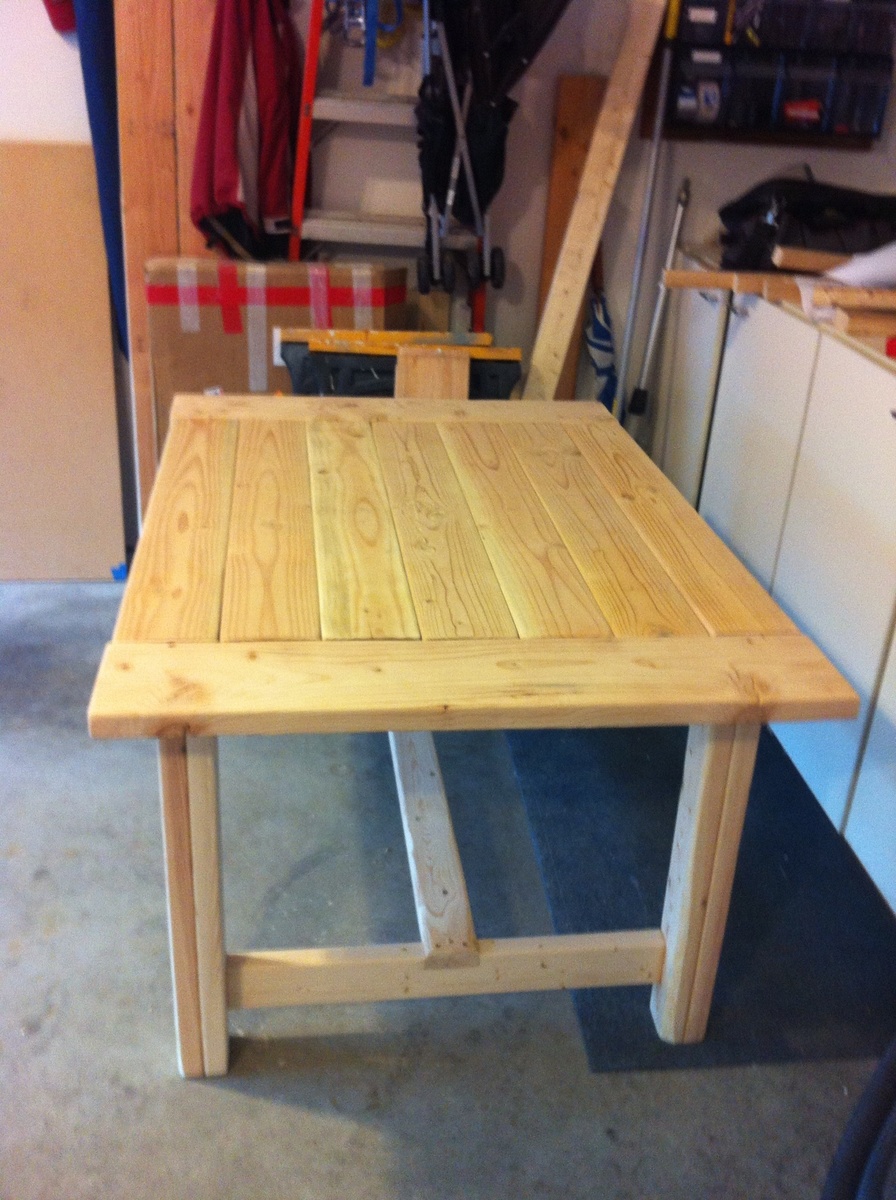
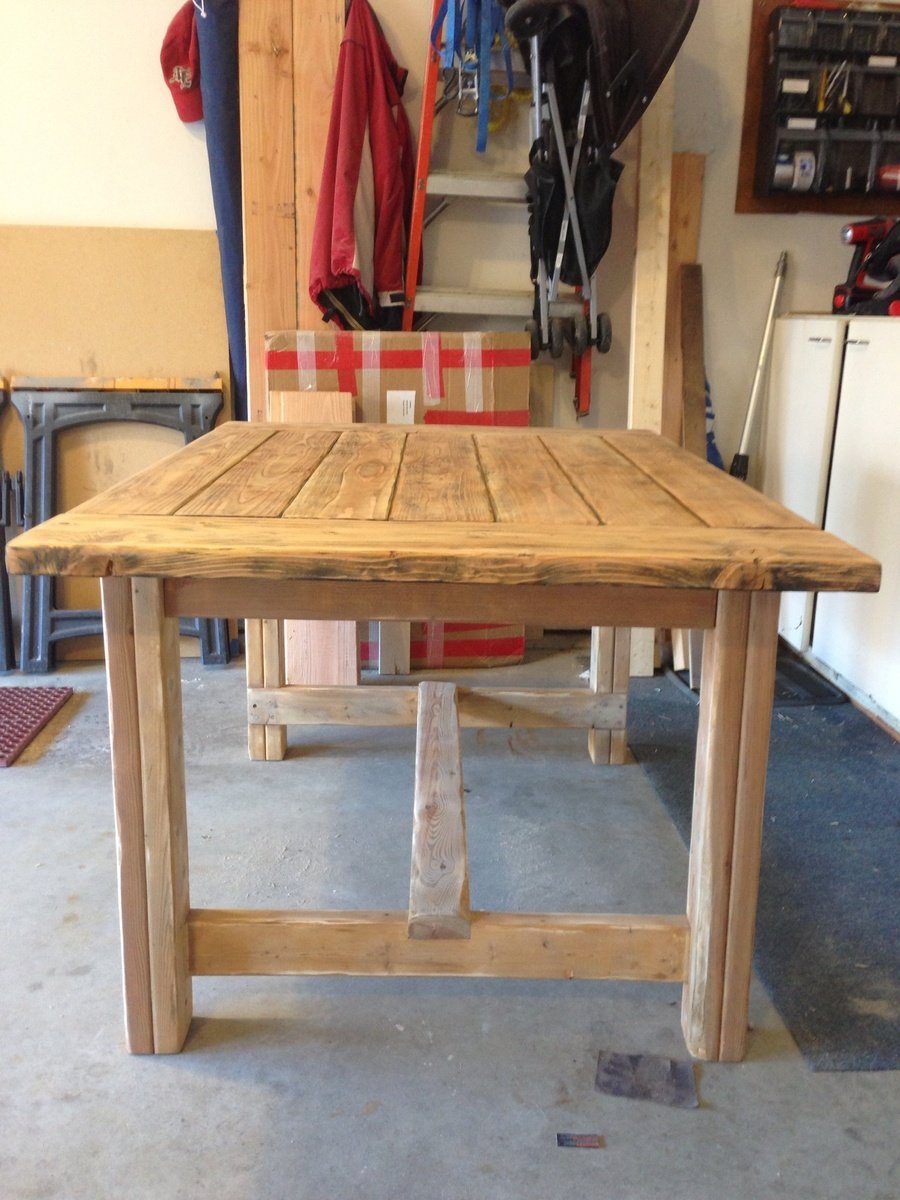
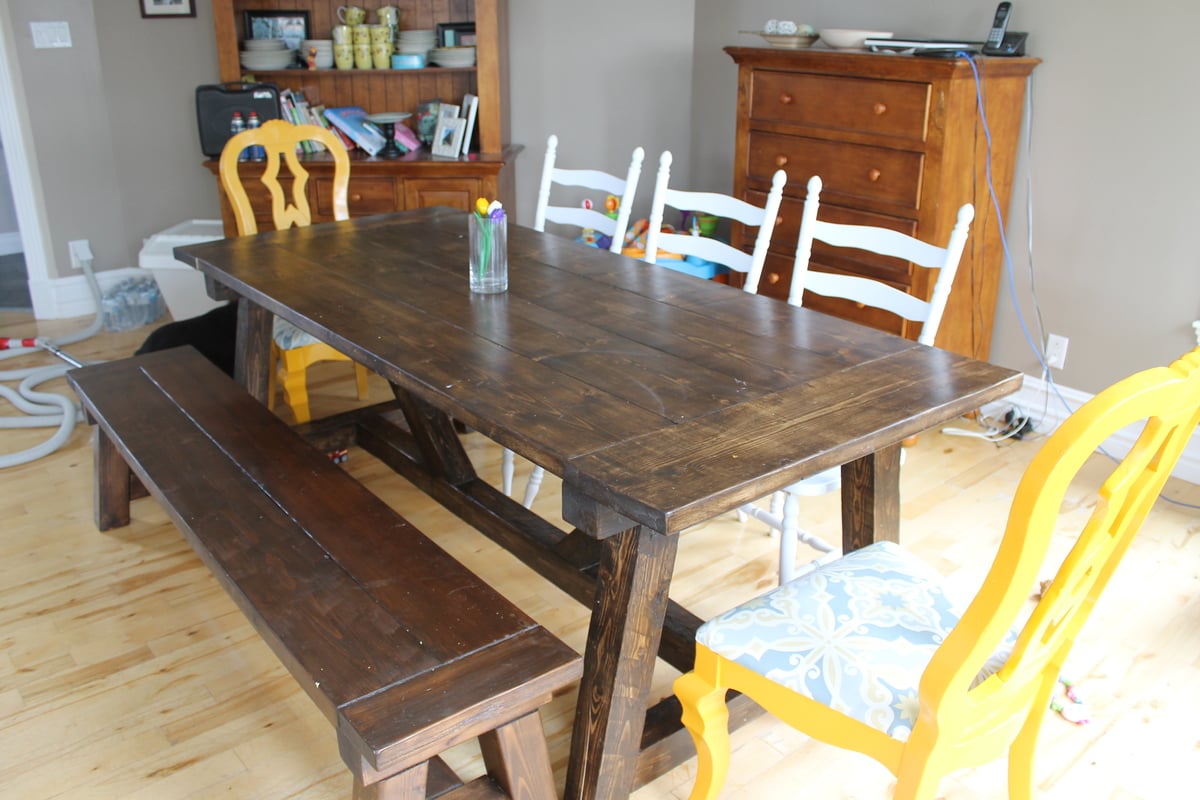
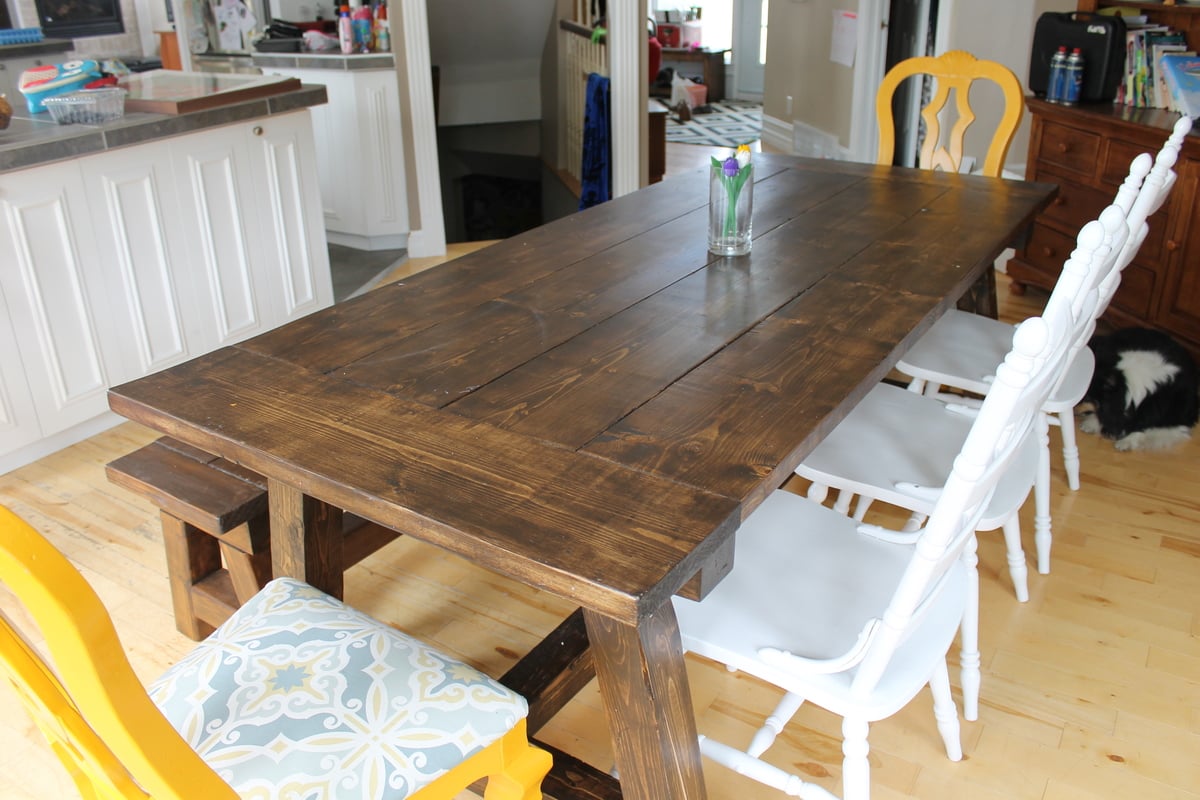
4x4 truss beam table and bench

Submitted by Joagirard on Fri, 07/04/2014 - 20:24

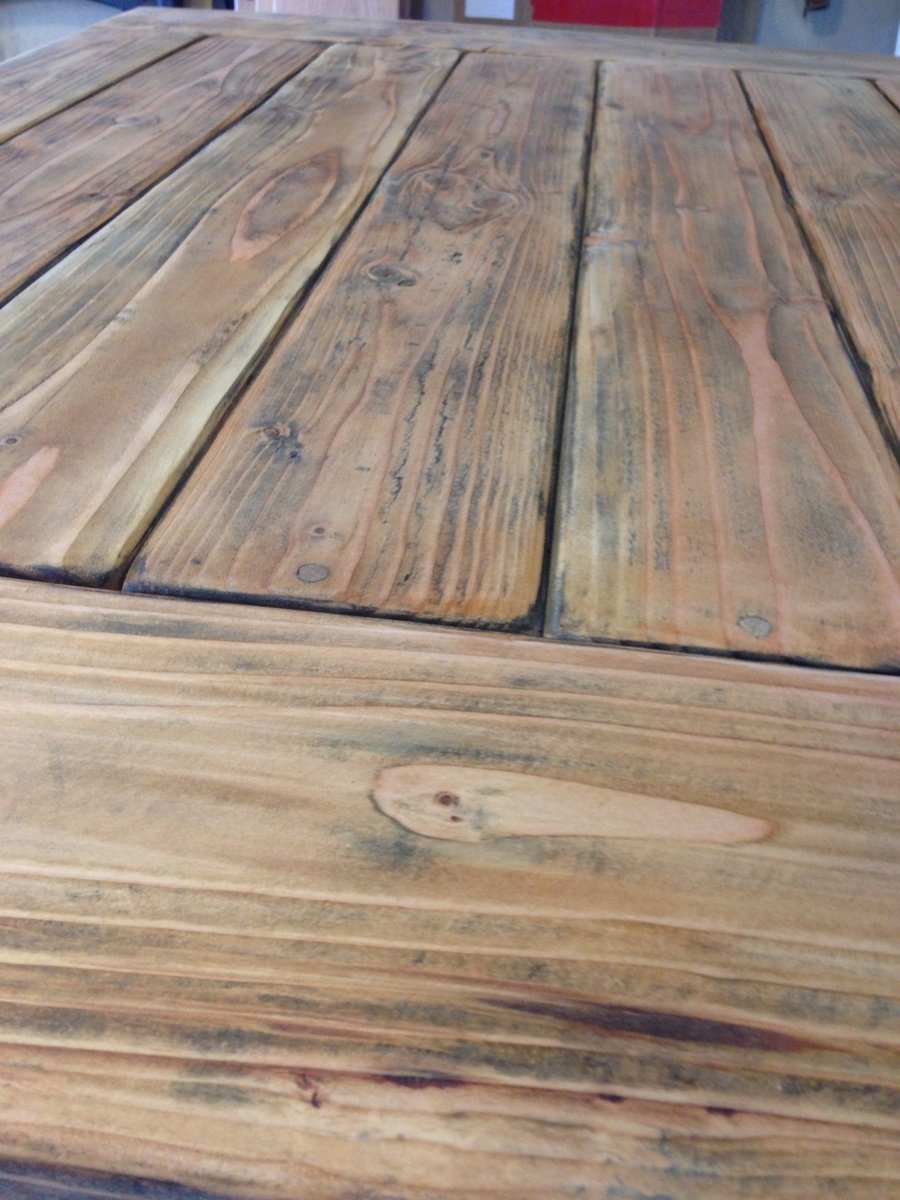
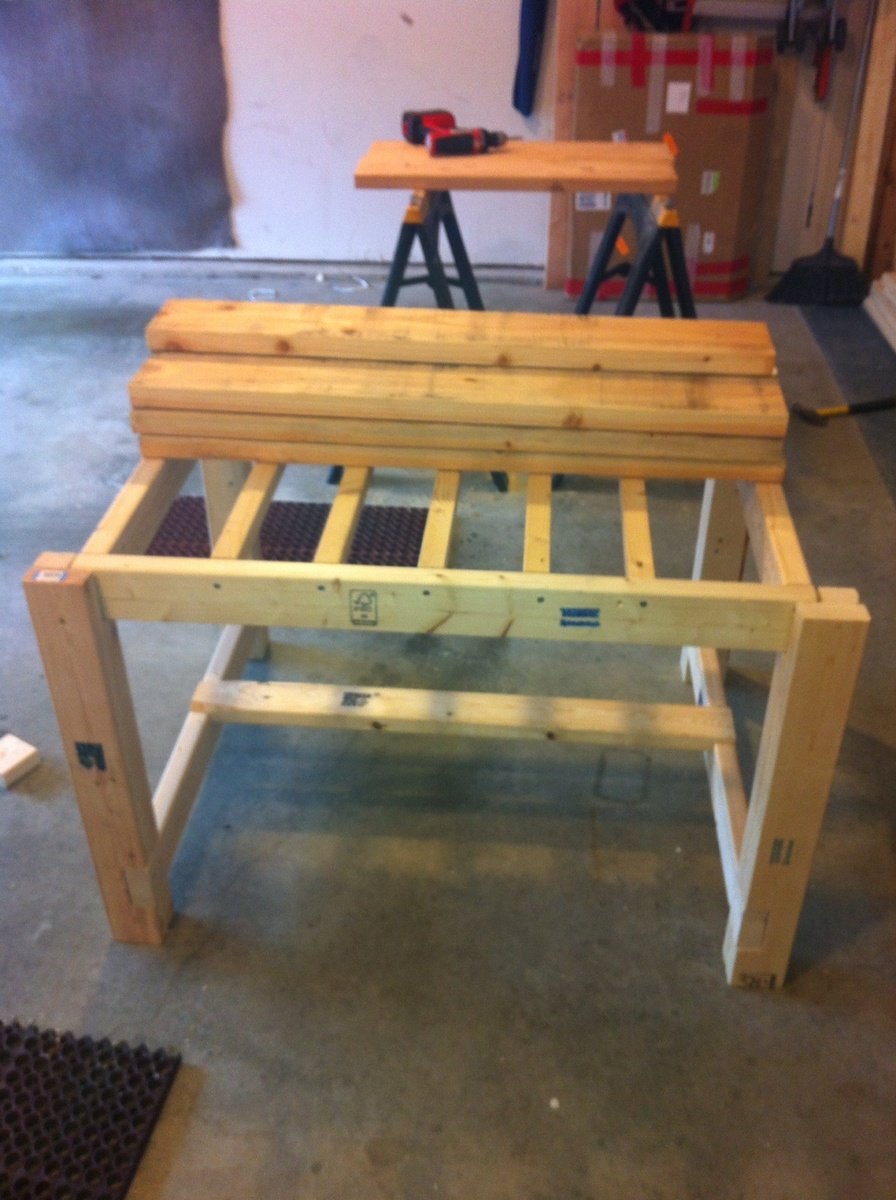
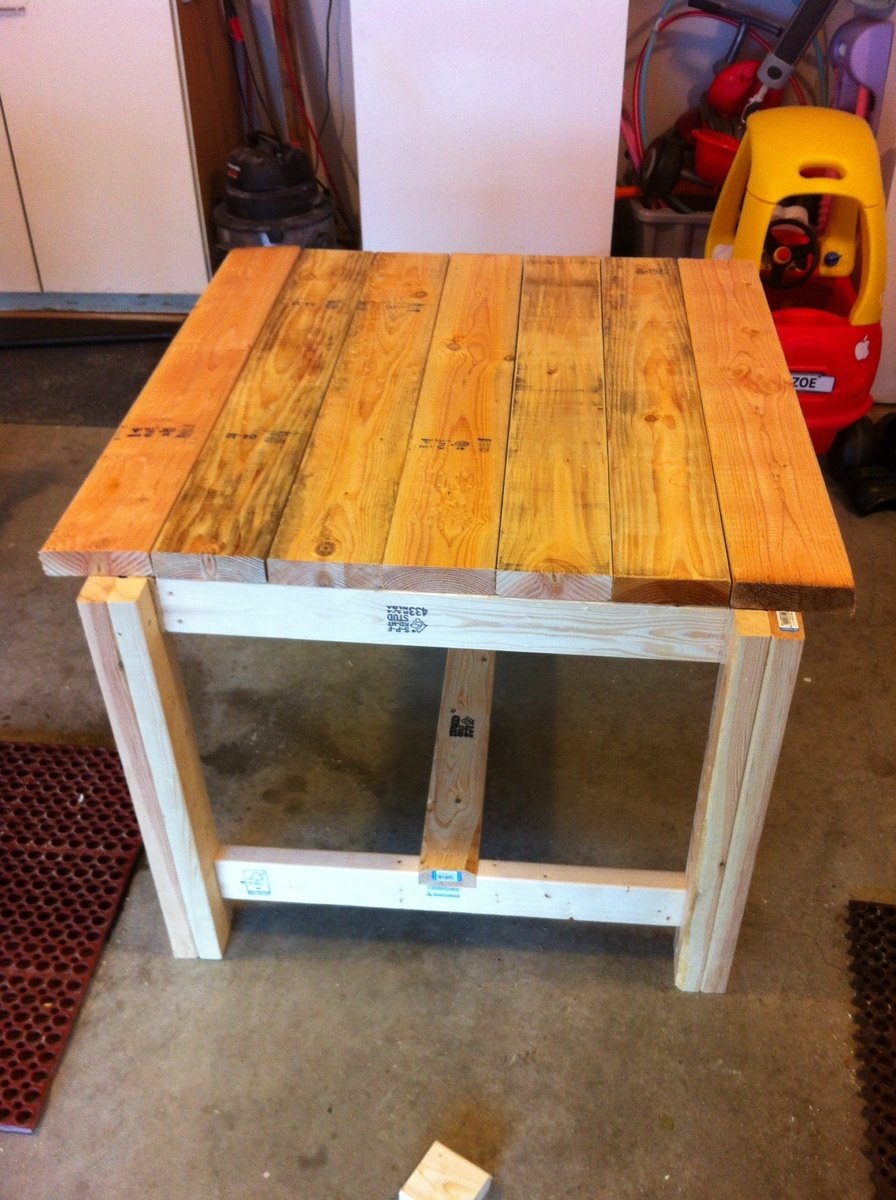
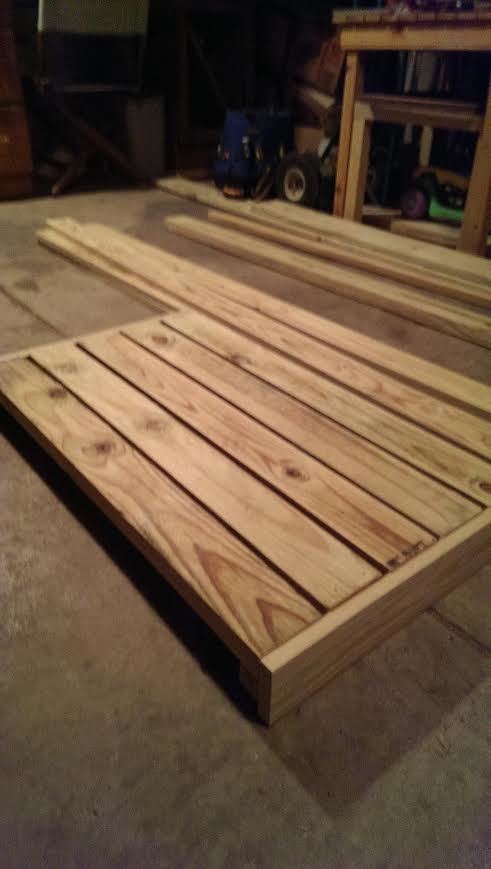
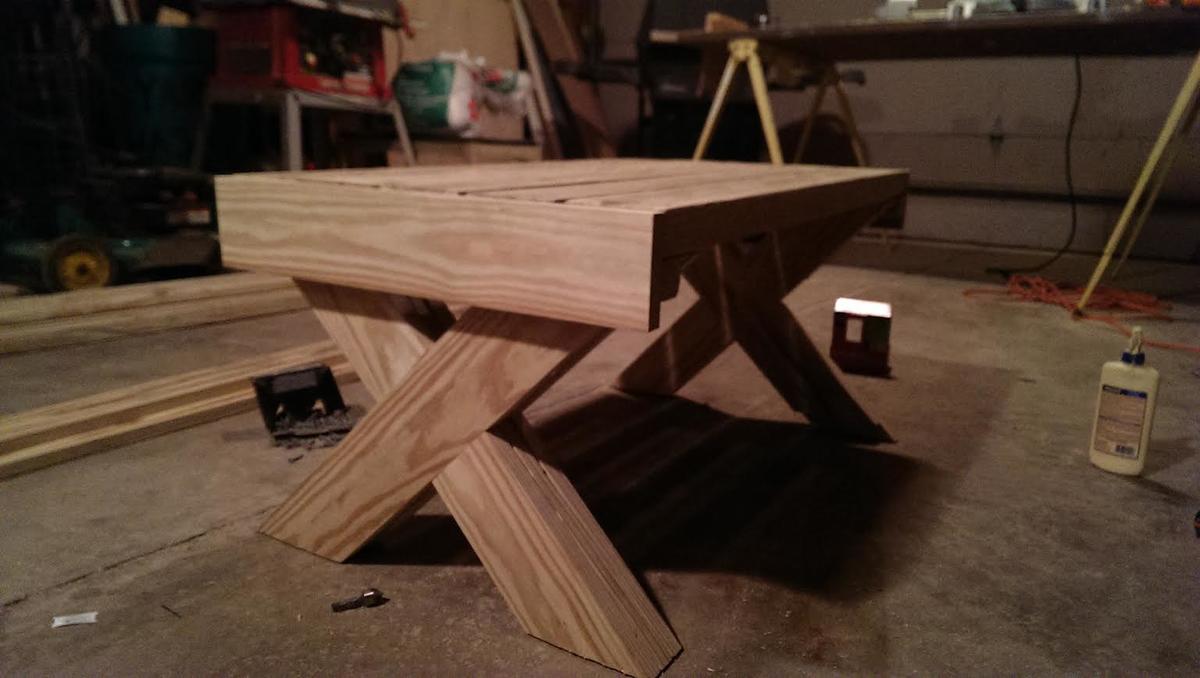
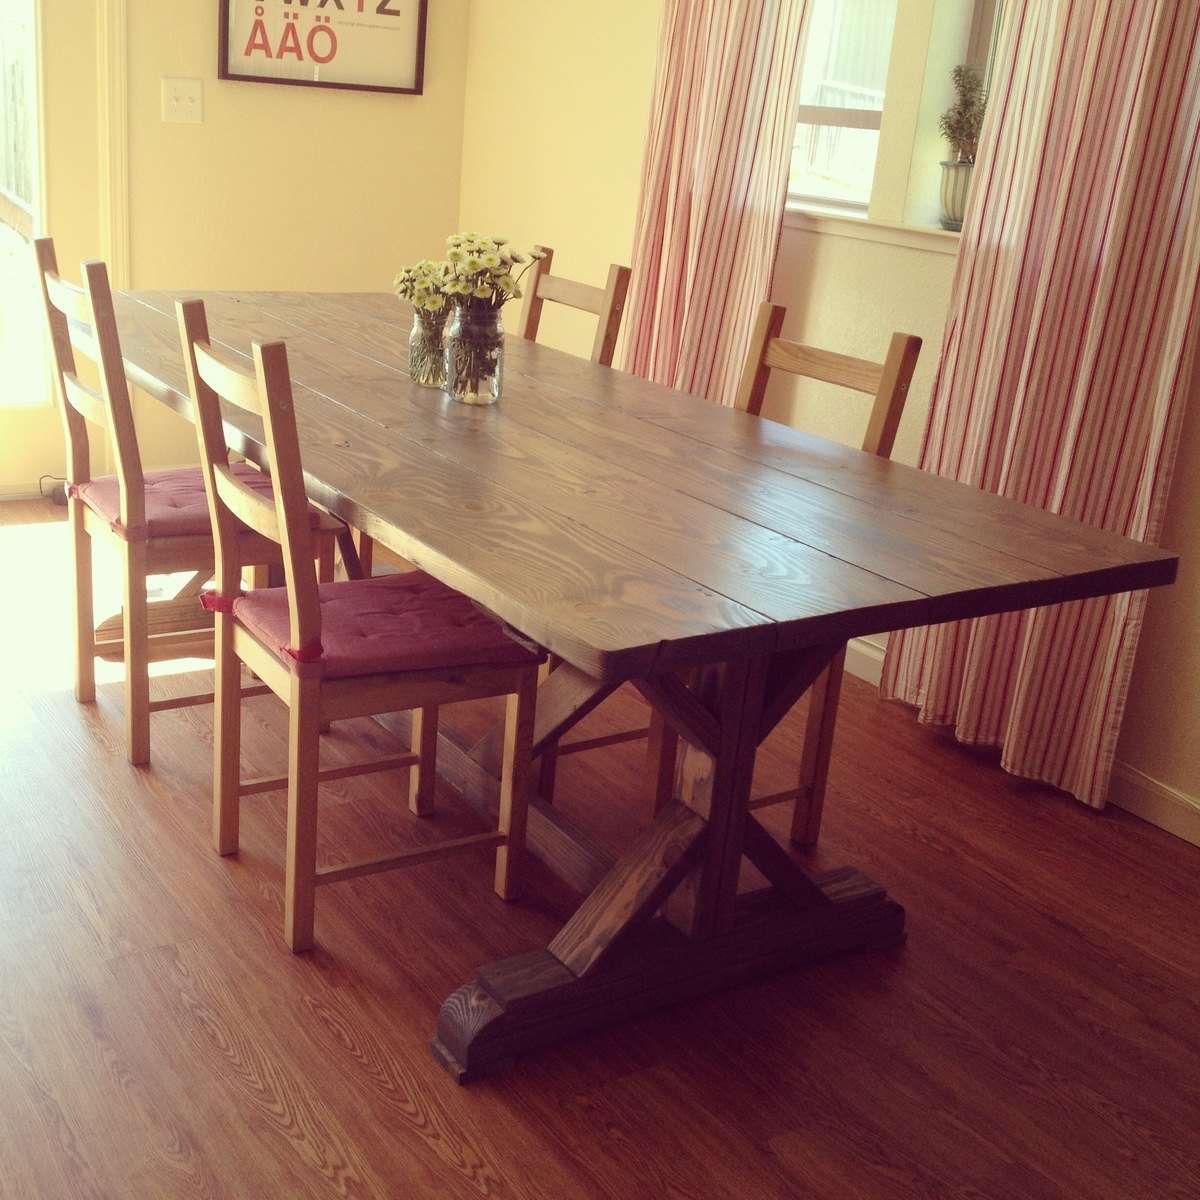
We needed a big sturdy table for 8-12 persons for our big dinning room but didn't want to pay 3000$ for it. Then i found Ana-white's site and thought "why not!". It's my first project, i started whit the bench and then made the table. All buy myself, my husby doesn't even know how to use a saw. He help me carry it inside thought ;) The plans were realy easy to follow. Somebody stop me, i'm refurnishing my hole house, i can't stop! In 2 months i'v made 2 dinning tables, 2 patio tables, 1 coffe table, 5 benches. So if i can do it, you can too!

Estimated Cost
300$
Estimated Time Investment
Weekend Project (10-20 Hours)
Finish Used
1 coat of dark walnut varathane in gel applied with an old t-shirt followed by 2 coats of varathane professional finish in satin applied with soft brush. I sanded between the 2 finished coats.
Recommended Skill Level
Starter Project

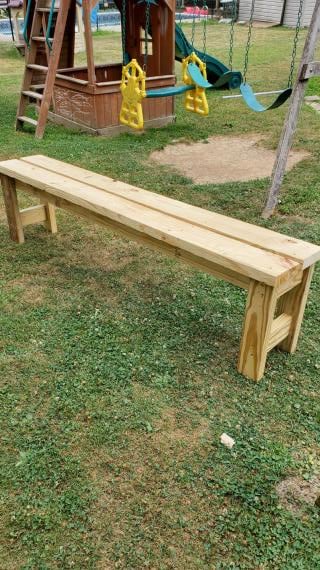
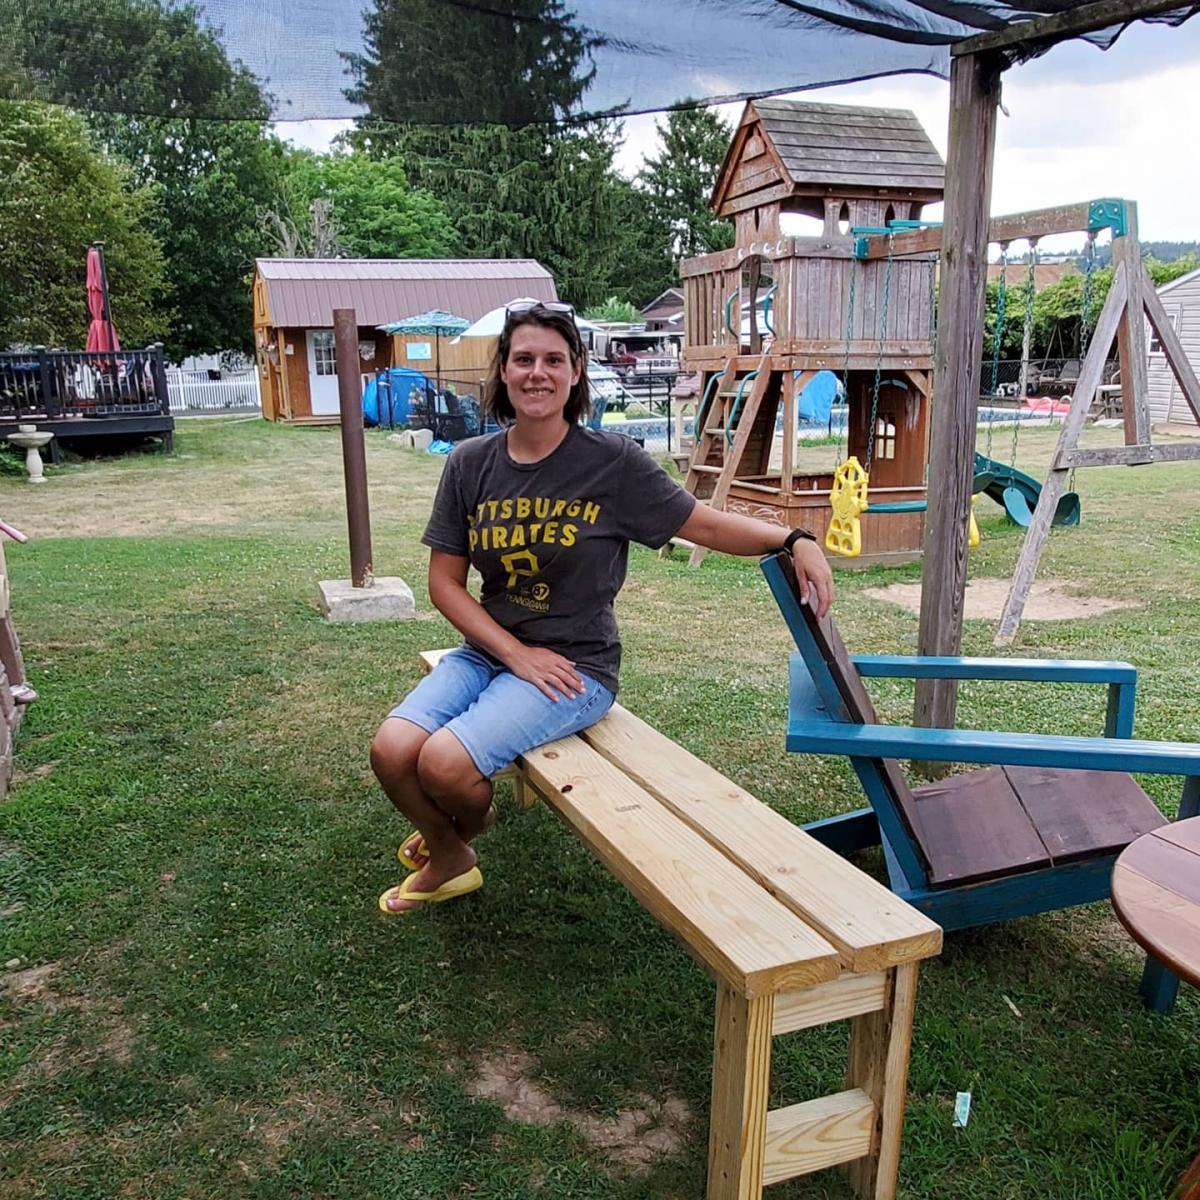
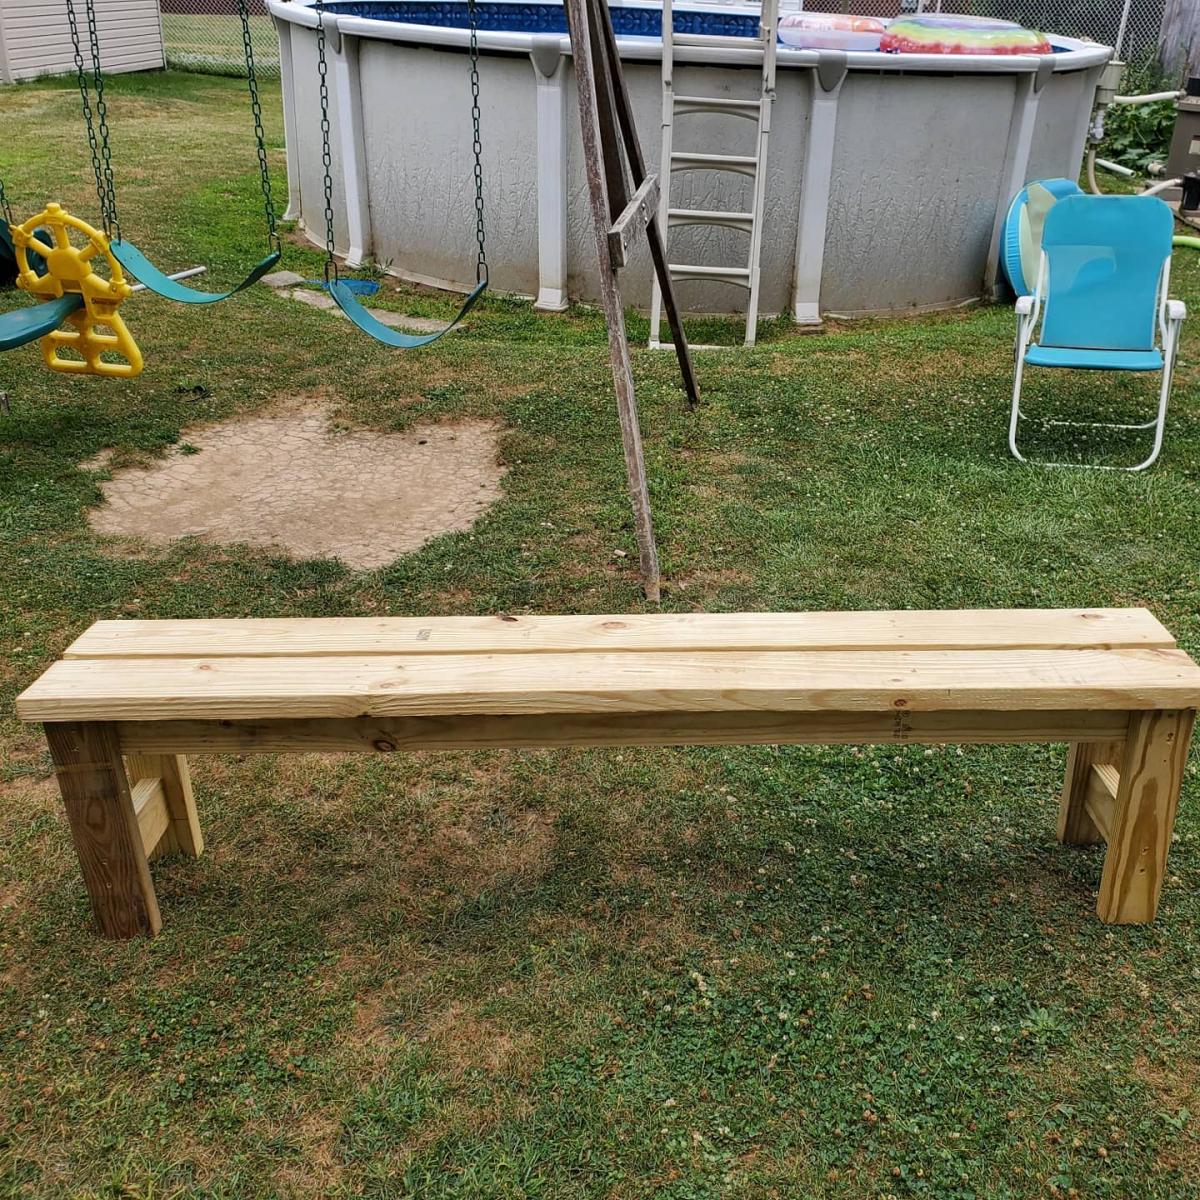
Beginner farm table bench/outdoor seating

Great, sturdy, easy build!!! Looks amazing and will be my new picnic outdoor seating. I cannot wait to build the next bench and table to go along with it. Thank you for the plans!!!!

Estimated Time Investment
An Hour or Two (0-2 Hours)
Finish Used
I have not finished it yet, but will stain then use an outdoor poly.
Recommended Skill Level
Beginner

Ultimate roll away workbench

Submitted by maker4510 on Sat, 08/01/2020 - 05:22

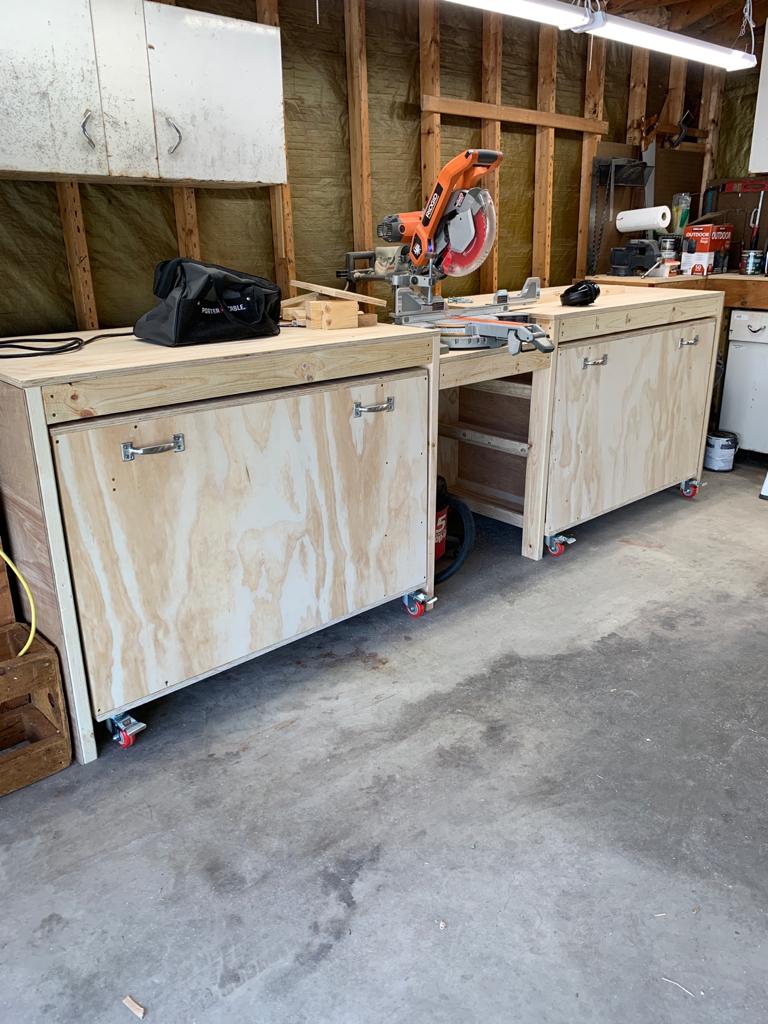
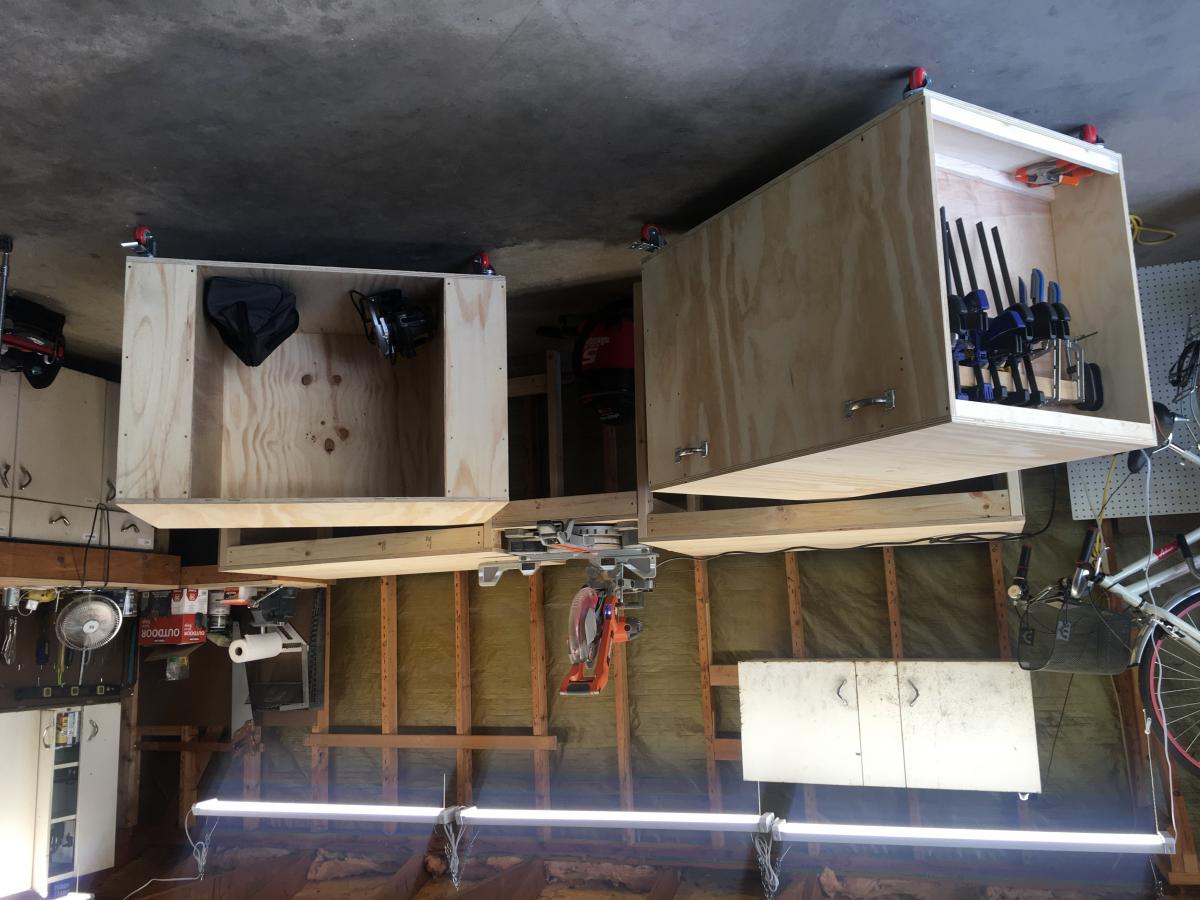
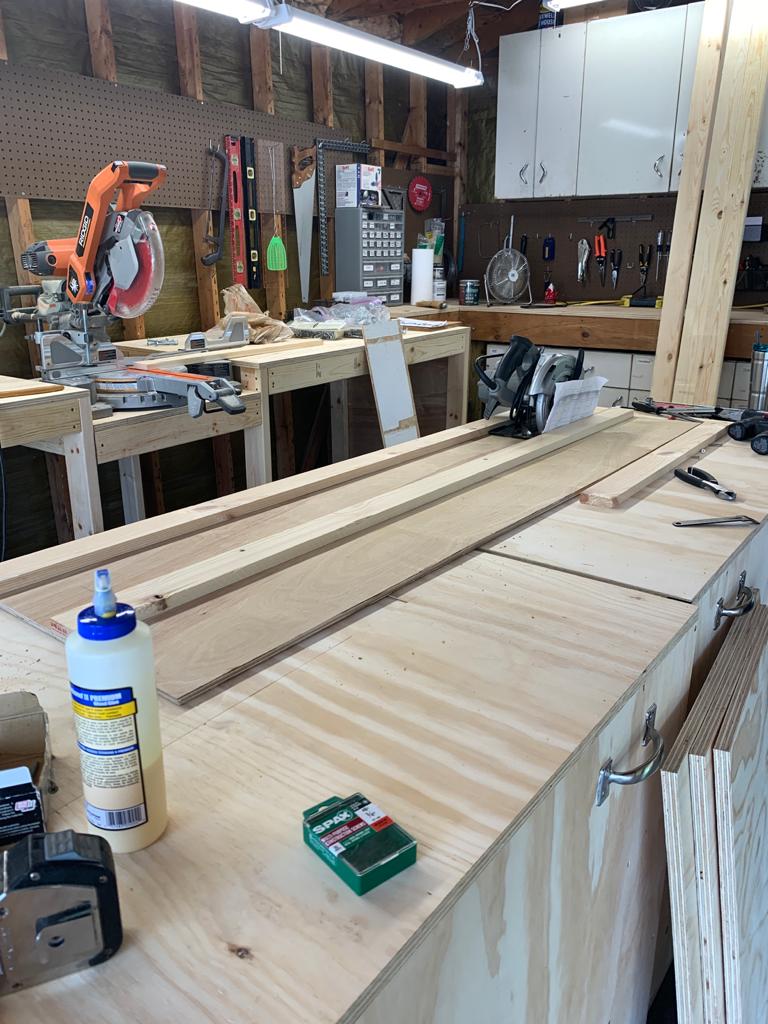
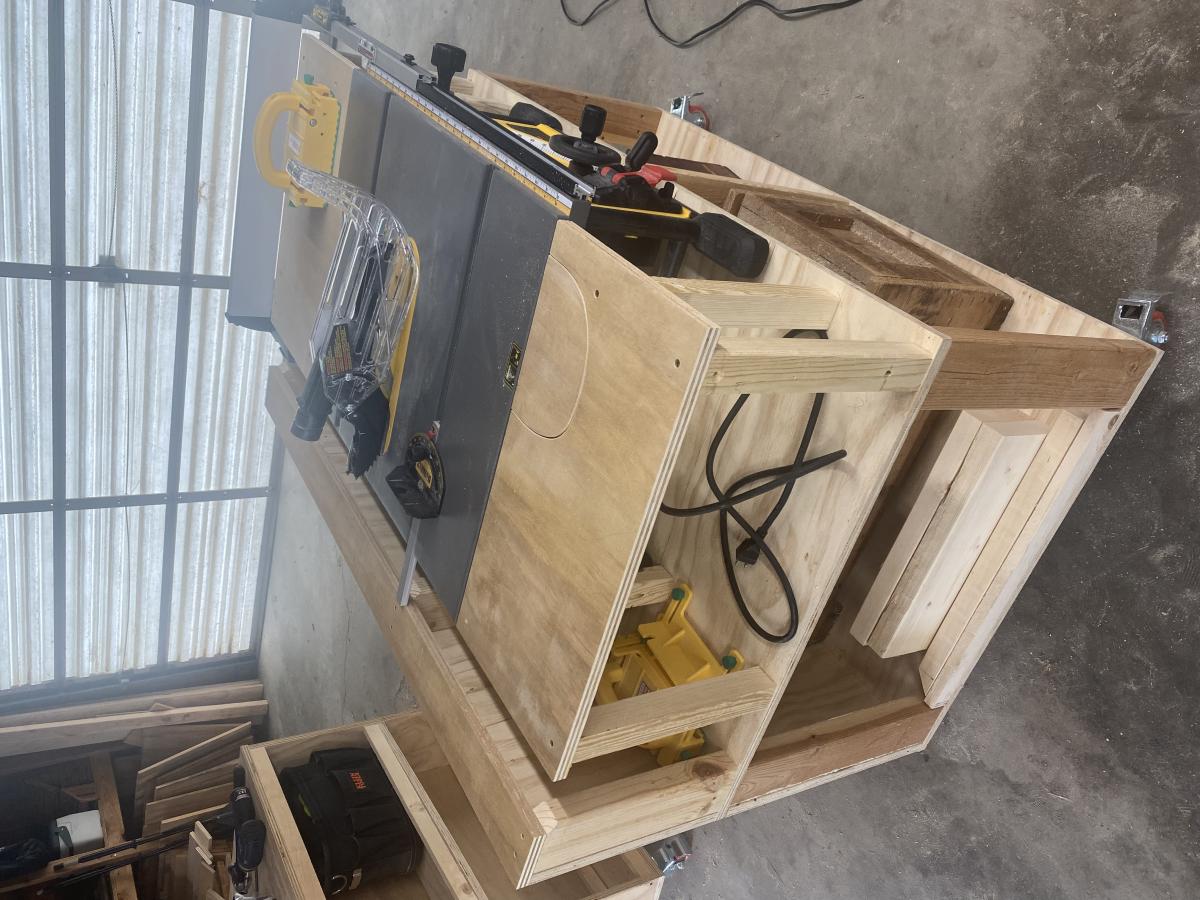
NINE MONTH UPDATE: After using the bench for almost nine months, we’ve made some changes. The first is that our table saw, a Dewalt 7491 didn’t fit in the way the plans called for because of the fence. We ended up cutting down and rebuilding the table to make a platform for the saw, then we built three “tables” around it to leave a gap for the fence operation. We also added a curved piece that can be removed to access the riving knife lever.

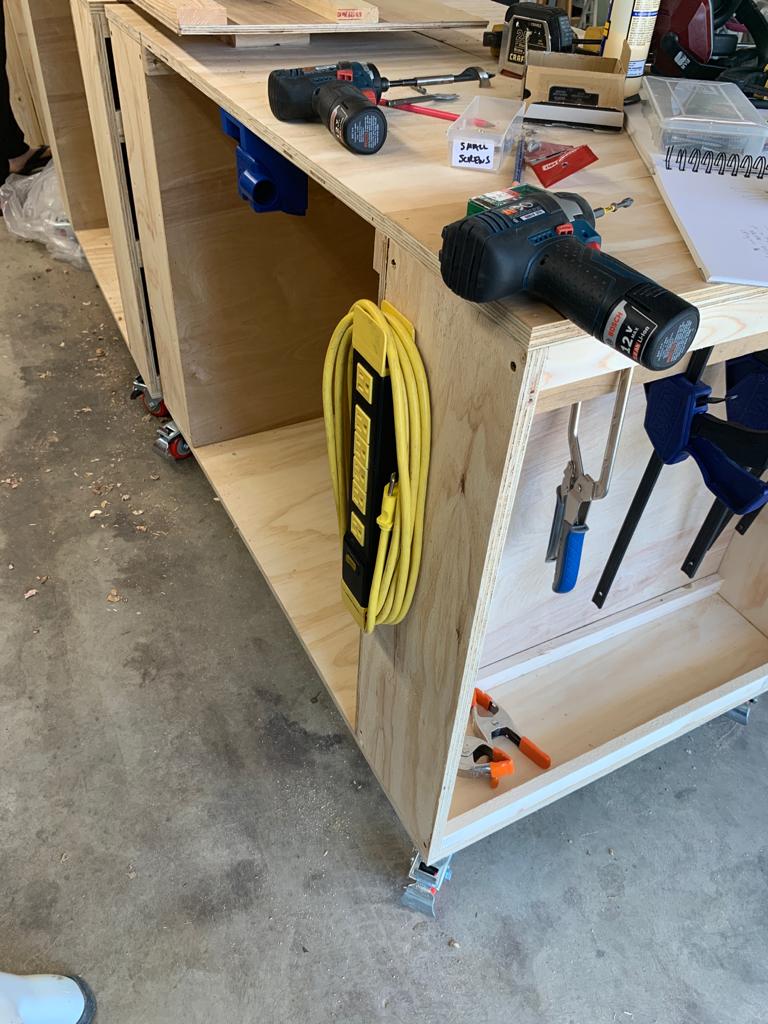
The other change we made was to take out the clamp storage that was in one of the cart ends. When we rolled the cart in and out, the clamps would catch and fall off. We put in another shelf instead.

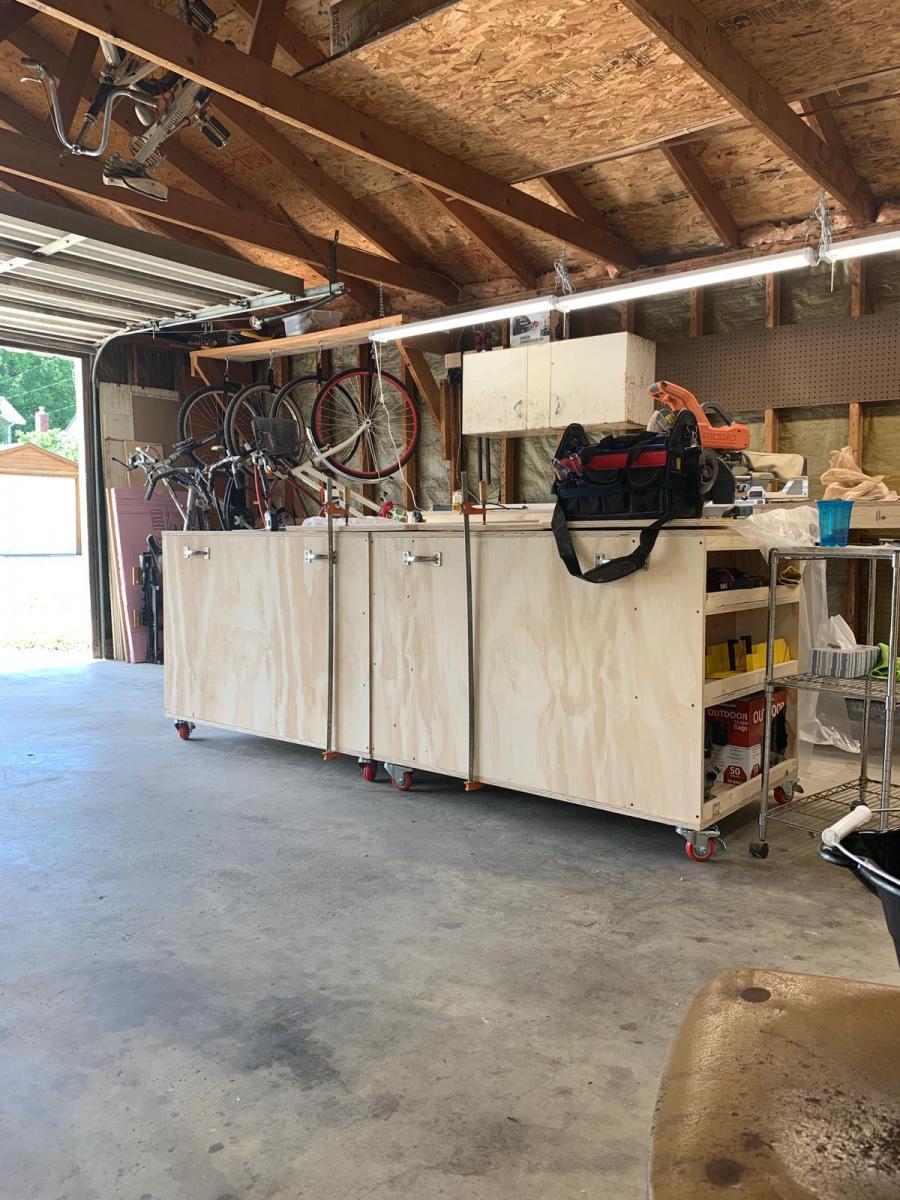
Otherwise, we love the bench. Having the two rolling carts that we can reposition based on where we need a table extension is great. The miter saw stand works perfectly, and our dust collection setup rolls right underneath. We’re also in the process of building a router table that fits in the removable bench room area.

ALSO, sorry for the upside down/sideways pics. It won’t let me remove or fix them.

We made the ultimate roll away workbench with very few changes. Added the clamp hanger on one end as pictured. We didn’t add the shelf under the miter saw, as well be putting a dust collection cart.

We absolutely love the cart.M, now to save up for a table saw. The only change I would like is that I wish the side shelves were a little deeper, more like 10” instead of 8”, so more tools would fit.
Estimated Cost
380
Estimated Time Investment
Weekend Project (10-20 Hours)
Finish Used
None
Recommended Skill Level
Beginner

Farmhouse Table - Shortened

Submitted by Danimal on Fri, 11/02/2012 - 20:53

I loved the look of the farmhouse table, but it was a little long for what I needed as our kitchen table. The original plan made a longer dining room type table. I decided to shorten it up a bit, it has a bit more of a stocky look to it but we love it! It is such a solid design, and we get such great compliments on it. I used wooden dowels to fill the screw holes which gave it a bit more country look to it because the vinegar stain turned them a slightly different color than the tabletop.
Estimated Cost
$100 for more than enough lumber.
Estimated Time Investment
Week Long Project (20 Hours or More)
Finish Used
I used the apple cider vinegar and steel wool stain (soaking #0000 steel wool in a mason jar with enough vinegar to cover the wool. Allow to soak for approximately 4-6 hours. Then straining the vinegar through a coffee filter to strain out any remaining steel wool. After testing on a scrap piece of wood, I found the right amount of vinegar to brush onto the wood. I sanded it down after it dried and finished it with some wood finishing paste wax.
Recommended Skill Level
Intermediate

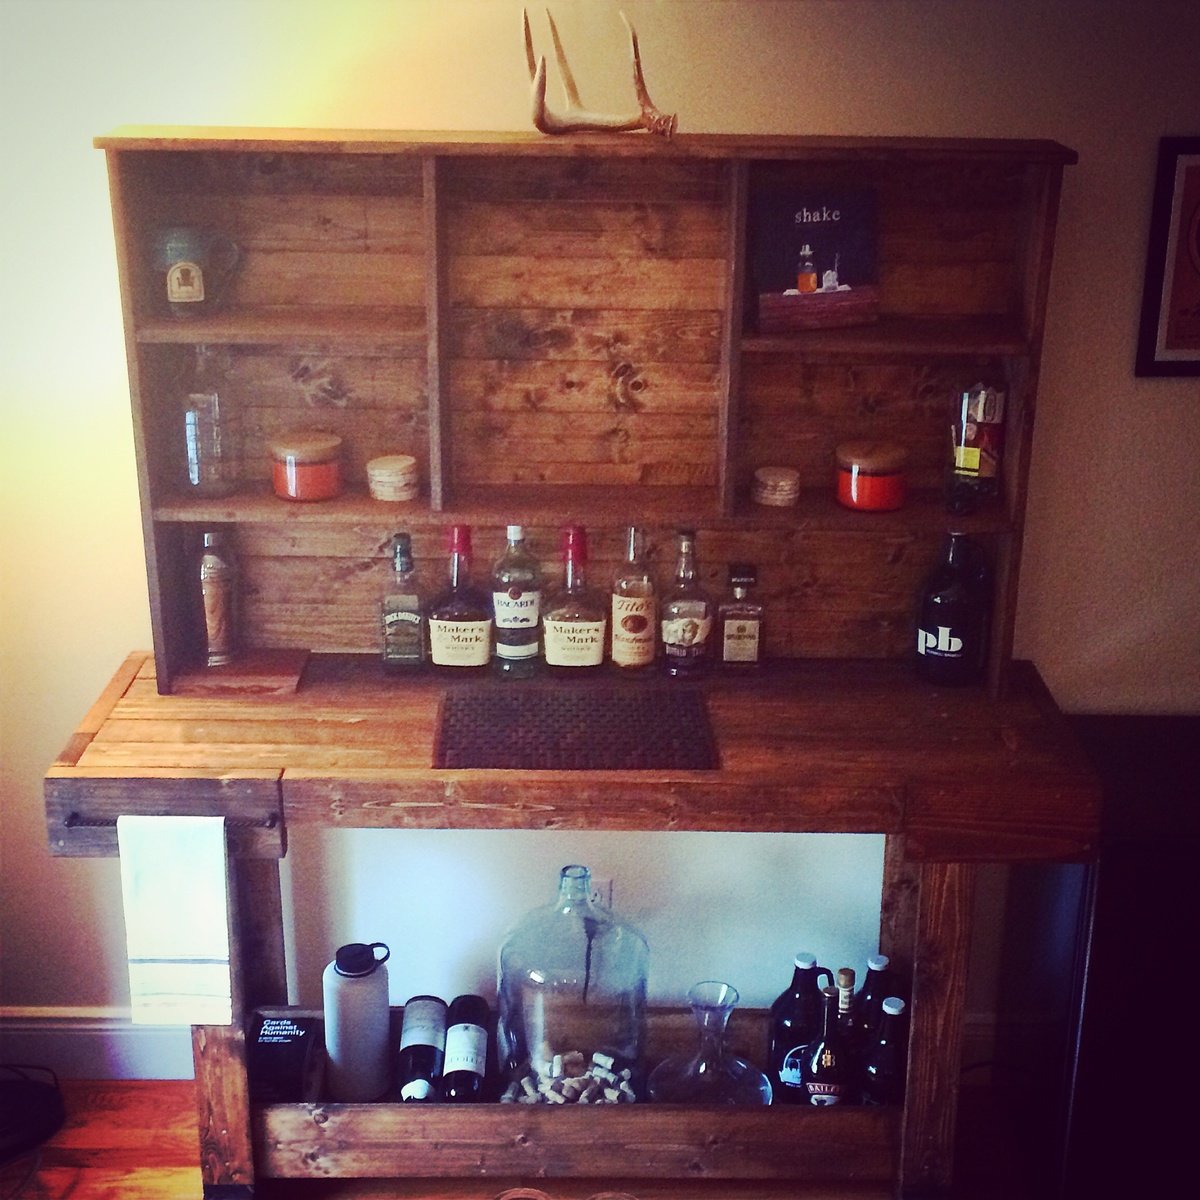
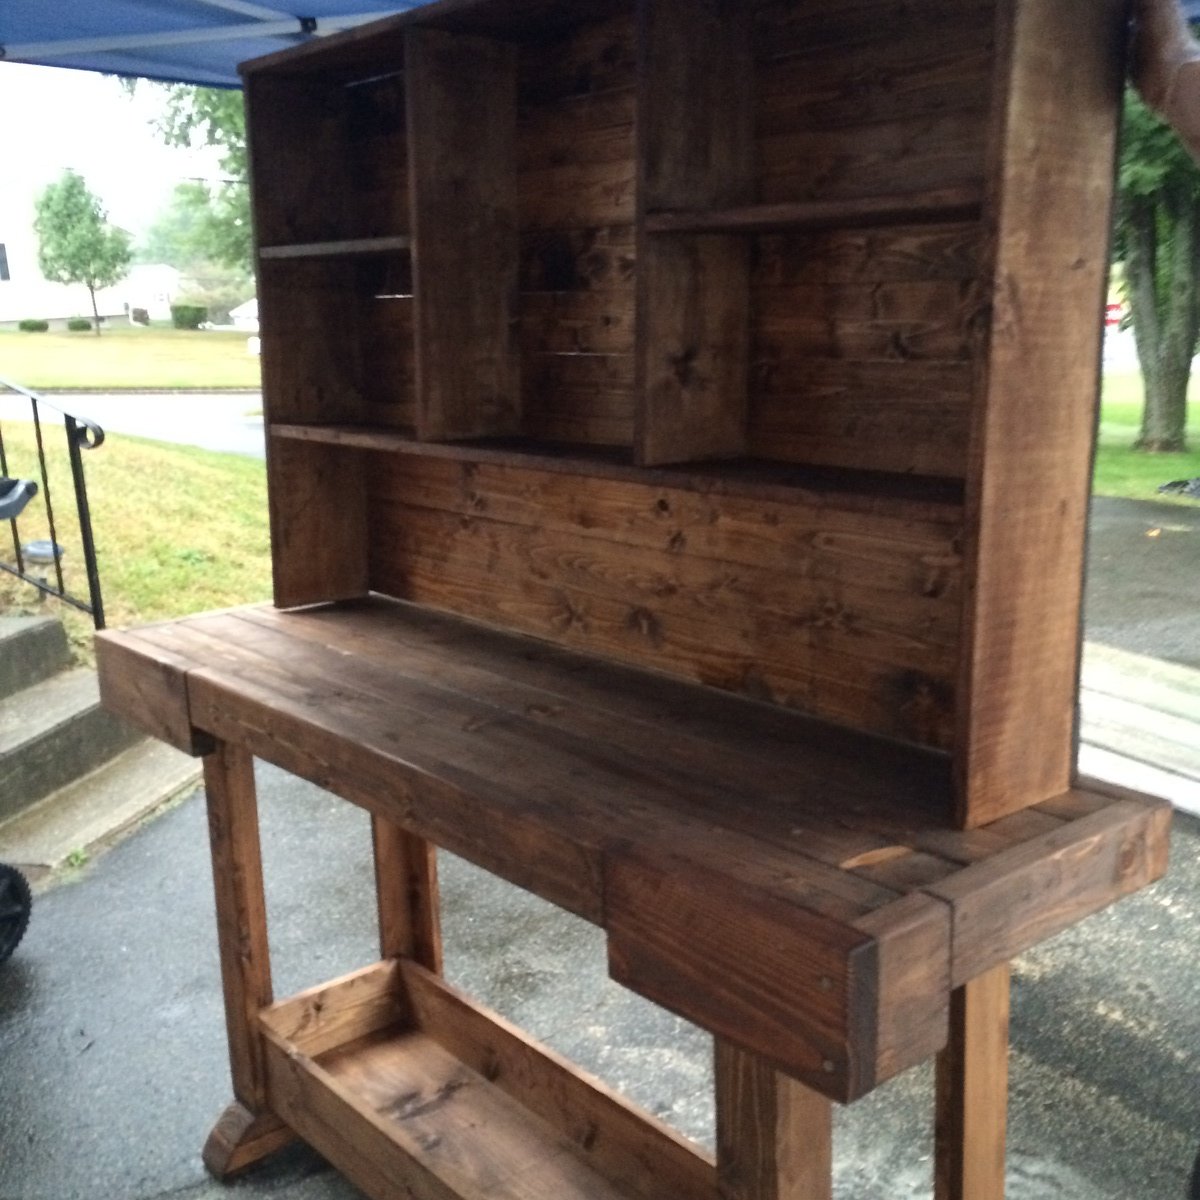
In love with our new bar! Easiest build yet!

Submitted by maryday on Mon, 09/15/2014 - 17:15

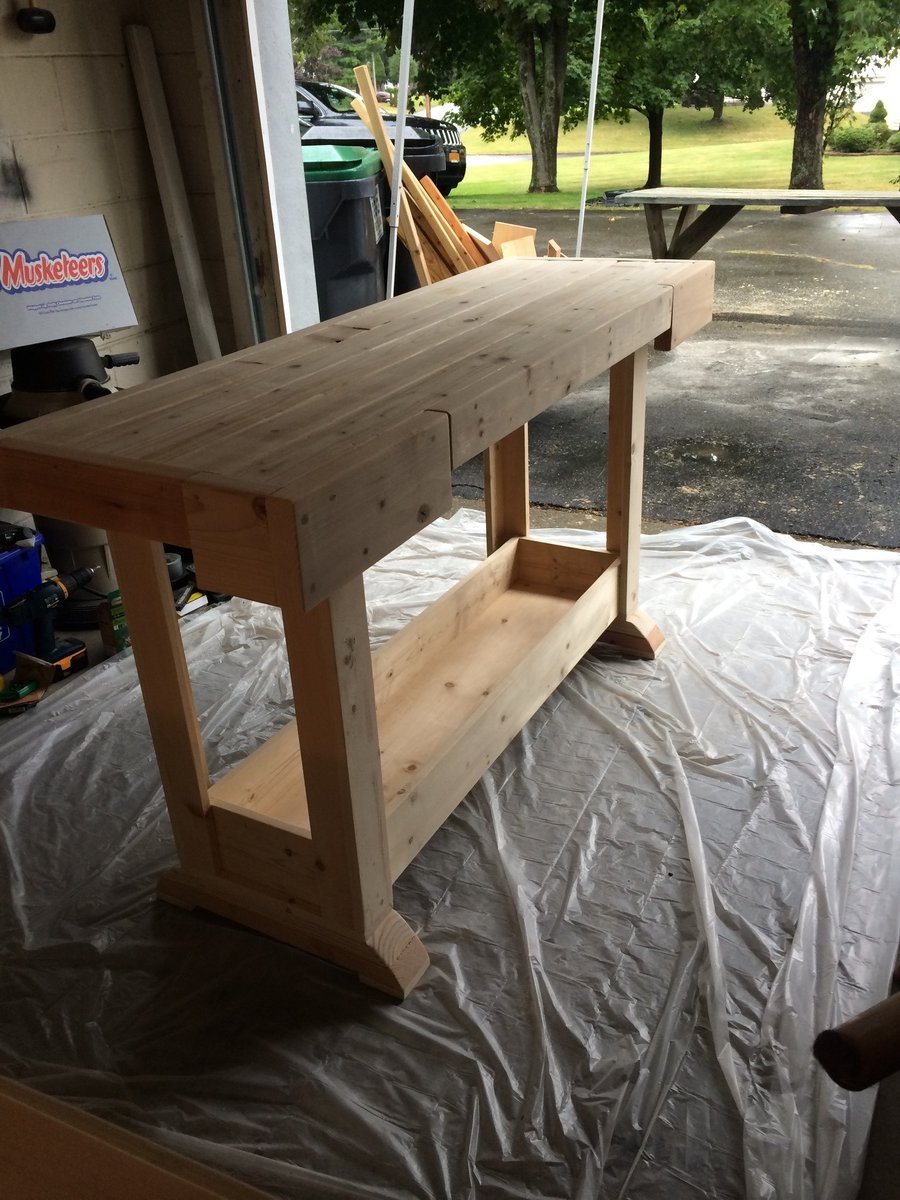
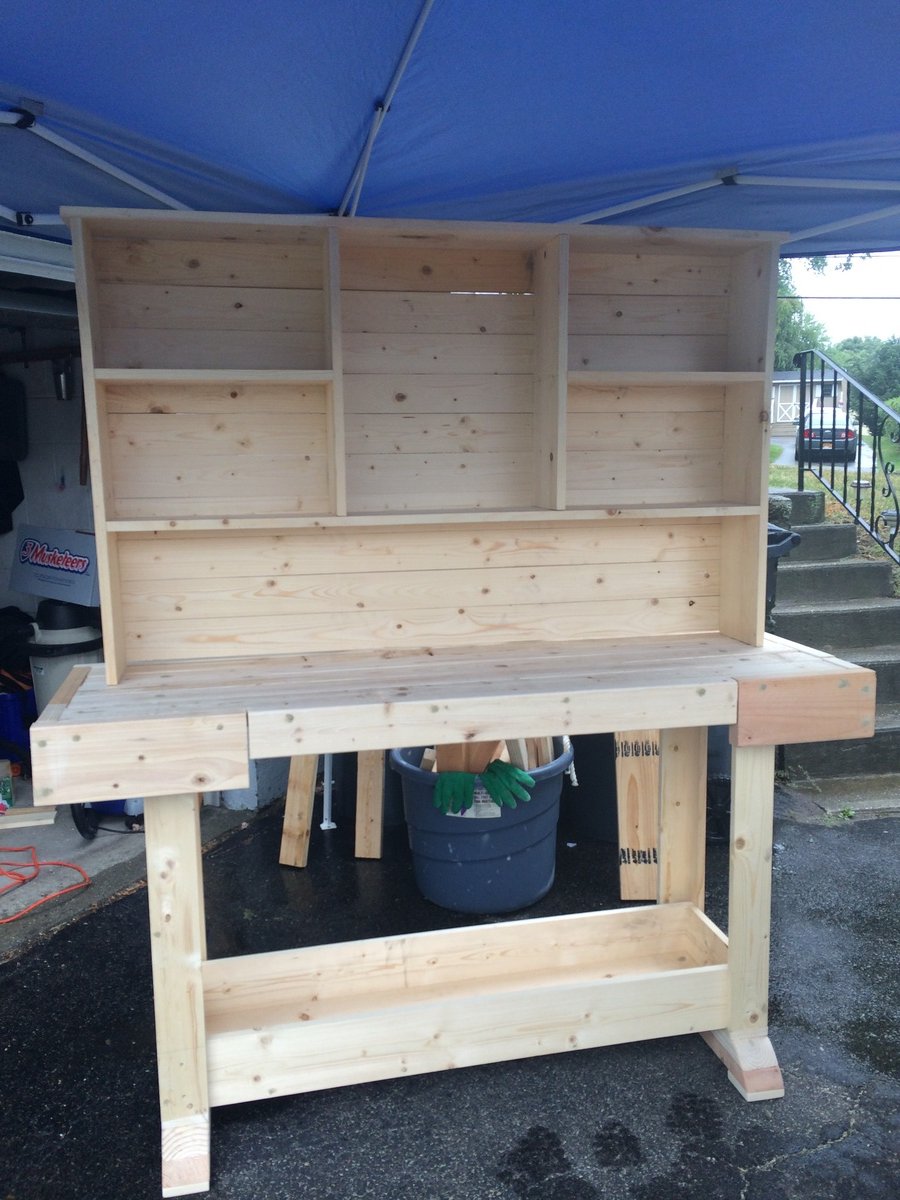
We've built a headboard, two nightstands a farmhouse table and bench all off of knockoff wood and this workbench console table and hutch was the Easiest build yet !

We didn't use pocket holes so instead of doing the middle center shelf of the hutch we chose to keep it open. I actually love the way this looks better than the original plan!

Waiting on our black bear mount bottle opener that will be attached later this week and then we can't wait to stock up our new bar. It looks great next to our farmhouse table and bench!!! Thanks for the deer antler inspiration - this gave the perfect finishing touch!

Estimated Cost
$110 lumber for both hutch and table
Estimated Time Investment
Day Project (6-9 Hours)
Recommended Skill Level
Beginner

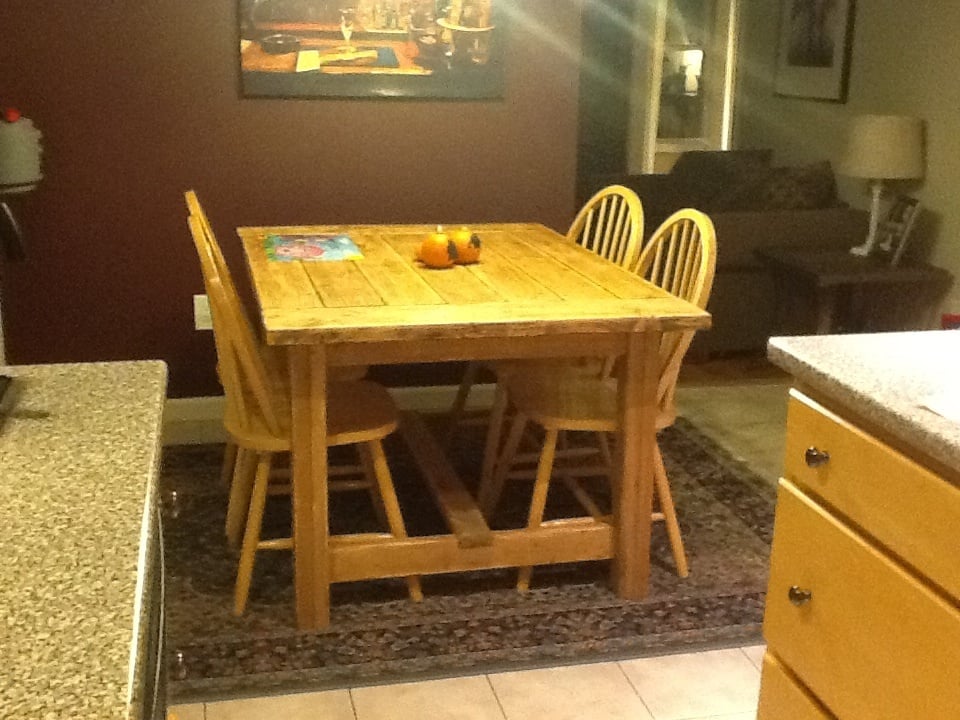
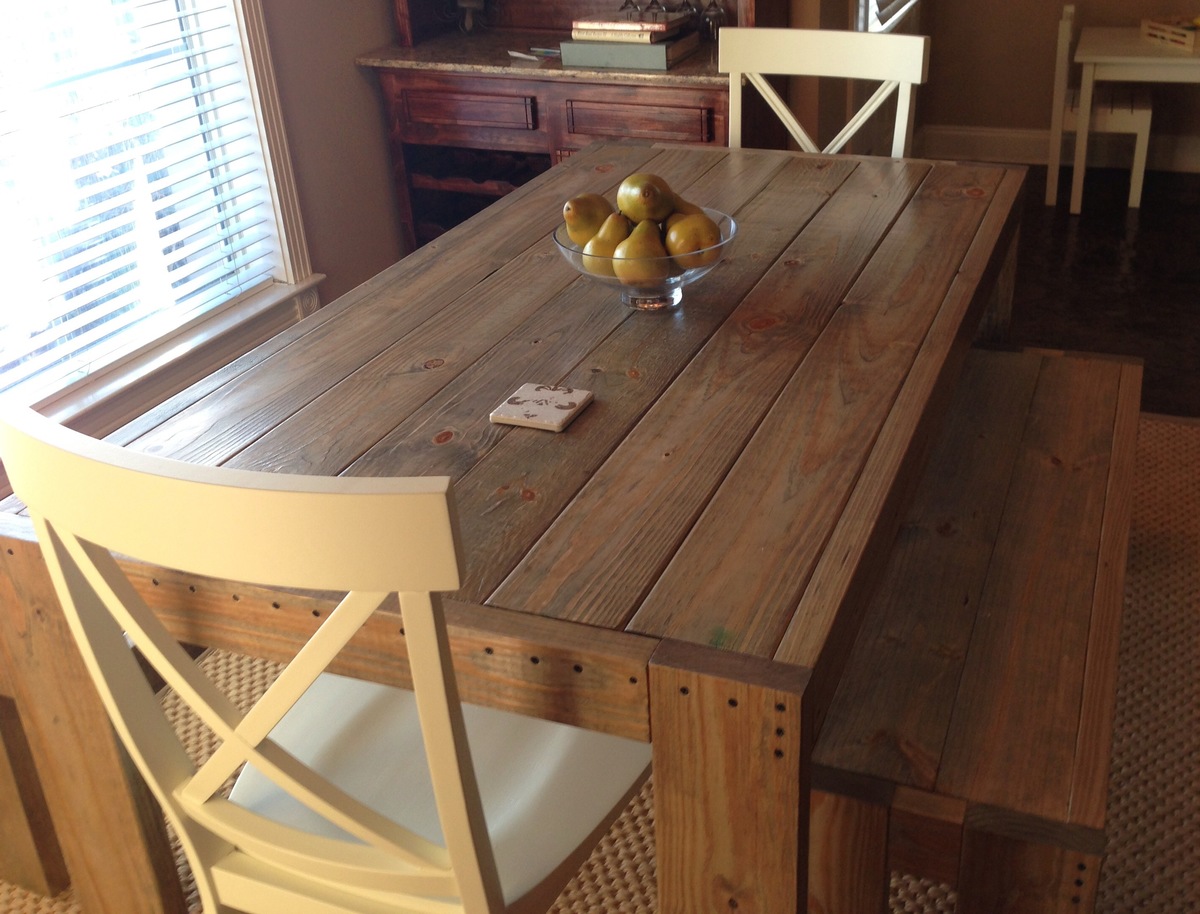
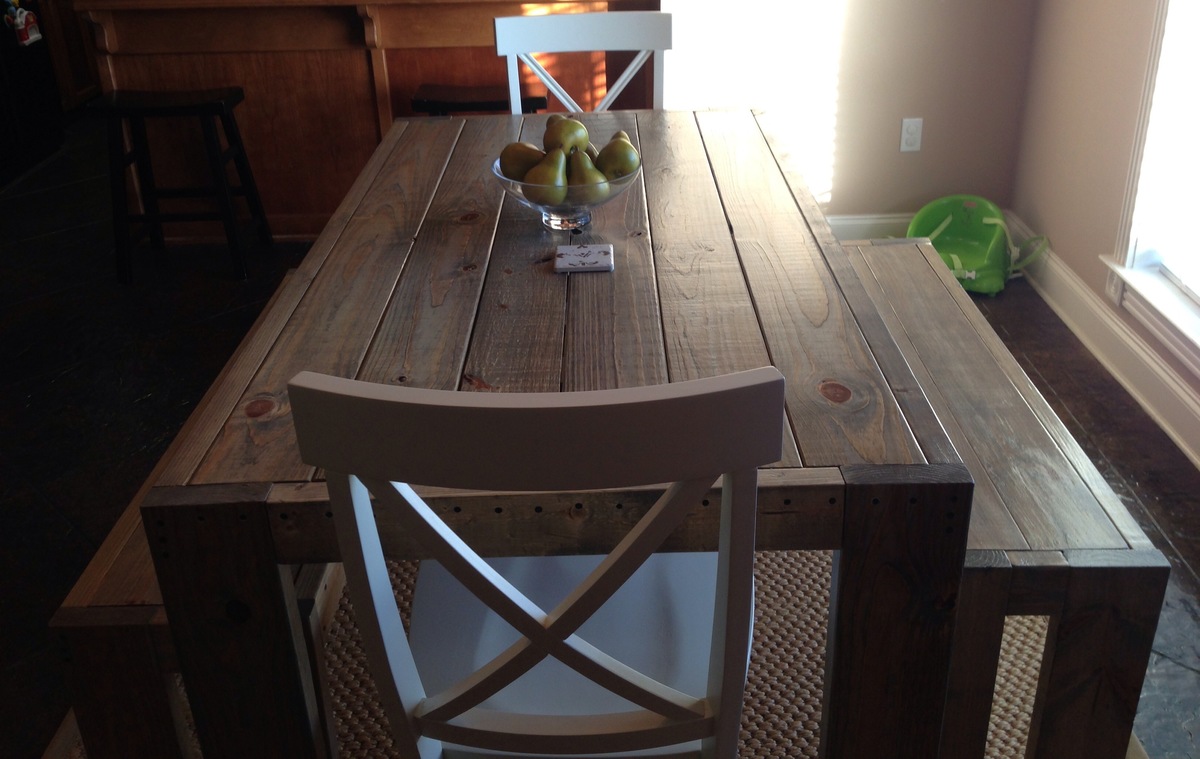
Modern Famhouse Table - Weathered

Submitted by MEC6107 on Thu, 12/13/2012 - 14:28

This table and bench combo was a fun project to complete and was not very difficult (hardest part was picking out straight boards at the lumber yard). The table was stained with weathered oak stain and finished with satin polycrylic. The chairs were purchased, I am not skilled enough to build those!

Built from Plan(s)
Estimated Cost
$100 for table and 2 benches
Estimated Time Investment
Weekend Project (10-20 Hours)
Finish Used
Weathered Oak Stain and Polycrylic in Clear Satin
Recommended Skill Level
Beginner

Comments

PamC03

Sat, 06/18/2016 - 20:32

Lovely finish on this table! Well done. What type screws did you use for the edging? They give it a really nice finished look

My First Table

Submitted by toolman81 on Wed, 01/20/2021 - 12:42

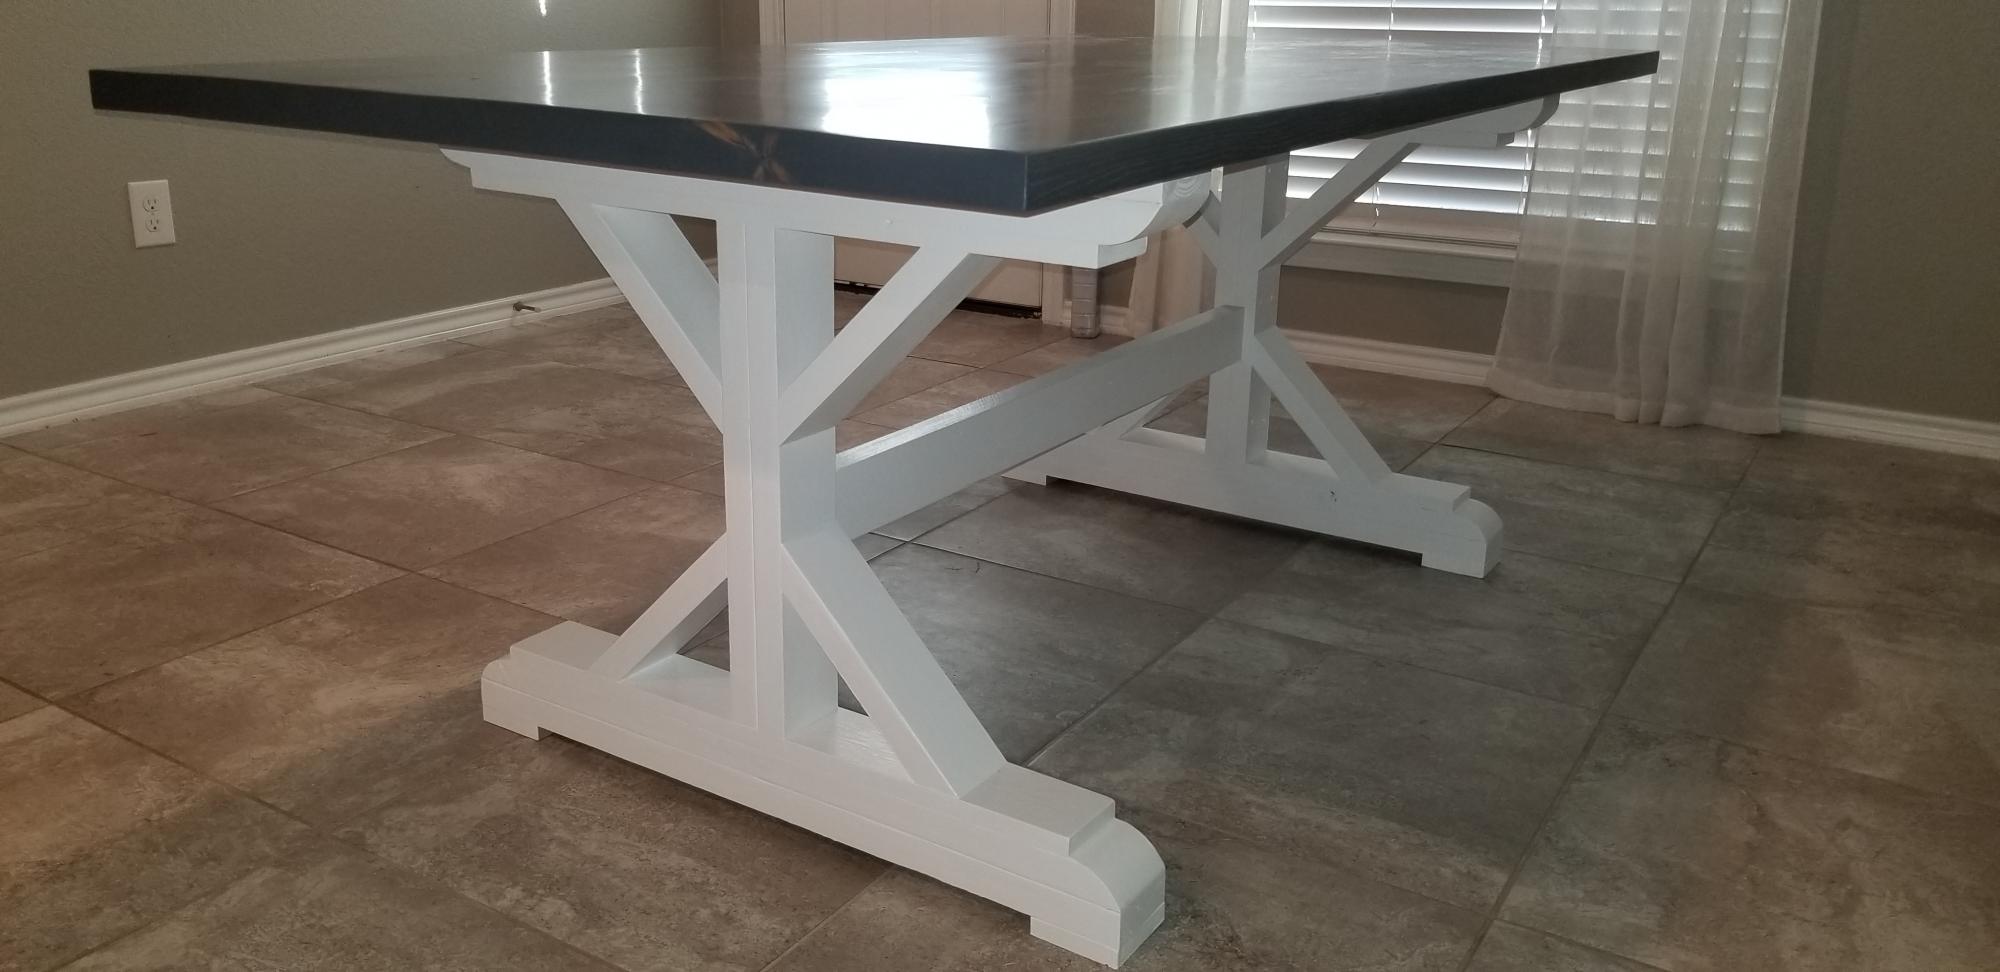
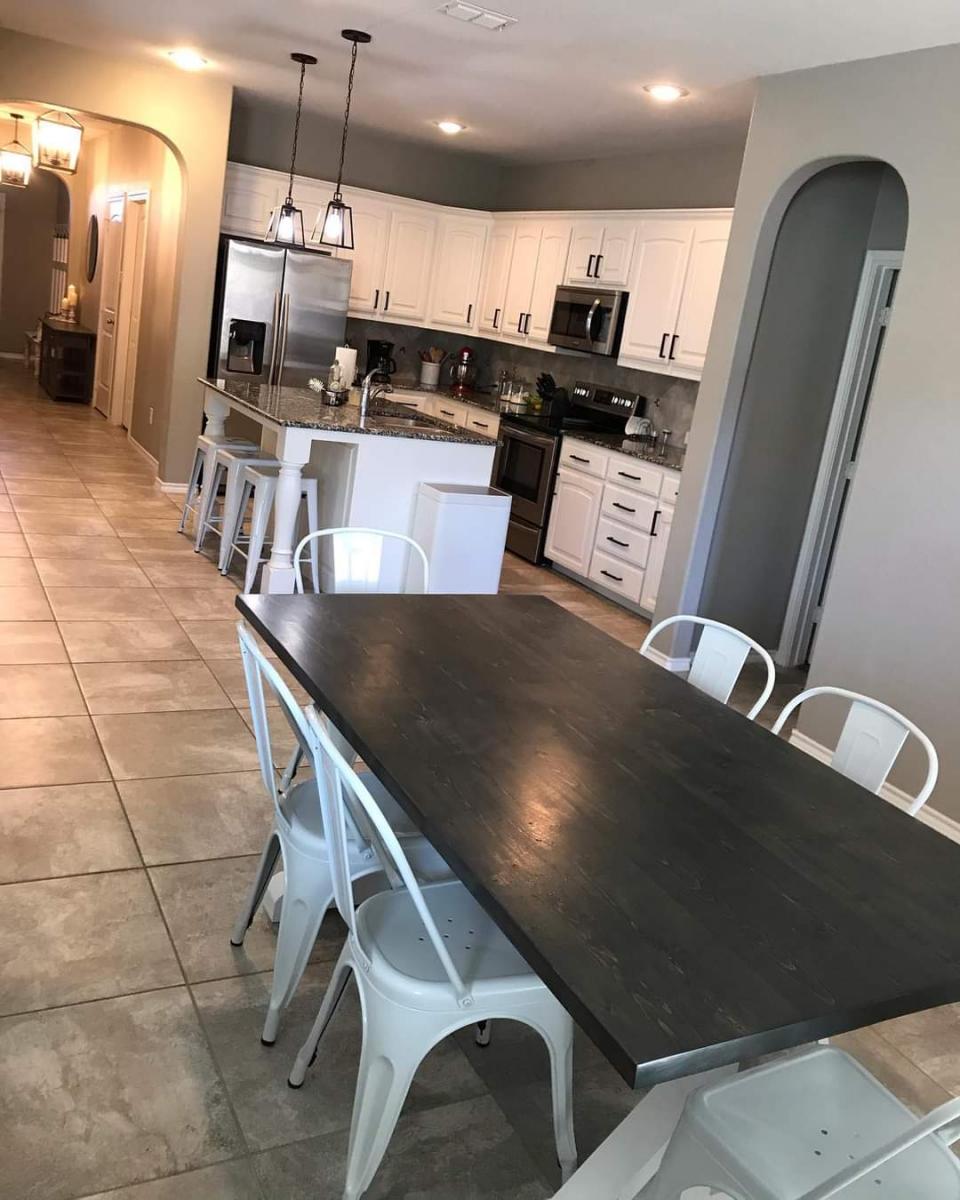
This was my very first table. We could not find one in stock so I found these plans from Ana White. The base was easy enough if you take your time and make sure you are oriented right before cutting.......not that I made any mistakes by not double checking before plunging that saw into my work piece. The top was modified to be 6 feet long. I edge jointed, using an electric hand planner, the 2x6s after planning the faces flat. This helped my hand planner to ride flush and make a pretty straight edge after a few passes taking off very little each time. This actually took longer than building the base. I pocket holed the underside to squeeze the top together with some glue. It turned out almost perfectly seamless. I mixed some fine sanding dust with some poly for any cracks or blemishes. That allowed the stain to actually take, unlike with wood filler.
Built from Plan(s)
Estimated Cost
200
Estimated Time Investment
Weekend Project (10-20 Hours)
Finish Used
Carbon Gray stain with a water based poly on top. White enamel paint for bottom.
Recommended Skill Level
Beginner

Kaylee's Dollhouse

Submitted by akatherine on Wed, 12/31/2014 - 19:44

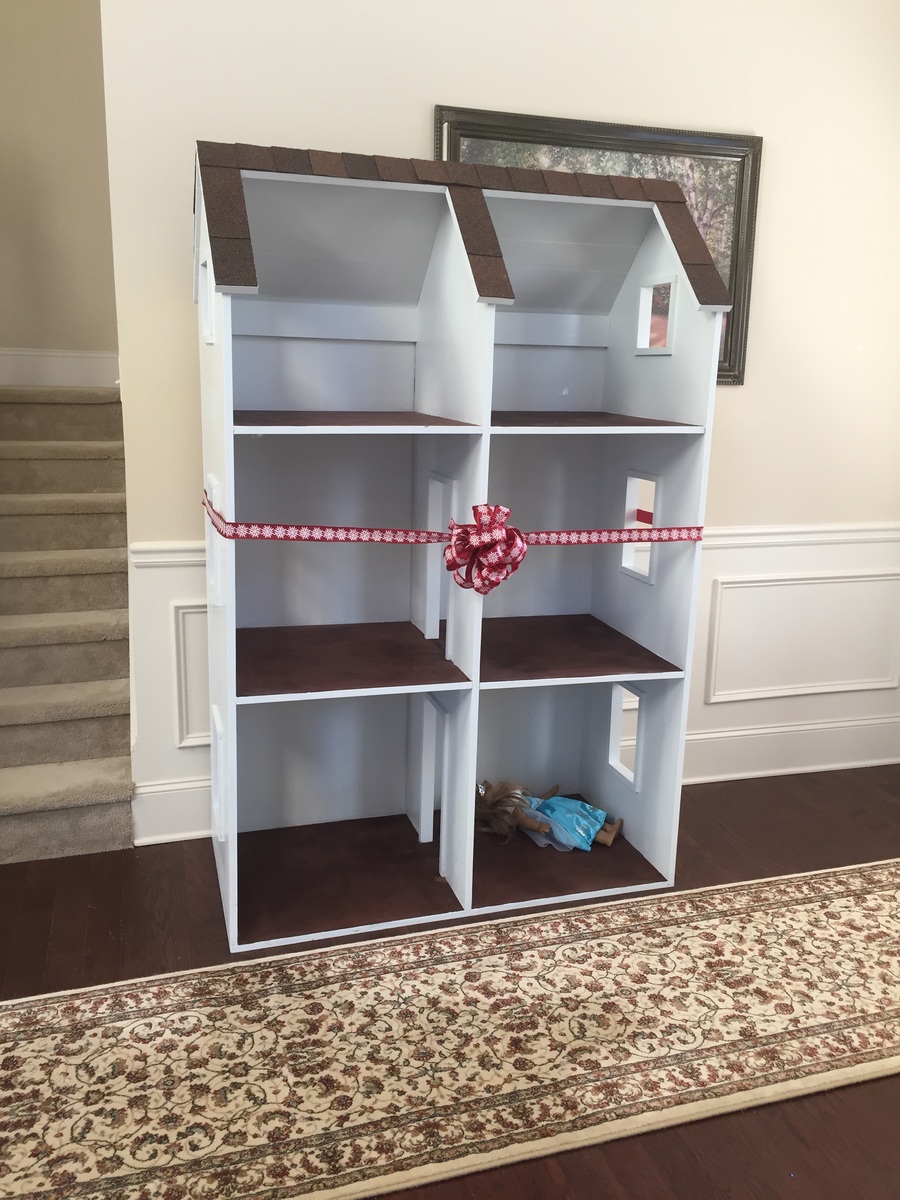
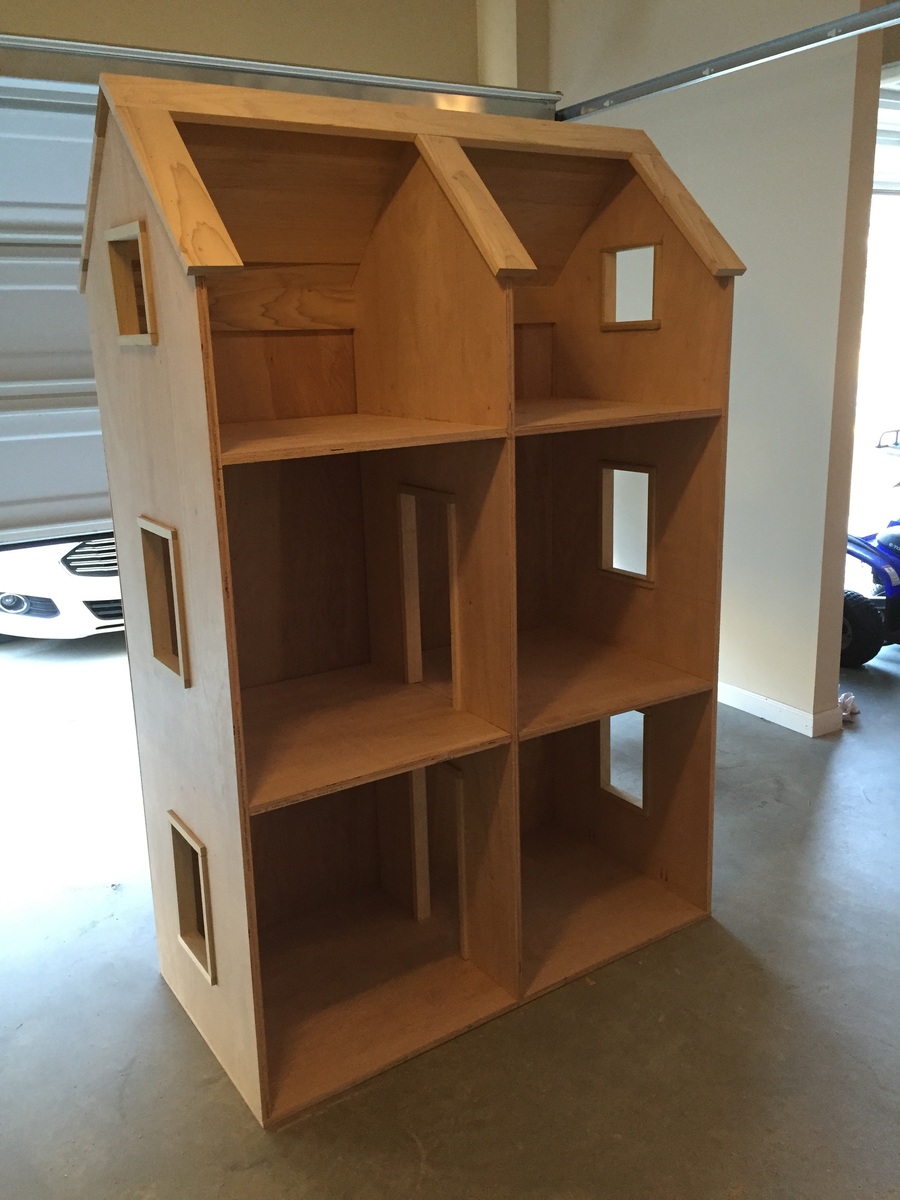
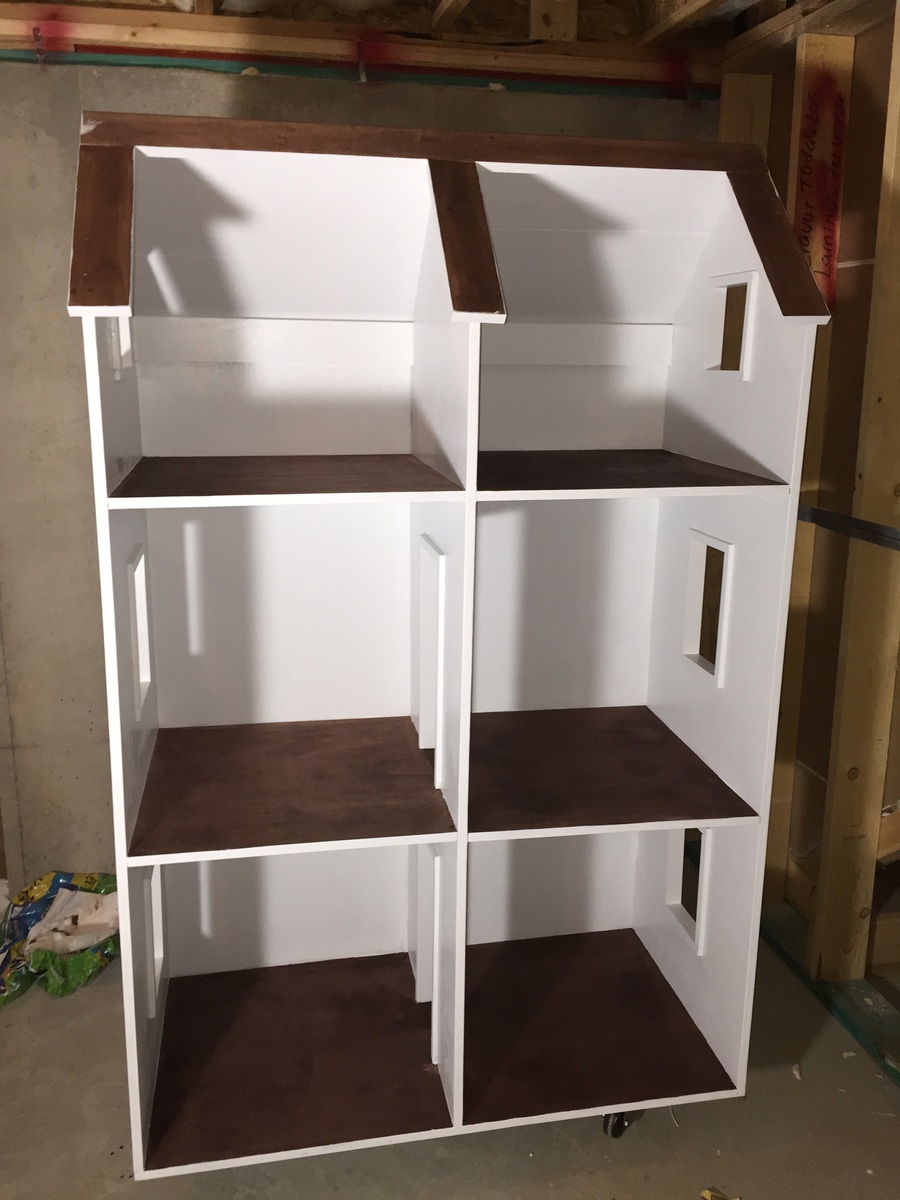
My fiance and I built this for my seven year old daughter's Christmas present. I have built several pieces of furniture before but this was our first major building project and I'm proud to say we made a great team!

We didn't make any major changes to the plan, we just chose to leave the wheels off the bottom and we added two boards across the back of the attic rooms so we would have something to attach the back too. We were lucky enough that this project coincided with my dad have his roof replaced and he had spare shingles, so her doll house has real asphalt shingles! They were actually a lot easier to add than I expected, we simply scored the back of the shingles with a knife and then they cleanly broke apart. We used a staple gun to attach the shingles we would be able to layer so you couldn't see the staples, but for those where the staples would have shown we used a hot glue gun.

The only issue we had was moving it around without my daughter noticing because it's so big! My fiance and I actually scratched up a door frame trying to sneak it under the tree after she went to sleep because it's so large (totally my fault, apparently I need to work out more). Other than that everything went smooth and it was fun to build and so exciting to watch my daughter freak out over Christmas morning!!!

Estimated Time Investment
Weekend Project (10-20 Hours)
Recommended Skill Level
Intermediate

Farmhouse toy box

Submitted by Jayna on Fri, 02/12/2021 - 13:34

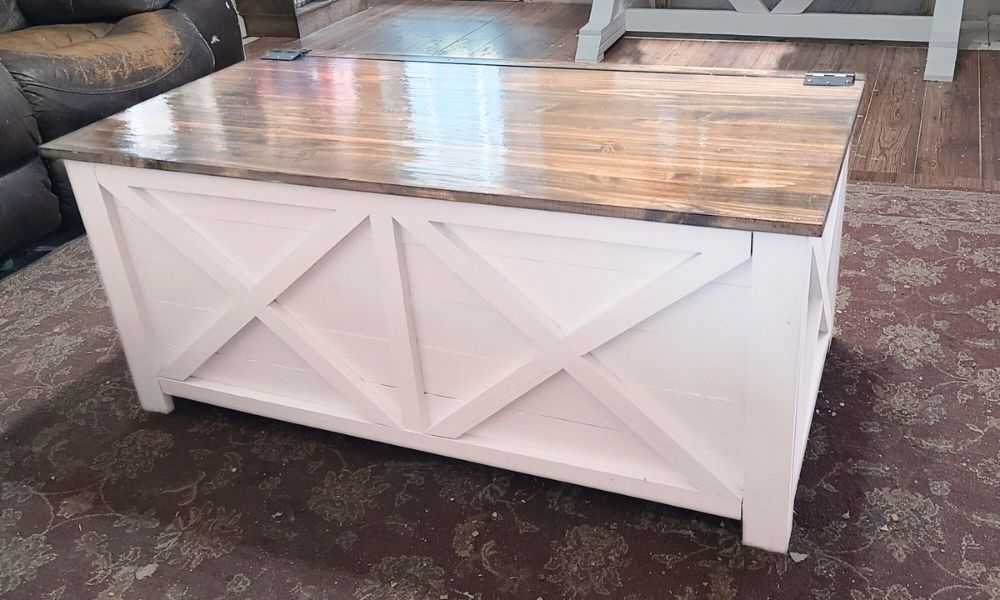
Made a few adjustments to the farmhouse toy box. Made it a little bigger and added Xs out of 1x2s around it to give it a little extra something! I'm using it as a storage coffee table and I couldn't be happier with it! So in love!

Built from Plan(s)
Estimated Time Investment
Day Project (6-9 Hours)
Finish Used
Minwax dark walnut stain, three coats of Varathane clear gloss polyurethane, and painted with Valspar white paint.
Recommended Skill Level
Beginner

Sewing Caddie

Submitted by JoeCandy11 on Sun, 01/04/2015 - 22:25

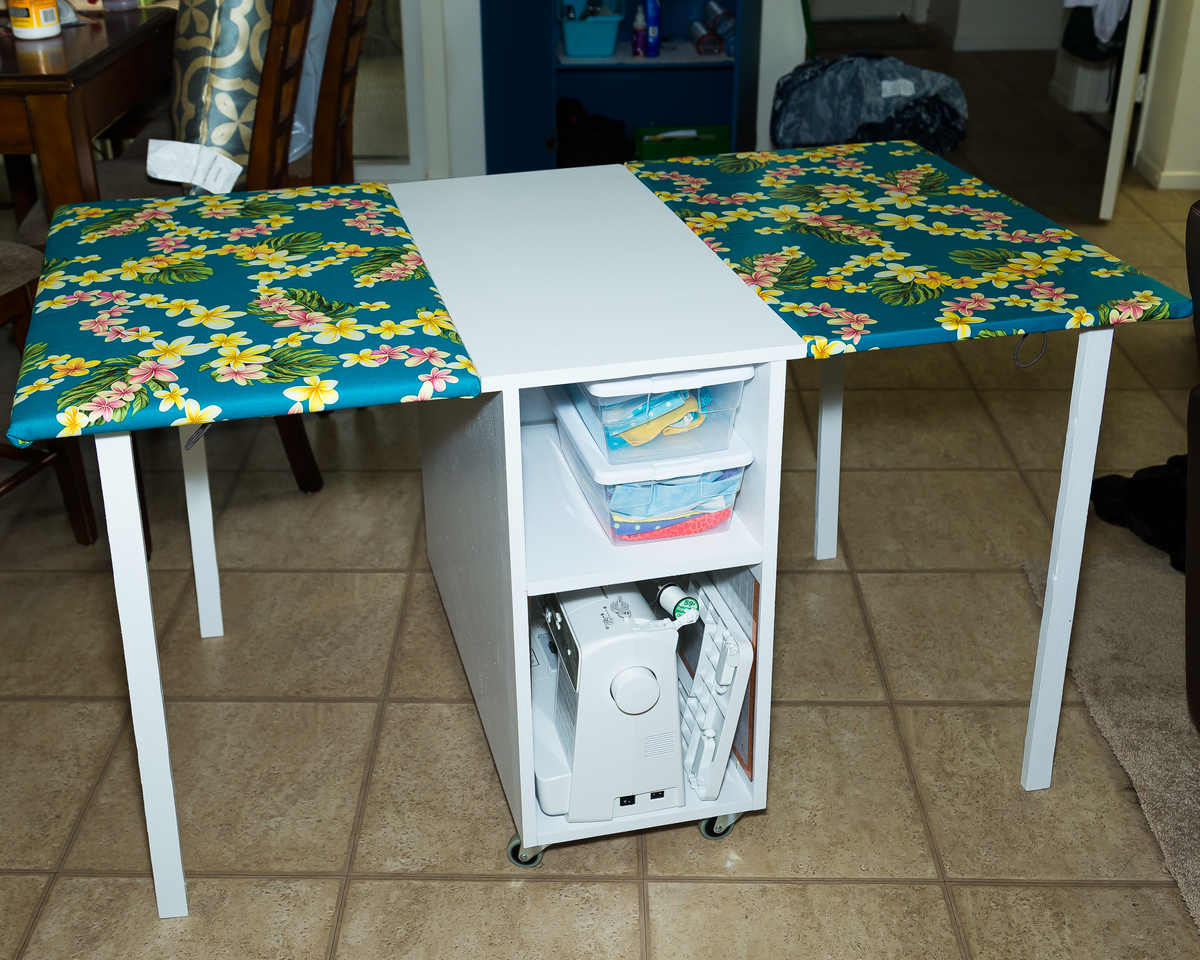
Thanks for the inspiration!  This was my first full blown creation and my wife loves it.  Cannot wait to do more!

Built from Plan(s)
Estimated Cost
$50 for birch plywood
$30 for wheels, hinges, paint, and accessories.
Estimated Time Investment
Weekend Project (10-20 Hours)
Finish Used
White paint with primer
Recommended Skill Level
Beginner

Piper's Dining

Submitted by Anonymous (not verified) on Fri, 04/14/2017 - 08:09

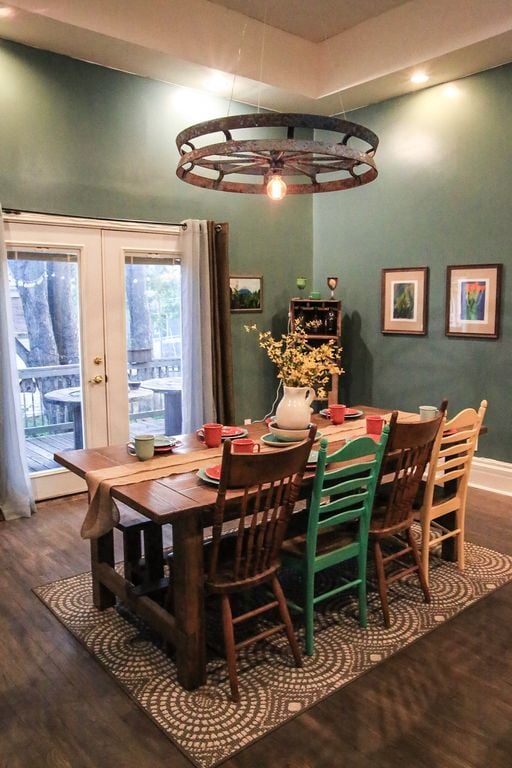
This was just the right table design for our history home built in 1880! Love the plans and easy to build!

Estimated Cost
Table- $95 without Kreg Jig cost($20) or screws
Bench- $24- screws
Estimated Time Investment
Week Long Project (20 Hours or More)
Finish Used
Wood primer first on all surfaces,SW Rustic gray, minwax mahogony low lights and satin minwax poly finish(5 coats)
Recommended Skill Level
Intermediate

New Mudroom

Submitted by EChiasson on Mon, 03/15/2021 - 11:02

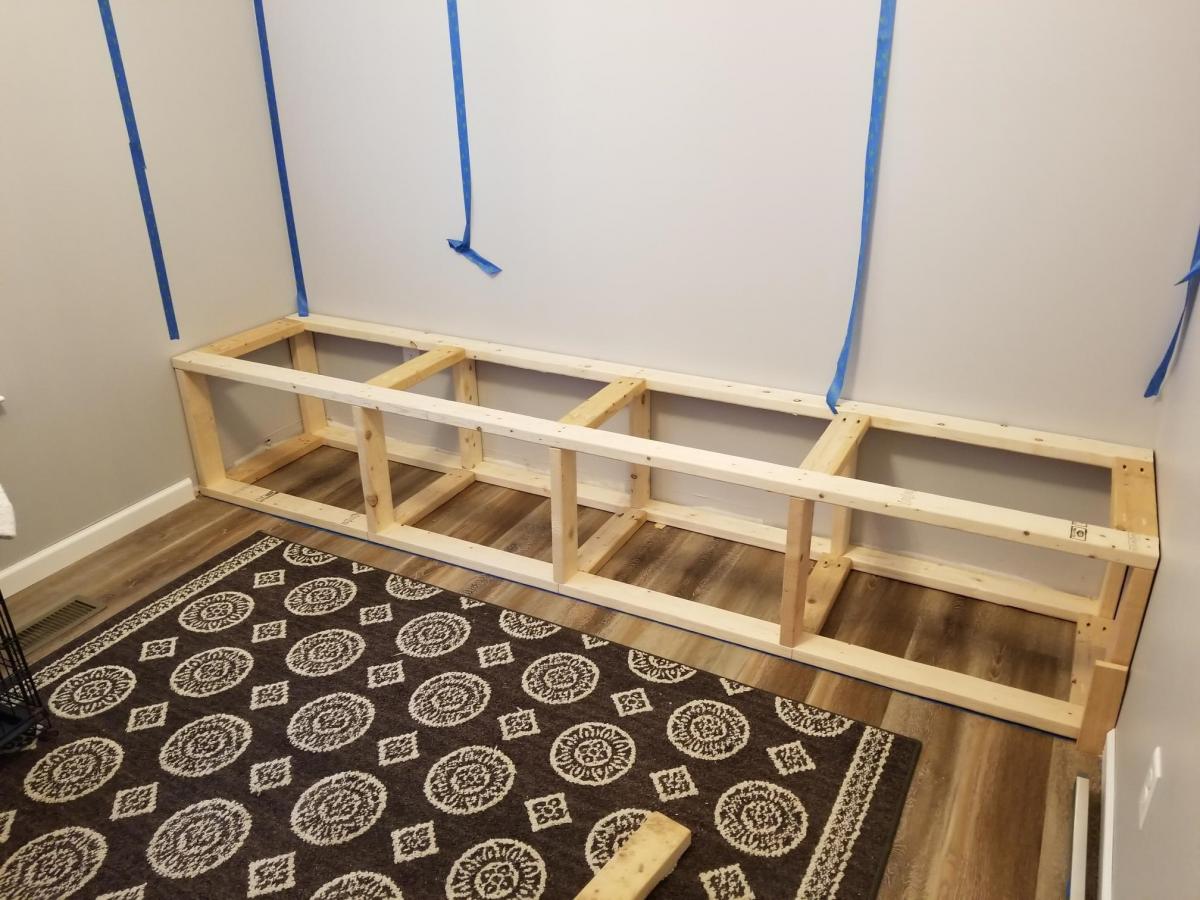
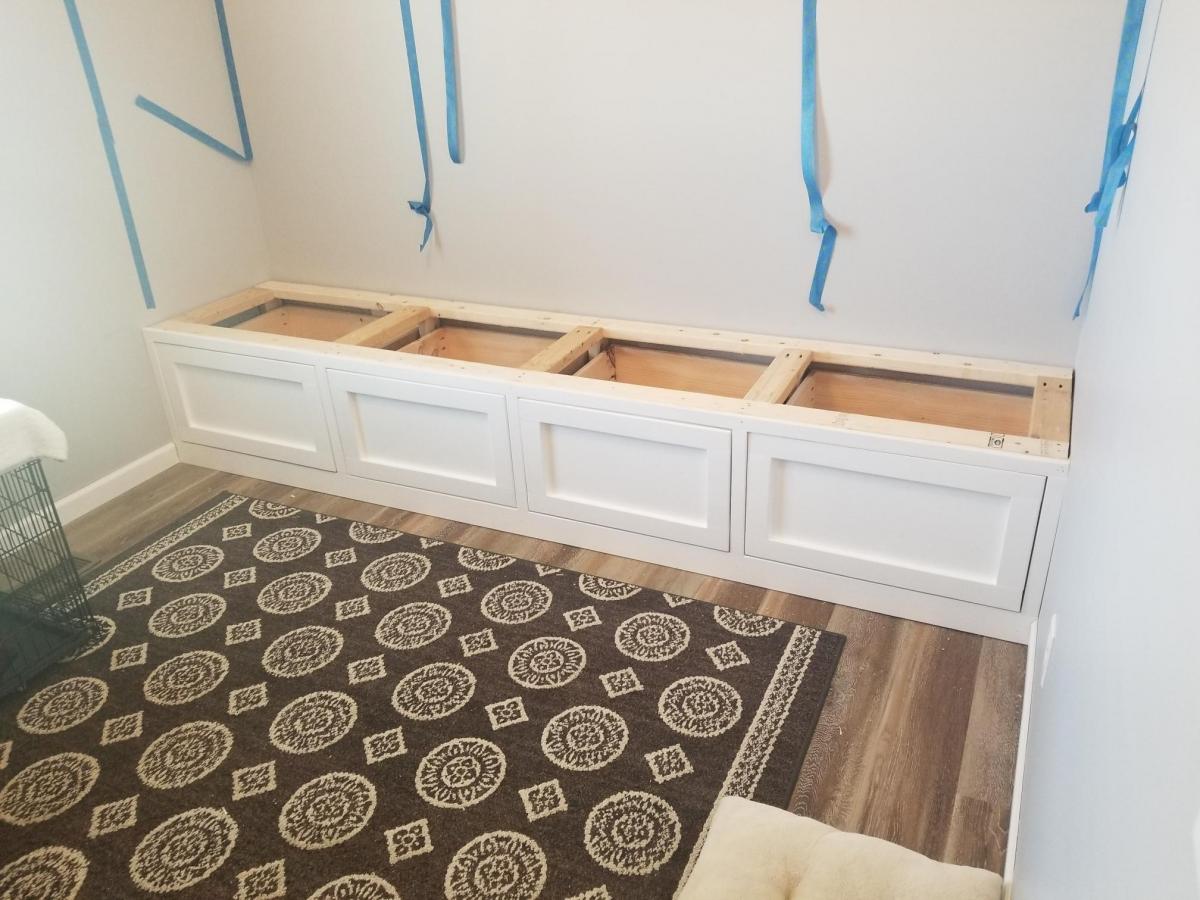
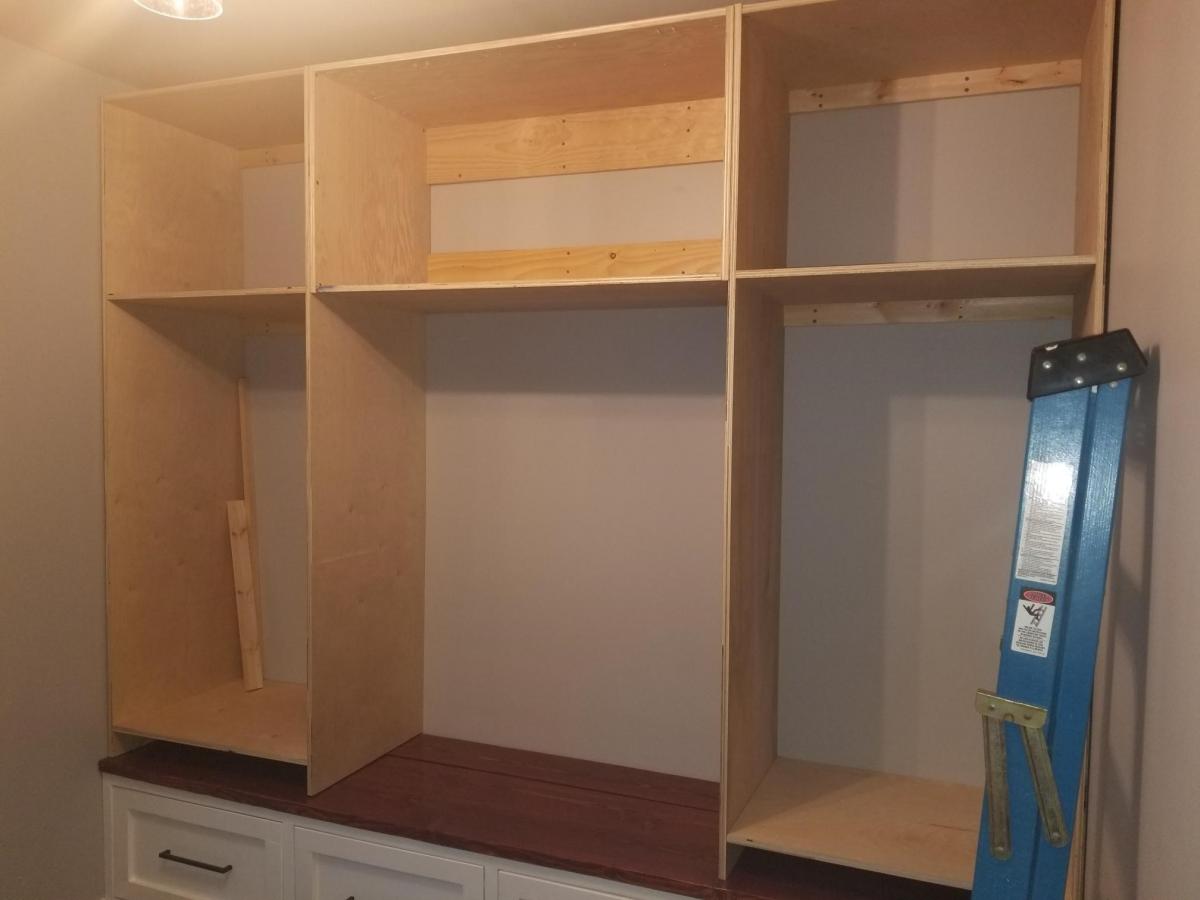
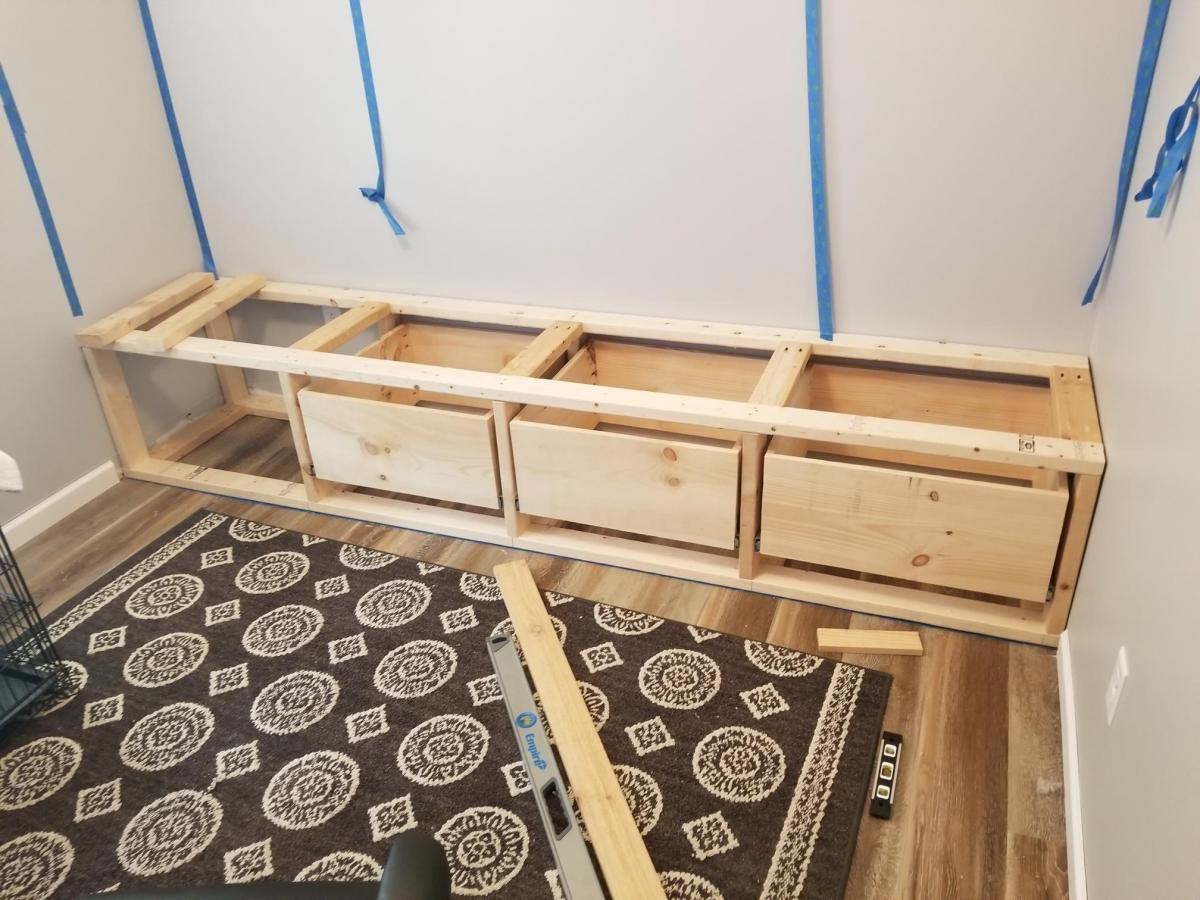
Built this new Mudroom / Office from some plans i found on your website and I absolutely love it! It has turned out better than I Expected and I learned soo many new things when planning and building this out!

Estimated Cost
$1000
Estimated Time Investment
Week Long Project (20 Hours or More)
Recommended Skill Level
Intermediate

Comments

How to Build a DIY Mobile Triangle-Shaped Chicken Coop

Submitted by thediyplan on Thu, 06/10/2021 - 10:41

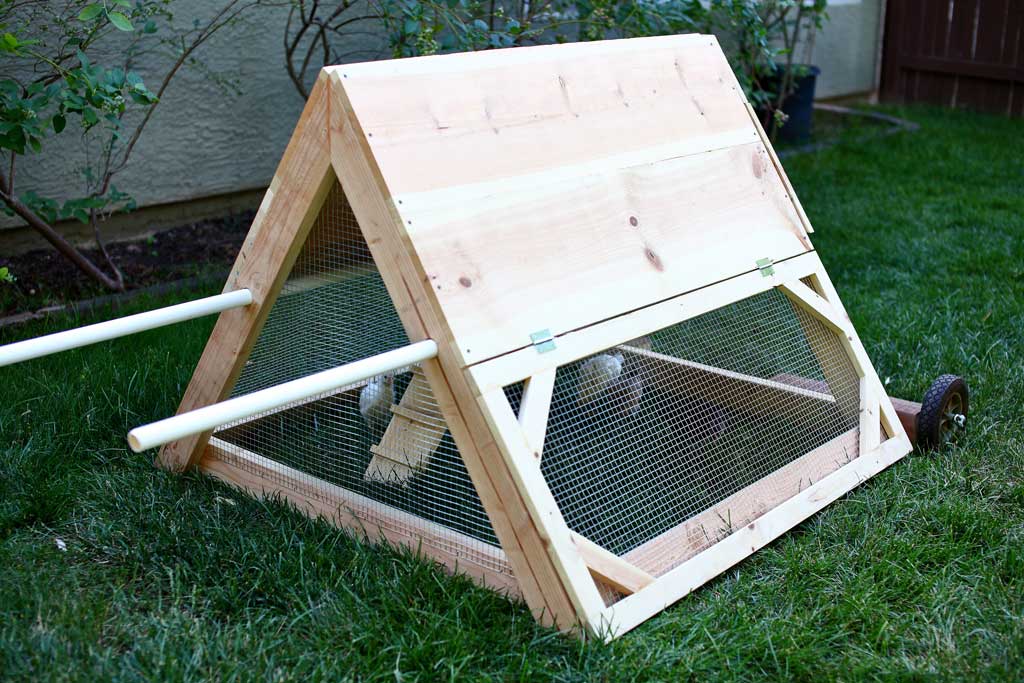
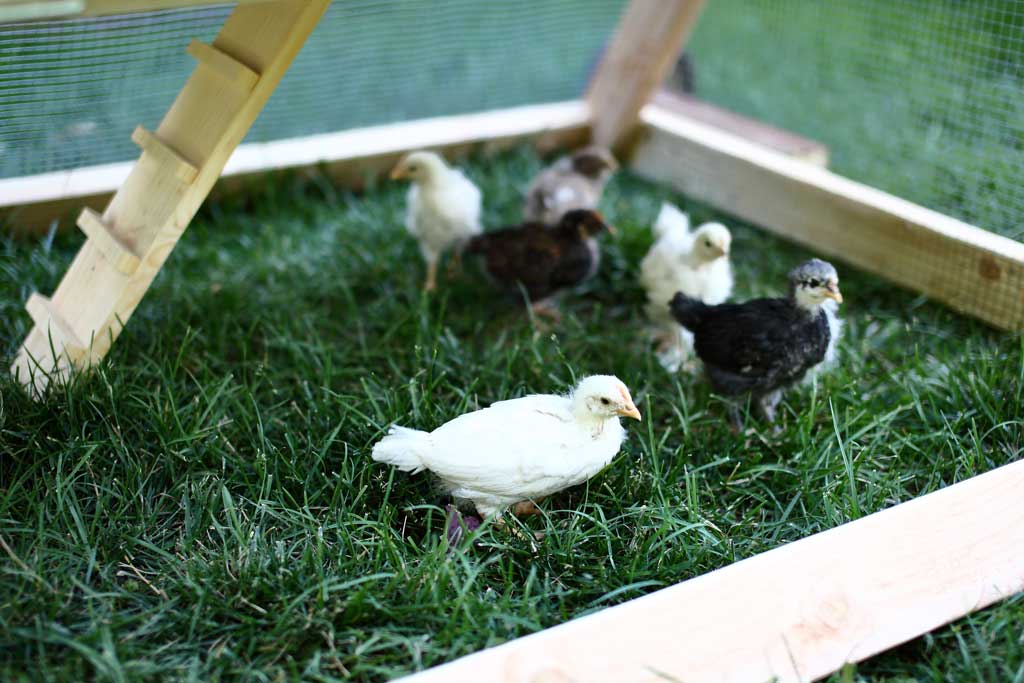
Every so often, we purchase several baby chicks. Our kids really enjoy watching them grow and develop throughout their growth phases. When the chicks were old enough to spend the night outside, I’ve built them a Mobile Triangle-Shaped Chicken Coop to live in. Once they are full-grown, they will be moved to a larger coop. I wanted to have a mobile chicken coop so that I could easily move it around the backyard.

There are so many different chicken coops out there. They come in various shapes and sizes. Most of them are built to be stationed in one place, but I wanted to try a mobile coop.

see my website for additional pictures and how I've built it, href="https://thediyplan.com/mobile-chicken-coop"

Estimated Cost
$ 200
Estimated Time Investment
Day Project (6-9 Hours)
Recommended Skill Level
Intermediate

Comments

Queen size Farmhouse bed and night stands

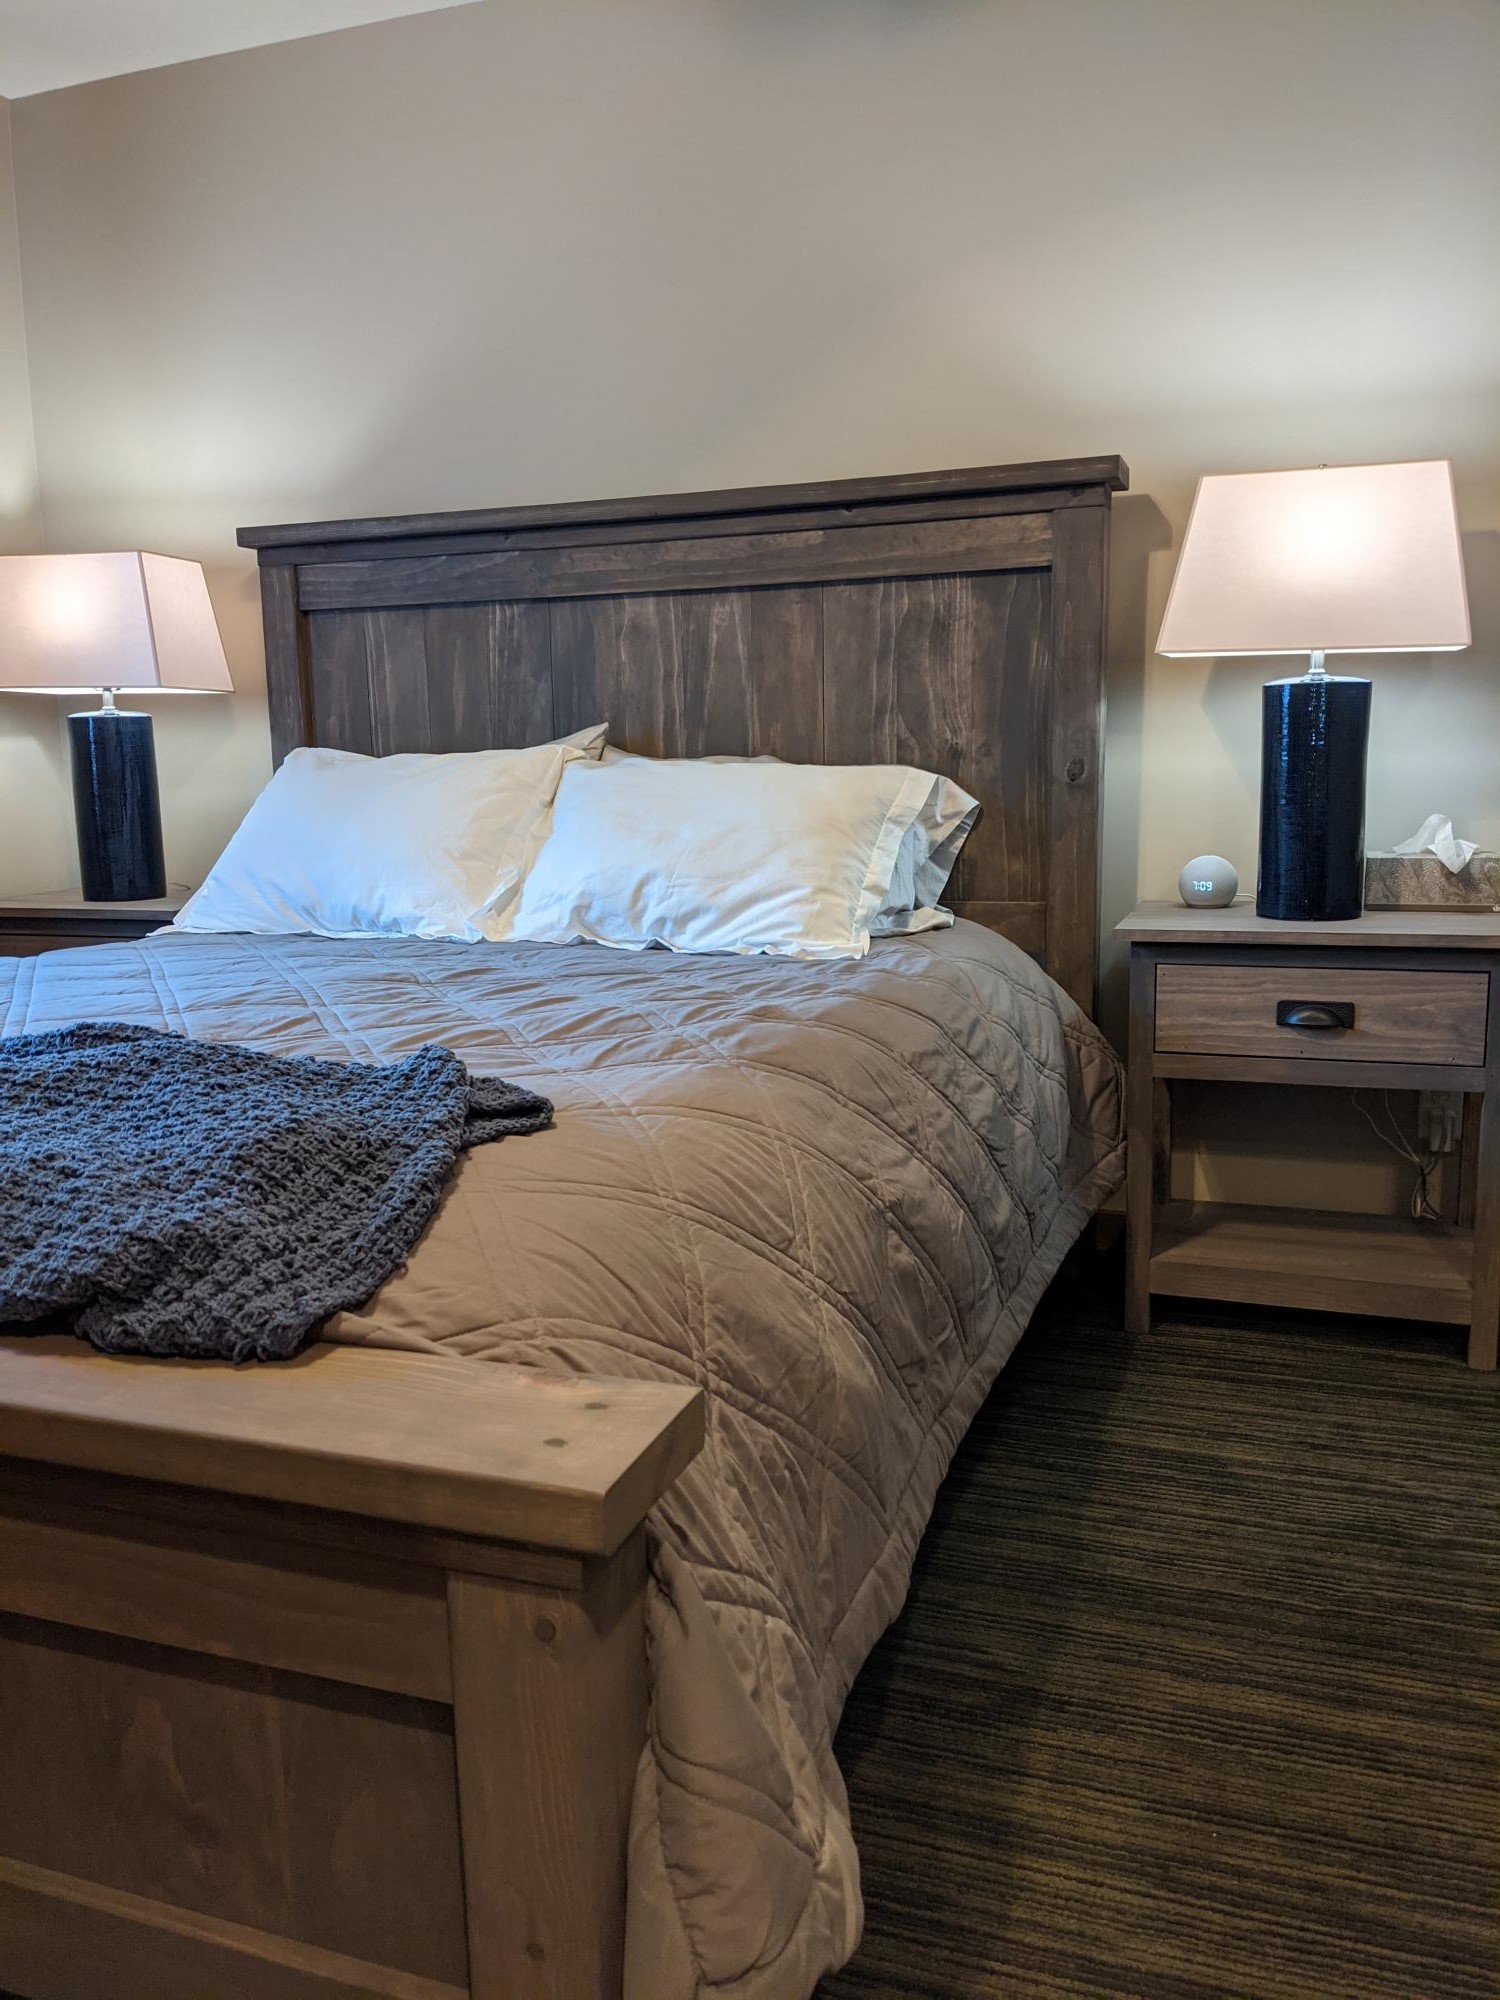
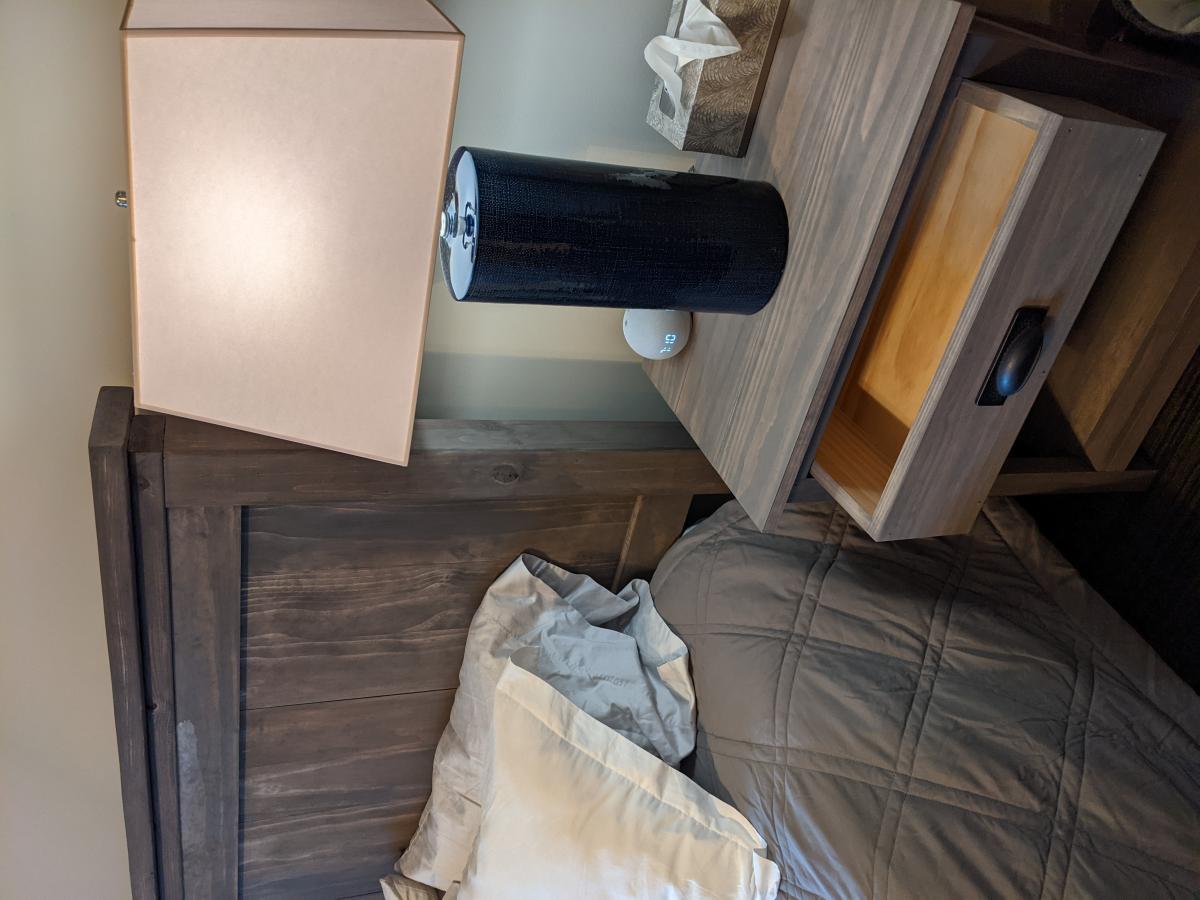
With no experience but a lot of time during Covid, we tackled this project and love the results. Queen bed and nightstands. Made from pine, stain is Saman Wood Stain 013 - IRON EARTH. We modified the night stands to be 4 inches narrower to fit the room a little better.

Finish Used
Saman 013 - IRON EARTH
Hard to find but worth it, water based stain, had no odor and I stained it in the basement in the winter. No special instructions, apply and wait a minute and wipe off. I am planning to use a matte polyurethane when I have more time to protect the finish.
Recommended Skill Level
Beginner

Comments

Corner Hutch

Submitted by Anonymous (not verified) on Thu, 06/01/2017 - 12:58

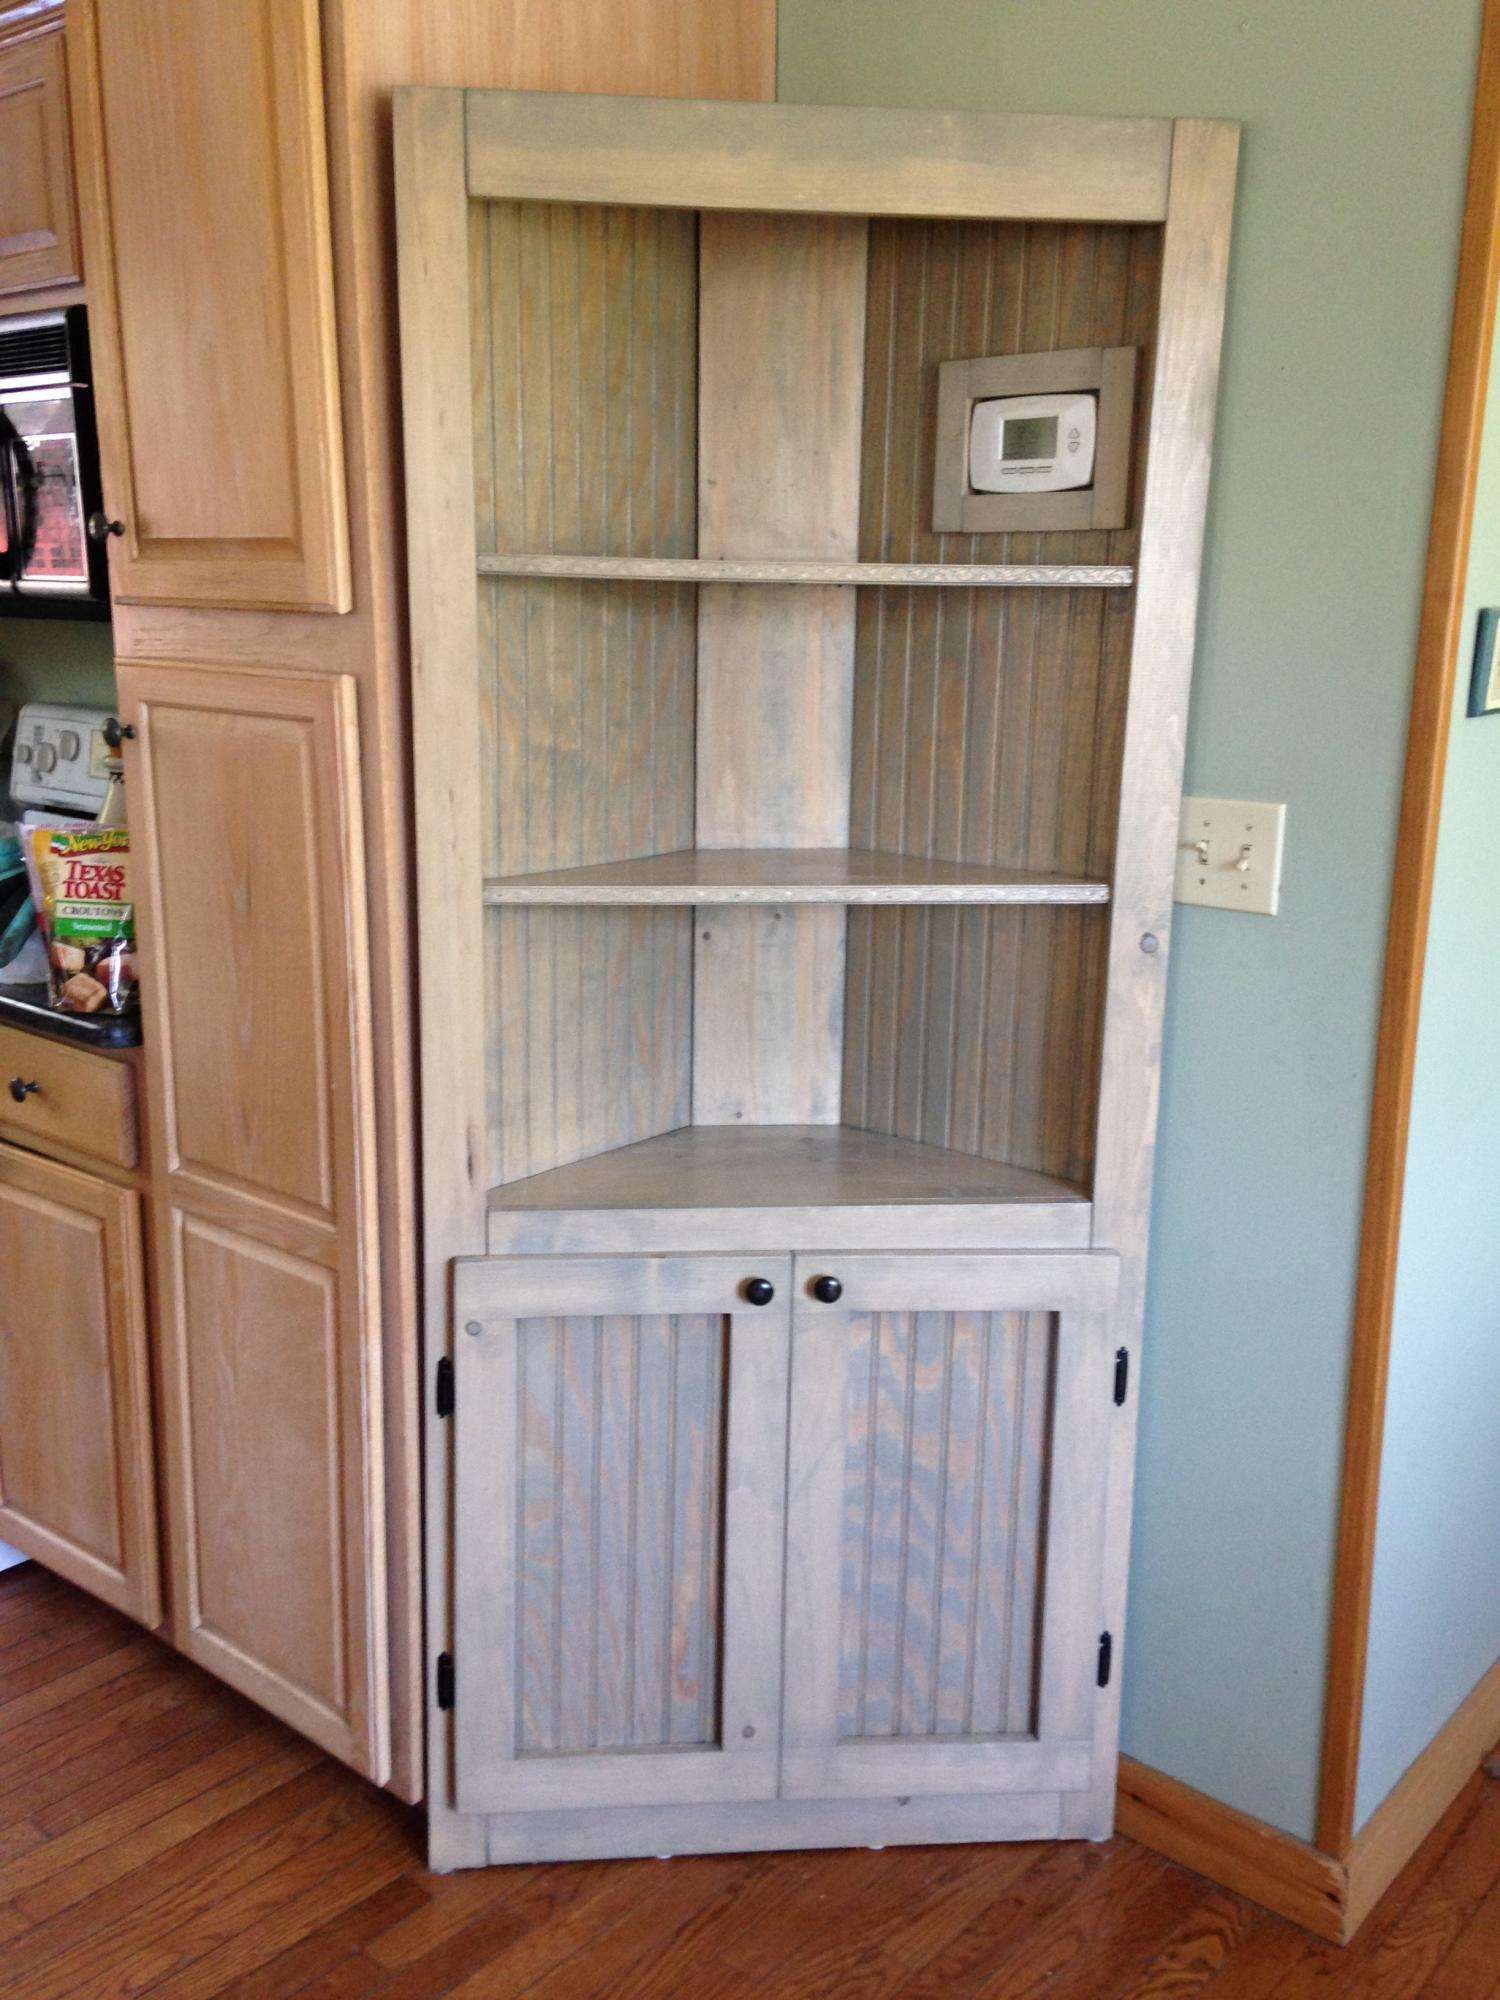
Built the corner hutch from Ana's super easy plans!  LOVE IT!

http://www.ana-white.com/2010/12/plans/corner-cupboard

Made a cutout for my thermostat on the wall.  Gotta love building what you need for your space!

Built from Plan(s)
Estimated Time Investment
Weekend Project (10-20 Hours)
Finish Used
Grey Paint wash
Recommended Skill Level
Intermediate

Anthropologie inspired Fancy X Farmhouse Table & Benches Part 1

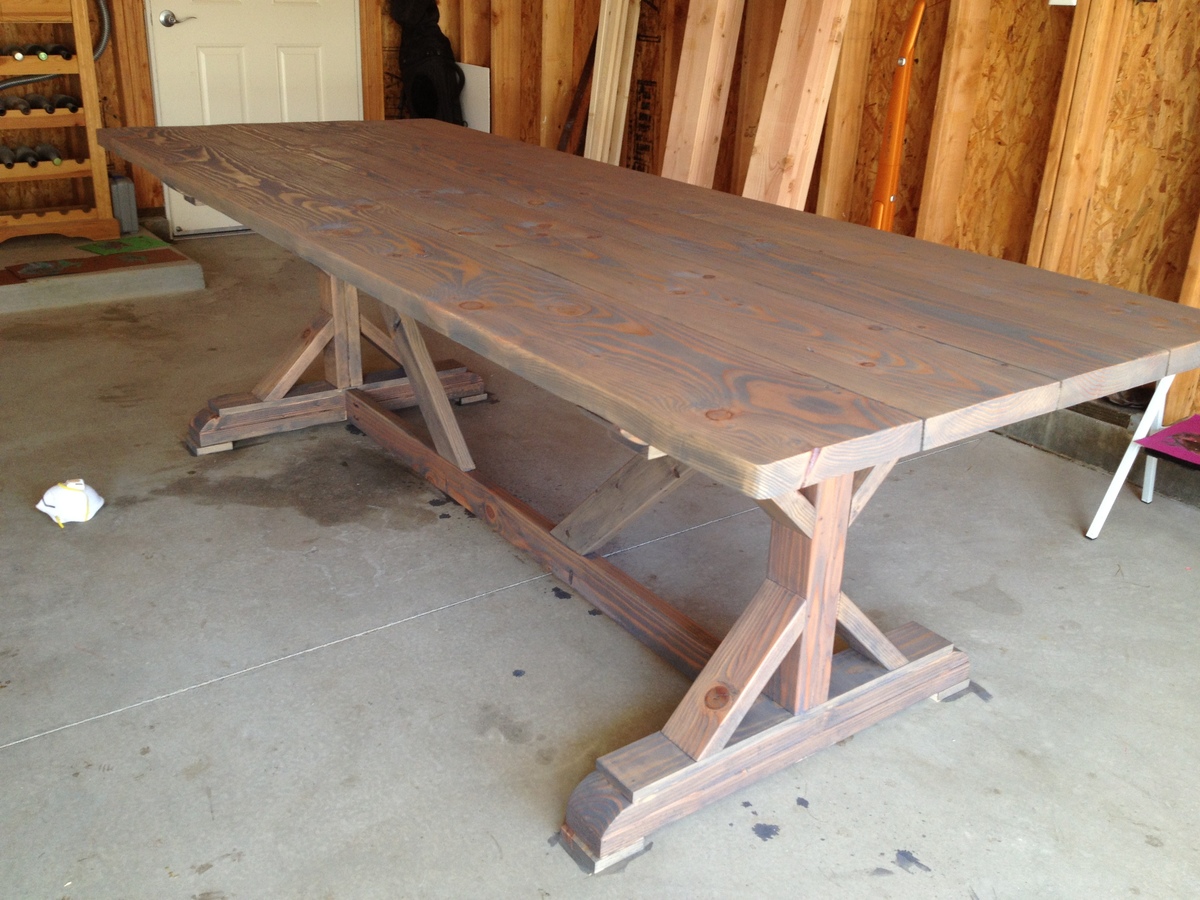
This project was super easy, my husband and I did this together while I was 9 months pregnant with our other 2 kids and dog running around the whole time! We made the table and 2 benches for $250 including lumber and finishing supplies. Check out my blog for details.

Estimated Cost
$250
Estimated Time Investment
Weekend Project (10-20 Hours)
Finish Used
Grey Stain
Recommended Skill Level
Beginner