Faux Fireplace
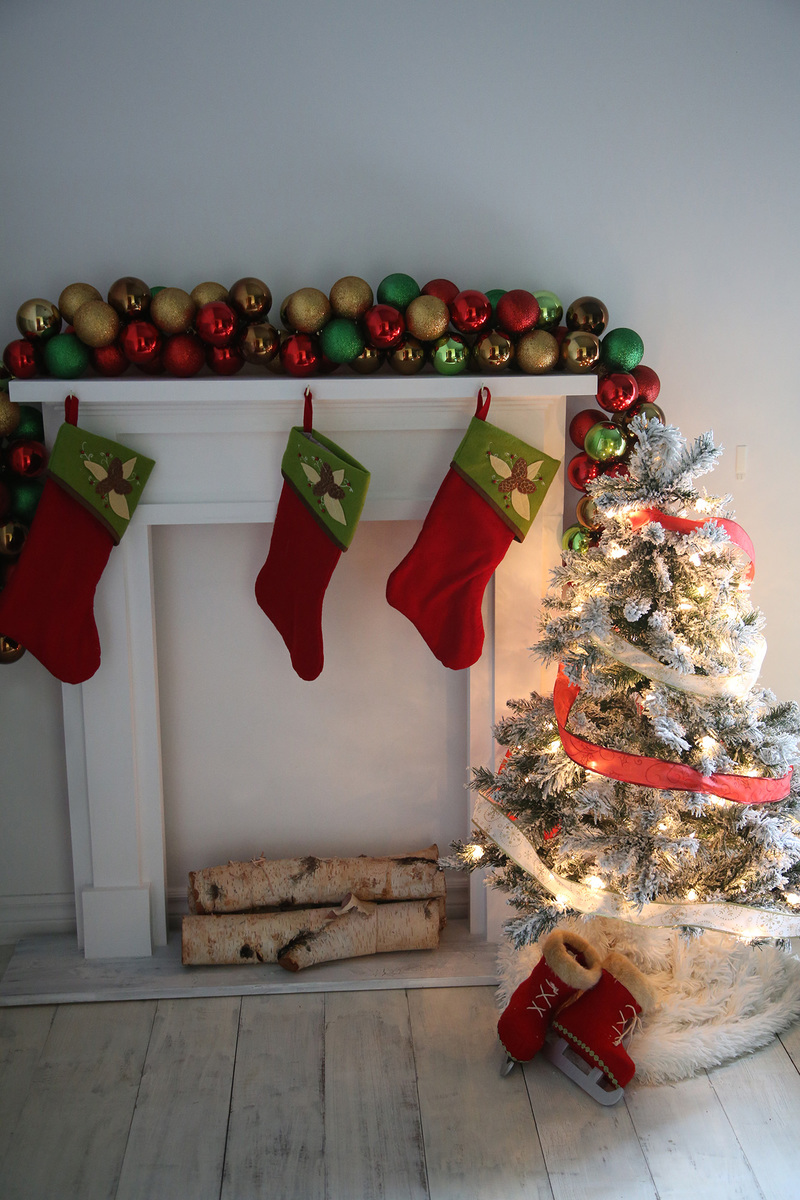
I tweaked the plans to fit the spot I had in mind- It's a little skinnier, but still super cute!
I eliminated some of the extra trim, but I don't think it suffers any for it.
It's super cute!
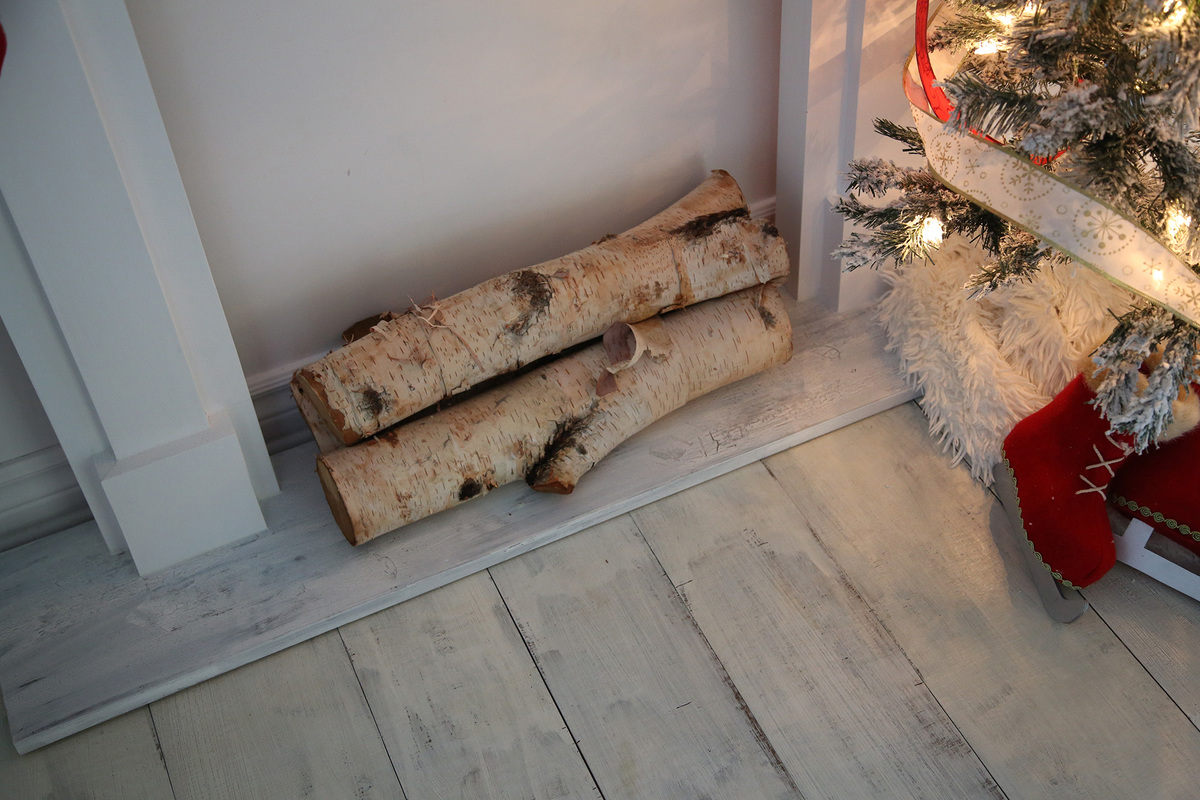
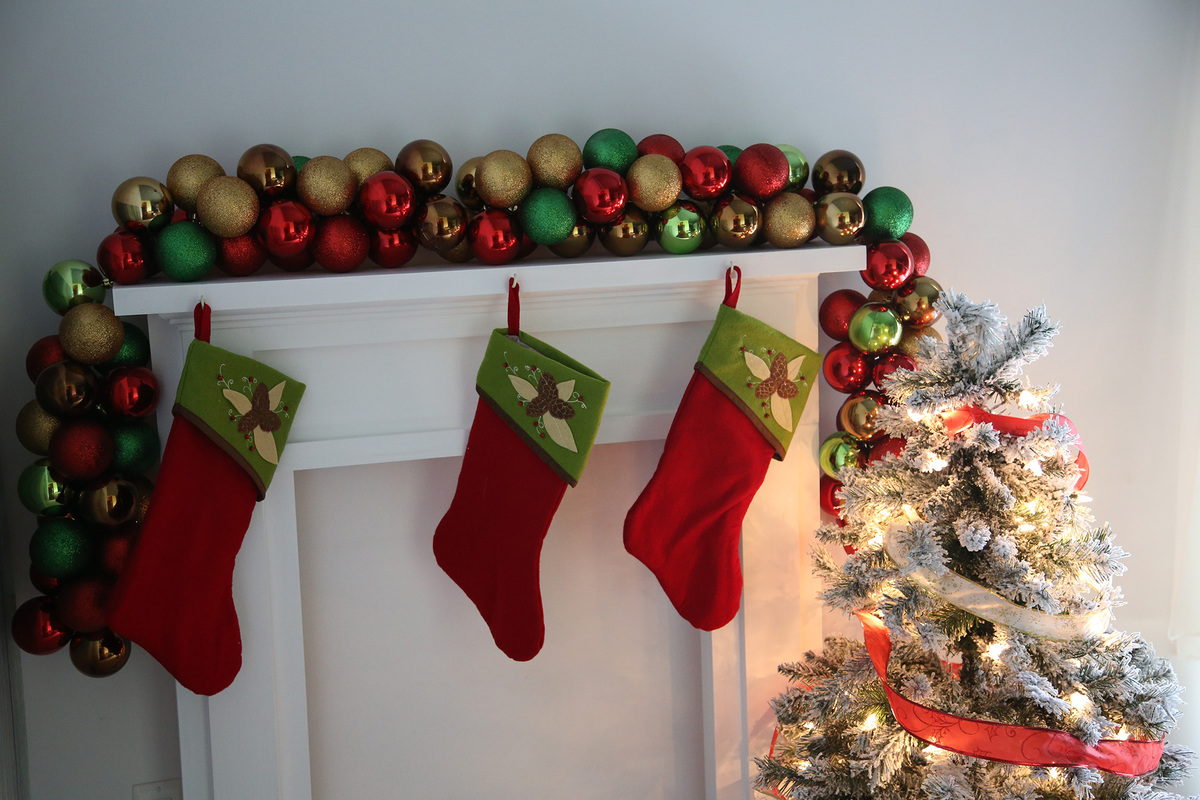

I tweaked the plans to fit the spot I had in mind- It's a little skinnier, but still super cute!
I eliminated some of the extra trim, but I don't think it suffers any for it.
It's super cute!


Loved this! It was really easy. Can't wait to build more!
"Here's a pic of the planter I made! I modified it to fit a 36" planter. I LOVE it. Thanks!!"

Thank you for the easy and fun bench plan.
It was really easy to install.
Even my 2 little daughters had fun (-:


Thu, 04/24/2014 - 08:06
I love the finish you did on the bench. Thanks for sharing!
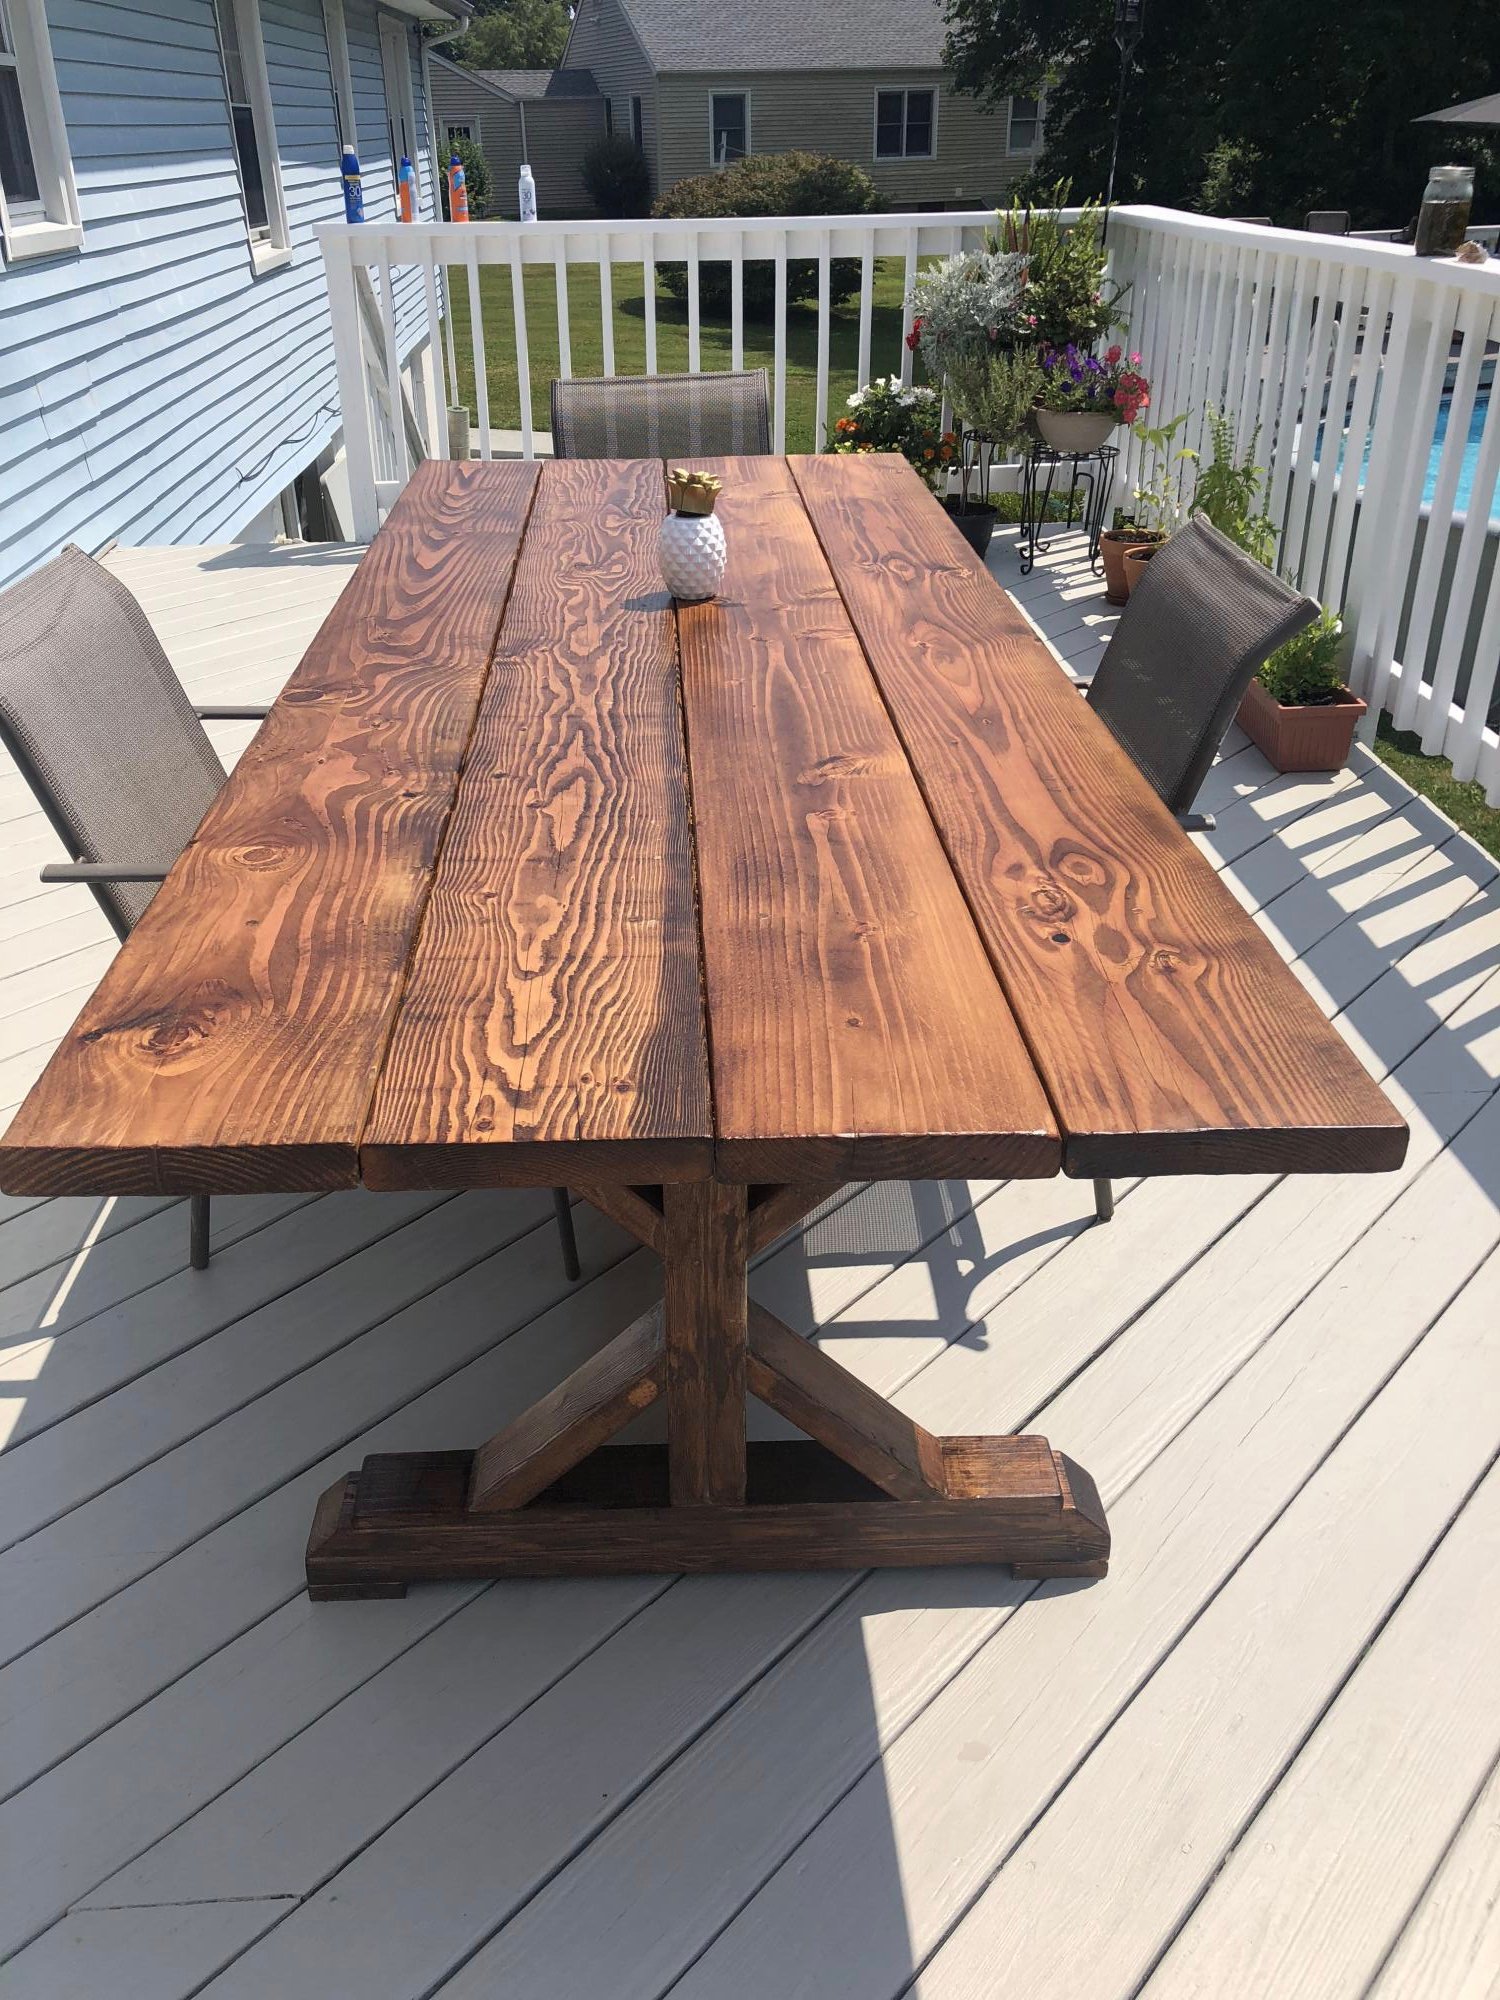
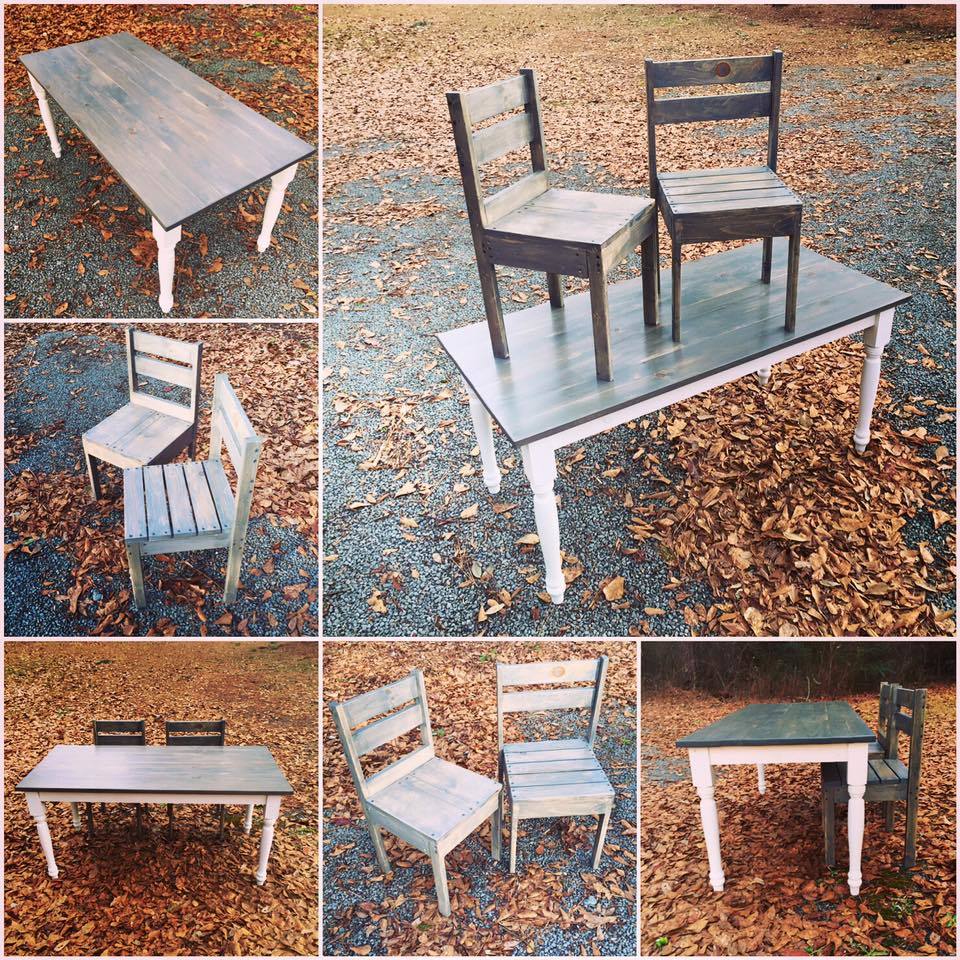
After looking for an outside table with no luck, not to mention the unbelievable price tag, I asked my husband to make me this table..He worked on it for the day with my son and ILOVE the way it came out!!! The plans were simple and easy to follow. Thank you Ana!!!

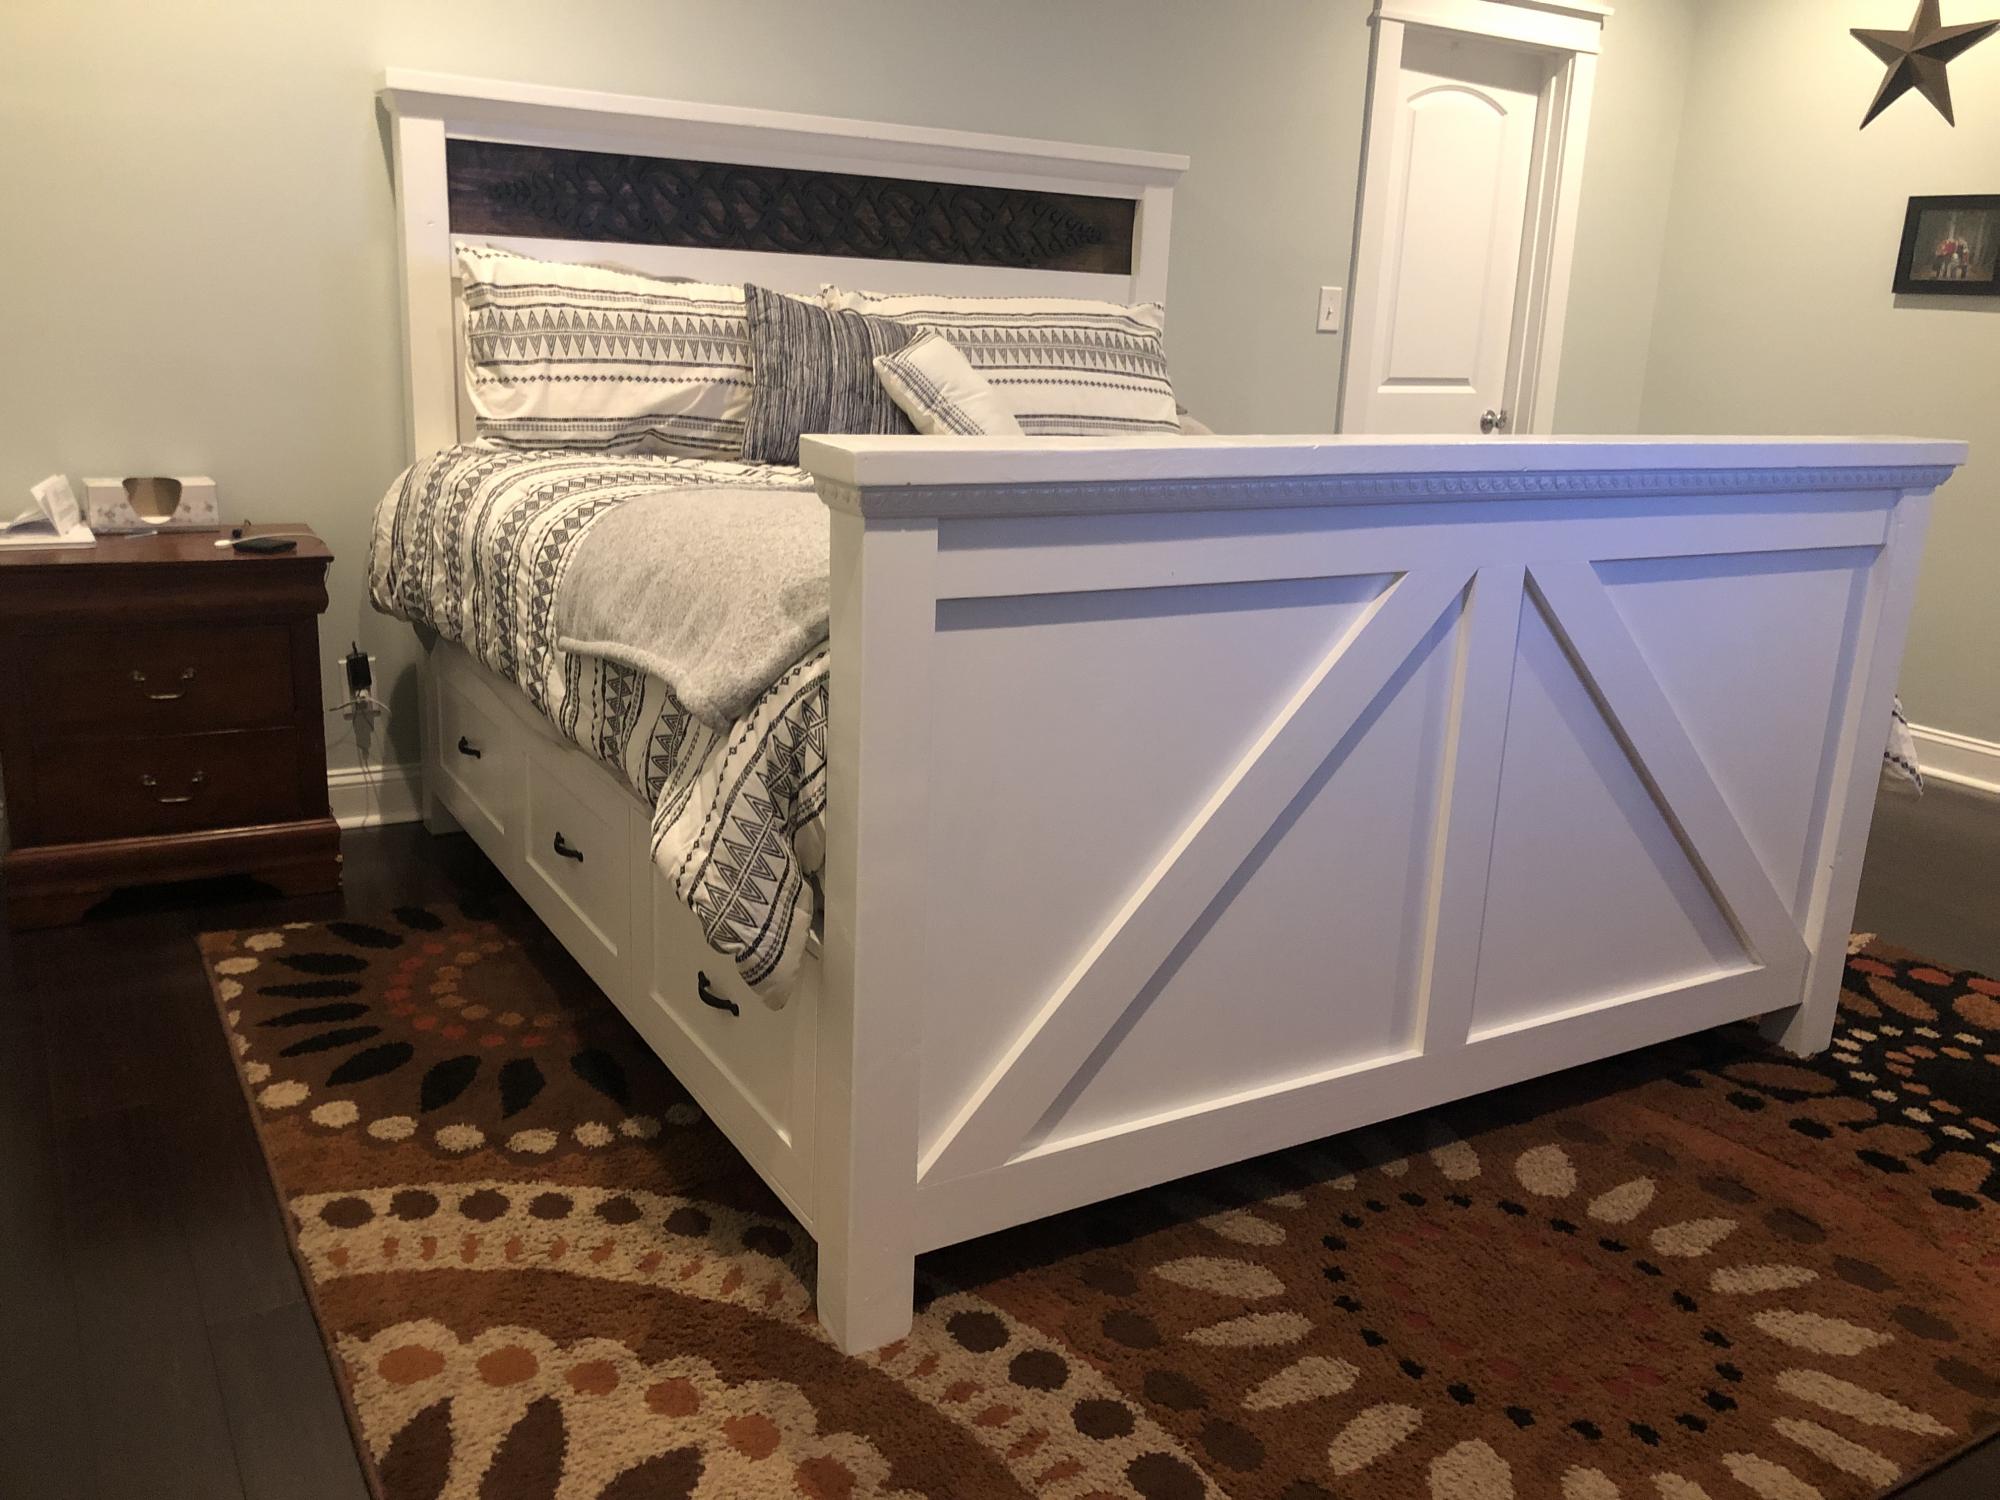
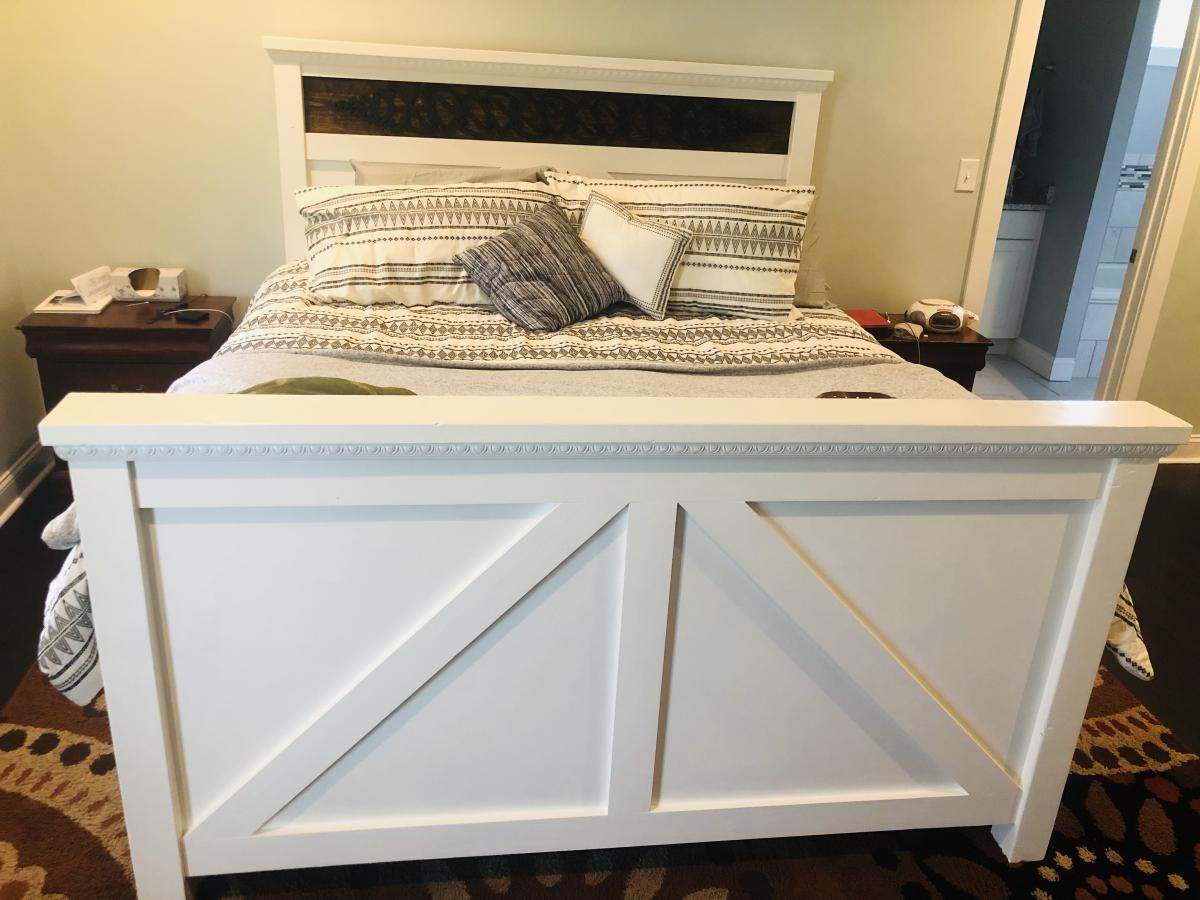
After a successful attempt at Ana’s farmhouse desk I decided to make a bed for my wife... needless to say I think she likes it! Thanks to Ana and Pretty Handy Girl’s plans! (This is my 3rd woodworking project)
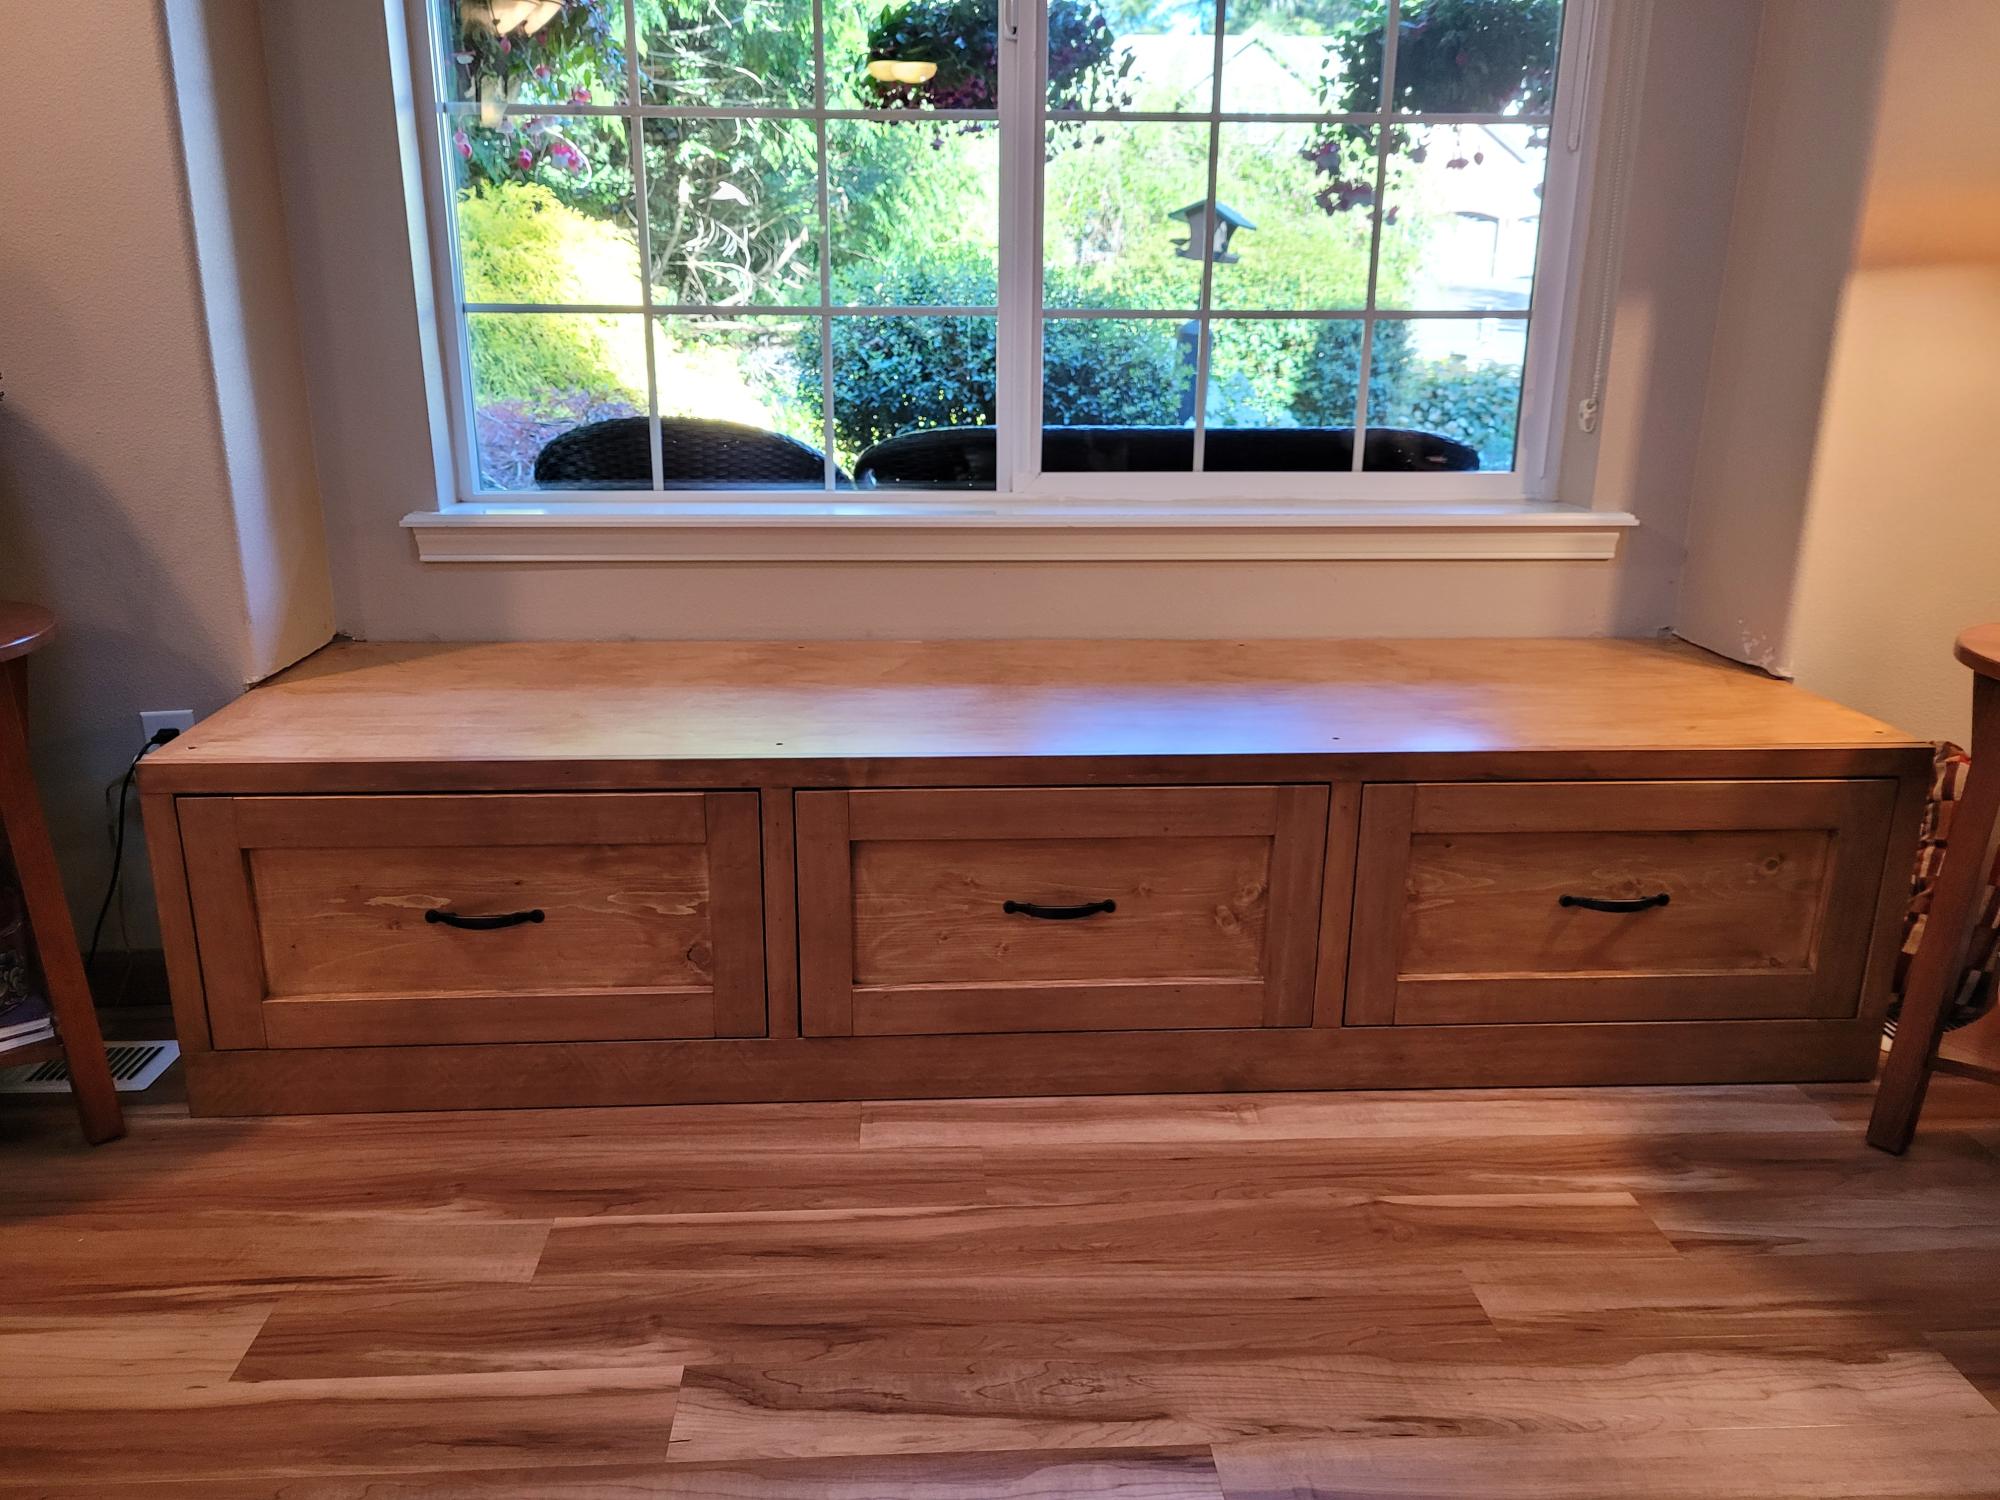
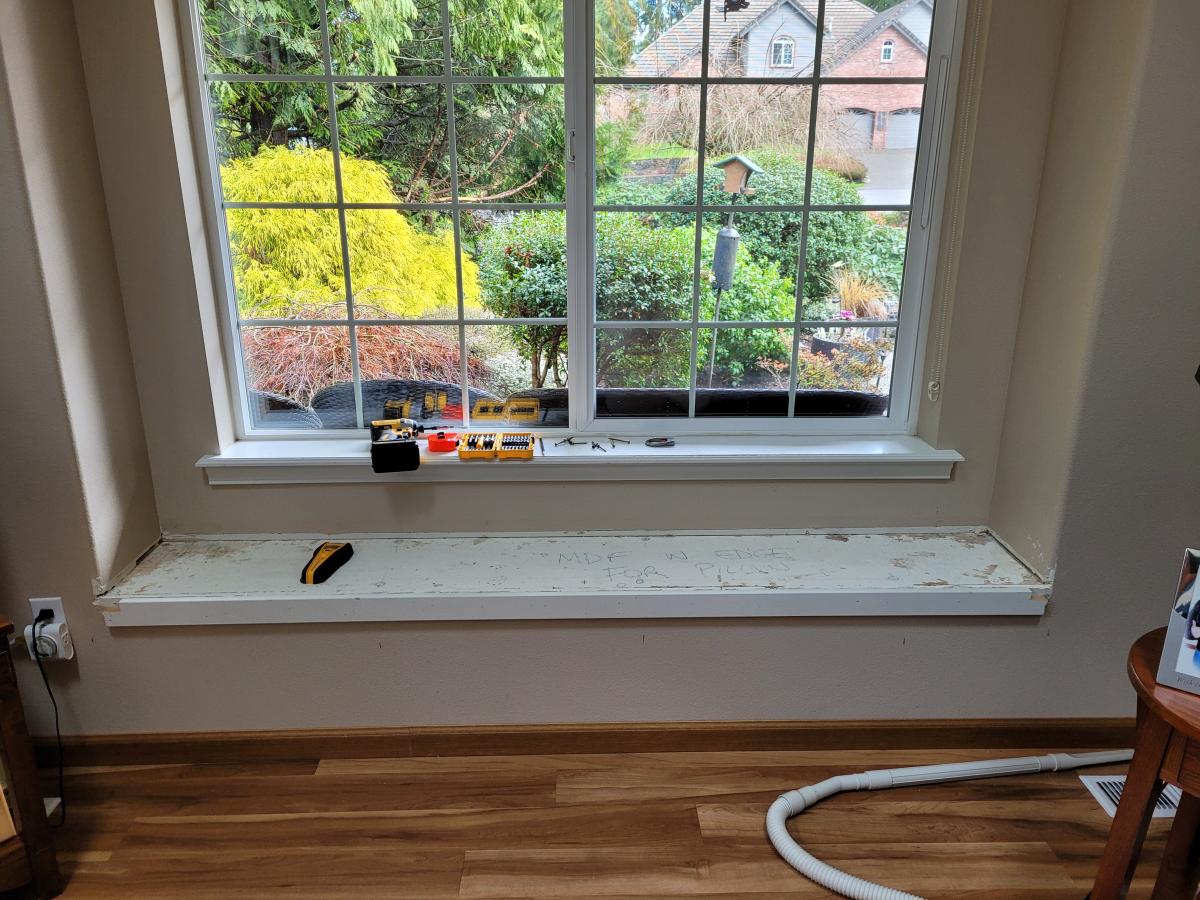
Our home had a window seat that was only 14 inches deep and too small to sit on lengthwise. The before photo shows it just before I started the demolition phase. I had found the mudroom bench with easy drawers plan and decided it would work for our space. This was my first DIY woodworking project. I bought a Dewalt 12-inch compound bevel, sliding miter saw, a Kreg Pocket hole jig, and a Kreg straight-edge guide, and I plan to use them for future projects. I really enjoyed following the plans and building this project.
I got all of my wood at my local Lowe's by sorting through a lot of boards to find the best ones available. I found a nice-looking sheet of hardwood plywood for the top and sides. It was expensive ($84), but I wanted to try staining the project rather than painting it so that it would complement our flooring and other furniture in the room. I decided that if it didn't work out with the stain, I would paint over it.
A local Benjamin Moore paint store did a great job at finding a stain that would match and could be painted over if necessary. It only required one coat of stain to achieve the desired color, and I applied three coats of polyurethane over it.
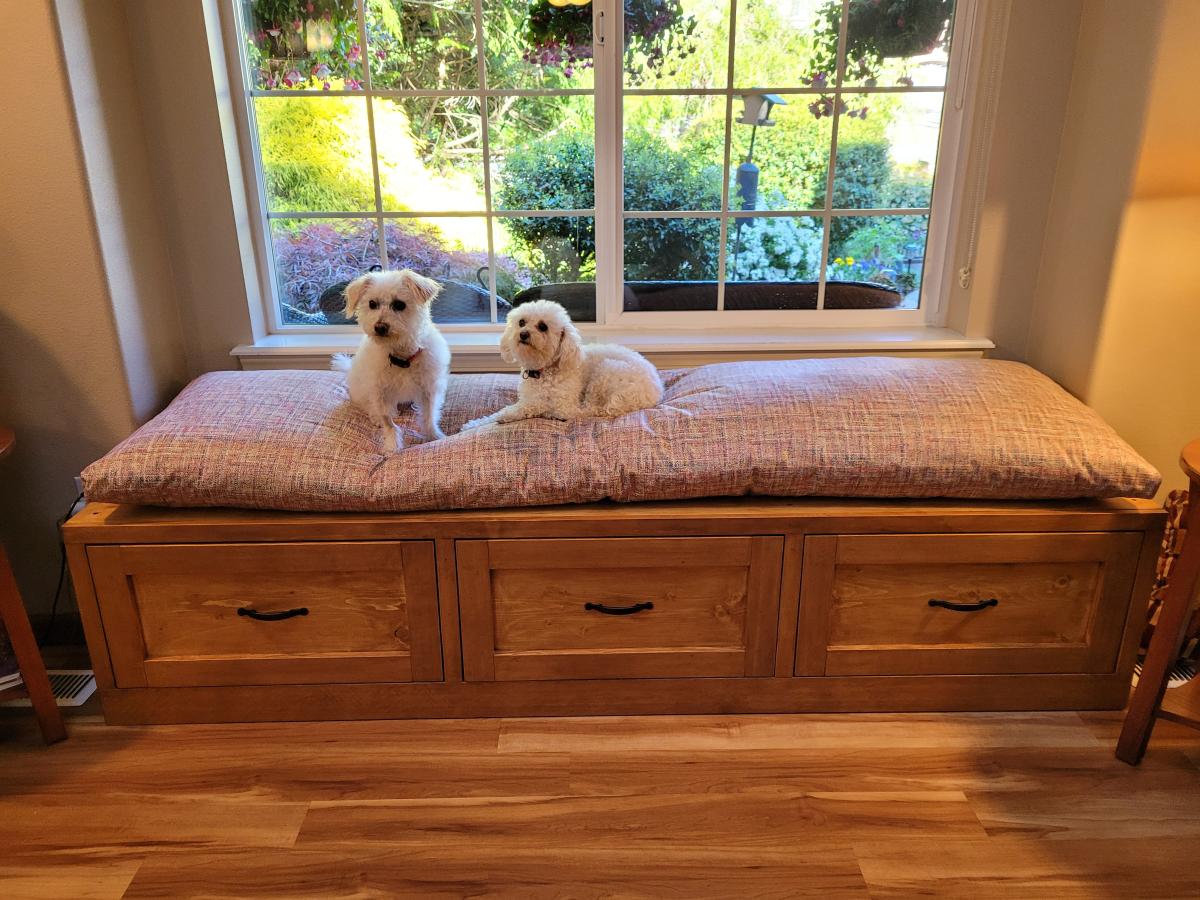
We ordered a custom cushion with a cover to match the size of our new window seat with drawers. We, and our doggies, are very pleased with how the project turned out! Thank you, Ana White, for the excellent plans and video!
Gene St Germain, Poulsbo, WA
Sat, 05/13/2023 - 13:06
Amazing first project and upgrade, it looks so great! Thanks for sharing.
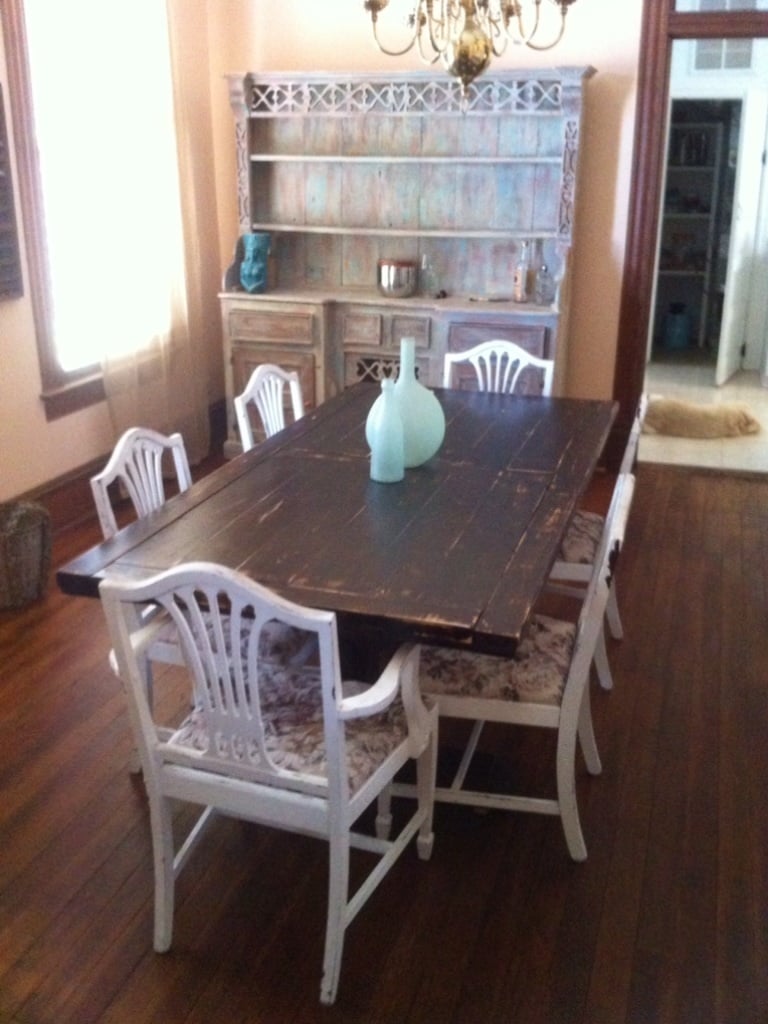
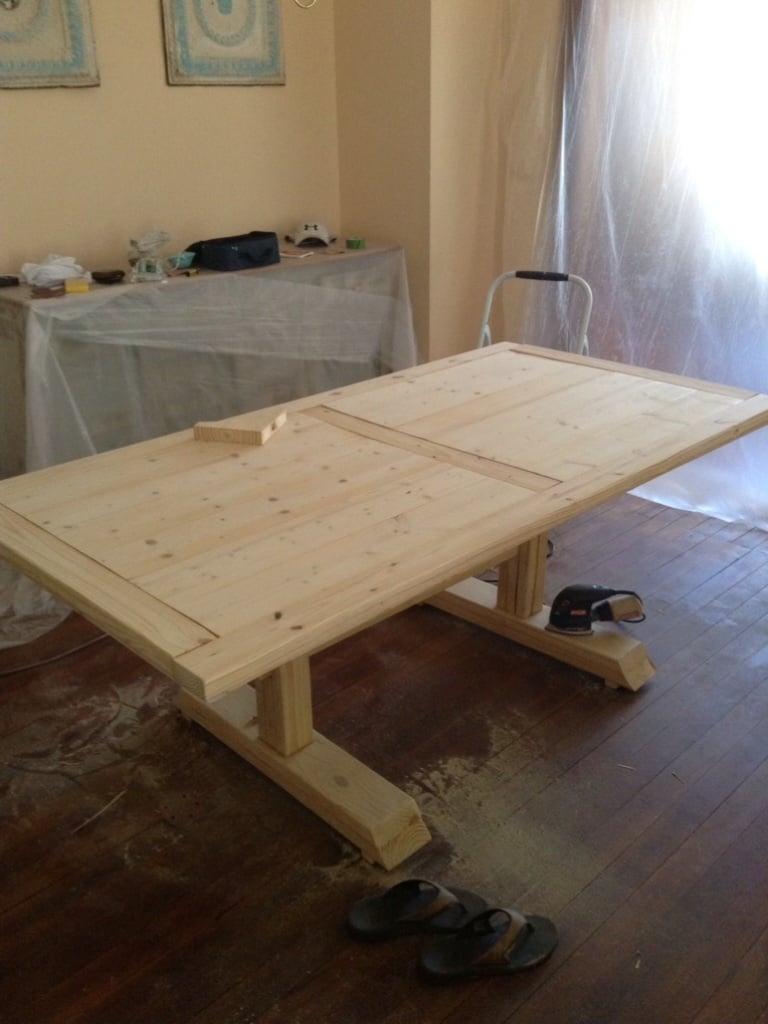
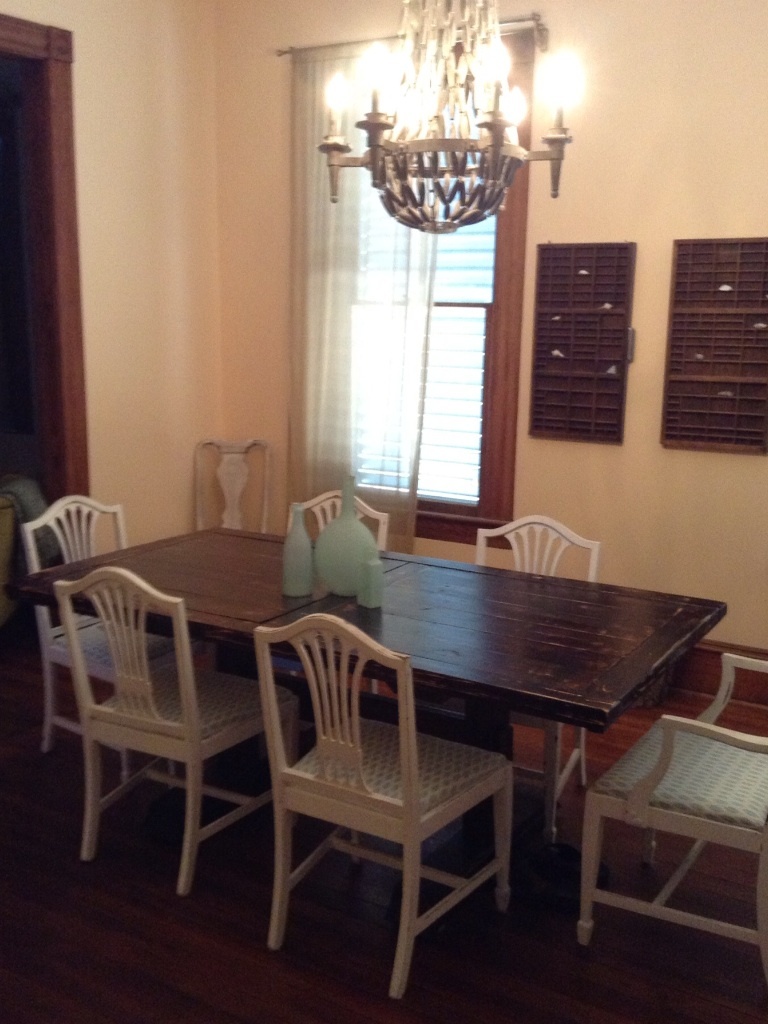
My wife wanted a farmhouse dining room table for our new house, I wanted to get into woodworking so these plans were a perfect fit. Bonus was adding a few tools to my collection! Revised plans to two pedestals and shortened about 2 feet. If I were to do over I would have stained and poly'd separately, but I tried to save steps because I was finishing inside the house and didn't have time for separate steps before leaving town. Ran into a few hiccups along the way but both my wife and I are happy with the end results.
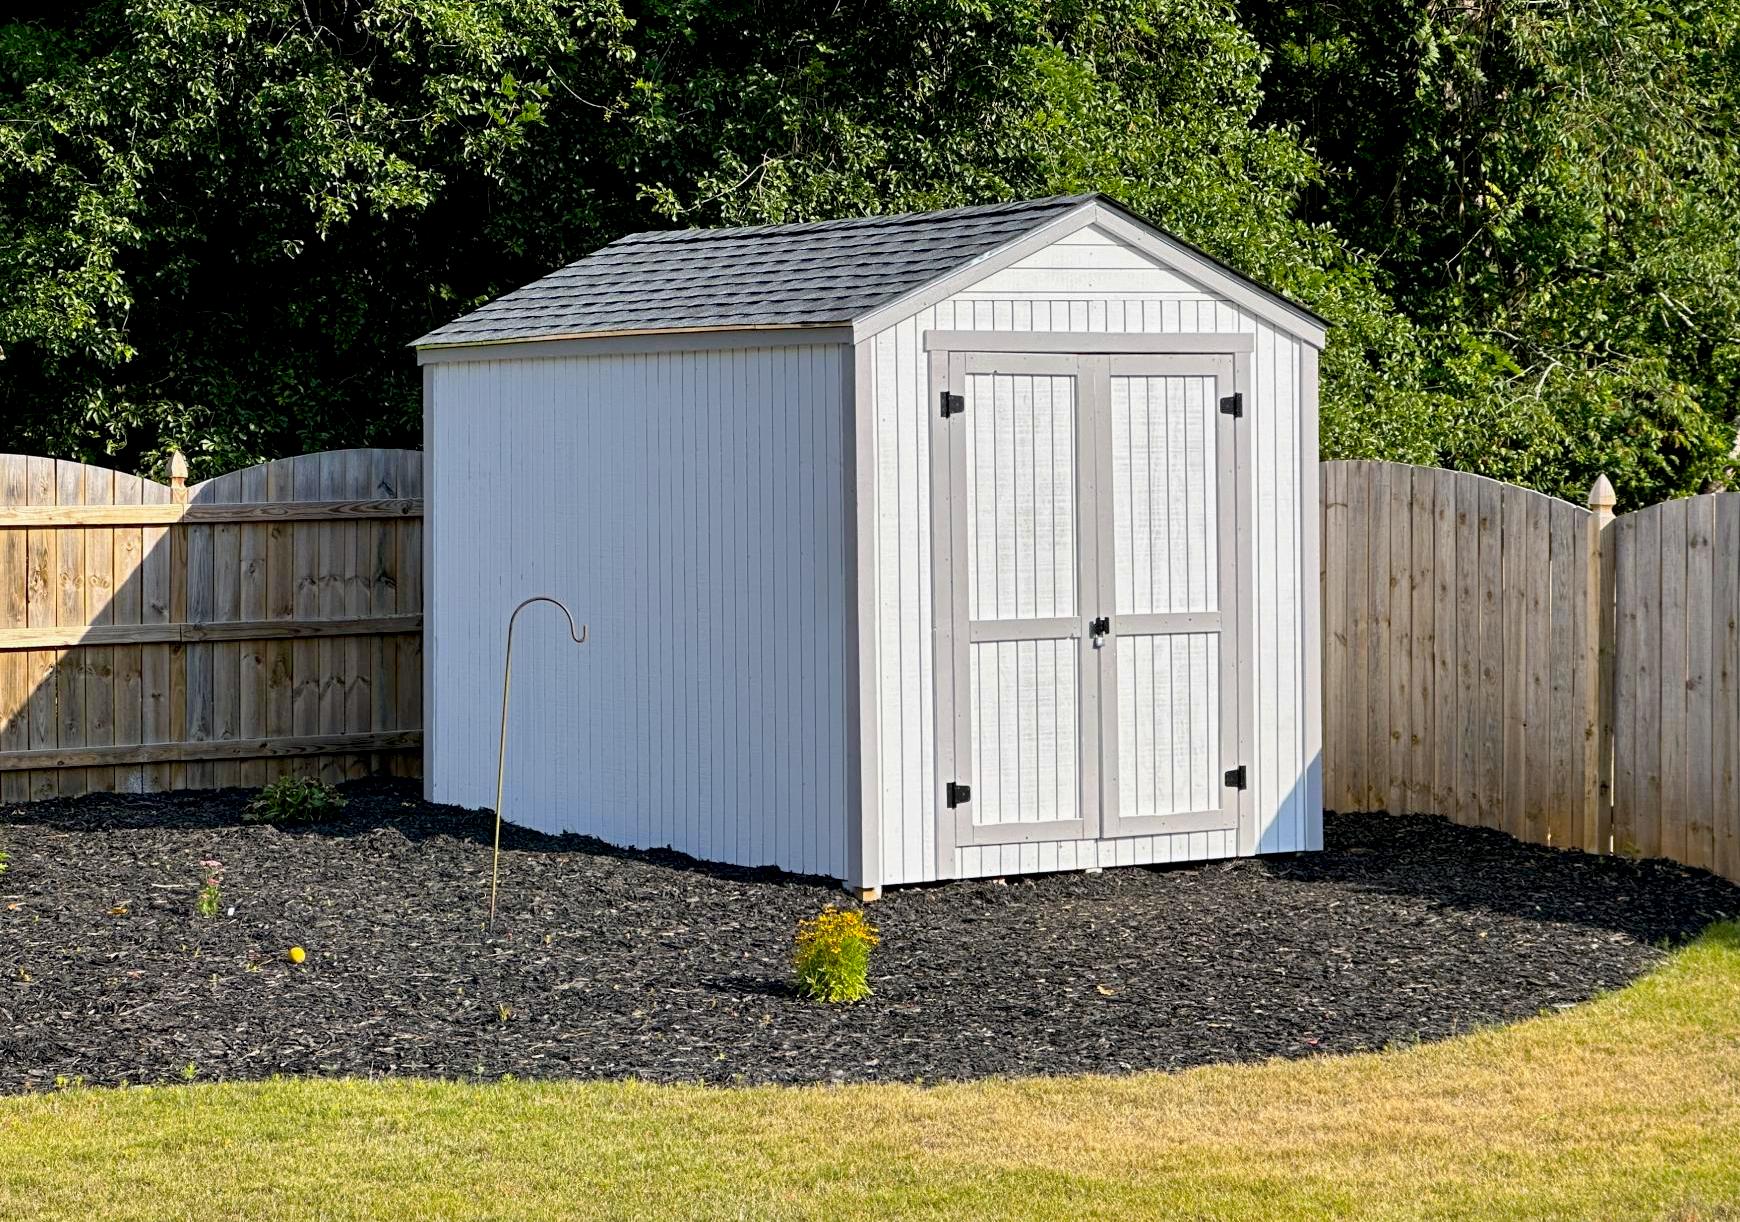
My new garden shed built from your premium plans! I'm 62, never built a shed before, and worked mostly alone. My sons helped with some of the wall and roof sheathing. In the end, I did everything except for the shingling. I painted it to match my house main color and trim.
The video is very helpful - I watched it several times. My major change to the plans was using Simpson Strong Ties and hurricane ties to secure the rafters to the ridge pole and the top plates. Otherwise, I used all other methods. I recommend cutting the front wall sheathing before cutting the panels for the doors. I do not have a trim saw and thought my standard circular saw was too heavy for me to make the cuts like Jacob did.
Tue, 06/13/2023 - 13:57
Really impressive, thank you so much for sharing and good for you to just go for it!!!
This was my first building project! I had so much fun with it ... for a guy that can't even hang a photo on the wall! My dad helped and he had all the tools. I spent a few weekends with him so not only was a good father/son project we had something to show off at the end. I think I've caught the woodworking fever.
Sat, 12/21/2013 - 18:55
Your bed turned out beautiful. I love the finish, that grey stain ads so much character!
Mon, 12/23/2013 - 12:10
I really like the look of the stain. I would be interested to know what changes you made to the original to achieve this look. Also, where did you find the lumber? I can't find knotty alder around here.
Thu, 10/23/2014 - 06:32
Is there a way to find the materials needed and specific instructions on how to make this bed? I LOVE IT!
Tue, 11/25/2014 - 19:22
Hello,
This is awesome, I've been looking to build a bed frame for my new apartment. Does anyone know where I can find the plans for this project.
Similar to the person above me, I am new to this and not quite sure what to do. If anyone can provide me with a little insight to this project I would really appreciate it!
Thanks!
Sun, 11/30/2014 - 20:41
I would love to see the plans for this bed. Please post them if you can! Thanks
Tue, 12/23/2014 - 09:23
Here is the plan http://ana-white.com/2009/10/farmhouse-bed-save-158100_7467.html
Thu, 02/26/2015 - 15:36
Love the bed! Where did you get the lumber? Specially ordered or just regular pine from the store like Lowes or Home Depot?
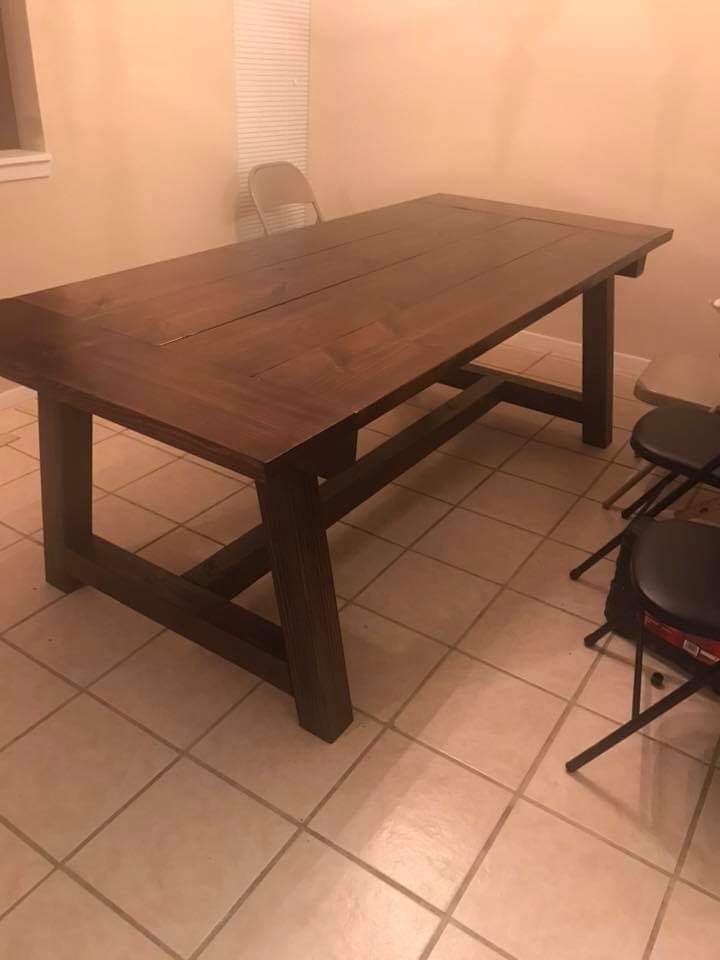
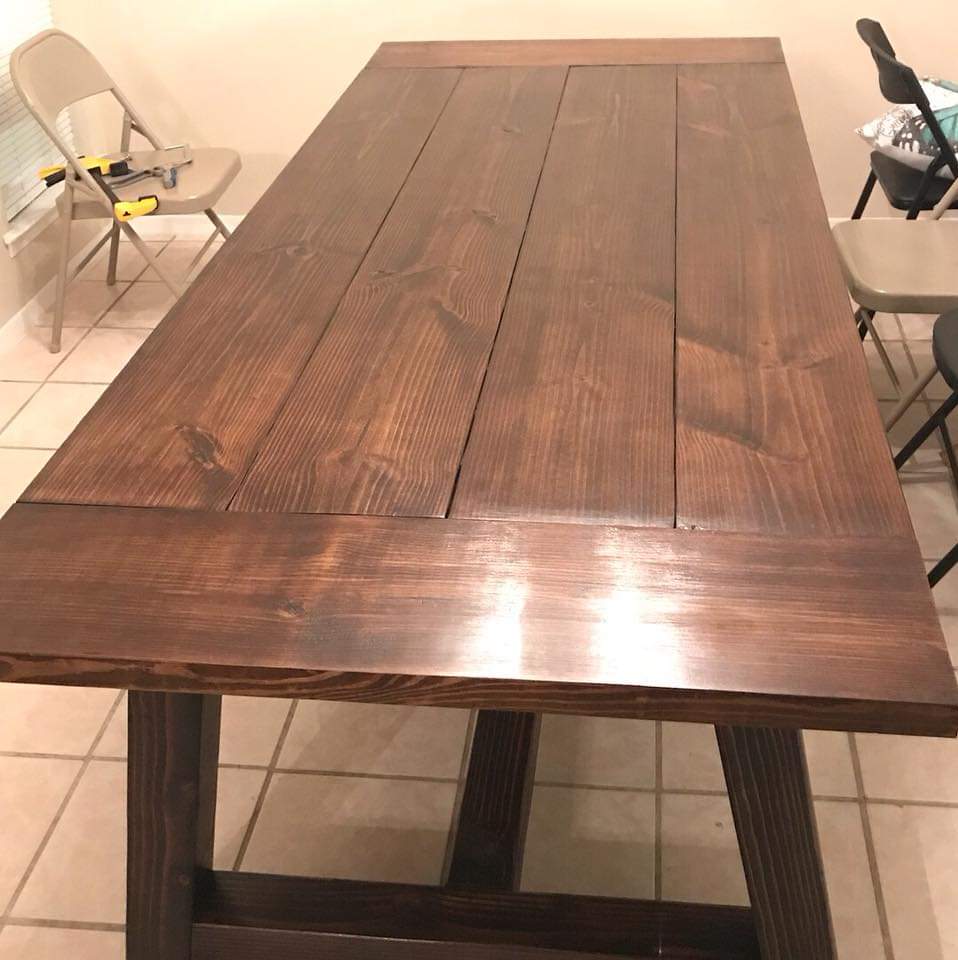
Used Kreg Jig HD screws and pocket holes with glue. Stained in Dark Walnut.
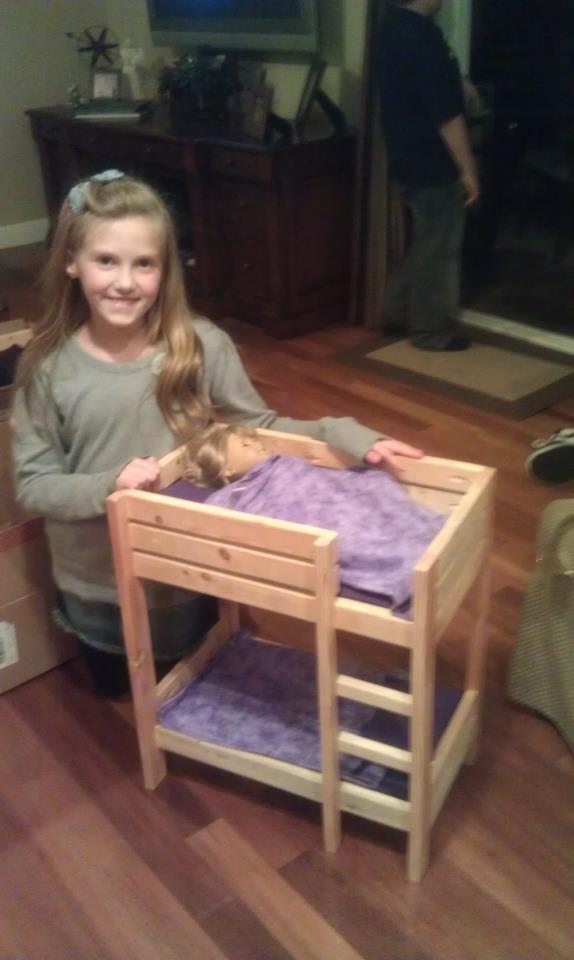
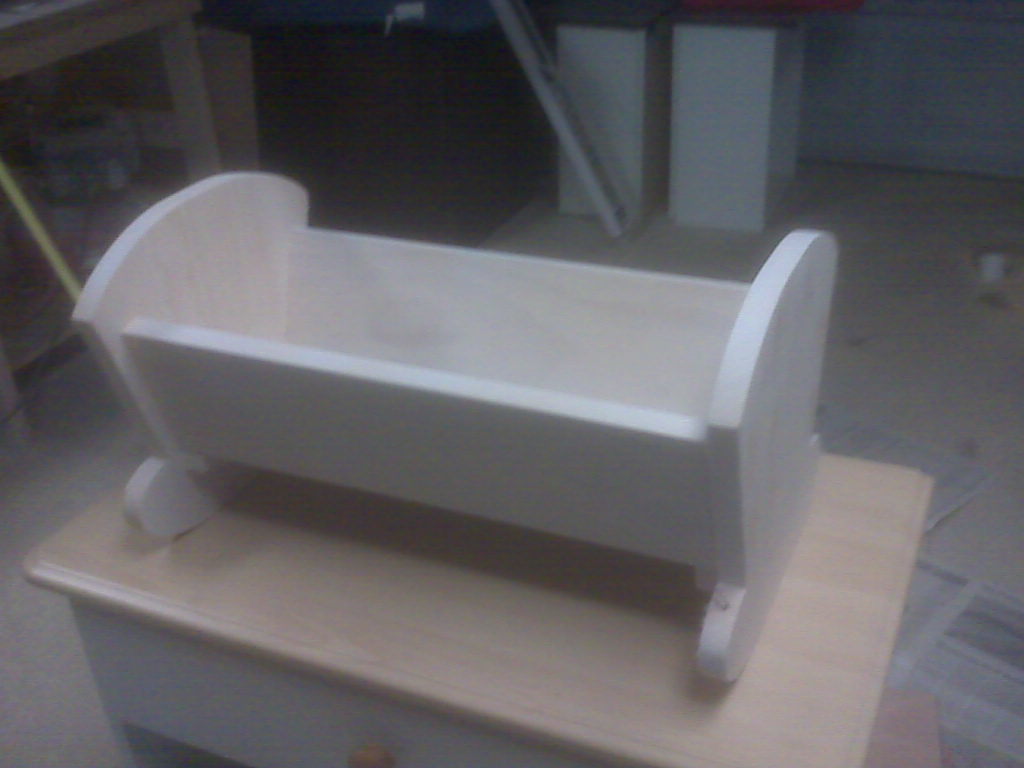
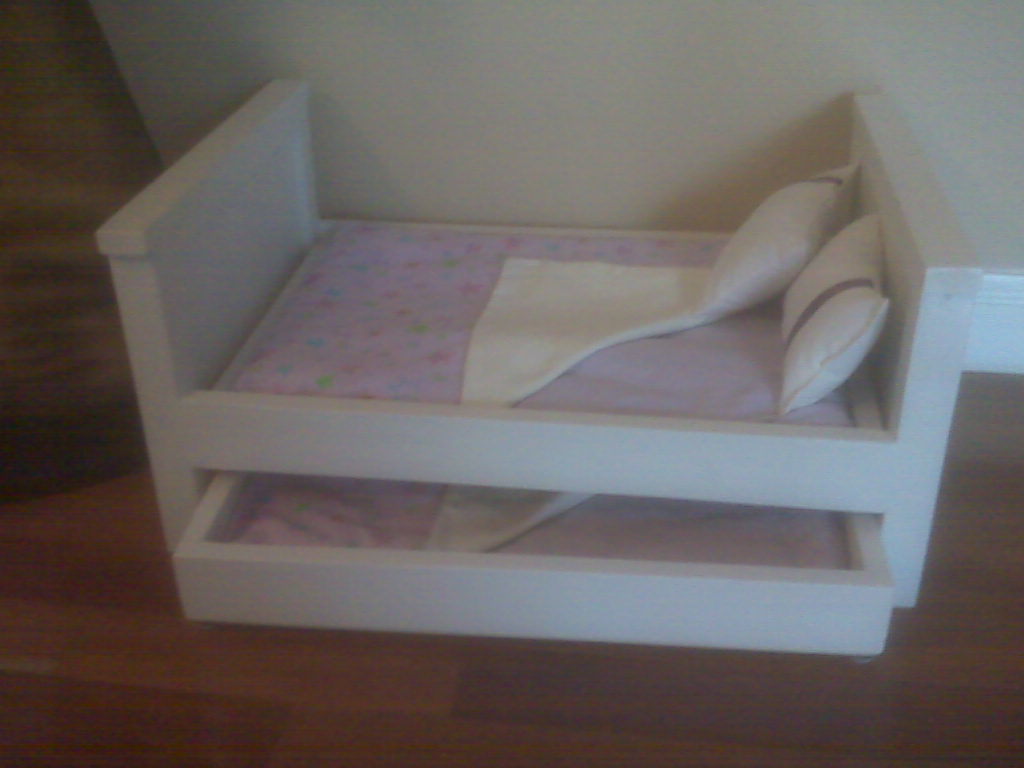
I fell in love with the darling bunk bed built by so many of Ana's readers. Since seeing it I've made several for my granddaughter, neighbors, and friends. What I've learned is that although they're cute, they take almost as much time as a full sized bed!

Mon, 02/20/2012 - 18:54
I love the beds. My child wants one so badly. I like yours better then the one American Girl makes.
Fri, 02/24/2012 - 20:48
That's a sweet thing to say. Evidently, others feel the same; I can't make enough of them! They're really pretty easy to make, I hope you try your hand at it!
Mon, 05/28/2012 - 17:27
Hi, I see you've made the Ana-White doll cradle from this post. The link to the pattern for the doll cradle appears to be missing as it is a dead link now. Do you know how I might obtain the pattern? Thanks so much
HI Ana! Just wanted to tell you thank you for sharing all your knowledge. I really got inspired reading your book and looking through your website. I was quite intimidated but I finally completed my first build. It feels amazing and I am so grateful for your help! XO Sarah Taylor
Wed, 03/09/2016 - 08:28
Hi Sarah, your bench is so beautiful! Thank you so much for building and sharing, I love how it turned out! Can't wait to see more! XO ANA
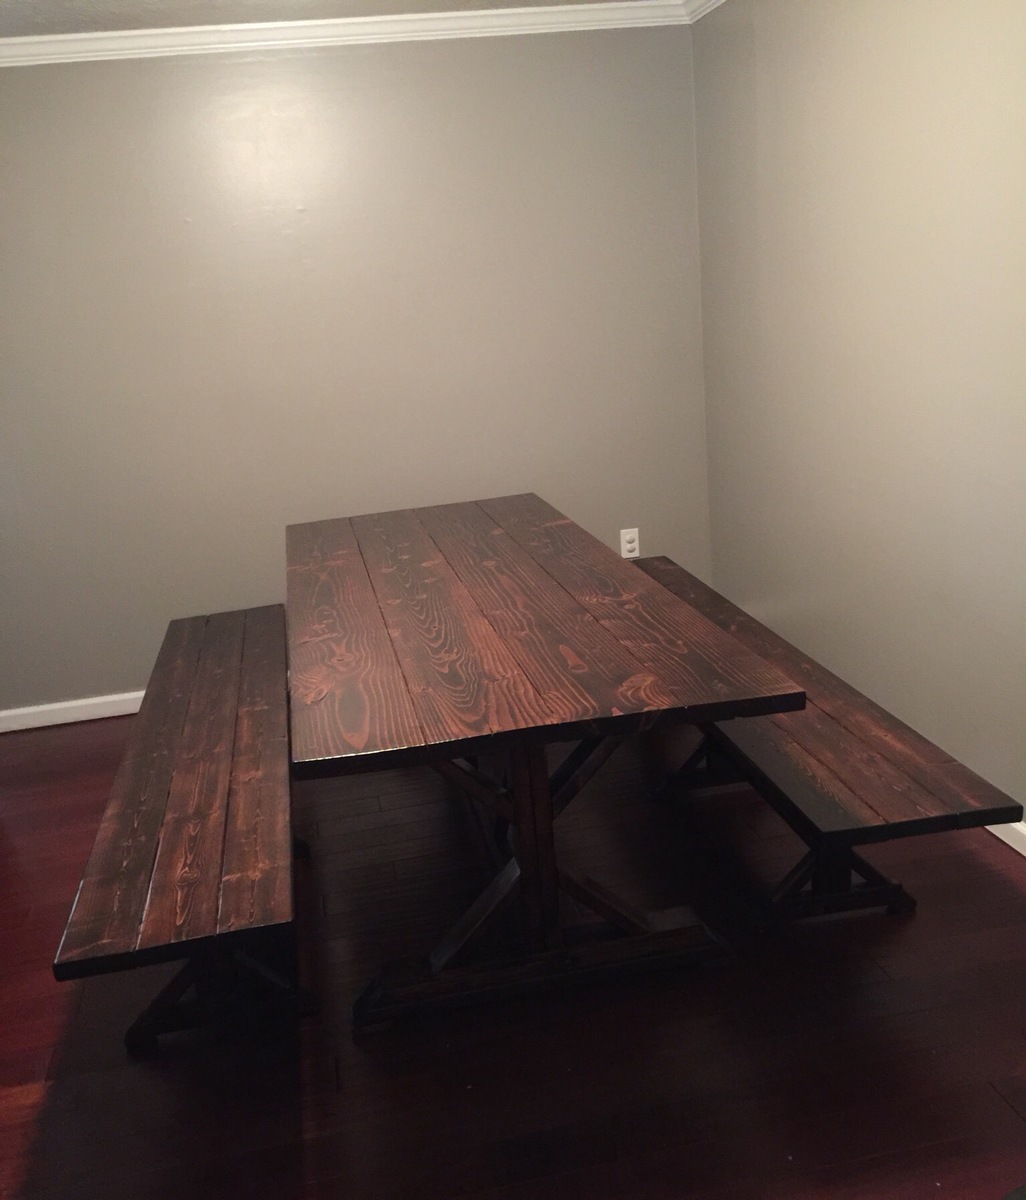
These wood plans were great! Easy to follow and an awesome first project for my hubby and I to build together. Only hitch for us was by choosing to make the longer bench we didn't check the placement of the feet before attaching it. When we were done we weren't able to push the benches under the table so we had to redo that step.
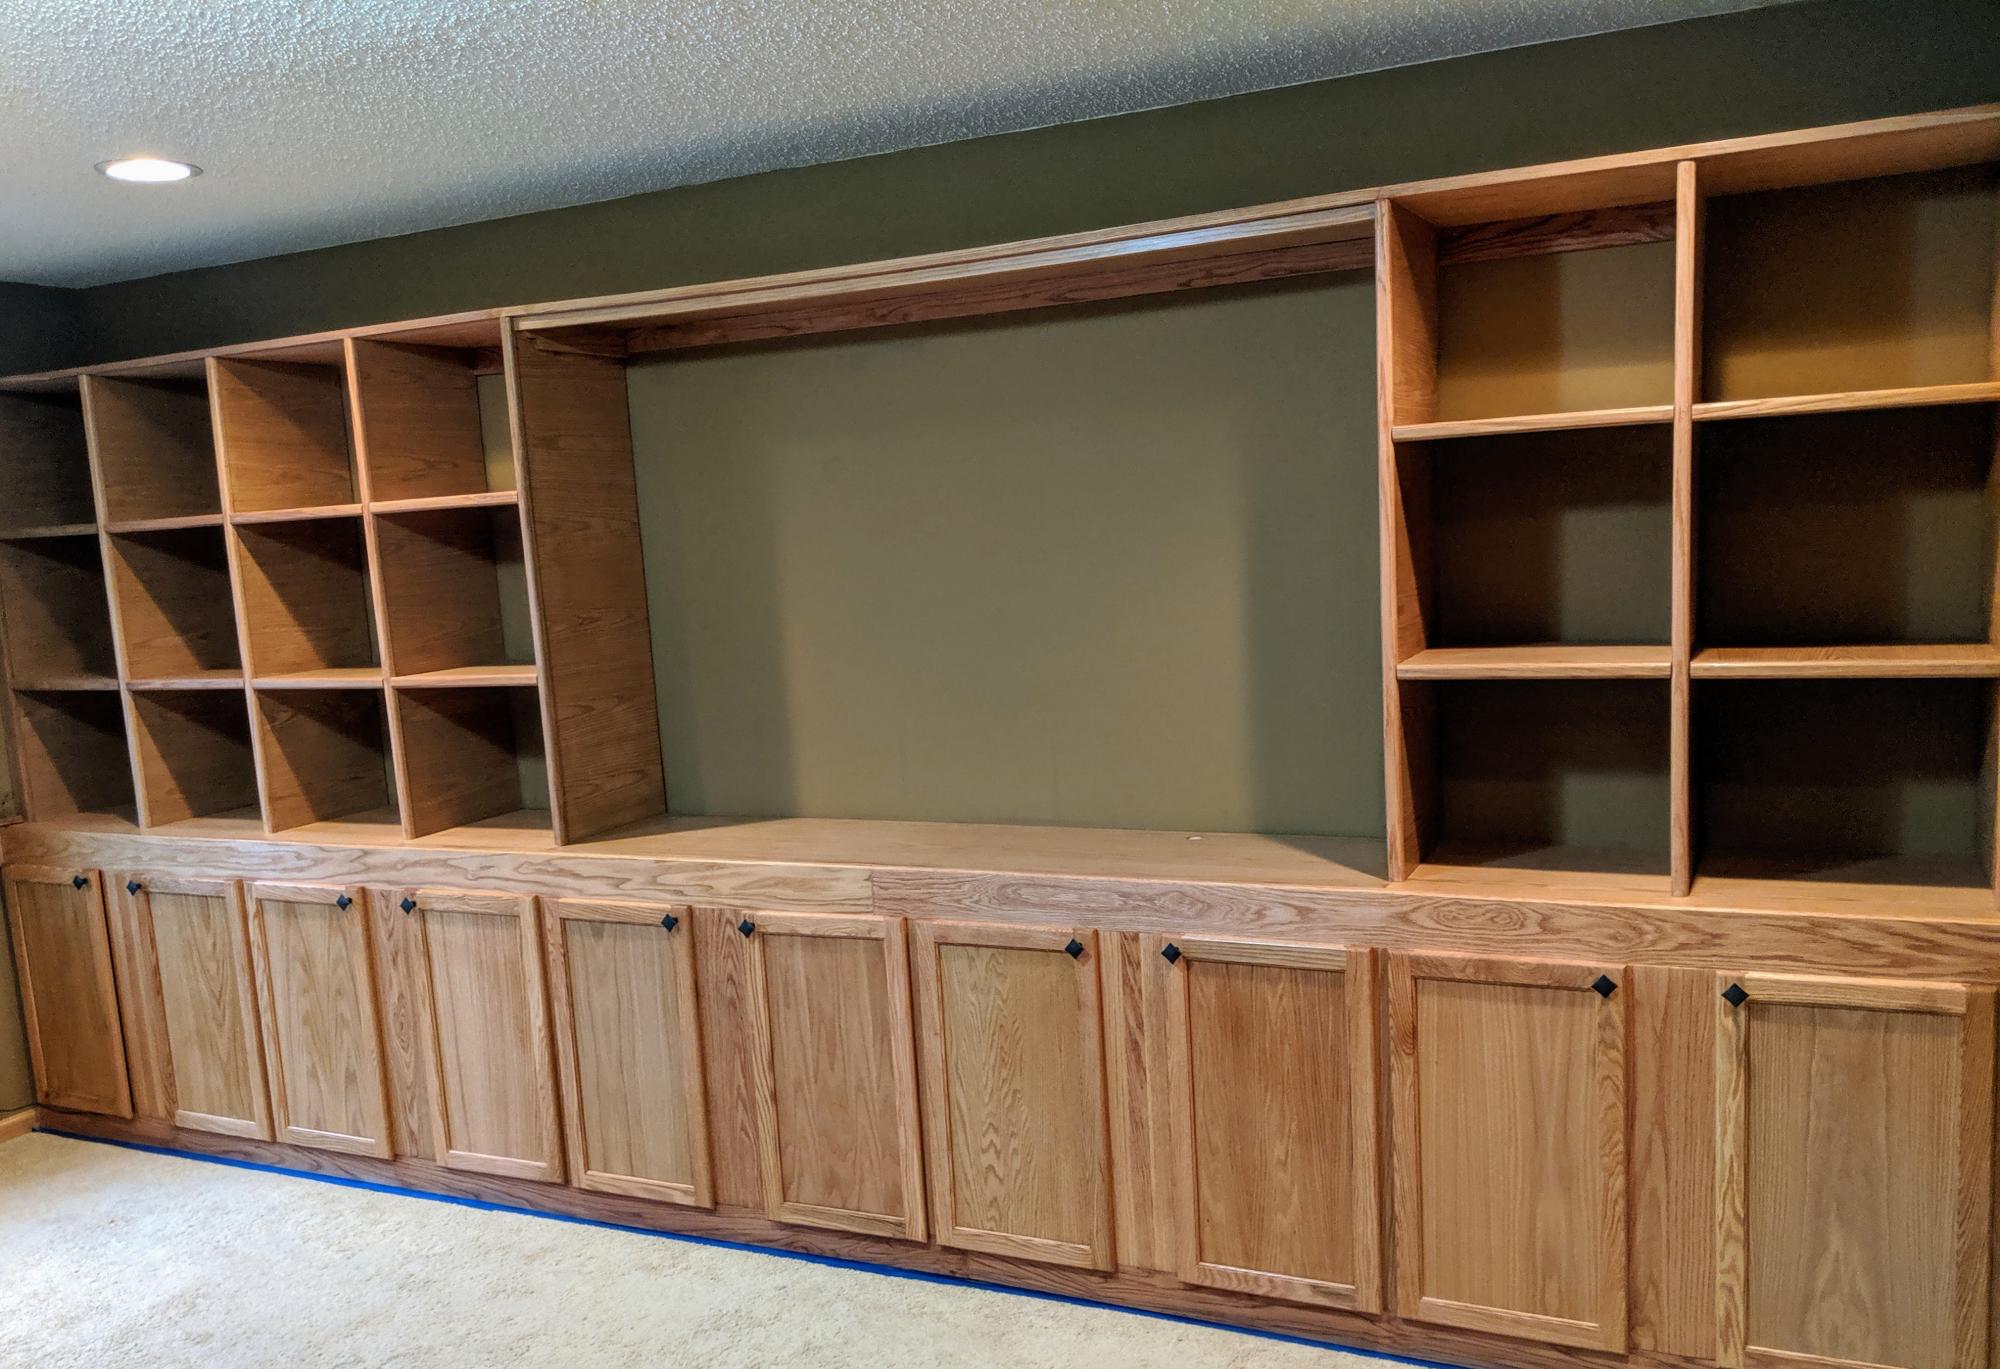
A fun project I did for a homeowner in Rosemount Minnesota. I had 100 hours in it at the end but they were very happy with the end result!
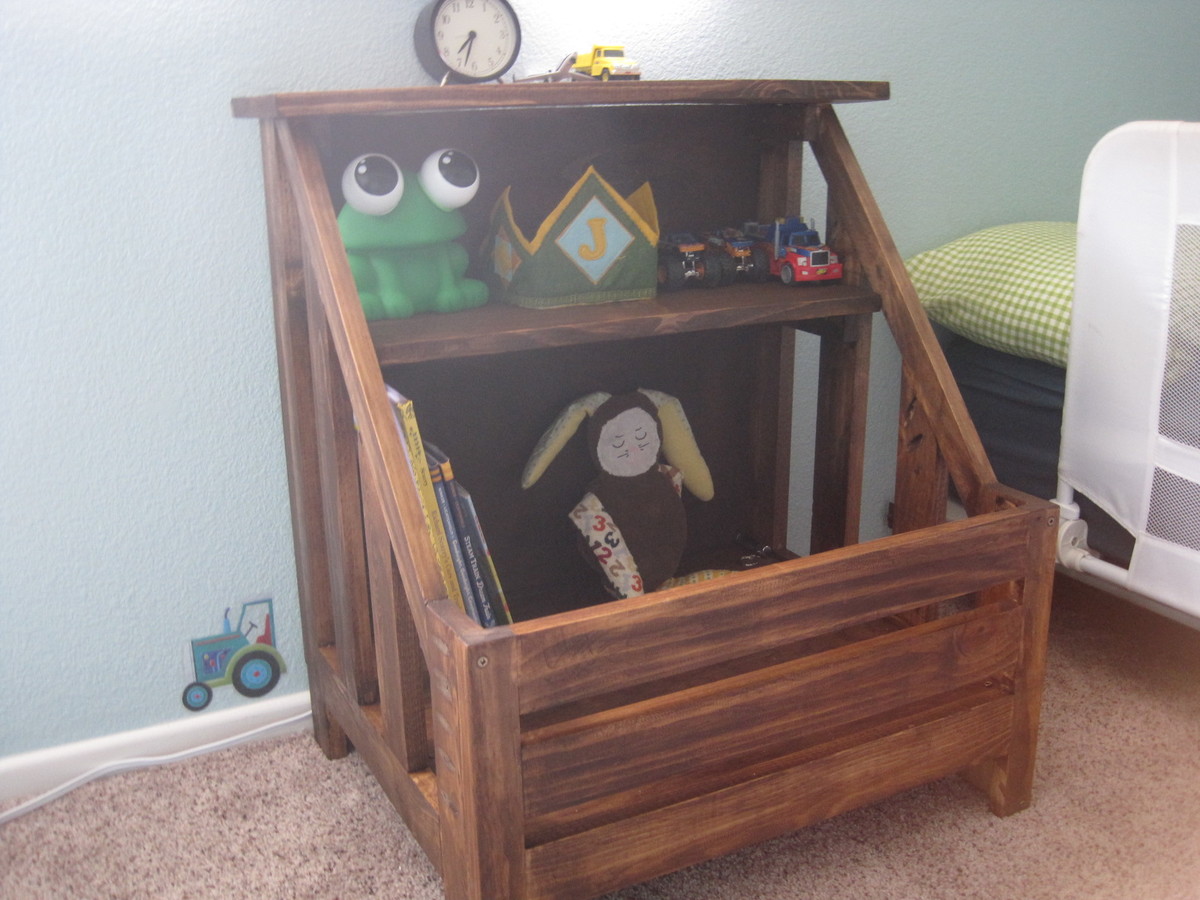
This was my third "solo" build - my husband has built several of Ana's plans, and I built a book caddy and a stepstool earlier in the month. I have always enjoyed sewing and fixing up our new-to-us house, but until 2014 I was afraid to try building so I left it up to my husband. No more! I brought both kids to the hardware store, selected my lumber, and got to work. We bought a mitre saw which has been AWESOME, so I've been using that and a jigsaw to make cuts. I would love to figure out the circular saw someday soon.
I had some issues with this plan here and there, but I can't be sure if it was an issue with the cut list or with my assembly. It wasn't anything I couldn't work around, though, and I'm really happy with the end result. I wasn't sure how to use the Kreg Jig on angled cuts, but once I figured that out the sides were very easy to assemble! Love that Kreg Jig.
Mon, 01/27/2014 - 13:13
Mamamea33, I think you are the first person to build this night stand! And it turned out GORGEOUS! Great job hauling the kiddos to get lumber! Glad you're hooked!
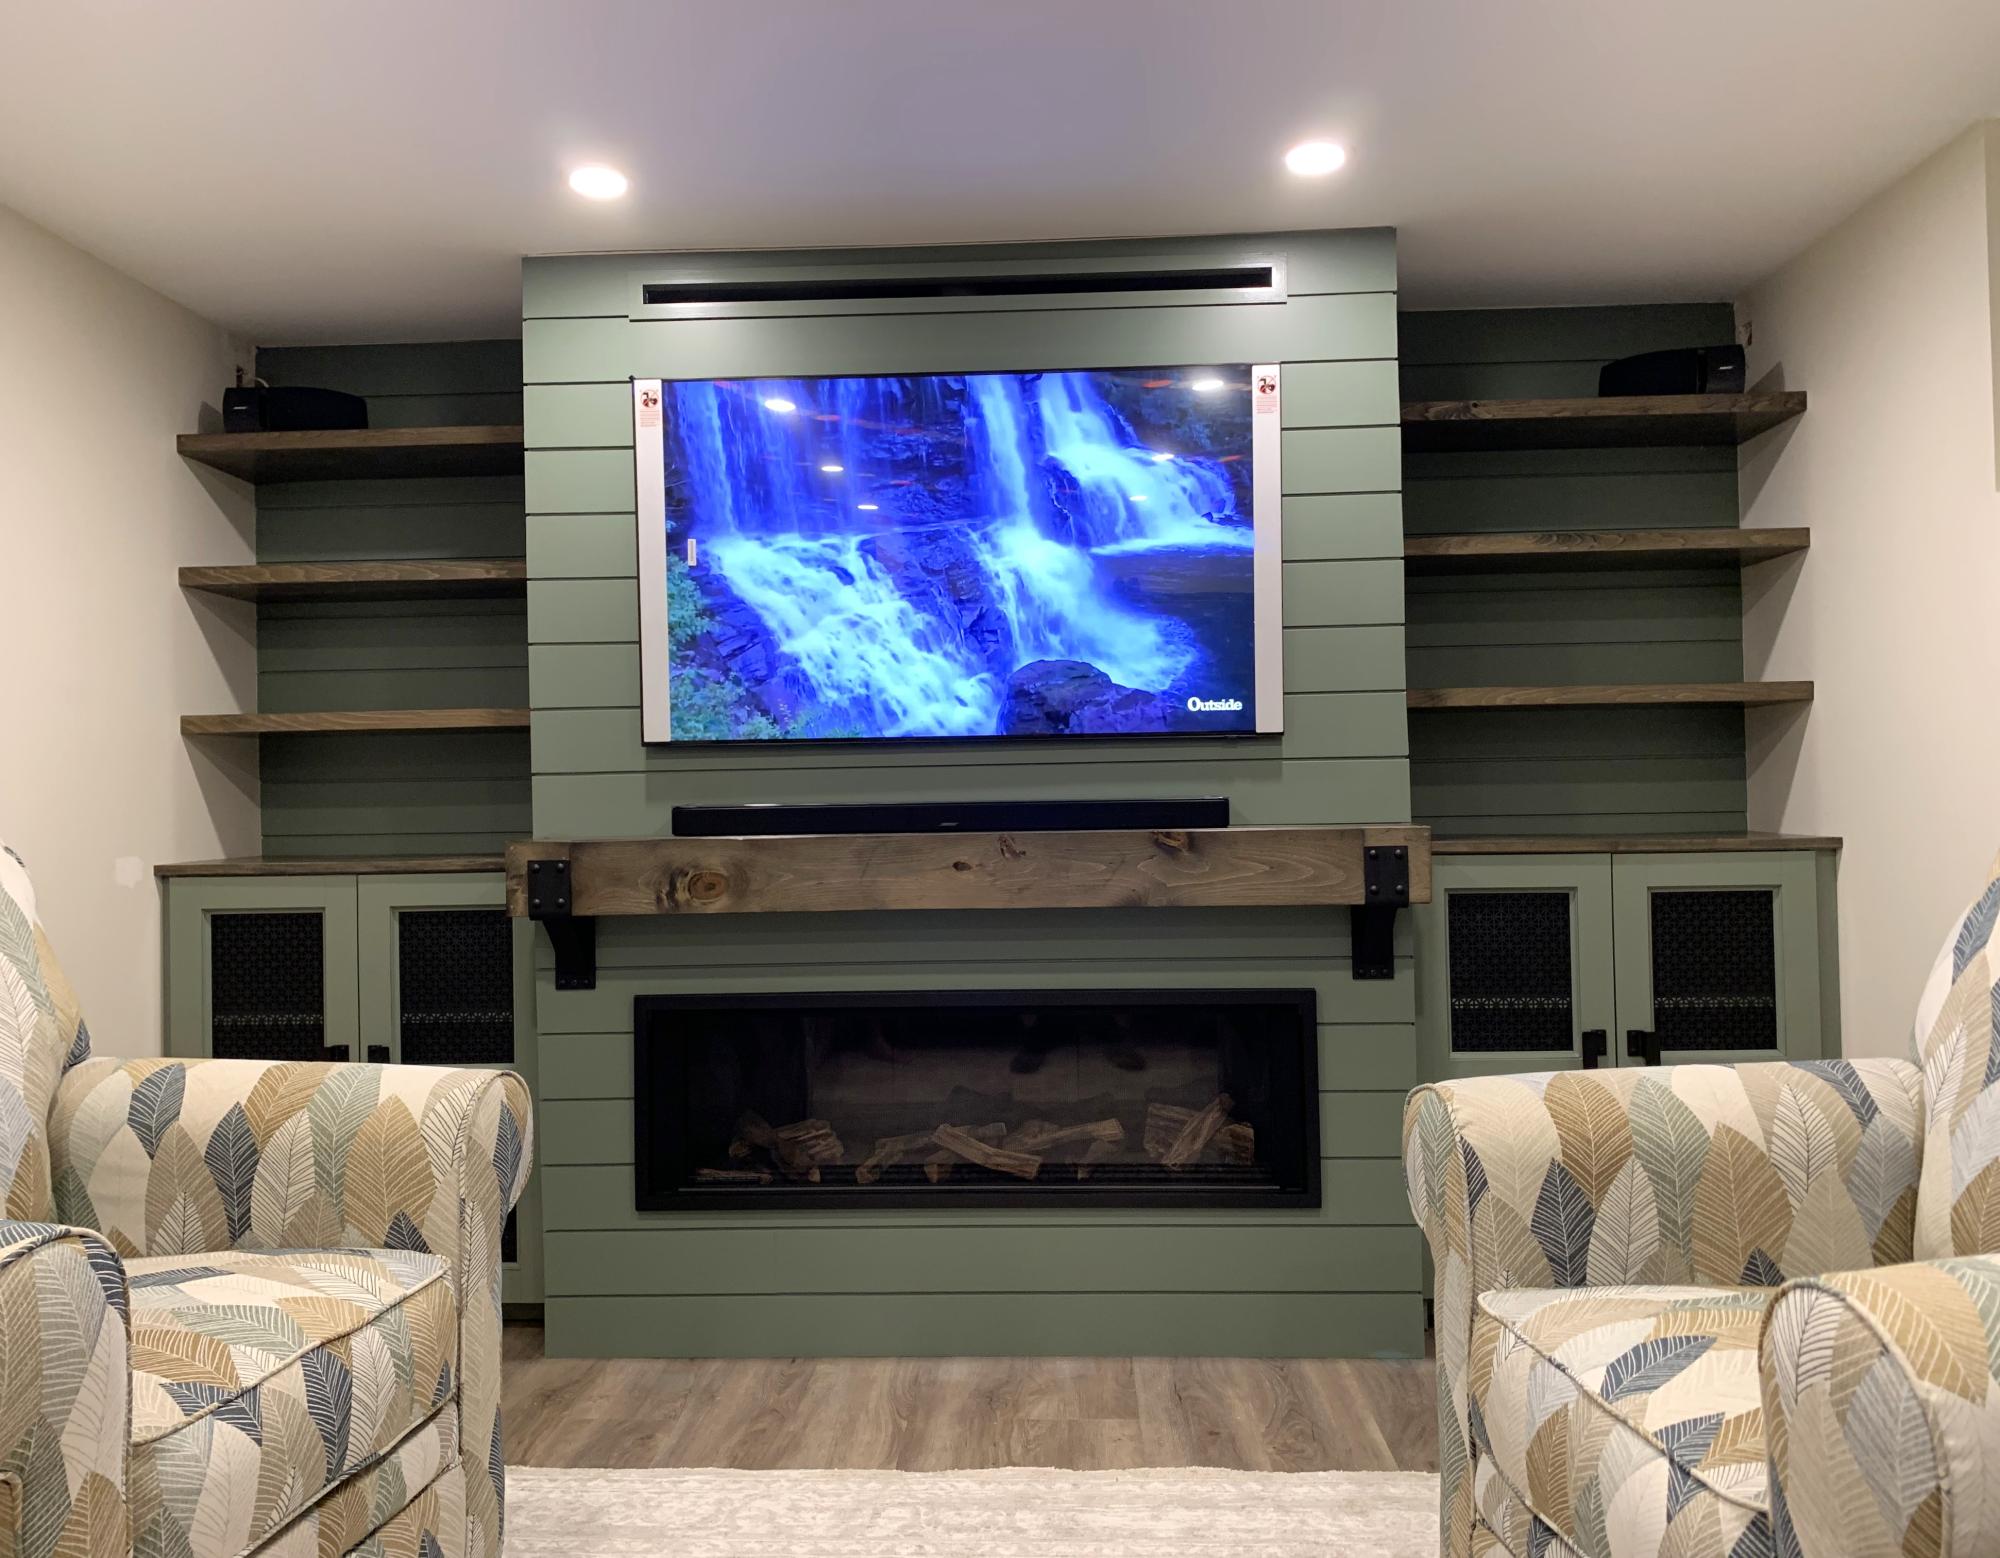
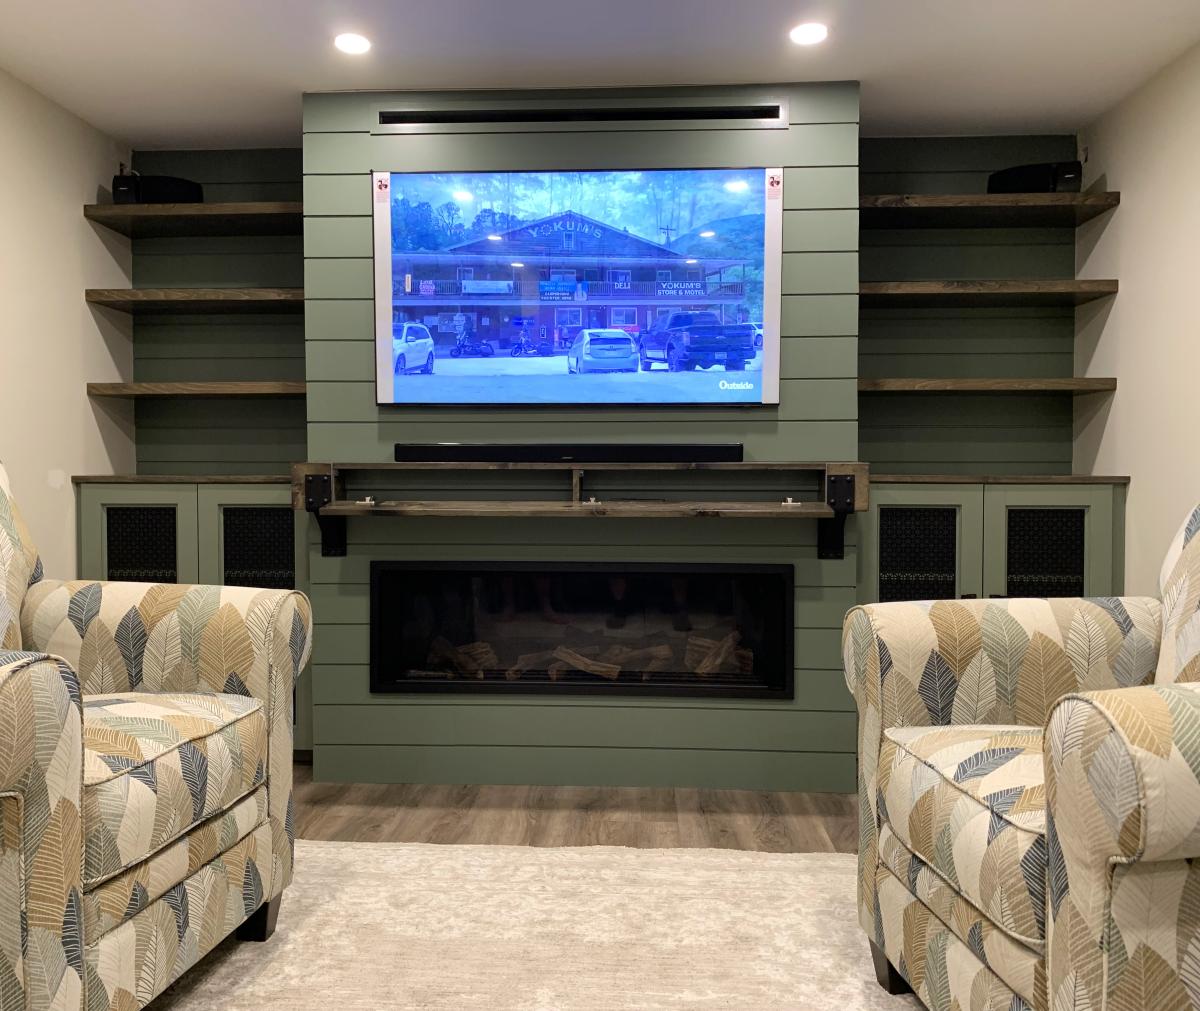
I modified these plans slightly so as the add wrought iron mantel supports. I increased the length of the top and bottom and then added 2 additional internal supports where I made cuts on the front board (just on the inner edge of the mantle support. love how it turned out.
Stacyw3838
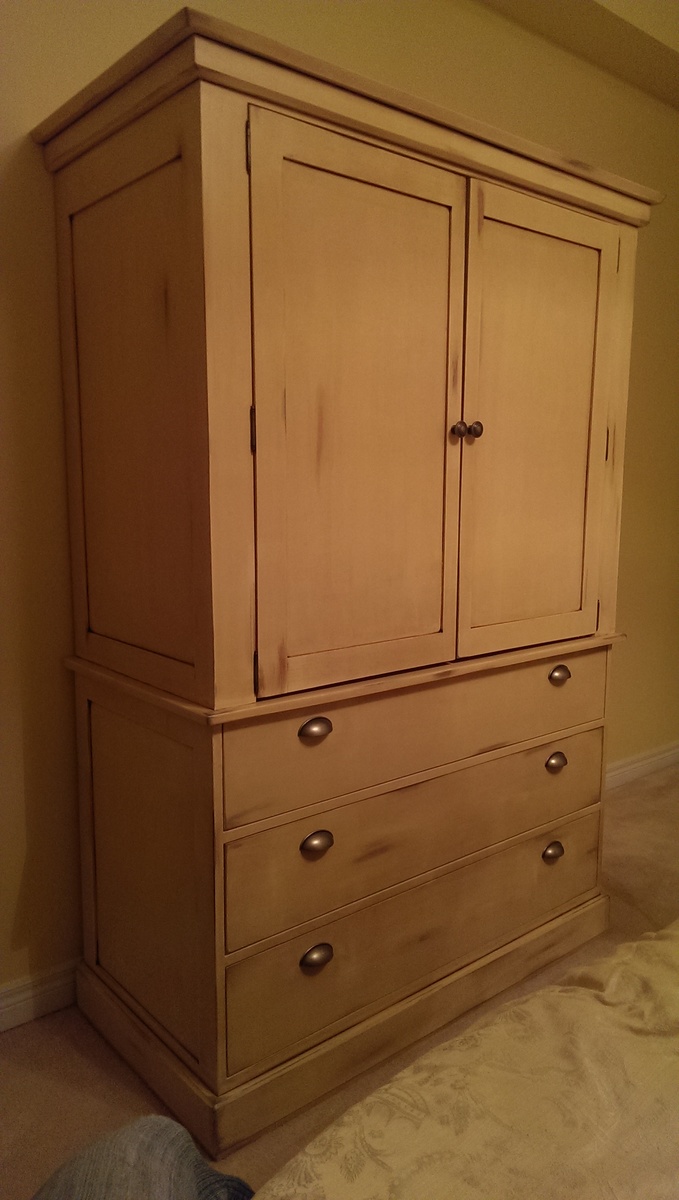
This is the first furniture project I have built from a plan found on-line - at Ana's Website. The plan was very easy to follow and I thoroughly enjoyed building this piece of furniture. I made some alterations to the upper cabinet as per shelving. I used an antique finish to match my bed. The match and design is perfect!
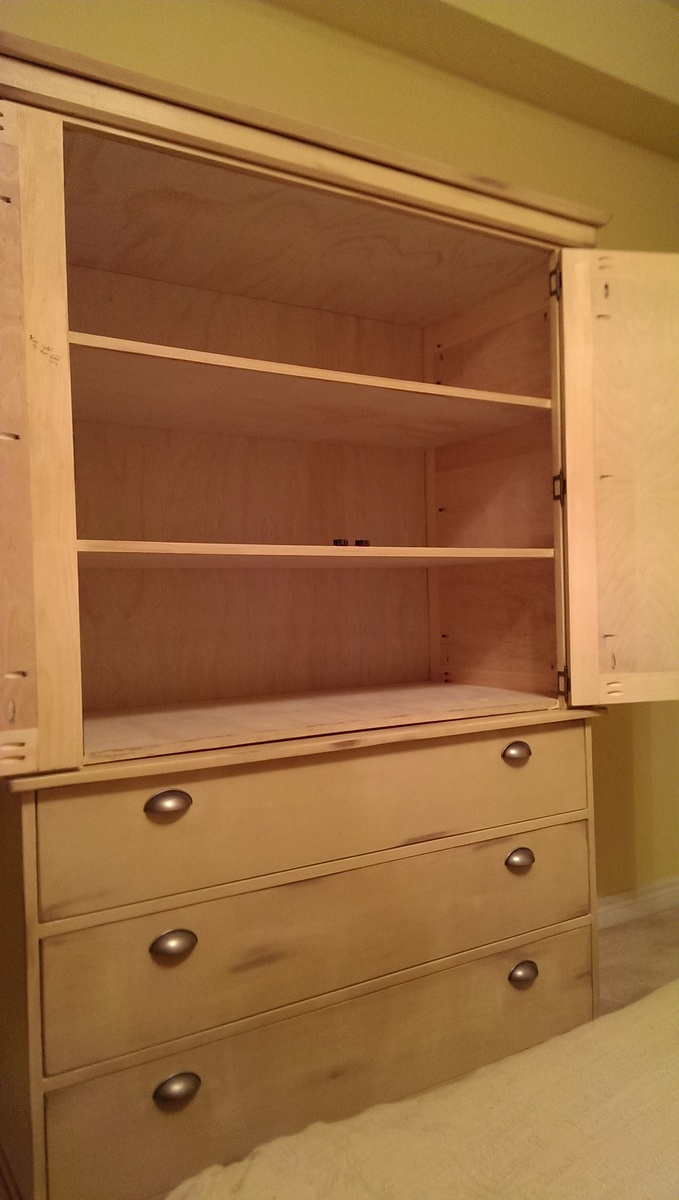
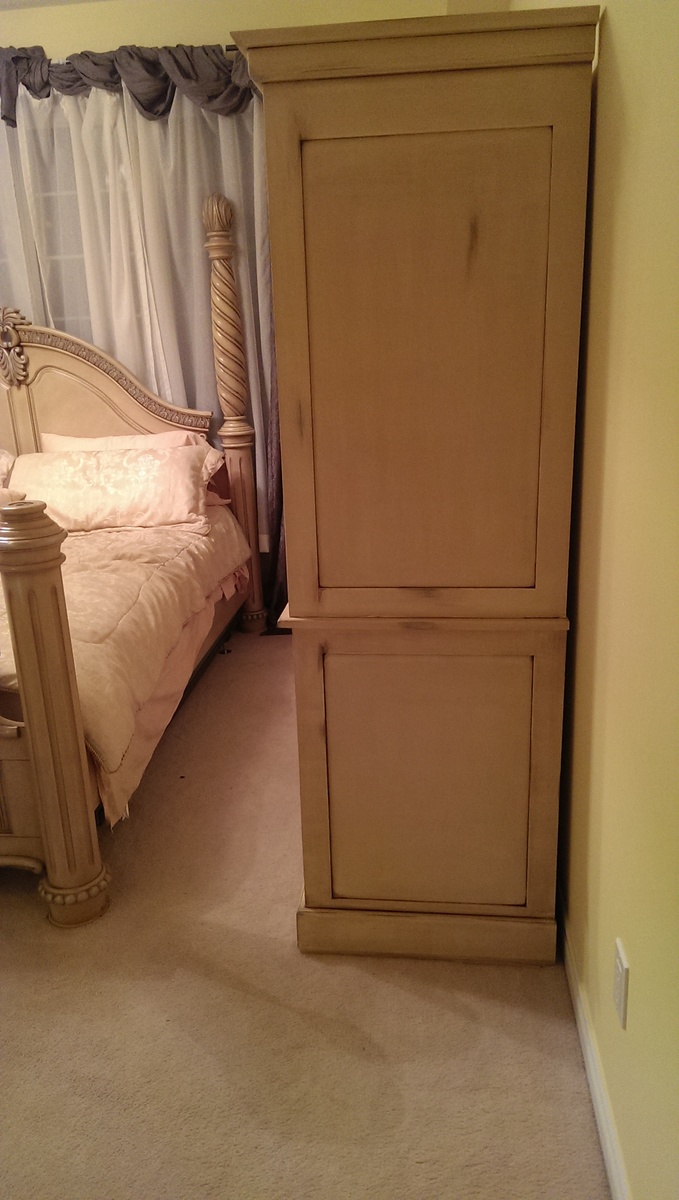
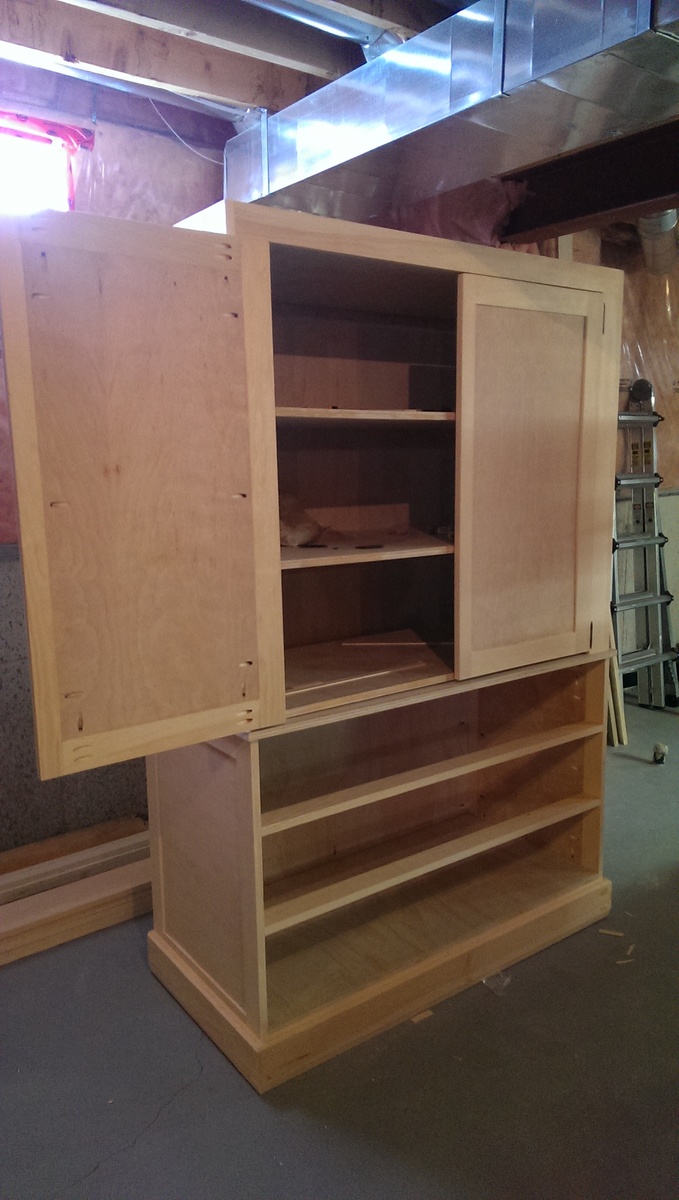
Mon, 02/03/2014 - 08:38
This piece looks like it belongs with the rest of your bedroom set. Great work.
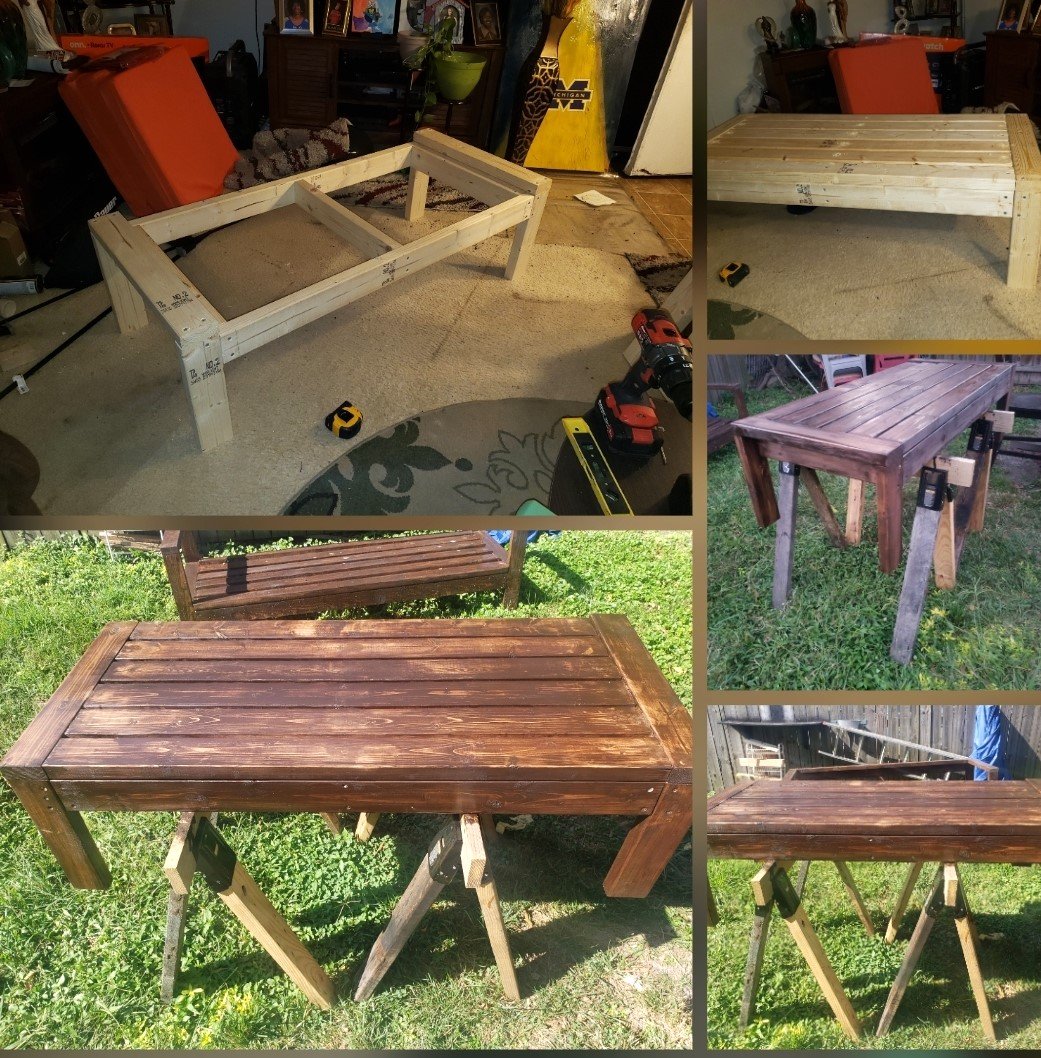
Elite Motionz Buildz

I built my daughter a coat tree from Ana's plans and it looks basically just like Ana's-even the same color. My daughter-in-law saw it and wanted one for my granddaughter's room to hold her dressup clothes but she wanted a natural look, instead of painted and her room is basically natural wood, red and white so this is what I came up with. I would never have even known I could build a coat tree if I hadn't tried Ana's first!! This one was super easy and cheap, made mostly with scraps and some varnish I already had. I had to buy the balls, dowel and letter S.
I would encourage anyone to build one of these if they have need of a coat tree. You could even make it adult size if you combined Ana's plans with these plans and screwed in some hooks.
Comments
Ana White
Mon, 11/11/2013 - 07:28
Super Cute!
I love this, and those floors are gorgeous!
jackiemacrae
Mon, 11/11/2013 - 14:47
Thanks!
Thanks Ana!
I have this set up in my photography studio. The floors are just ripped 1/4 inch plywood painted brown, then the crackle stuff, and then a top coat of white, and a poly to seal it.
Pam the Goatherd
Thu, 11/14/2013 - 09:50
The "fireplace" looks really
The "fireplace" looks really good! And I'm glad to hear how you did your floor. I've been trying to convince my hubby to do a 1/4" plywood floor in our trailer as a temporary fix until we can either afford to put down "real" flooring or build the house we have been intending to build on this piece of property for the past 17 years. I've pointed out that we can replace the almost 30 year old, worn-out vinyl and carpet in the living room, kitchen and main hallway for less than $300 including paint/stain and polyurethane. But he thinks it will look tacky. I'm going to show him your picture so he can see for himself that it can look pretty doggone good!
jackiemacrae
Thu, 11/14/2013 - 10:37
Floors
Hi Pam- try googling plywood floors if you haven't already. I know I've seen some bloggers use plywood floors in their laundry room , and rec rooms.