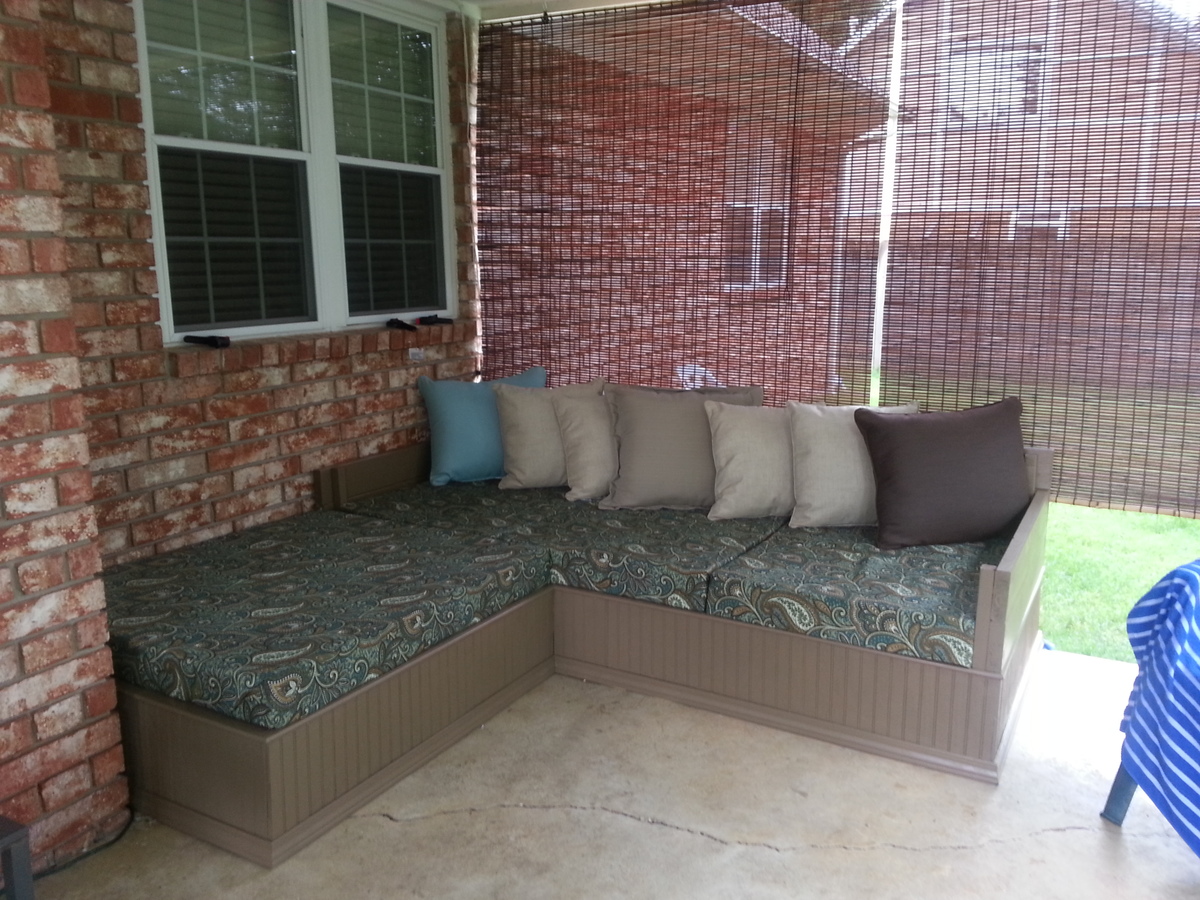
Ottoman (Inspired by Upholstered Bench plan)
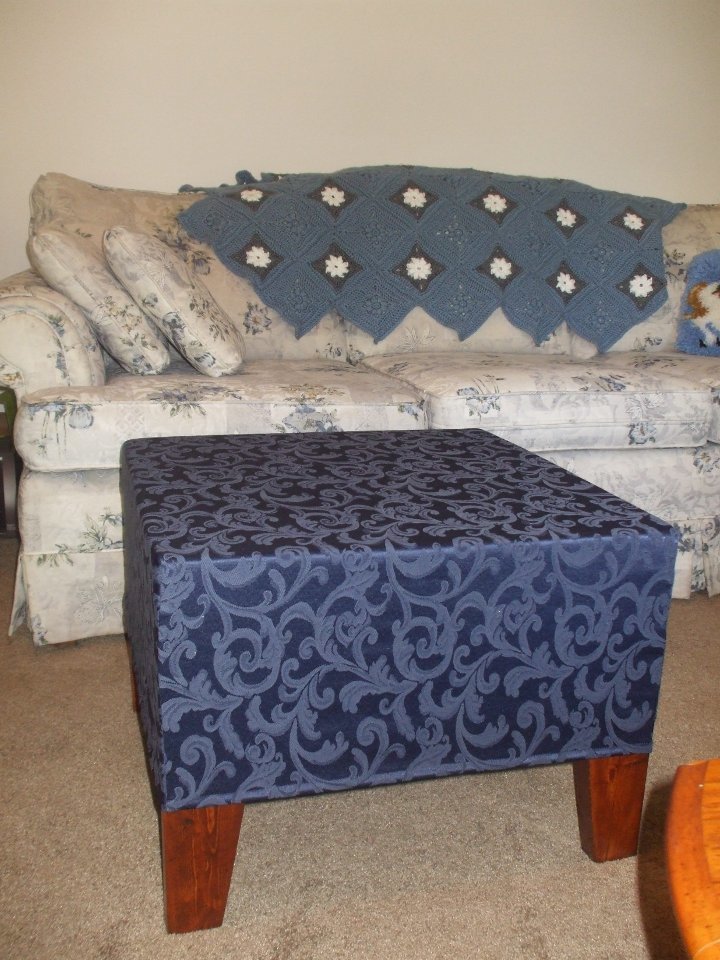
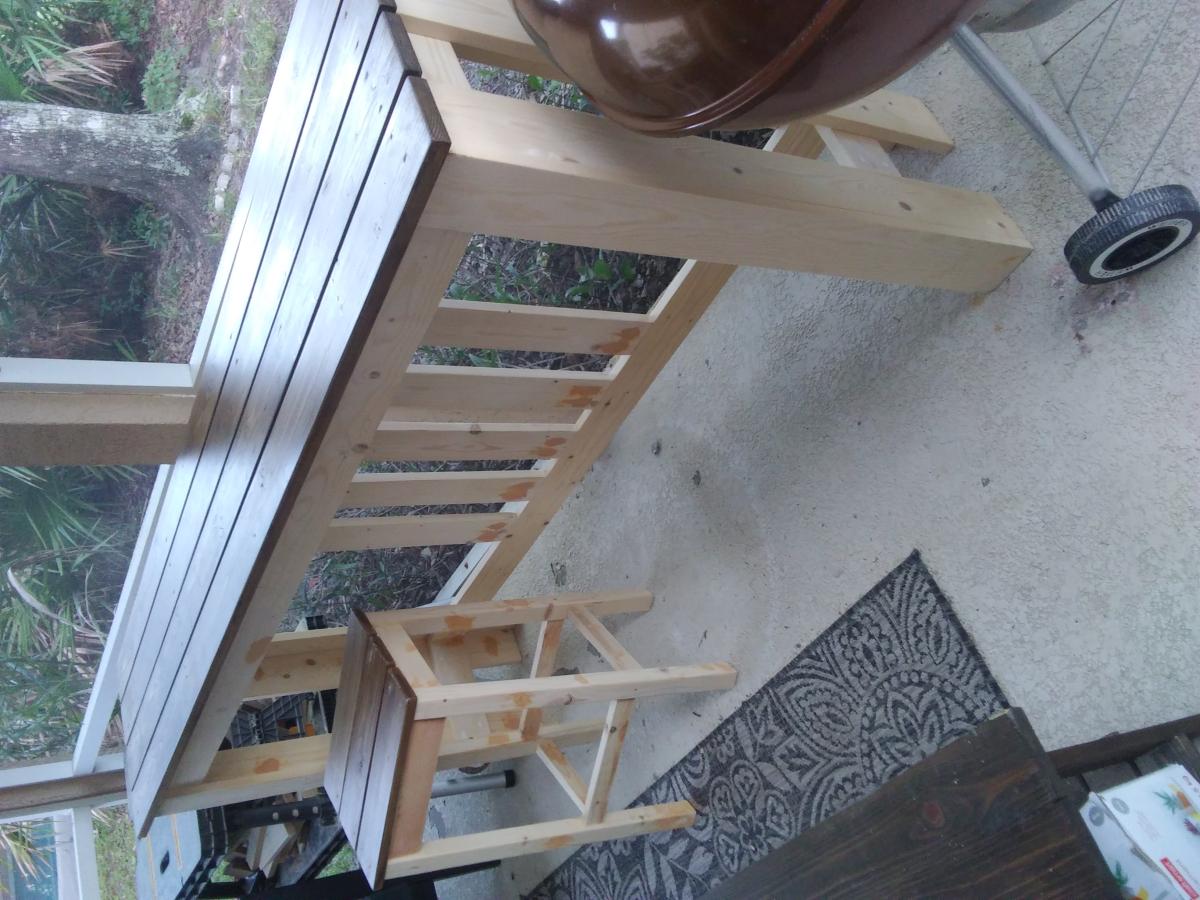
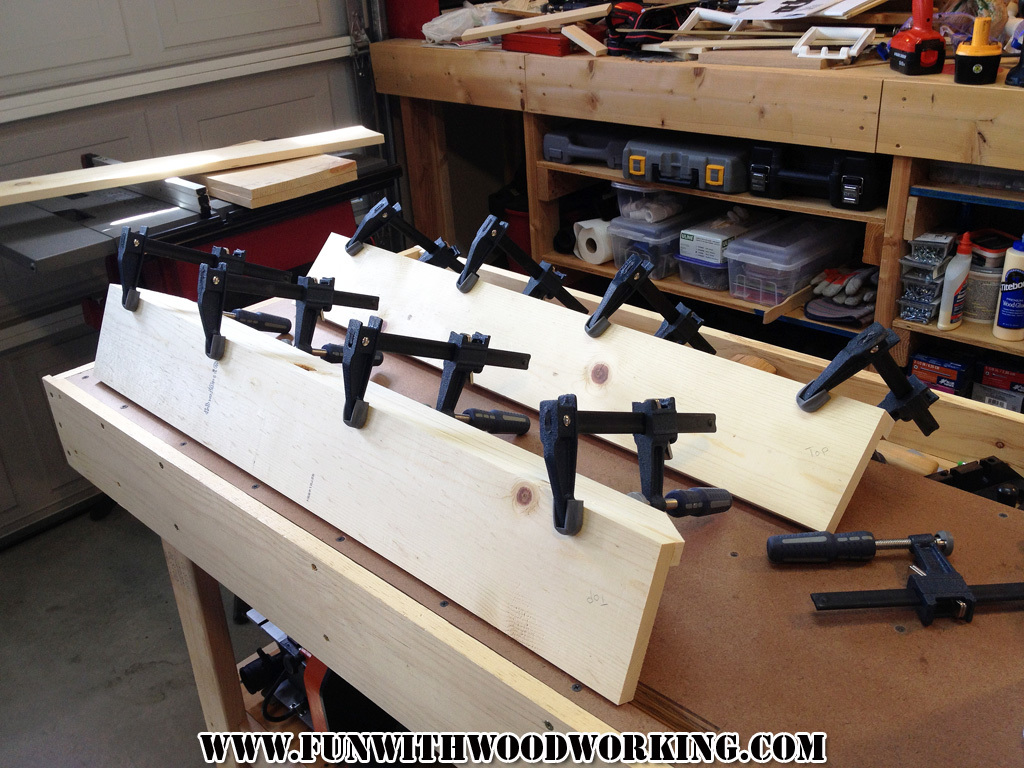
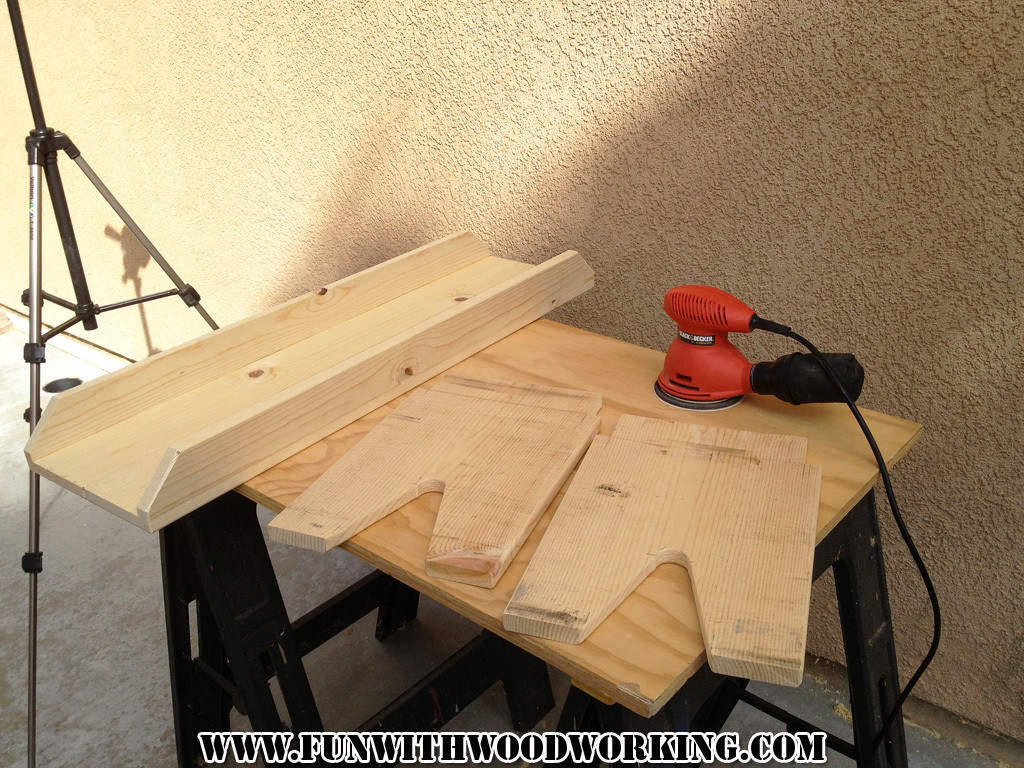
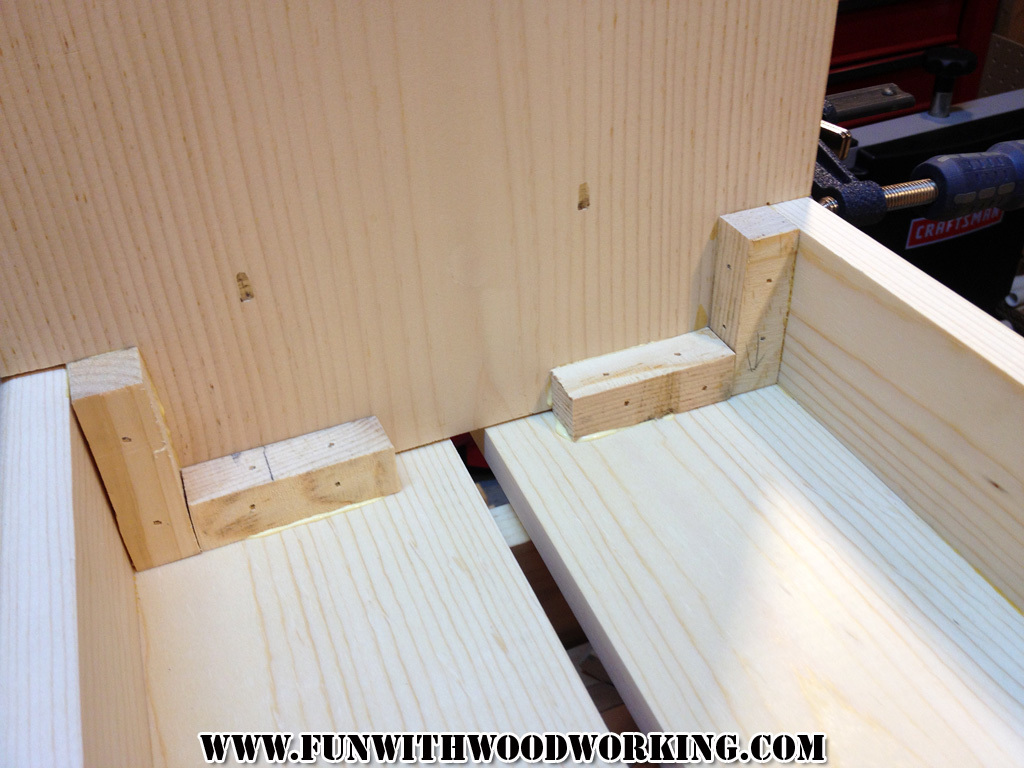
This is my second woodworking project (first was a toy chest with a LOT of help from my Dad). I made the wooden frame at my parent's house with the use of my Dad's power tools and brought it home to finish and cover. I used Ana's Upholstered Bench plan but modified the dimensions to what I wanted.
Built from Plan(s)
Estimated Cost
$40
Estimated Time Investment
Day Project (6-9 Hours)
Finish Used
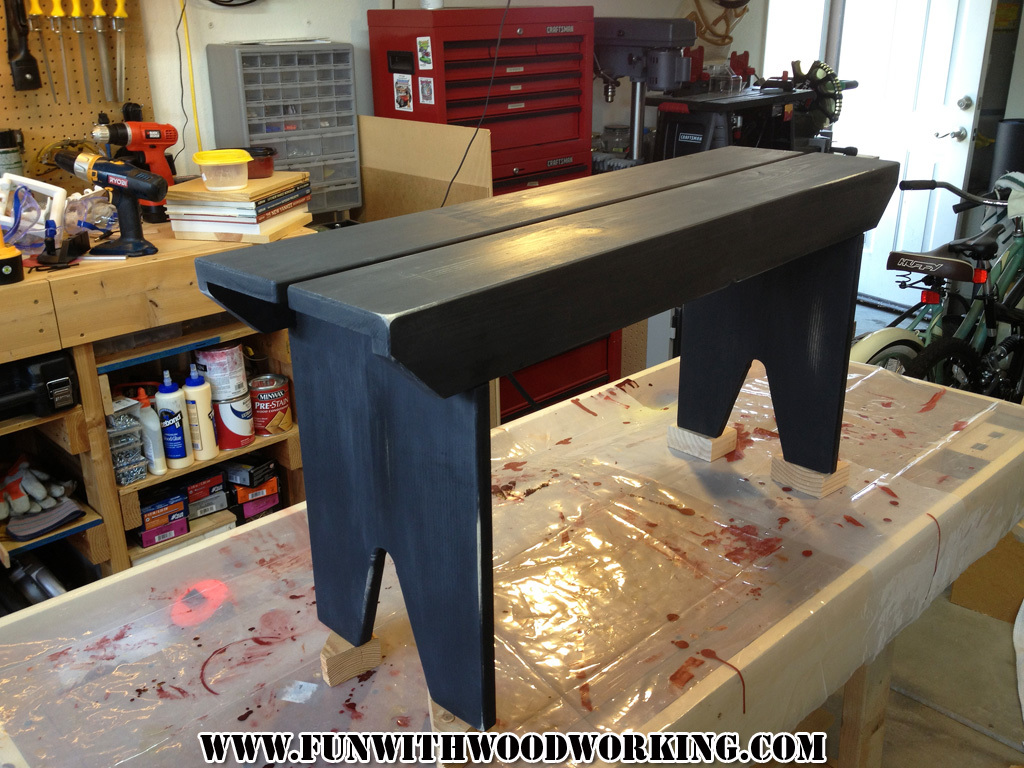
I used leftover stain and finish my Mom had from an old project. Not sure what it was or where she got it except it was OLD - still worked though!
Recommended Skill Level
Beginner