Our Rustic End Table
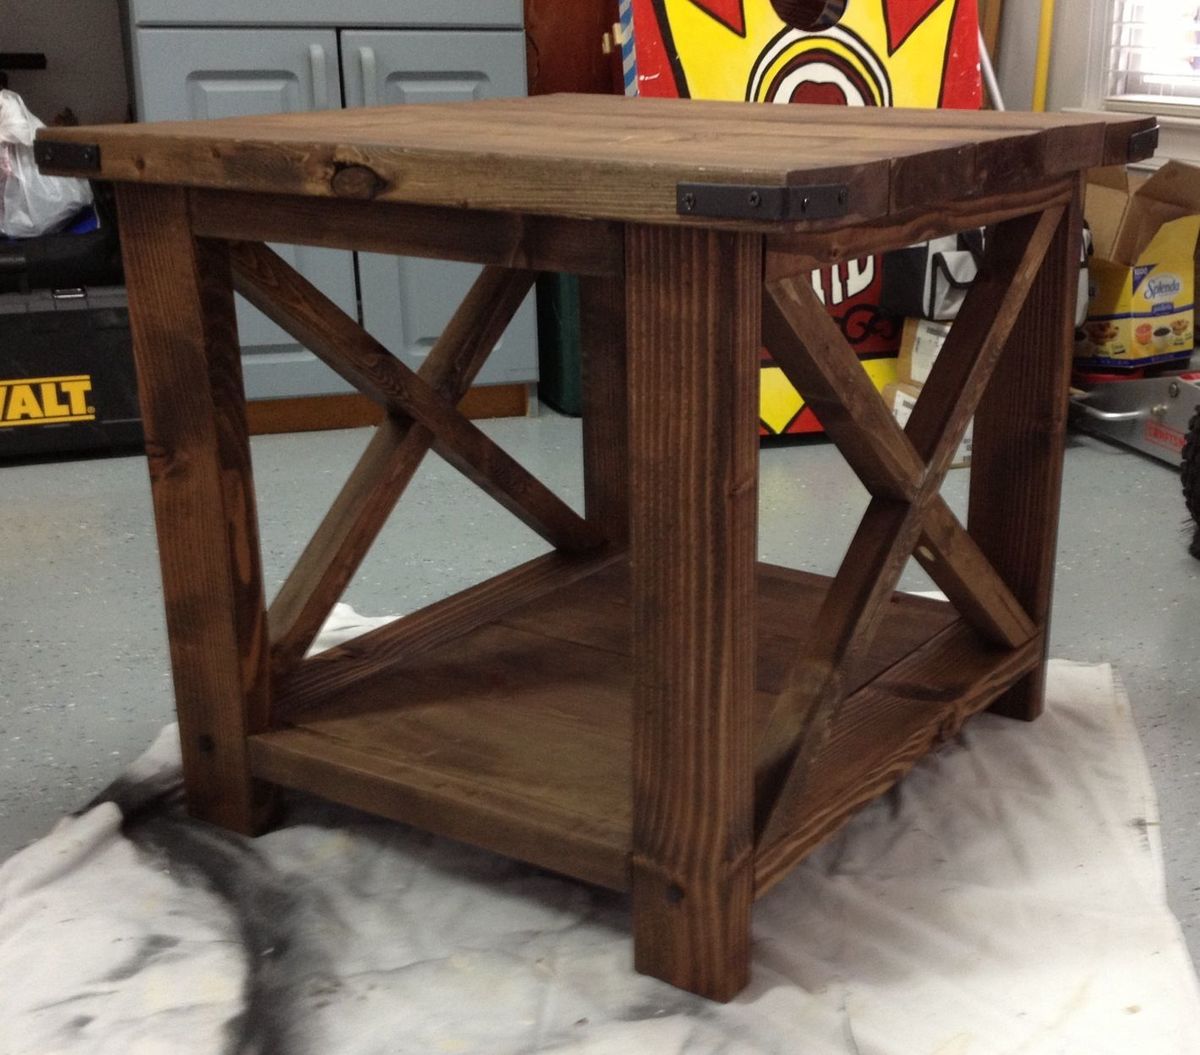
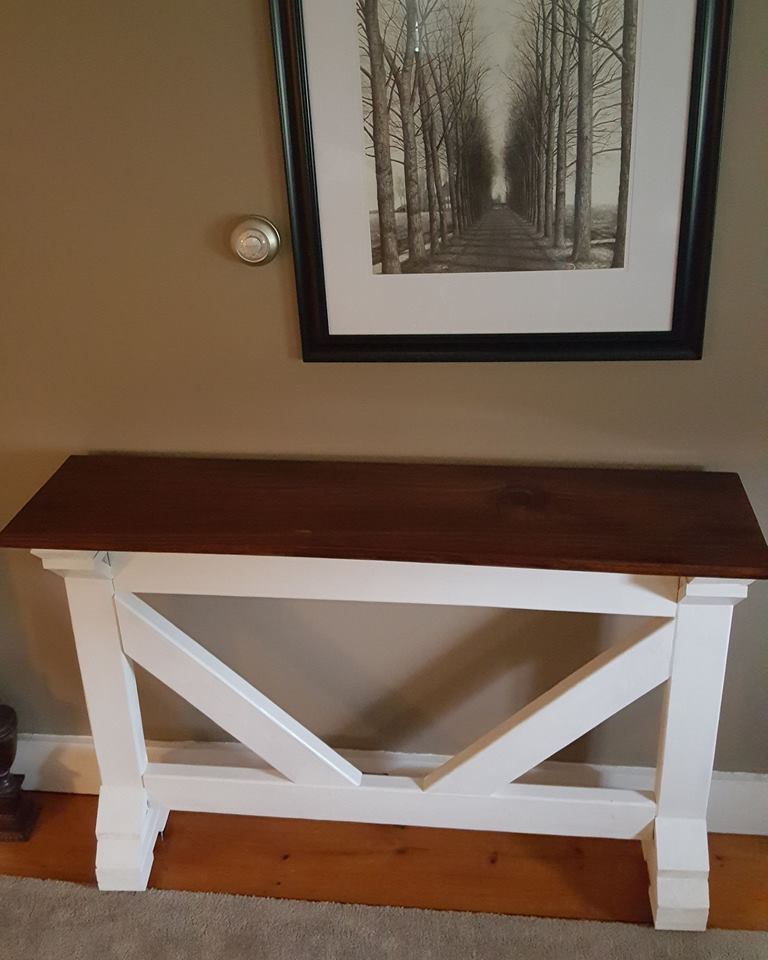
This was our first furniture project together. It was not as simple as we thought it would be, but we are very pleased with how it came out. We are planning on making the sofa table to match next!

This was our first furniture project together. It was not as simple as we thought it would be, but we are very pleased with how it came out. We are planning on making the sofa table to match next!
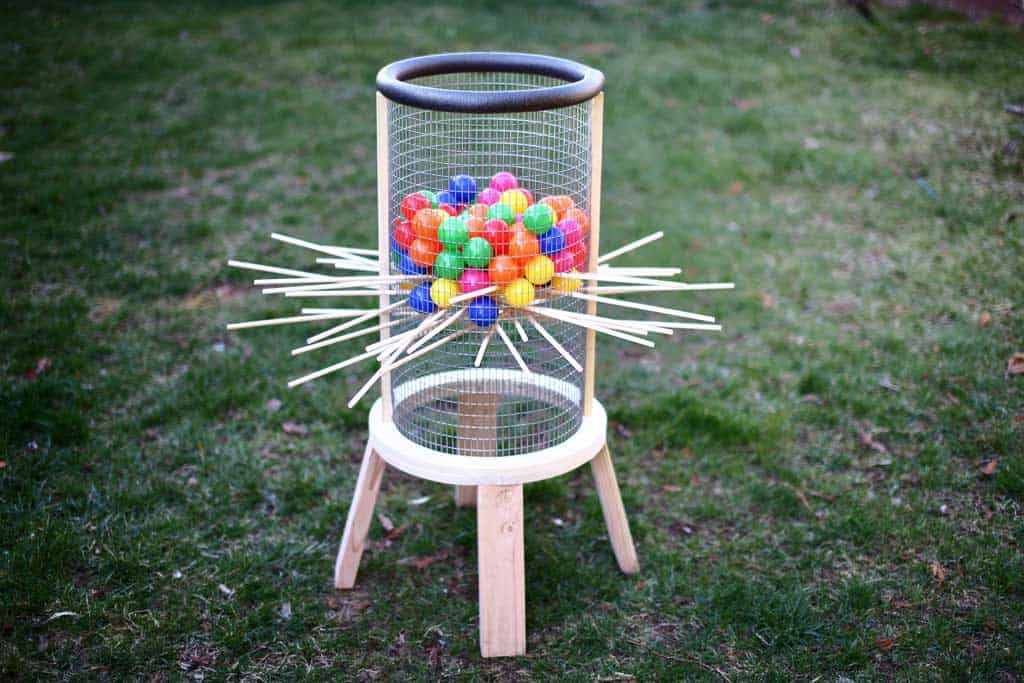
Here’s another fun game to play for all ages, especially for kids. It’s called a Kerplunk Game. The original Kerplunk game is small, made from plastic, and is mainly for indoor use. But to make it more interesting and to encourage kids to spend more time outdoors, I’ve built a Giant DIY Kerplunk Game with a wire mesh screen. This is a great backyard game for any occasion or a party.
See my website for additional pictures and how I've built it, TheDIYPlan.com

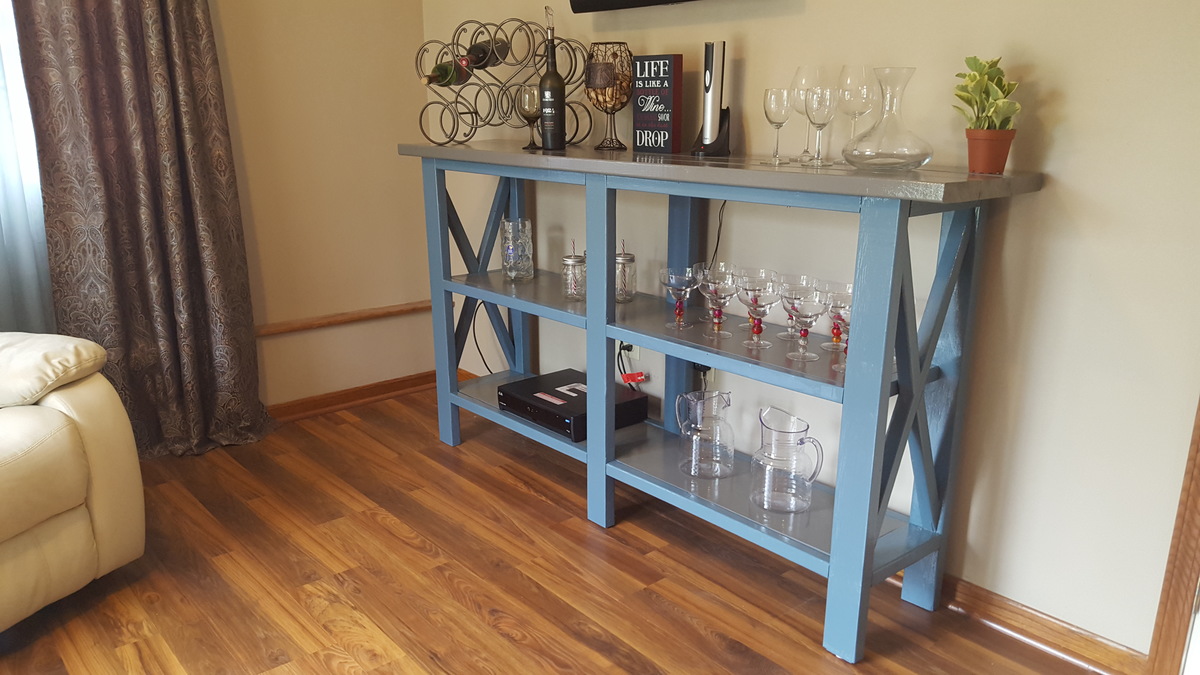
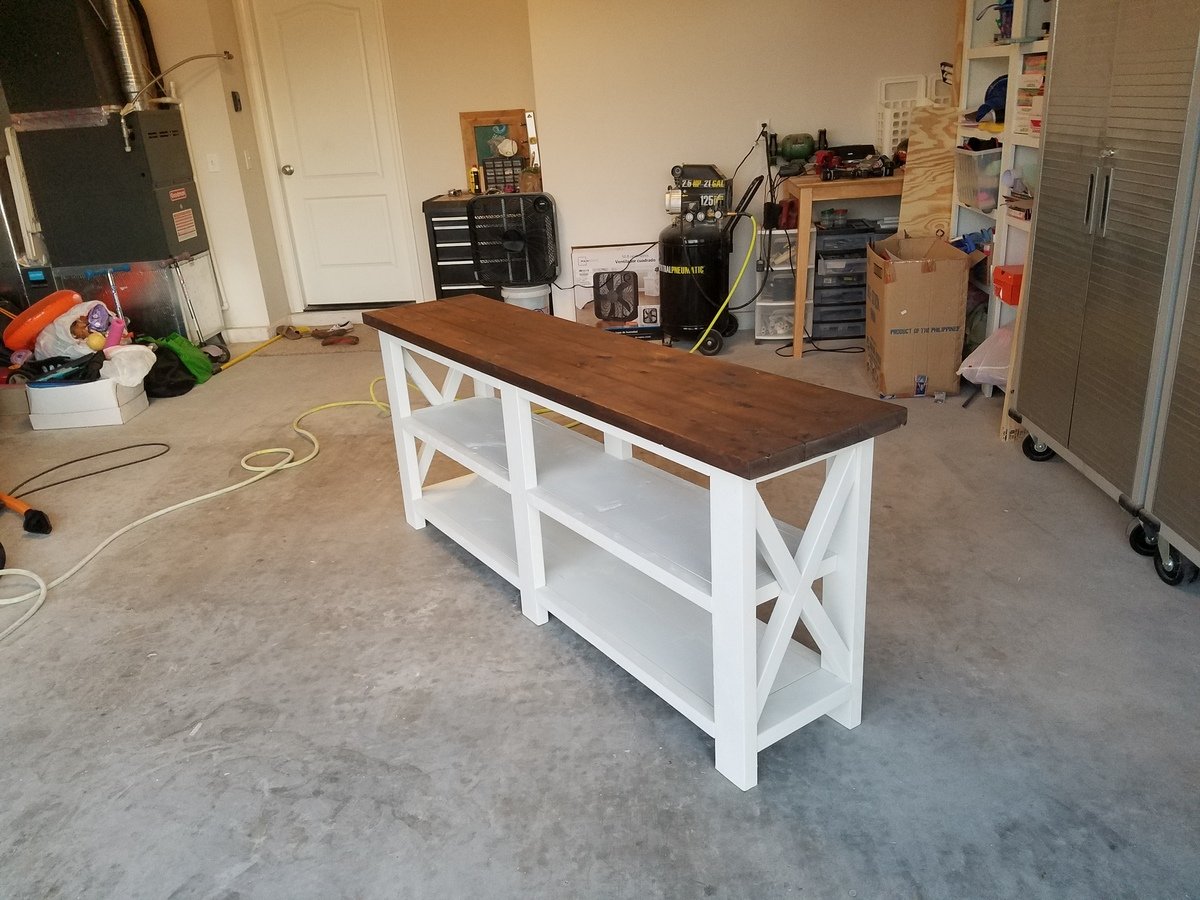
My wonderful husband and father built this dry bar for me using the Rustice X TV console plans. They modified plans to so it is 42" tall, 6-1/2' long, and shelving is wider and centered. I love it. Thank you for sharing your plans.
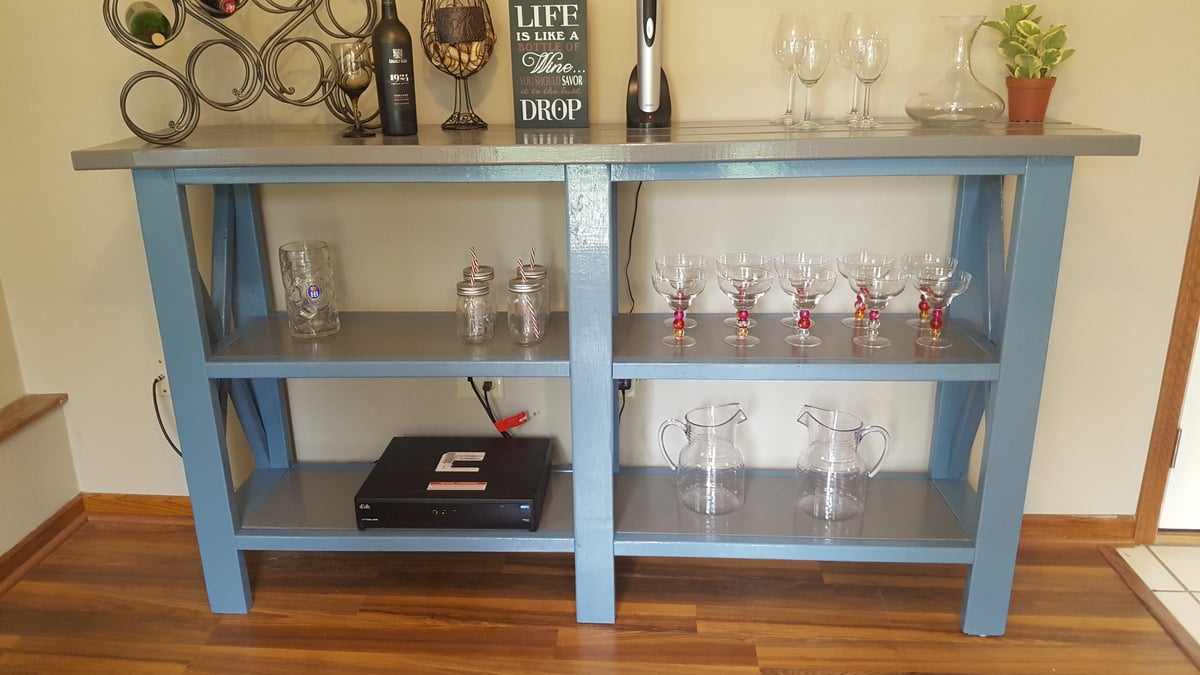

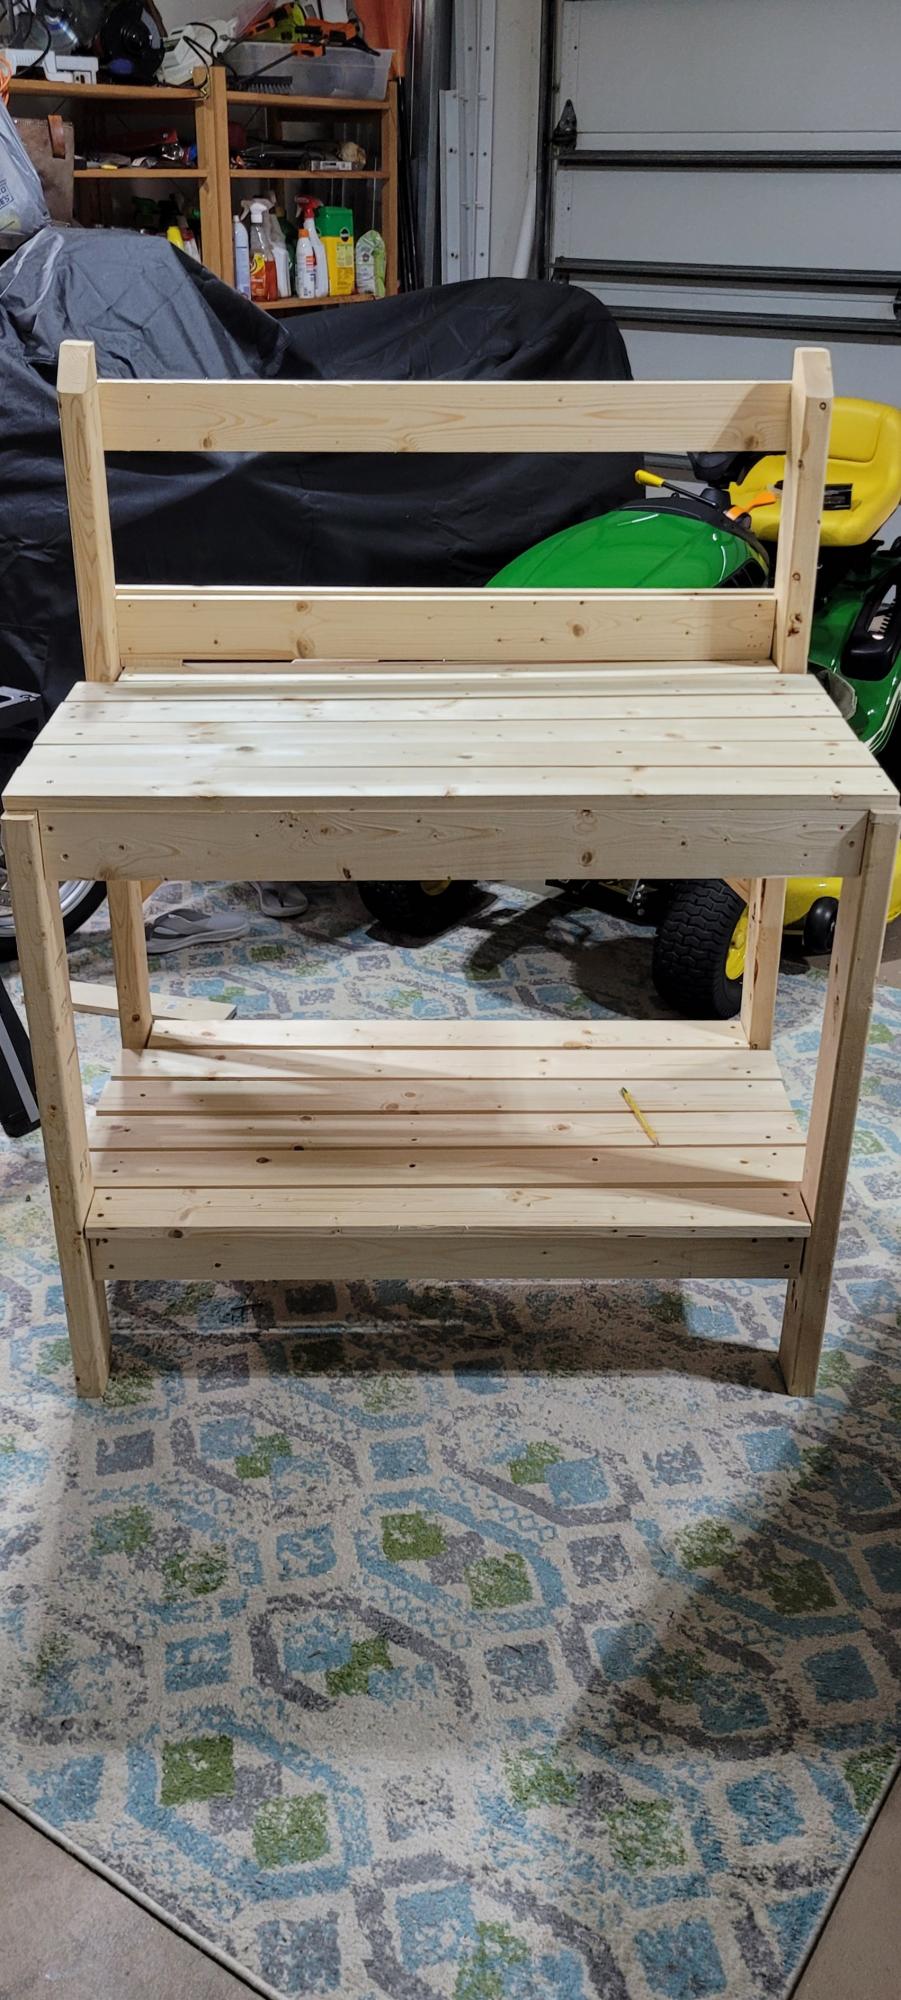
I slightly modified the project to suit my wife's request. One key note: Make sure the main frame pieces mirror each other. I missed that and had two identical pieces outlined in Step 1, versus where the inside aprons actually face each other to allow for the top and bottom rails to be secured to the frame.
Thompson's Clear stain protects the wood; one coat after cutting the pieces and a second one for good measure after assembly.
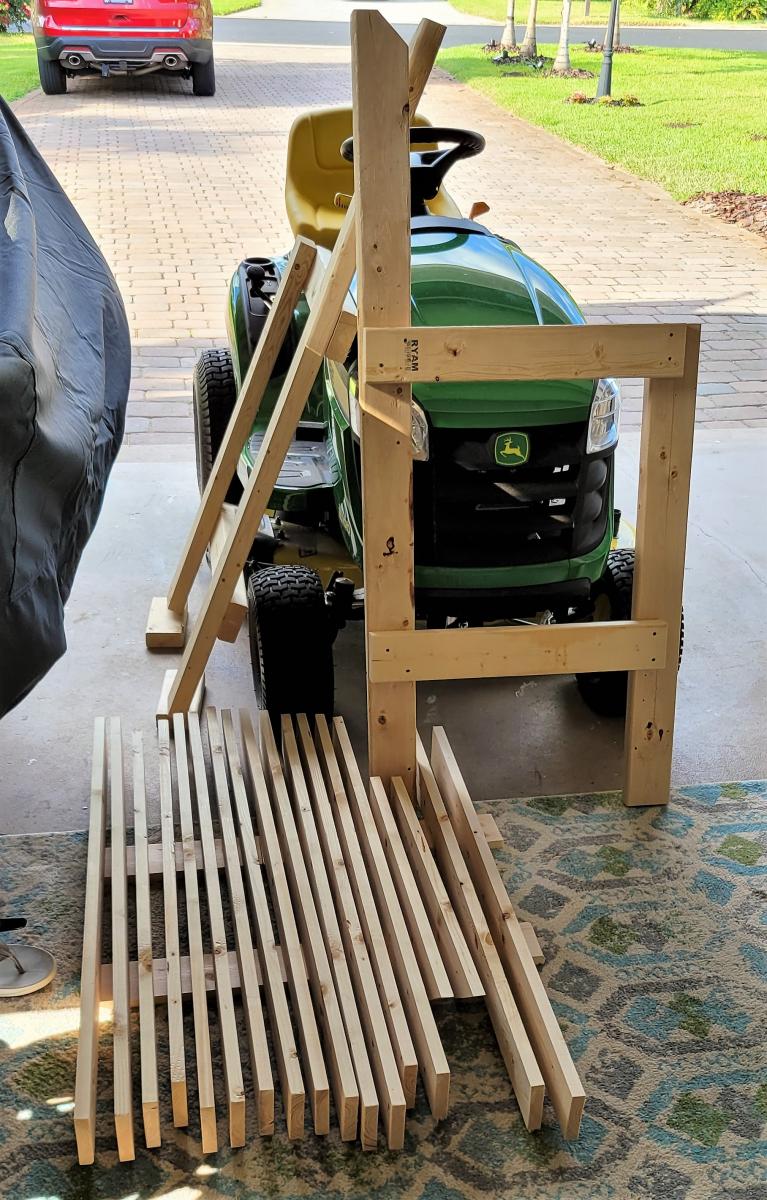
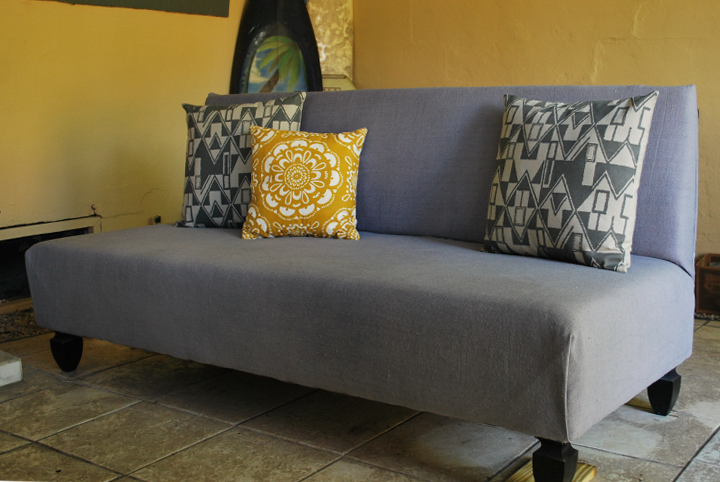
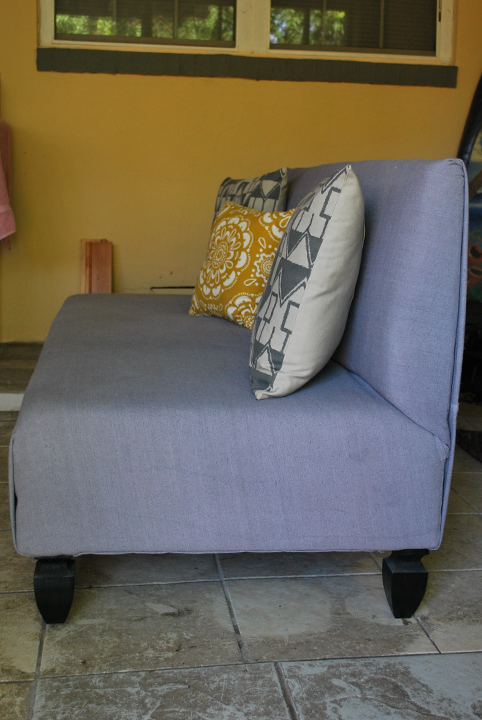
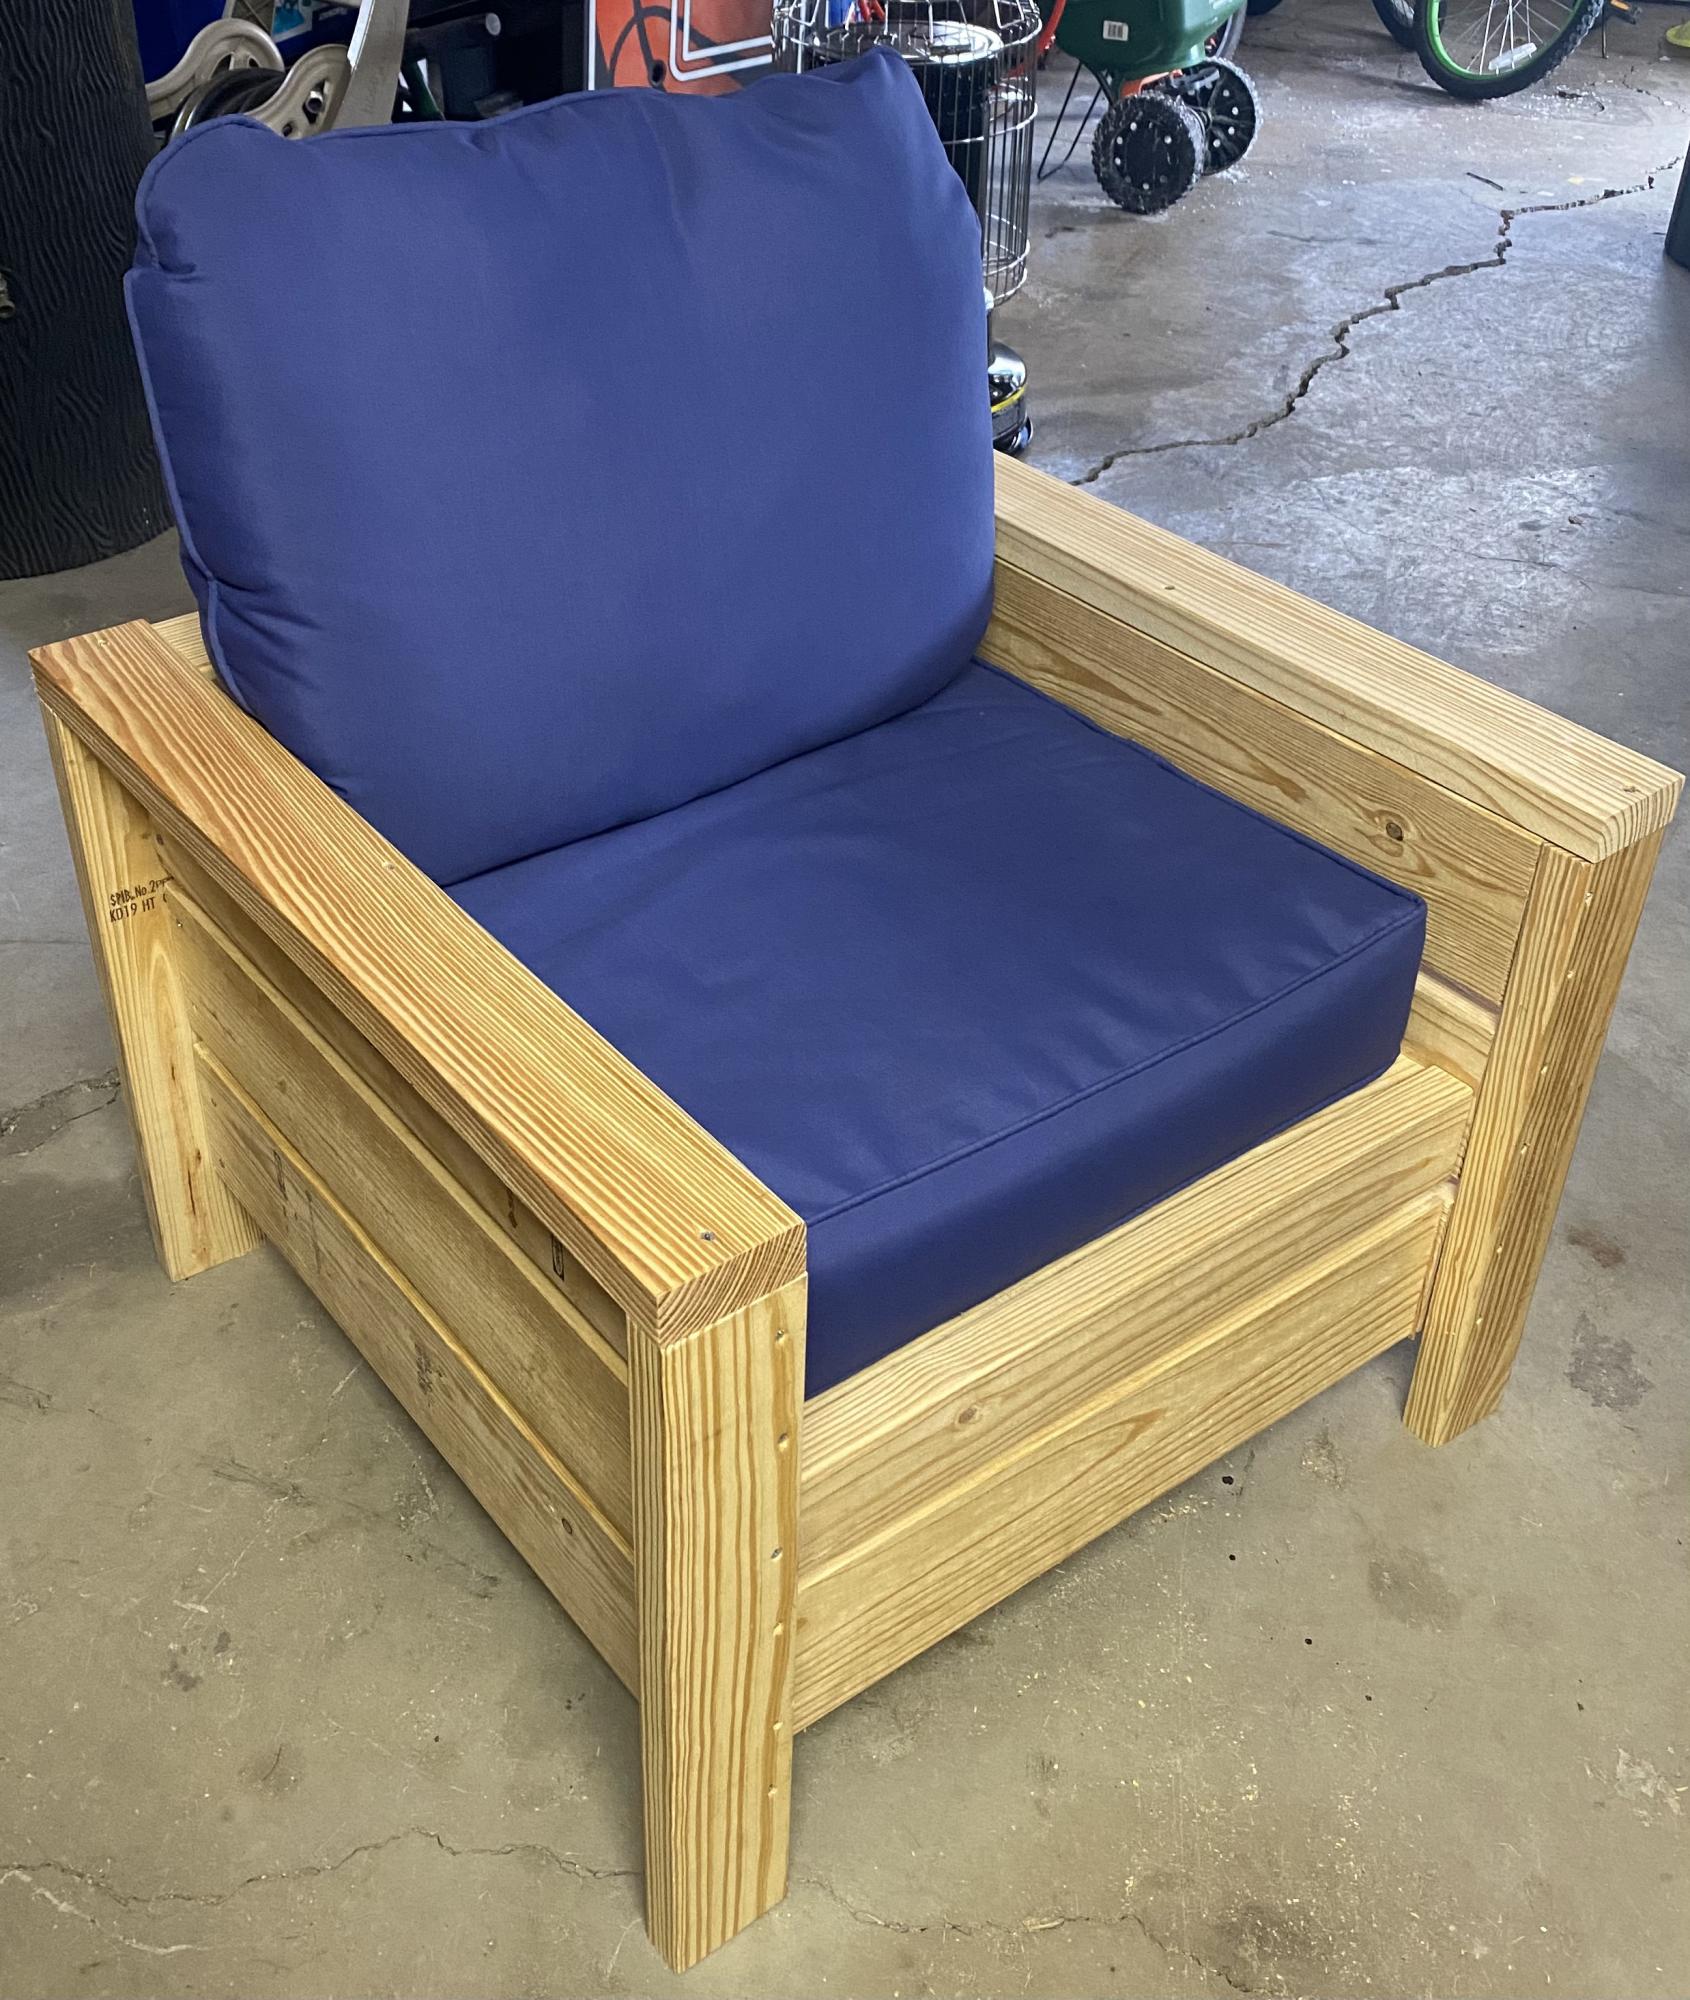
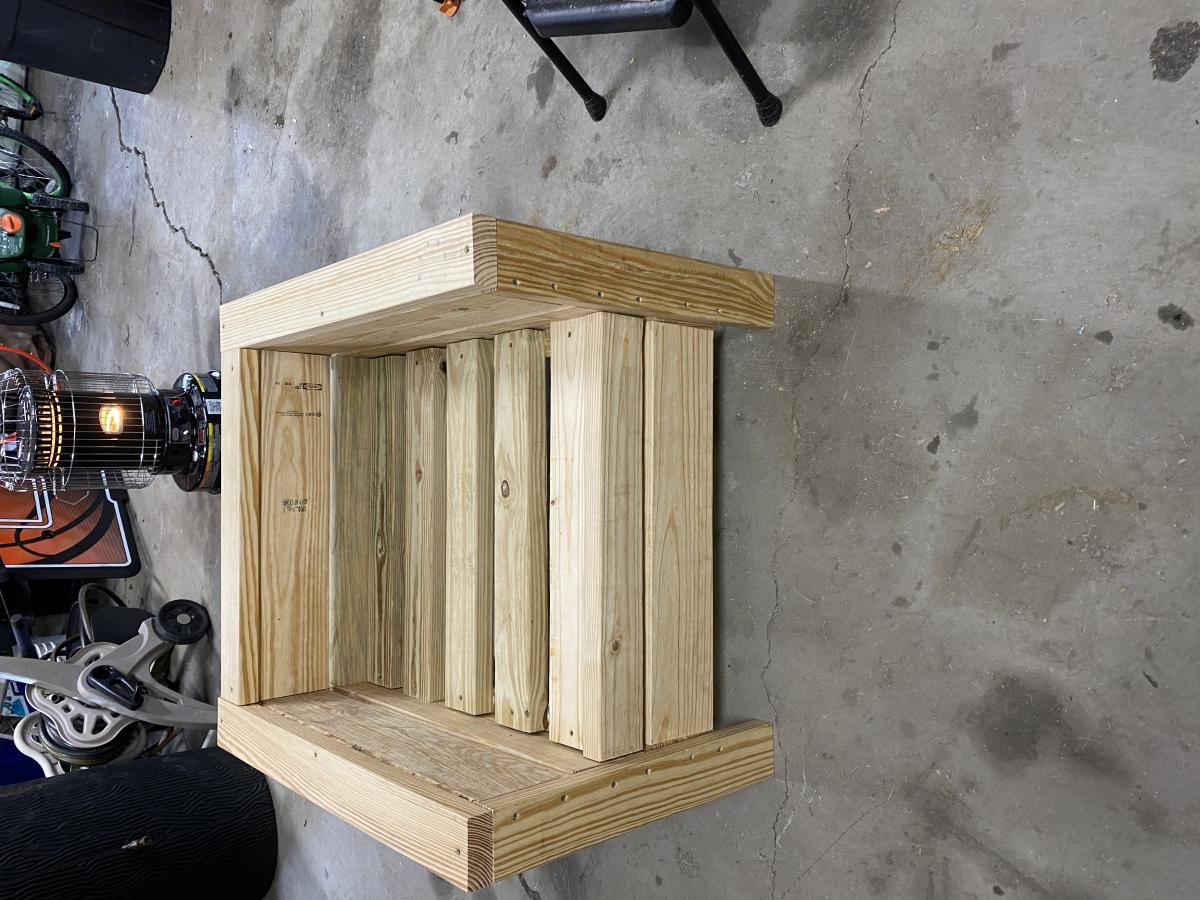
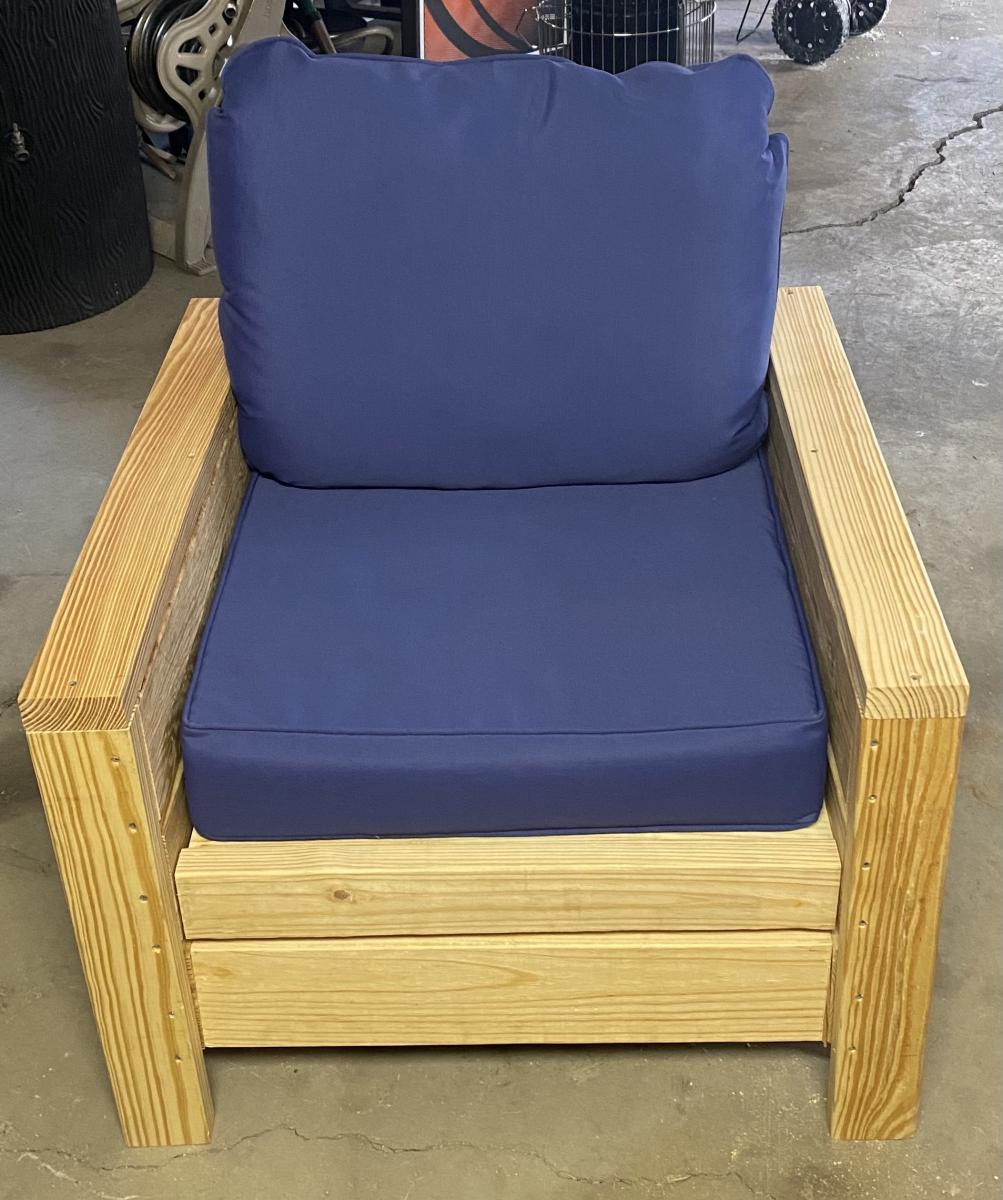
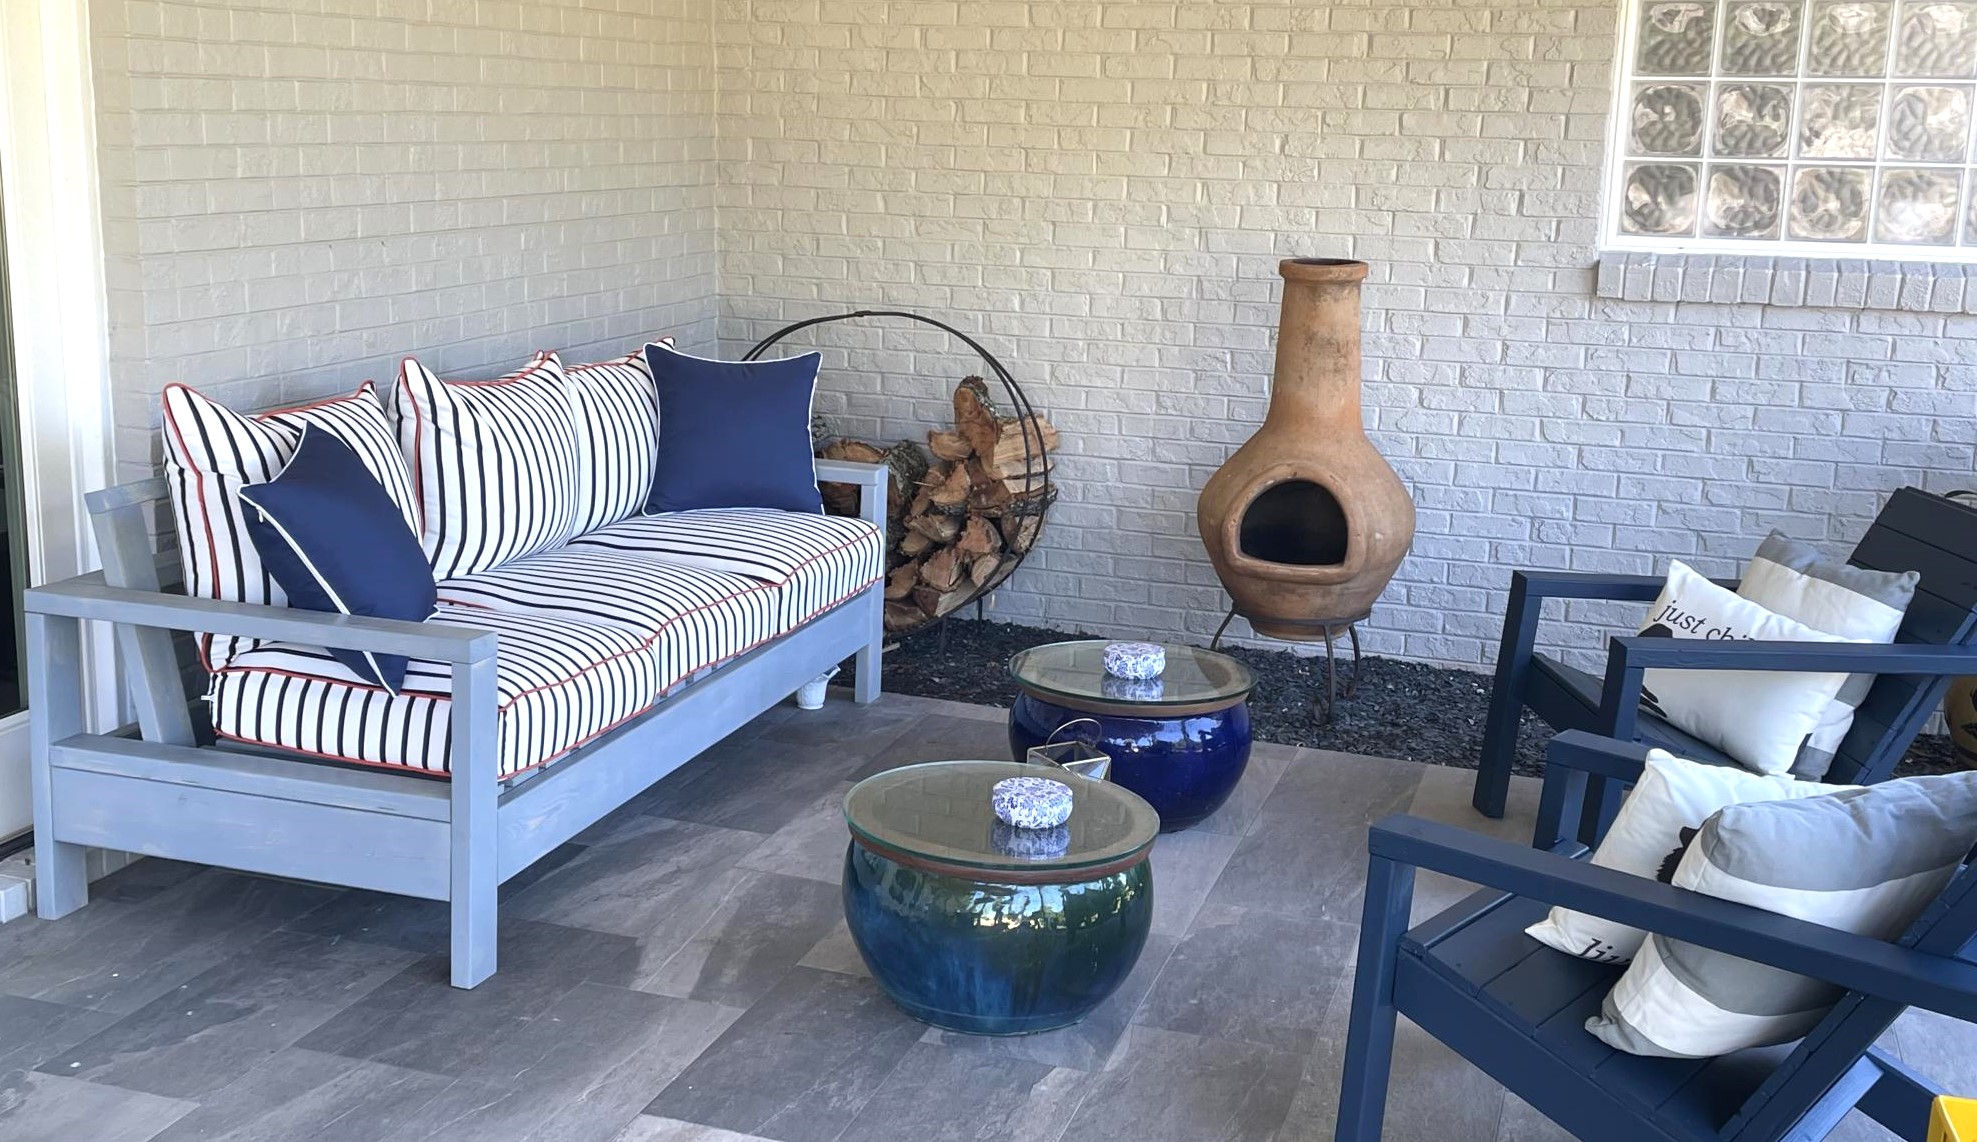
My husband and I built this modern upholstered outdoor sofa for our back porch. As it was going outdoors we used treated lumber, a painters drop cloth (dyed with Rit dye), and coated deck screws. We are so proud of the way it came out! Please see my blog for more details on the build.
I did an epoxy coating which took a few coats as I learned the hard way how to use it but I love the look!! Did a custom gray and brown stain mix after sanding, weathering and conditioning the boards.
Decided to start doing woodworking as a pandemic hobby. Given what happened with wood prices, I could have picked a. better time to start making sawdust. Quite happy with the outcome.
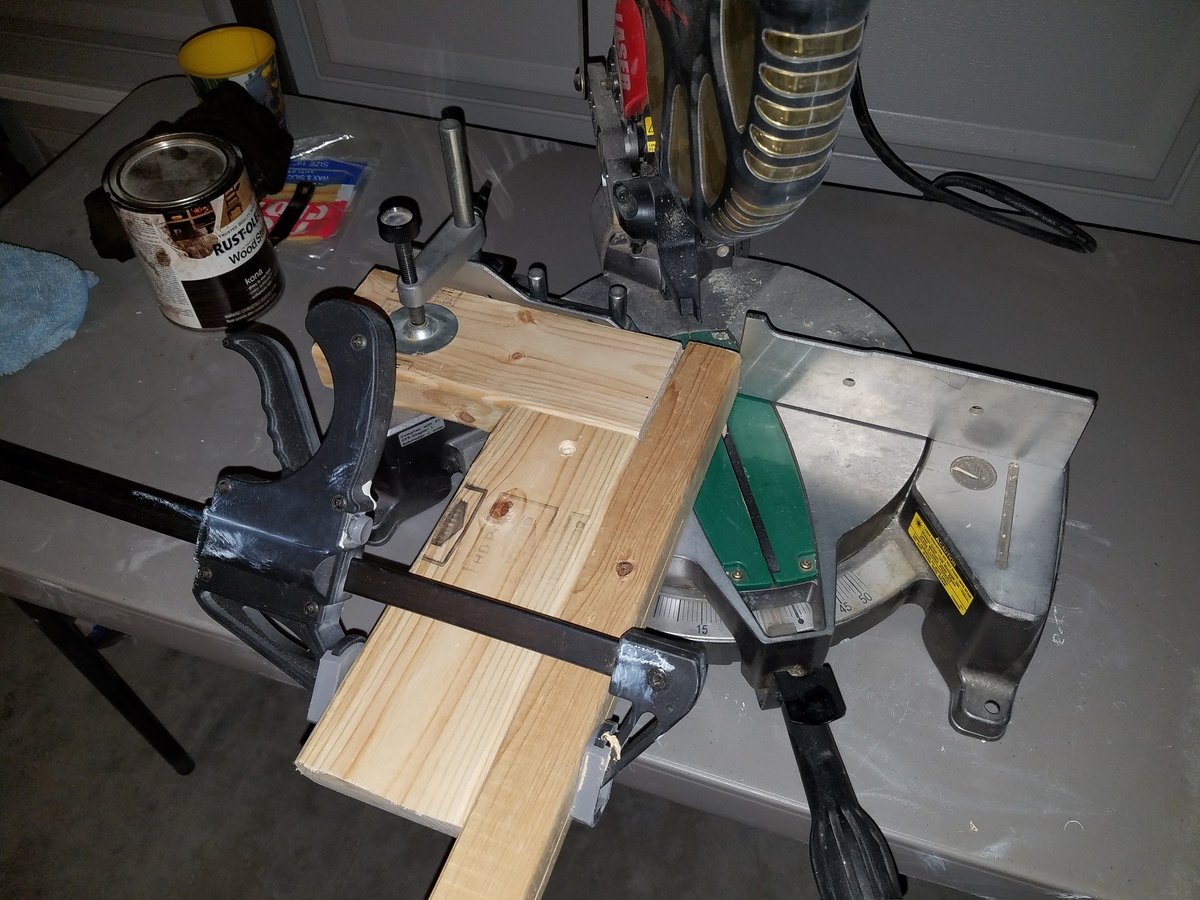
Quick and easy to follow plans. Only issue I ran into was that my miter saw only cuts up to a 50° angle. I set up a jig to hold the 2x2 perpendicular to the saw and set the miter to 30°. Viola, easy 60° angles! Pic attached for reference.
My 2 grand girls wanted a cottage bunk bed. Not wanting to disappoint, I took the plans from the cottage loft bed and modified them, adding a lower bunk. I also added the steps, with storage on the side instead of the ladder, and made a drawer for the front step for the little one.
I made the wreath from Pom-Poms purchased from Jo-Ann's and battery operated string lights.
I opted for a cedar shake roof, which was purchased from Home Depot, then painted.
Needless to say, they love it!
Tue, 06/20/2017 - 20:13
this looks super awesome! :) I love the cute little shutters and all the nice attention to details :)
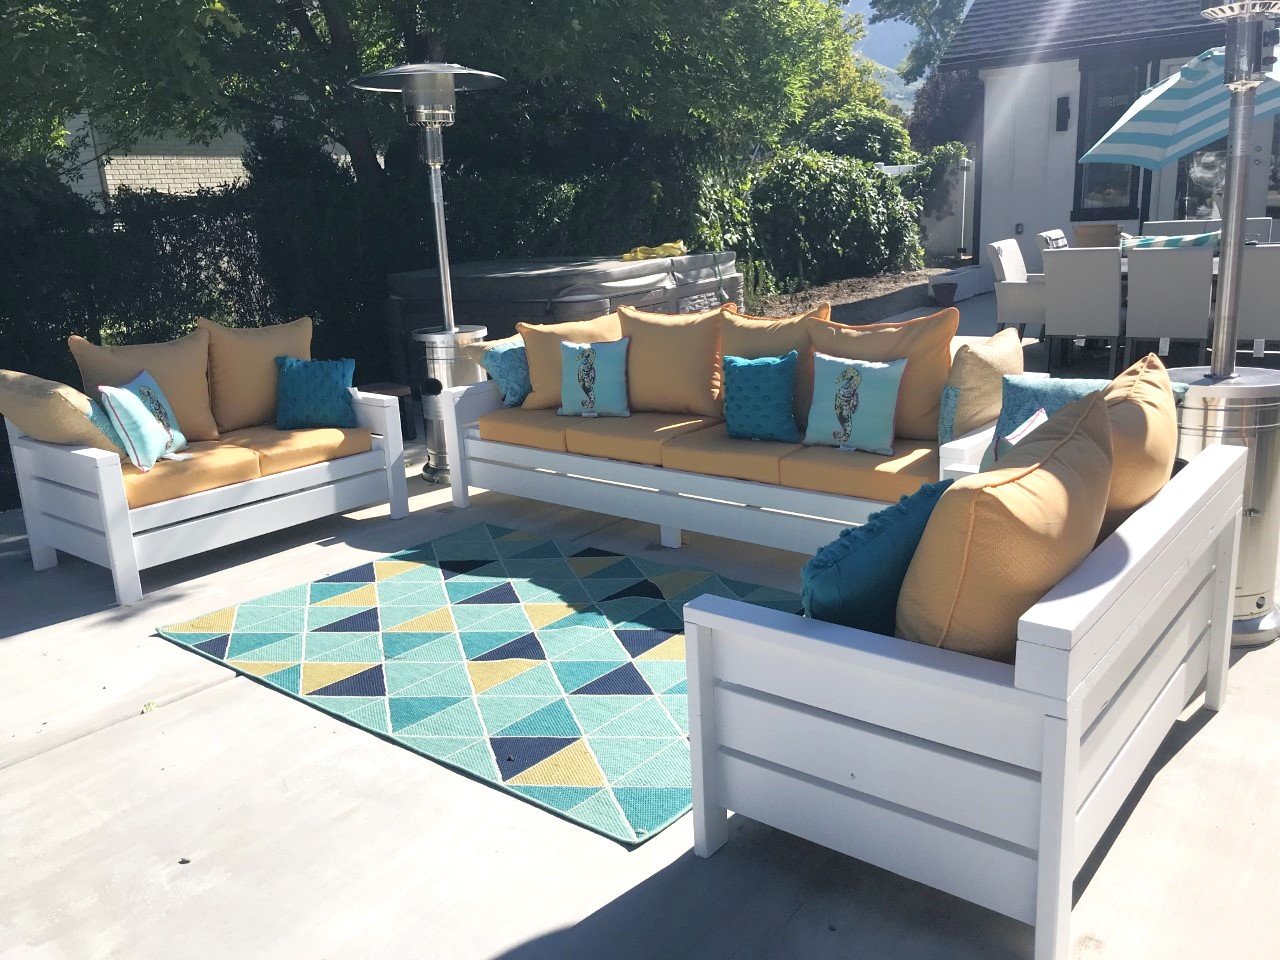
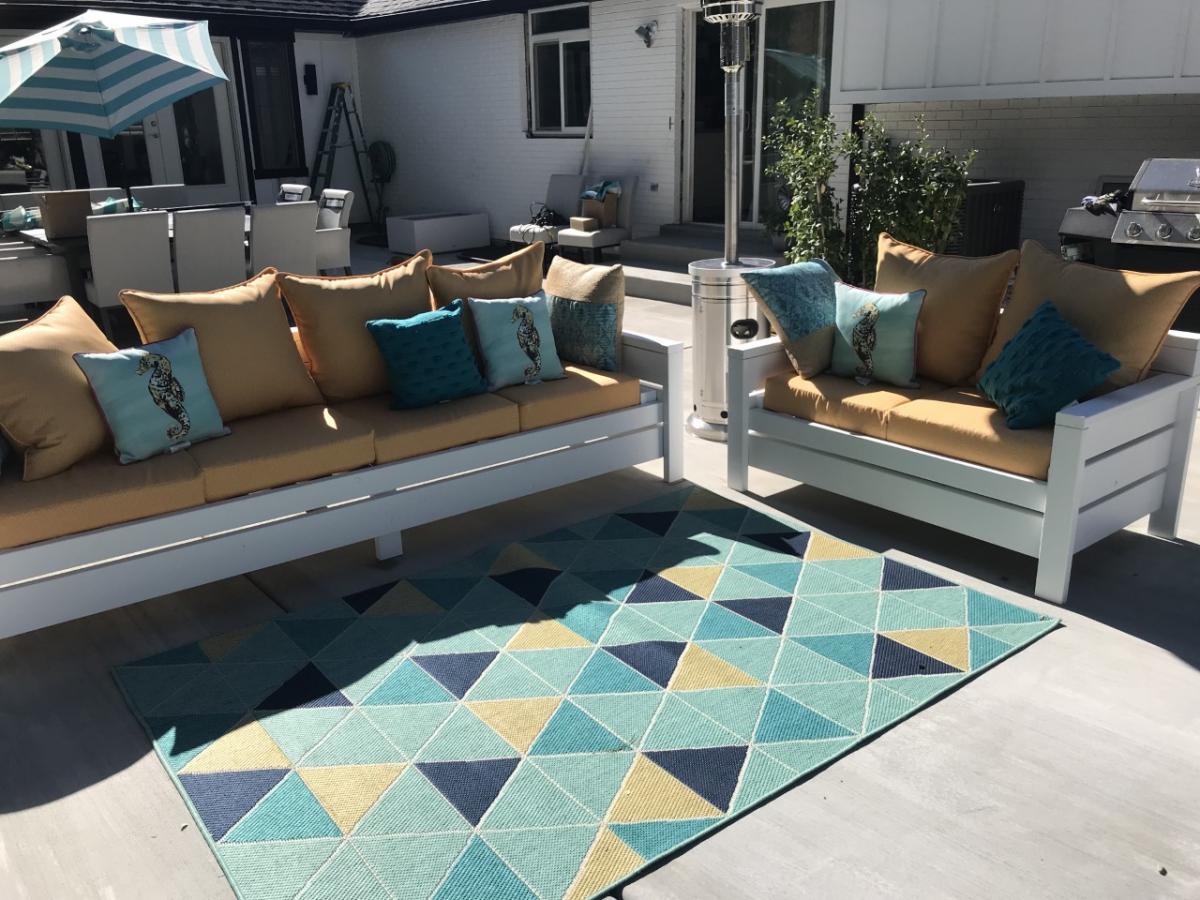
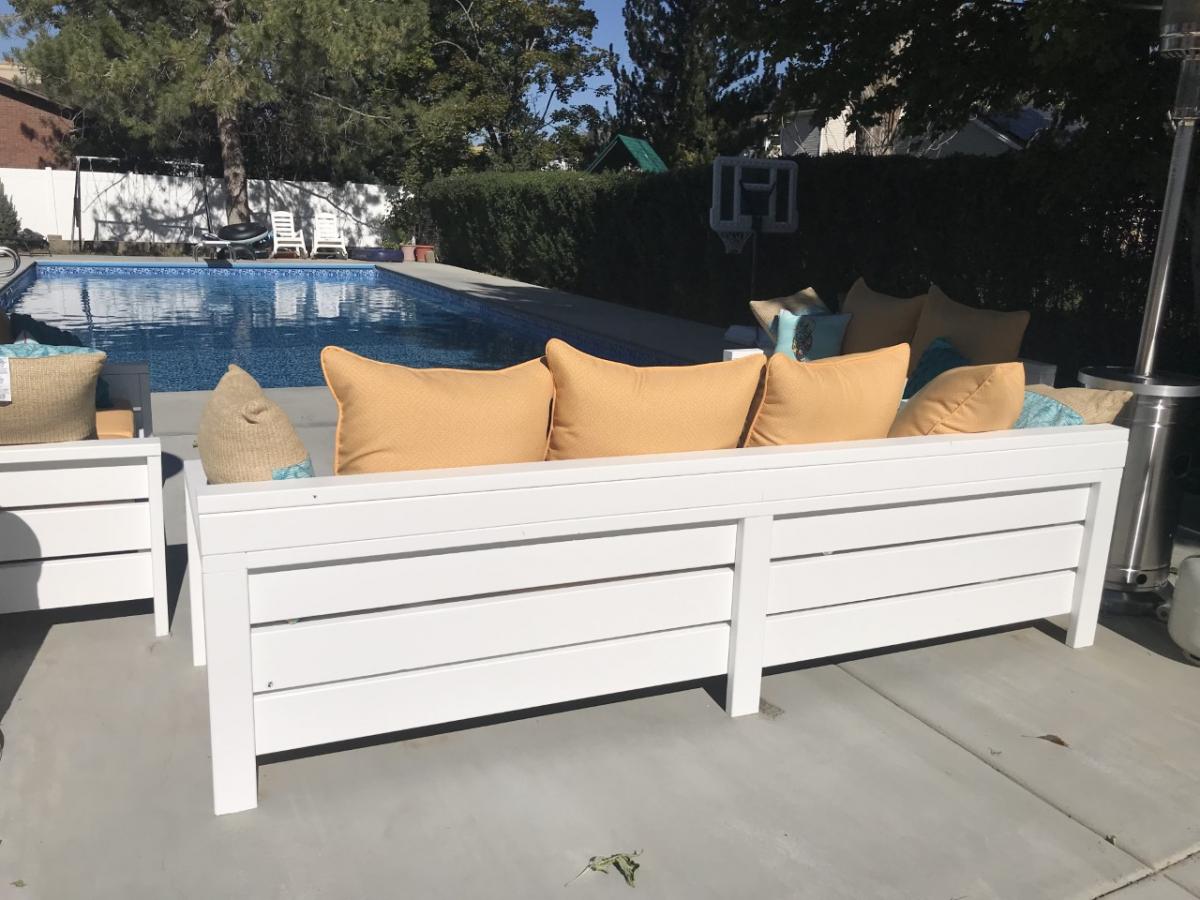
We were looking for outdoor furniture big enough for our whole family and friends but everything we looked at was over $5000 and really not well made. Ana to the rescue.
We built 2 loveseats and created a couch by doubling the dimensions.
We built the whole thing out of redwood so total wood was about $1000
The cushions were from Overstock and Lowes, approx $300.
There was a too much wiggle room with the cushions so we made a built-in frame to hold them in place. If we built another I would have cut the width down slightly.
We placed a 4X4 and another 2X4 on top of the back to provide more support.
All in all, love the way it turned out.
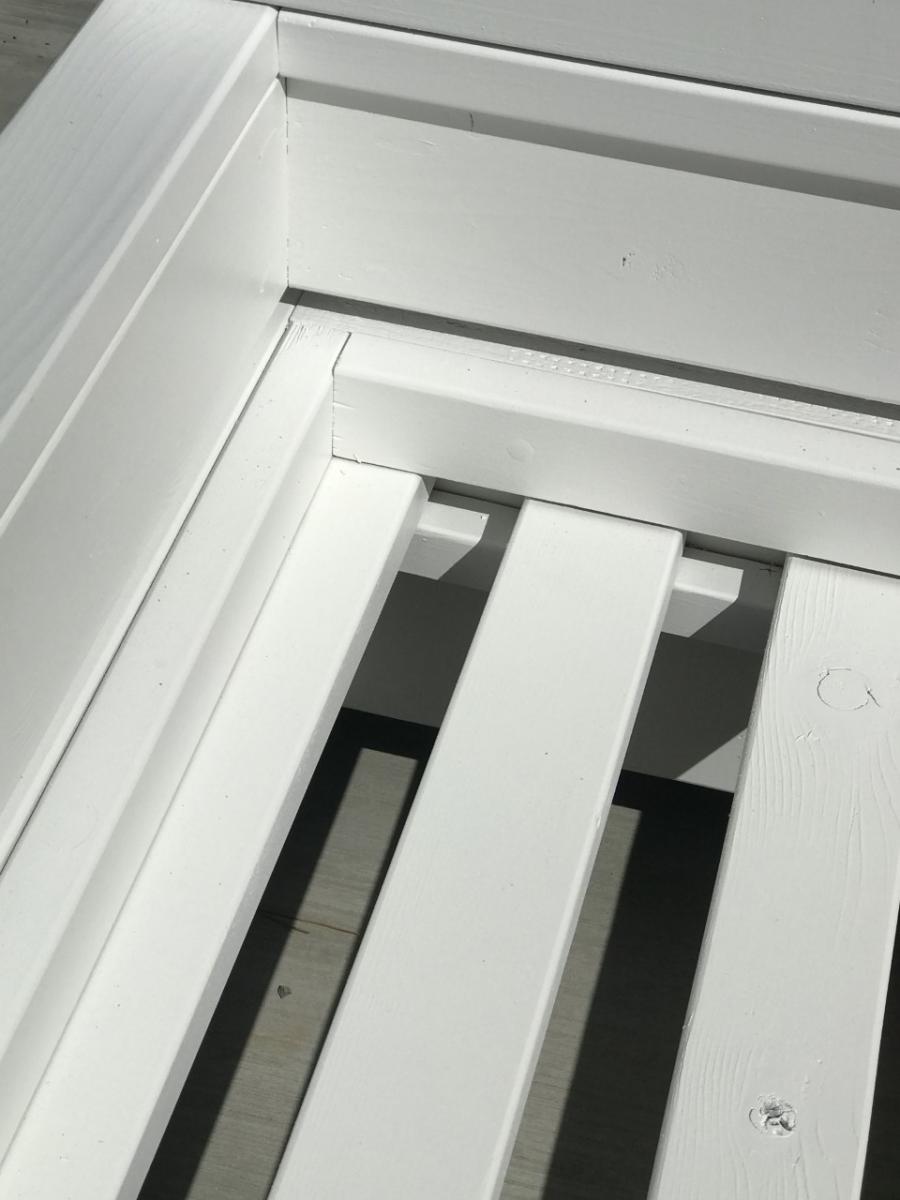
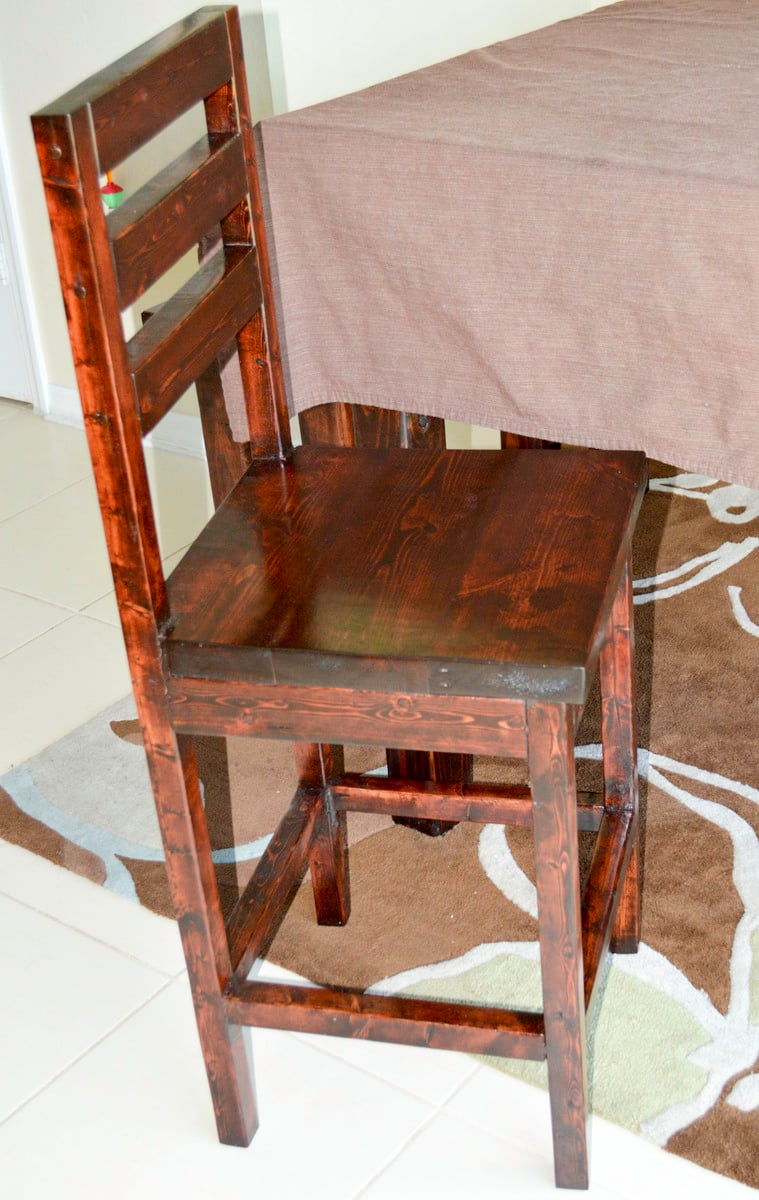
I made these stools to use with my counter-height dining table. The only modification I made to the original plans were I did not use the diagonal support and I used 2x6s to make the seat for the stool.
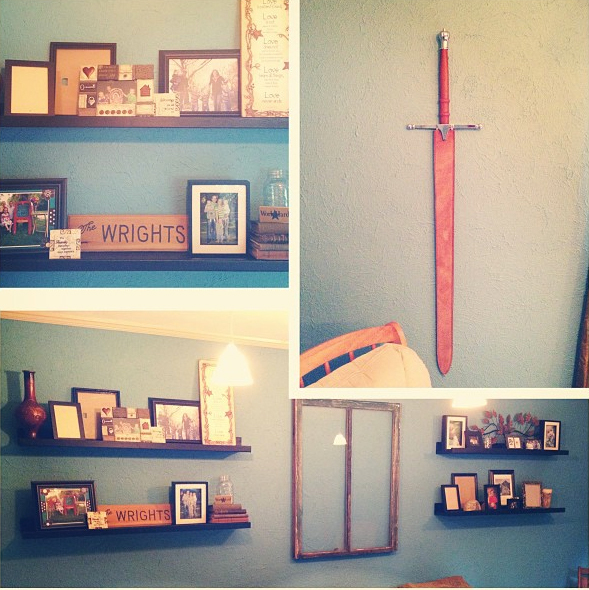
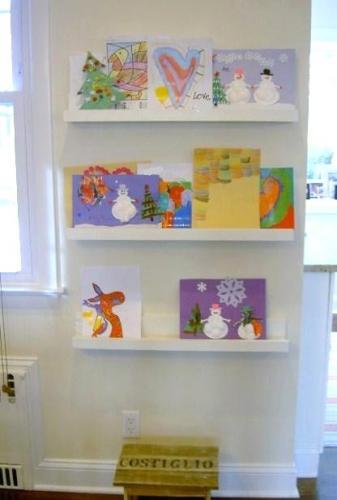
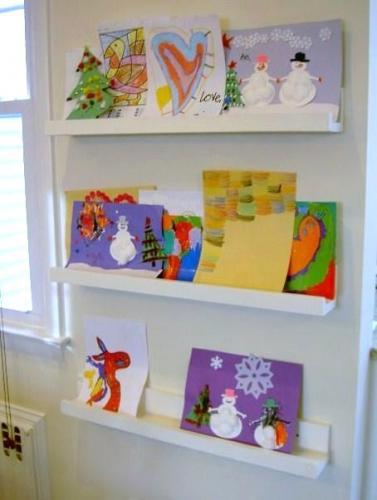
For Mother's Day this year, I decided to completely redo what we call our "front room" for my wife. Before the weekend, it was unorganized, colorless, and boring. We decided to start the project with new paint, which my wife picked out. I got some old windows from a thrift store, and we decided the ledges would flank one of those windows and we'd basically transform the entire wall.
The ledges were a blast to build (my wife even helped a bit!) and we're super happy with the way they came out!
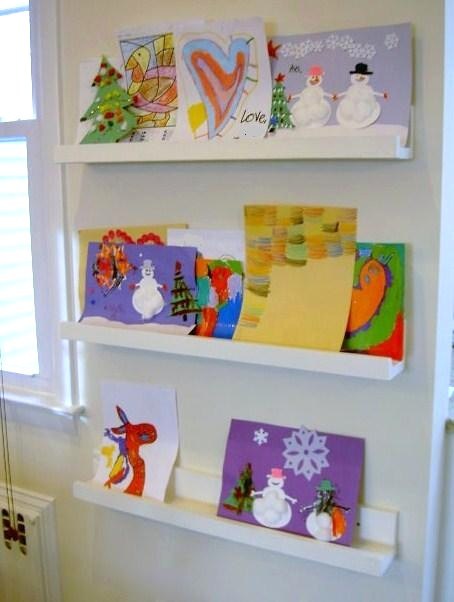
Ledges for my kids artwork.
First of all...I need to talk to my photographer sister (kaylajphoto.com) and learn how to take better photos! Our two girl's 3 and 5 share a room and I could not finish these beds fast enough!
They are higher because we have yet to build trundle or storage for underneath. I also made the little chair (just kind of winged it and modified as I went), and shelving that is by the footboard.
With a repurposed side table, new curtains, and a chandelier, I couldn't be happier with the end result! My next task is a cute vertical chalkboard piece above the table. :-)
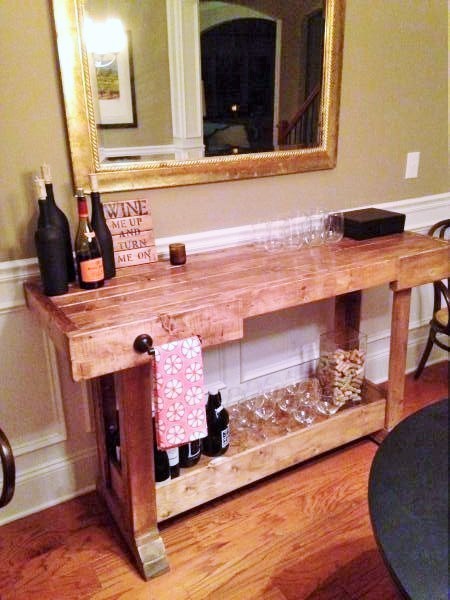
This project was much easier than I originally anticipated. Even cutting the legs at angles and sanding them down to appear curved was easier than I expected. I also used early american stain by Minwax. I used only one coat though and in hindsight might have done two to make it a bit darker. I used Minwax clear paste wax (two coats) to achieve a low sheen and protective layer. I was able to find a toilet paper holder similar to the one Ana used at one of my local big box stores. I wasn't able to find anything else I liked better.
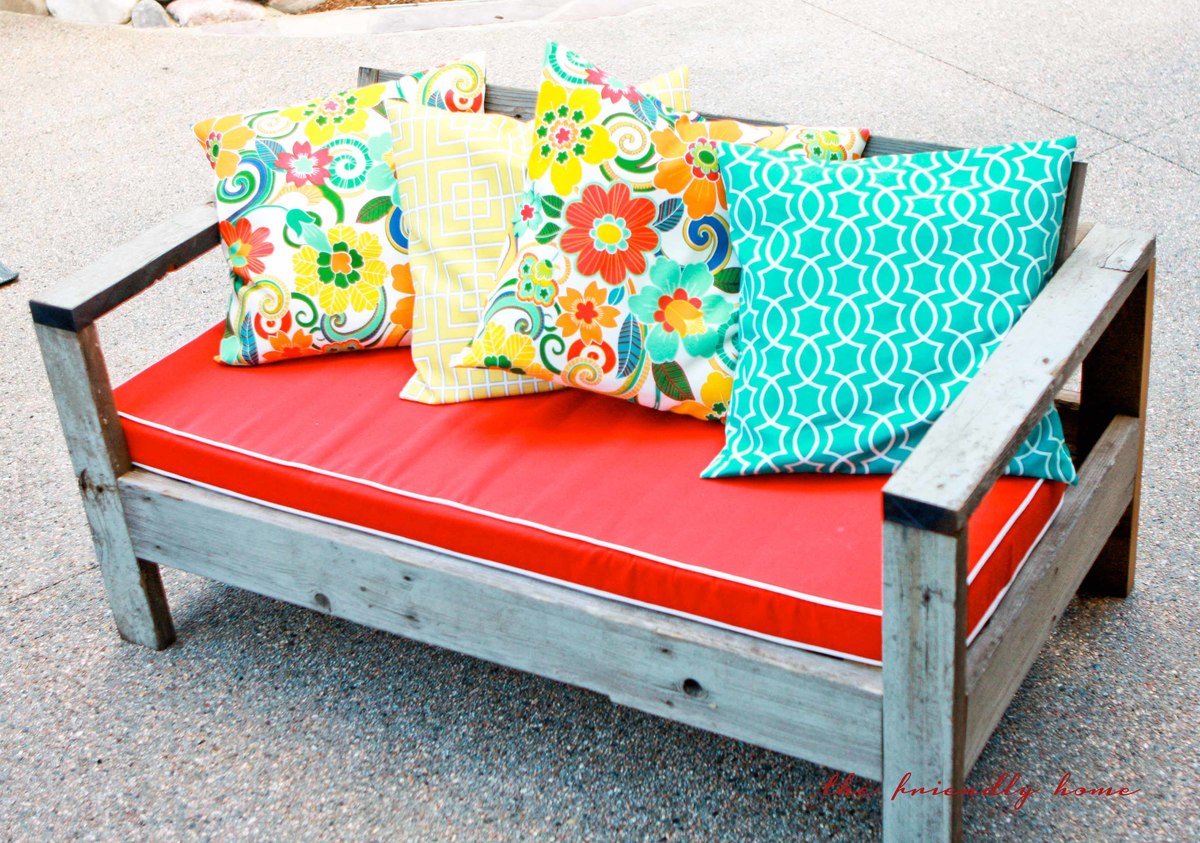
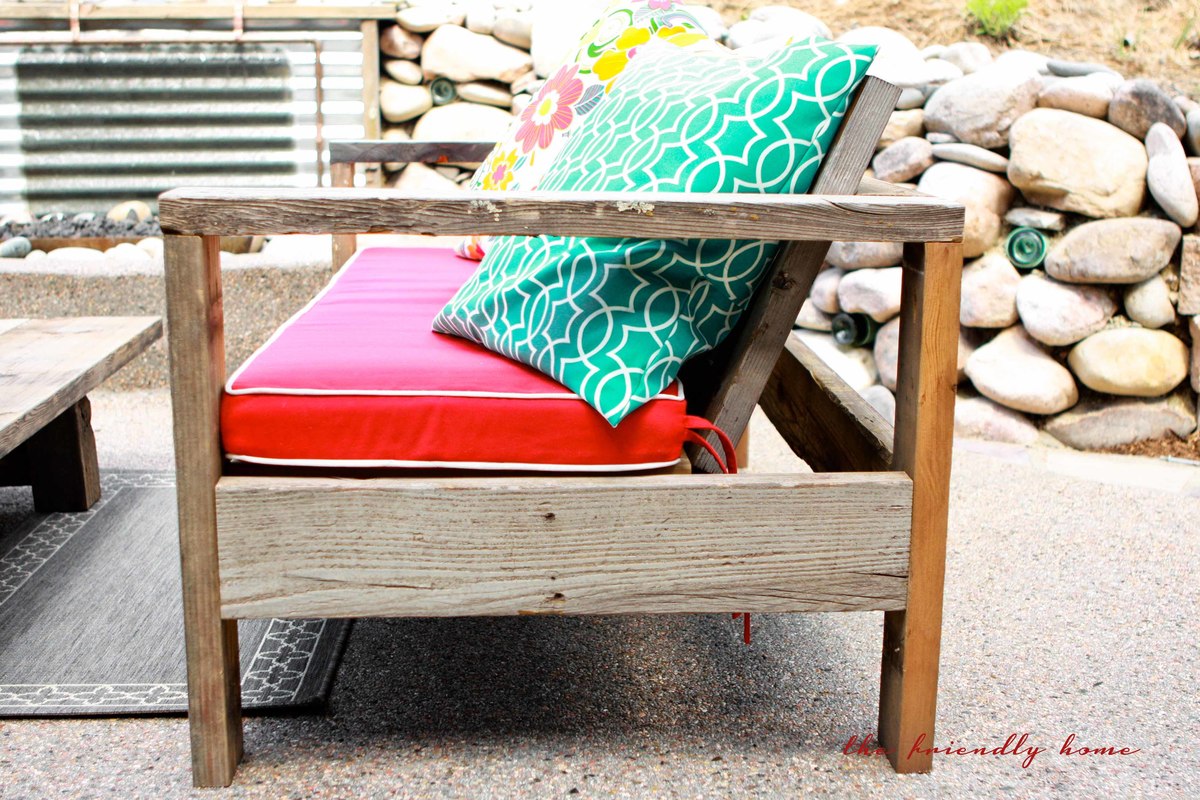
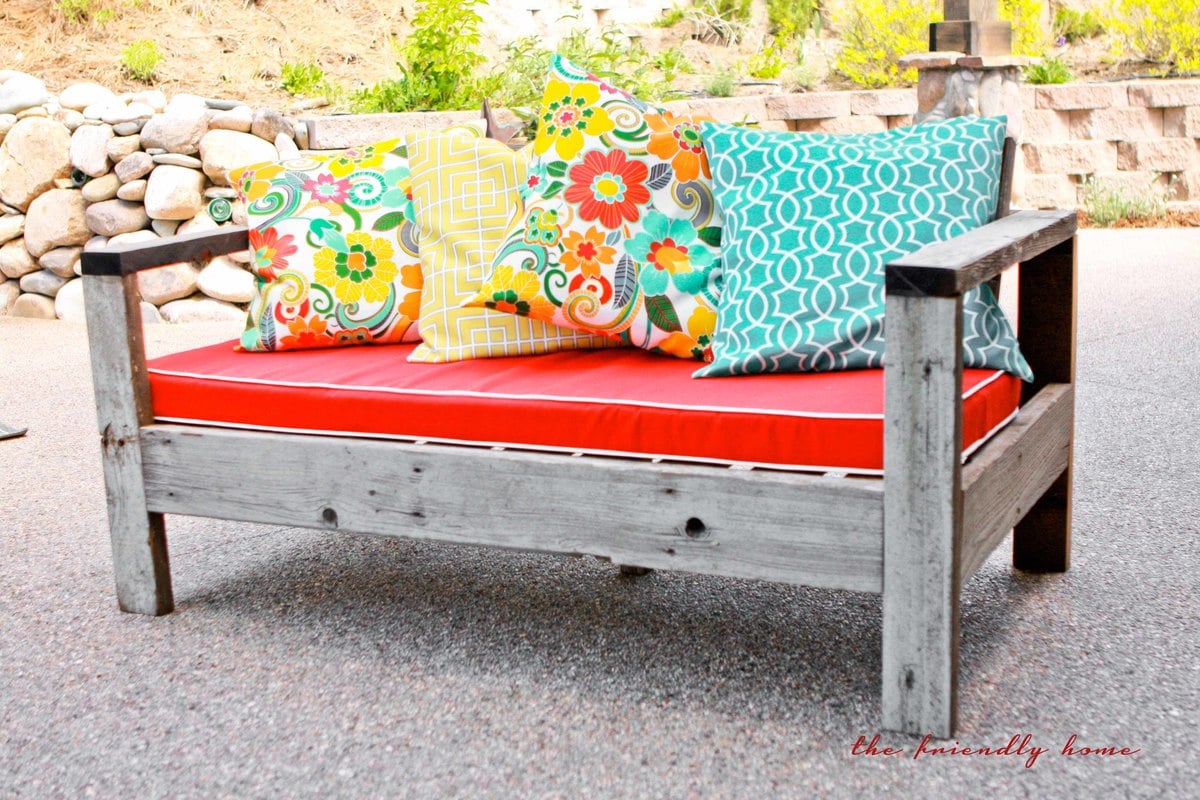
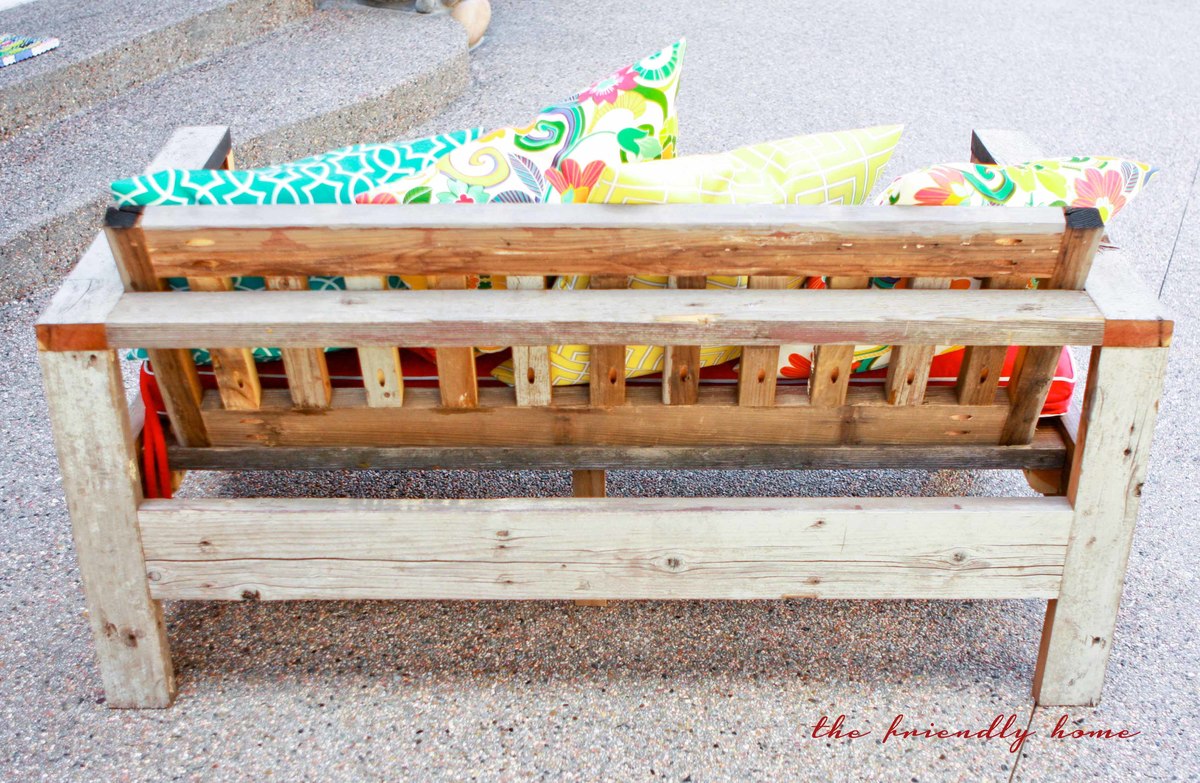
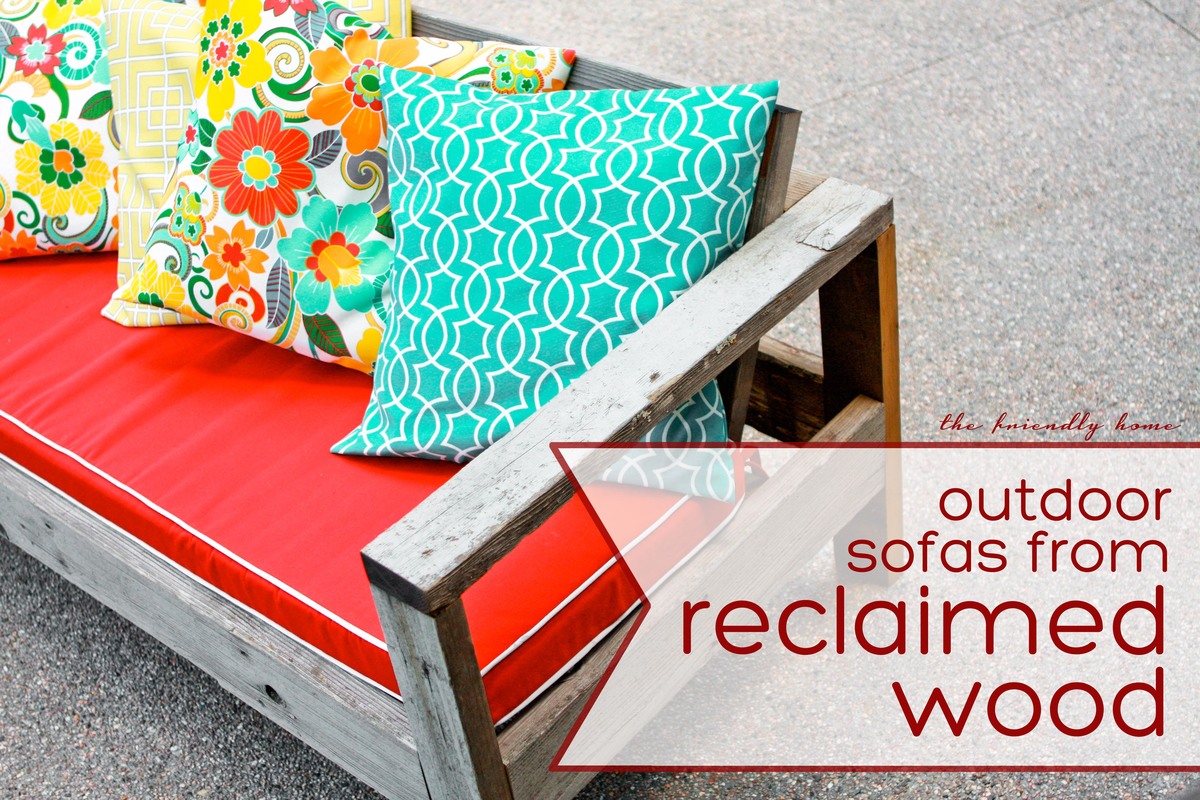
Using Ana's plan as a guide, I built two of these sofas to fit an outdoor cushion I already had. I used wood from our old deck -- a great way to re-use and save money, too!
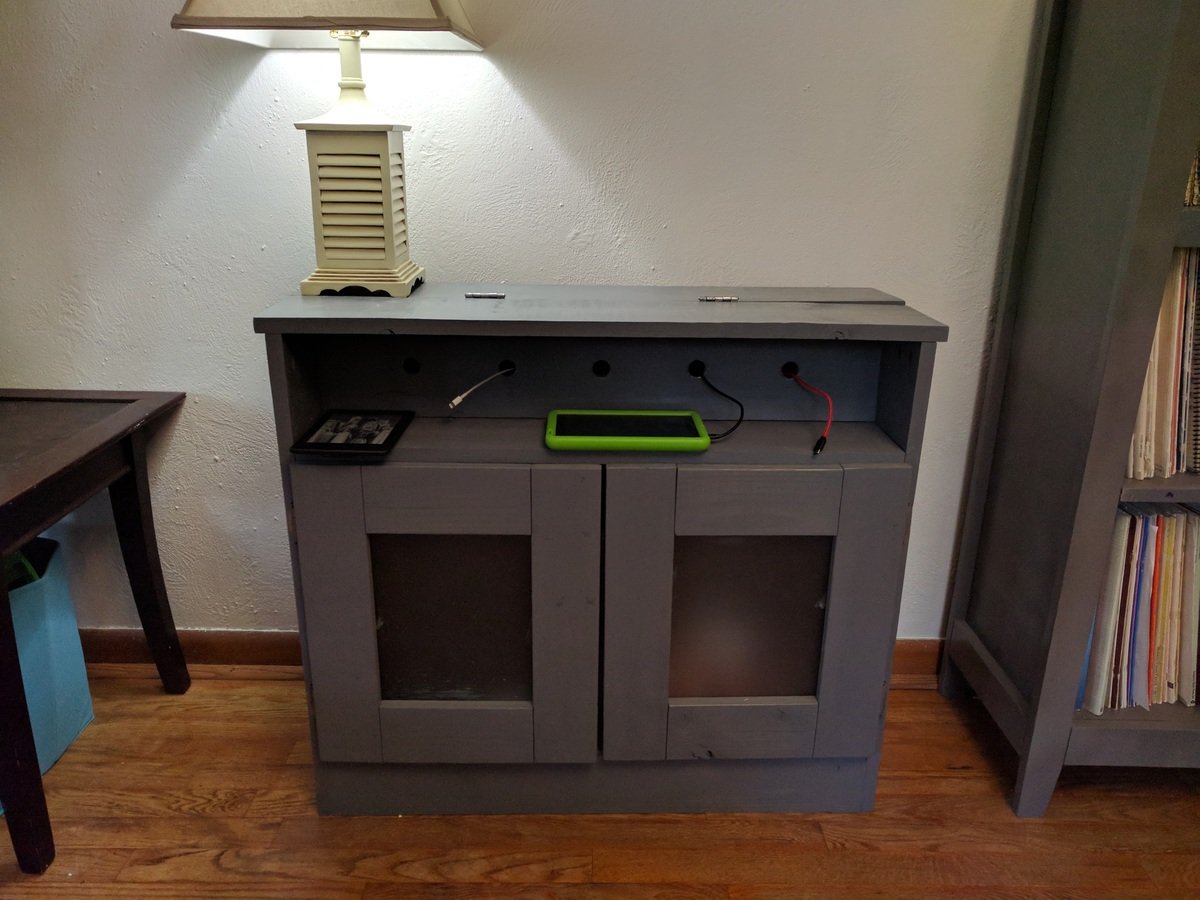
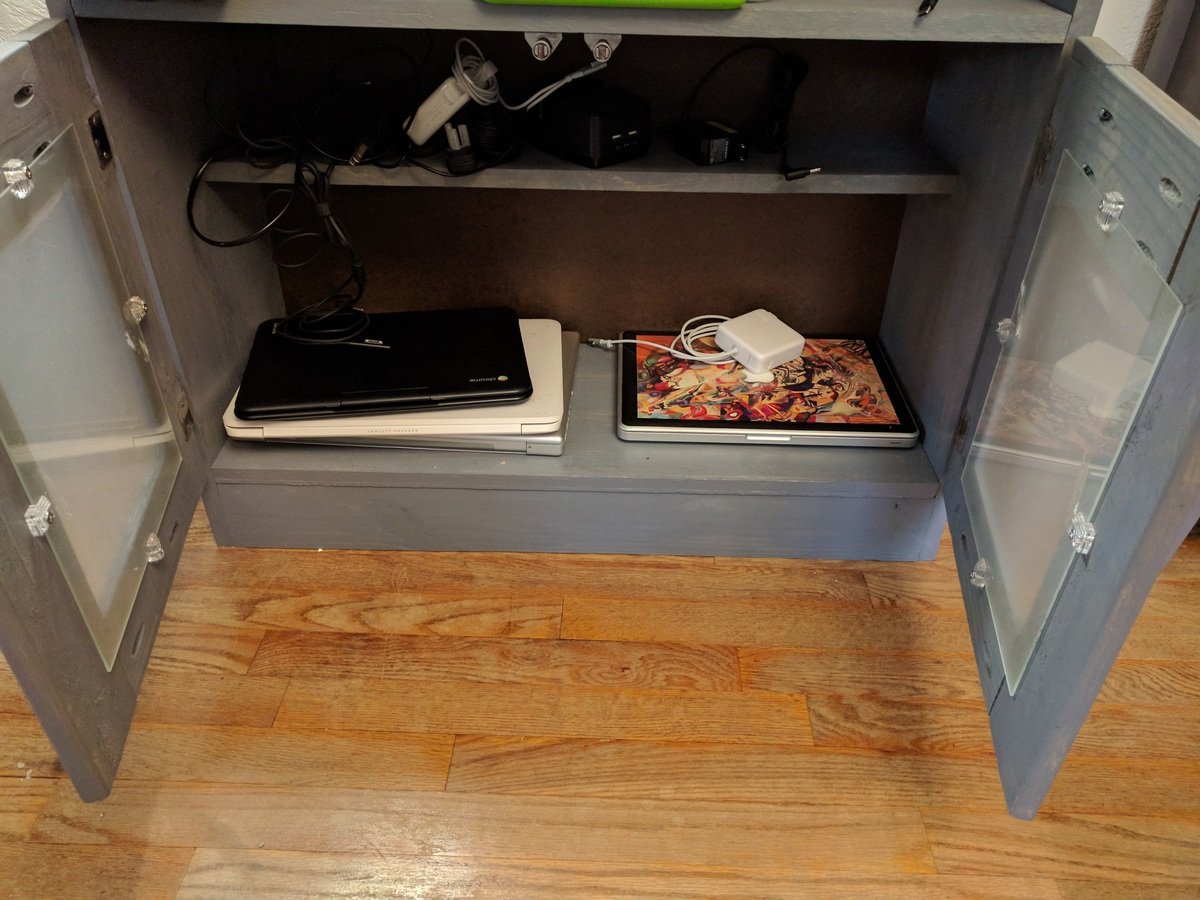
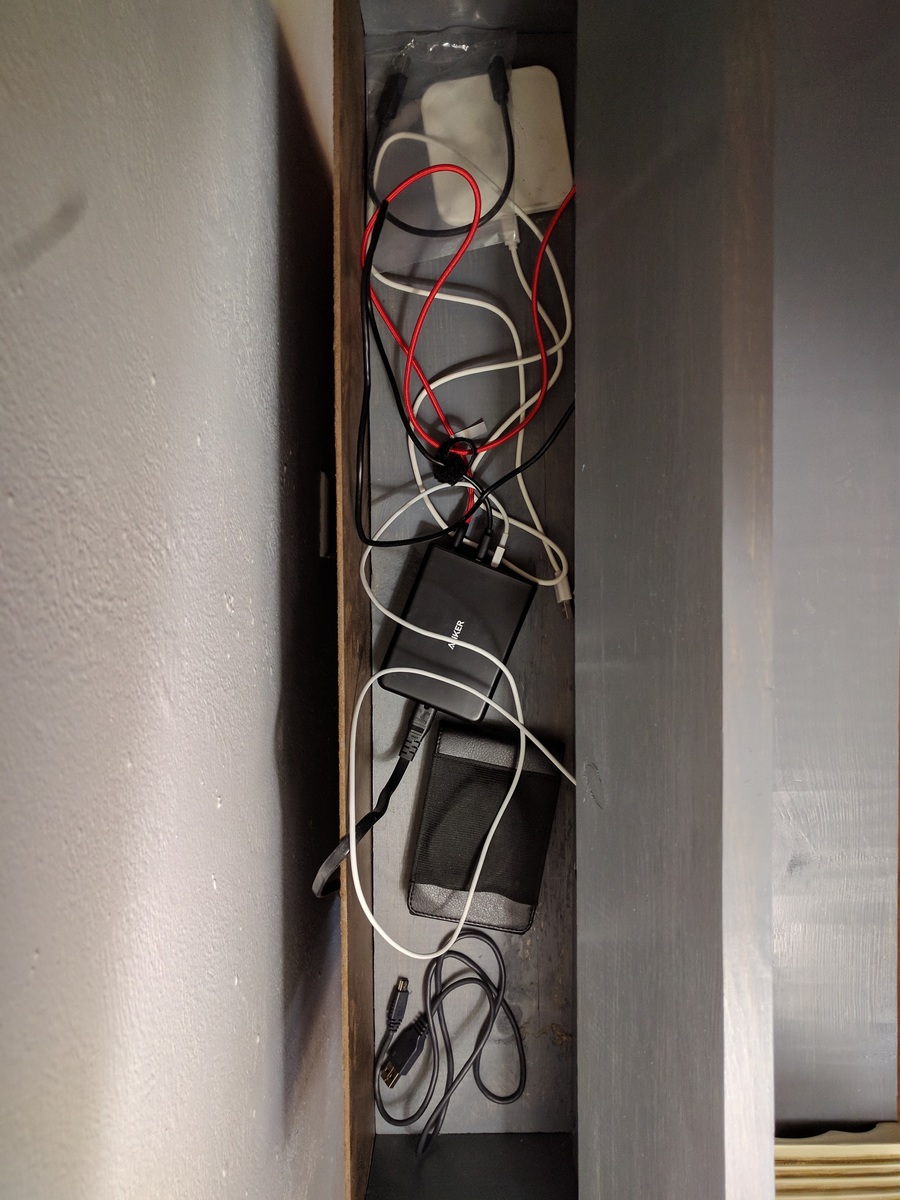
I used the charging station plans as my first attempt at building something using pocket holes, and also my first real attempt at building any piece of furniture from scratch. I stuck pretty much to Ana's plans except for not cutting the front footer (I didn't own a jigsaw at the time) and using panes of frosted glass as the center of the doors.
As a piece of furniture it gets used every day, but it has been most invaluable to me as a learning experience. I've built many pieces of furniture in the time since I made the charging station, growing my skills each time. But this project was where I started, so it always feels a little extra special to me.
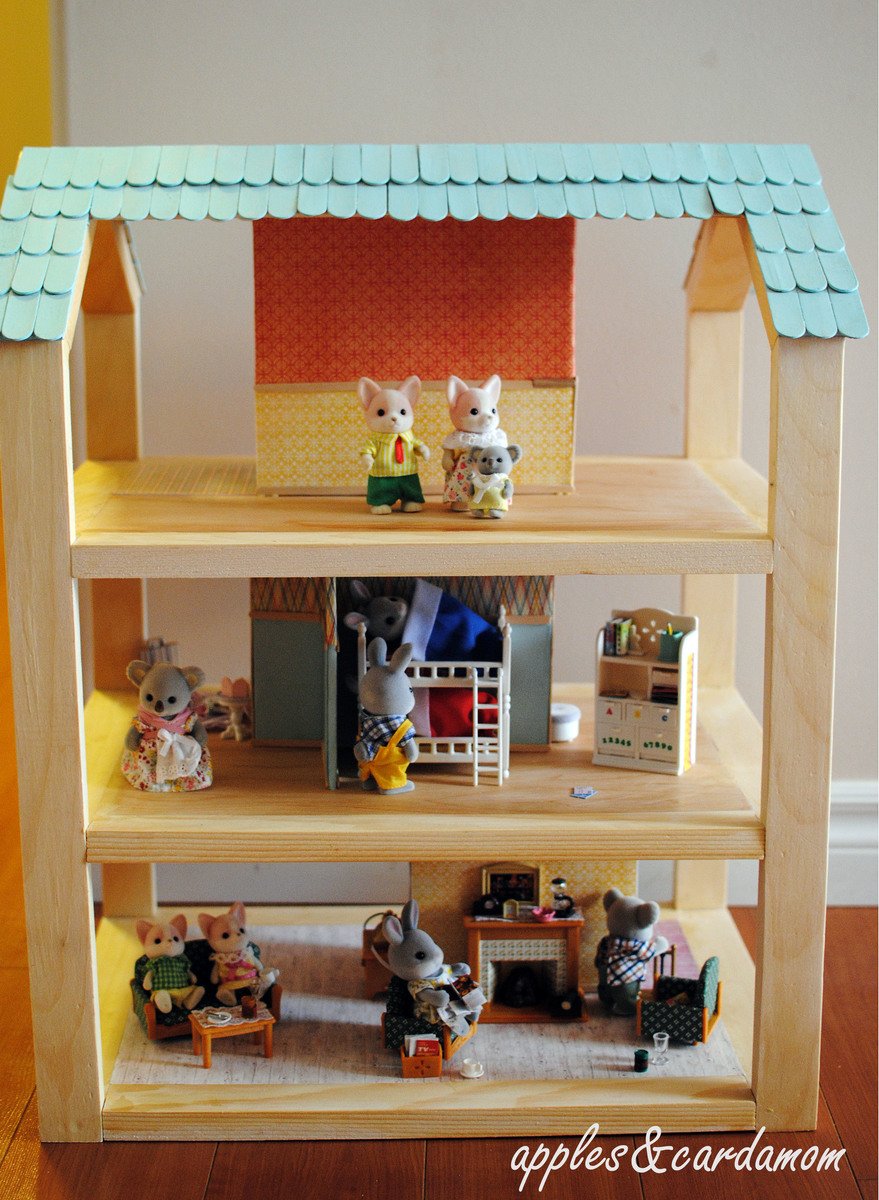
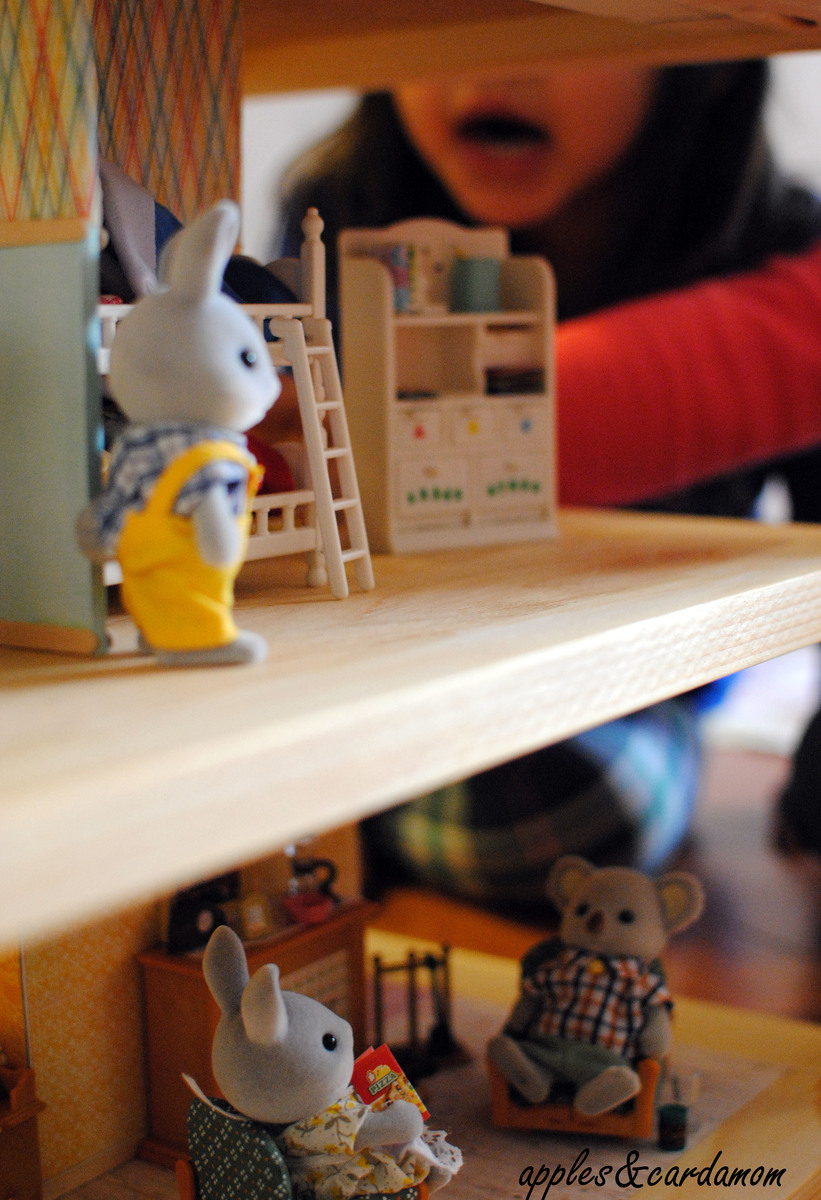
My husband and I made this for our daughters' calico critters, which they received for Christmas. We wanted a house with few walls, so that all 3 girls could play simultaneously. We used Ana's dream dollhouse plan, but scaled it down to half the size. We also modified it slightly to fit what we needed.
This is just the perfect size for smaller toys like Littlest Pet Shop or other 3 to 4" tall toys.
This was our first build together and so it took us a while to do. For someone with a bit more experience, who also has all their materials and tools ready, this could be finished in 1 day or a weekend.


Sun, 05/10/2015 - 13:06
Ana's roof shingles, which are cut scalloped strips, are a better way of doing the roof. I didn't realize how difficult it would be to fix each craft stick 'shingle' to the roof, and manage to keep each line straight. For a beginner, it's not easy. My advice is try Ana's method or you could also just make the roof from 2 solid pieces.
Wed, 10/07/2015 - 14:07
This was the plan I was going to use for the Critter's line at Target. I didn't want to buy the plastic houses that they sale so decided to try and build one. How did you scale the dimension? Just by half all the way around? I am a confident beginner so I am not sure how to scale down dimensions.
Built by Wndy D Keever-Keefe
"This was my very first build ever. Totally inspired by Ana White, I happened upon her site one day about 4 years ago and have since built lots of her plans."
What a great project! Simple and relatively easy. Very stylish chair!
Comments
jbayer80
Fri, 03/08/2013 - 14:46
Hardware
Nice work!
Can I ask where you got the hardware for the edges? I plan on building this too once the time is right.
In reply to Hardware by jbayer80
erik99703
Fri, 03/08/2013 - 14:51
Hey jbayer80 - you could just
Hey jbayer80 - you could just go to your local orange or other hardware store and get braces and paint them whatever color you like. It would probably be a cheaper alternative to buying painted decorator hardware. Here is a link to some on orange.
http://www.homedepot.com/p/t/202033908?catalogId=10053&langId=-1&storeI…
Erik
Court_Jared
Sat, 03/09/2013 - 09:52
Hardware
Erik is exactly right...we just bought silver metal brackets and spray painted them black (it took two coats to cover them completely).