Rustic Grey Changing Table
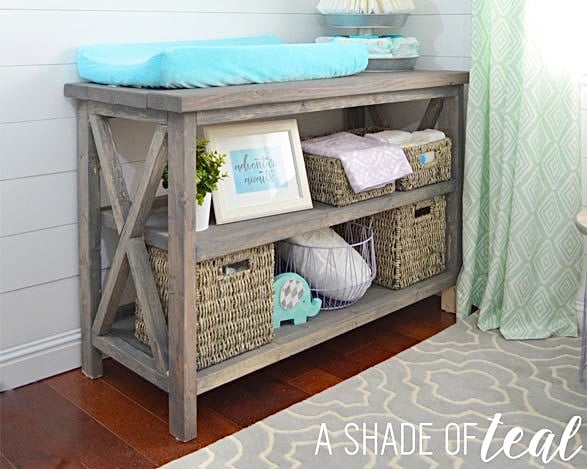
Rustic farmhouse changing table without the framed top box. I built this for my daughters nursery.
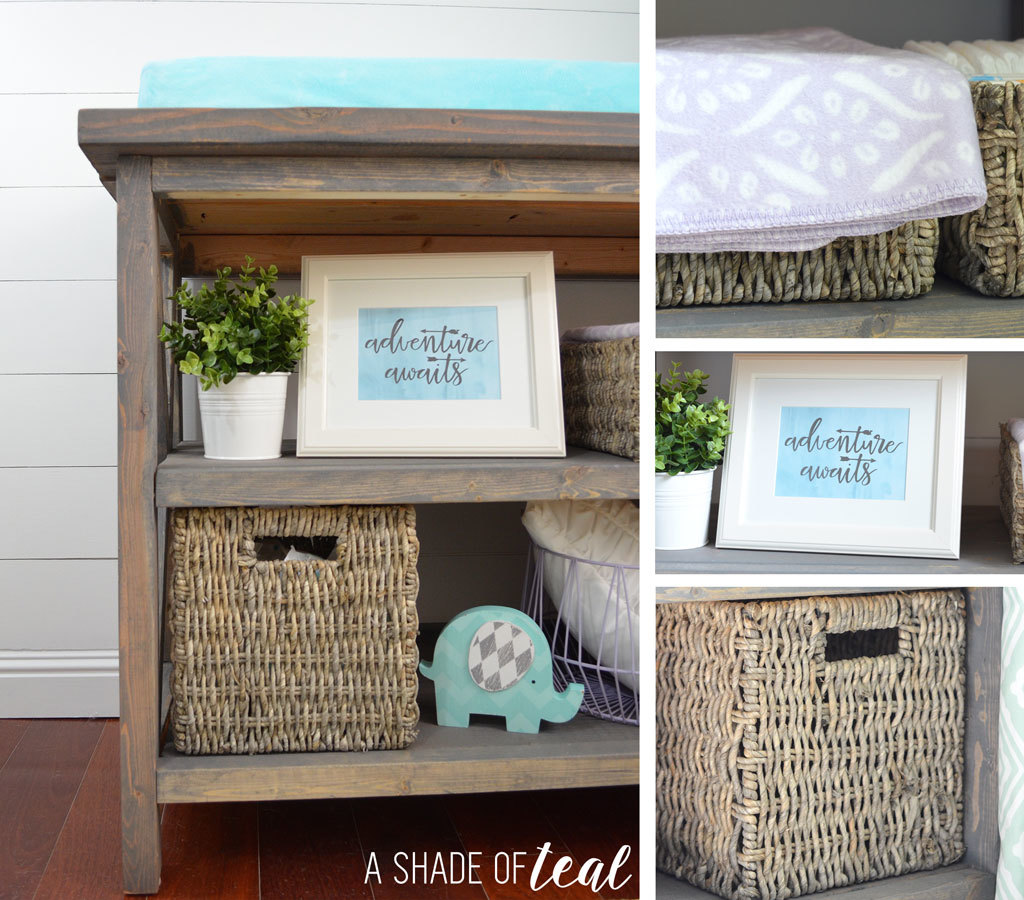
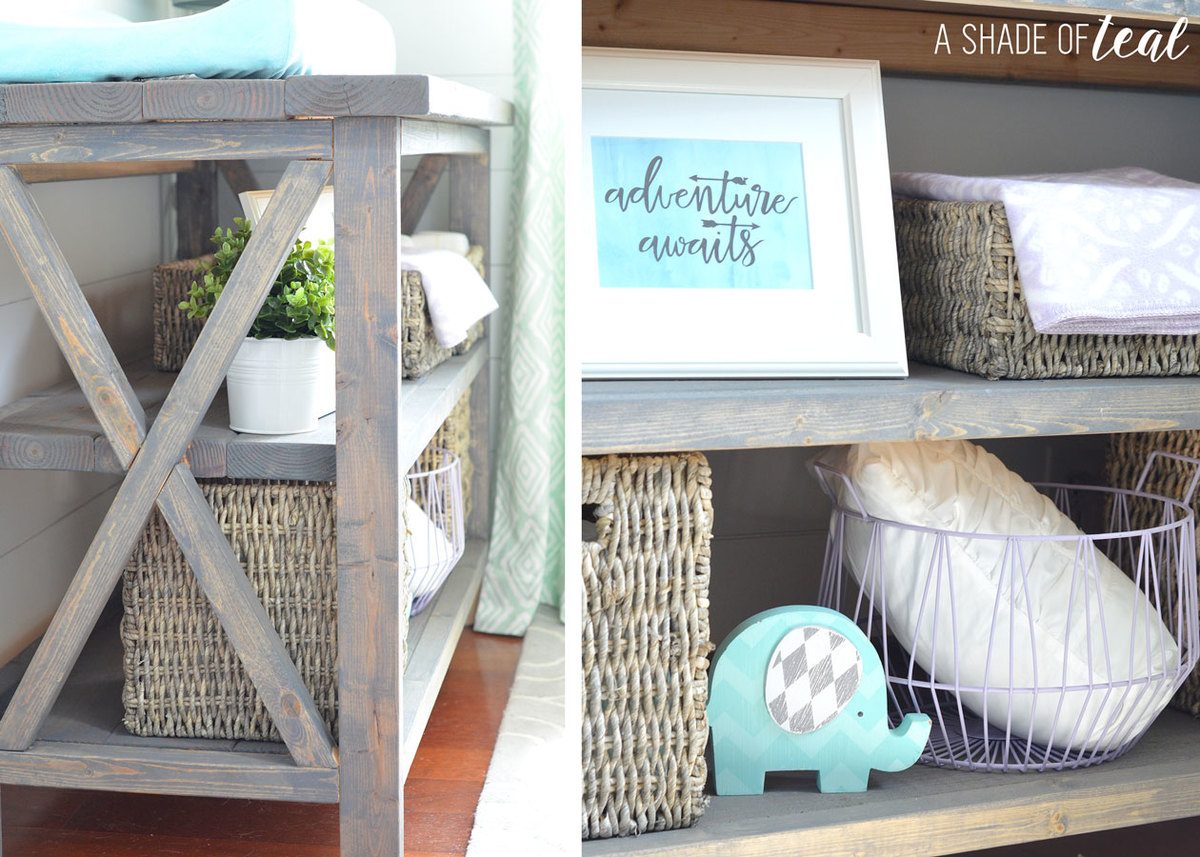
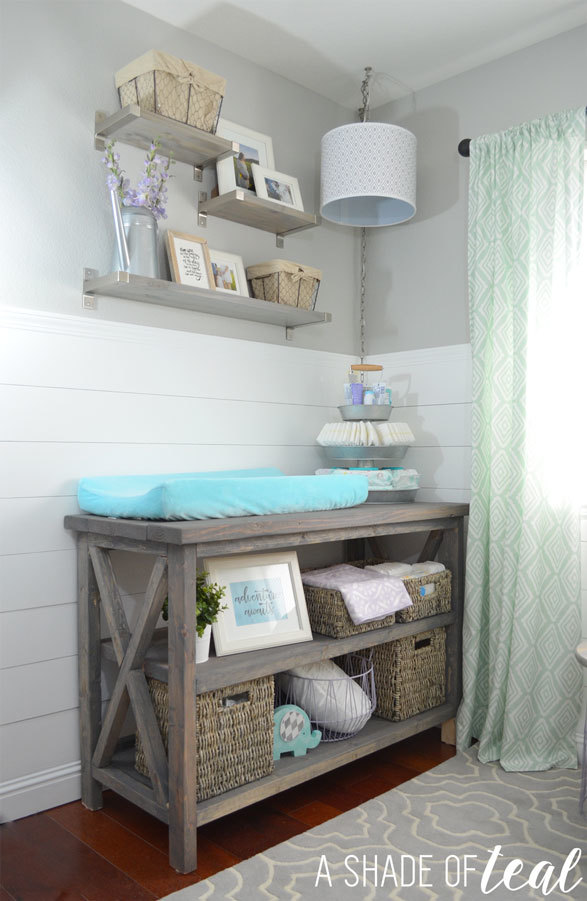

Rustic farmhouse changing table without the framed top box. I built this for my daughters nursery.


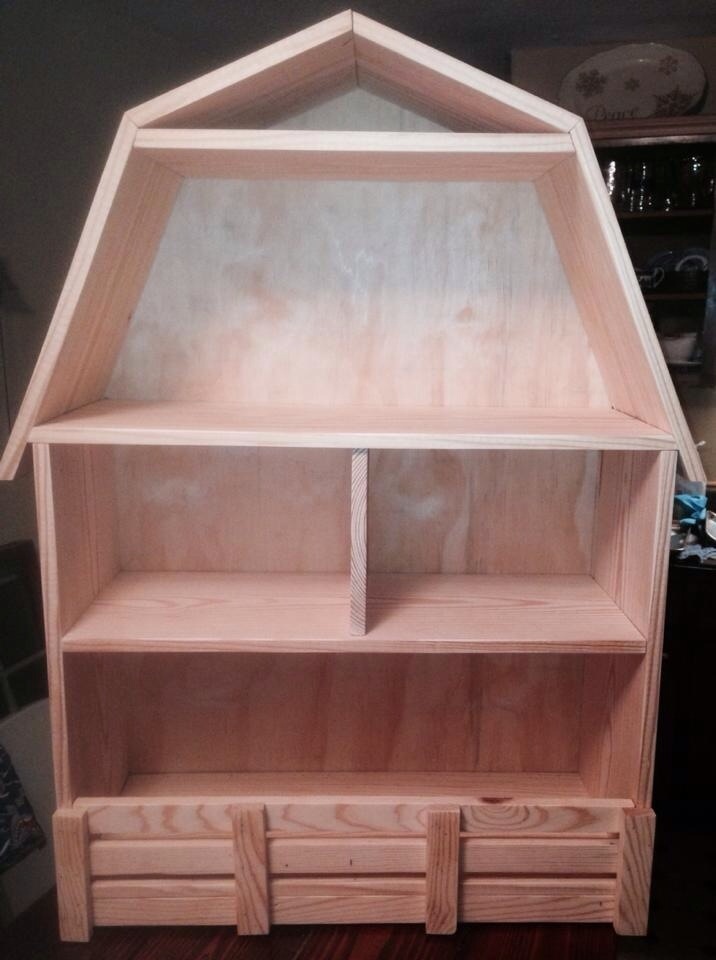
I built this for a friend's daughter who collects the Tractor Supply farm animals. This is the first time I have cut on angles to make the roof. The directions say built it from bottom to top but I found it easier to start for the top and work down. Then attach the whole roof where it marched on the barn... Hope this helps. I did not finish it cause the friend wanted to stain it herself...

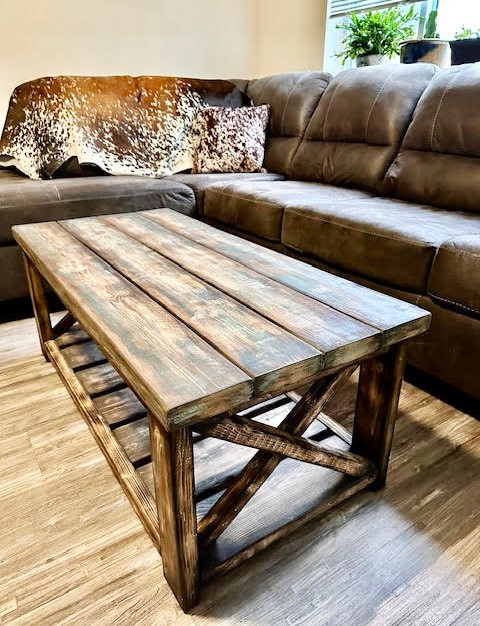
Great coffee table by April!
For the Finish:
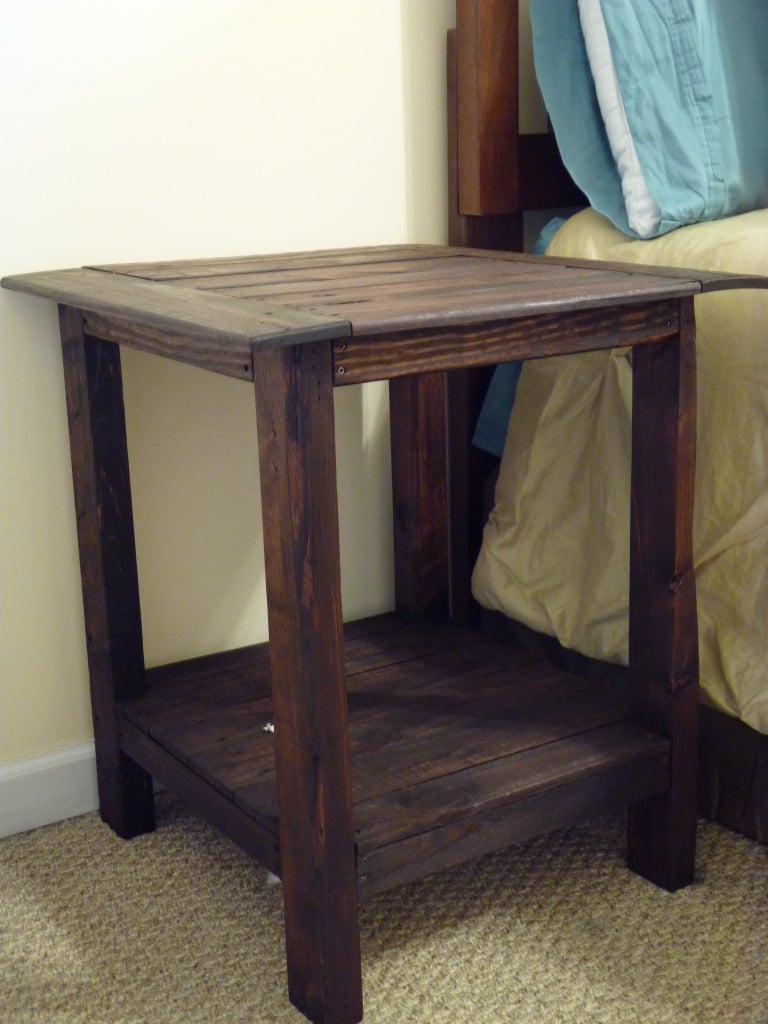
First I lightly burnt the wood. The base is minwax in ebony. I actually sprayed water on the wood and used a damp cloth to apply.
The top I used random spots of regular satin paint in grey, a couple shades of blue and an olive green and a chalk paint white. Then sanded it down removing most of the paint and stained it with minwax provincial. And went over some of the edges with the ebony.
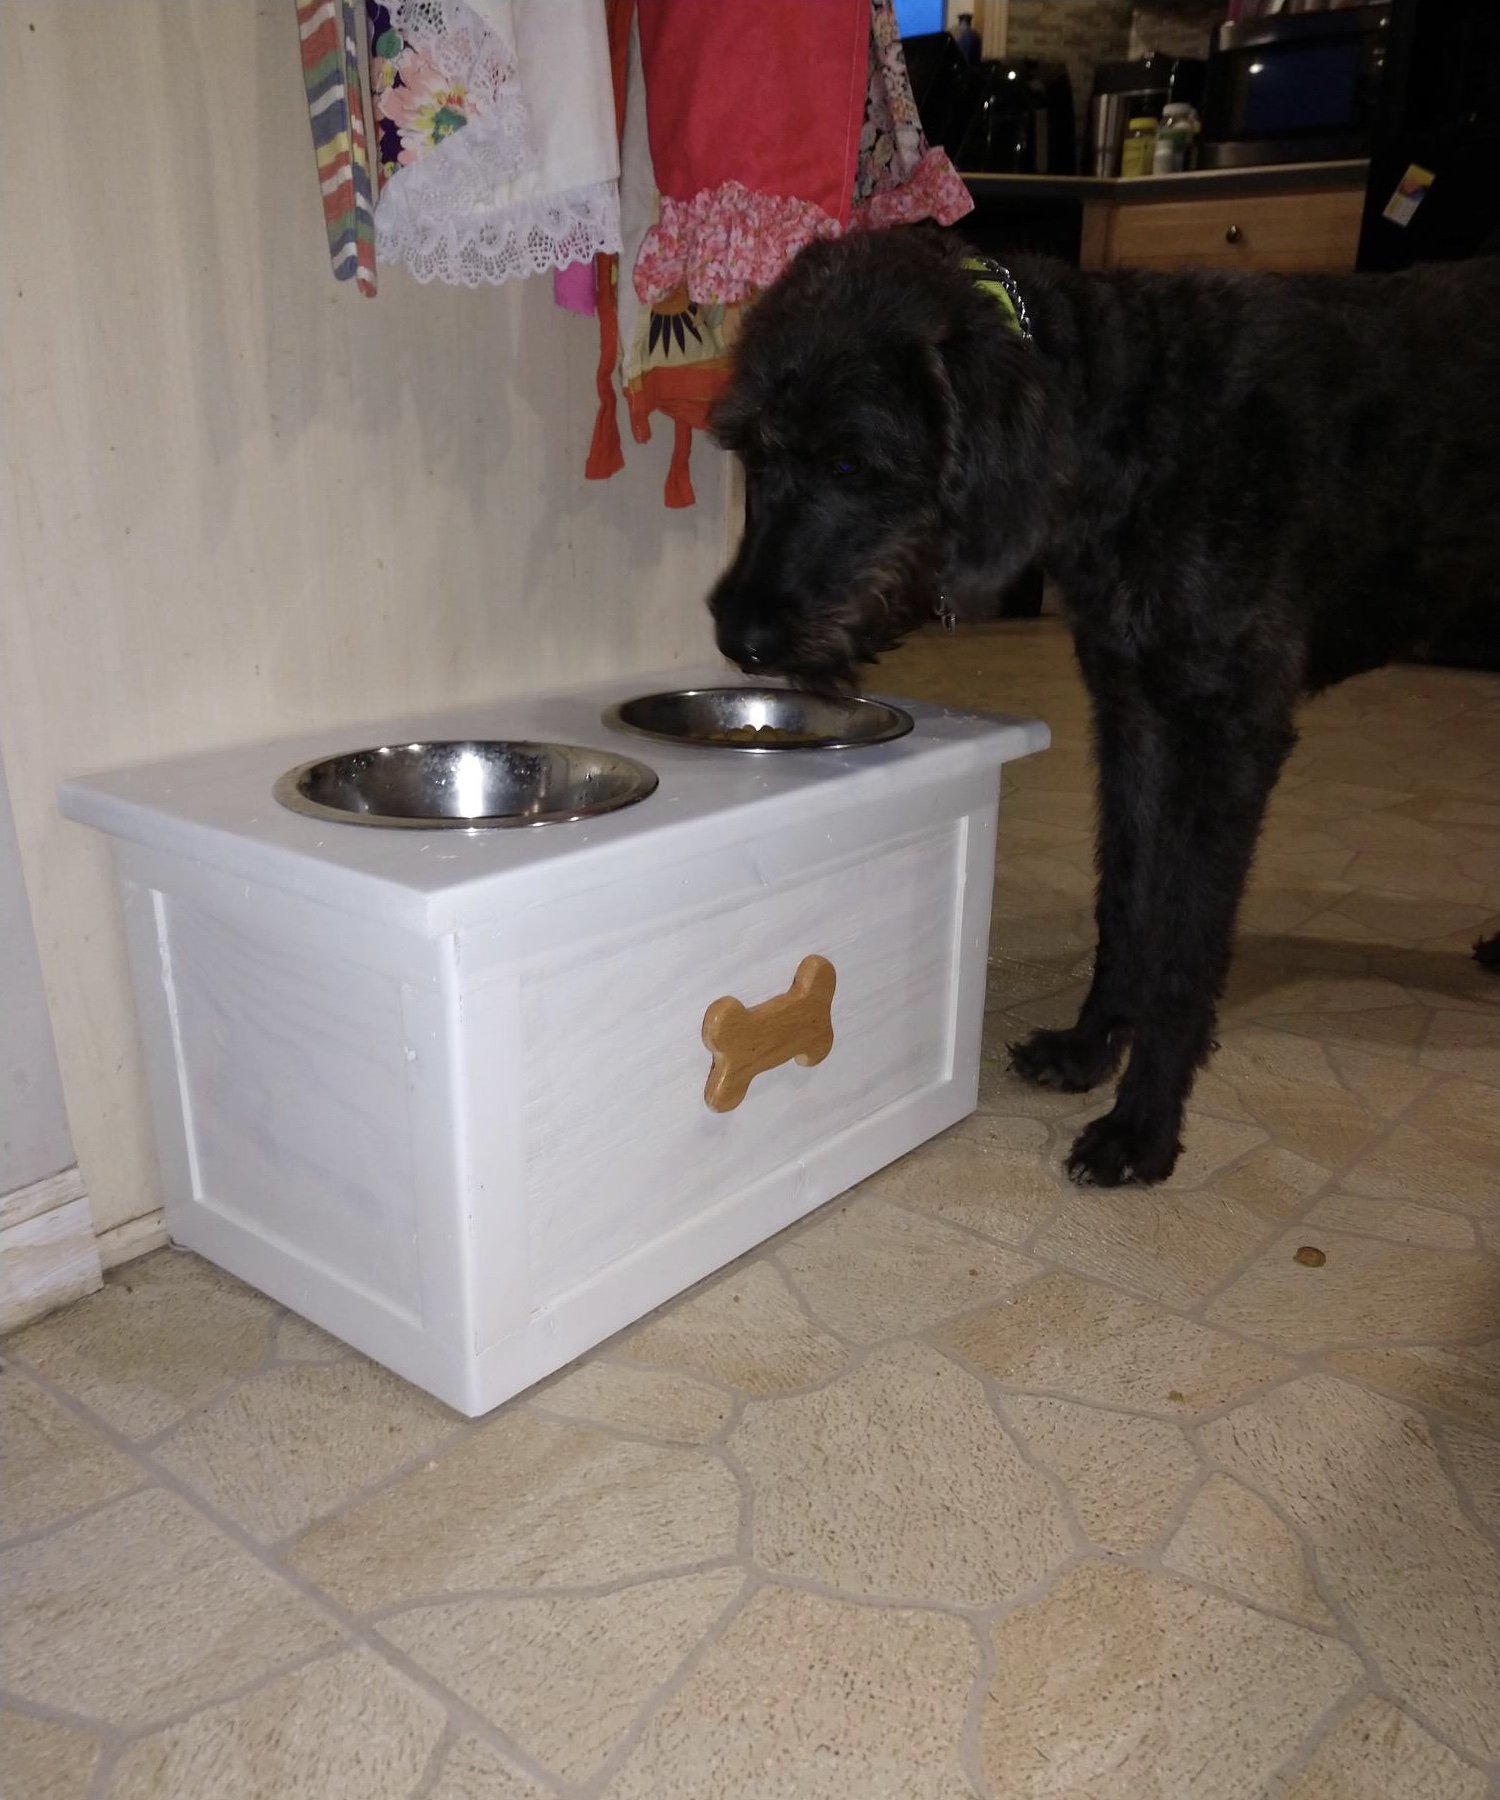
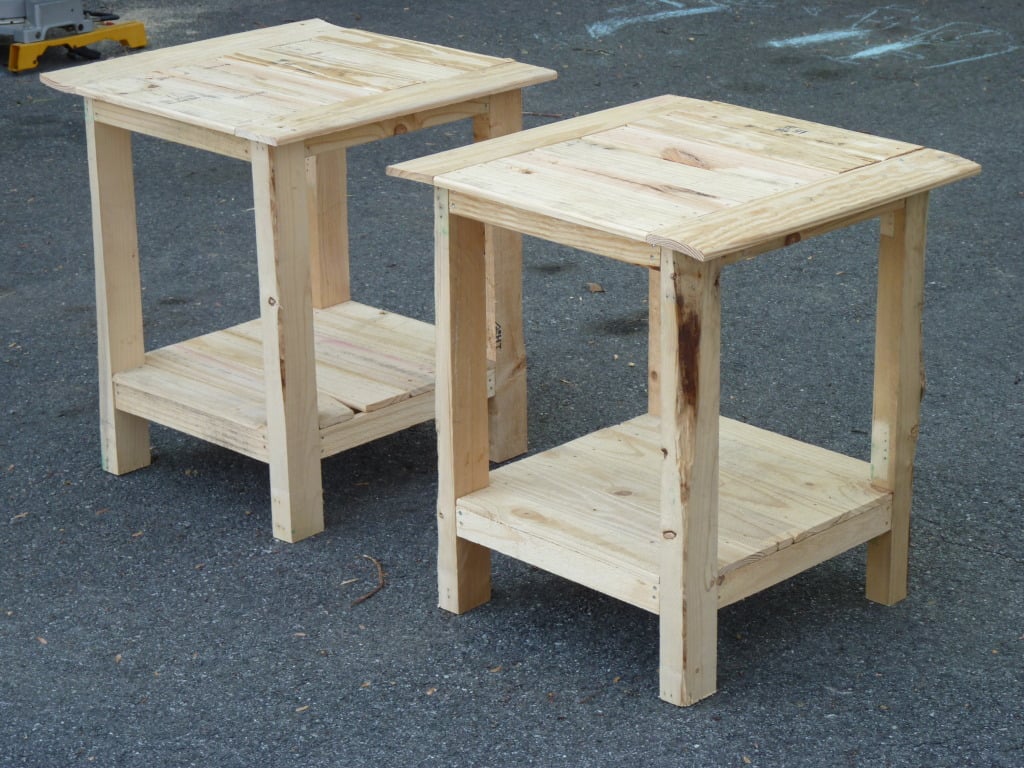
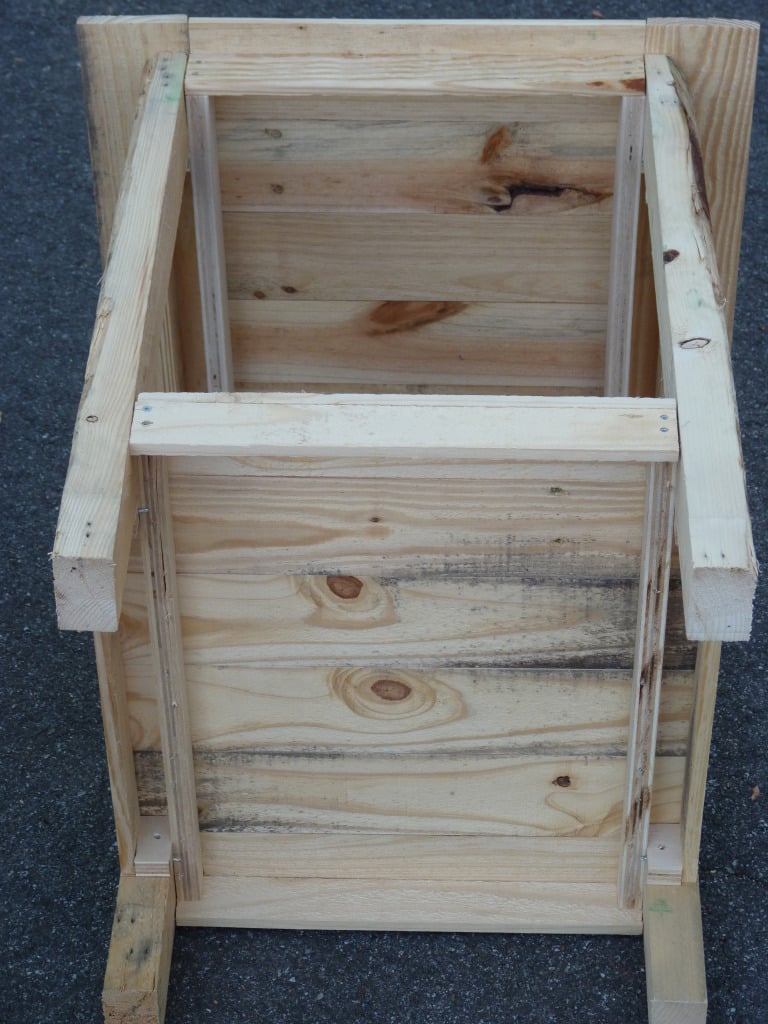
Dog feeding station with storage. Have a container of dog food underneath. Whipped up with some scraps while quarantined today.
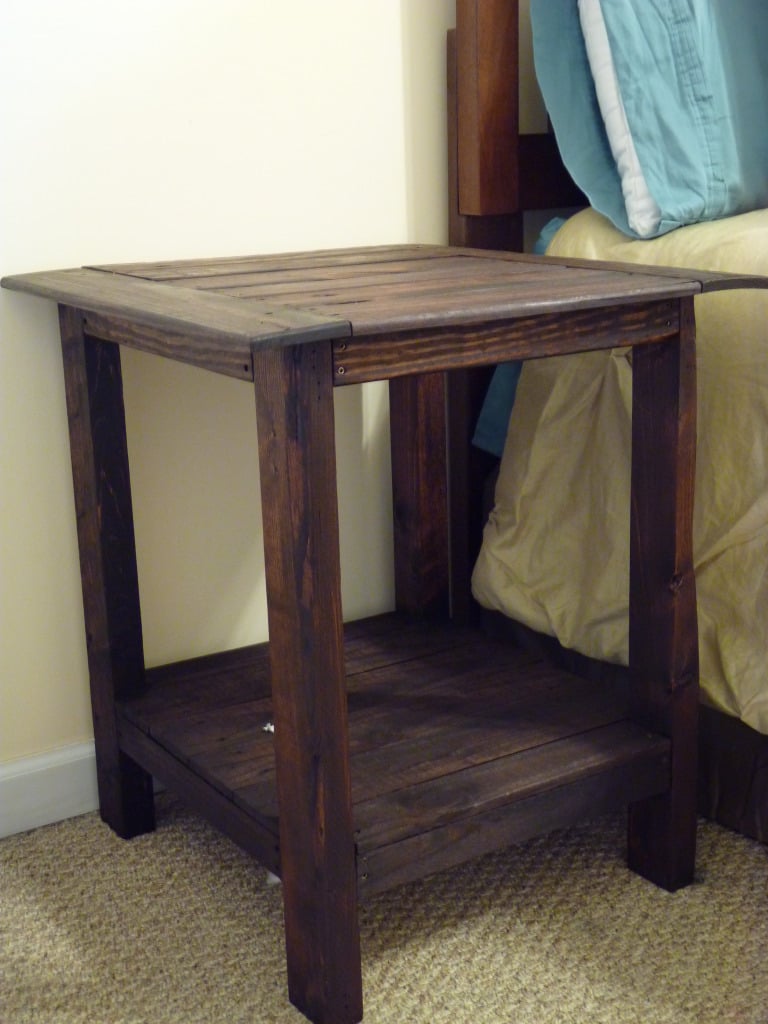
All the wood is from pallets, which you can find for free at local big box stores.
I added the shelf with the same support system used for the table top.
Made with as little cost as possible so materials are not too much.
Material:
A few pallets
Wood screws
Tools:
Table Saw
Miter Saw
Drill
Sander
Measuring Tape
Square
Pencil and Paper
Stain
Brush
Shop Cloth
This is my first Project :)

This was an after work project. (2.5 hours) Easy build. This bench is exactly to spec of the plans. This is a great little work bench already planning to build a couple more.

Inspired by Ana White's $25 Wood Baby Gate (https://www.youtube.com/watch?v=cPV6XfheqgA), I needed a gate for my miniature schnauzers. They loved going into the basement unattended ... and well ... potty accidents happen without me being the wiser. So, I modified the hardware used, and so far so good! The puppies and my little nieces and nephews are protected.
My wife wanted a new table for our dining room in our new house. I have been eyeing this project for a couple of years and finally convinced my wife that I could do it since we had the space. The plans on this site were easy to follow and I was able to really put it together. As far as the color of the stain, that is all my wife as she has the eye for colors and matching. Overall, this was a fun project and I can't wait to put the bench together next.
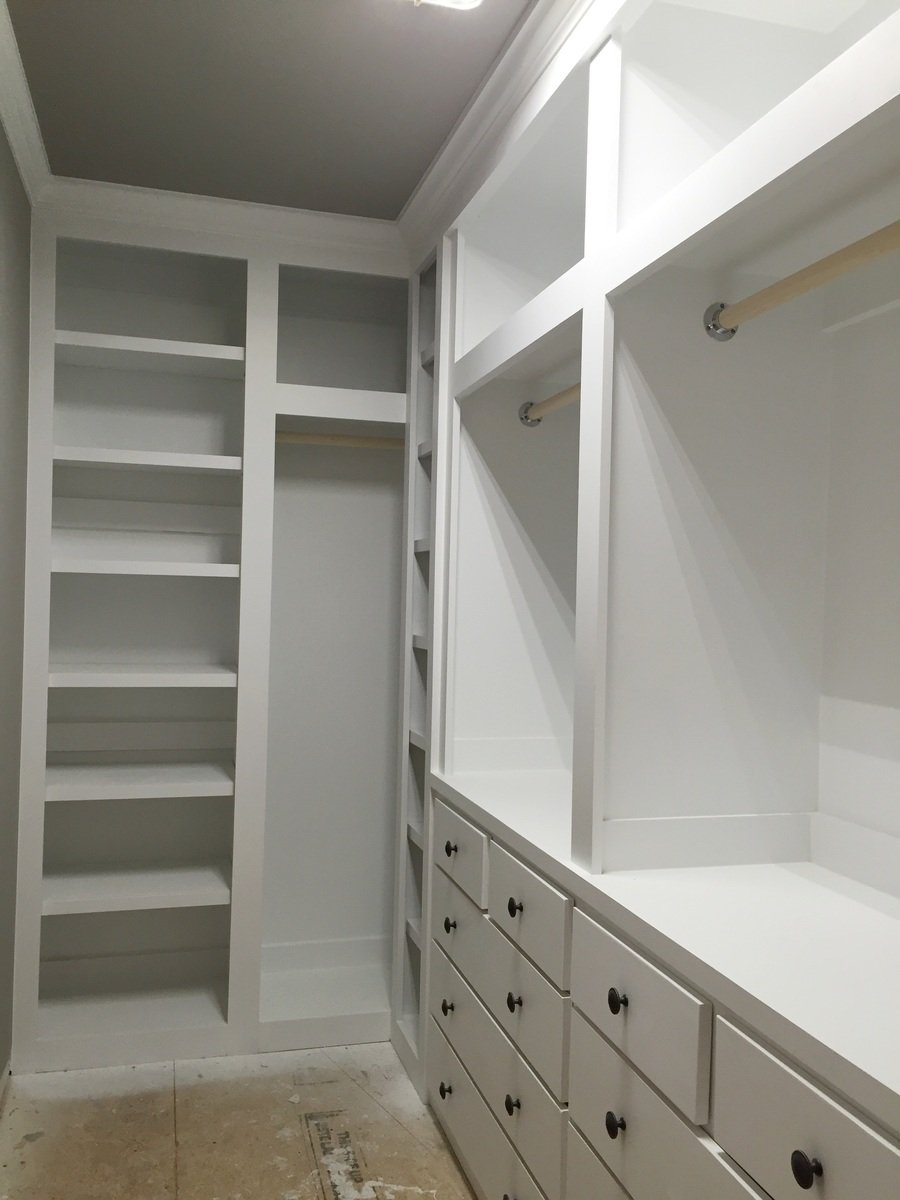
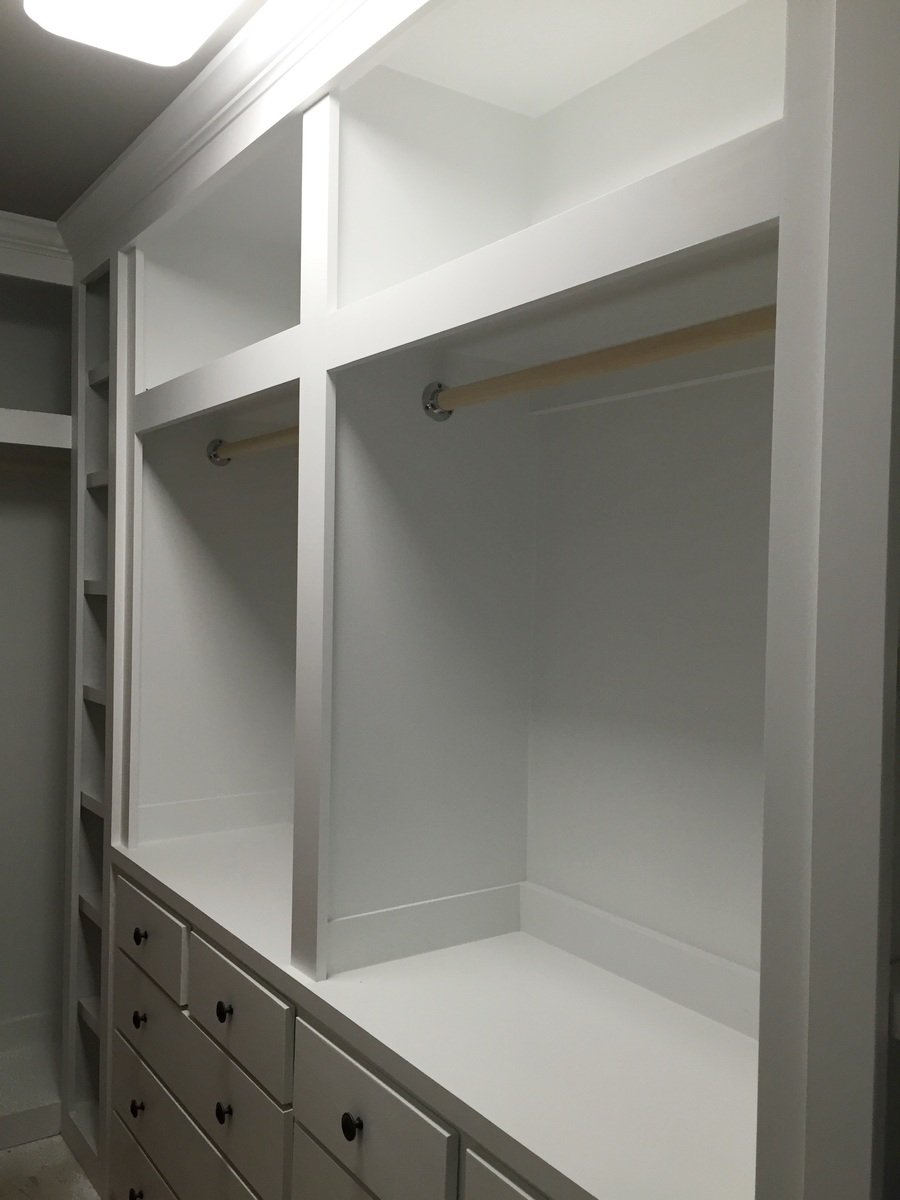
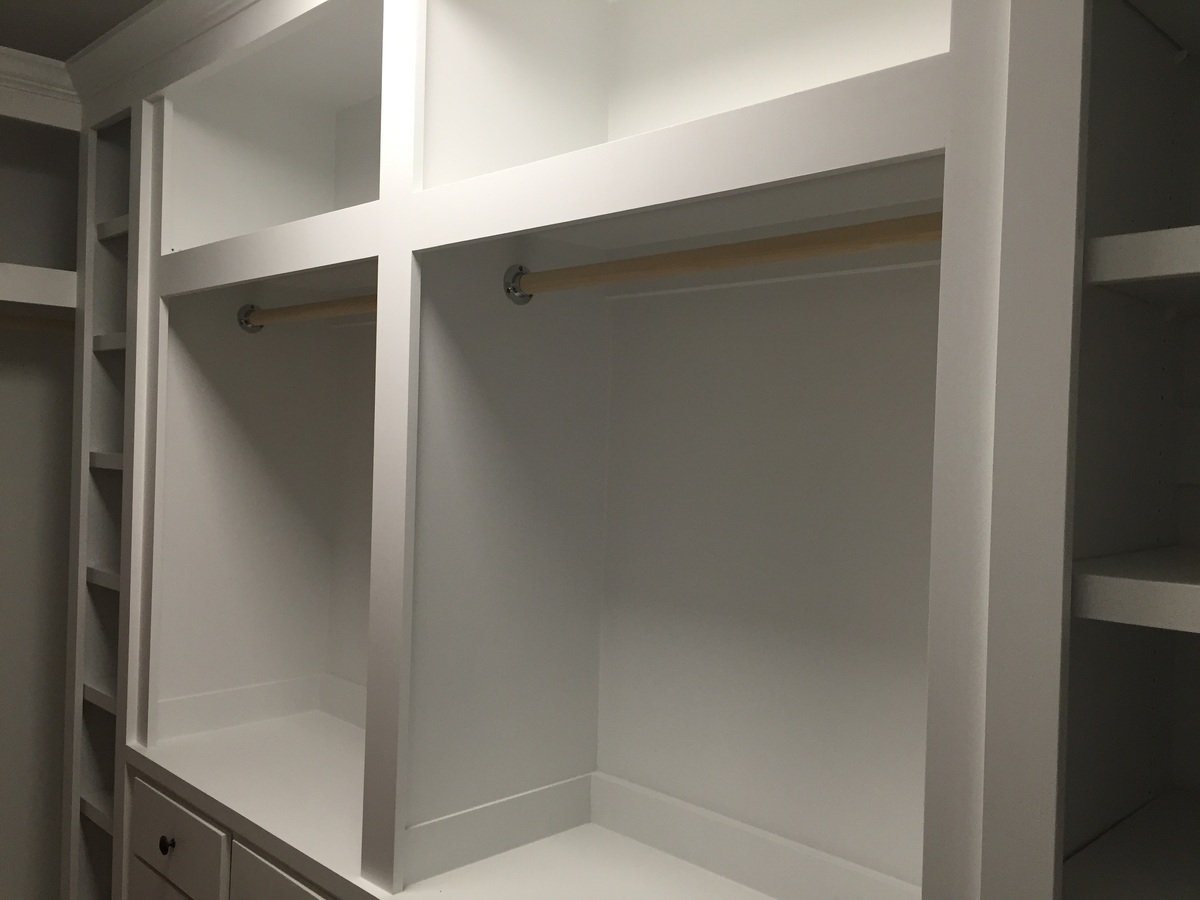
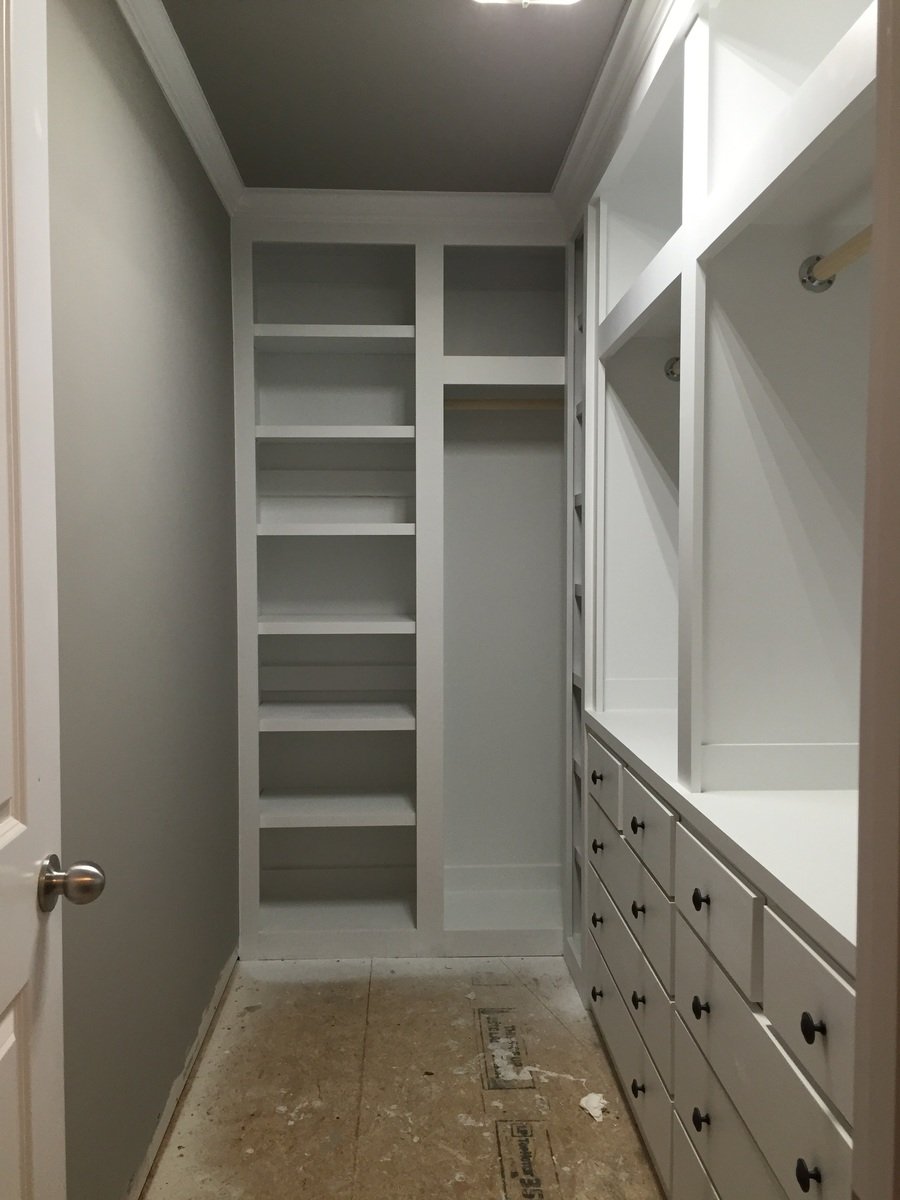
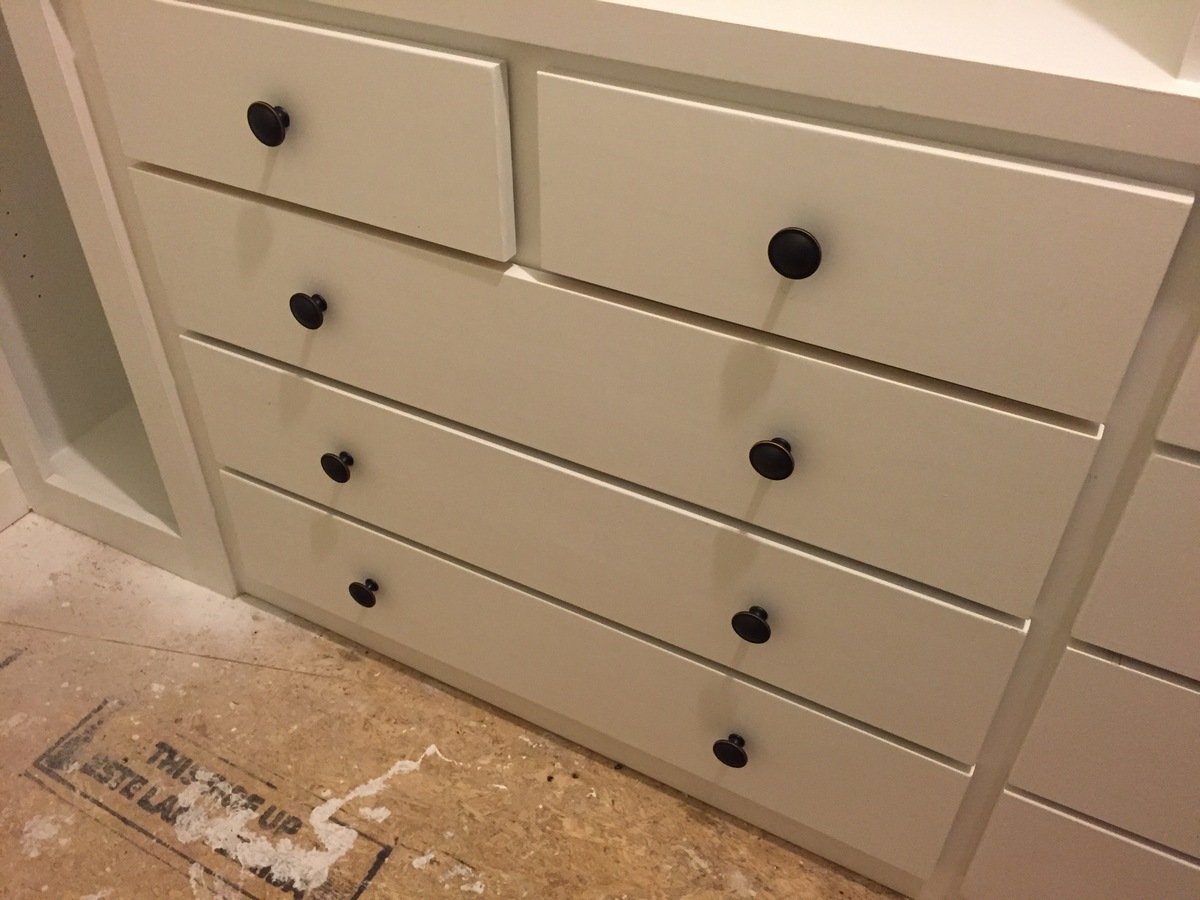
Built in closet to replace builder grade wire wracking. Closet is approximately 11 feet by 5 feet. consists of two shoe racks with 7 shelves each. 6 large drawers and 4 small drawers. Two hanger sections with storage above them. End wall has hanger for longer items and storage above and a cabinet with shelves.
Yet to finish the floor.
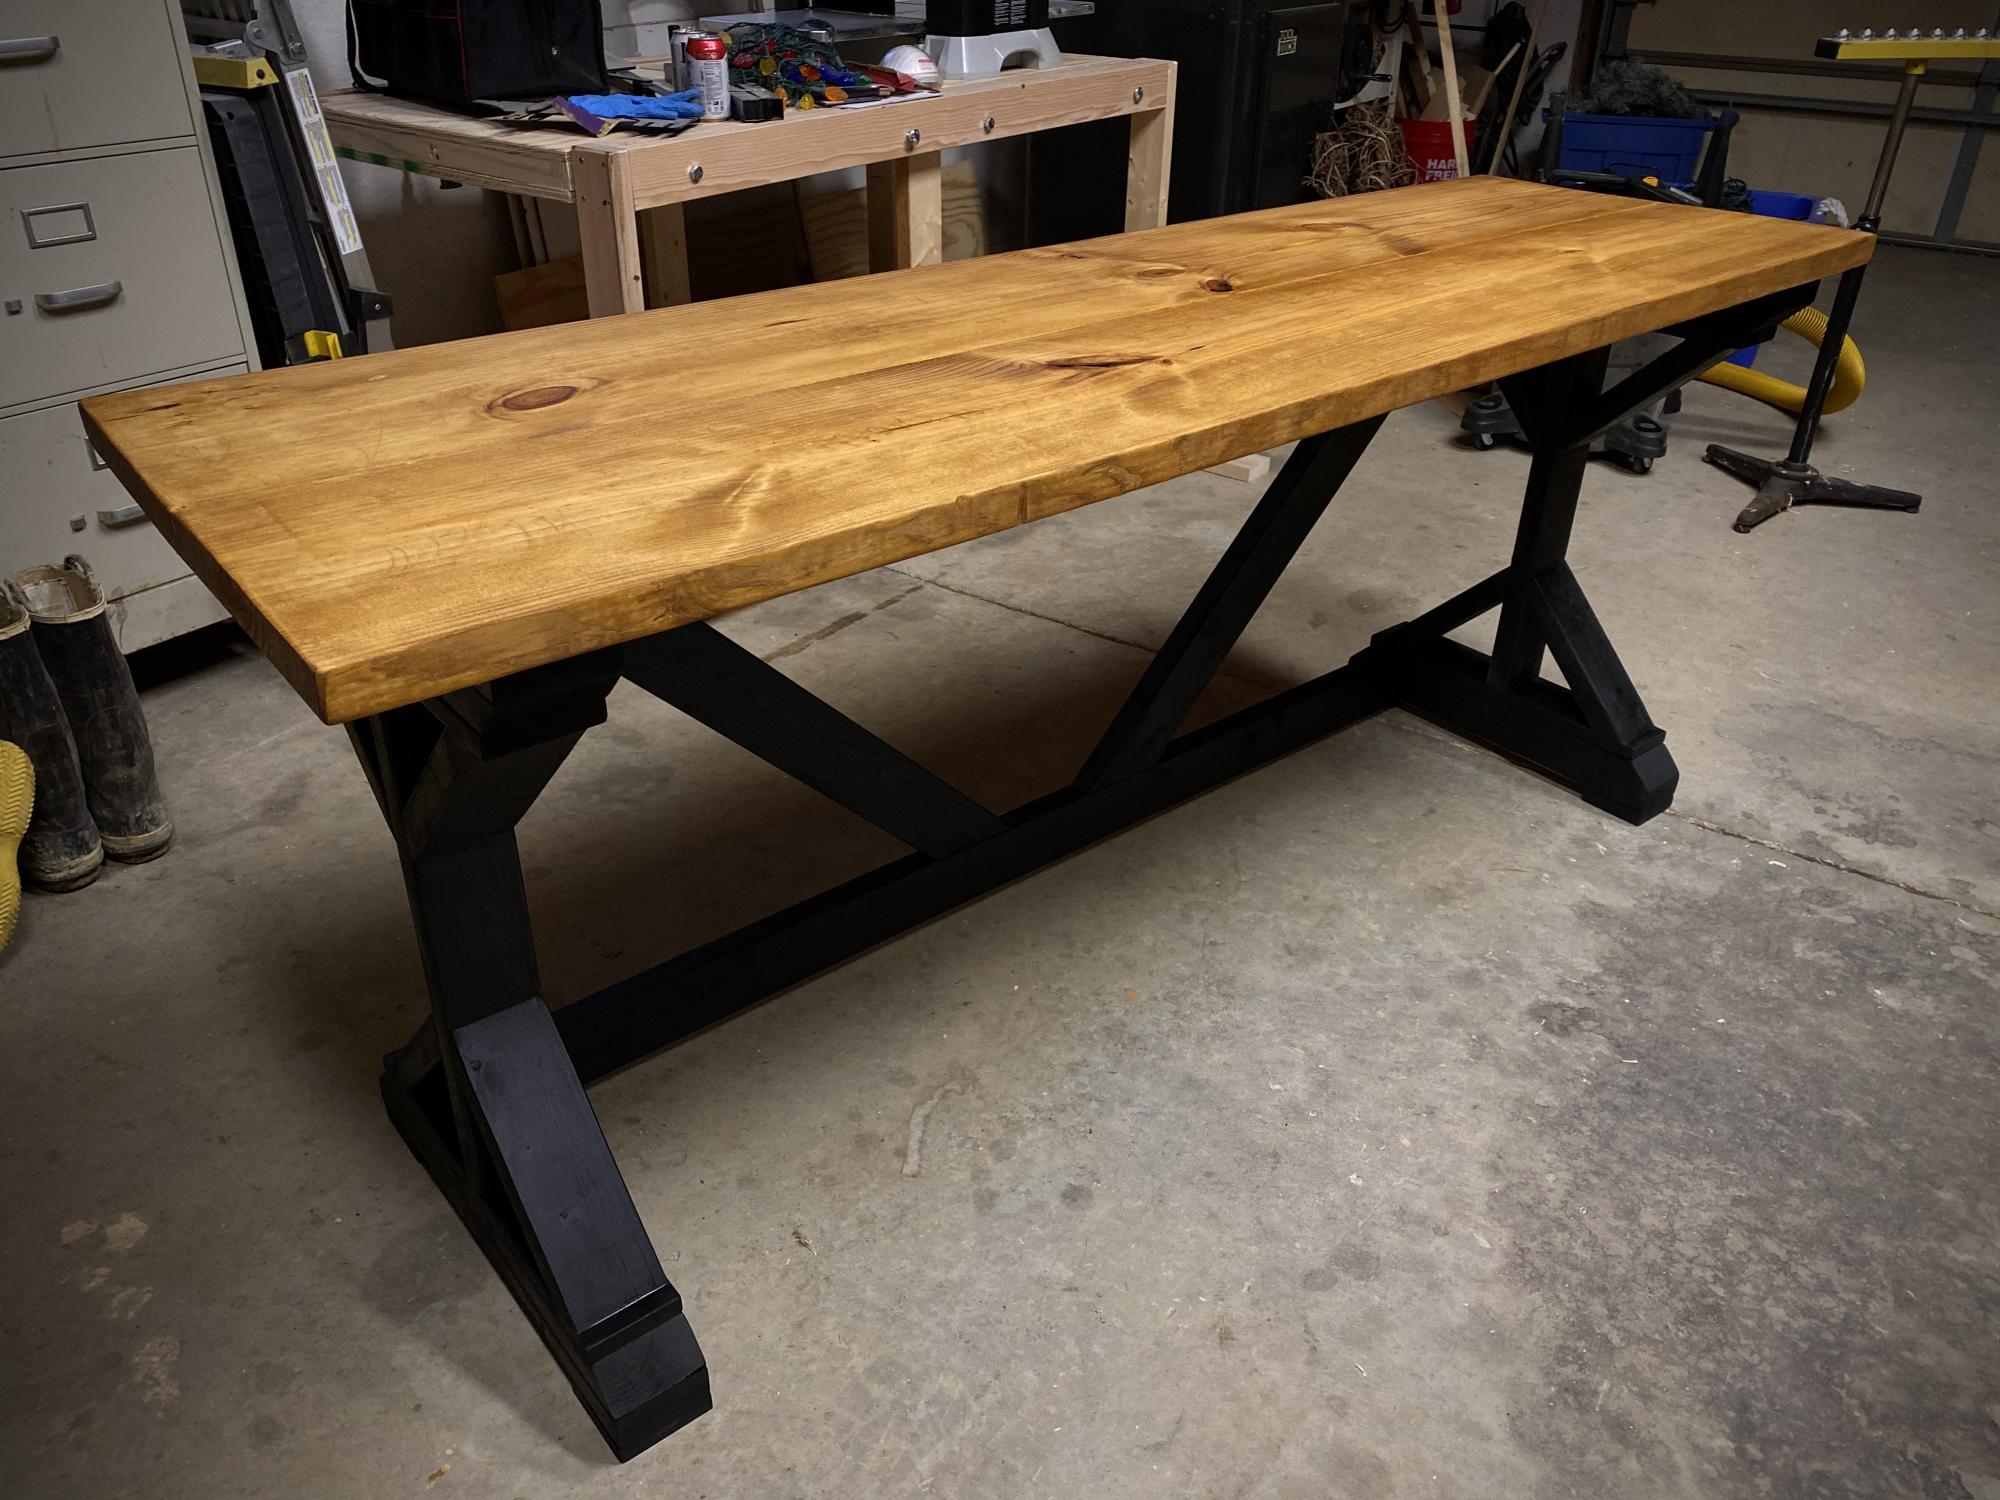
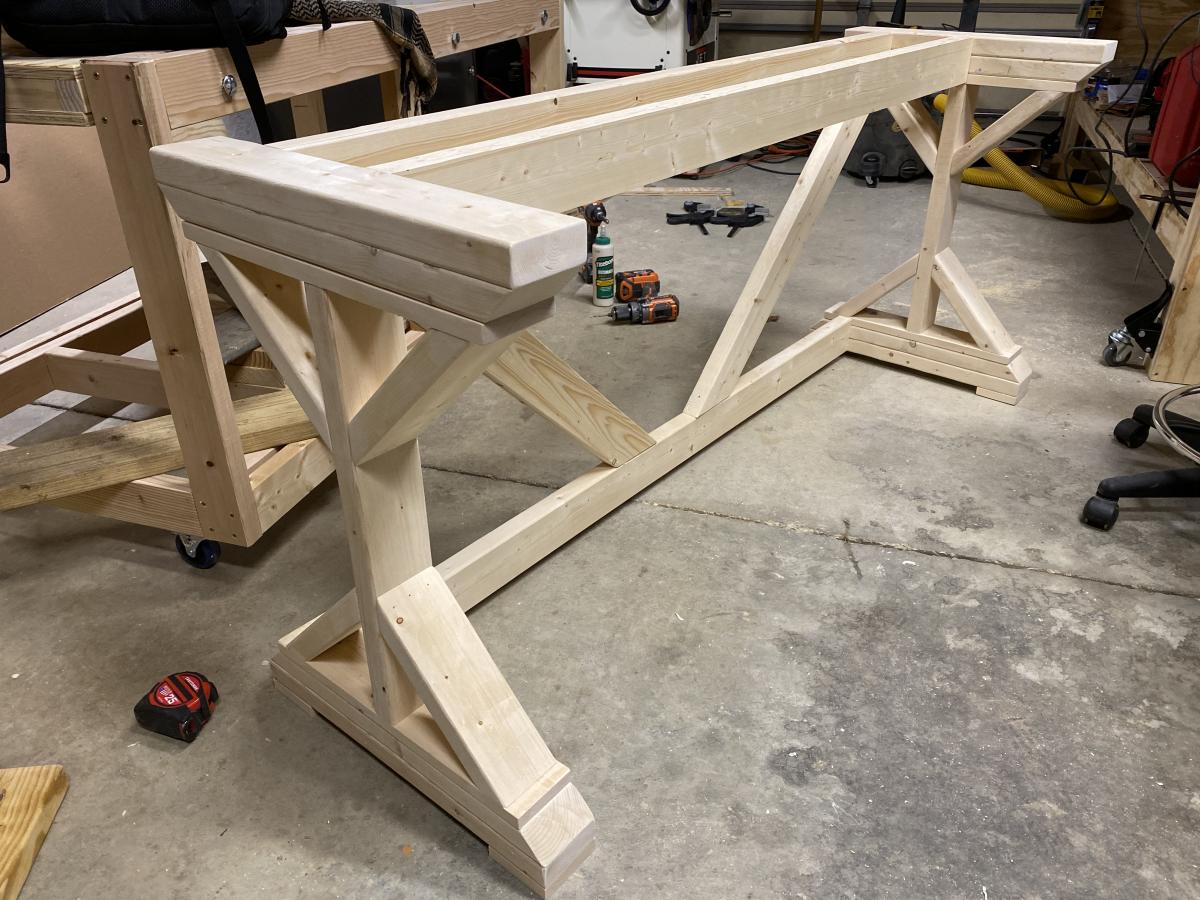
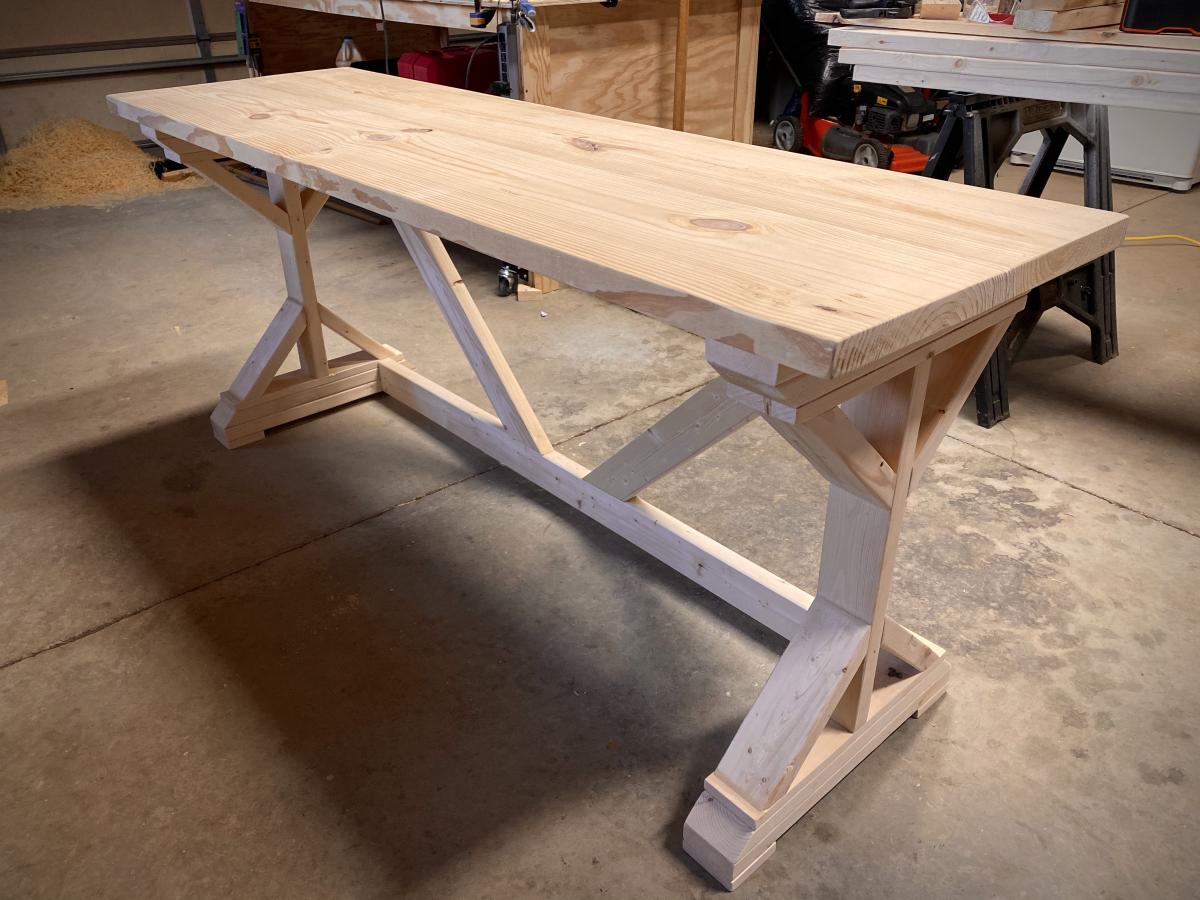
This is only my second ever furniture project. I modified the height to give me extra clearance for a full sized synthesizer underneath. I spray painted the base matte black, stained the top with Minwax Puritan Pine, and sealed it with Varathane Triple Thick Water Based Polyurethane.
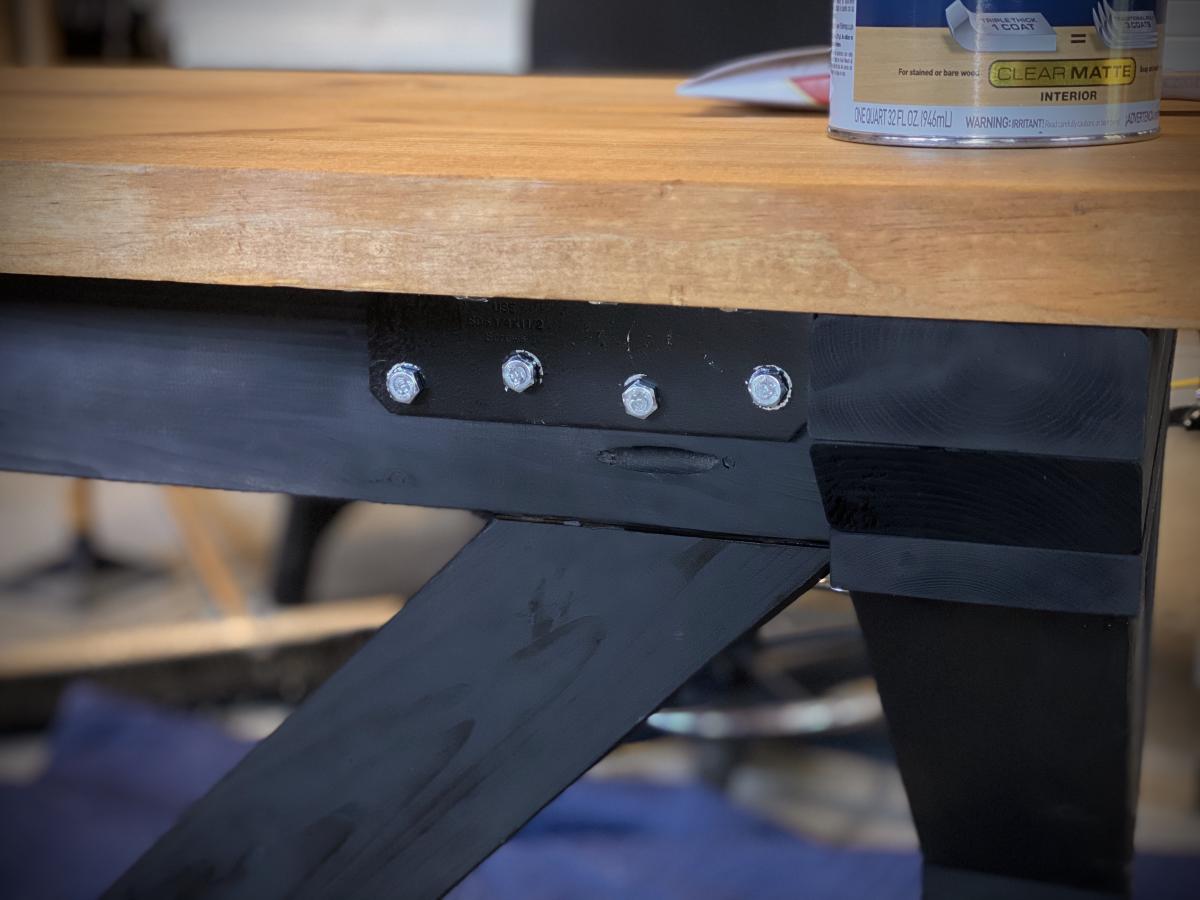
I attached the top with heavy corner brackets and 1" hex head lag screws to add a bit of an industrial look.
Thu, 04/23/2020 - 22:03
Why don't my brags show up anywhere? Did I fill them out wrong?
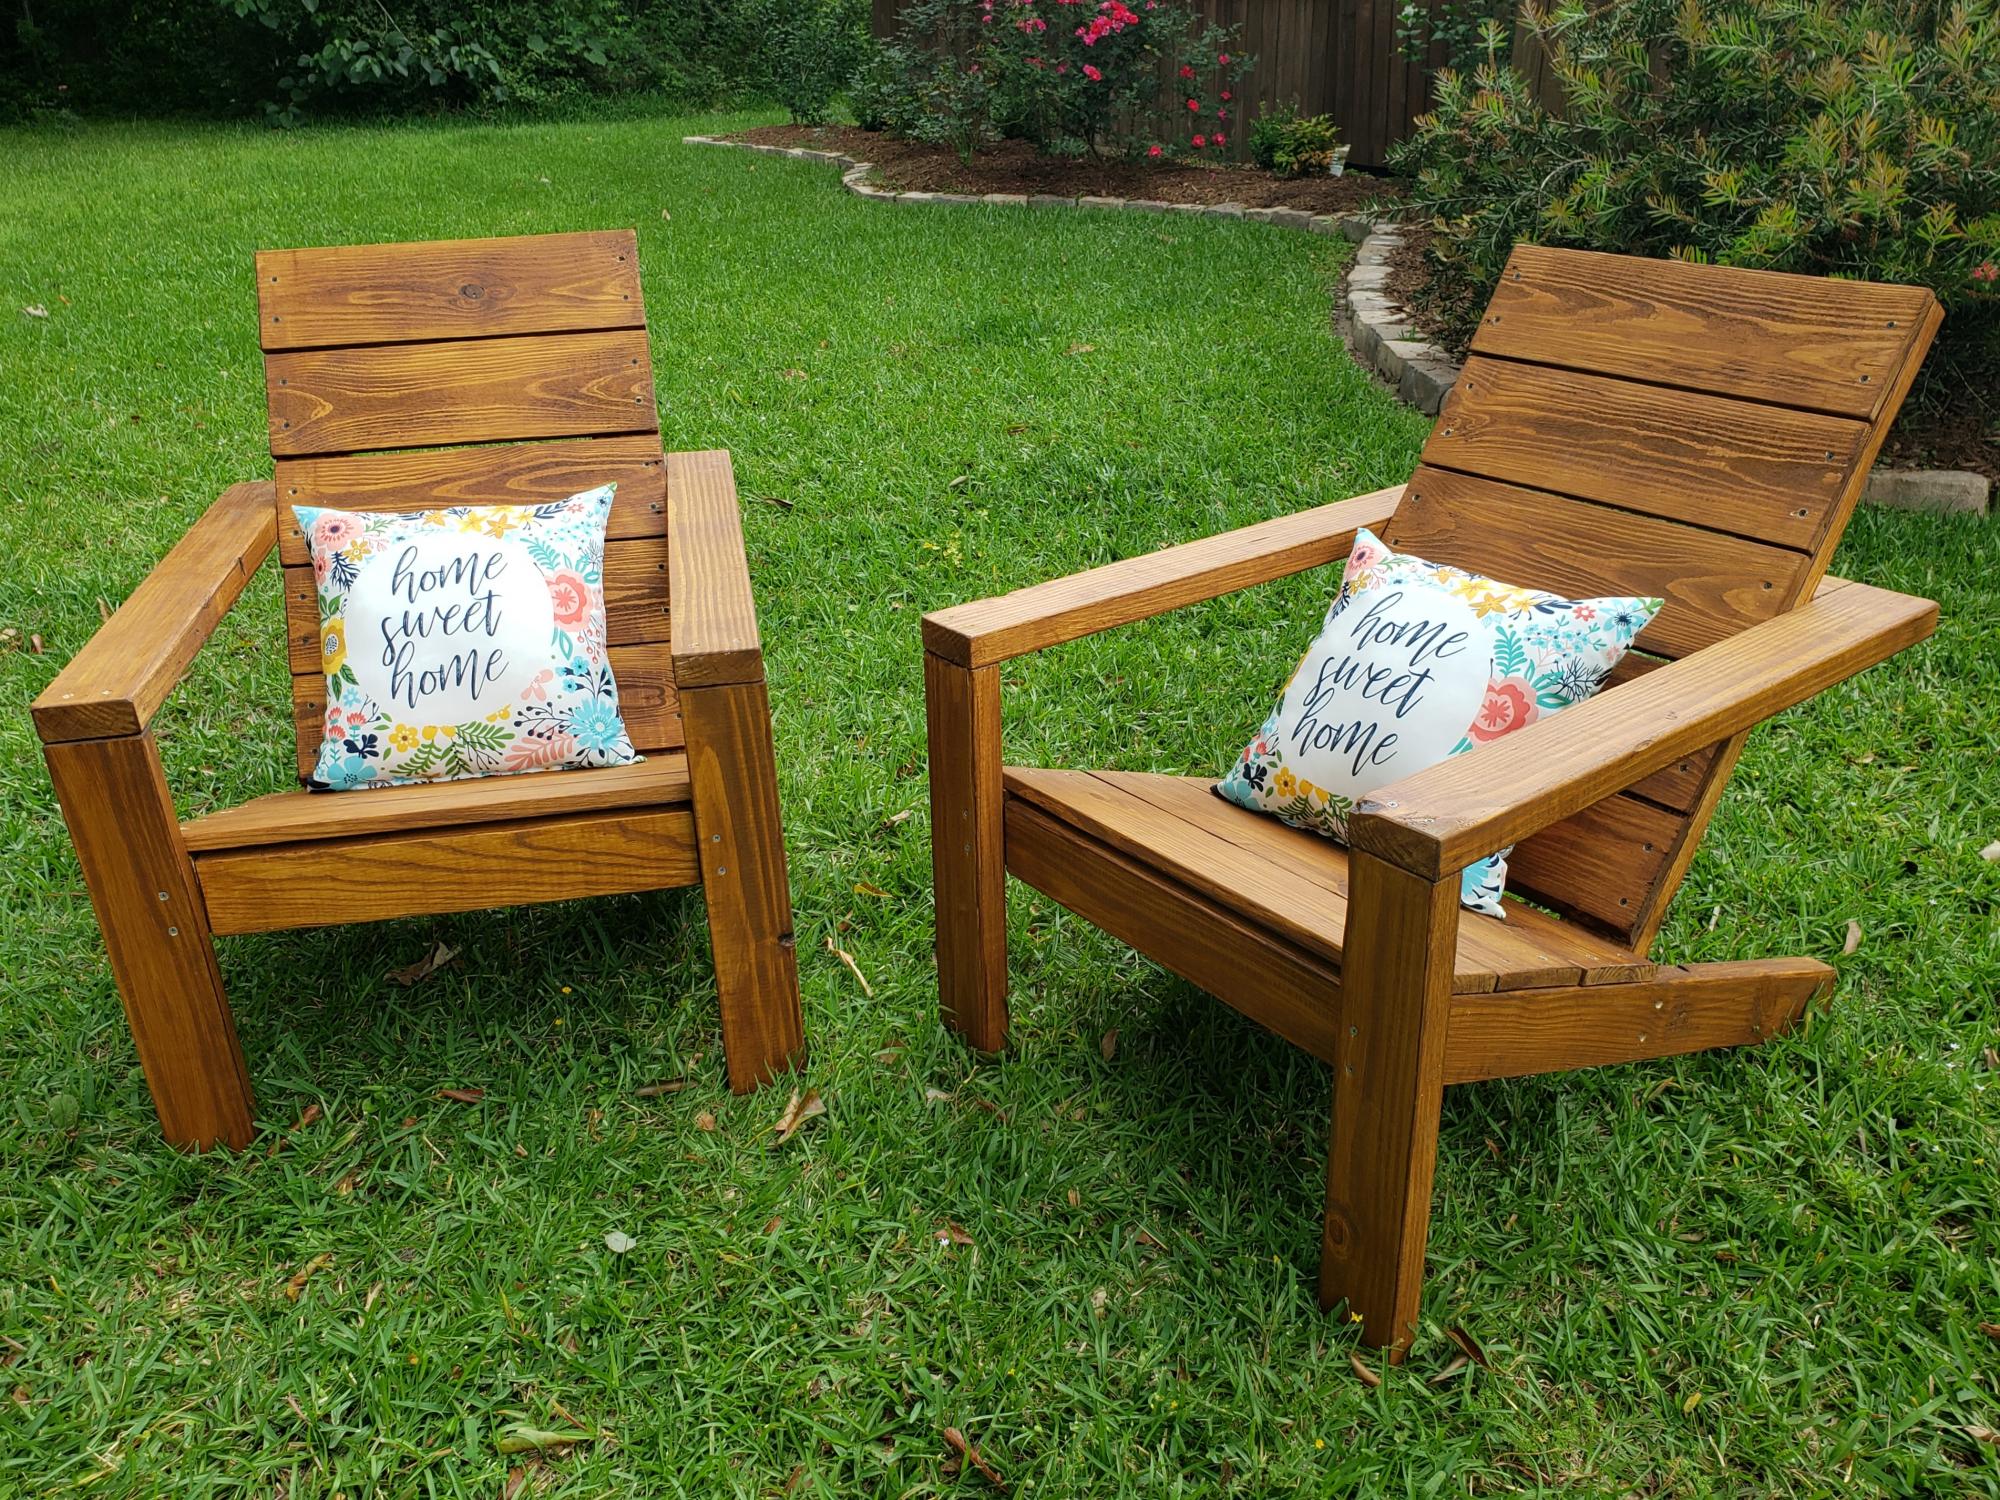
The plans were easy to follow and the finished result was perfect! We subbed 1x6s for the 1x10s, because we were using some reclaimed pallet wood. We cut, sanded, and stained/weatherproofed all pieces before assembly, which I would also recommend.
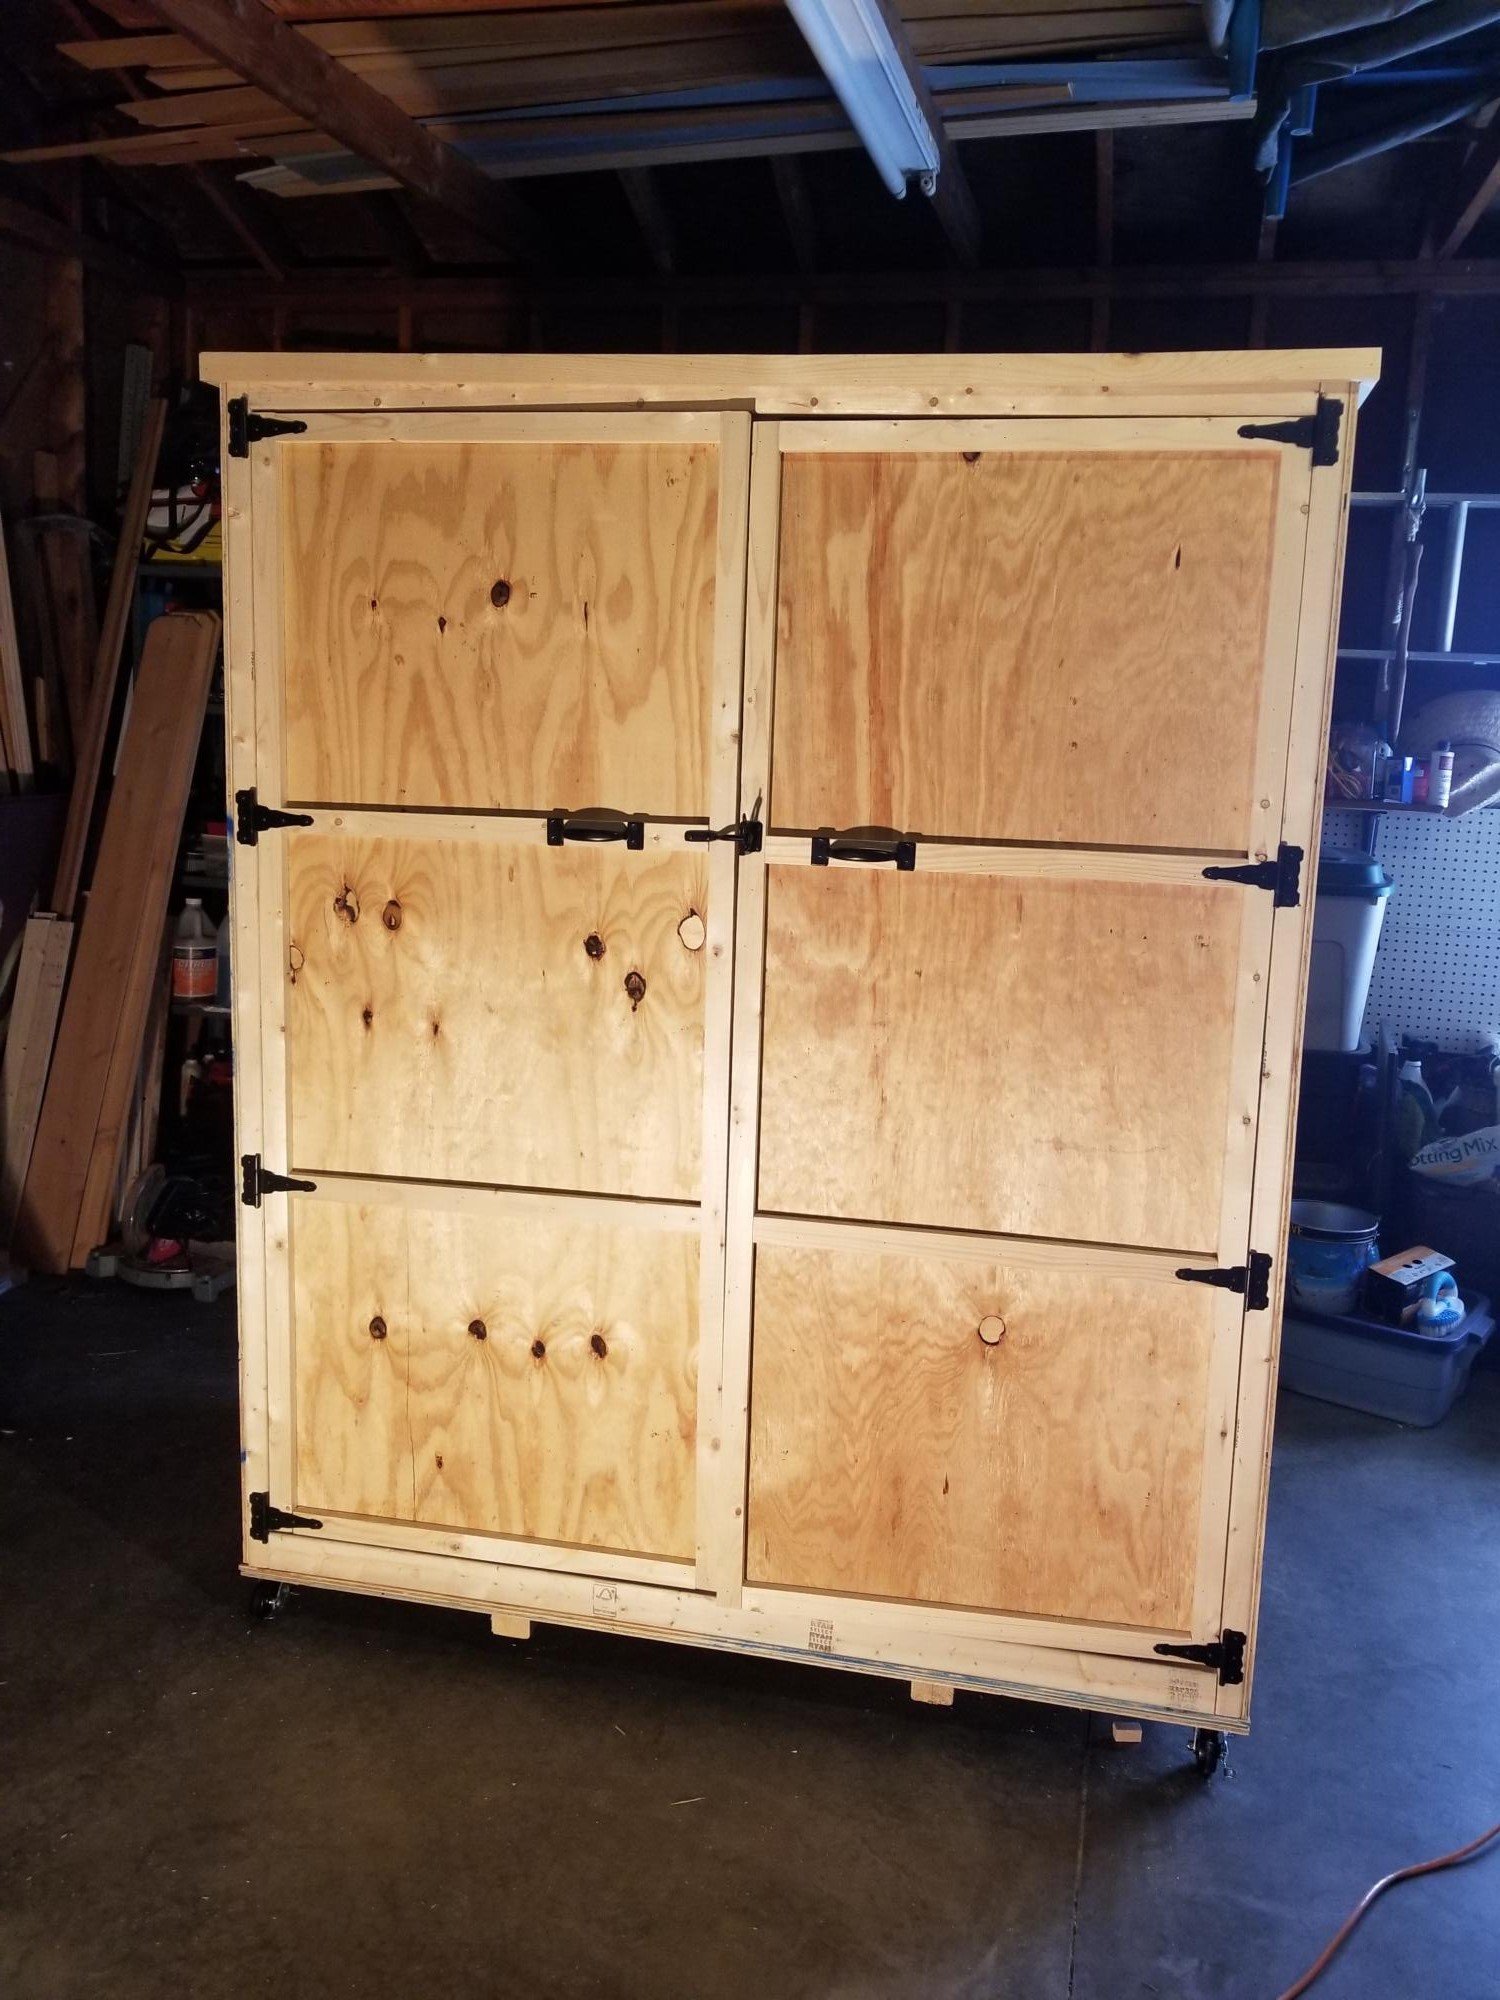
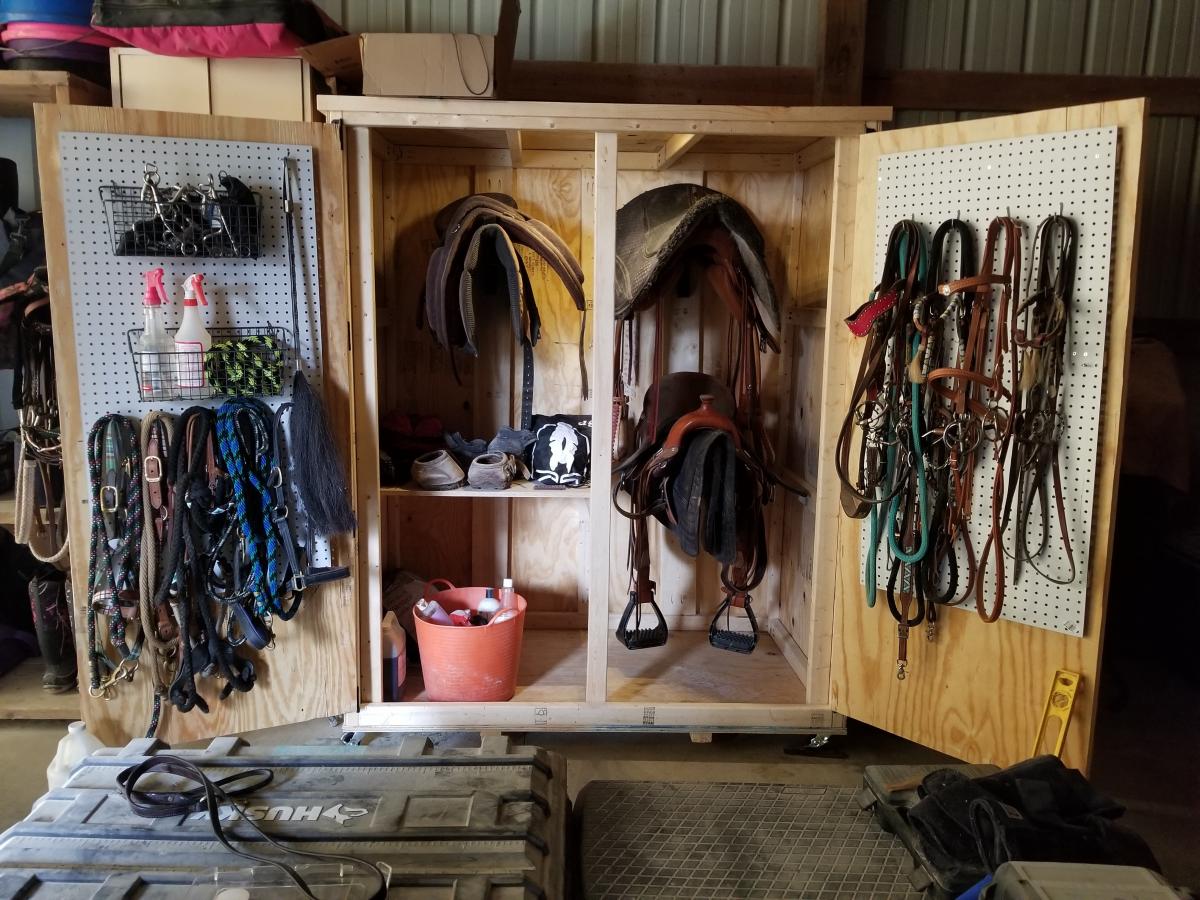
We did some conversions to the smokehouse plans to make a locker for all of my horse tack! :)
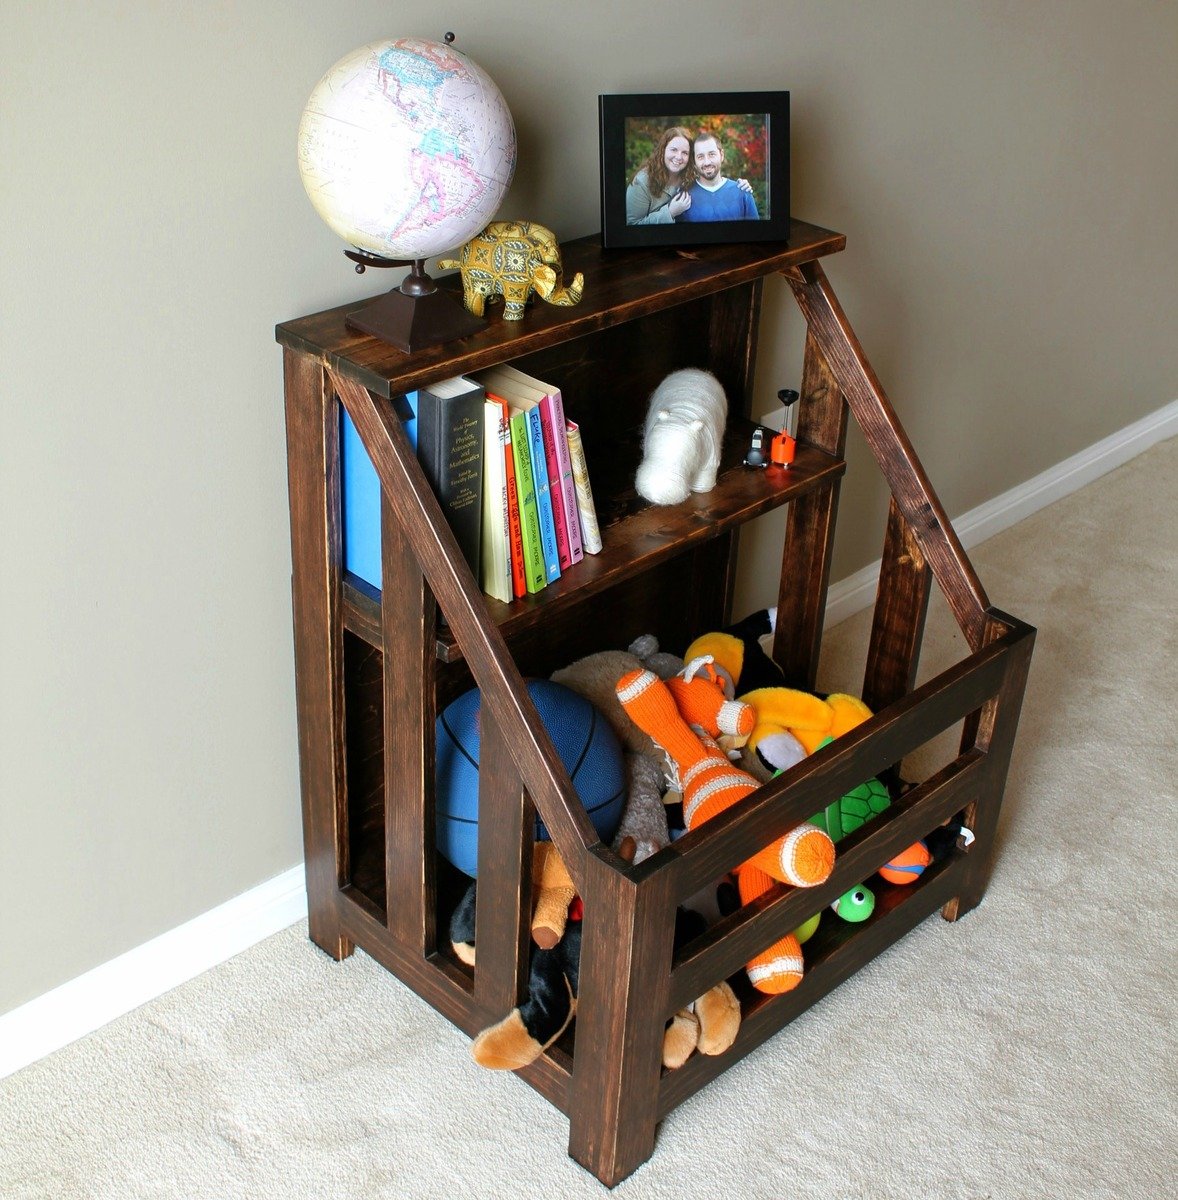
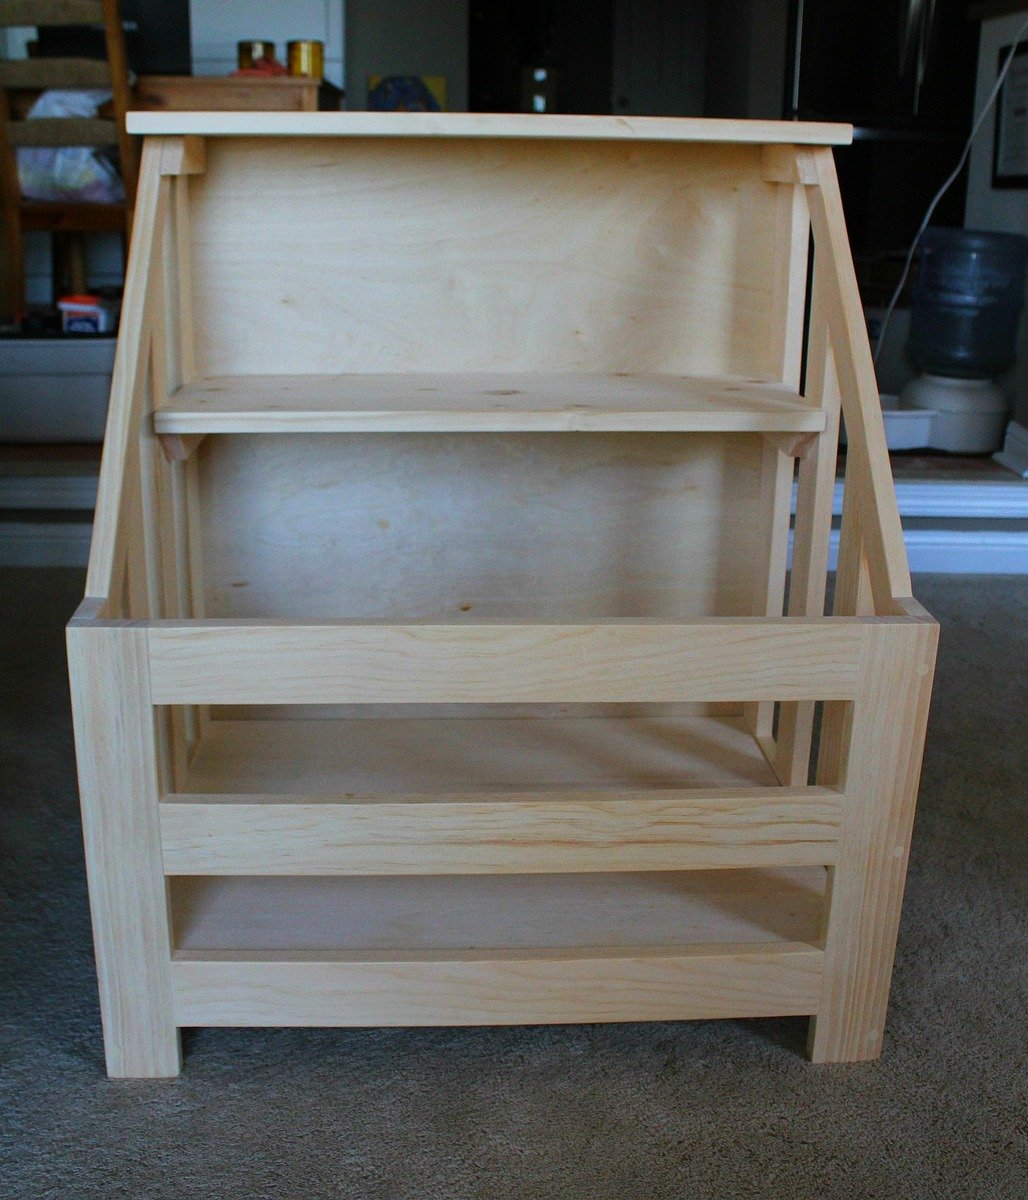
We built this bookshelf/toybox for our cousin's daughter - as a 1st birthday present. Overall, the project only took a weekend (including staining and waxing), and the cuts and assembly are pretty straight forward.
We wanted it to be larger than the one in the plans, so it took some time to figure out the dimensions before we started cutting. There was a bit of, "What do you think of this height?" and, "Is this too wide?"
My husband and I have built quite a few projects together so this one was fairly low on the difficulty scale. As long as you are comfortable with a mitre saw, you can do it. The kreg jig made it easier to drill pocket holes, but even with only different-sized drill bits and a steady hand you can make them.
This is one of my favourite builds - maybe because it was a gift for the sweetest little girl. Plus others have shown interest in it, so I might just have to start a side business!
More details on what we did can be found at:
http://turtlesandtails.blogspot.ca/2014/05/child-sized-bookshelf-toybox…
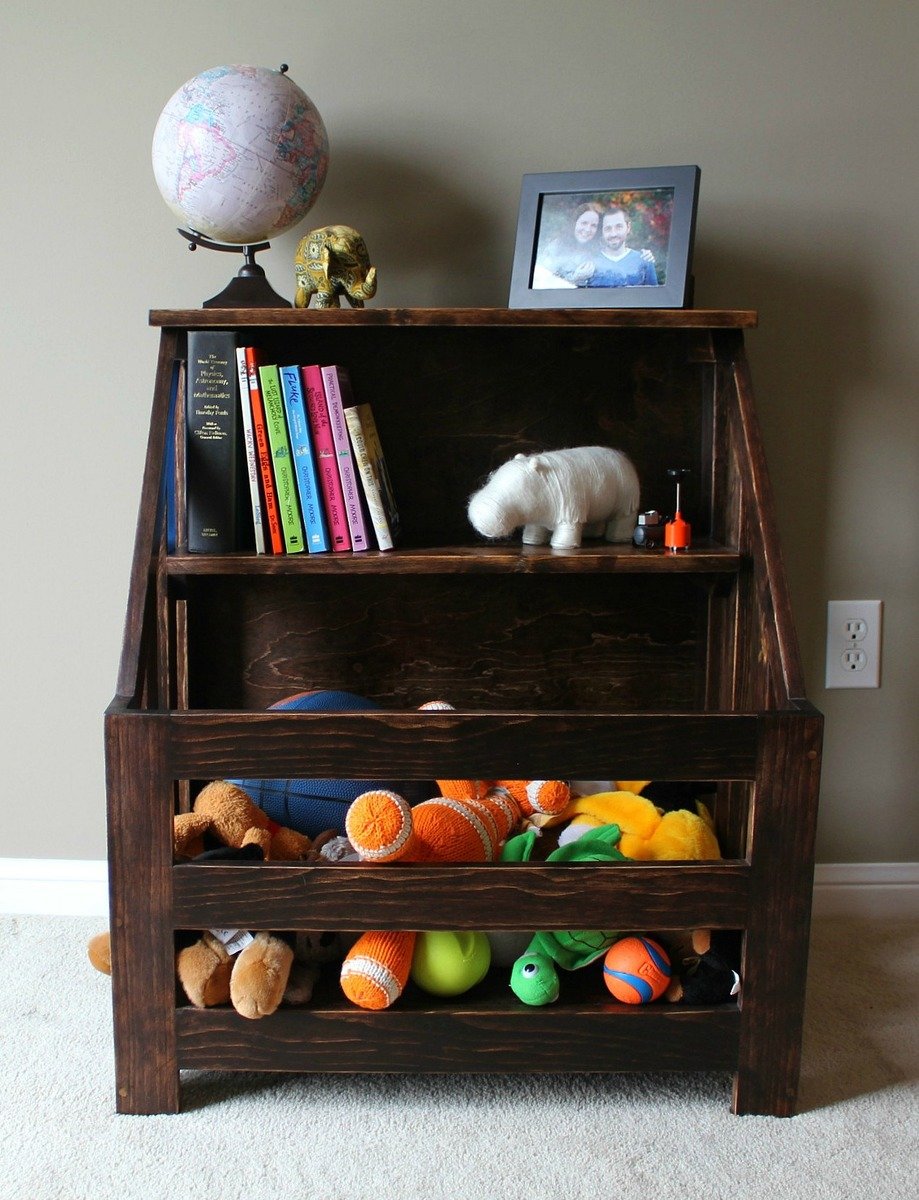
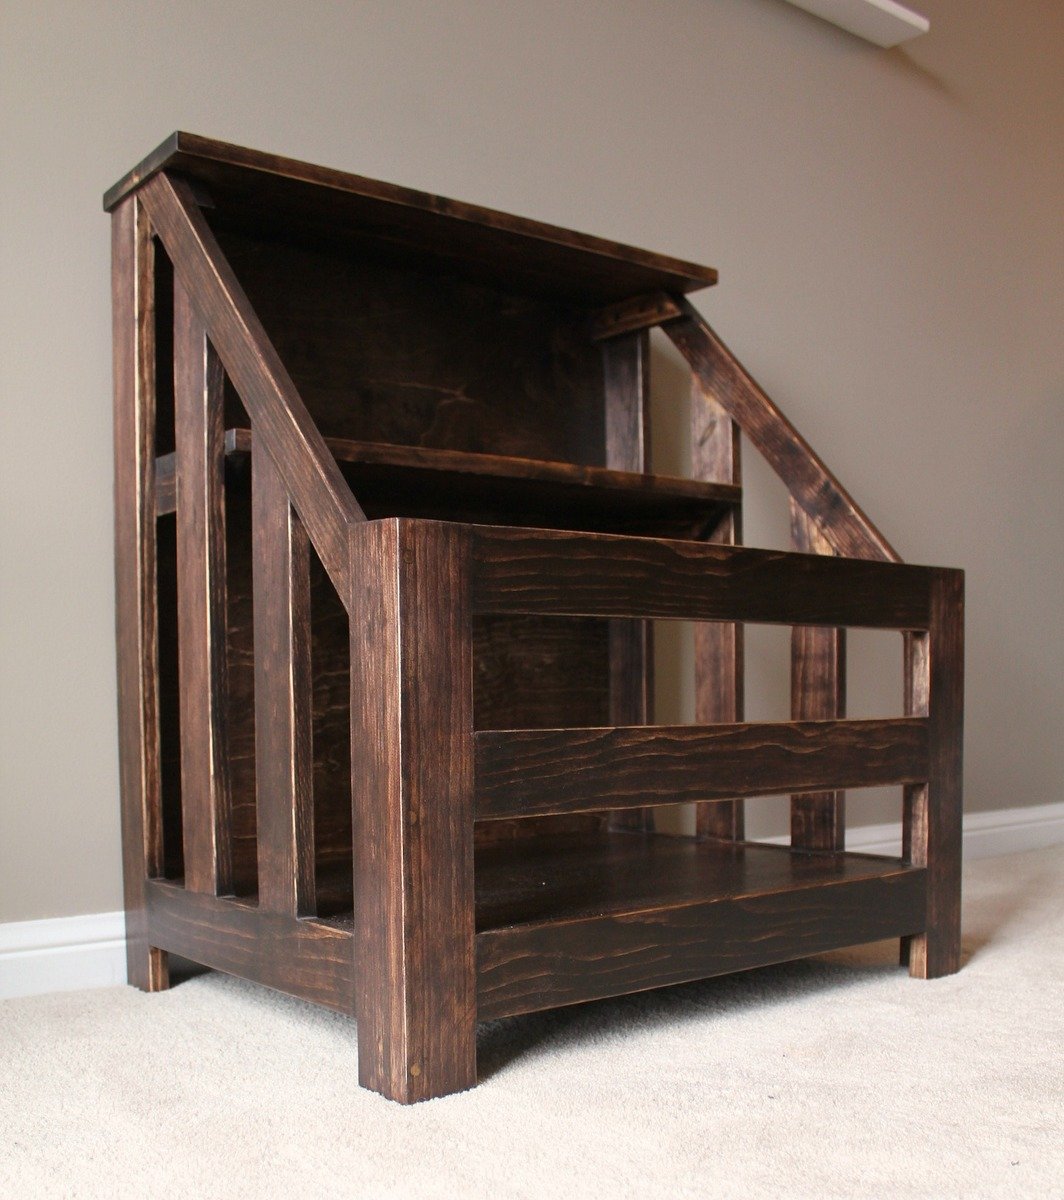
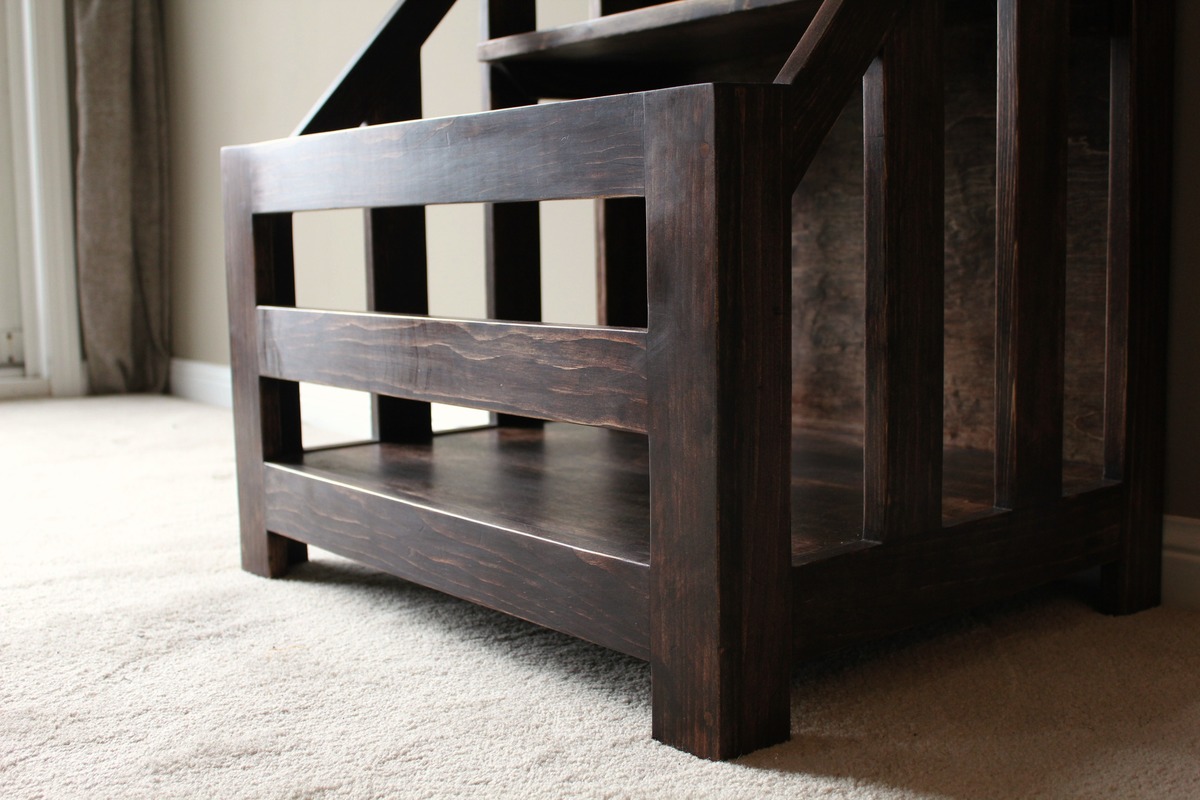
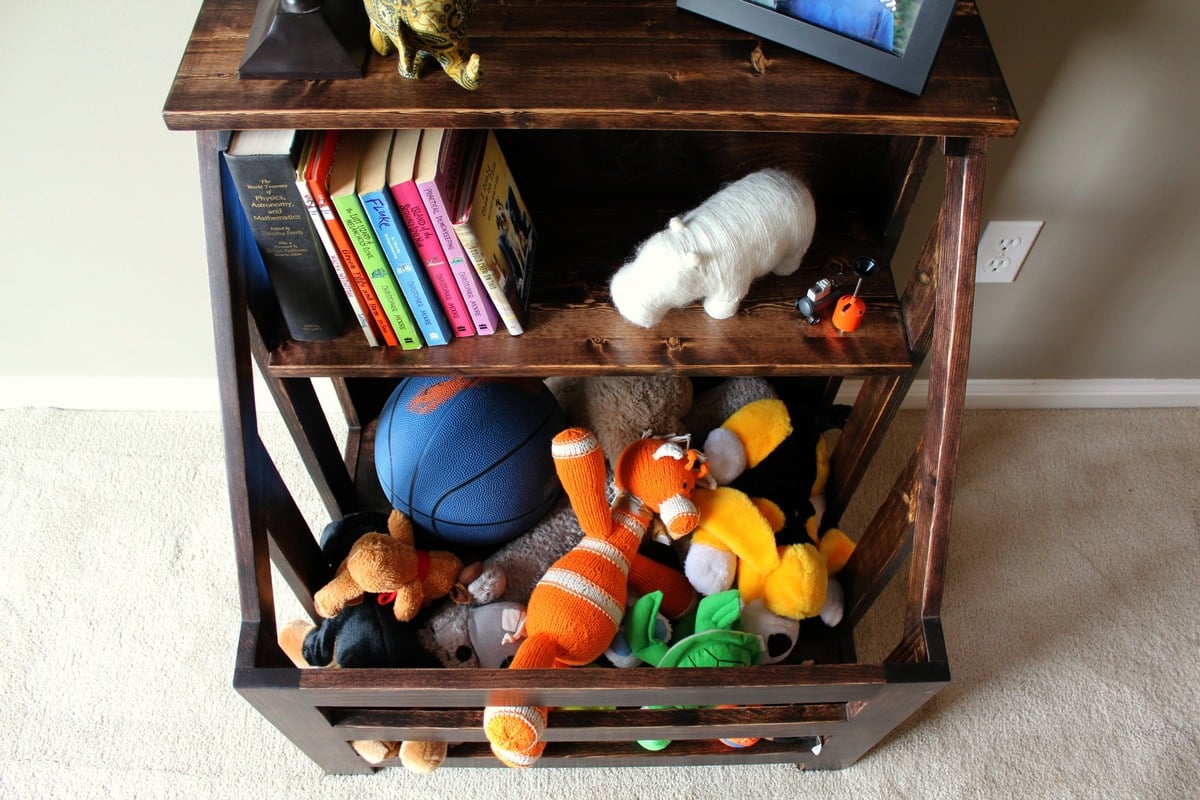
Wed, 09/10/2014 - 08:13
I was thinking the same thing when I saw the original design. I like it but the dementions are quite a bit smaller than I want to make for the toy box gift that I want. I am doing the same thing. It will be a 1st birthday present for a little girl I am thinking of making it 36 wide and at least 36 high and 24 deep. What would the dementions be and how much would that change the side angle cuts?
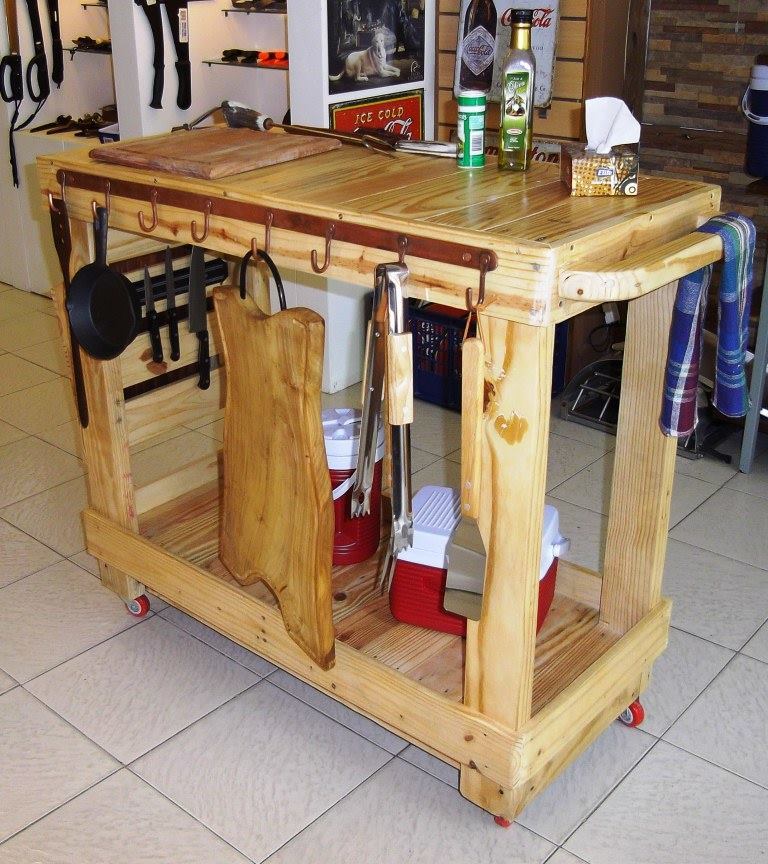
Rolling bar cart made entirely from recovered pallet wood.
Based on original Ana White's plan, I've just added a side pocket and rails on the lower shelf to prevent sliding of items placed on it.
Later on I made another one for a friend who attached a hanger plate and a magnetic knife holder.

Had a great time putting this together for my teenage daughter's room. Took me about 4 hours to cut and assemble (I only have a circular saw, would have been SO much faster with a miter saw). Then sanded and painted the next day. Under $50 for the wood. What a deal! Love this plan!
I've made several of Ana's pieces, but this is my first brag post.
I actually made this for one of my husband's co-workers, but now I want to make one for myself.
I don't know the actual amount of hours it took, but like any project, the sanding was the most tedious part!
This one was built with 4 2x6, and 2 2x4 boards on top, as the friend wanted it a little wider than the original plan. I modified the other dimensions accordingly.
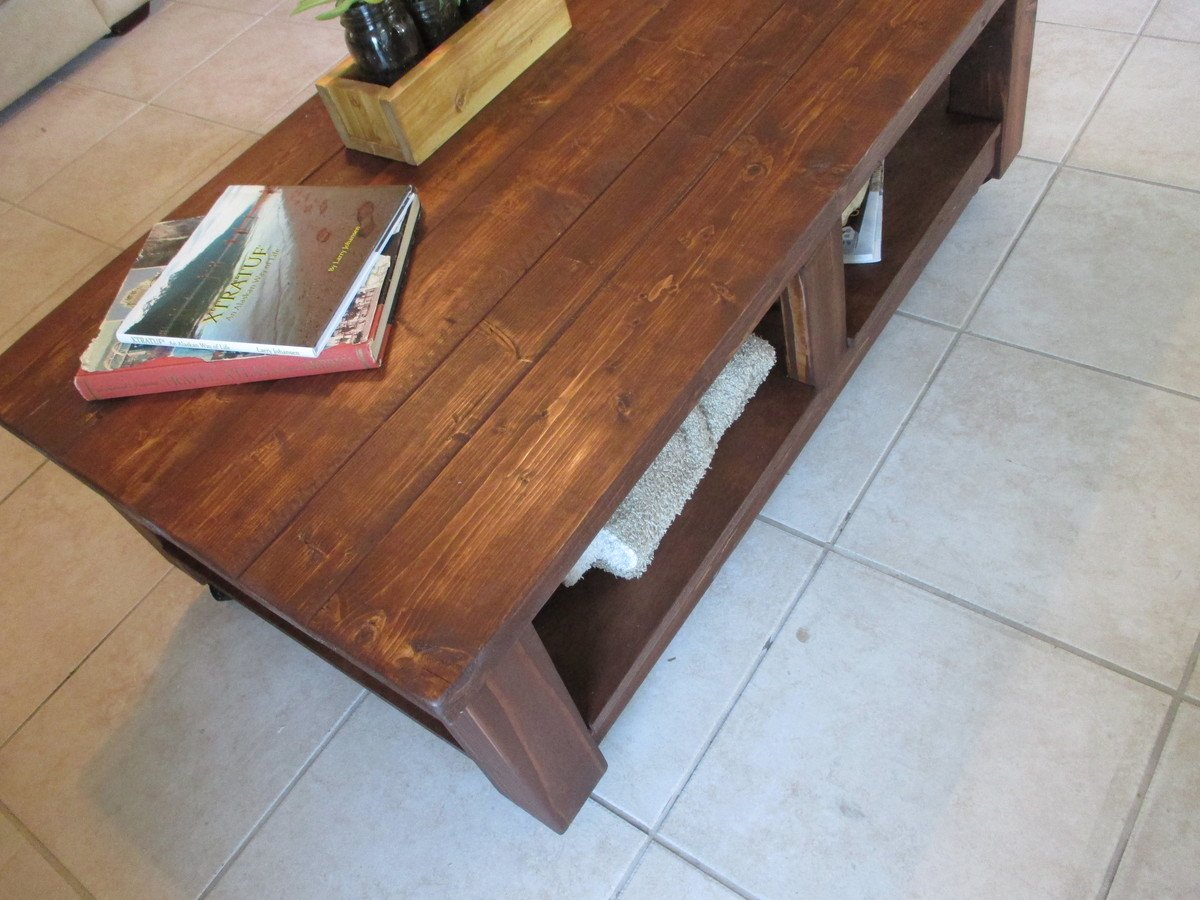
The wheels used in the Shanty2Chic build post were too large for my 4x4 posts. The wheel plates were too wide. They measured about 3.75" and my 4x4's were only 3.5". Also, speaking of the 4x4's, I used untreated Douglas Fir, purchased from my local Lowes. I typically shop at Home Depot, but they did not carry any untreated 4x4's.
The wheels I used were the same style by Everbilt, but the next size down, the 2" wheels. However, their overall height was 3", and so the height of the table ended up being perfect anyhow!
I finished the table in Minwax English Chestnut and used the Minwax rub on satin polyurethane.
I put the time as a week long, primarily because of sanding and finishing. But, I think that if you devoted your time to it, you could do it in a weekend.
OH! Also, Ana doesn't mention it in the plans, but the Shanty Chics do... put the plywood shelf in BEFORE adding the second side. I had to remove pieces which were already glued, and it made that step a bit annoying!
Otherwise, all was well. Enjoy!
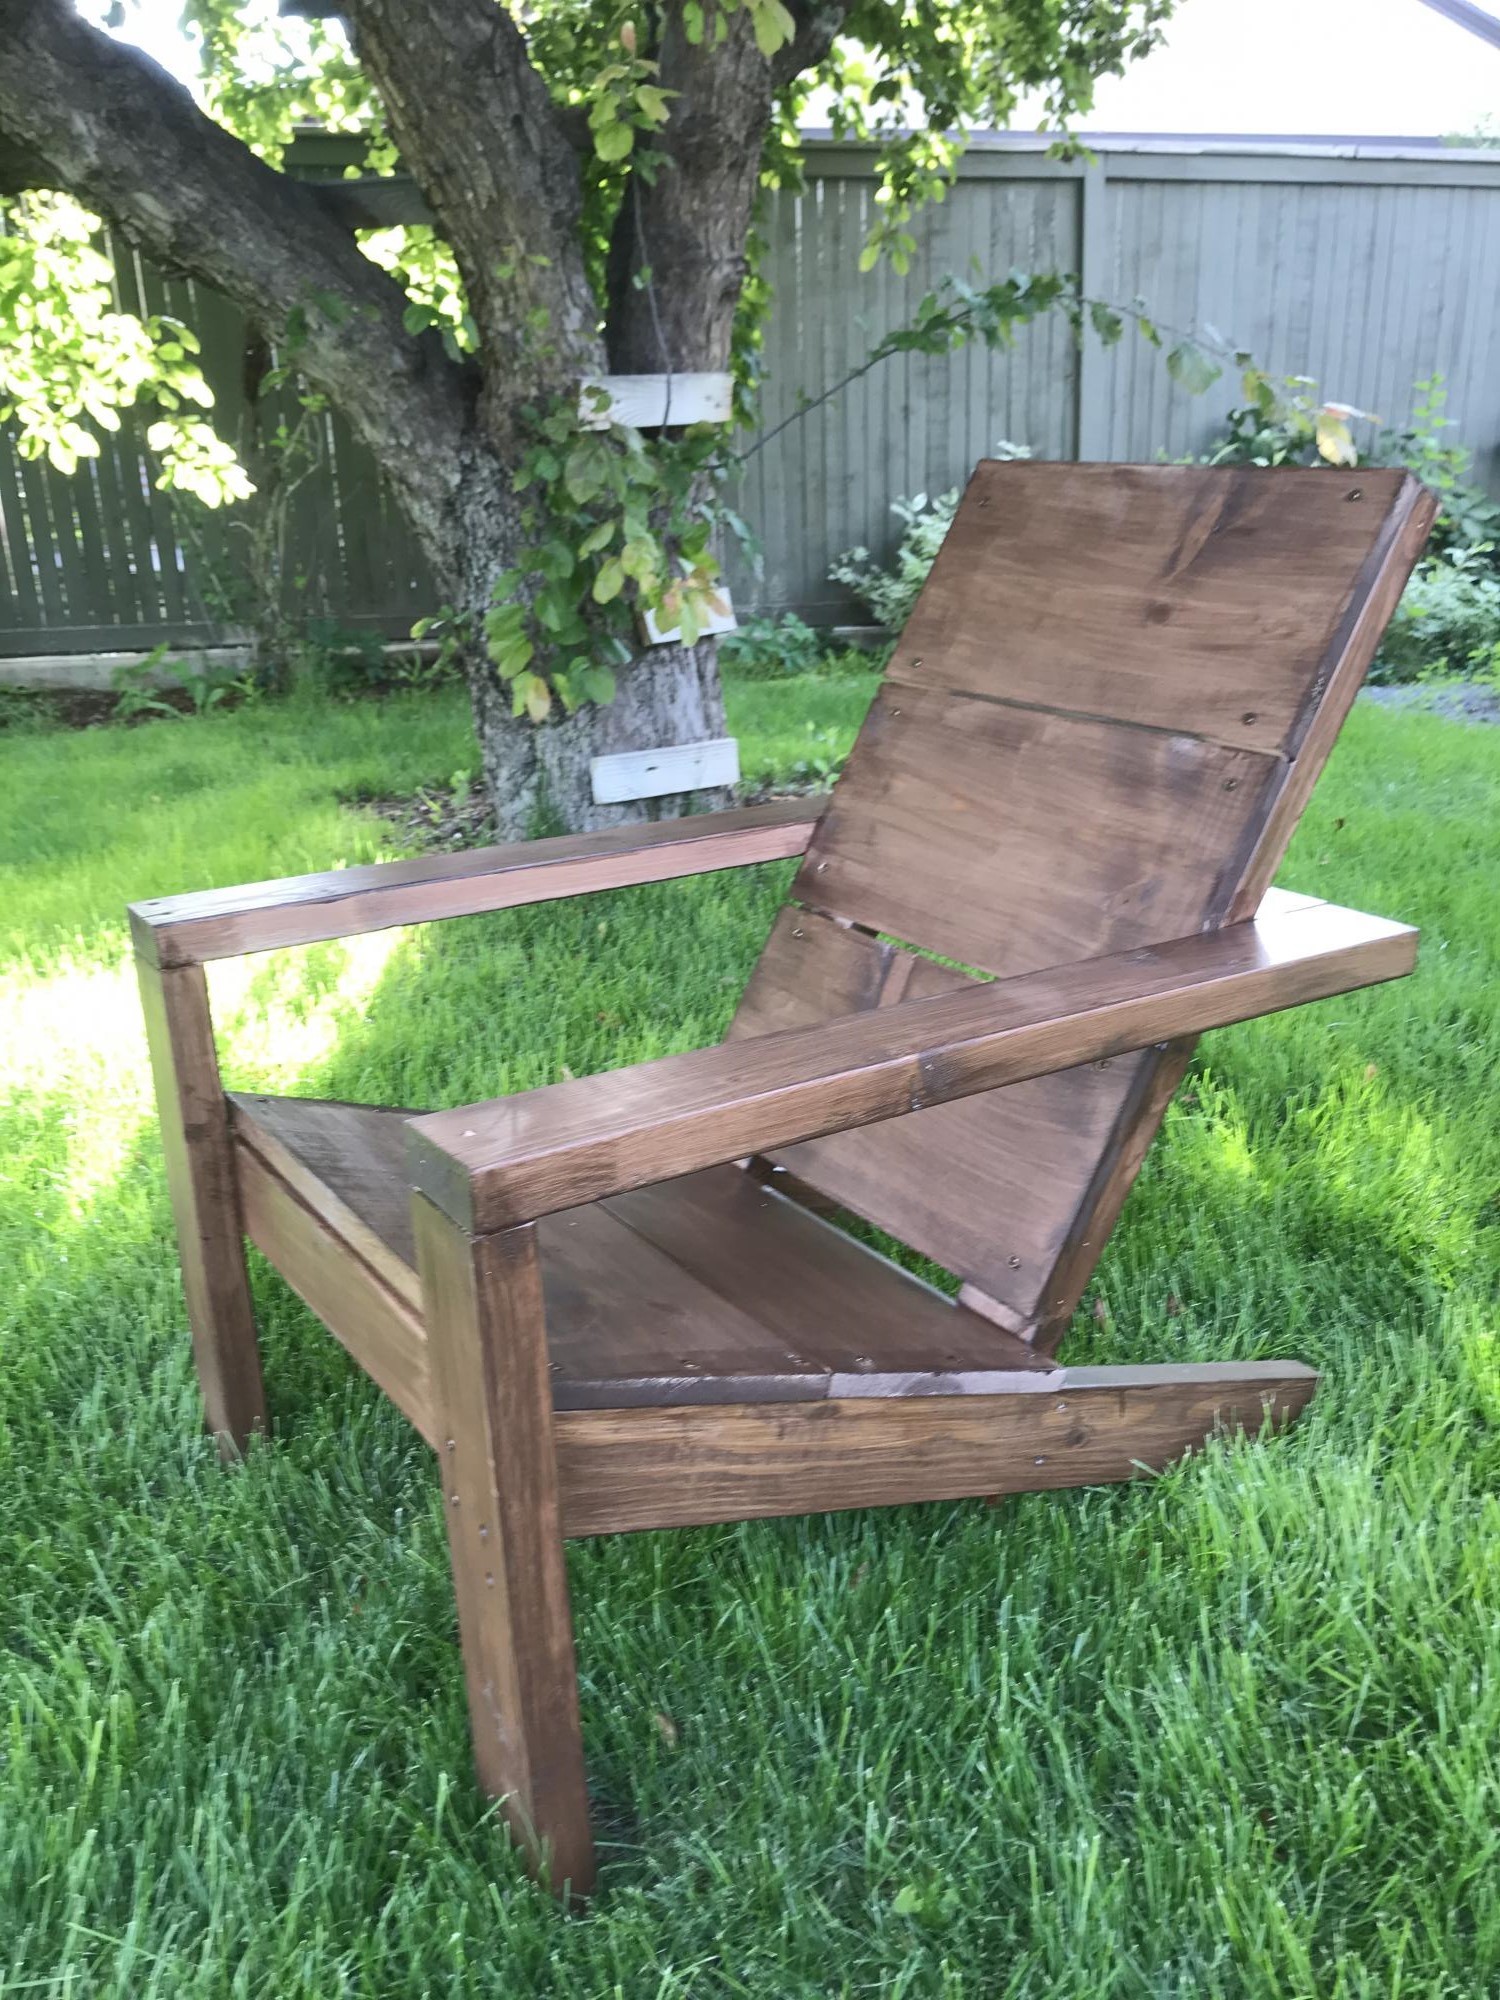
Followed Ana’s plans and turned out great. Stained it after it was assembled but would recommend doing that before assembly. Very comfy.
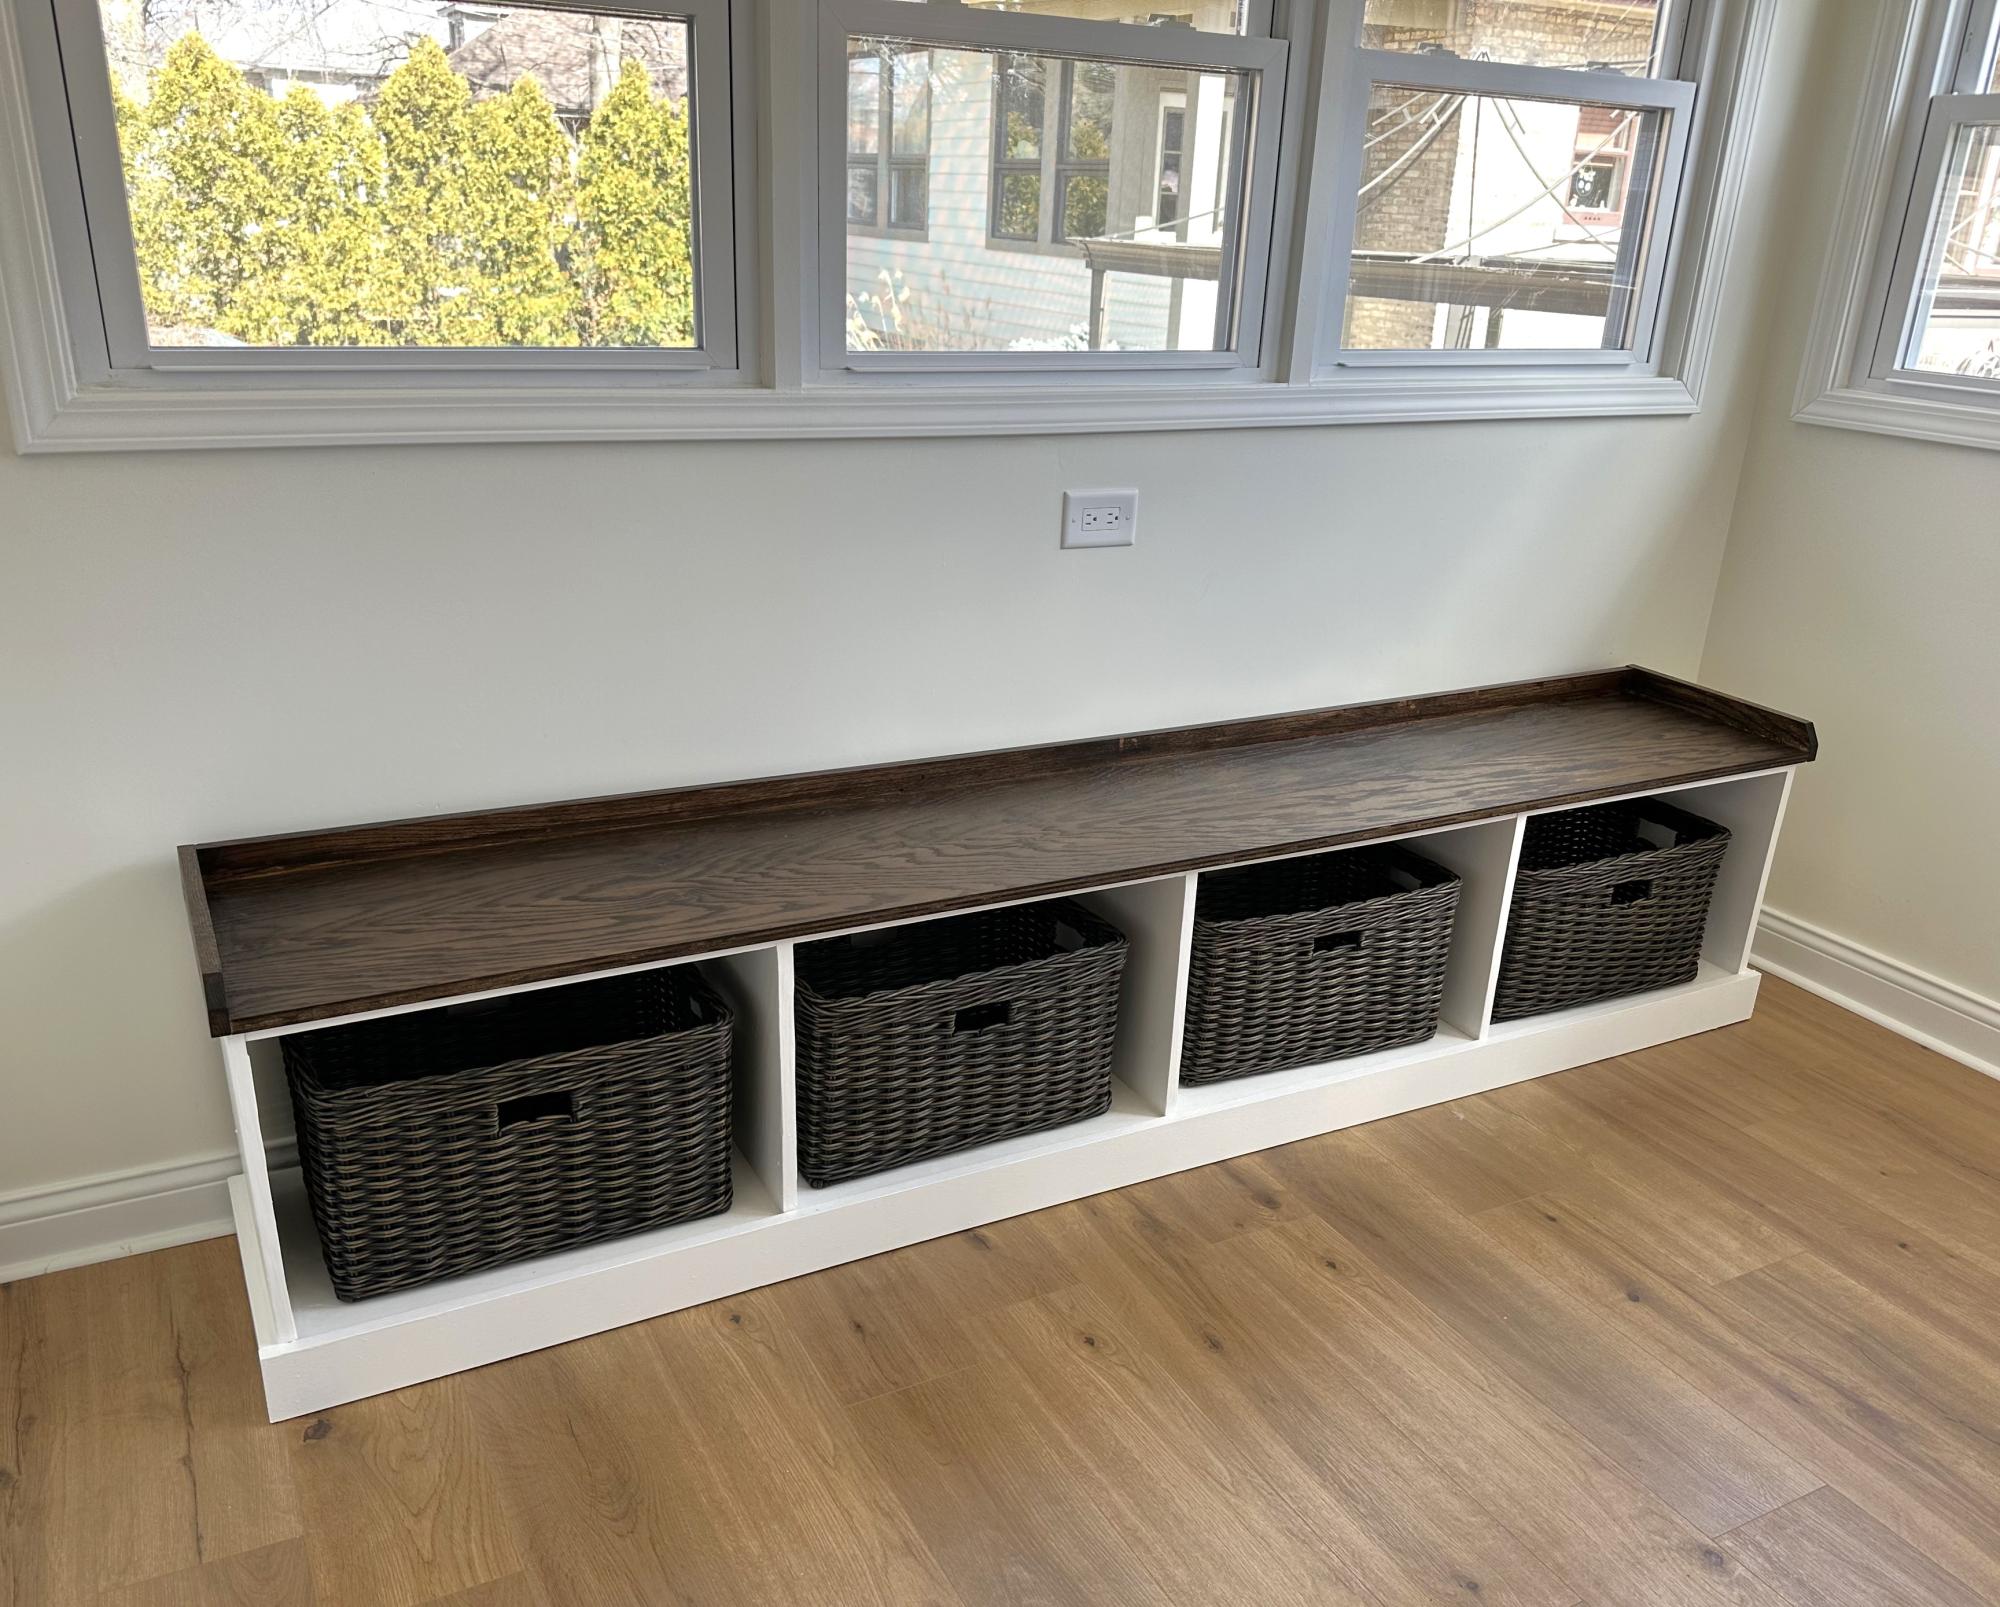
This bench turned out fantastic. This was our first try with Ana’s plans, but the video reassured us that we could do it. So happy with the results.
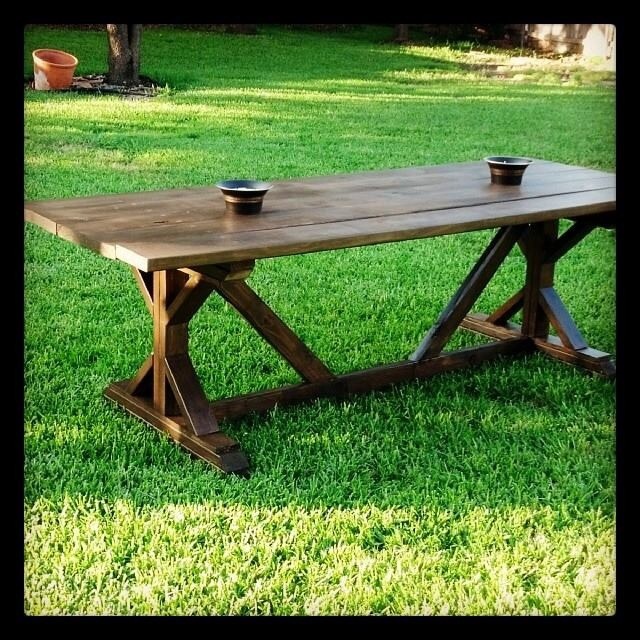
Needed a patio table for this space and decided on this plan. After the build portion, the stain finish really made it complete. Now time for some summer get togethers.
My husband used the plans from this website to make a single Murphy bed. He didn't make any changes, save for building the frame out of solid poplar and using birch plywood for the flat surface the mattress sits on when it's unfolded. We trimmed it to mimic the the lines of a built-in in the same room, and stained it Jacobean to make it look dark. It's a solid piece of furniture and is saving us tons of space.