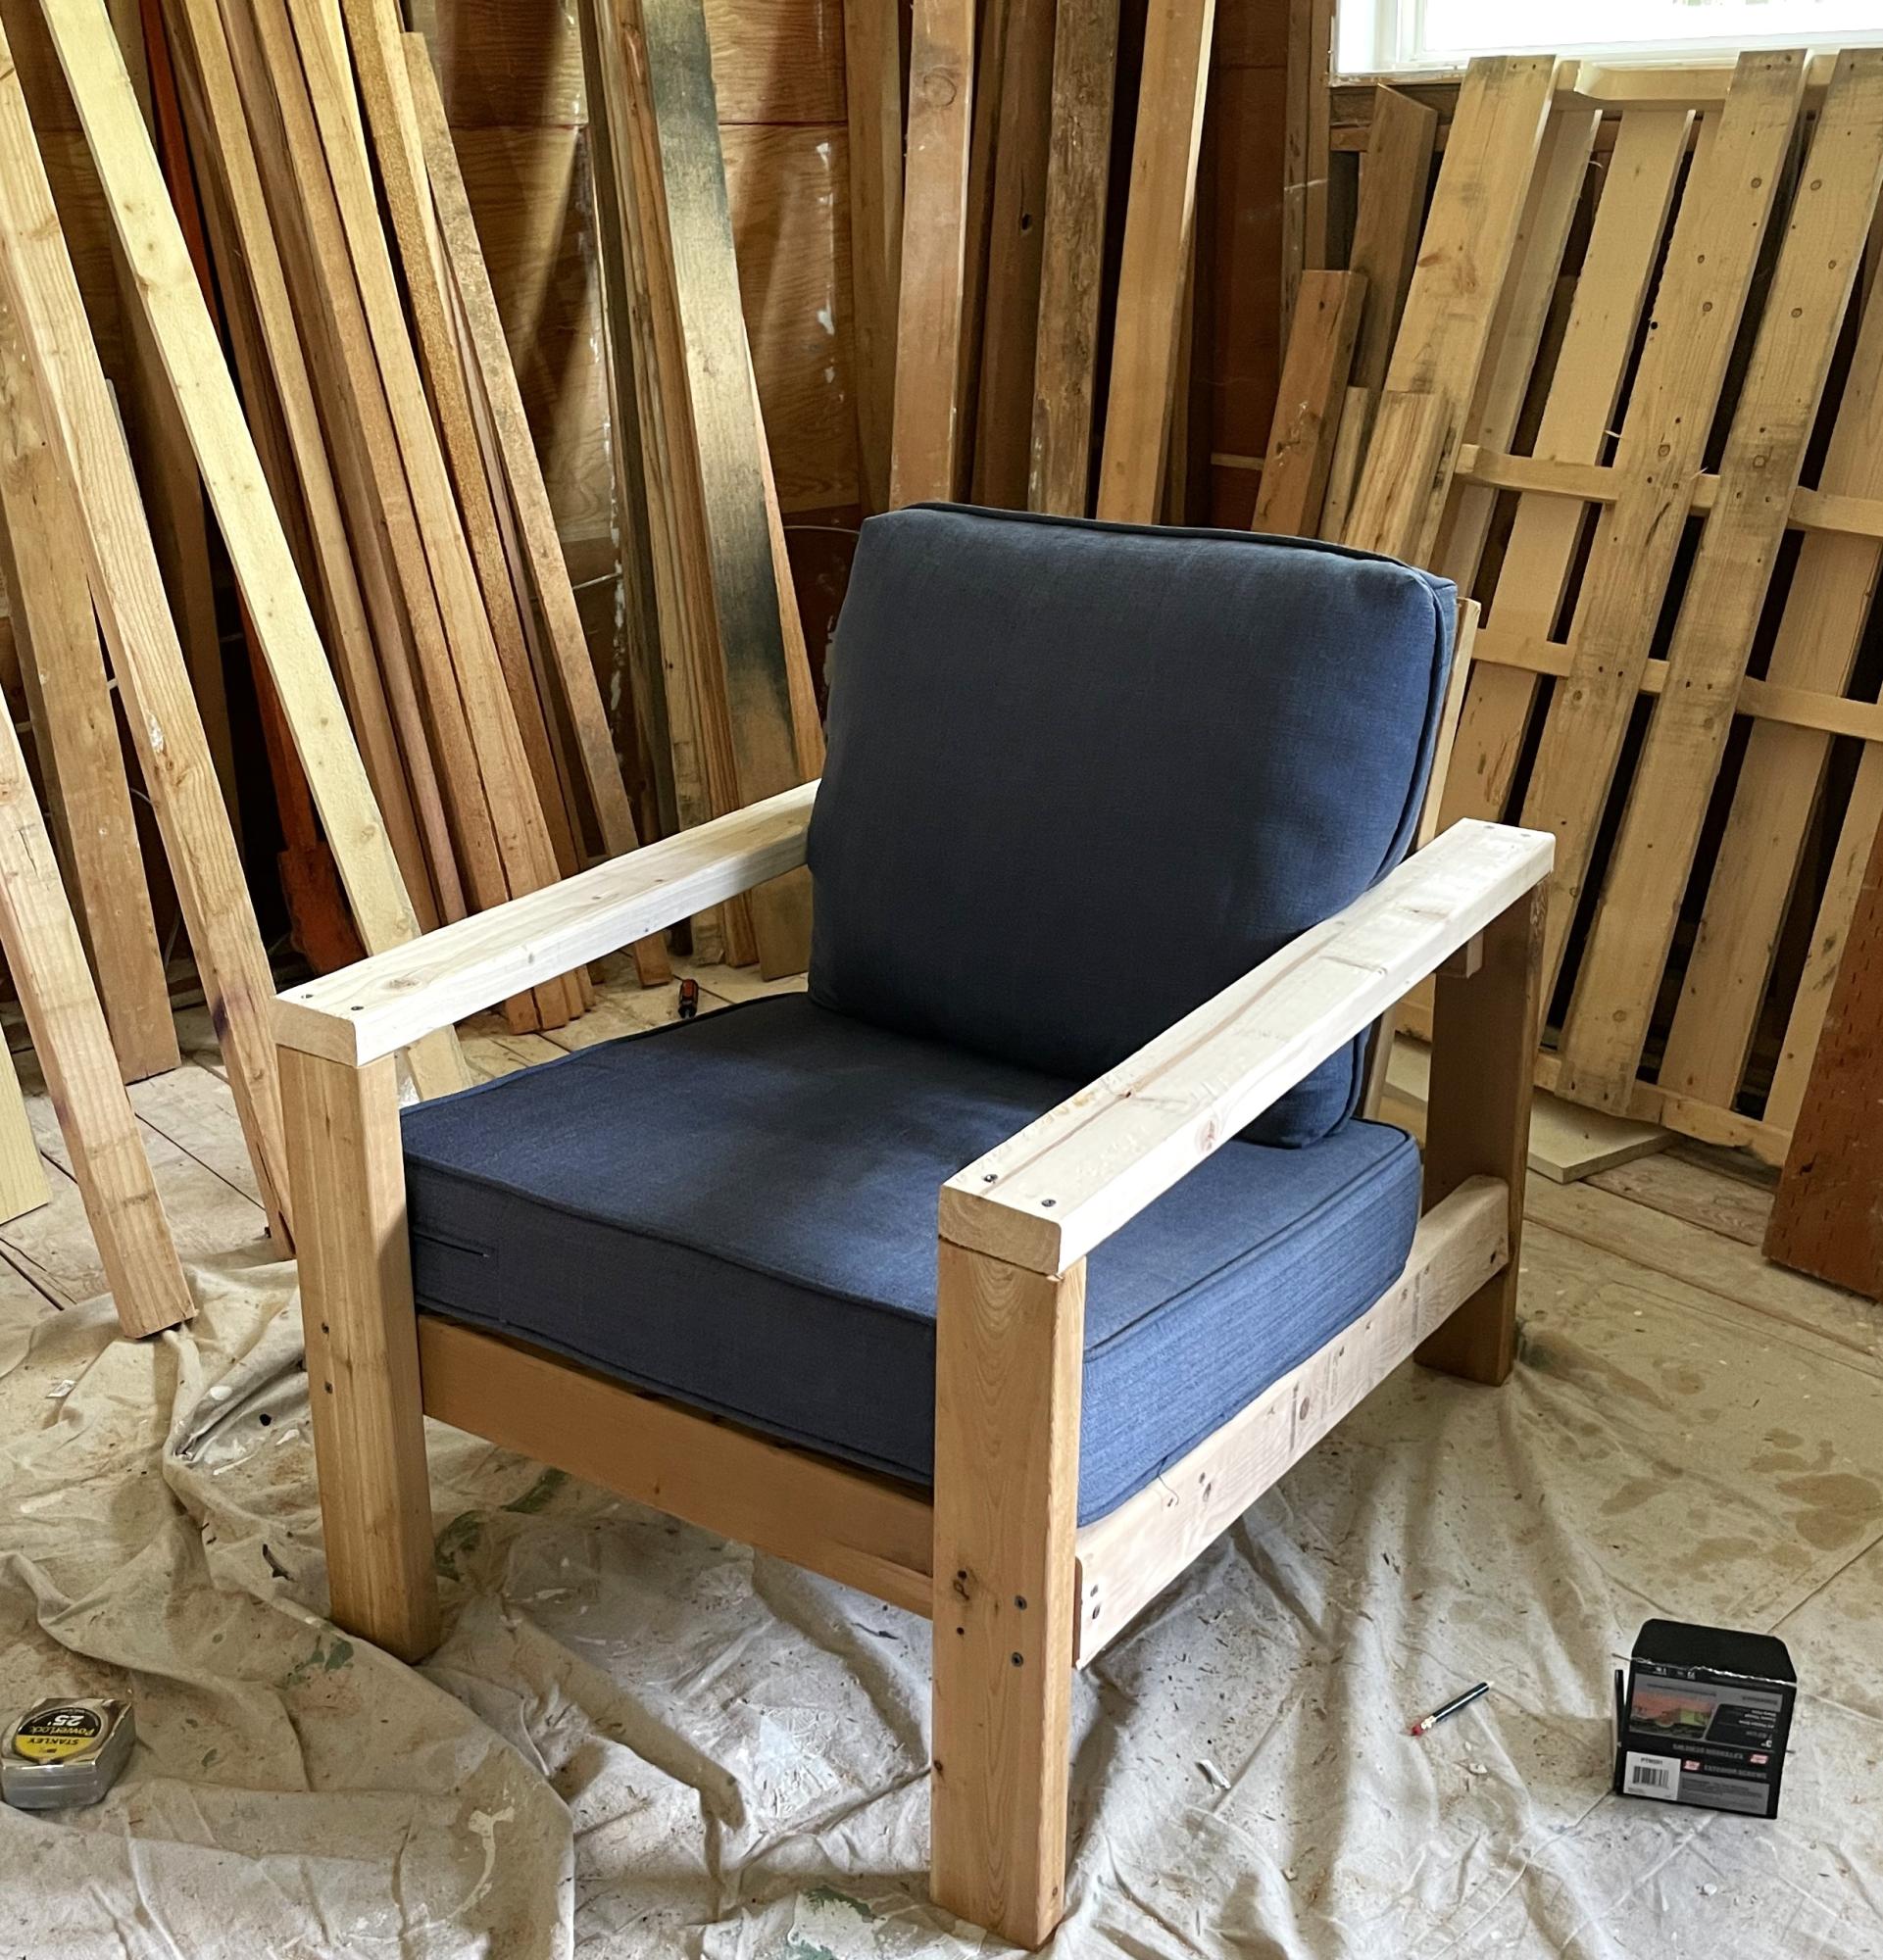
Simple 2x4 Outdoor Chair
Love making it!!!
Crystal Shanaman

Love making it!!!
Crystal Shanaman
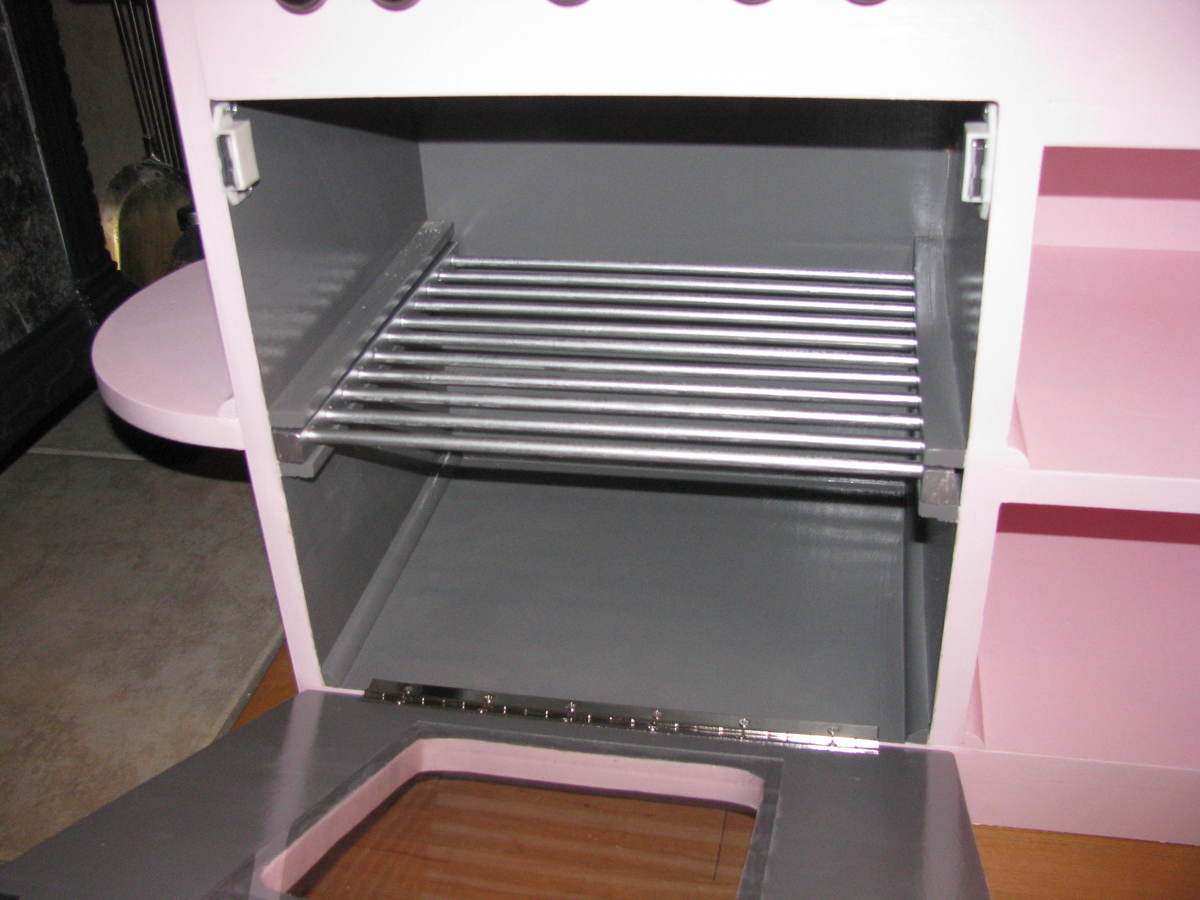
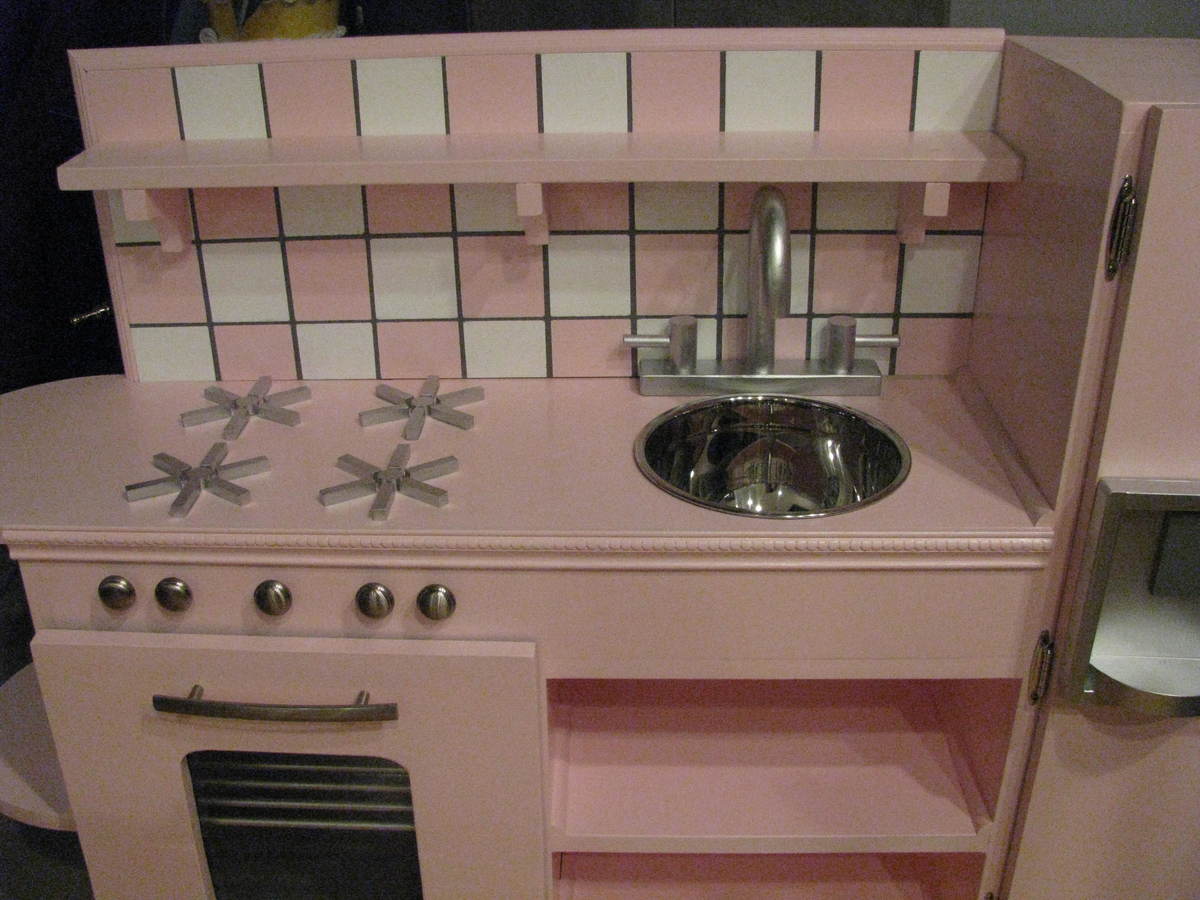
Used the one piece kitchen made by Rebecca (good instructions, thanks!) with some changes and additions. Fun project, took much longer than I had anticipated. Can't wait until my new granddaughter is old enough to play with it.
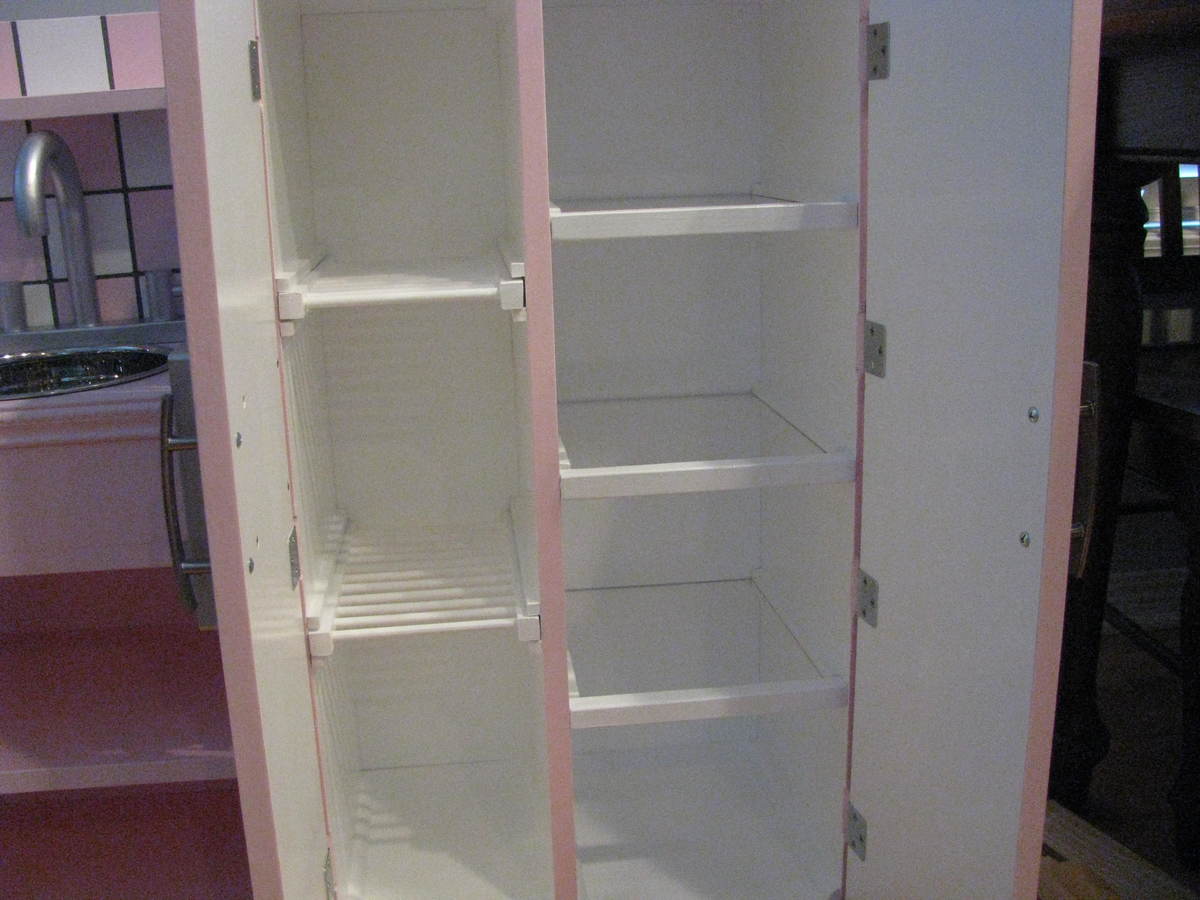
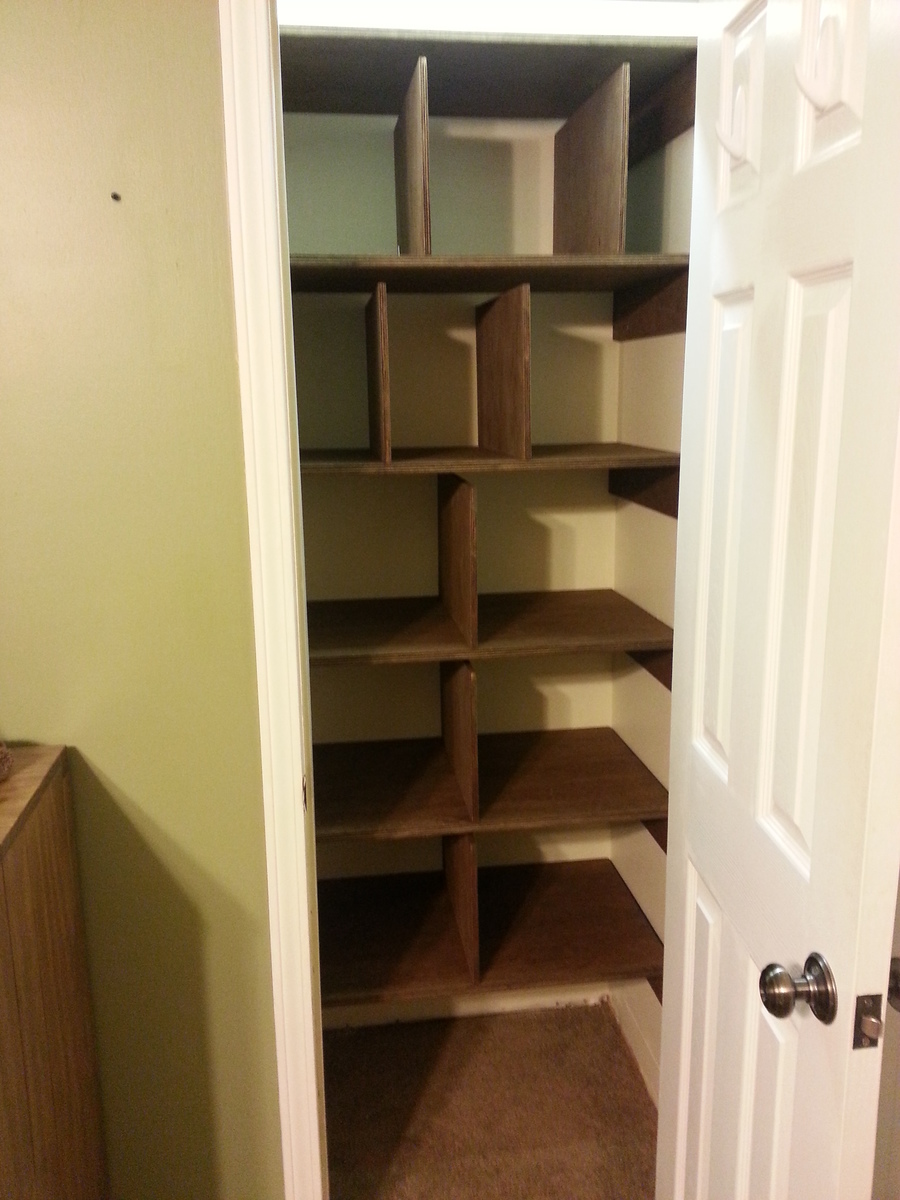
The linen closet was in desperate need of better shelving and organization. I made these shelves out of one 3/4" plywood 4'x8' and two 1/2" plywood 2'x4' project boards.
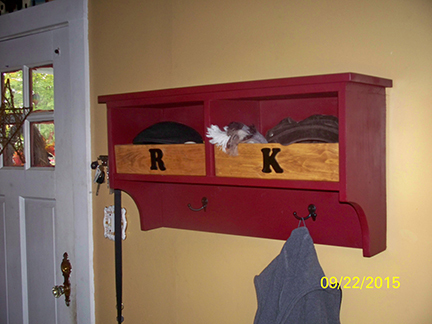
Thought I posted this last year, but I guess it didn't take ... and now I can't remember all of the details! But anyway, I do know that this was the first project I made from Ana's book (a smaller version of Project #1), and a year later, I am still really pleased with it. The shelves and hooks come in so handy, and the top provides another little surface to decorate! I also made some wooden boxes for the shelves out of scrap pieces, as Ana did in the photo in the book, and stained them the same color as our floors. Added our initials, too. The whole thing is nice and sturdy, and fits right in at our house -- like we've always had this on the wall. Thanks for the ideas, Ana!
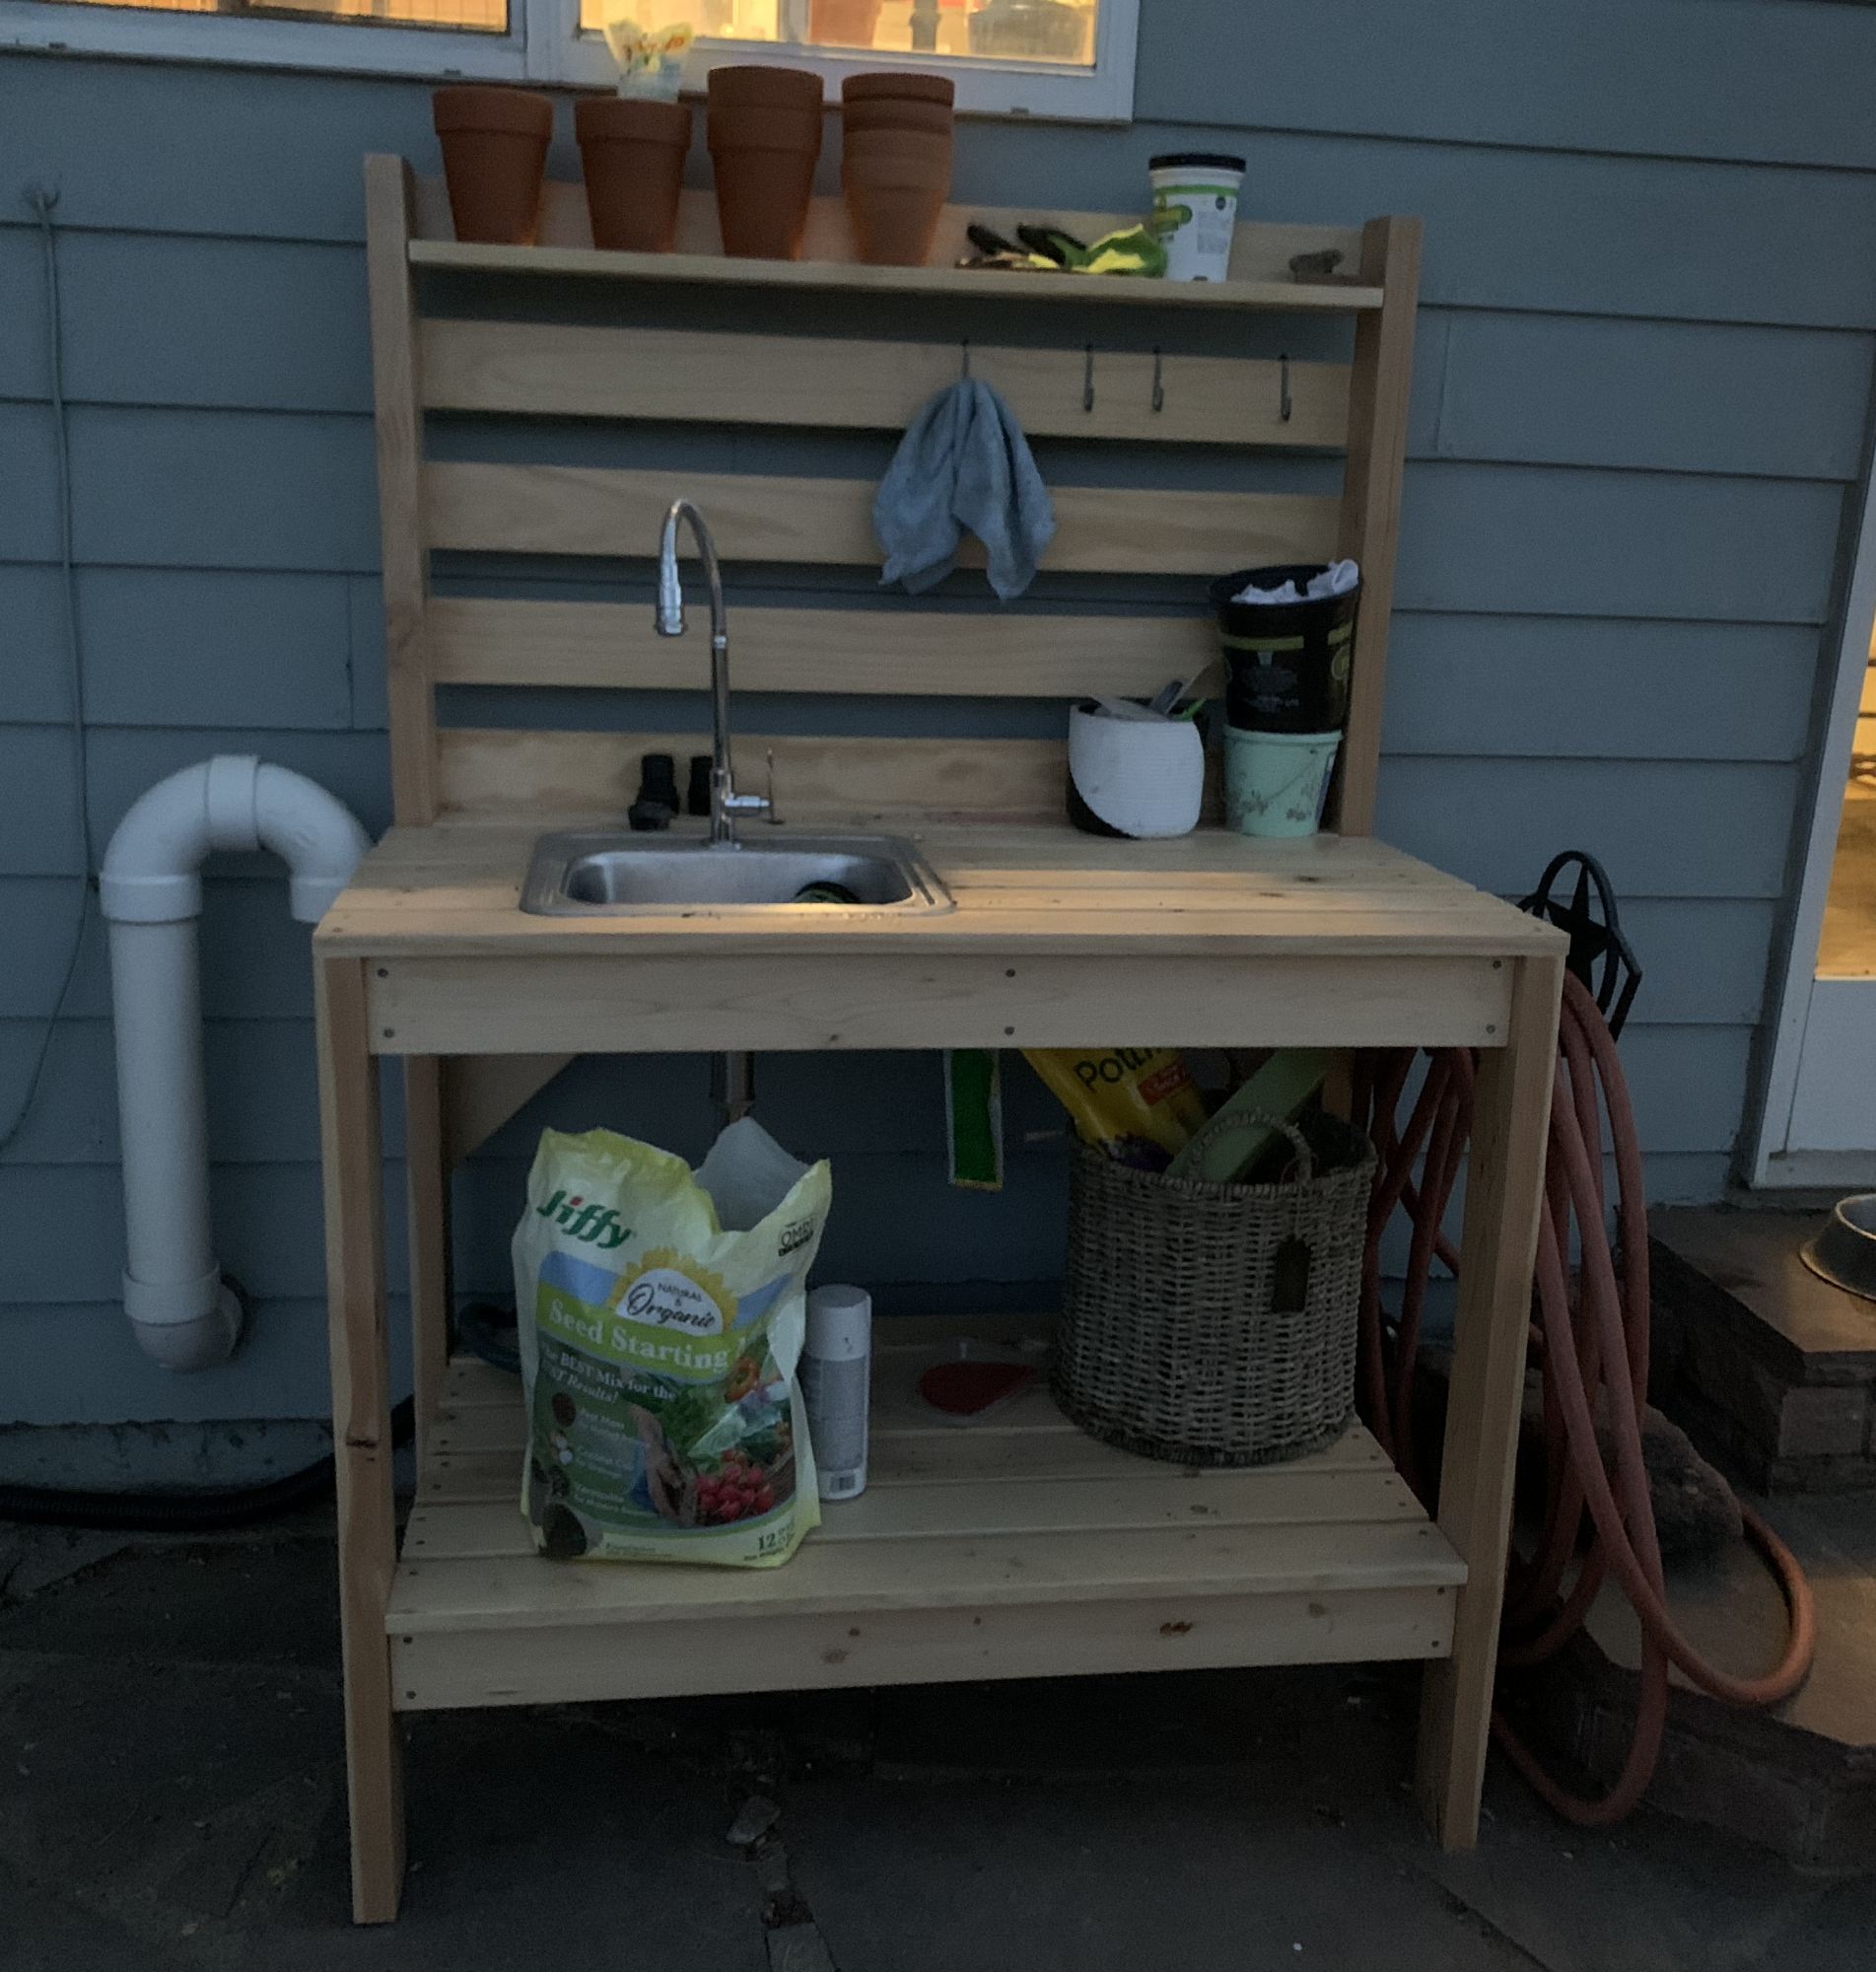
One of my first bigger projects. Added a sink by framing it out with 2x4s before adding the top on.
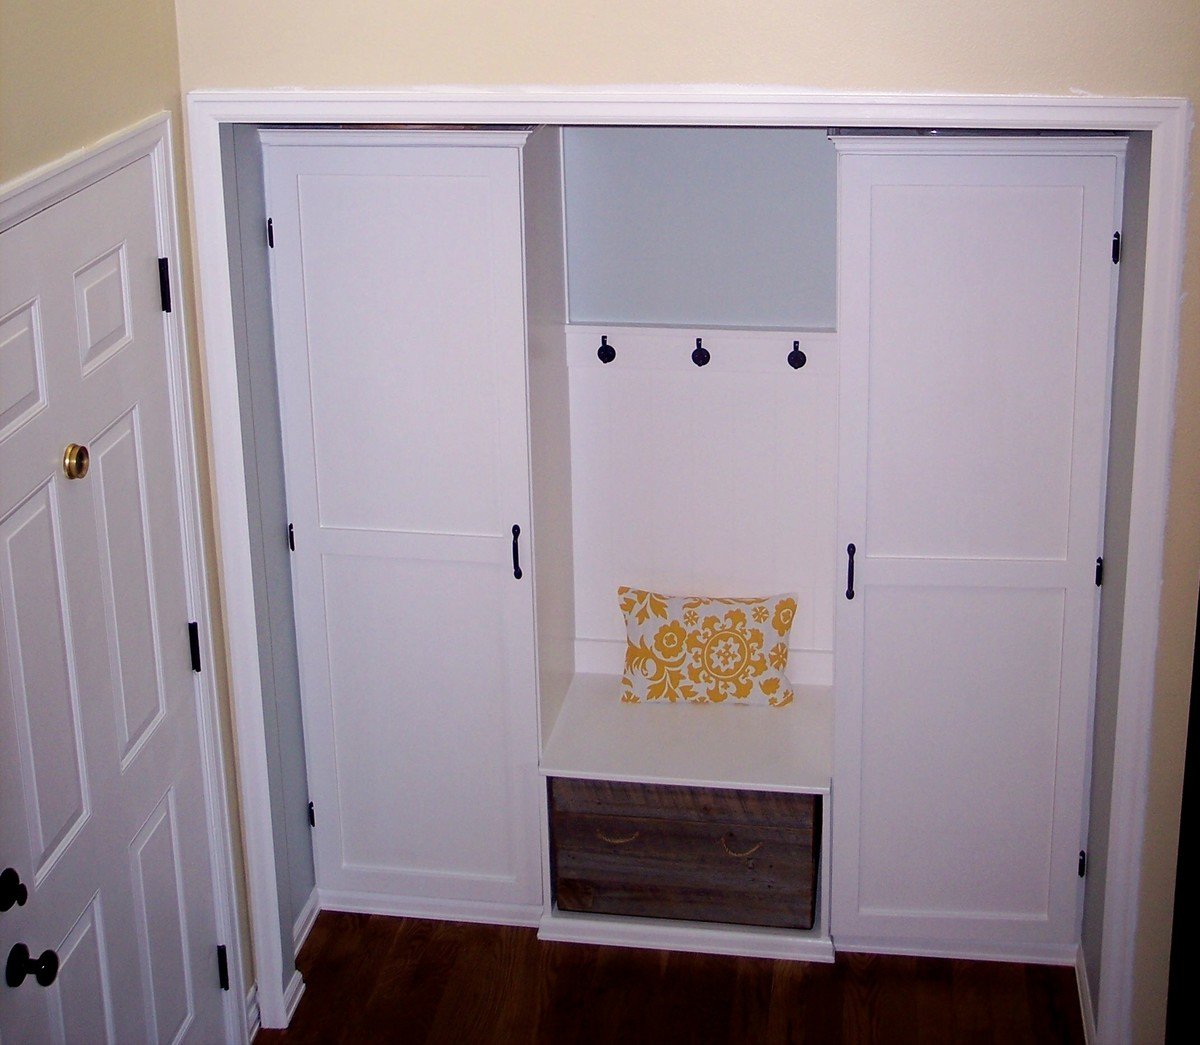
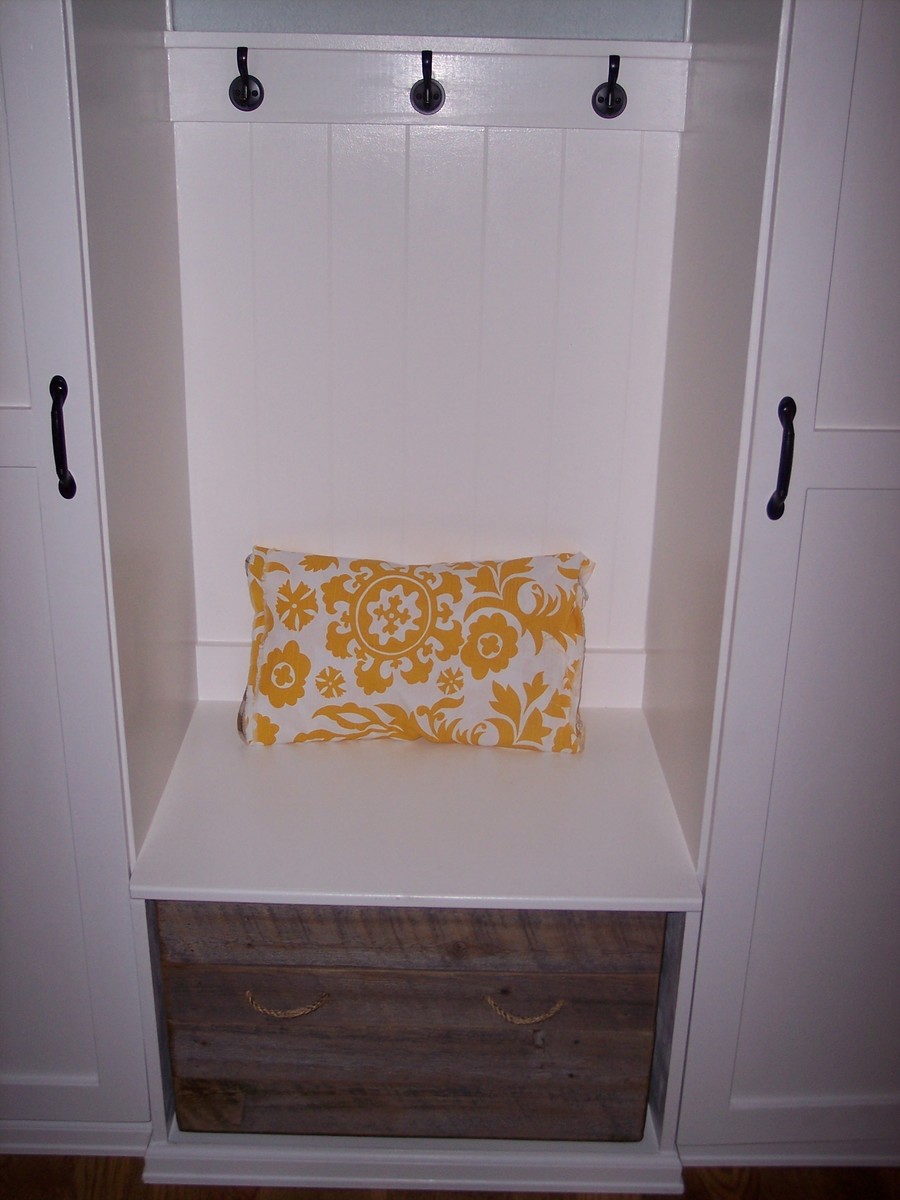
I loved the plan for the mudroom, but since this is our front entry, I needed something to hide all our stuff; so I added doors. And crown molding for a little extra! The left tower has a bar for hanging coats; underneath are hooks for the kids' coats. The right tower has five cubbies. I made the "drawer" under the bench from wood from our old fence.
Fri, 05/17/2013 - 21:34
I love what you did with your closet! This is exactly what I am looking to do. What size wood did you use for the doors(1x2, 1x4...)? Since you have been using the closet/mud room for a while now is there anything you would add or do differently? Like making it deeper or adding more shelves? Thanks!
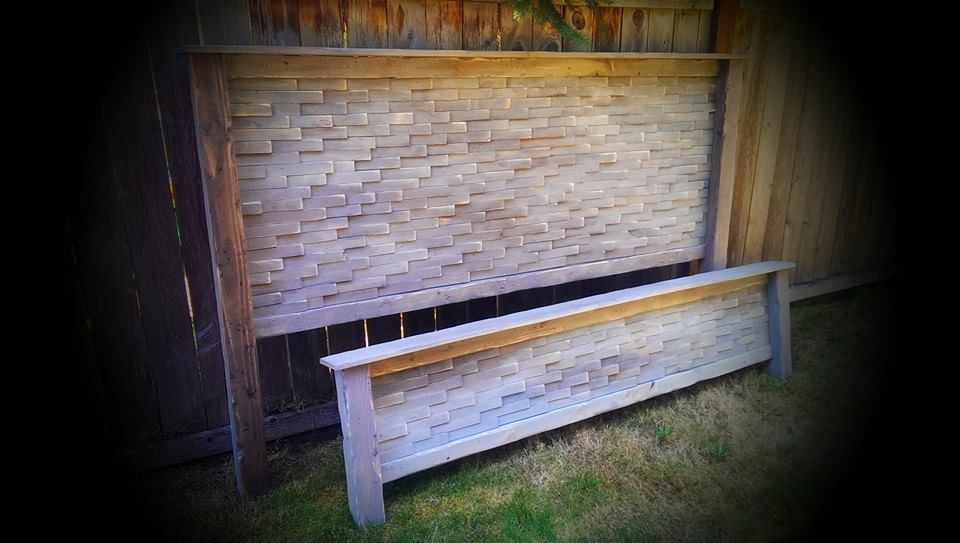
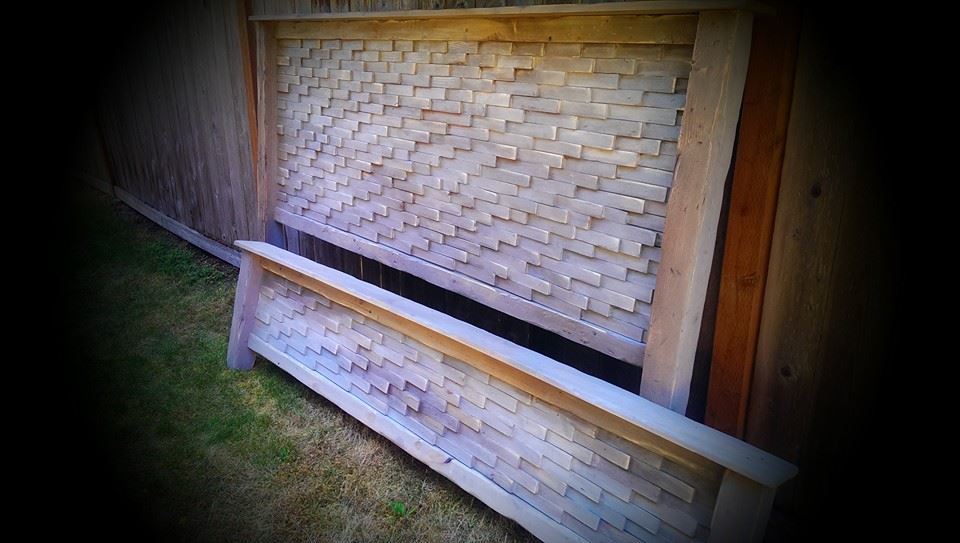
I am so in love with this bed!! So unique and unexpected. Thank you so much for sharing!!
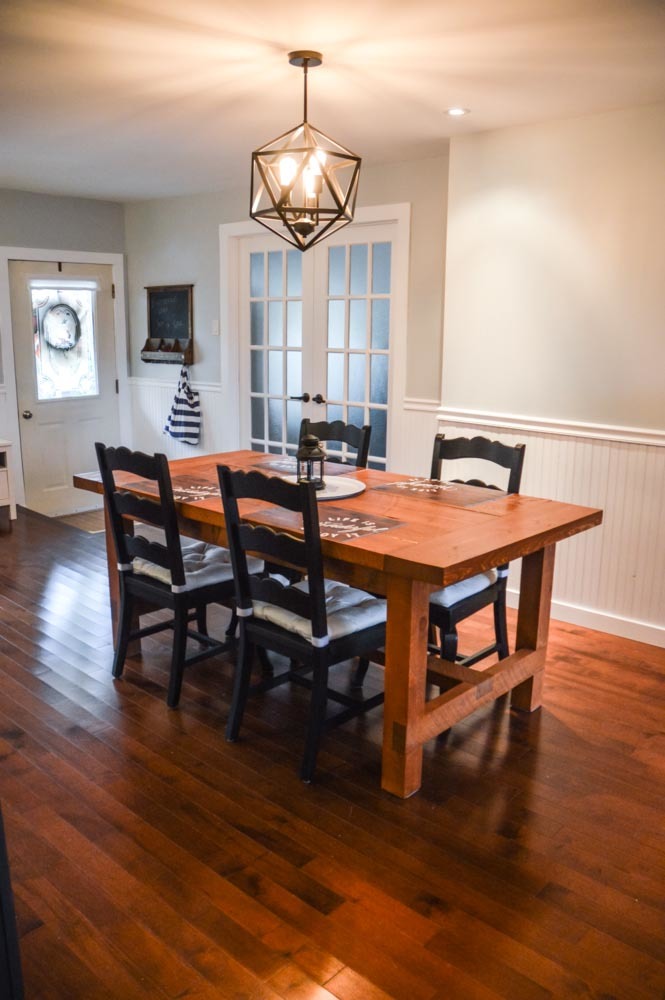
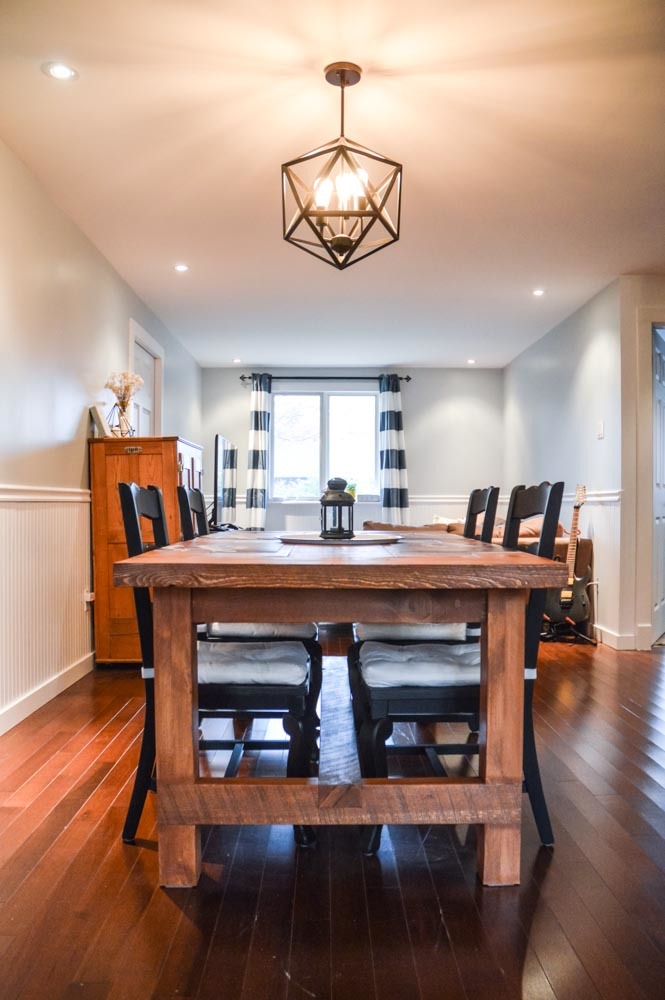
I had shown this plan earlier on to my bf, telling it I really like it and it would be so much cheaper to make our future rustic dining table on our own instead of buying it. He seemed reluctant.... And then, 2 months later, I come back from my parent's house in the evening to find that he has built me my rustic dining table just as I had wished!
Sun, 10/23/2016 - 11:20
This is absolutely gorgeous! Is it a reclaimed wood dining table? What a wonderful suprise! What's next? :)
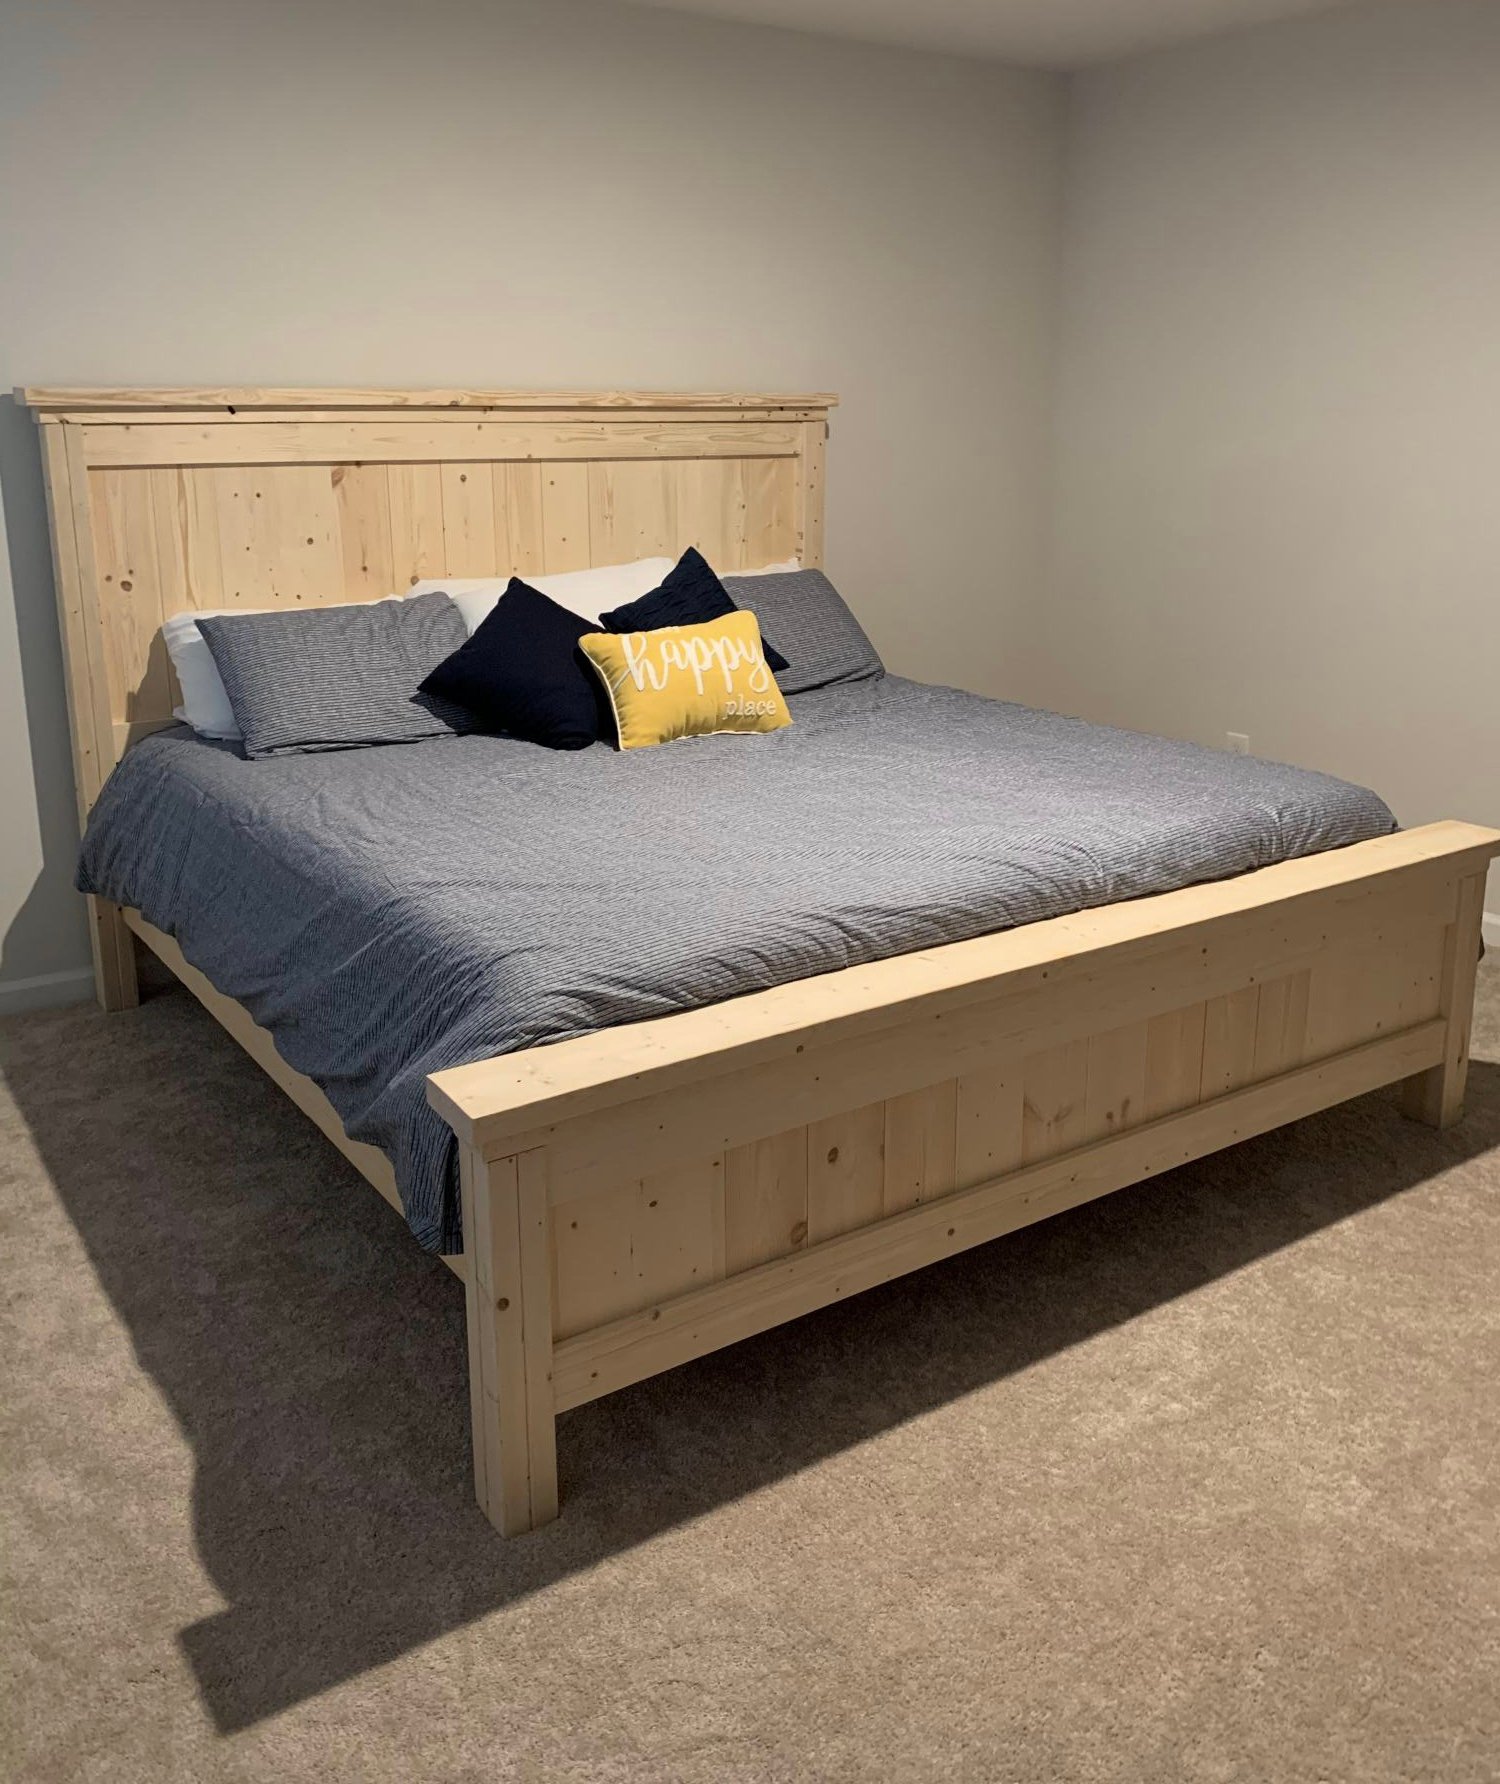
Loved this plan! I felt it needed one extra 2x4 for a slat, but the rest was great!
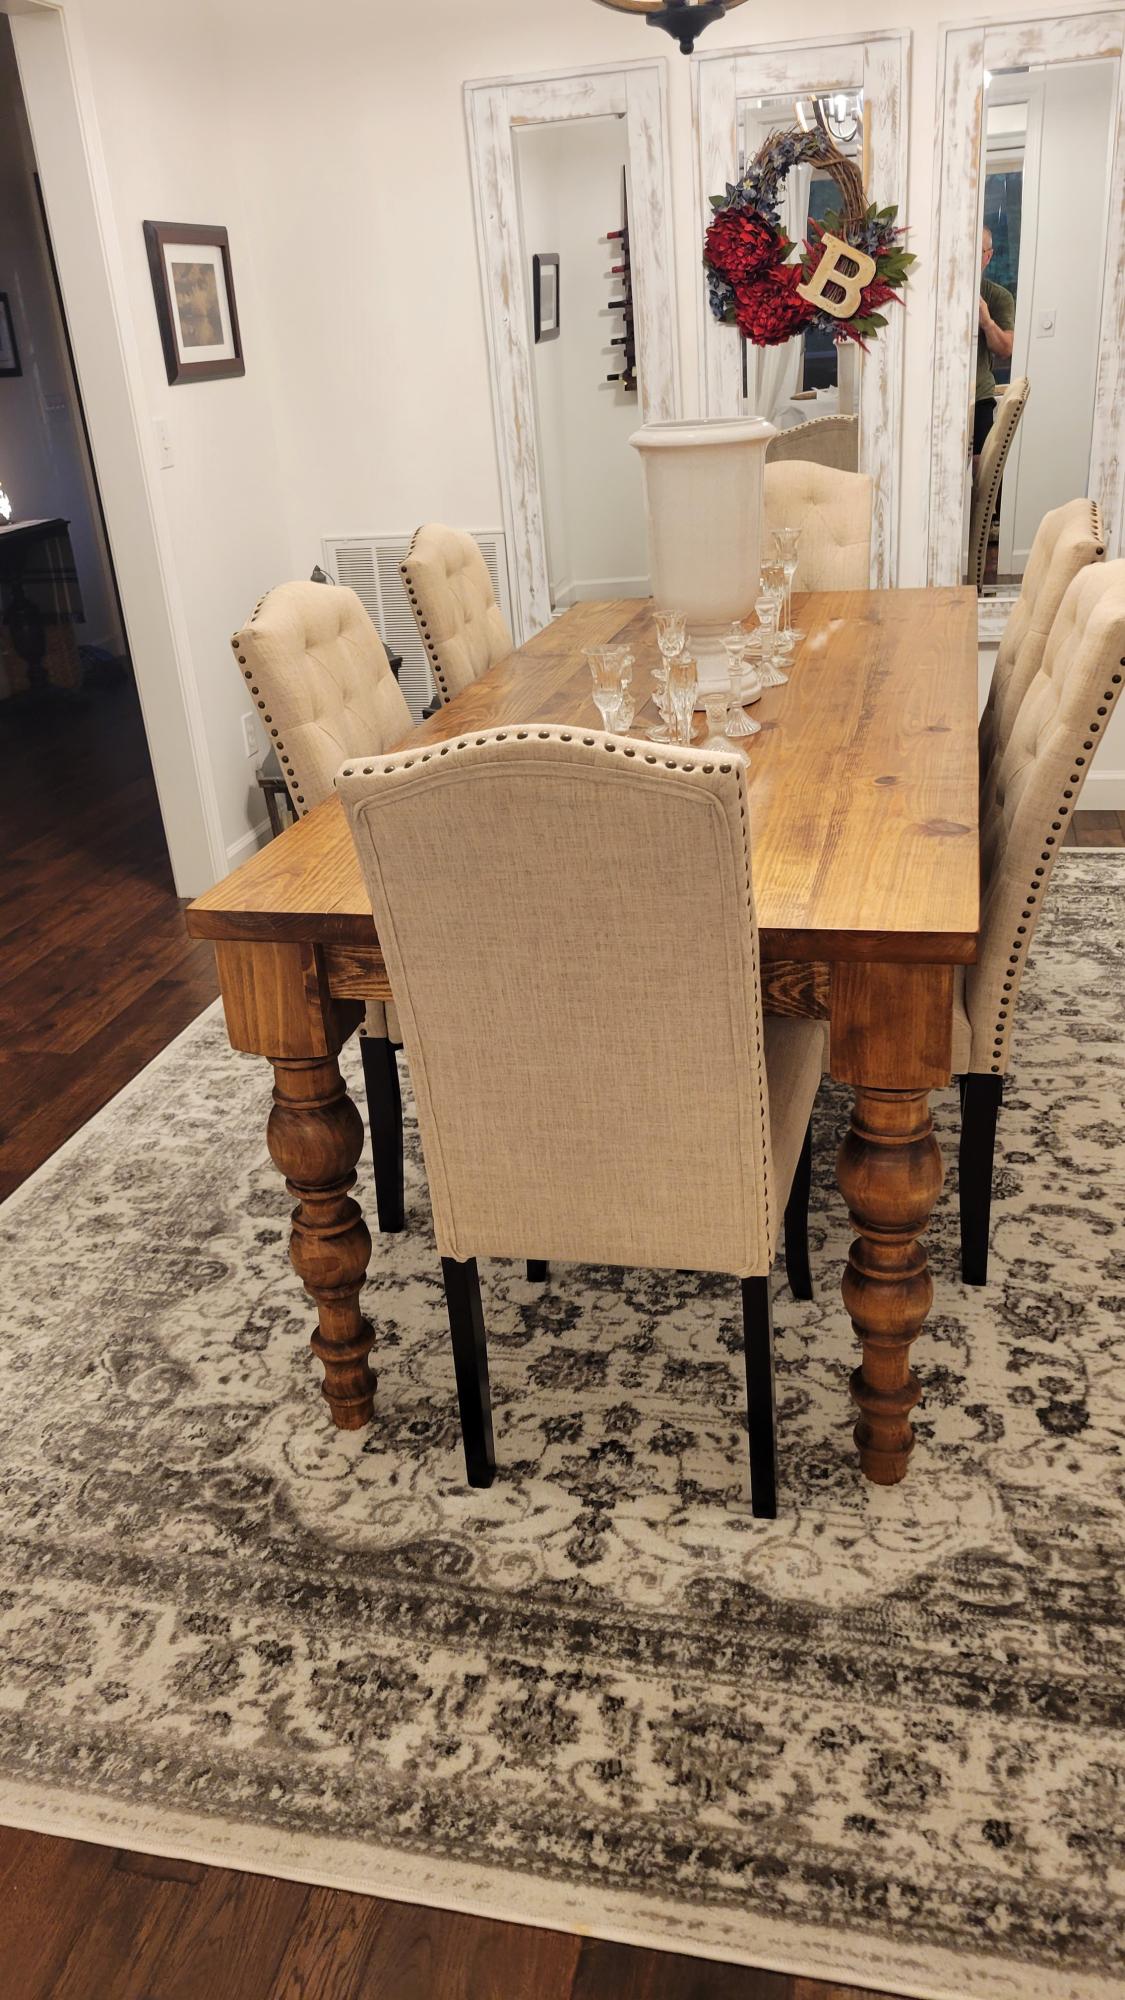
Fancy turned leg dining table.
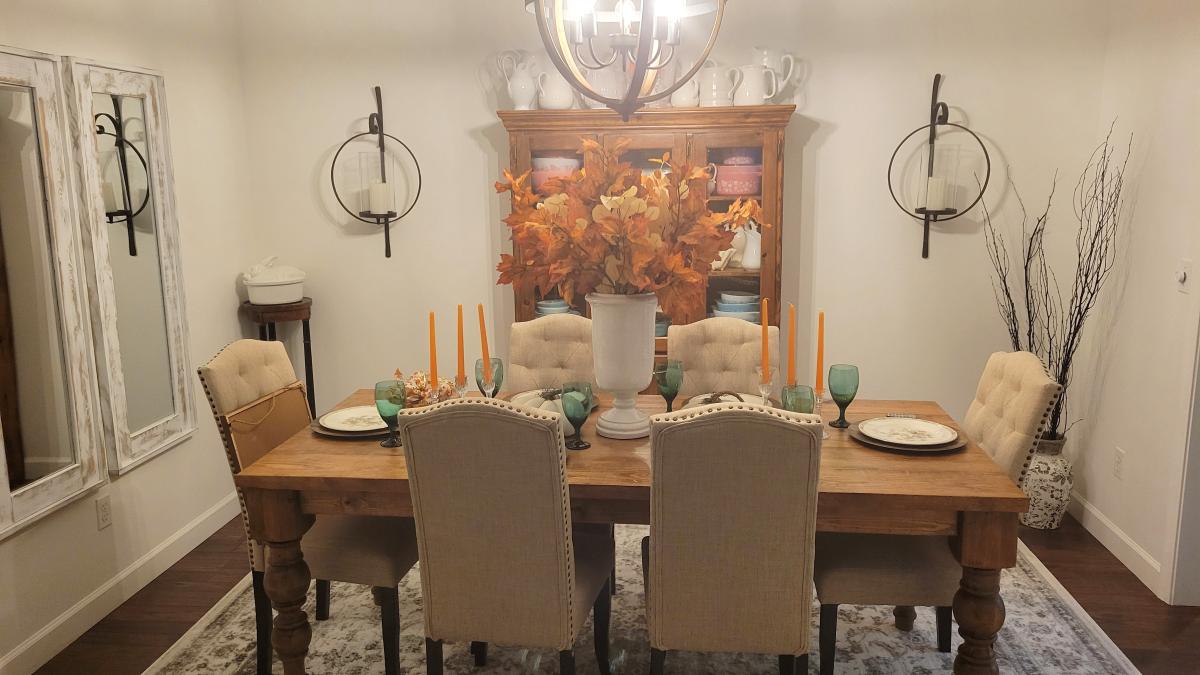
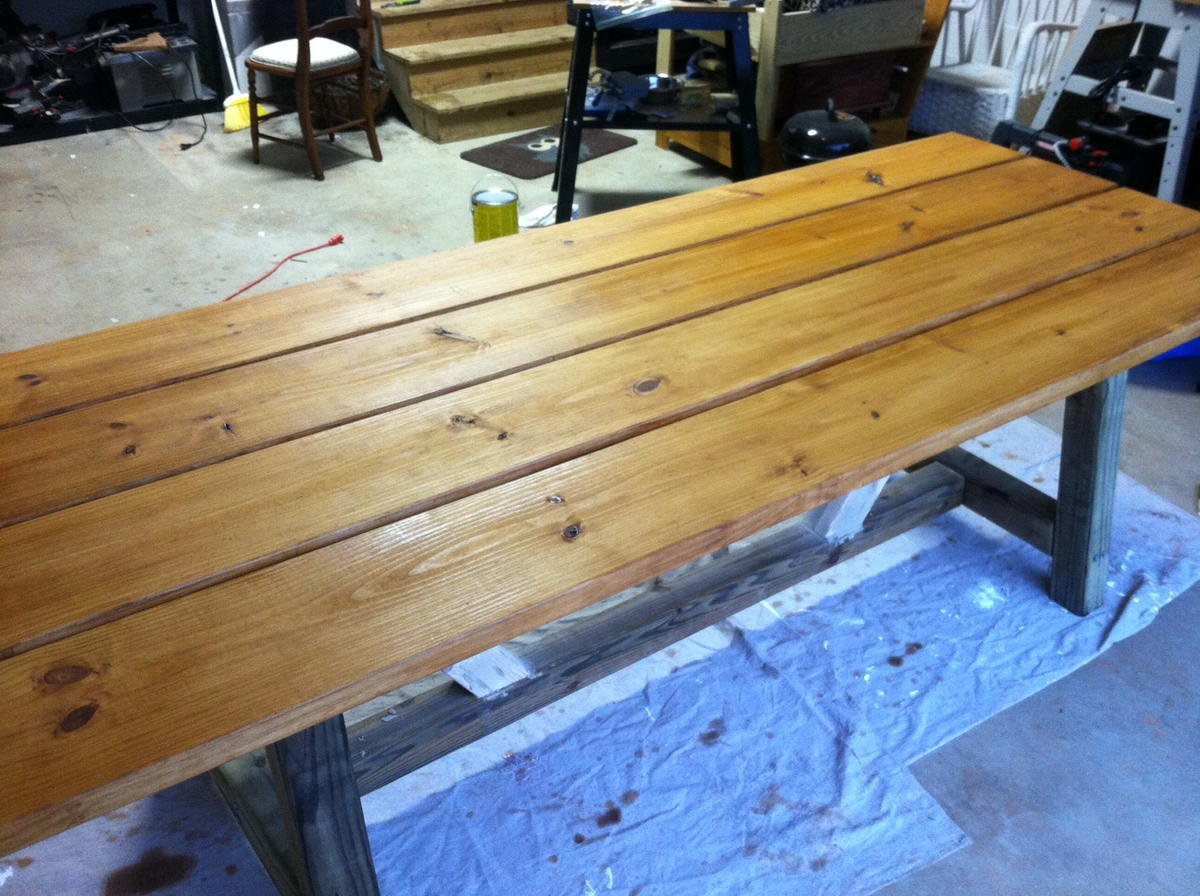
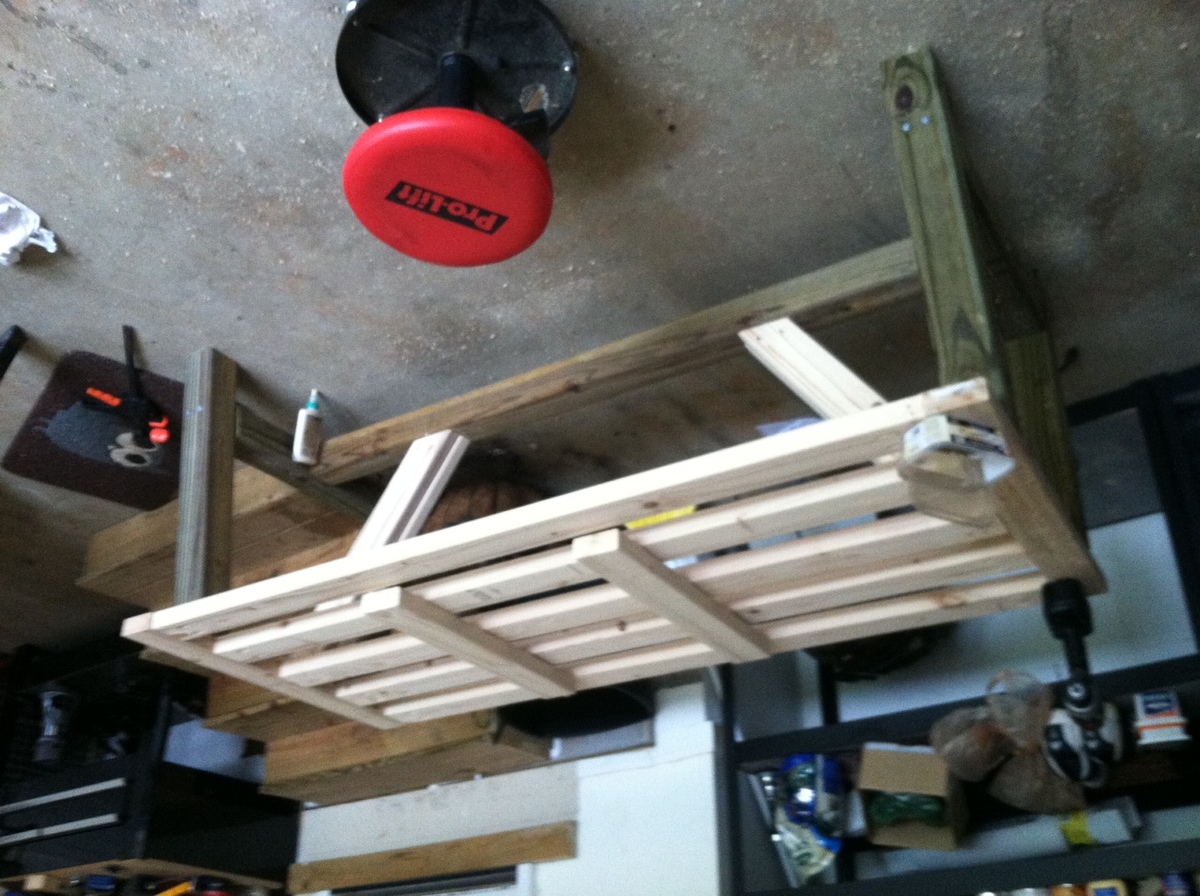
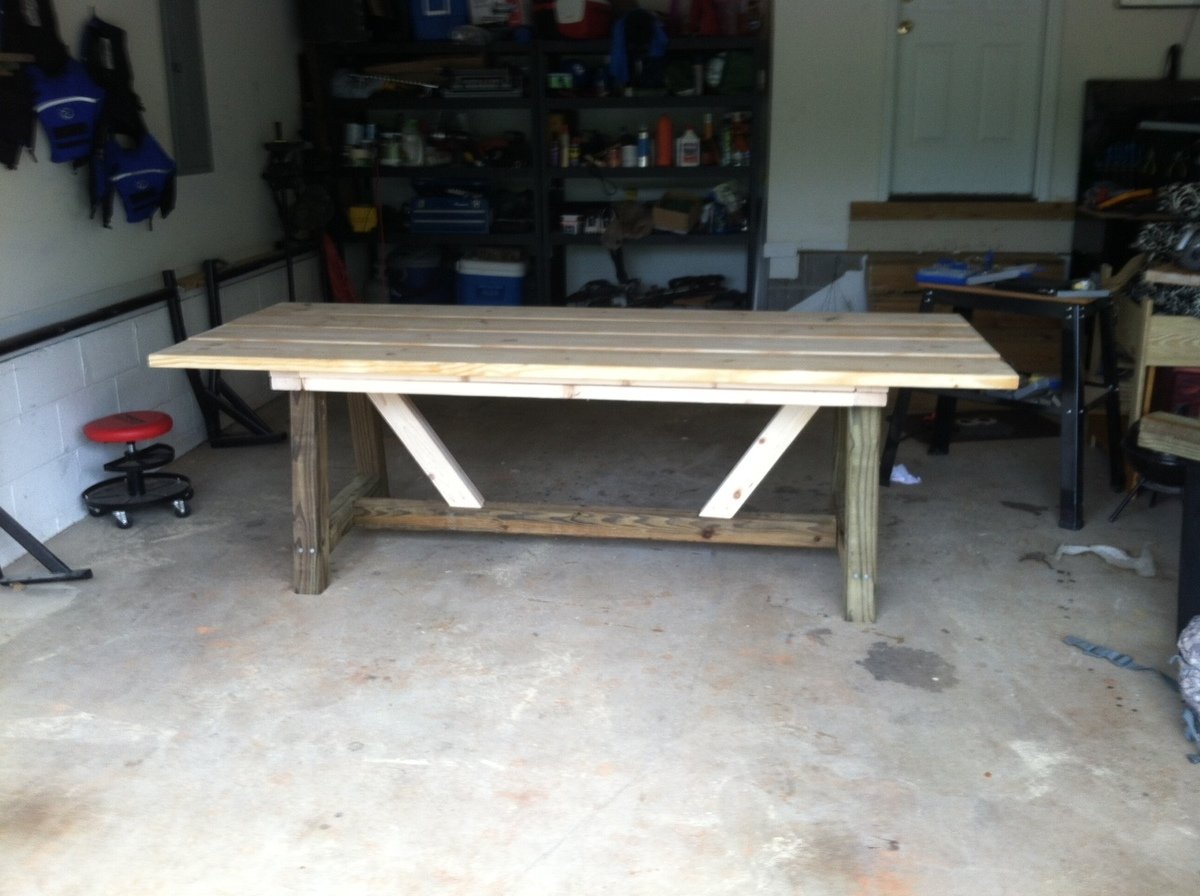
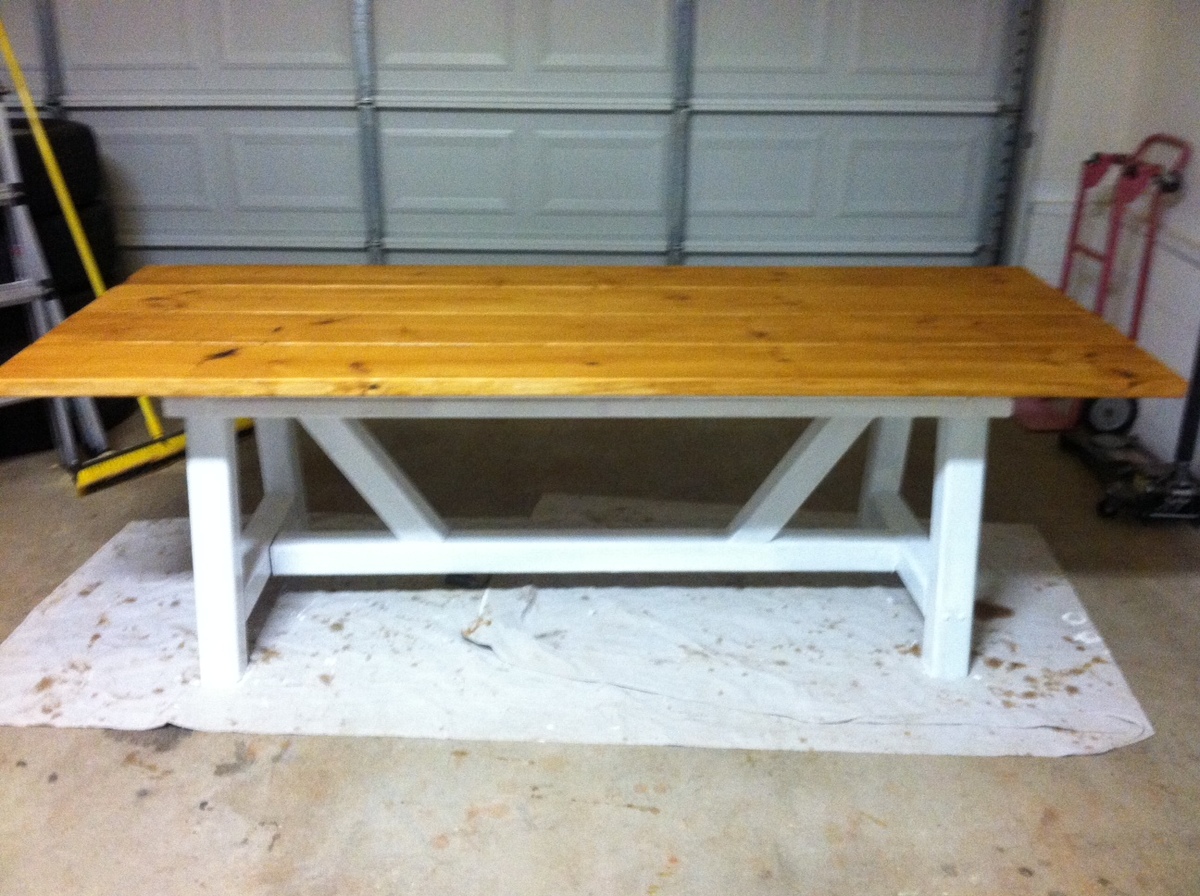
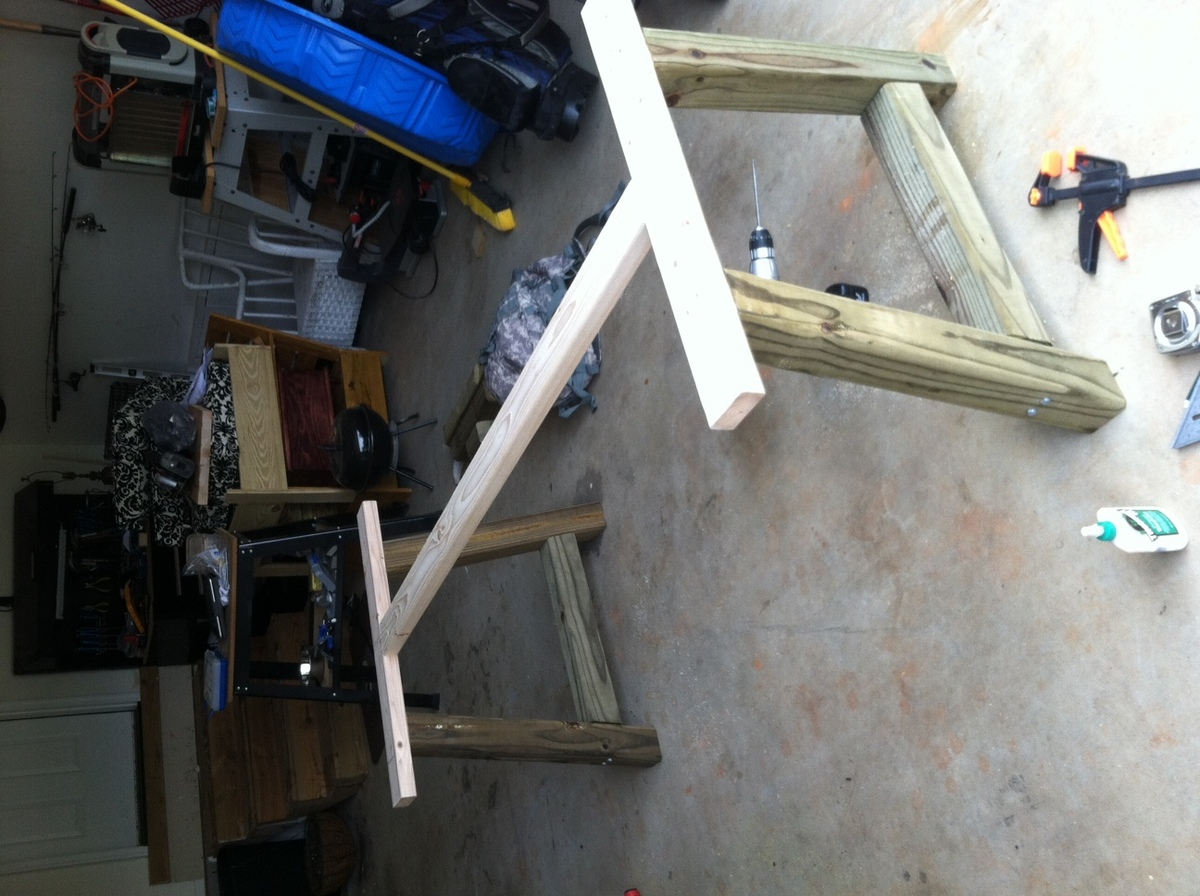
I modified the version of the providence table found here and on other sites to be an 8ft long table. I have found plans of a 10ft table with 4x4s as the base and then the 8ft version was with doubled 2x4's. But i wanted to have a 8ft table with 4x4s so i made one. I used white pine for the table top because i wanted to stain it and then pressure treated for the bottom because i was just going to paint it. I stained the top with cabot's australian timber oil in a honey teak to match our deck, I then painted the bottom with an exterior white paint. Let me know what you think.
Square coffee table based on a discontinued design from West Elm.


Wed, 10/13/2021 - 13:18
Could you please post the plan and cut list and others info??
It is so nice and i like to make it .
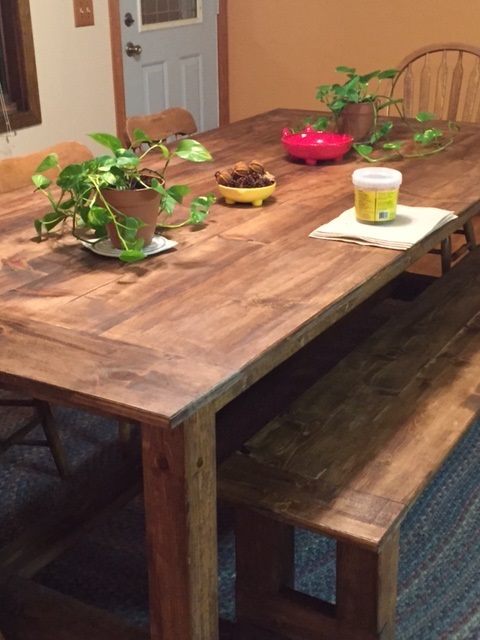
My boyfriend and I made this farm style table based on plans from Ana's site. We LOVE it. We wanted it to appear rustic with natural woods tones so we used Special Walnut Stain, Poly, and Light Brown Briwax. Even though it looks raw, its silky smooth to the touch.
Thanks for posting these plans! We already on to our next project. We have the wood purchased for the rustic coffee table and console table, and I have my eye on the farmhouse bed frame and a set of night stand tables.
Kate
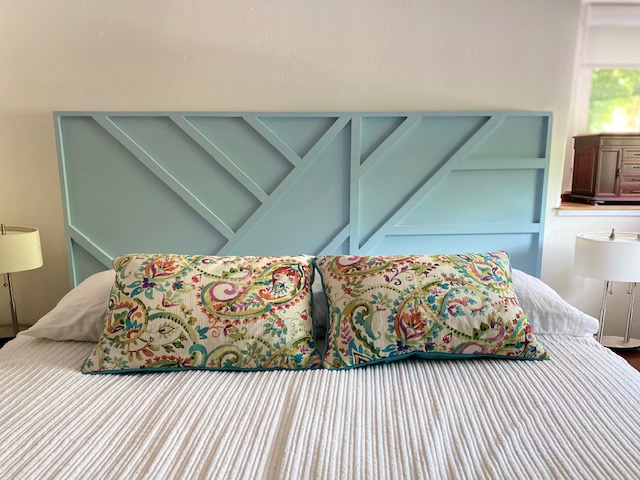
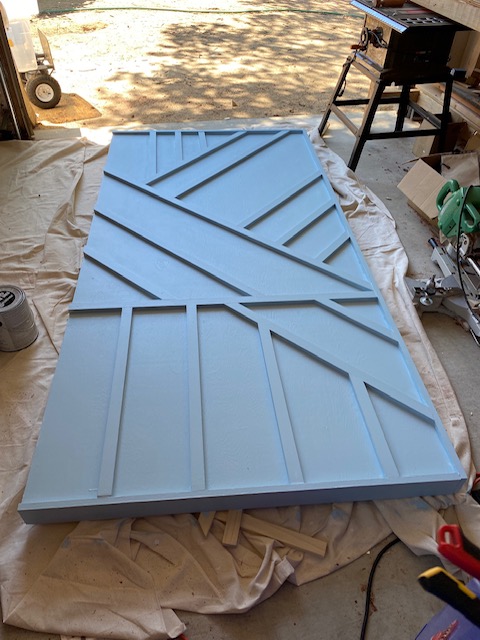
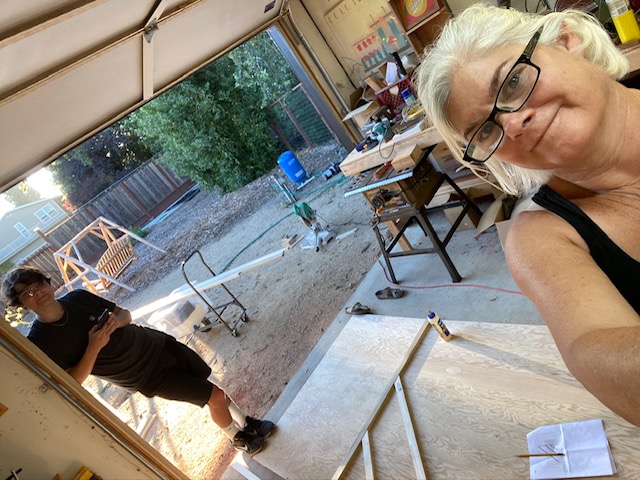
This project was fun and I learned a ton! I used the Modern Geo Headboard plans and then modified them to fit my room. This was my first project and I'm glad I did it but I should have started with something simpler to learn about my tools and understand the process better. I'm proud of myself and I'm looking forward to my next project. Thanks to Ana for the plans and the inspiration, staying busy during this pandemic is a lifesaver!
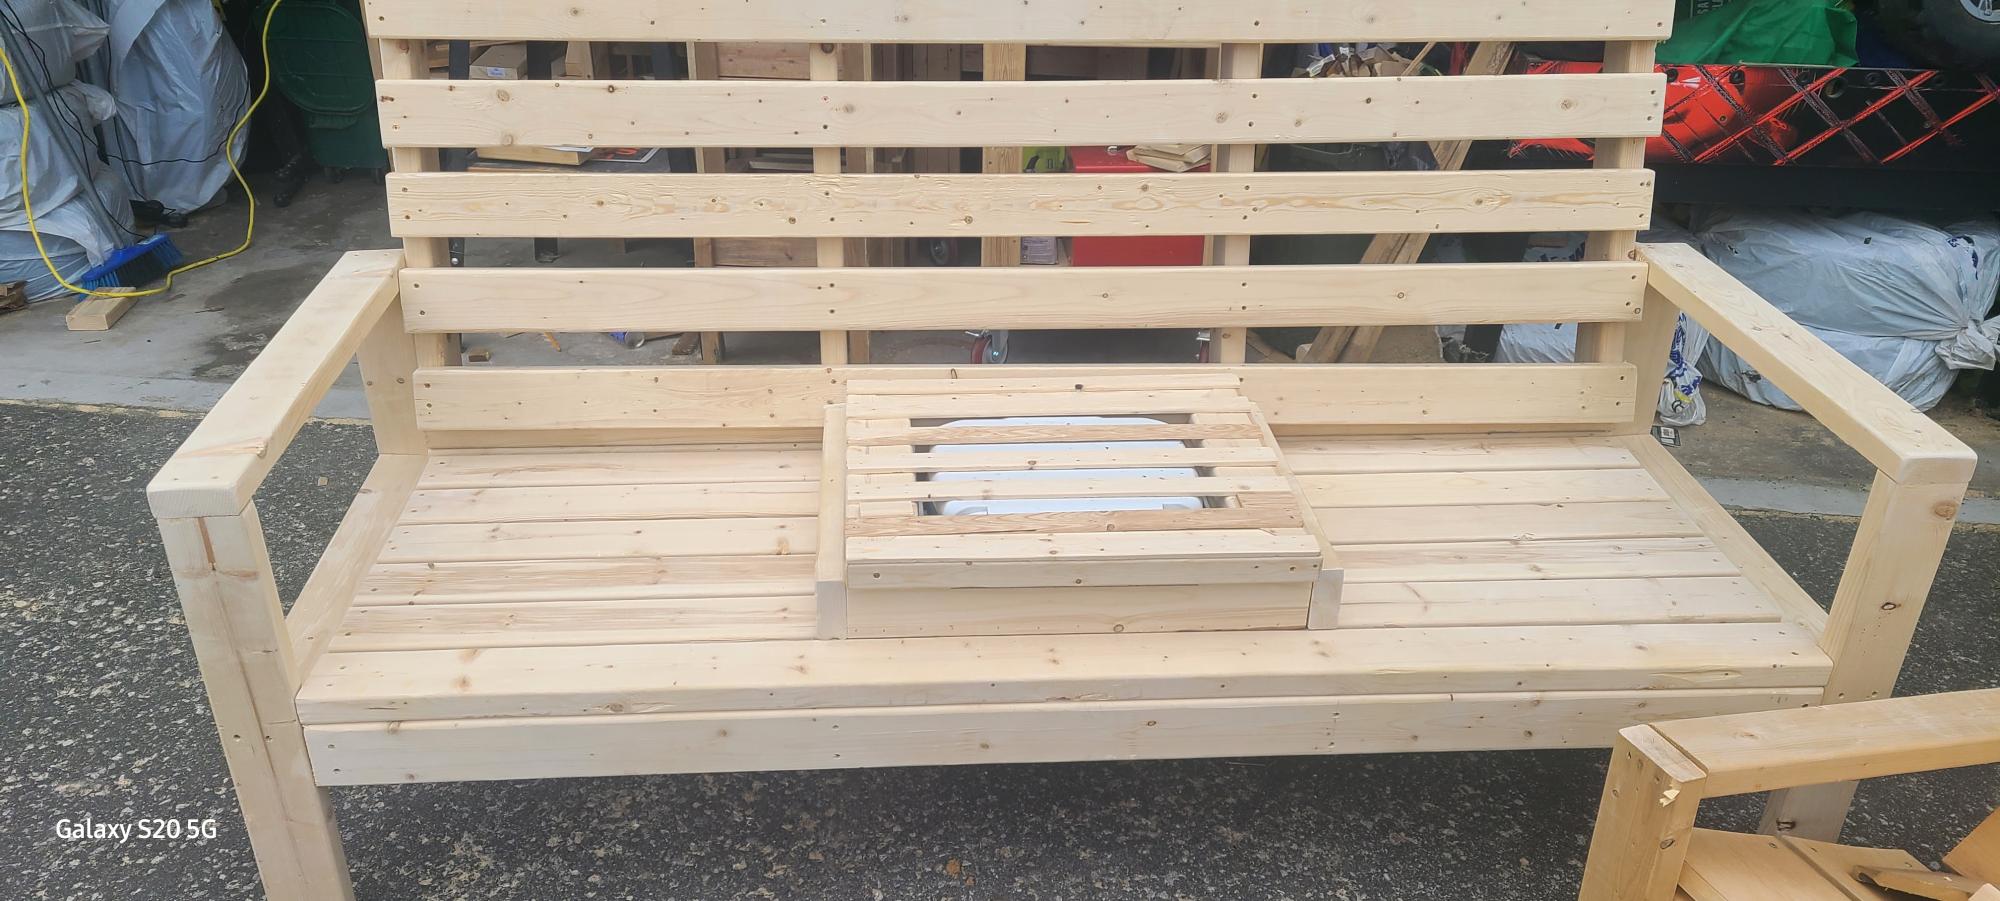
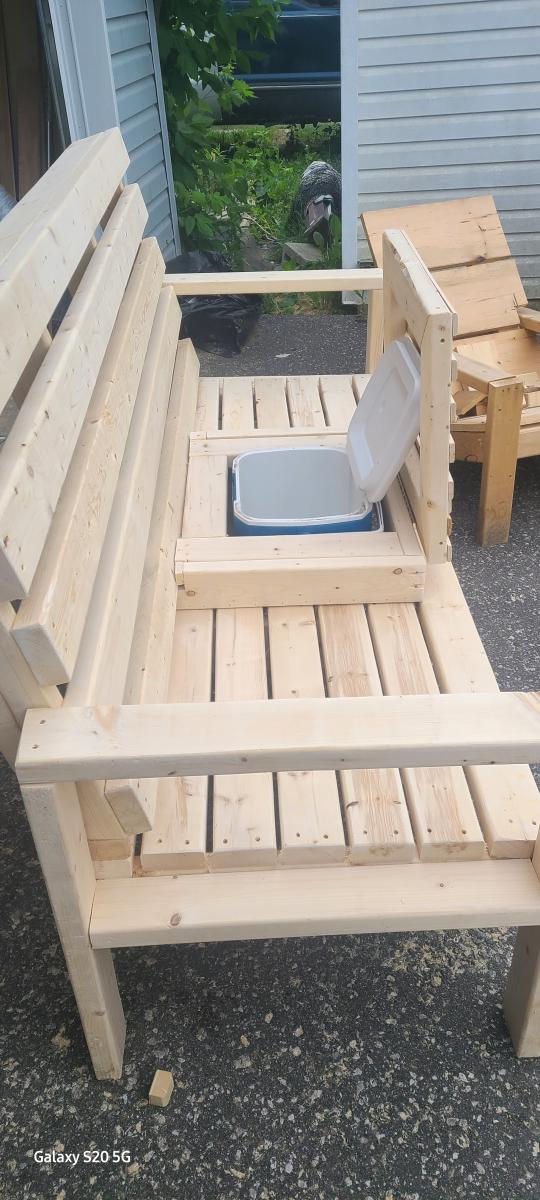
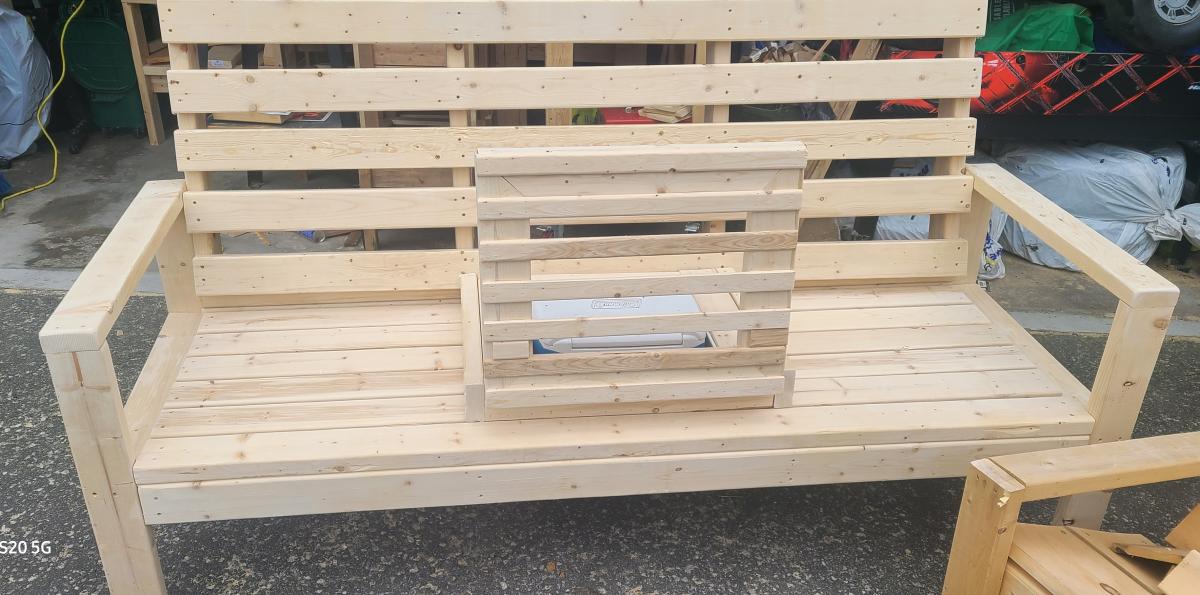
Took your bench and used center to hold the mini cooler ,u-type frames fastened to 2x4 in bench frame underneath. all 2x4 with the exception of flip top which is 2x4 cut down on either side then the remainder cut again and sanded to give rounded edges. Mitre saw, table saw, 18 gauge brad nails around edges of top bench side and to fasten straps down covering cooler.
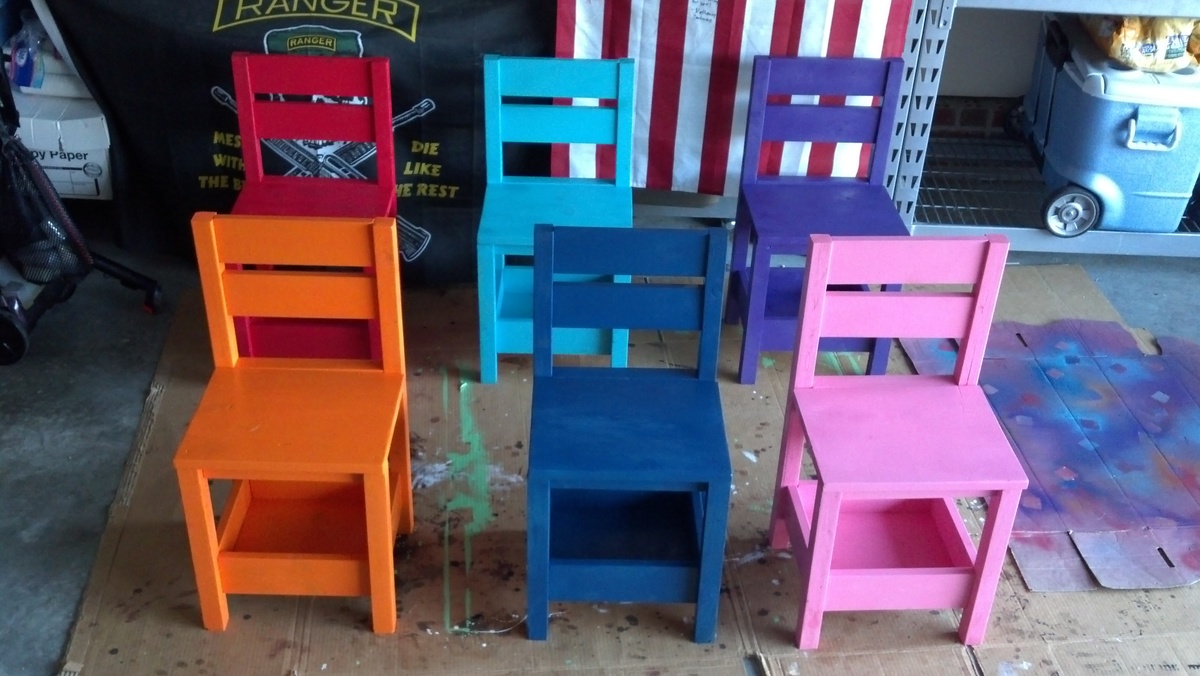
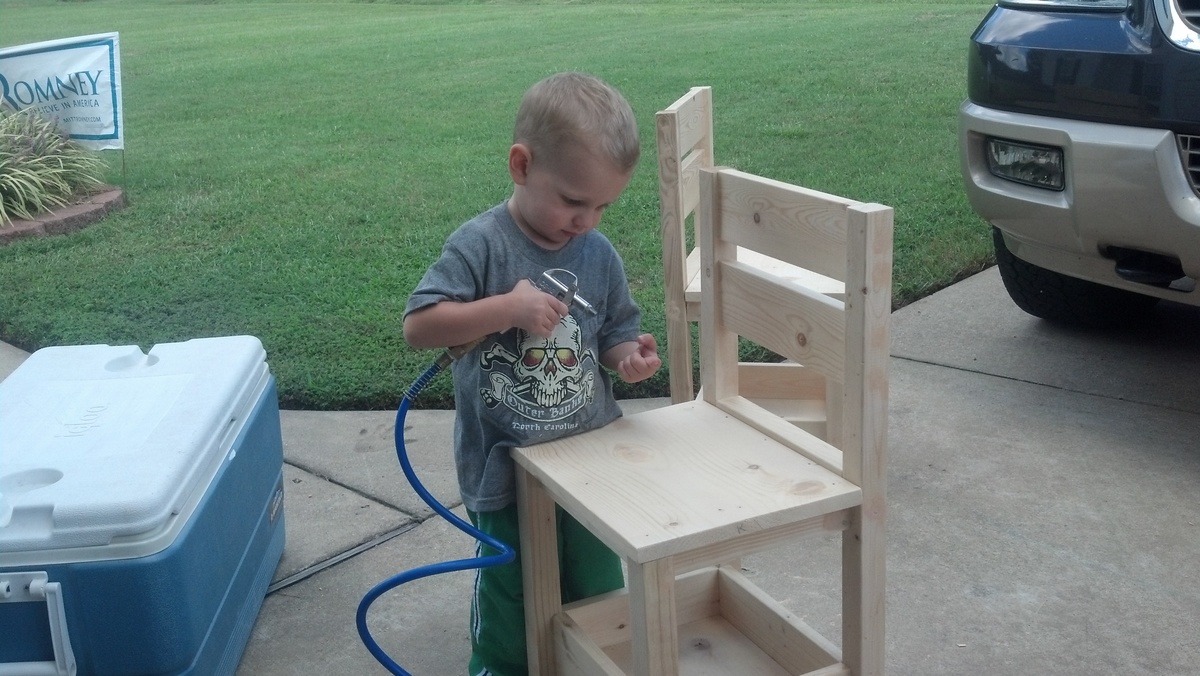
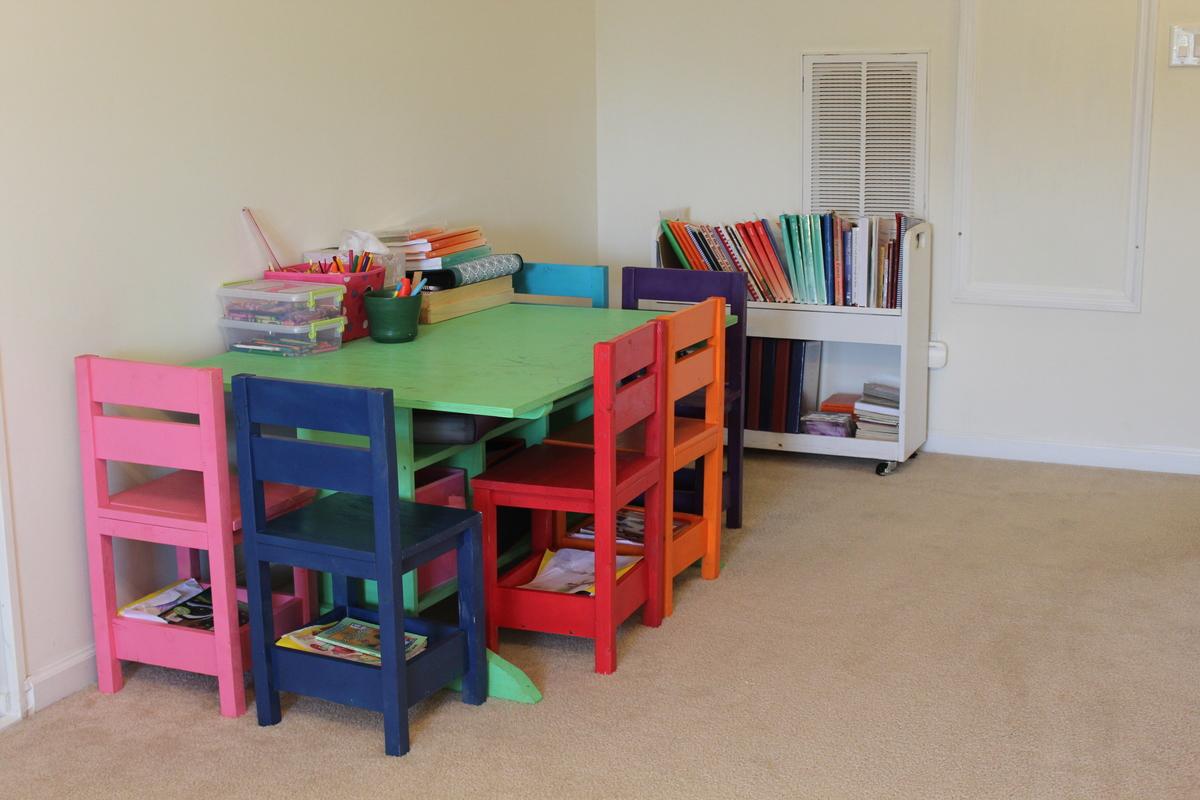
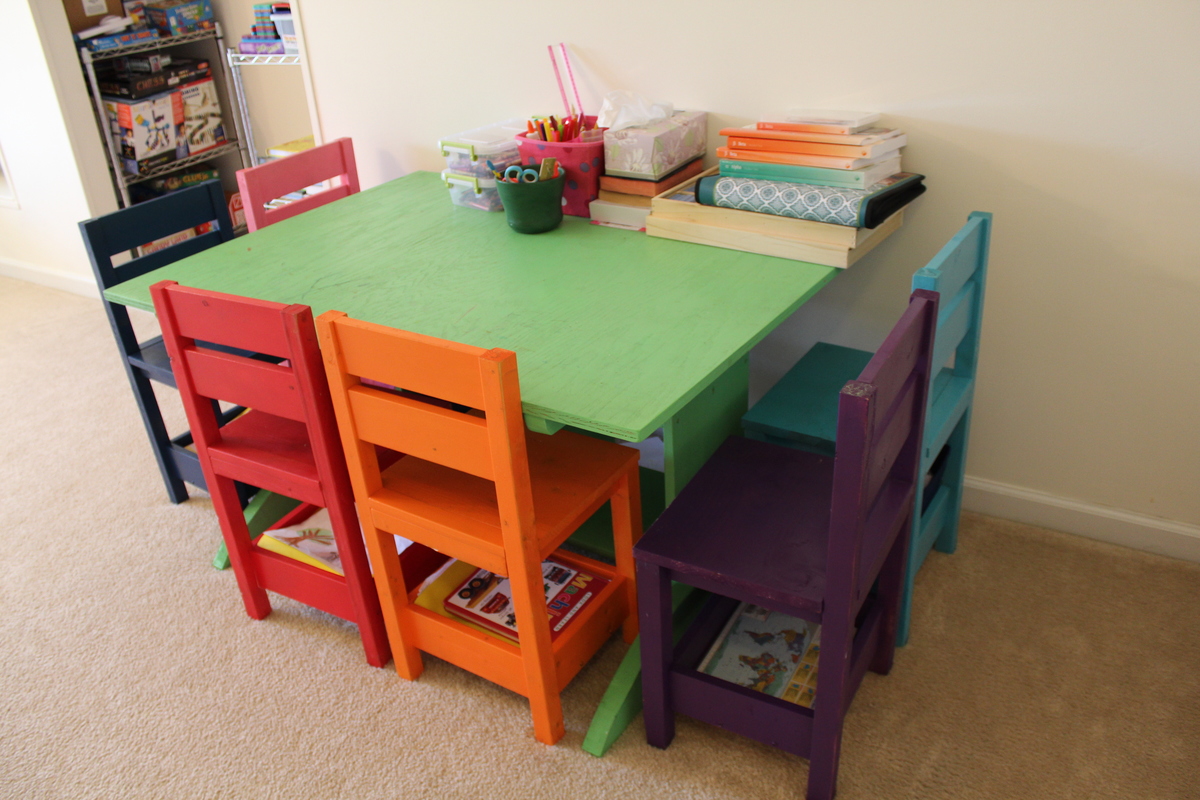
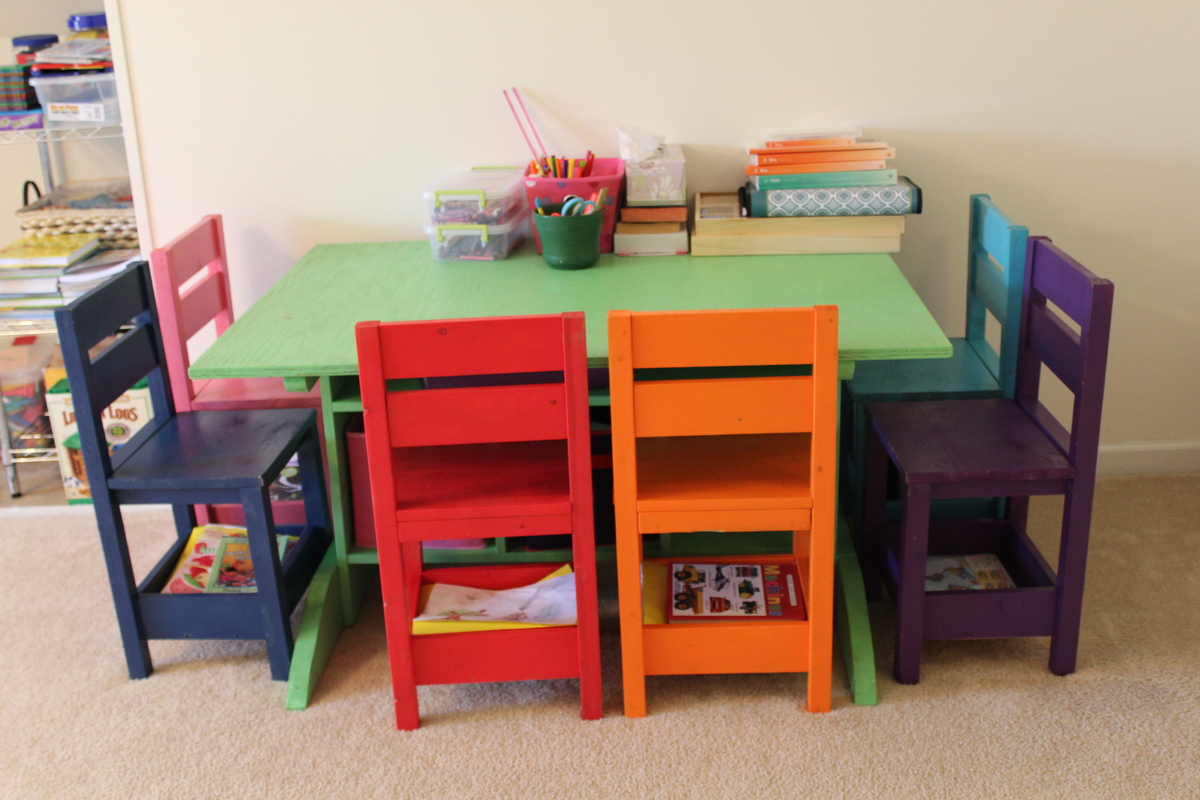
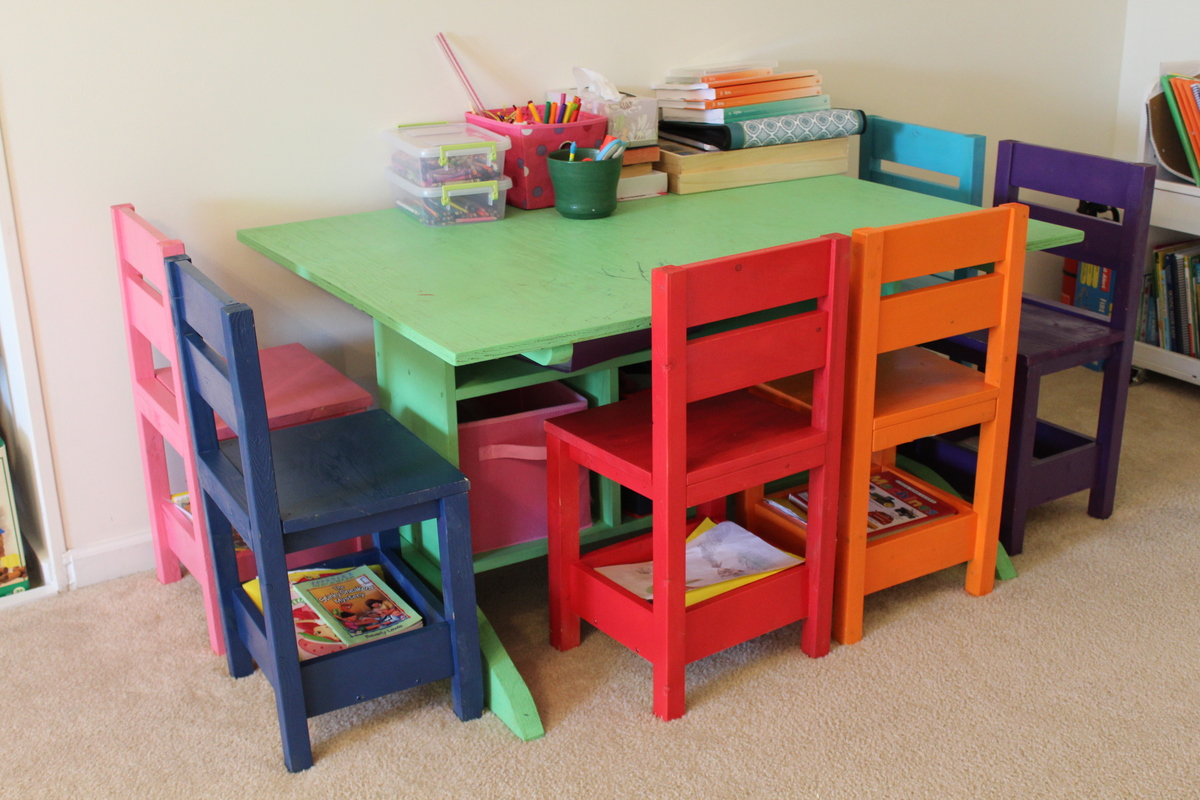
We made 6 storage chairs for our school area. I added two inches to the height of the chairs, making them 16 inches at the seat. I wanted them to last for several years. They turned out great!
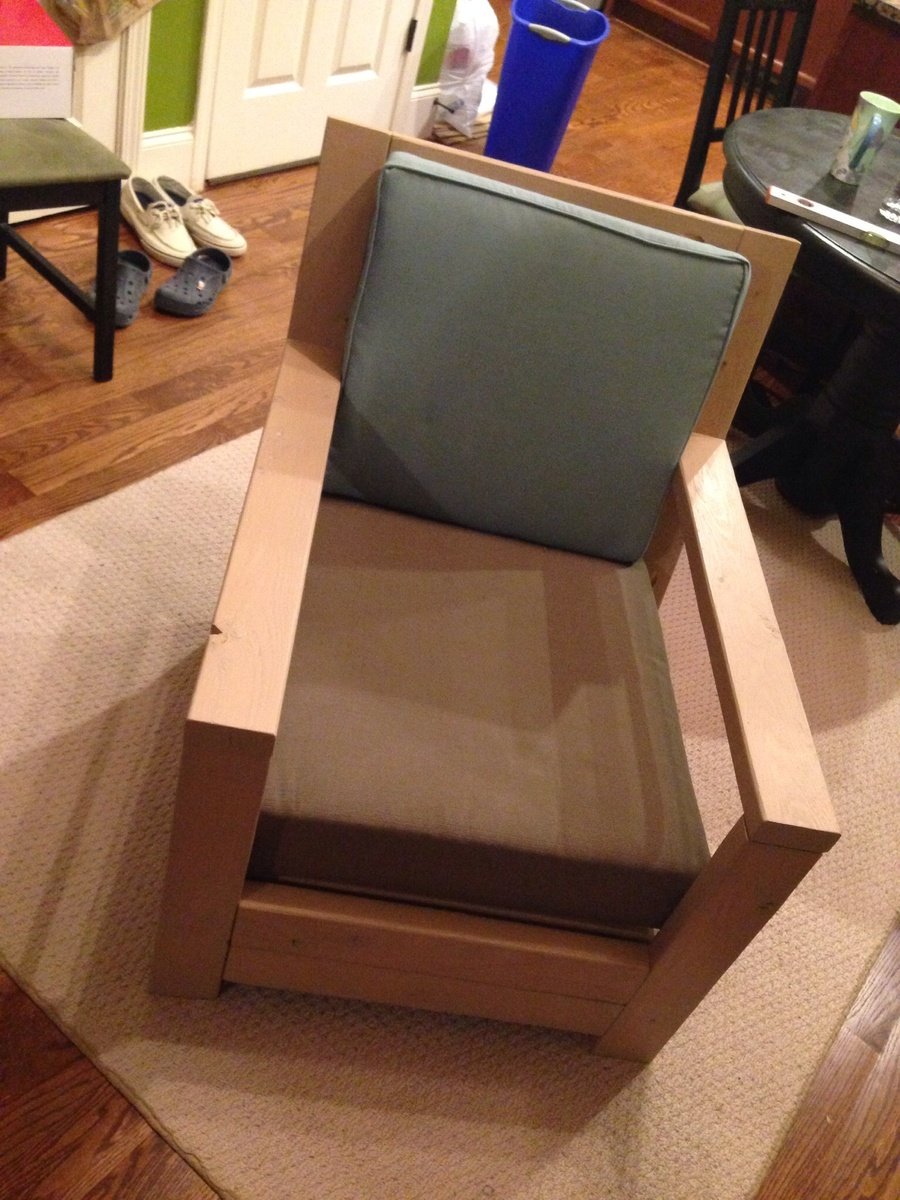
Thanks so much for the plan!! I altered the plan so it would fit the cushions I brought and used 2x4s and 2x3s only. Total cost with cushions - $45! Excited to make a matching love seat!
I was afraid that 1x4s may be too weak, so I used 2x4s instead. It's pretty sturdy.
Cushion sizes:
19x20x3
22x24x6
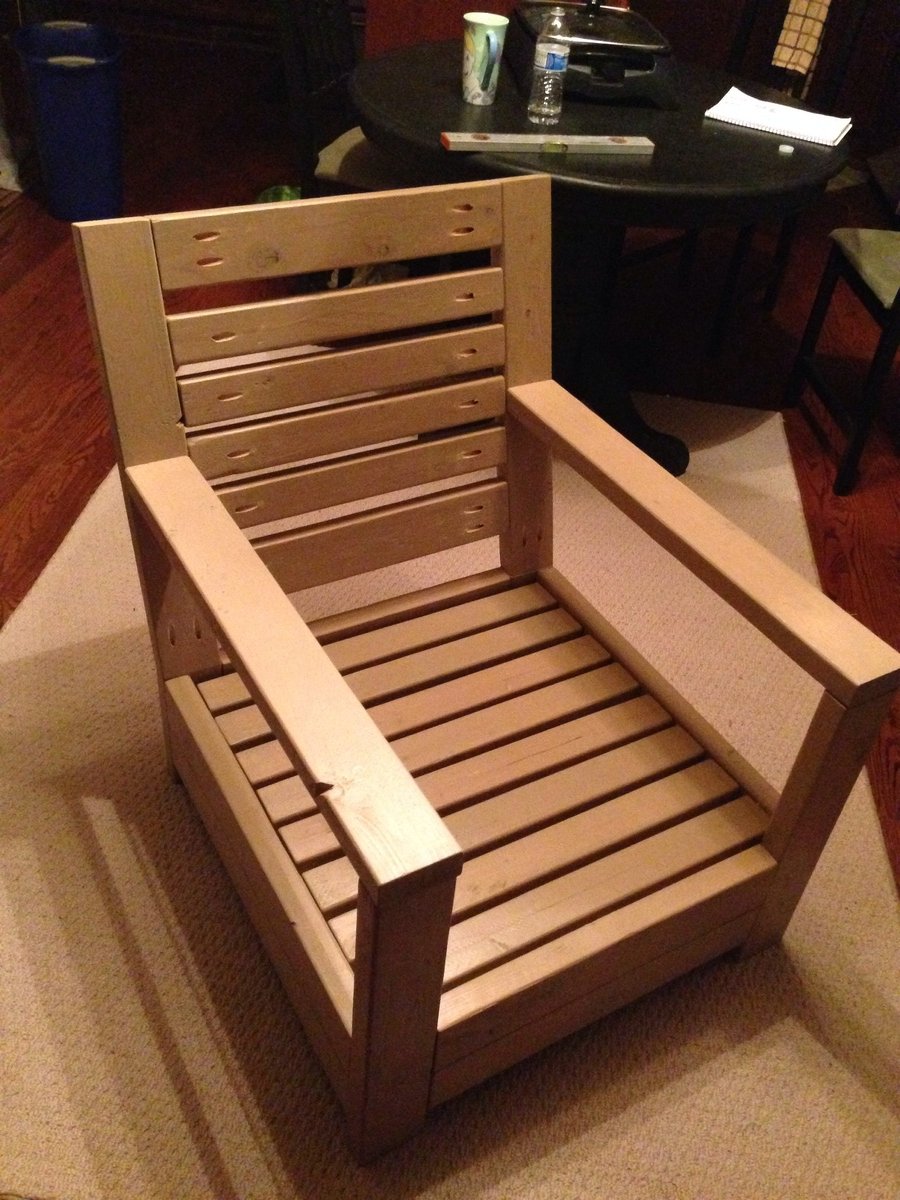
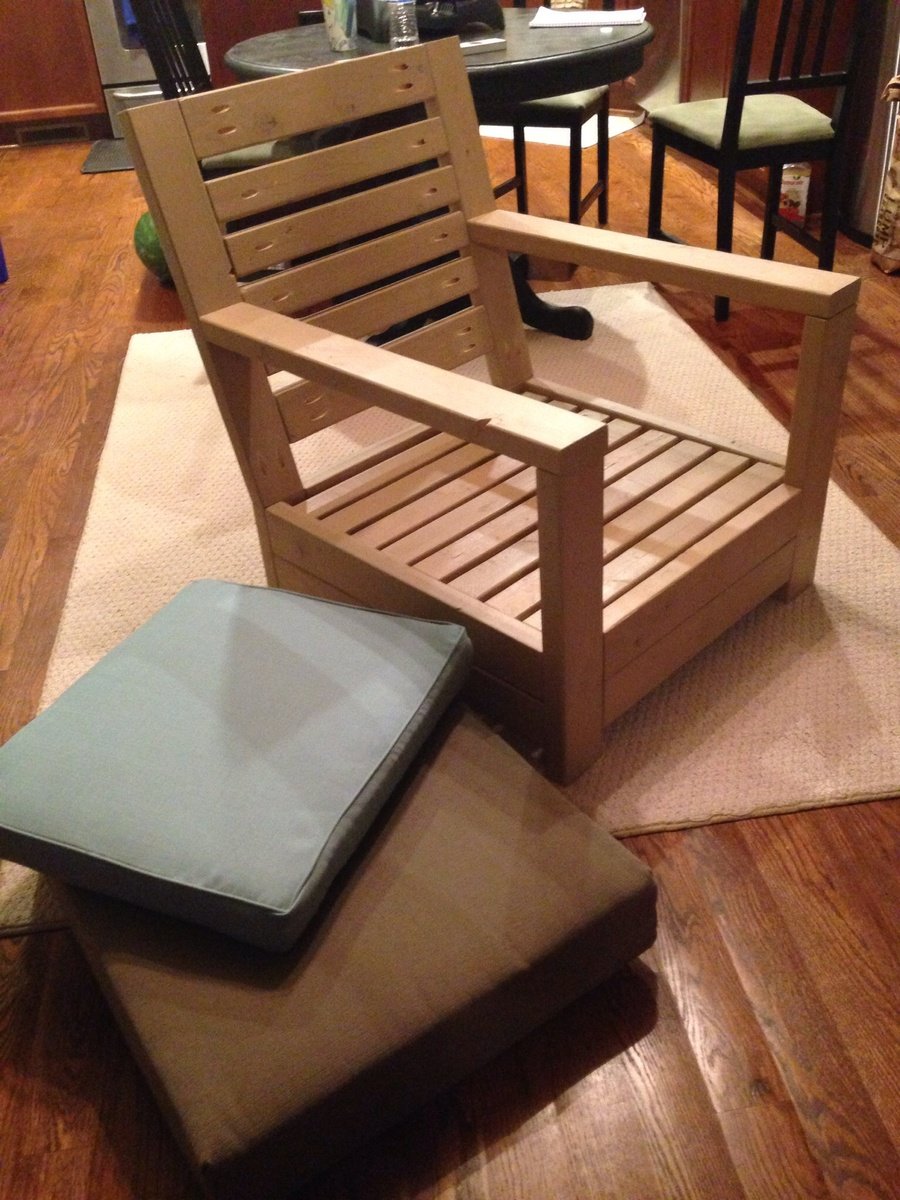
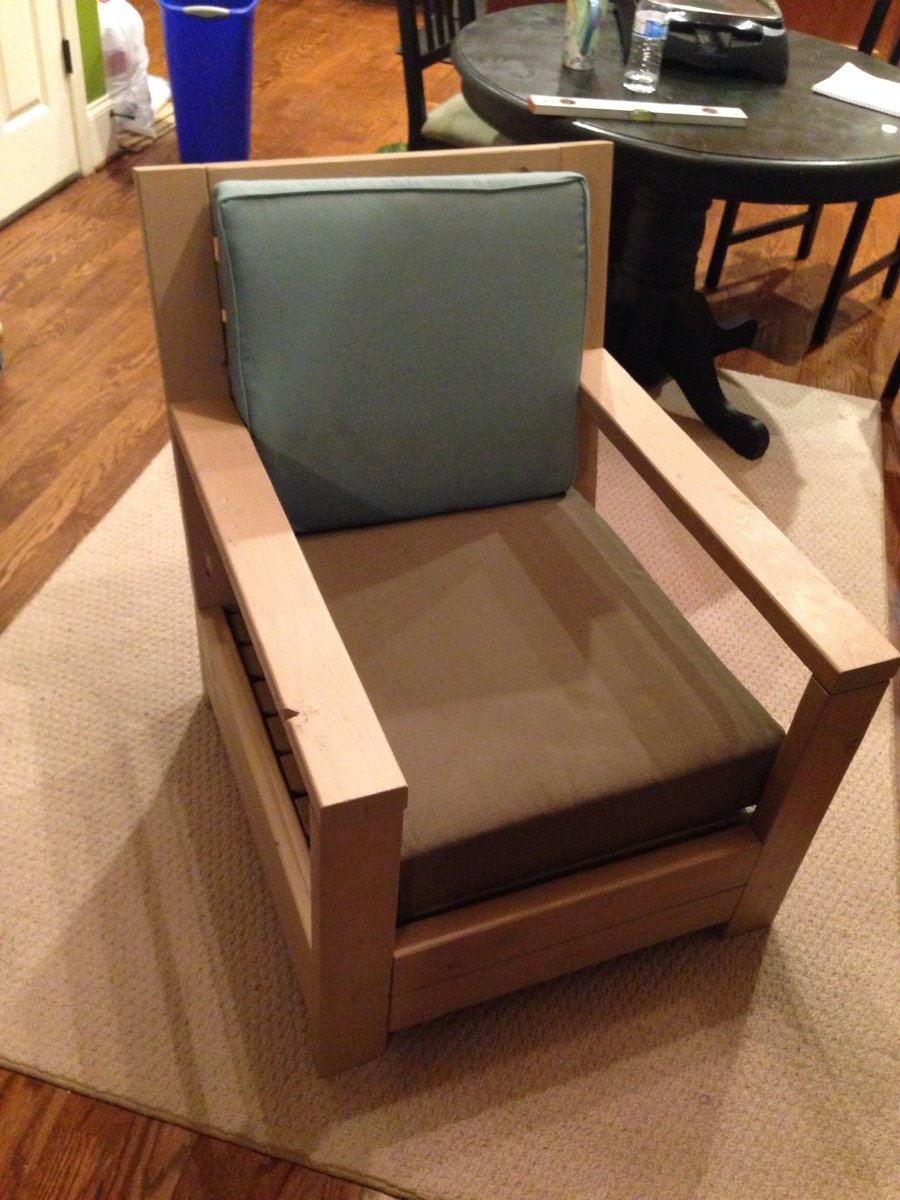
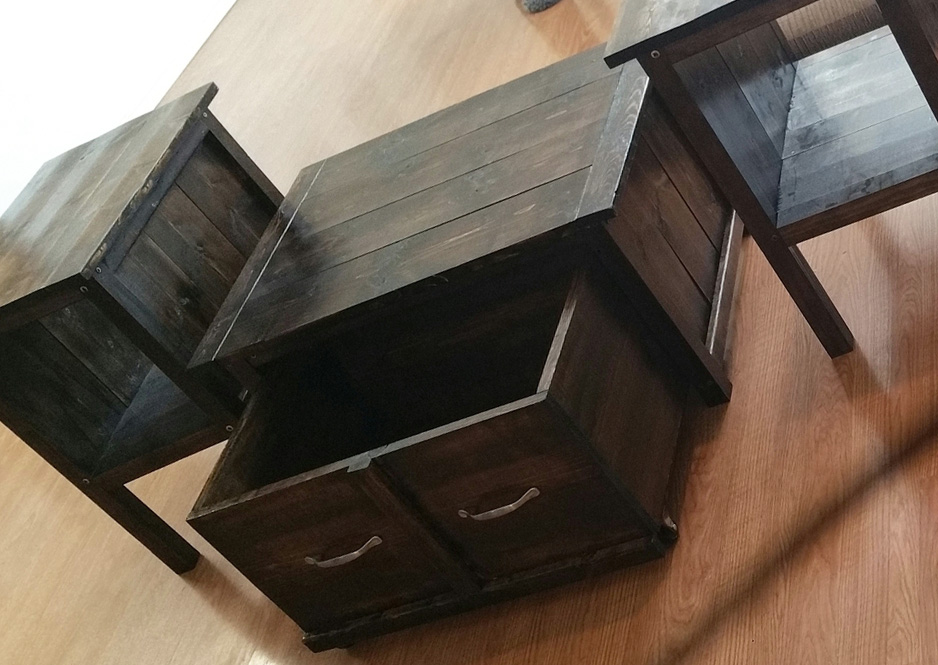
I adjusted the measurements to fit the space.
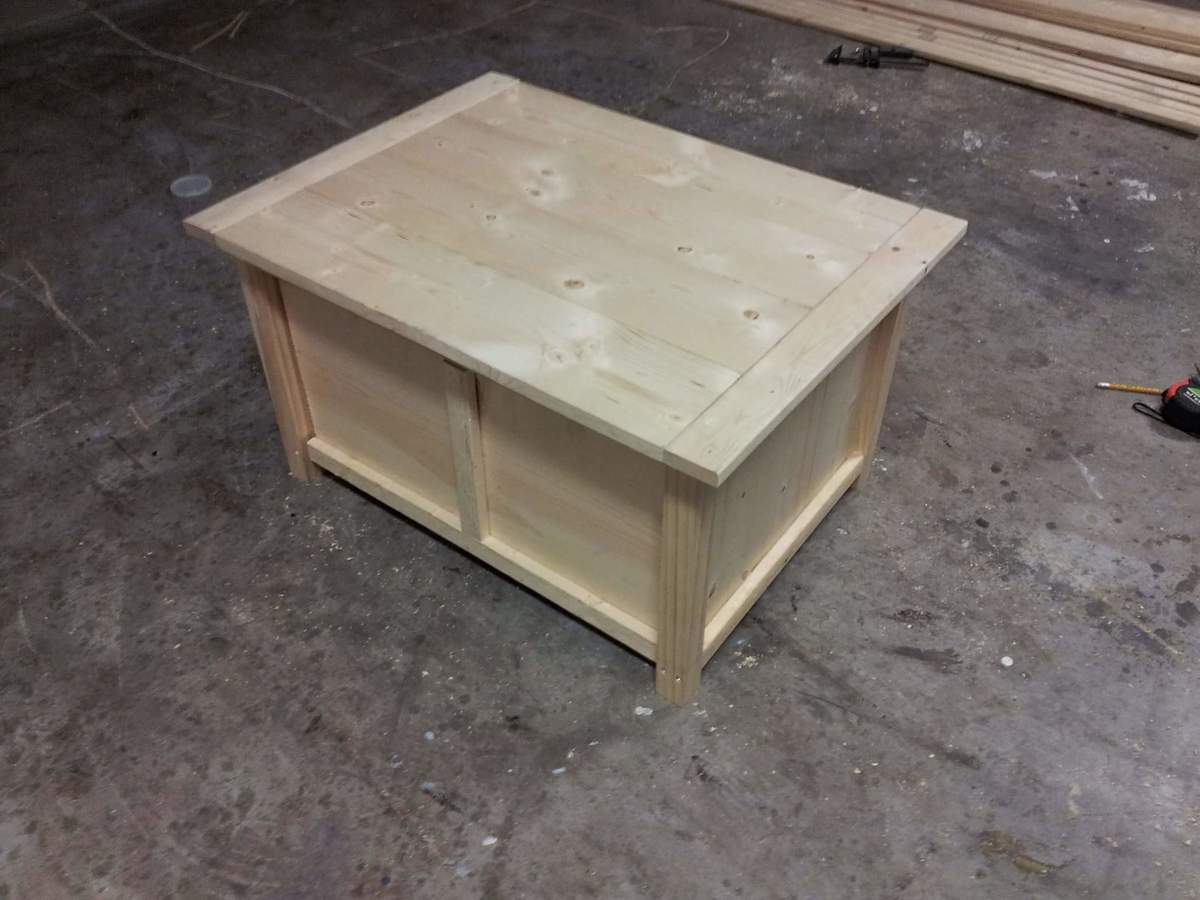
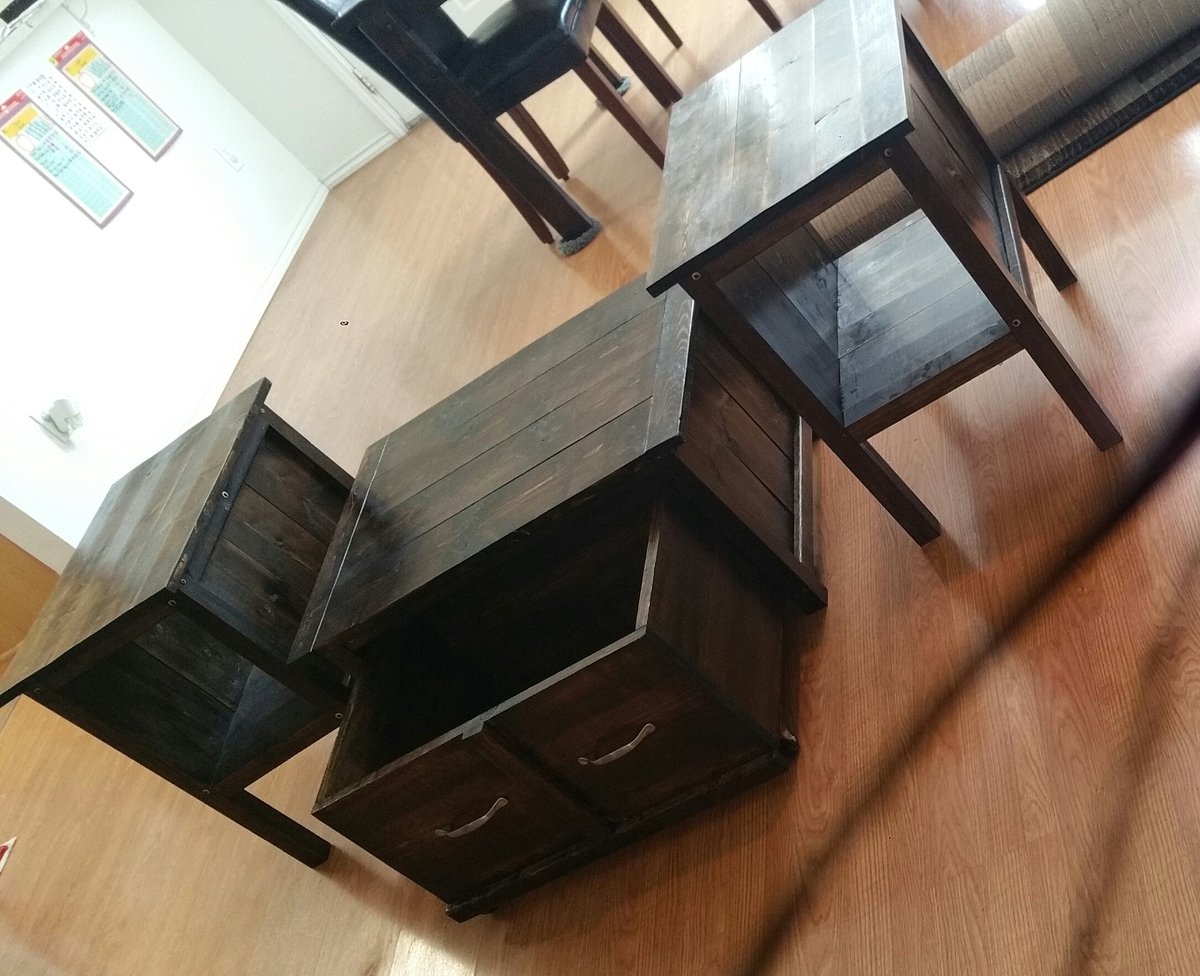
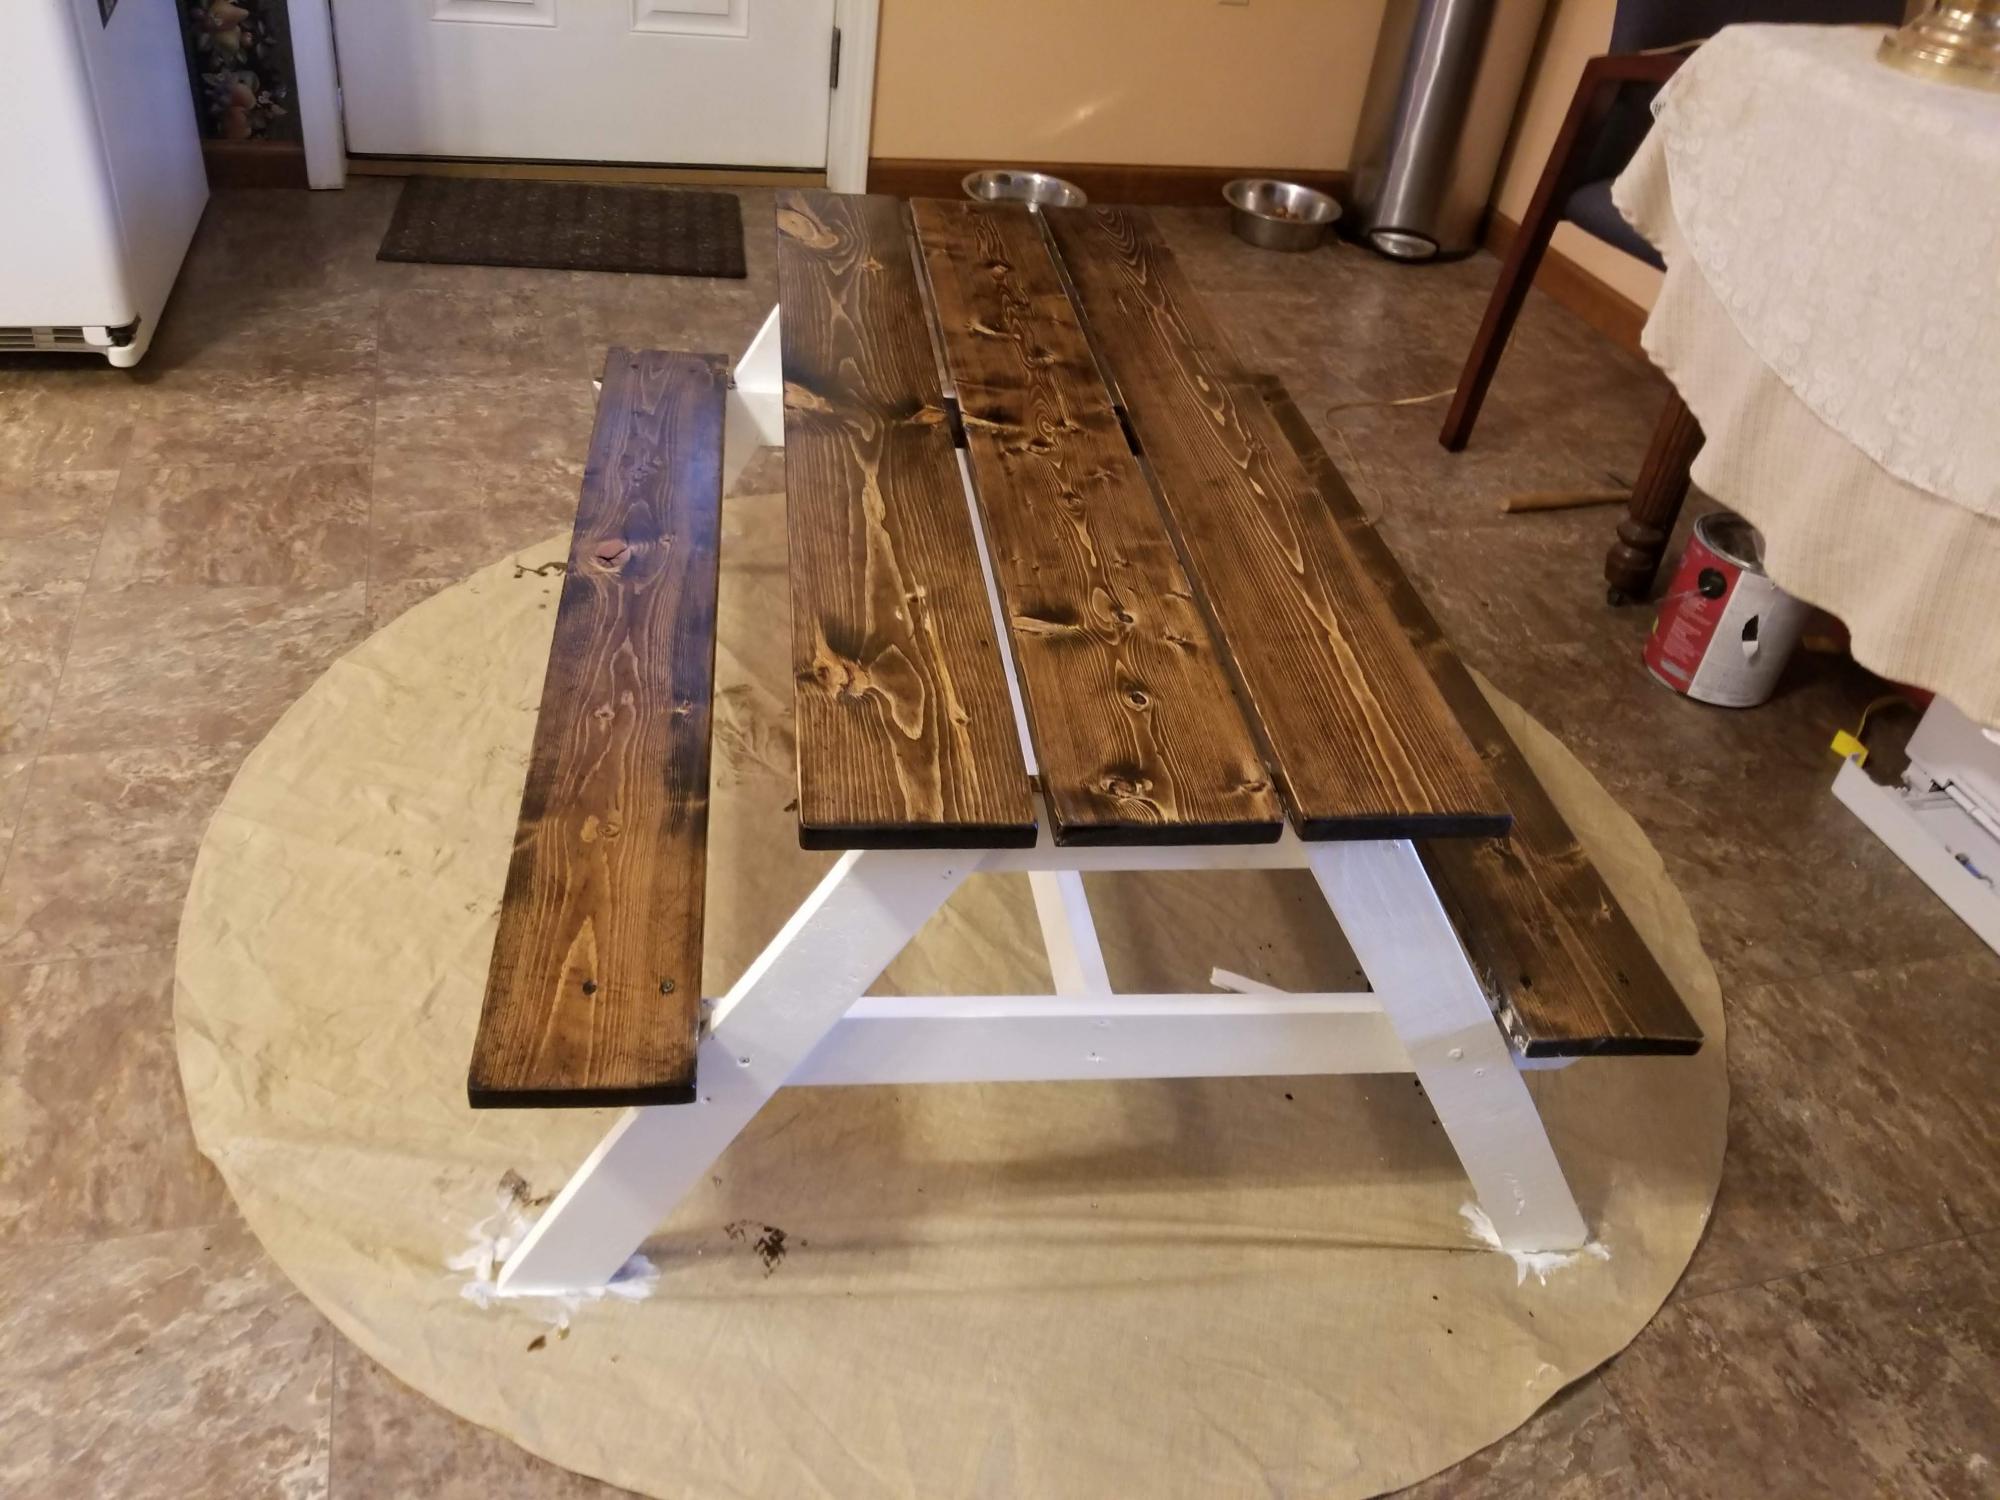
Love this picnic table. I have 2 grandchildren, Kayden is 3 and Kinsley is 1. They both love using it.
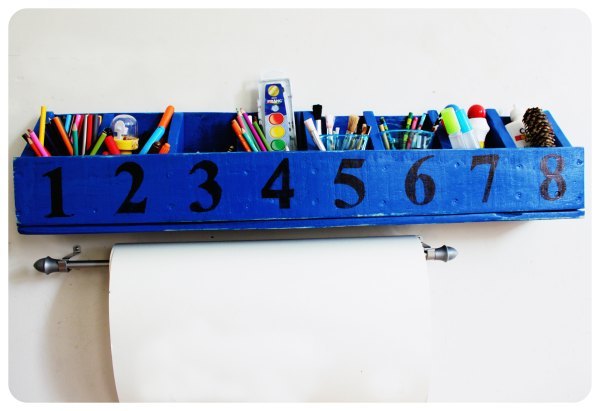
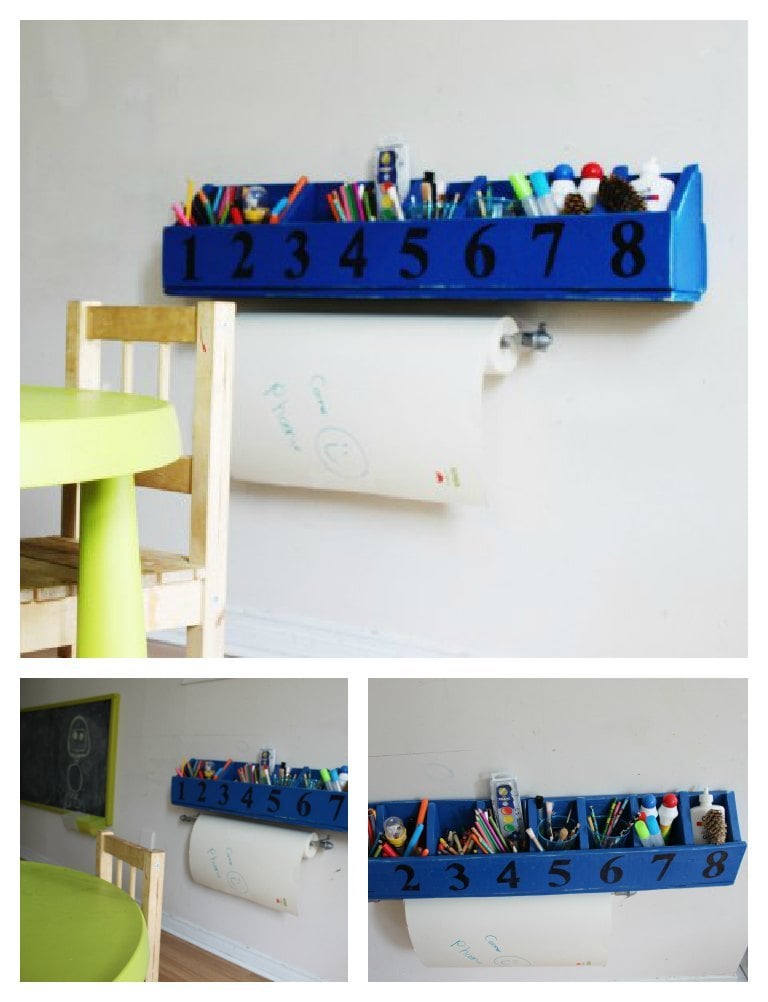
Very easy project. It took a few hours from beginning to end including measuring, cutting,assembling and painting. I used salvaged wood from a pallet I got for free. The only cost for this project was for a can of spray paint. Great shelf for the playroom to organize art supplies. You can see more details of this project in my blog: http://blueberryjunkie.com/uncategorized/diy-number-cubby-shelf-a-potte…
