Coffee Bar
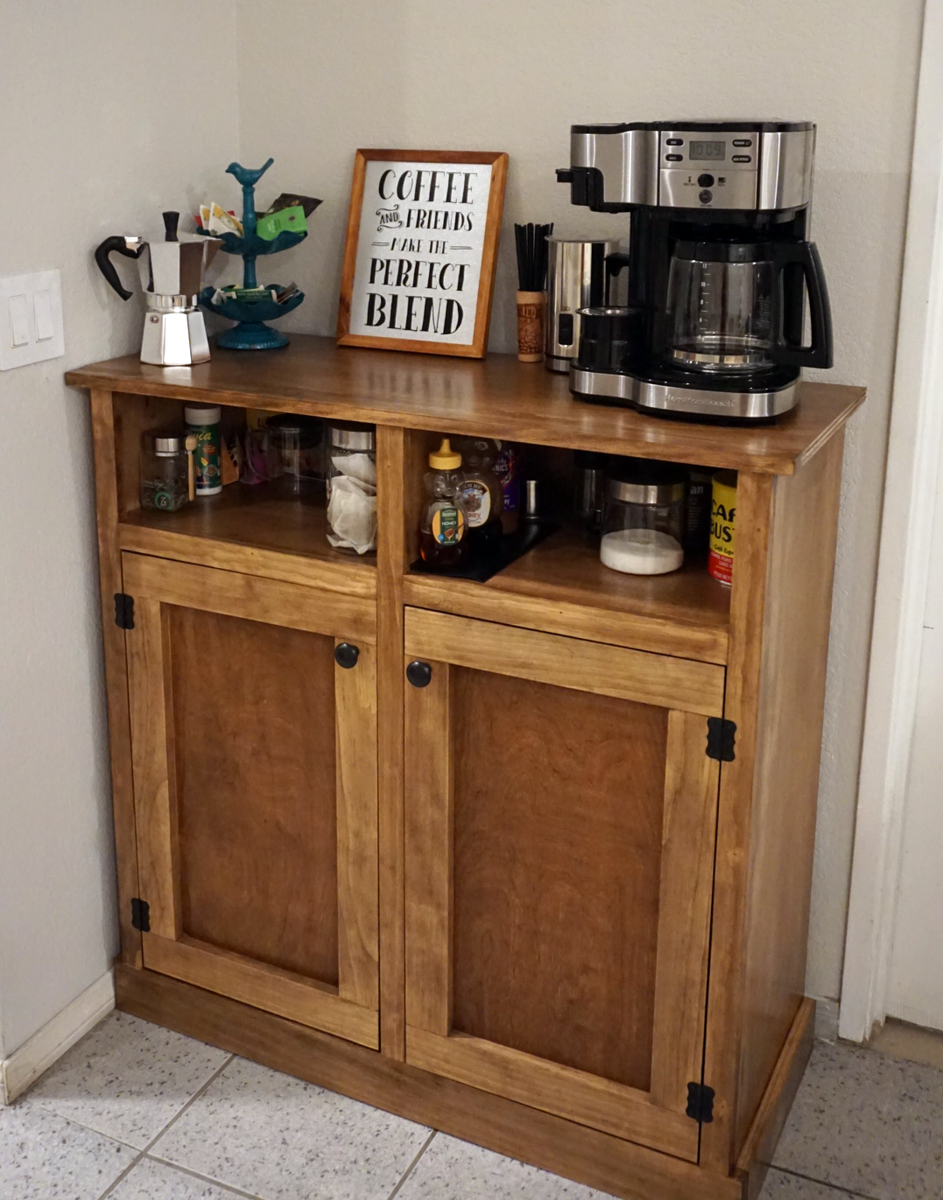
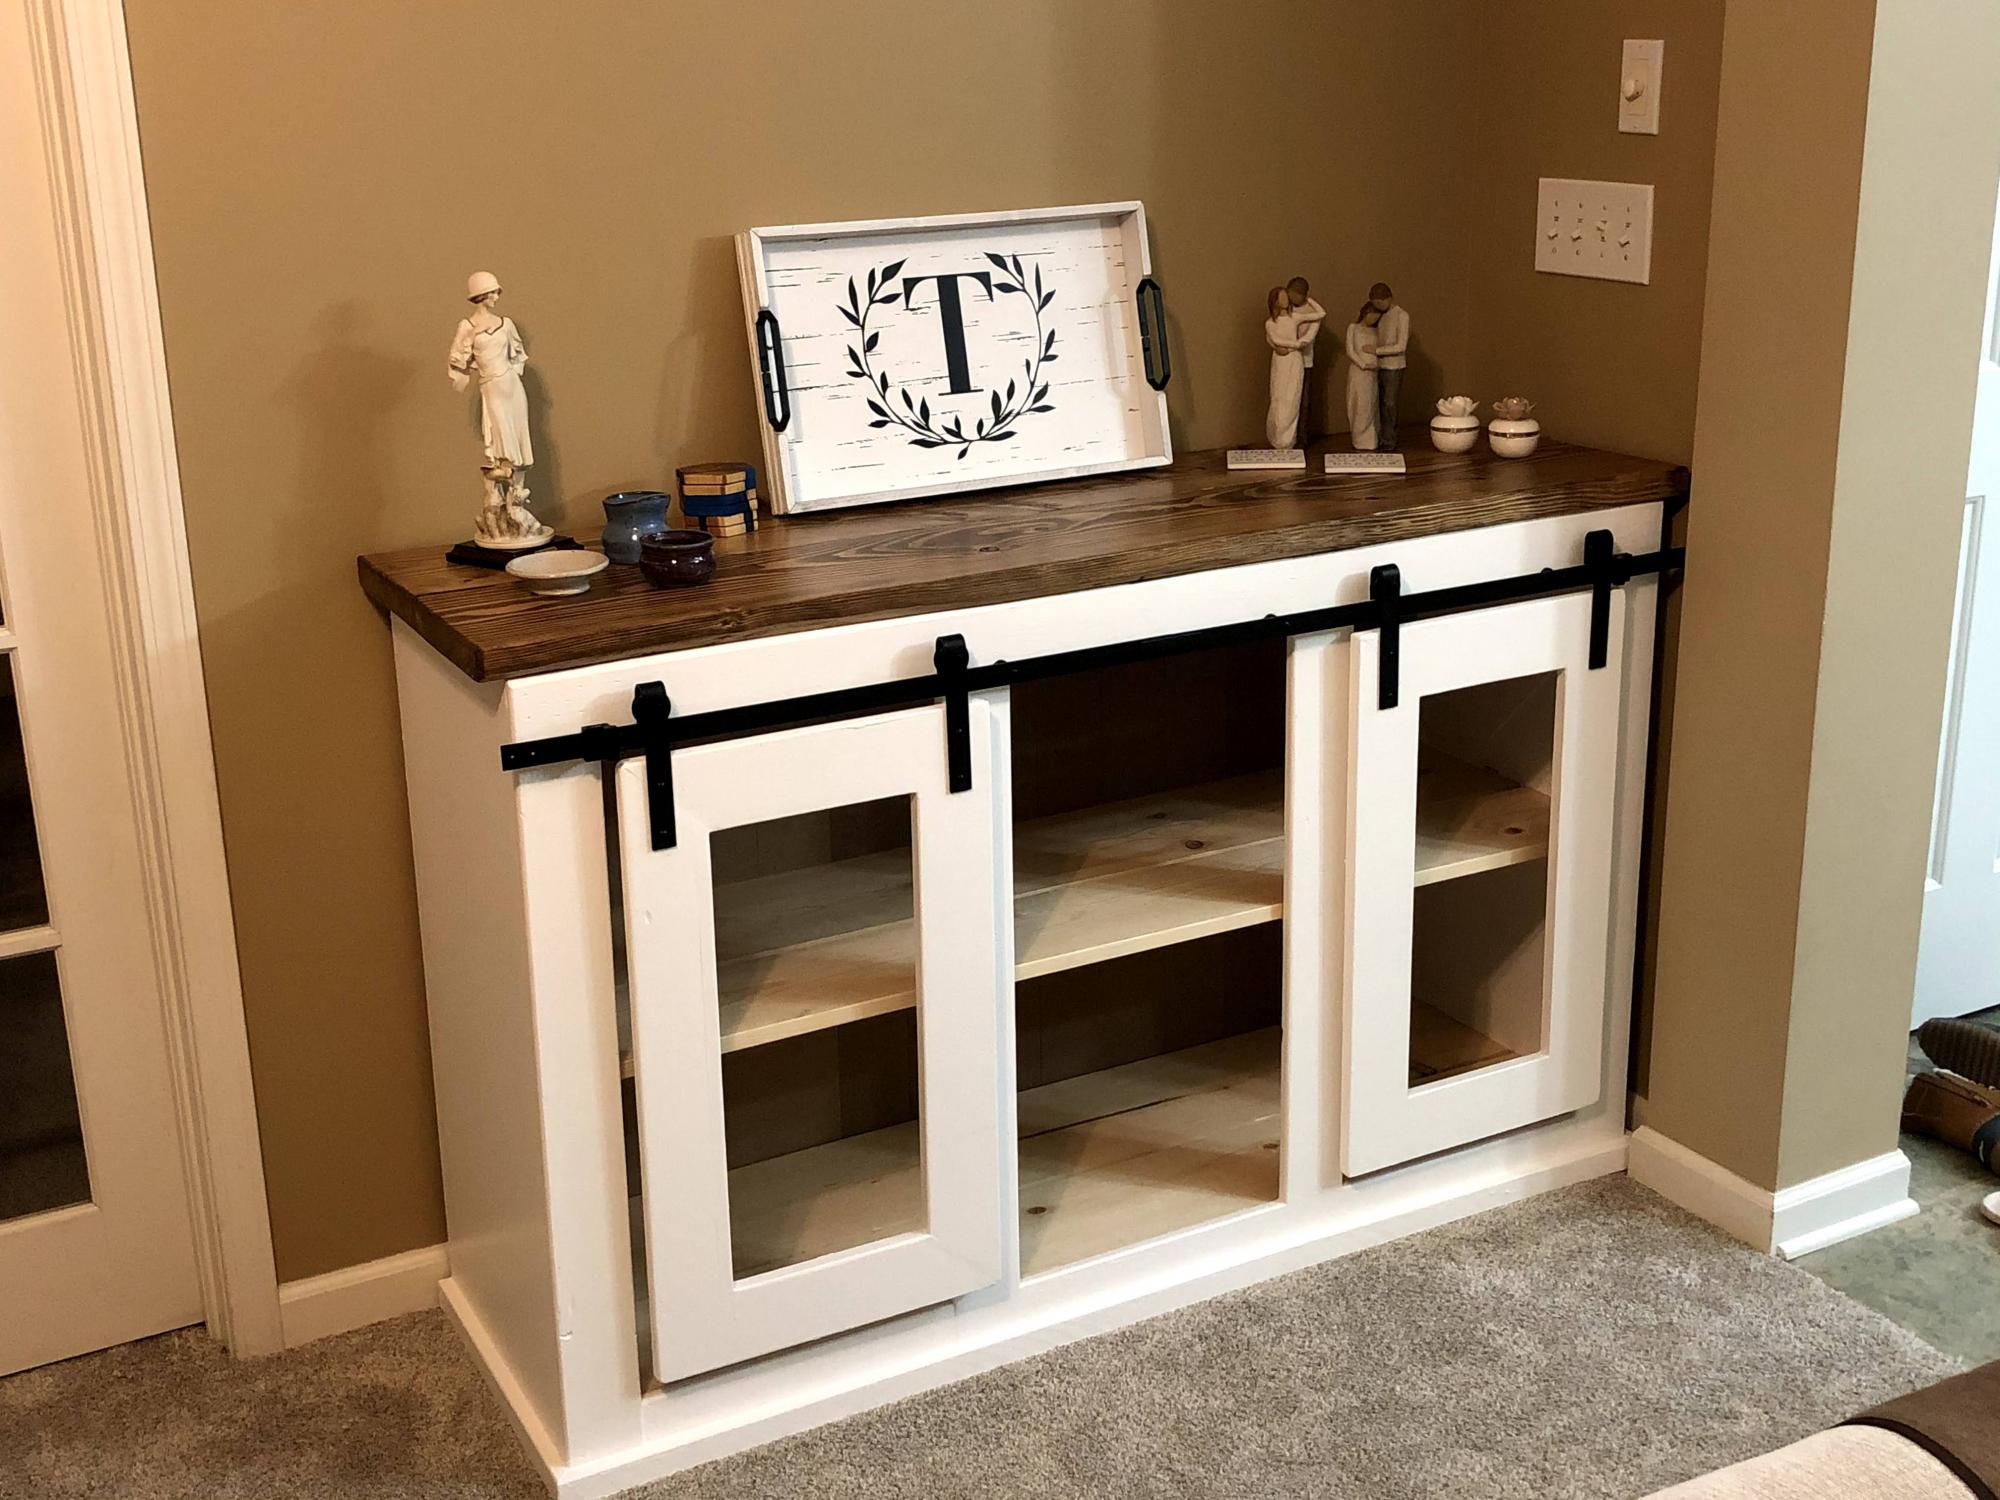
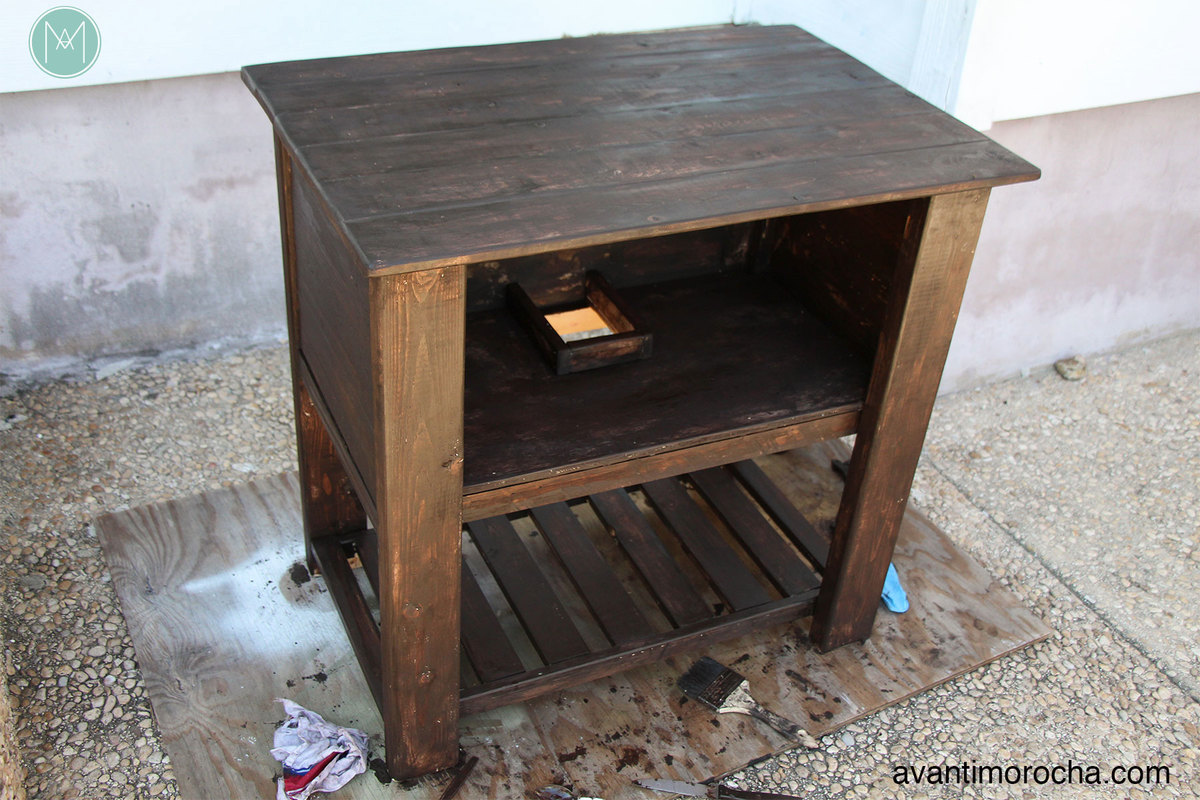
This is my second project. It's a coffee bar to free up space in my kitchen countertop. It has quite a few imperfections but I am very proud of the finished product. Can't wait for my next project!
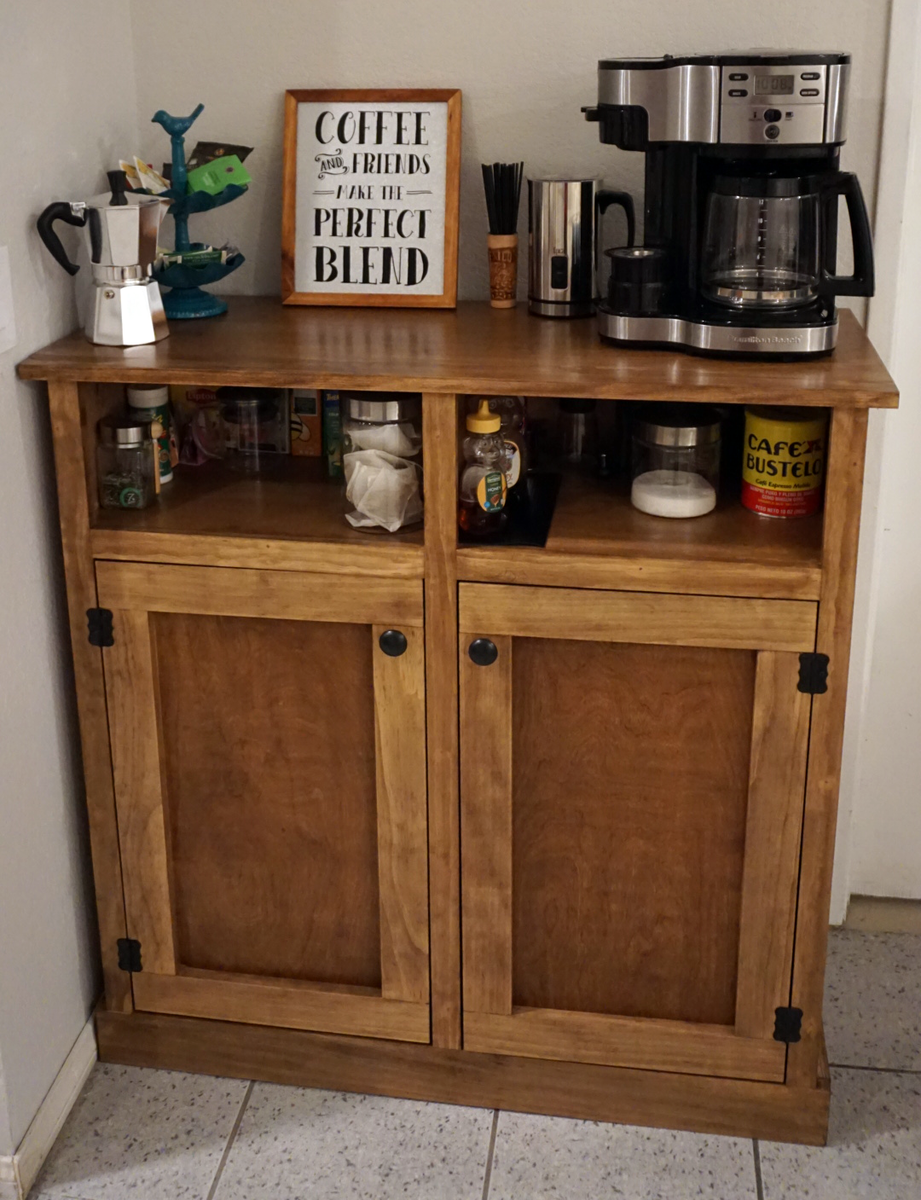

This is my second project. It's a coffee bar to free up space in my kitchen countertop. It has quite a few imperfections but I am very proud of the finished product. Can't wait for my next project!

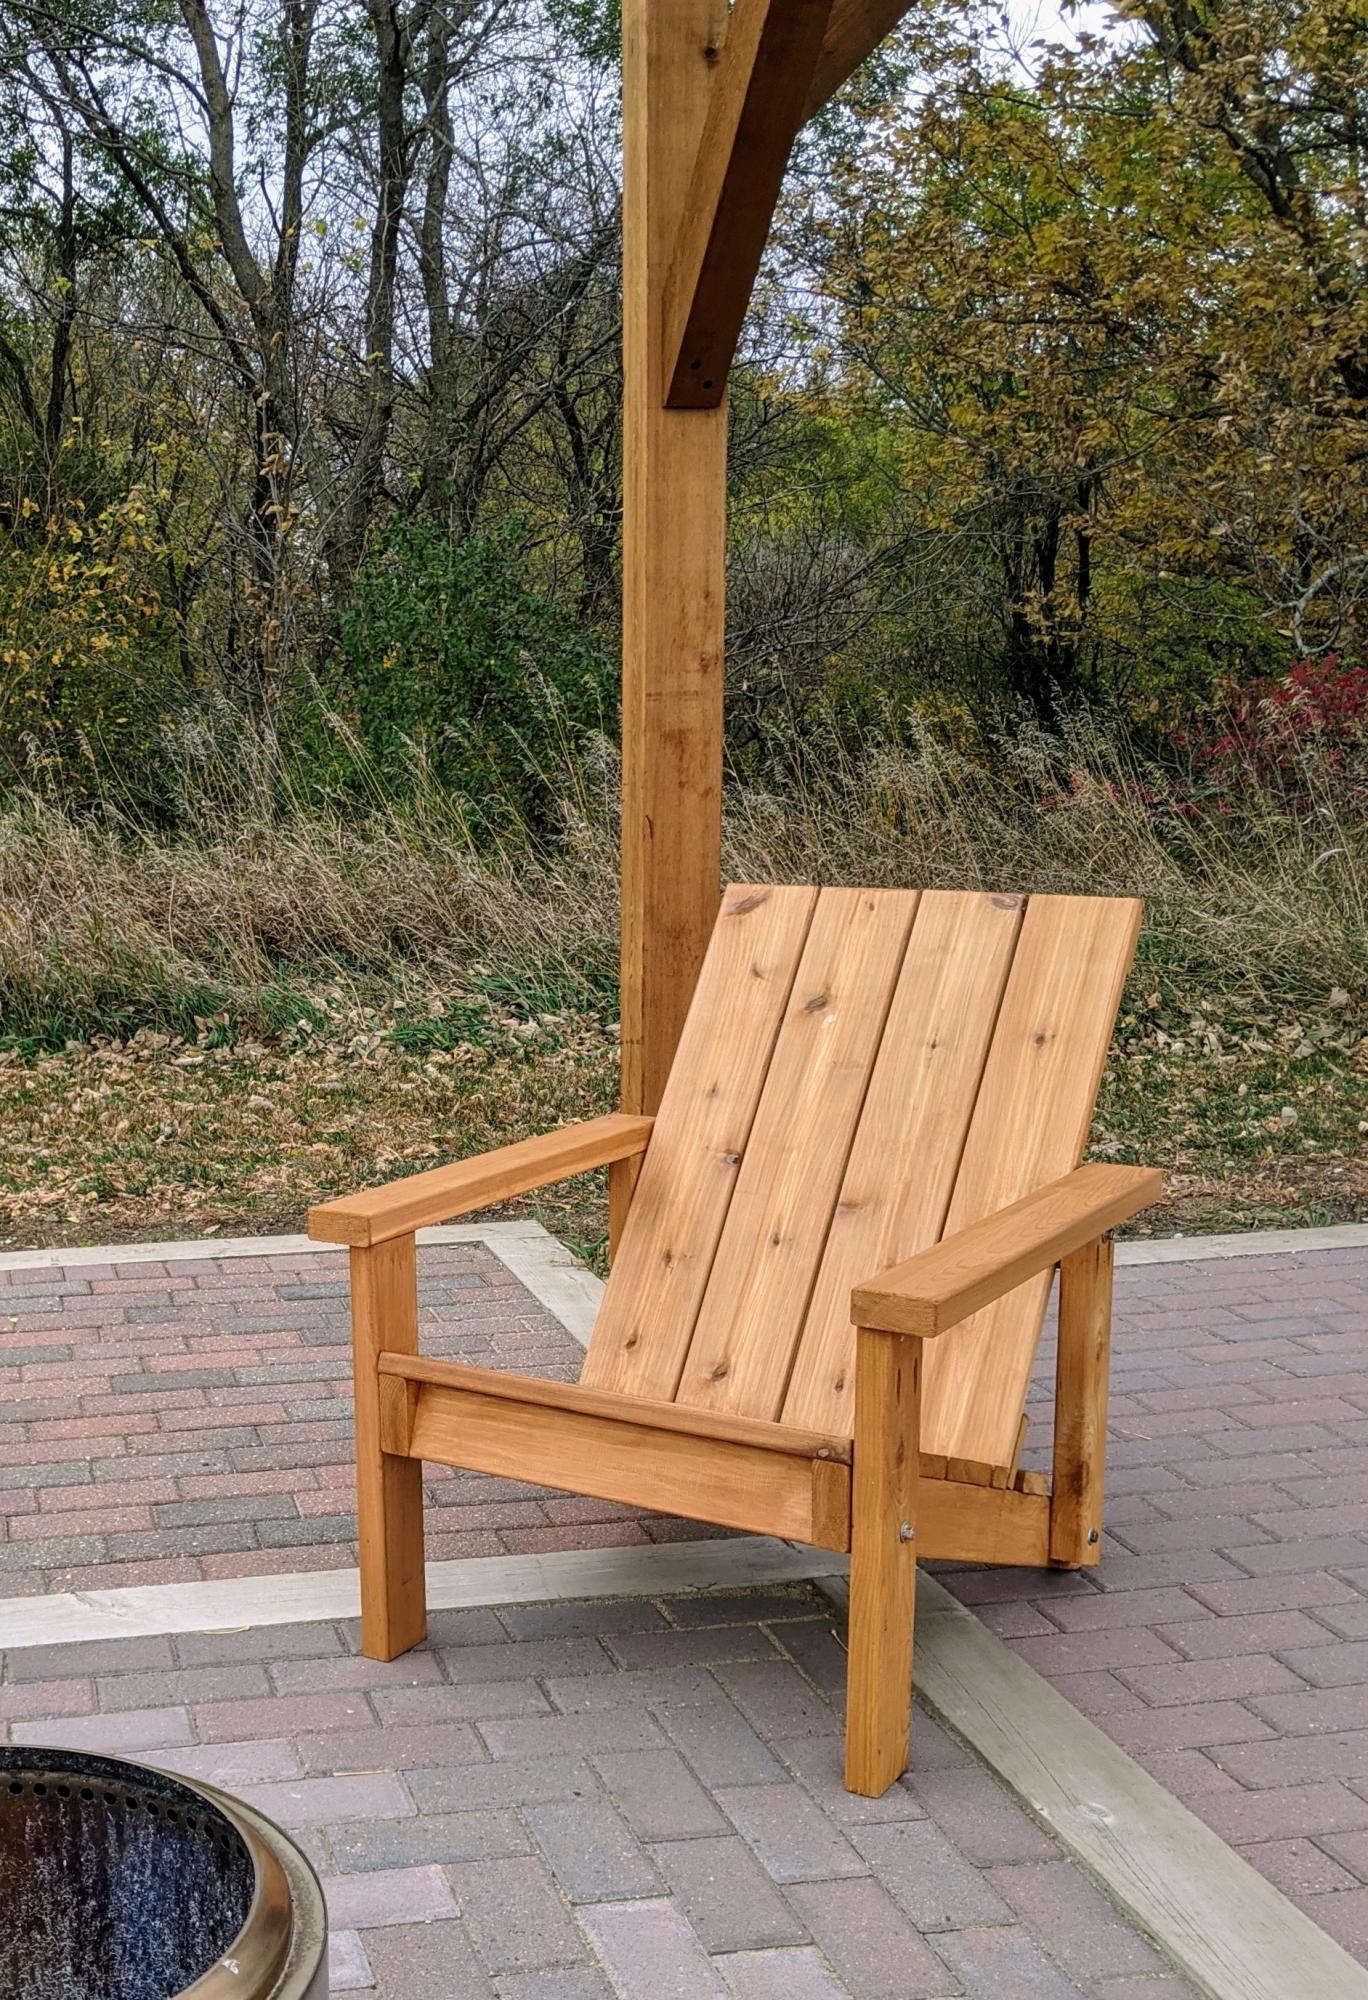
Slight modification to plan. Red cedar.
If you'd like to build a very inexpensive chair and bench for your boat dock out of just 2 x 4s and 1 x 2's that is extremely sturdy, then this project is for you. As you can see by the picture, I used the Kreg jig, 2 cordless drills. Also a chop saw to cut the materials.
Wed, 01/02/2013 - 20:23
These are great! Where are the plans for these??? I've been looking for a bench just like this.
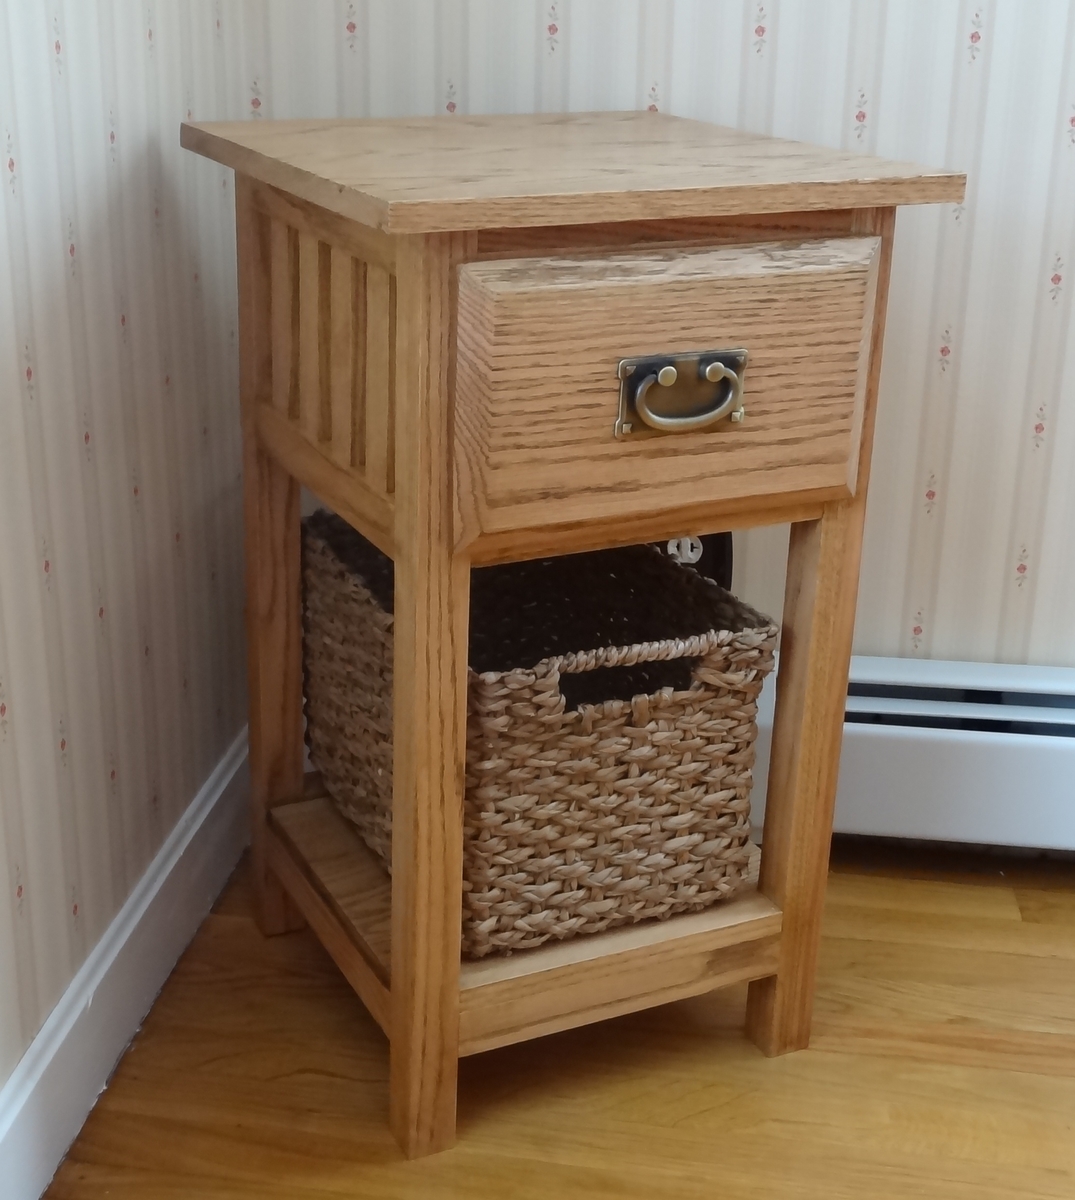
My Mini Farmhouse Bedside Table. I used oak and created a more mission style look.

Built the week of Thanksgiving 2016, this is a slightly modified sideboard without the top drawers and with increased height so the top drawer inside the center cabinet rolls out at a height of 29" and works as a sewing desk. The lower drawer slide holds the vinyl cutter and neatly slides out of the way when the laptop is put away after cutting is complete. Up inside the center console just behind the door catch is a pair of LED work lights that light up the sewing area. The cabinet is finished with a blue milk paint and a few layers of poly over the top. Hinges were sourced at Home Depot and the knobs were found at Hobby Lobby. A 3/4" x 3/4" piece was added above and below the doors along the entire length of the piece to hide the lights and give the doors a more framed look. Routed out a rabbit frame for 1/4 ply cut in 3.5" strips for the door insets. Kreg jigged the entire thing together. Brad nailed only the front bottom trim. Everything else is screwed or screwed and glued in place. Tip for the DIYer: make sure if you use a drywall square that it is actually square.


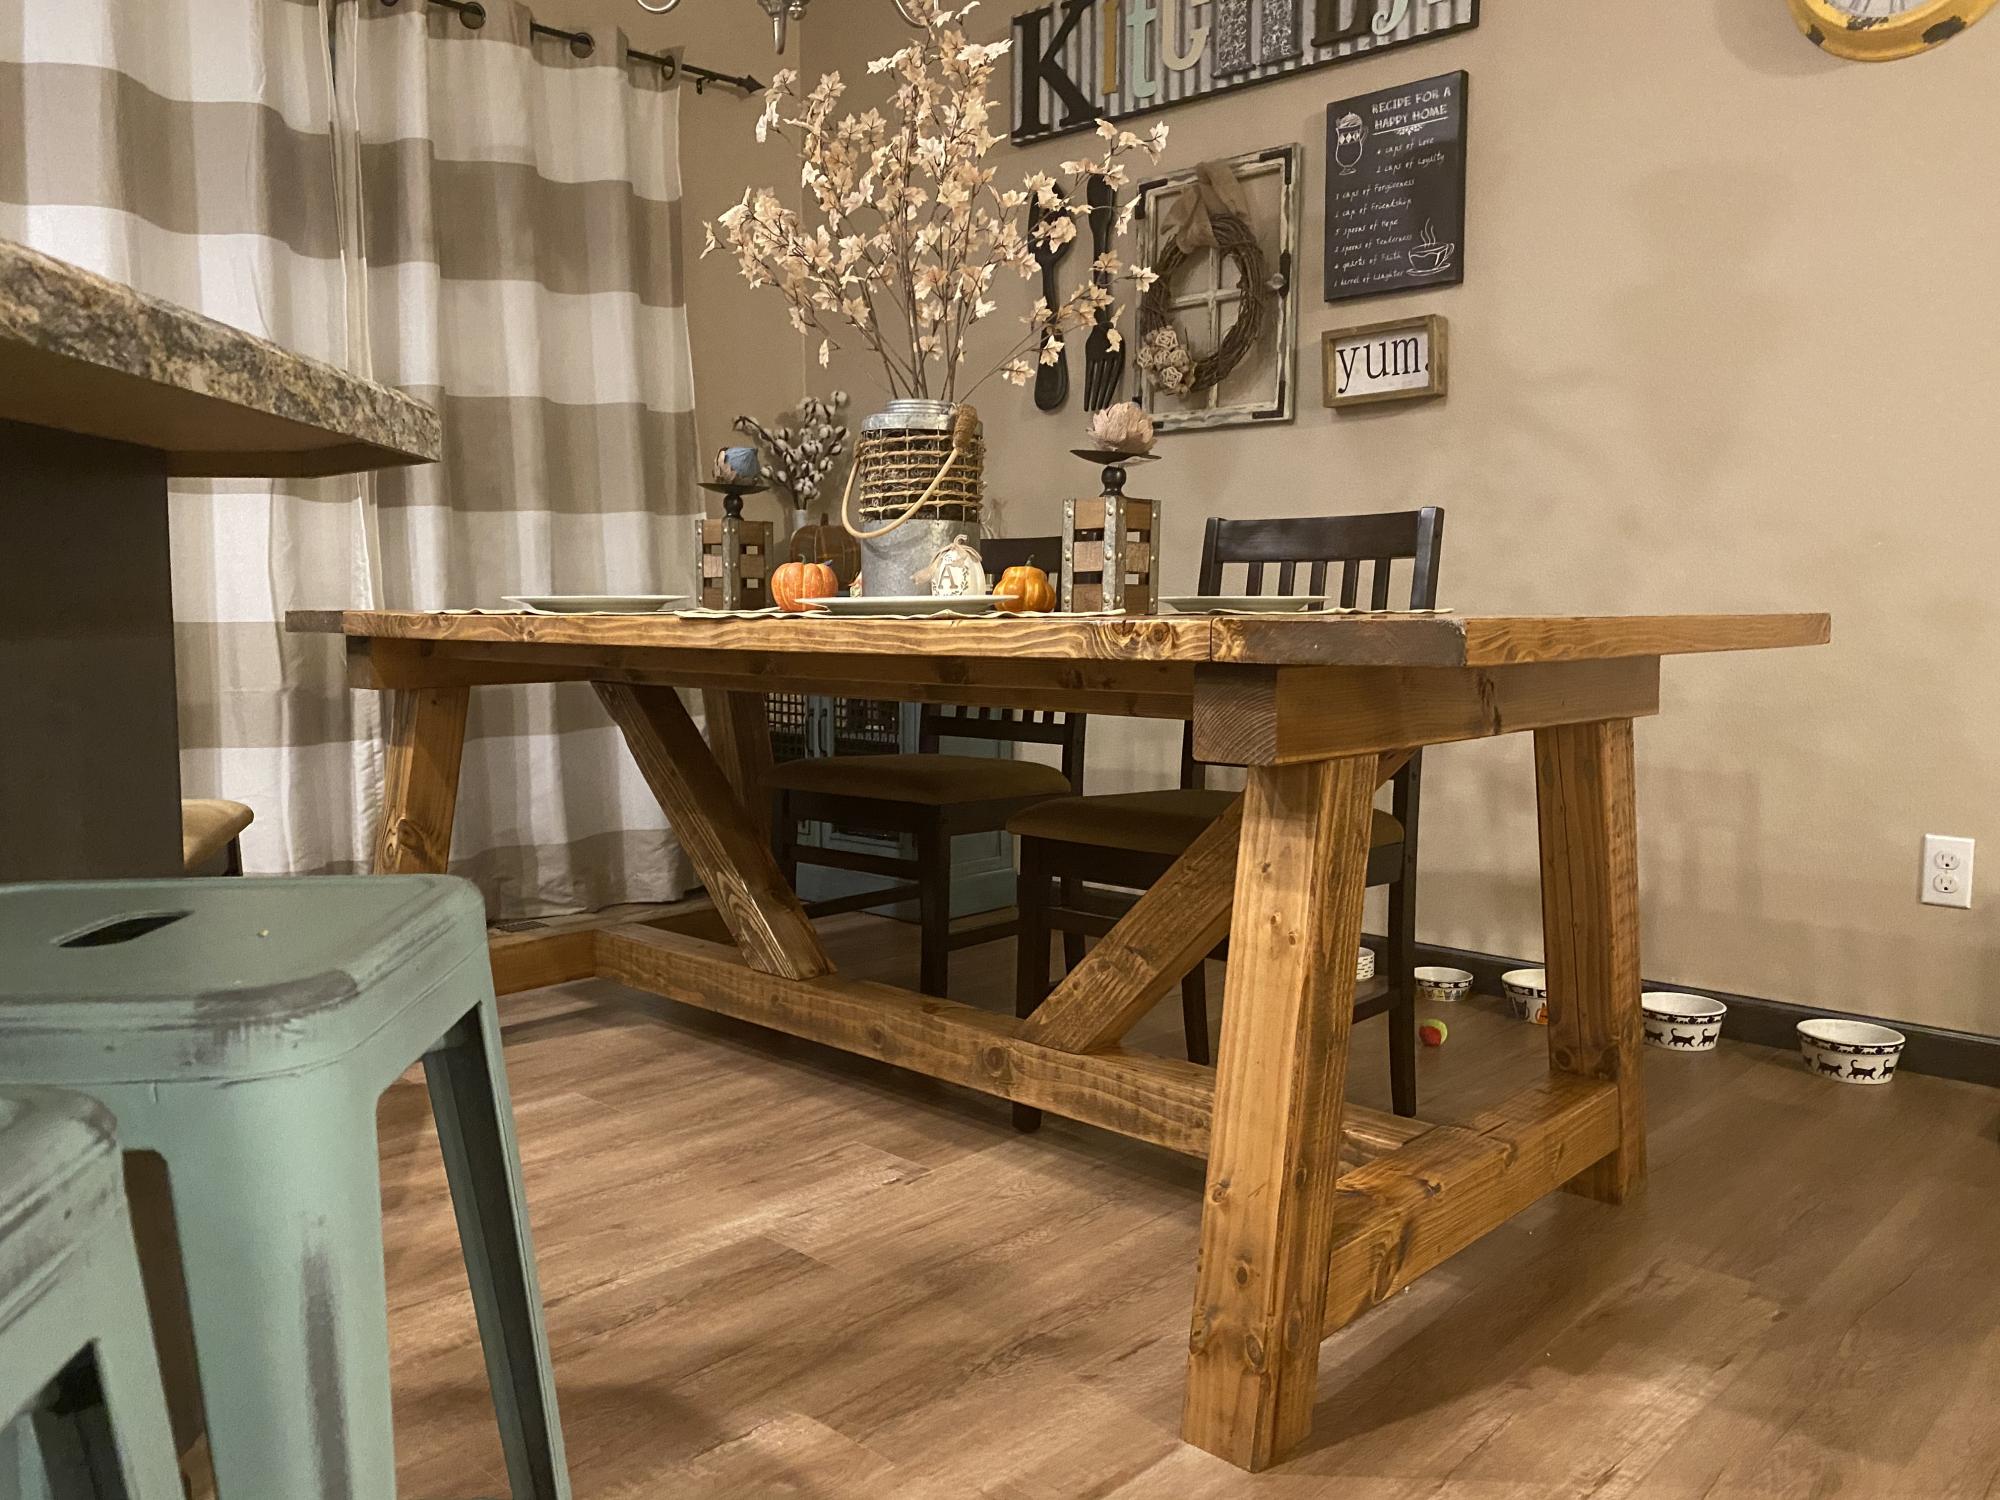
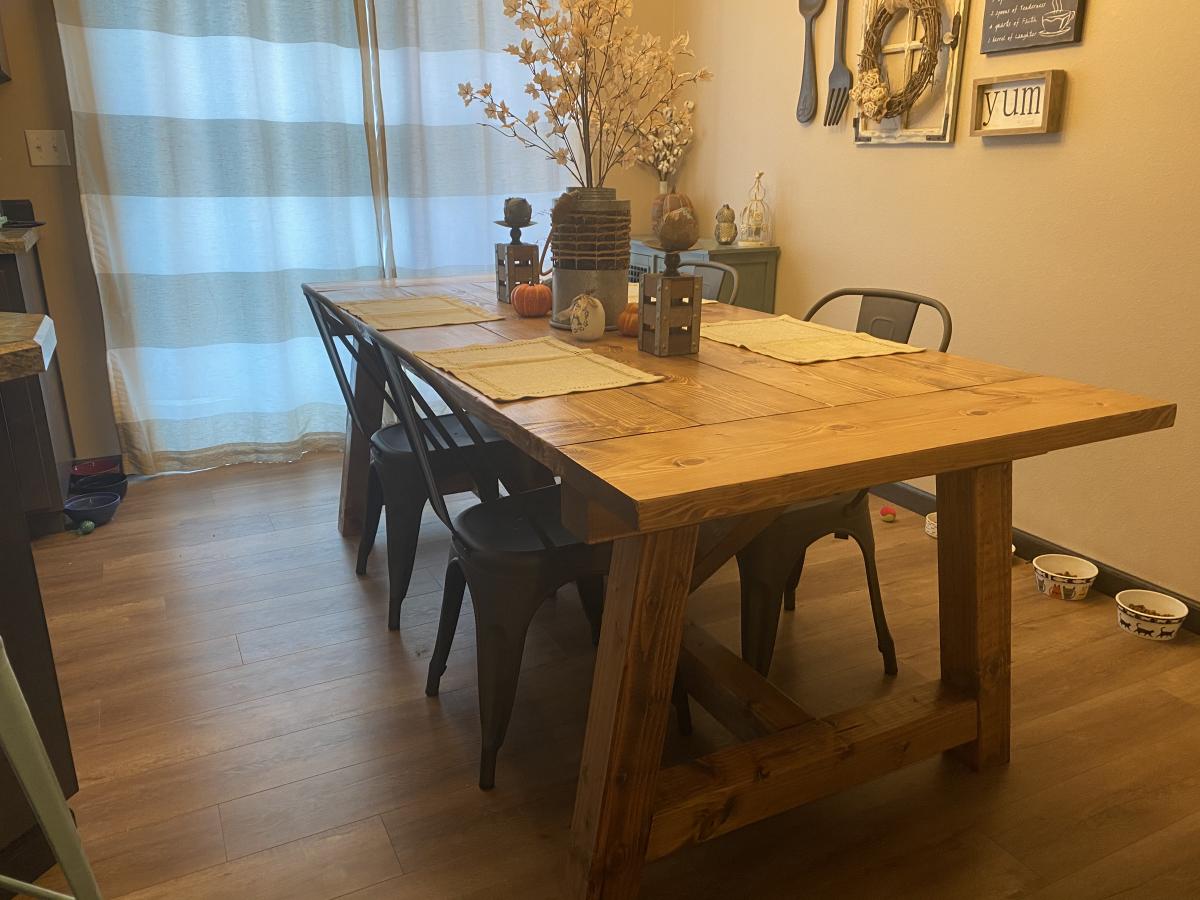
Had a great time making this table with the husband. We love how it turned out. We had a few hiccups a long the way, but it ended up turning out well.
Thu, 10/22/2020 - 16:17
Totally normal to have some hiccups! You prevailed, it's beautiful!
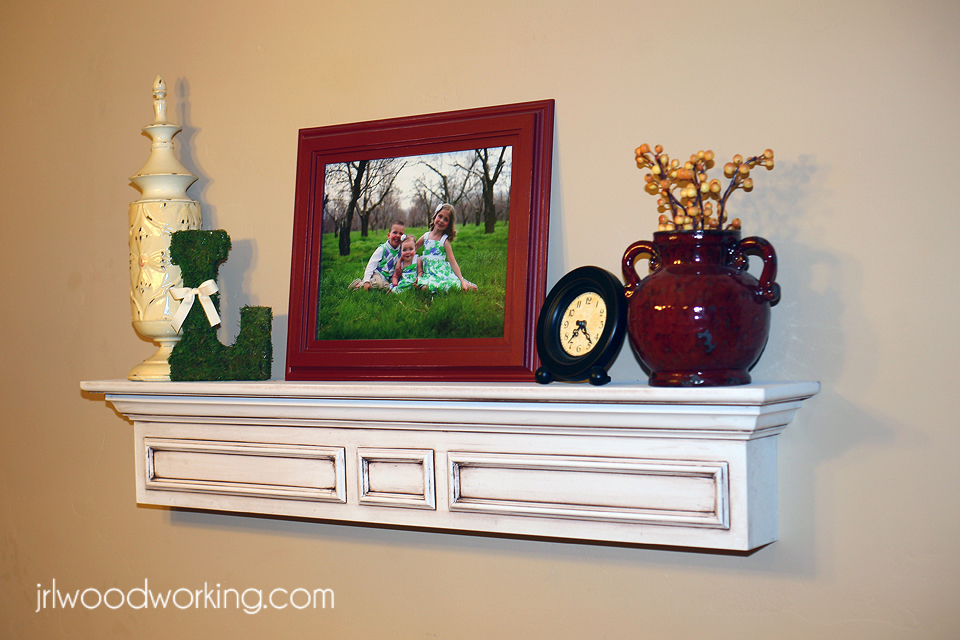
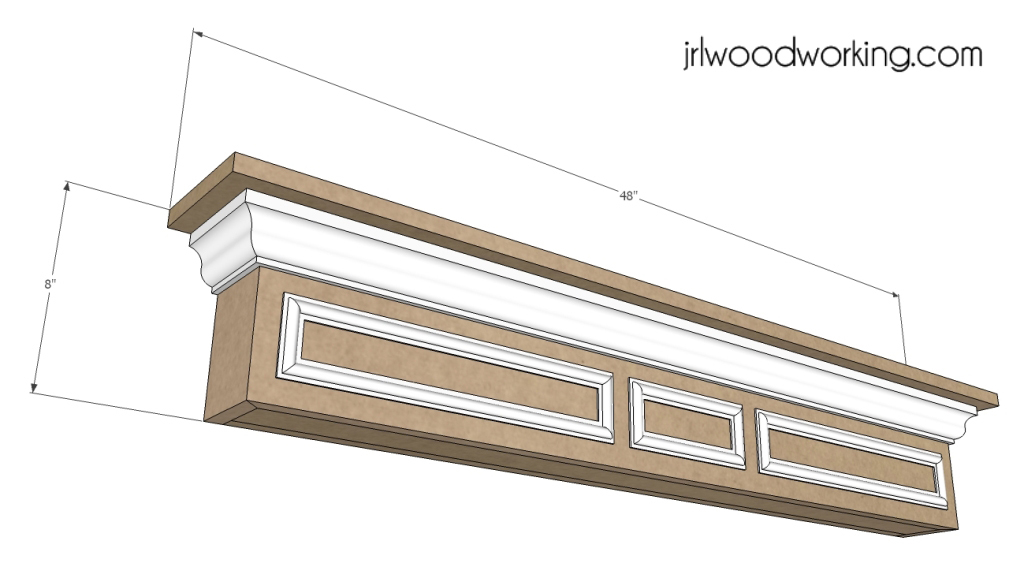
The decorative 4-Foot Mantel Wall Shelf Plans resembles a fire place mantel and makes a beautiful place to display photos and other decorations. The project can be built with a miter saw and table saw in 2-3 hours. A keyhole router bit can be used in lieu of mounting hardware. I also suggest a pneumatic air compressor and 18 and 16 gauge nail guns. The overall project dimensions are 48 inches long by 8 inches tall. It looks beautiful with a glaze or distressed finish. The detailed plans can be found on my woodworking blog at: http://www.jrlwoodworking.com/
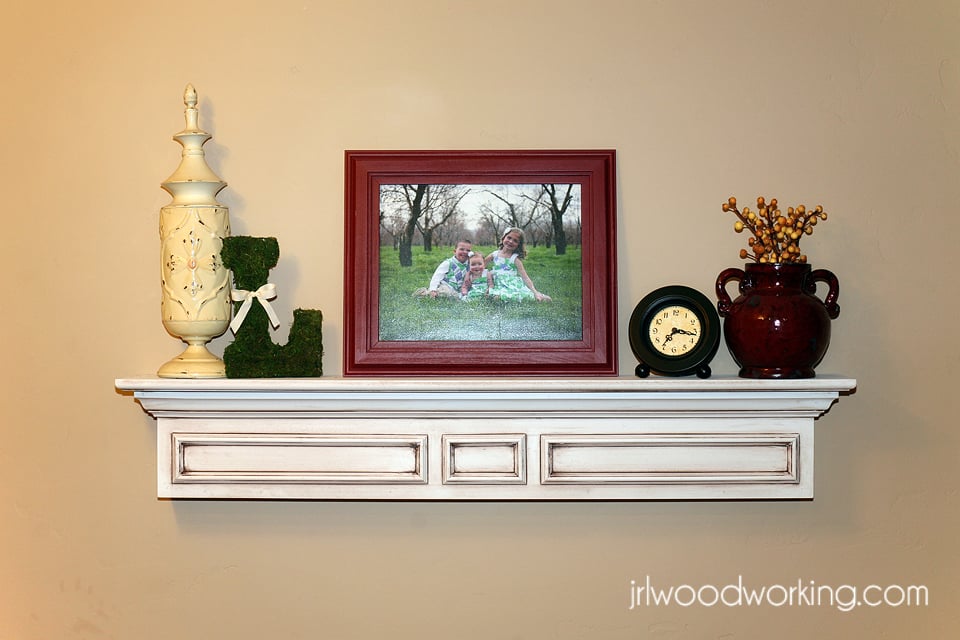

Fri, 01/04/2013 - 12:33
We actually built this one to give to my mom for Christmas last year. It looks great in her living room and we put family pictures on it. It's one of my favorite shelves because it looks so classy.
In reply to Glaze? by Nathan1342
Mon, 01/07/2013 - 13:51
I bought a clear glaze at my local hardware store. I had them tint it to a really dark chocolate brown color. It turned out perfect, just what I had imagined!
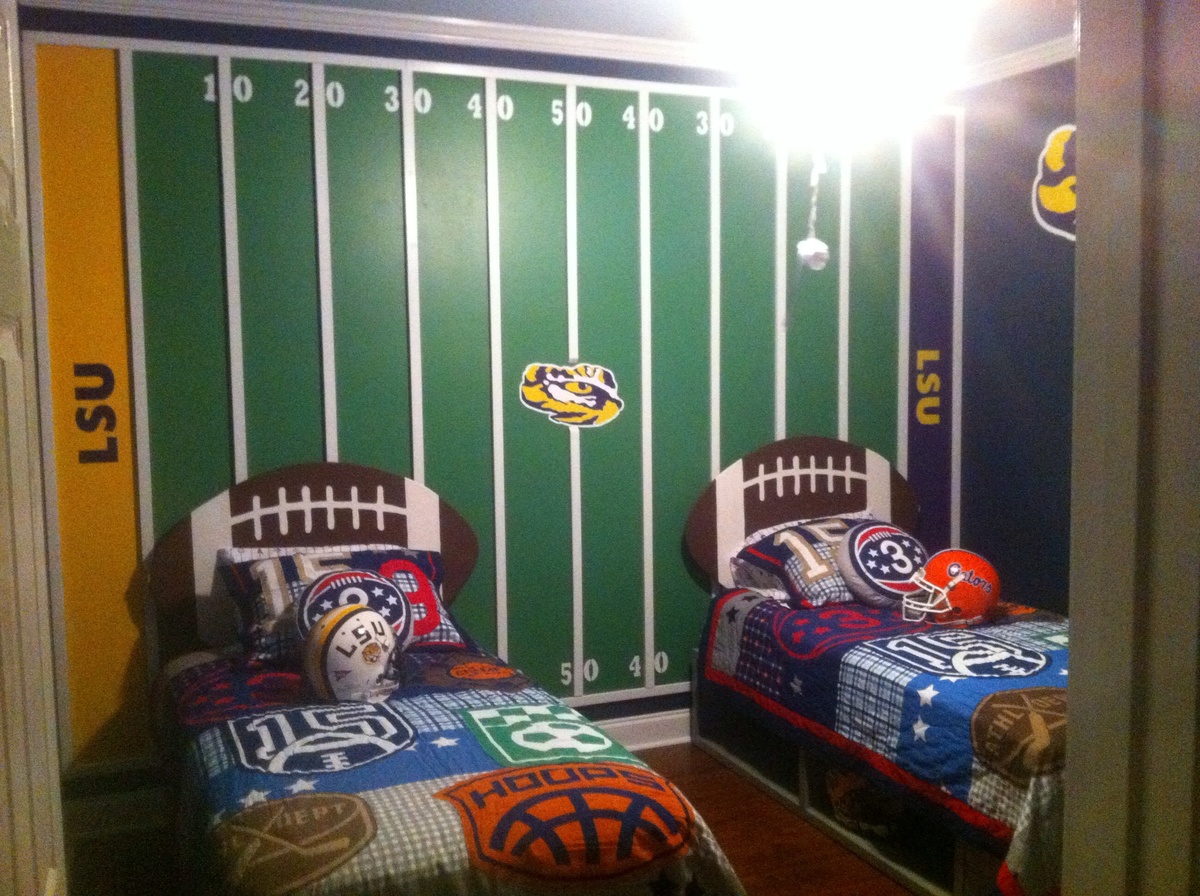
My first big project.
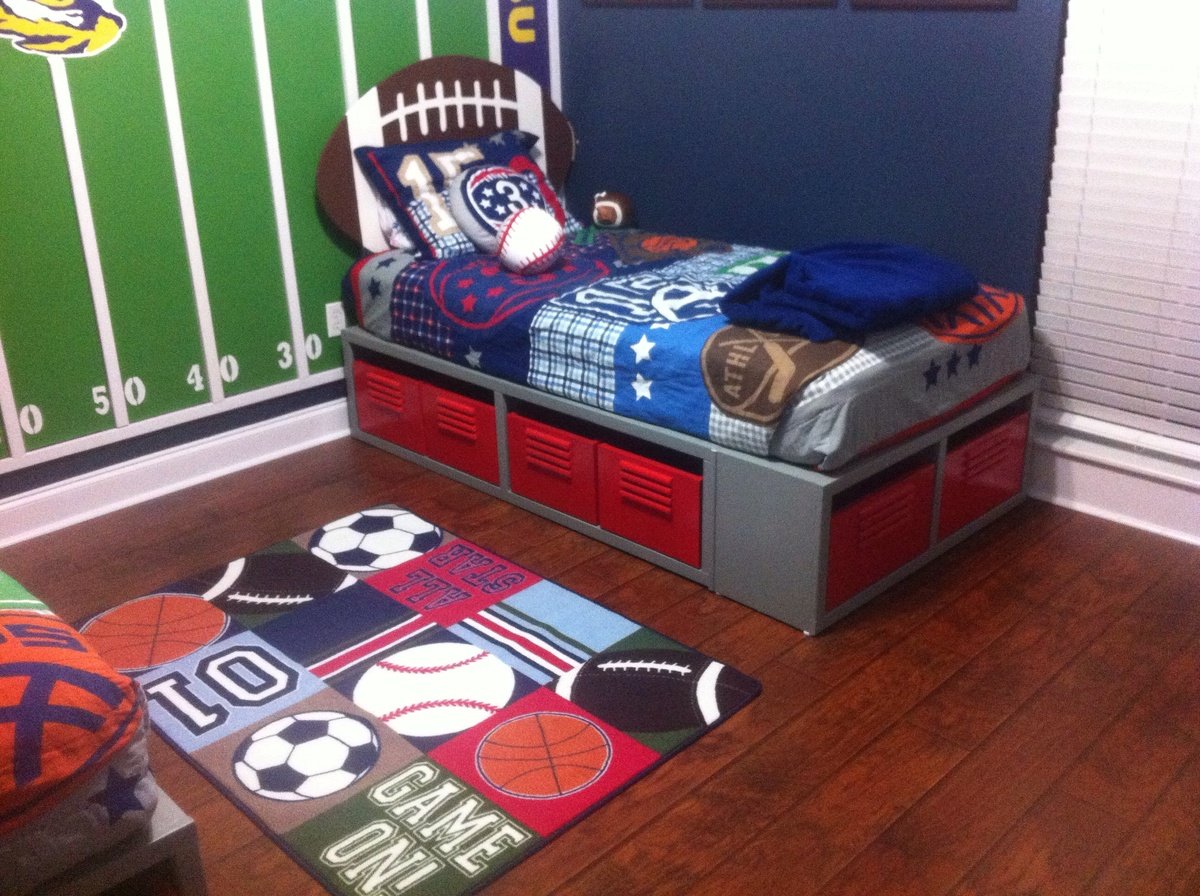
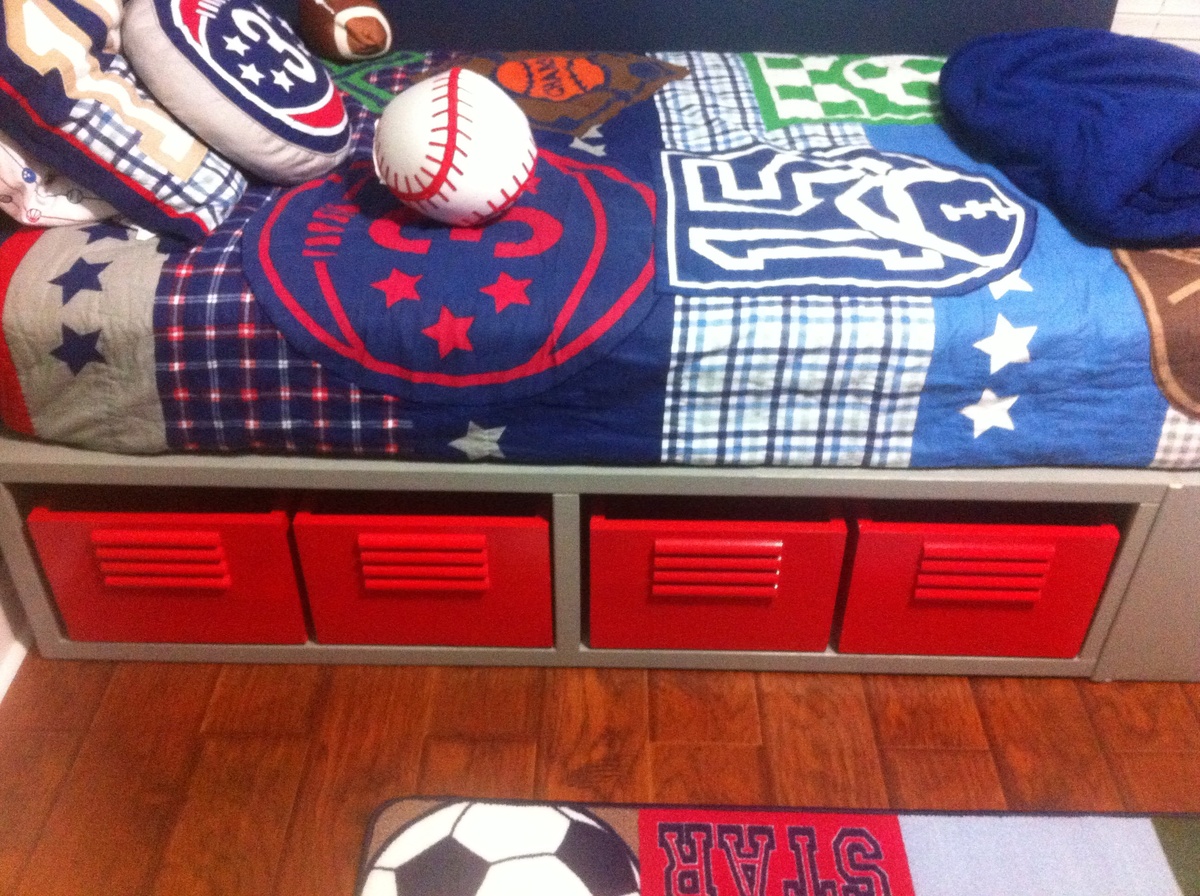
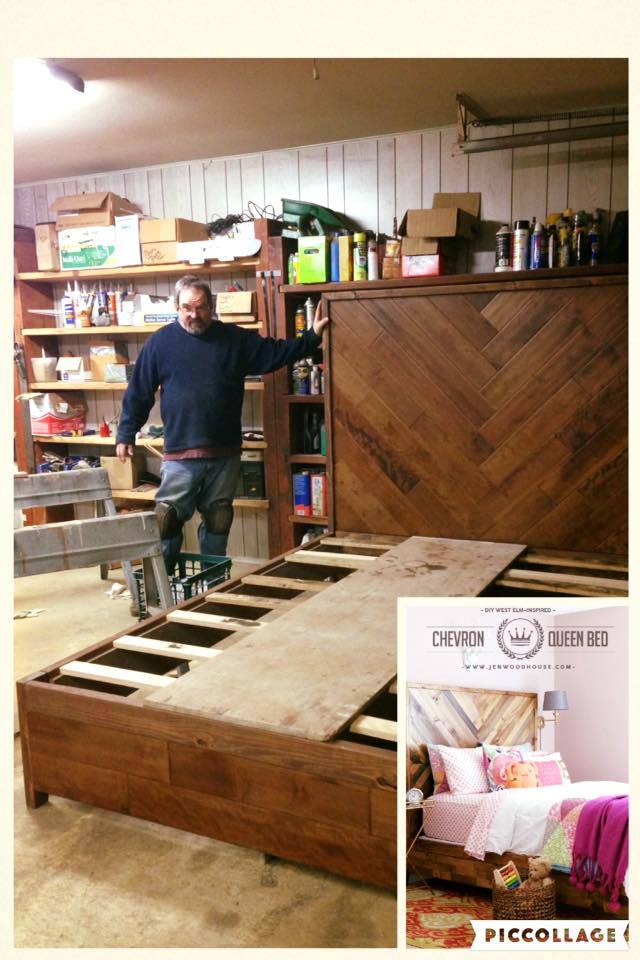
My husband and I really enjoyed working on this together. We had a bunch of leftover engineered hardwood flooring. It worked out great for this project! We staggered the boards in the chevon pattern and took it all the way down instead of reversing it (since it seemed like so much more work and I thought the mattress and pillows would cover it anyway), so it was simple to piece it all together. I love the look. We made the bed with detachable railings, which was necessary - because this bed is HEAVY. Thanks for the great idea!
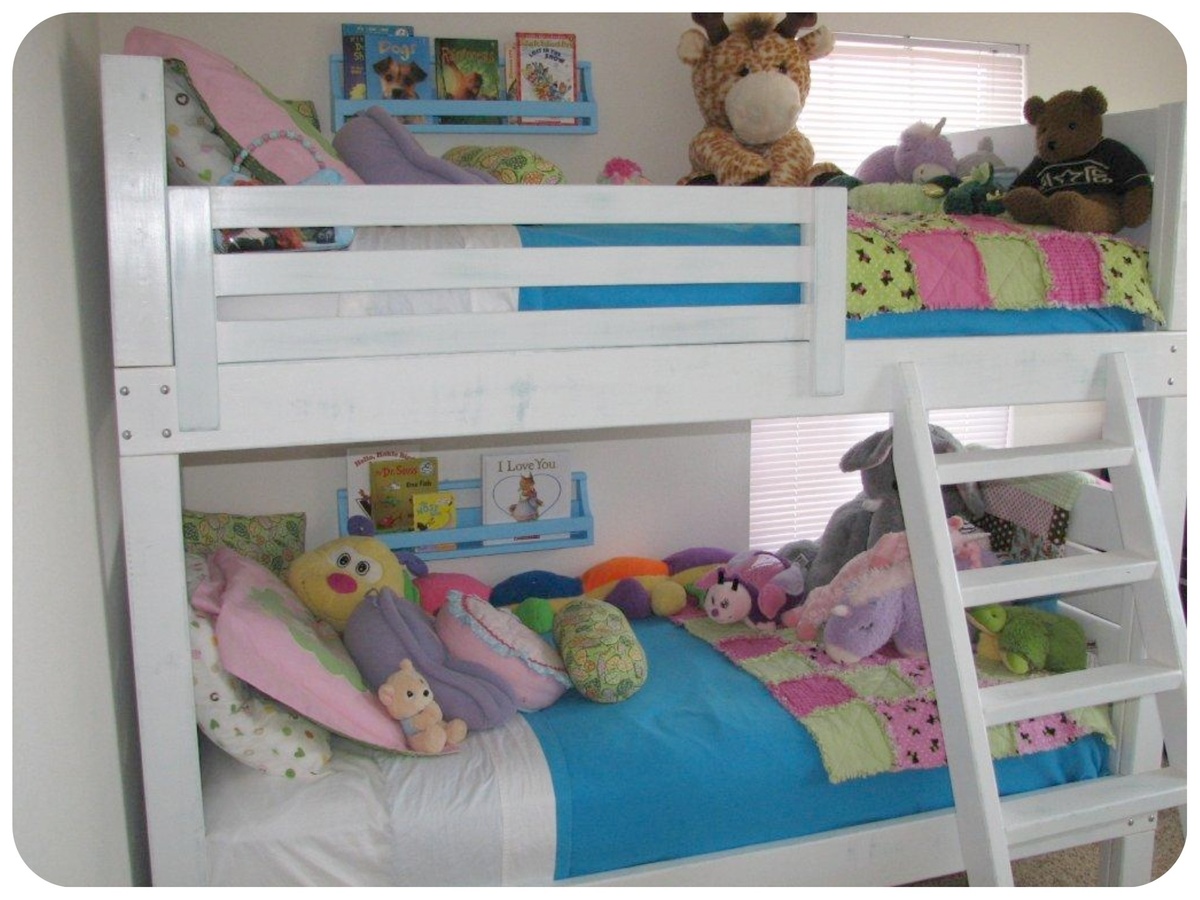
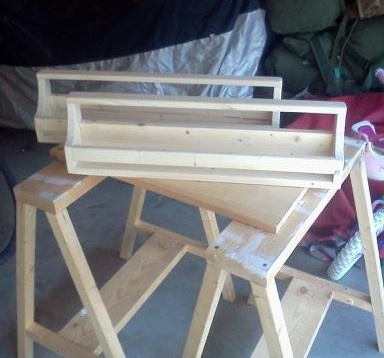
I built the flat wall bookholders to go with our new bunk beds! We love them! I built the small, 24" shelves.

We fell in love with the look of this bed but at $600 it was out of our budget. The heavens opened and the angels sung when we found Formufit furniture grade PVC. It even comes in different colors! We used 1" but I would recommend 11/4" to make it a bit more sturdy. We glued most of it together and chose to omit one section out of each of the headboard and footboard. Another note, because the PVC slips in the fitting about 1" you need to add 2" to each measurement. We did not and it turned out just fine but we were 2" shorter than the measurements. We also used four 3' sections, 2 four way in the center and added two more legs and caps as the formufit doesn't come in longer than 5' and we wanted more stability. The wood slats will be put on when our split ring hangers get here as we couldn't find them in out town. Total cost was about $150 because we used recycled pallet boards for the mattress platform.

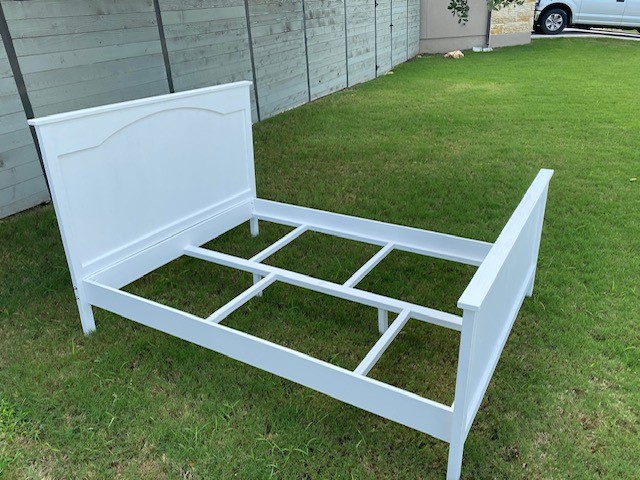
Yes, the plan used was the Toddler Farmhouse Bed. Just make sure to use the dimension for a full size mattress, do the math, and create your buy list accordingly. I did make some minor changes to accommodate the larger size, more weight, and a heavier person. For the Head and foot boards, I used the 1 x 2 to frame, but used 2 x 2 on the outer leg for additional support. I also used 2 x 2 's to create the internal supports for the frame along with the 2 center support legs. This bed was built to be used with a box spring instead of a platform type.
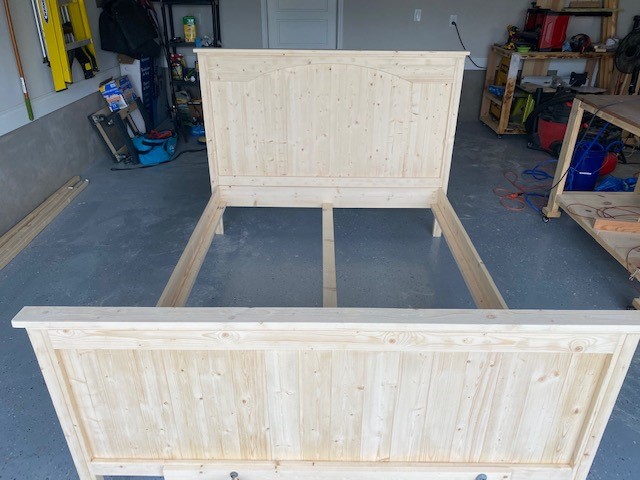
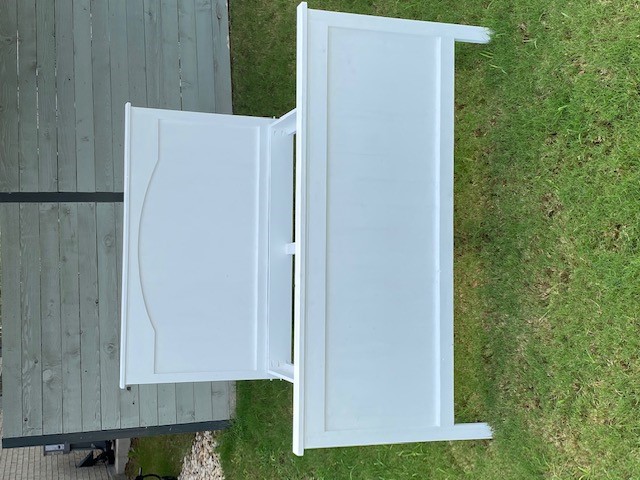
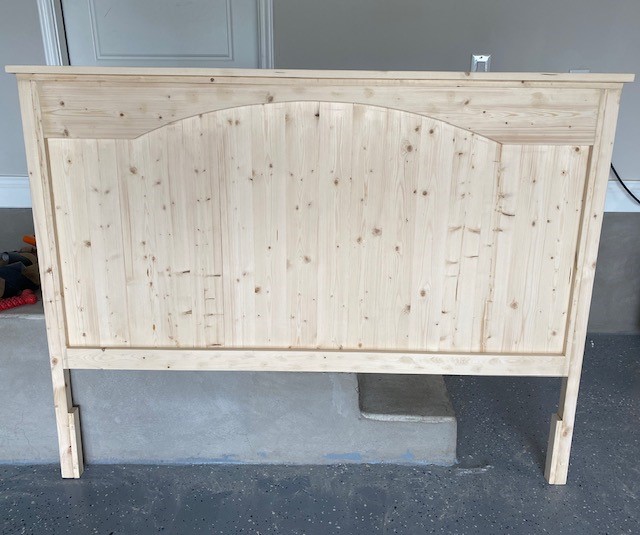
This was my first build EVER. I had never even used a saw before, so if I can do this, so can YOU!
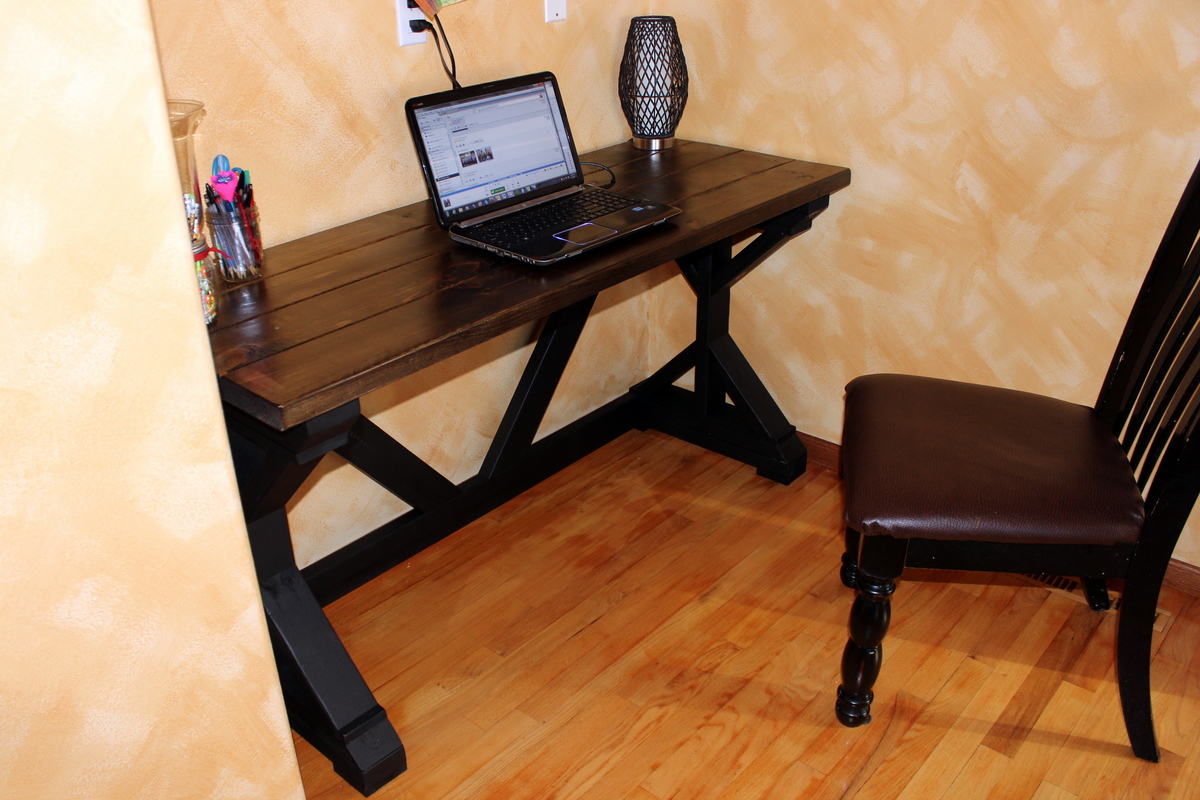
The original plans call for this desk to be 72" in length, but my space only allowed for a 60" desk, so I cut the 3 braces that go along the back down by 12", as well as the 2x6s that make the desktop. The cross-braces in the back were also cut down, but I did that by measuring for fit (as demonstrated by Ana in one of her videos where she made the x-bench).
I described this as a weekend project ONLY because of the time I had to allow between coats of paint, etc. I built it easily in one day (with kids at home!).
This was a GREAT experience and I am HOOKED! Thanks to Ana and Shanty-2-Chic for designing this!
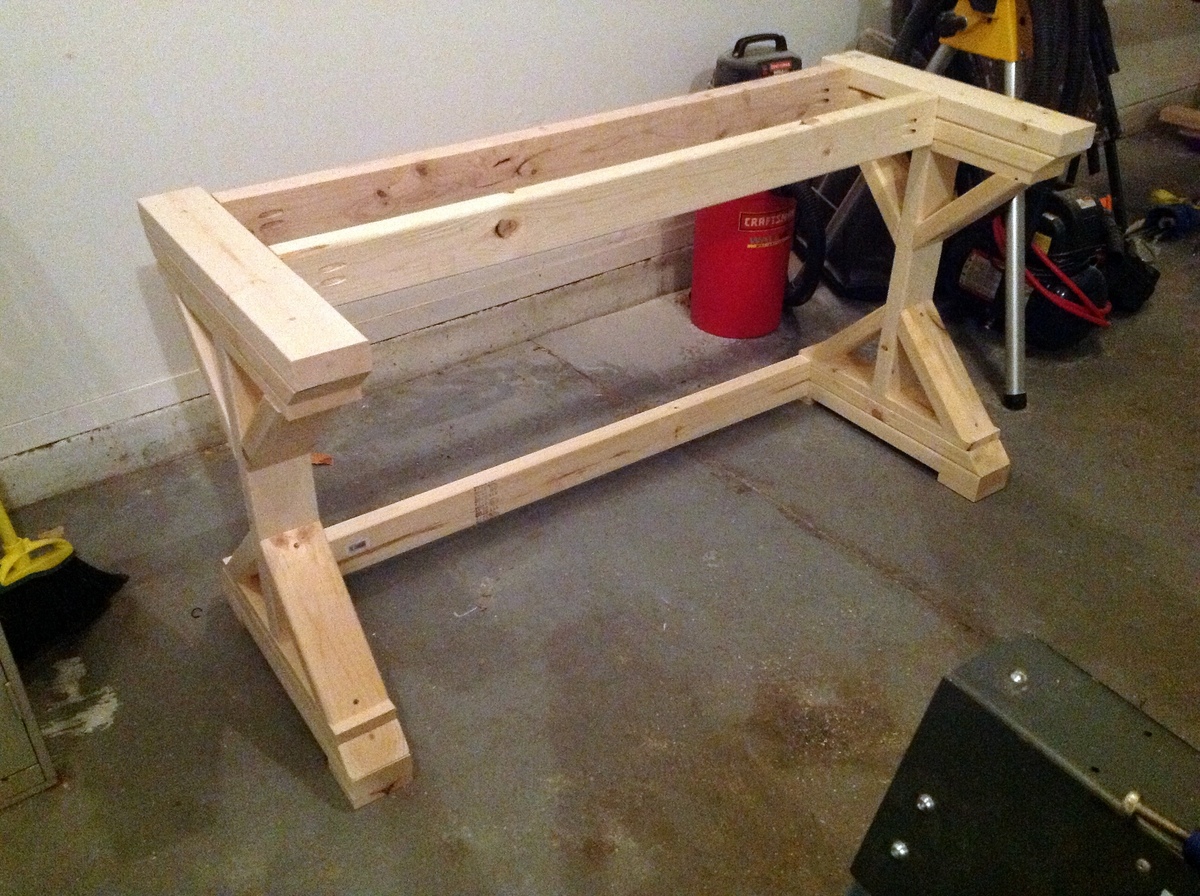
Mon, 01/07/2013 - 12:52
Great job, love the dark painted legs and stained top. Great that you could build it to fit your space!!
Tue, 01/08/2013 - 08:27
I hope to build this desk this week! Your post timing is great! AND your end result is gorgeous!!!
Thu, 01/10/2013 - 19:31
I absolutely love this. I've been searching for a new desk and I think I want to copy yours. Love it.
Fri, 01/11/2013 - 00:35
Well done...I too have been contemplating giving this ago. Our out door glass table exploded due to the heat here in Australia on monday...never going glass again...did I mention the nightmare clean up job :-((
Im building the big version....Im excited..you did it so I can too!
Sun, 07/13/2014 - 15:48
Looks great! Do you know what the length of the cross braces ended up being from short end to long end?
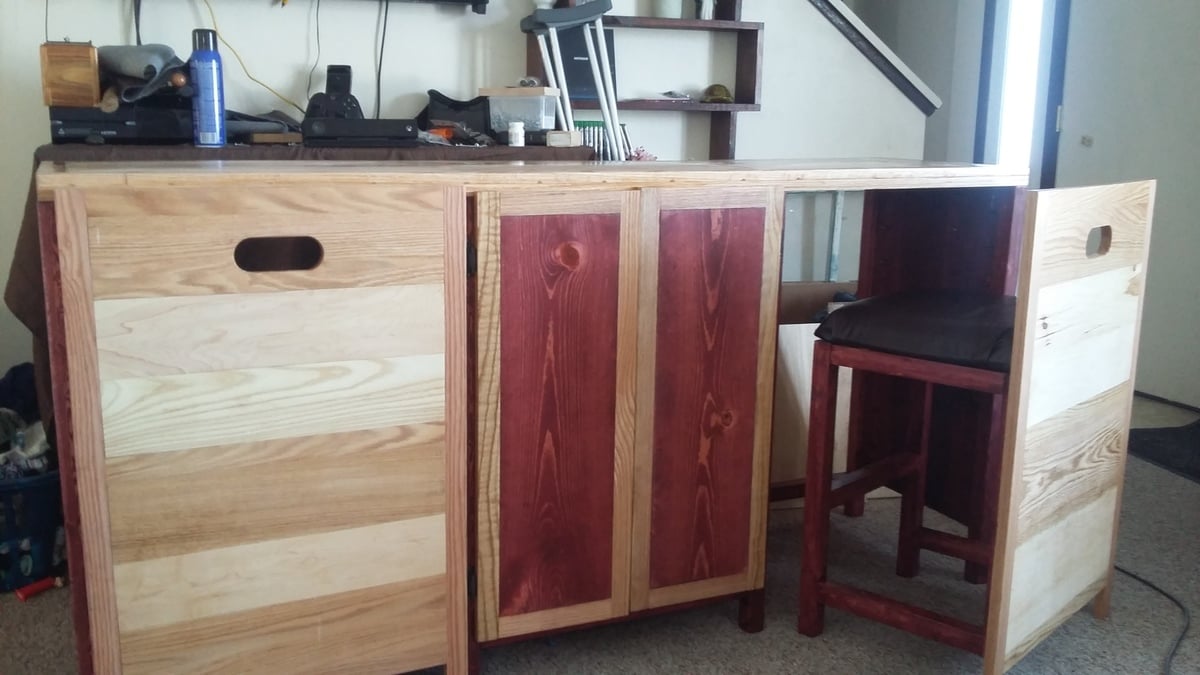
This is my version of the hidden desk. This desk is completely made out of solid wood. The stained wood is pine and the natural wood is a mixture of oak, cherry and maple. I still have to add shelves and door pulls but otherwise its done.
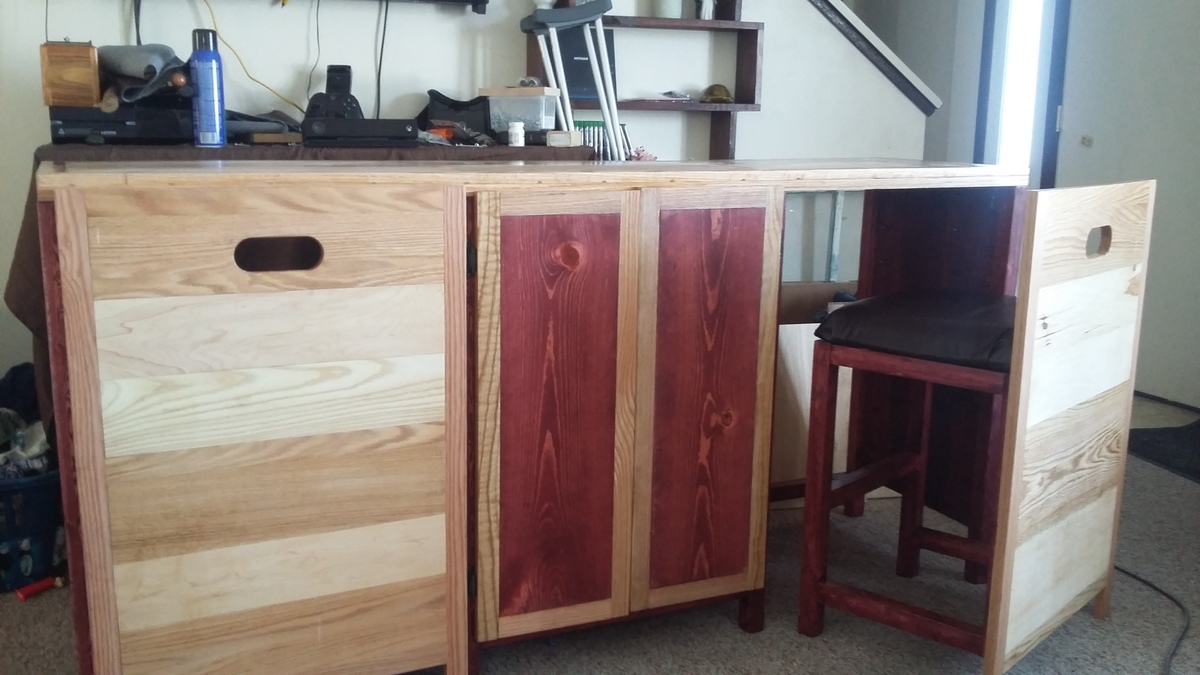
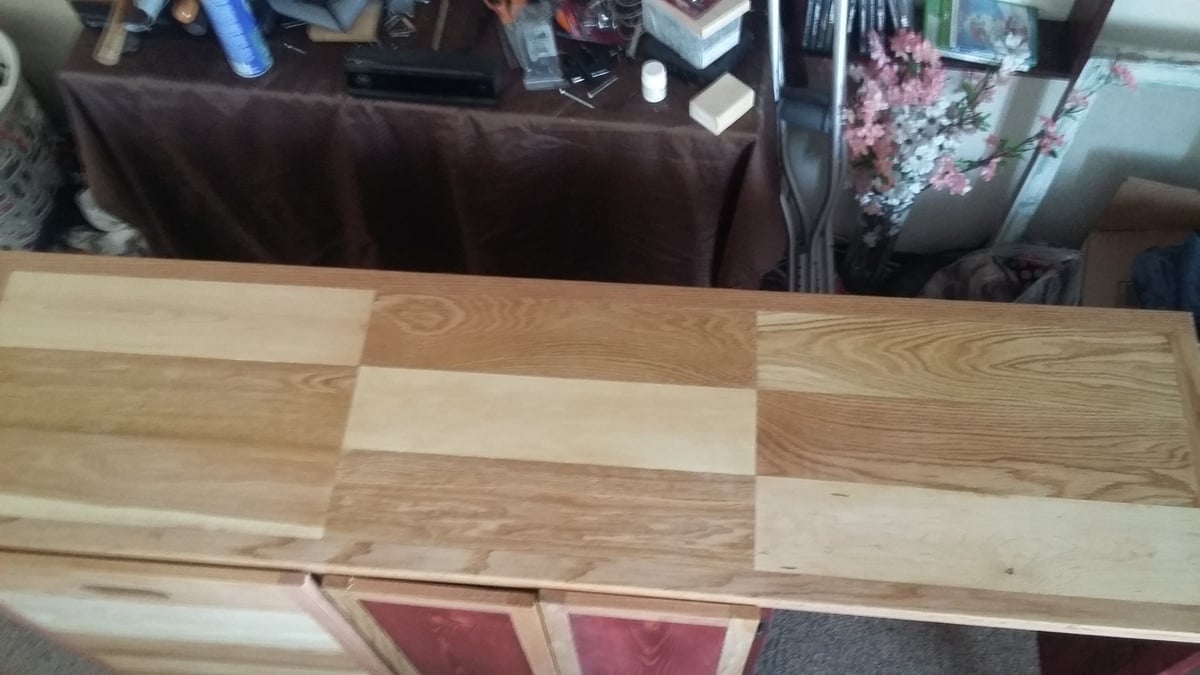
My first project completion based on Ana White plans
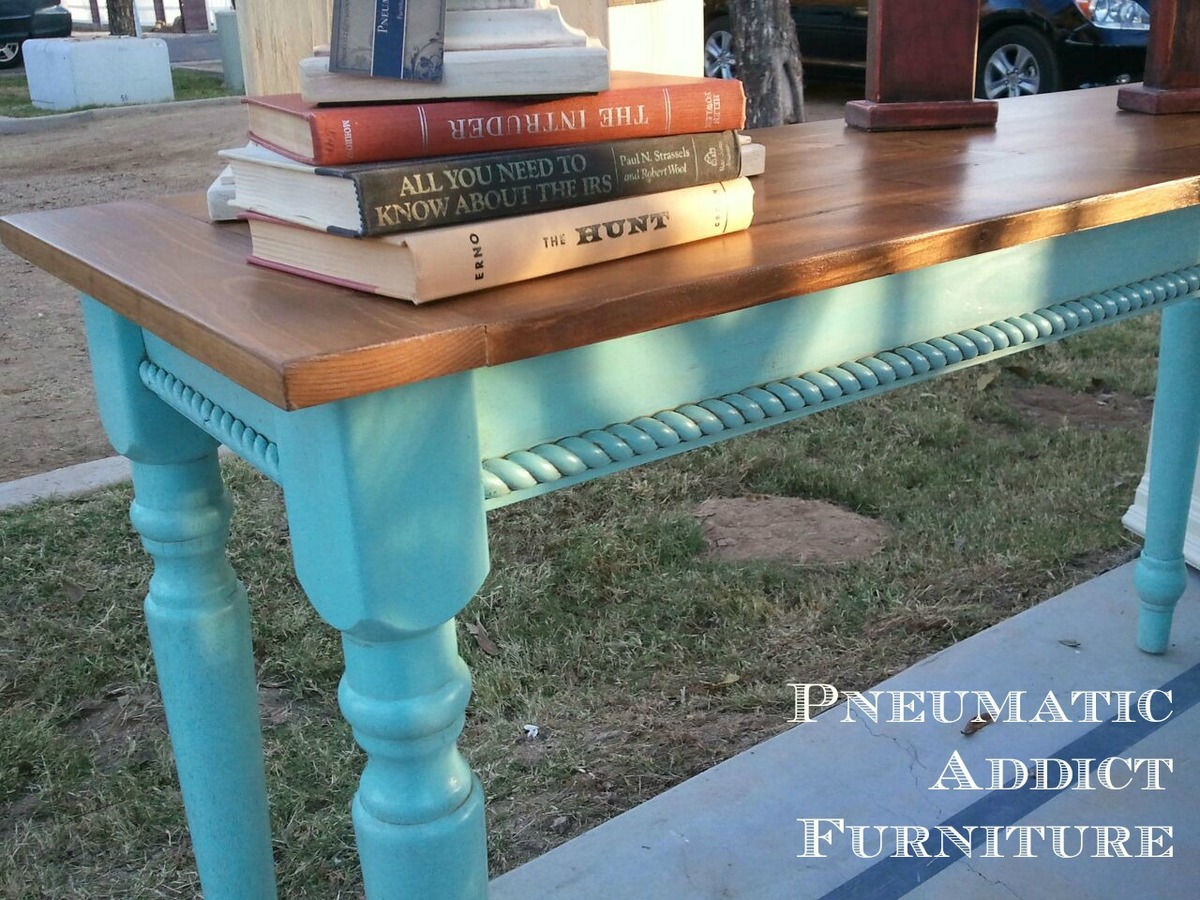
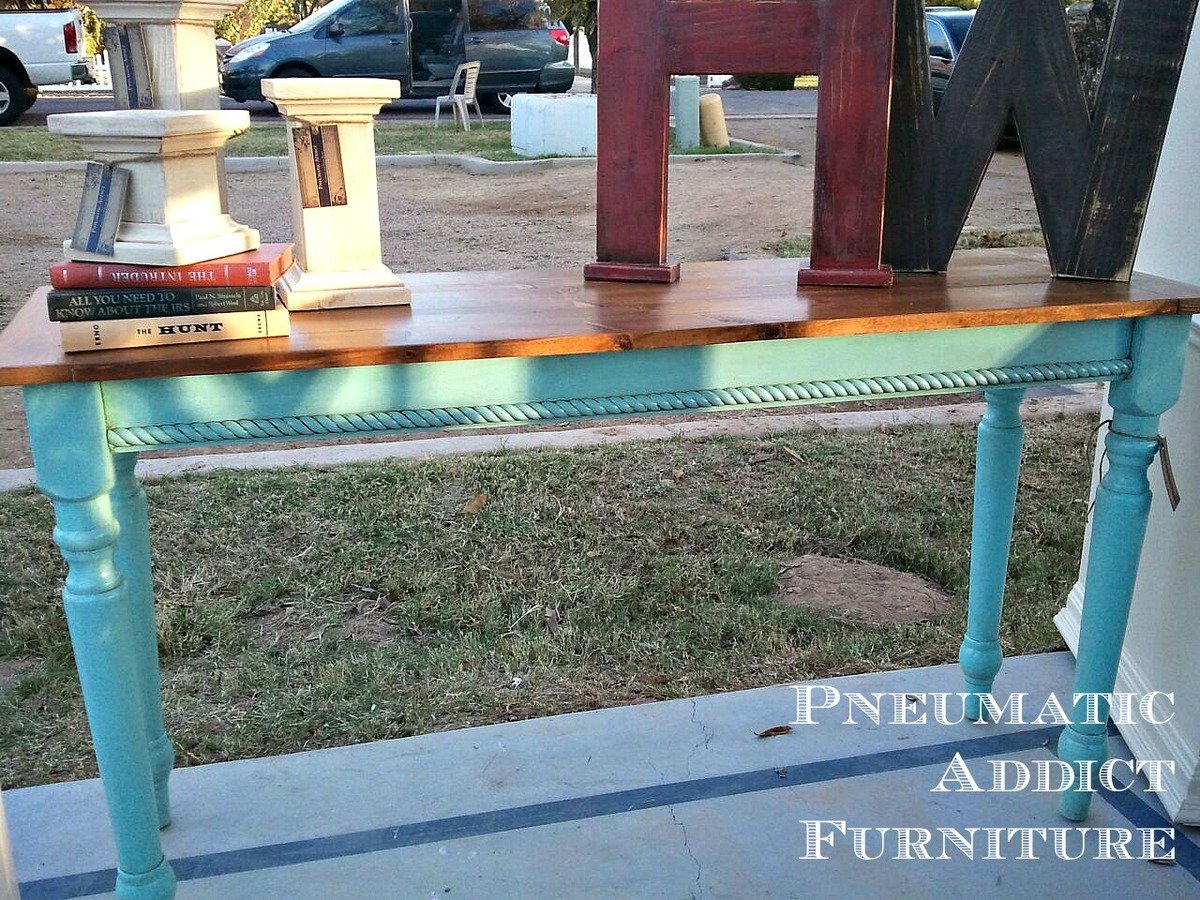
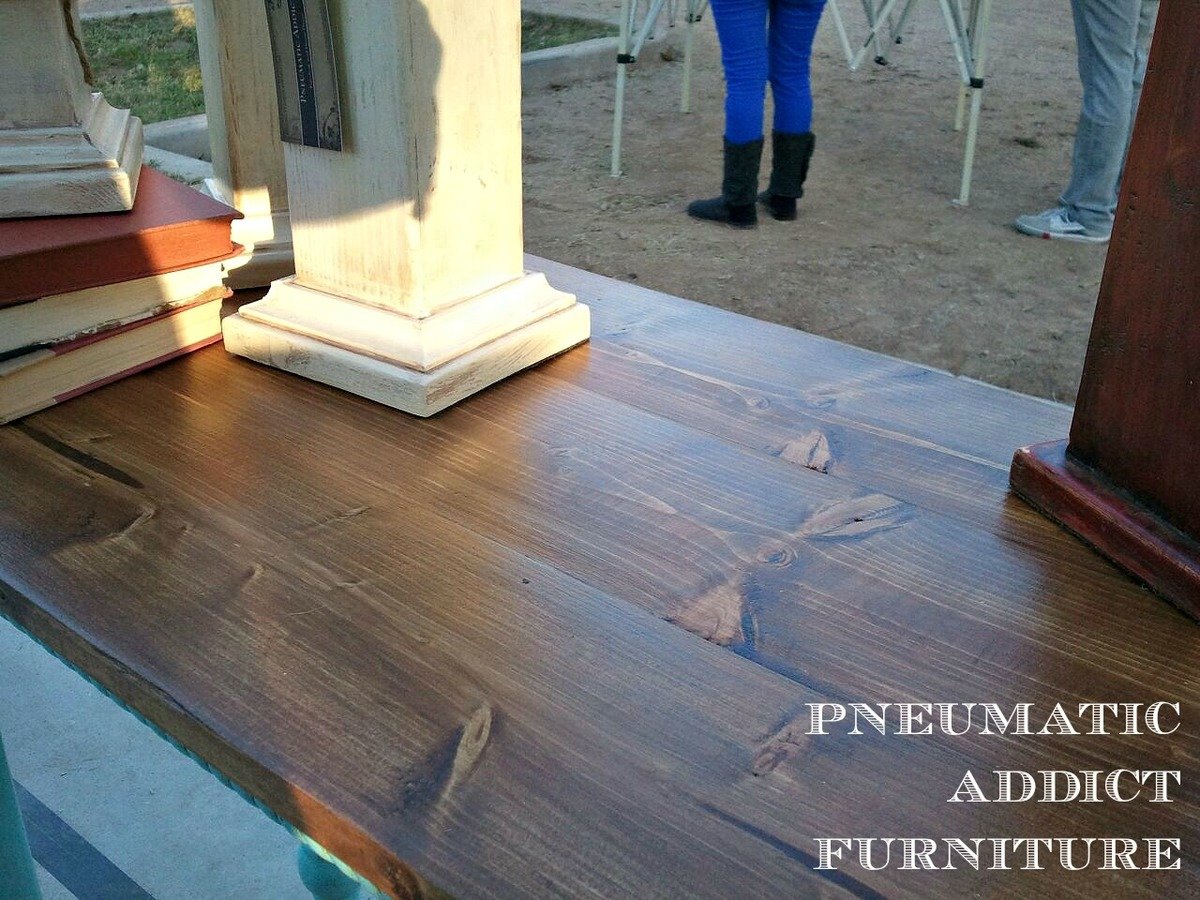
This is a pretty basic console table I built for a craft show last month (that's why I don't have better photos). I started with the top. Using my Kreg Jig, I pocket holed 3, 1x6's together and added some 1x4's to make breadboard ends. For the base I used reclaimed table legs from a table I bought at a garage sale for $5! The aprons are 1x4's, pocket-holed to the legs. I did add some diagonal support blocks in each corner to keep the whole thing square. Using pocket-holes once again, I attached the top. I then simply measured the aprons, cut the rope trim and attached with glue and 3/4in finish nails. I have a few more projects like this featured on my blog http://pneumaticaddict.blogspot.com .
Wed, 01/09/2013 - 09:29
Beautiful Job! Looks amazing! I love the stained top and the color on the bottom!

We made these toy chests for baby shower gifts. We followed the plan for the most part. We skipped the notching on the front of the chest, and opted to upholster the top. I added names to the front as well to personalize them a bit as well. Overall, it went pretty smooth, once we got going. The plans were clear and easy to follow. This was our first build off of plans from Ana-White, and I think they turned out pretty nice!
Tue, 11/04/2014 - 08:47
Such a sweet gift - made with love I can tell. Great job!

My husband and I decided that the best way to keep our guest bathroom makeover on a budget was to build the vanity ourselves.


Comments
[email protected]
Sat, 02/17/2024 - 11:09
Coffee Bar
No doors