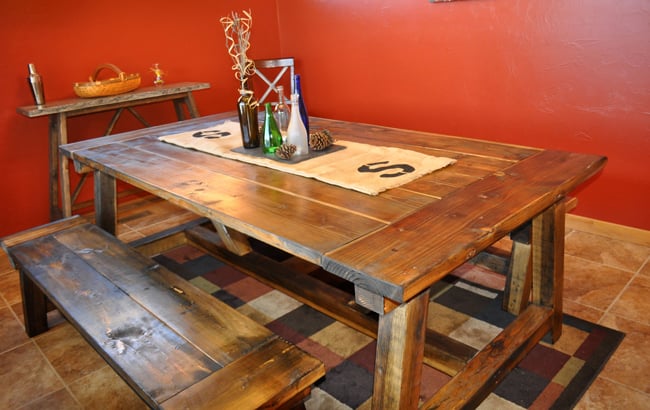
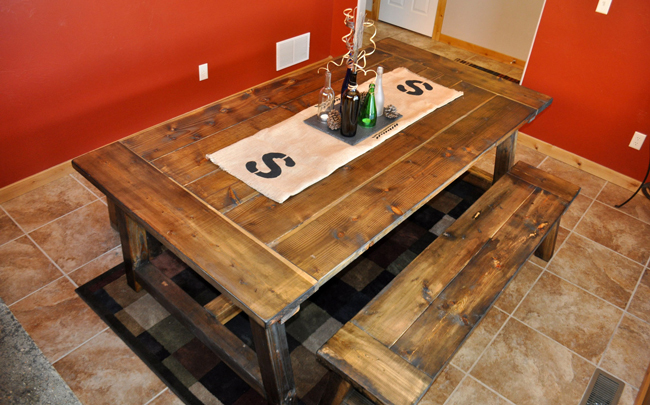
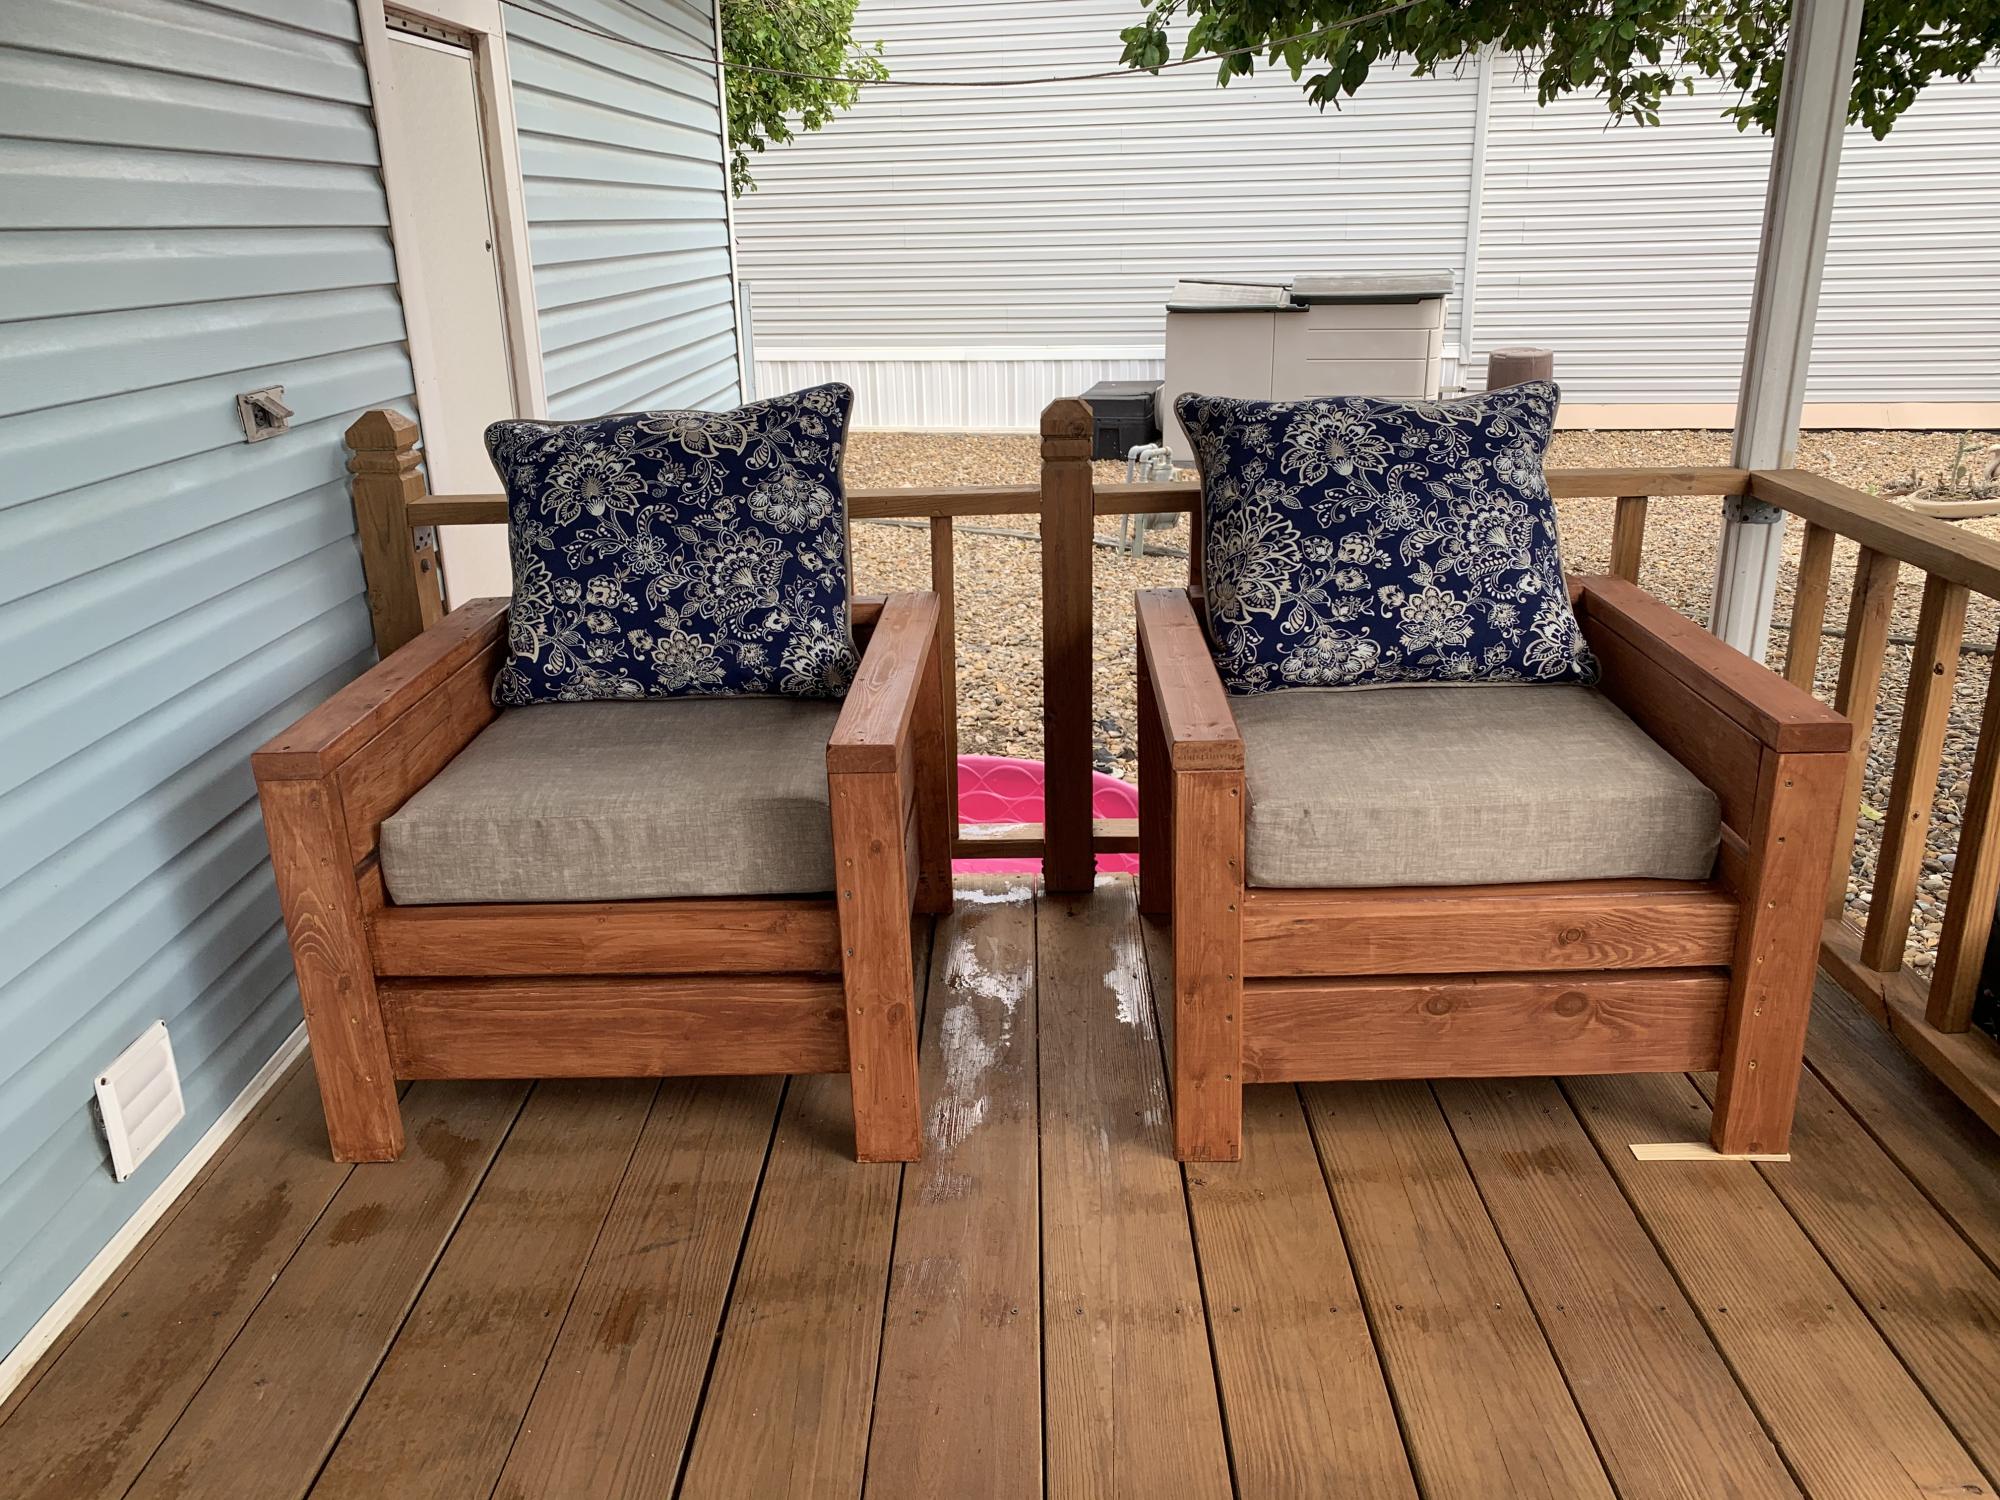
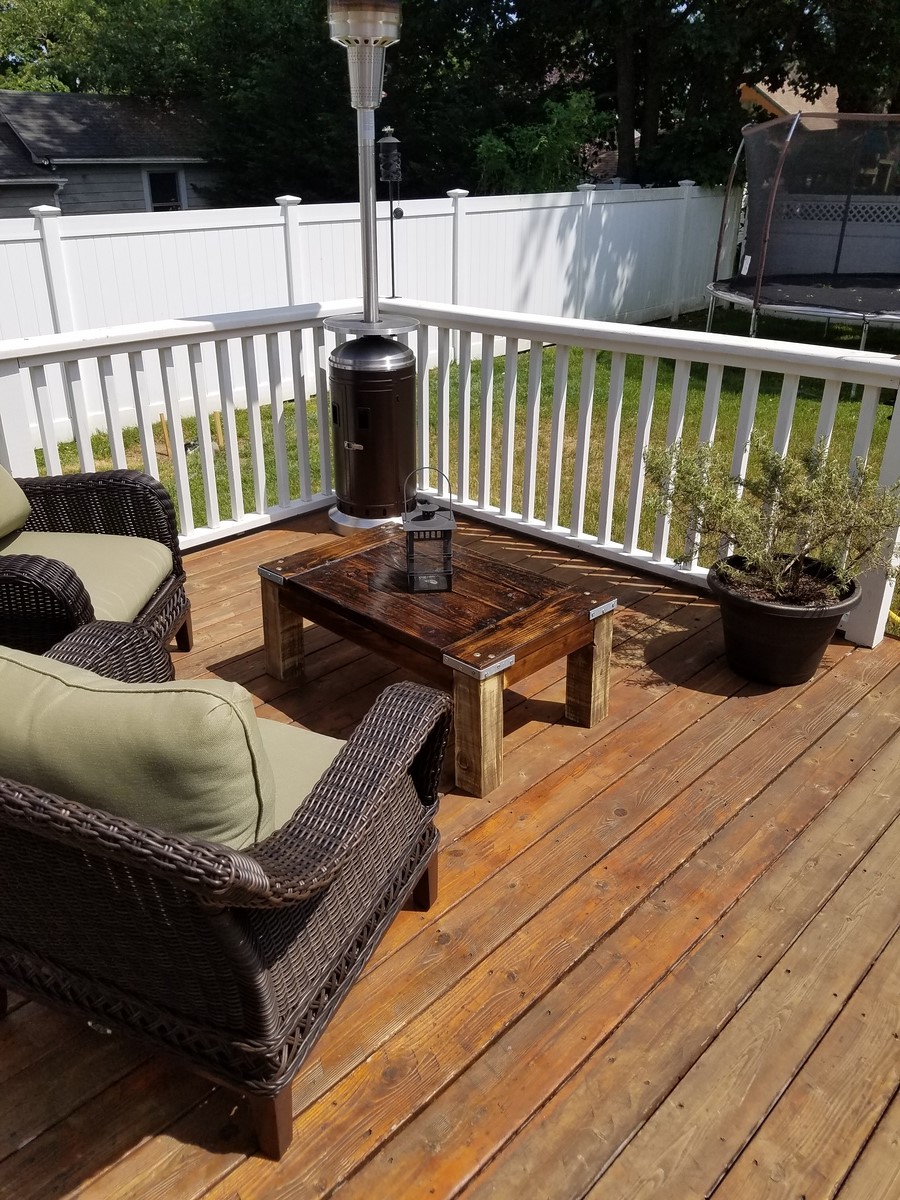
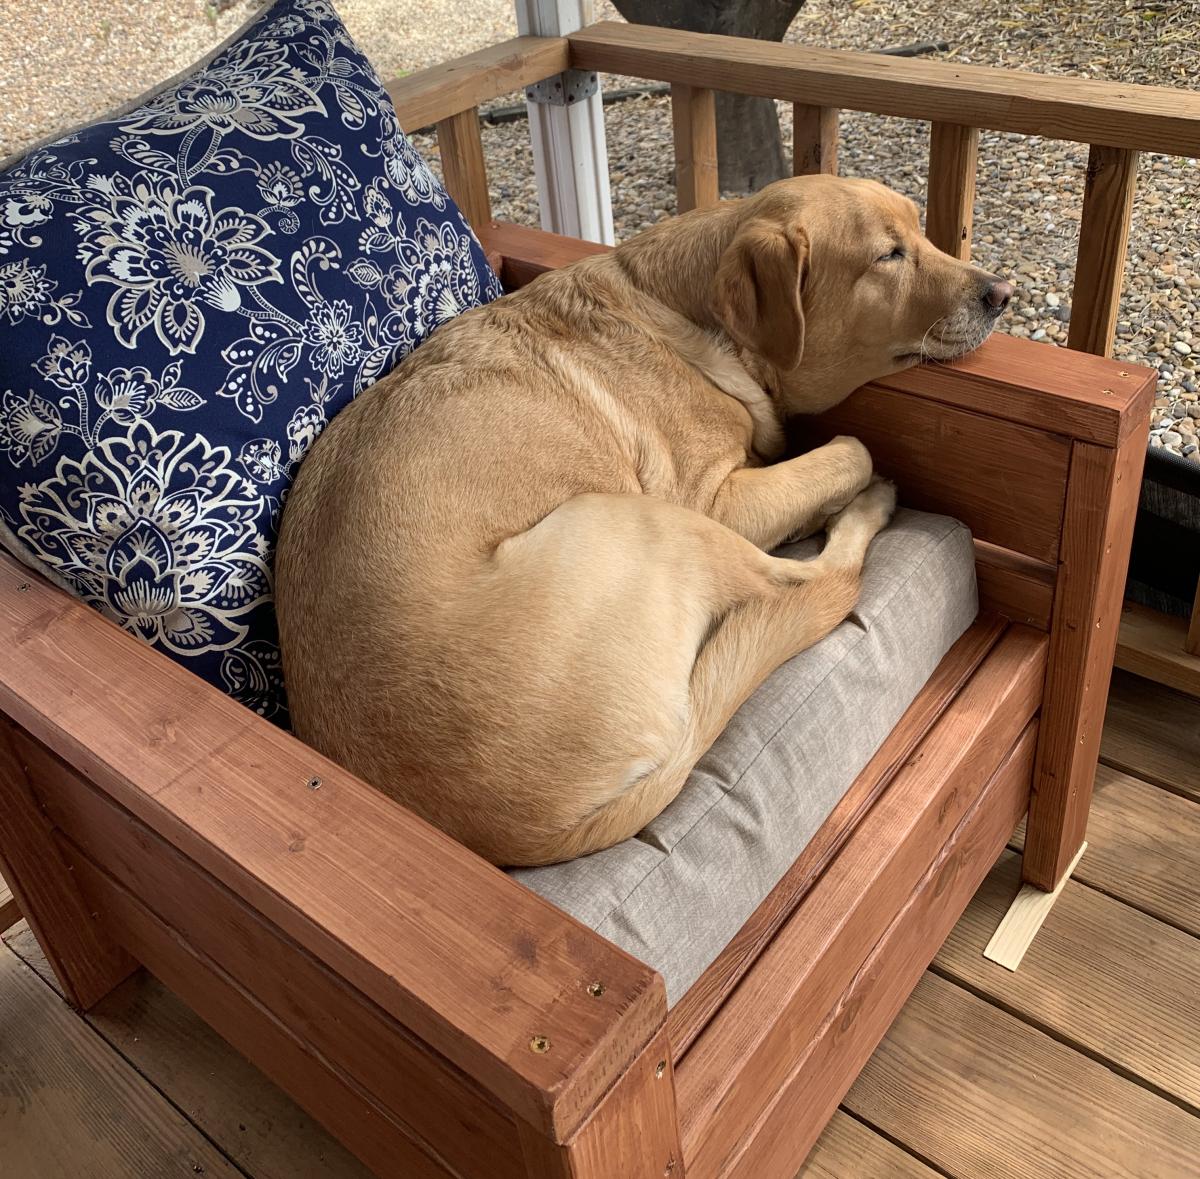
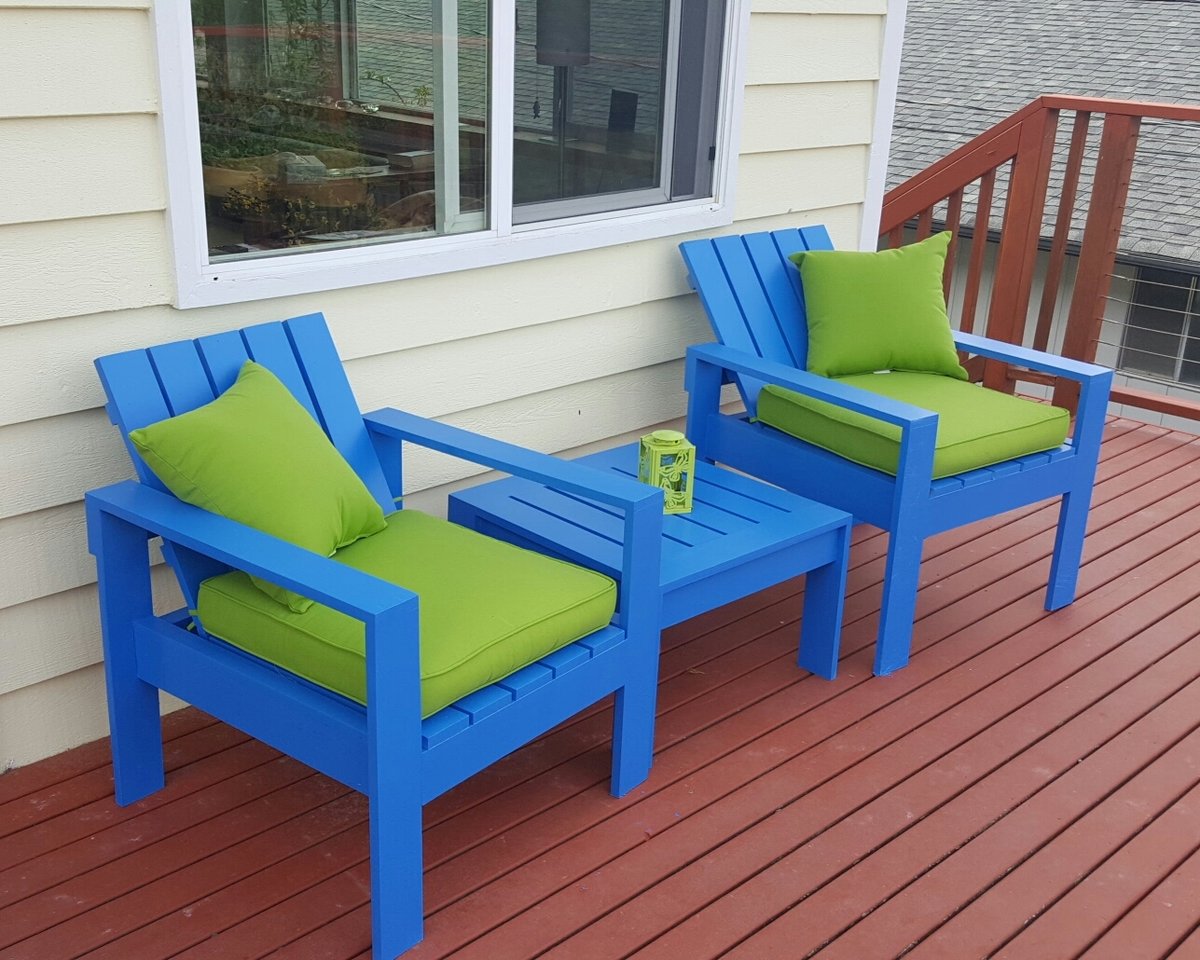
Farmhouse bedside tables
Took 2 weekends to build 2 of them, they have a gently distressed finish.
![](/sites/default/files/3154812164_1341782500.jpg)
Took 2 weekends to build 2 of them, they have a gently distressed finish.
With inspiration from Ana’s Little Crates, I prepared crates frames and slats separately so employees of a retiree may write on the slats. Once the writing was complete the slats were attached to the frames and presented as a personalized gift with examples of hanging or tabletop use.
Thanks
I started woodworking about 6 month ago and I love it!
I made our kitchen table and nightstands.
This was a real test! The drawers took as long as the frame, if not longer.
It's all worth it when it turns out this good though!
Thank you for all the wonderful plans, my wife practially has all the furniture in our house in line to built by me.
I am totally in love with this design!! I added my own twist by painting the bottom “Gravelstone” to match with my kitchen cabinets and a simple “dark walnut” matte shine on the table top (1 coat). Once painted I sanded the edges and some of the legs to resemble antique wood. Looks fabulous!!
Michelle H
I loved the idea of the charging cubbies and the storage area in this plan!
I needed something a little shorter, for my three younger boys to be able to reach the hooks, though. I modified the plans a bit for this. I also opted out on the drawers and just left the cubbies open. With my boys, the more simple something is to use, the more likely they will make the effort ;)
I added a 2x4 to the back for hooks. I wanted the wall color to show through the back, so I didn't use a back piece.
Thu, 08/30/2012 - 22:28
I am very new to building. I was looking all over the site for something exactly like this. Is there any way you could post your demensions? I know I should be able to figure something out, but yours looks perfect. I love it! Great job and thanks for sharing your project!
In reply to Dimensions please? by kimara
Fri, 08/31/2012 - 09:07
Kimara,
I'm so glad you like this! It has worked out perfect! Even my four year old uses his hooks!
The dimensions had to be specific for myself. Otherwise, it wouldn't have worked in the game room.
31 1/2"(L) x 12 3/4"(W) x 51"(H)
Let me know if you have anymore questions...
God Bless :)
Mon, 08/19/2019 - 03:43
You have shared a nice idea to use this storage and make it more useful after school. The topic of this post is very interesting and I am enjoying while reading it. SEO Dubai is a leading company providing services related to marketing to the clients from all over the world.
My shelves are about 2.5 ft long. I wanted a display area in my dining room to show off some plates I had made for my boyfriend a while back.
I recently moved to Boulder, CO and finally have a garage where I can actually work on projects. Since I moved here with practivally nothing, I decided I should build my own bed. This is probably one of the most ambitious wood working projects I've attempted. I also tend to be slightly anal, so I've probably spent way more time on this project than most people have or will.
After reading the plans and other Brag Posts, I felt I was ready to start. I ordered the Kreg Screws, and a few other supplies I would need for the Project on Amazon and was off to the races. Several trips to Home depot to get various pieces of wood, (since I wasn't going to fit it all in my Subaru in one go), I finally had most of the lumber for the bed frame. Let me tell you, it's not easy getting straight pieces of lumber (as mentioned before, I'm a little anal). I decided to go with oversized lumber, since I would have more usable leftover pieces for other projects.
I spent several hours after work during the week, and several more on the weekend, sanding down all the lumber with 60 Grit, then applied the first coat of Stain, to raise the grain. I was out of town for the weekend, and let the stained wood sit in my garage while gone. When I got back, I noticed a lot of marks which I didn't notice before staining. Some of these were from the belt sander I used to knock down really rough parts of some of the lumber. But most of the marks were because I put too much pressure on my random orbital sander.
Lesson learnt: Sanding takes time, and patience! DO NOT press down hard on the sander, if you don't want marks on your wood. These marks will be significantly more prominant after staining.
I decided to sand everything again, 60 grit, then 100, then 150. I gotta say, the wood feels so much nicer to touch and I'm glad I decided to re-sand. I spent a few hours after work to get most of the head board pieces done, but noticed that the 2x4 had warped beyond repair... I'm going to get the upper and lower 2x6 pieces ready to assemble with my kreg jig this weekend, and then decide if I want to add a 2x4 in the middle like the plans call for.
I decided to go with just 2x6s for the headboard, I used the Kreg Jig to put it all together, I also attached 4 supports made of some scrap Plywood I got from my neighbor for the headboard.
I stained it all with a Staining pad twice, then applied 3 coats of Poly with a brush. I didn't sand between coats since I was applying very thing coats and I had already sanded everything down with 150 grit.
Fri, 03/02/2018 - 19:17
Sick job dude! What stain is that? I like the color of it and might use it for mine. Did you notice a stain odor at all after applying the stain and covering it with the poly?
Fri, 08/09/2019 - 13:22
This bed is super gorgeous!! Thank you so much for sharing photos!
Such a fun set to make! We switched out 1x6 for the back and seat, stained and torched. Gotten lots of compliments and even have some in the works for our neighbors :)
Thu, 05/21/2020 - 11:06
These are amazing! Love the mini chair - I'm going to have to make a few of those for my kids too!
Fri, 05/29/2020 - 08:37
What modifications did you do to make the kids chair?
Great wood bar stools!
by Dennis
I have a pet ferret that has little room to run around. So I seen this rabbit/ferret cage at the pet store. It was about $150 or so. So I took a pic of it on my phone, and found the Google Sketch app, and watched some videos, and now I have plans for the cage. Some 2x2's, 1x8's, plywood, chicken wire, and some locks and hinges for the ramp an lid.... Still tweaking it, but hopefully it will work out.
I loved the style of this desk but needed it to be quite a bit smaller. I reduced the measurements down from 48 inches wide to 28 inches wide. This required only 4 foot long 1x12. I added just one 15 inch wide faux drawer on the front. This was incredibly easy to build. It took me longer to paint and stain the timber than it did to build it.
Inspired by Ana White project, but assembled with tencions and mortises, without screws.
Used the plans as provided by Ana for the Rustic X Coffee Table.
I built this table using barn wood I reclaimed from a farmstead in Saline, MI which I dismantled in 2010. Interestingly enough, during the dismantling, the farmstead served as a movie set for the filming of Cedar Rapids, starring Ann Hesche, John C. Riley and Sigourney Weaver.
Thanks for looking,
Mike
Fri, 07/20/2012 - 16:42
Thank you for your compliment, much appreciated!!
I'm fortunate to have been working with reclaimed wood for eleven years now and the outcome never ceases to amaze me once the finish is applied.
Thanks again.
Mike
I built this for my daughter's 5th birthday. She didn't actually have a bed in her room and this seemed like a great opportunity to dust off some of my skills.
It was a big project, but worth it all when I saw how much she LOVES it.
I really love this table! Thanks for the plans!
My one of my first projects. Followed the plans here, https://www.ana-white.com/woodworking-projects/grandy-barn-door-console
Doors are 1x4 frame on 1/2” plywood and got the hardware from amazon
WINSOON 8FT Antique Double Sliding Barn Door Hardware Roller Track Kit Black, 4-18FT for Choose https://www.amazon.com/dp/B014SMIWTQ/ref=cm_sw_r_cp_api_i_bH1YEb890KWDF
A little beefy but worked. Had to trim the track a little bit to fit the build.
Also added hdmi/coax ports for easy plug ins. And an hdmi splitter since our tv only had 2 inputs.
Overall very happy with the outcome on this one
I had just finished my daughter's playhouse loft bed when I saw this plan. It was super easy to build and I used all left over wood from the playhouse. I used 6-inch boards for the sides and shelves since that was what I had left over. Other than that, I followed this plan exactly. Thanks for posting!
Built at 31 weeks, rockers were indeed tricky. Would recommend leaving top of rockers straight. My doctor objected to me staining it myself so my mom did it for me.
Made from wood salvaged from a renovation. Cushions from Improvements Catalog and Target.
I have never so much has touched a saw before, but got a wild hair to build something. This is my very first attempt. I didn’t put the X on it, but I did the rest. There are soooo many flaws and I’ve since made several other pieces. But I wanted to post this to show that if you put your mind to it, you can do anything! I’m in love with this piece. Thank you so much for the plans!
Comments
JoshC
Mon, 07/09/2012 - 16:00
LOOK GREAT!
I really like the farmhouse style furnature and the finish you used turned out really good.