Drop leaf storage table
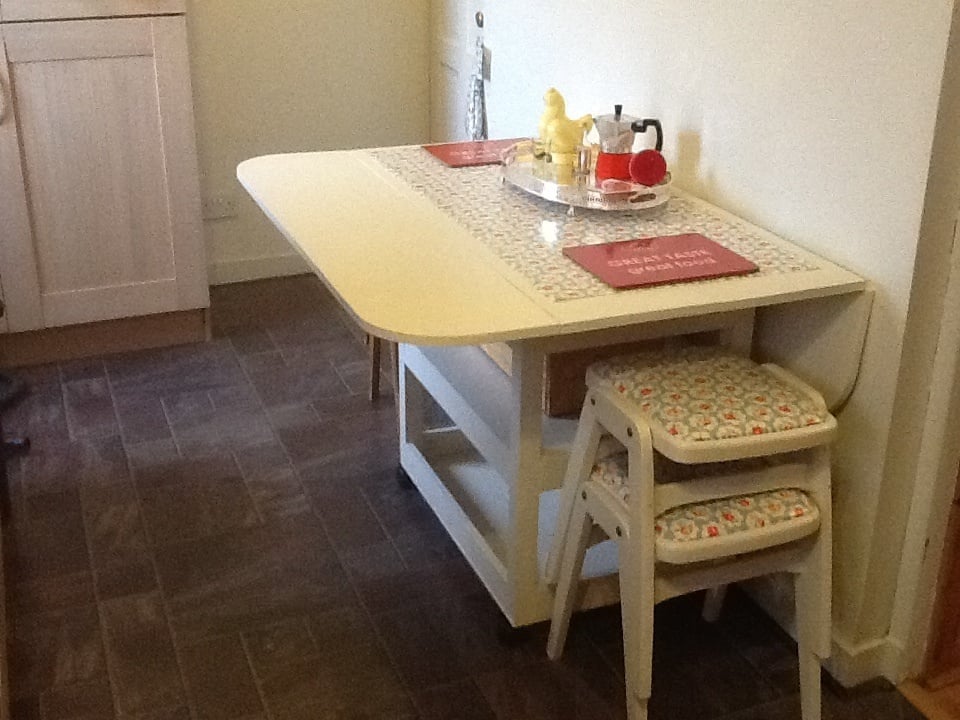
My husband made me this table after me seeing and falling in love with your drop leaf storage table.
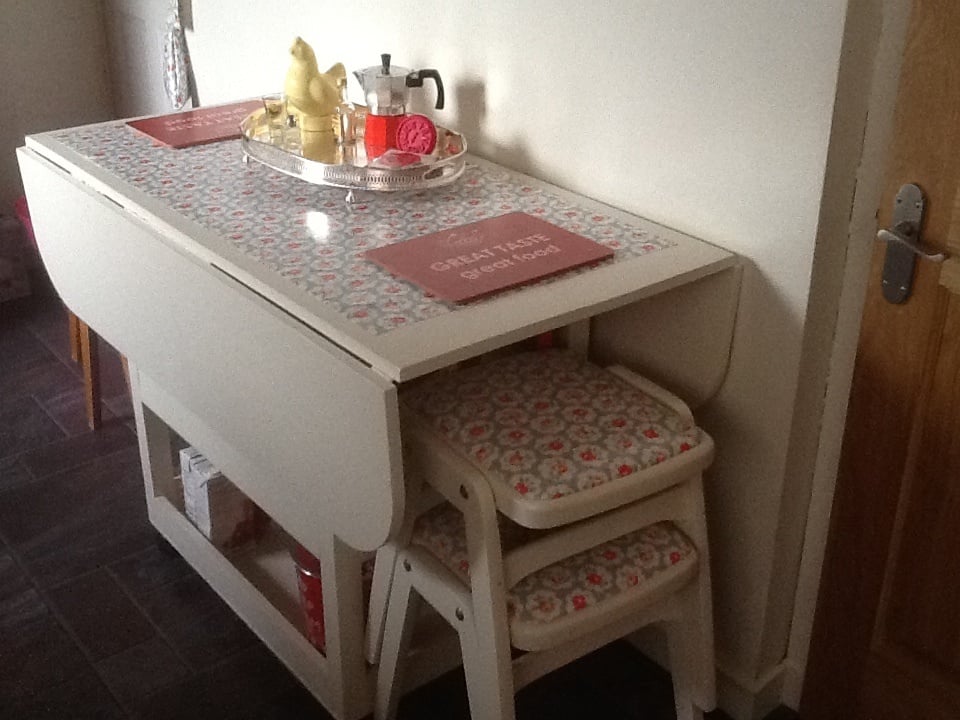
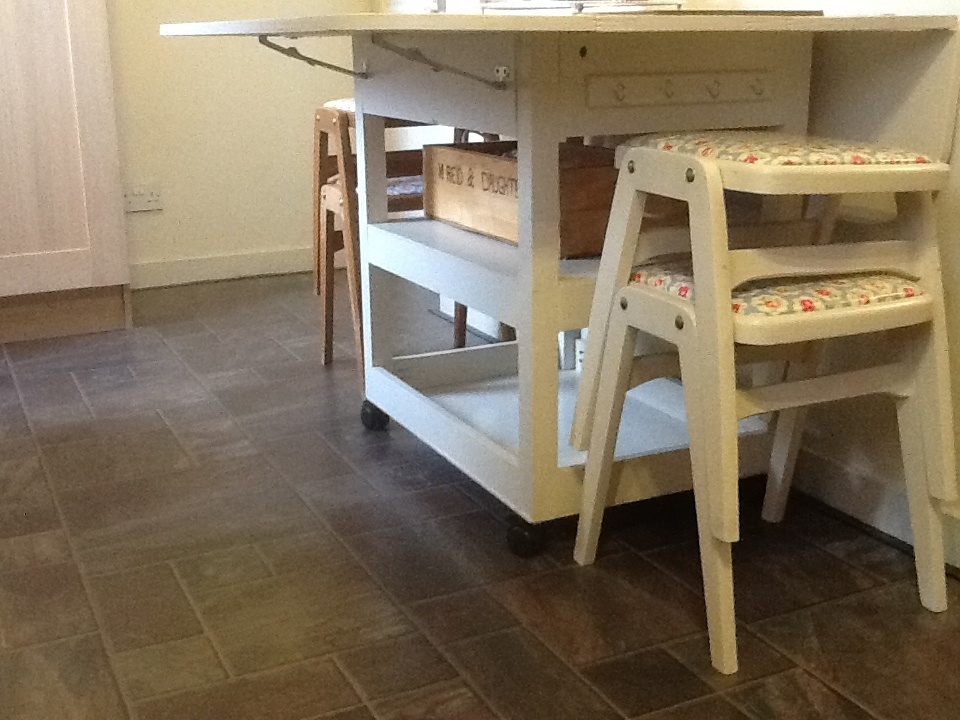
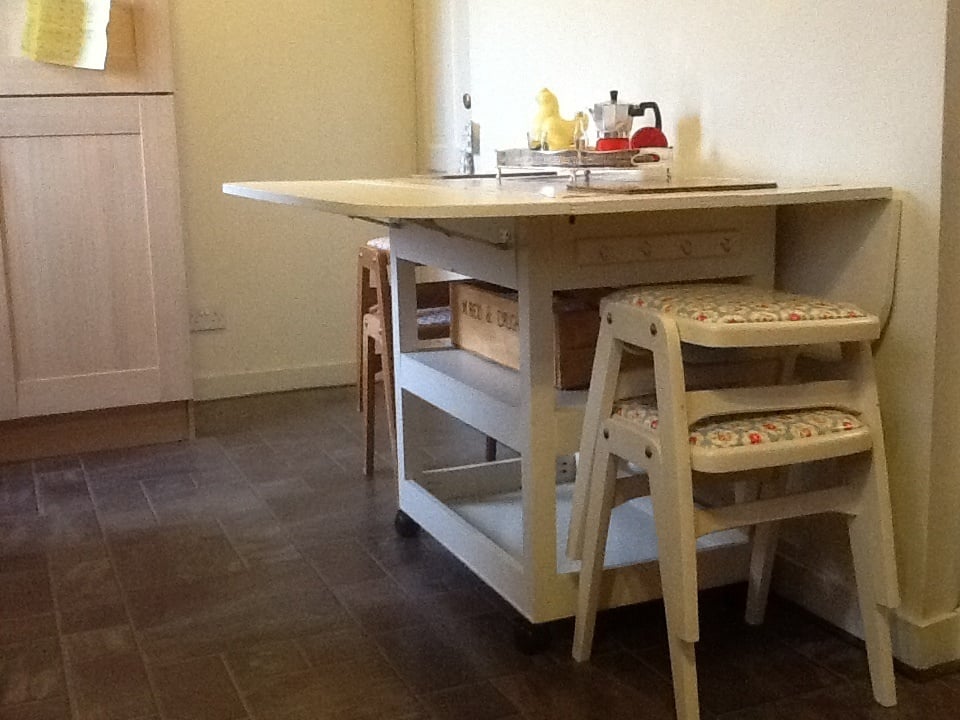

My husband made me this table after me seeing and falling in love with your drop leaf storage table.


Built this with 2 pedestals instead of 3, 7 feet long. Stained the top, then belt sanded and added a second coat for a more rustic look. Sprayed the entire project with the Titan Flexspray.
I made this awesome sofa based on the plan. I'm not very good at this stuff however, these plans were great. Easy to follow and gave me a great excuse to buy a mitre saw.
It looks great with the blue cushions. It's quite comfy and a great size.
Now complete - a mod I will make is to add a second 2x4 in front of the back brace as I find it too deep.
I really appreciate you sharing these plans!
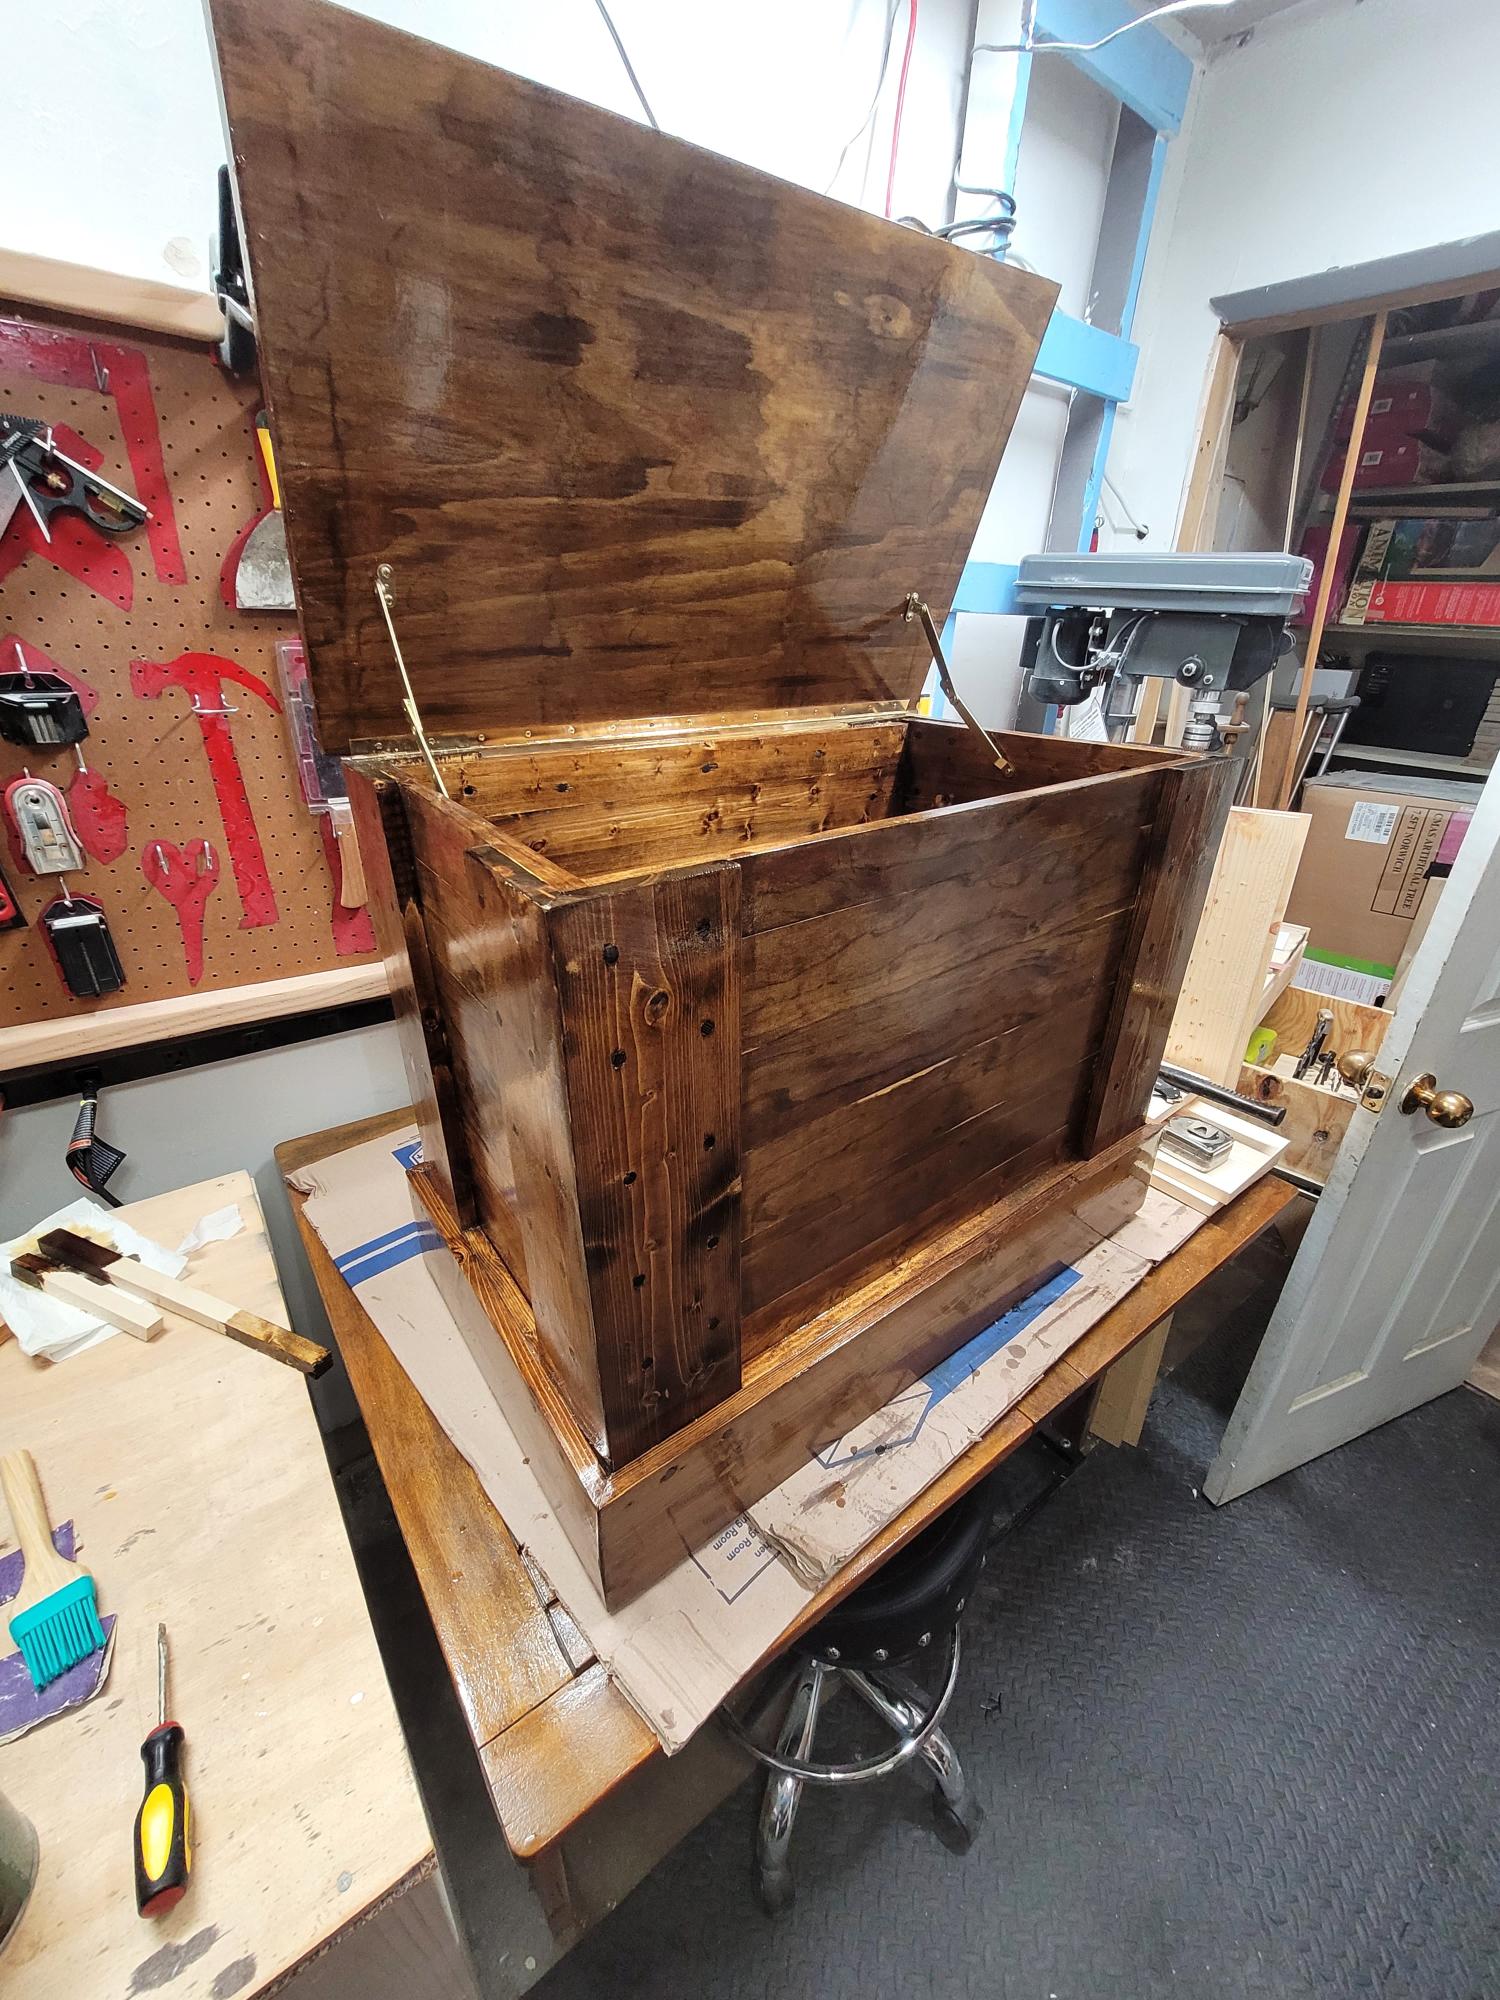
Toy chest / hope chest for great grandkids. My first project in about 30 years. Never had time before.
Ed Smith
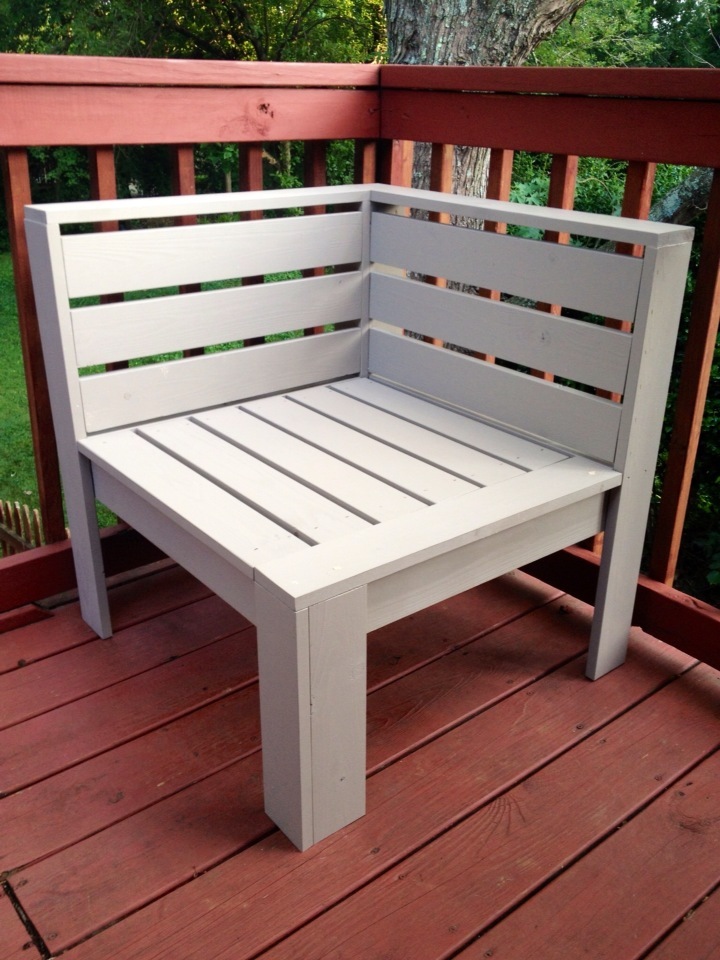
This project my husband and I started together. We live in a very damp and rainy area where cushions would just be more of a pain than a comfort outside.
We decided to add slats on the back so the sectional would stand alone without cushions.
Well, after the first corner piece, I got busy and every day my husband would add another piece to it.
I did do much of the sanding and painting. We sanded and painted these before assembly, made life tons easier.
It was white pine with out exterior house paint color. We really love them!
Thank you Ana!!!
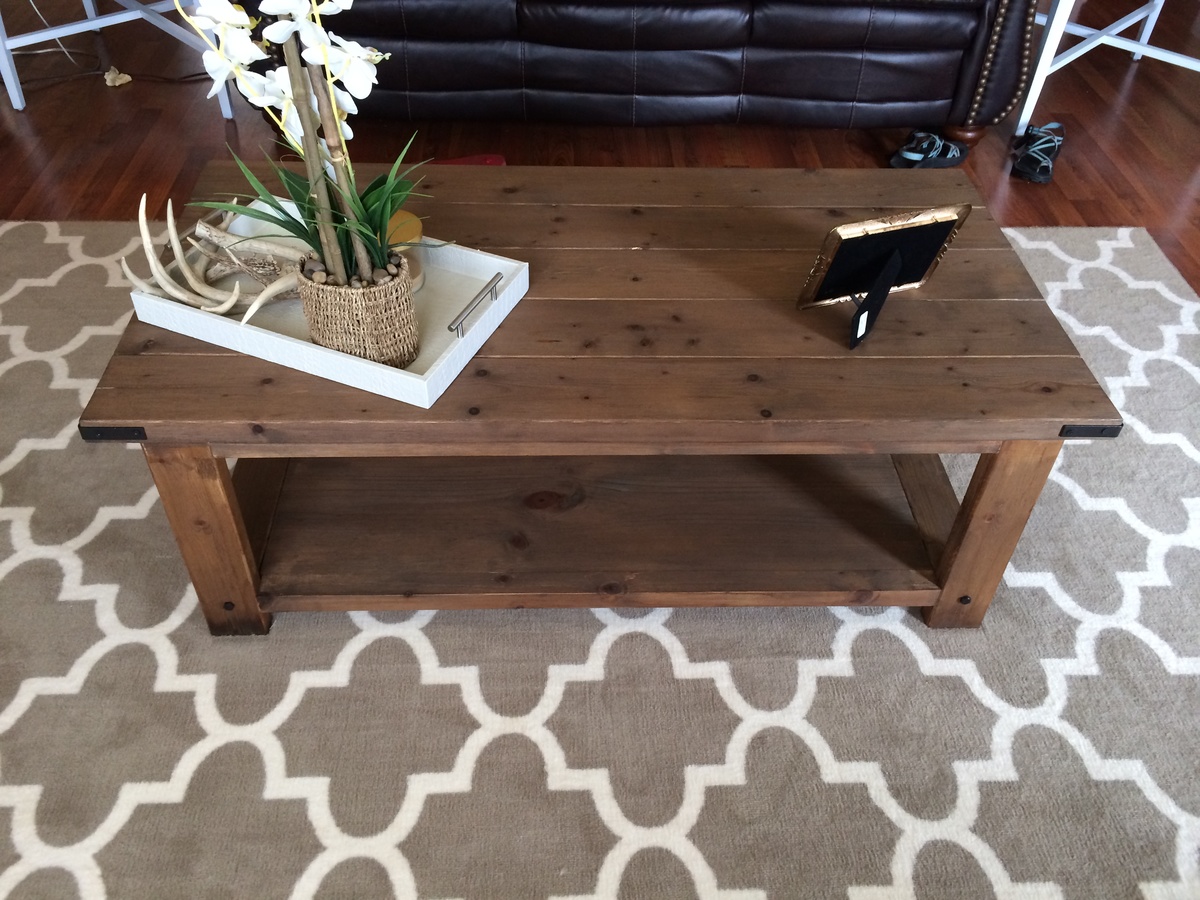
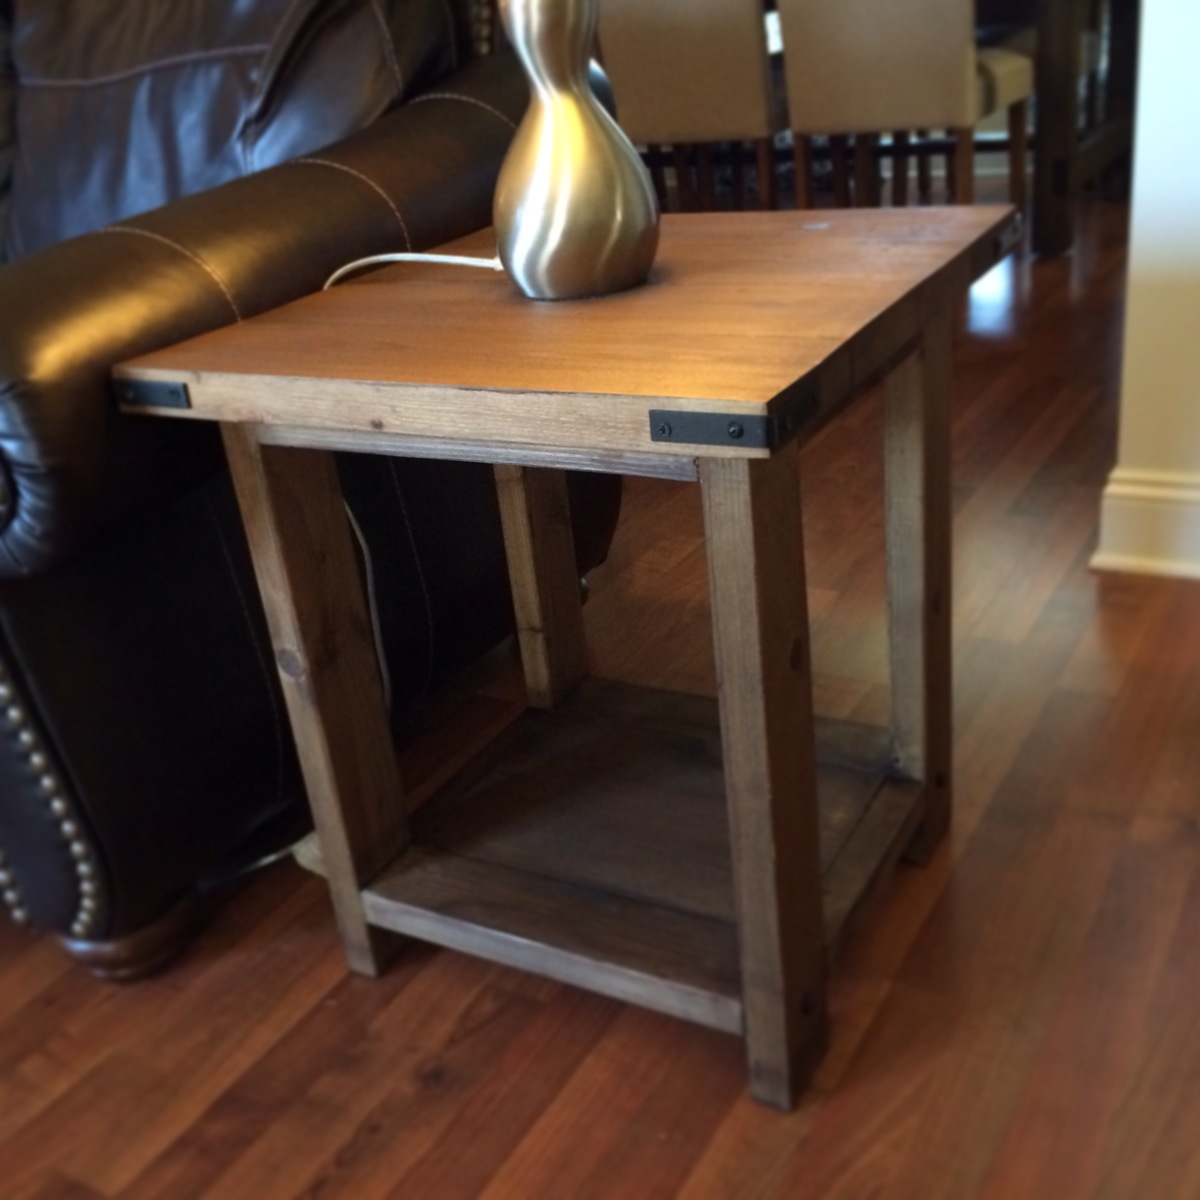
Very simple. The vinegar/steel wool solution works fantastic as long as you put a coat of brewed tea on first. Otherwise, the wood wont turn color due to the lower amount of tannin in the pine. Also be sure to finish all of your pieces on the same day. The stain solution gets its color from basically rusting the steel wool in the vinegar, therefore, the longer it sits, the more the color will change. Also, I built these for my wife and she opted out of having the "x" on the tables. I also modified the end tables to be smaller and better fit our living room.
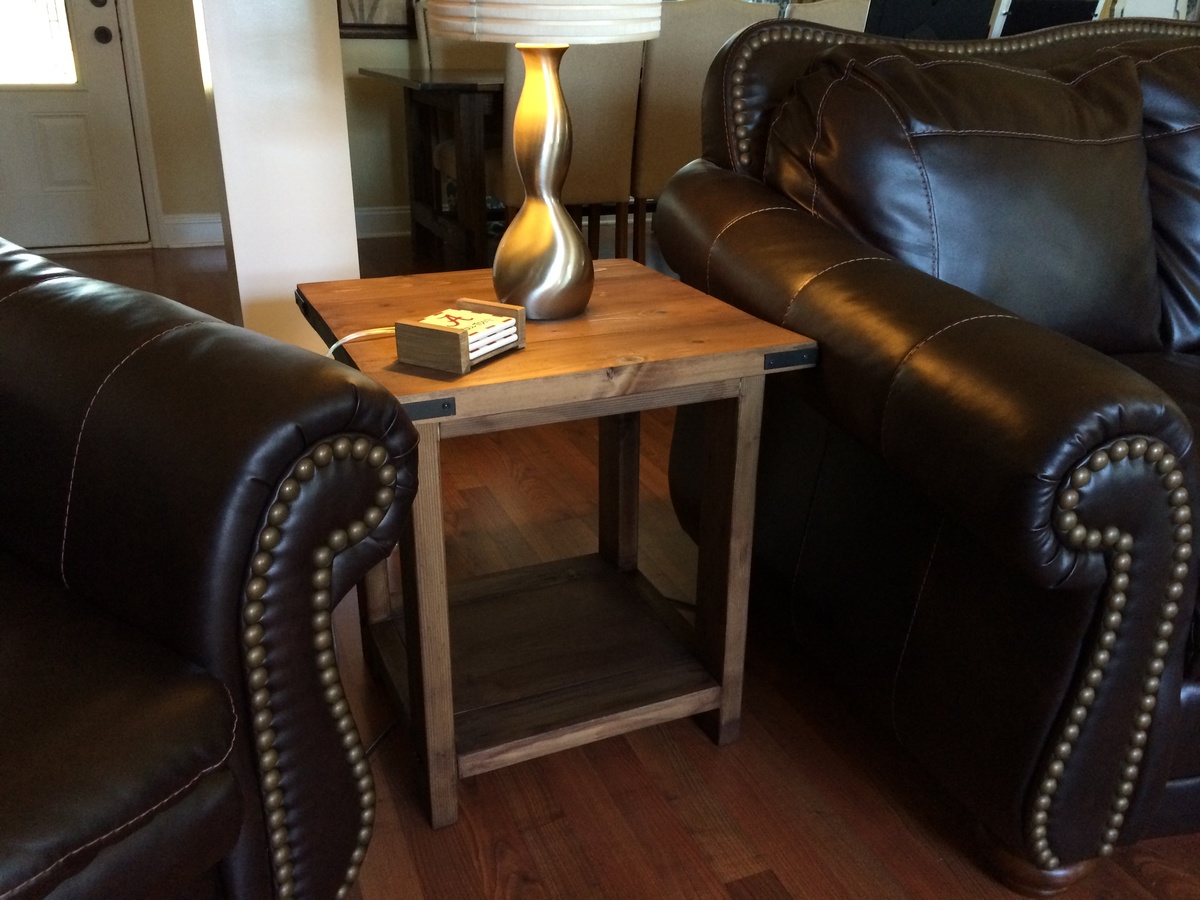
Took the advice from another and made the width 16 1/4. Fits the changing pad perfectly. Thank you!! Made from oak with Espresso stain and 2 coats finishing wax.
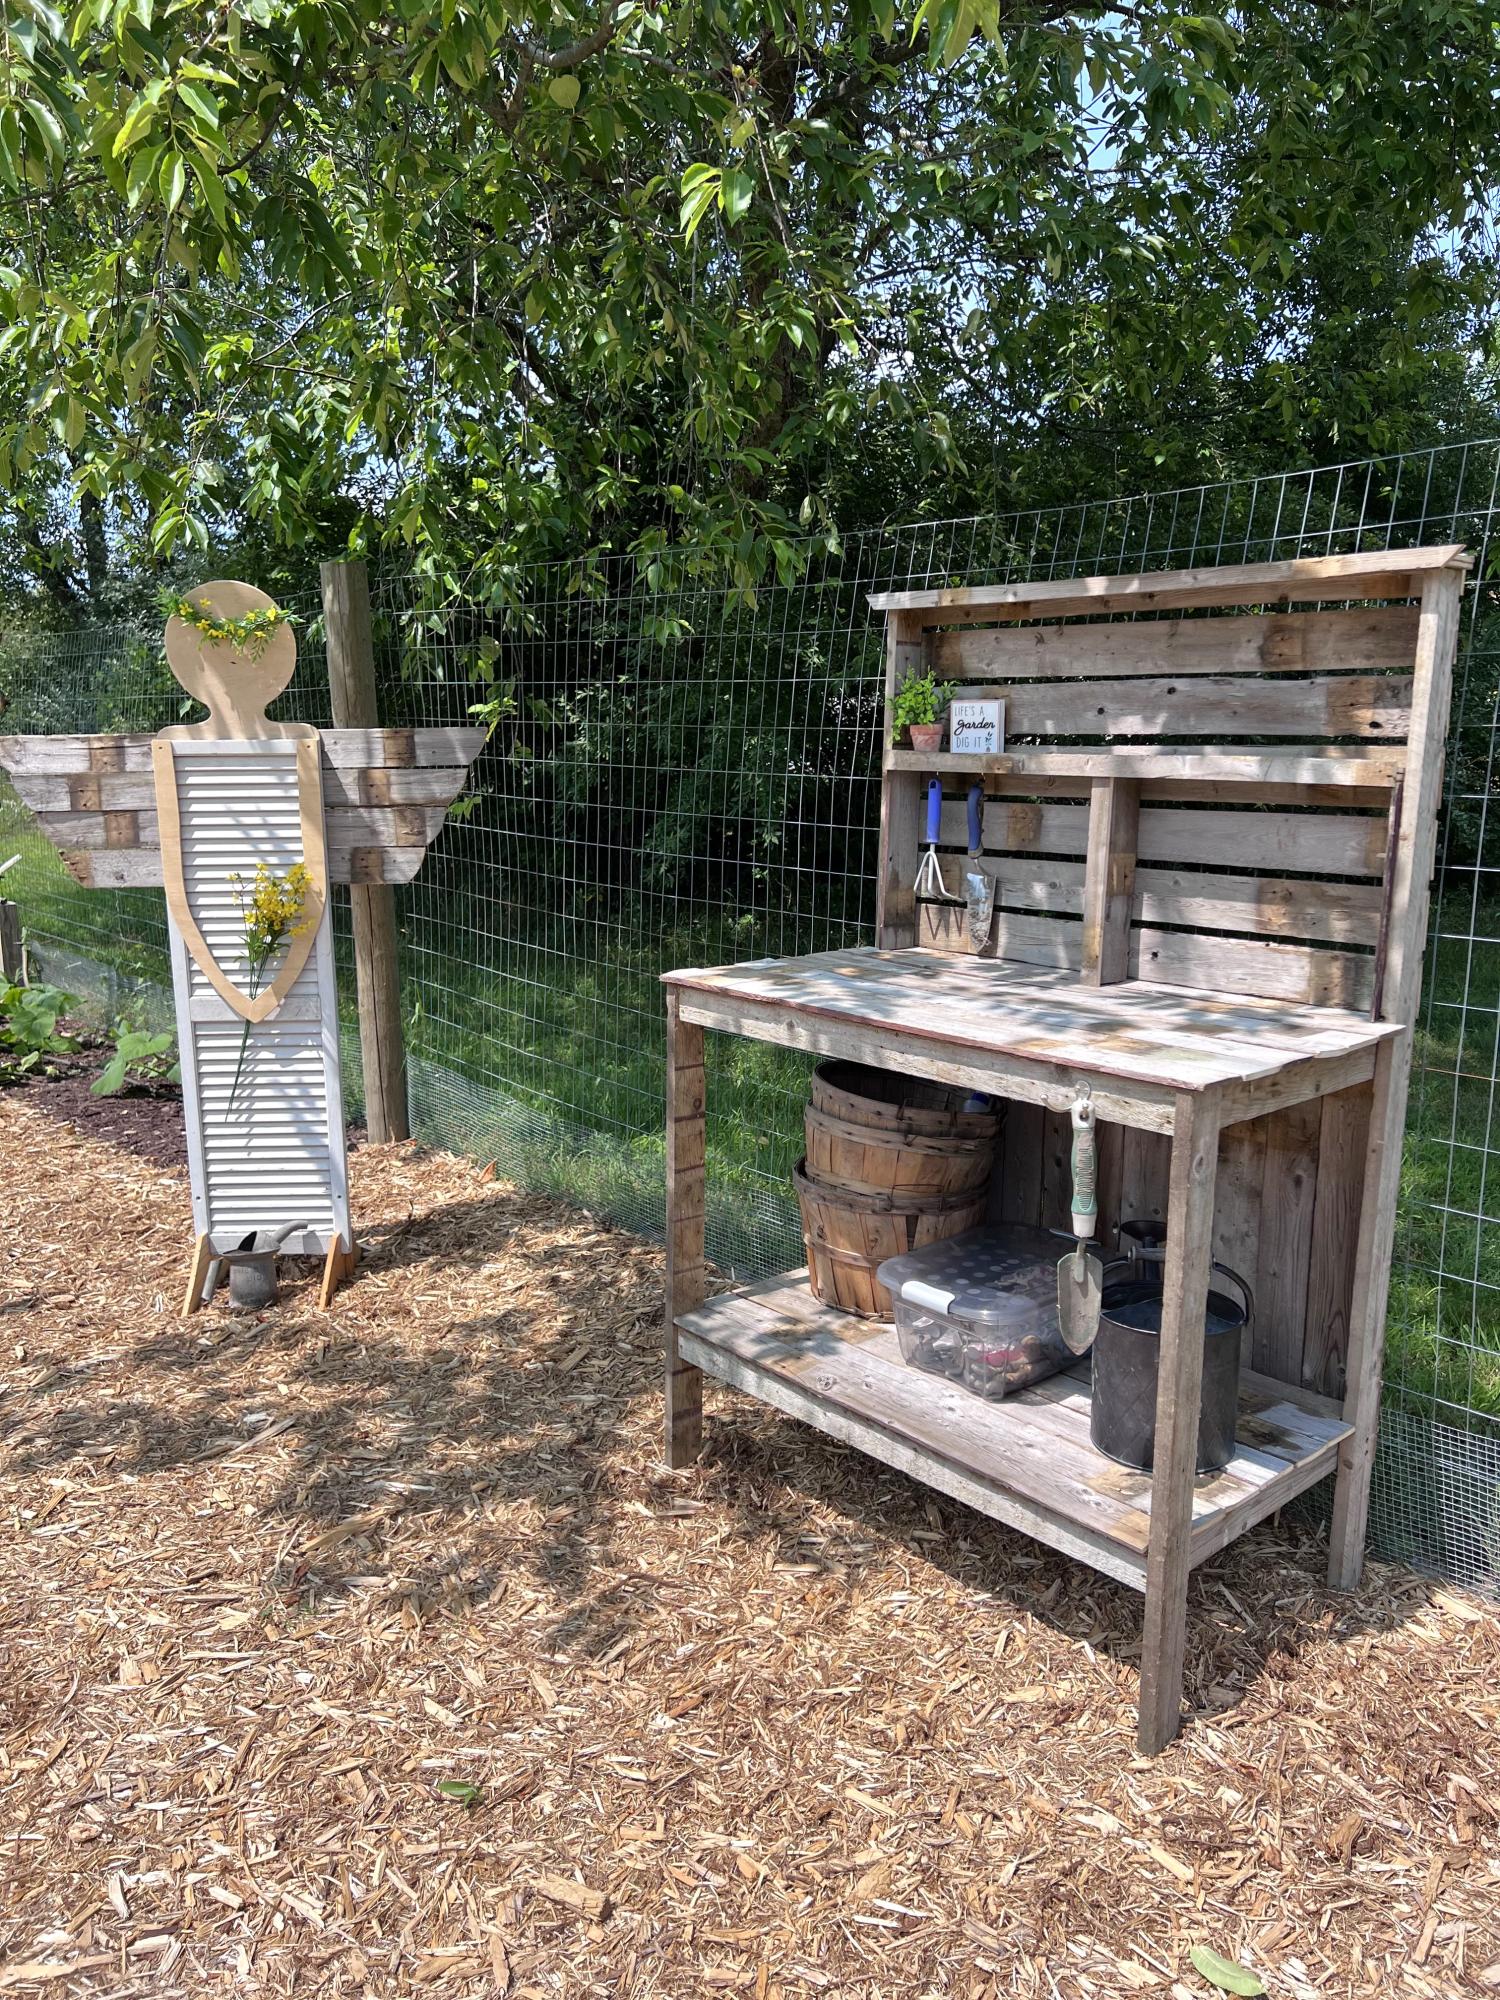
I used an old fence that friends took out of a yard for this potters bench. Modified the plans a little but thank you for making your plans available. I’m having so much fun.
Pam G.
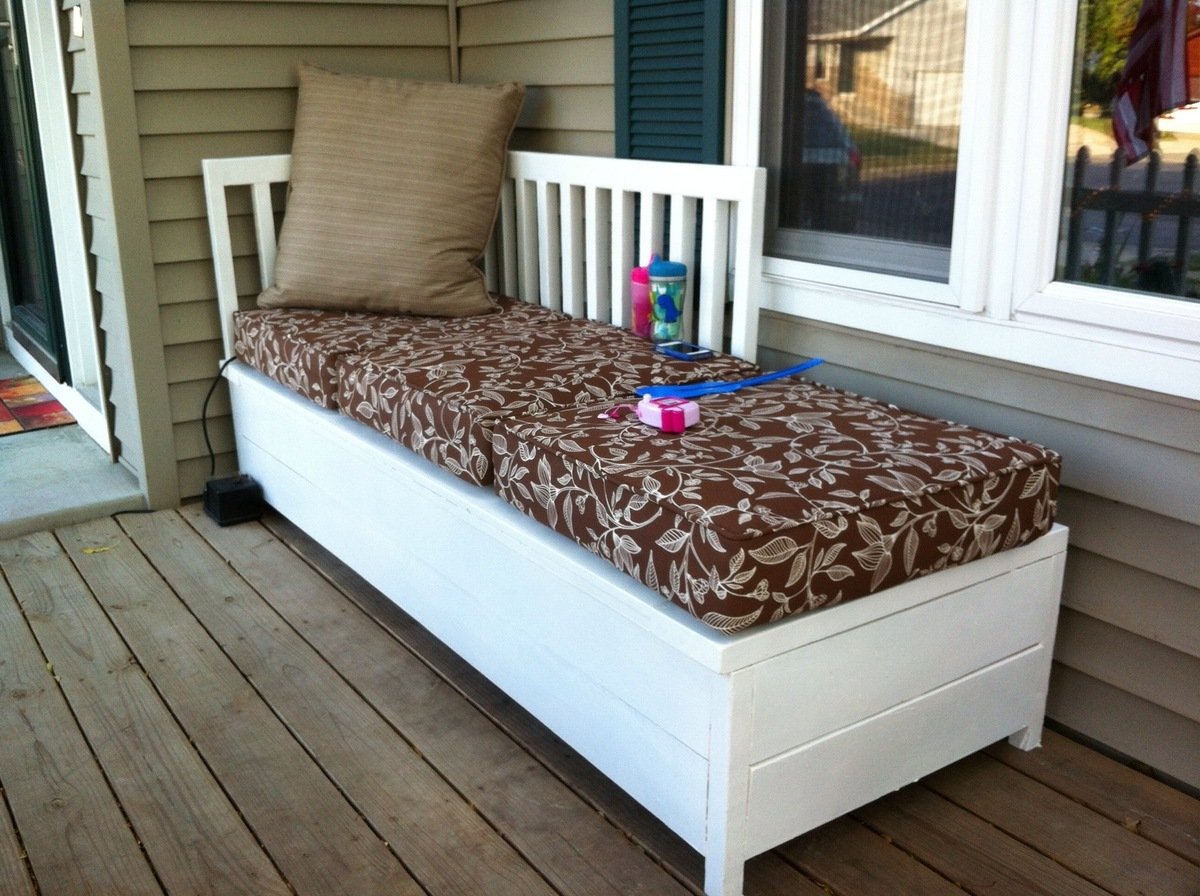
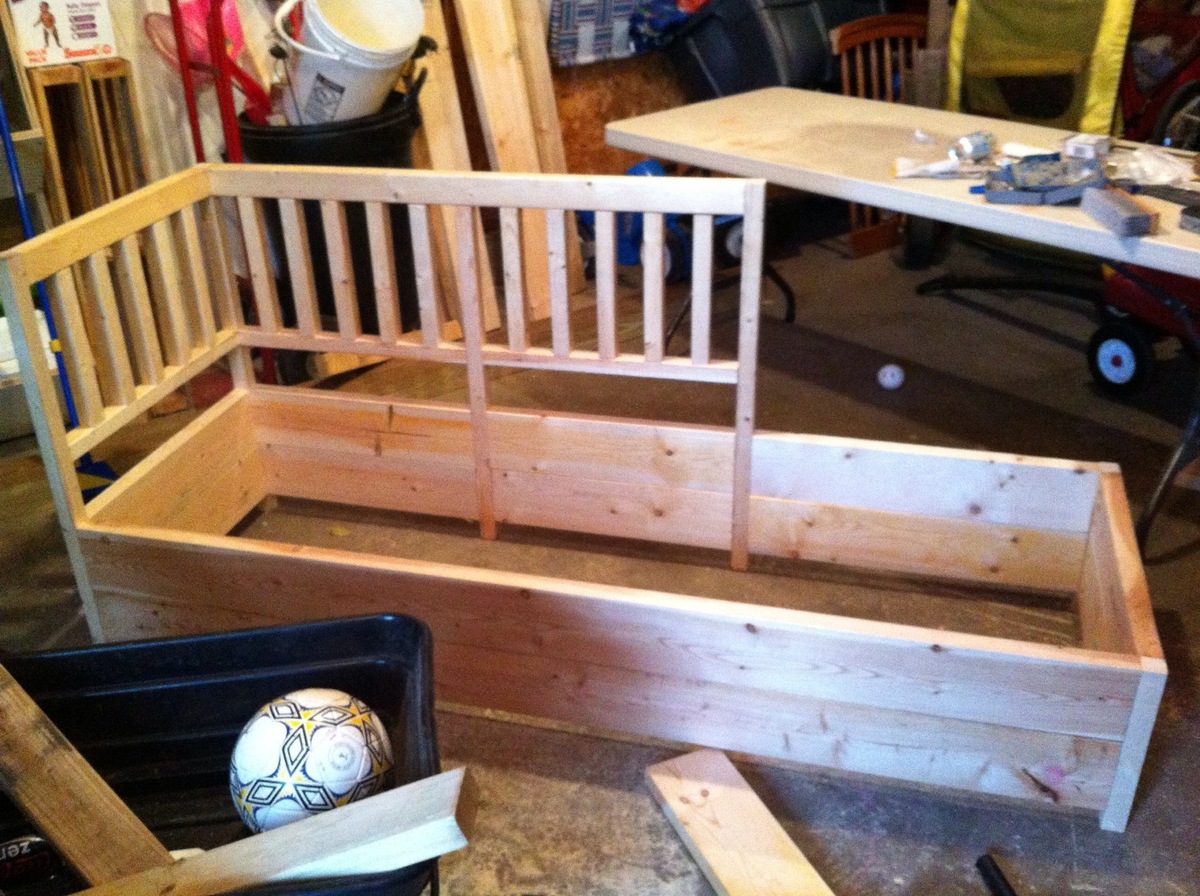
We added a small porch on the front of our house last summer, but the only seating we had out there were our porch rockers. So- I had been checking Ana's plan catalog for something we could use. I came across the Weatherly Sofa- but with the back on it would cover some of our picture window... plus we wanted someplace to put the cushions while we were not on the porch.
I designed this using those plans- but enclosed the bottom as well as stopped the backrest at the point where our picture window starts...
The W-Mart here in town had their summer end clearance on pads at $10 a piece and voila- completed project.
ou cannot see the bench top- but it is pieced together from 1x4s. The remaining bench was made from 2x6 and 1x2s.
This was the second piece that I built using the plans here and I think it turned out great! Originally I was going to stain the whole project but my fiancee convinced me otherwise and I'm glad she did.


I had a fun time building this easy to follow project. A brad nailer does make a world of difference. I chose to stain the inside of the drawers but had to let it sit out for awhile before use. Thank you for posting this project, it has made my family very happy.

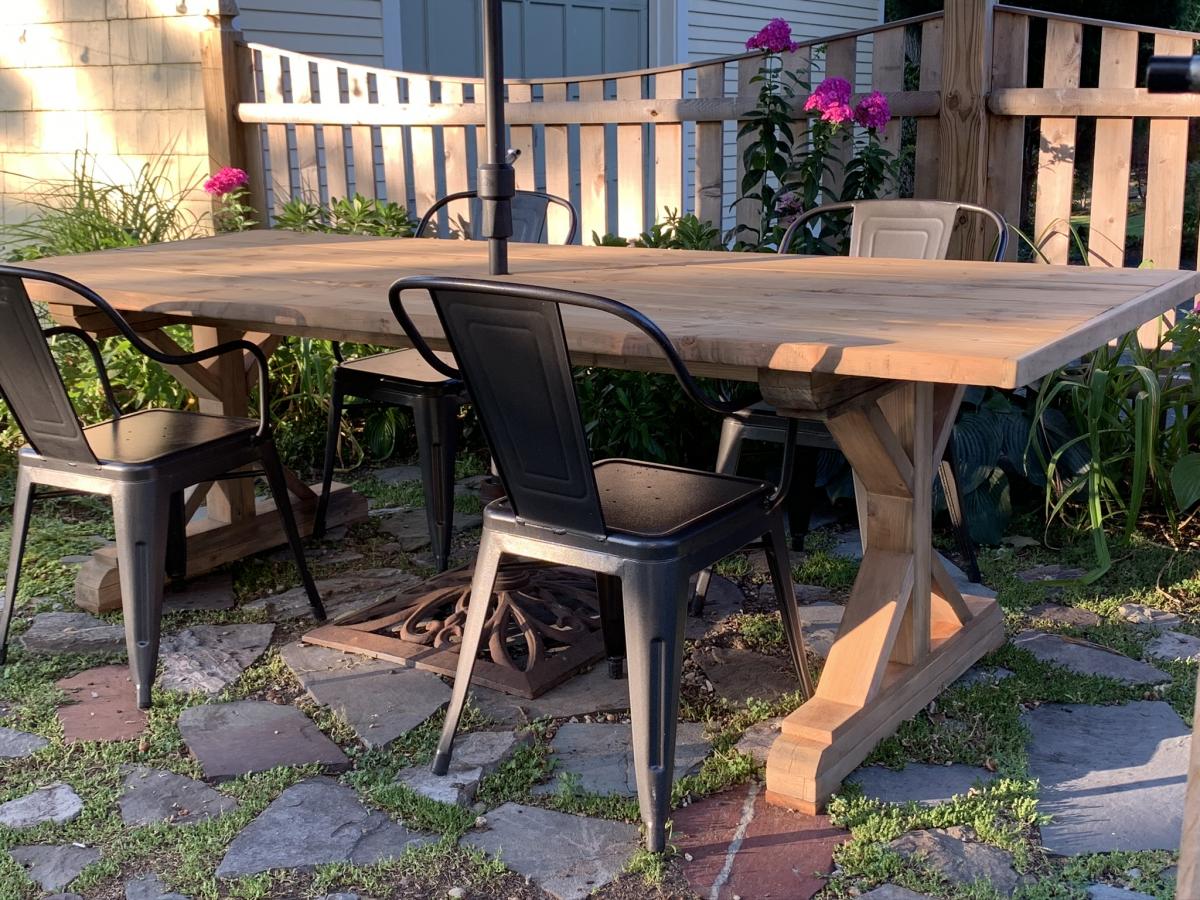
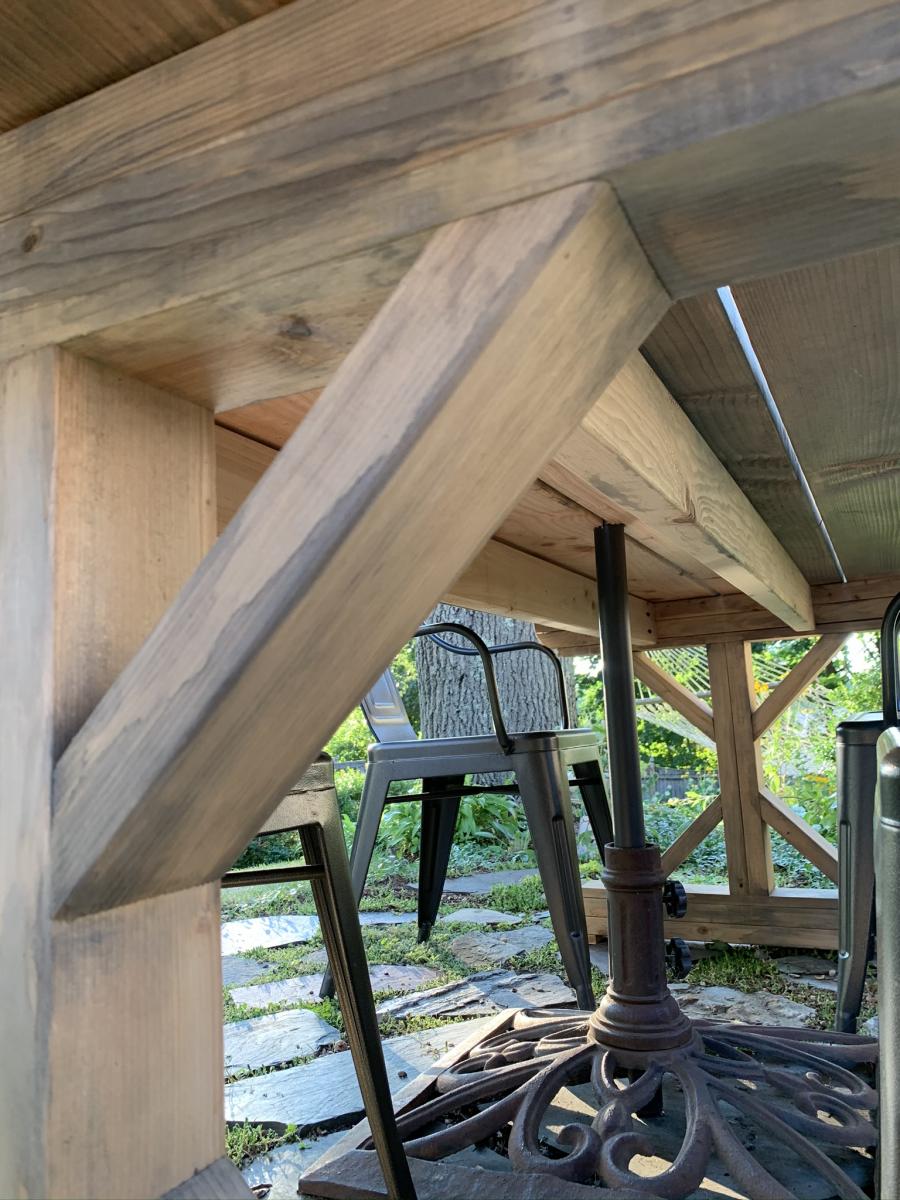
I built this for use as an outdoor patio table suitable for an umbrella by eliminating the center truss below the table. Instead, I used my Kreg Jig to join the two sets of legs with 2 2x4s each set about 6 inches off center directly under table top. (See picture). I used Douglas Fir for most of this build. I also added a 1x2 cap to the bread board ends of the table top to help stabilize it against warping. I secured the table top to the frame with countersunk screws under glued wood plugs since I needed to allow a gap between boards for water drainage. I used the Varathane wood weathering product to soften the “new wood” look. I helped preserve the wood with a coat of Benjamin Moore’s clear Arborcoat. This acrylic product will allow the wood to continue to gray naturally. I recommend this as an intermediate project due to the awkwardness of joining the 45 degree angle cuts. Having a second set of hands here would have been very helpful.
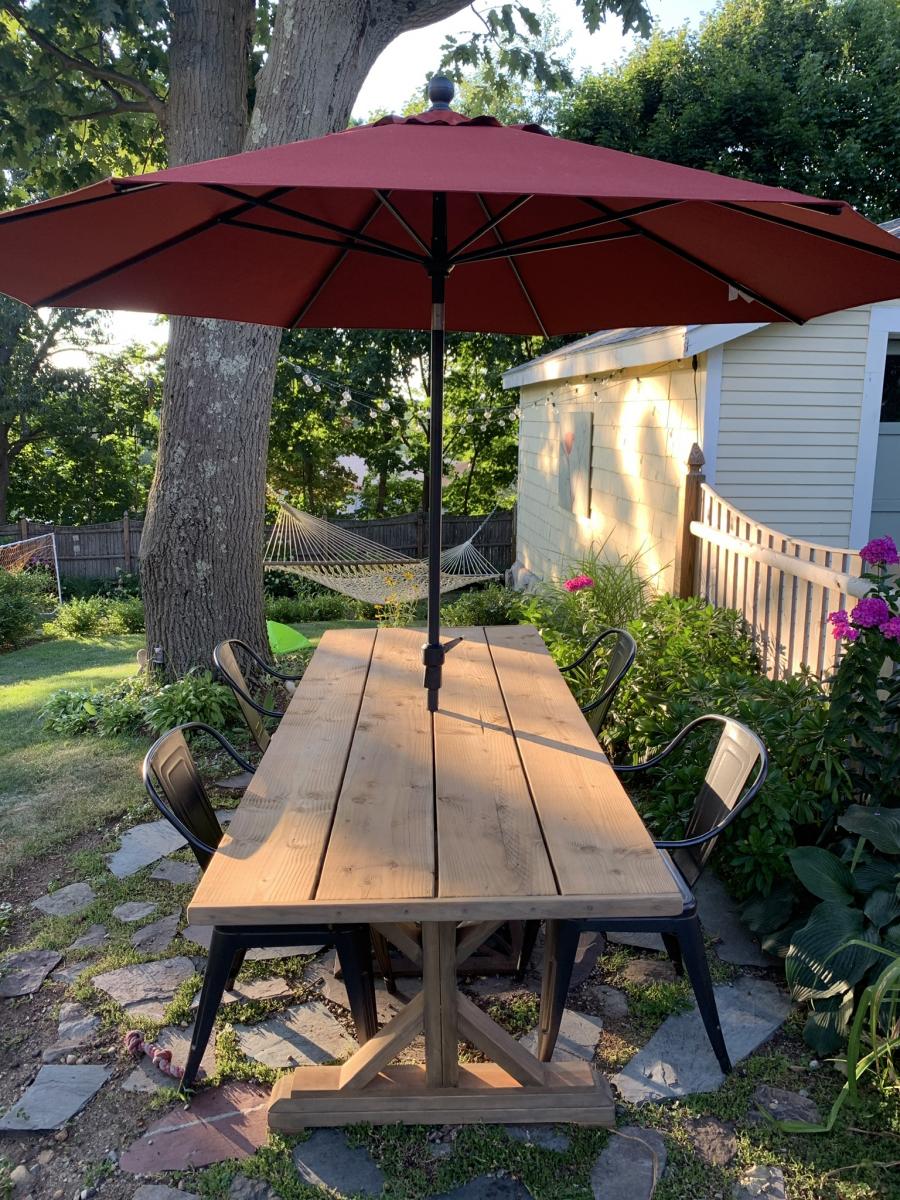
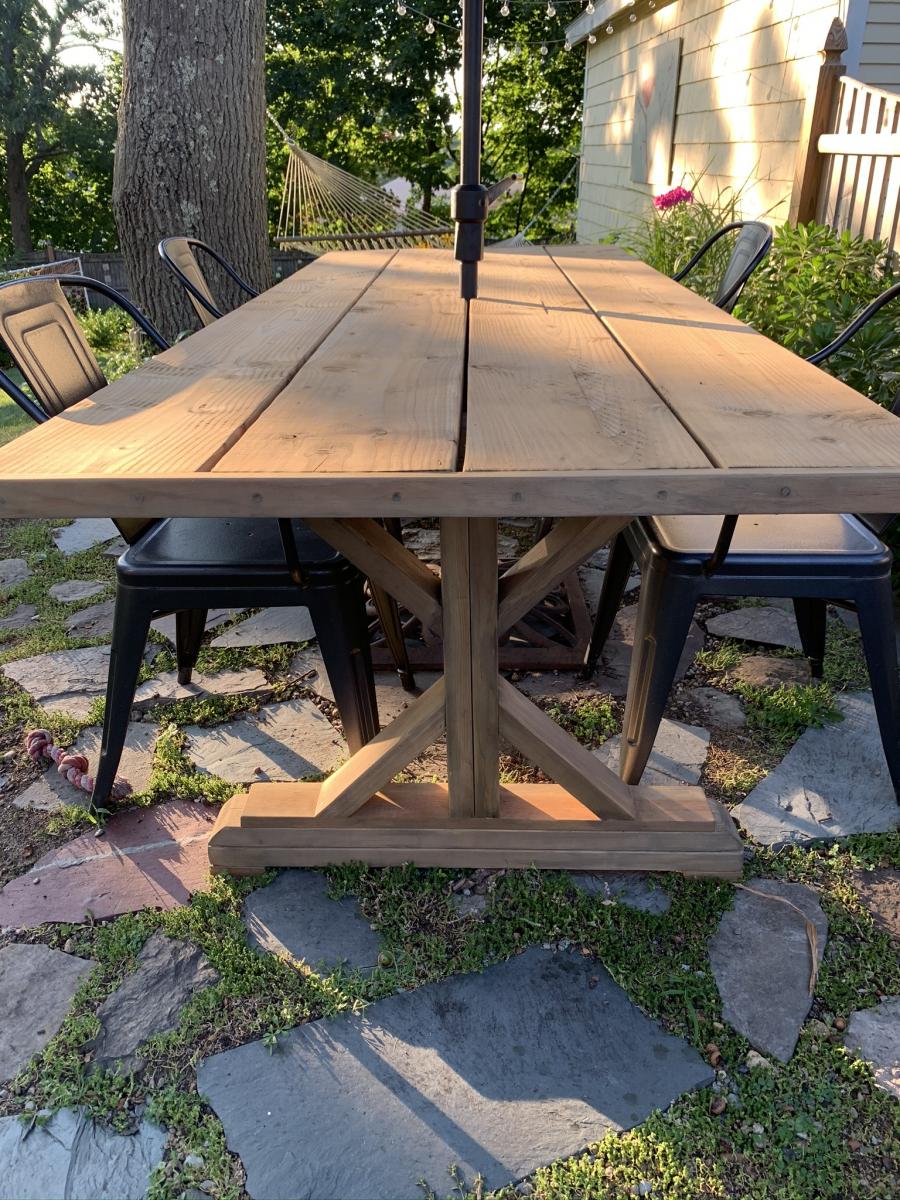
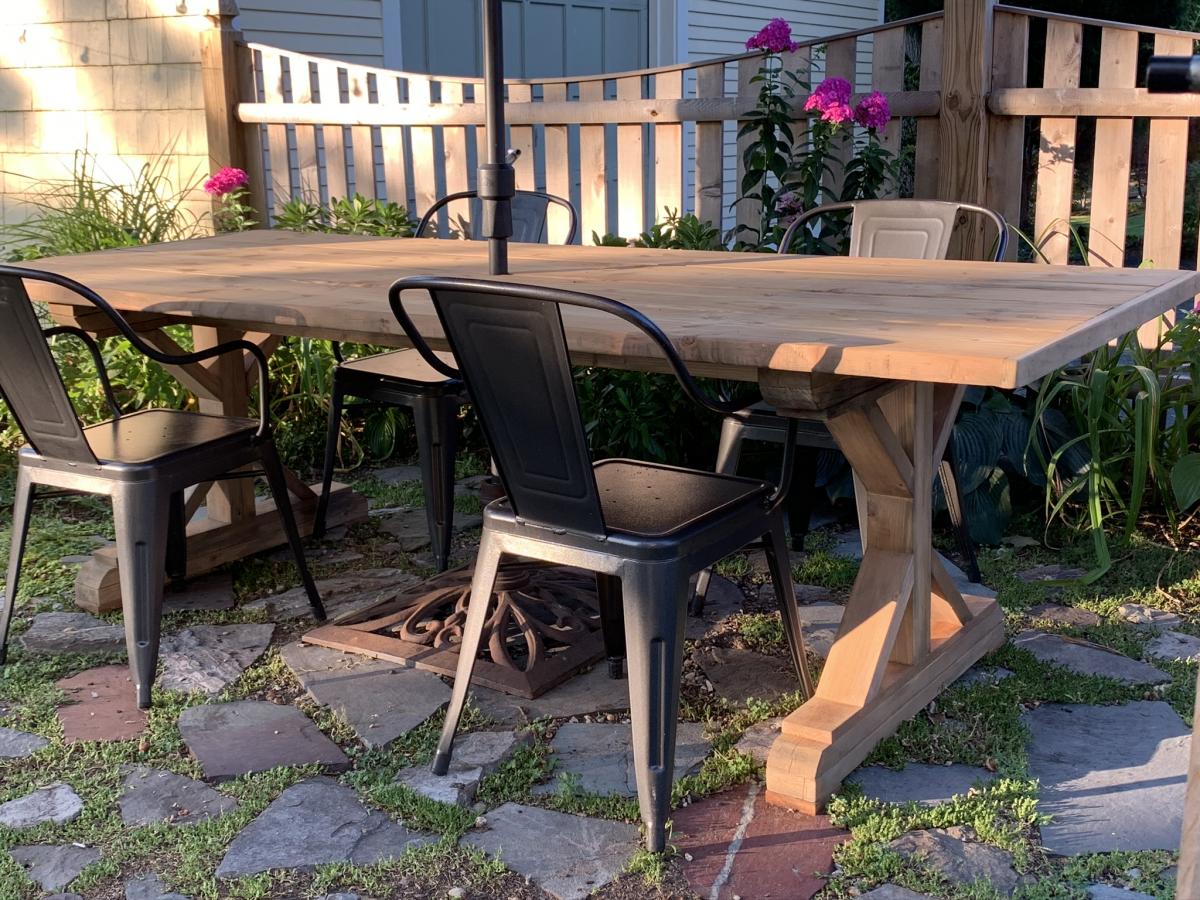
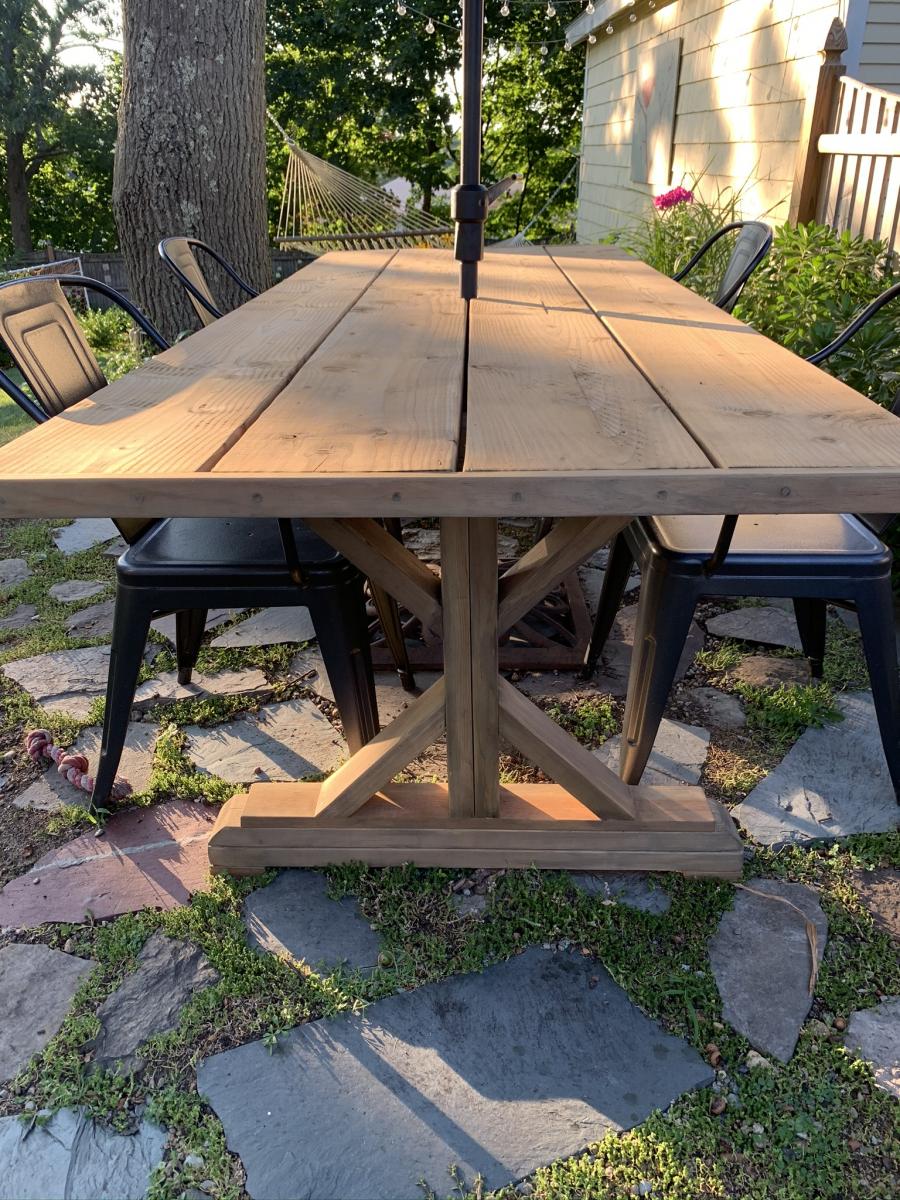
Thanks for this, it was fun to build!
I made this bed for my wife using the plans found on this side.
I worked out great and she loves it!!!! Very east project. It took one week end to complete. I altered it slightly and added decorative side panels.
Tue, 05/21/2013 - 03:59
The project looks good and perfect for the home and we always look for decking up our home in the most beautiful way possible and for that you can check out http://blog.decorplanet.com/2012/06/exploding-toilets-prompt-recall-of.html.
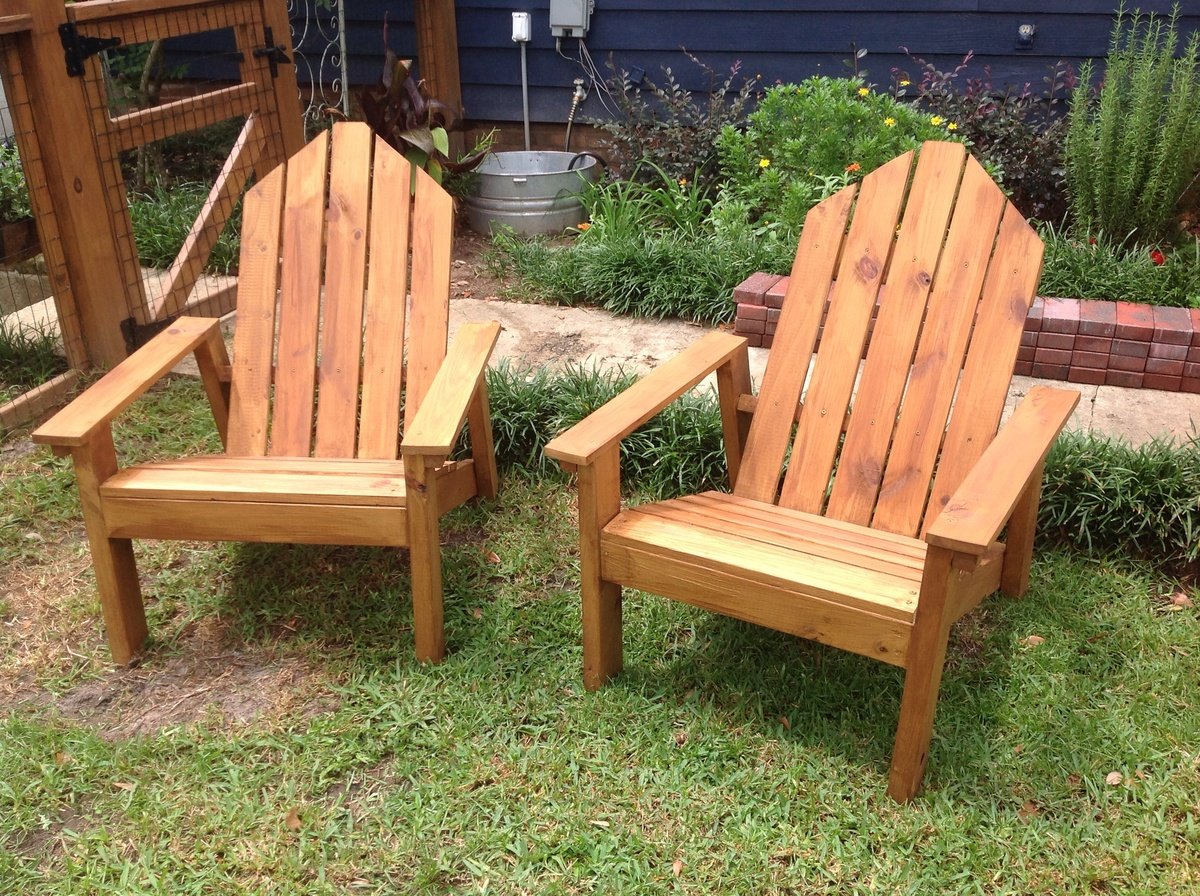
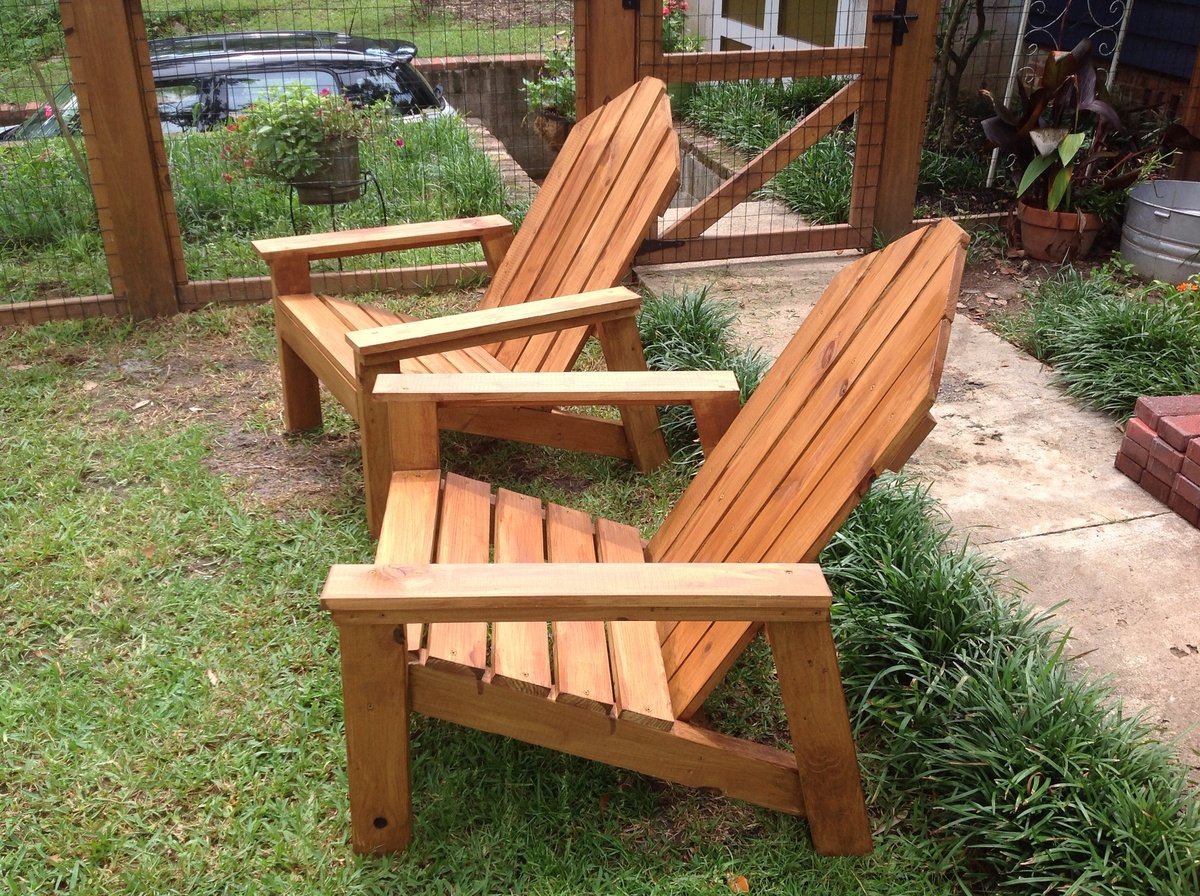
We built this off the standard plan. We stained them with deck stain and used pressure treated lumber. The only thing we did different was ana arrow-shape top.
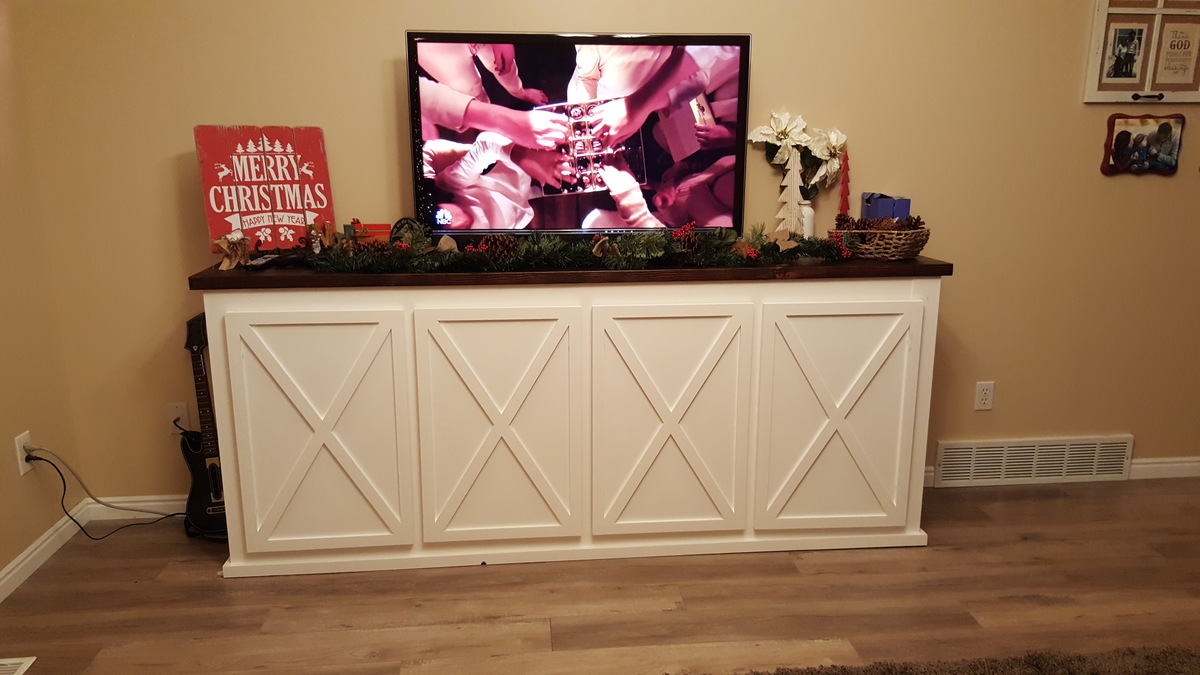
My wife and I were looking for a farmhouse style media console and found the Grandy Sliding Door Console and loved the look of it. After reading the plans and discussing it we decided that we did not want to take the extra time to build the metal sliding hardware and also wanted it for a lot of storage items, so we decided to just build 4 hinged doors instead. We love it and the plans were so easy to follow. We followed the plans step by step up until we built the hinged doors. We also did not put any wood on the back side of the project since it is against the wall and we have doors covering the front opening. Time consuming to finish it nicely with staining, sanding, painting, etc. But not too difficult of a project overall. The doors take some time to get all the angles just right, but worth taking your time to make sure everything is straight and even.
Mon, 01/02/2017 - 14:04
Beautiful job on this piece! We are also wanting to install hinged doors...was wondering if you might share how you installed them so that they aren't visible and doors are on the outside of the piece?
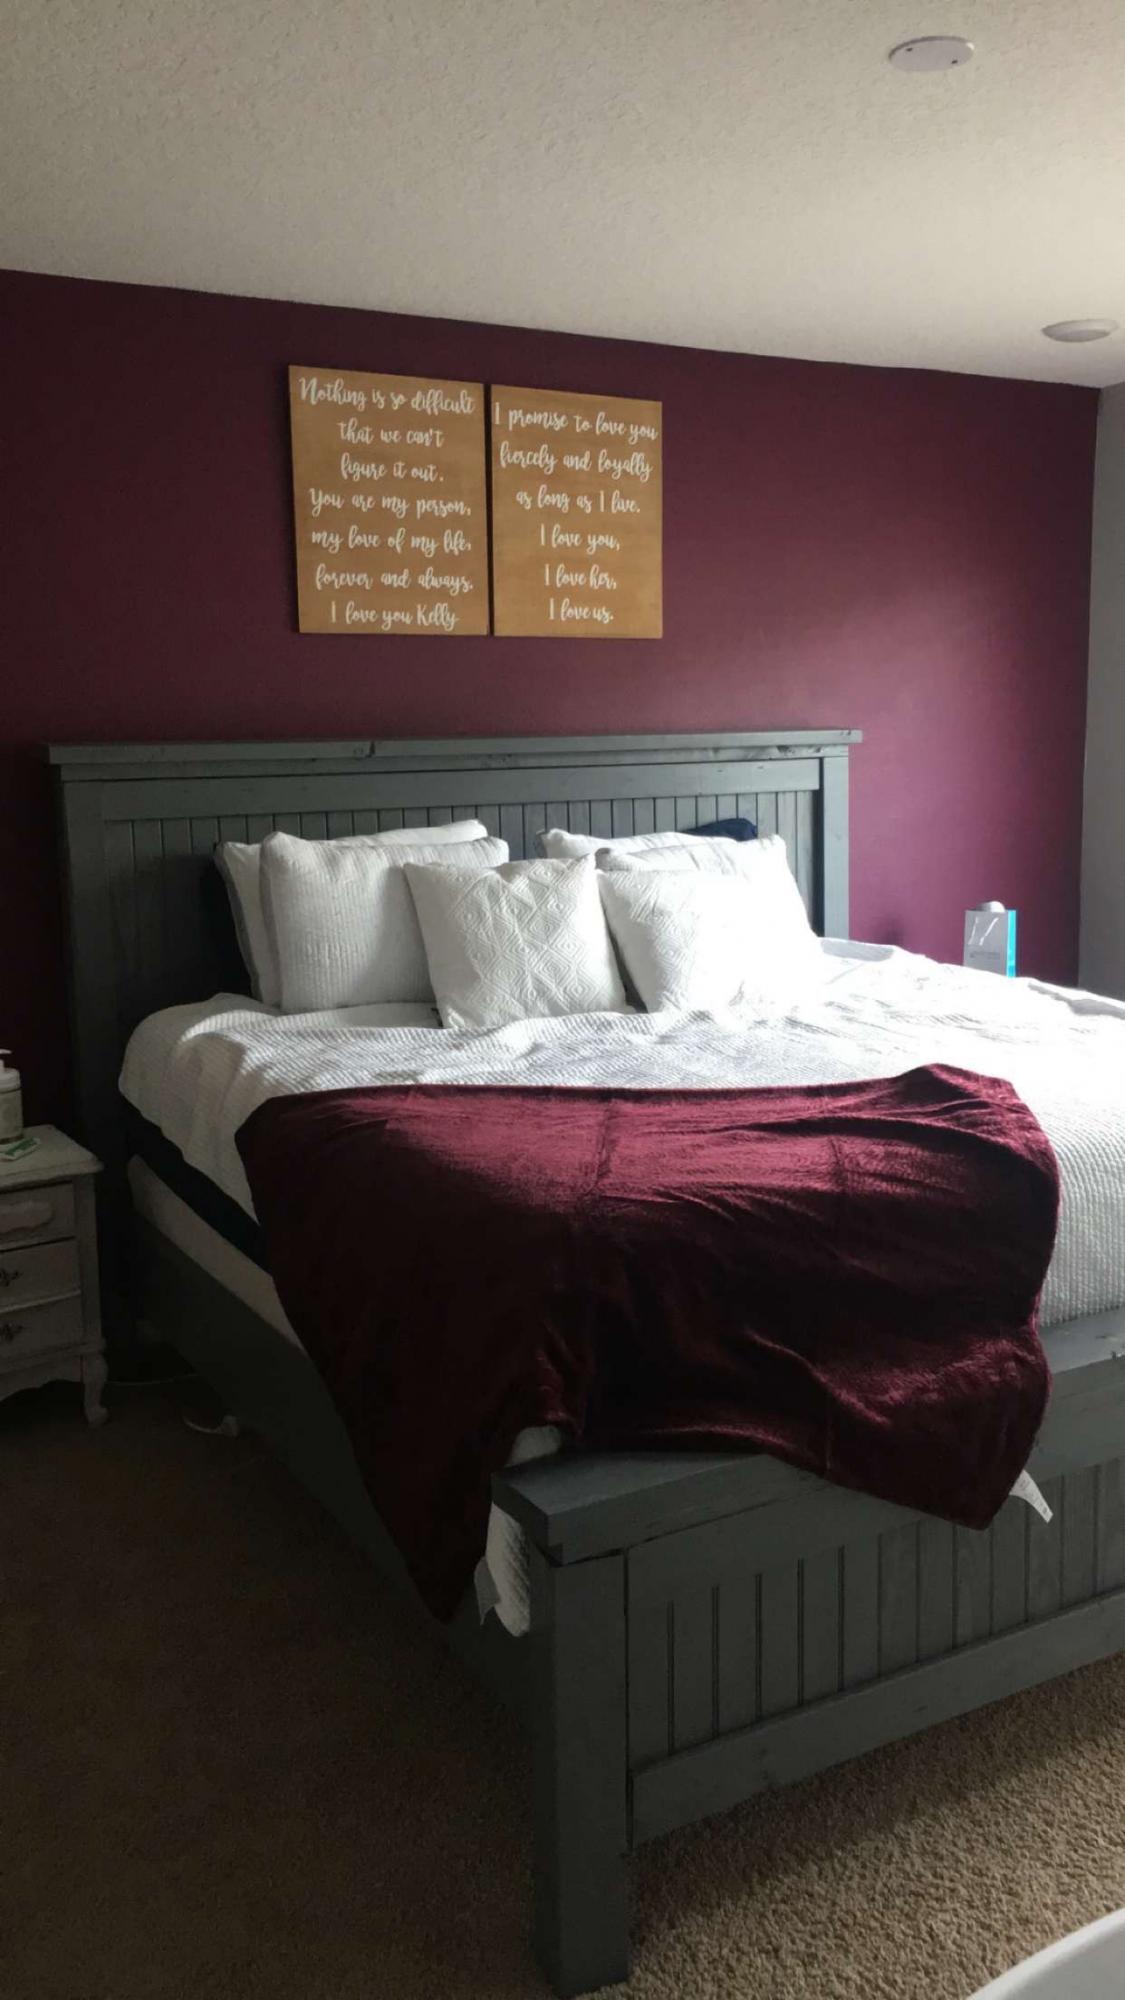
Made from the plans
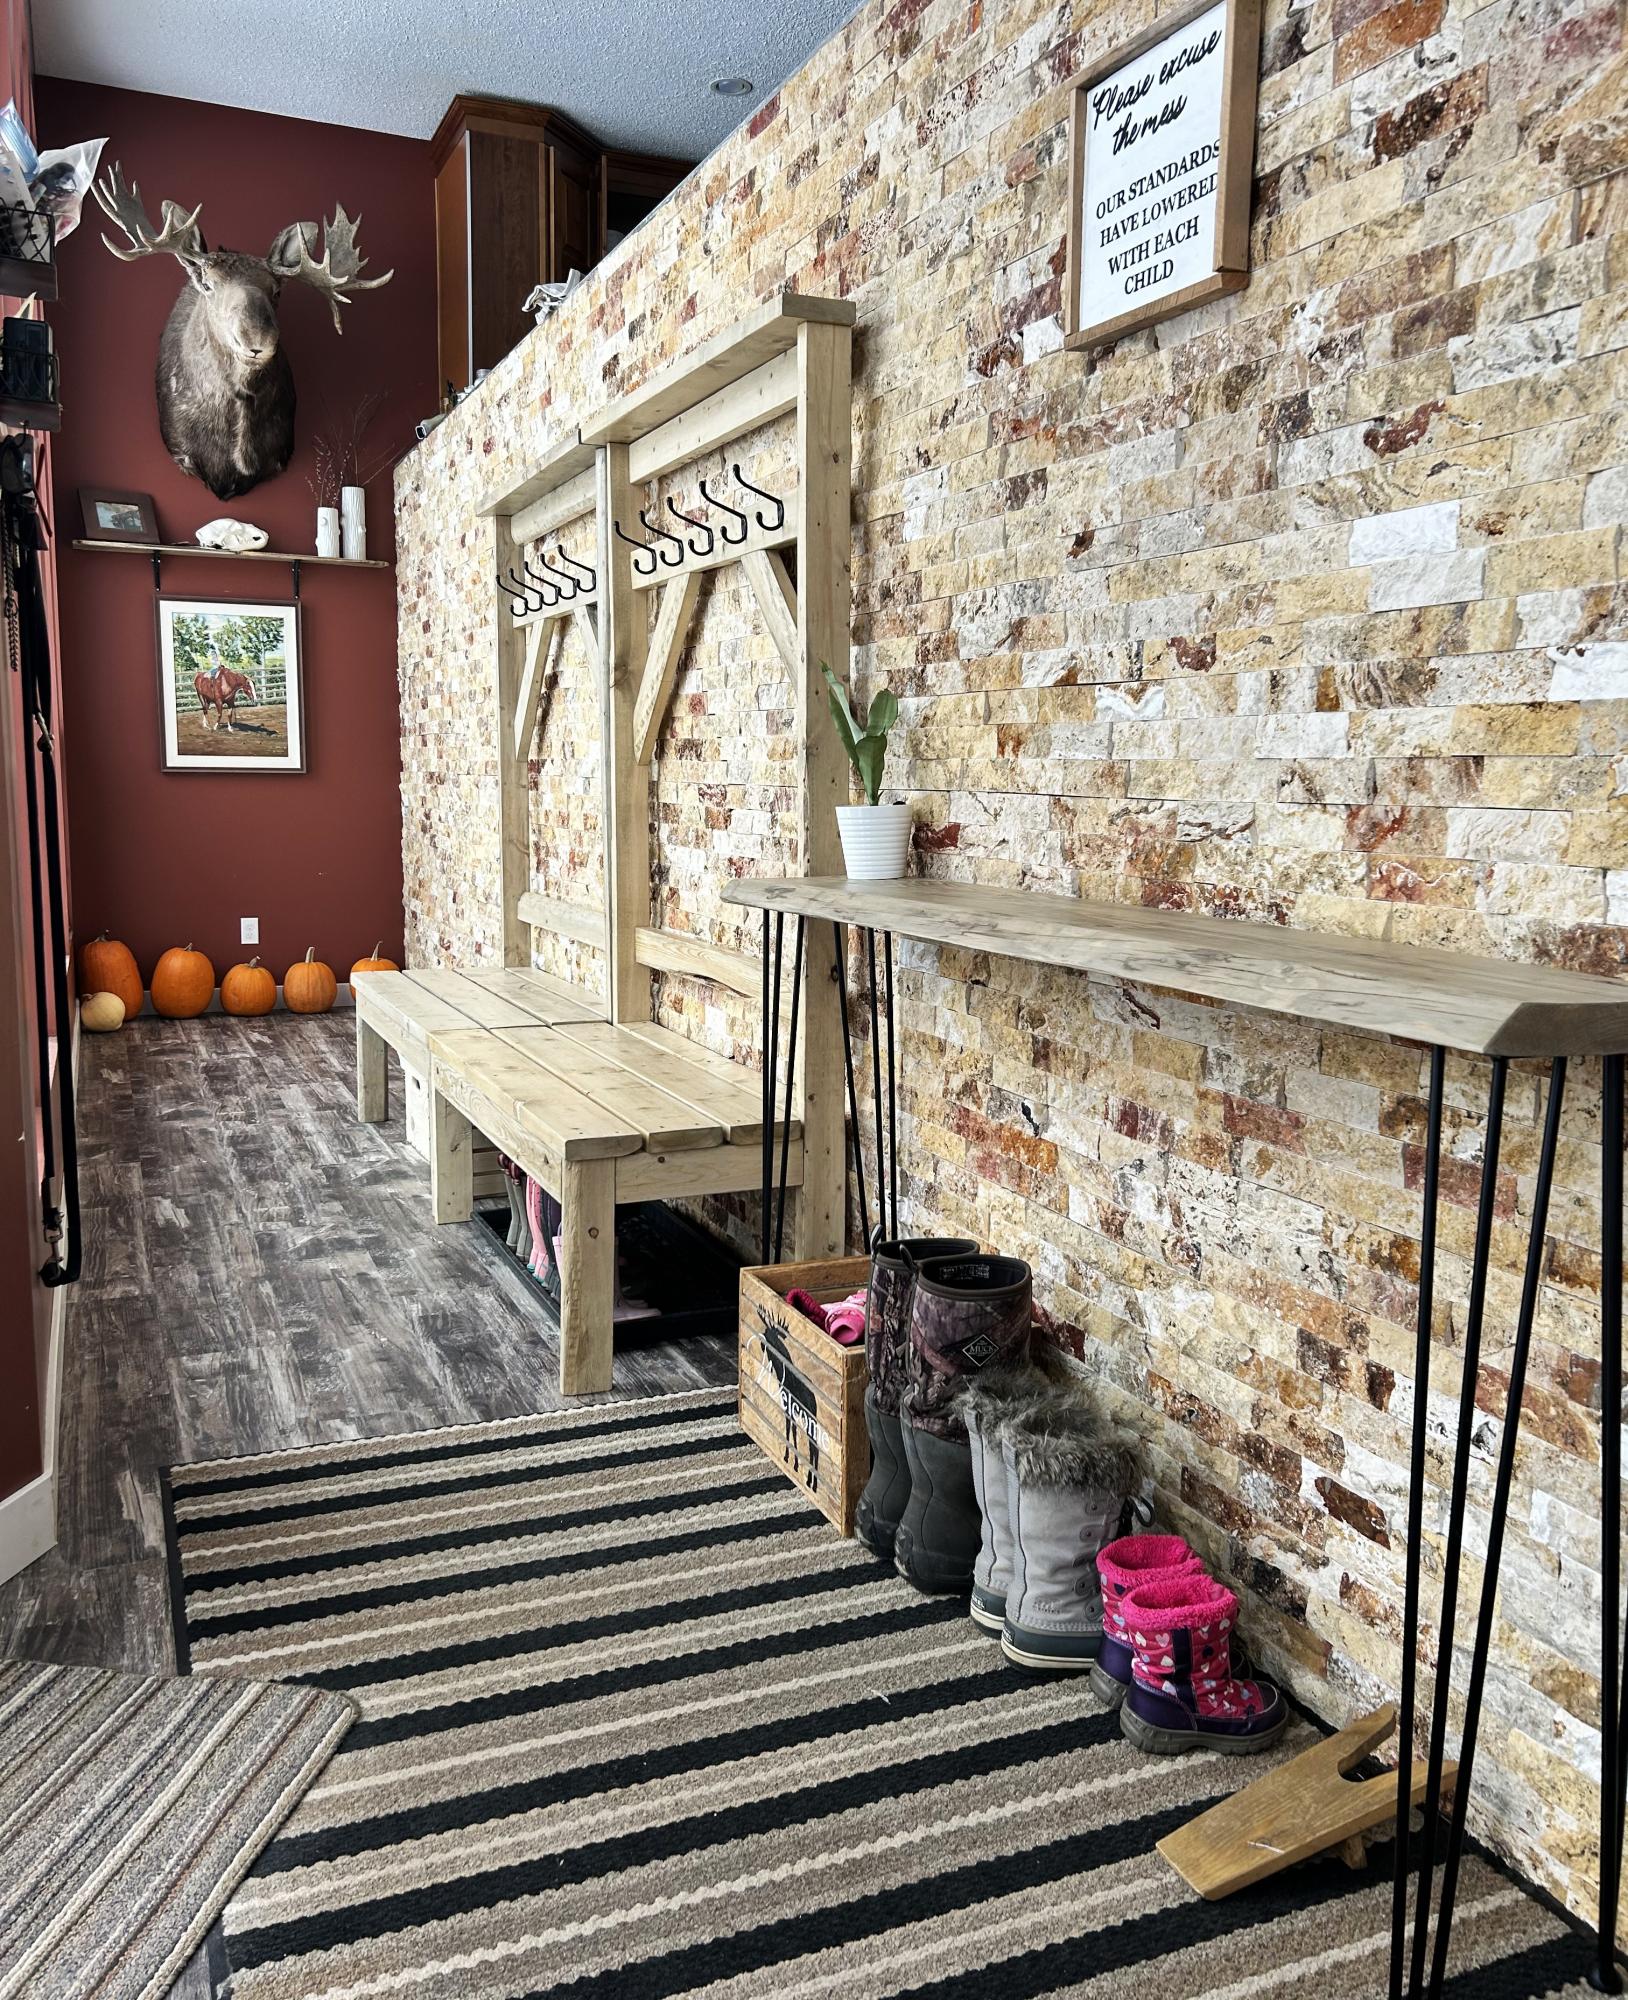
Using your entryway bench plans I made 2 of these. They are the envy of everyone who visits!
Brittany M
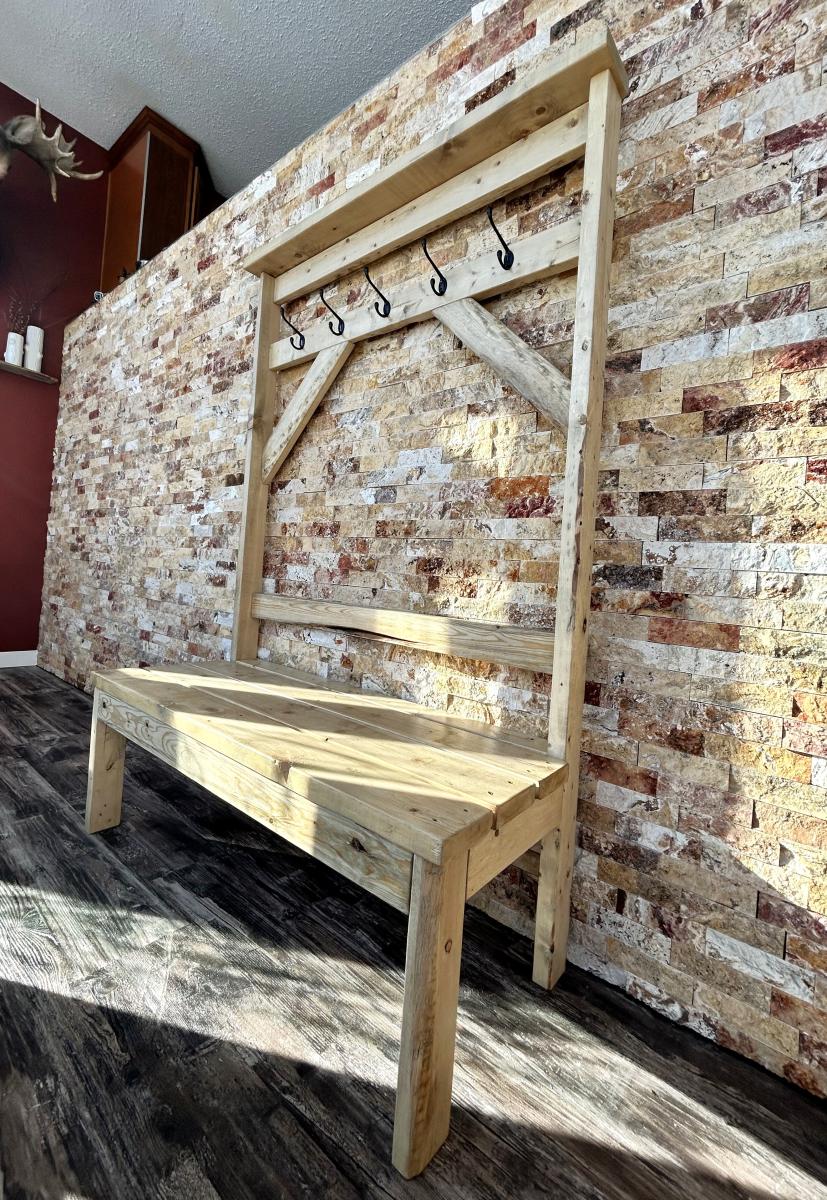
This is my first project, and I'm so happy with how it turned out. This was so easy to make, a great place to start for beginners! Thank you Ana White for your inspirational website.