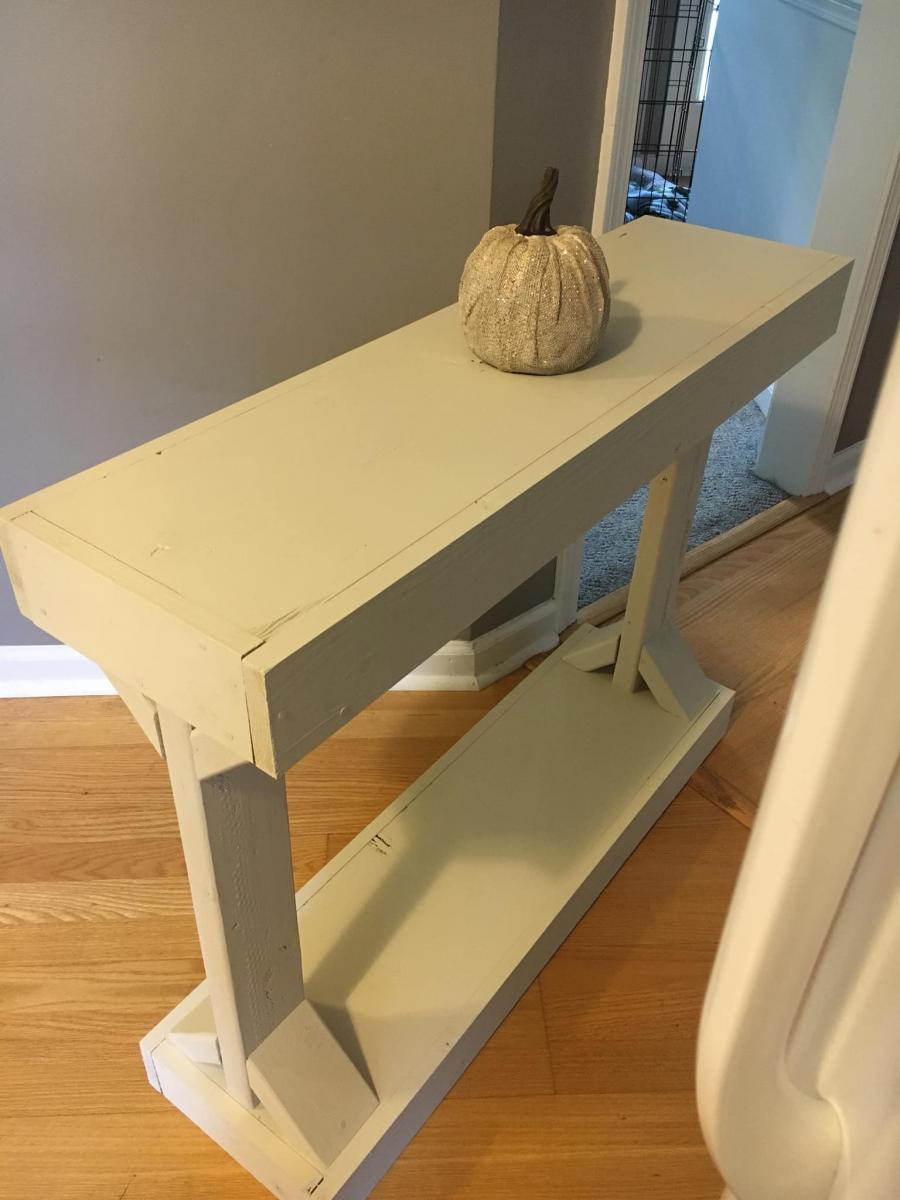
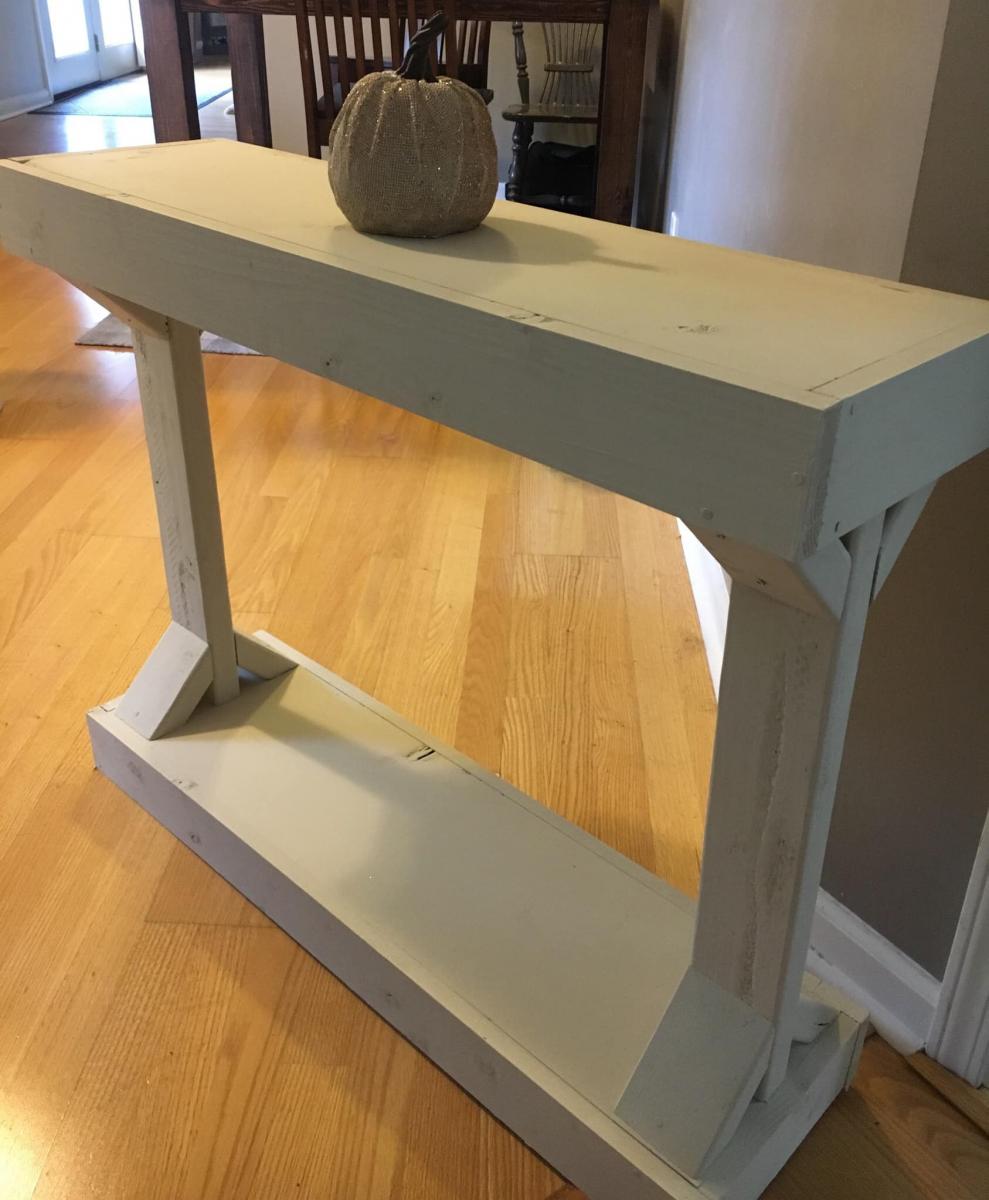
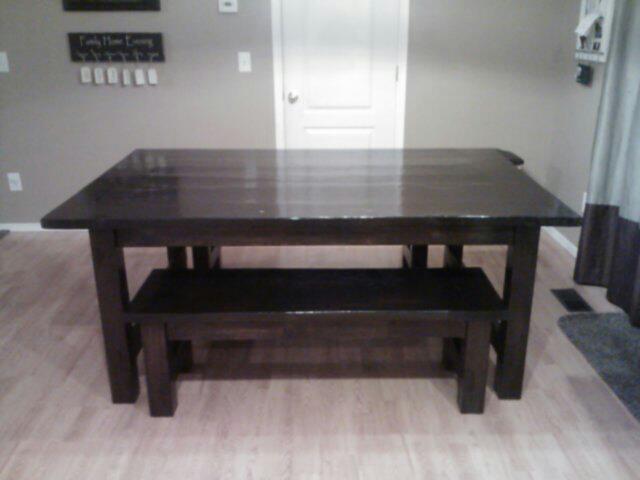
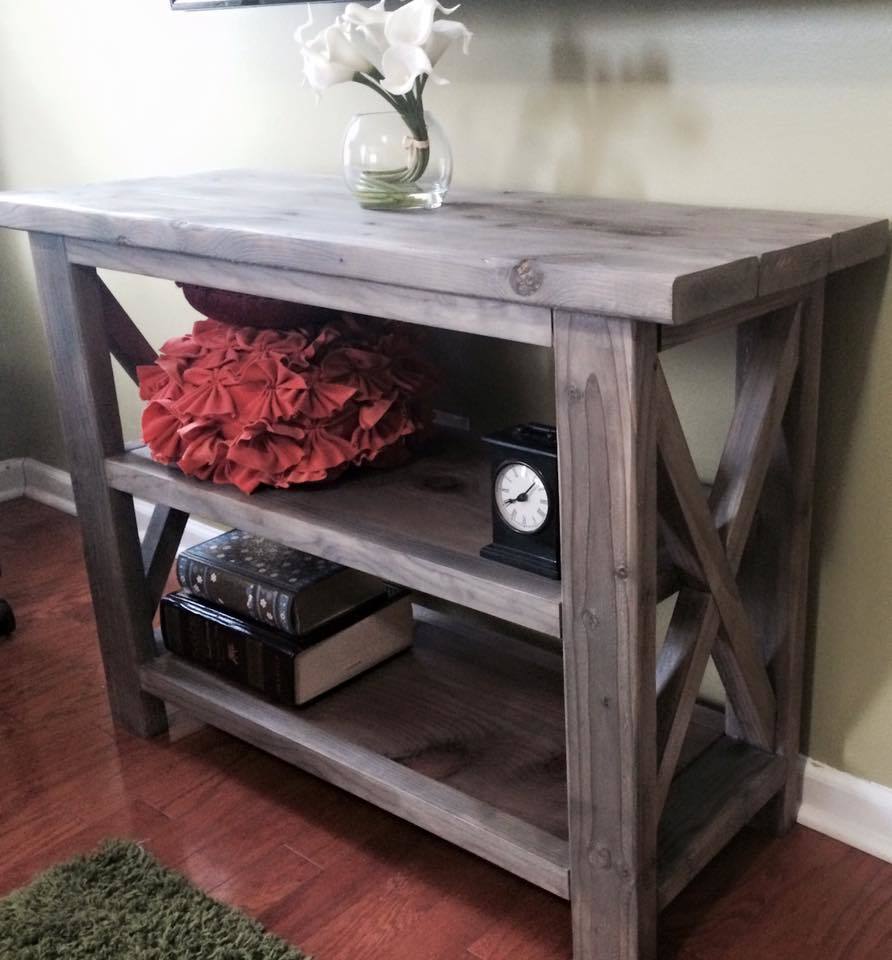
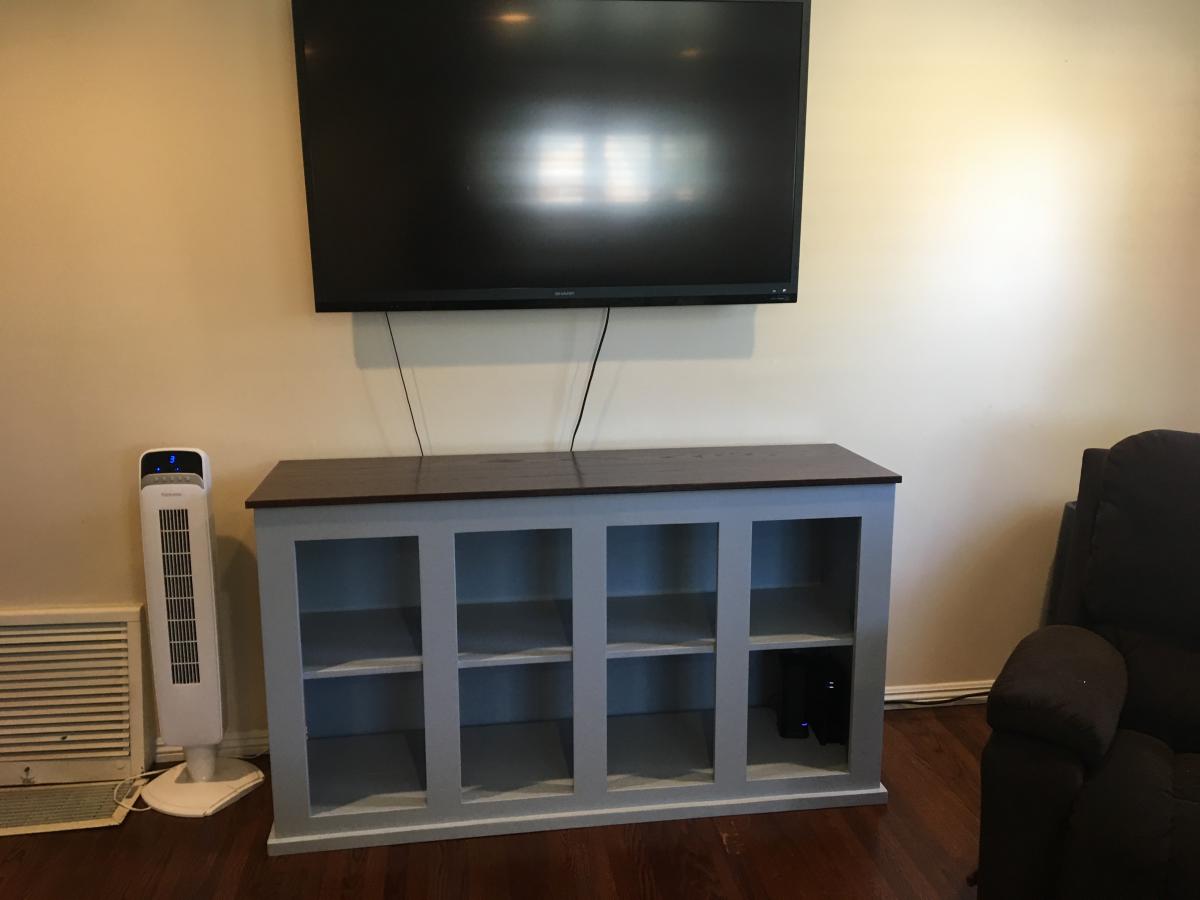
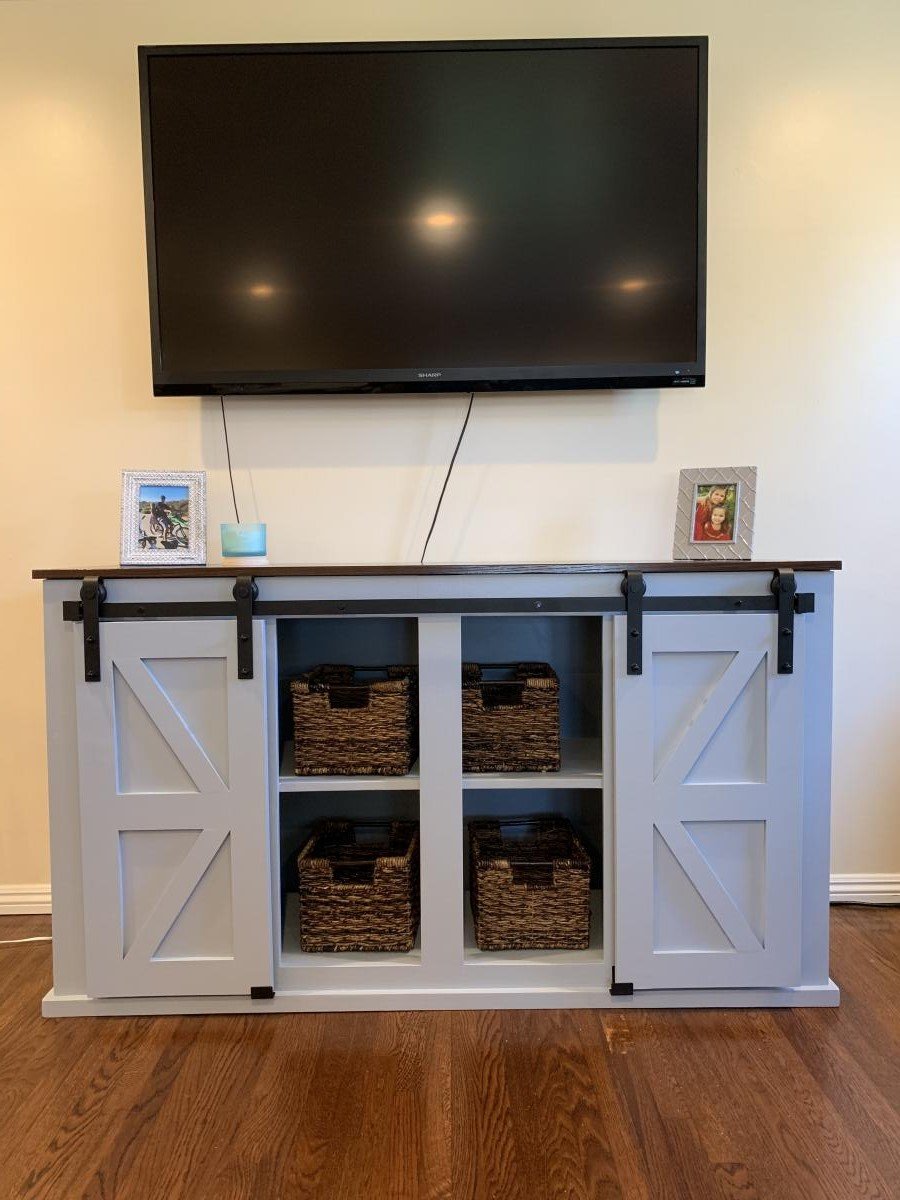
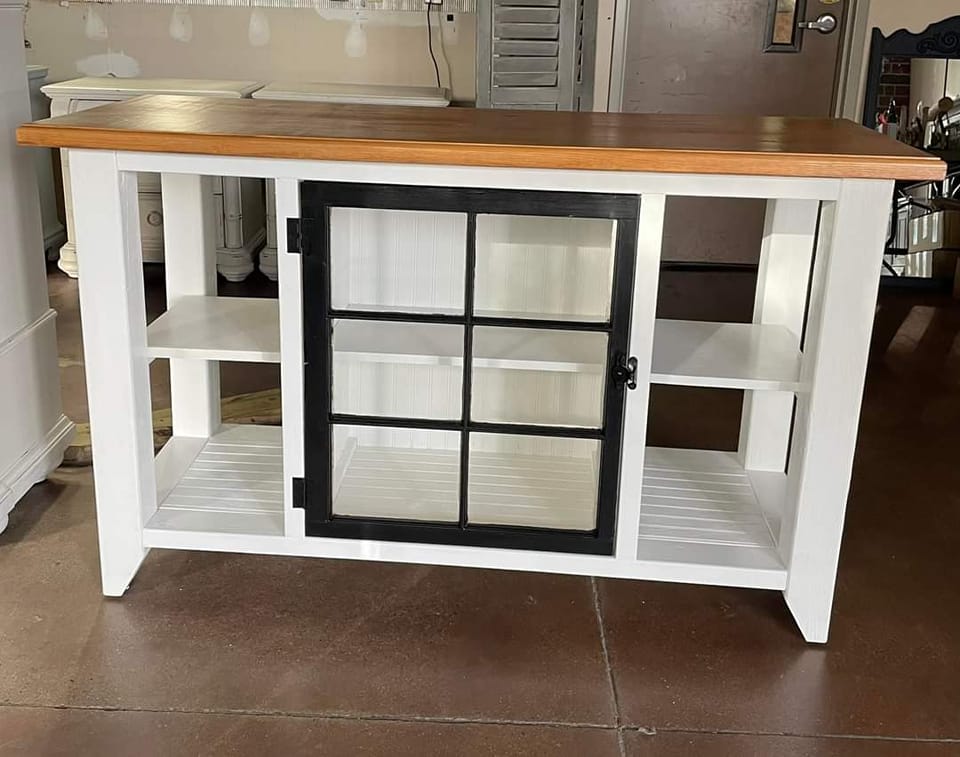
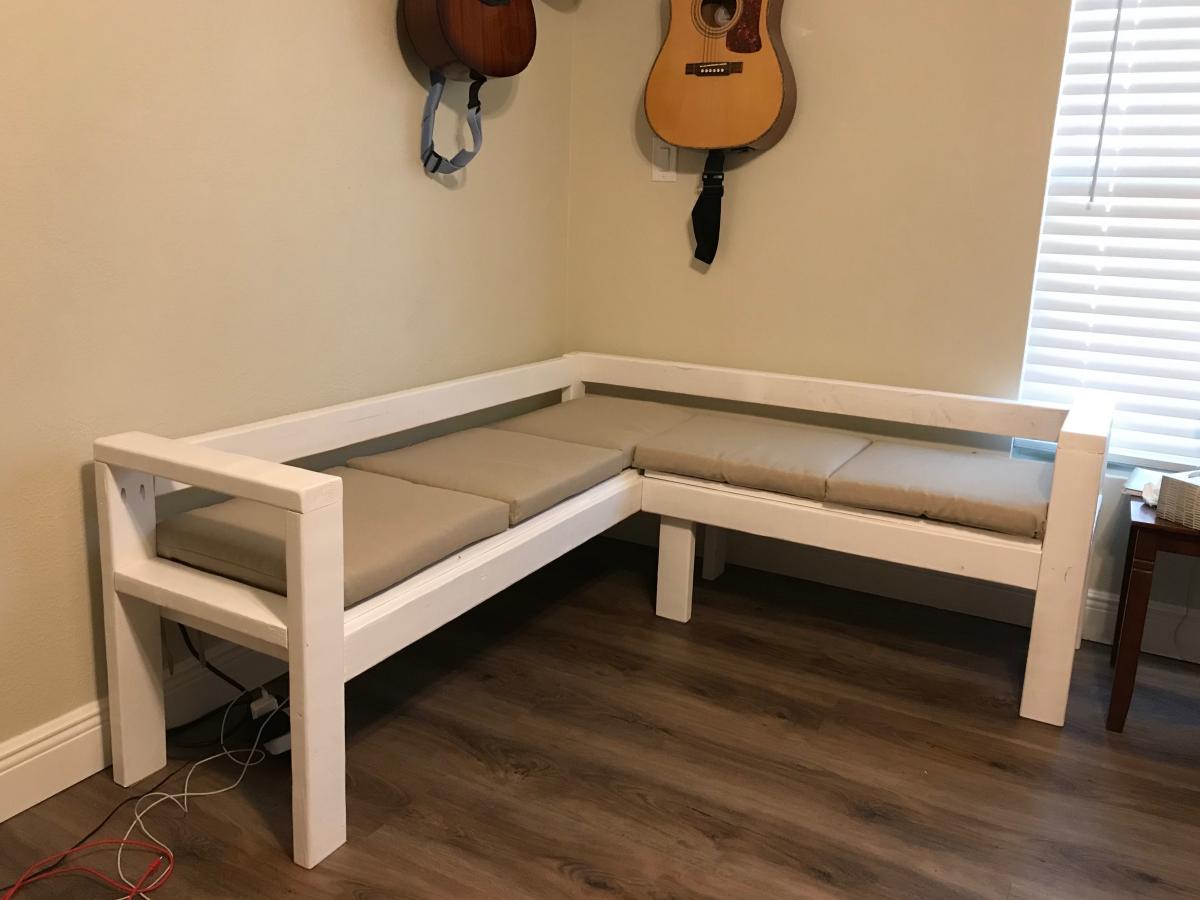
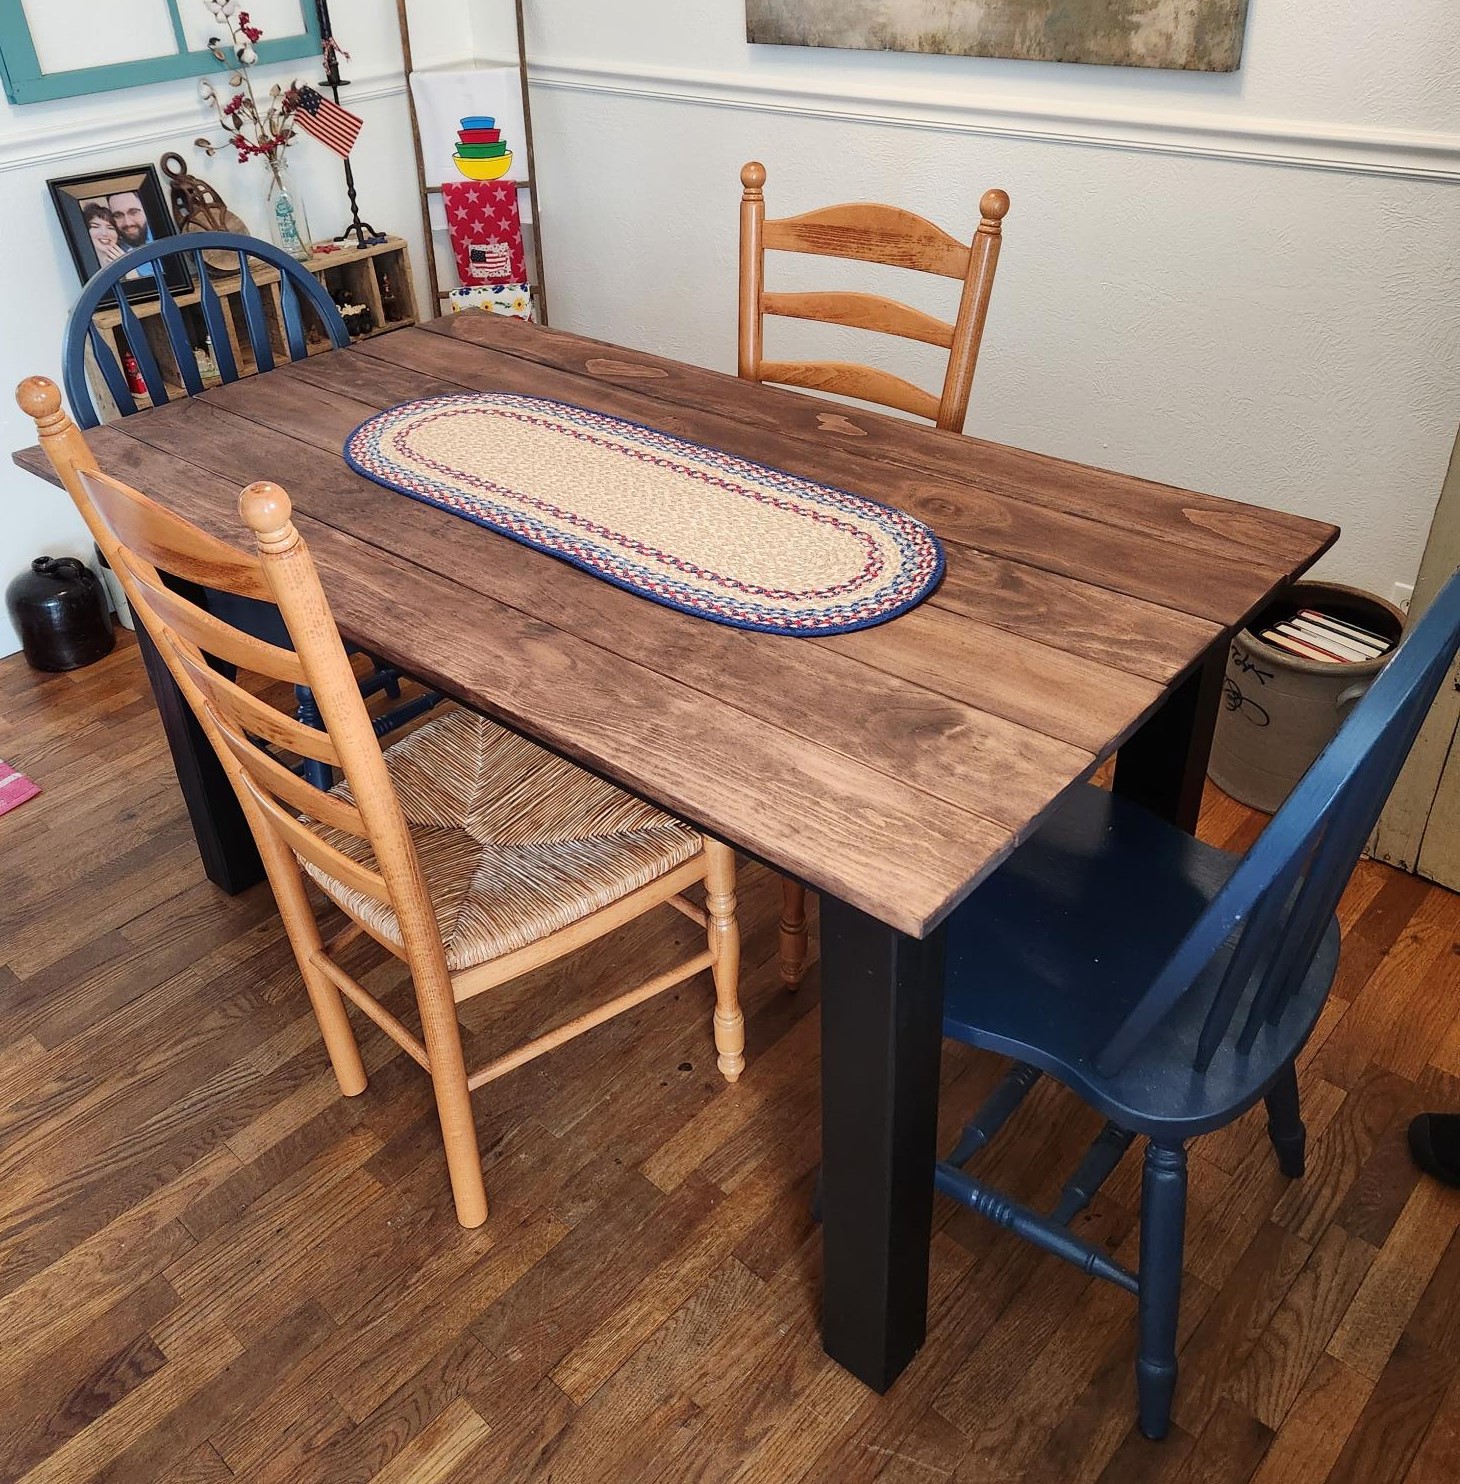
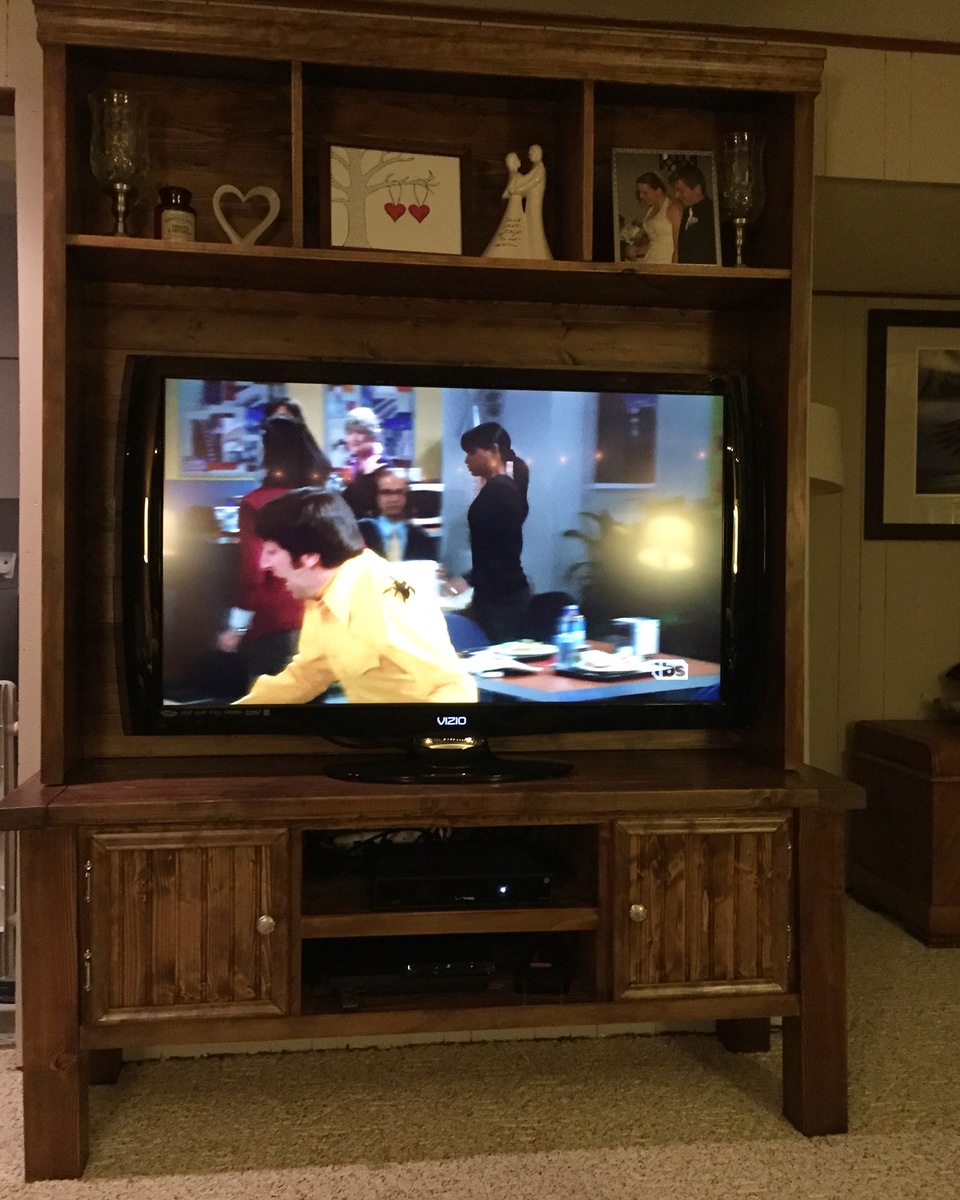
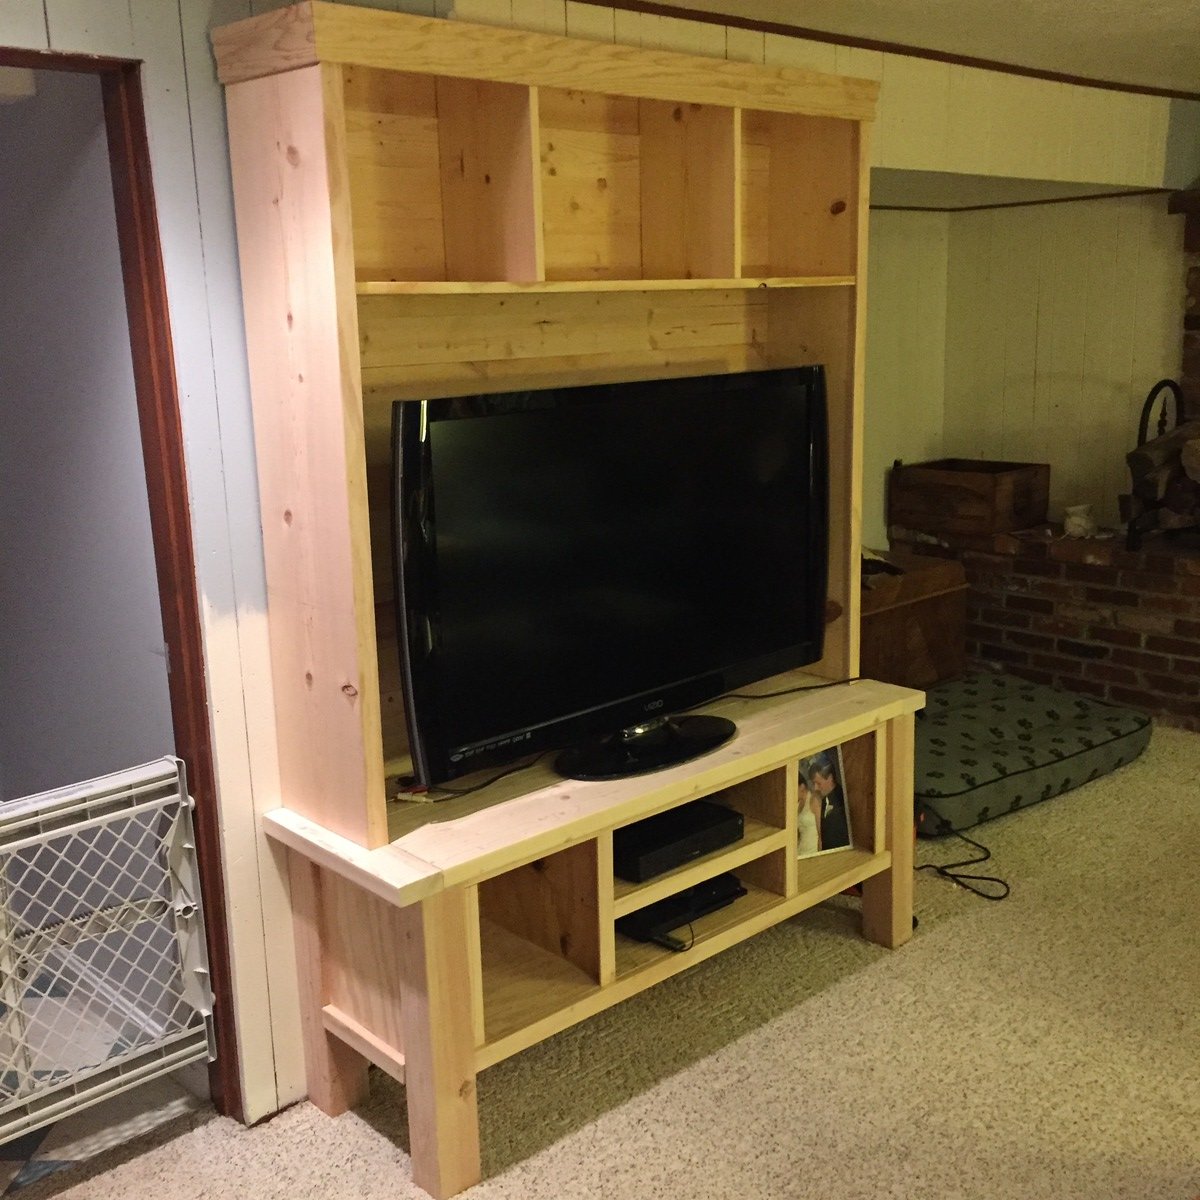
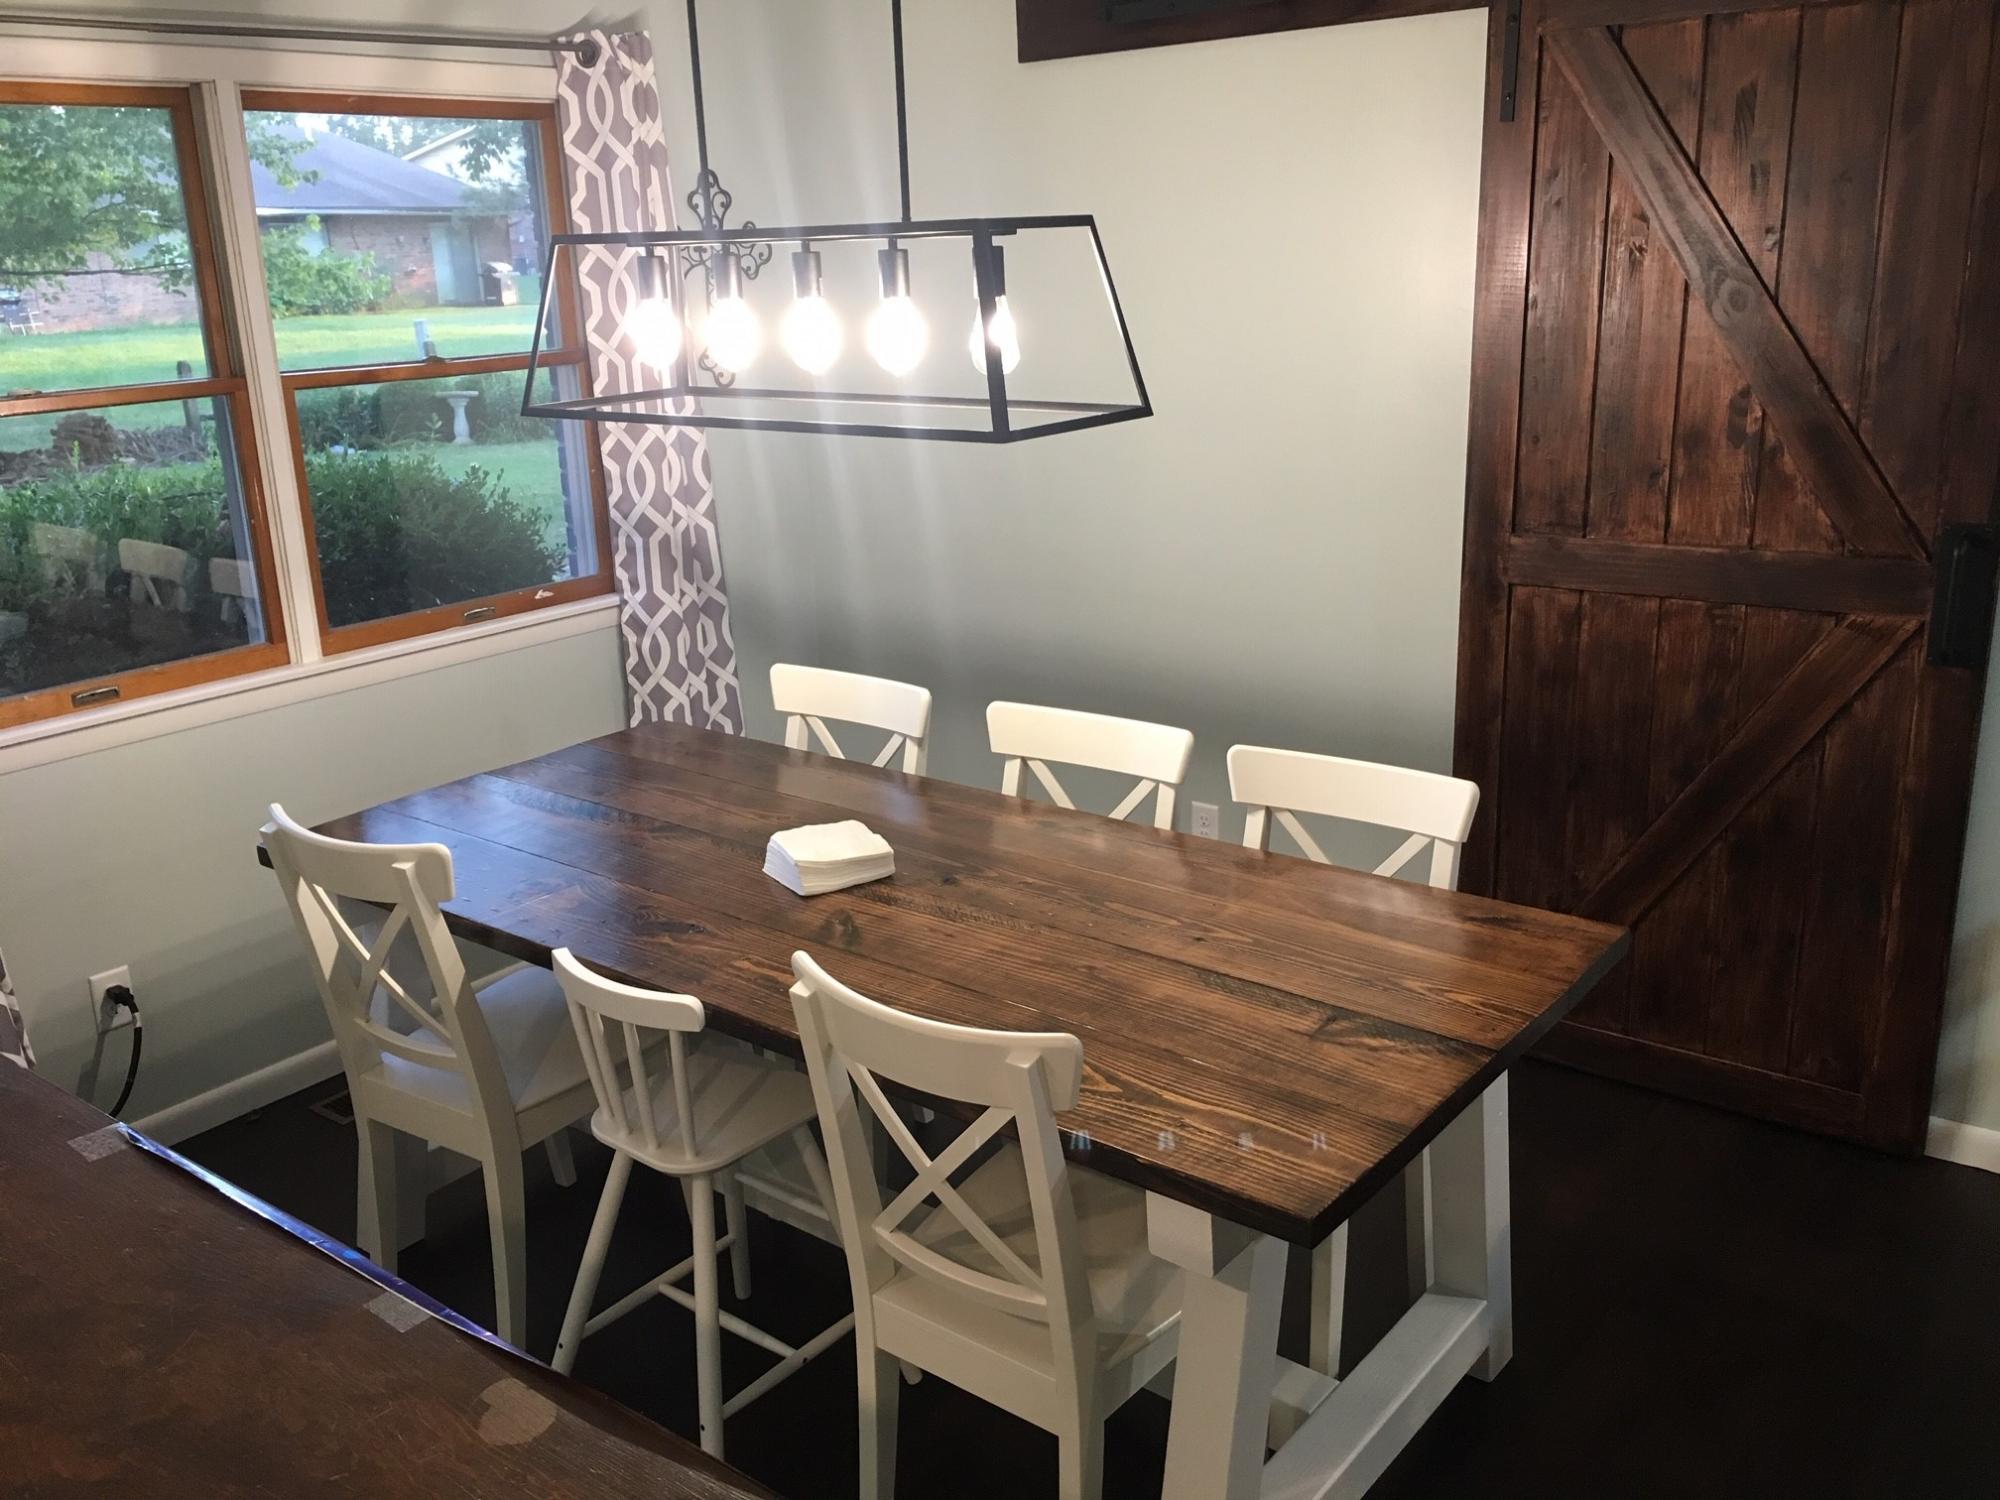
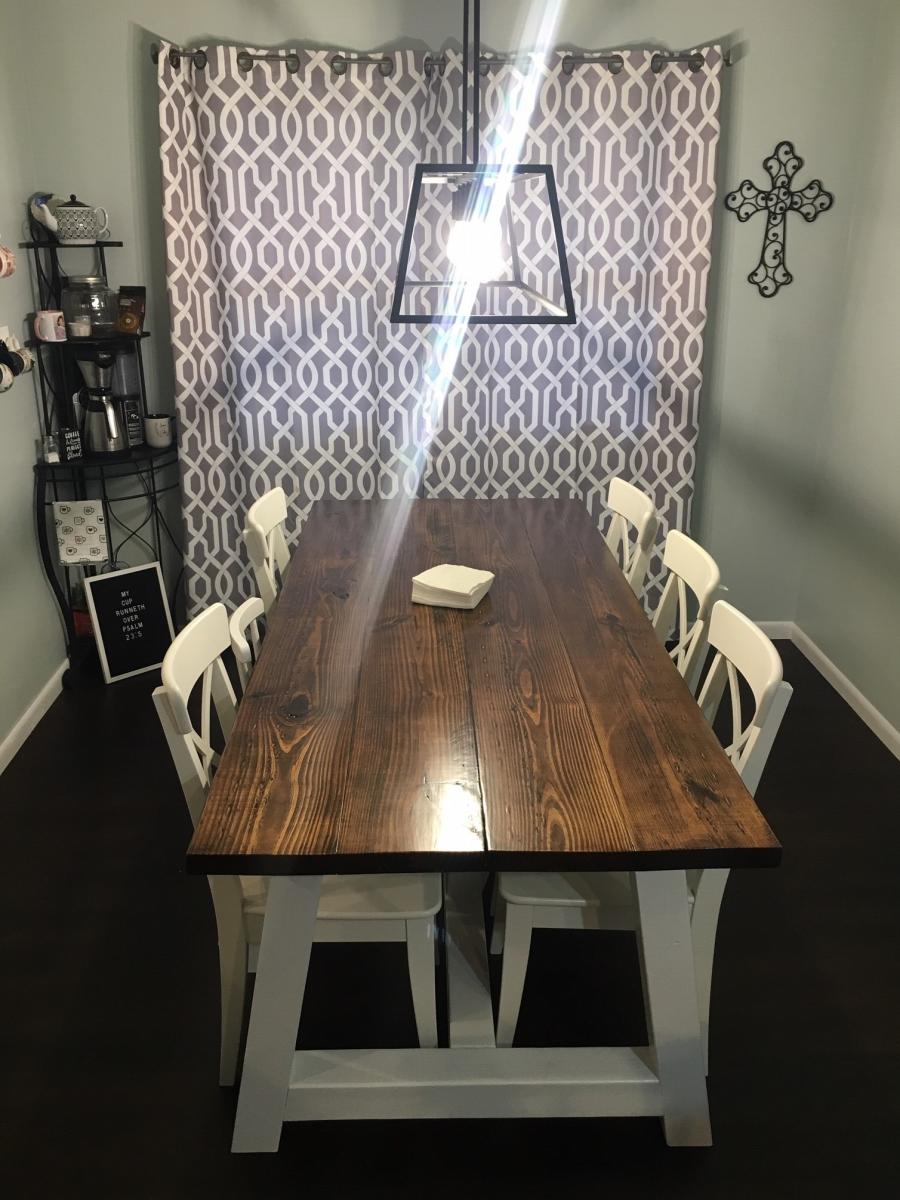
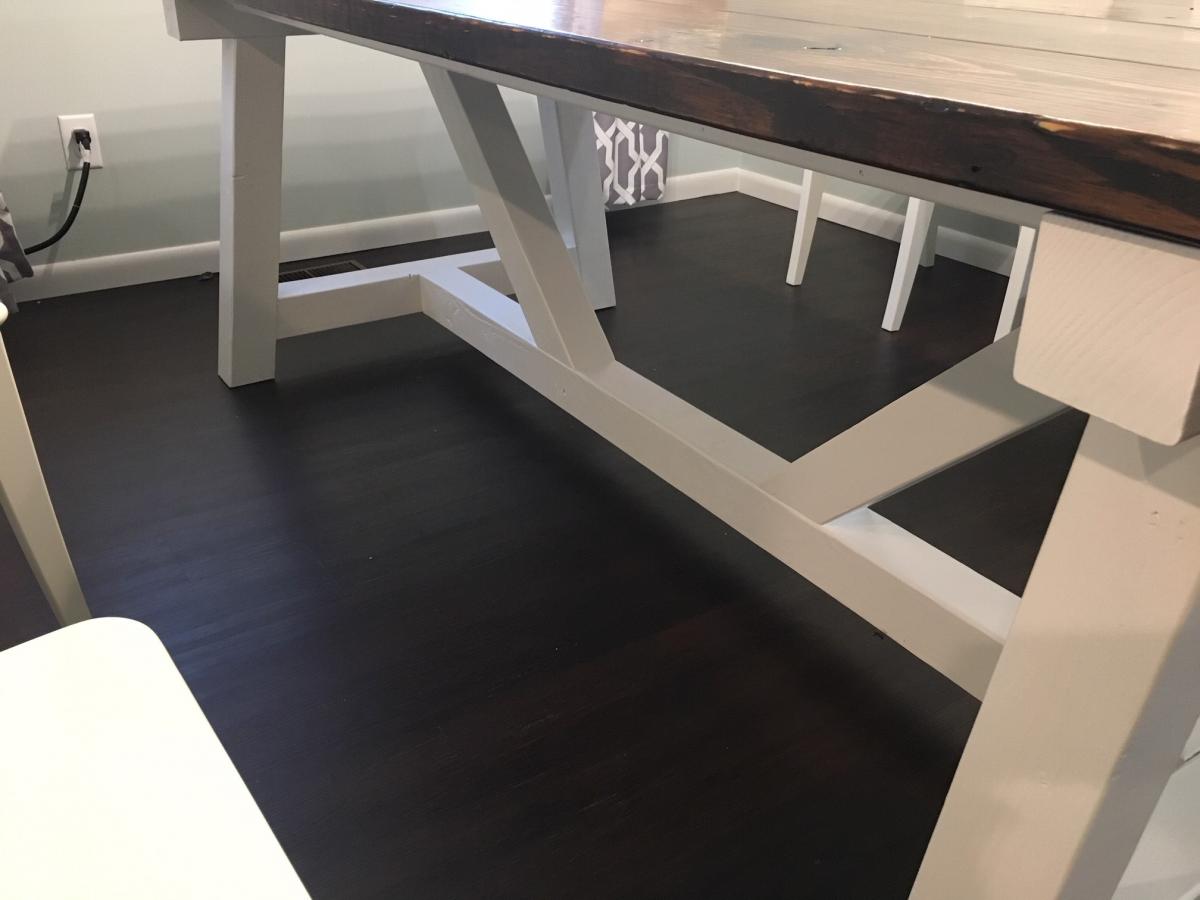
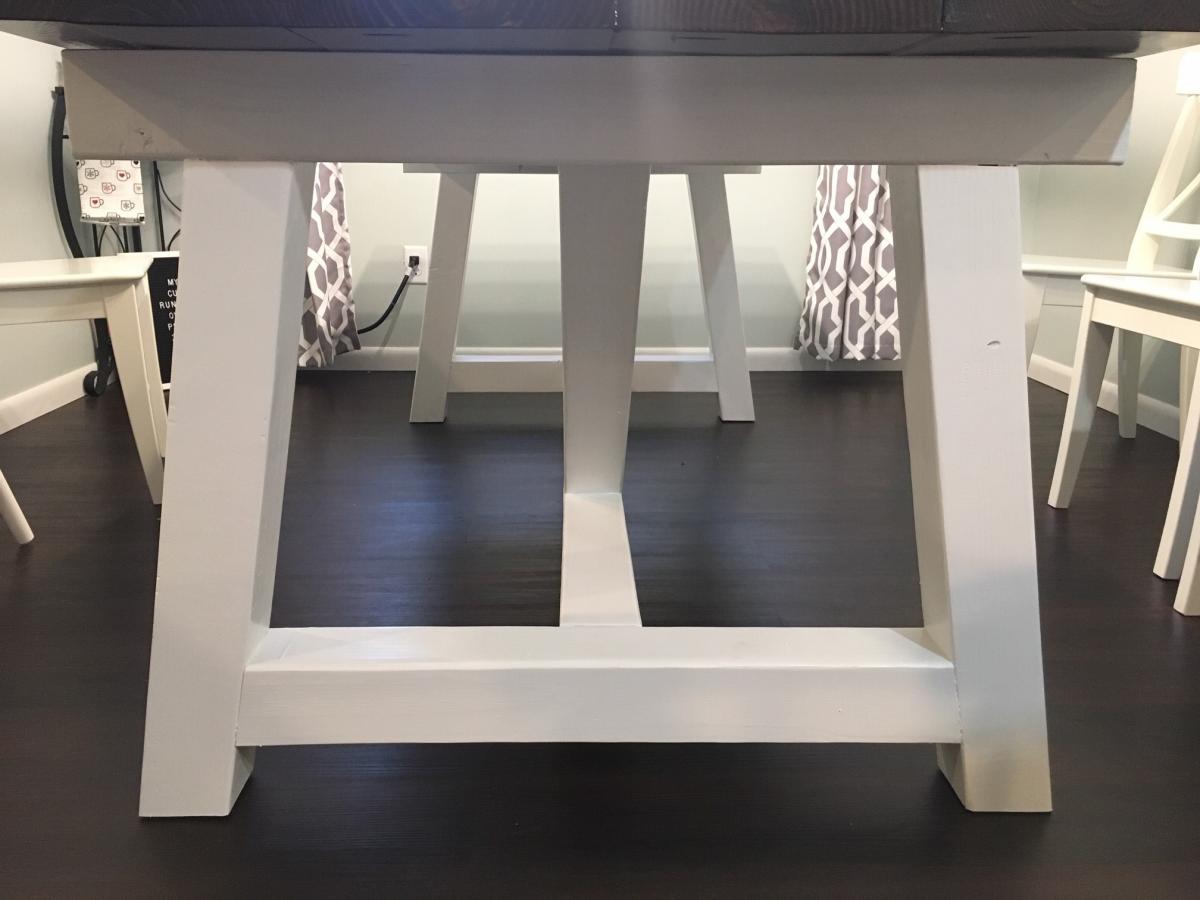
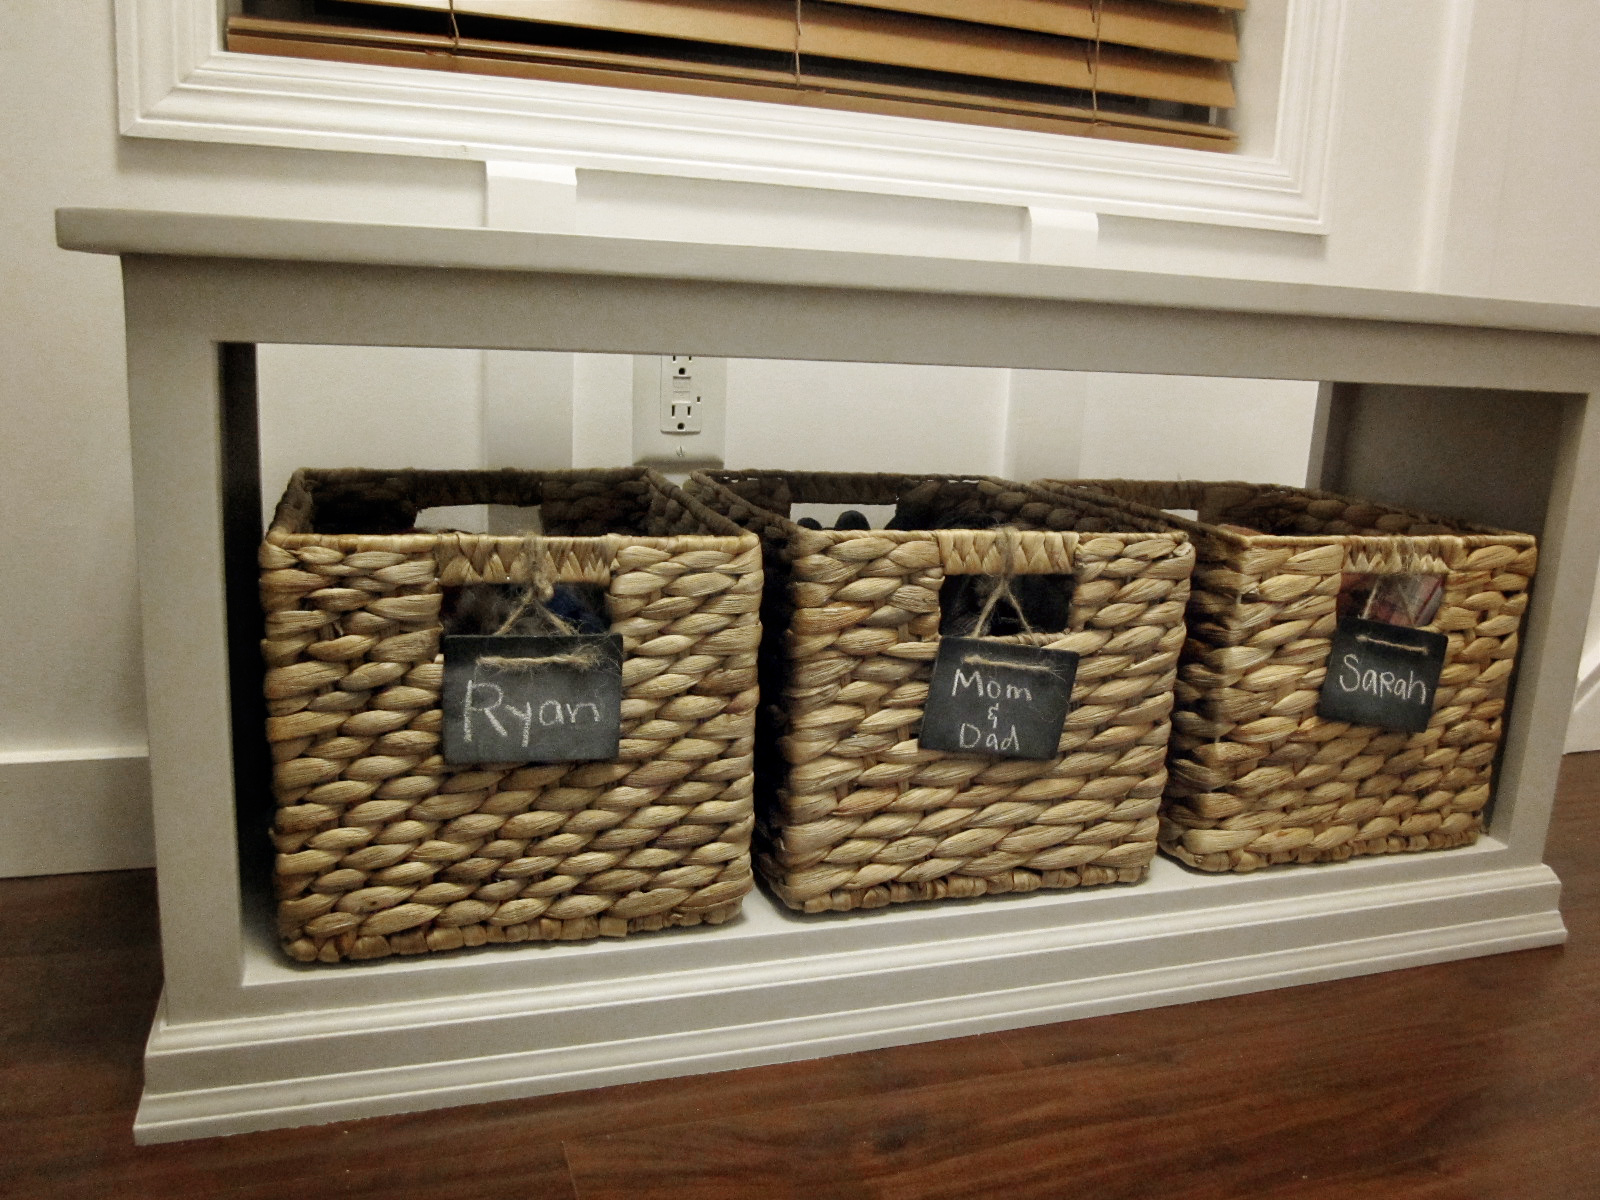
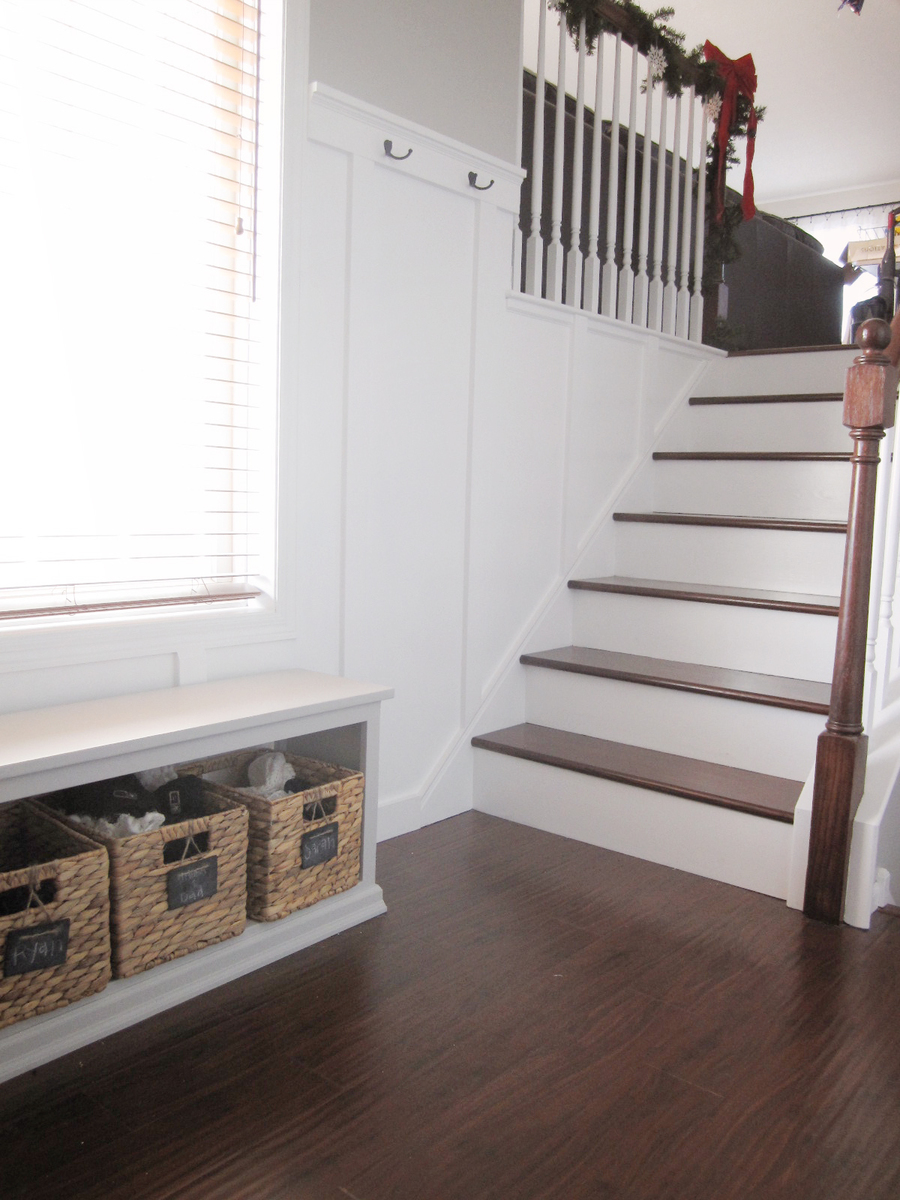
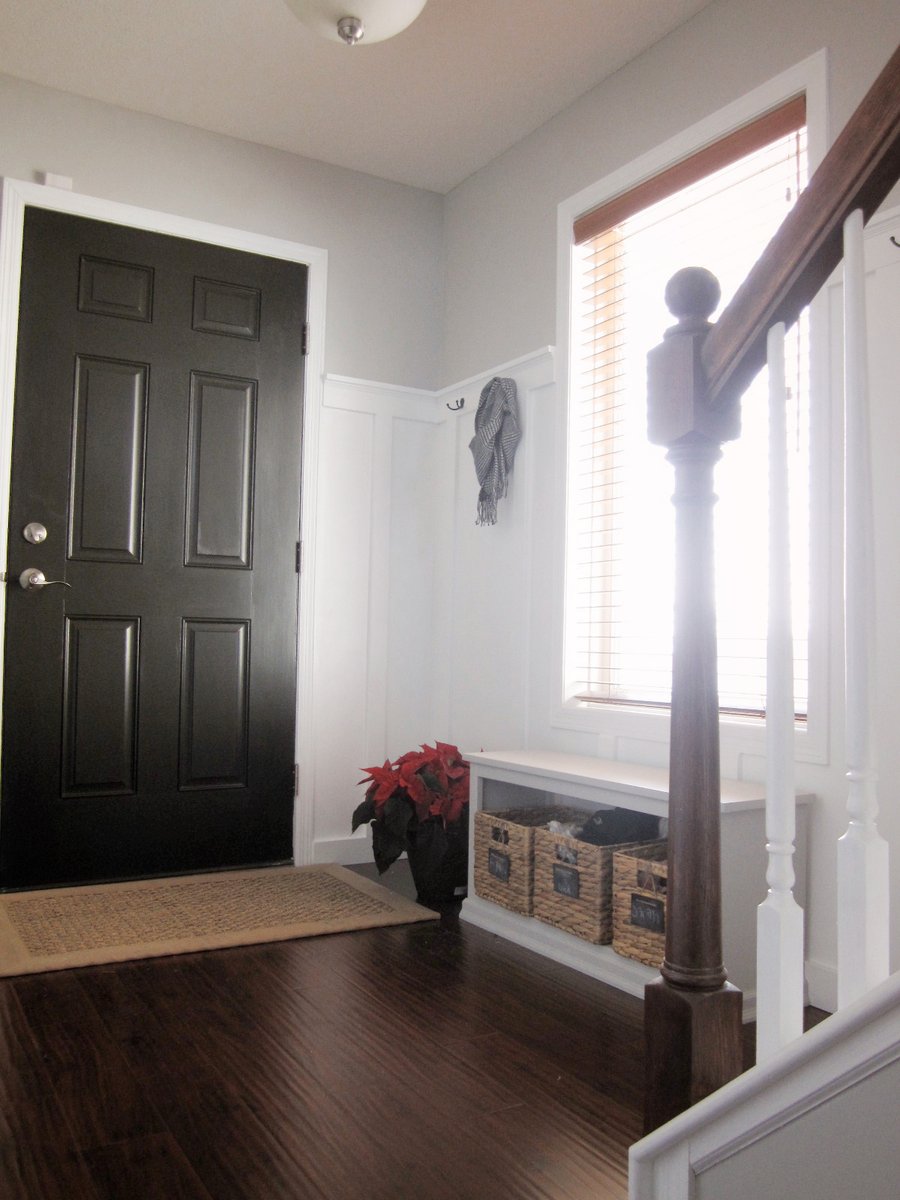
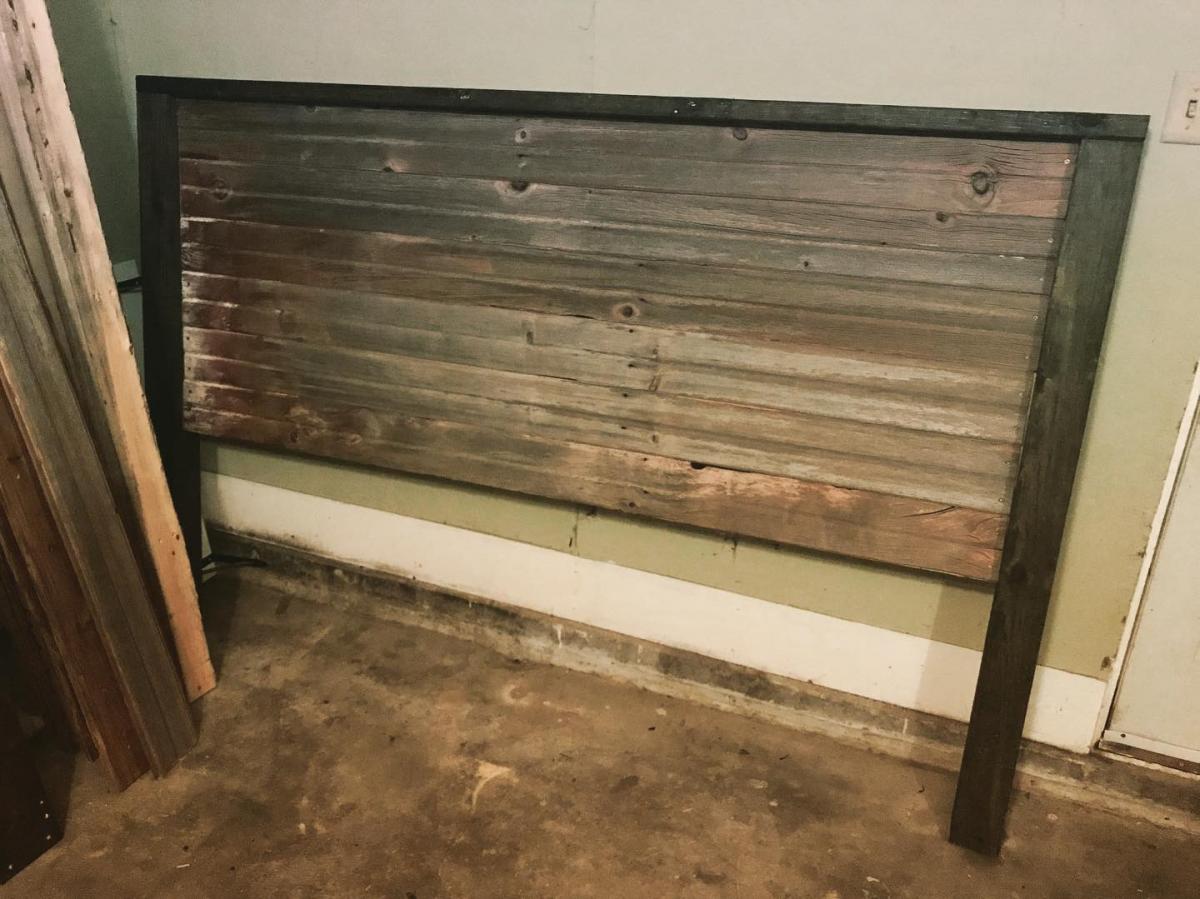
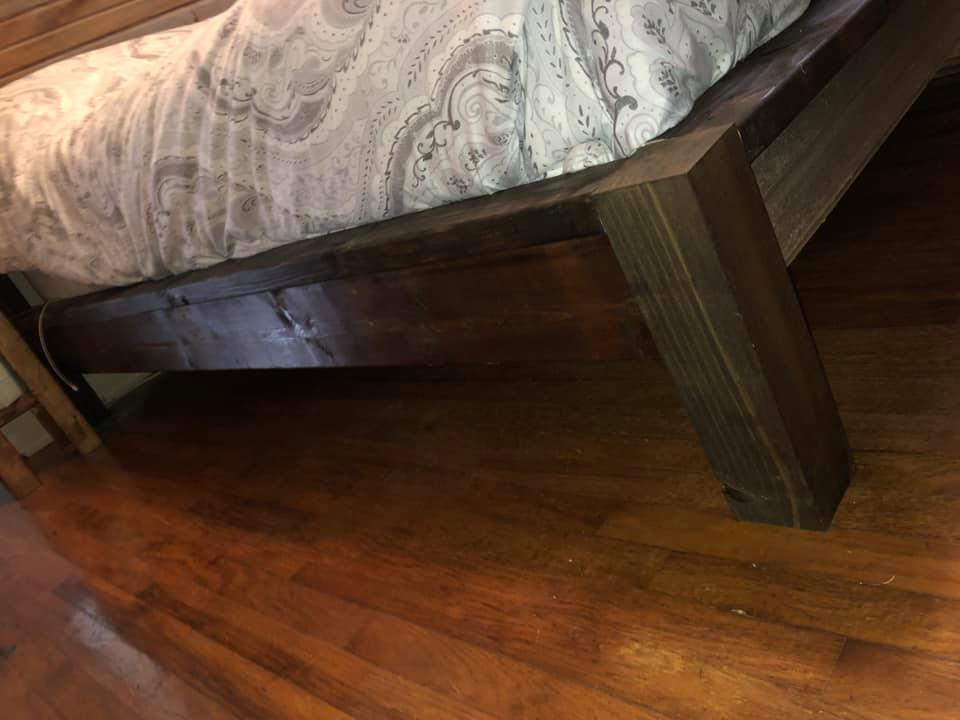
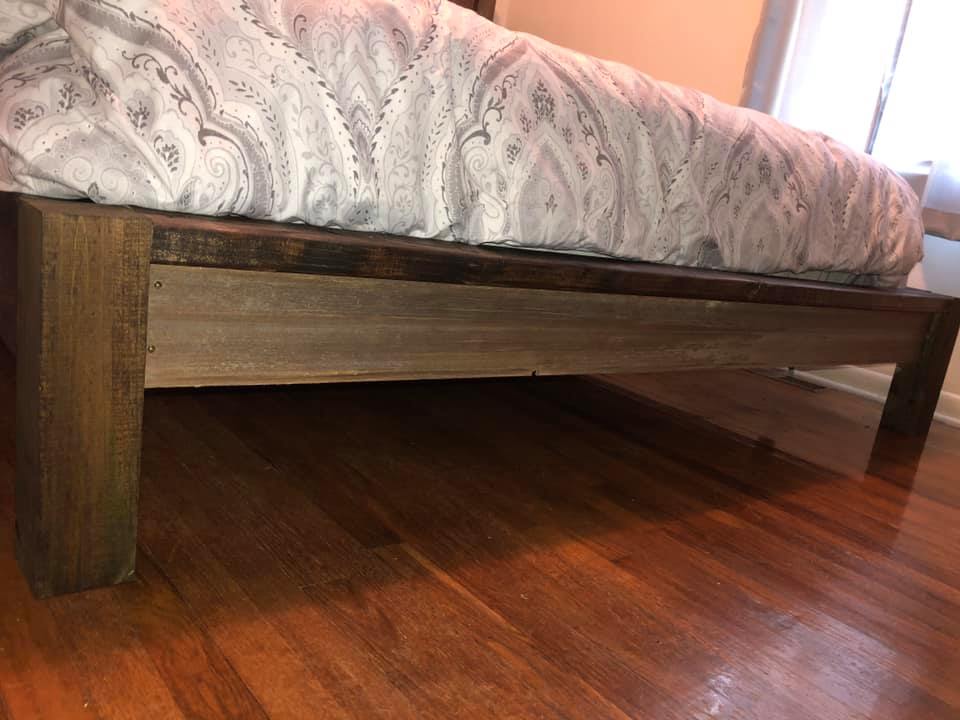
Narrow Console Table
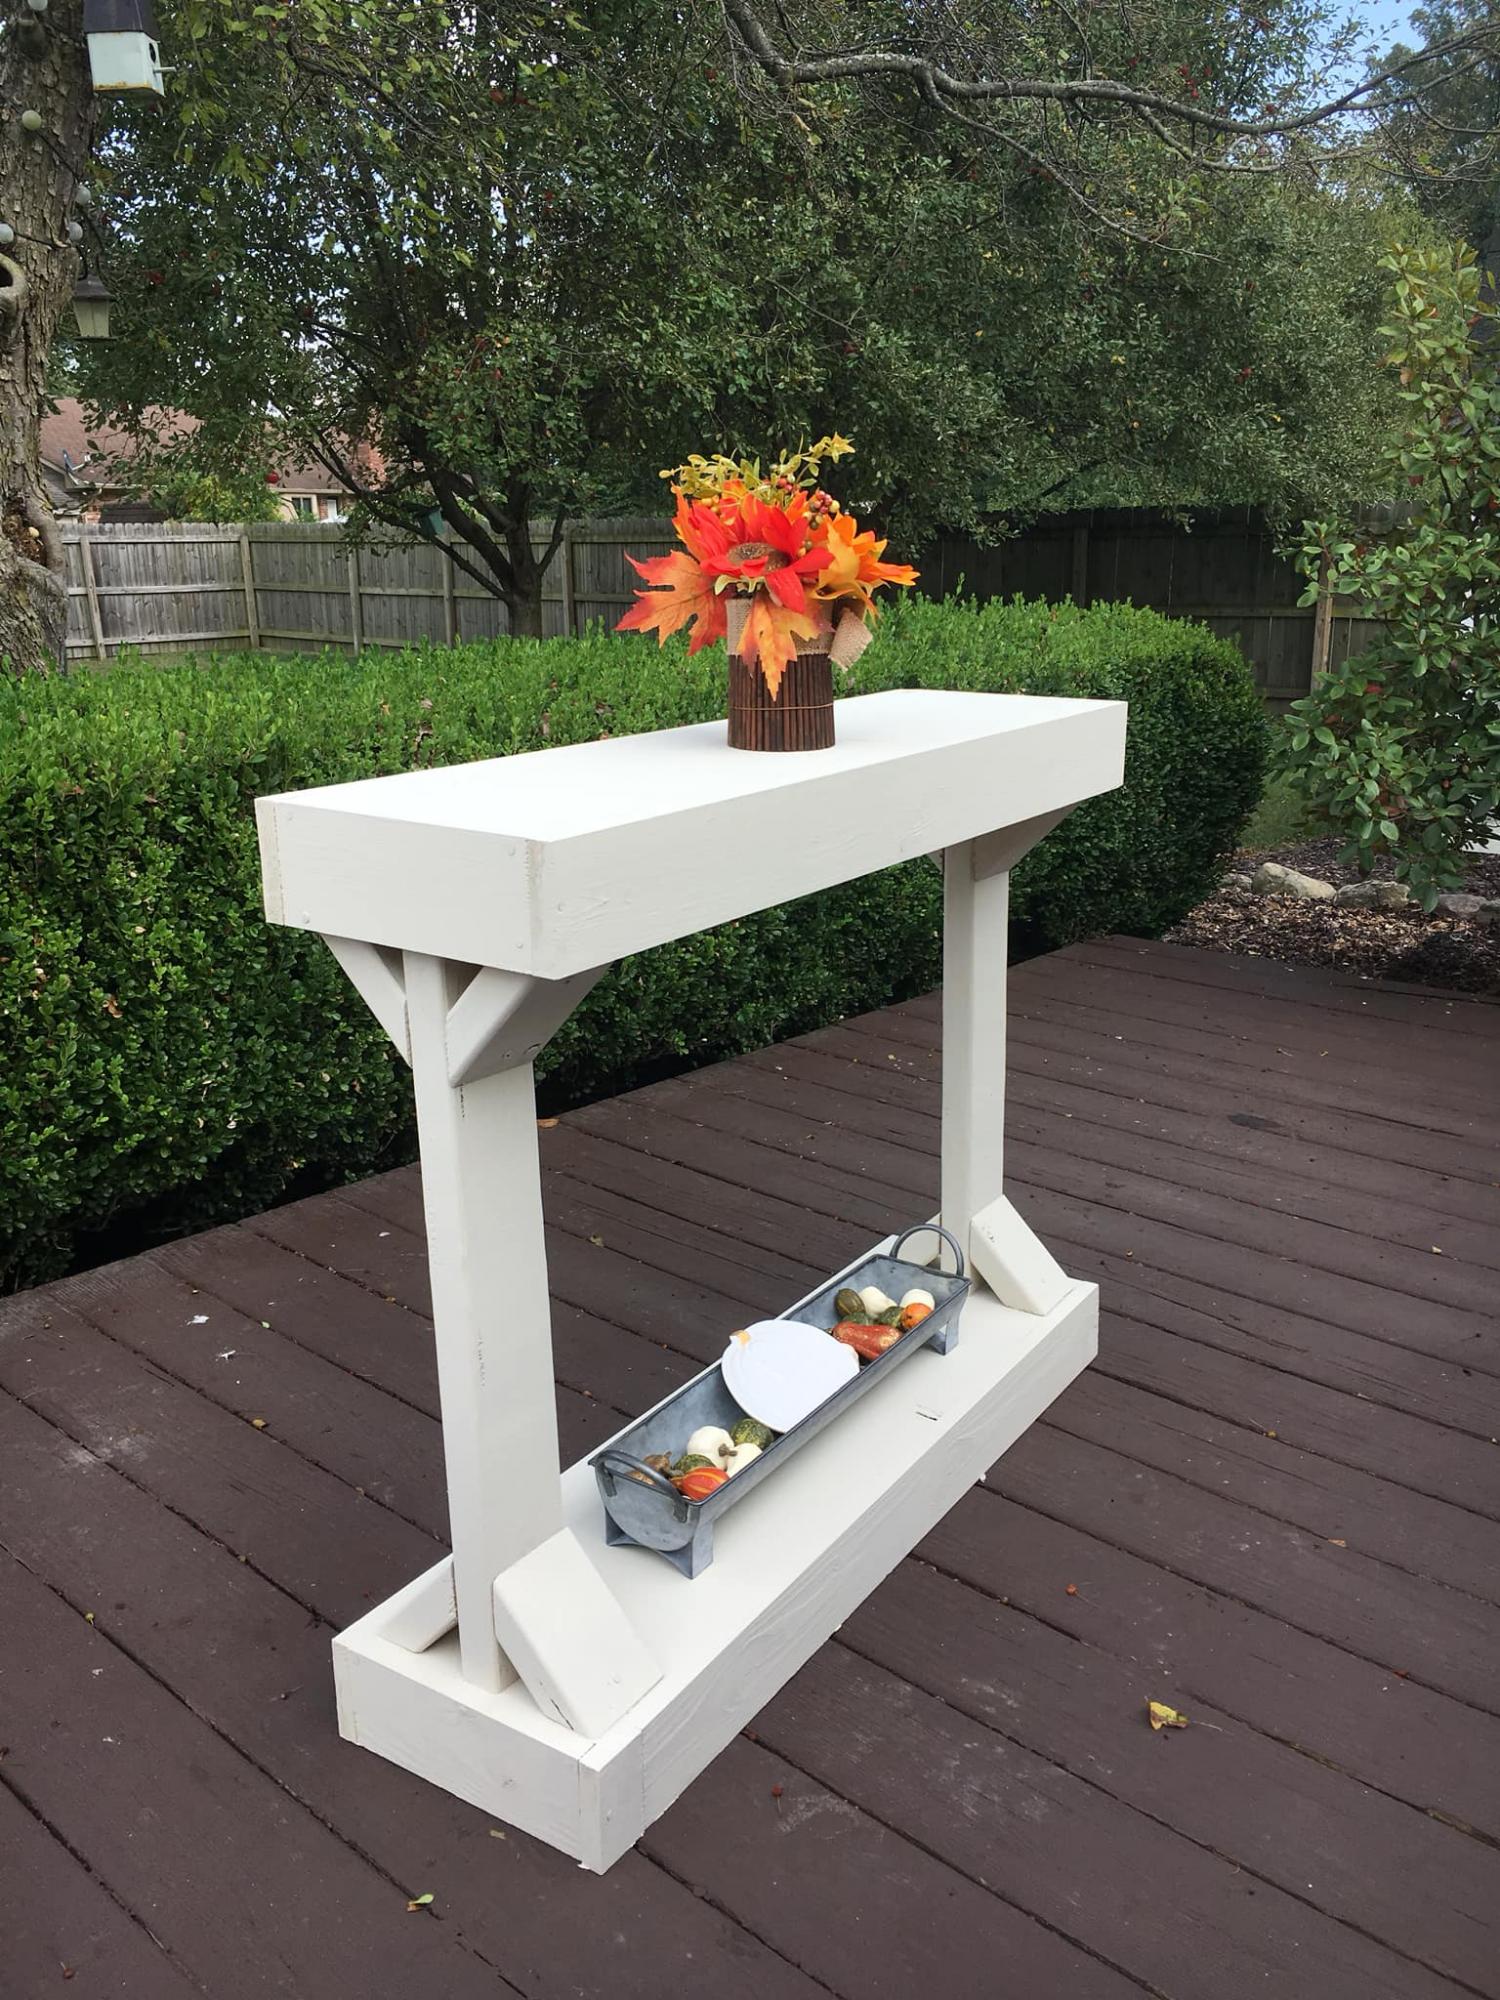
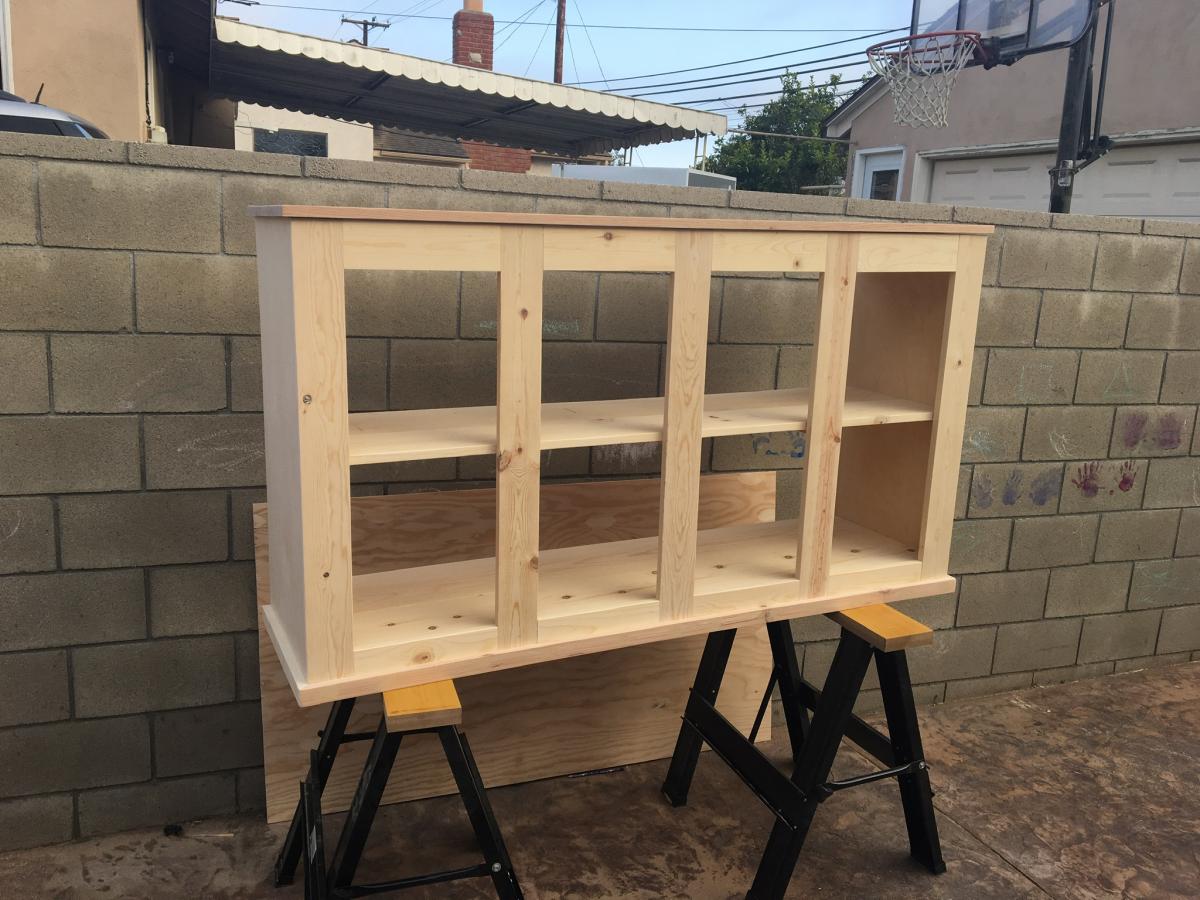
This past weekend I build Ana's Narrow Console table. I went Saturday evening to pick up the boards and cut them. I completed the whole project late Sunday afternoon. I don't have a nailer so in-between the project I switched to self-tapping screws and it became even quicker because using the ol' fashioned hammer and nails was difficult and time consuming. Cutting the angles was a first for me, and it is not bad at all! I was very intimidated first but so glad I took that first step! Also, I just watched her video countless times to ensure I was doing it correctly, and that helped the most ;). It is very lightweight and I did not need any assistance in carrying the table. I truly, truly believe anyone can do this!
Built from Plan(s)
Estimated Cost
$40 with the paint
Estimated Time Investment
Afternoon Project (3-6 Hours)
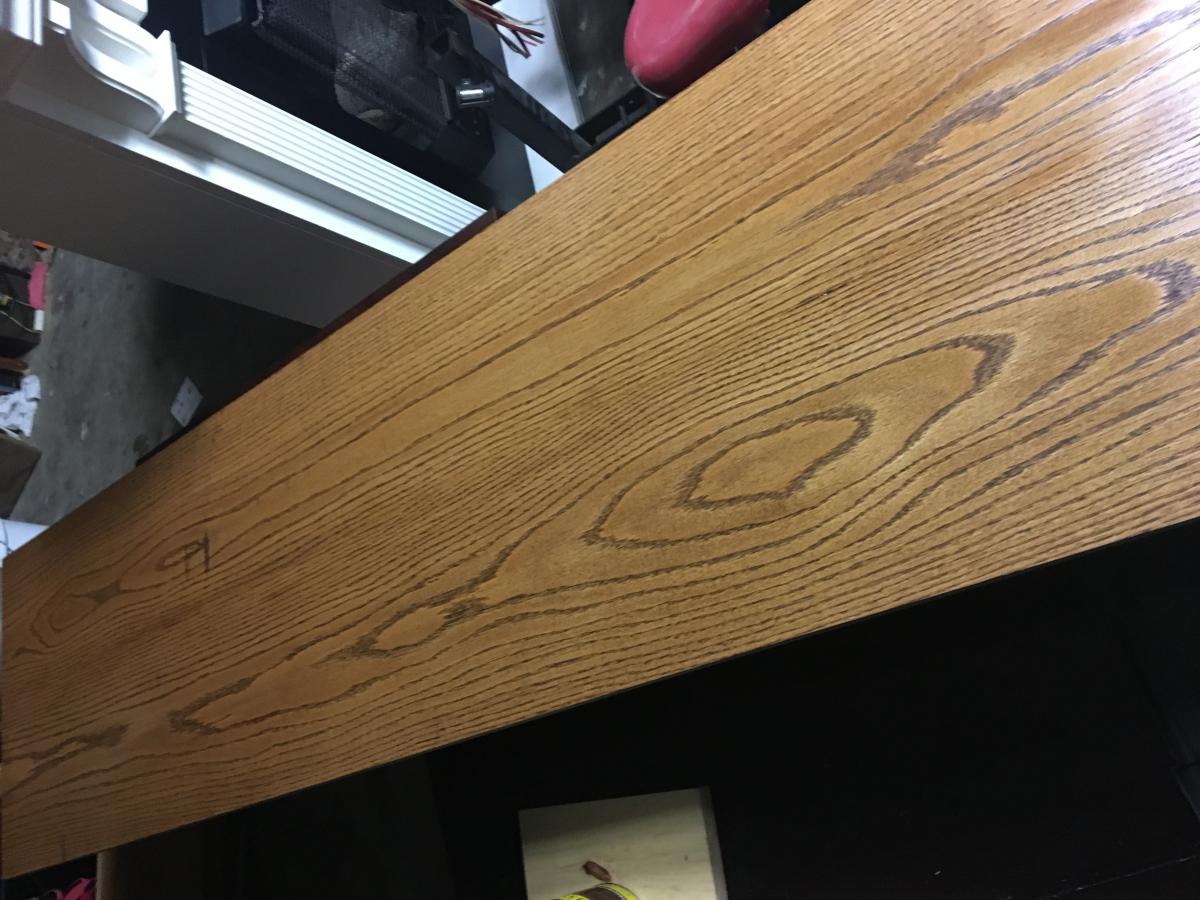
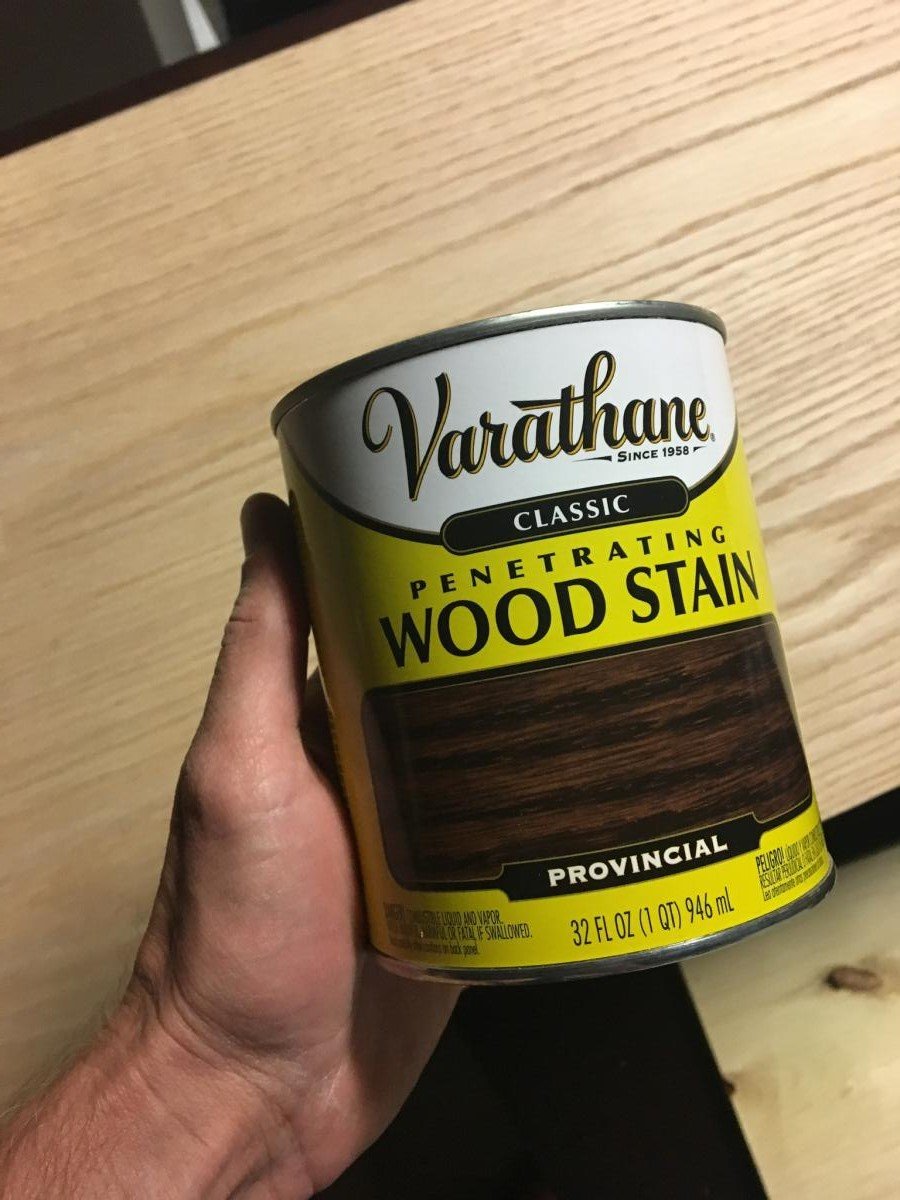
Finish Used
After sanding I used one coat of Glidden Flat + Primer "Crushed Silk"
Recommended Skill Level
Beginner
Seasonal And Holiday


Comments
Ana White
Wed, 10/02/2019 - 09:30
So excited to see this built…
So excited to see this built! Great job!
unseenlizabean
Thu, 10/03/2019 - 14:12
THANK YOU!!!!!!!!
THANK YOU!!!!!!!!