Community Brag Posts
Outdoor sectional and coffee table
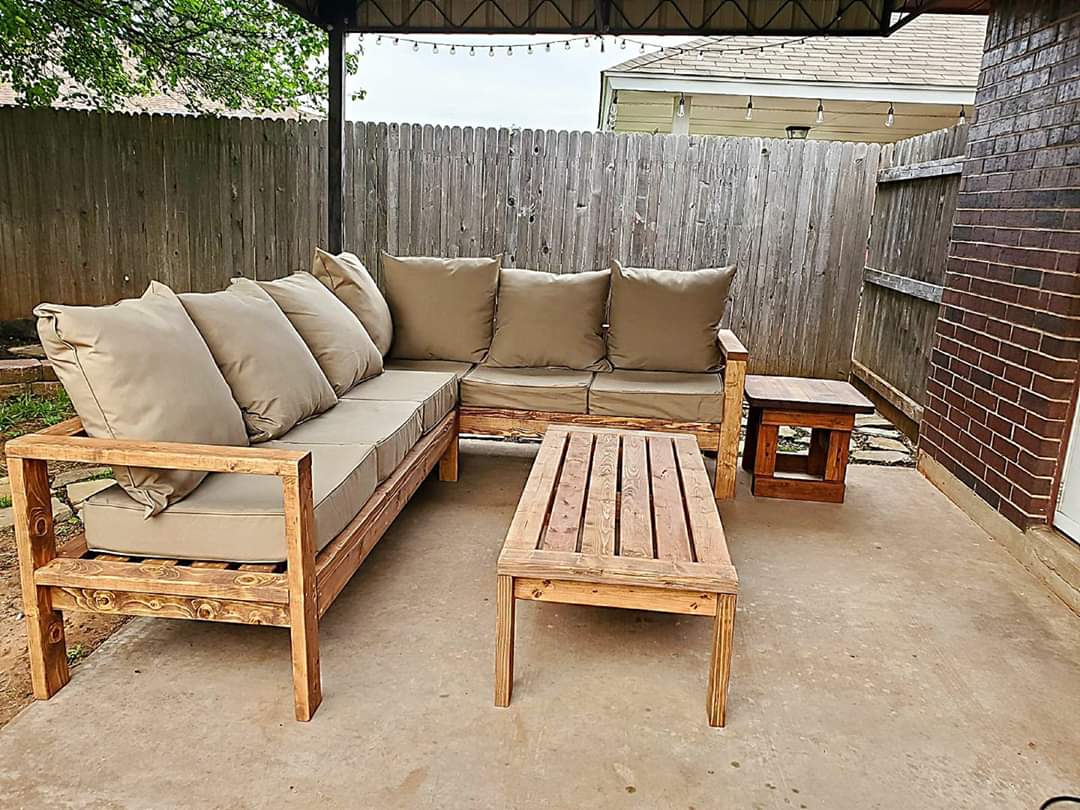
Loved these plans! Was my first project I tackled trying my hand with a new hobby of wood working to stave off quarantine craziness :-) finished project looked awesome and got me started working on other plans on the site.
**note**
Side table was just sanded and refinished, wasn't built just tried to match.
Built from Plan(s)
Estimated Cost
400
Estimated Time Investment
Weekend Project (10-20 Hours)
Recommended Skill Level
Beginner
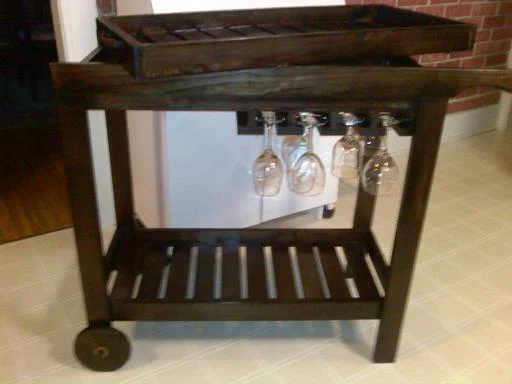
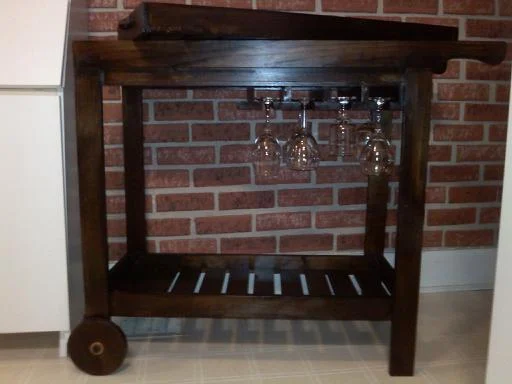
Rolling Bar Cart

This was my second project using plans on this site and I loved it - I made this for a friend's daughter who was moving into her own apartment. She and her girlfriends loved it too! It was very easy and quick to build. Wheels took a bit of time and effort!
This was a real hit and I'd love to make more, if I had room at my house I'd make one for myself!
Built from Plan(s)
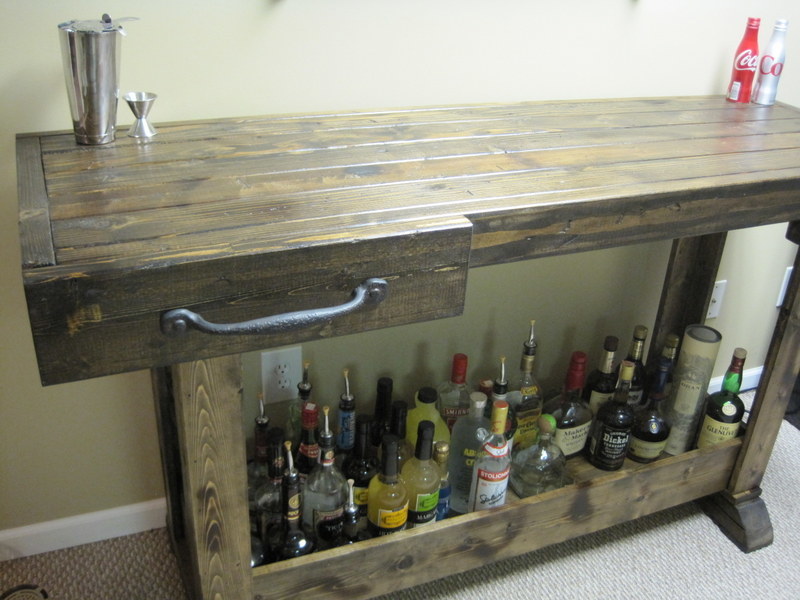
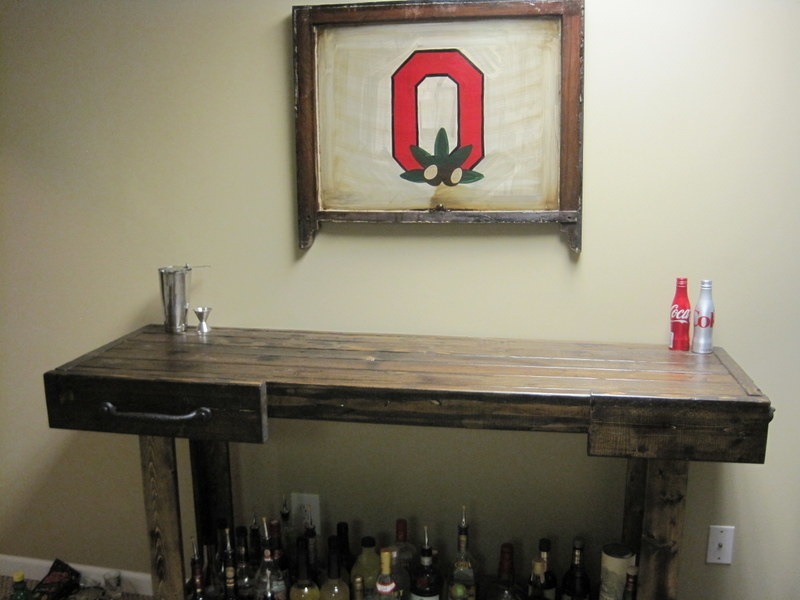
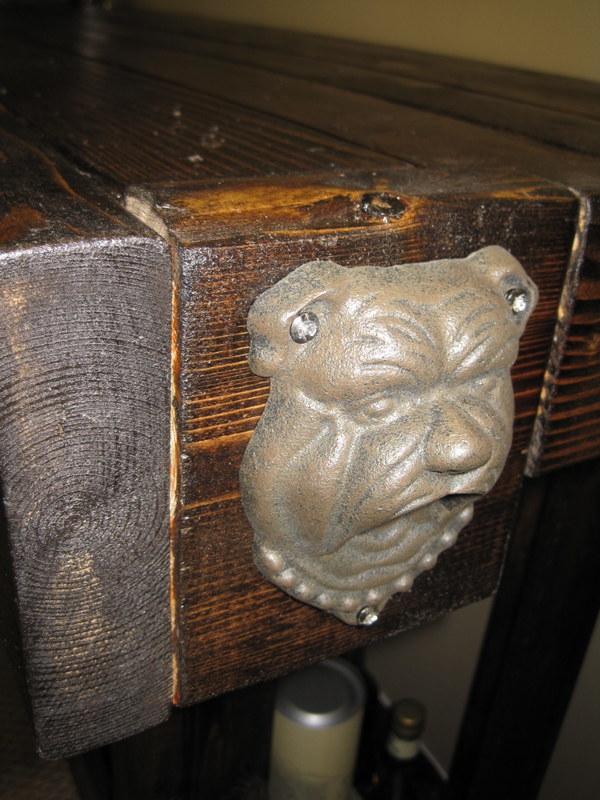
Workbench Console Bar
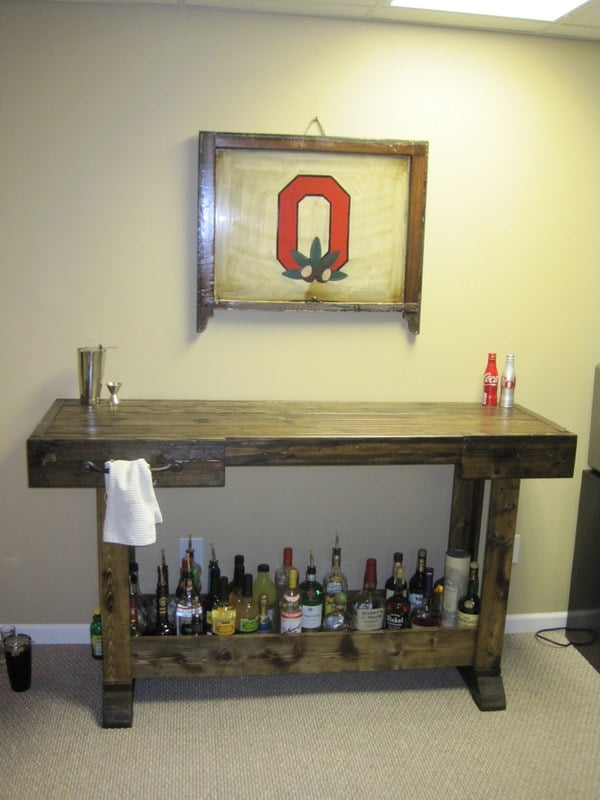
So this is the third piece that we decided to make off of Ana's site (all in a 2 week span!) The bar was definitely not hard and looks awesome (much better in person - my camera is not stellar).
I would definitely suggest investing in nice hardware. We special ordered the towel bar from Lowes. We also had a bulldog bottle opener that we attached to the side. It adds something really fun to it!
Stain all pieces separately and make sure that all sawdust is off from the sanding (using a vacuum and a tack cloth).
The piece that the towel bar is on we ended up taking off to put the towel bar on and then reattached it...just something to keep in mind.
We love this bar so much and it is a great addition to our home.
**The top does get REALLY heavy so be mindful of that.
Built from Plan(s)
Estimated Cost
100.00
Estimated Time Investment
Day Project (6-9 Hours)
Finish Used
We used Minwax pre-stain, Dark Walnut stain which really soaks into the wood. To get in the little cracks between the wood pieces, we used a q-tip. We distressed using a creme brulee torch, chain, hammer and drill bit.
Recommended Skill Level
Intermediate
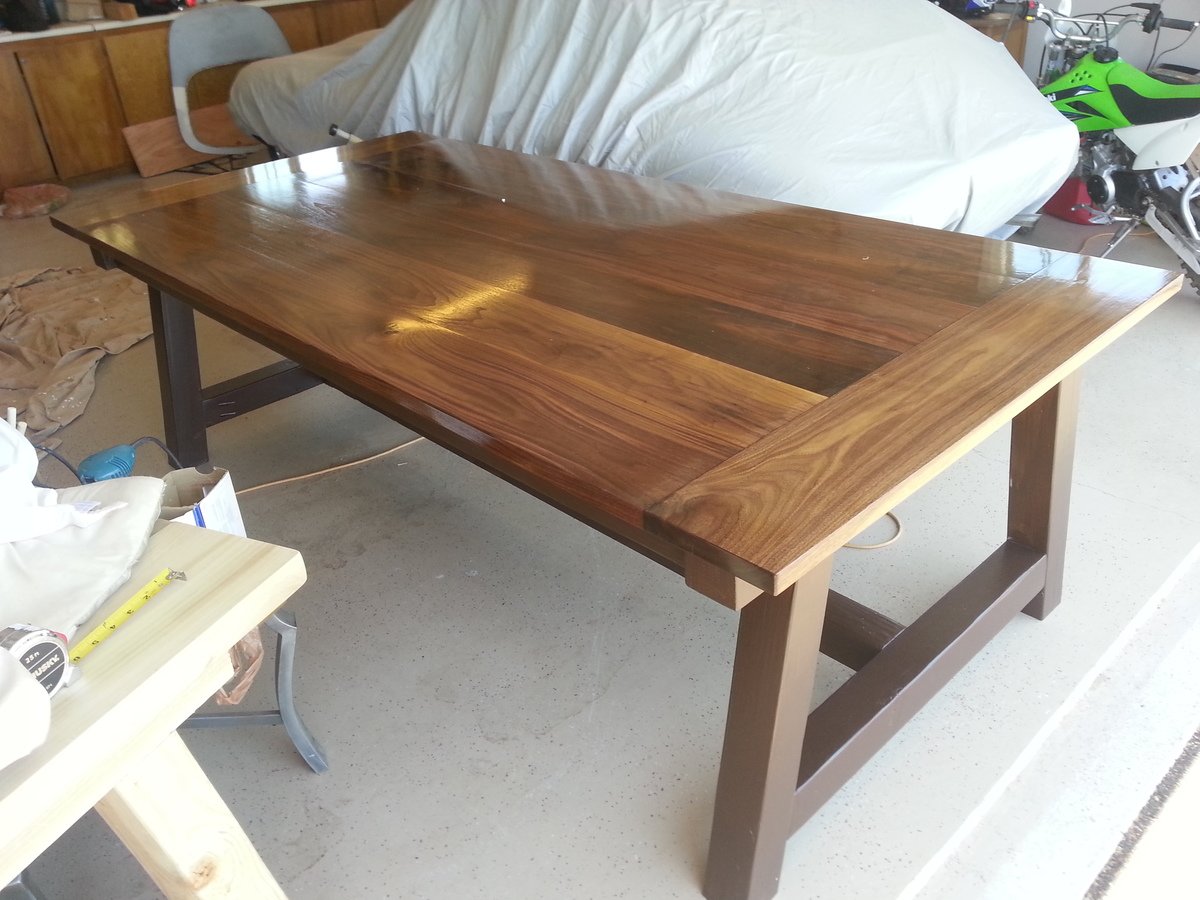
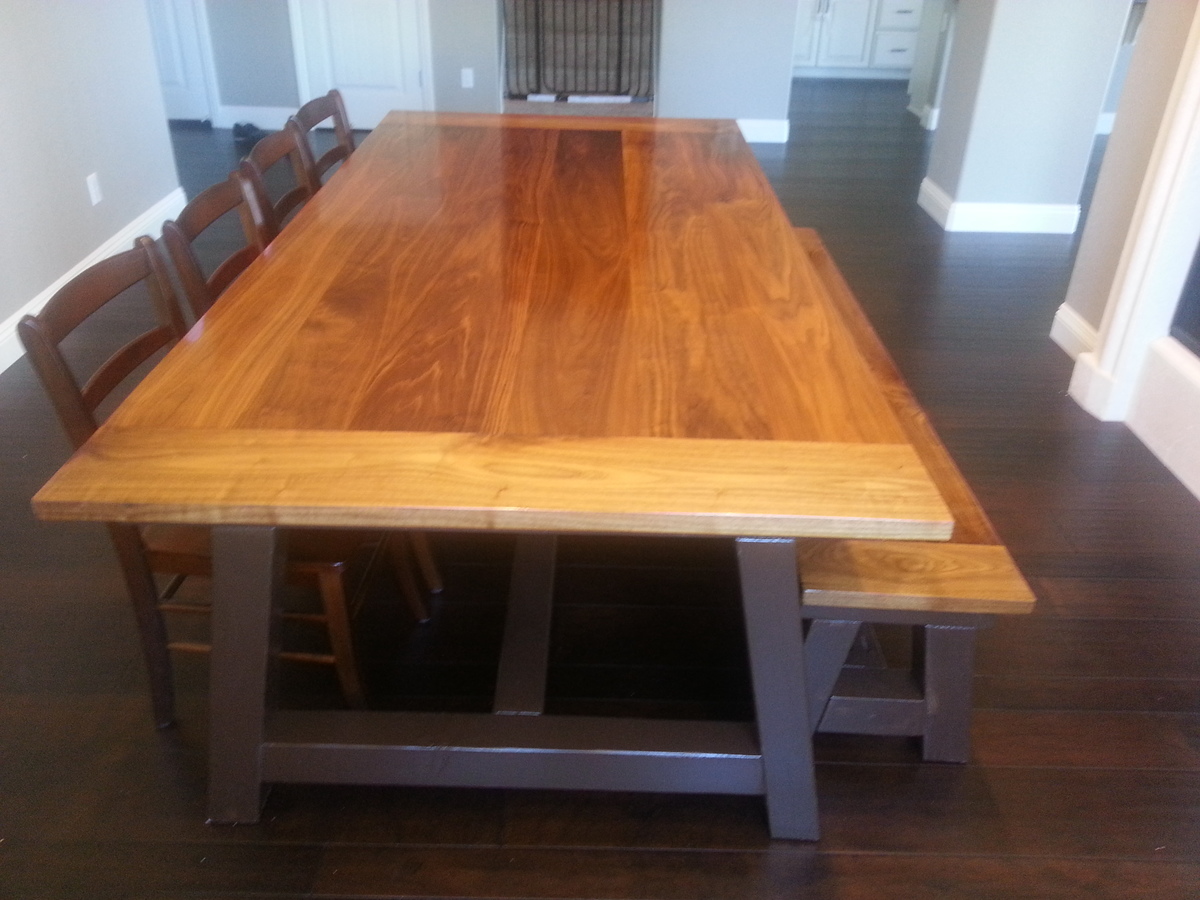
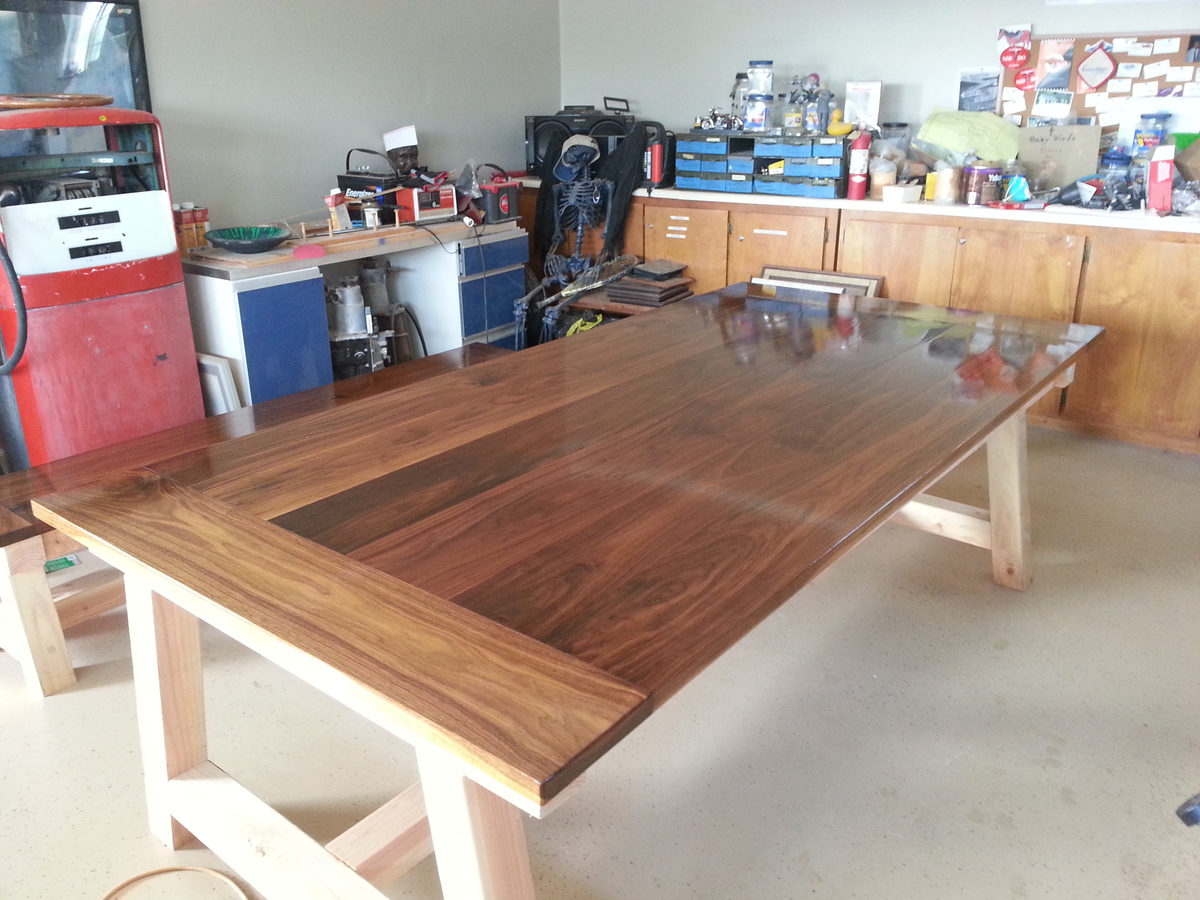
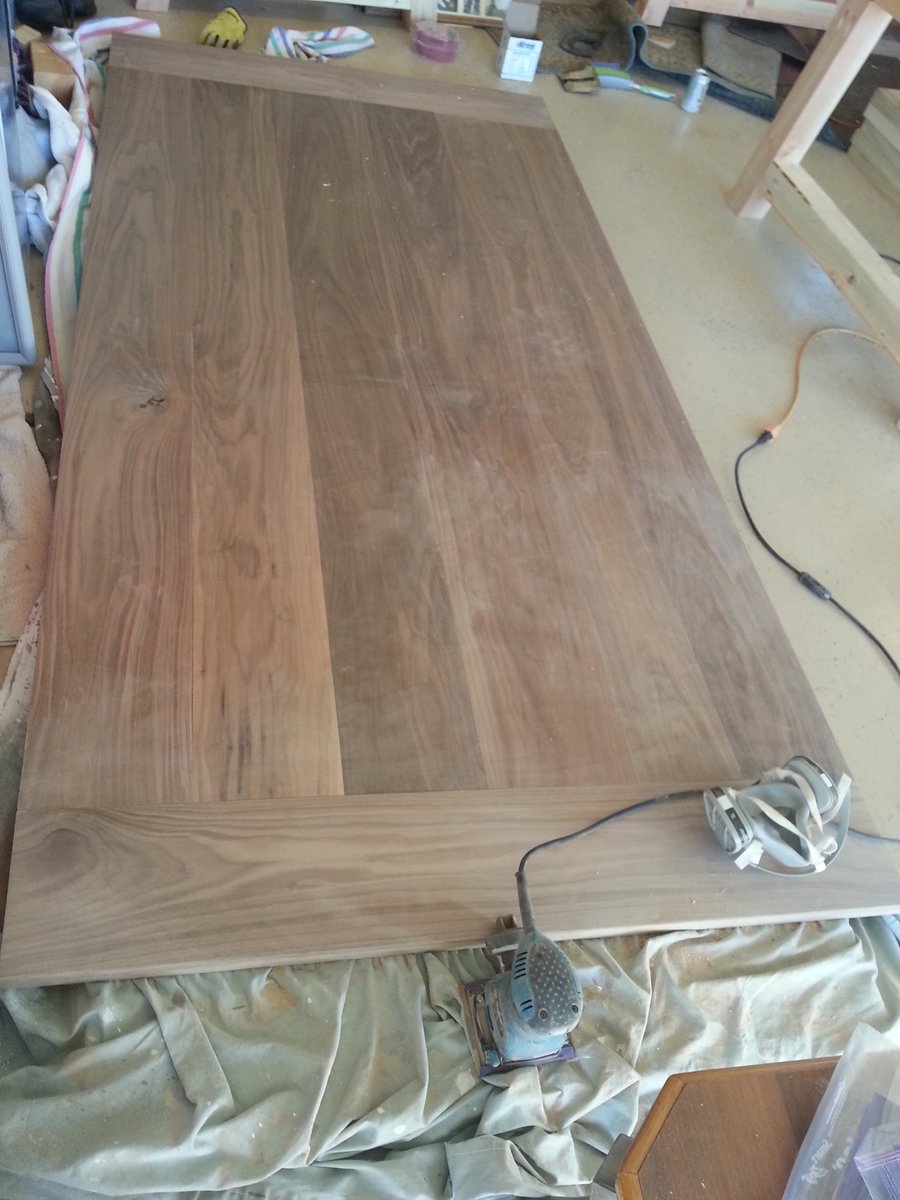
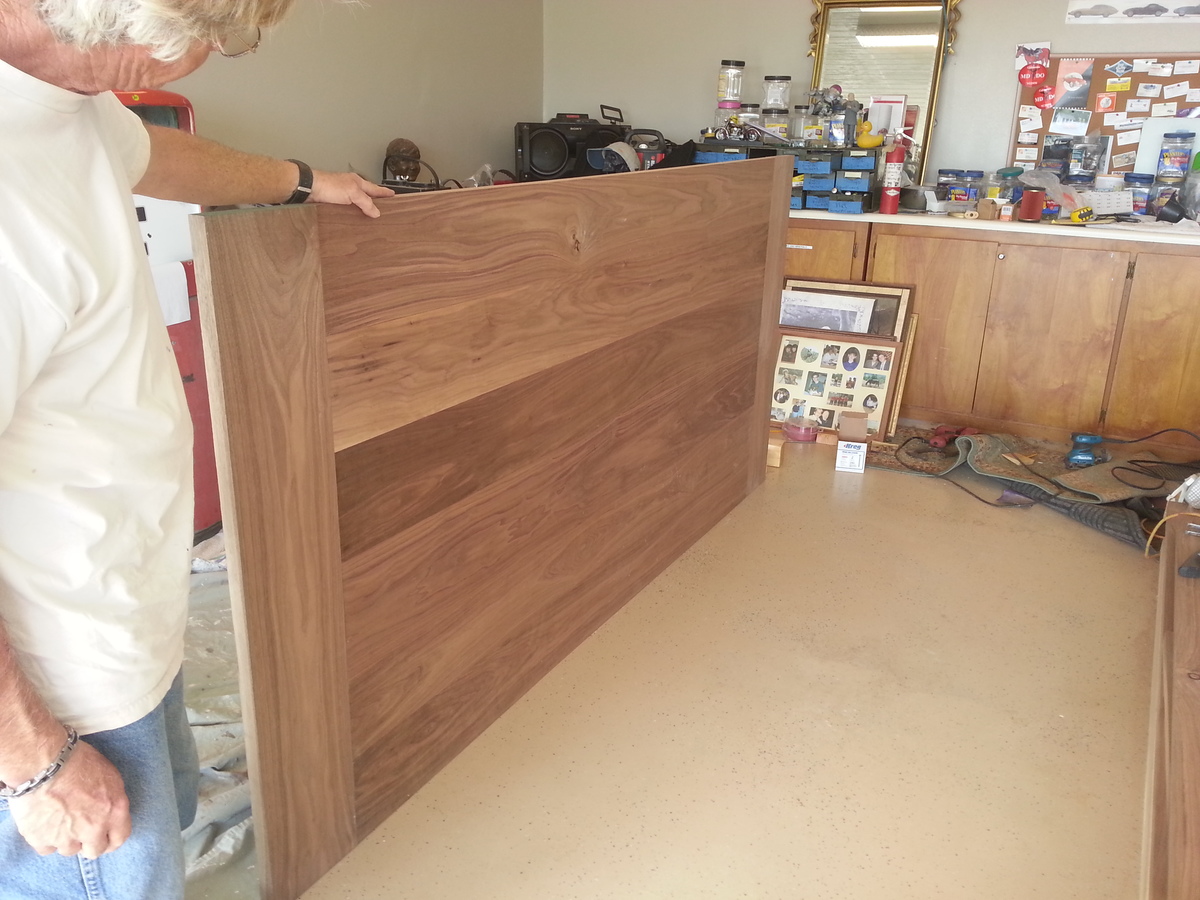
Walnut farmhouse table
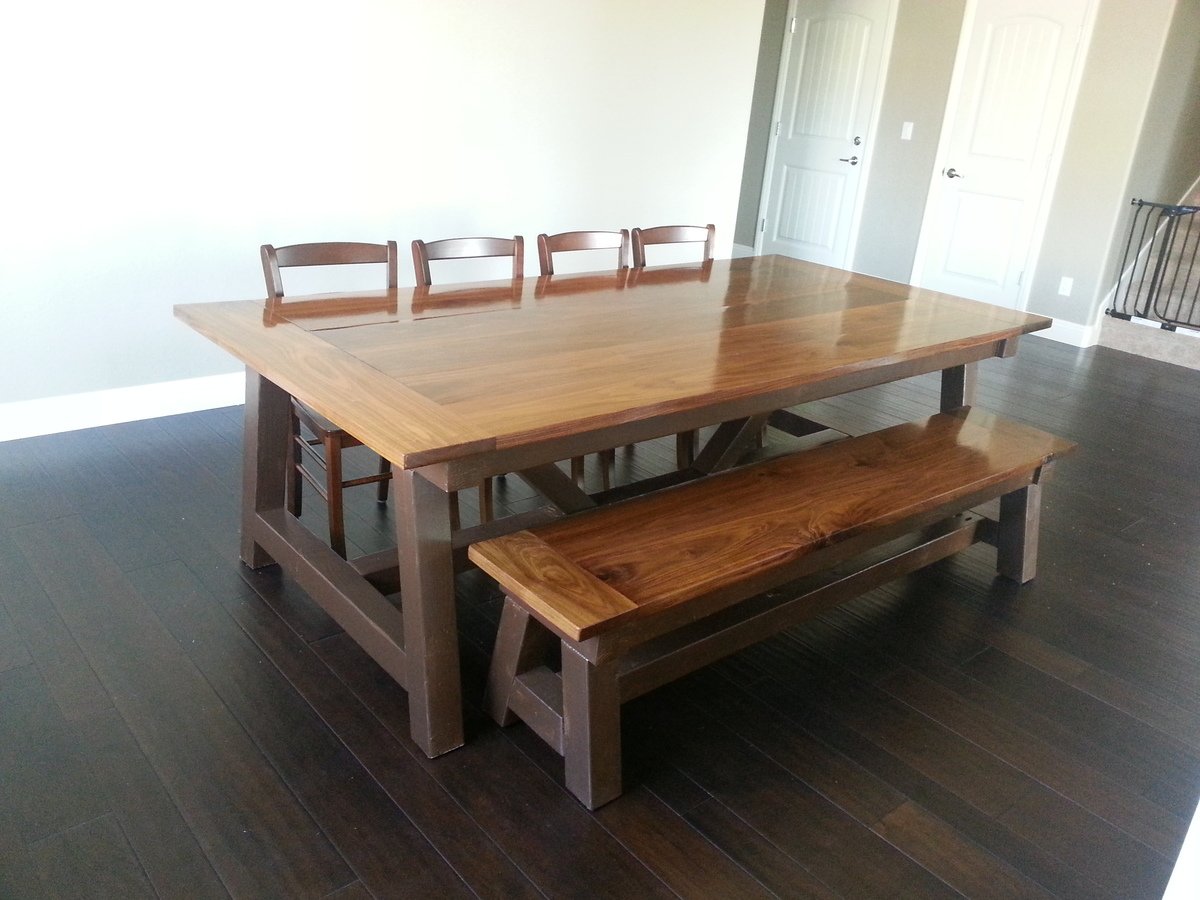
Tabletop made from walnut and finished with waterlox. Base made from Fir and painted a nice chocolate color.
Estimated Cost
900
Estimated Time Investment
Week Long Project (20 Hours or More)
Finish Used
waterlox
Recommended Skill Level
Intermediate
Comments

Mon, 06/30/2014 - 07:44
walnut table
beautiful top! Did you square up the boards or did they come that way? Very nice work and wonderful finish.
About how much did the walnut cost? Was it hard to saw through and drill?
Thu, 07/03/2014 - 12:23
walnut
We have a very friendly local hard wood store (hugh's hardwoods) who squared the boards for us. Bought a LOT of walnut for ~$800 but had enough left over for a large dog crate (posting pics of that soon). It wasn't hard to saw or drill but was a bear to sand.
Thu, 07/03/2014 - 12:23
walnut
We have a very friendly local hard wood store (hugh's hardwoods) who squared the boards for us. Bought a LOT of walnut for ~$800 but had enough left over for a large dog crate (posting pics of that soon). It wasn't hard to saw or drill but was a bear to sand.
TV console
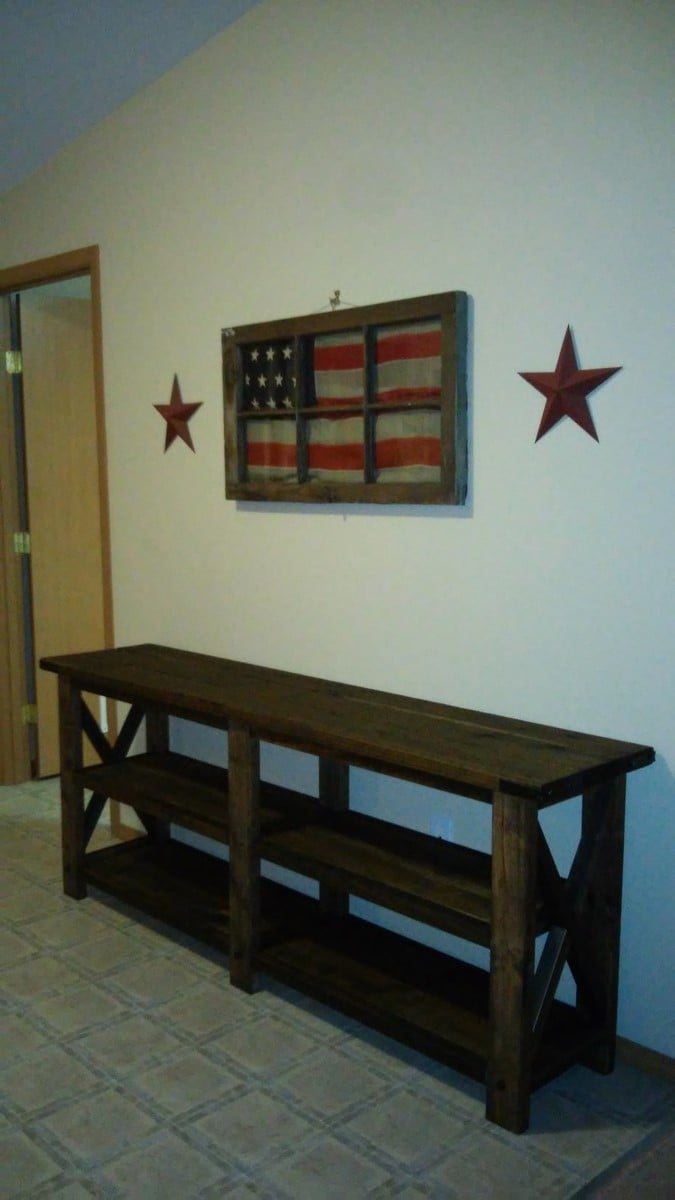
Super simple plans that were easy to follow for first time builders. We really love how it turned out and are working on an end table of the same style now.
Built from Plan(s)
Estimated Cost
$60
Estimated Time Investment
Weekend Project (10-20 Hours)
Finish Used
Oxidized finish darkened and sealed with tung oil
Recommended Skill Level
Beginner
Outdoor Rustic X Console Table With Mosaic
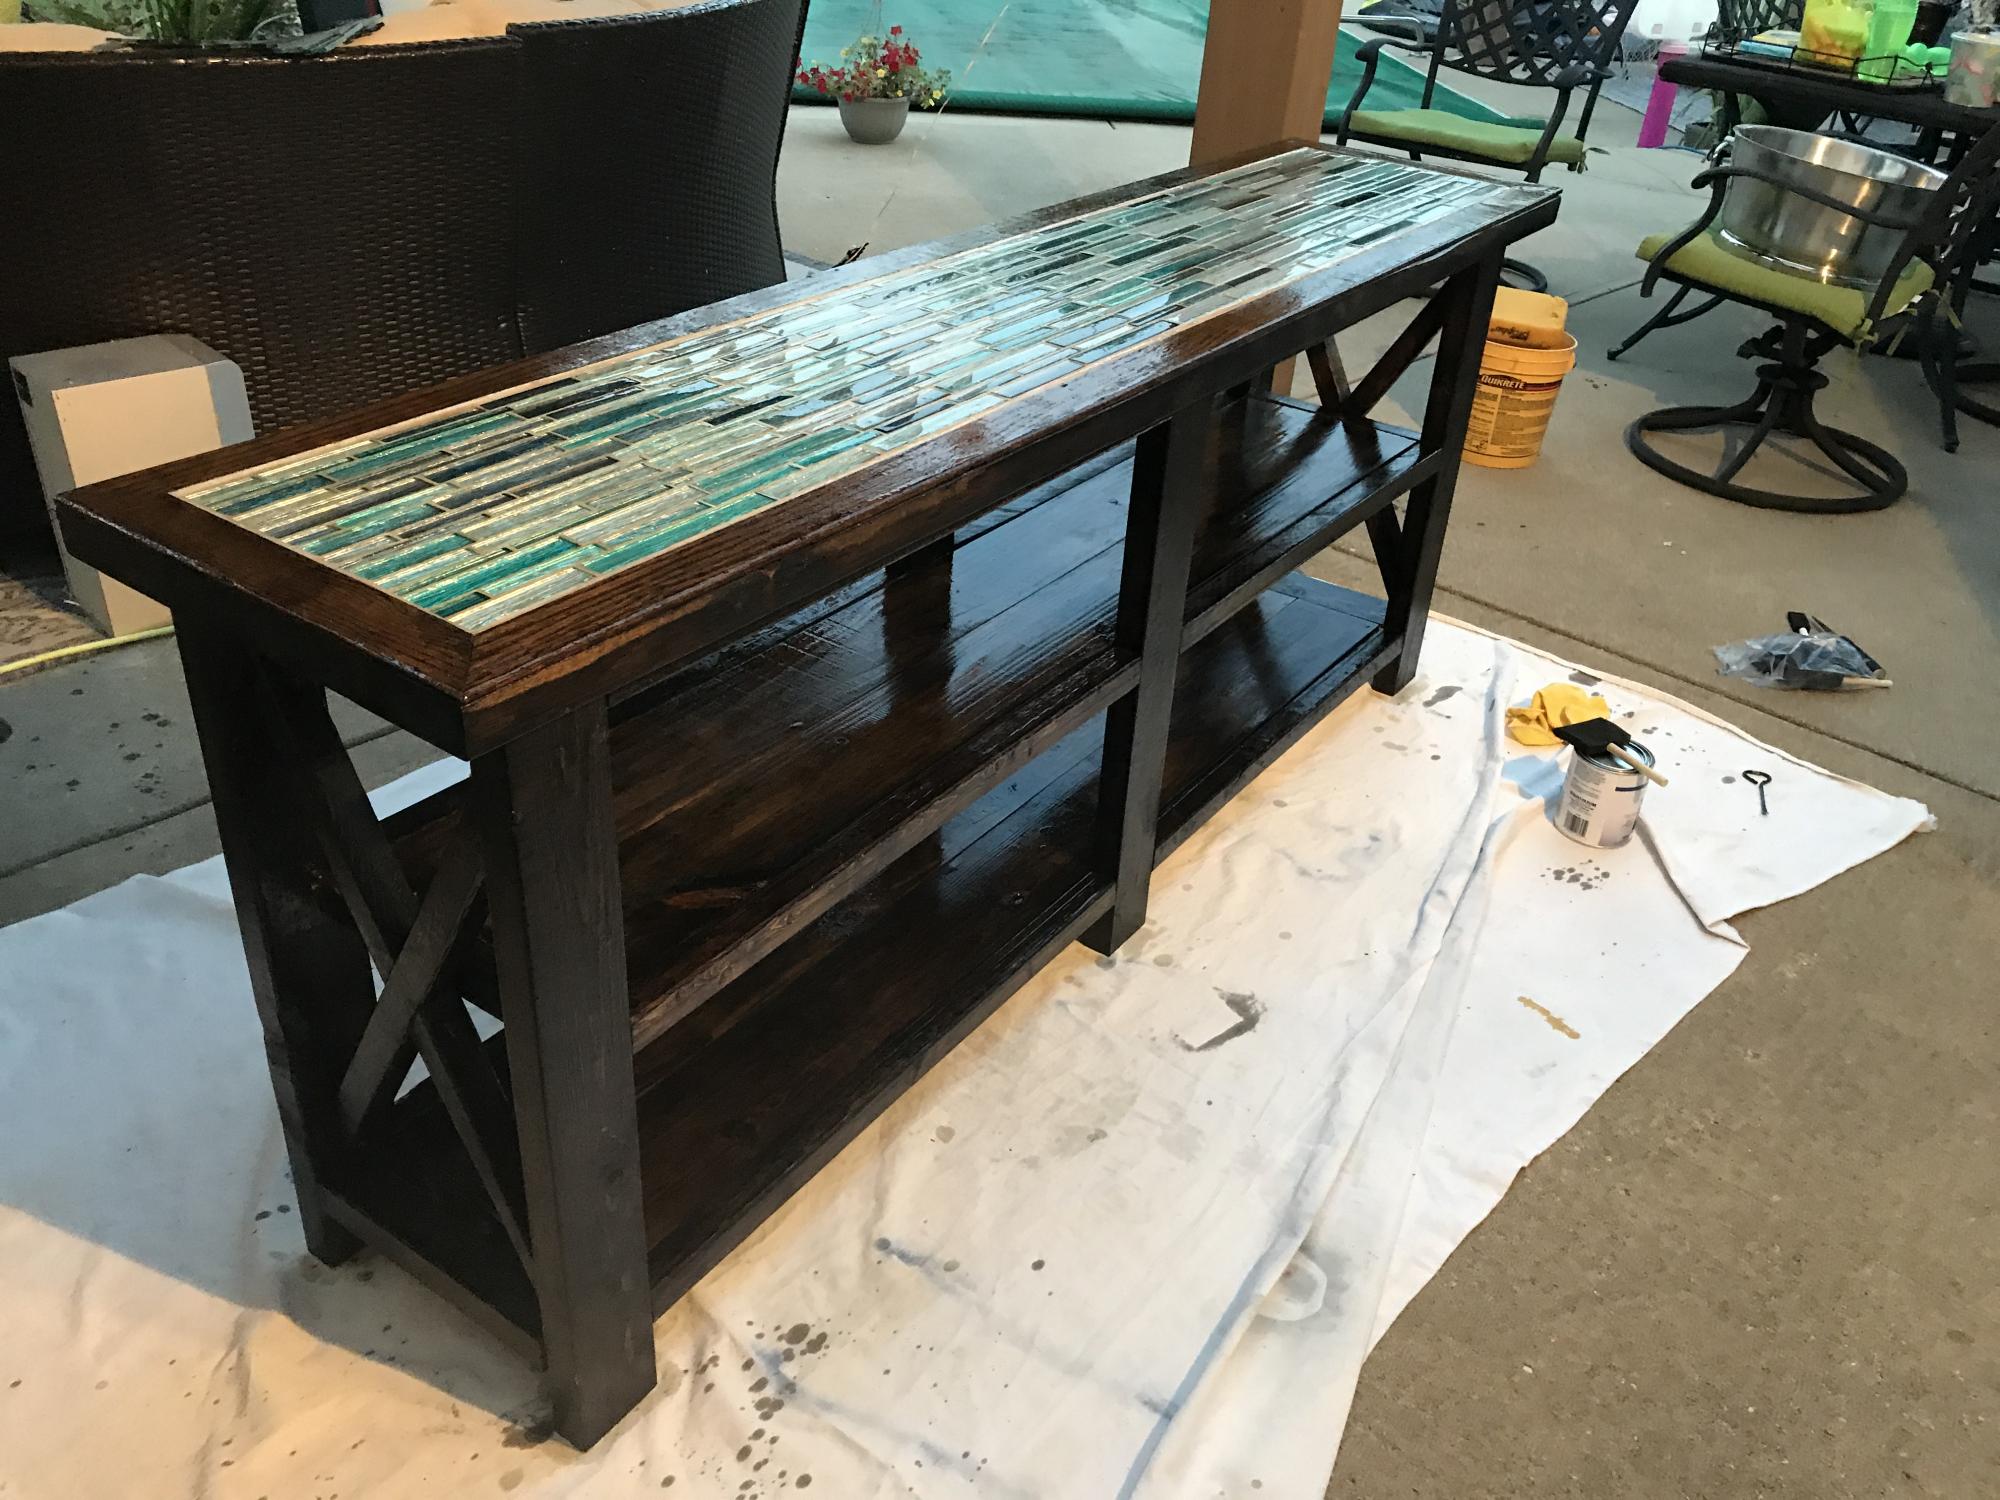
I took the rustic x console table but wanted it to be a nice piece for our outdoor seating area. I used some ebony stain, purchased mosaic tile from lowes, and finished with Spar Varnish. Around the tile, I used some old hardwood flooring strips as trim. Sanded and stained the trim to match. I'm very happy with how it turned out. And the varnish is UV resistant so it'll stand up to the rain and won't fade in the sun.
Built from Plan(s)
Estimated Cost
$150
Estimated Time Investment
Weekend Project (10-20 Hours)
Finish Used
Rust-oleum high gloss spar varnish. Ebony interior (gasp!) stain. Three coats of varnish. The UV protection should prevent the stain from fading.
Recommended Skill Level
Intermediate
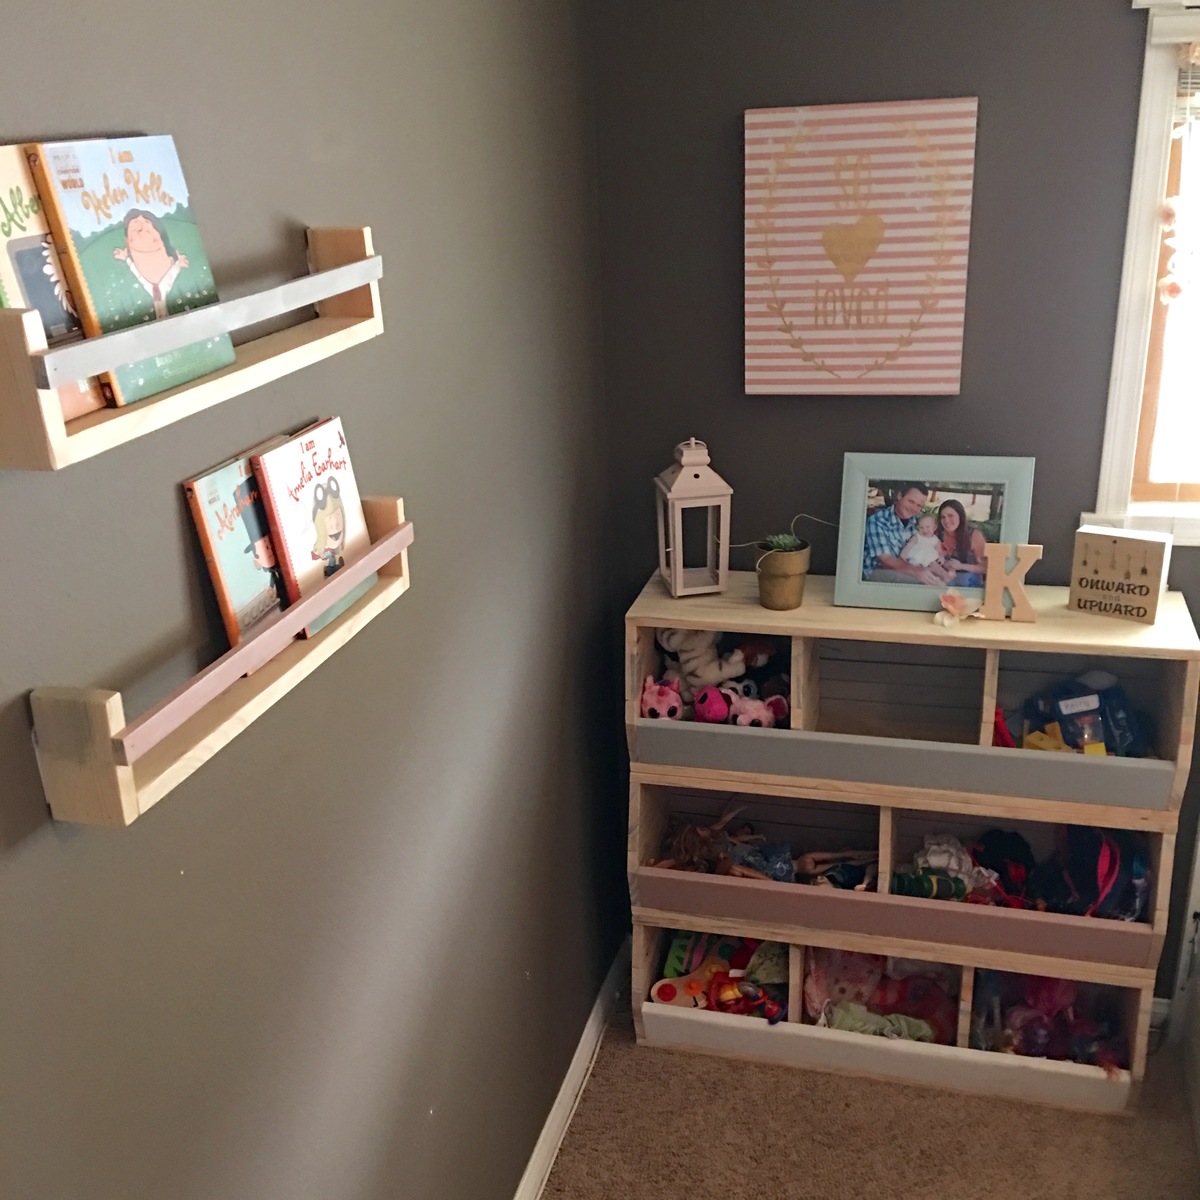
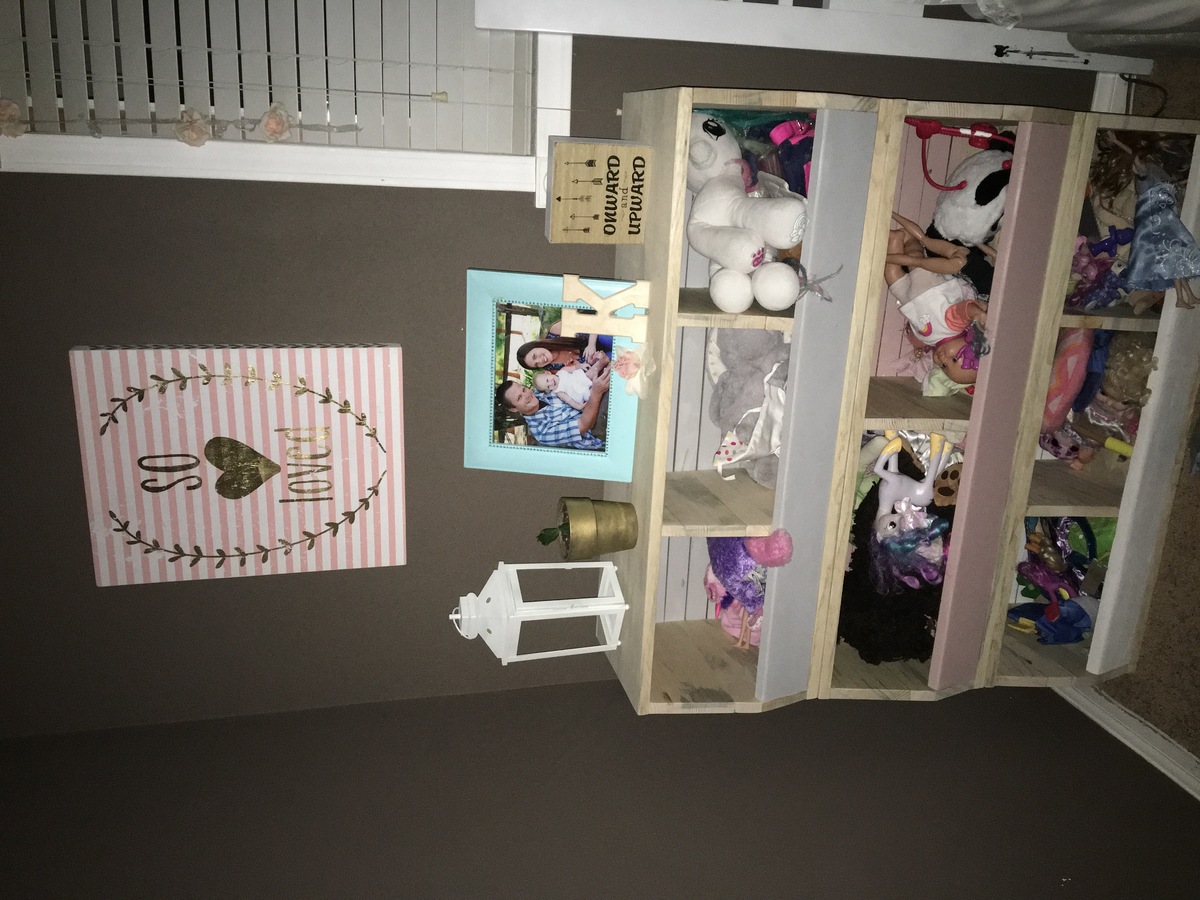
Loft Playhouse Shared Bedroom

I adapted your plans for the indoor playhouse to make a bridge between my daughters’ beds with a landing for their dolls and favorite dresses. Lots of fun painting and used leftover lattice and posts to brighten it up!
Built from Plan(s)
Kentwood Bookshelf

This is our first woodworking project! My husband and I decided to build a bookshelf because my old store bought flimsy bookshelves didn't make it into our new home. They completely fell apart. Needless to say, with 16 boxes of books sitting in our bedroom, we were well motivated to build this bookcase!
Estimated Cost
$84
Estimated Time Investment
Day Project (6-9 Hours)
Finish Used
Minwax Kona
Recommended Skill Level
Beginner
Comments

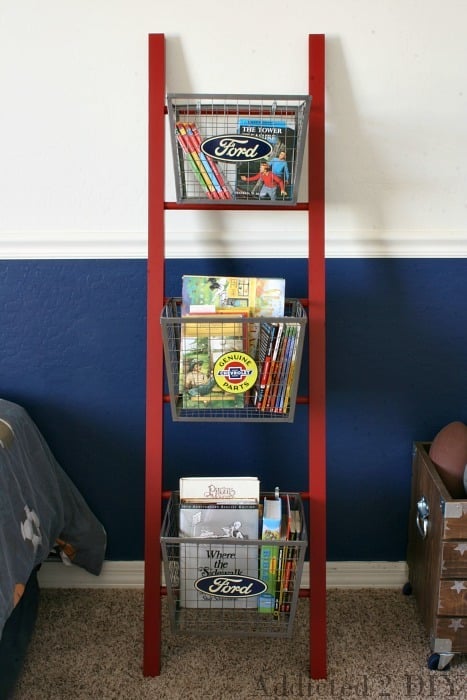
PB Teen-Inspired Ladder Shelf
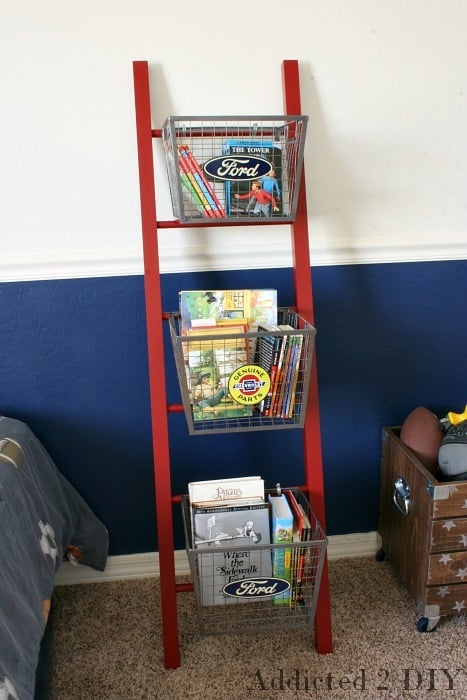
I saw this Ladder Shelf in the PB Teen catalog months ago and knew it would be an easy knockoff project. It took maybe 20 minutes to build the ladder, and then I painted it using a paint sprayer. All-in-all, it only took a few hours to build (minus the glue dry time). And I was able to build it for 1/3 the price of the original! Check out my blog for the instructions on how I built it. http://addicted2diy.com/2014/07/01/pb-teen-inspired-ladder-shelf/

Estimated Cost
$85
Estimated Time Investment
Afternoon Project (3-6 Hours)
Finish Used
Behr enamel paint in Red Delicious
Recommended Skill Level
Beginner
Rainbow Sand & Water Table
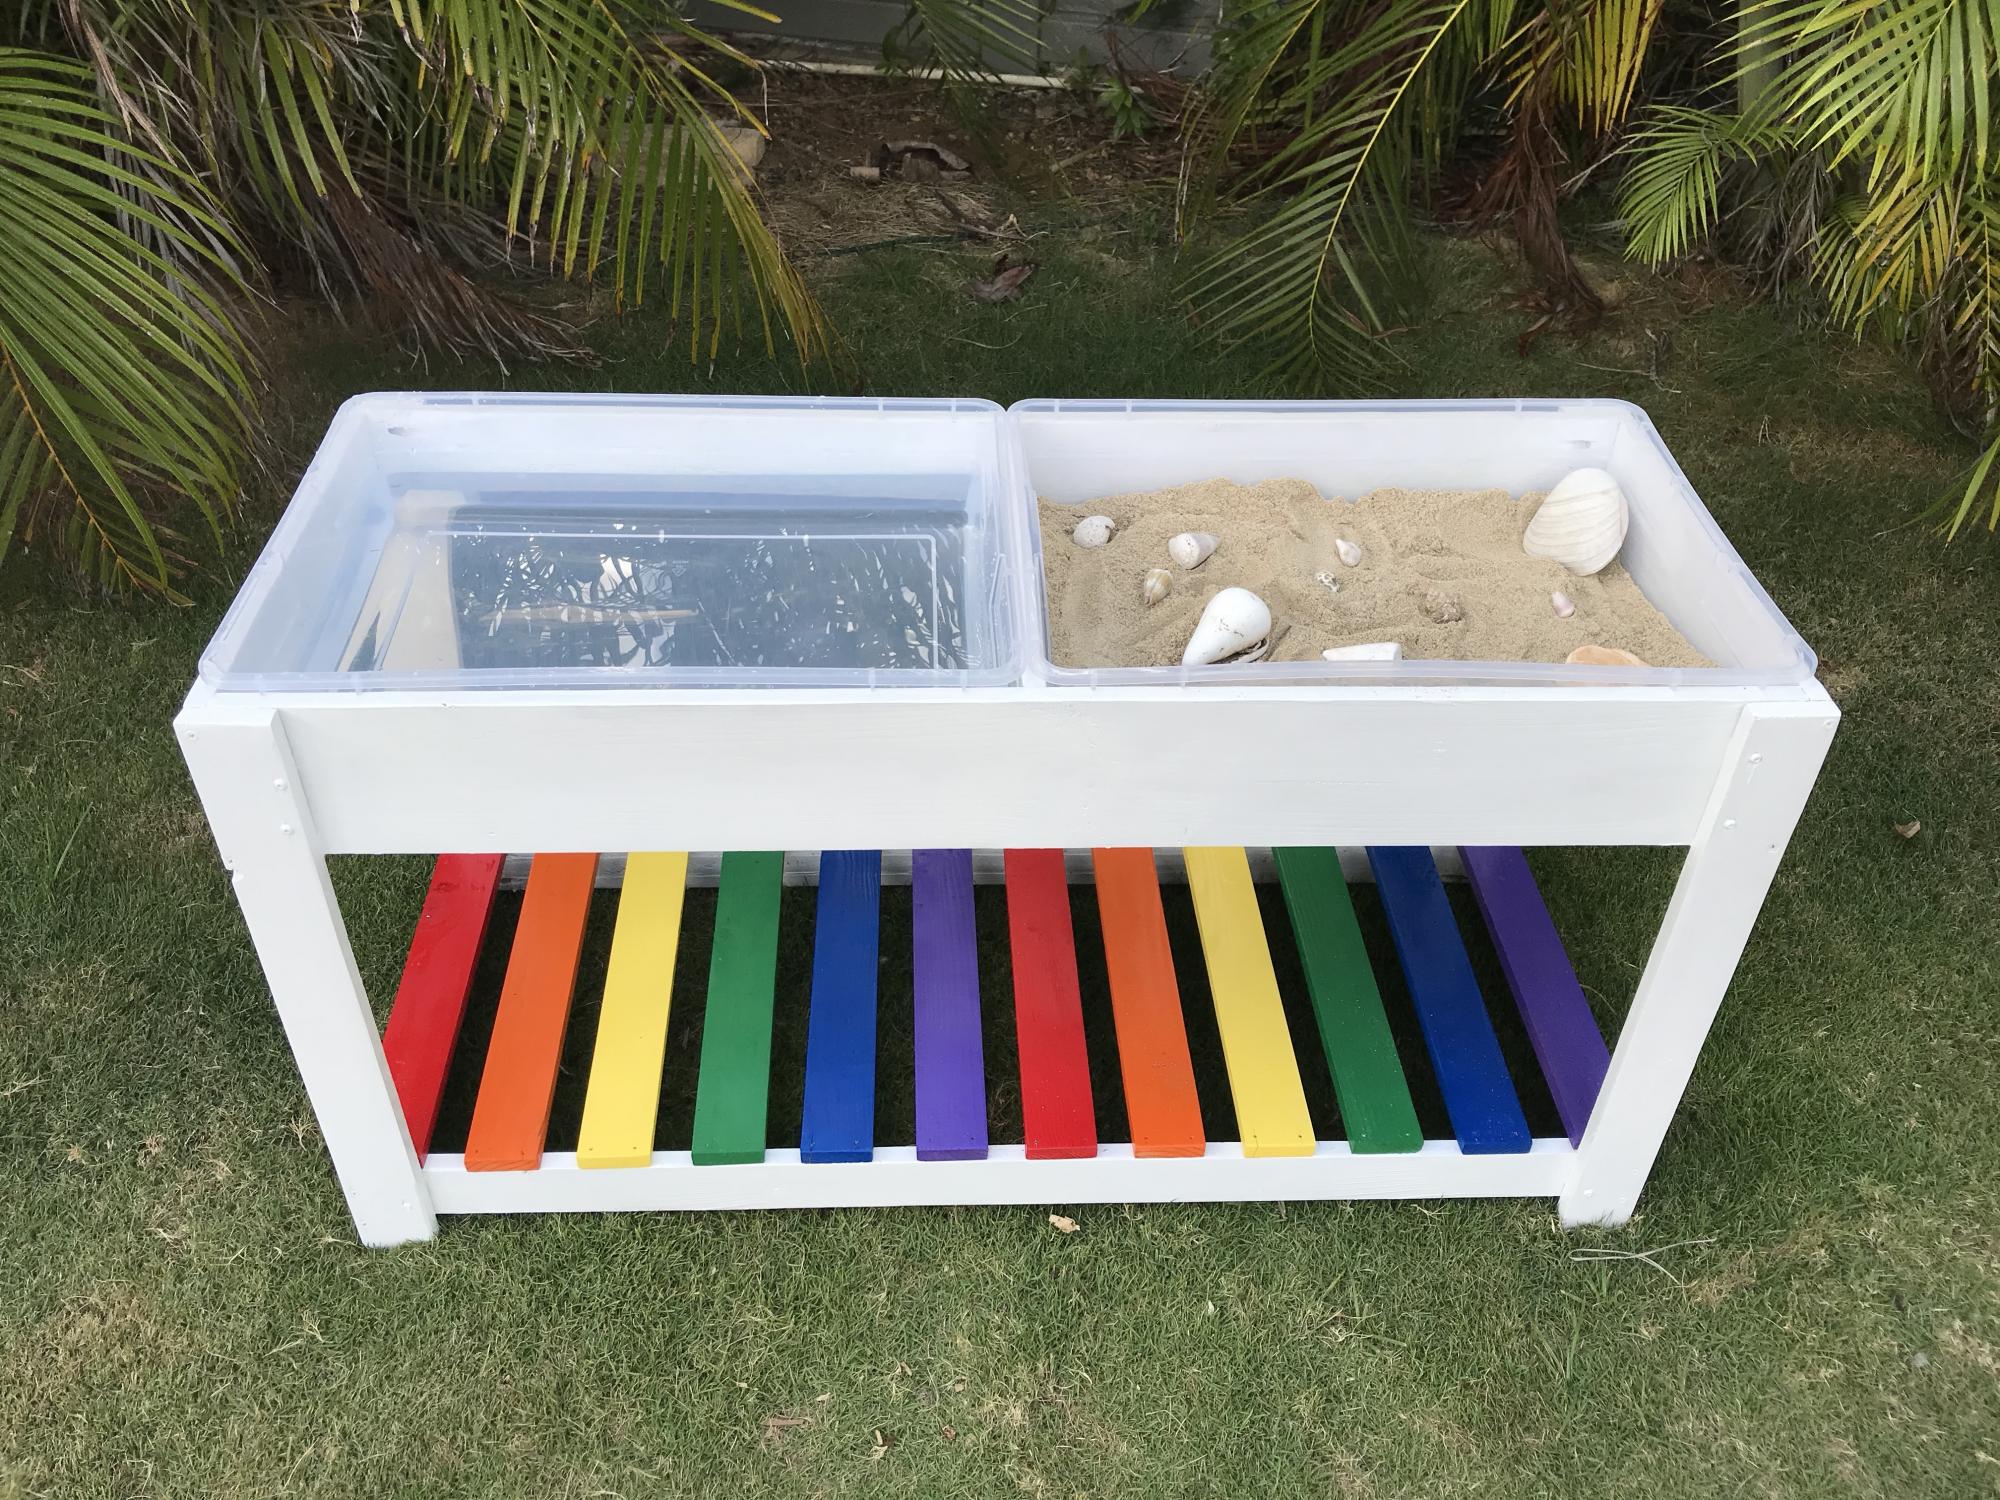
I'm new to woodworking, and this was so much fun to make! Pocket holes make it sturdy, and I spent plenty of time on sanding so no slivers for little ones. The plastic containers just barely fit so be sure to not undercut anything in the plan.
Built from Plan(s)
Estimated Cost
$20 in wood, $15 in containers, $4 each color of spray paint, white paint/screws/wood glue I had on hand
Estimated Time Investment
Afternoon Project (3-6 Hours)
Finish Used
White primer paint and spray paint for the shelf boards
Recommended Skill Level
Beginner
Comments
Essential Laundry Room Organization
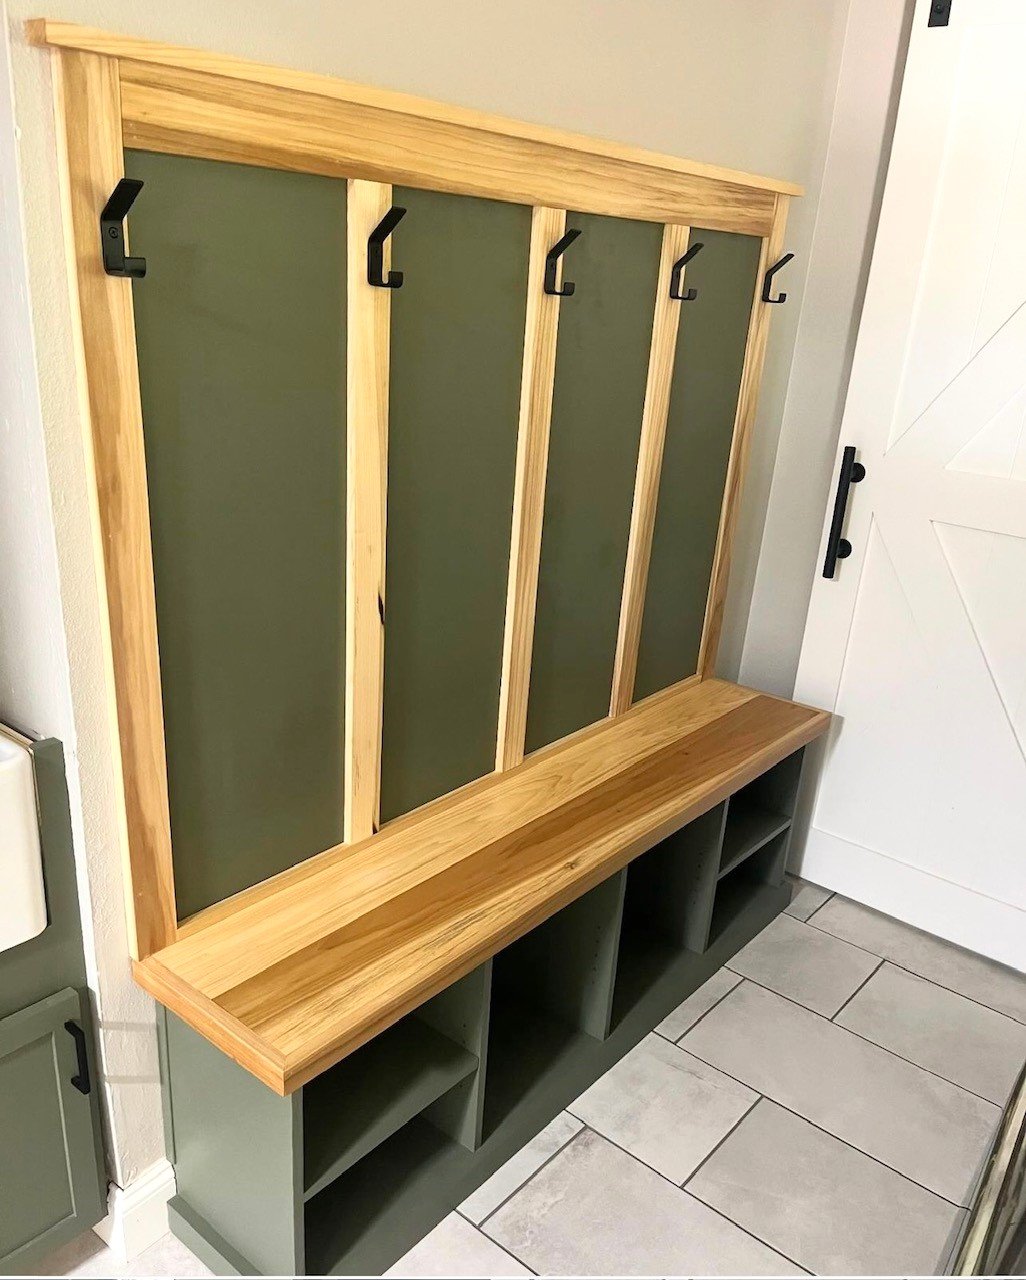
We built this bench using Ana's Entryway Bench Plans. We modified it by adding adjustable shelves for additional shoe storage. We added the back with hooks for coats and backpacks. We’ve made this small space feel so much bigger by adding storage and utilizing the space that is in the room. We can’t wait to finish this project.

Built from Plan(s)
Headboard Bench build
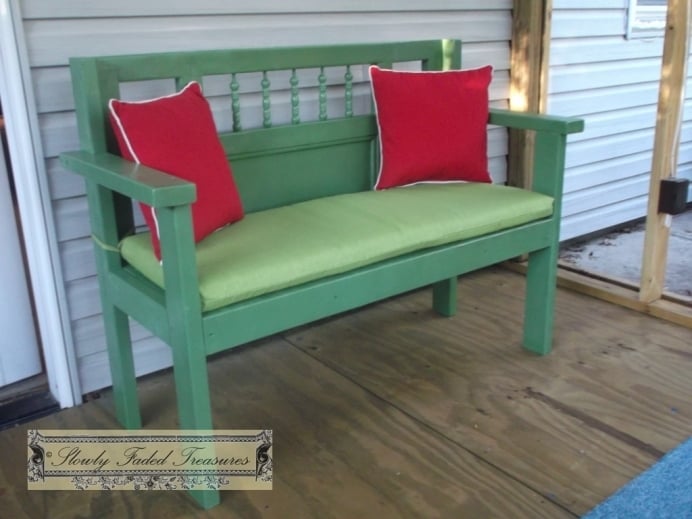
This bench was made from the Garden Bench build plan. It includes 2x4s, 1x3s, 1x4s, 2x2s, and an old head board for the back. It has been finished by sanding and spray painting.
Built from Plan(s)
Estimated Cost
$50-$60
Estimated Time Investment
Afternoon Project (3-6 Hours)
Finish Used
Rustoleum Primer and Rustoleum Leaf Green spray paint
Recommended Skill Level
Intermediate
Comments
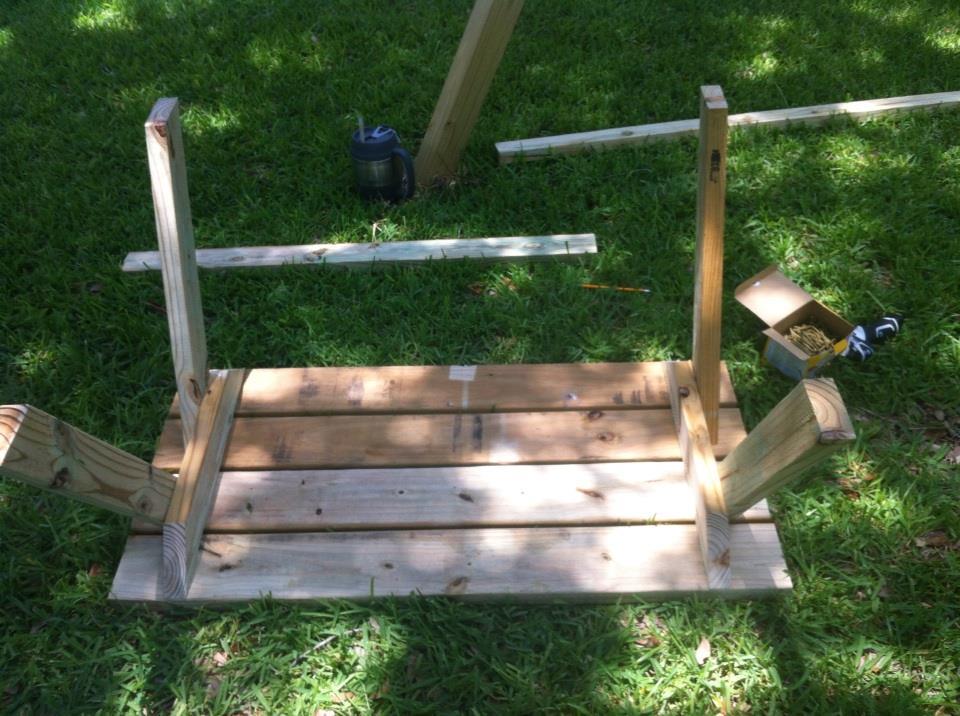
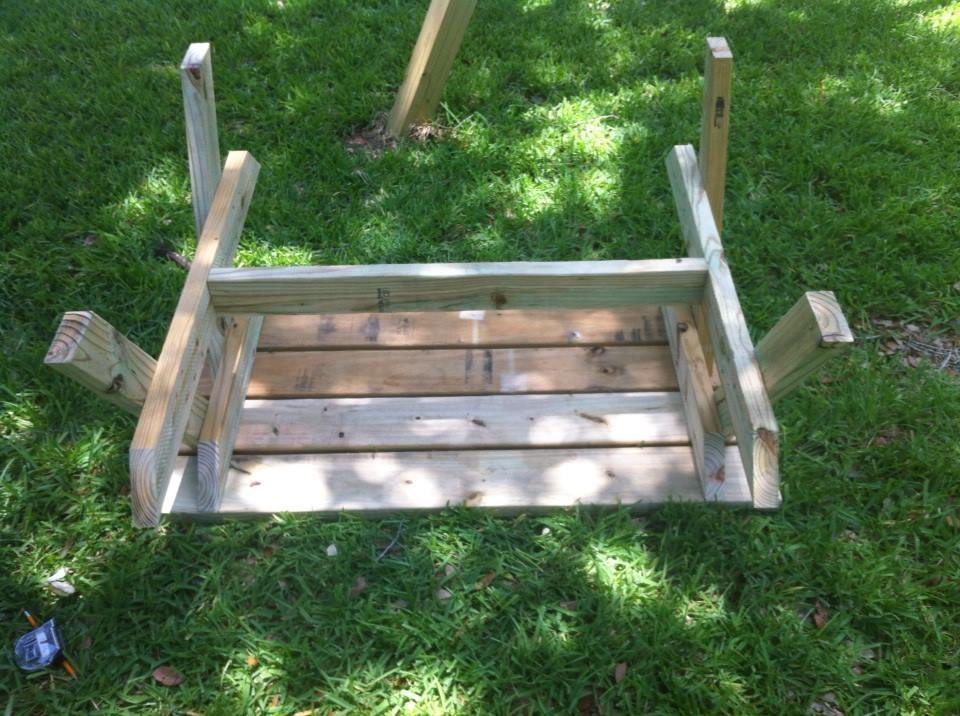
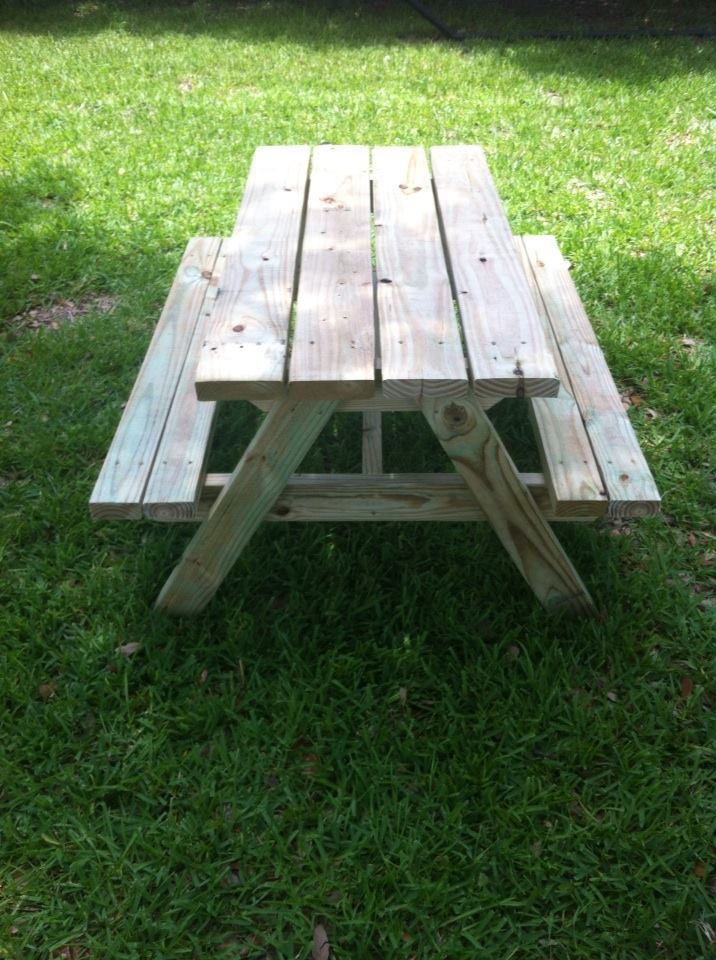
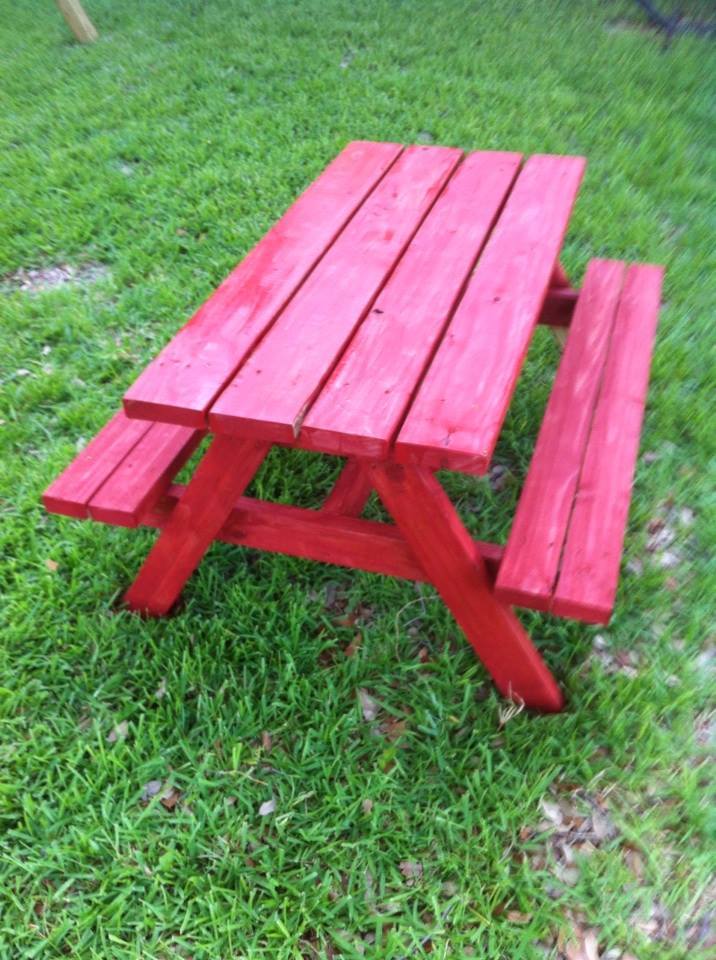
Big Kid Picnic Table

Started my summer project to build outdoor furniture.

Built from Plan(s)
Estimated Cost
$35 for wood, $10 for redwood stain
Estimated Time Investment
Afternoon Project (3-6 Hours)
Finish Used
Behr Redwood Oil-Latex Stain
Recommended Skill Level
Starter Project
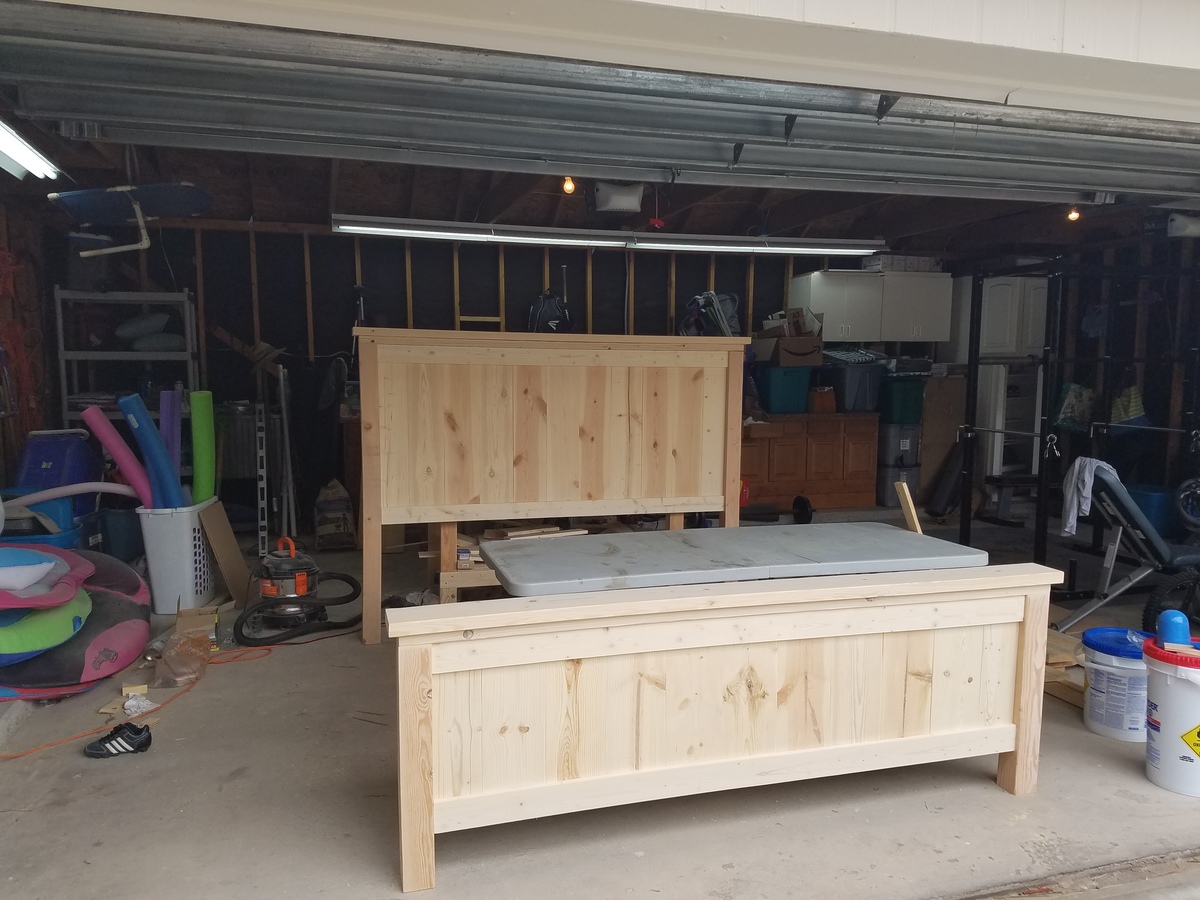
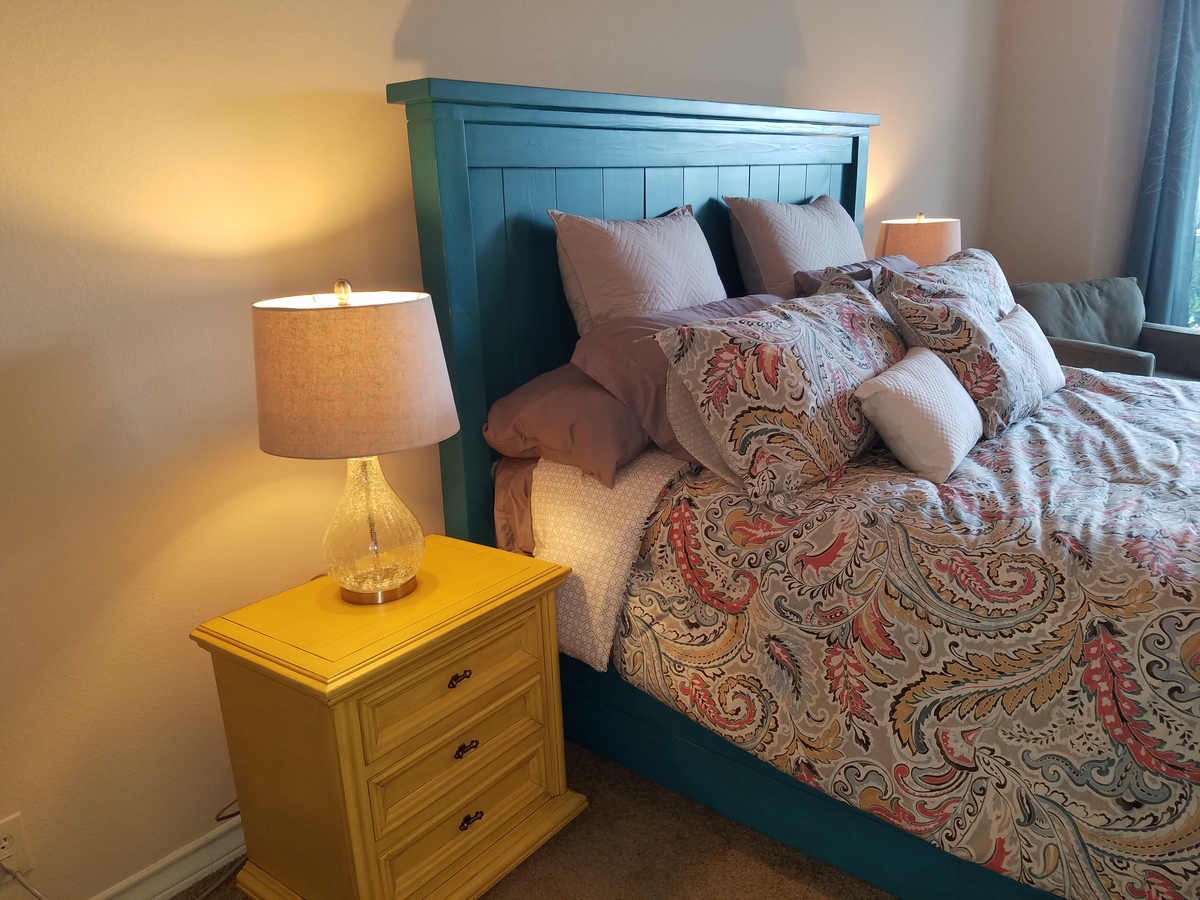
Teal King Farmhouse bed
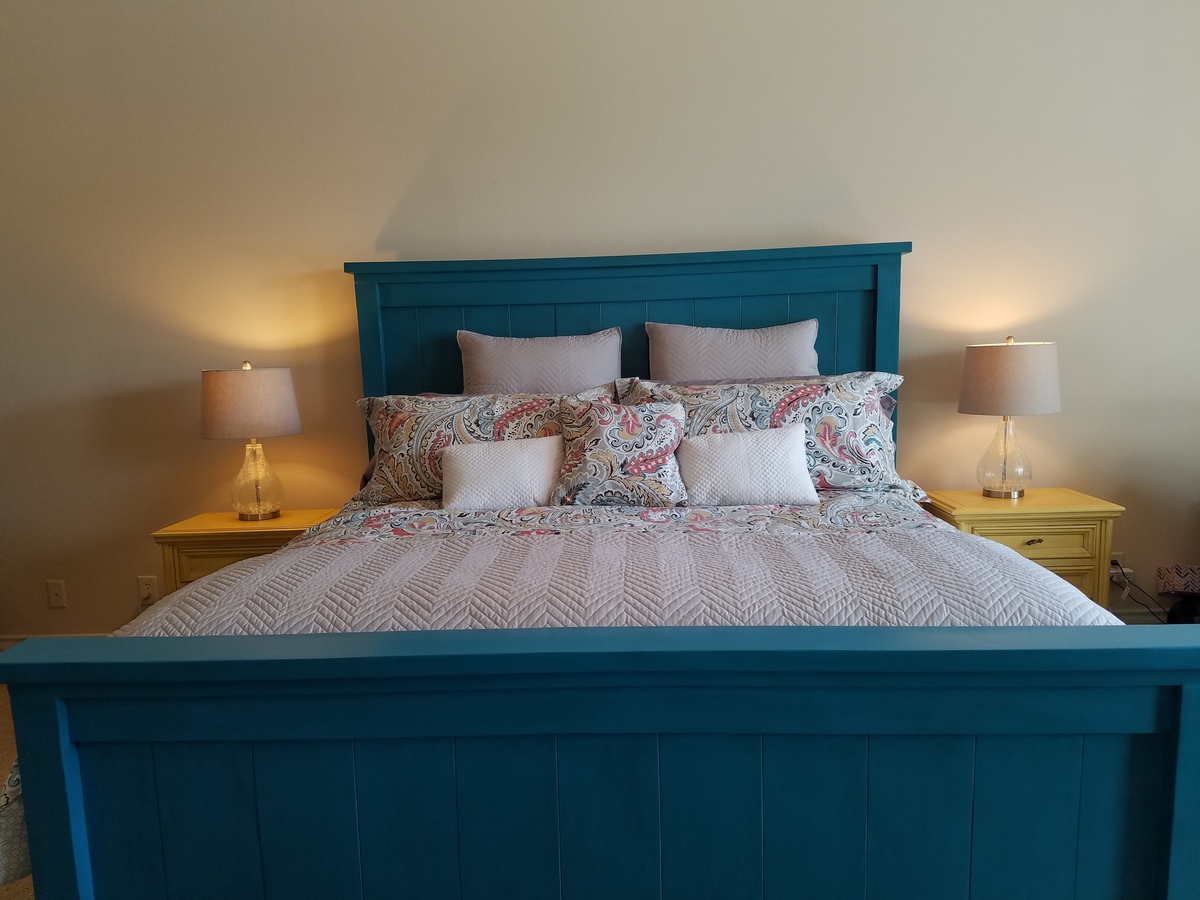
I added six inches to all vertical measurements for the headboard and footboard to make this bed a little taller.
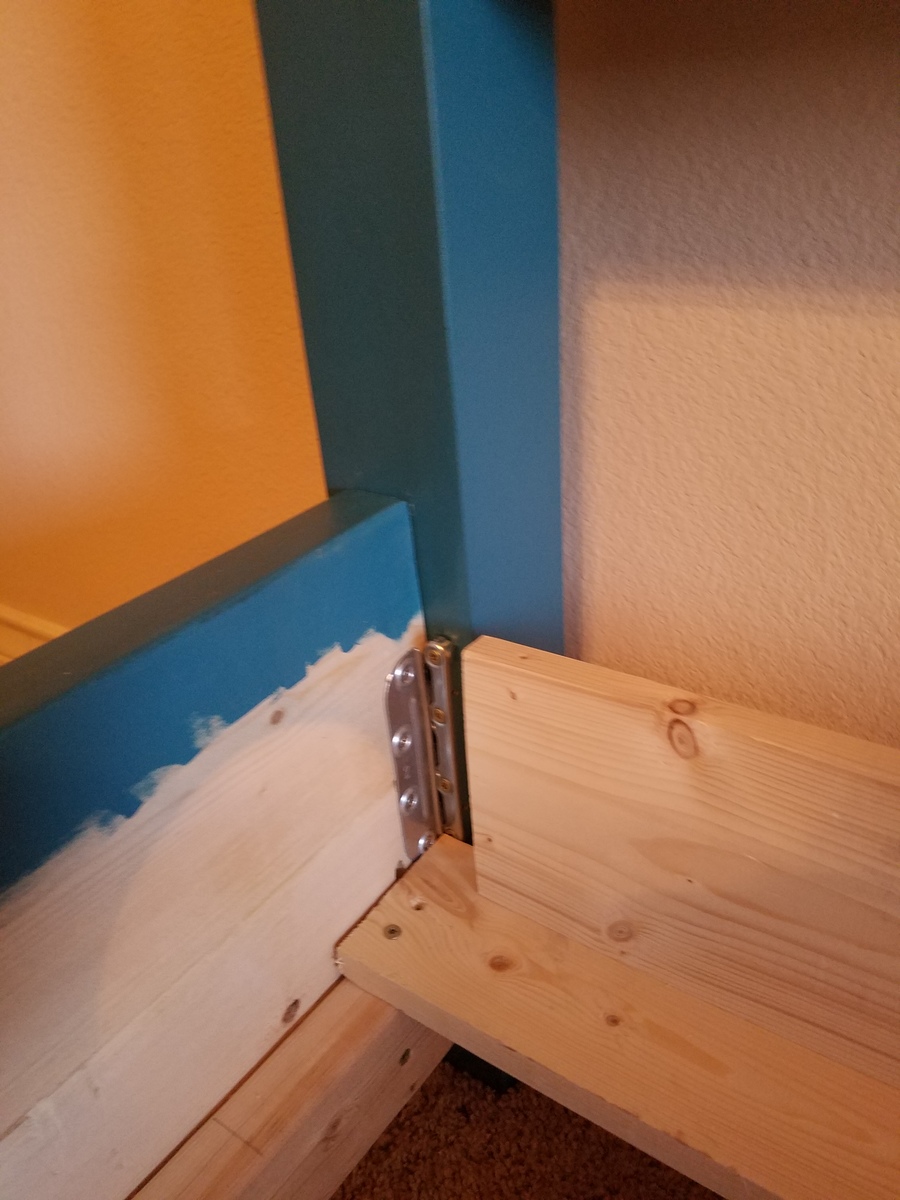
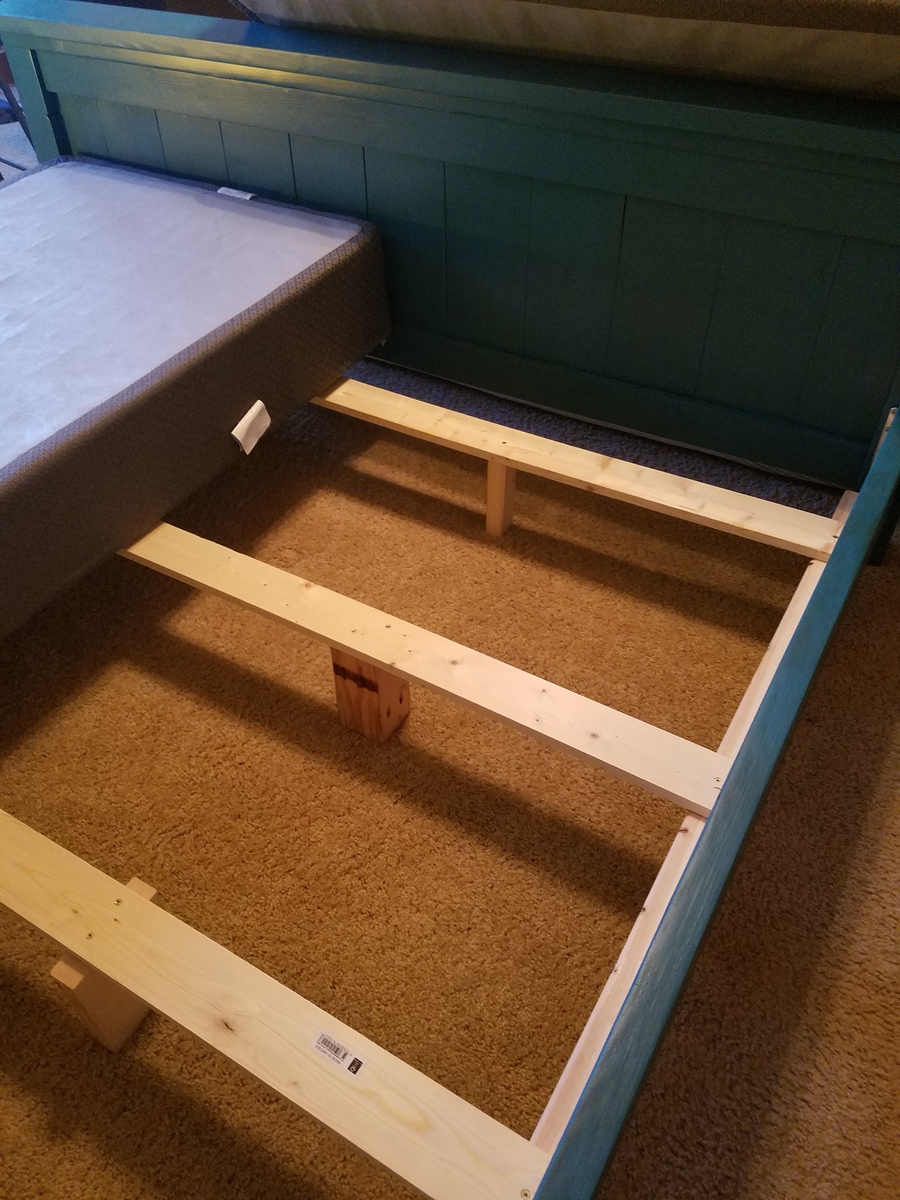
This bed was easy to build – this was my 5th woodworking project ever. It is however a BIG project in terms of size…I can carry the footboard by myself, but the headboard is a different story! I used Jamison’s (from rogueengenieer.com) technique for attaching side rails. My bed came out a little bit wide even though I sized down the width measurements to fit a king sized mattress used in the traditional orientation ( 76 inches wide by 80 inches long.) Had I attached the rails on the insides of the 4/4 posts it would have been perfect, but I wanted to be able to break the bed down easily in case we move. (We have a history of being semi-nomadic!) I purchased the rail hardware off of amazon. I also ended up using pocket holes to attach a 1x6 to the end of my top support board to keep the box springs from sliding up.
I LOVED the color of the feature bed on the California King Farm House plans, so I tried my best to match that. I used a home right max sprayer for the primer, paint and polycrylic. I hand applied the brown glaze with a sponge brush and wiped most of it away with old t-shirt rags. I absolutely love the bed – it is super heavy and very sturdy! Thanks Ana!

Built from Plan(s)
Estimated Cost
approx $250 including paint and hardware
Estimated Time Investment
Week Long Project (20 Hours or More)
Finish Used
2 coats kilz 2 primer.(sprayed on), 4 coats Caribe from Behr (home depot) (sprayed), glazed with rustoleum decorative glaze in java brown. 2 Coats of satin polycrylic (sprayed)
Recommended Skill Level
Beginner
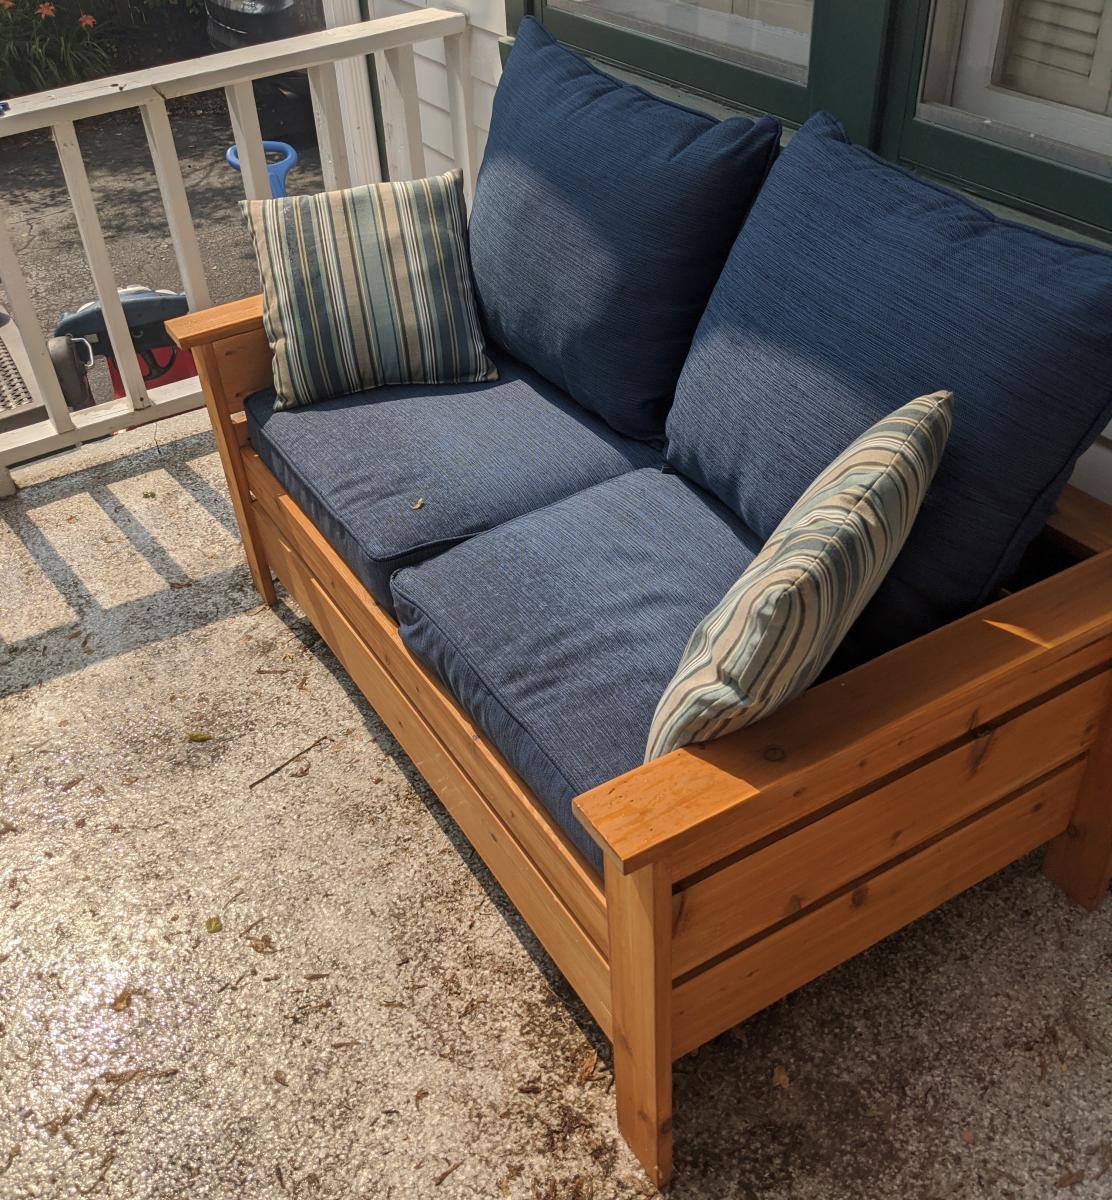
Outdoor Loveseat
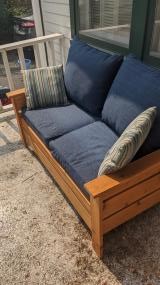
Sorry for the first sideways picture. Not sure why it did that, but it won't let me remove it now. Thanks for giving such detailed plans (https://www.ana-white.com/woodworking-projects/modern-outdoor-loveseat-…)! So happy with the end result! I wanted to use cedar to make it a bit more weather resistant so I swapped out the 2 in boards for 1 in boards to save some money. Still extremely sturdy, so if you want to go that route I highly recommend it.
Finish Used
Olympia Transparent Outdoor Sealant
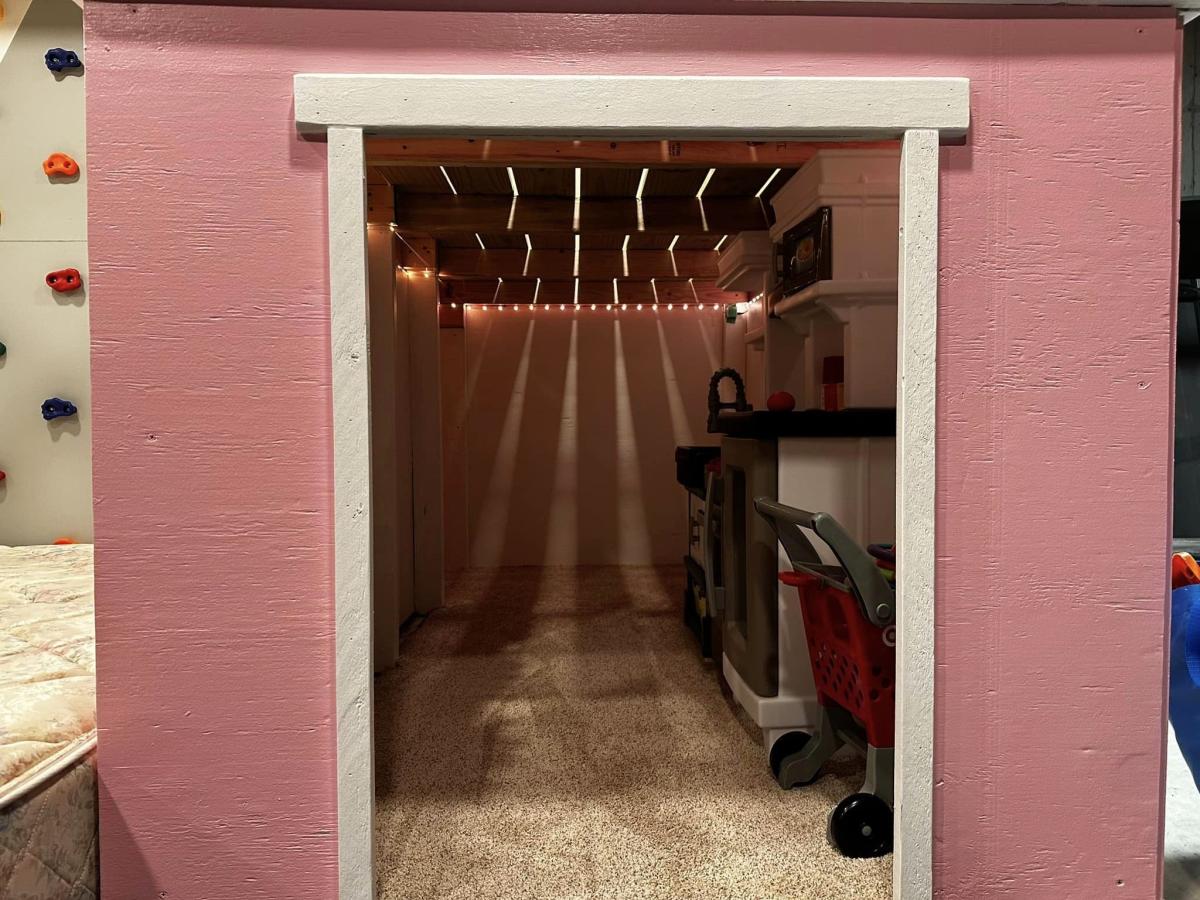
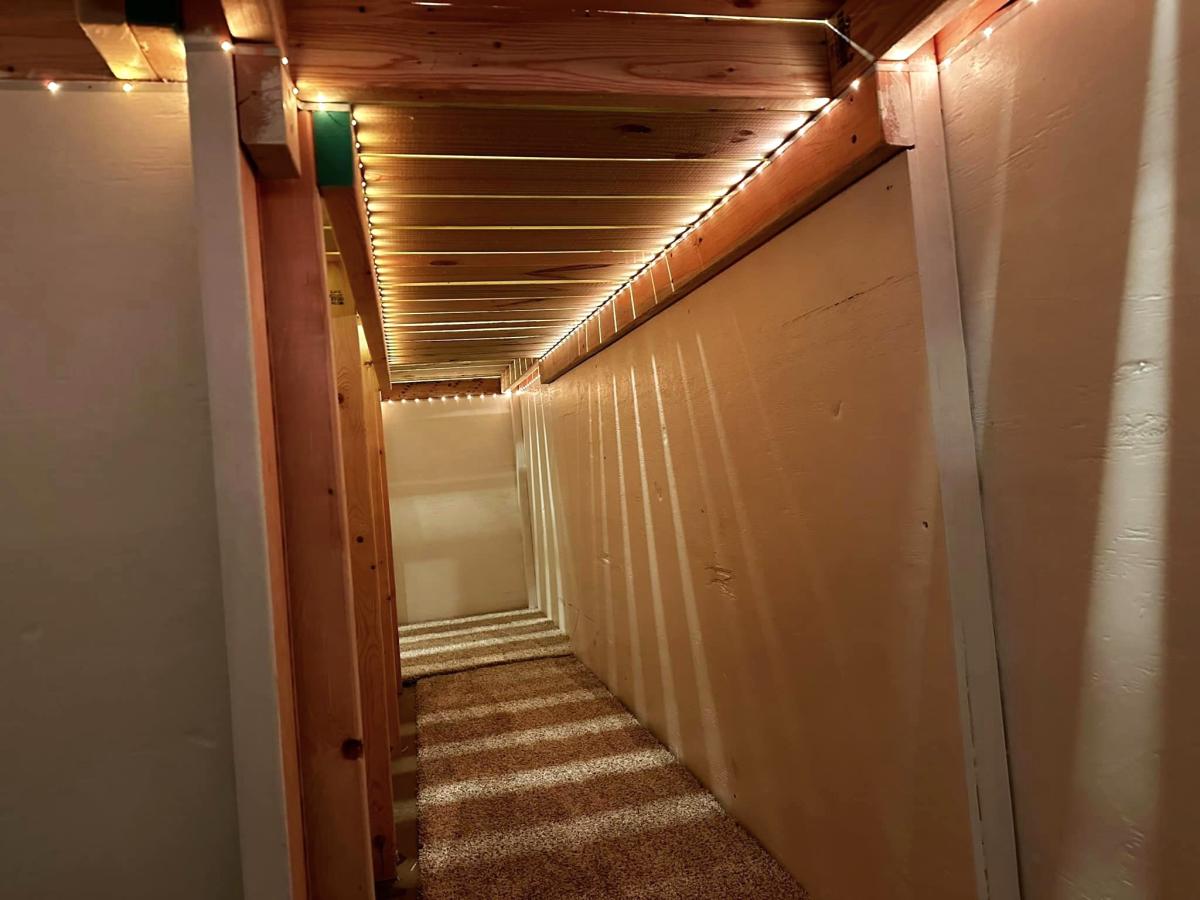
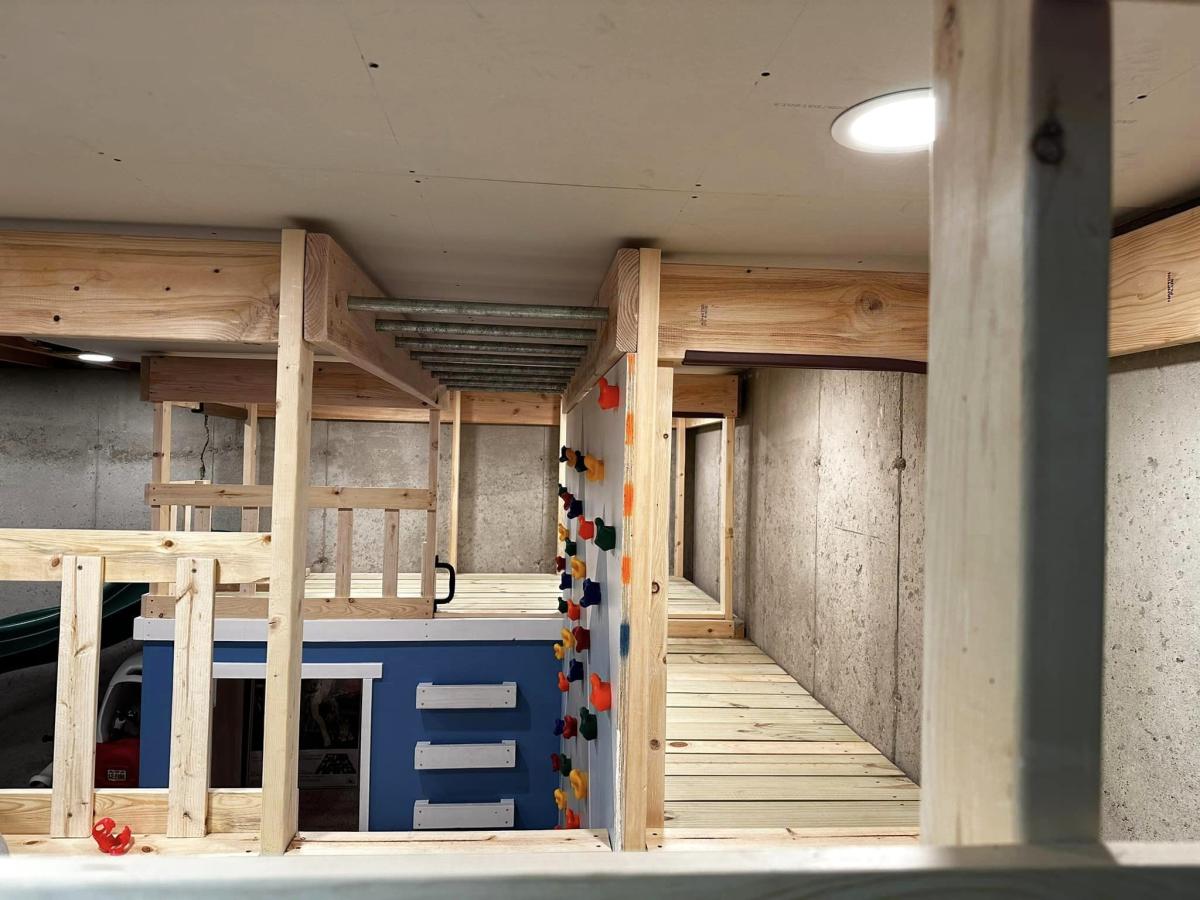
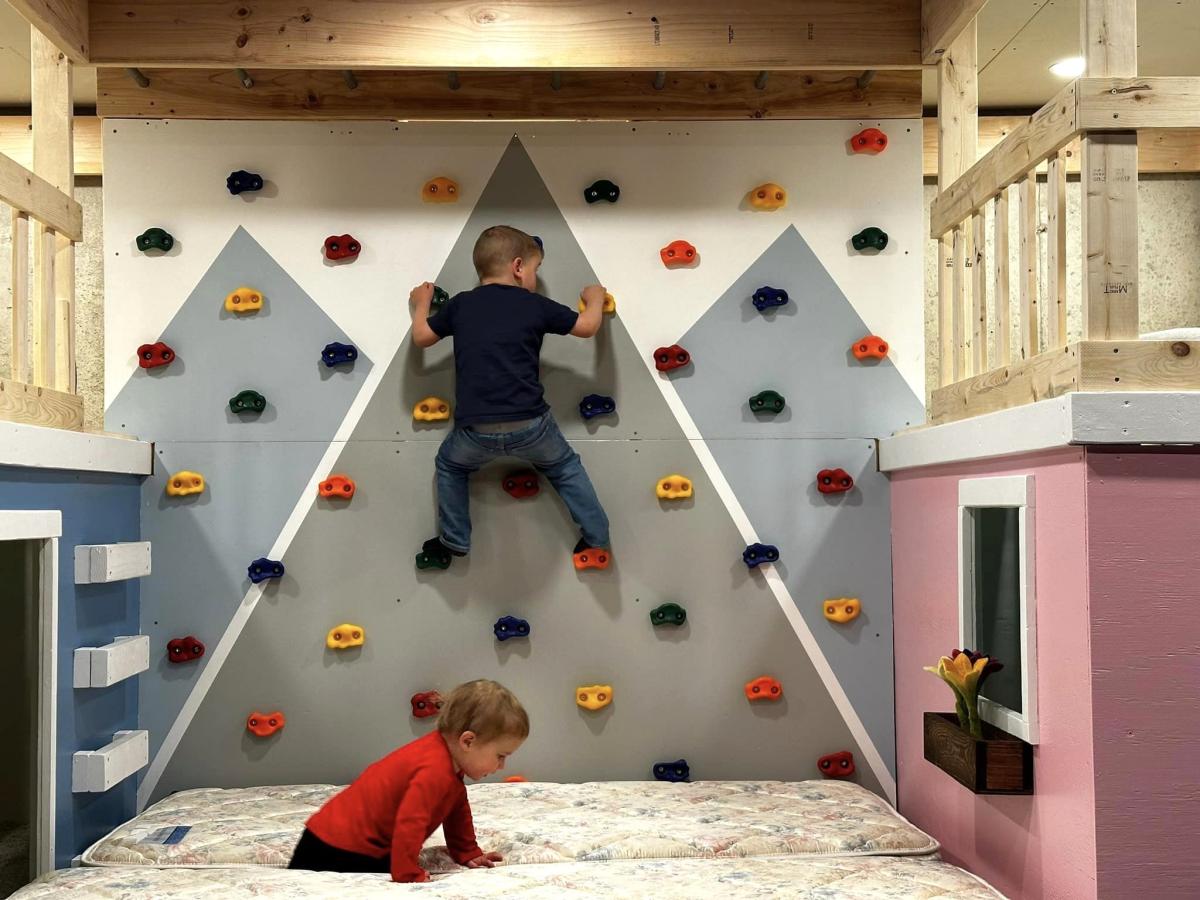
Indoor Playhouse with Climbing Wall
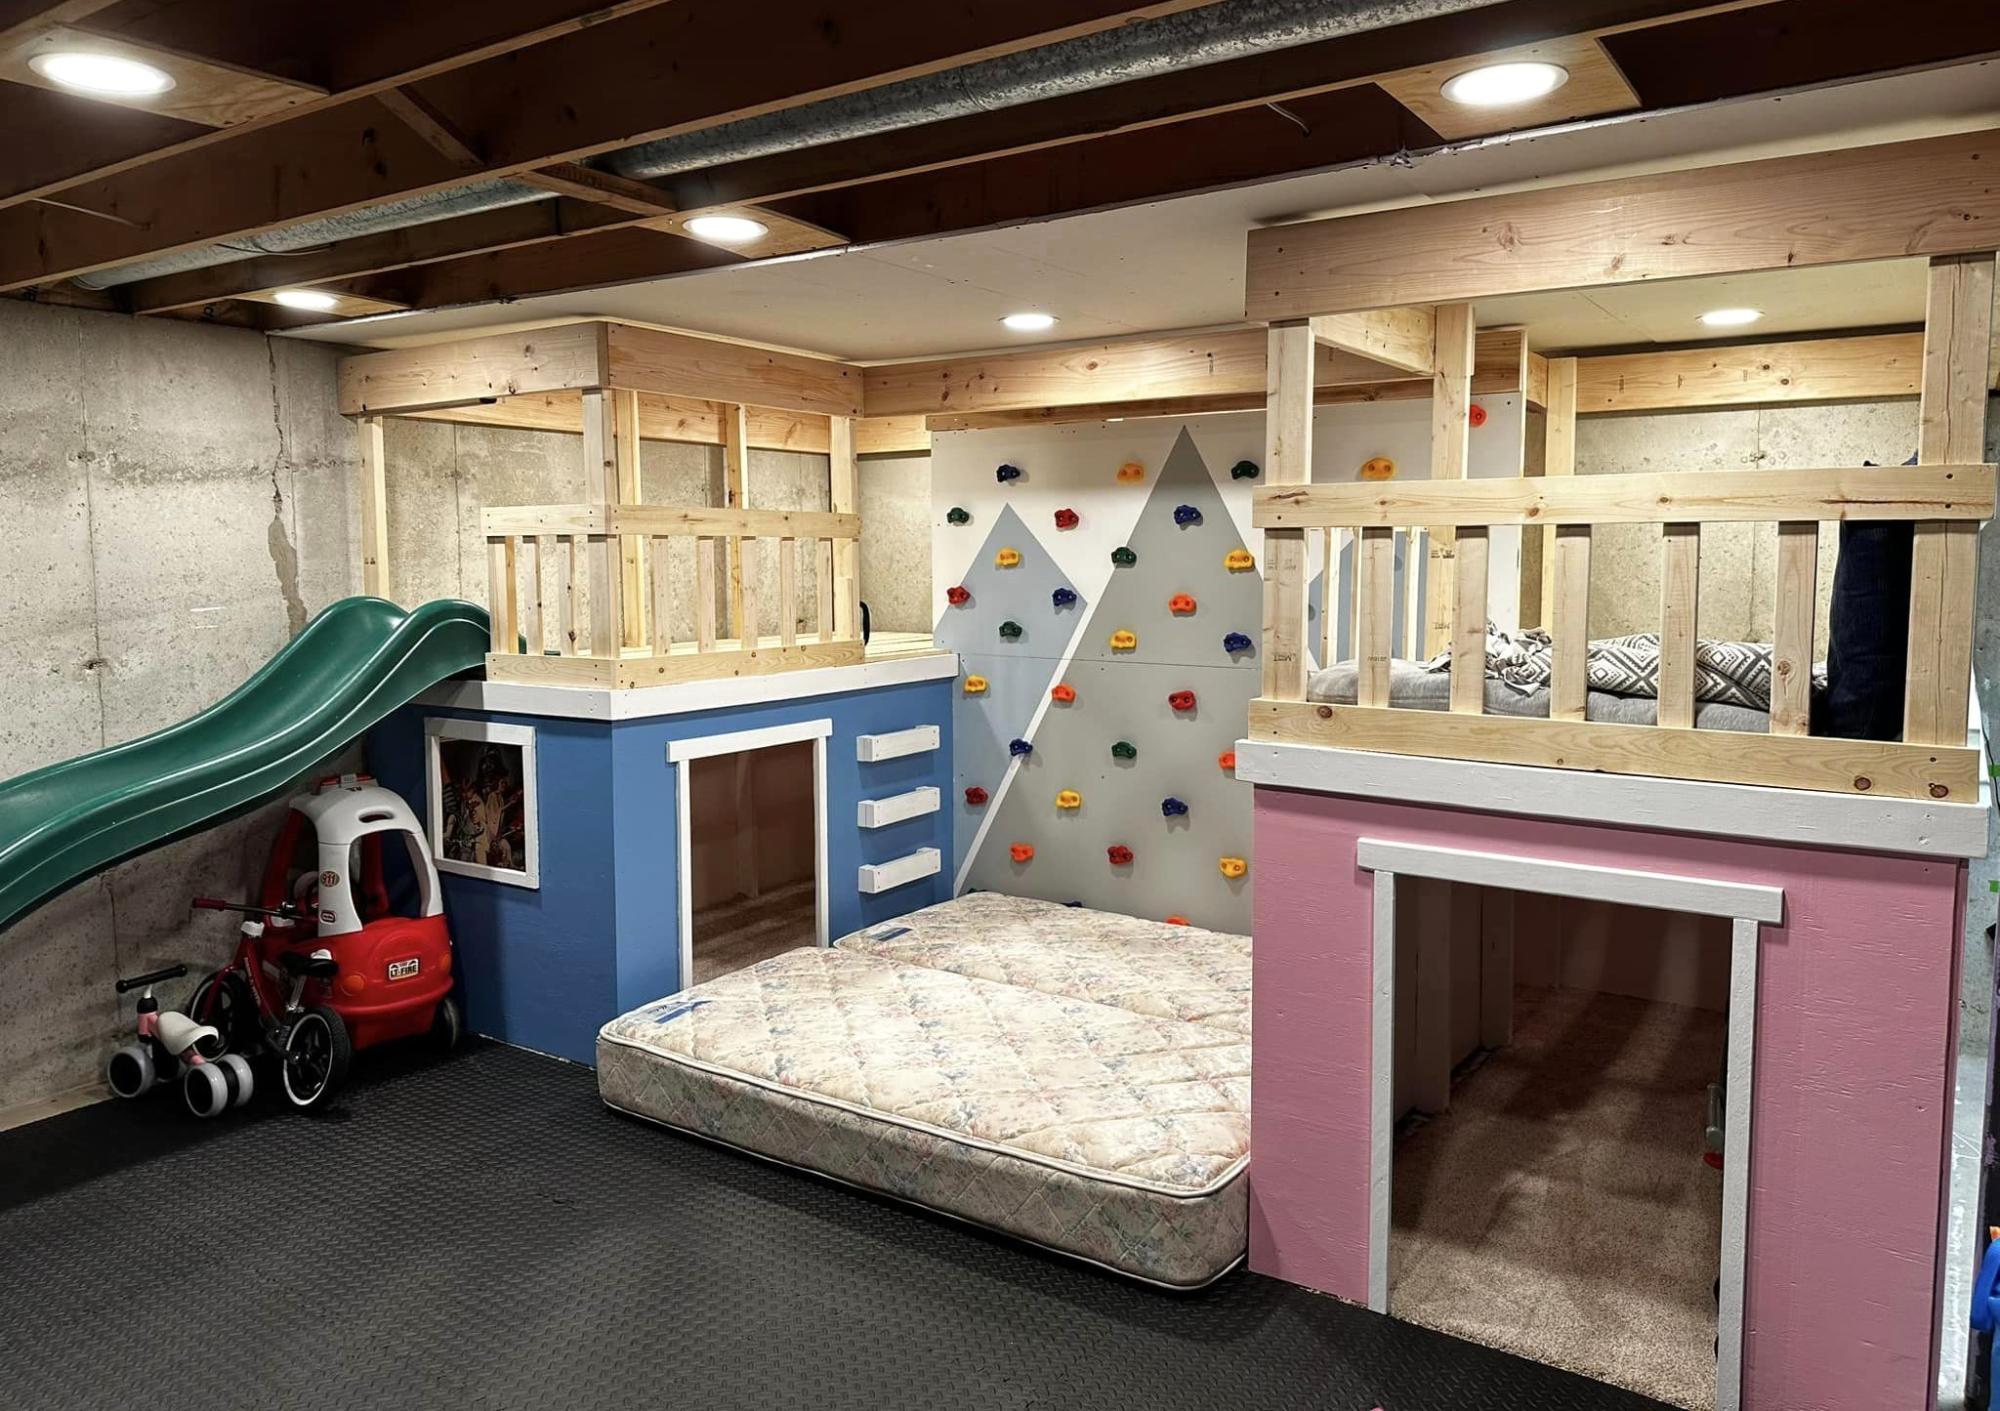
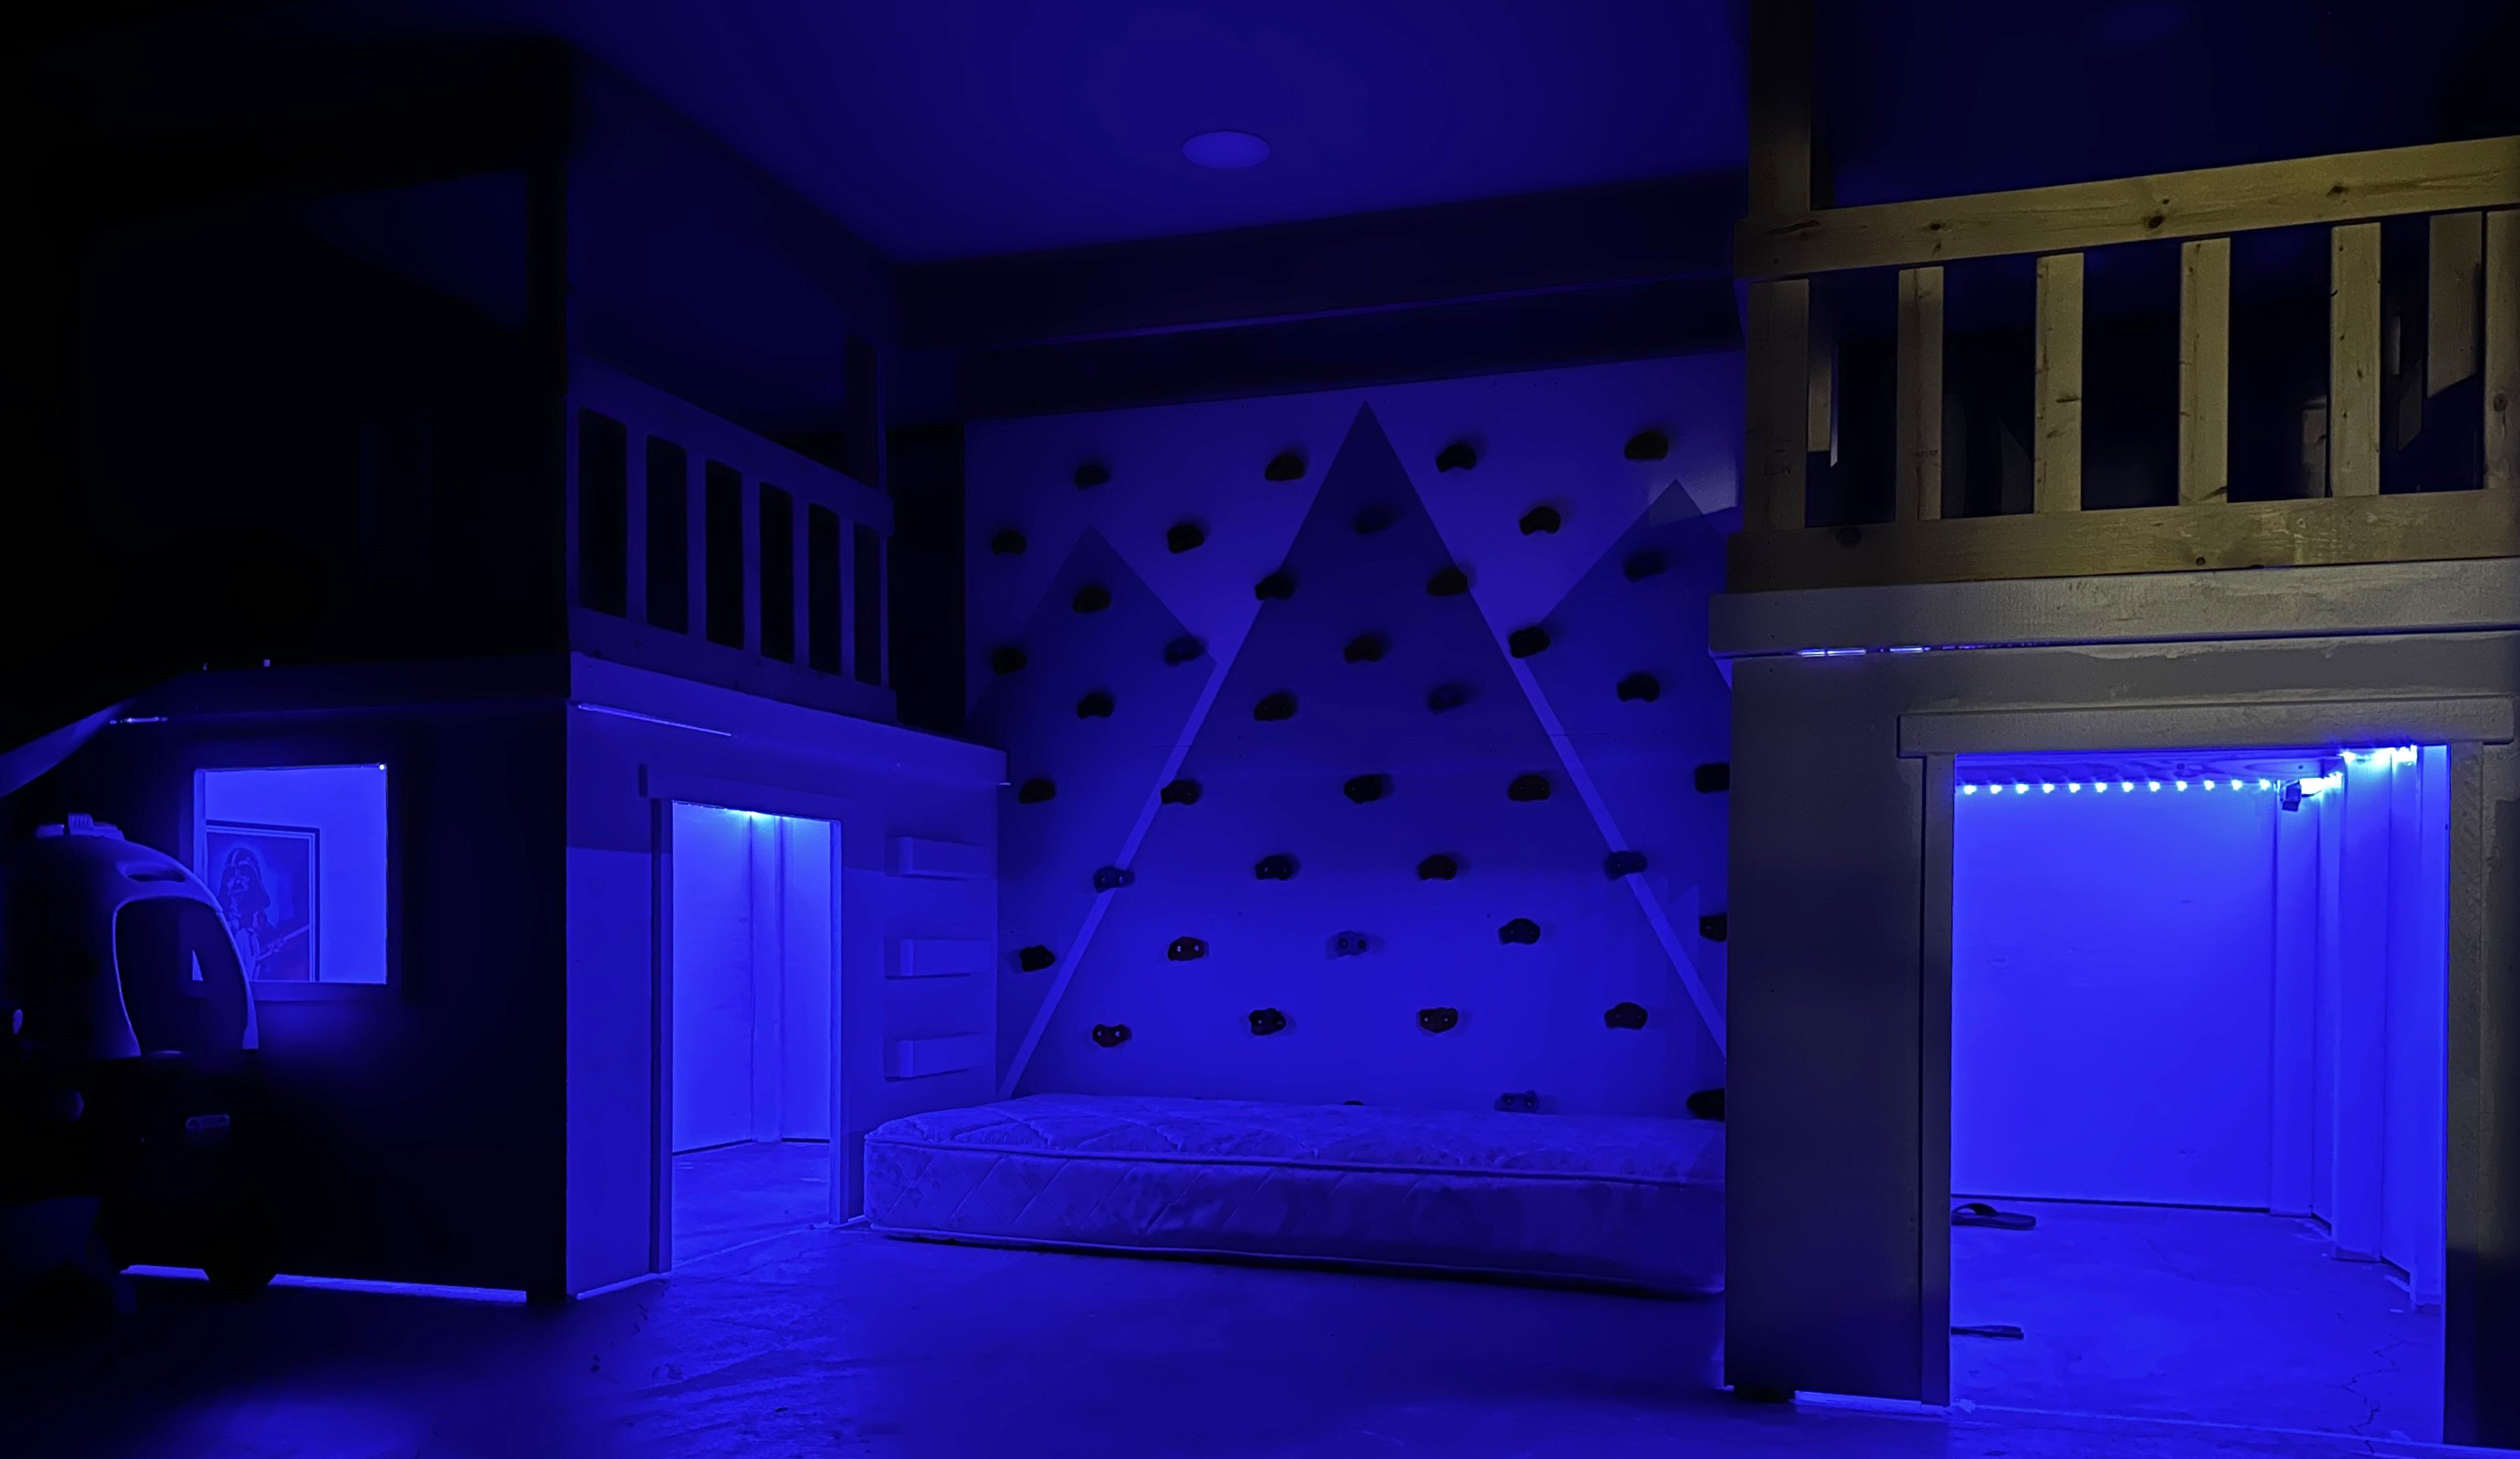 So much fun building this project and the kids love it! Especially nice for the long winter months in Wisconsin.
I adjusted a few things from the original because I really wanted to incorporate a climbing wall in there.
Brandon Conrad

Built from Plan(s)
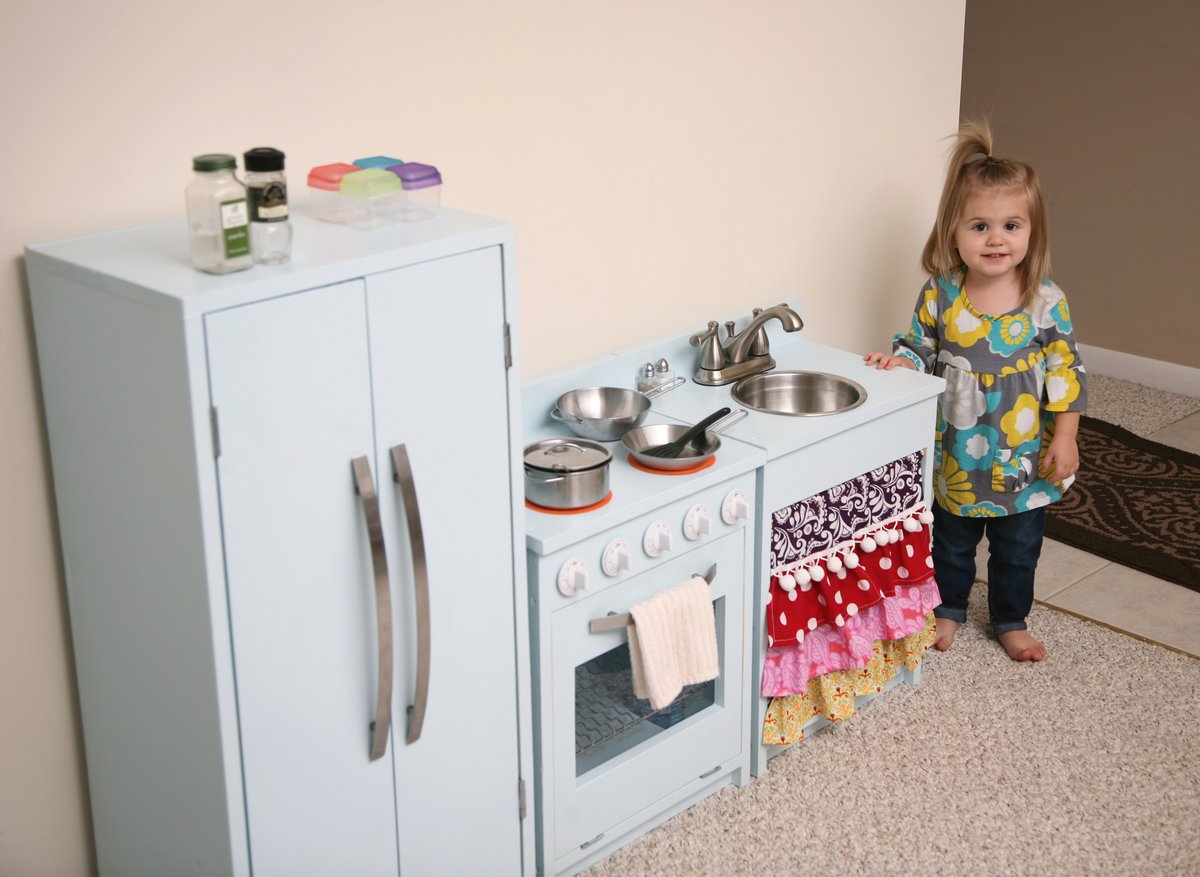
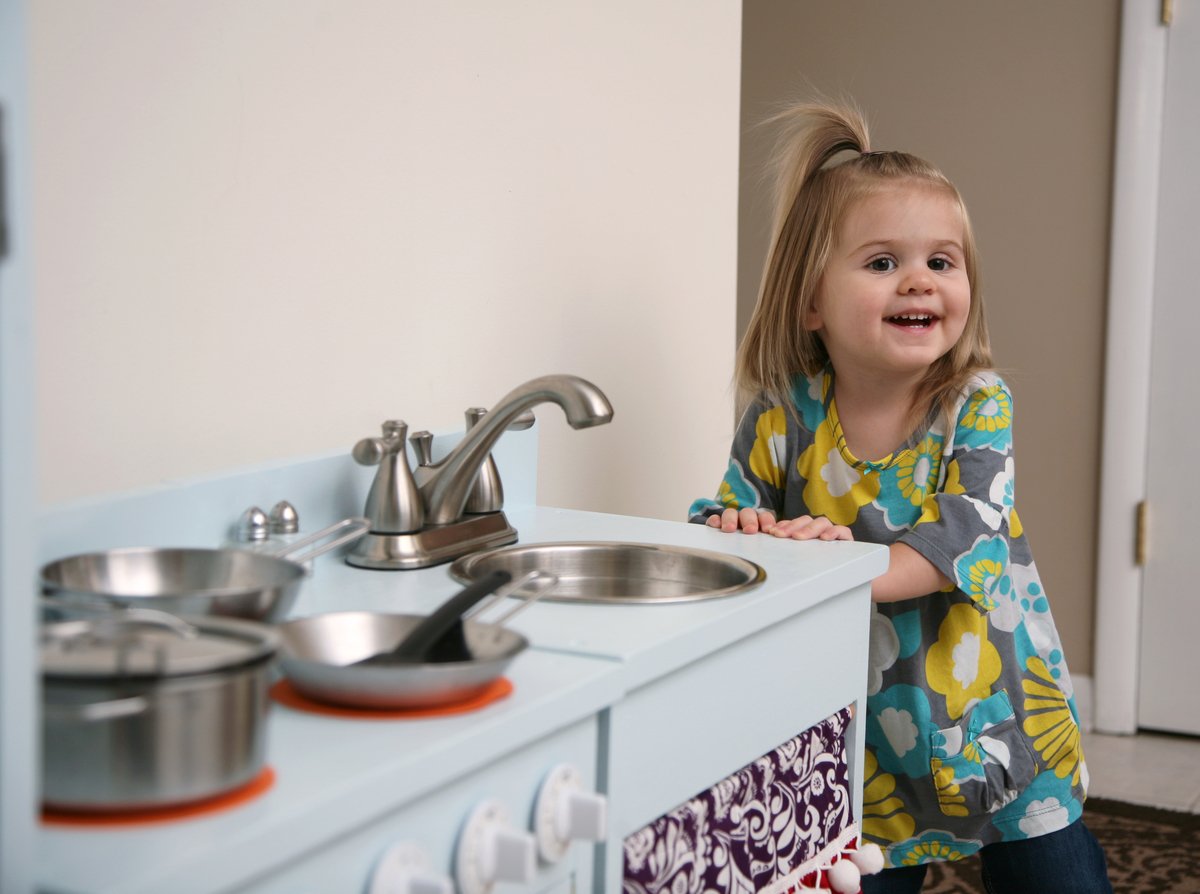
Olivia's Cute Kitchen
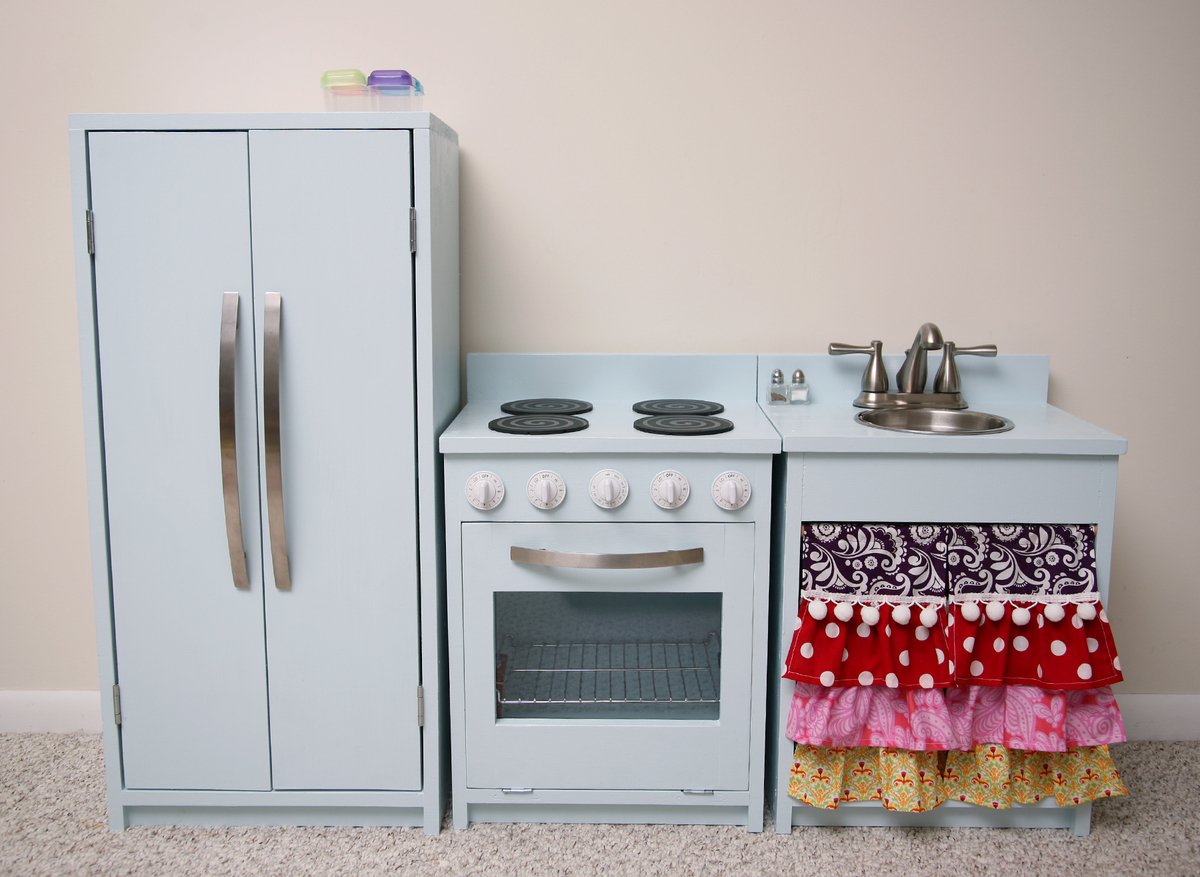
After spending what seemed like forever on Pinterest, drooling over all the adorable DIY play kitchens, I decided to build this one. The plans were so easy to follow and a guy at Lowe's did all the cutting for me, which was a huge time saver. I literally had it actually built in just a few hours with the help of my mom. Then I was able to primer, add two coats of paint, and accessorize over the next few days. I LOVE the results!! And I was so inspired by the one I originally saw online that I even made my own ruffled sink skirt!!! The fabric was leftovers from the handmade crib bedding set that my mom had made for my daughter. So everything coordinates perfectly!! I am in love....I think I even love it more than she does at this point because she is only 23 months old!! :) Hope she'll enjoy it for years to come!
***Update - Just added "burners" to her stove so now it looks complete!!***
Built from Plan(s)
Estimated Cost
Just over $200 because we went a little overboard on the special touches.
Estimated Time Investment
Weekend Project (10-20 Hours)
Recommended Skill Level
Beginner
Comments
Mon, 09/10/2012 - 22:04
Very cute!! What little girl
Very cute!! What little girl won't love something like this! My oldest son would have loved this. He is 6 now so maybe his little brother may want something like this built.
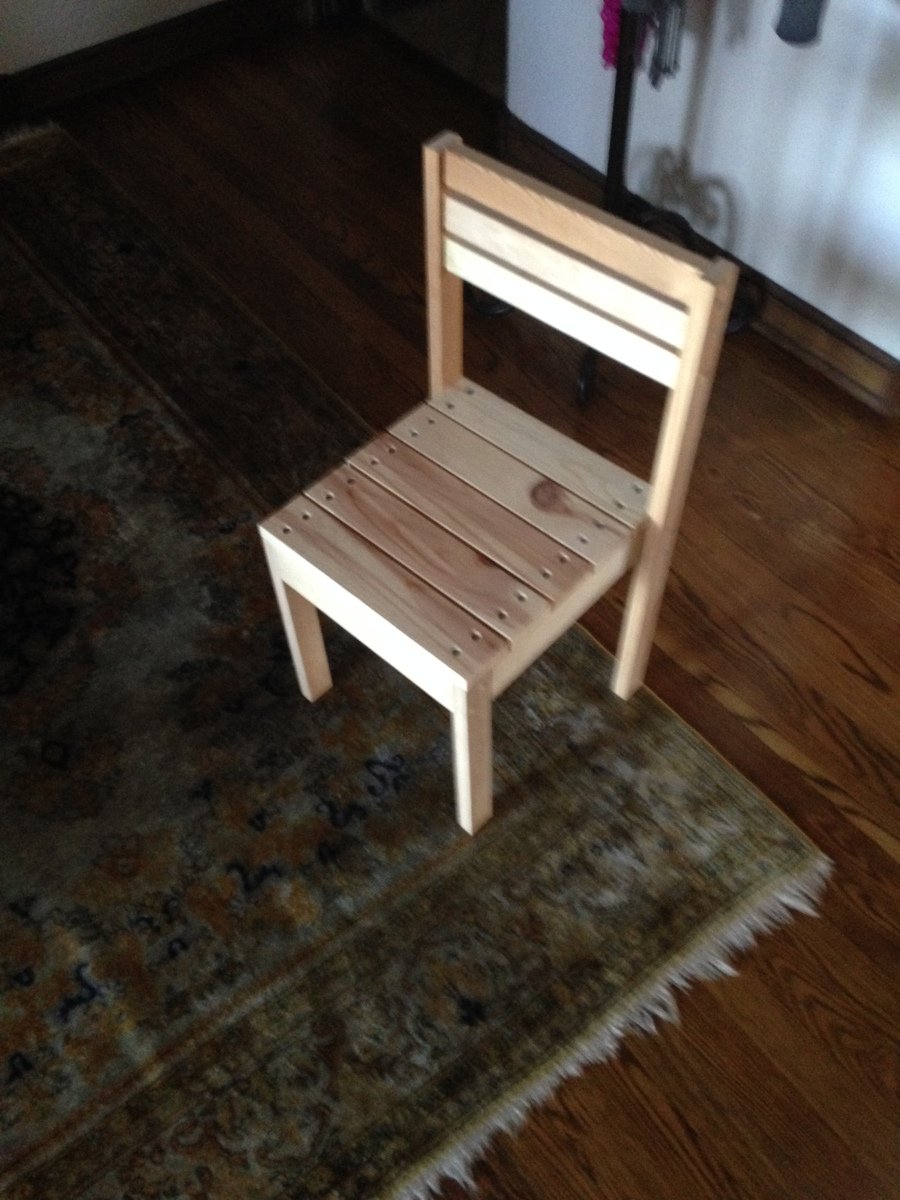
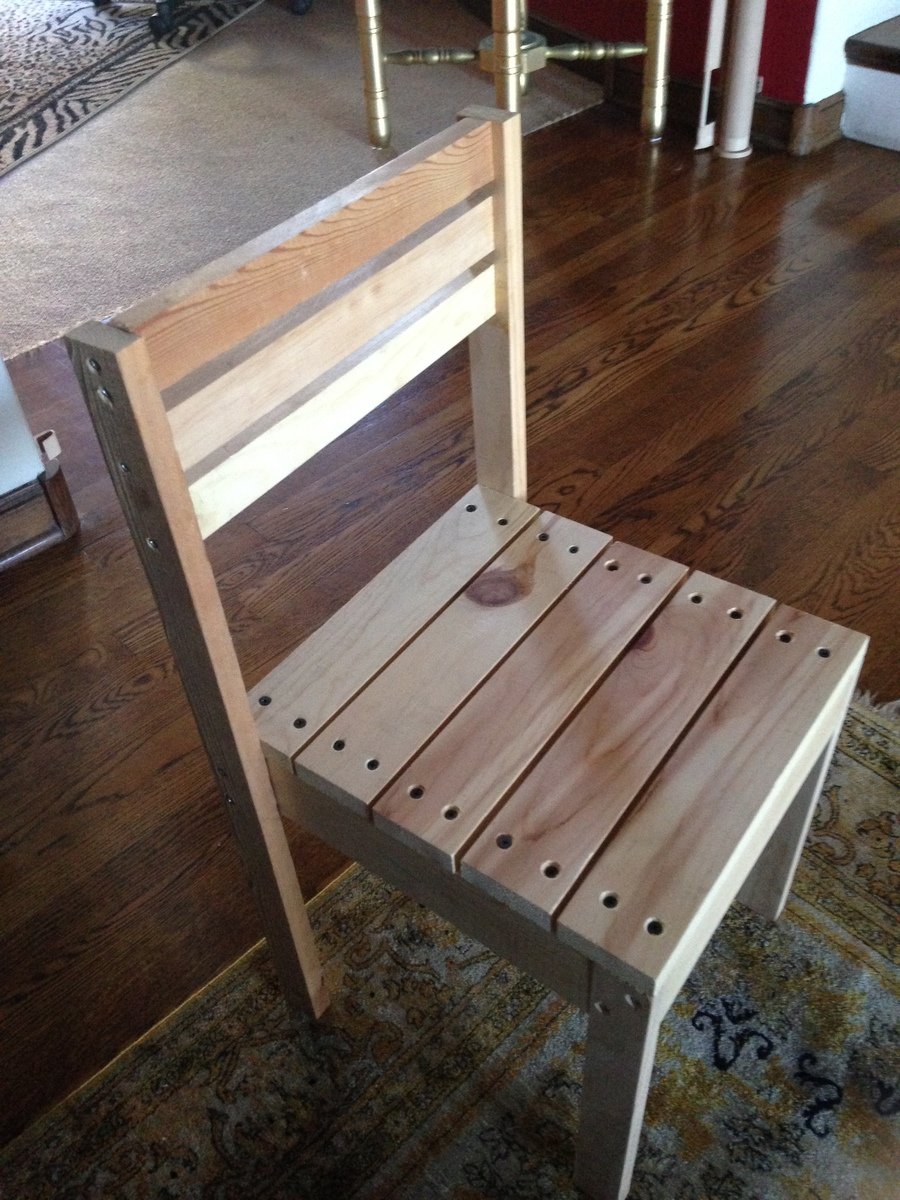
kid stackable chair
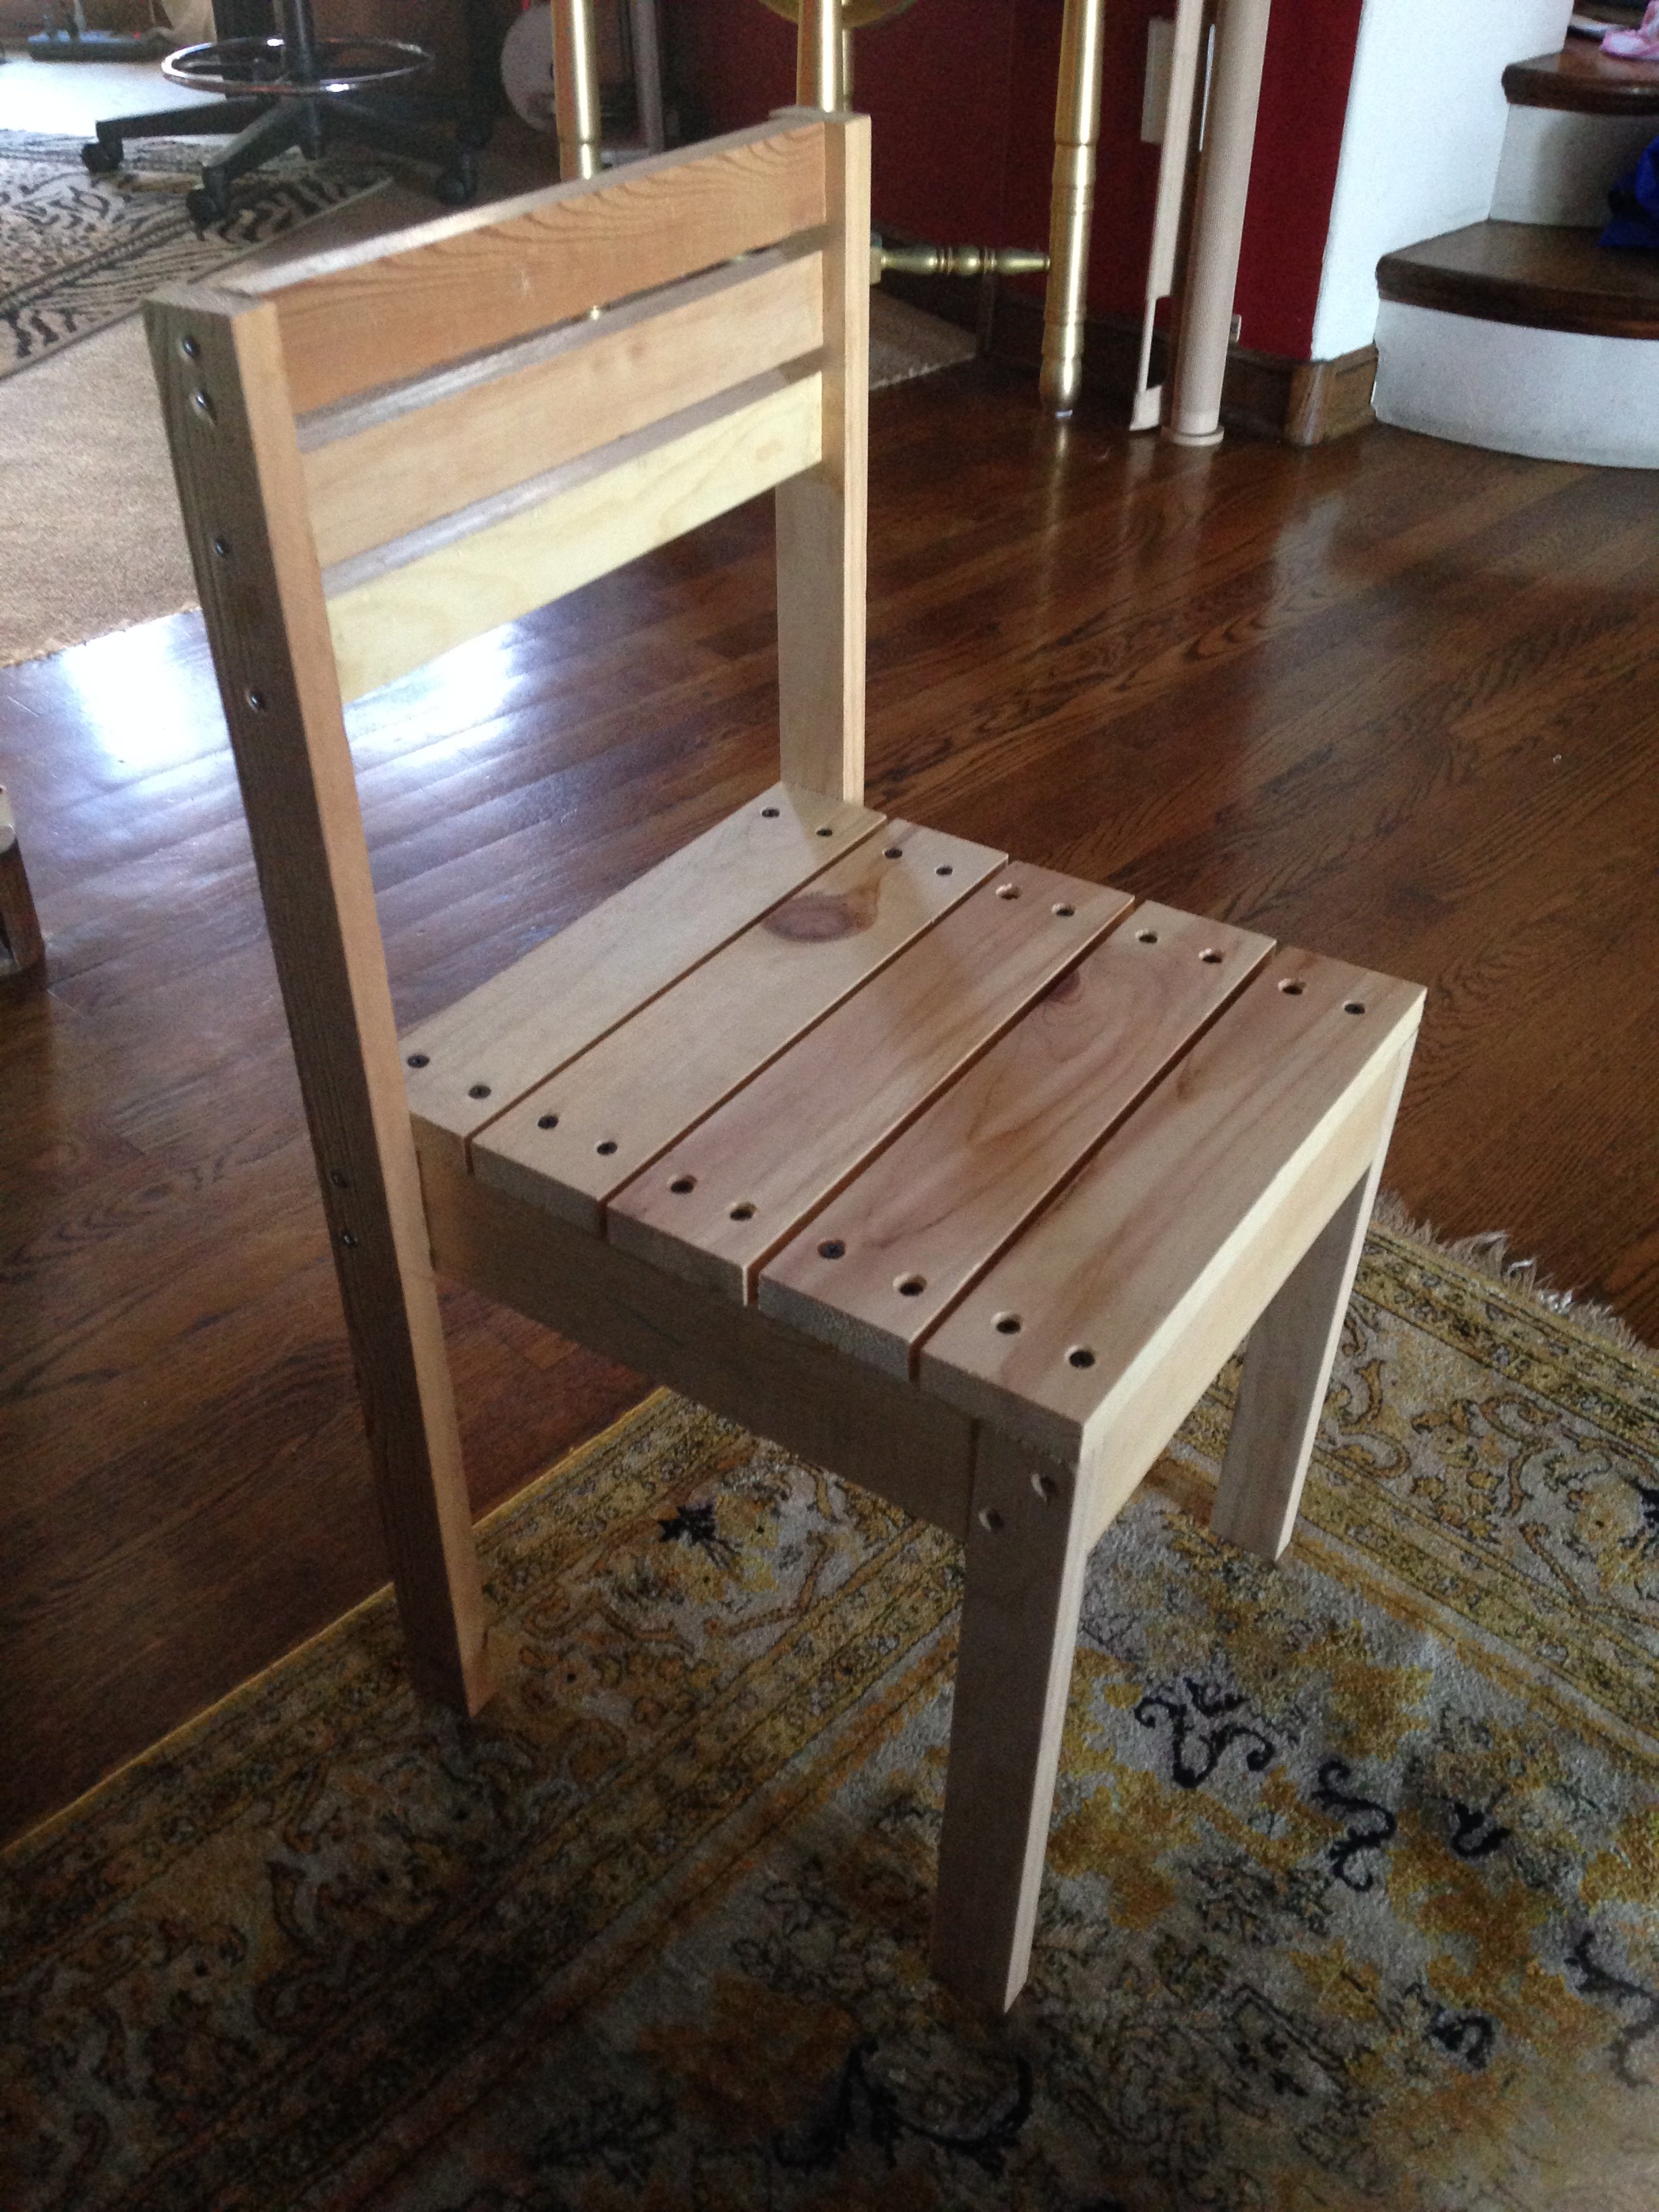
easy
Built from Plan(s)
Estimated Cost
15
Estimated Time Investment
Afternoon Project (3-6 Hours)
Finish Used
none, just sanded really well
Recommended Skill Level
Starter Project
Cottage Oars
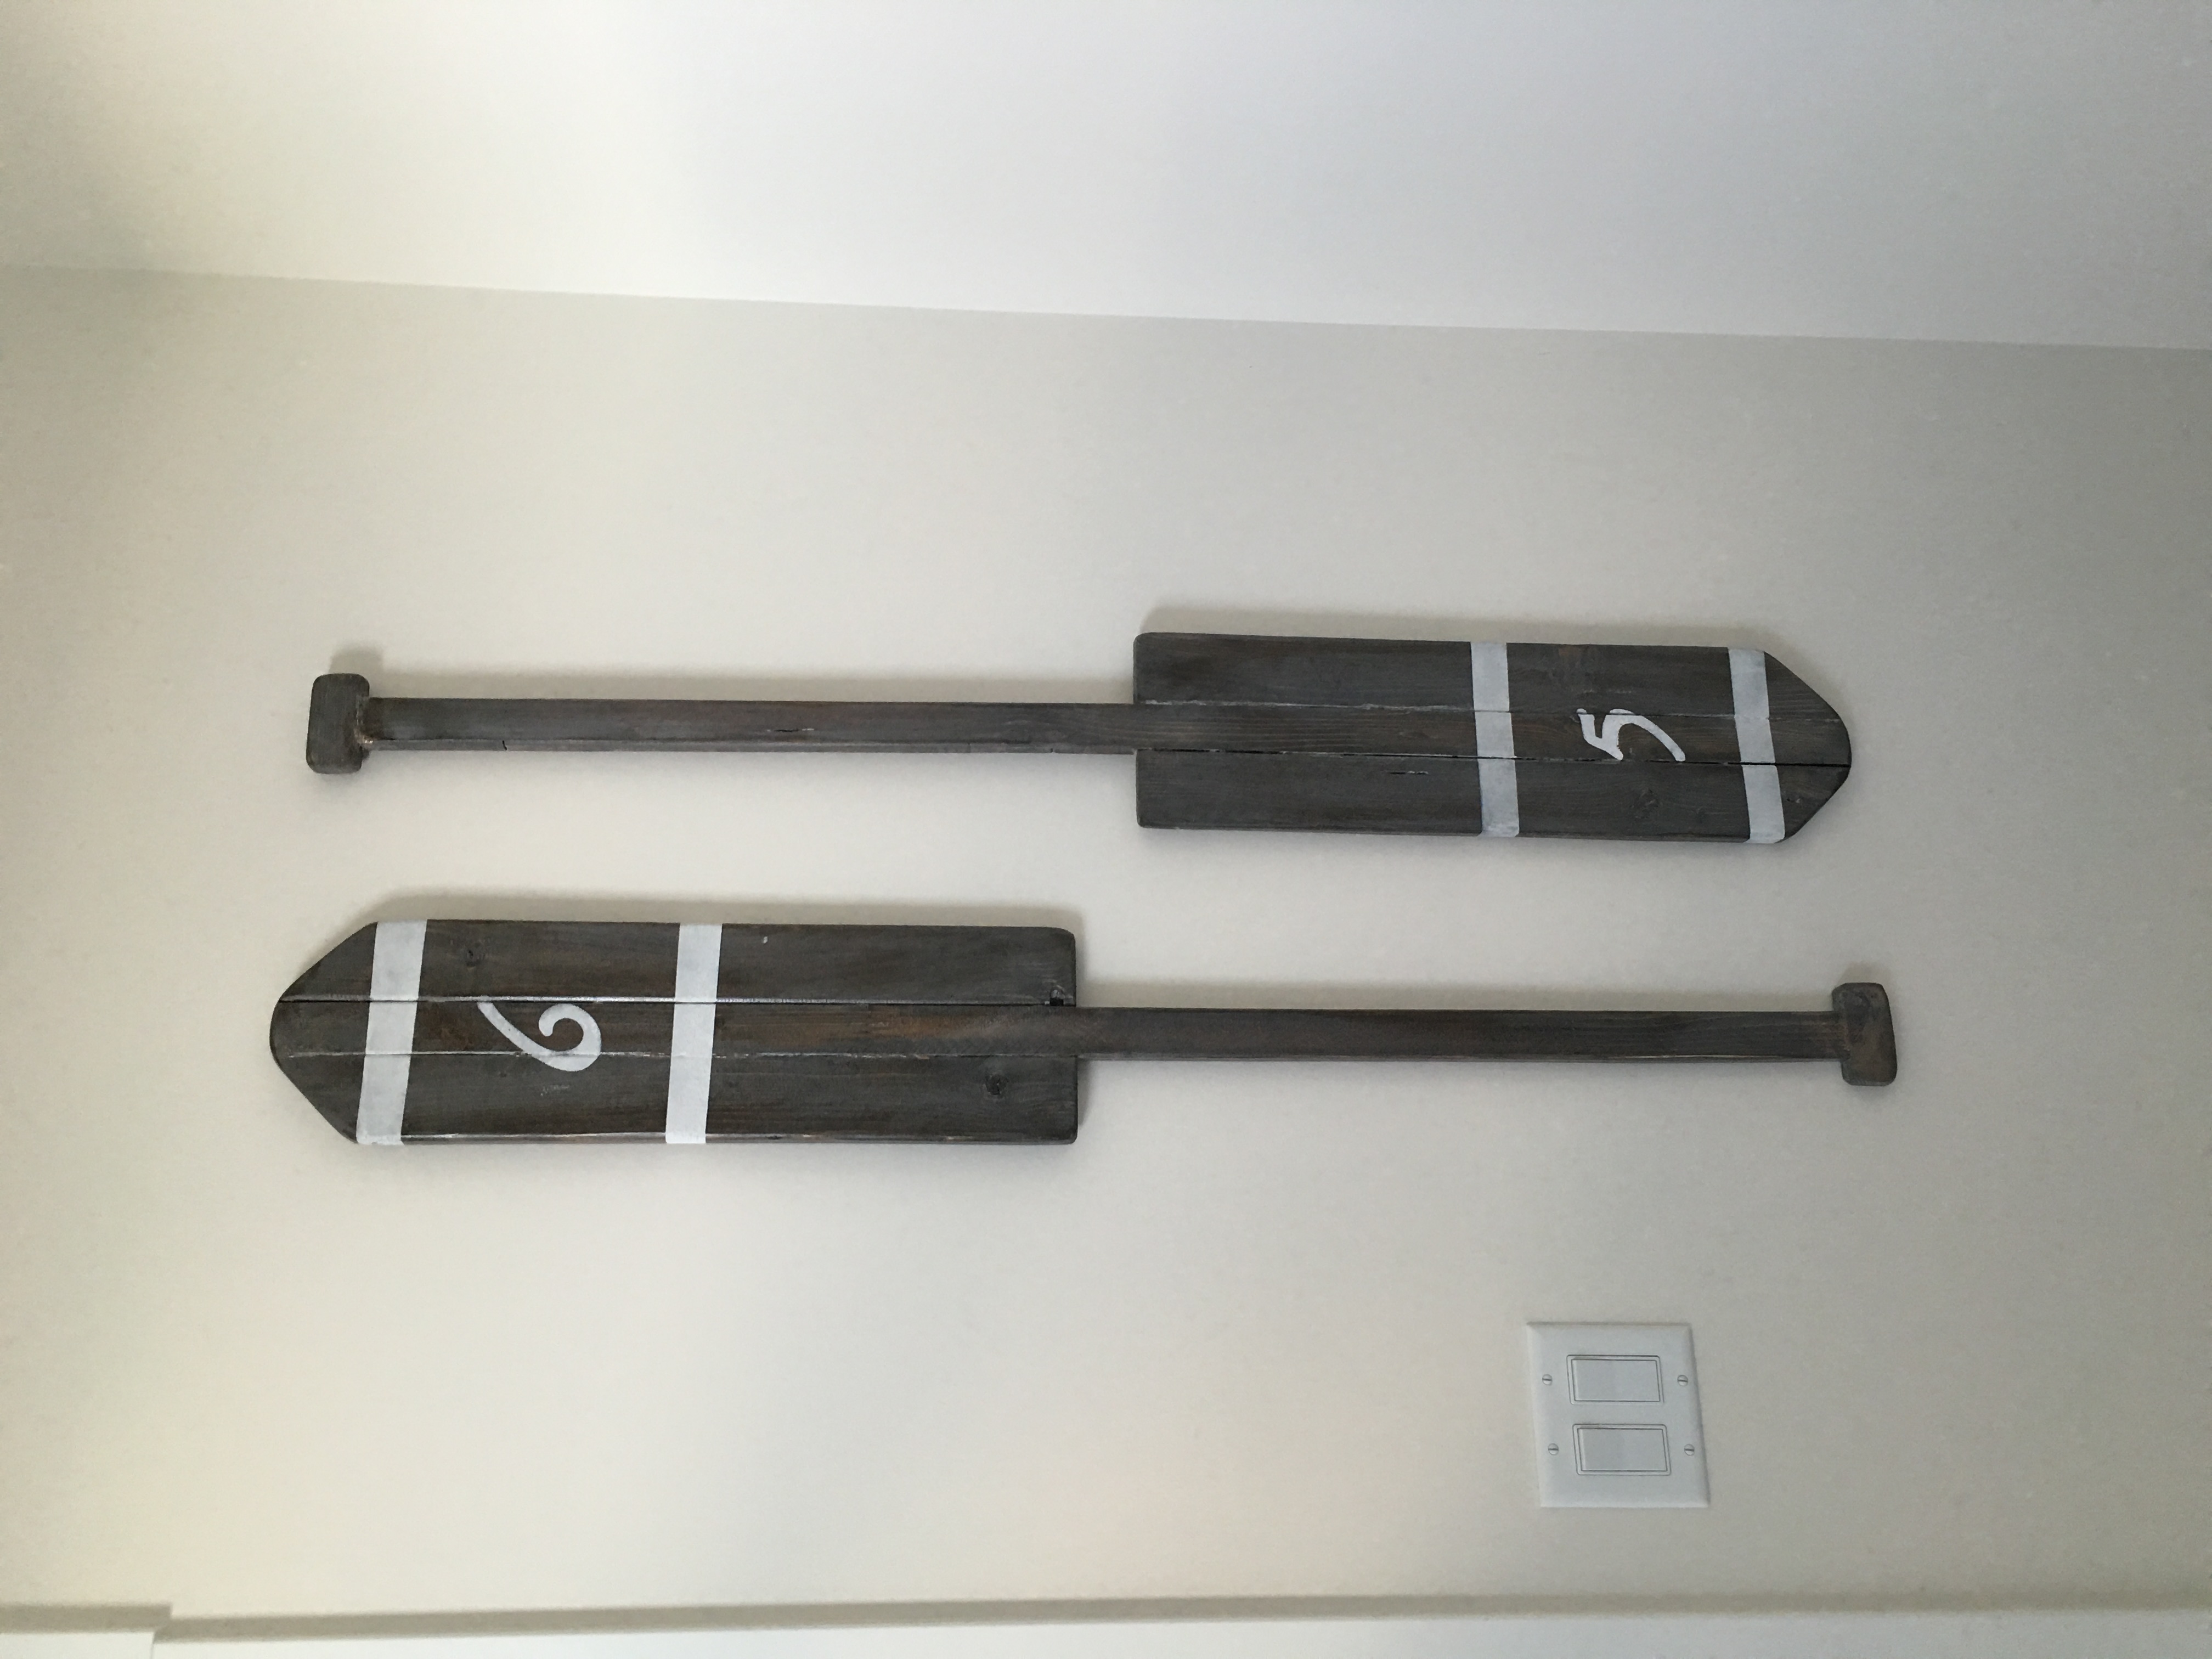
I actually made 2 sets of these oars as wall decor for our cottage. This is the second set - I love them! The kids chose the numbers which are completely random :)
Estimated Time Investment
An Hour or Two (0-2 Hours)
Finish Used
1st - stained with Minwax Dark Walnut
2nd - stained with Minwax Classic Grey
3rd - wiped on Minwax White wash pickling
4th - 1 Coat Minwax Water based oil modified polyurethane to seal
5th - Painters tape & stencil for the details with white acrylic craft paint from Michaels
2nd - stained with Minwax Classic Grey
3rd - wiped on Minwax White wash pickling
4th - 1 Coat Minwax Water based oil modified polyurethane to seal
5th - Painters tape & stencil for the details with white acrylic craft paint from Michaels
Recommended Skill Level
Starter Project
Modern Outdoor Chairs
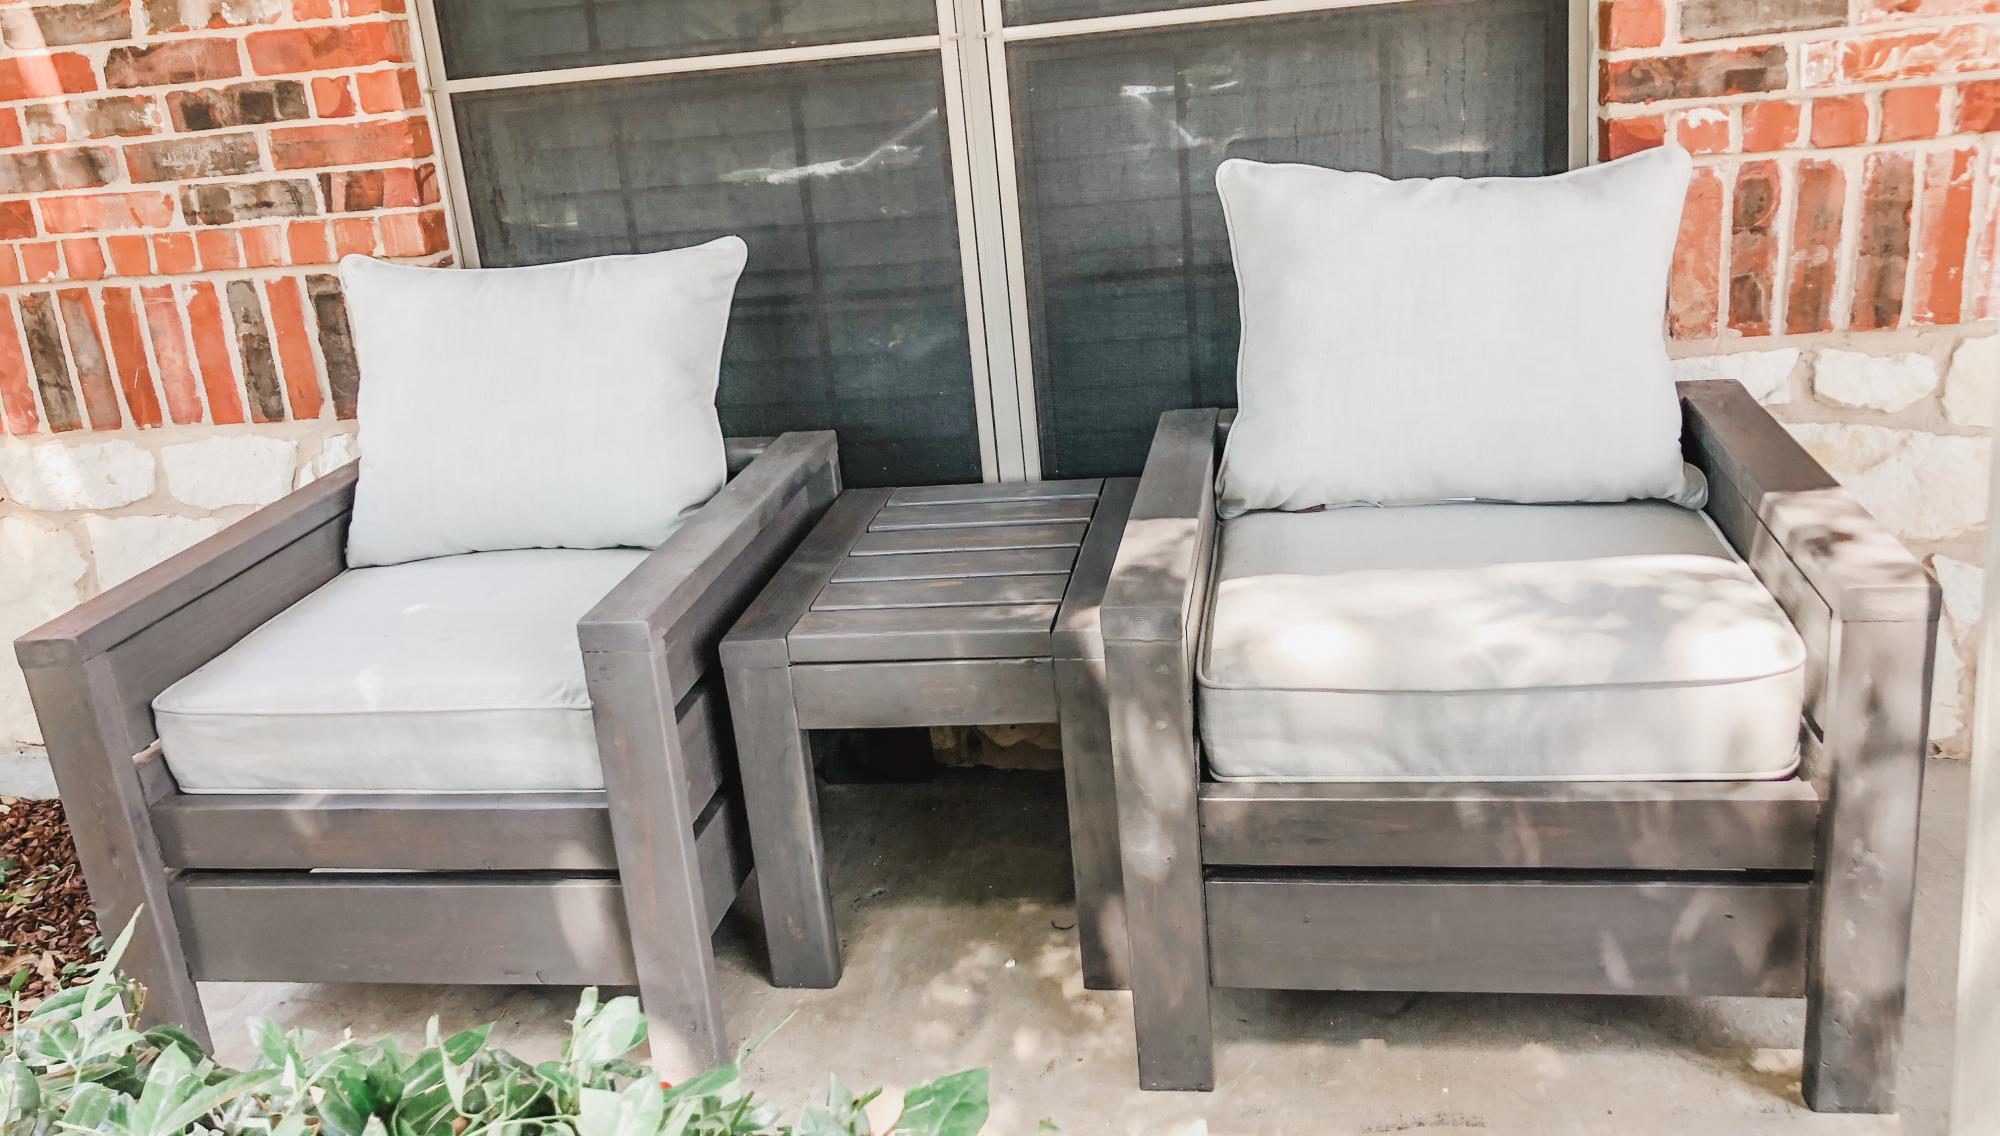
These were so easy to build and look amazing! The only challenge was finding cushions. Finally found the 25x25 cushions at Lowe’s.
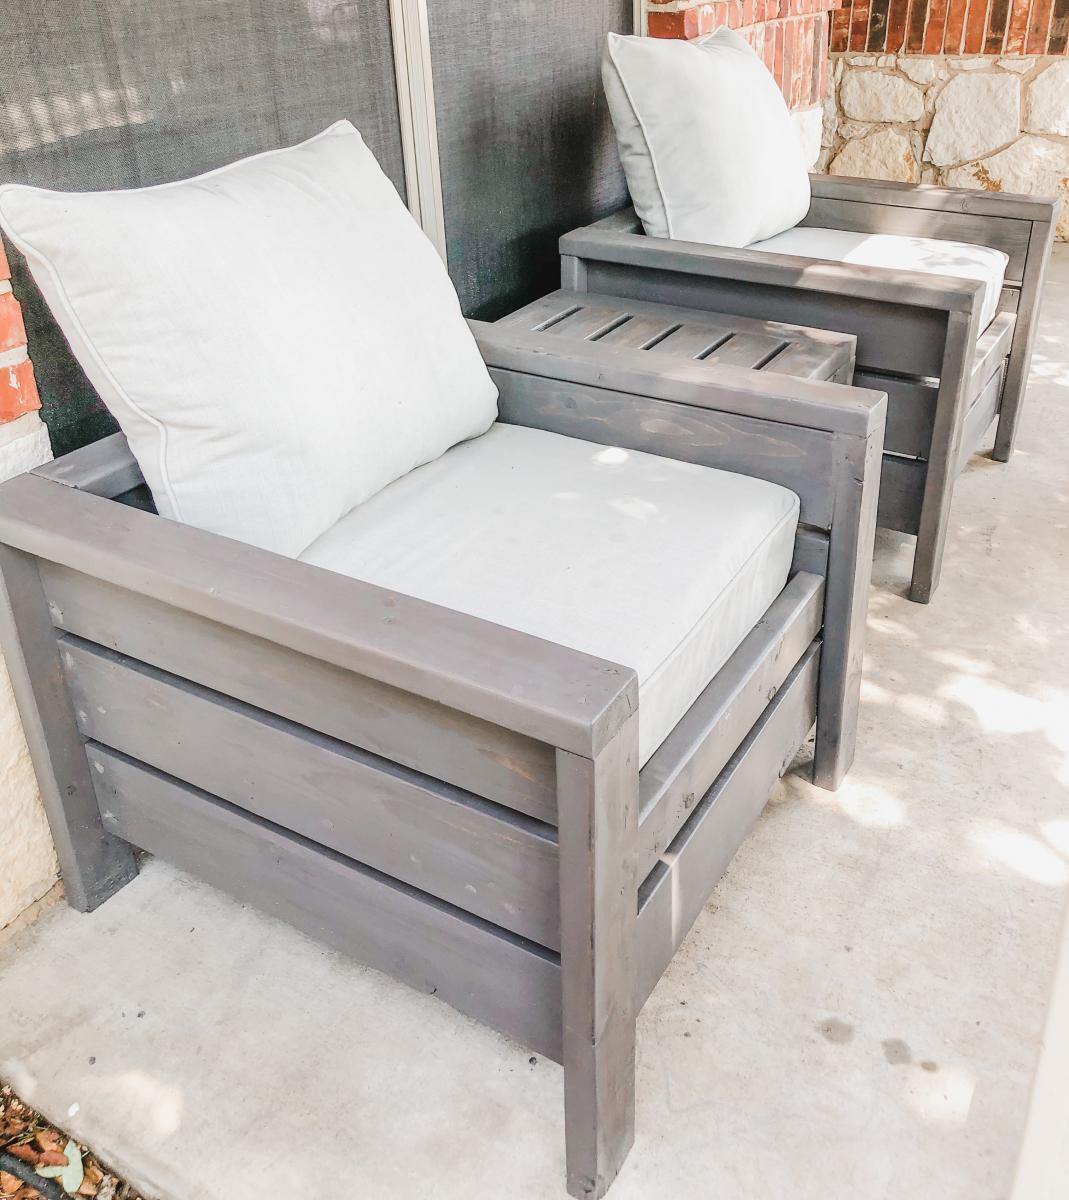
Built from Plan(s)
Estimated Cost
$60 each
Estimated Time Investment
Weekend Project (10-20 Hours)
Finish Used
First coat SW New Ebony Stain
second coat Varathane Briarsmoke
second coat Varathane Briarsmoke
Recommended Skill Level
Beginner