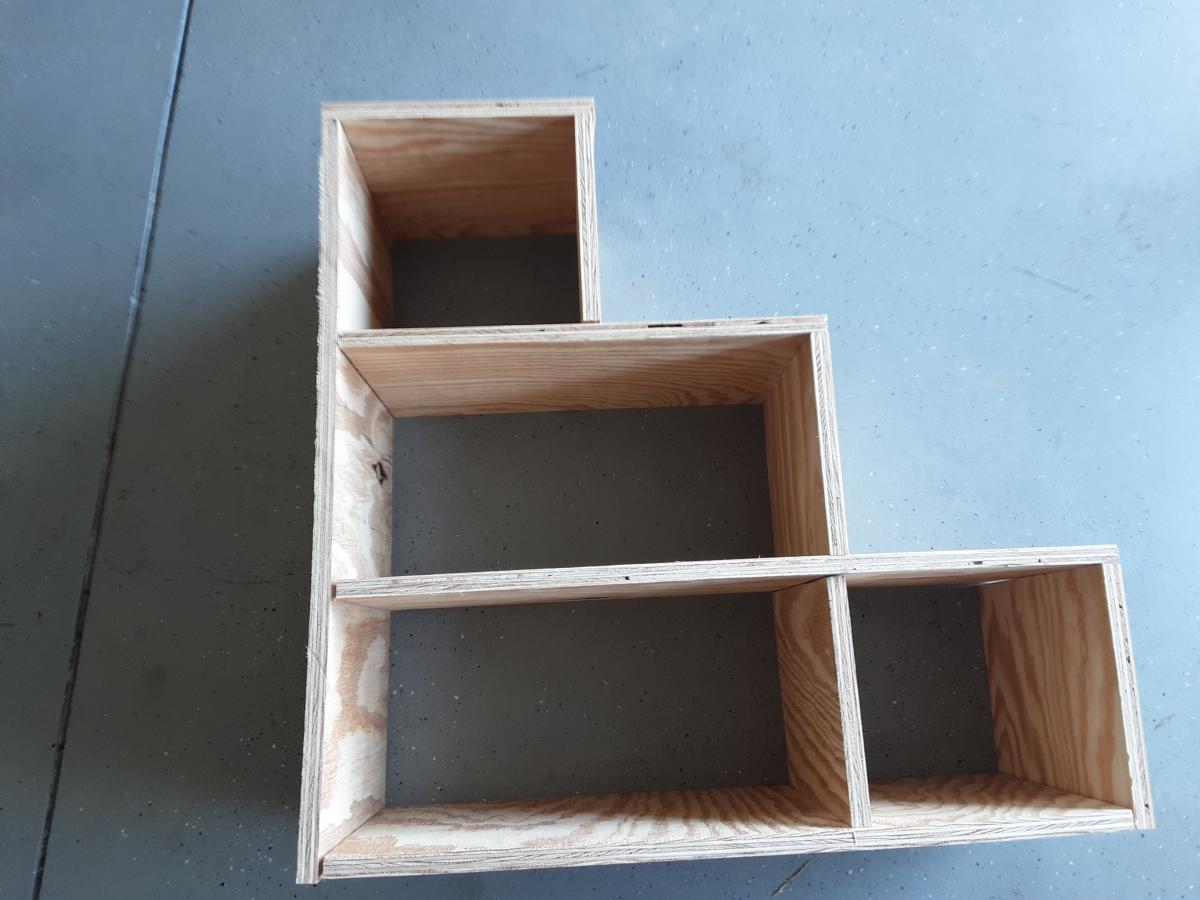
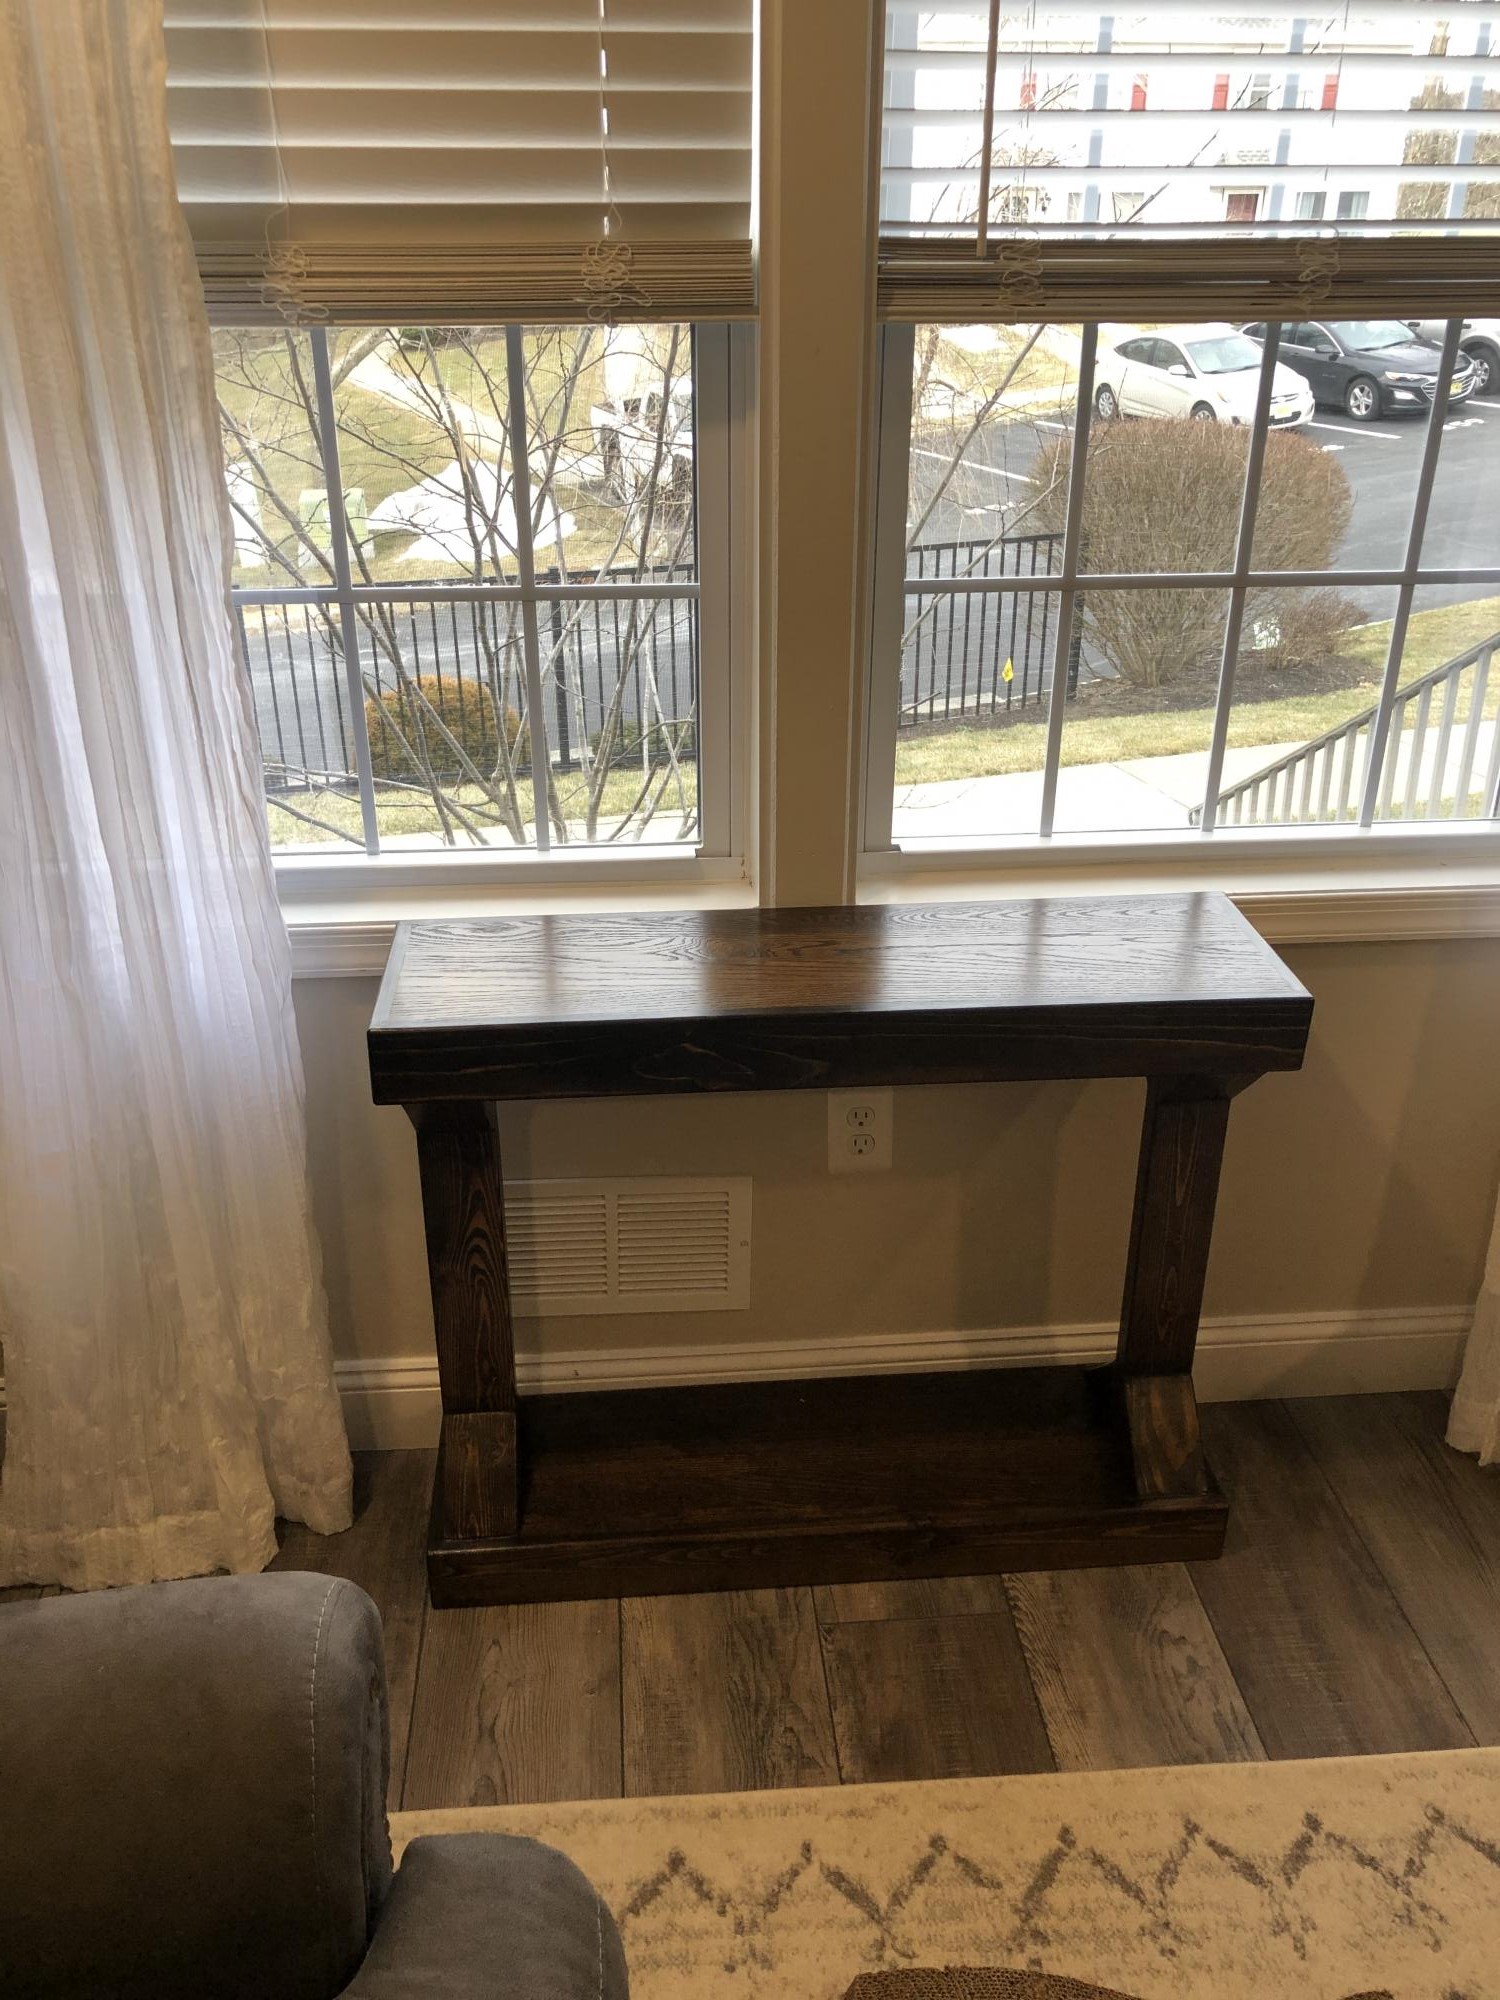
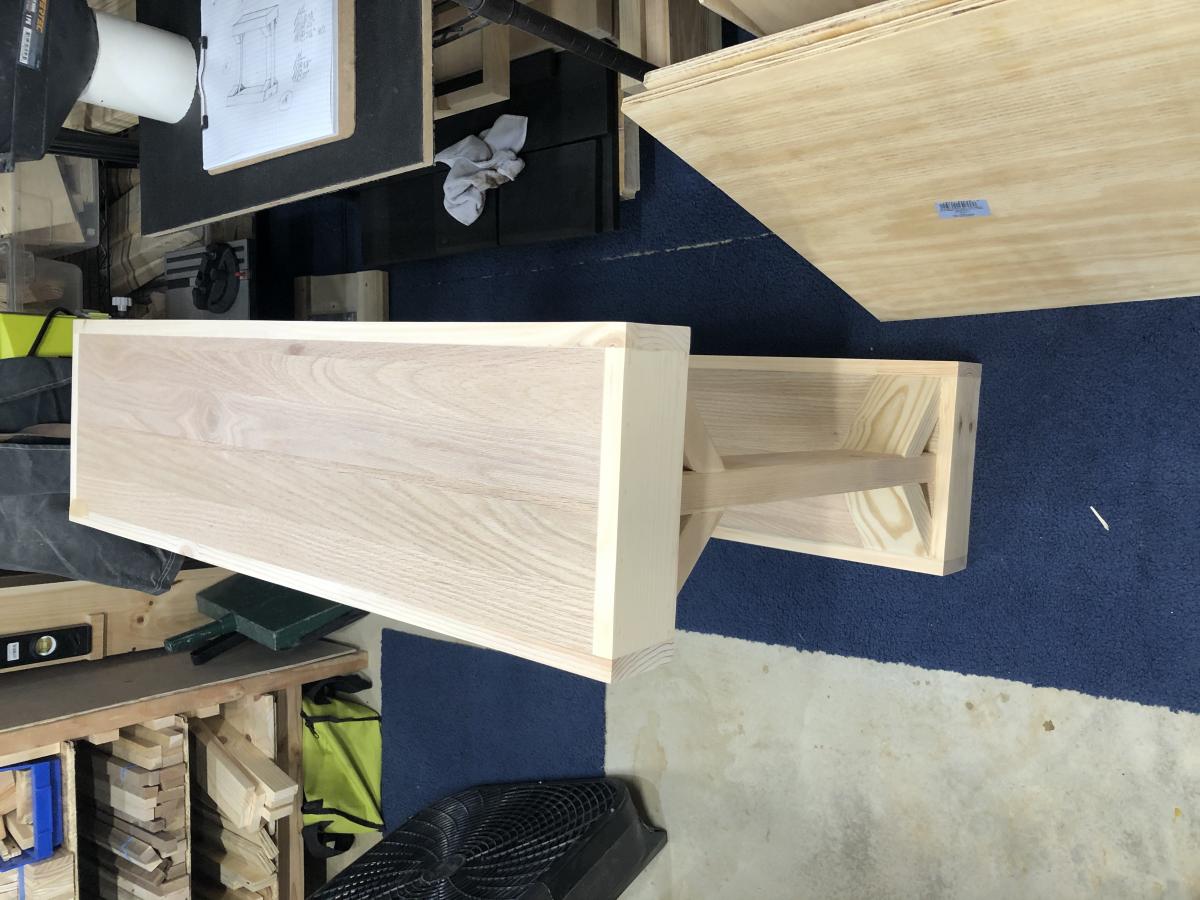
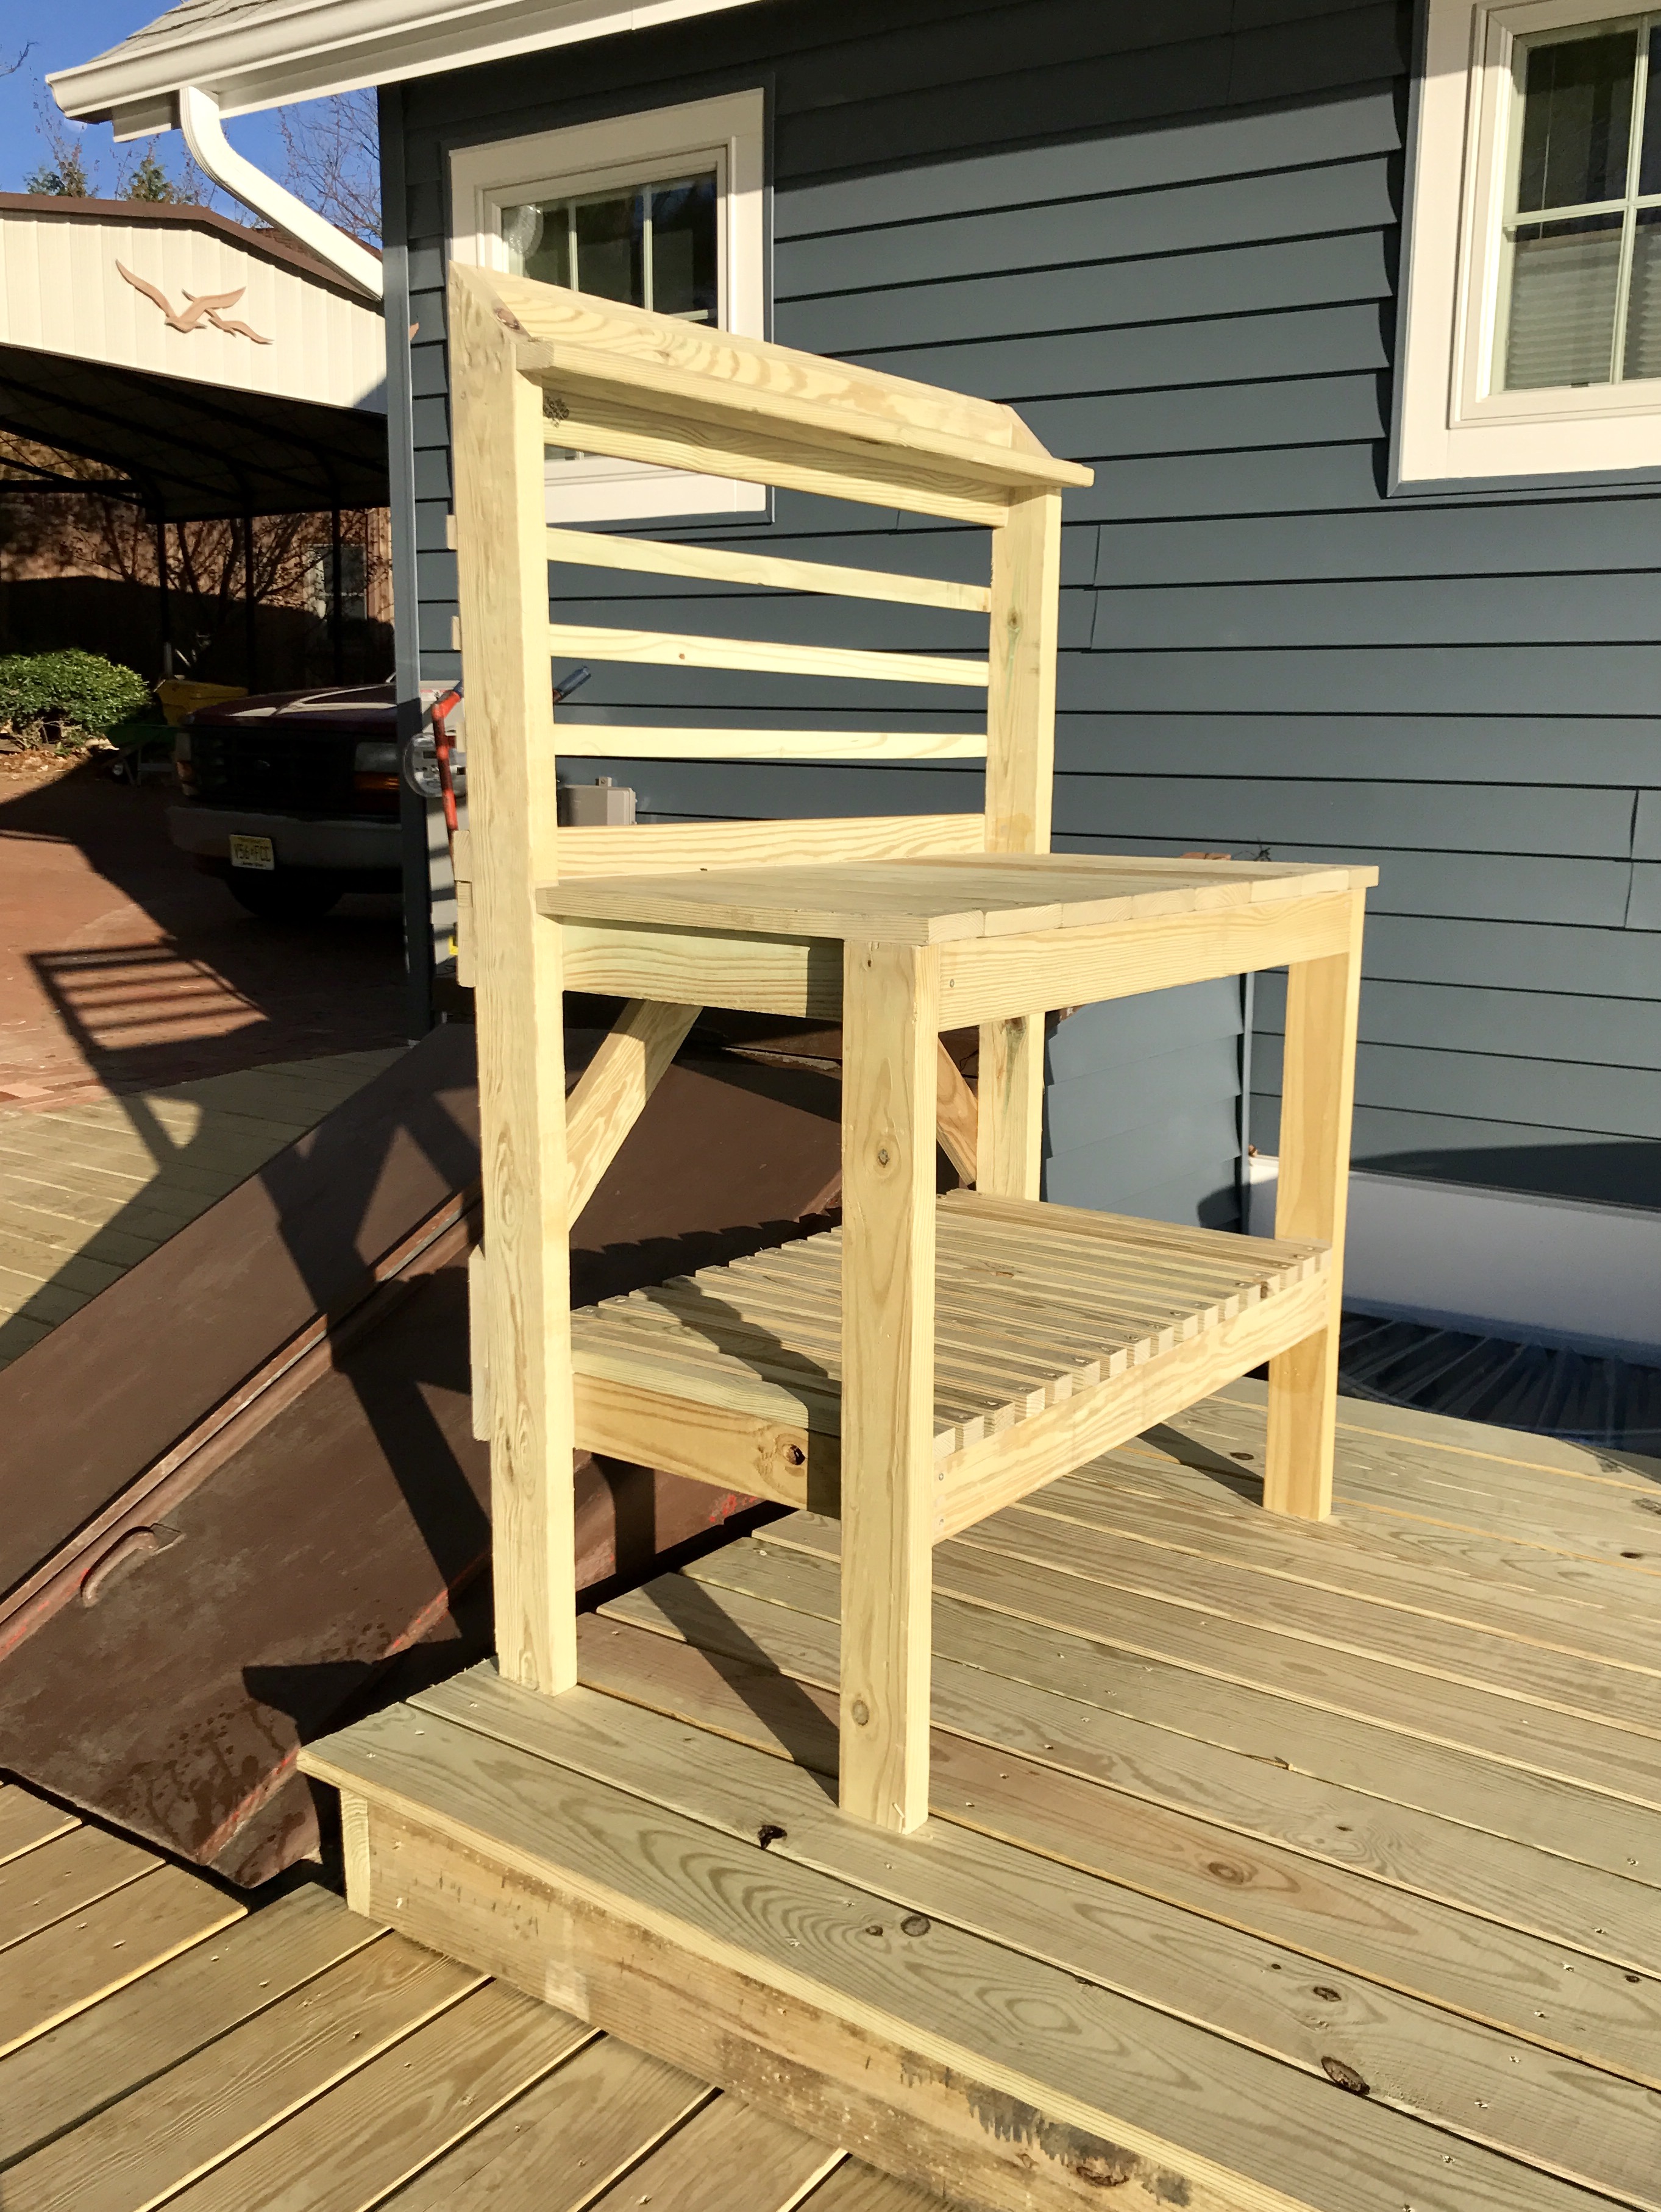
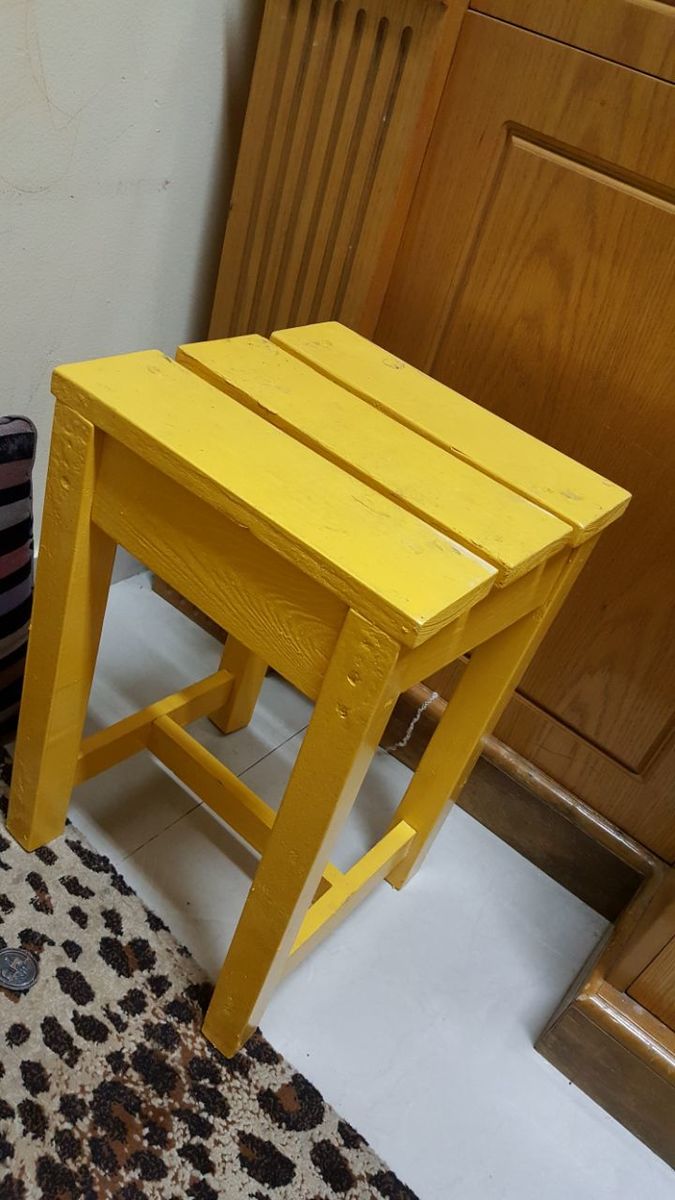
Step Dresser
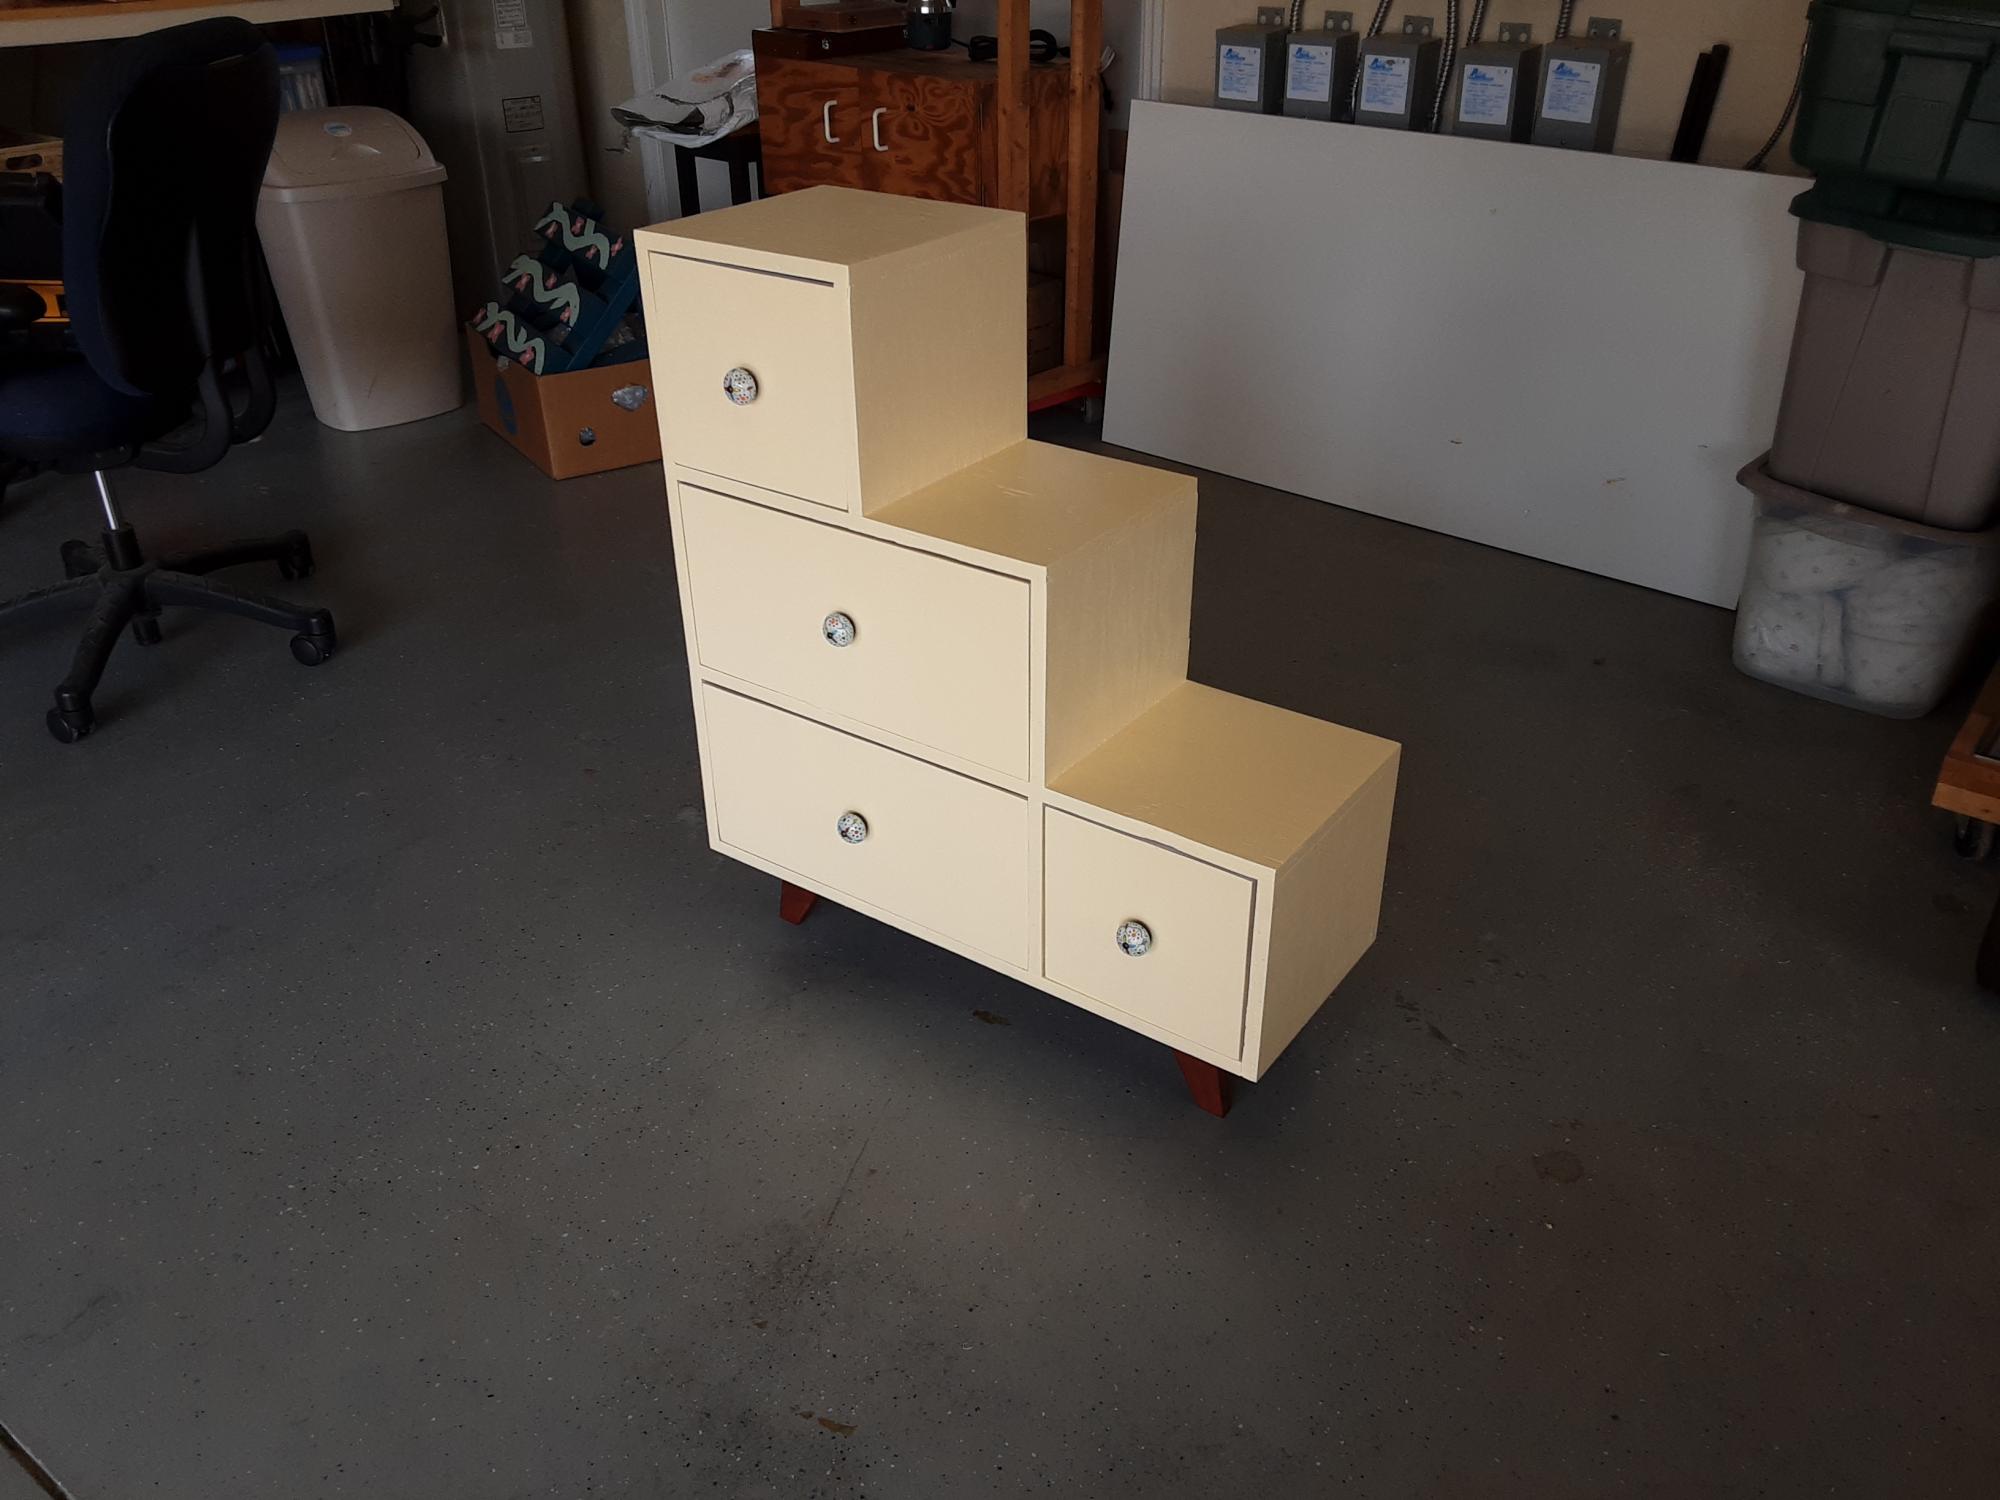
Step dresser inspired by a similar design from a boutique furniture store. We actually made three dressers using various dimensions from large, median and even small versions.
Built from Plan(s)
Step dresser inspired by a similar design from a boutique furniture store. We actually made three dressers using various dimensions from large, median and even small versions.
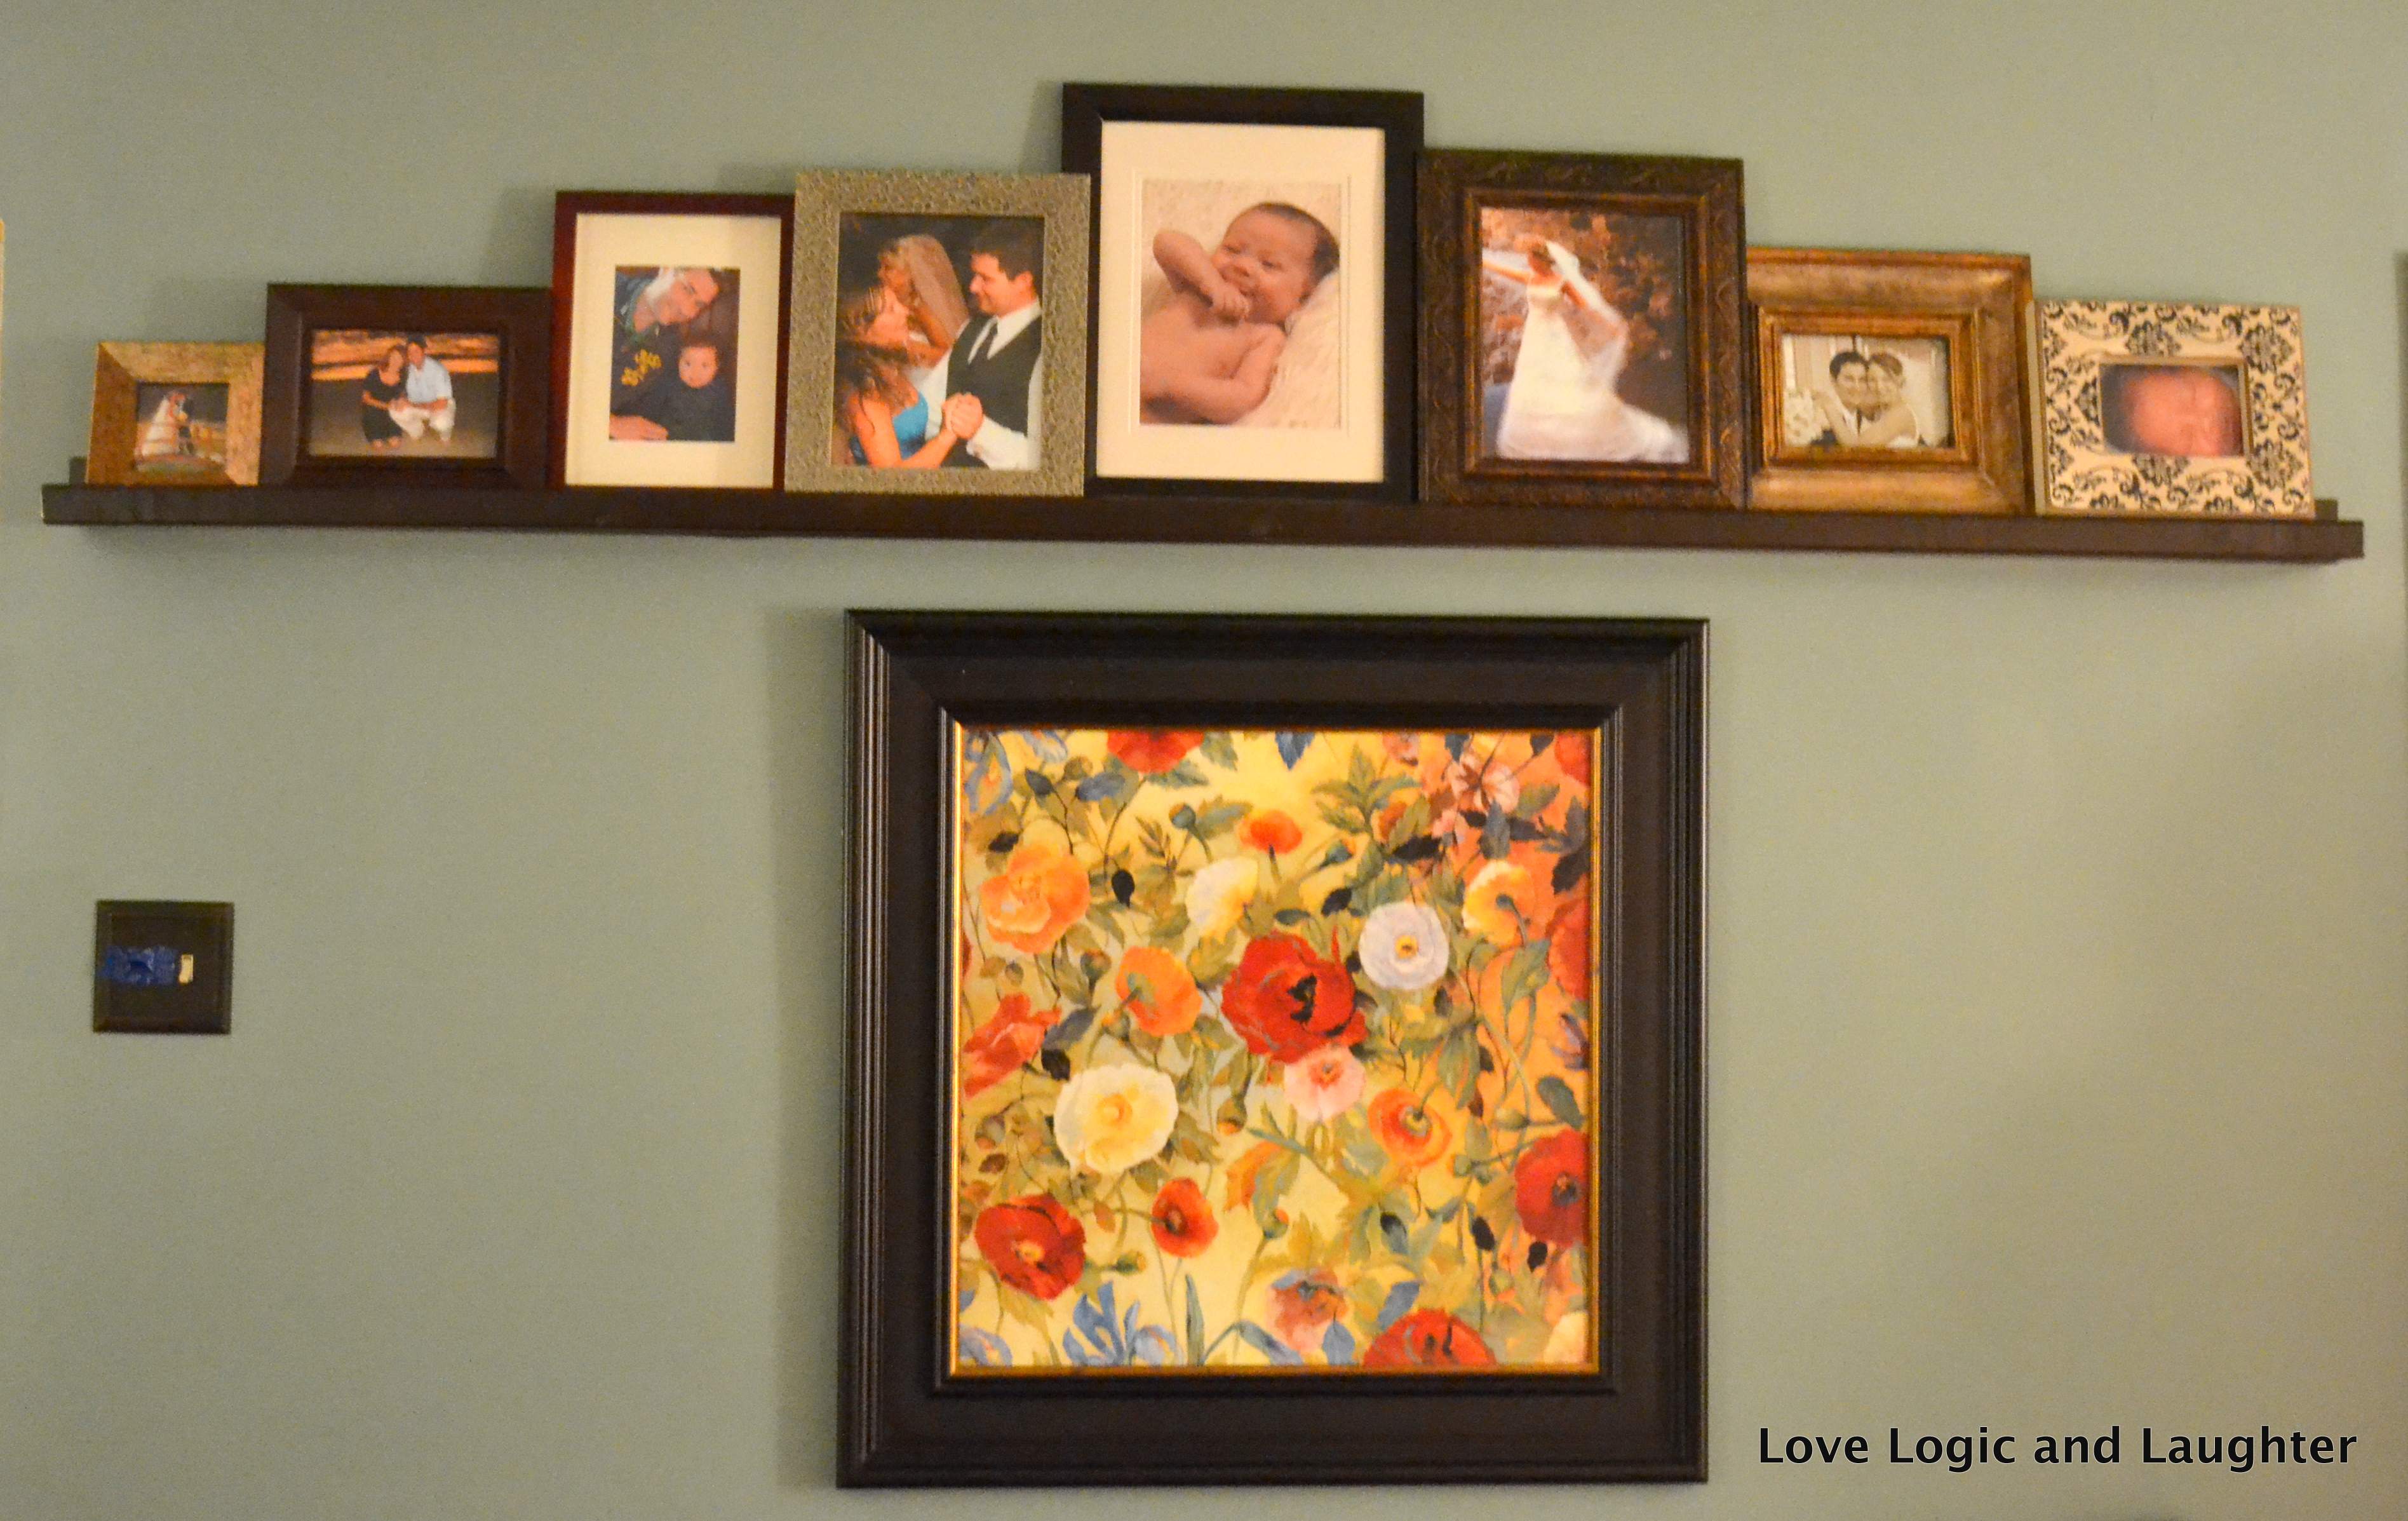
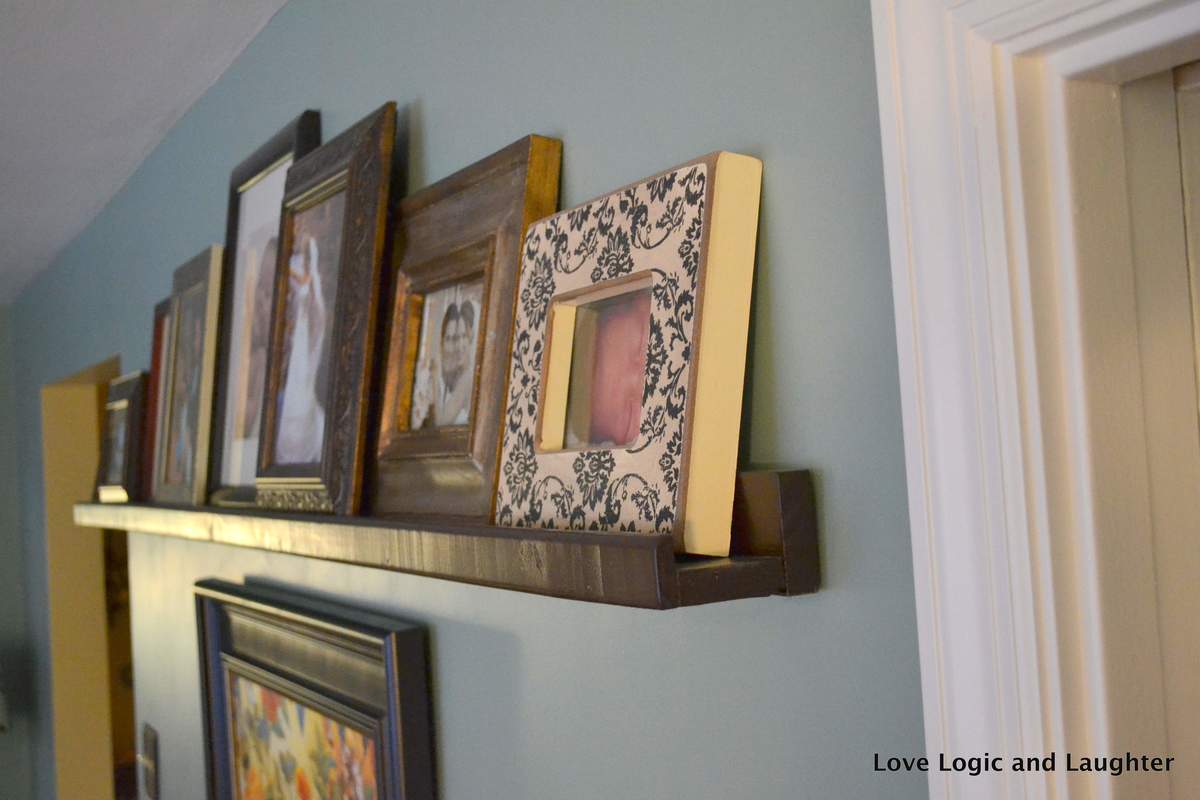
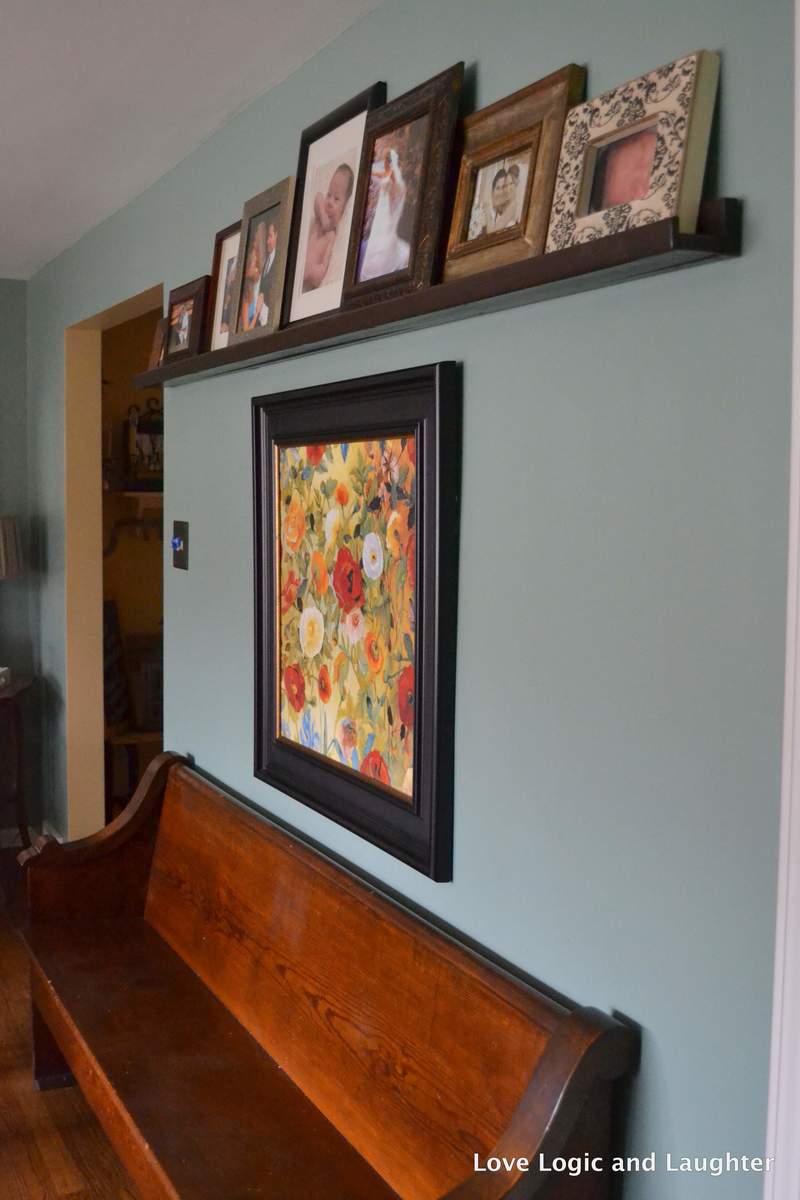
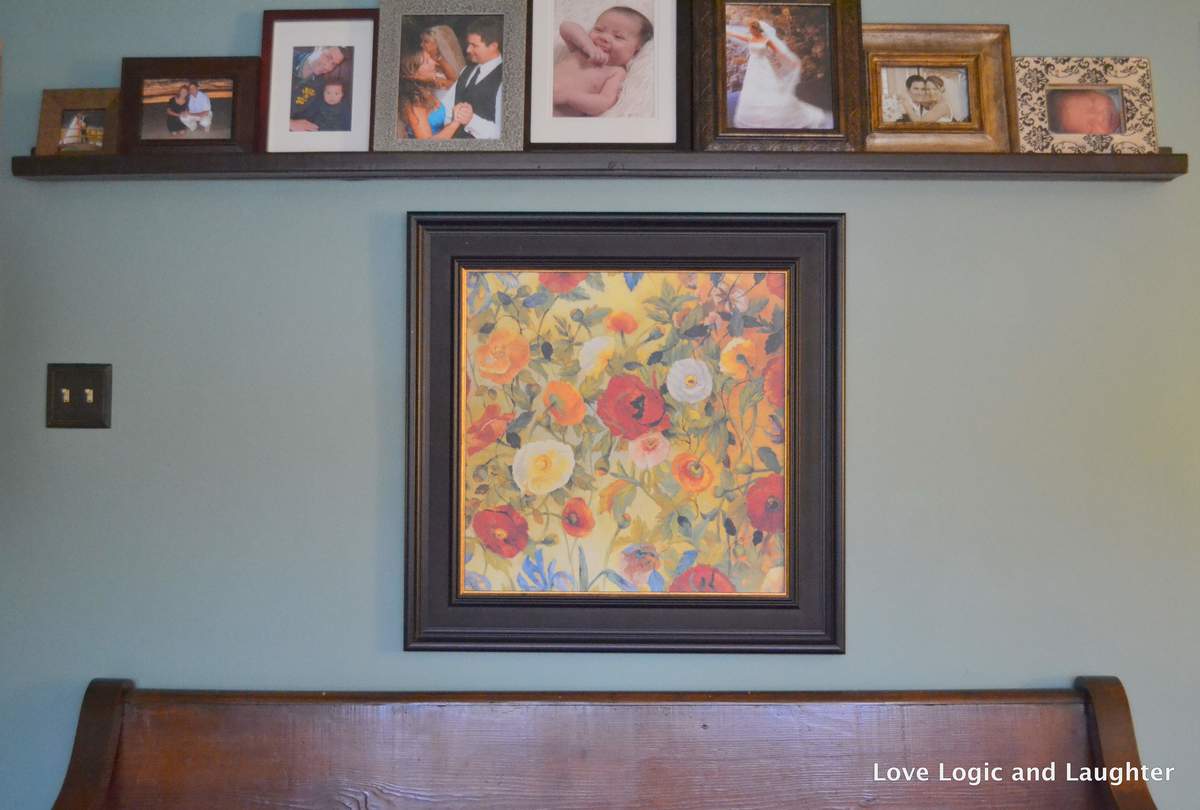
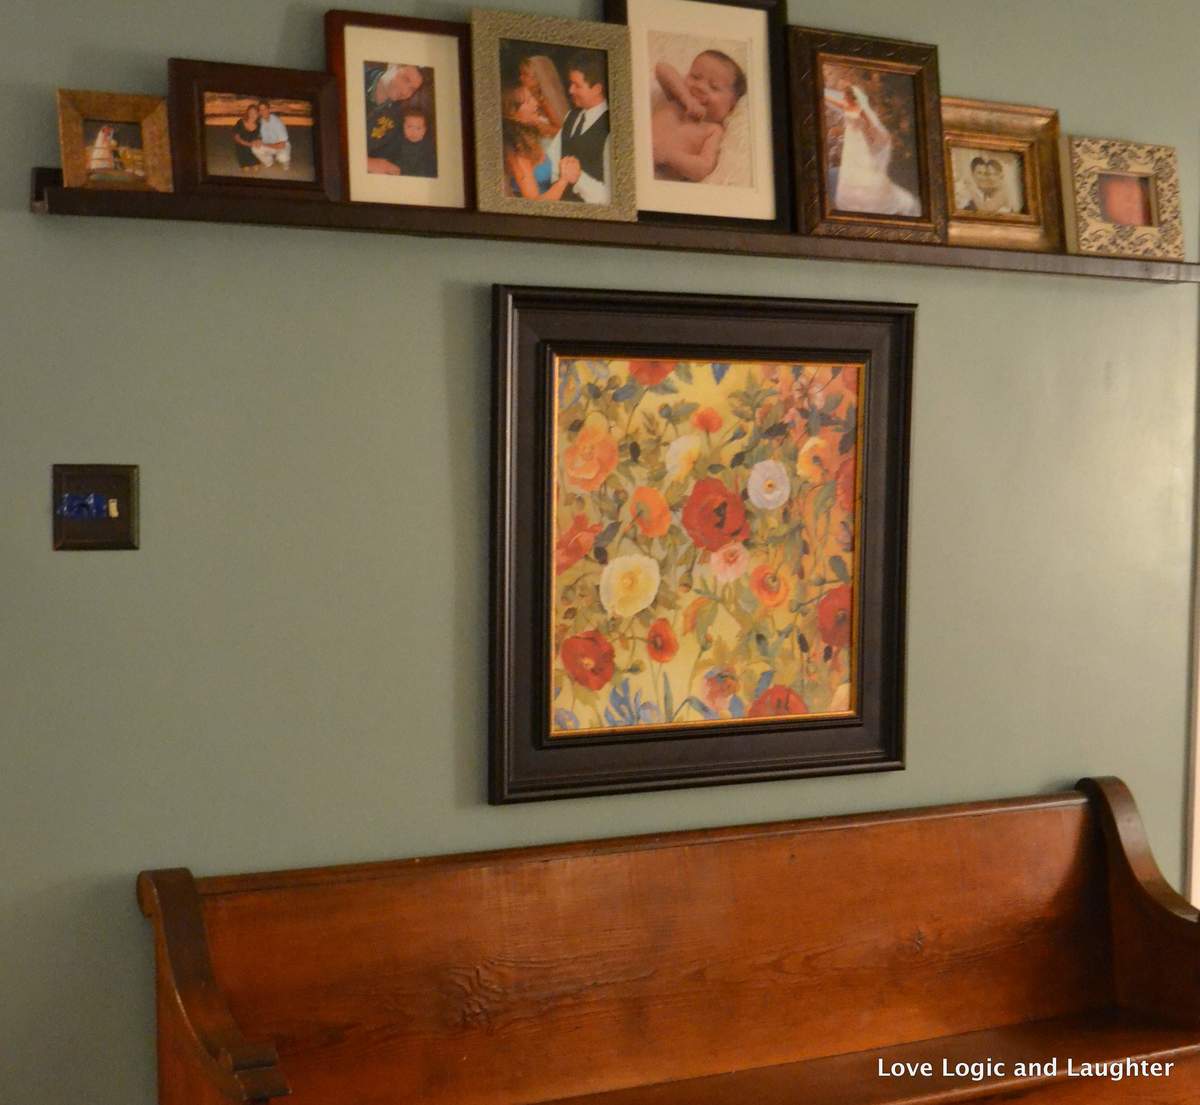
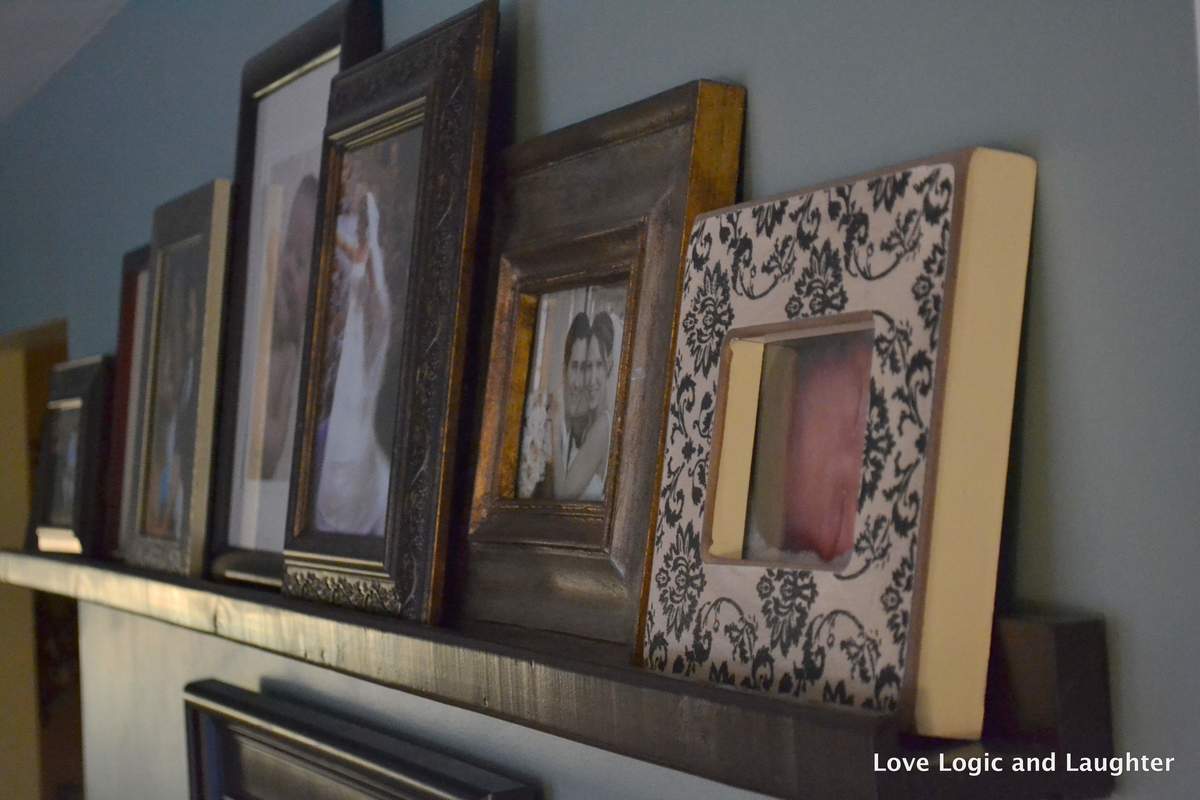
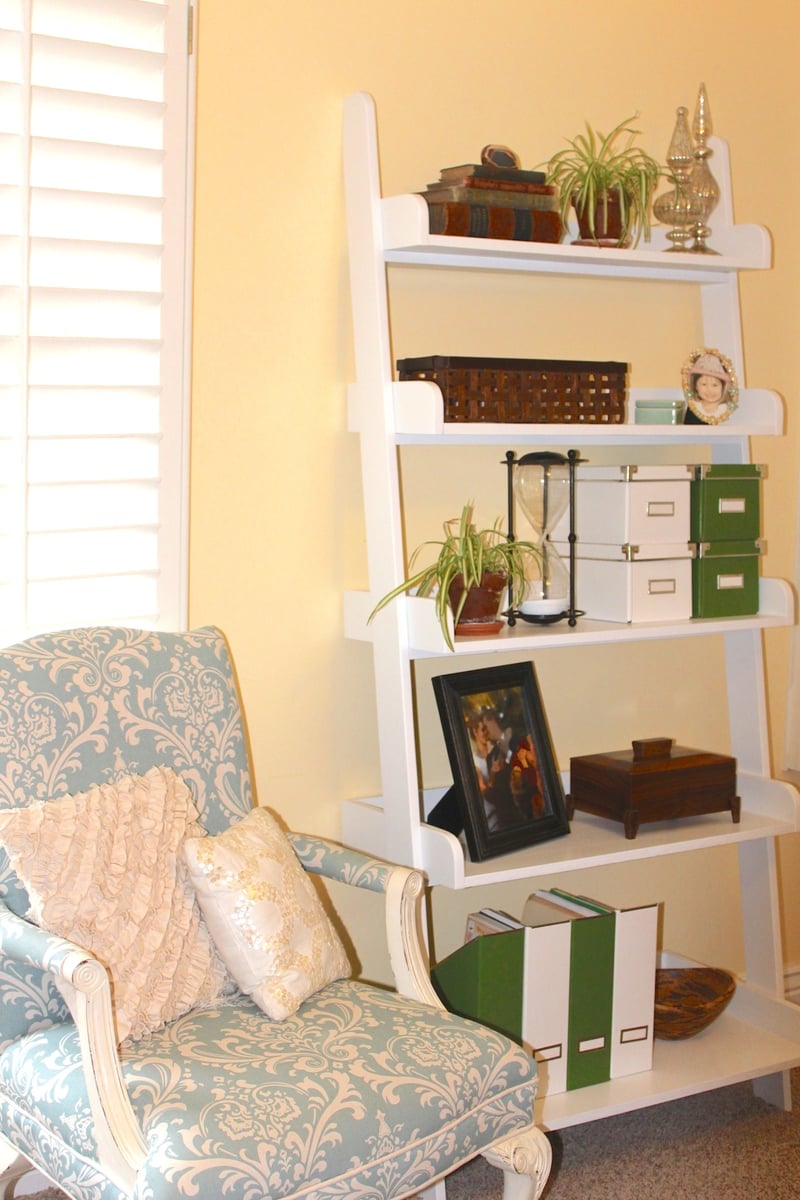
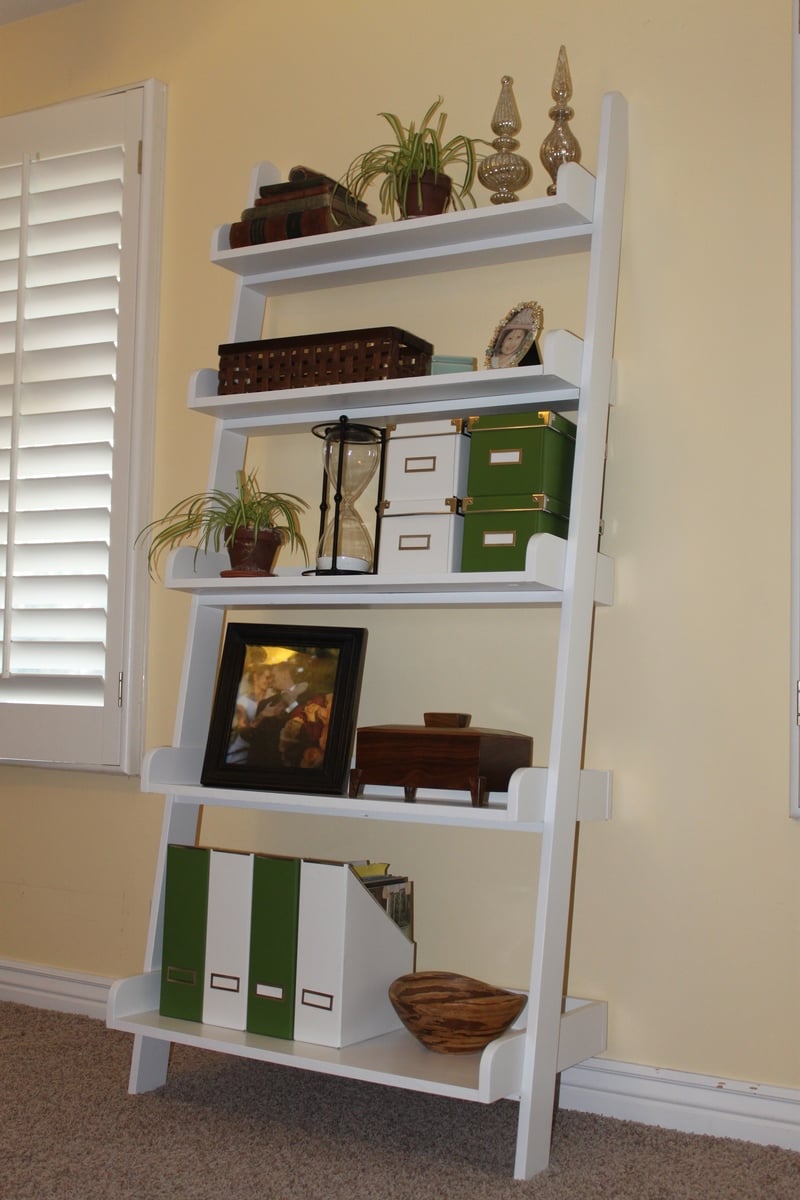
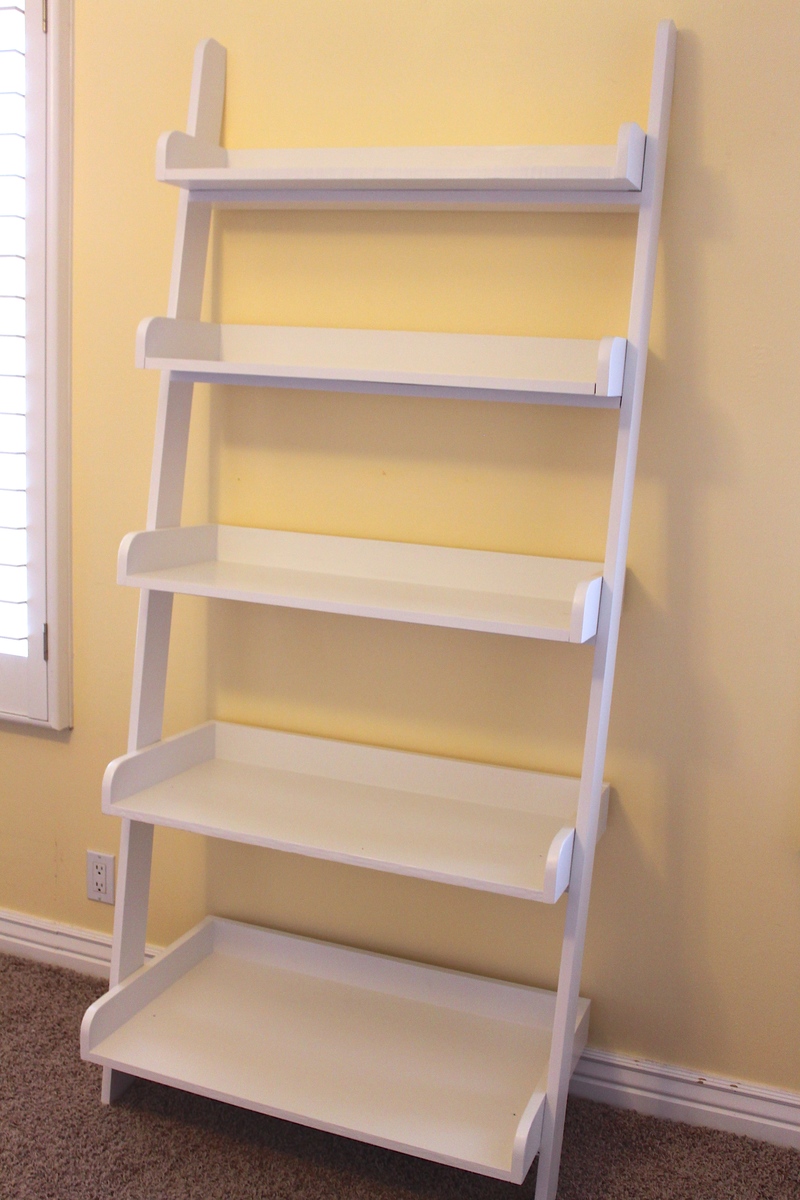
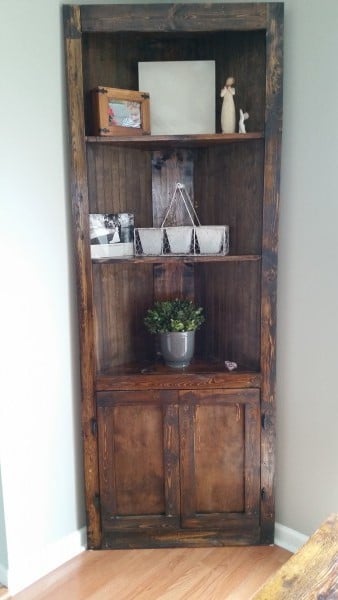
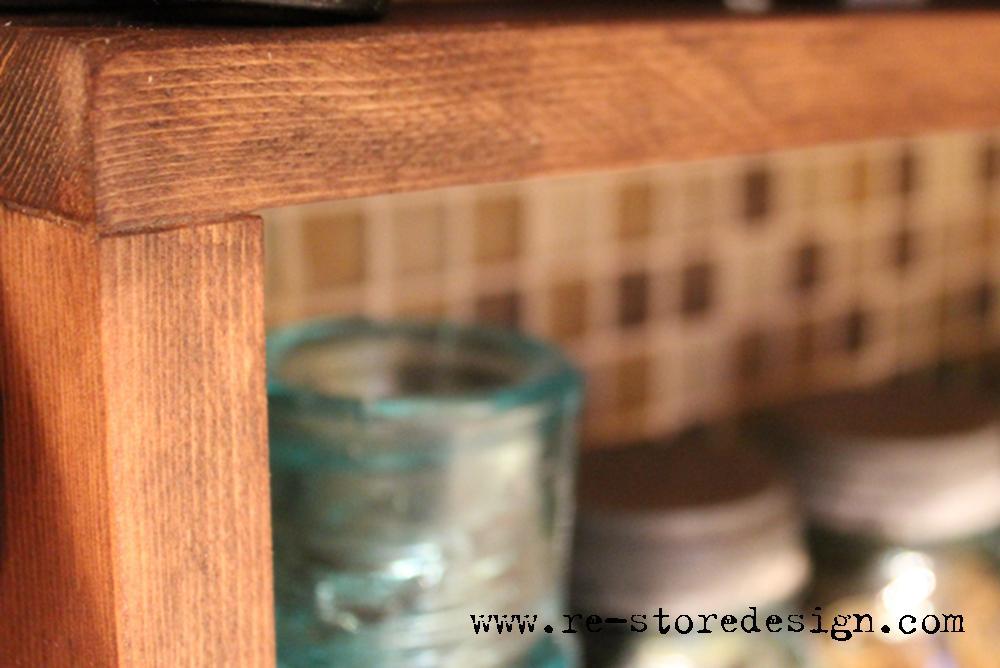
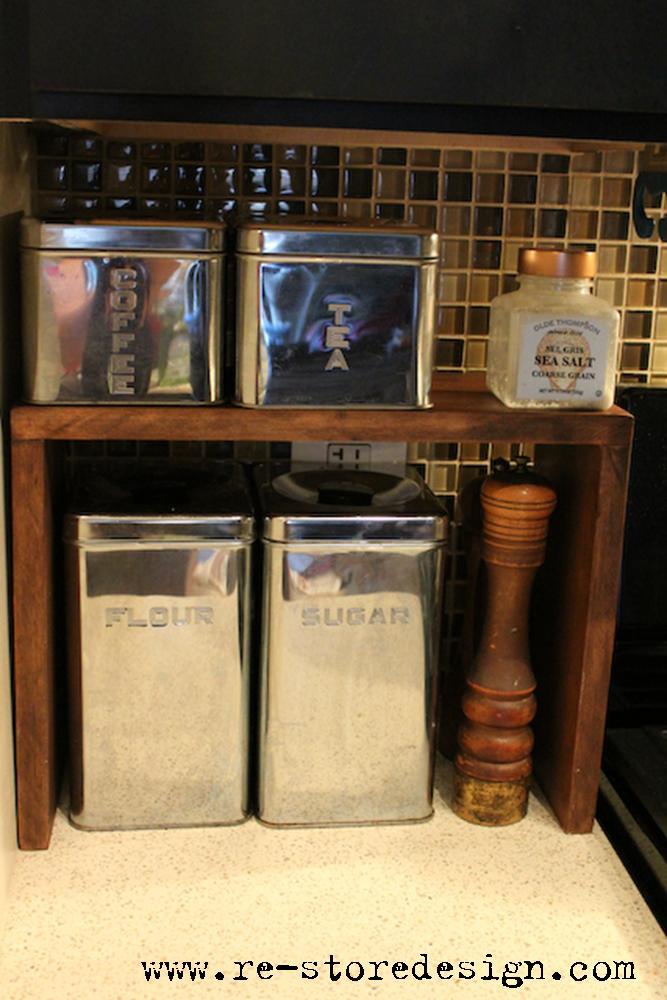
I had a long empty space of wall that I wanted to fill. I wanted something similar to the Pottery Barn Ledge Shelves, but I needed it to fit a specific space so I decided to make one myself. I am pretty happy with it... I made it before I had my mitre saw, otherwise my cuts would have been a bit cleaner. So it has a bit of a rustic look to it since my cuts were all done with a hand saw. It was an easy one nap DIY! And best of all, we had all the supplies (wood, screws, nails, nail hole filler and paint) in the basement from other projects.
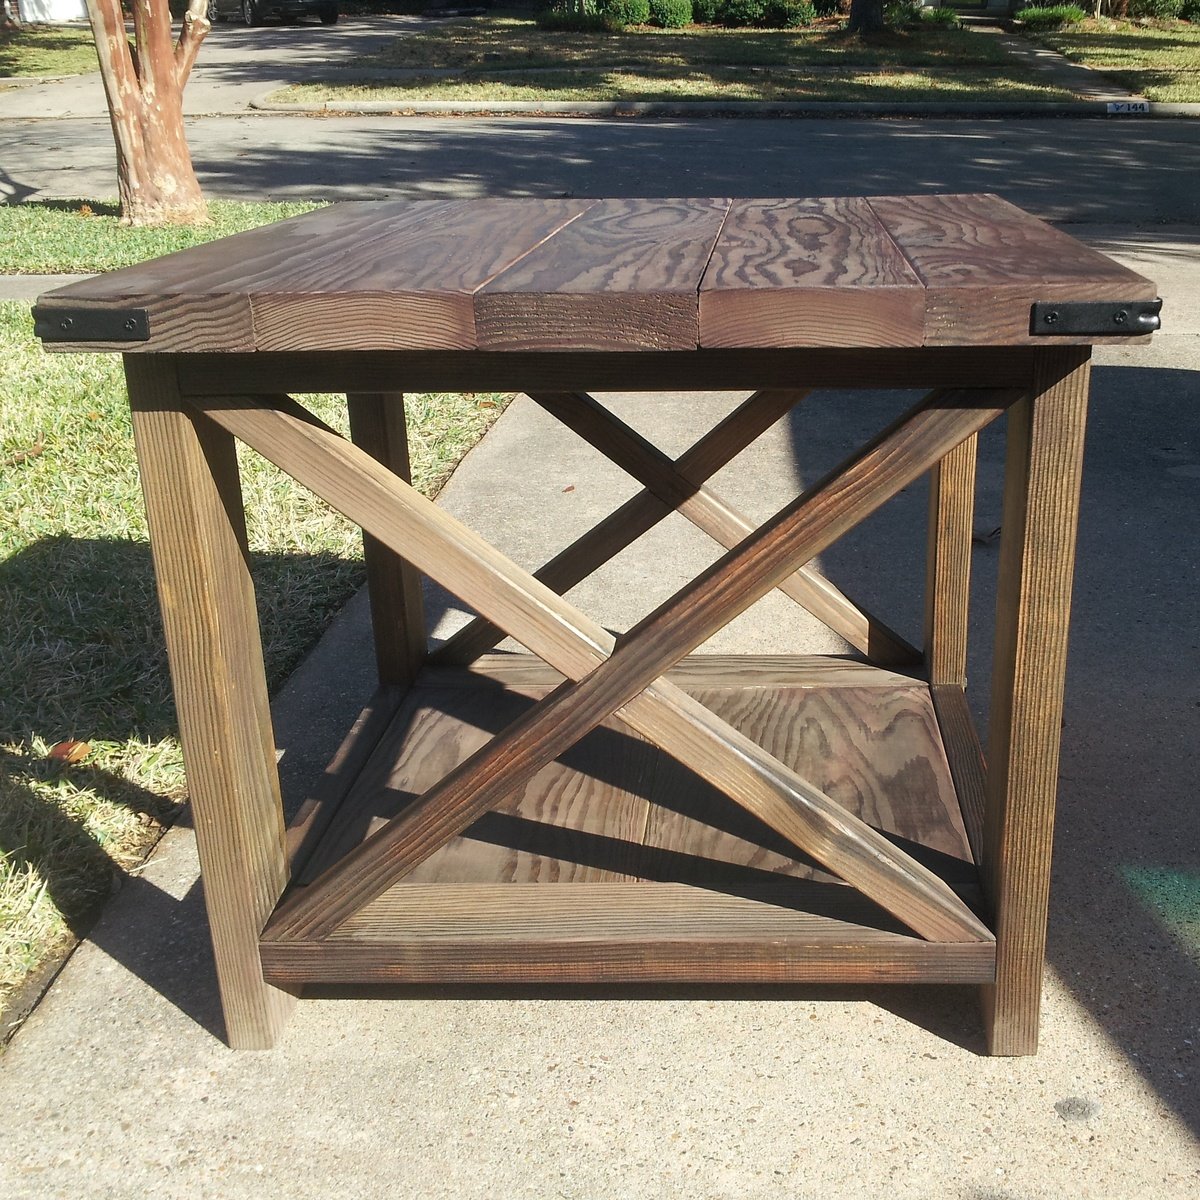
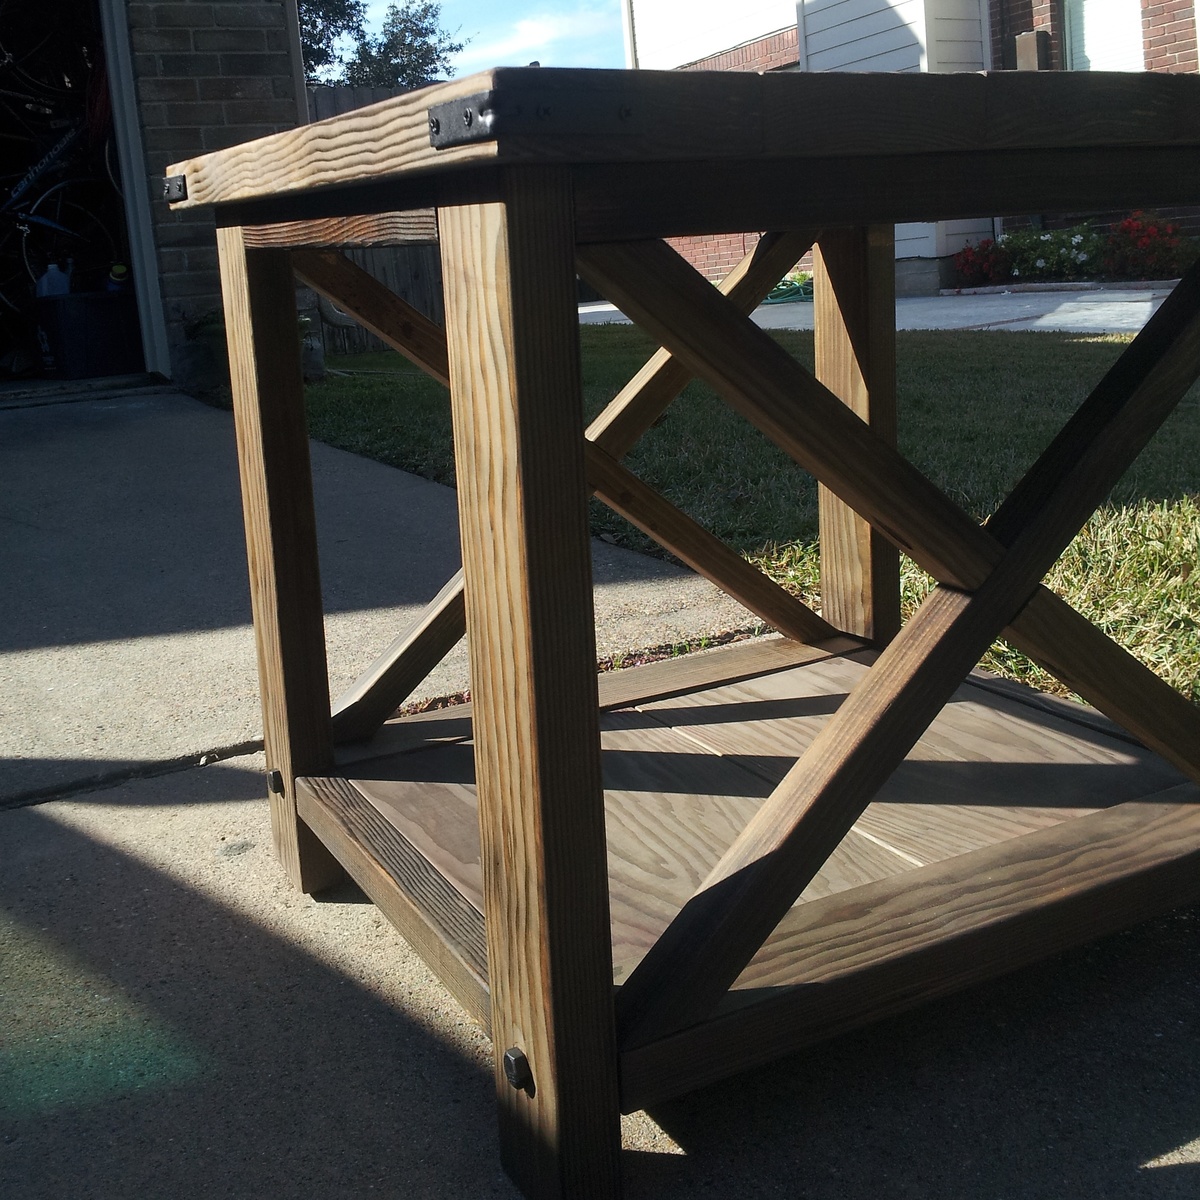
This was my first project. I used Douglas Fir from a great lumber yard in Houston. I used DIYPete's cocktail for the grey finish then applied 4 coats of tung oil by hand.
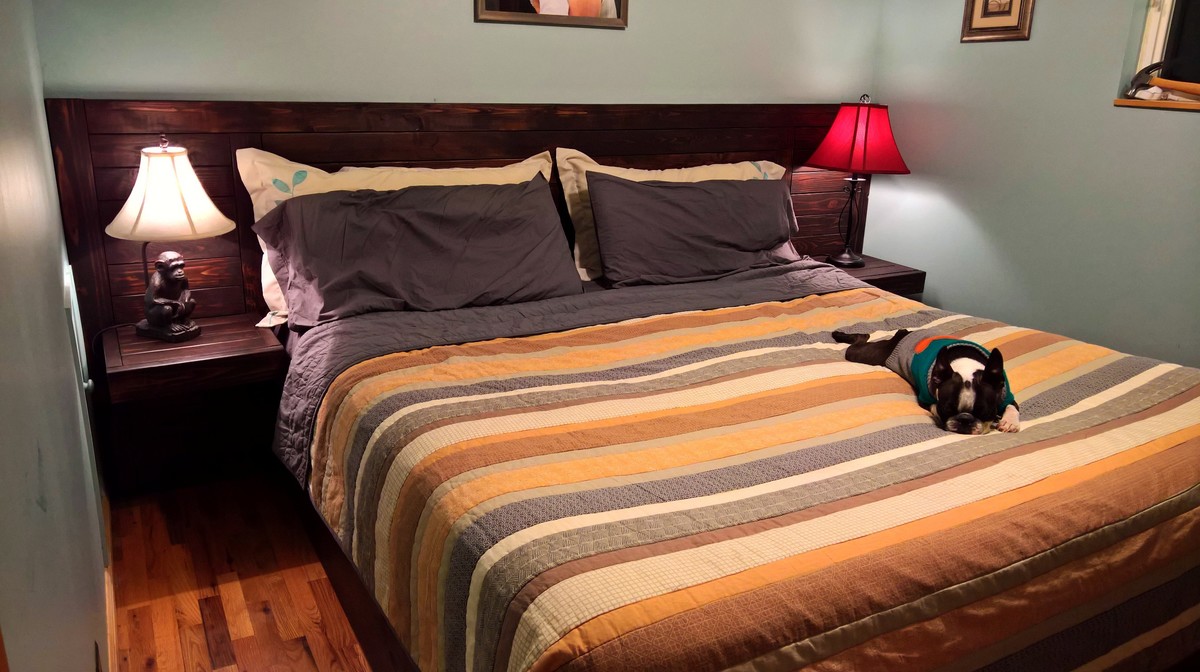
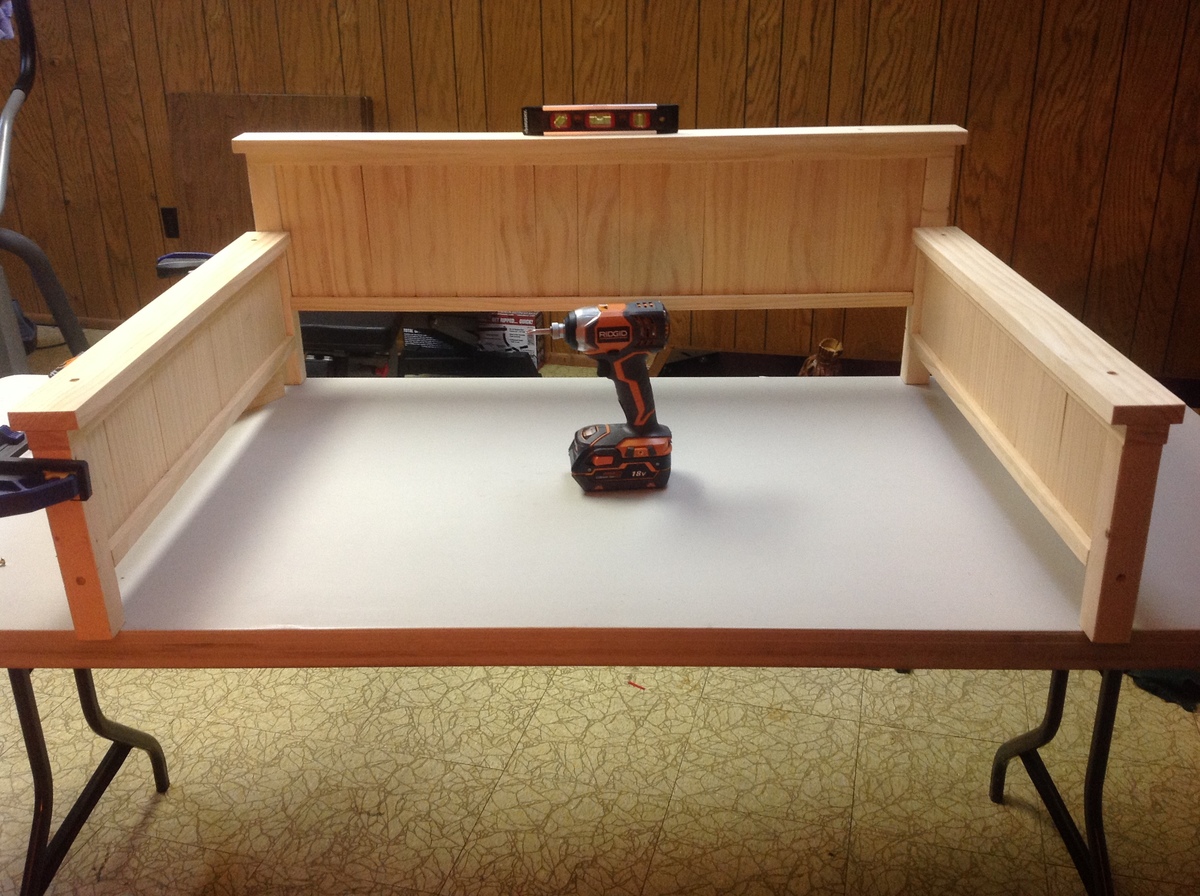
Our headboard. The dog loves it.
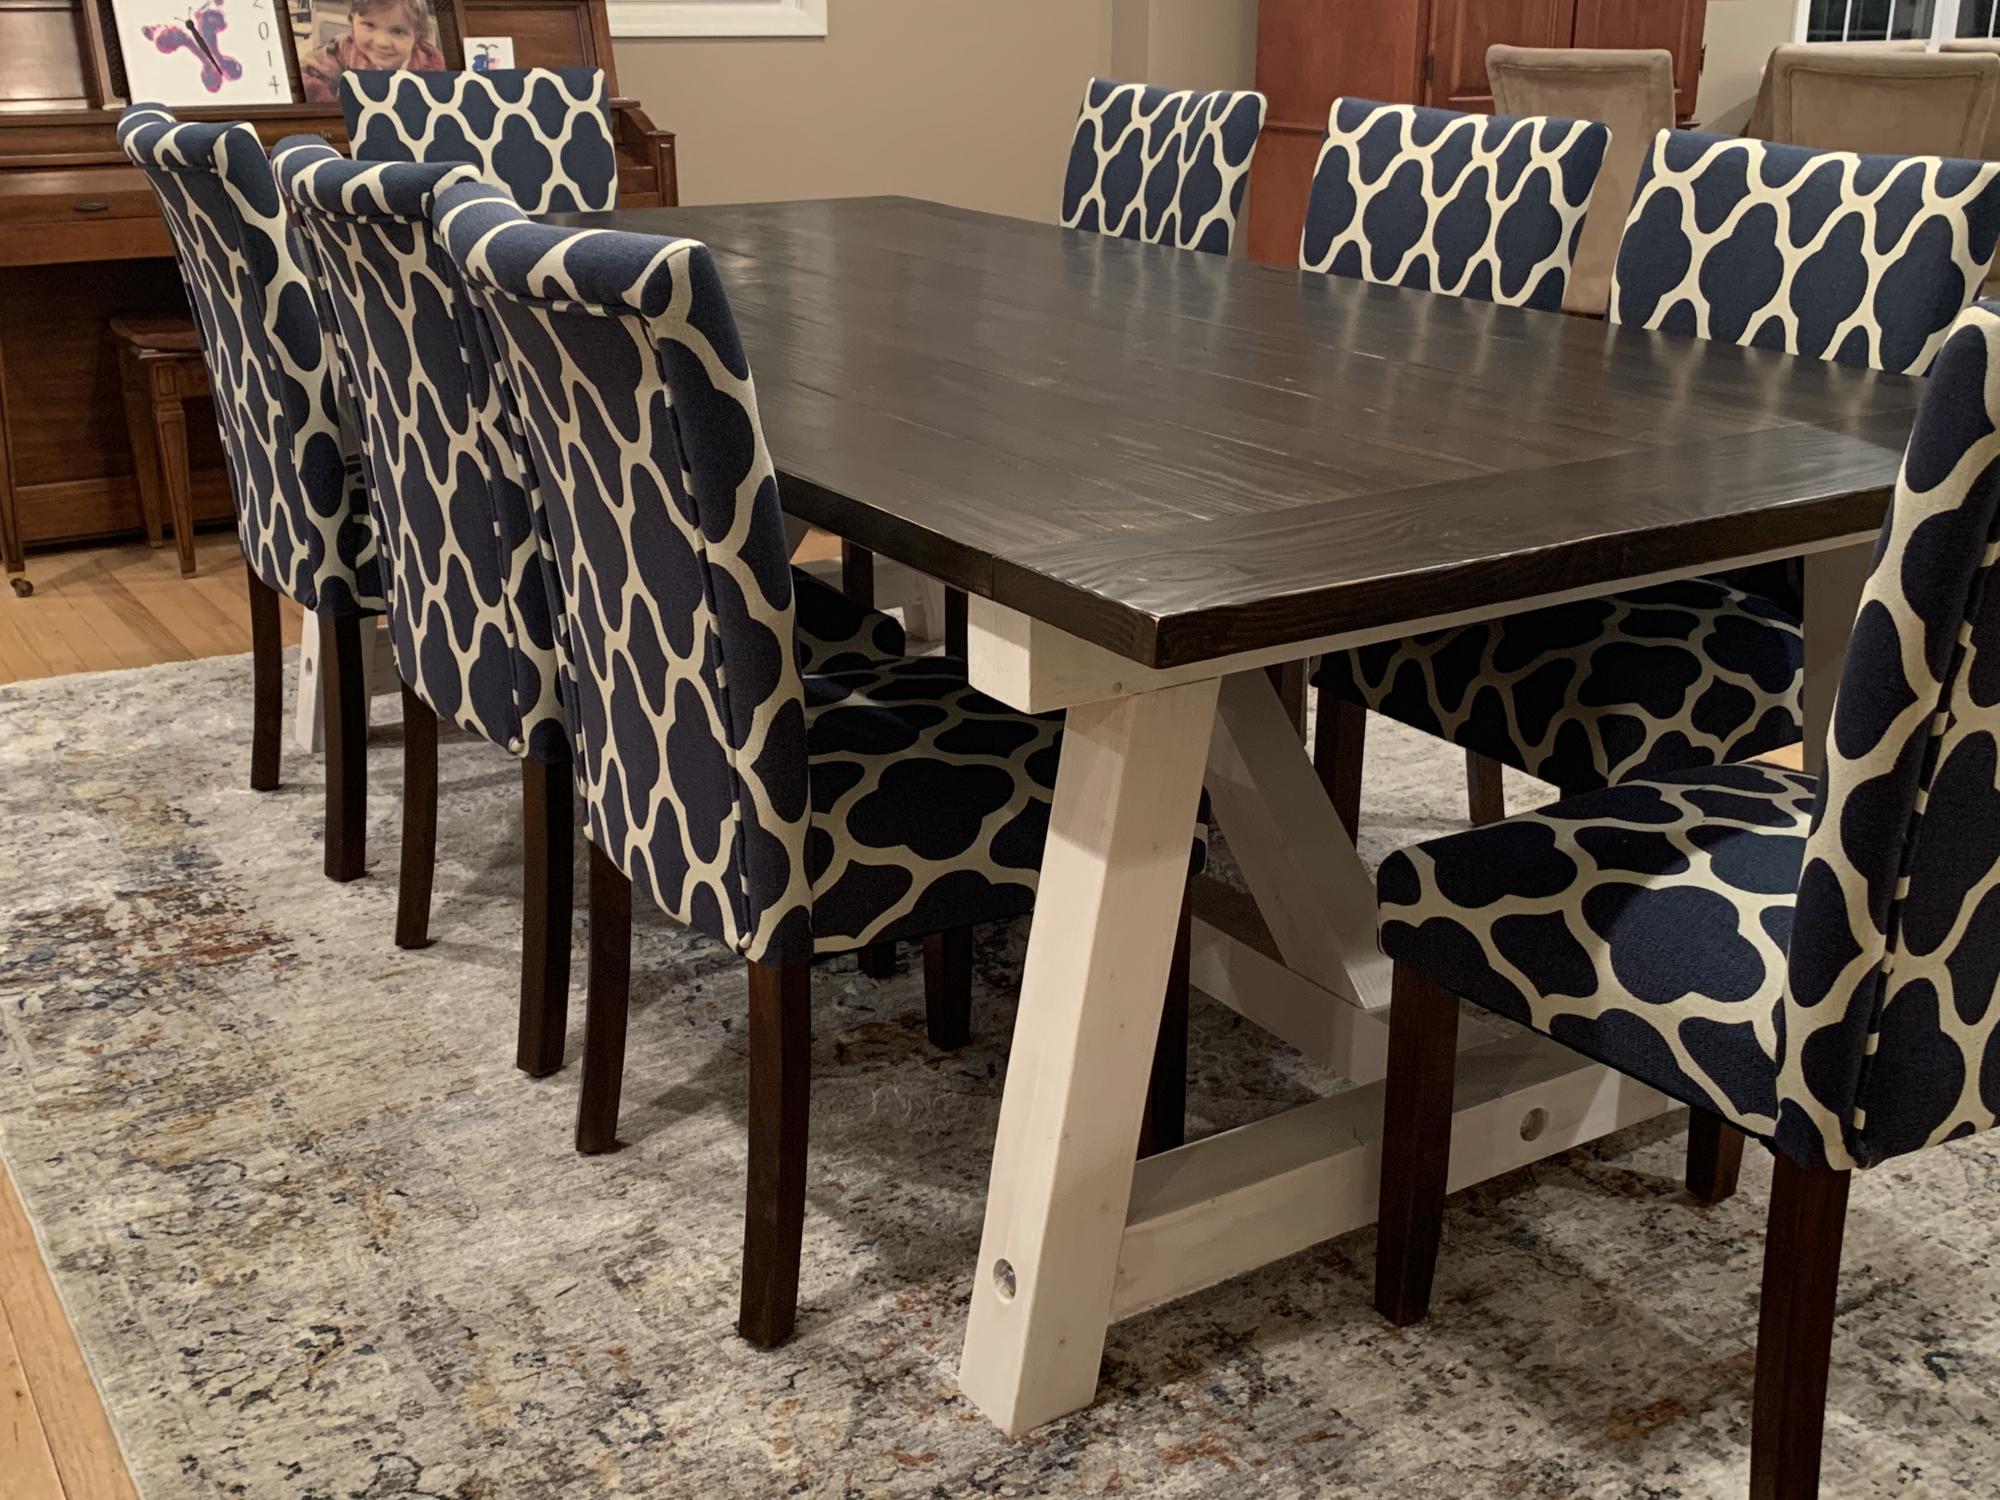
Modified plan dimensions to accommodate 8' long by 4' wide top. Also, added 4" lag screws (just for appearance) to secure beams at base of the legs and center support
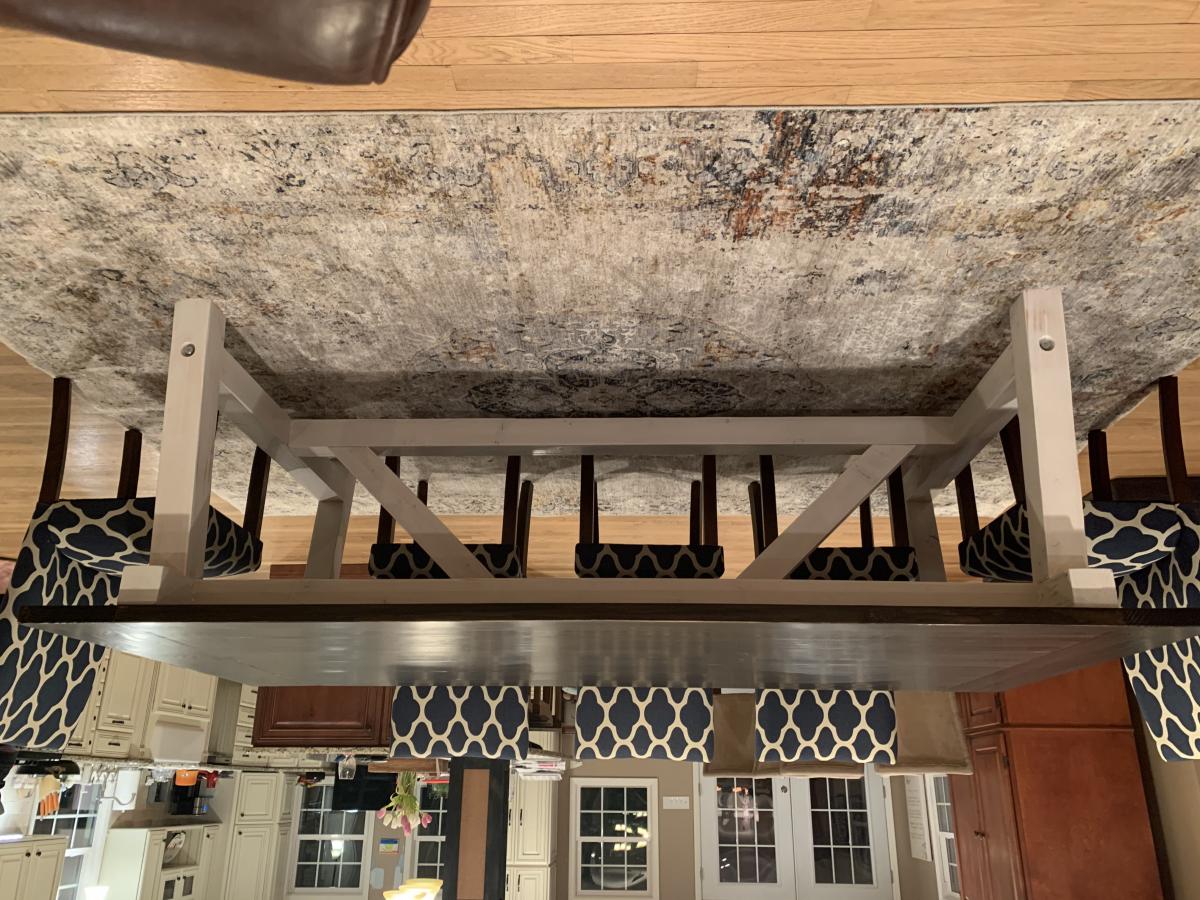


First time DIY project this large! It was a lot of work but it was worth it!

Tue, 03/05/2013 - 08:41
It must have felt so satisfying to complete this project for your daughter and to know years from now that it will last and you'll know that you had built it. Although projects take time, I enjoy that once they are done, you have a functional piece of furniture that you could use over a lifetime. Like the birth of a new child, I nearly forget the labor once I see the finished piece.
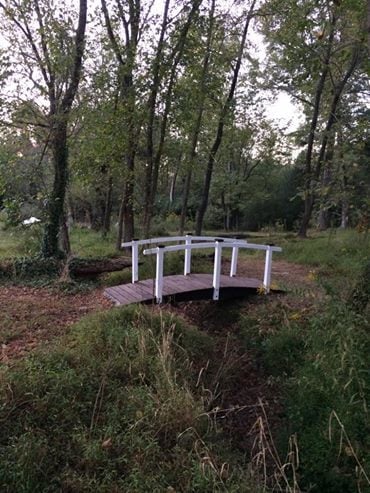
Used some basic tips found online to draw out the cut lines. The runners are 2x12x12. Regular ole decking for the platform and 4x4 for the posts. Anchored in concrete. Lag bolts and hex bolts to secure to the posts.
Love the new desk we made. Very tall desk. Cannot use regular office chair for desk but drafting chair works great. Desk is at perfect height for standing up and working on projects.
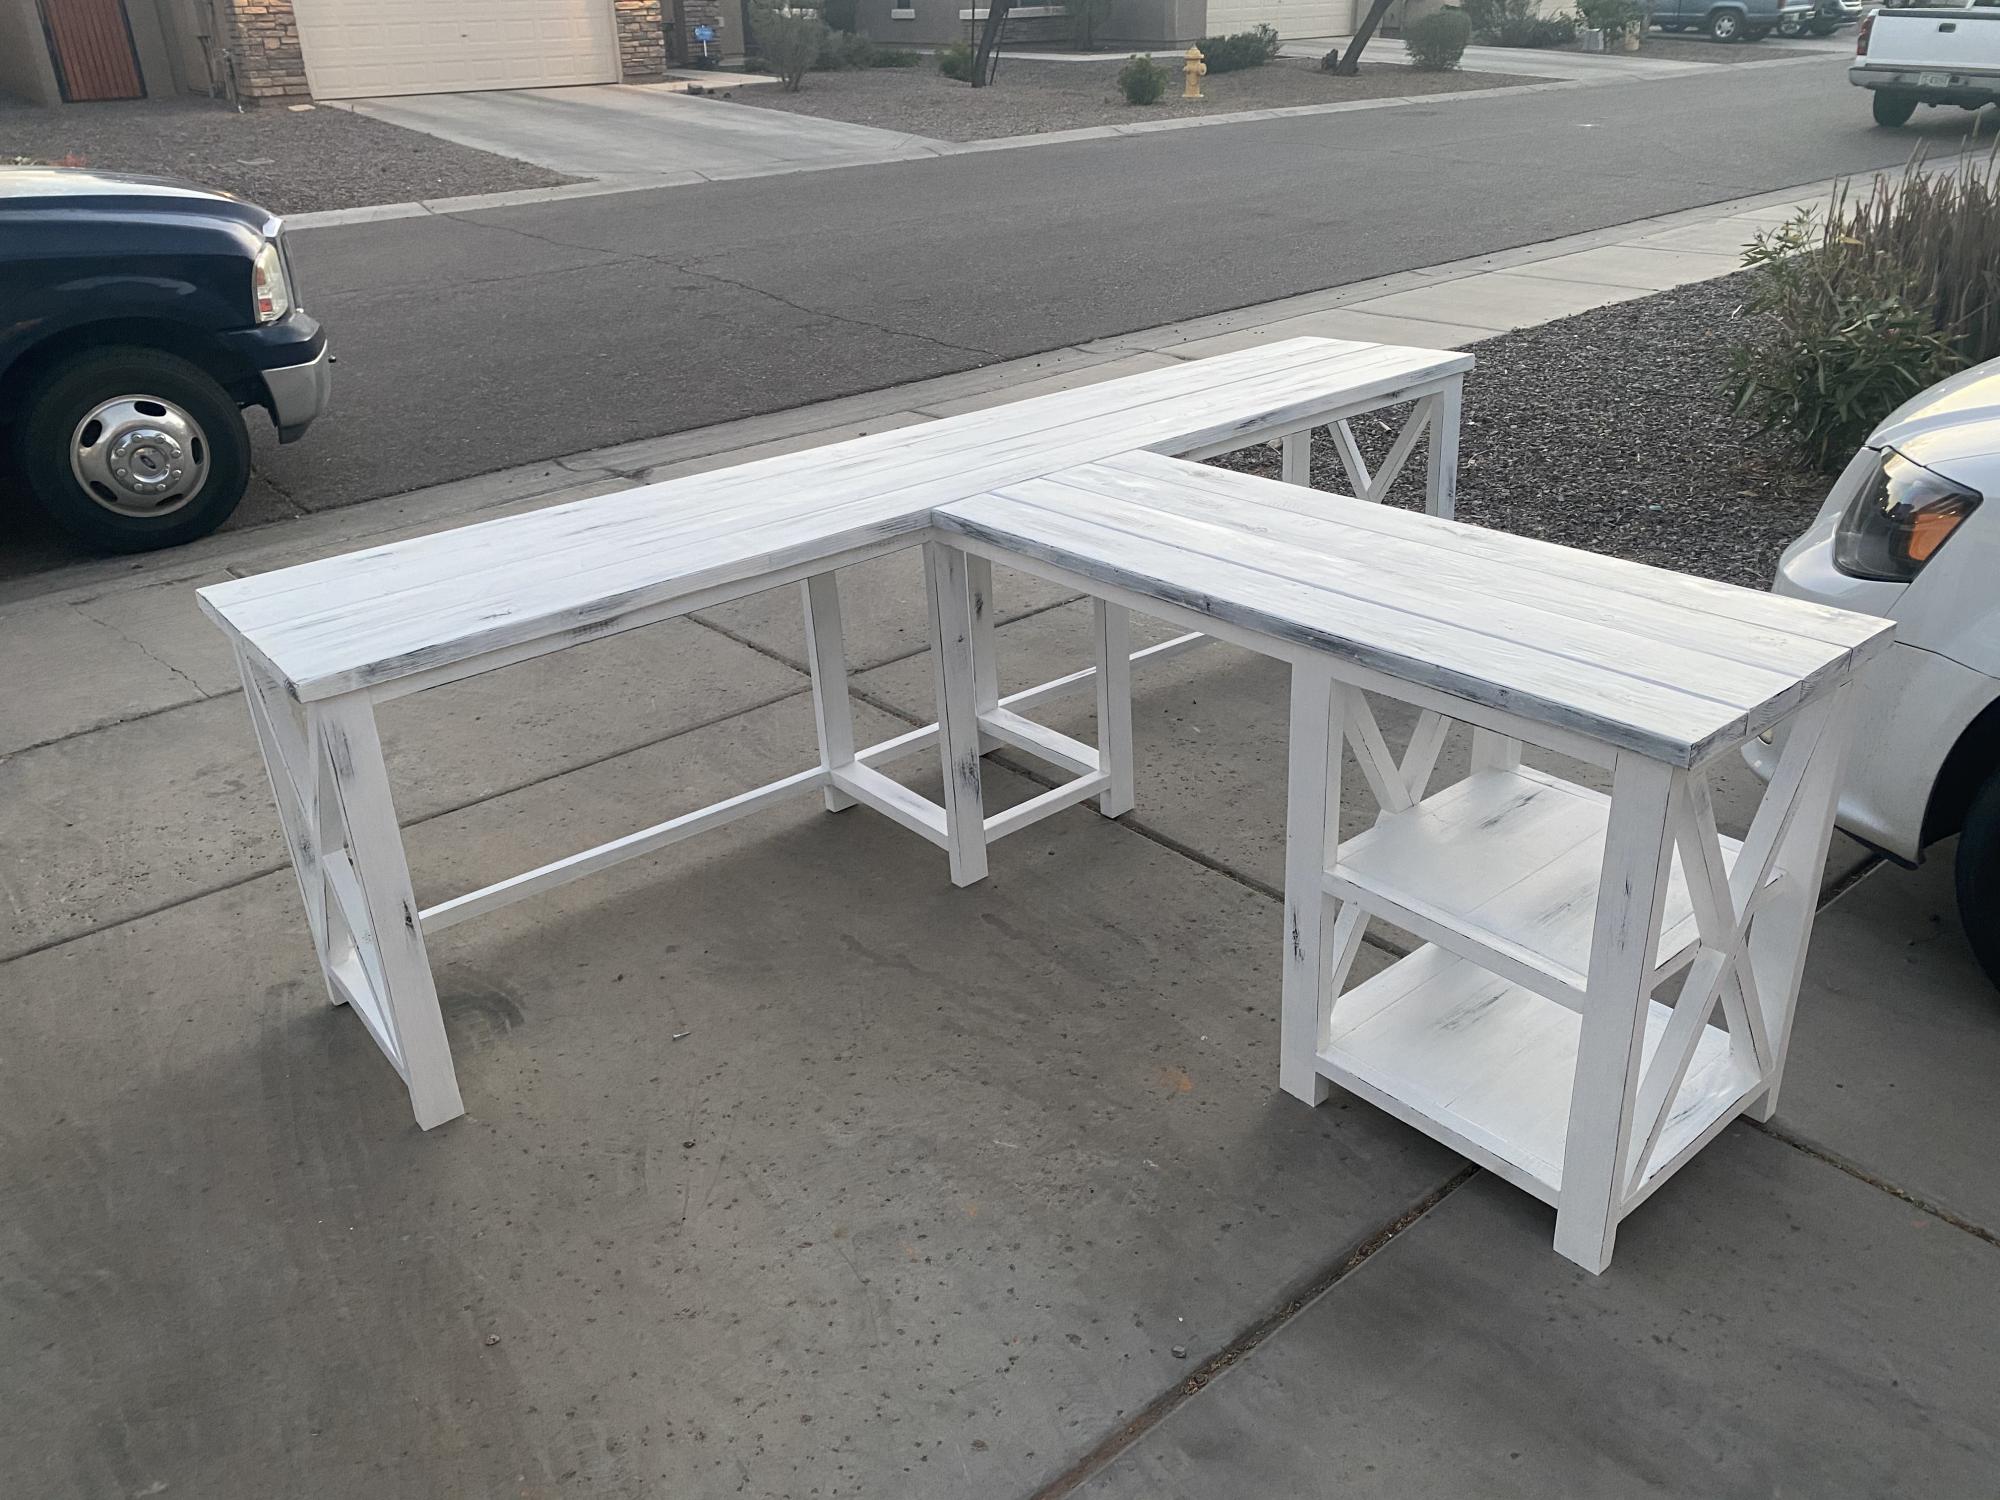
A friend wanted a T-shaped desk, but I couldn’t find plans for it, so I was inspired by these plans to build this!
Tue, 12/28/2021 - 14:22
Do you have plans for this desk? I want to make the t shaped desk and I have been looking for something like this. I love how you modified it

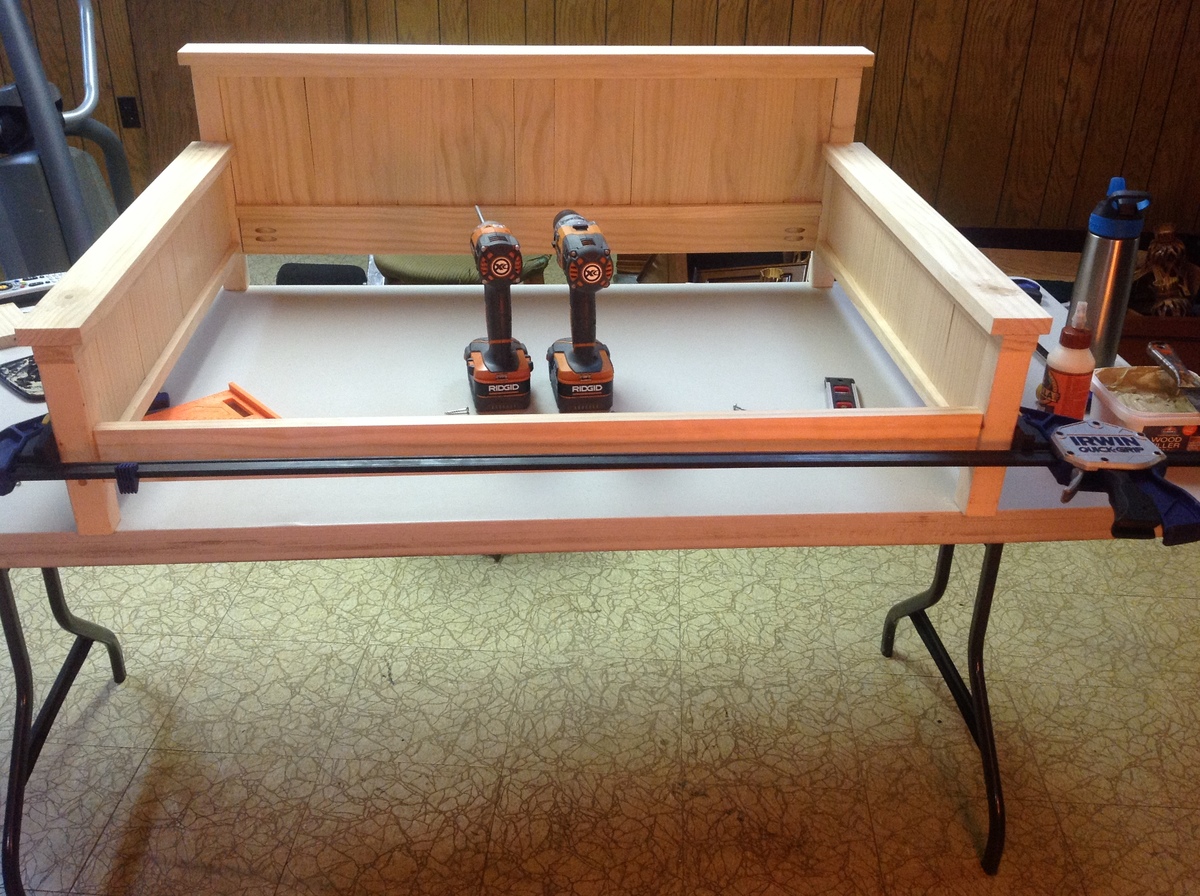
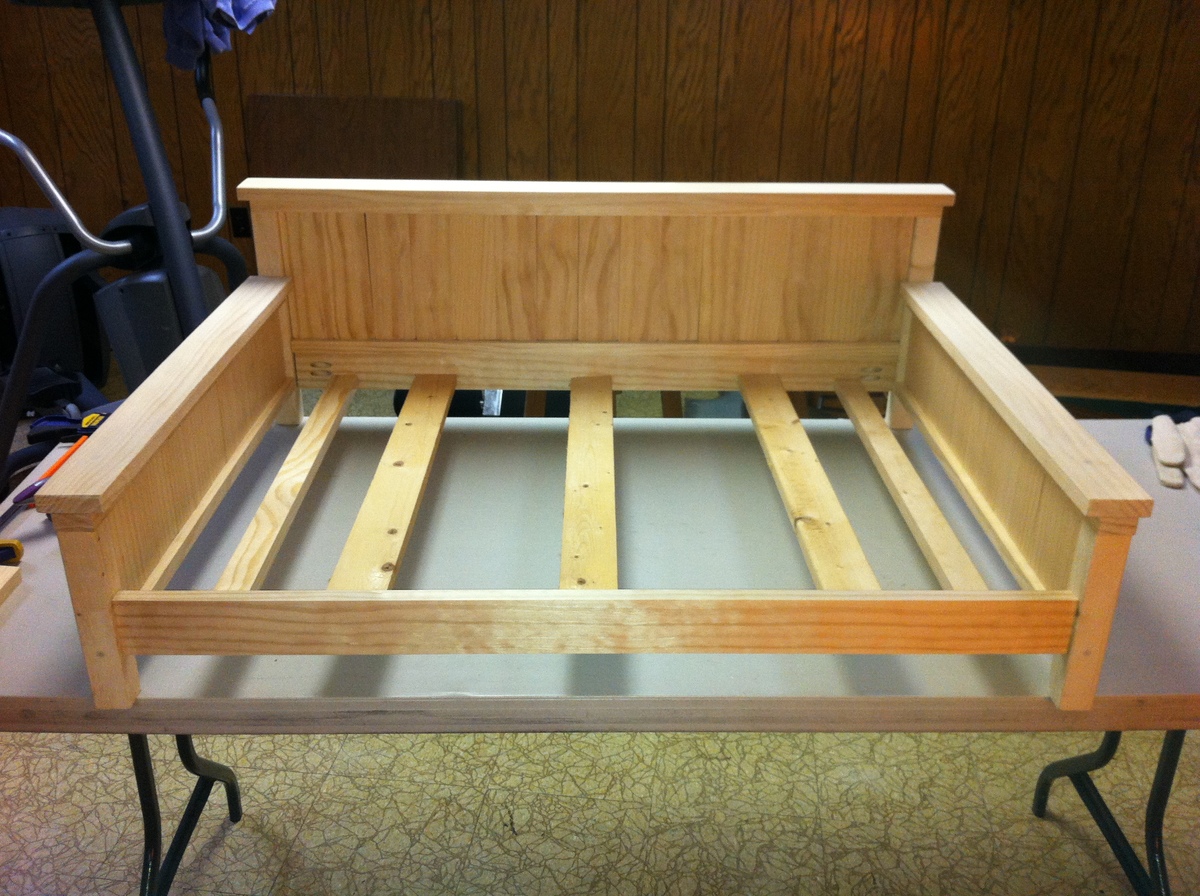
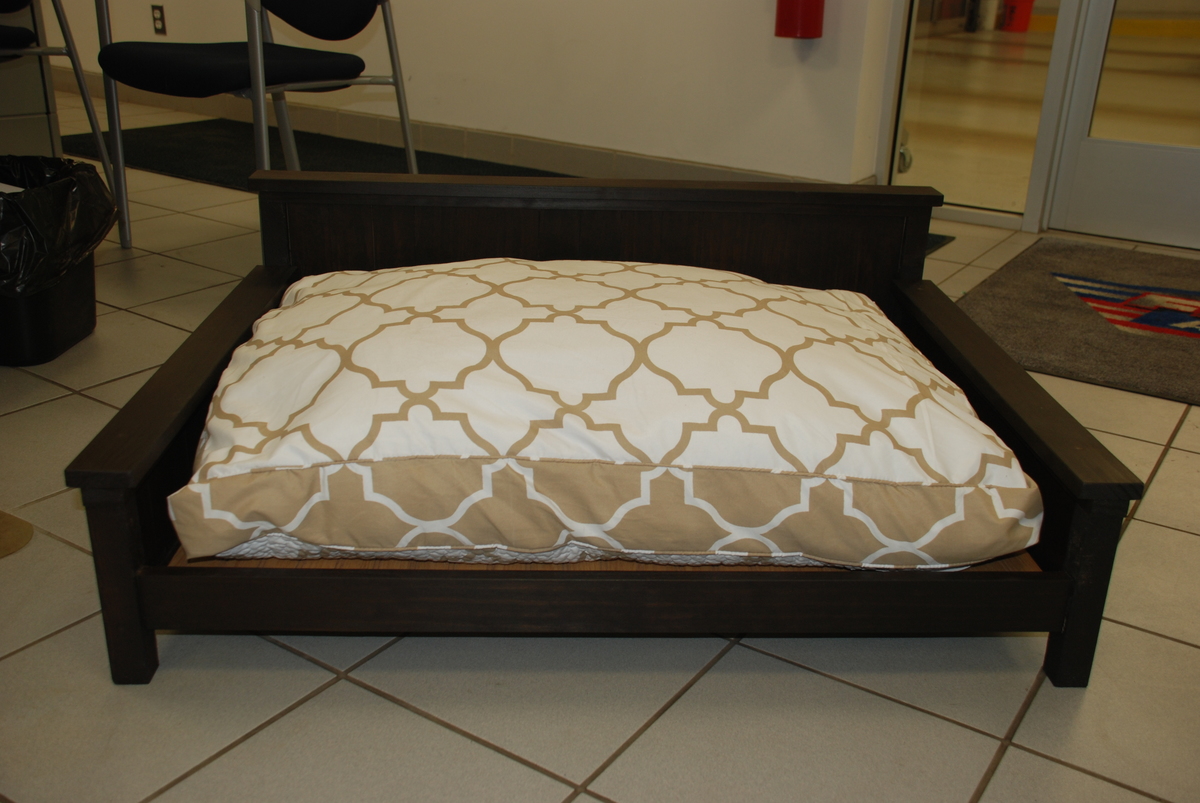
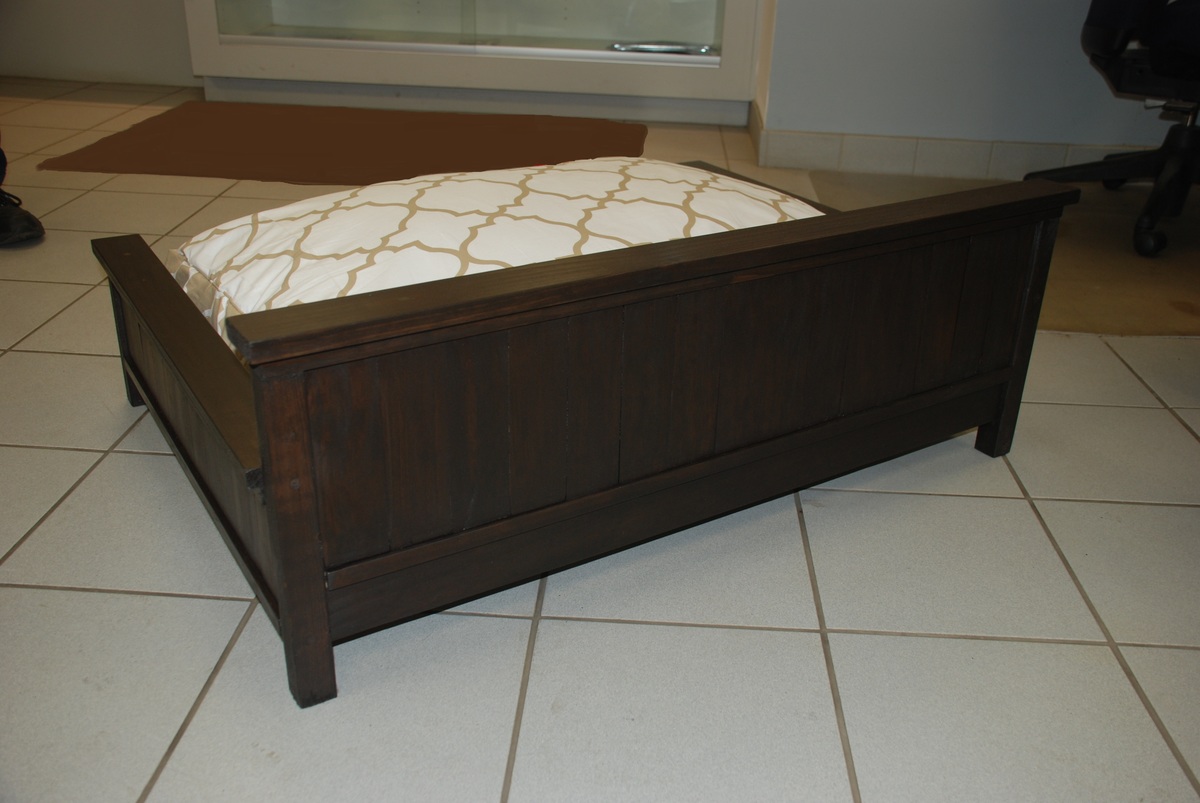
I've been trying to decide which project I'd like to tackle first. So, I decided, since I have been looking for a puppy, a dog bed would be a good start. With the inspiration of Ana's farmhouse doll bed and moosmani's doggie daybed, I tweaked them both and came up with my own. I have to say, for my first project, I am extremely proud! I made a few mistakes, that only I noticed when it was done. But I love how it turned out. I already have a couple people who want me to build them one. I can't wait to take on even bigger projects!

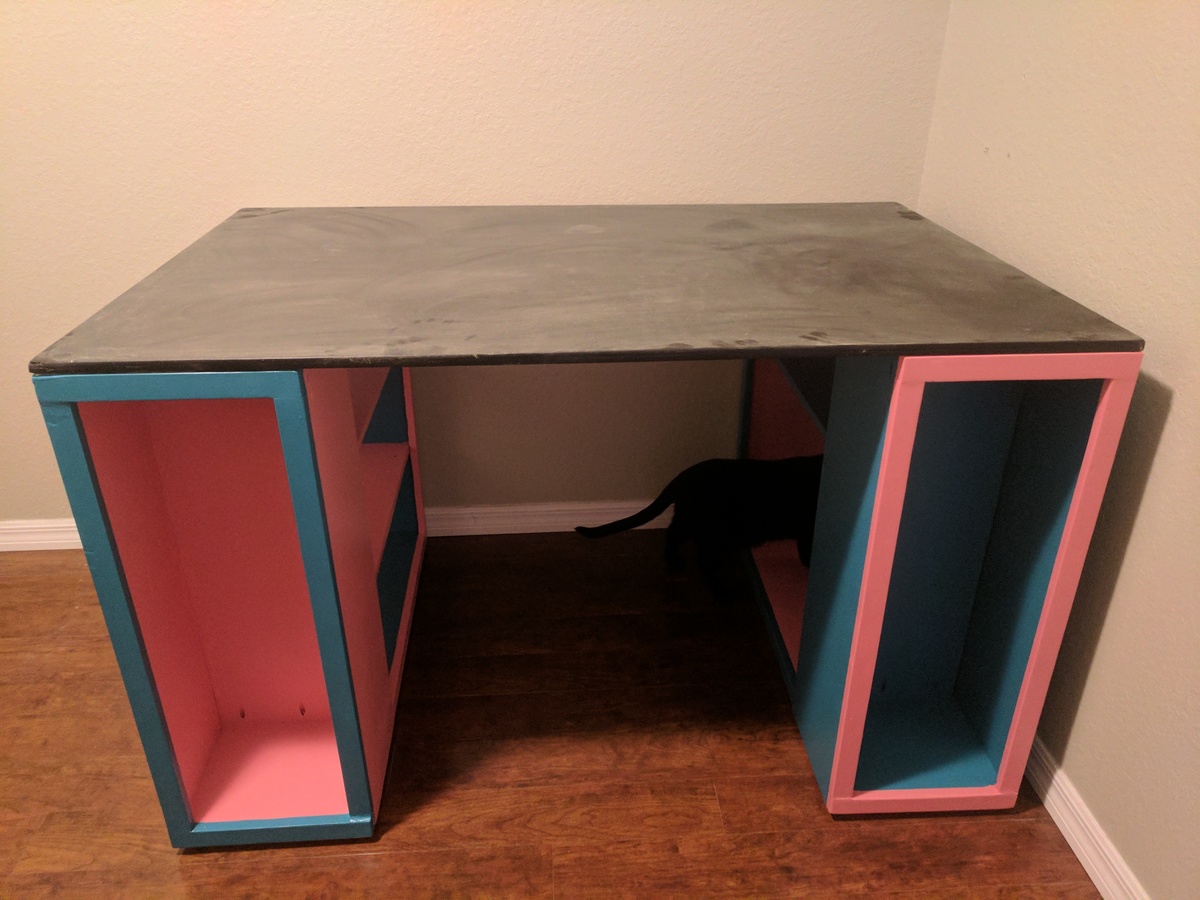
Due to a little plumbing mishap I found myself having to redo my son's room. One of the things he wanted was a desk so I found these plans for the Library Card Play Table and figured with just a tiny bit of tweaking this would be the perfect desk for my son. I opted not to go the library card route and stuck to a solid drawer face on each drawer and I cut the legs a little longer so that the desk sat at 30" tall. My son loves the desk and so do I.
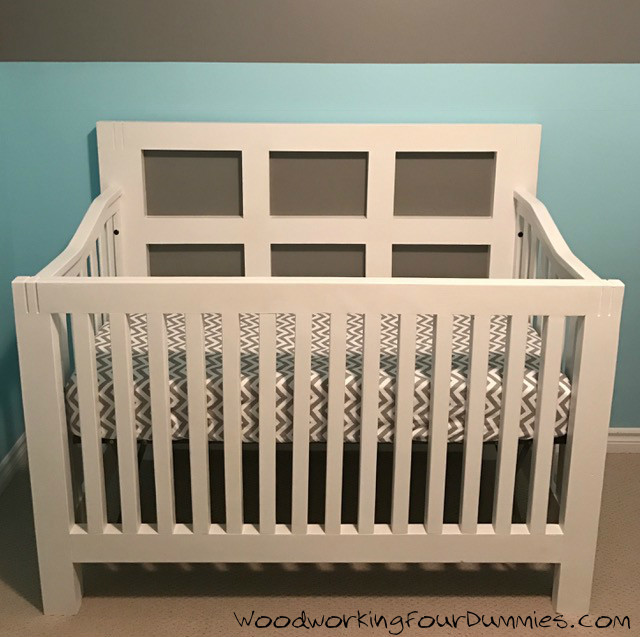
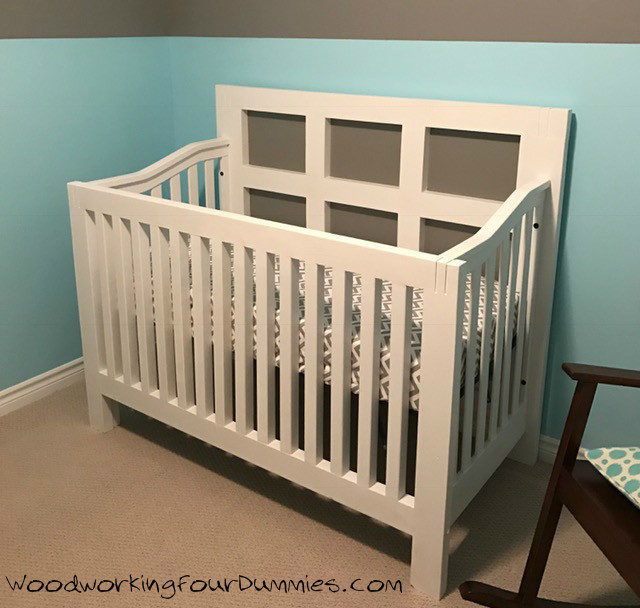
So we we're expecting and we started to look at cribs. We wanted a 2-1 crib that will turn into a twin. My brother in law gave us the side pieces (rails) to his old crib, so I needed to build a headboard and footboard that would go with what he gave us. My wife started to browse online for cribs that she liked and she asked for something that would resemble the "Natart Rustico Moderno Crib". So I tried my best... more photos and tips on my blog.
http://www.woodworkingfourdummies.com/blog/diy-baby-crib
Cheers,
Ian
This table was very easy to build and a lot of credit has to be given to how in depth the plans were! So much detail.
I wish my 2x4’s weren’t twisted because now I have to shim one side so it doesn’t rock but that’s all on me lol.
Great plans and I plan on making more of these! Thanks!

My 5 year old son wanted a "Lego Creation Display Thing" to exhibit all his hard work with his beloved Legos. I knew this plan was perfect.
After styling it for the photo, I didn't want to give it to him, but keep it for myself instead! I think I need to build another one. Or two.
The building only took a few hours, but I spent a LOT of time on sanding and painting it perfectly for a professional finish.
I bought 1x8s instead of 1x4s and ripped them on my table saw, becasue I was able to get straighter boards that way and it was a tad cheaper.
(Bonus Brag: I refinished and reupholstered that blue chair!)
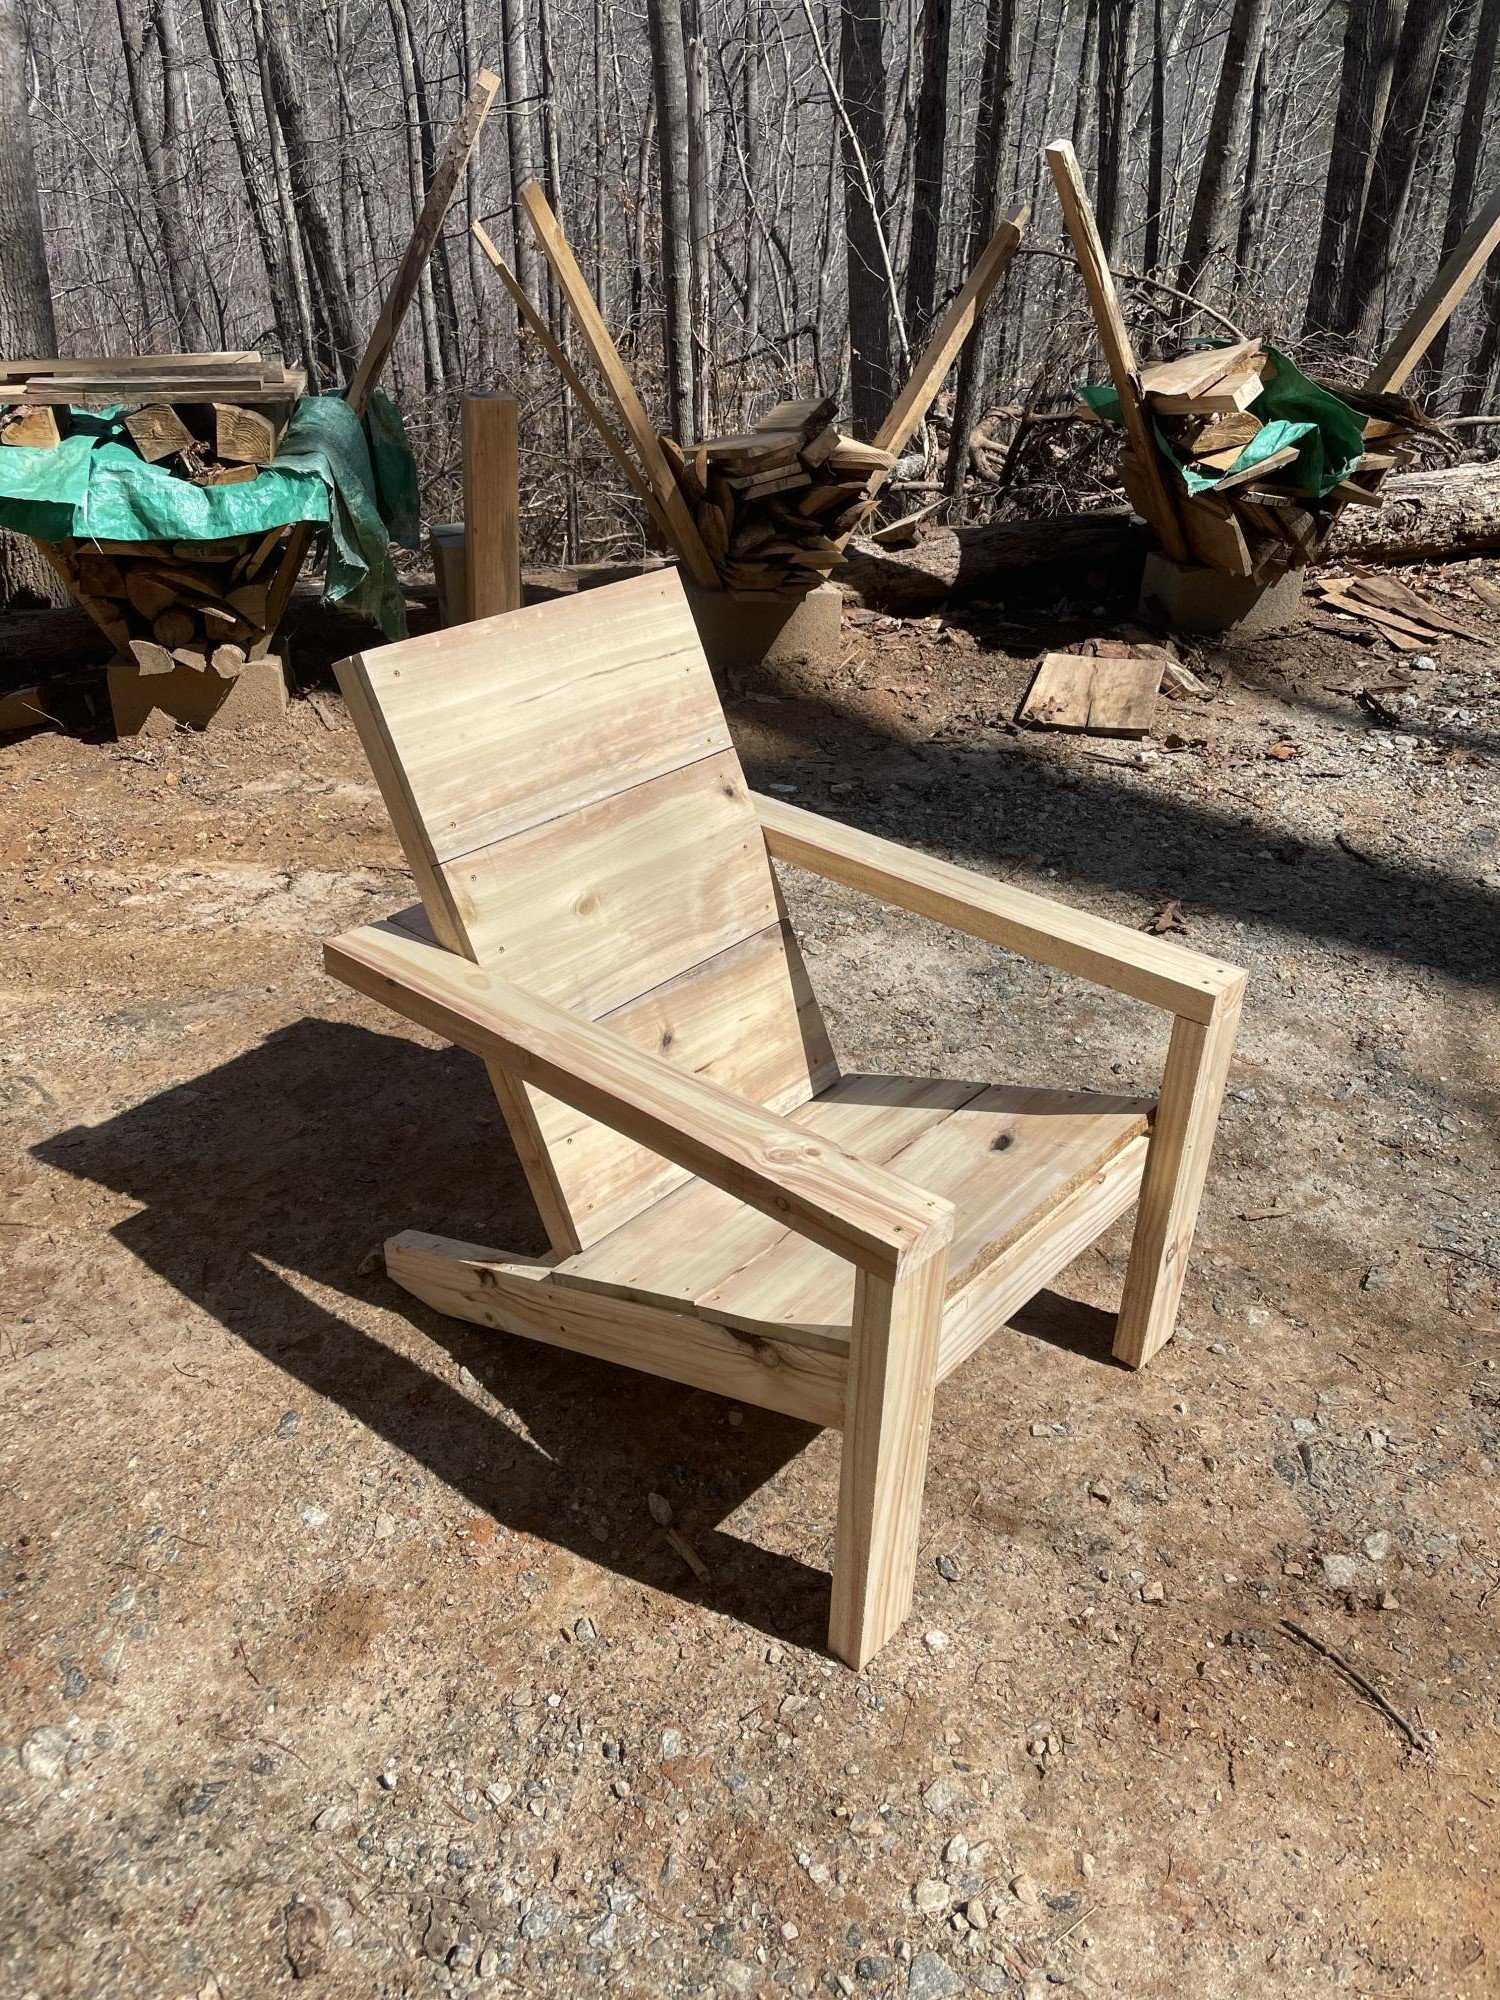
Our first build, all of the lumber was sourced from our land, milers on our sawmill and planed here. White pine frame, poplar seating. Great plans Ana! It was so nice to have success on our first furniture piece!!
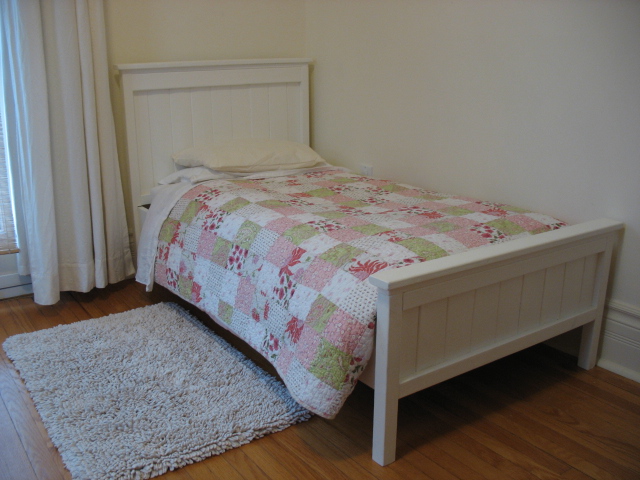
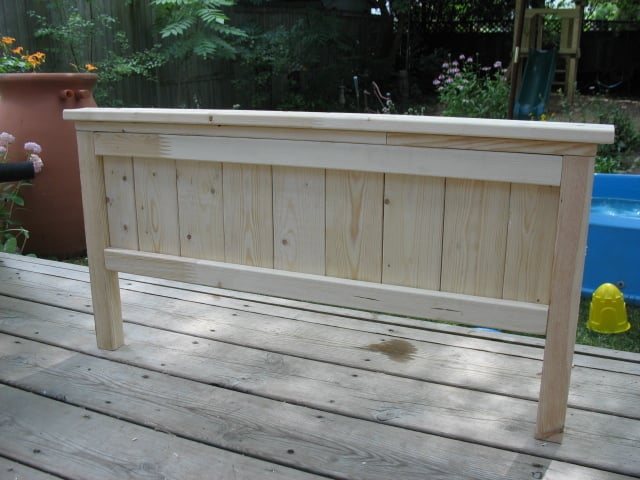
This bed was my 3rd project from Ana white. I'm just getting around to posting it now....
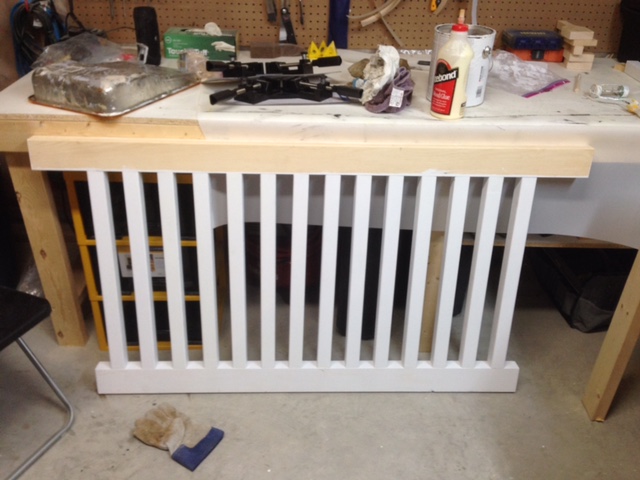
The headboard and footboard were made 2 inches wider than the original plans to account for my wider crib mattress. For my mattress width (28"), I required an extra 1x4 for the headboard and footboard center panels (7 instead of 6), along with 2 1x3s. This meant that I needed to add one extra 1x4 to my shopping list. I only required one 1x6, at a 10 foot length (since I didn't make the arch on the headboard).
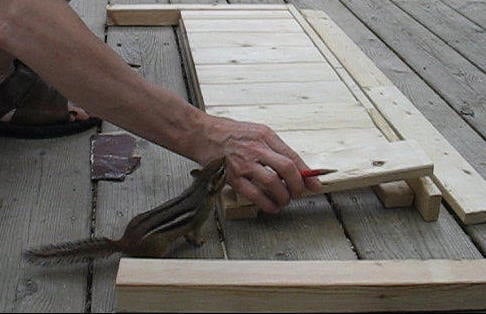
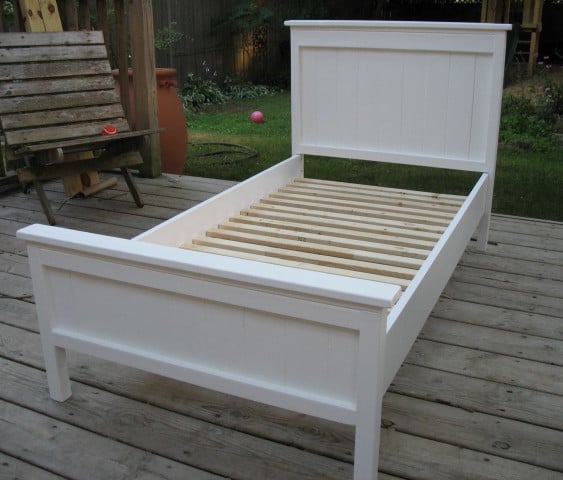
Most of the work was done on our backyard deck, my outdoor workshop. I usually enjoyed the company of a little chipmunk as my "helper". He became very tame over the summer, allowing me to pick him up and pet him. At times, he would sit on my lap or ontop of my shoulder while I was working on a project. He was always with me, just hangin' out. I'm not really sure how long this project took, as I was usually distracted by his company!
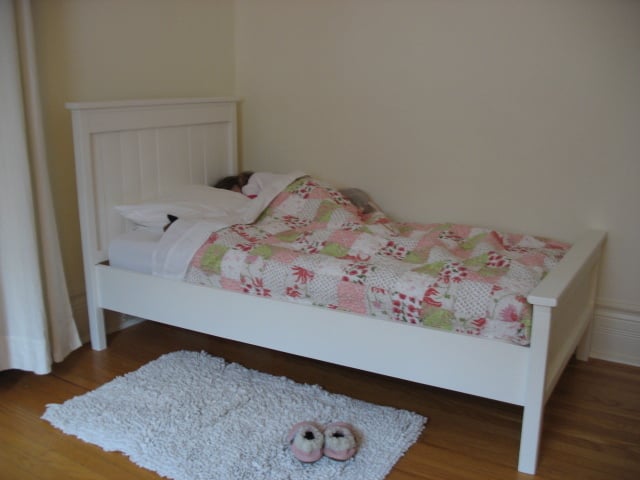
I really enjoyed making this project! Our daughter was SO excited to sleep in her new big-girl bed!
Thanks Ana for the great plans!

Wed, 03/13/2013 - 13:40
Hi dmcarwin - Thanks so much for your comment!
I love my little helper as well. You, however, must be a VERY busy lady! With 6 little helpers??? How do you ever find the time for all your fabulous projects? You truly amaze me!

In reply to Little Helpers by Tea Granny
Wed, 03/13/2013 - 15:35
You are so sweet, I don't do projects in a normal time frame, they are more like, cut the wood one day, sand the next, build another, etc....It is rare I do a build all at once, for obvious reasons! But I truly love it and so I make the time for it when I can! I just checked out the rest of your projects they are fabulous!

Wed, 03/13/2013 - 18:07
Oh, yes. I certainly know about the non-normal time frames. My projects are done during nap-time or in the middle of the night. I finished a play kitchen at 4am on Christmas Day! Cutting it close - after numerous 4am nights, a couple all-nighters ...and about 40 hours later. I definitely was an elf in the workshop.
The play kitchen is pictured in the background of my second photo for my Toddler Chalkboard project. I used Ana's plans and another plan as my inspiration, heavily modified the measurements. I have not had time to post it yet, but soon....
Okay, so I've just checked out your blog! Wonderful.

Sun, 08/09/2015 - 06:51
This is gorgeous!!!!! My daughter will be two in two weeks, and while I'm not quite ready for a big girl bed, and we don't need her crib for another baby yet, I'm so excited to finally find the perfect plans when I am ready. You did a GREAT job, it's just beautiful. When I compare this to the $400 plus beds in stores I just shake my head and say THANK YOU ANA for giving us great alternative options. Thank you for the inspiration!!
This was very easy to make. Stained with minwax dark walnut. It's very sturdy too.
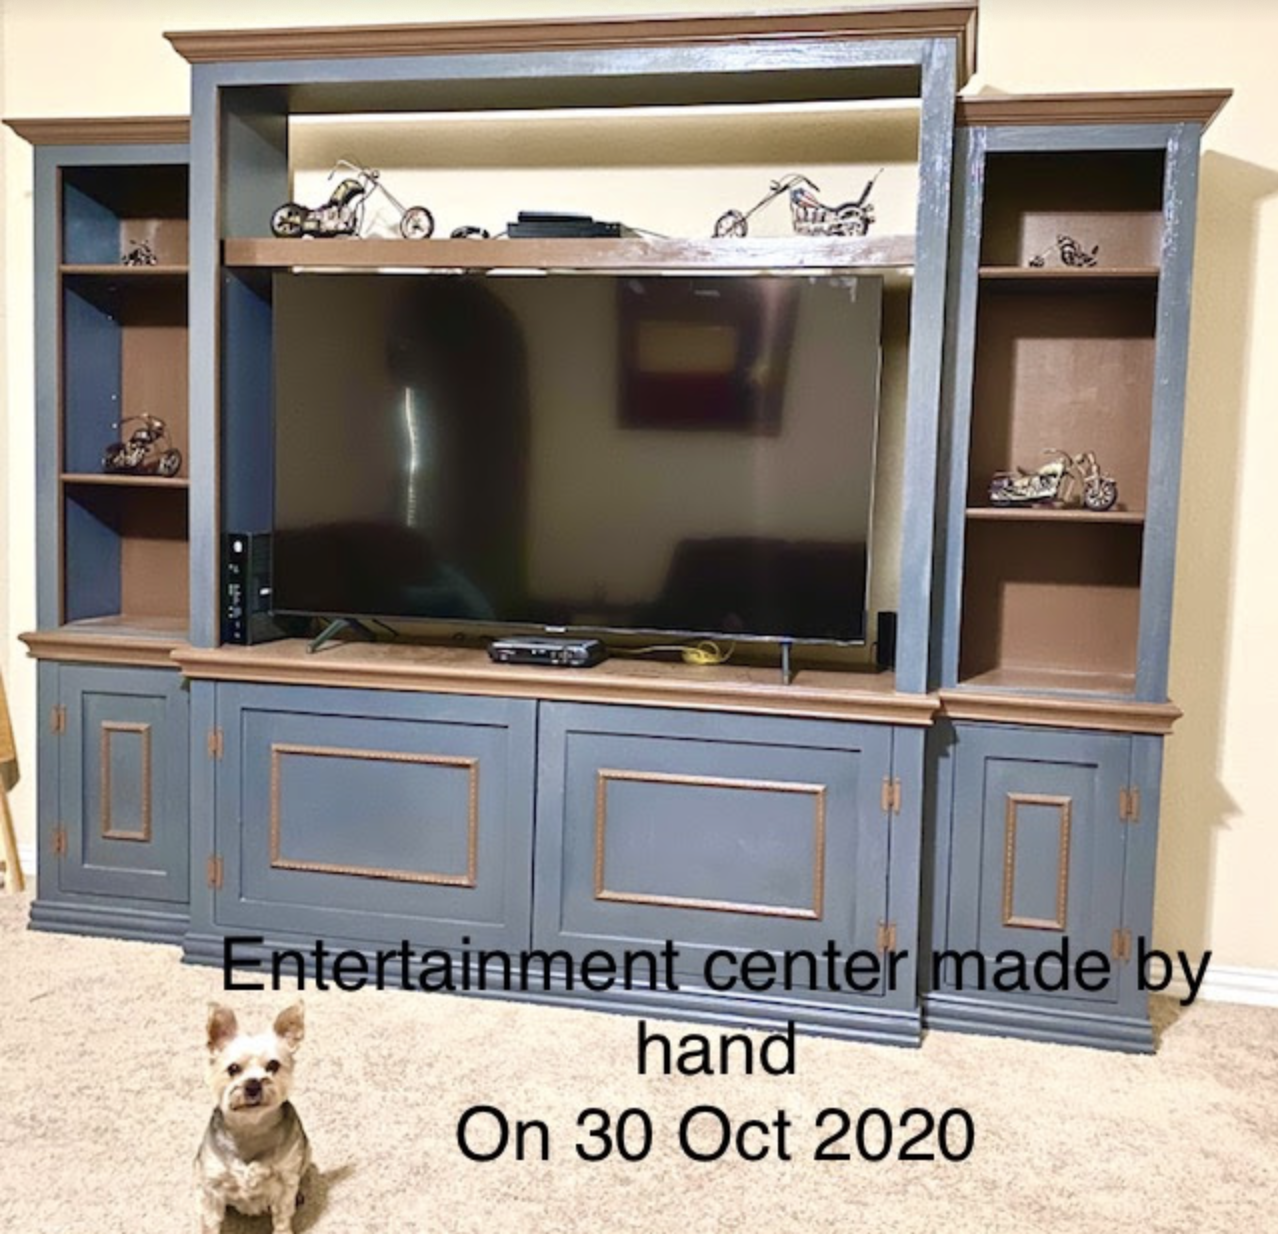
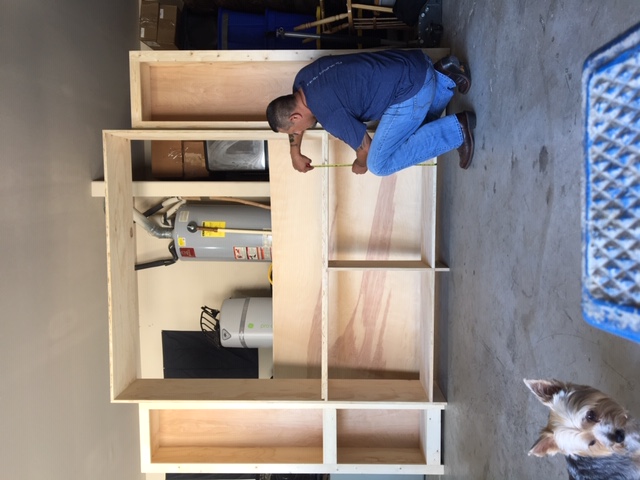
I had a very good time building this entertainment center. I've received many compliments on the outcome.
Made from reclaimed pine moulding.


Comments
Ana White Admin
Sat, 02/27/2021 - 09:57
Very cool!
Great job, thanks for sharing!