Community Brag Posts

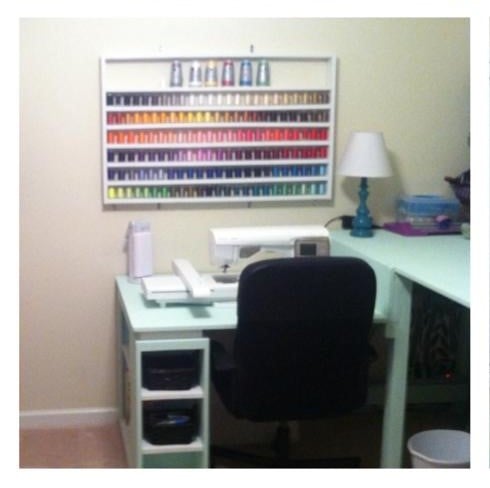
Sewing/cutting table

Submitted by drc3924 on Thu, 06/19/2014 - 19:53

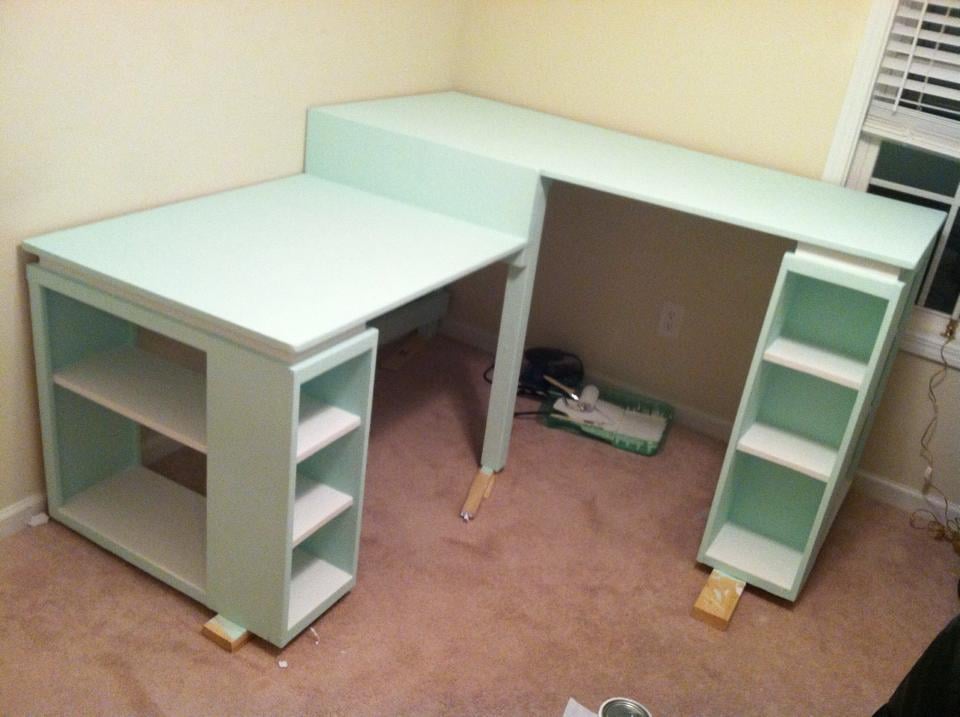
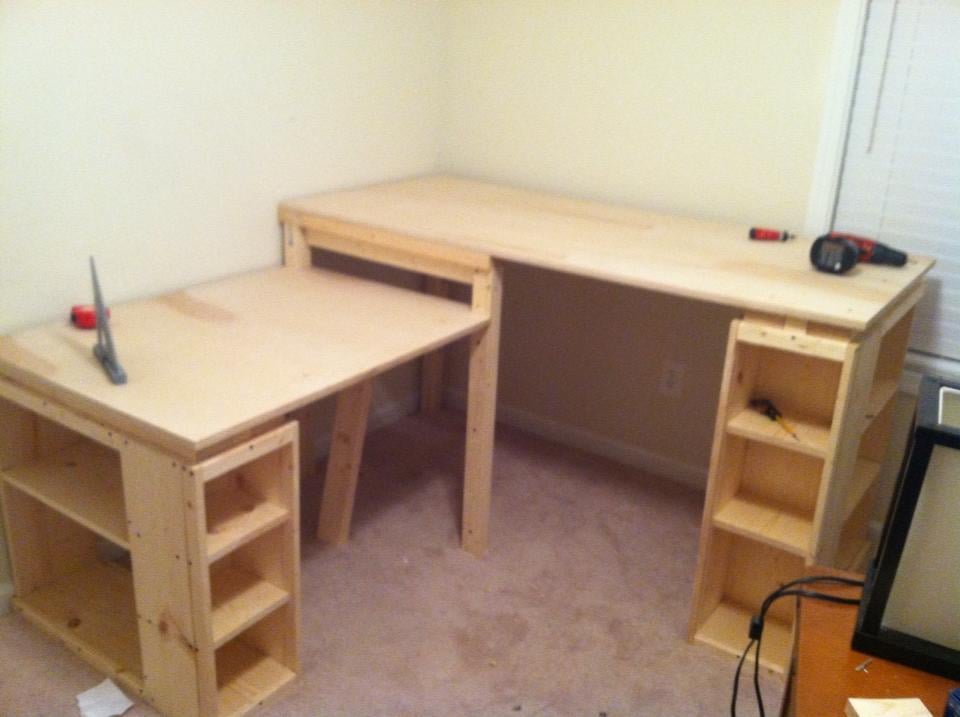
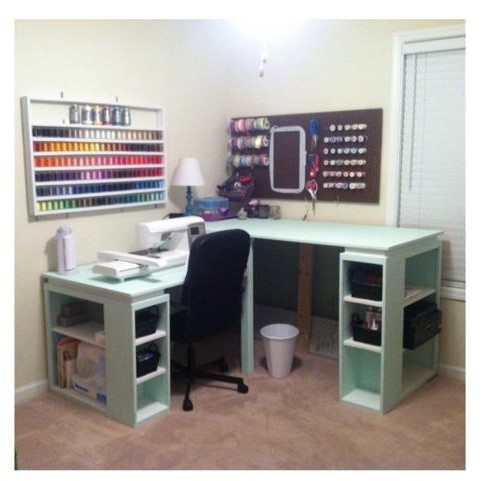
This has become my dream sewing/craft desk!! This project took about a week from start to finish (with work days in between). The shorter portion of the desk is used for my machine and sewing. The taller portion is used as a cutting table. The plans (dimensions) were tweaked some to get the perfect heights for me :).

Built from Plan(s)
Estimated Cost
$200
Estimated Time Investment
Weekend Project (10-20 Hours)
Finish Used
After sanding I painted 1 coat of interior primer the about 2-3 coats of mint flat interior paint. I decided not to add a clear coat just because I wanted to use my amazing desk ASAP!!!
Recommended Skill Level
Intermediate

Comments

tamaralyn79

Wed, 03/25/2015 - 06:31

Your desk is GORGEOUS!!!! It's exactly what I've been looking to build for my space. I would love to know how you modified the plan to make it.

TaylorMade1205

Wed, 03/25/2015 - 07:23

I also wanted to comment on the thread shelf you build, that is really awesome, you can see all your colors right in front of you. Mine are in a drawer and I have to pull the whole thing out to see what I need. This is really giving me ideas.

kchess

Fri, 09/04/2015 - 08:45

Would you please send the plan instructions (with measurments).  It is perfect for me as I sew and embrodery both and have two machines.  

Lilia's Dresser and Nightstand

Submitted by EngrTodd1 on Sun, 09/18/2016 - 08:34

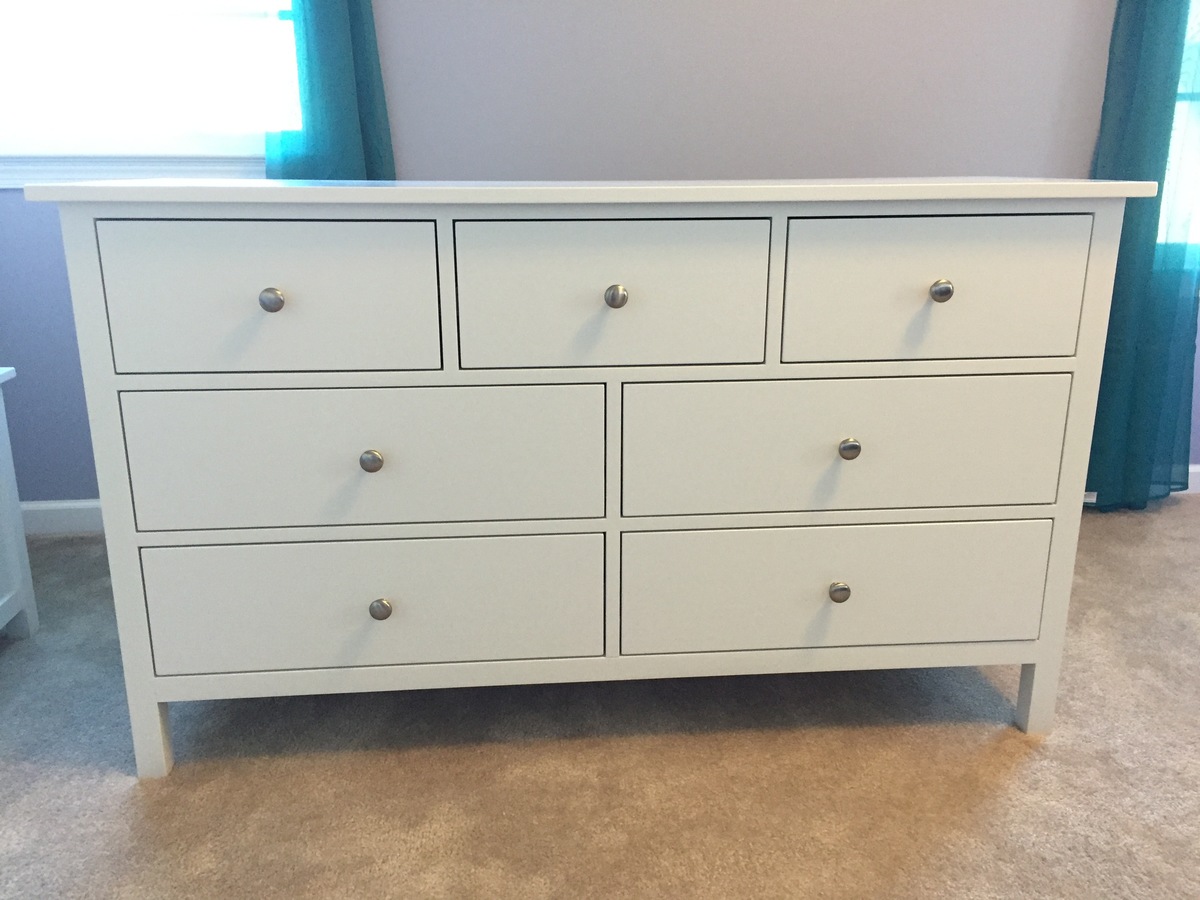
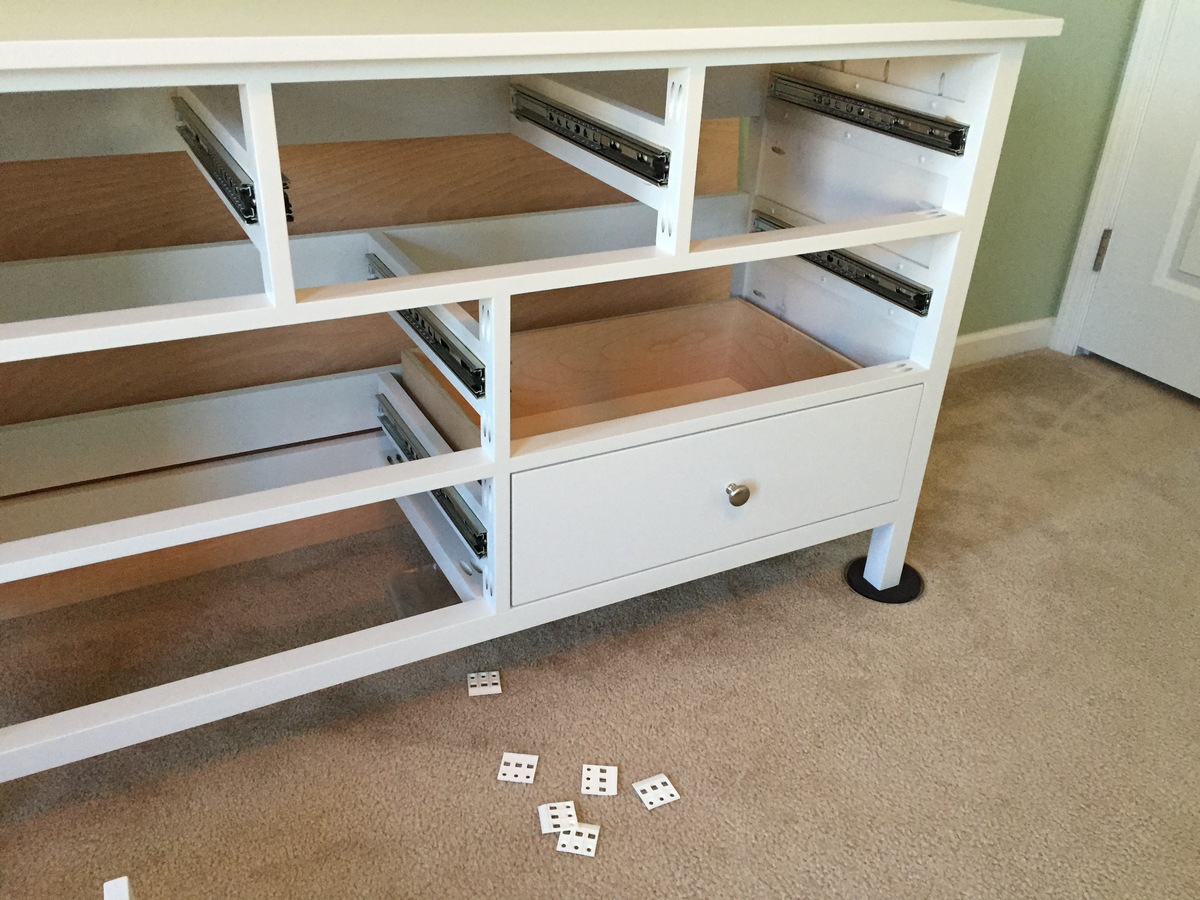
I made this dresser and nightstand for my oldest daughter when we moved her into her "big girl" room, as we were expecting a second daughter who would take the nursery.  I ended up modifying the design a bit with the side panels to have them more closely replicate the multi-layered look of the actual Pottery Barn dresser.  I wanted to add a nightstand to have another matching piece for more storage.  I ended up taking some average dimensions from other kid's nightstands online and designed and built it in the same style and manner as the dresser.


The overall project took WAY more time than i thought it would but I'm very happy with the way it turned out. This was the first time that I used a router to cut grooves in the drawer box pieces to slide in and lock the drawer bottom in place.  Also, this was my crash course with an HVLP sprayer as well.  Hopefully, these pieces will be able to handle all of the abuse my 3 year old daughter will surely give them.  Thanks to Ana for the wonderful plans!  Also, thank you to Ed for his detailed write-up on his modifications, http://www.edhart.me/2015/05/how-to-build-a-kendal-extra-wide-dresser/.

Built from Plan(s)
Estimated Cost
$600 for both dresser and nightstand
Estimated Time Investment
Week Long Project (20 Hours or More)
Finish Used
Zinsser BIN Shellac based primer.

Rust-Oleum Satin White Enamel Paint top coat.

Applied with Rockler HVLP sprayer.
Recommended Skill Level
Advanced

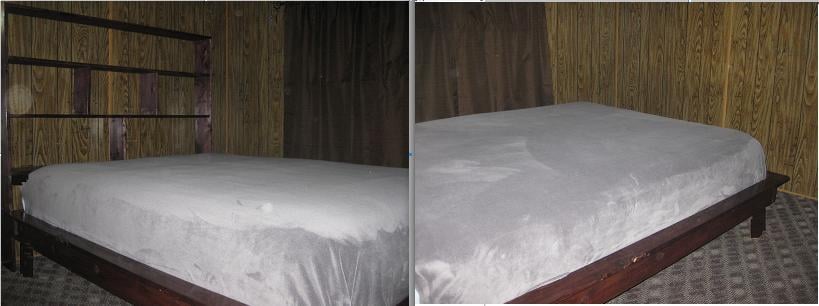
Modified Hailey Platform Bed

Submitted by amjoear on Mon, 08/27/2012 - 16:54

Our first building project and couldn't be happier with the outcome!

My husband and I were in the market for a new bed frame, but nothing in the shops were what we were looking for. We discussed making it. I came across these plans (http://ana-white.com/2012/01/plans/hailey-platform-bed) and off we went! The headboard was something we "designed" on our own (we did not work off any plans). We wanted something simple and functional.
We started from scratch .... had to buy tools, wood conditioner, stain, etc. But unbelievably thrilled with the outcome (and cost)
It is a very sturdy and heavy bed, something that is great for use, but may cause some issues when we move .... ;)

I did not include the time needed to dry, only the time it took to get items/measure/cut/build/assemble.

Built from Plan(s)
Estimated Cost
Approx. $300 (includes all tools needed, wood, stain, etc.)
Estimated Time Investment
Day Project (6-9 Hours)
Finish Used
Varathane Premium Wood Stain
*conditioned, stained, top coat (glossy), once over with sandpaper (220 very fine with handheld sanding block), second application of top coat
Recommended Skill Level
Starter Project

Hallway Table

Submitted by DawnB on Sun, 06/22/2014 - 22:51

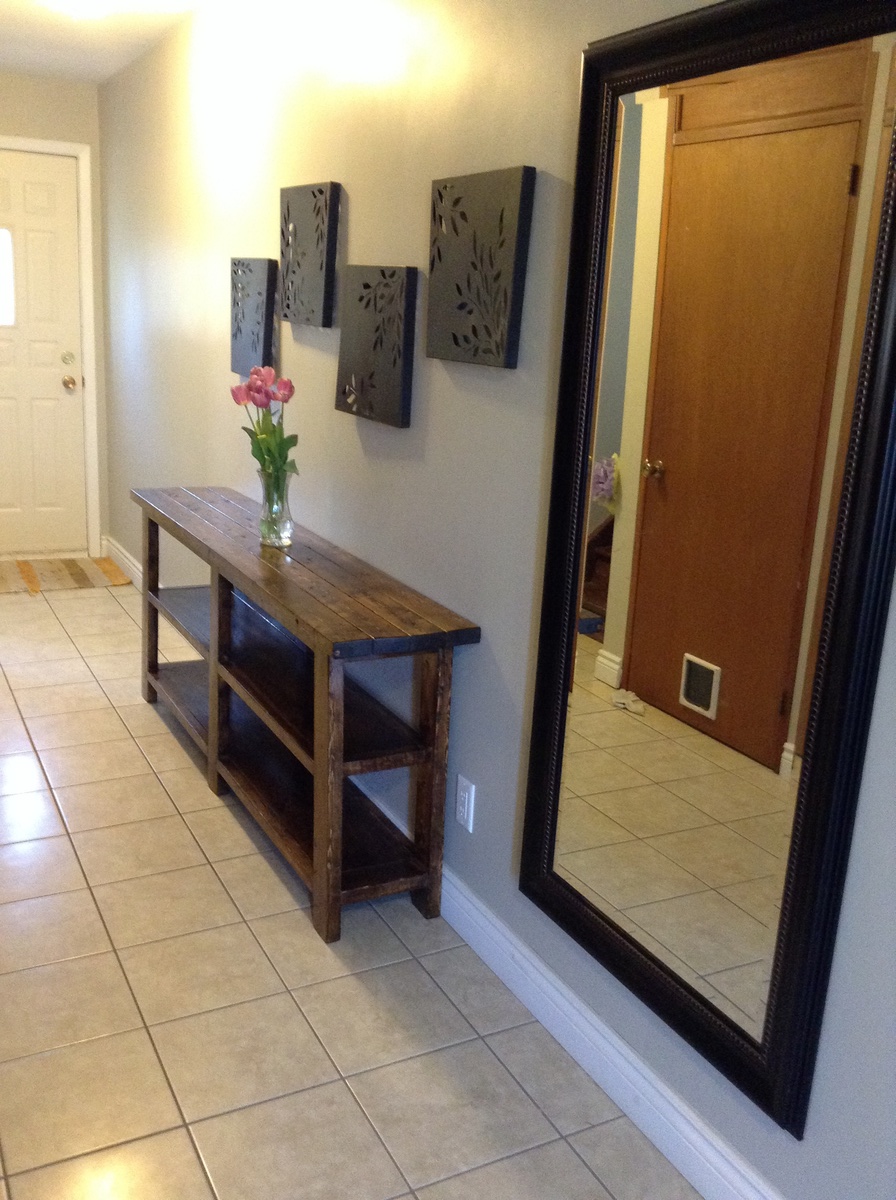
Turns out this plan was made for this random spot in our hallway! I used leftover butcher block for the top.

Recommended Skill Level
Beginner

King Headboard

We used these instructions for this project. This is for our king size bed. We used premium pine wood from Lowe's and Home Depot. The boards weren't 100% perfect, so on the back side we had to attached a piece of wood vertically and centered to straighten them out. For the stain we used Minwax Honey 272 and applied a coat of polyurethane (clear satin). 

Estimated Cost
$500 (remember, this is for a king size bed)
Estimated Time Investment
Weekend Project (10-20 Hours)
Finish Used
Minwax Honey 272
Recommended Skill Level
Beginner

When you follow directions and plans..

Submitted by Anonymous (not verified) on Sat, 07/04/2020 - 05:54

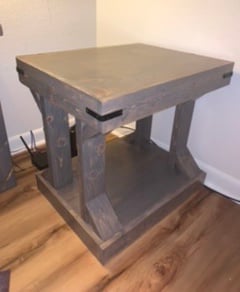
Followed Ana’s plans down to the measurements. Didn’t have a brad nailer, so I attached the 1x4 sides with 3/4in pocket holes and 1 1/4in PH screws. Additionally used trim screws and 1 1/4 finish nails throughout it for places I couldn’t put a PH. Plan on getting four more brackets for the bottom half, like the top. Very proud of myself.
Stained the legs, top, and base before completely assembling them.

Estimated Cost
$35 (without tools and screws)
Estimated Time Investment
Weekend Project (10-20 Hours)
Finish Used
Varathane Briarsmoke. Three coats of Satin finish.
Recommended Skill Level
Beginner

Ten Dollar Ledges for Books

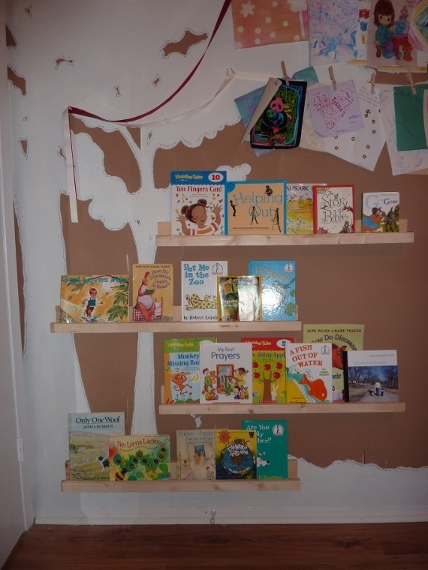
What a quick easy project!!

I bought 8 ft long boards....and was able to make a 3 ft shelf and a 5ft shelf with each set. (The 5 foot shelves are going in my bedroom for photos...I'll be finishing those up this week!)

I hung these (3 foot) book shelves behind my daughter's bedroom door....so I adjusted the 1x4's to 1x2's....that way the door can open all the way and not bump in to them. A perfect fit for usually wasted space!

I staggered the shelves in my daughters room, so some taller books could stand up on the sides. She LOVES them!!

~Don't mind all the other chaos in the photos....that is all my daughter's "projects". She's a doer- like her Mama! =)

Built from Plan(s)
Estimated Cost
About $3 per shelf (since I used the remaining wood on other projects)
Estimated Time Investment
An Hour or Two (0-2 Hours)
Finish Used
I didn't even stain/paint these. They look adorable just bare wood!
Recommended Skill Level
Starter Project

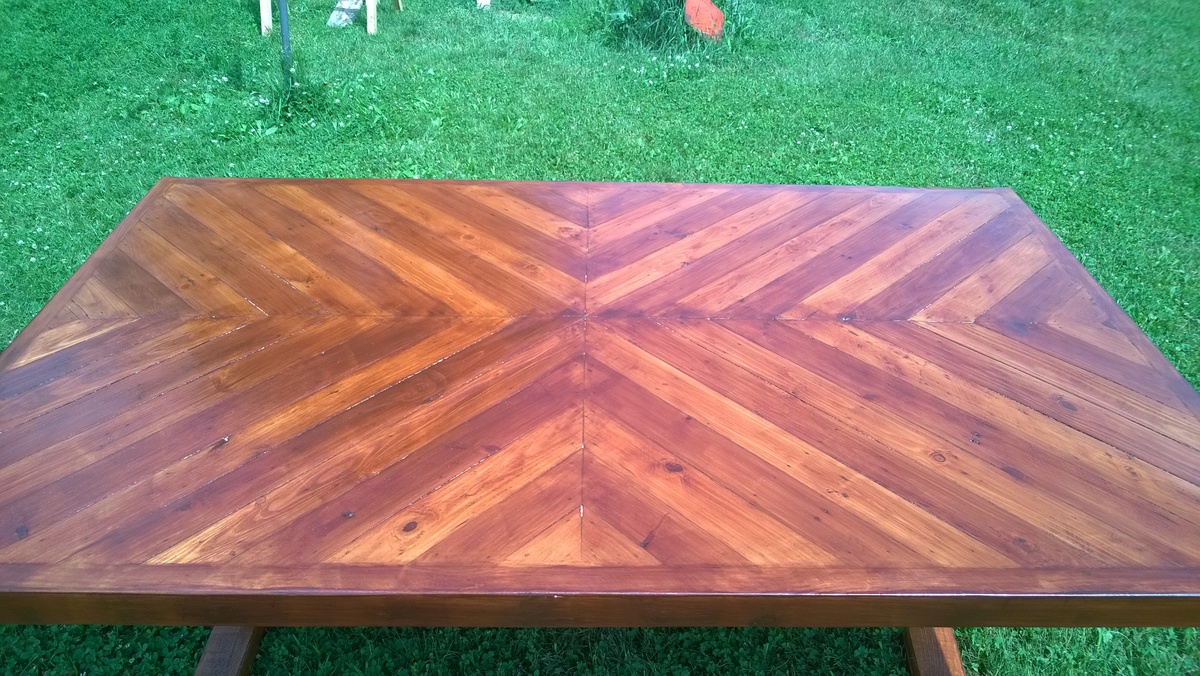
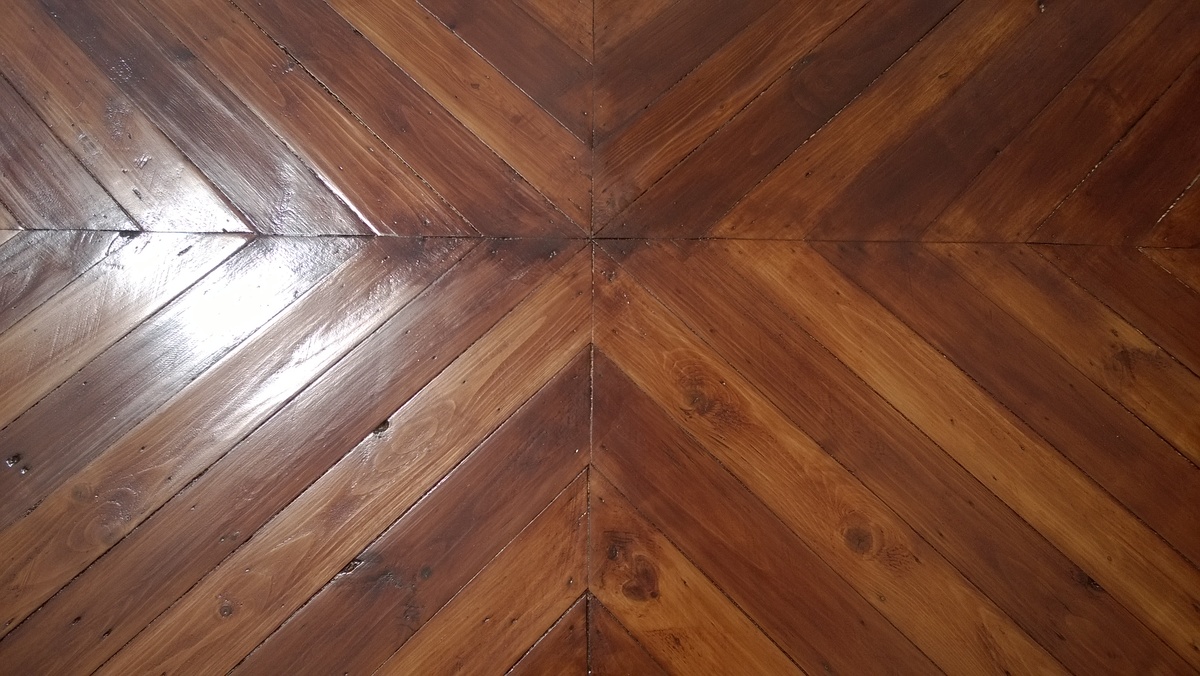
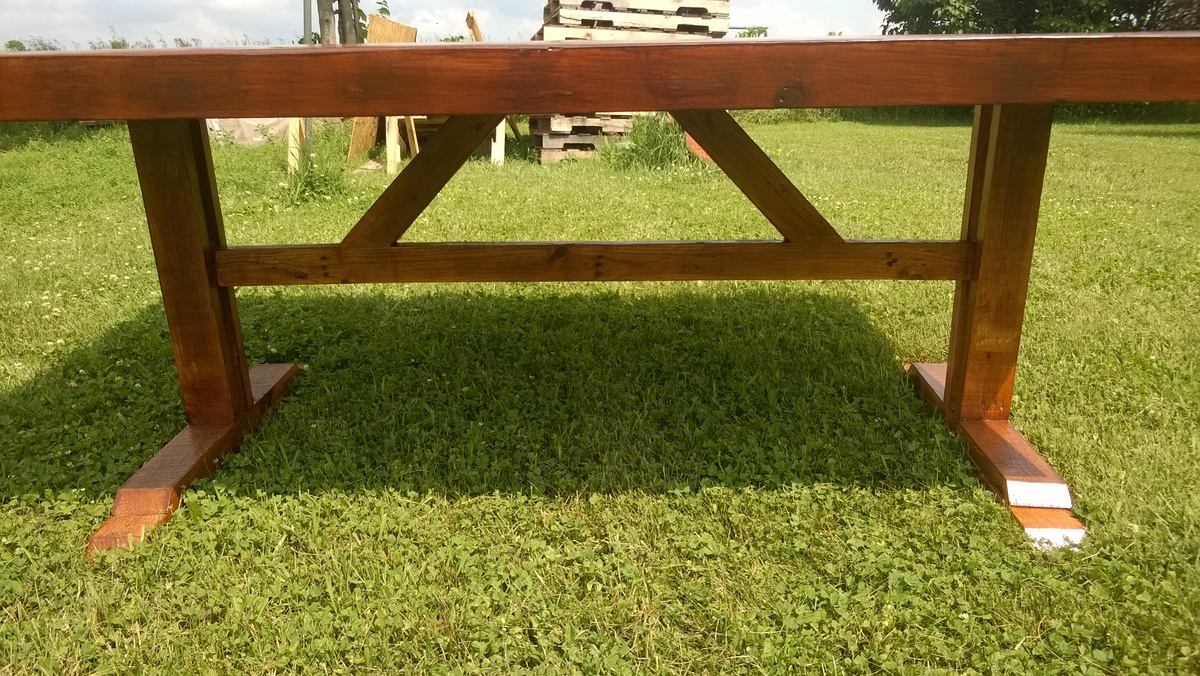
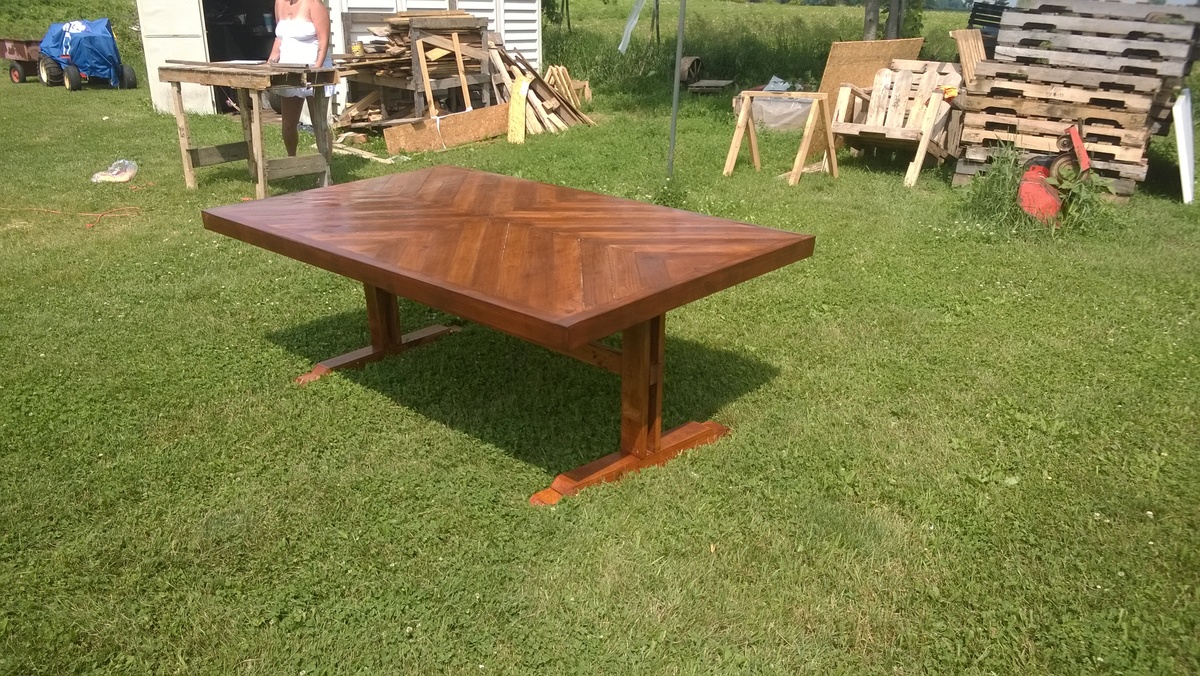
Repurposed Pallet Dinning Room Table

This was done entirely with thrown out pallets. Lots of work and sweat but I love it! Used polystain as the finish. Only spent about $30 in supplies ie screws, nails, stain.

Estimated Cost
$30
Estimated Time Investment
Week Long Project (20 Hours or More)
Recommended Skill Level
Intermediate

Comments

Girls' room

Submitted by Anonymous (not verified) on Sun, 09/25/2016 - 15:32

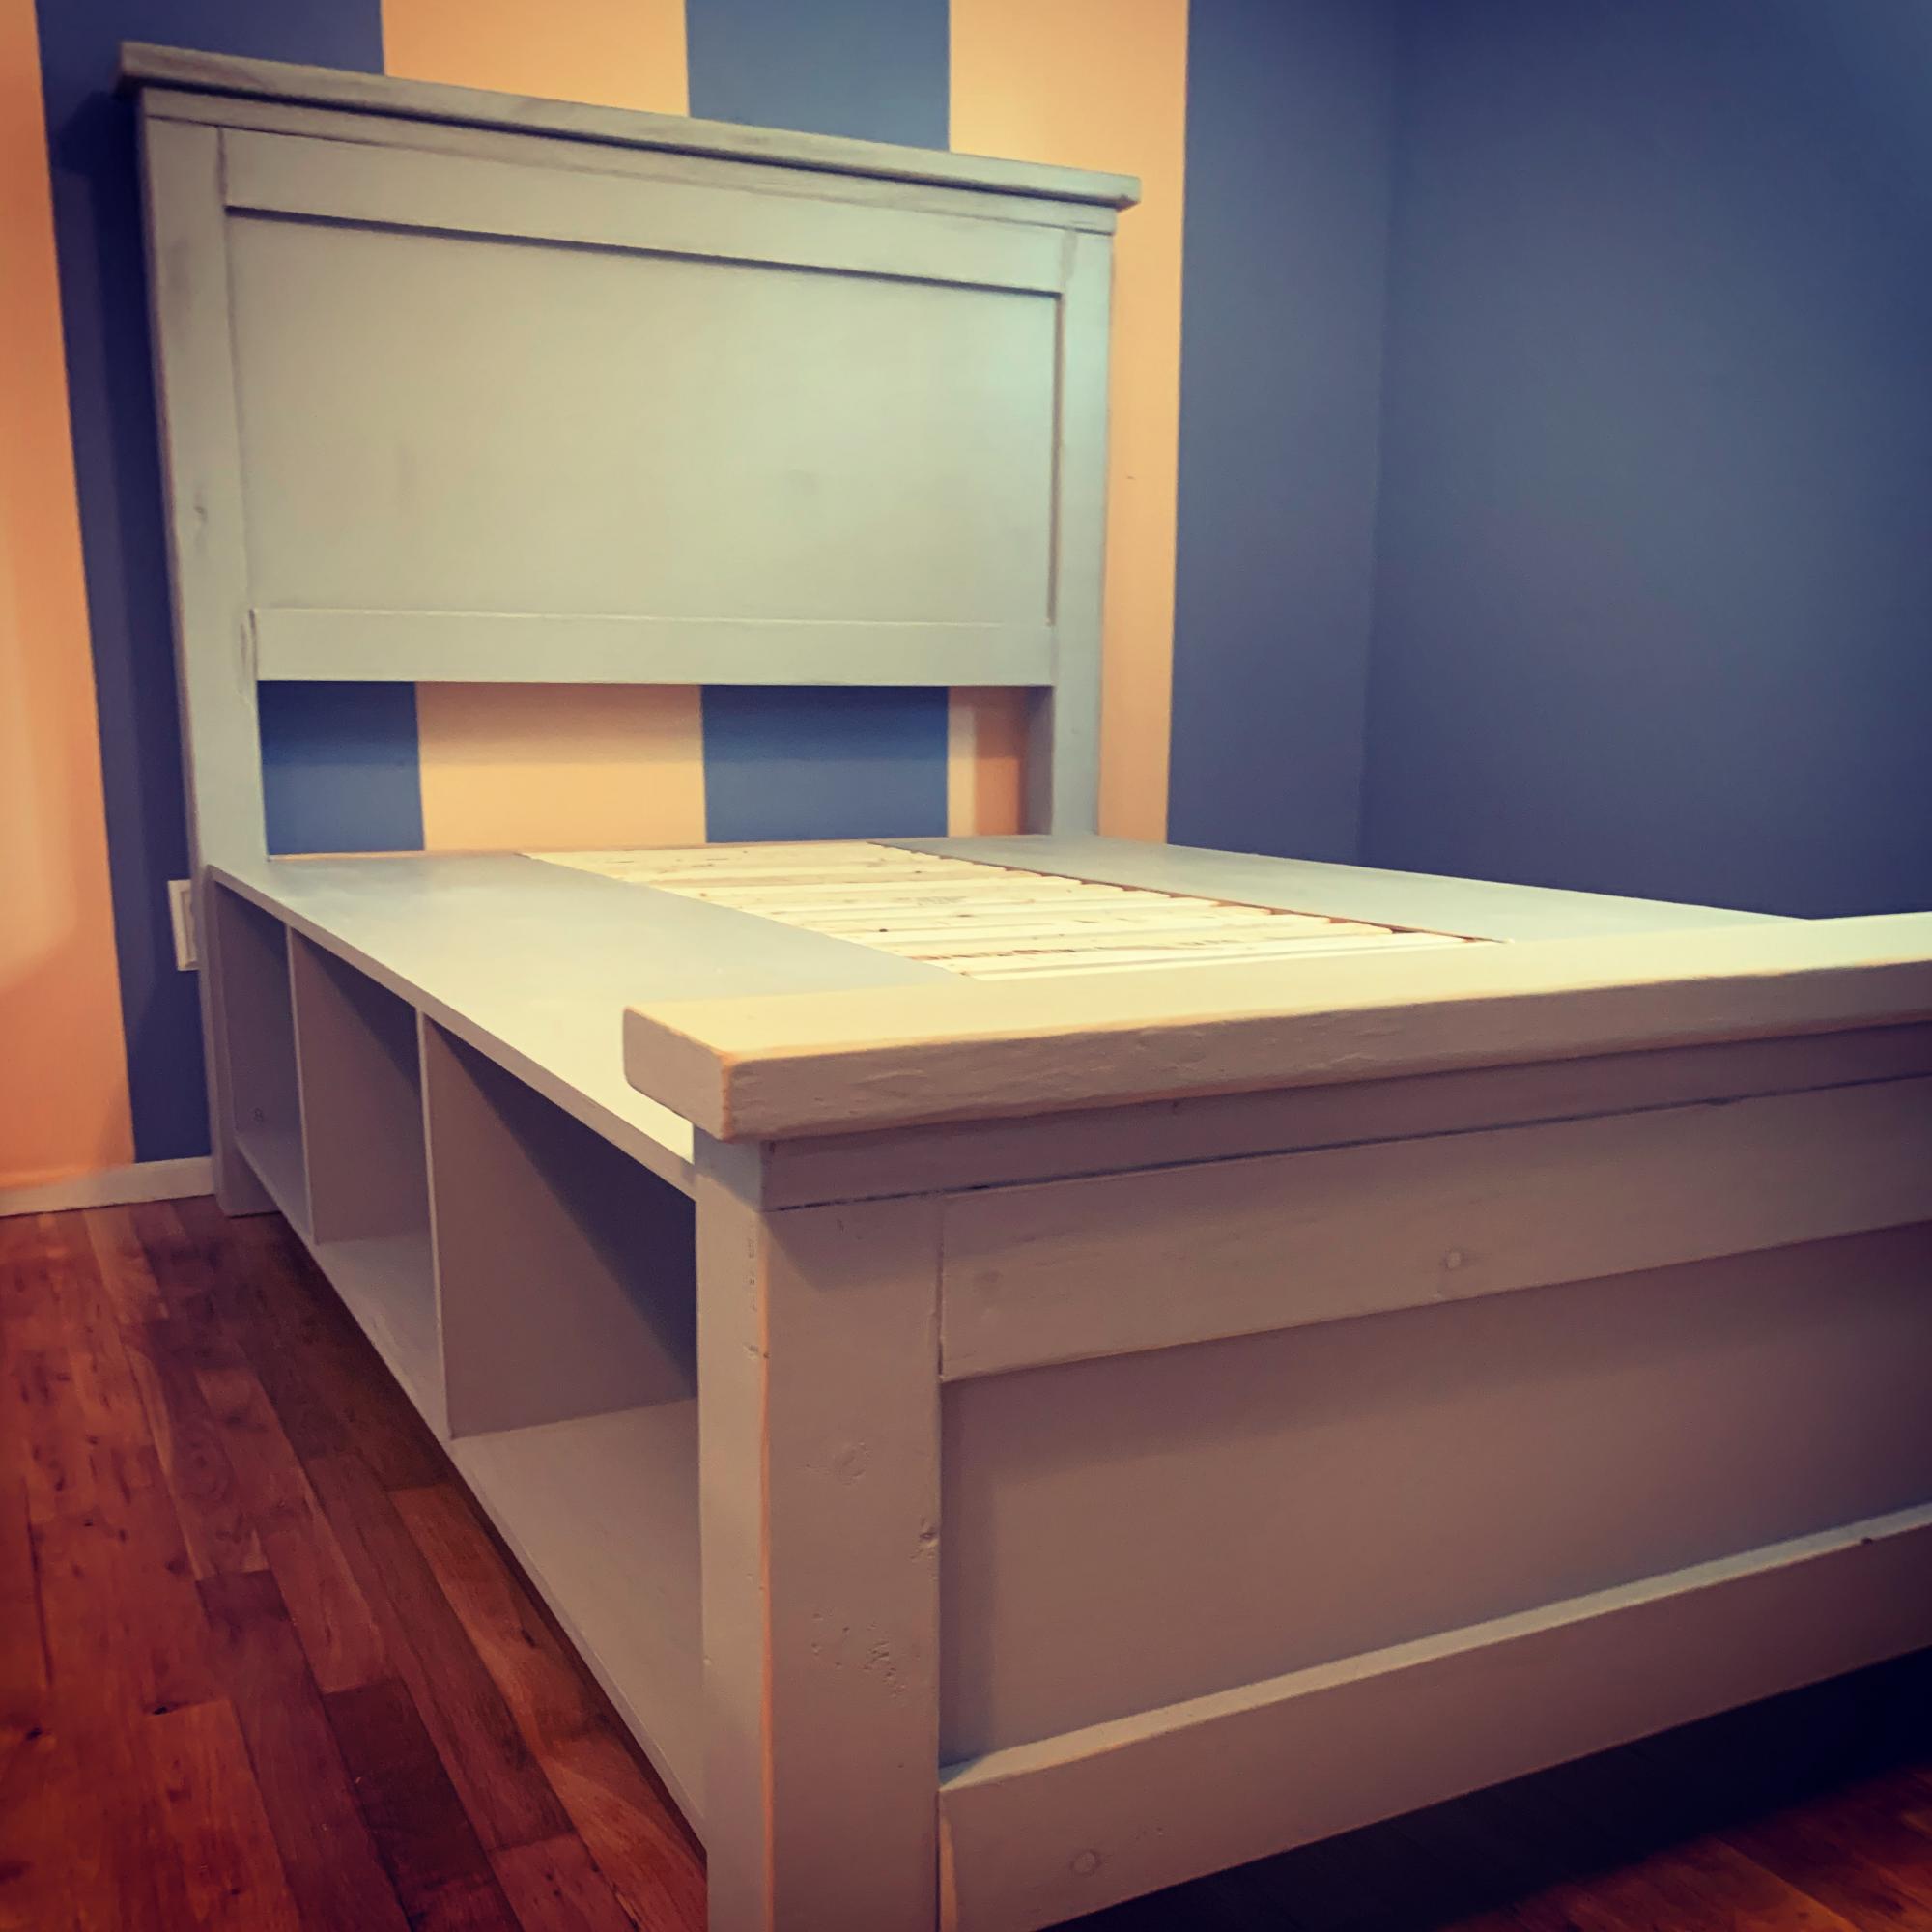
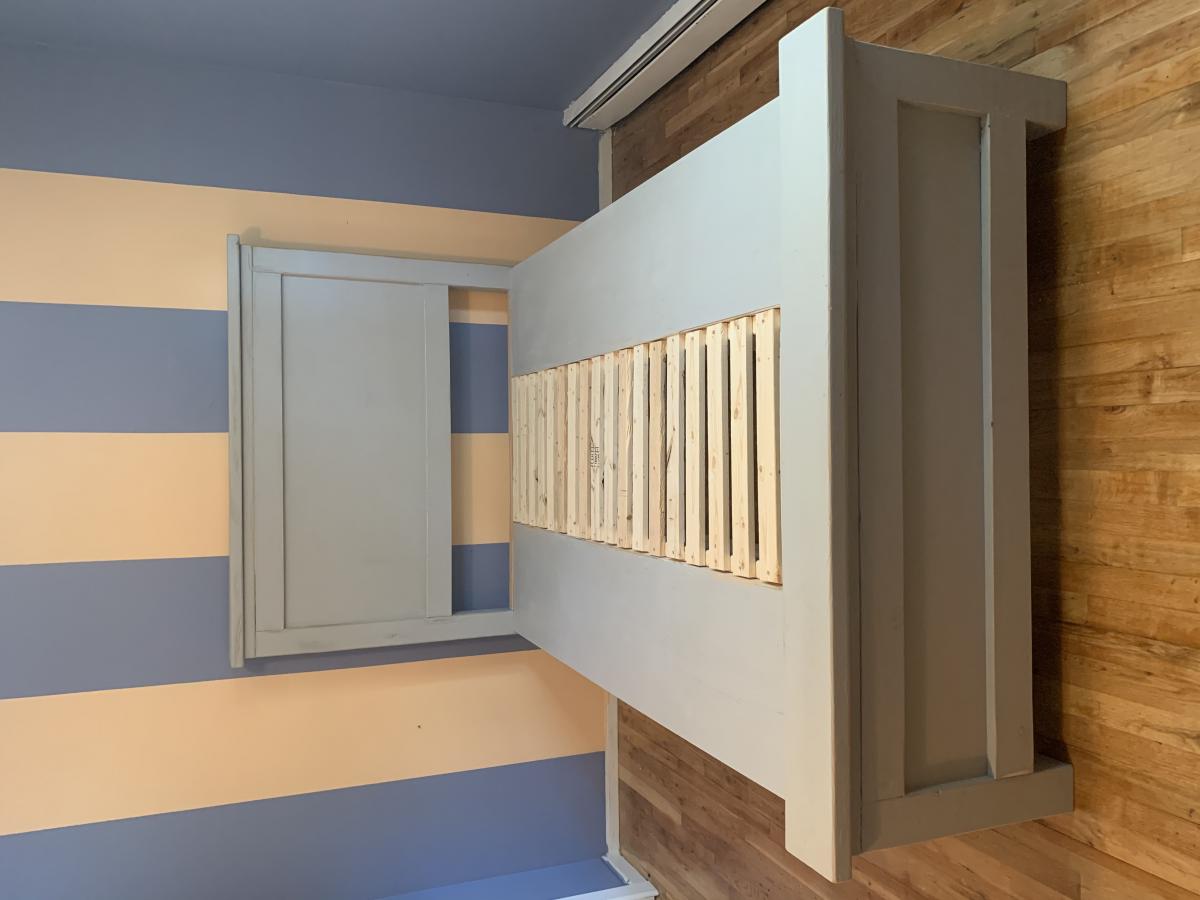
From selecting wood and staining, it took about a weekend to build and an additional weekend for finishing. It's stained with Minwax  classic grey and protected with three coats of poly. Recommend only using 0000 steel wool between poly coats, as sandpaper took off the stain. Also modified ladder and safety rails. For smaller space, it works great! Build cost came in as expected. I used a Kreg Jig and flush screw plugs. Great project! Best I was able to find after an exhaustive online search. Keep up the good work!

Built from Plan(s)
Estimated Cost
$200
Estimated Time Investment
Week Long Project (20 Hours or More)
Finish Used
Stain plus polyurethane
Recommended Skill Level
Intermediate

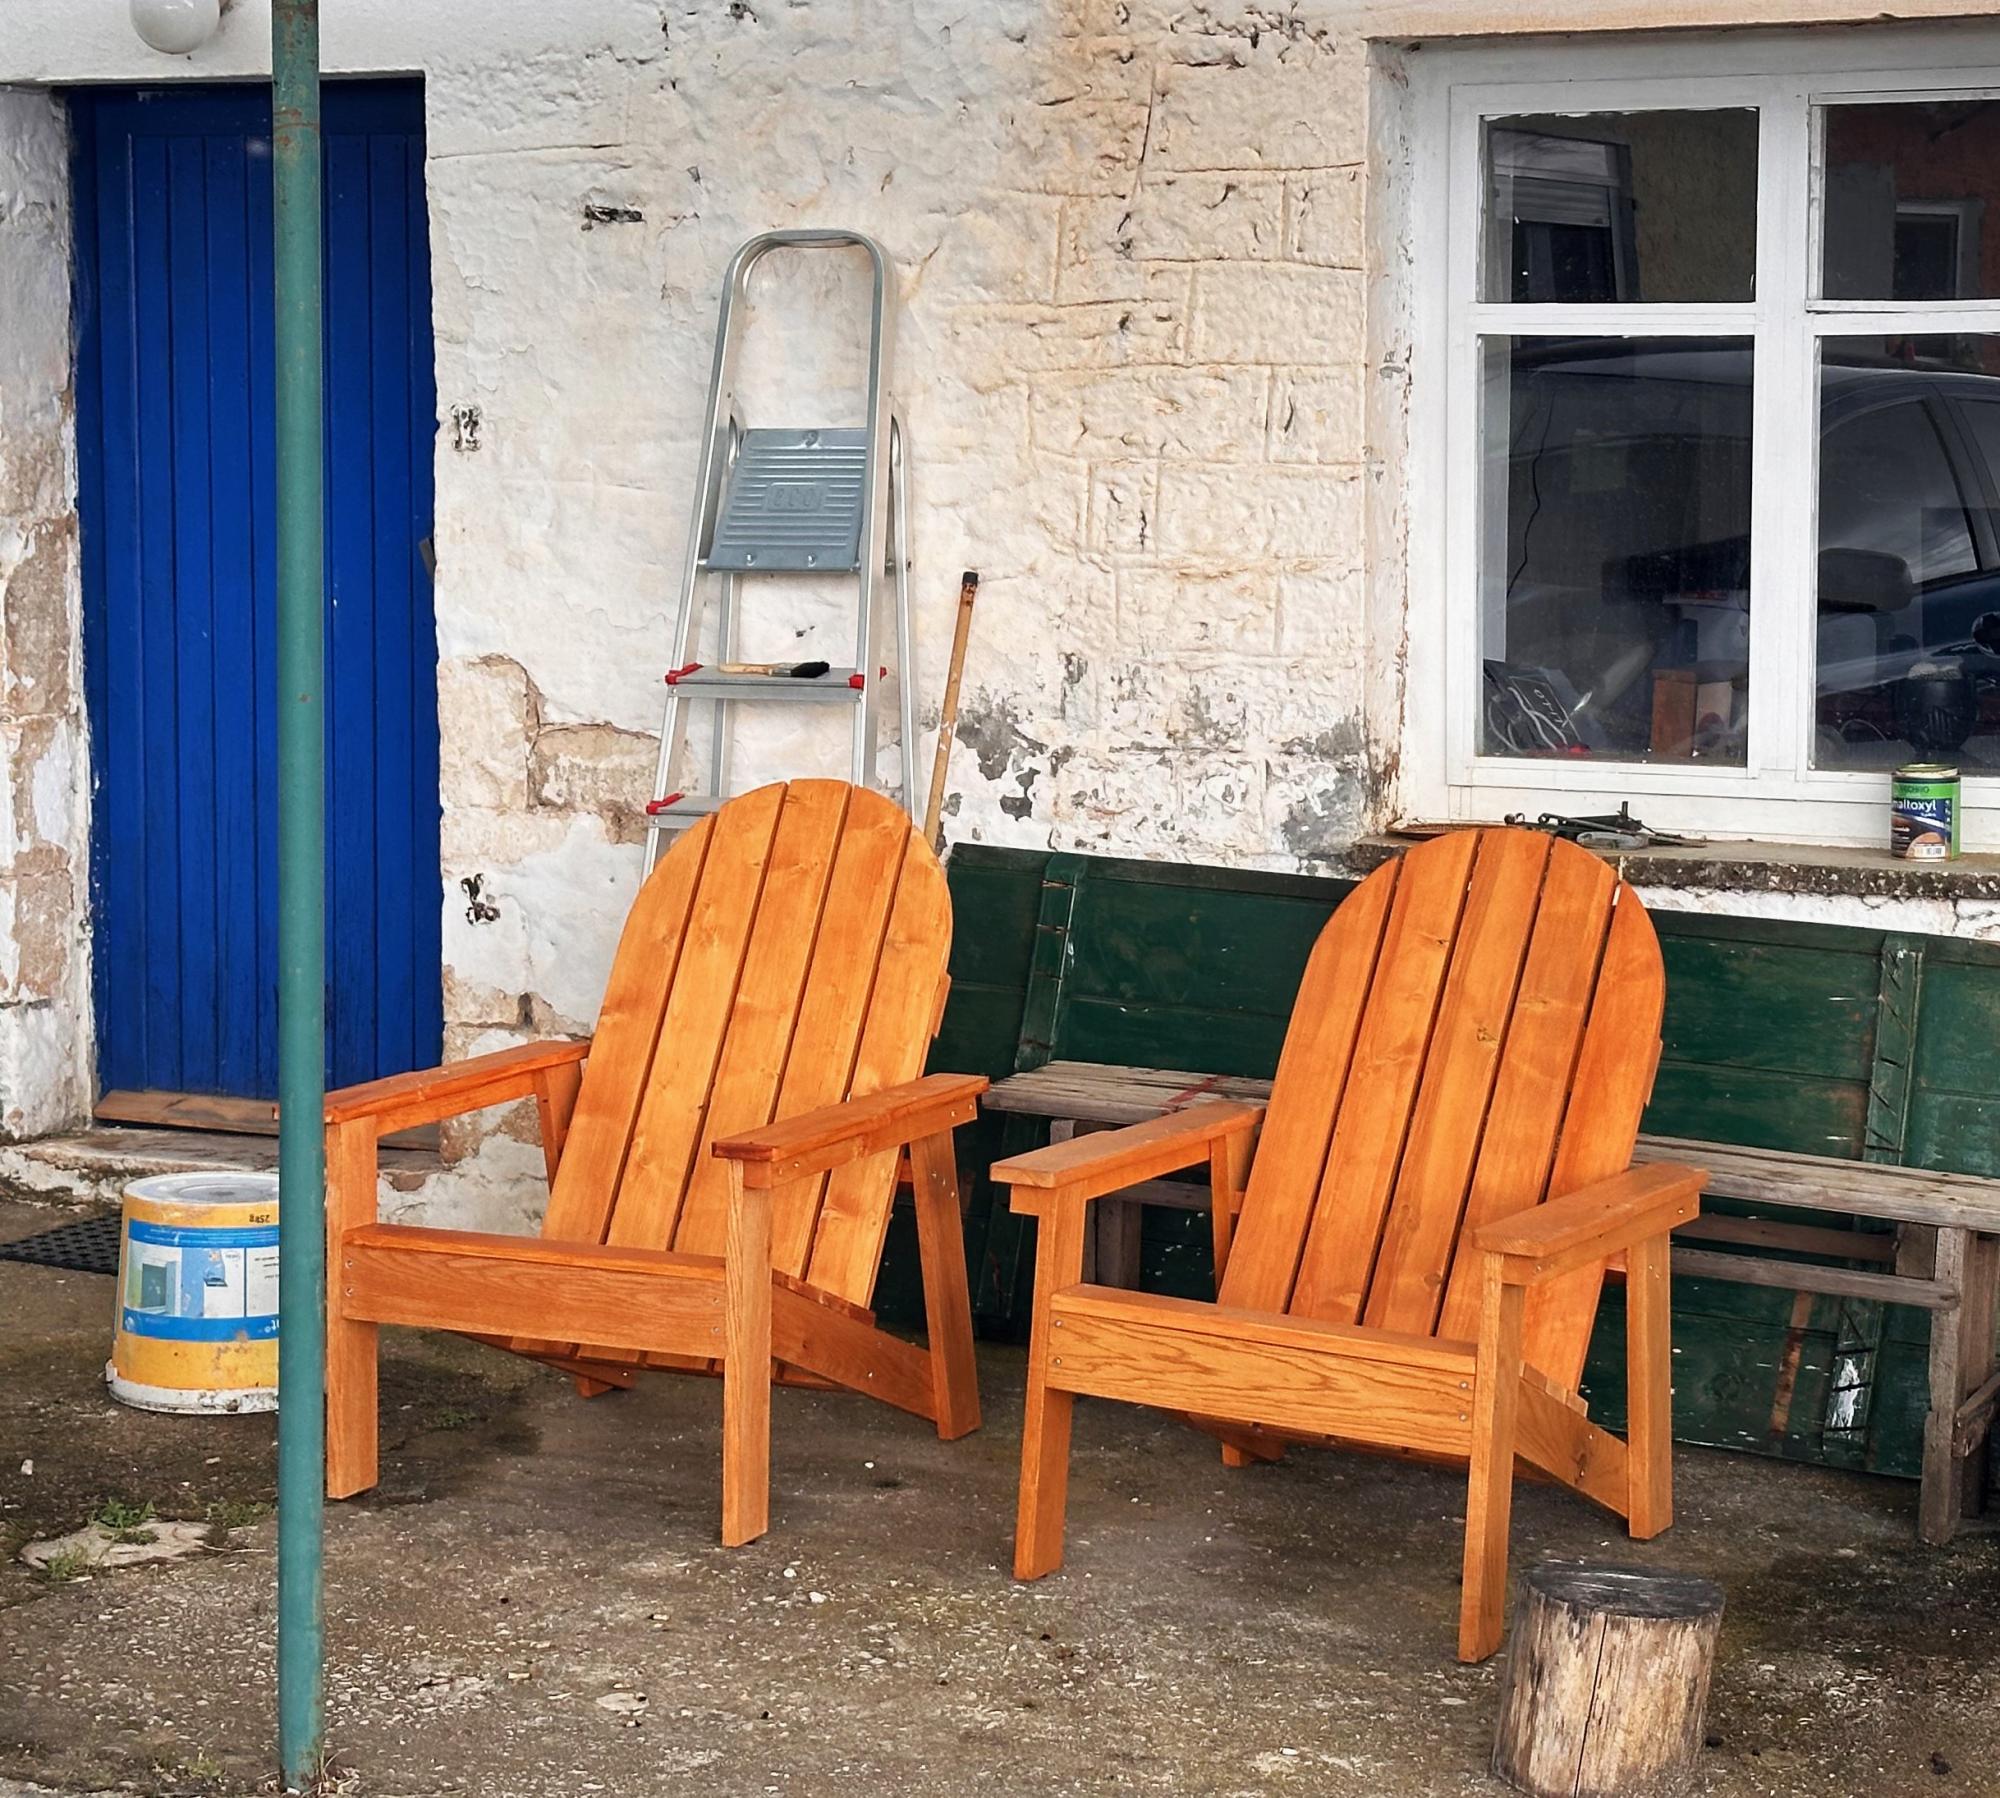
Great plans!

Submitted by Anonymous (not verified) on Mon, 07/06/2020 - 07:34

These plans were great. Easy to put together and they look quite amazing. And they are solid! Bought cushions from IKEA and the wood from Home Depot. Stained and sealed.

Estimated Cost
250
Estimated Time Investment
Day Project (6-9 Hours)
Finish Used
Behr stain and seal
Recommended Skill Level
Beginner

Comments

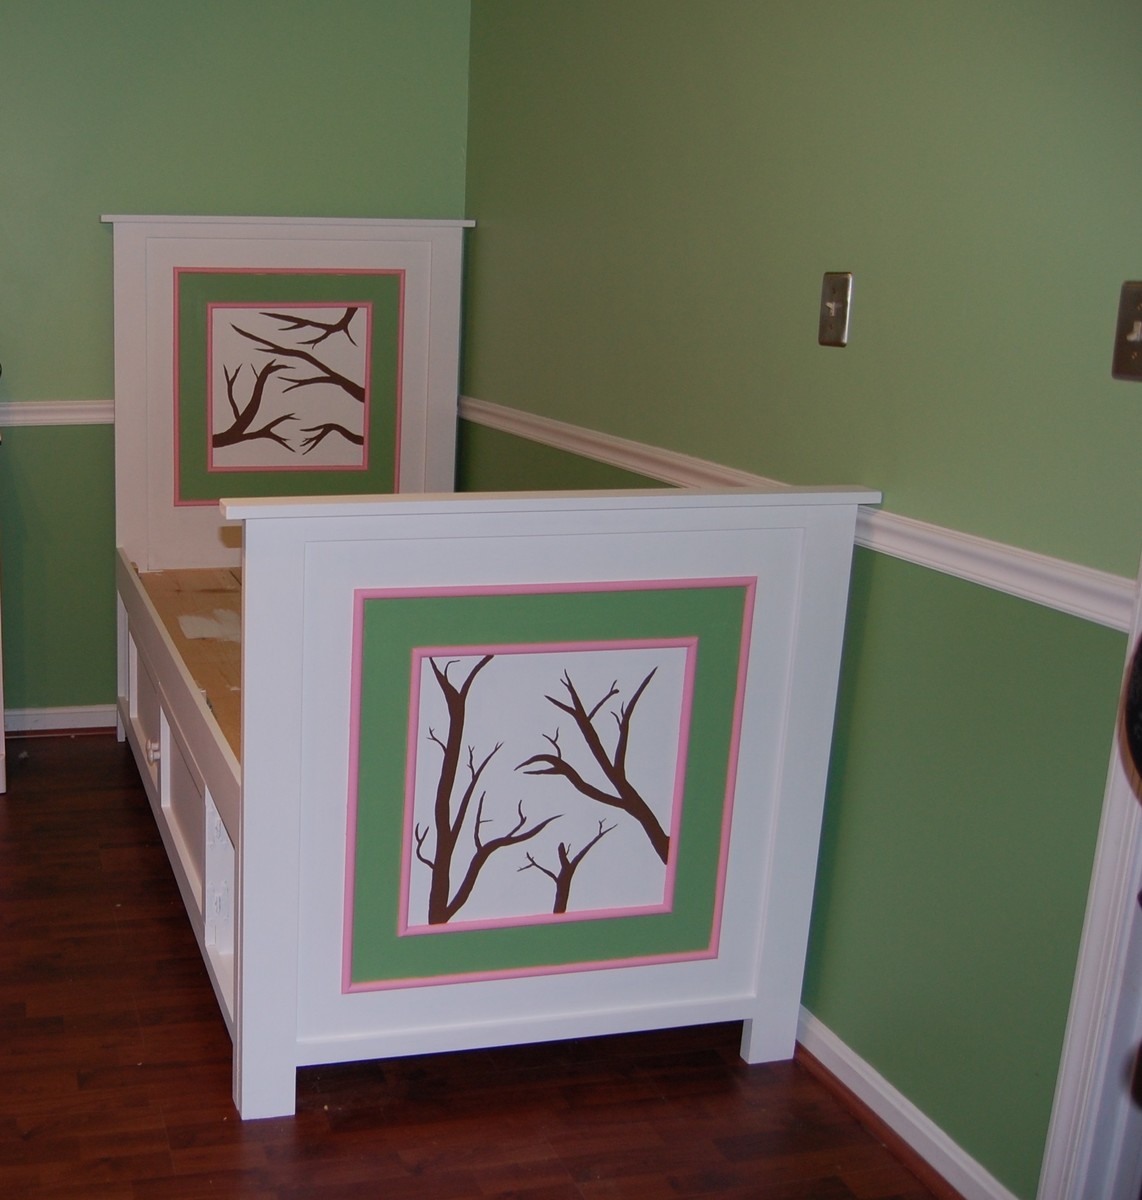
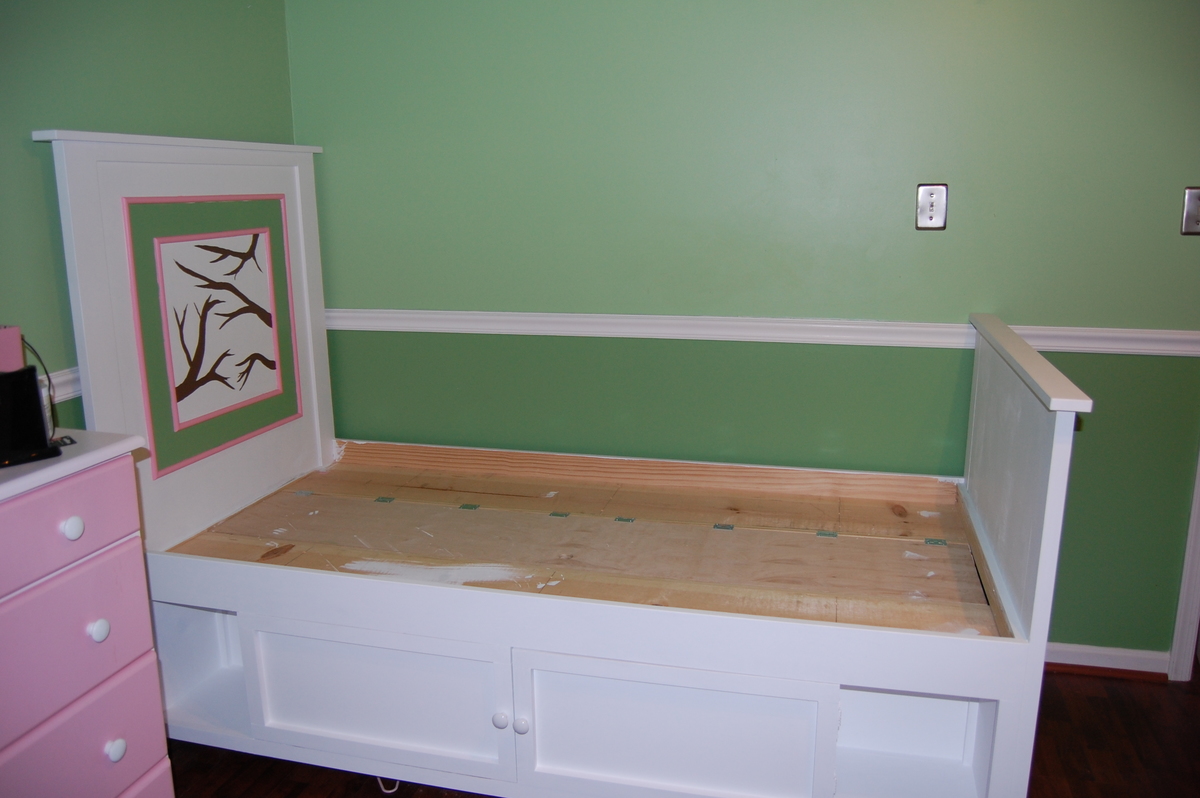
Riley's Big Girl Bed

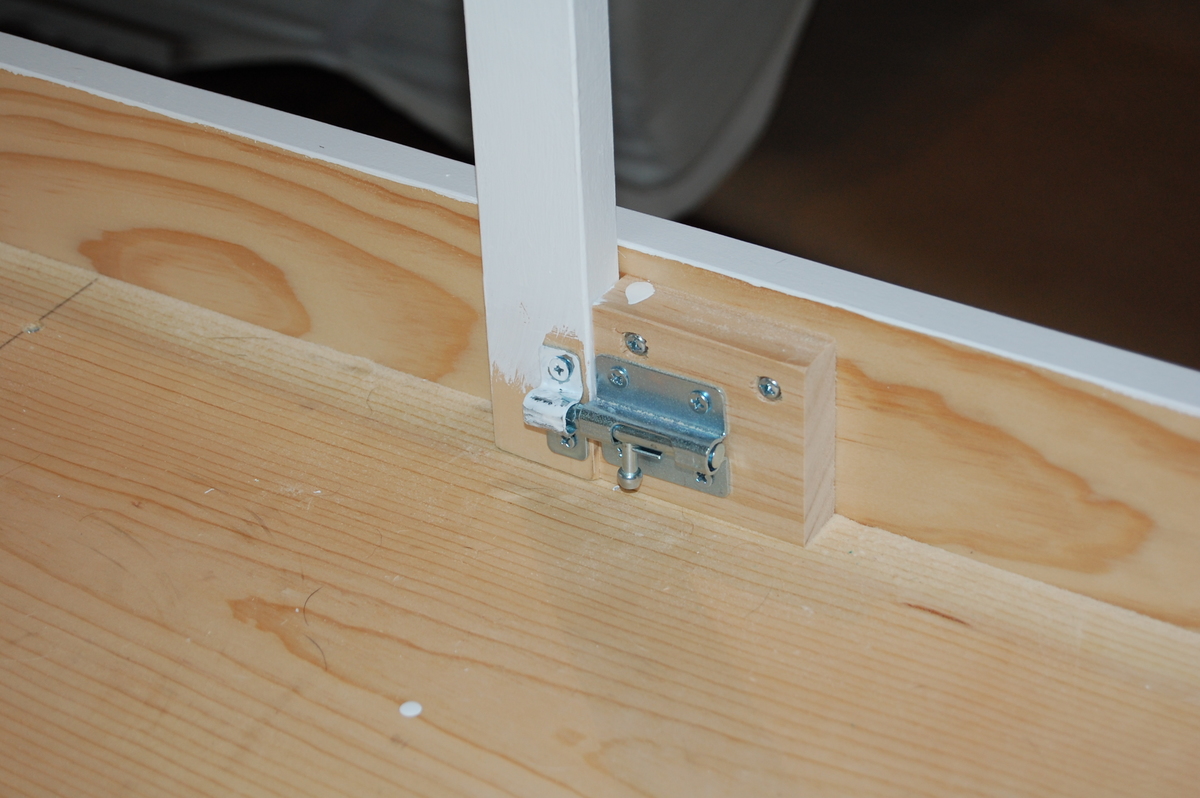
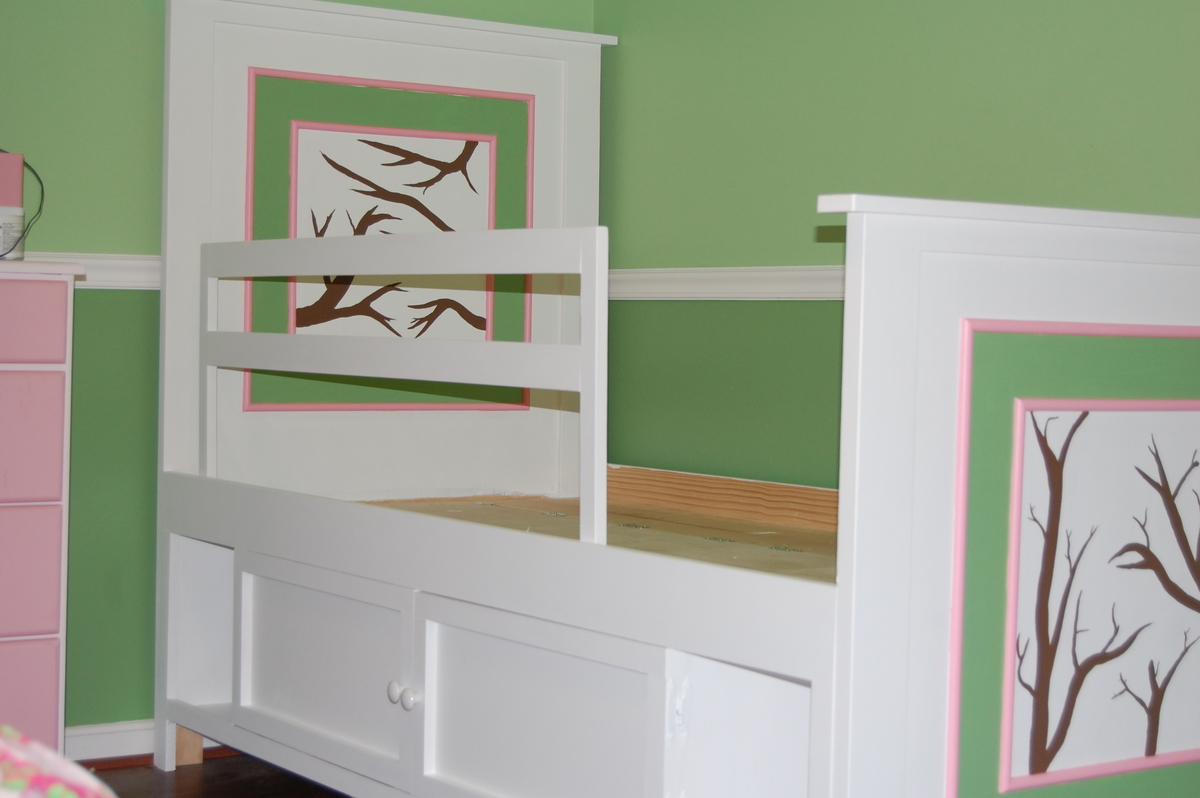
My husband built this bed using the plans for the Hailey Storage Bed but added a few extra features of his own. Our 2 year old could not be more happy about her new big girl bed!!!

Built from Plan(s)
Estimated Cost
$400
Estimated Time Investment
Week Long Project (20 Hours or More)
Finish Used
Paint
Recommended Skill Level
Intermediate

Comments

JoanneS

Sat, 09/01/2012 - 02:42

Beautiful! Love the headboard and footboardand, and the lift top center storage is a super idea. You did a teriffic job on this!

tommirhea

Mon, 09/03/2012 - 19:08

This is so nice! I love the uniqueness of it. I just did the farmhouse bed for my little girl, sooo fun to get them in a bed!! It's a milestone.

Toy Box

Submitted by TaylorMade on Wed, 09/28/2016 - 10:46

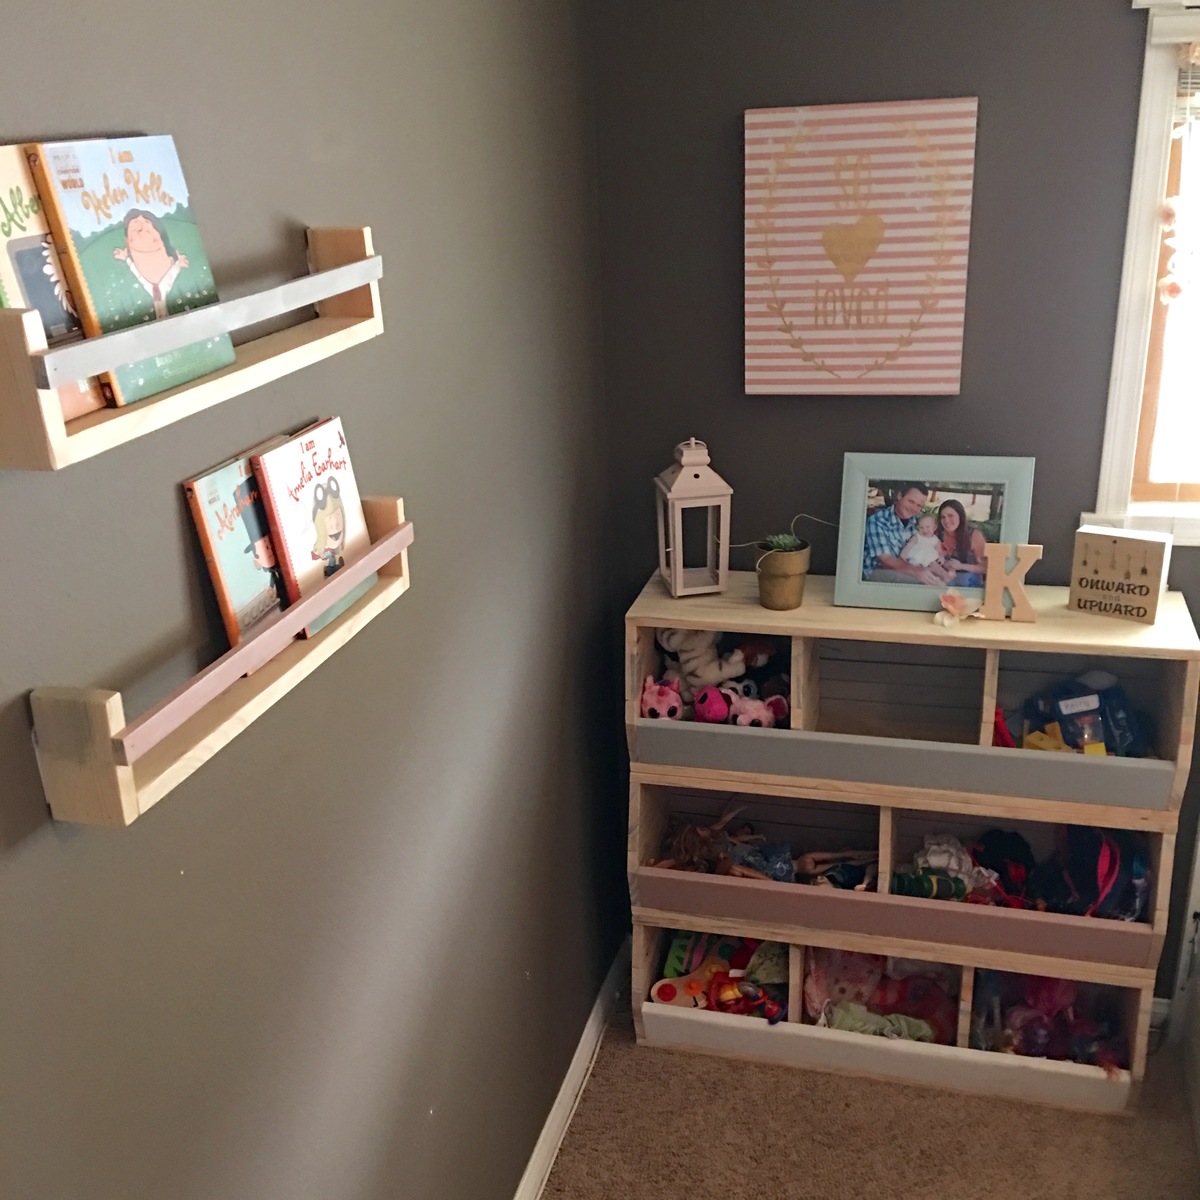
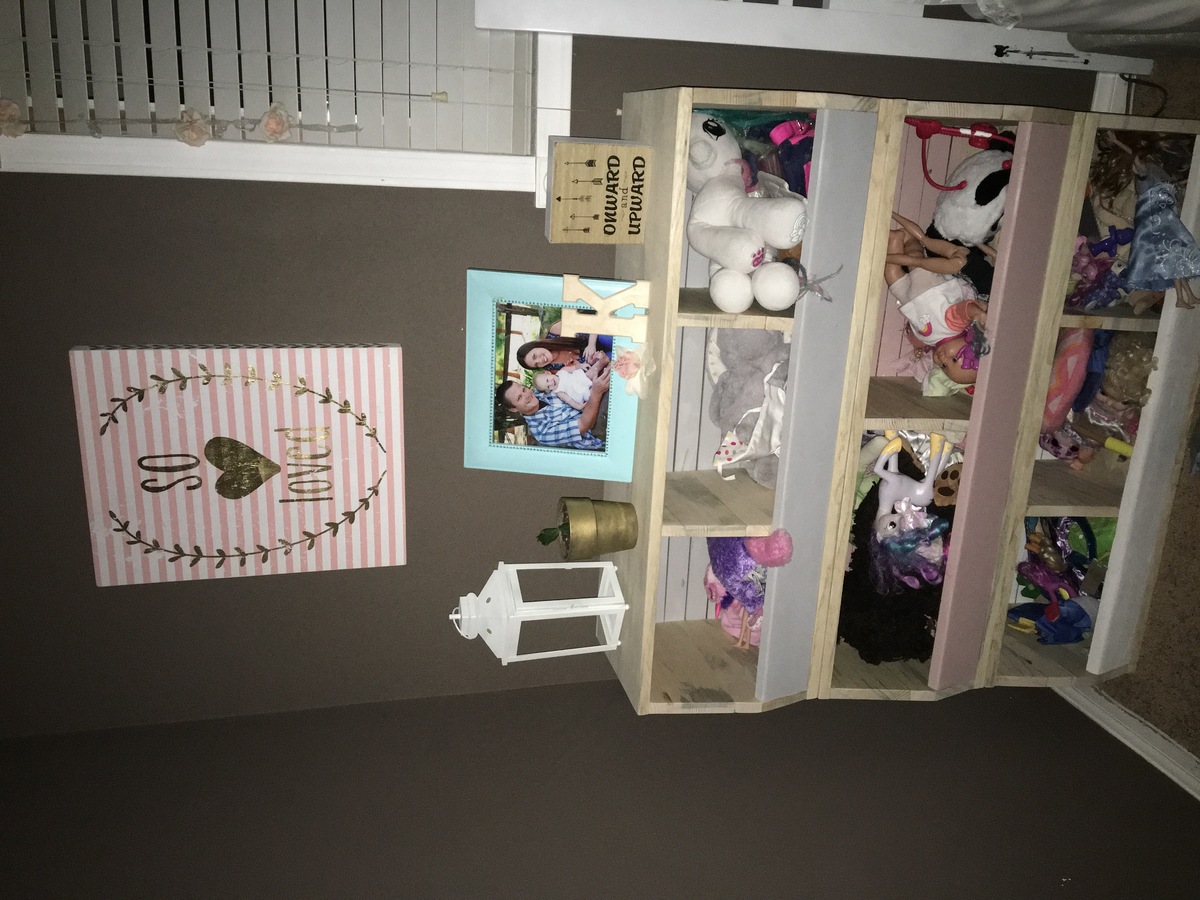
Built from Ana's plans. Thank you so much Ana! I had just enough scraps for this and I just adore it in my girls room! 

Estimated Time Investment
Day Project (6-9 Hours)
Recommended Skill Level
Beginner

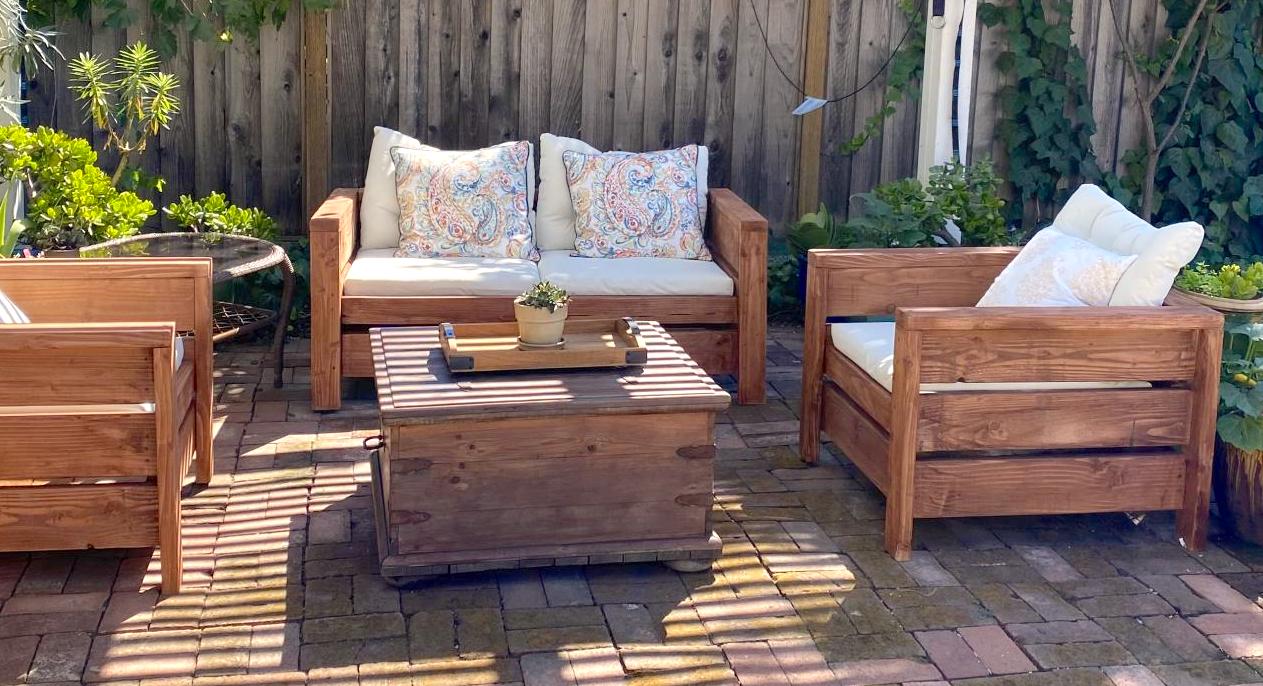
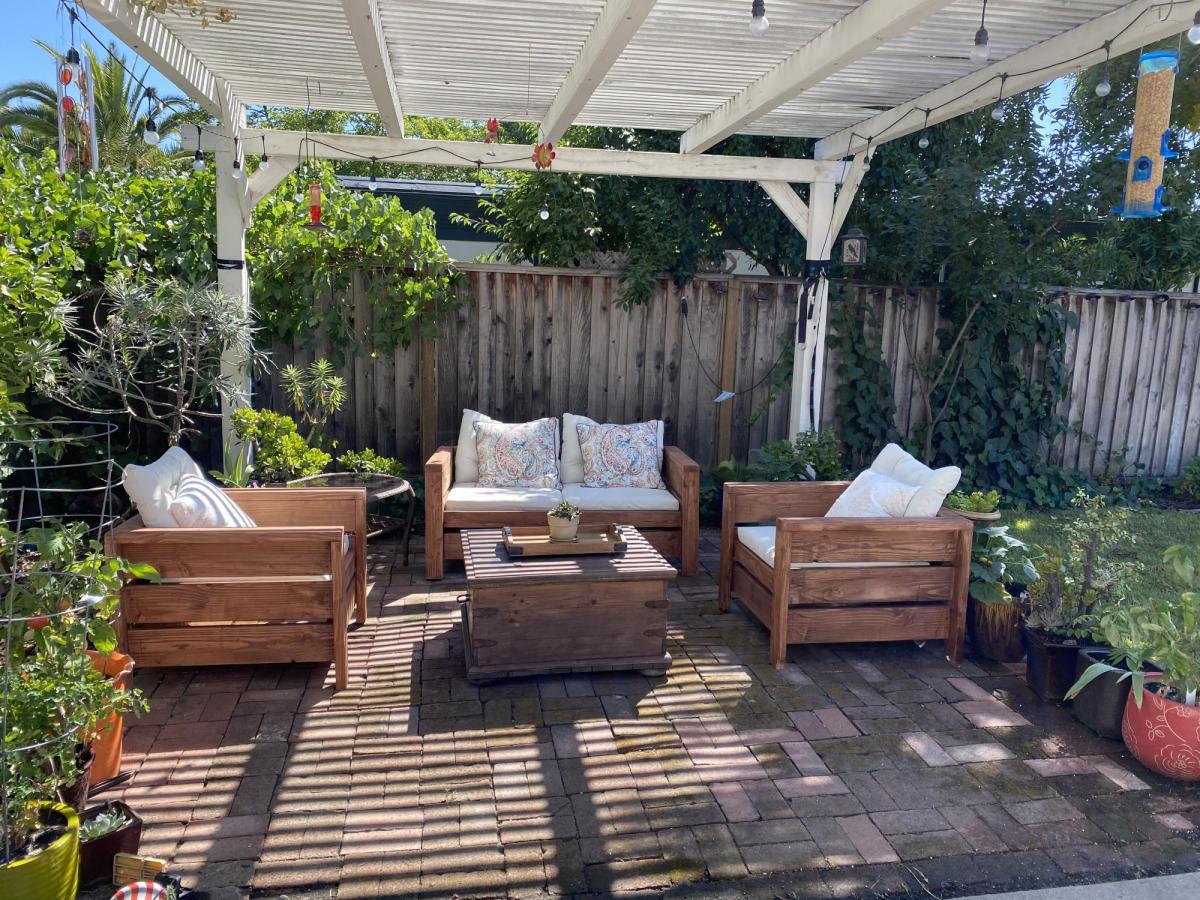
Outdoor sectional and coffee table

Submitted by Rynhffr on Mon, 07/06/2020 - 21:06

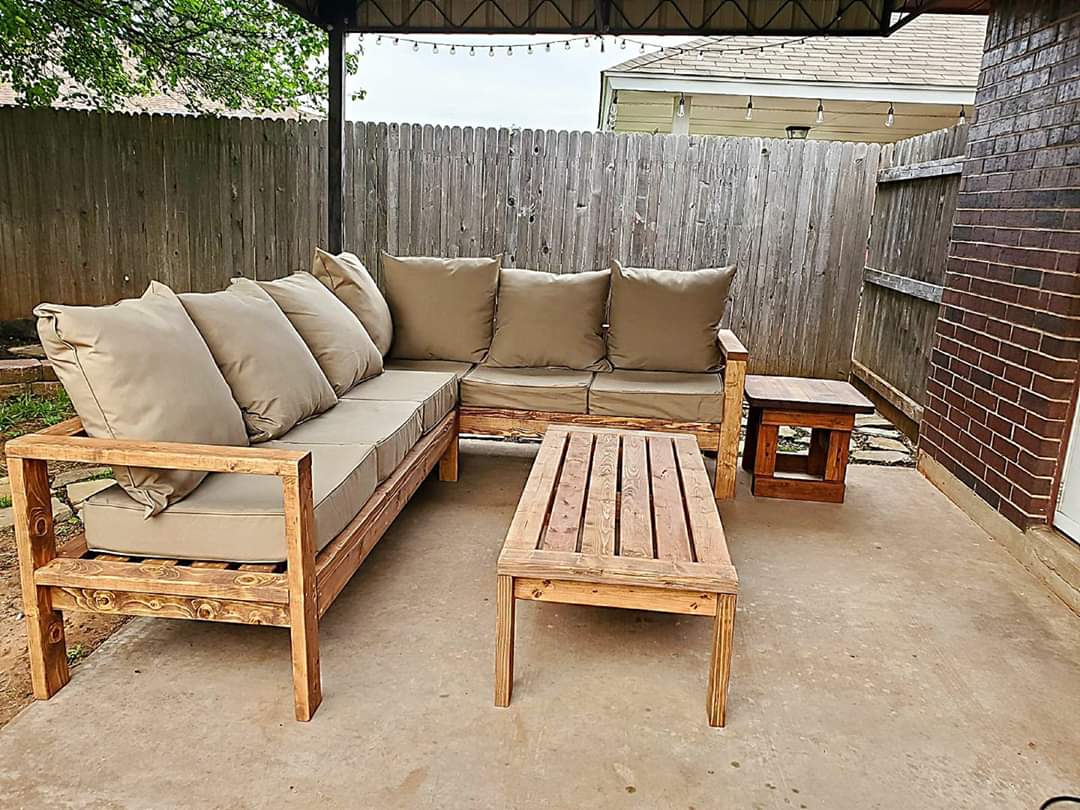
Loved these plans! Was my first project I tackled trying my hand with a new hobby of wood working to stave off quarantine craziness :-) finished project looked awesome and got me started working on other plans on the site.

**note**
Side table was just sanded and refinished, wasn't built just tried to match.

Estimated Cost
400
Estimated Time Investment
Weekend Project (10-20 Hours)
Recommended Skill Level
Beginner

Rolling Bar Cart

Submitted by mary tuper on Mon, 05/06/2024 - 12:13

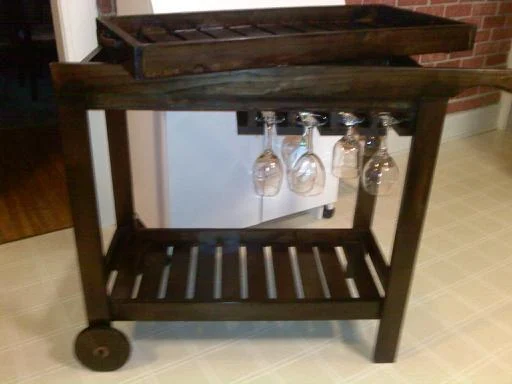
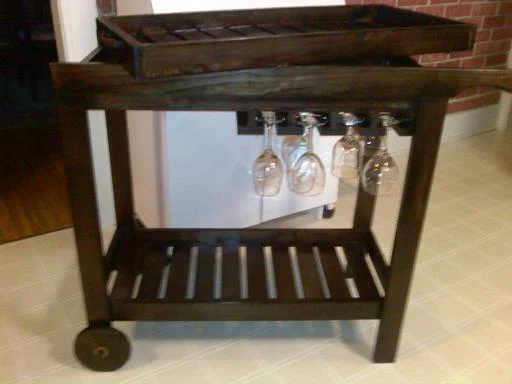
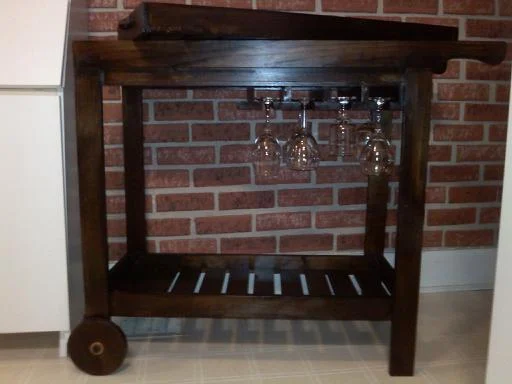
This was my second project using plans on this site and I loved it - I made this for a friend's daughter who was moving into her own apartment. She and her girlfriends loved it too! It was very easy and quick to build. Wheels took a bit of time and effort!

This was a real hit and I'd love to make more, if I had room at my house I'd make one for myself!

Workbench Console Bar

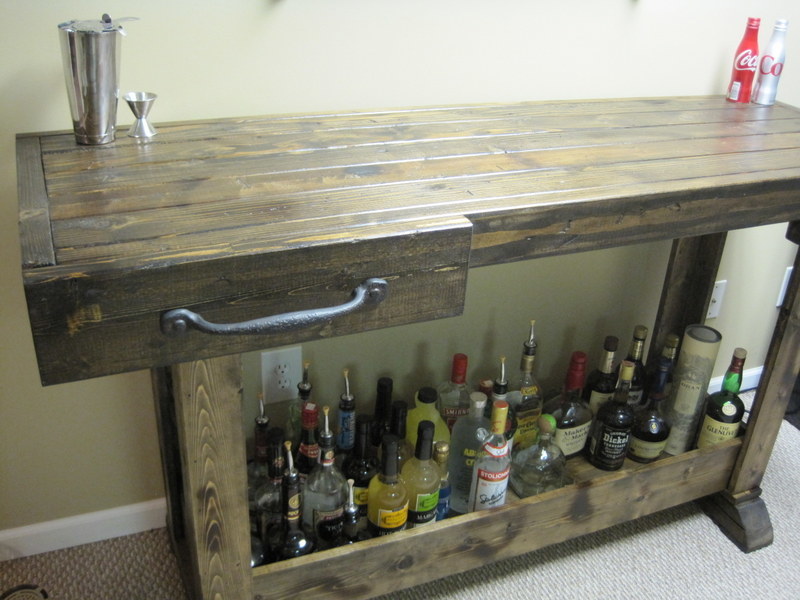
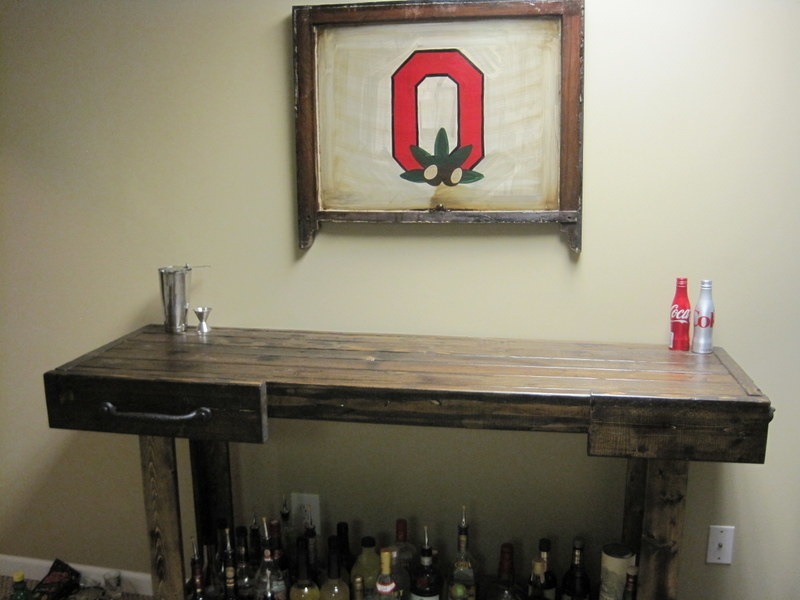
Submitted by JenMash on Mon, 09/03/2012 - 13:18

So this is the third piece that we decided to make off of Ana's site (all in a 2 week span!) The bar was definitely not hard and looks awesome (much better in person - my camera is not stellar).

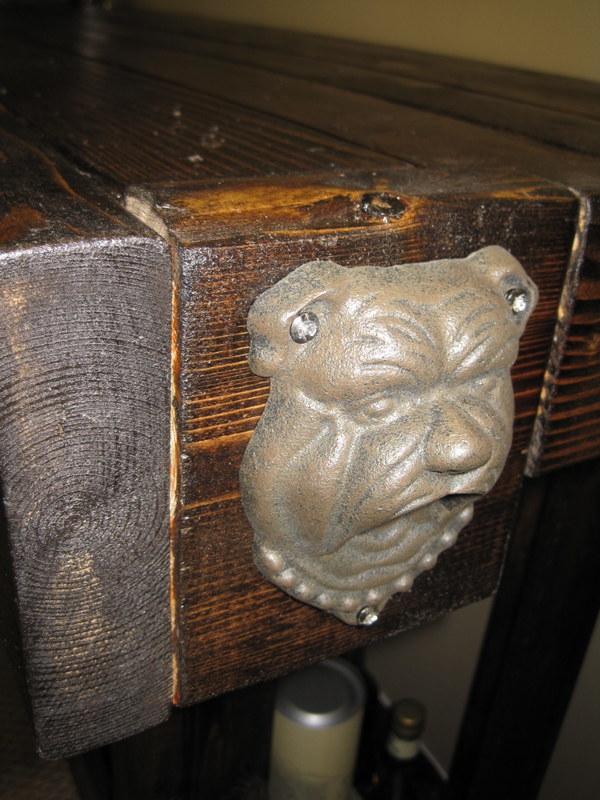
I would definitely suggest investing in nice hardware. We special ordered the towel bar from Lowes. We also had a bulldog bottle opener that we attached to the side. It adds something really fun to it!

Stain all pieces separately and make sure that all sawdust is off from the sanding (using a vacuum and a tack cloth).

The piece that the towel bar is on we ended up taking off to put the towel bar on and then reattached it...just something to keep in mind.

We love this bar so much and it is a great addition to our home.

**The top does get REALLY heavy so be mindful of that.
Built from Plan(s)
Estimated Cost
100.00
Estimated Time Investment
Day Project (6-9 Hours)
Finish Used
We used Minwax pre-stain, Dark Walnut stain which really soaks into the wood. To get in the little cracks between the wood pieces, we used a q-tip. We distressed using a creme brulee torch, chain, hammer and drill bit.
Recommended Skill Level
Intermediate

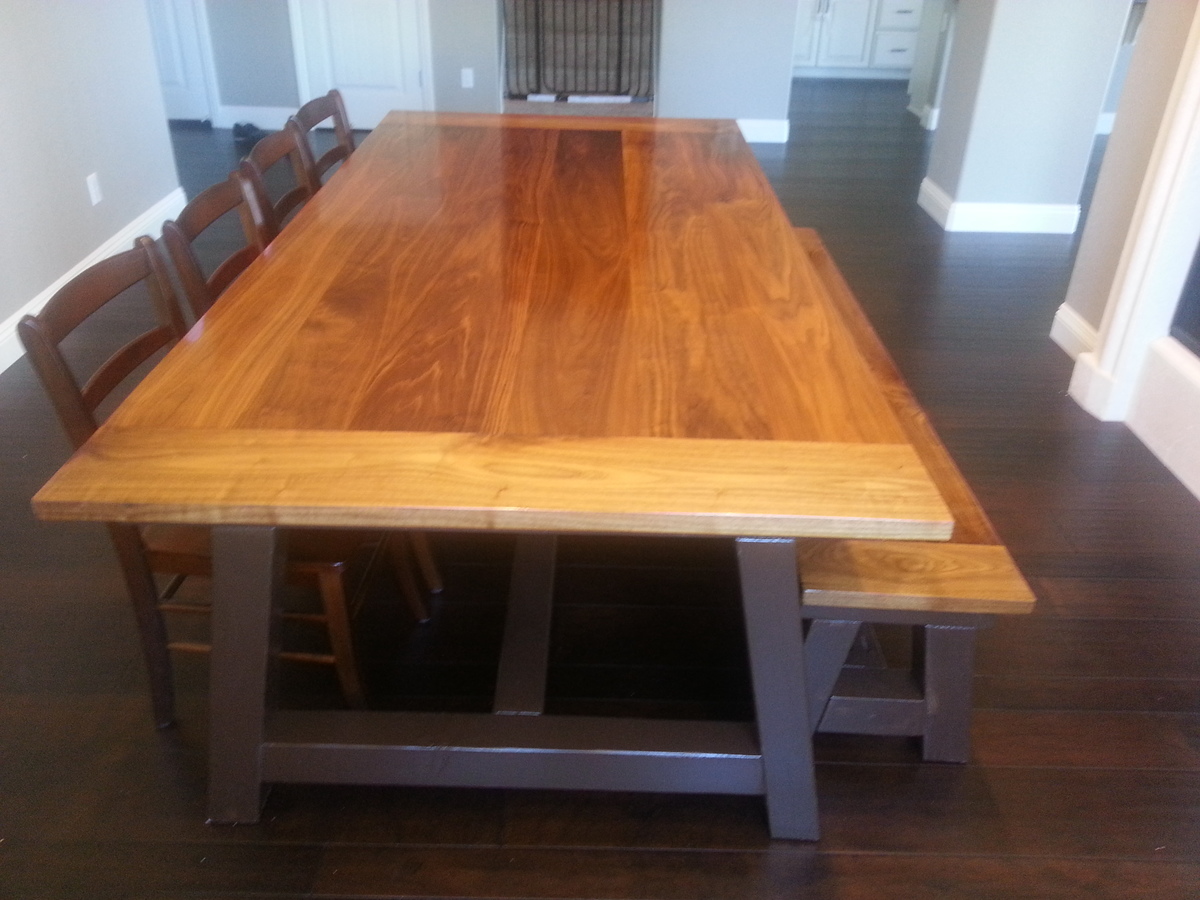
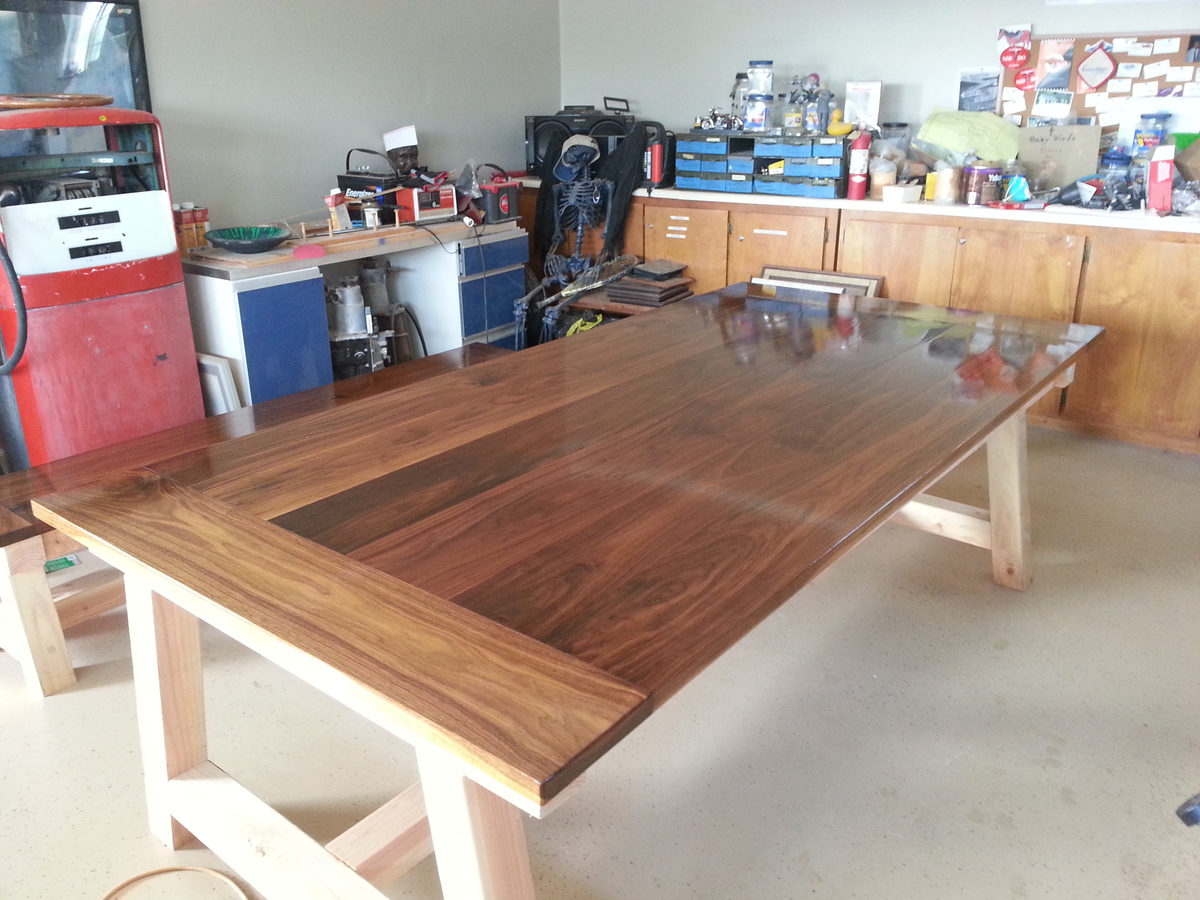
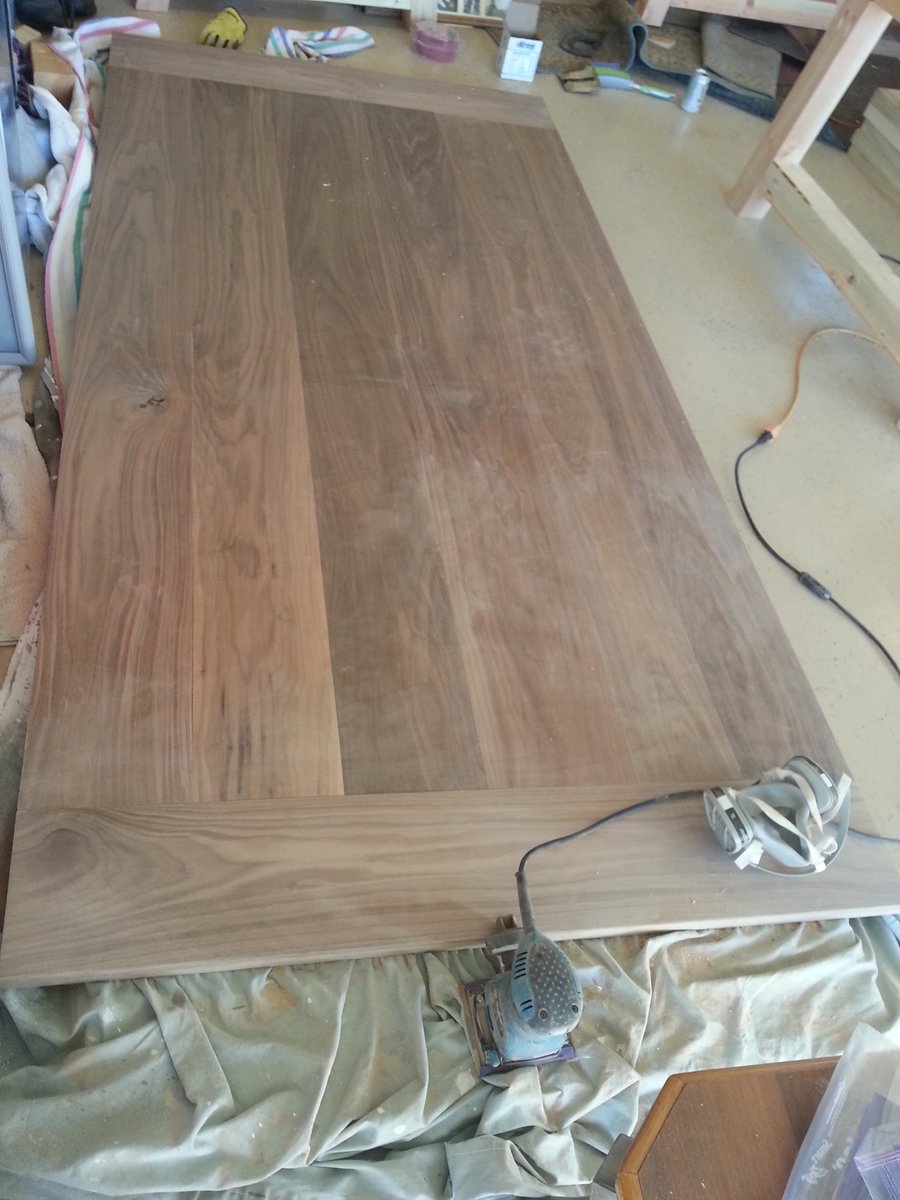
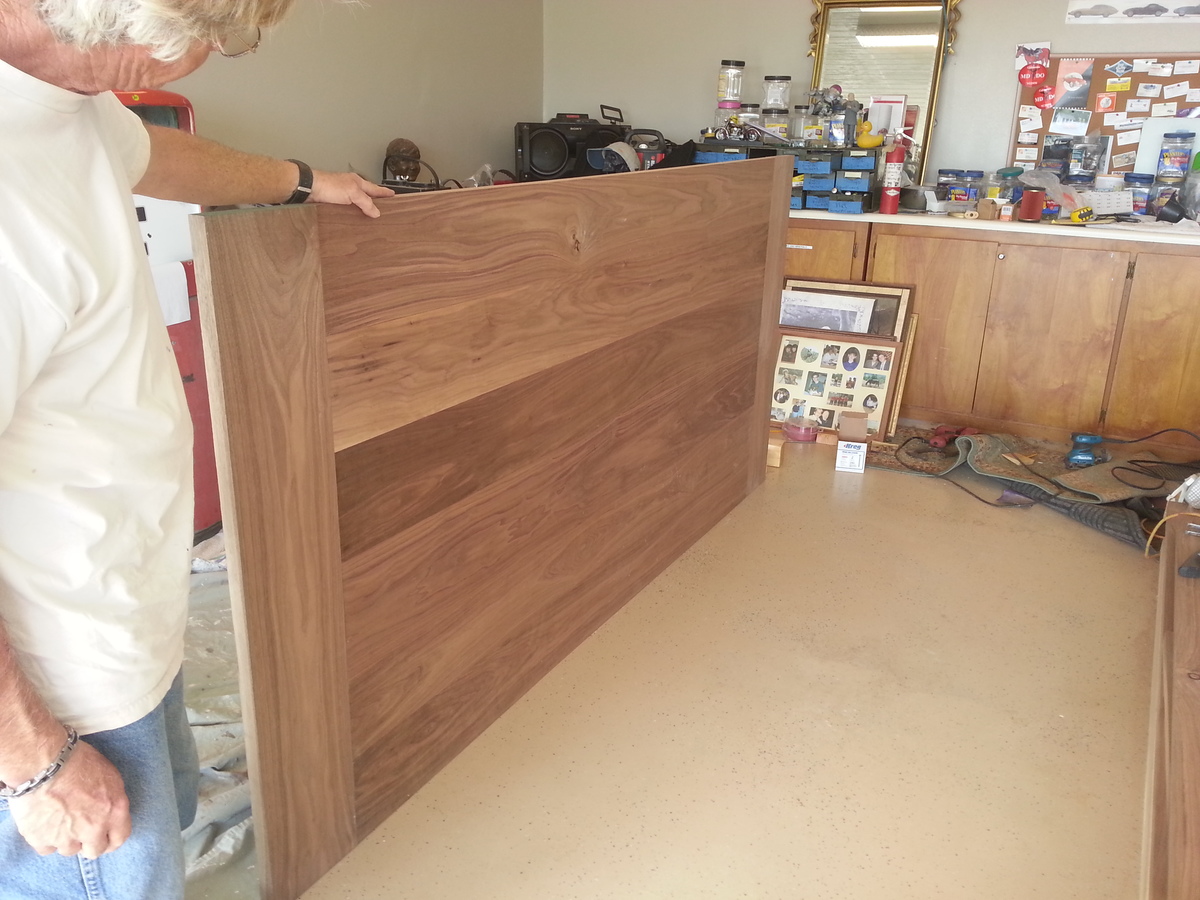
Walnut farmhouse table

Submitted by jessestond on Sun, 06/29/2014 - 21:04

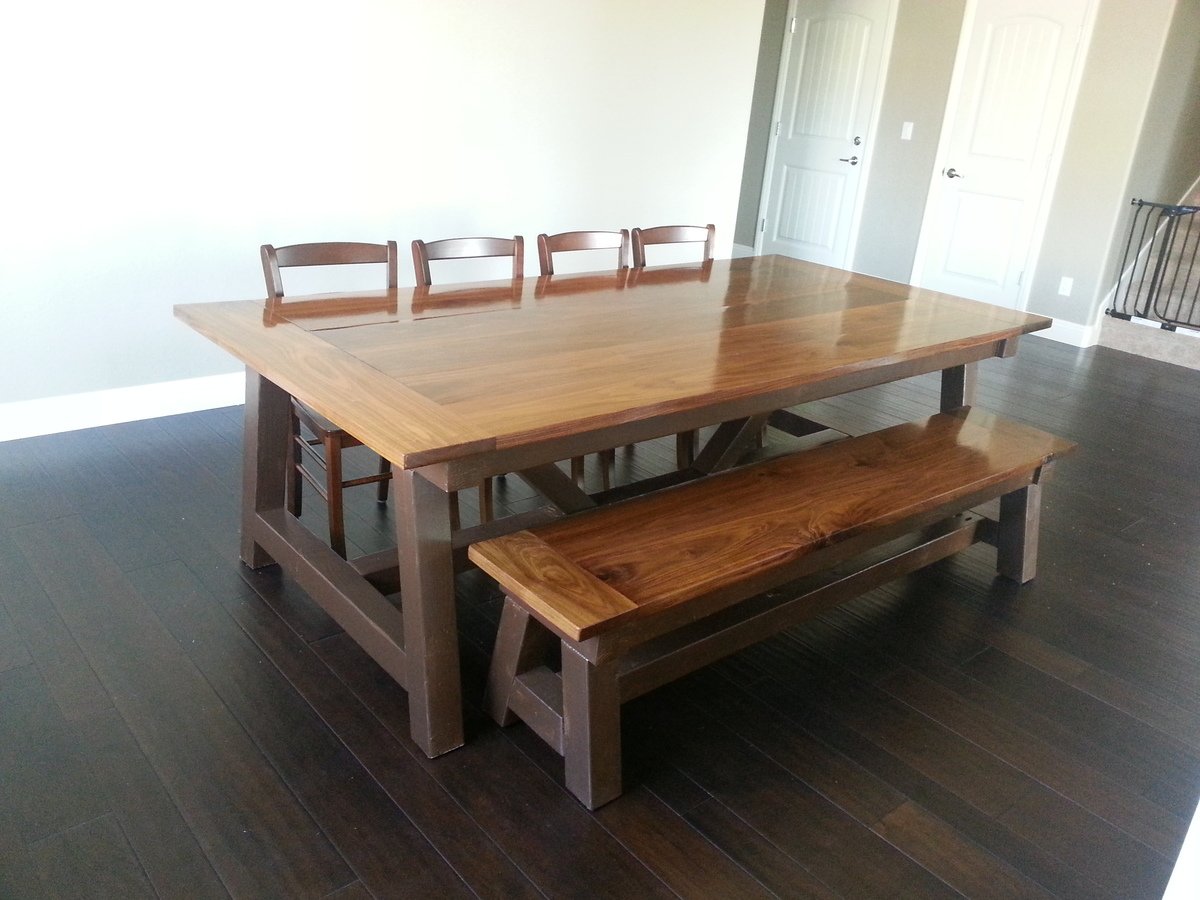
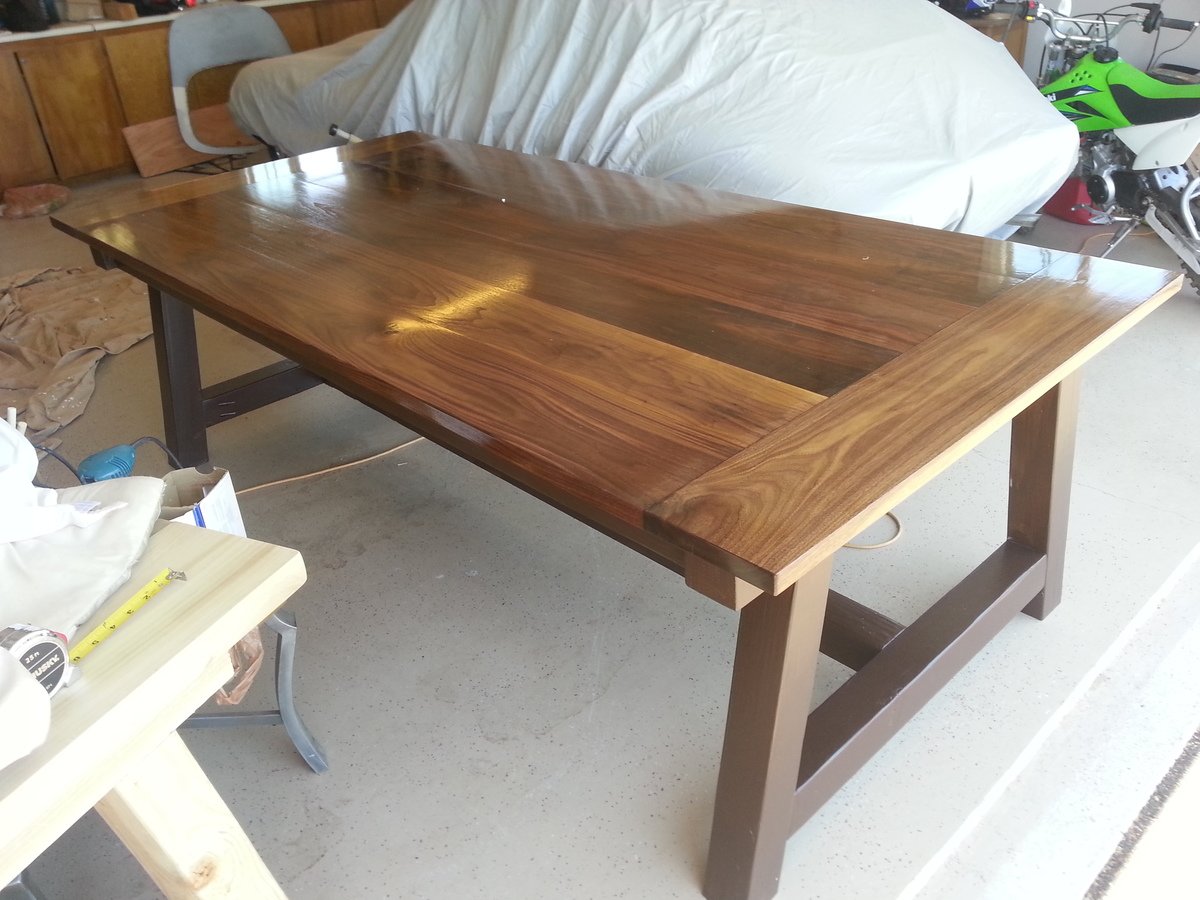
Tabletop made from walnut and finished with waterlox. Base made from Fir and painted a nice chocolate color.
Estimated Cost
900
Estimated Time Investment
Week Long Project (20 Hours or More)
Finish Used
waterlox
Recommended Skill Level
Intermediate

Comments

CSaintD

Mon, 06/30/2014 - 07:44

beautiful top! Did you square up the boards or did they come that way? Very nice work and wonderful finish.
About how much did the walnut cost? Was it hard to saw through and drill?

jessestond

Thu, 07/03/2014 - 12:23

We have a very friendly local hard wood store (hugh's hardwoods) who squared the boards for us. Bought a LOT of walnut for ~$800 but had enough left over for a large dog crate (posting pics of that soon). It wasn't hard to saw or drill but was a bear to sand.

jessestond

Thu, 07/03/2014 - 12:23

We have a very friendly local hard wood store (hugh's hardwoods) who squared the boards for us. Bought a LOT of walnut for ~$800 but had enough left over for a large dog crate (posting pics of that soon). It wasn't hard to saw or drill but was a bear to sand.

Back