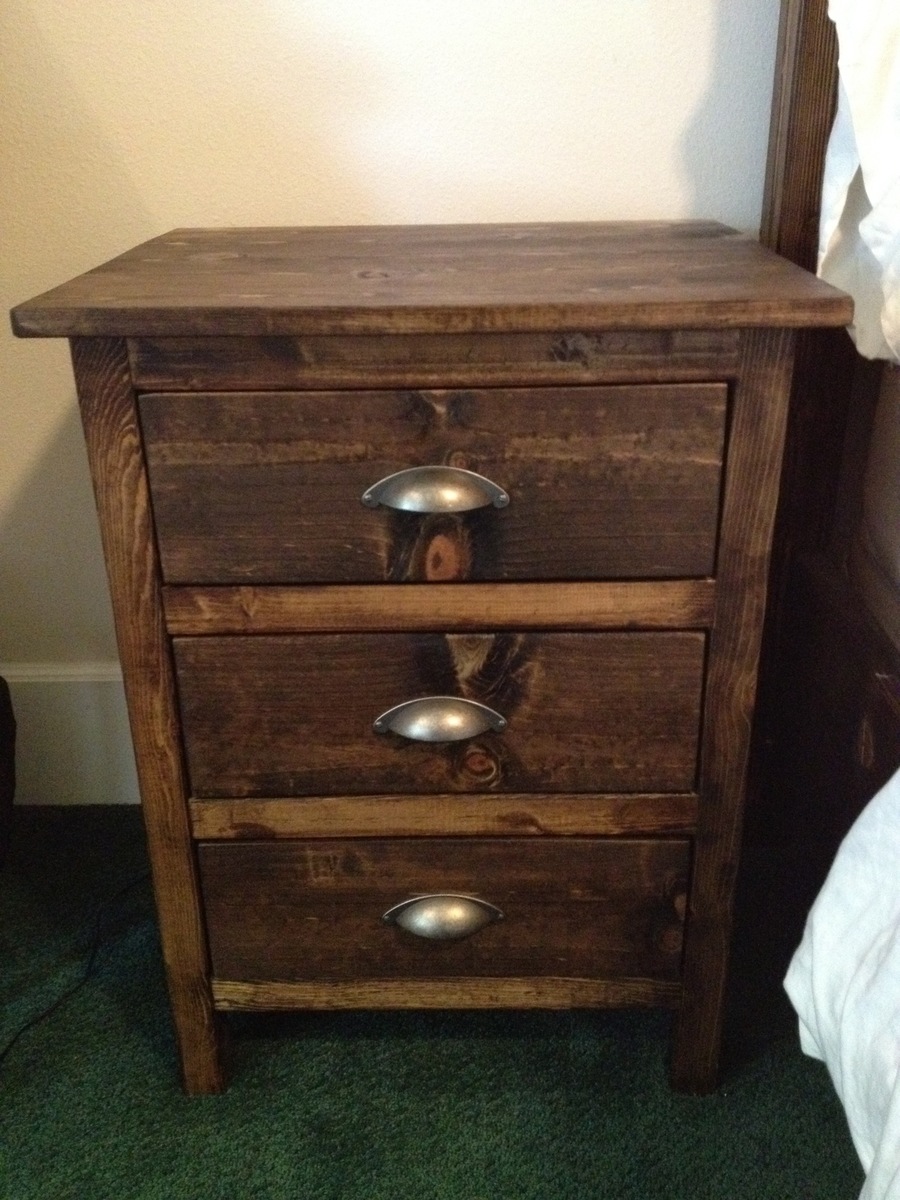
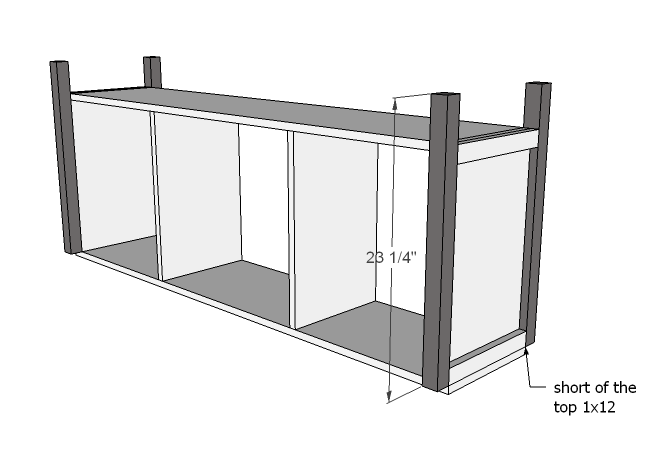
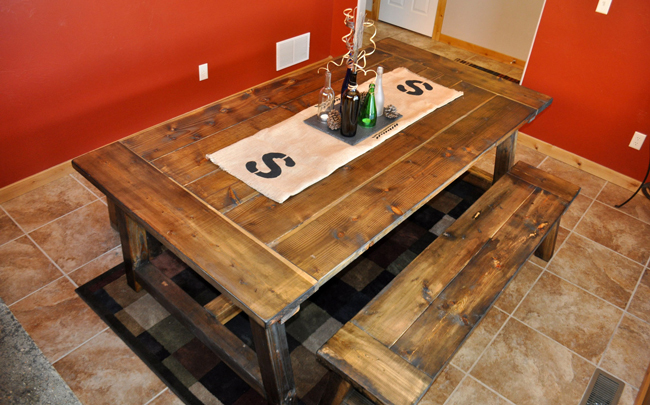
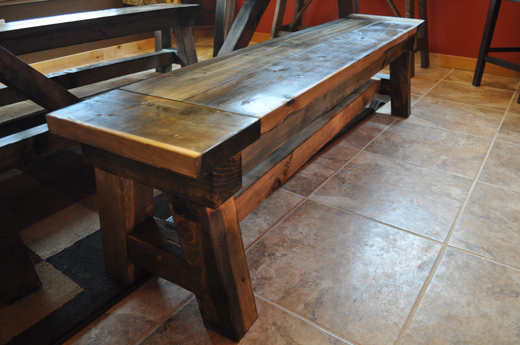
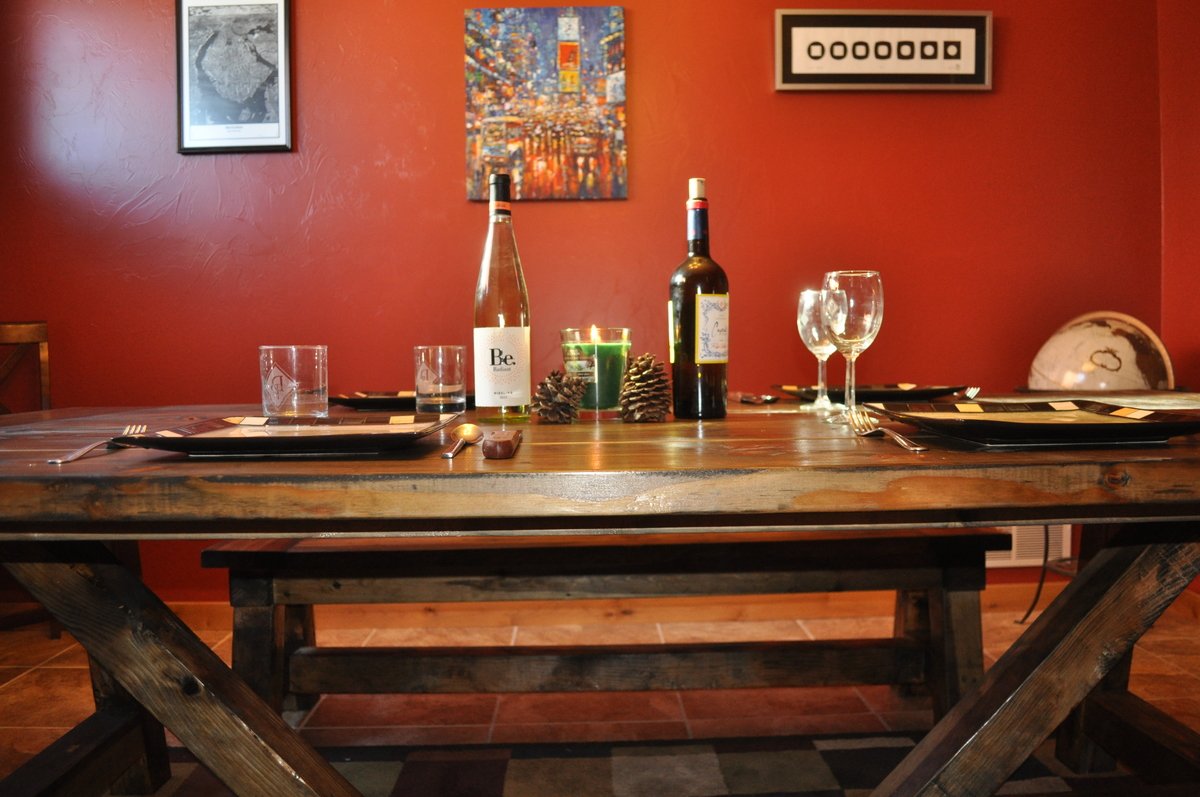
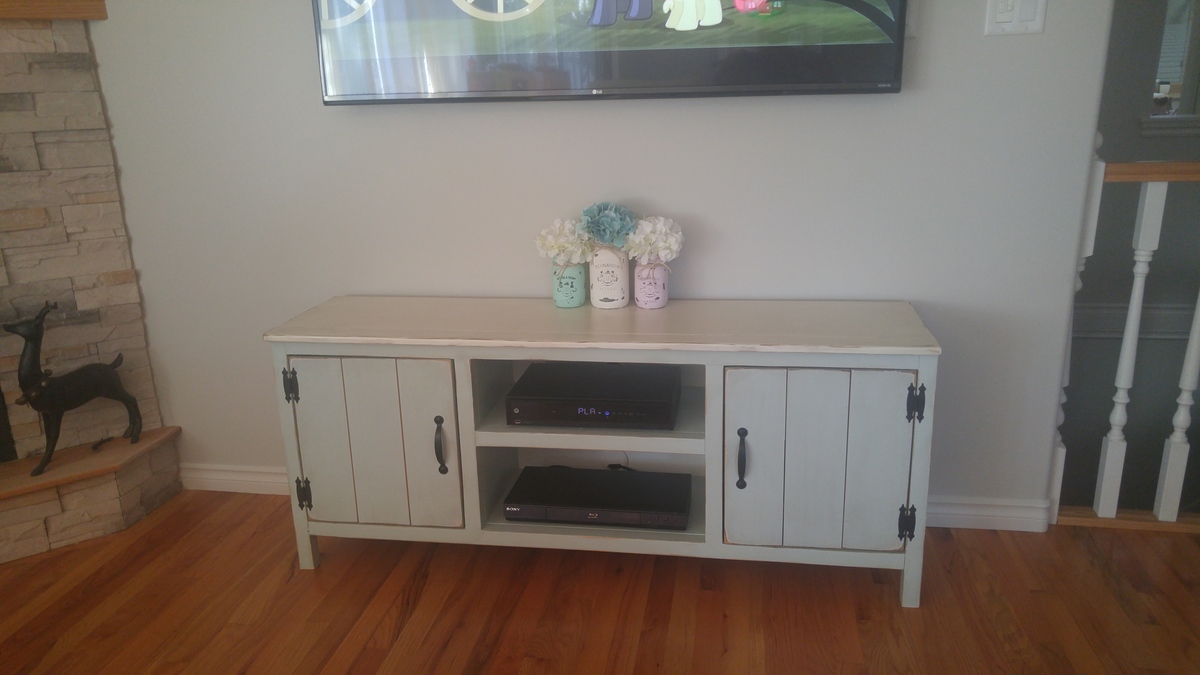
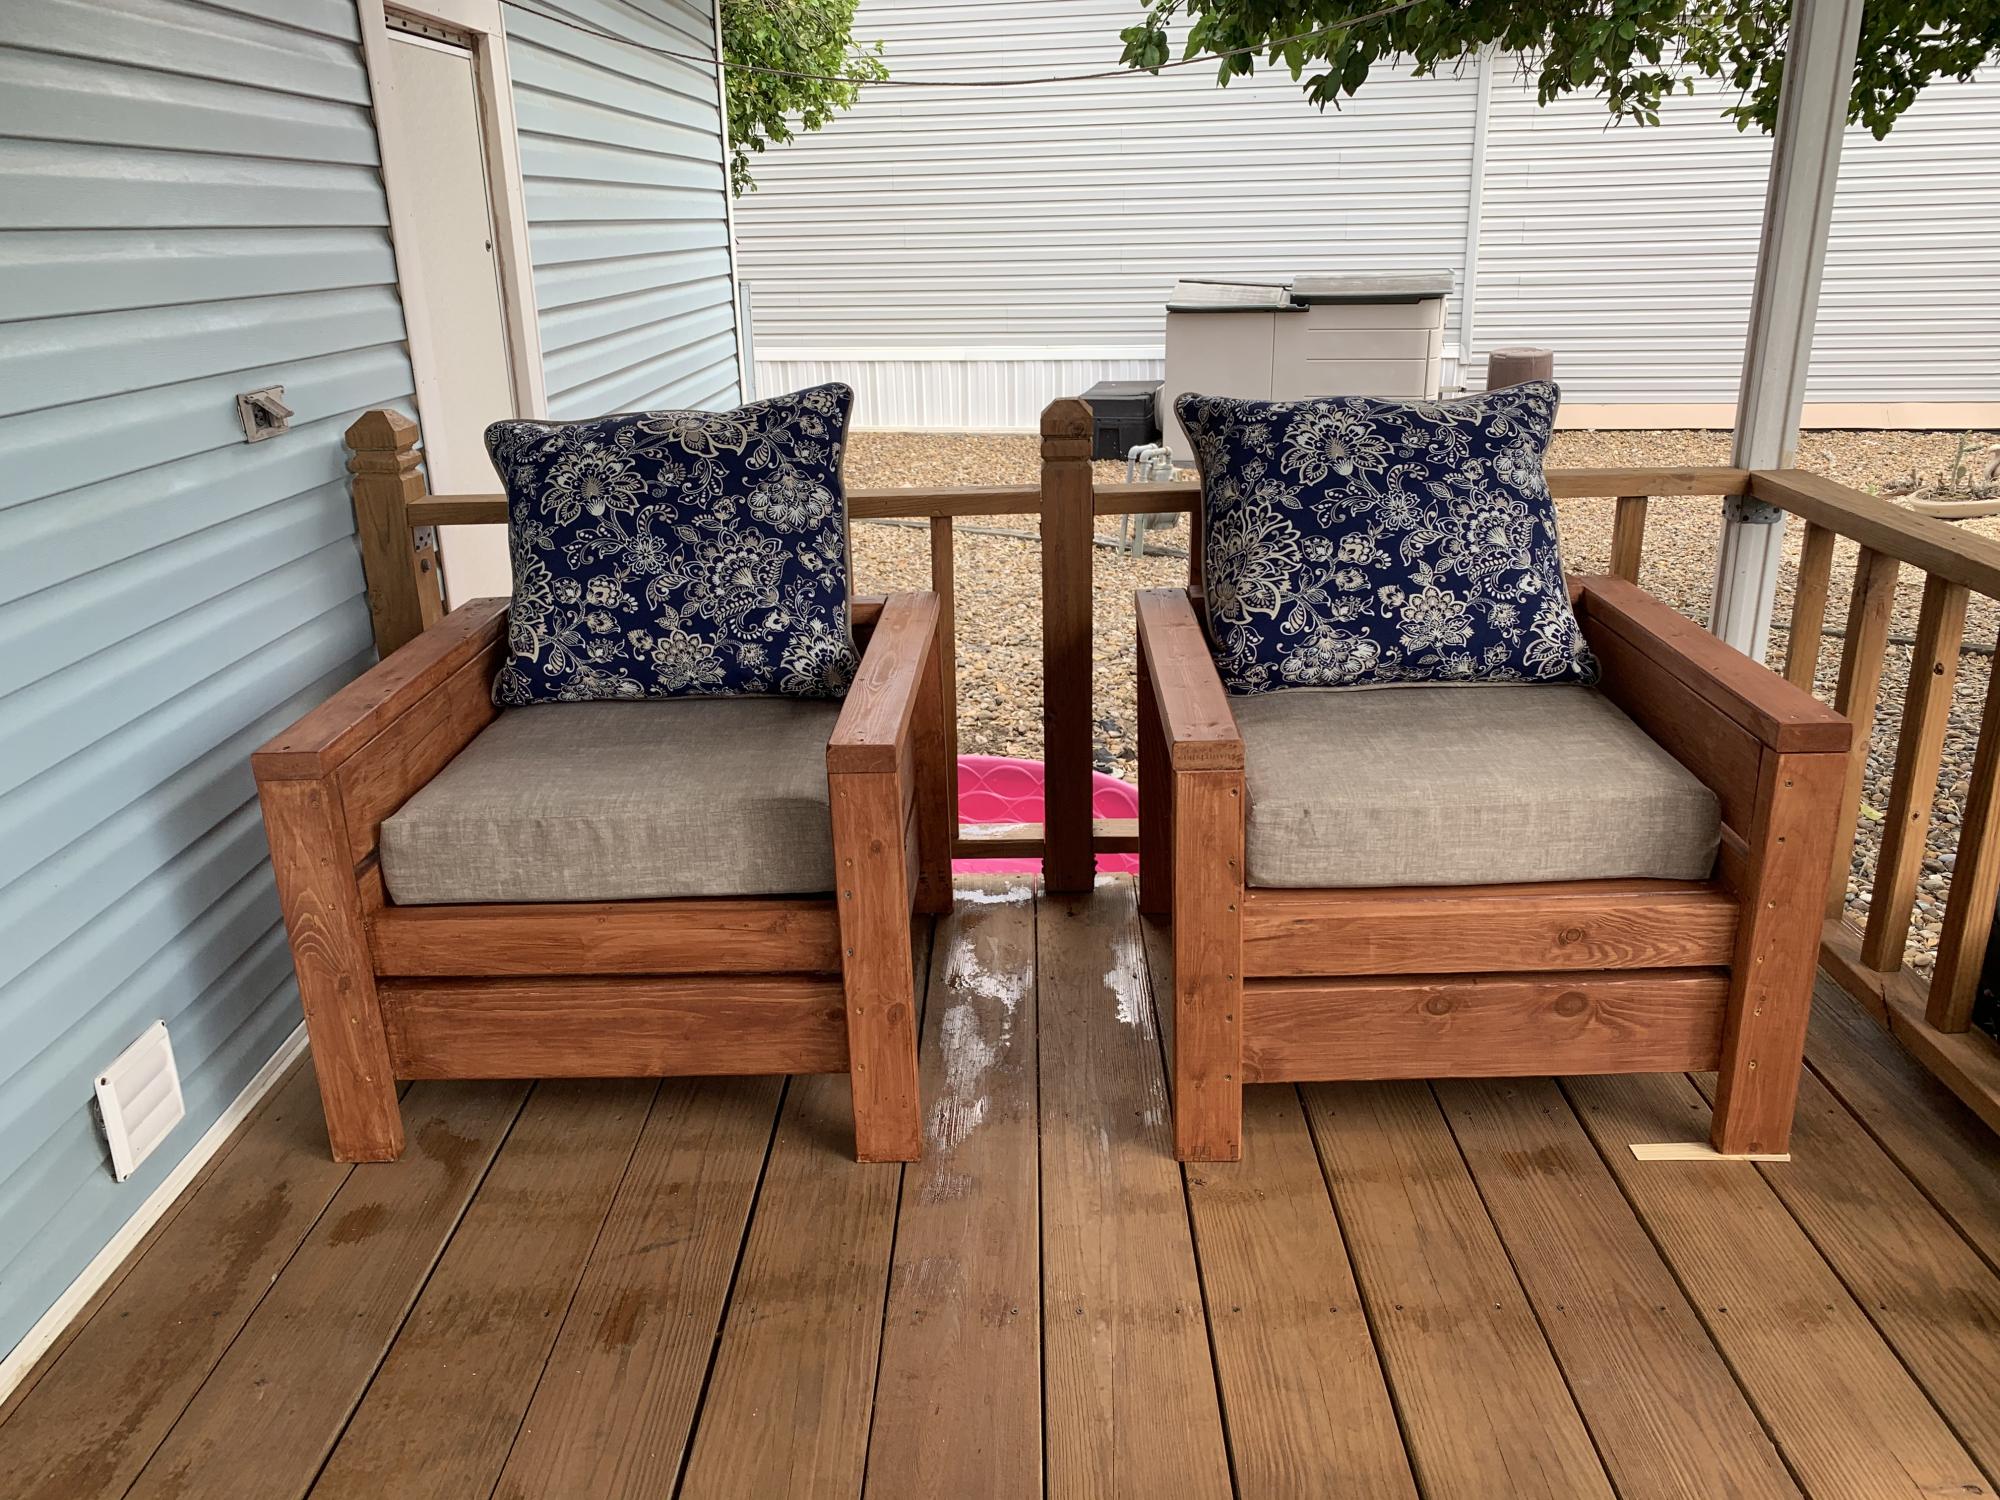
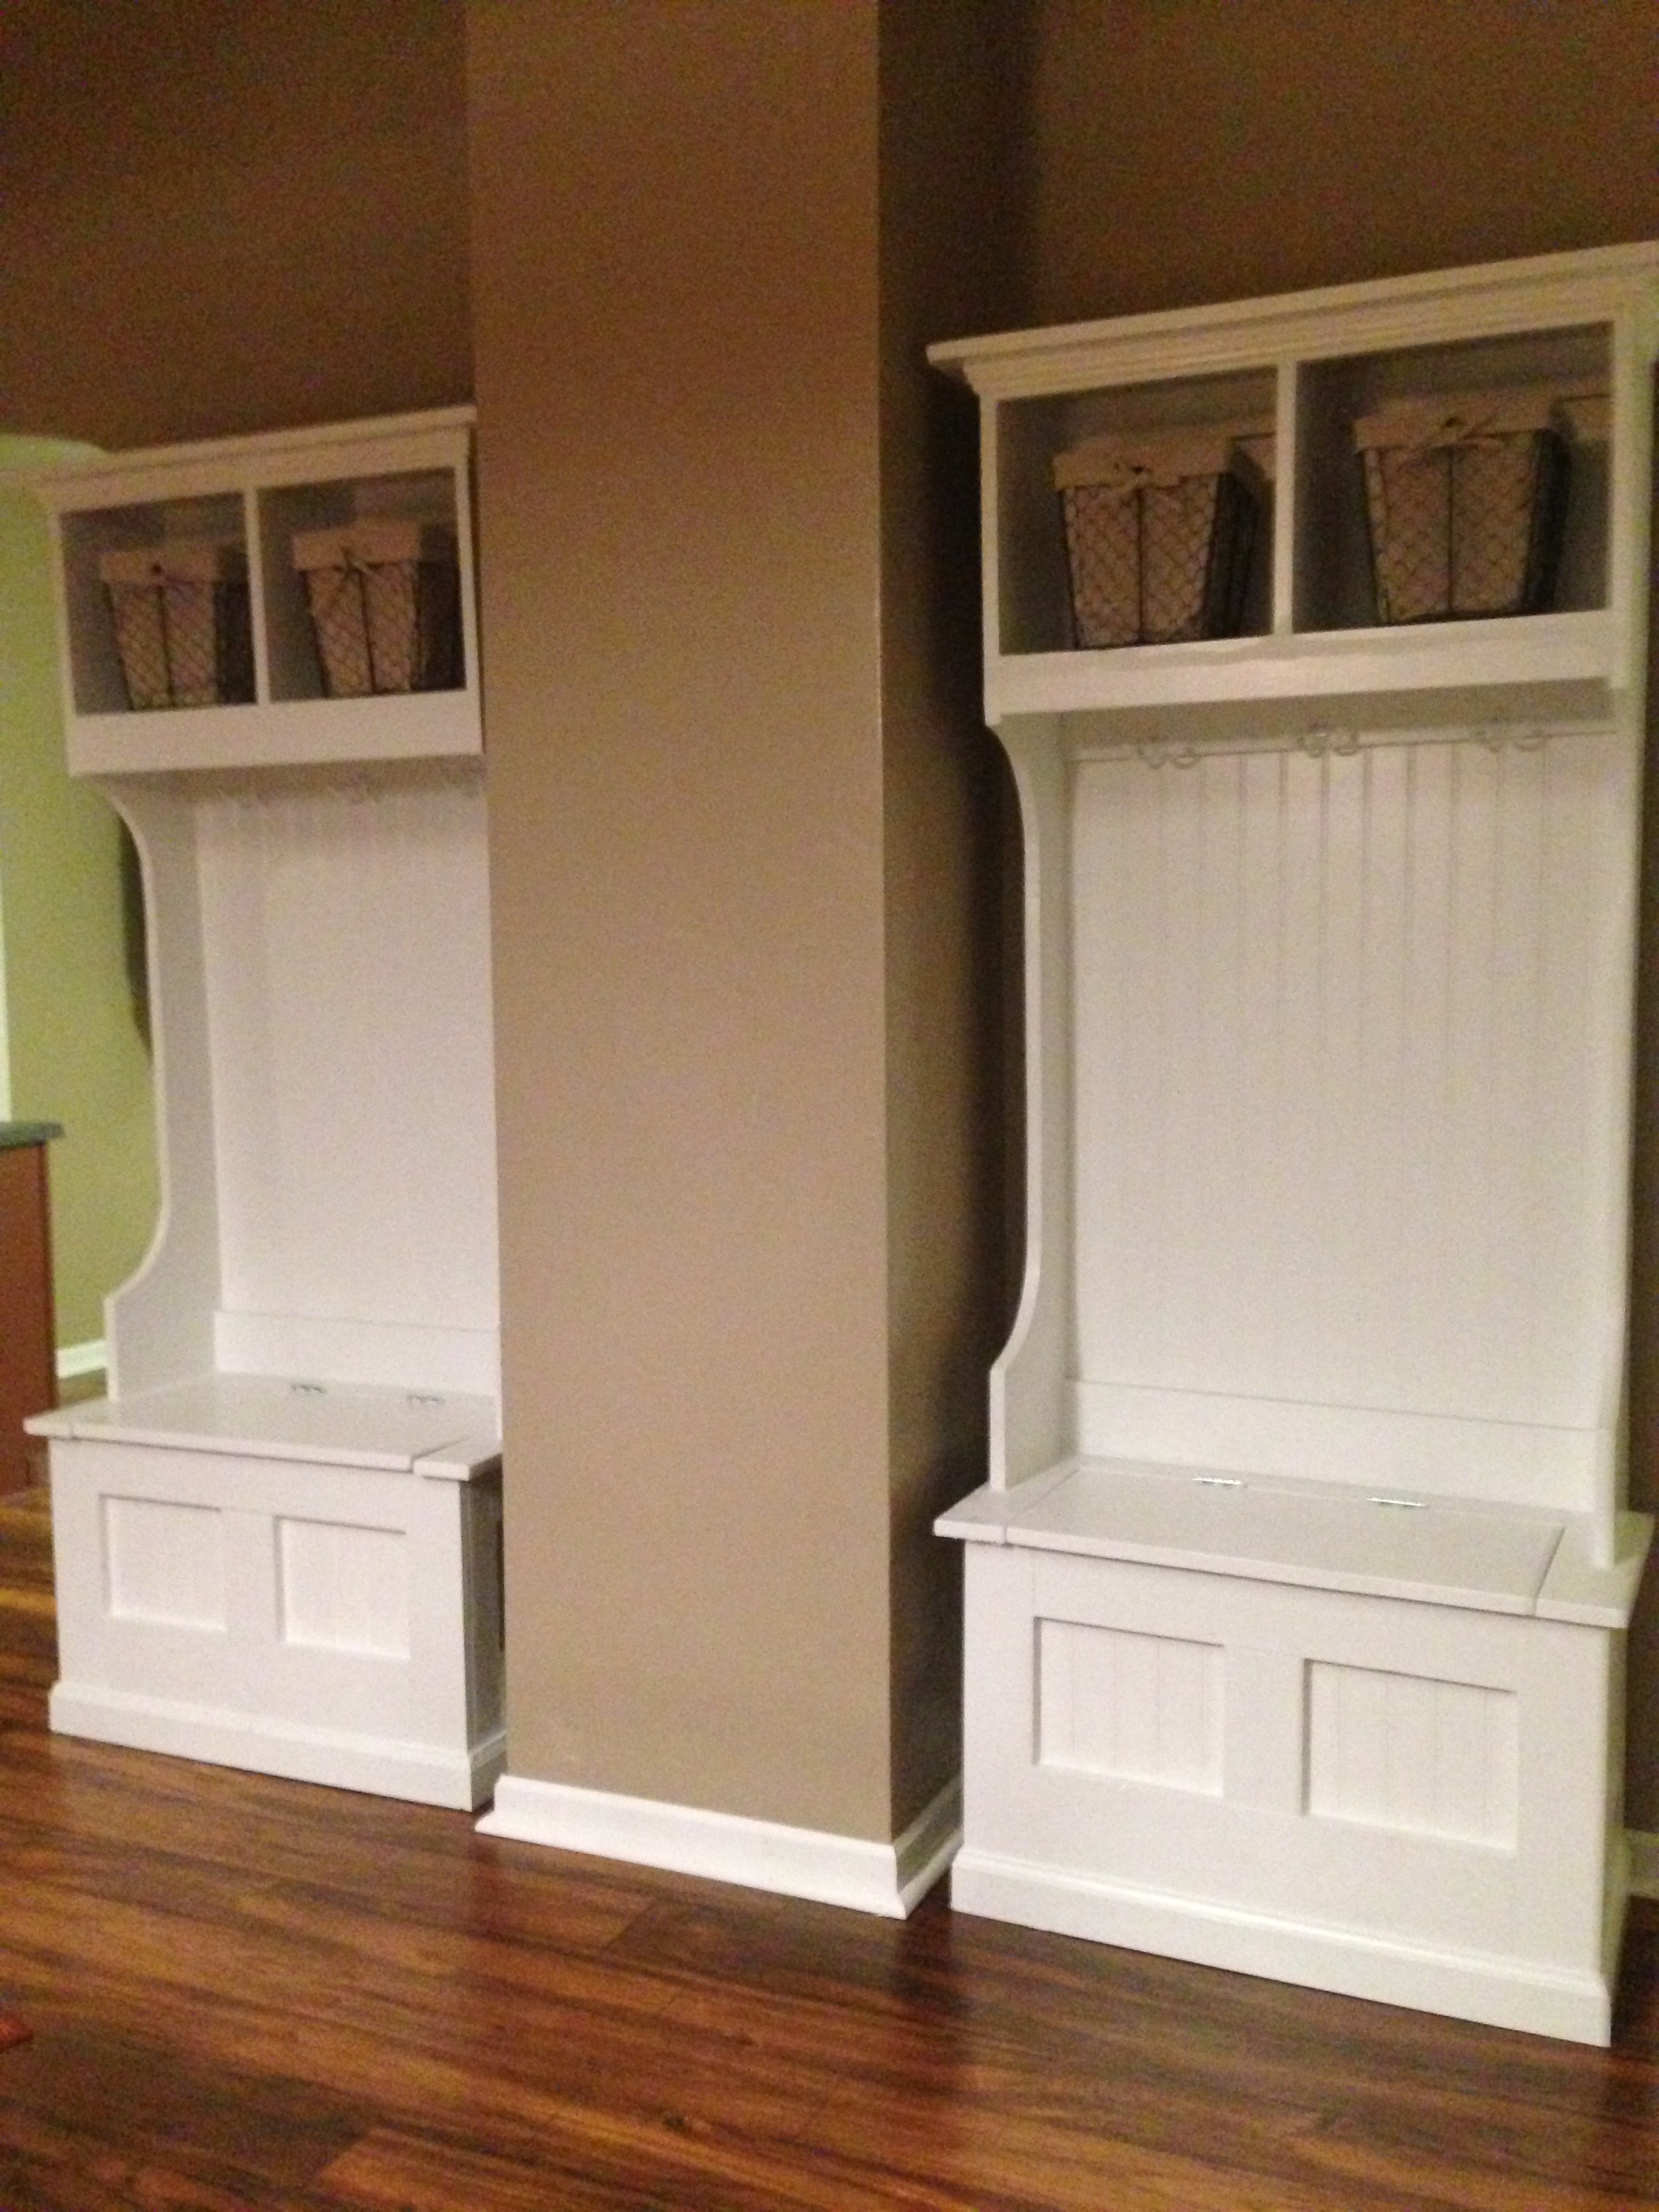
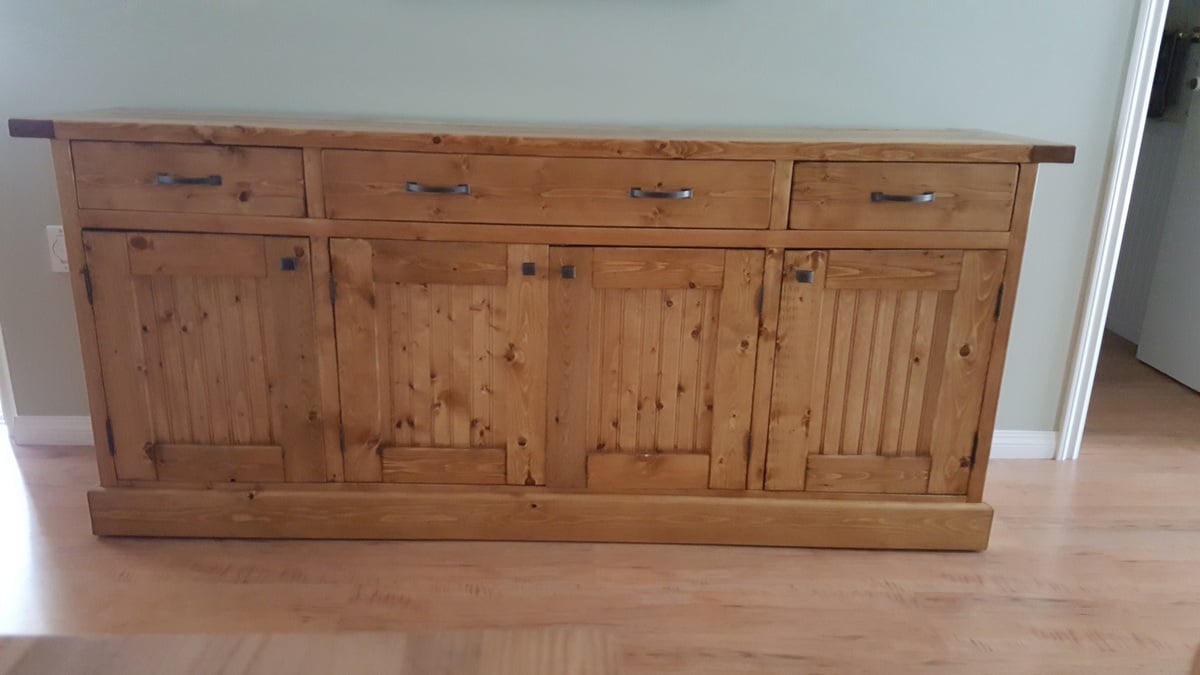
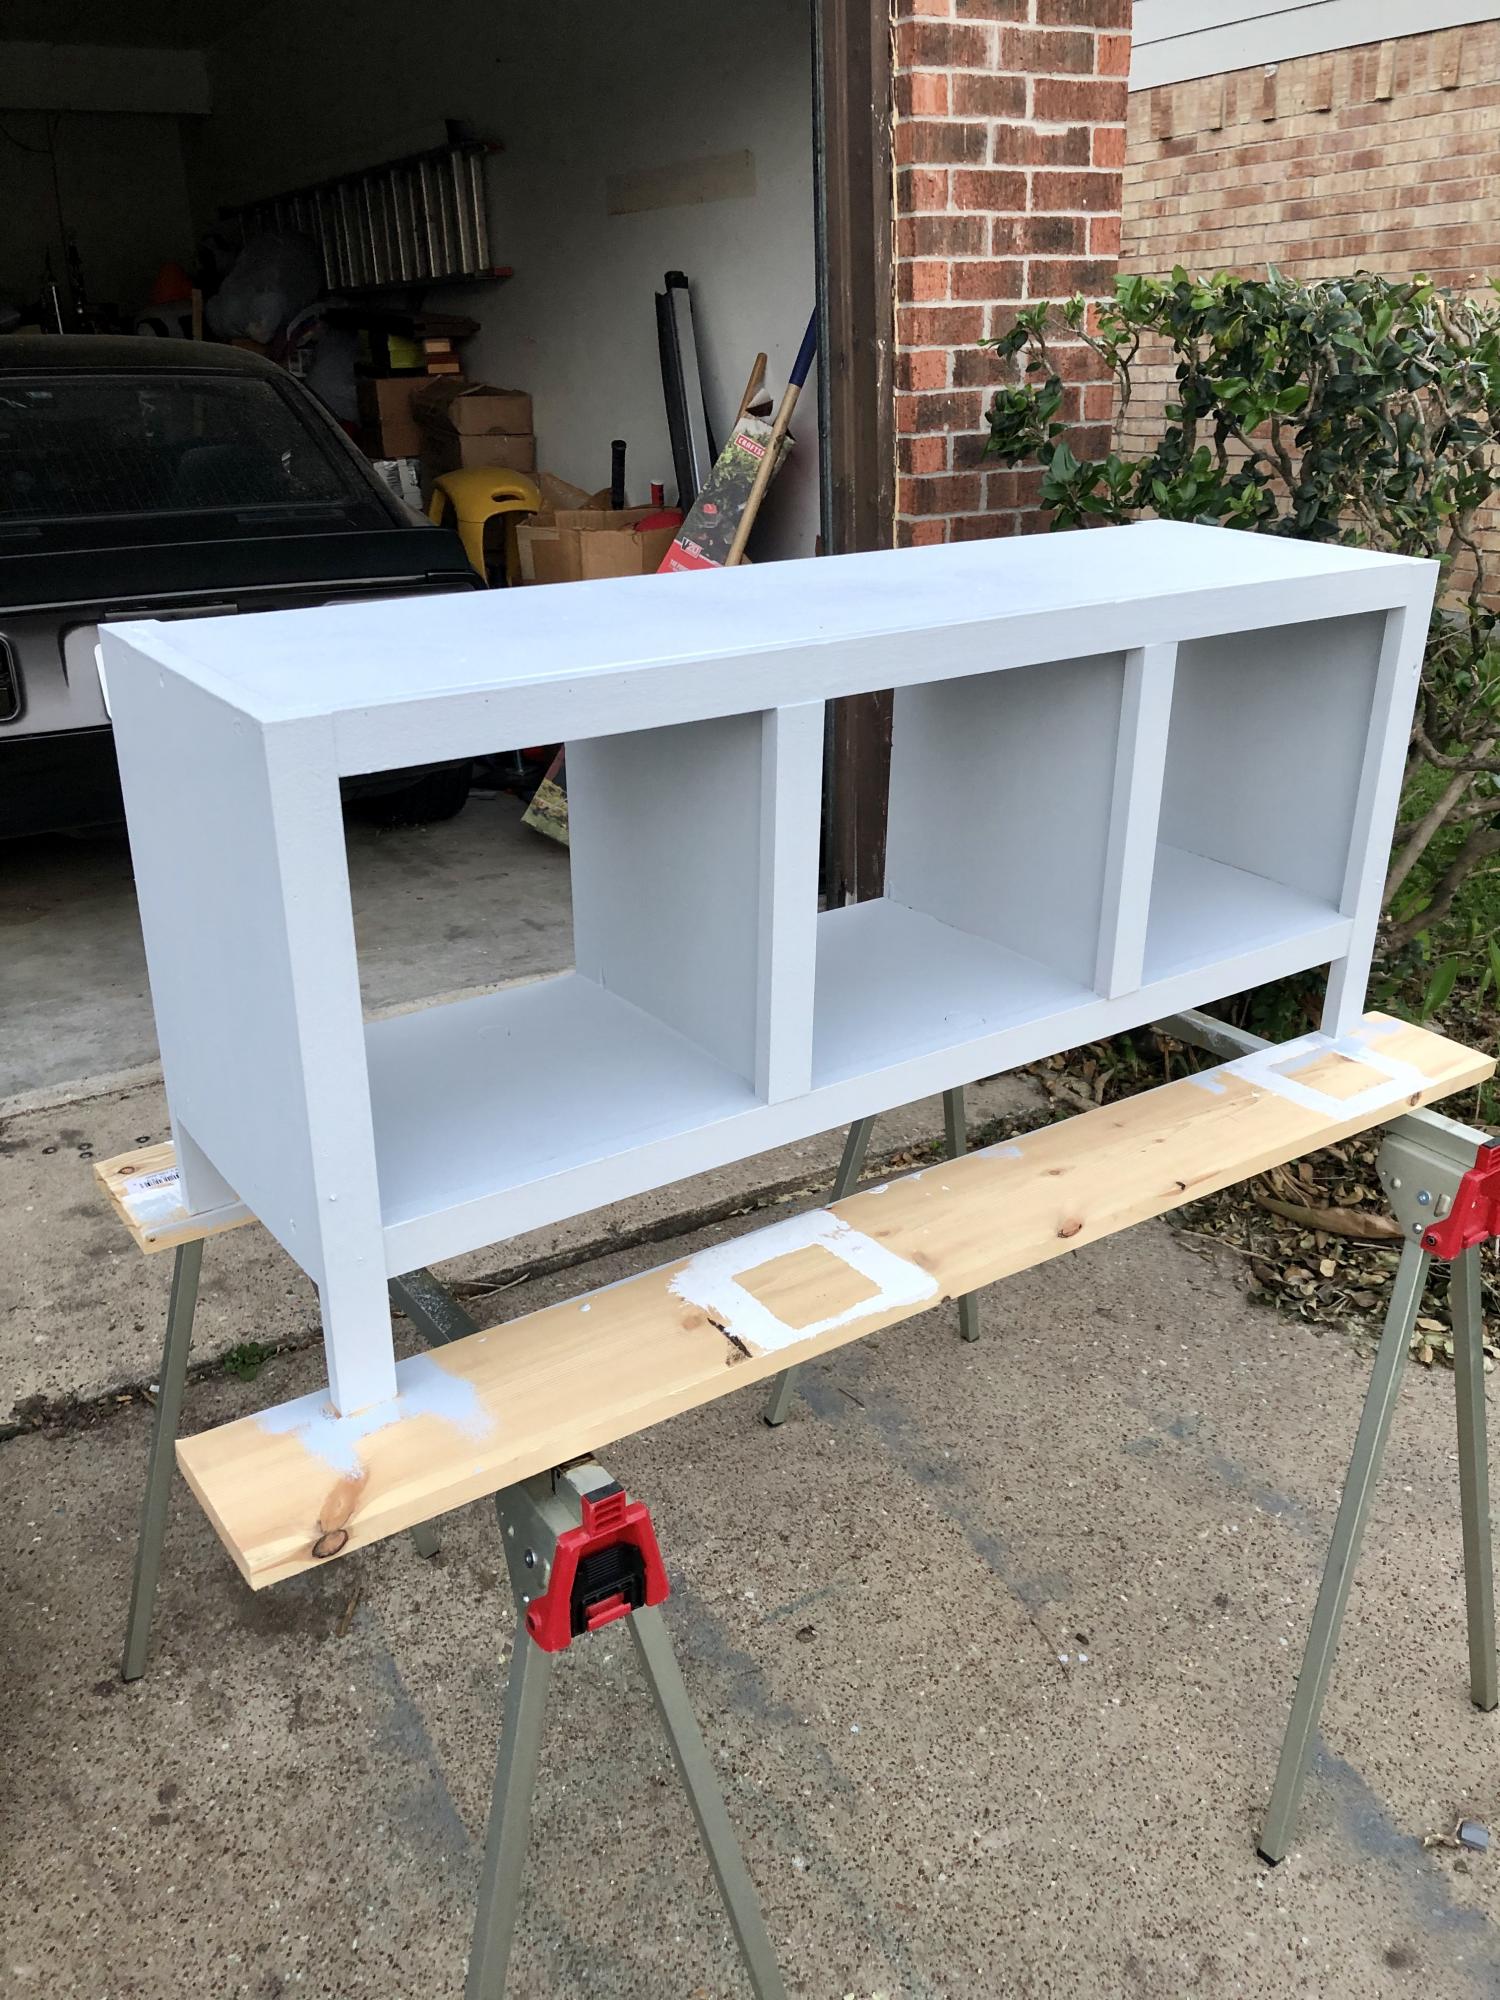
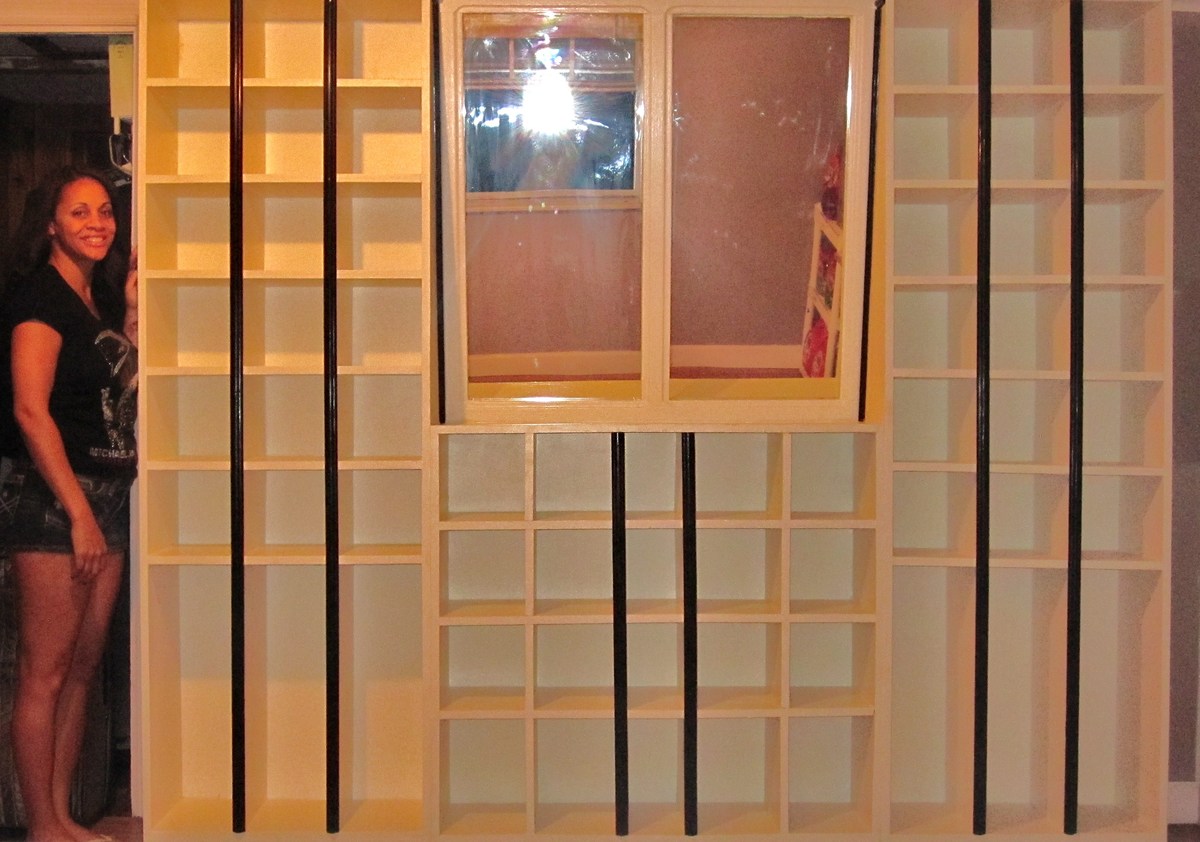
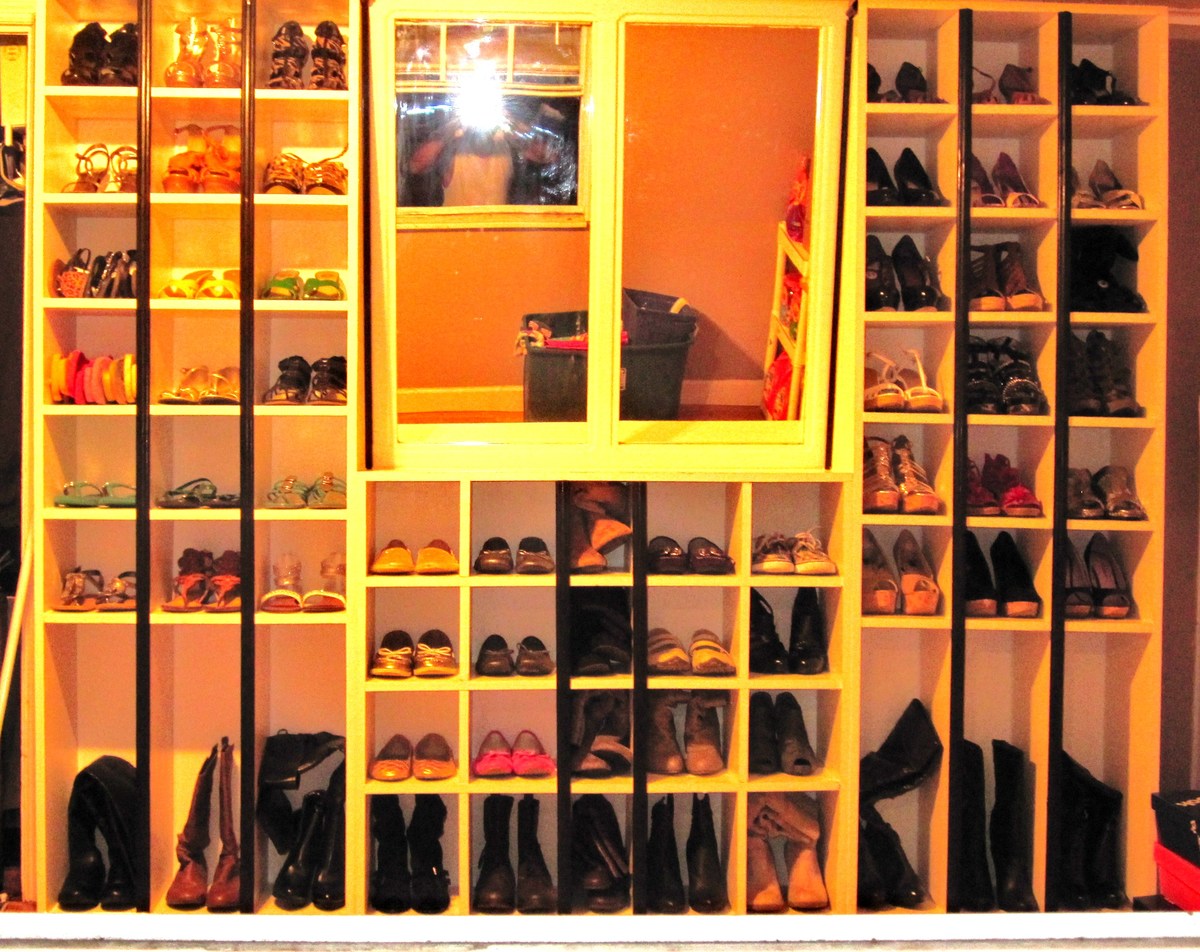
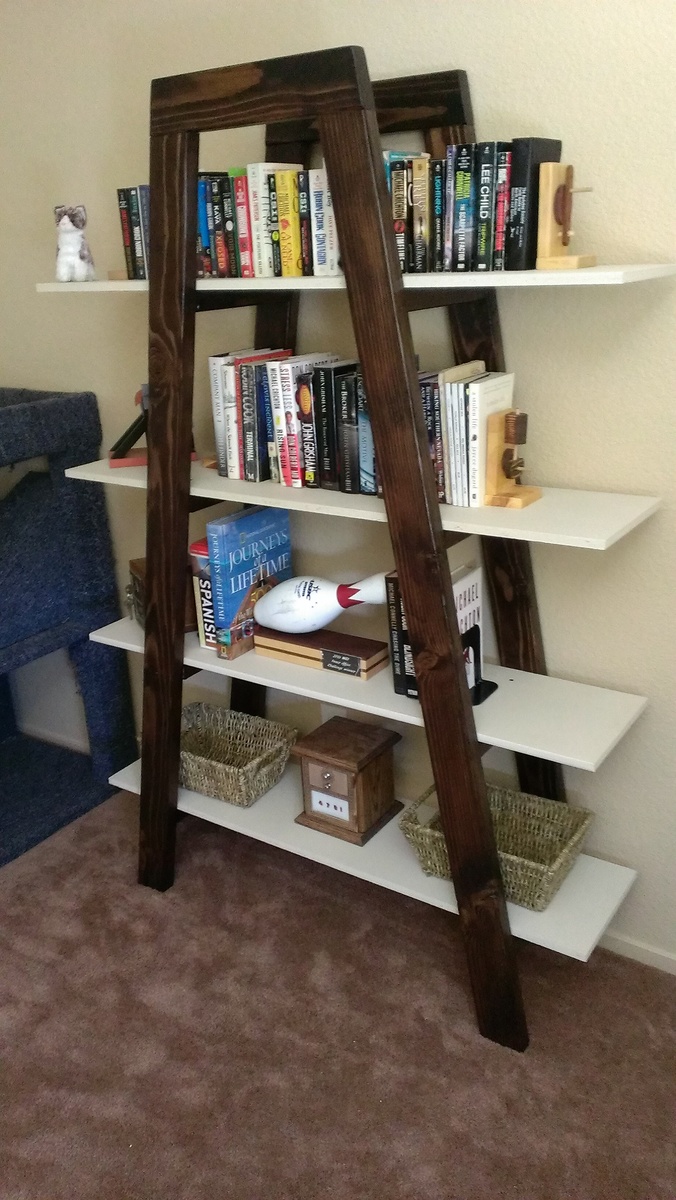
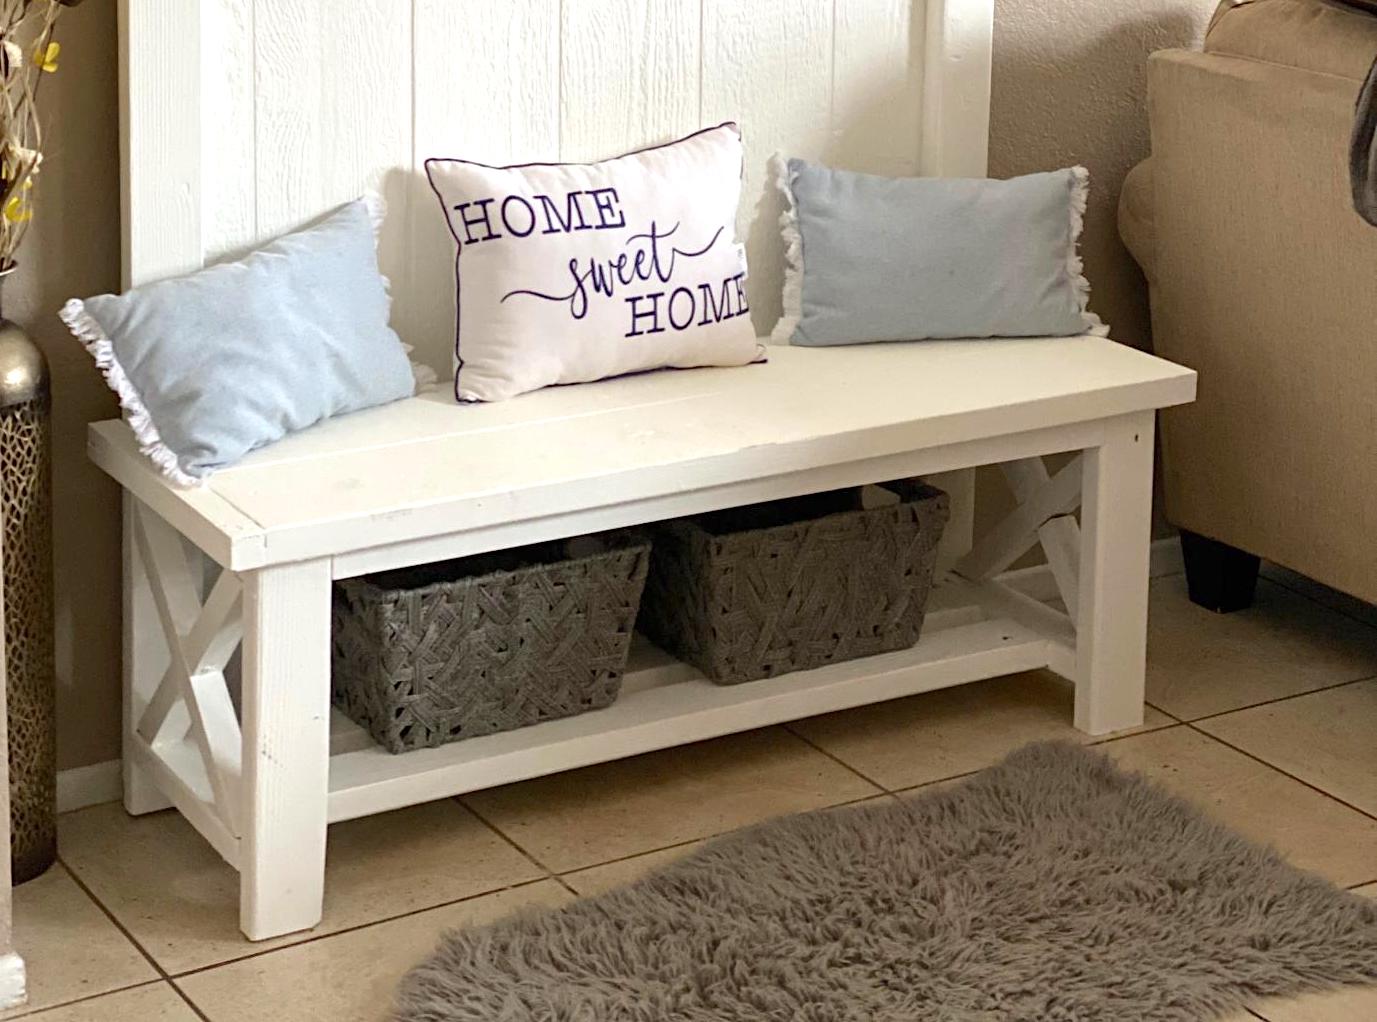
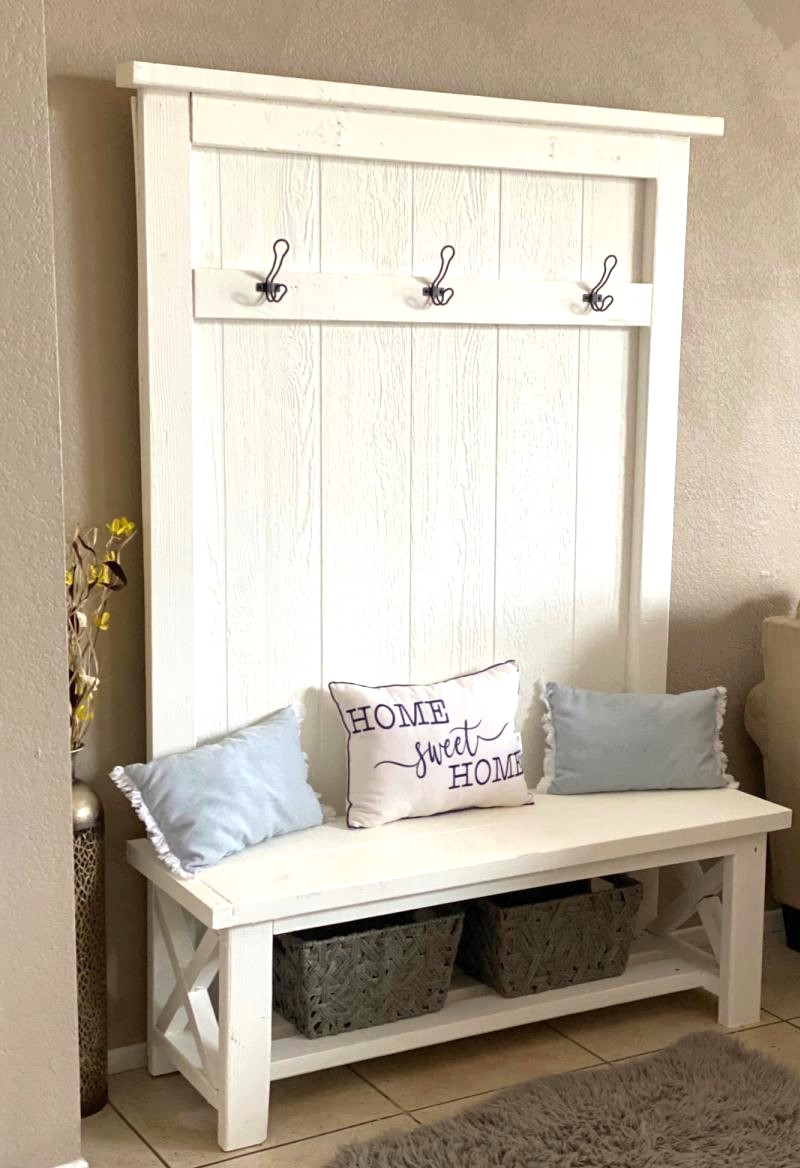
Braden Bench and Hutch
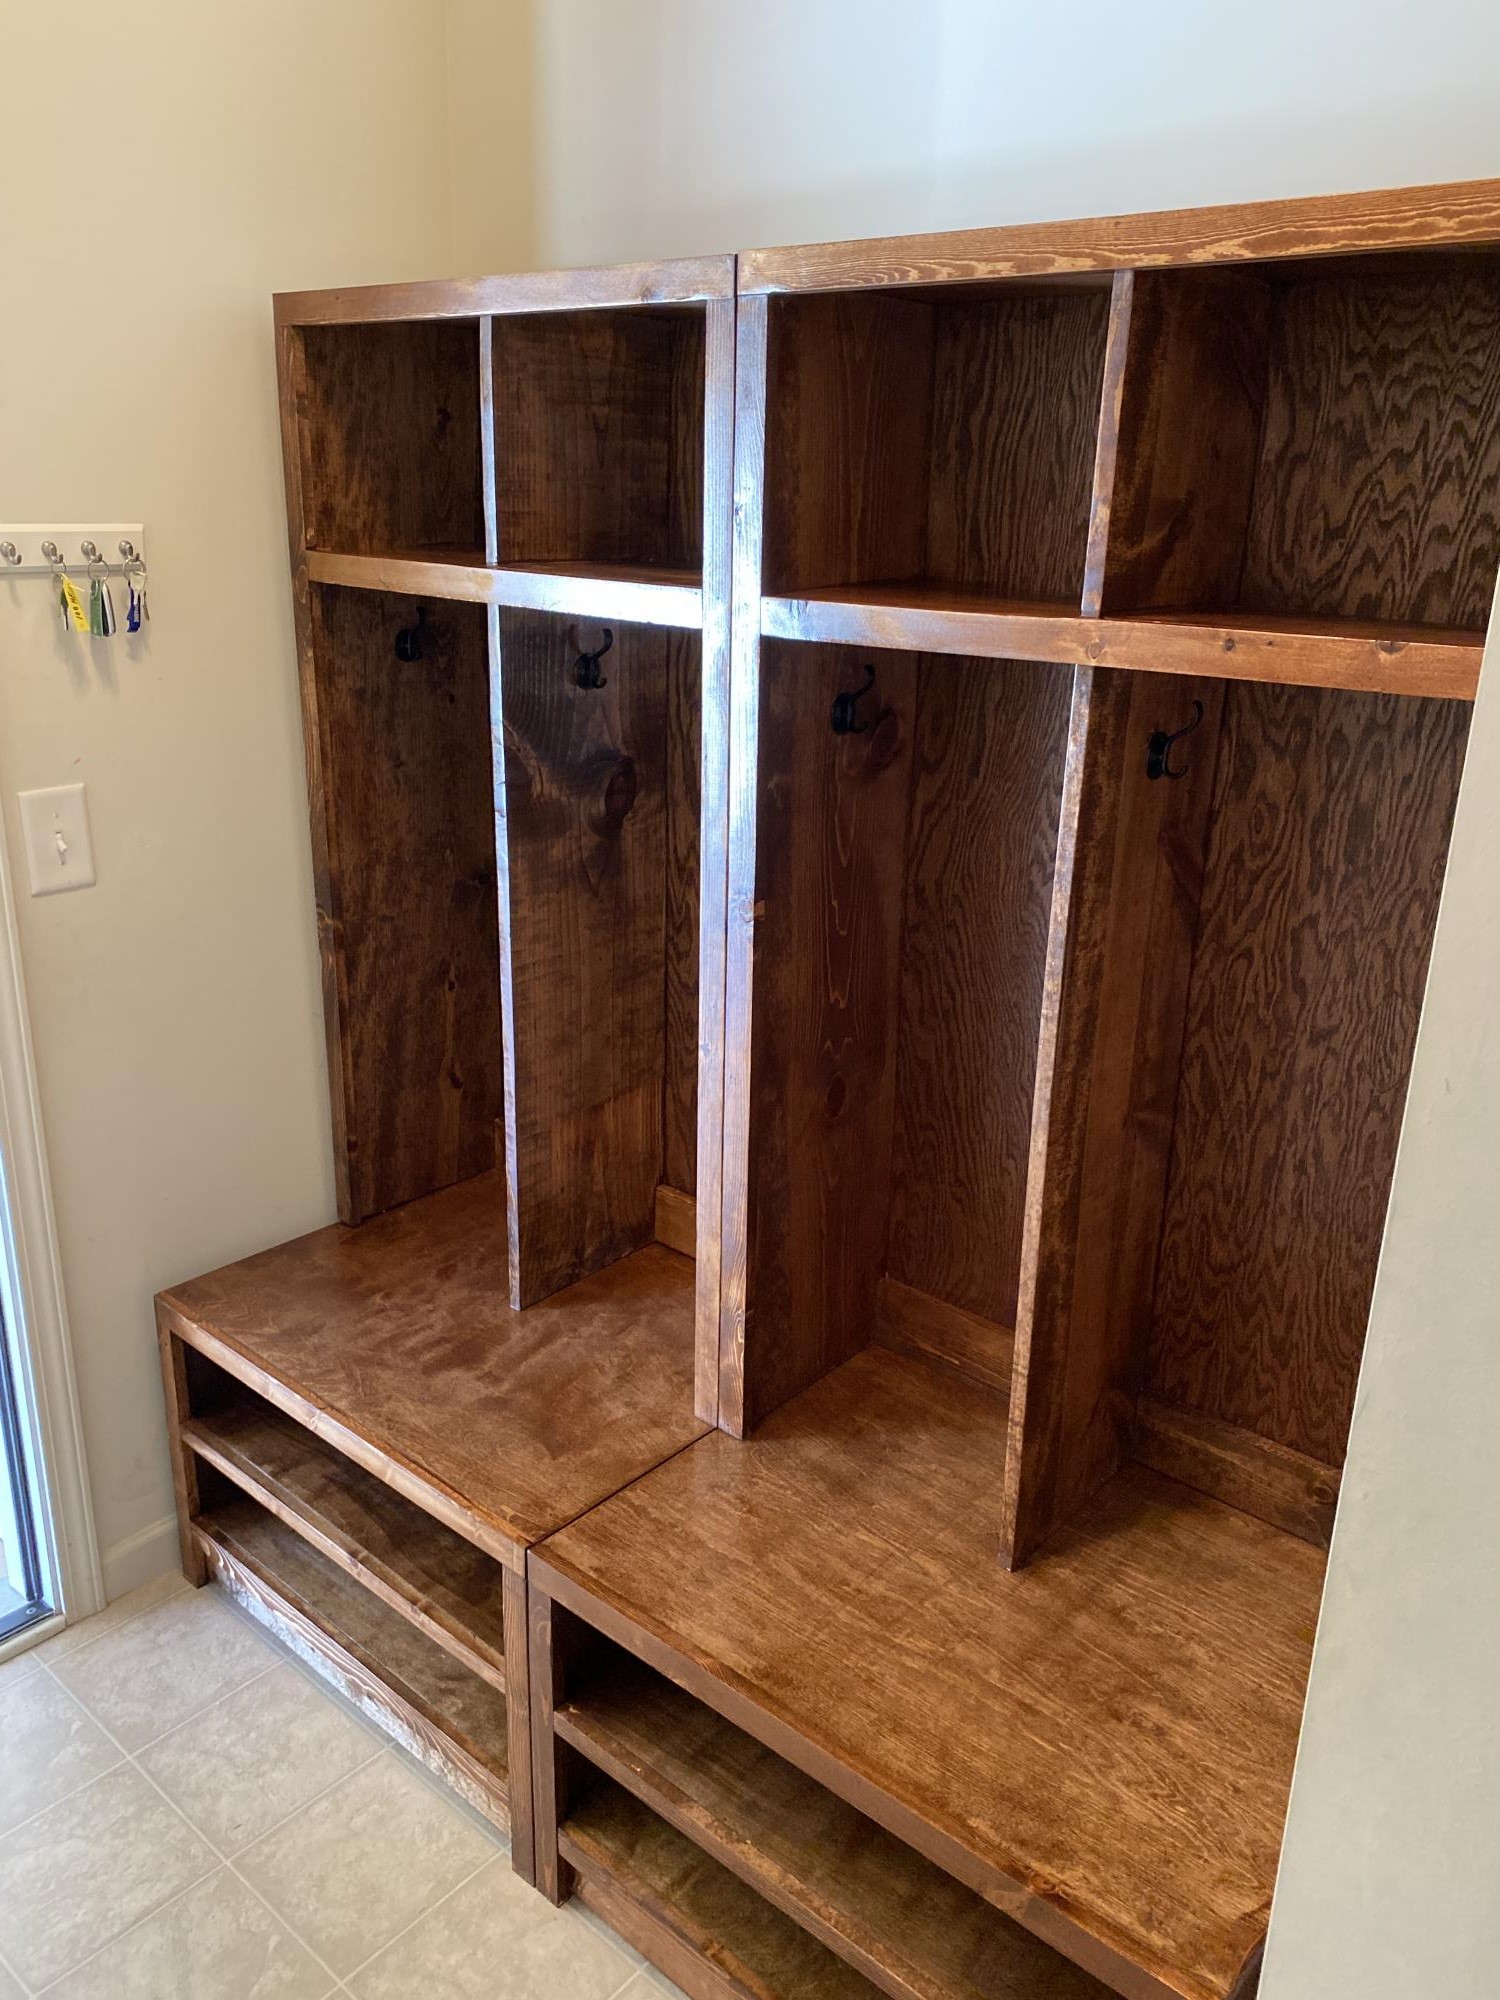
Took the standard Braden Bench/Hutch plans and used a English Chestnut stain to really make them pop. If used a few plans from this site but this one turned out the best. Unfortunately I didn’t have enough space to use the mail sorting hutch plans for a middle locker.
Estimated Cost
150.00
Estimated Time Investment
Week Long Project (20 Hours or More)
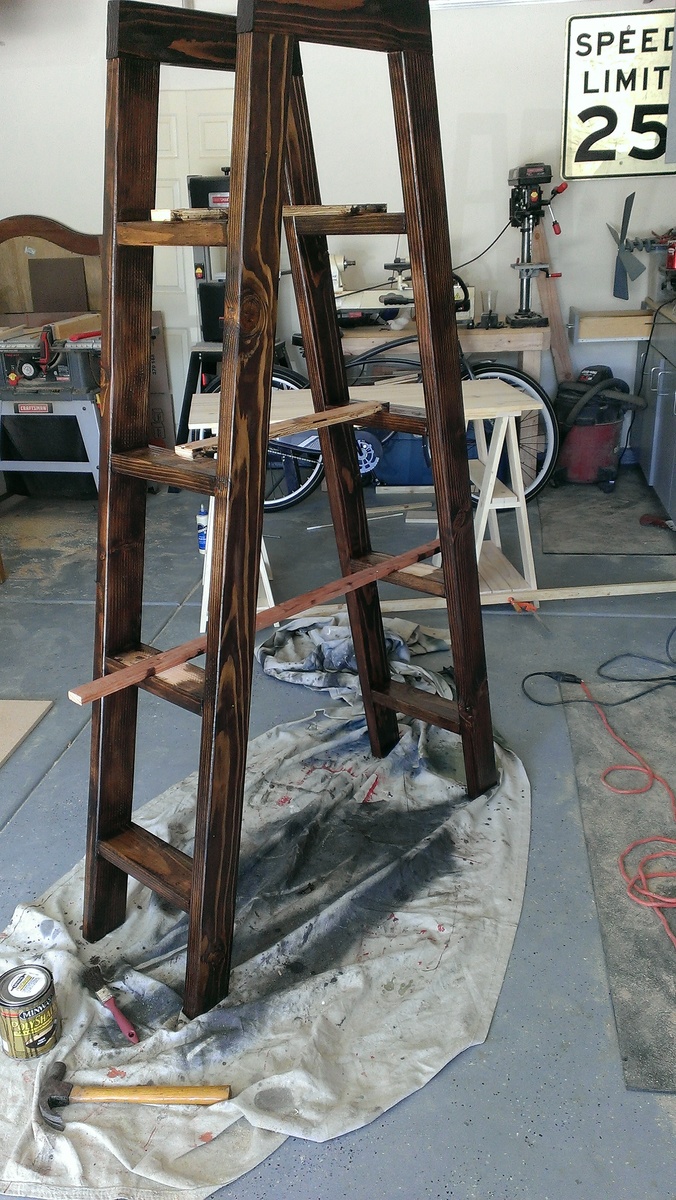
Finish Used
English Chestnut stain and multiple coats of polyurethane. Sanding after each coat of poly.
Recommended Skill Level
Intermediate