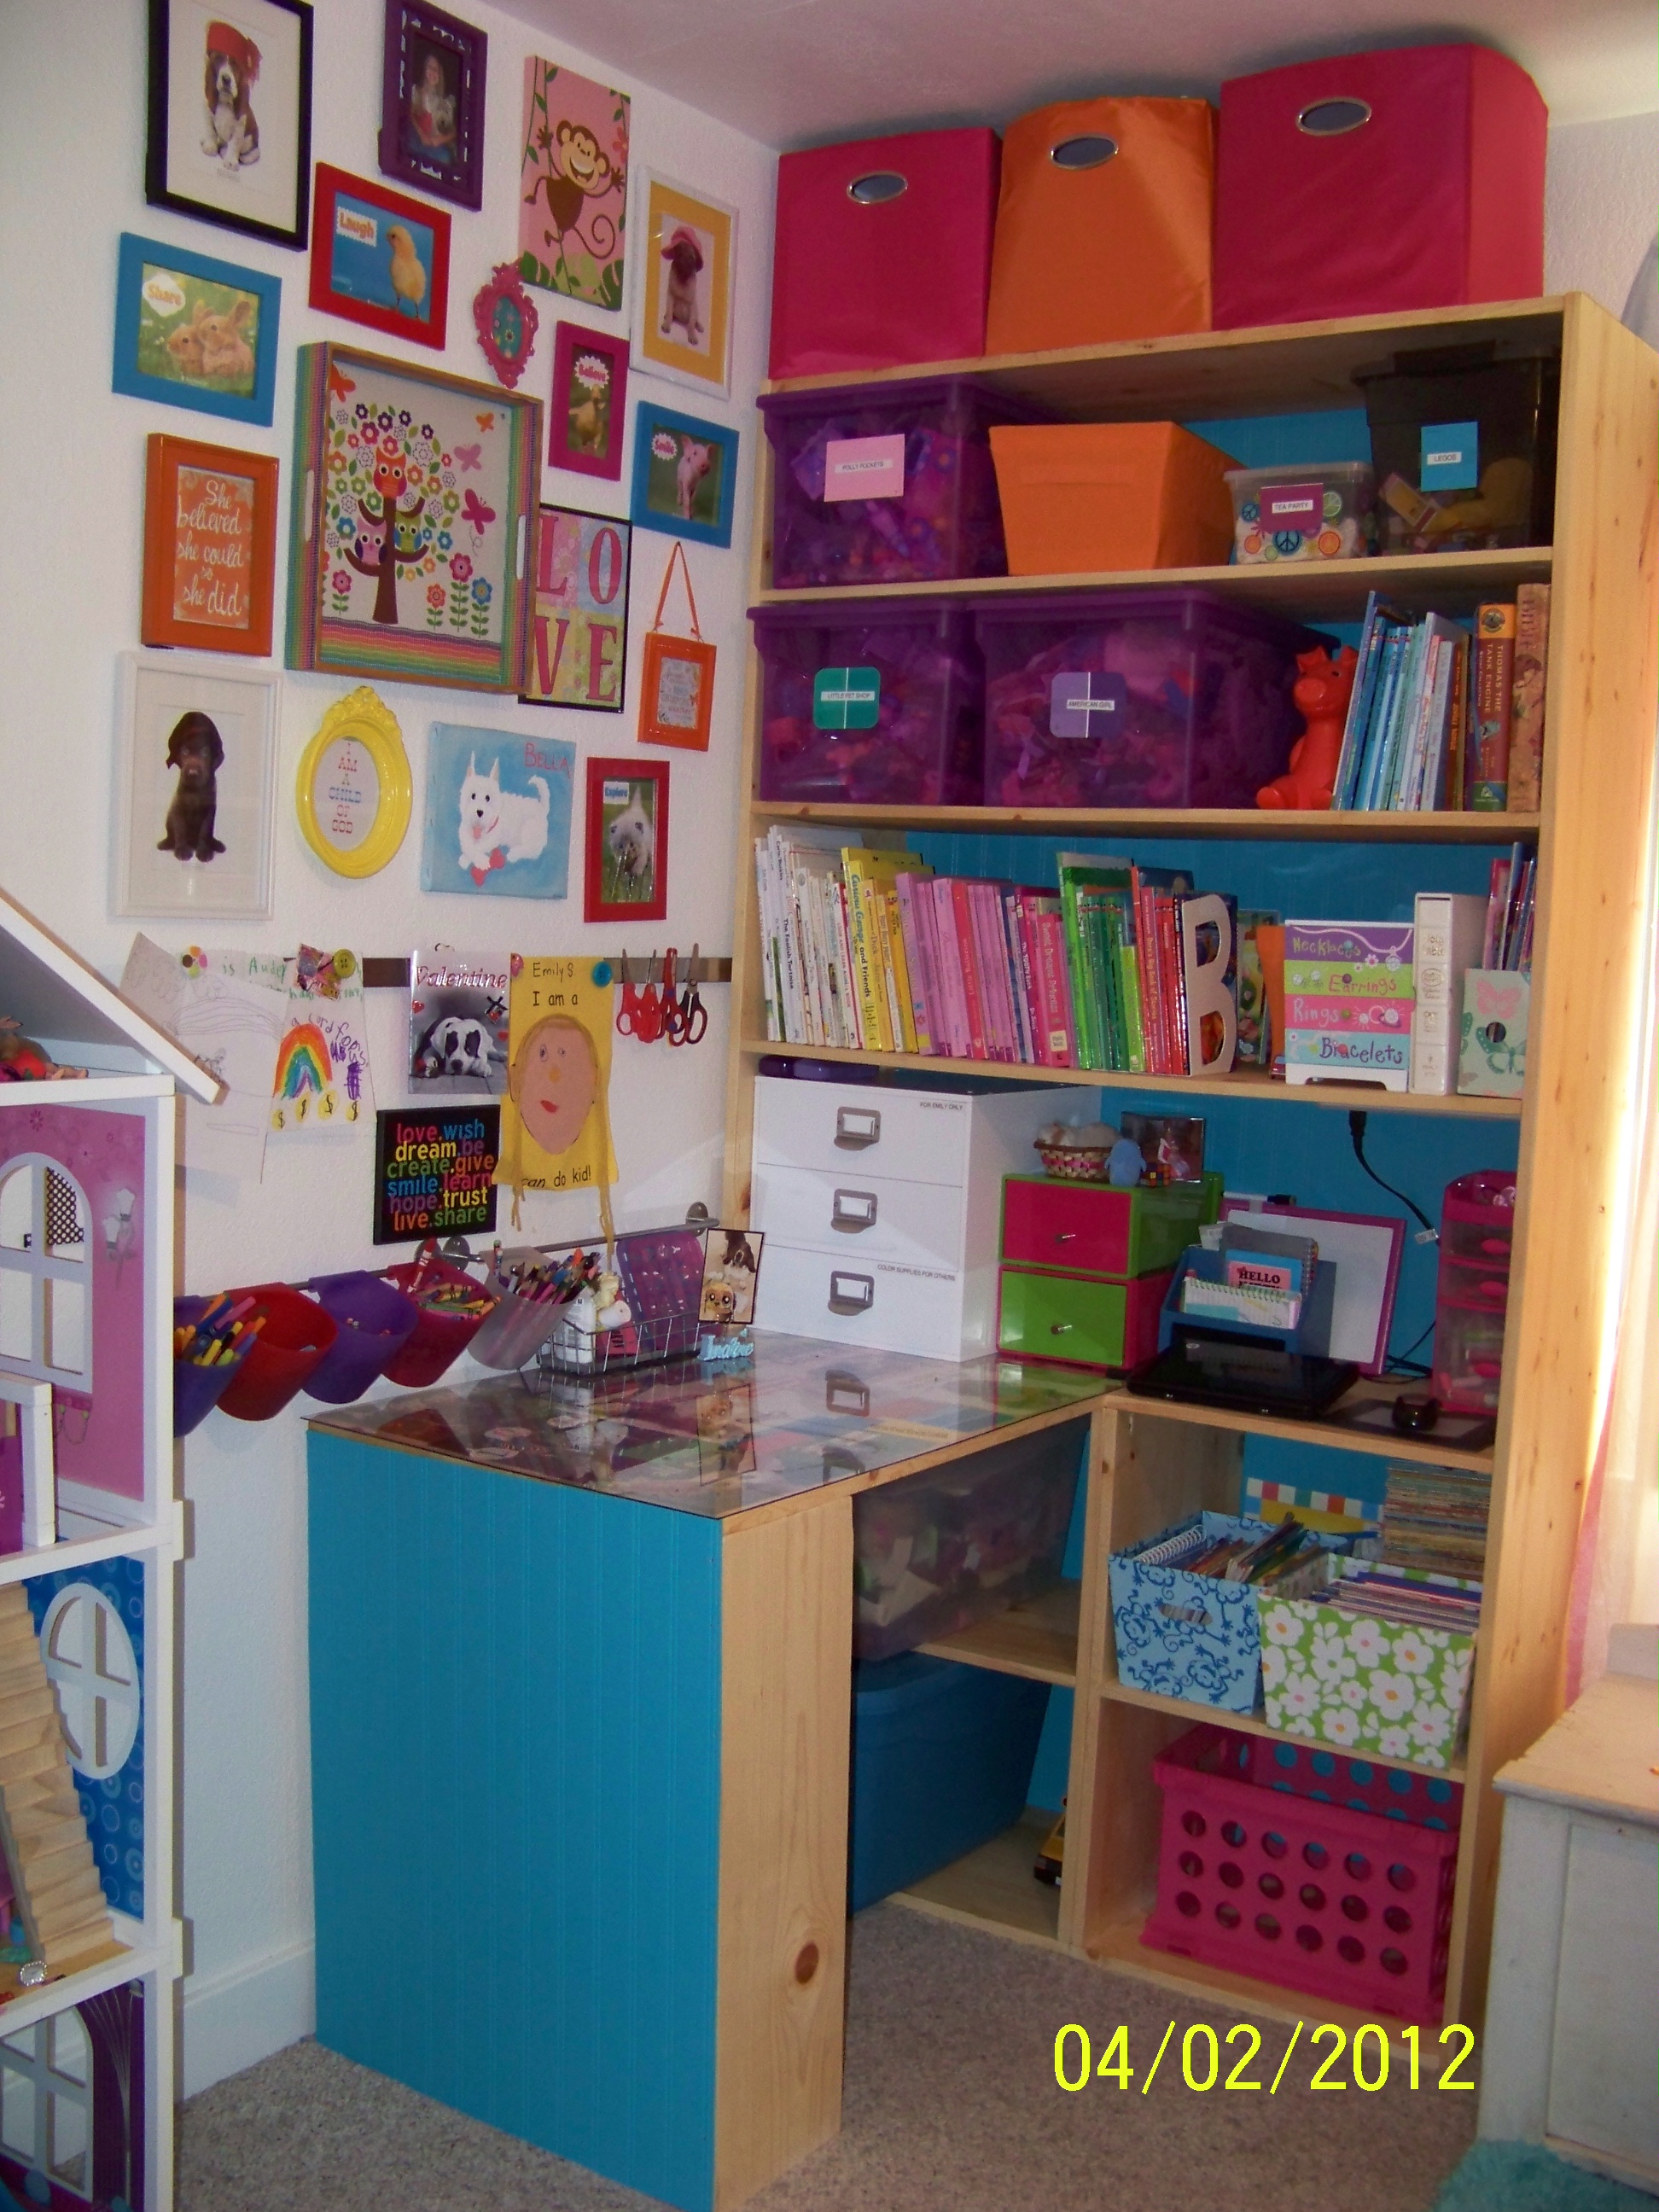
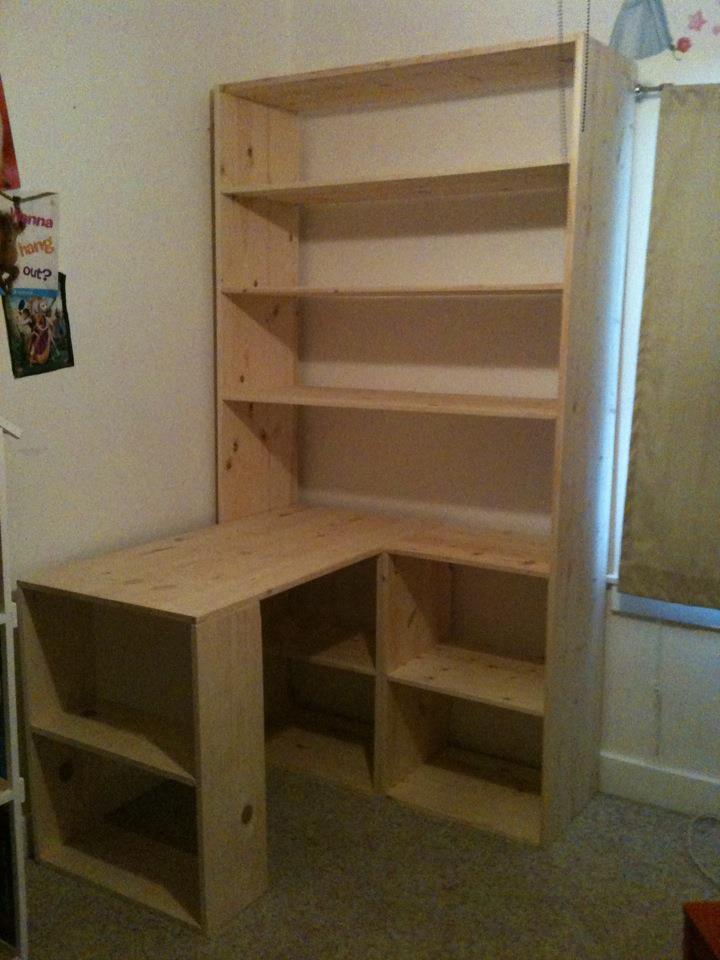
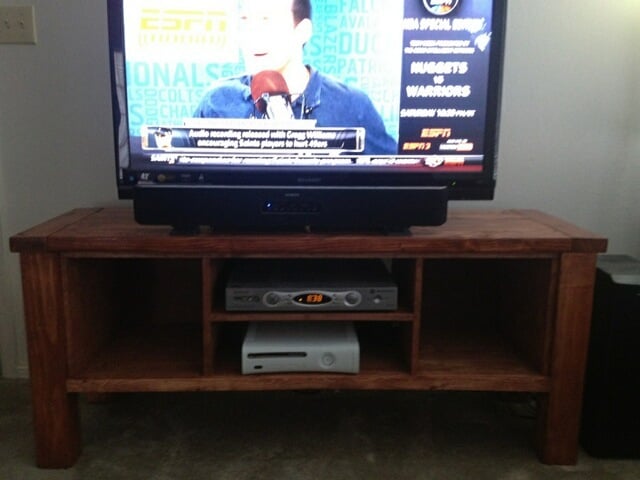
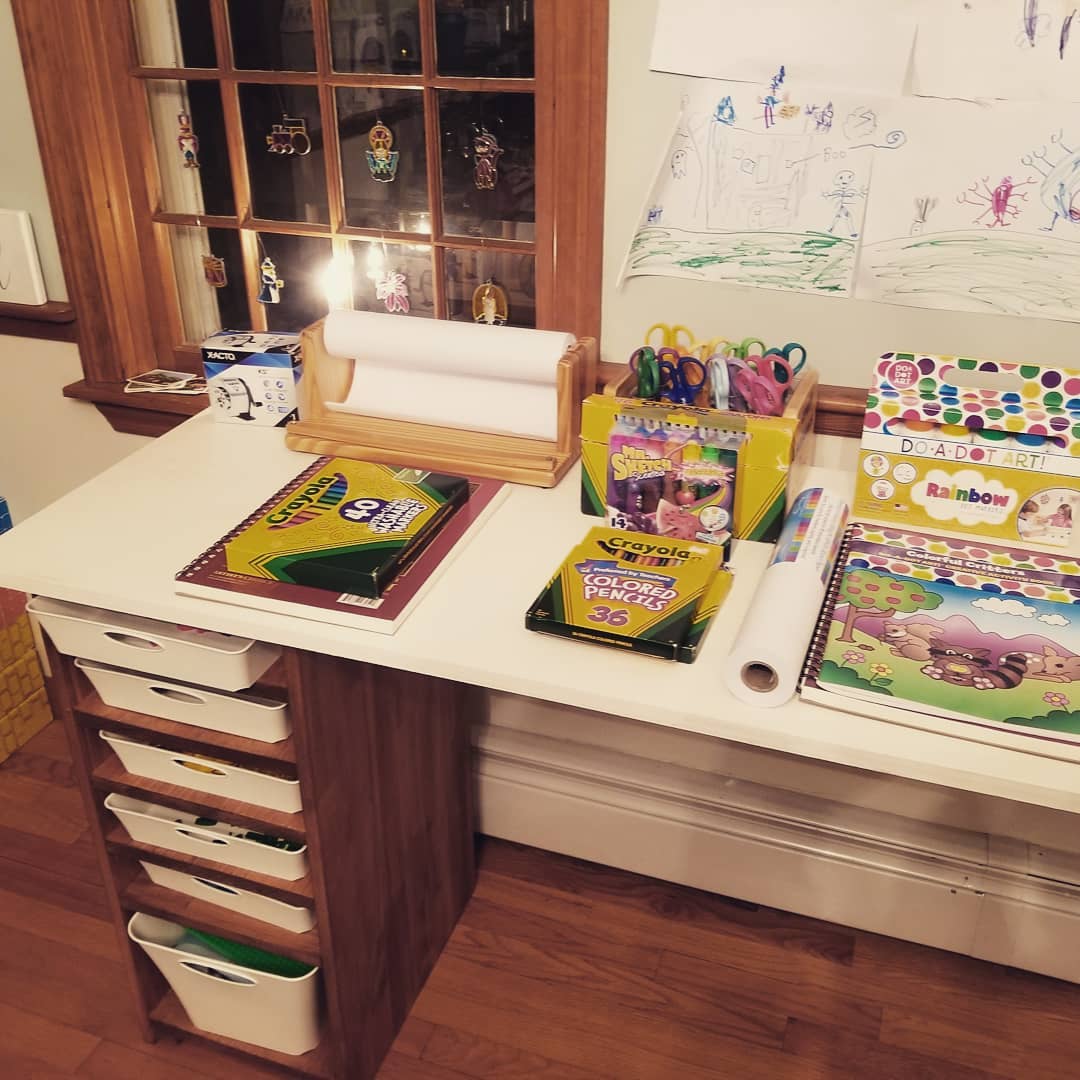
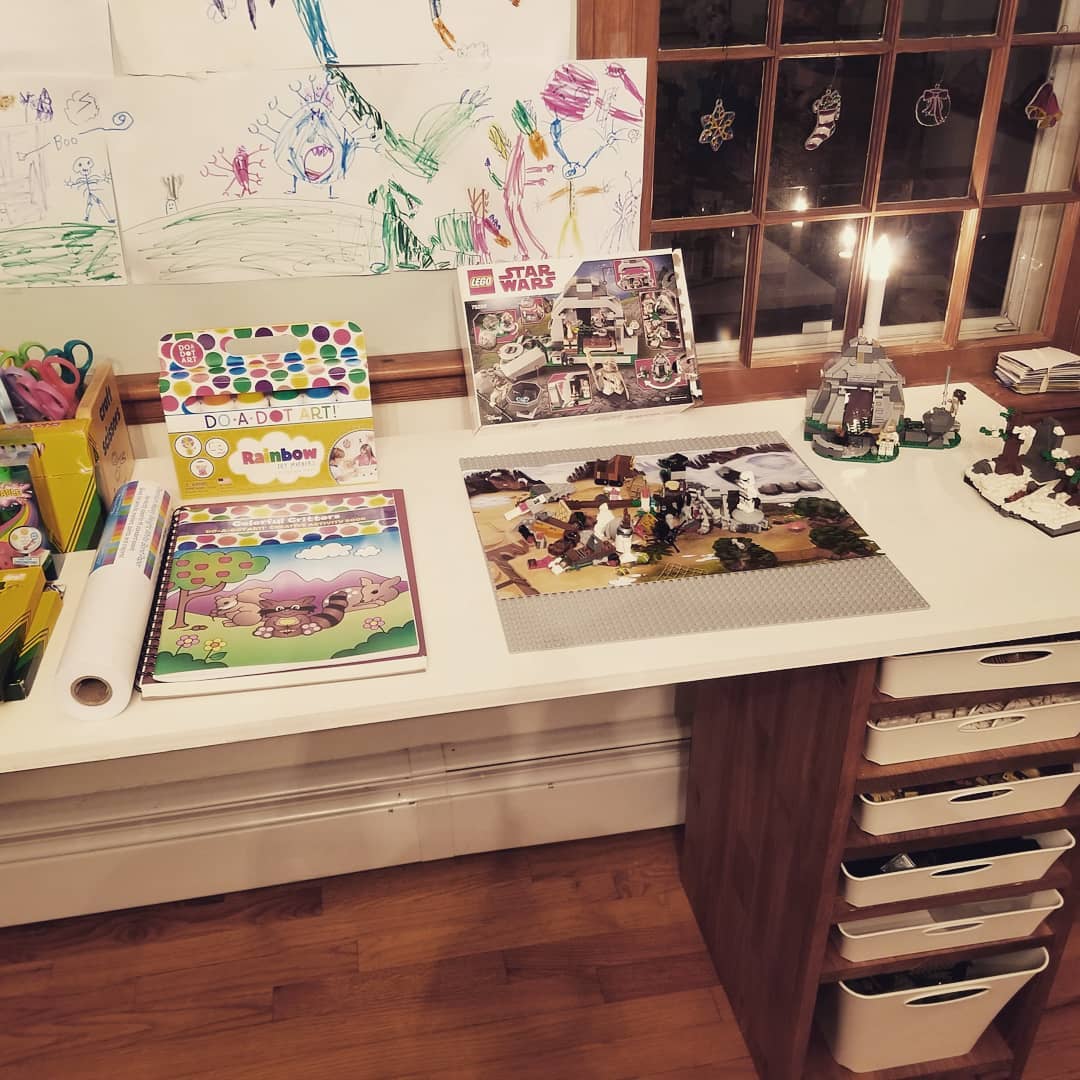
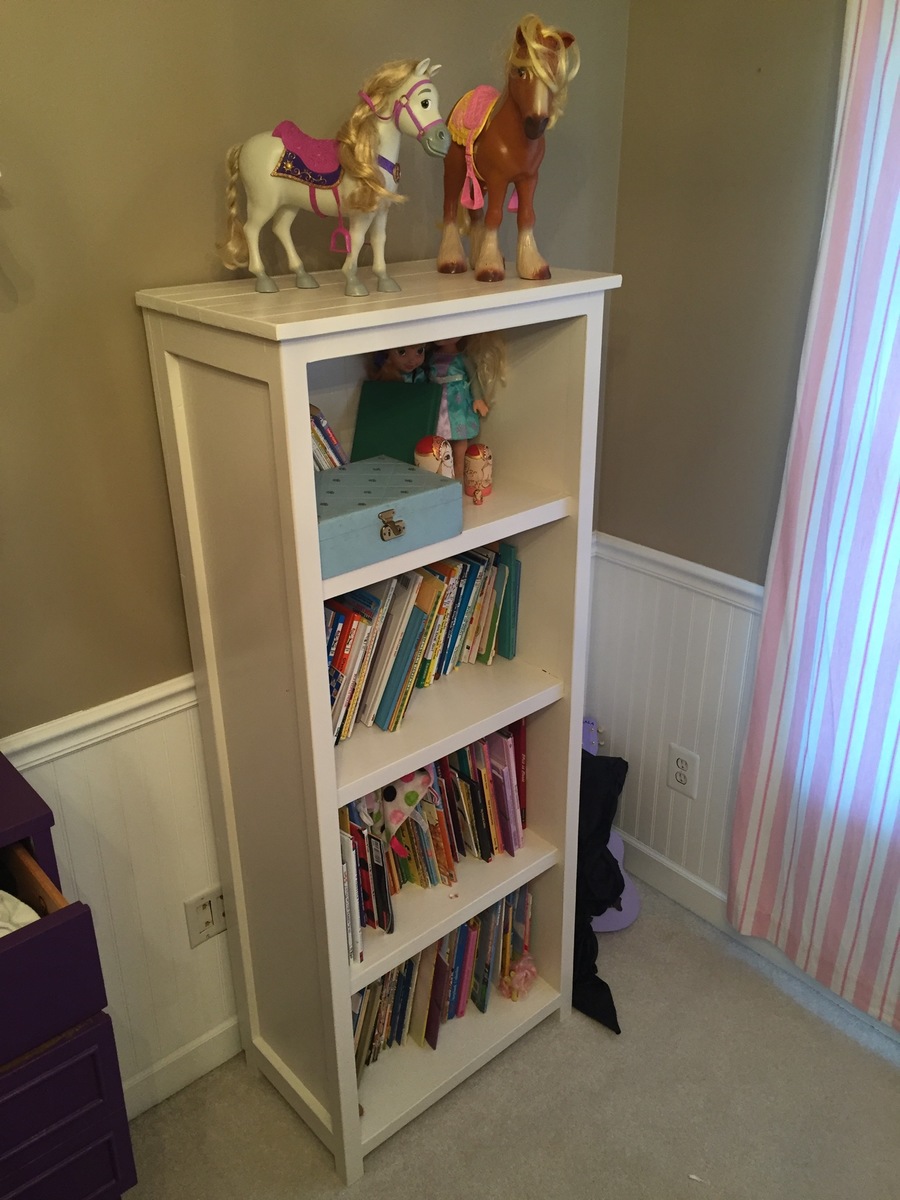
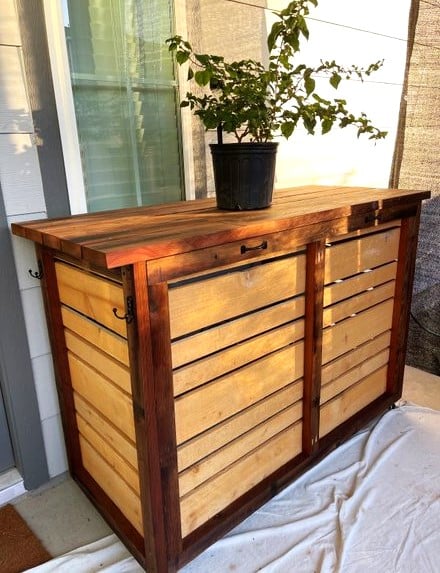
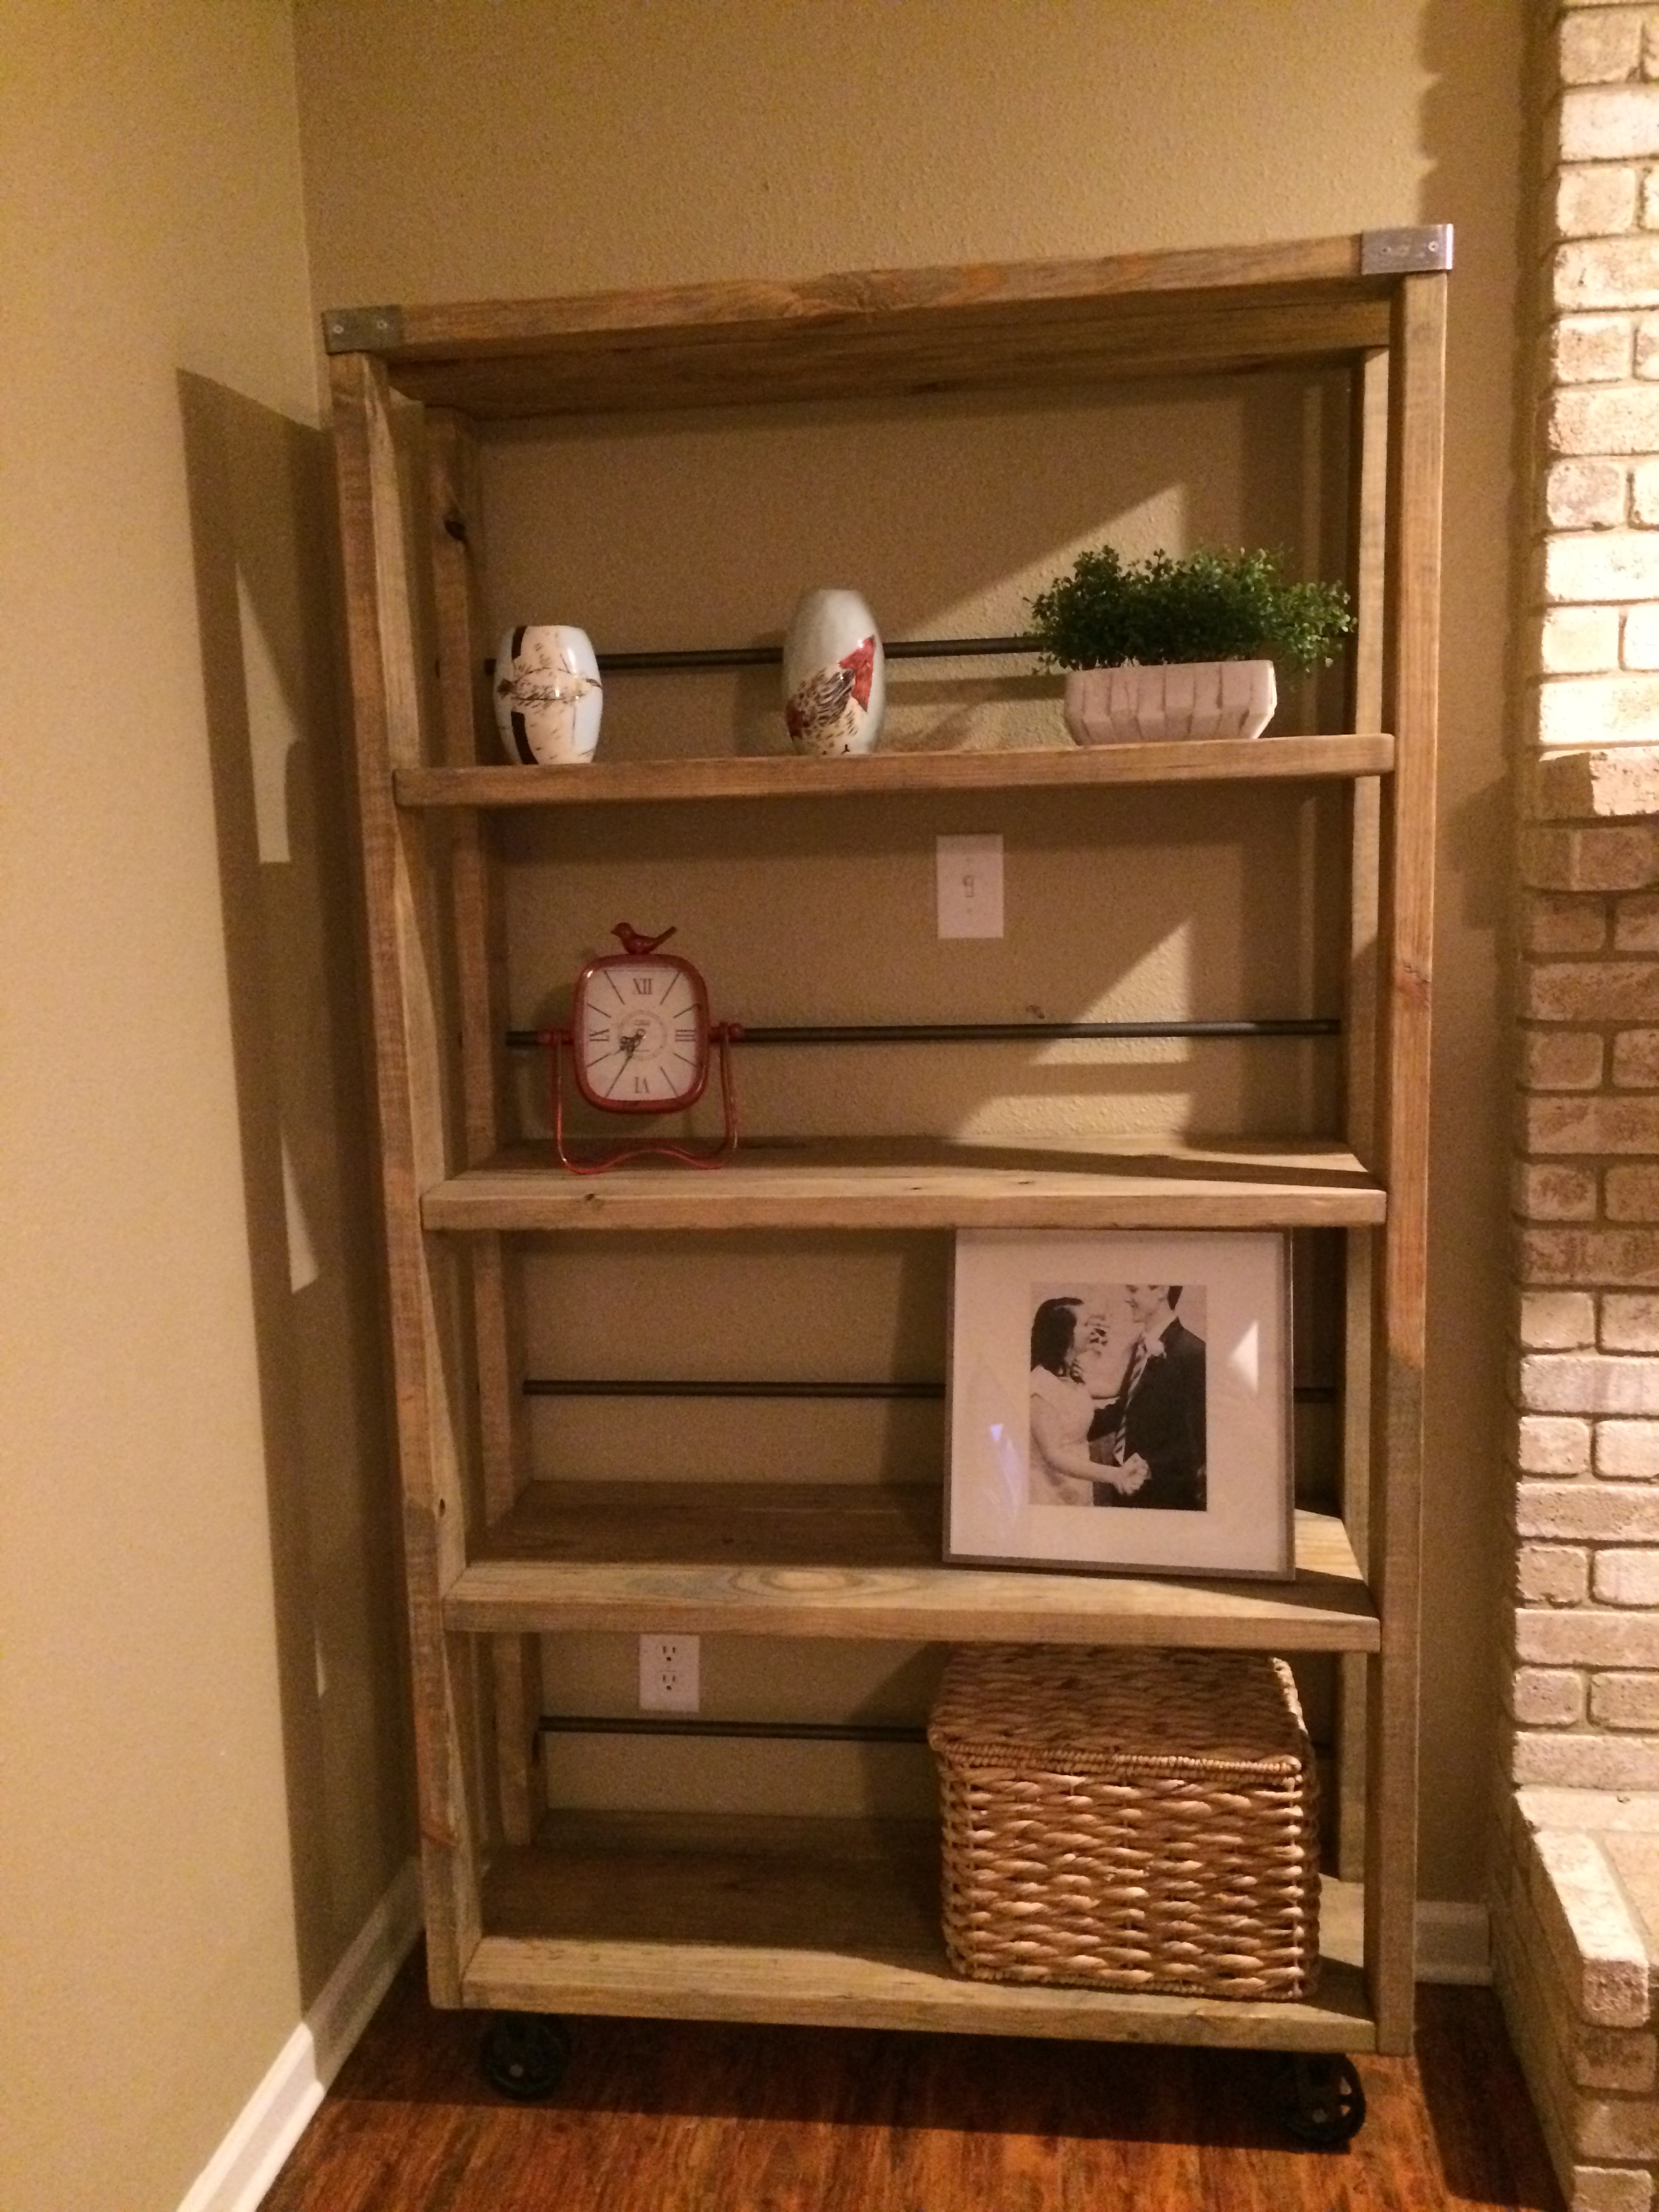
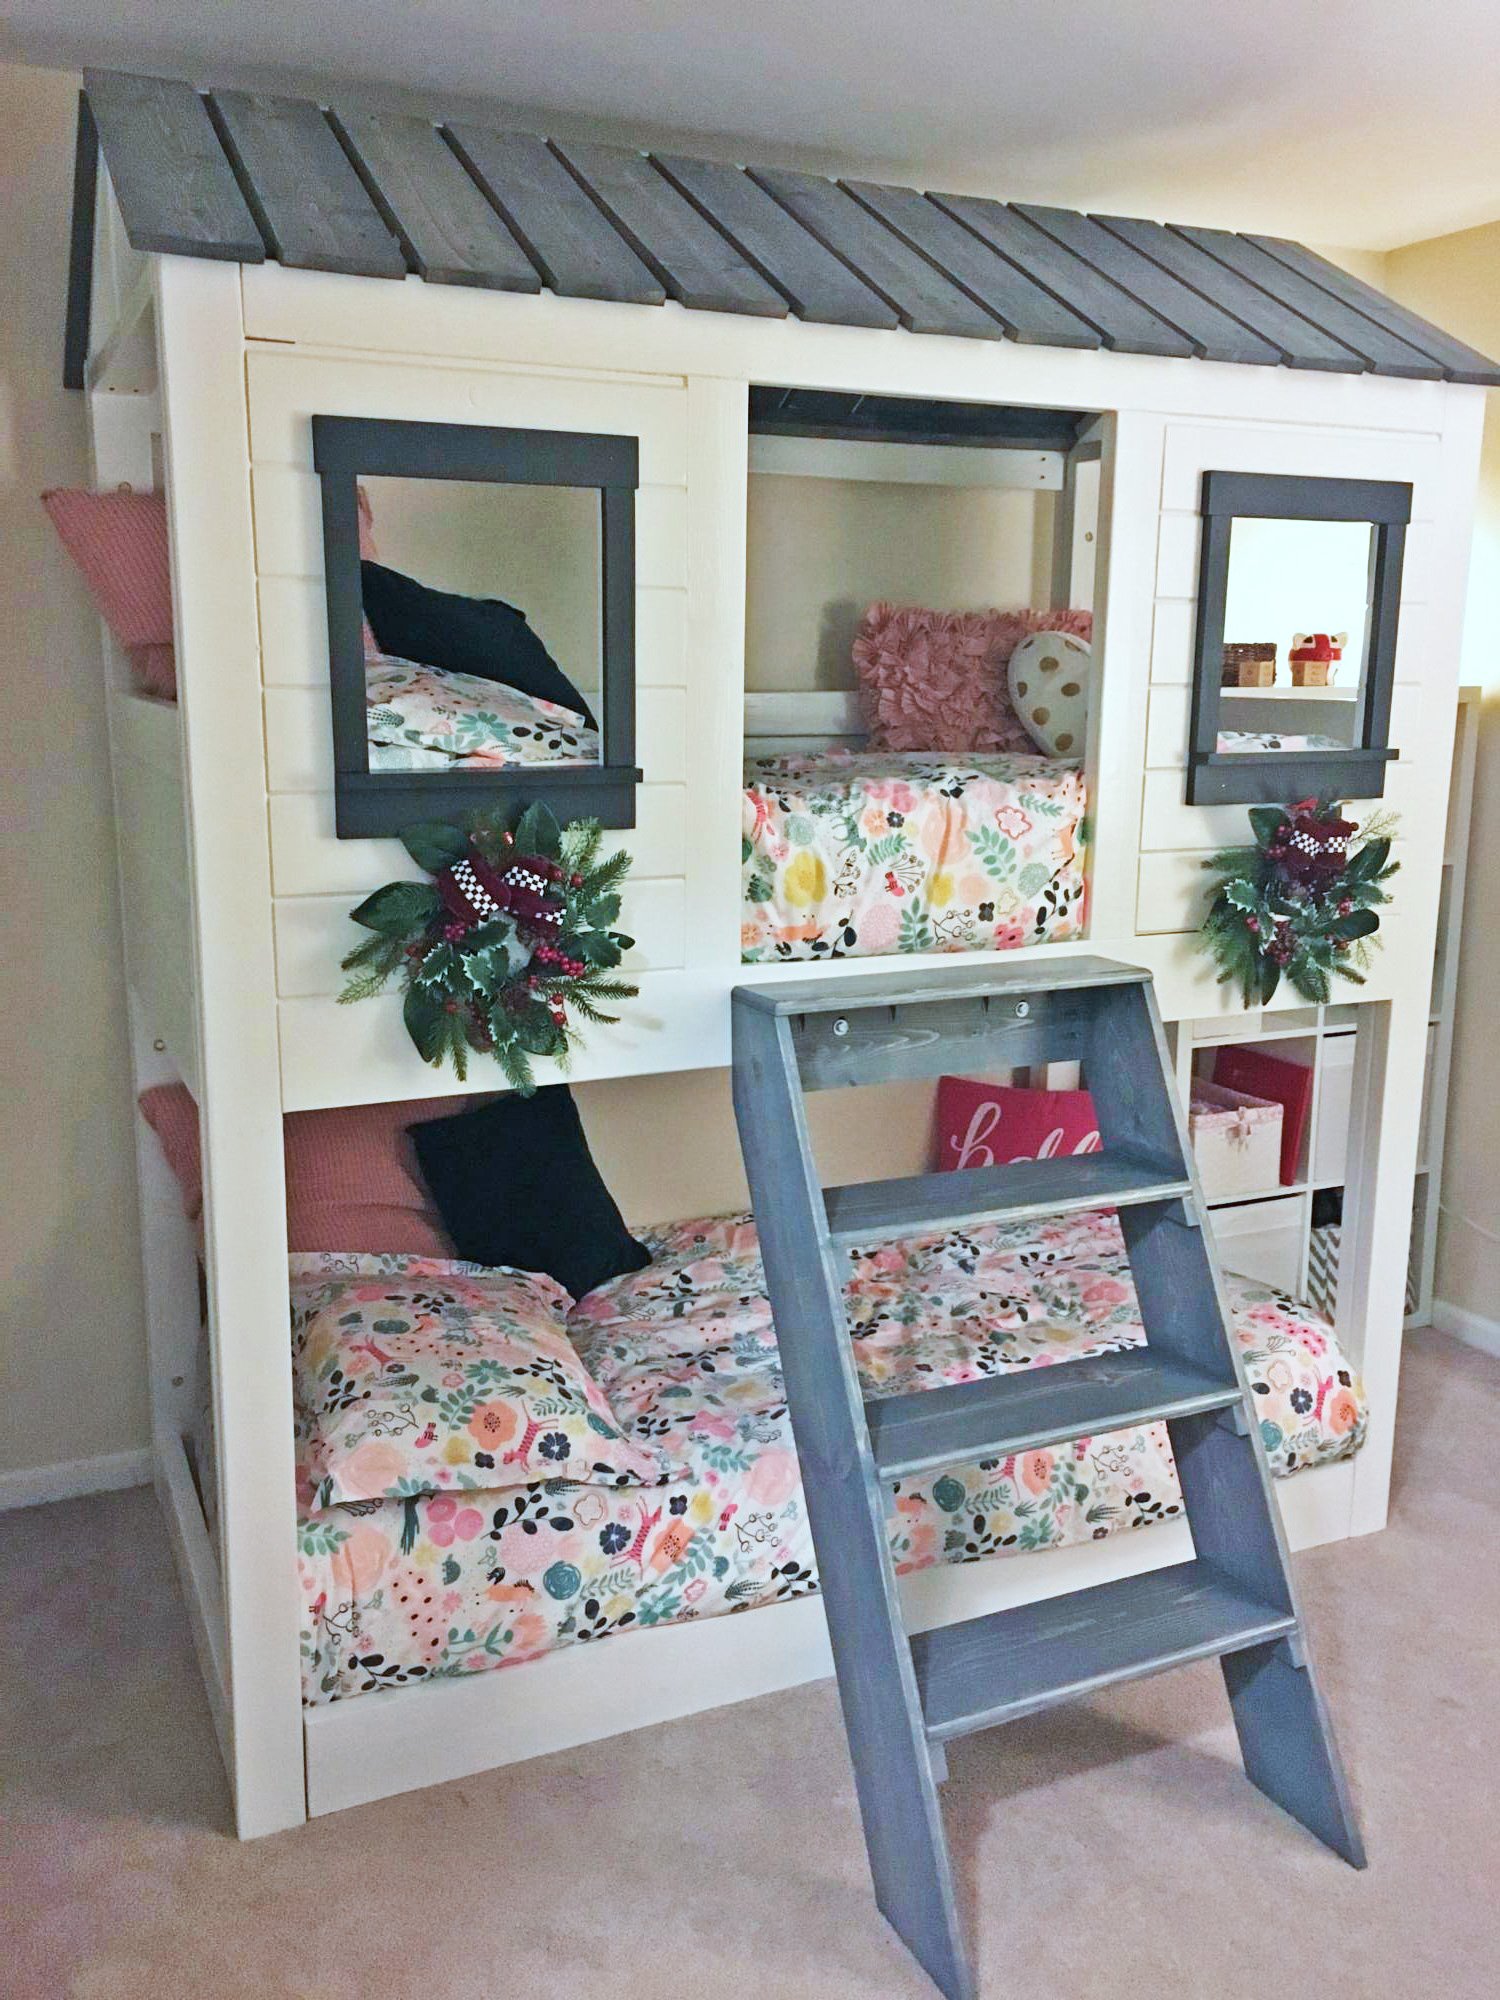
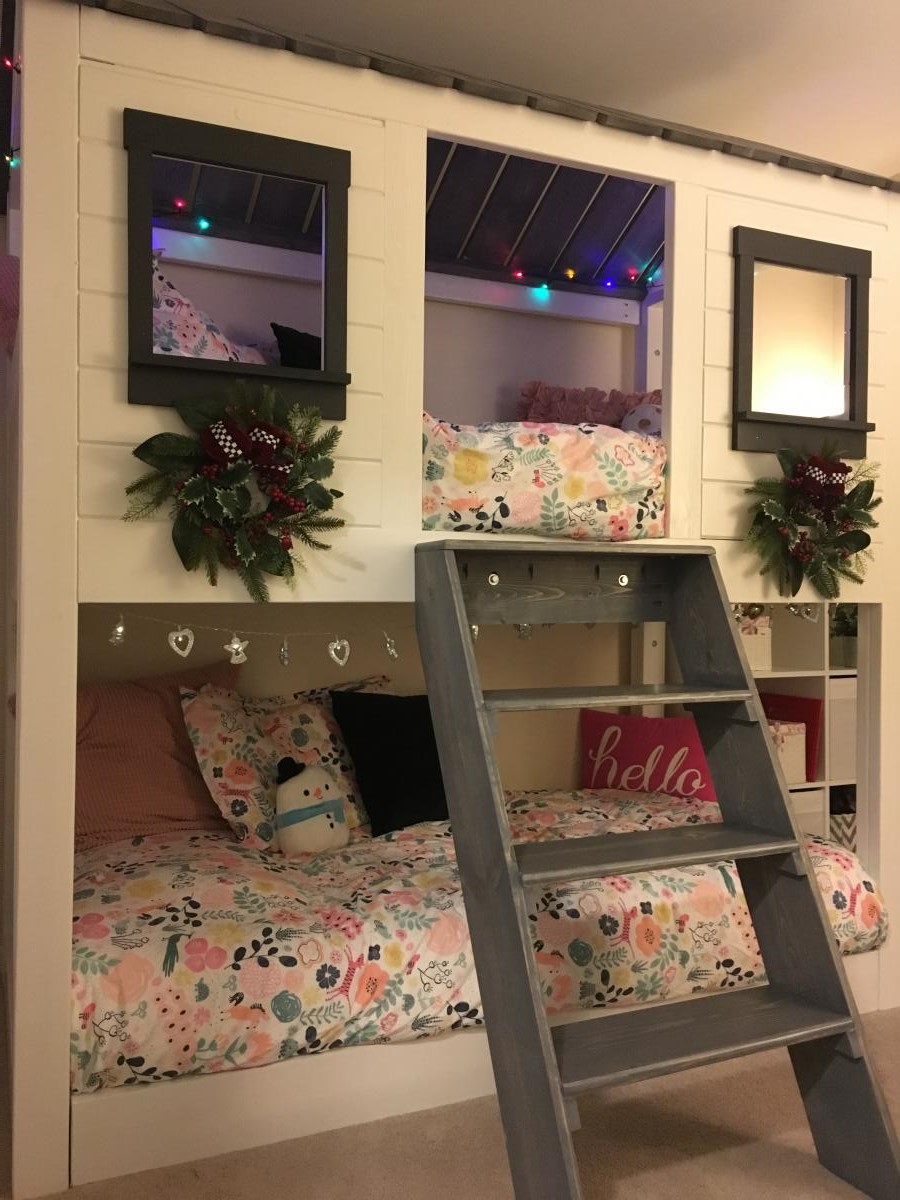
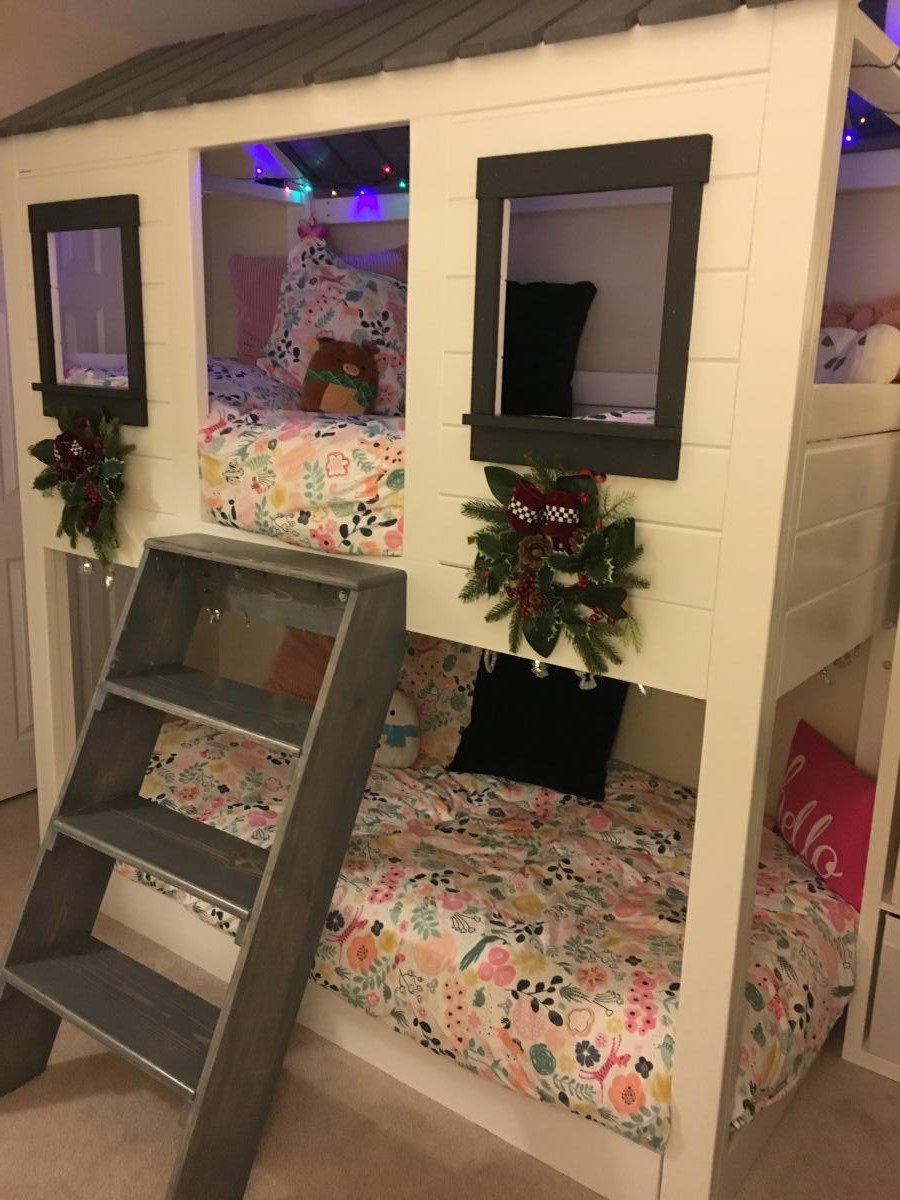
Niece's birthday present
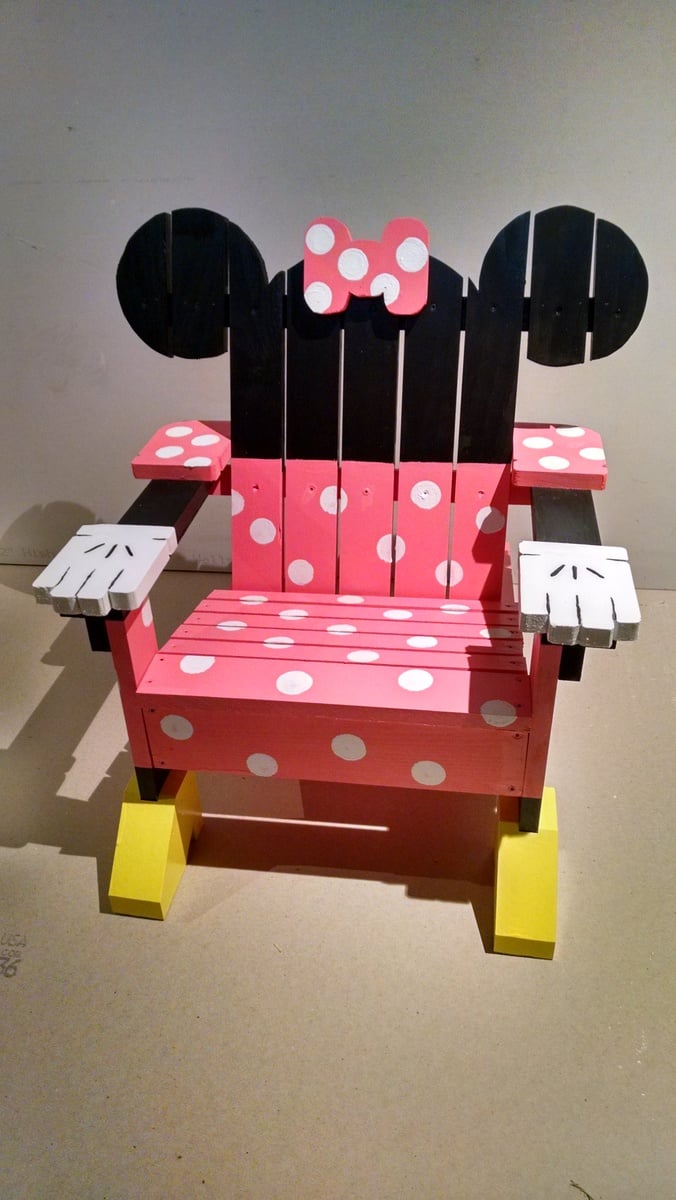
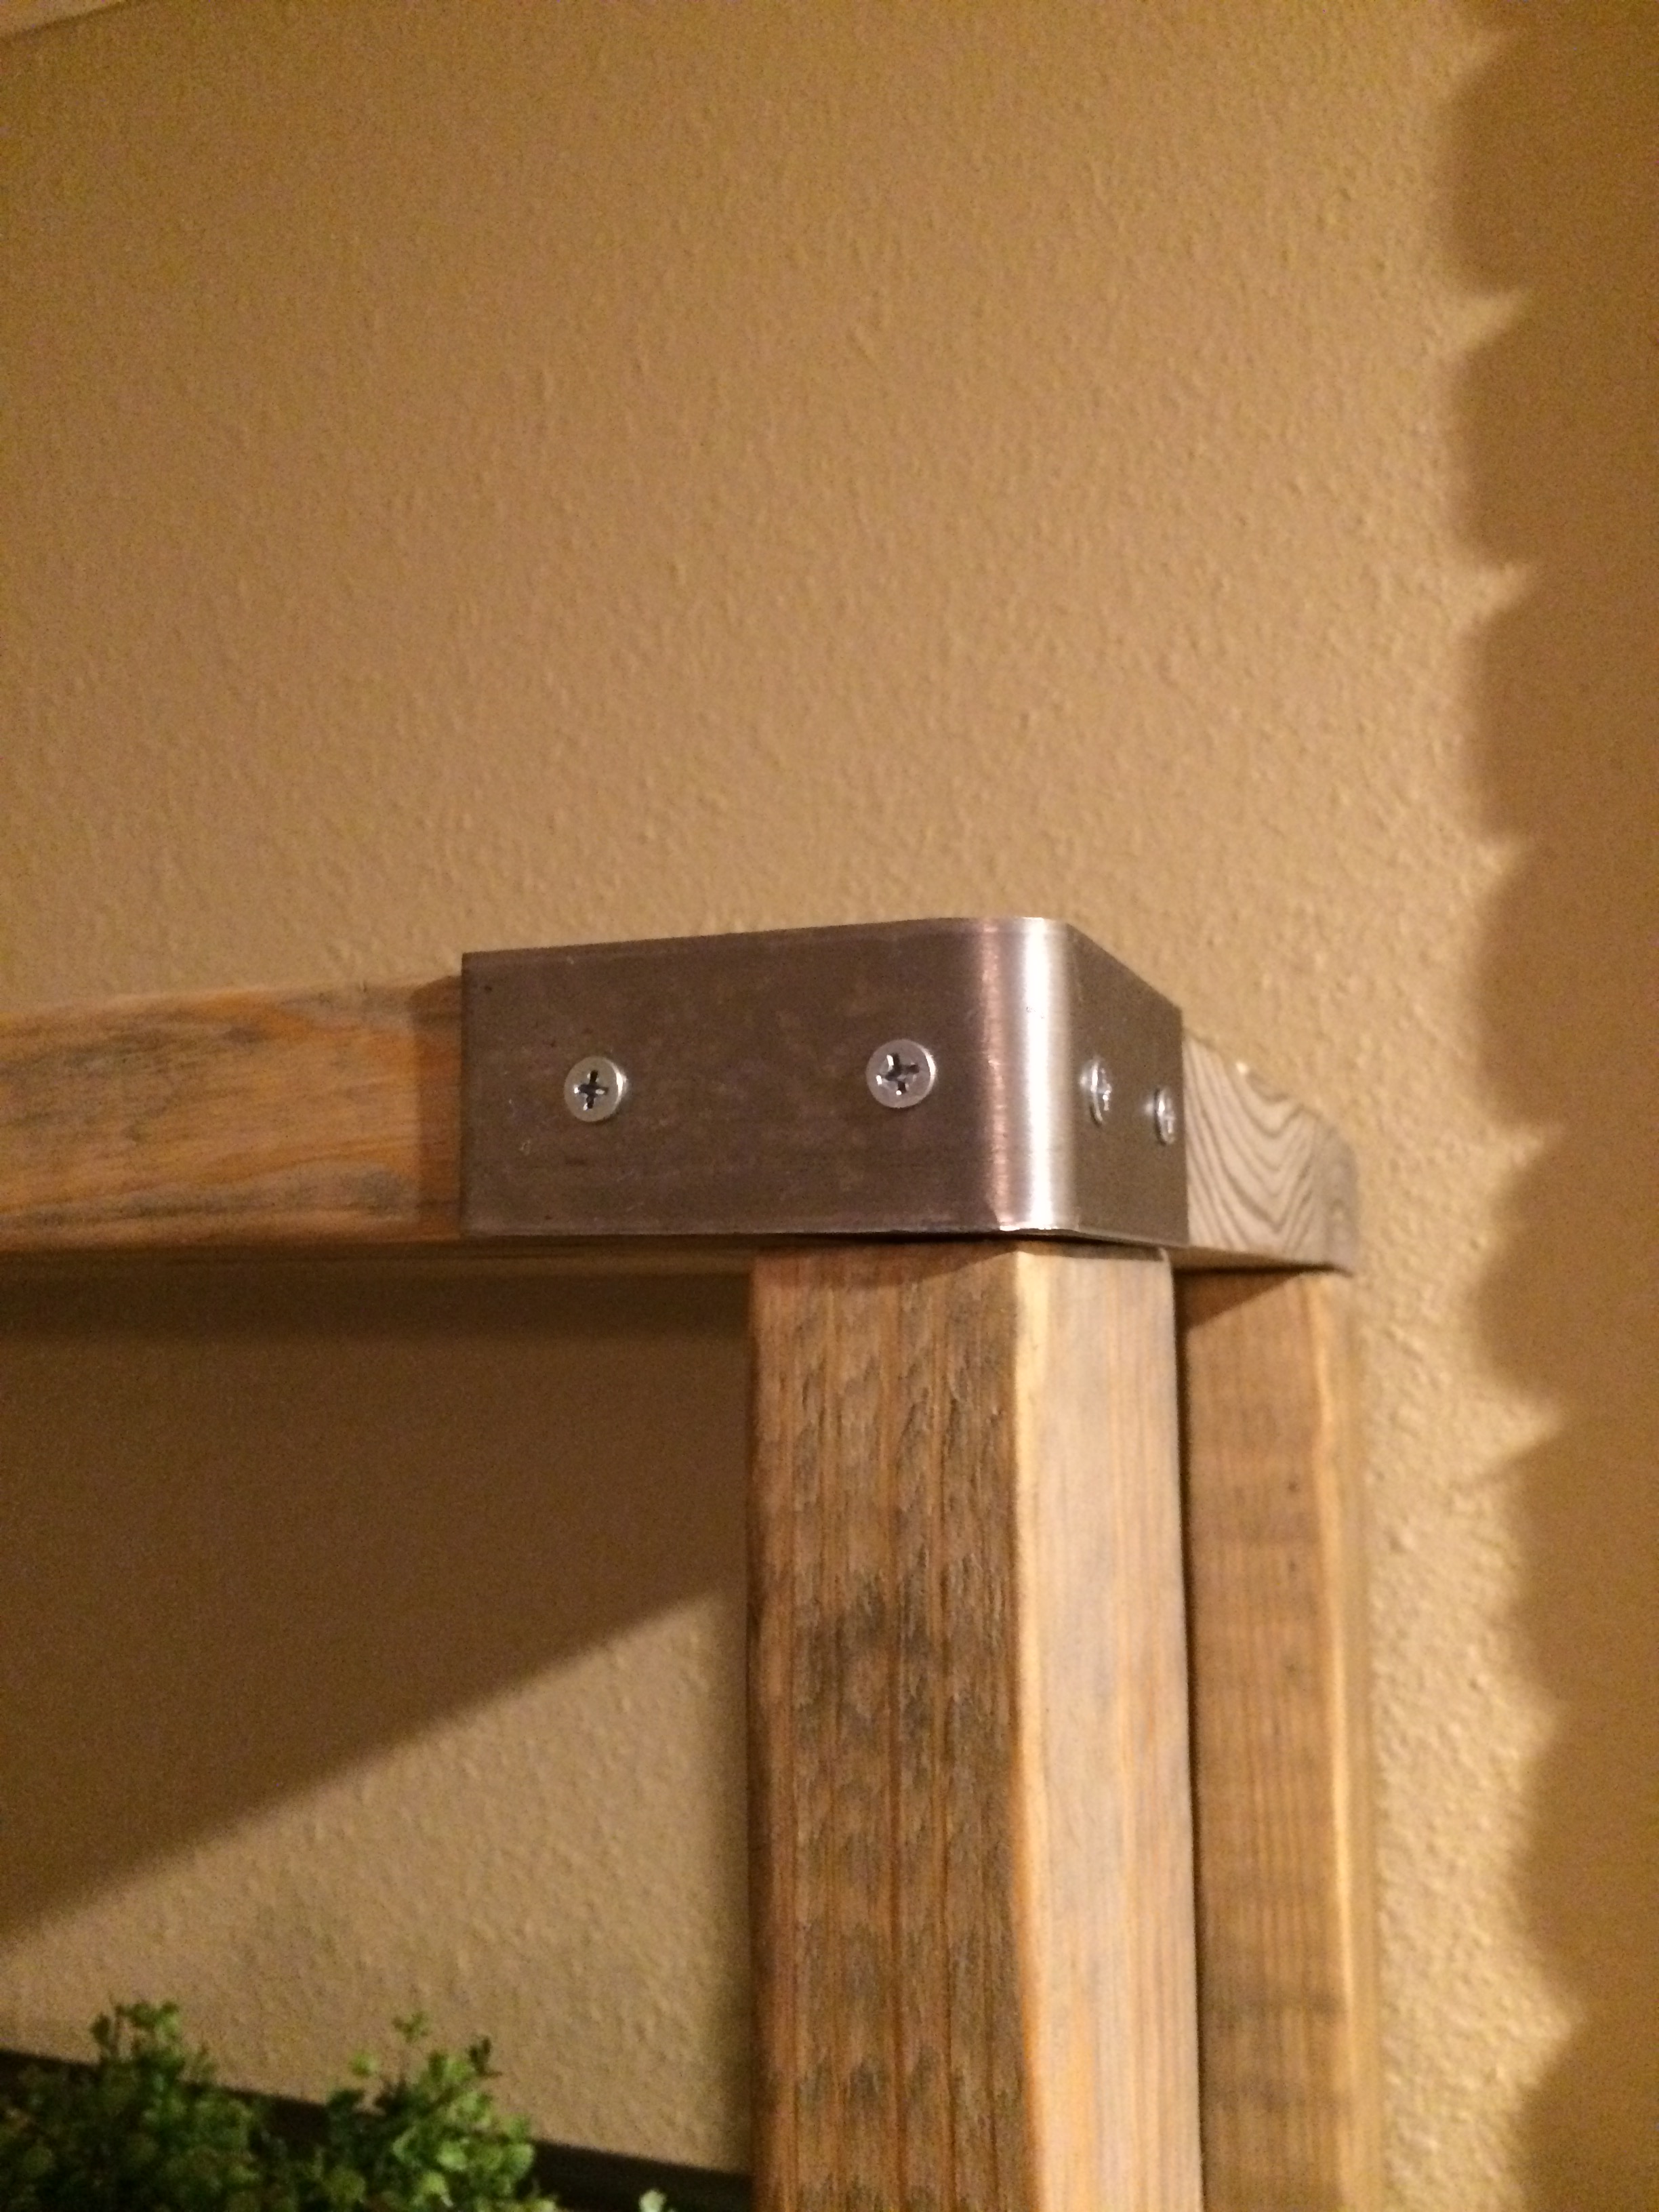
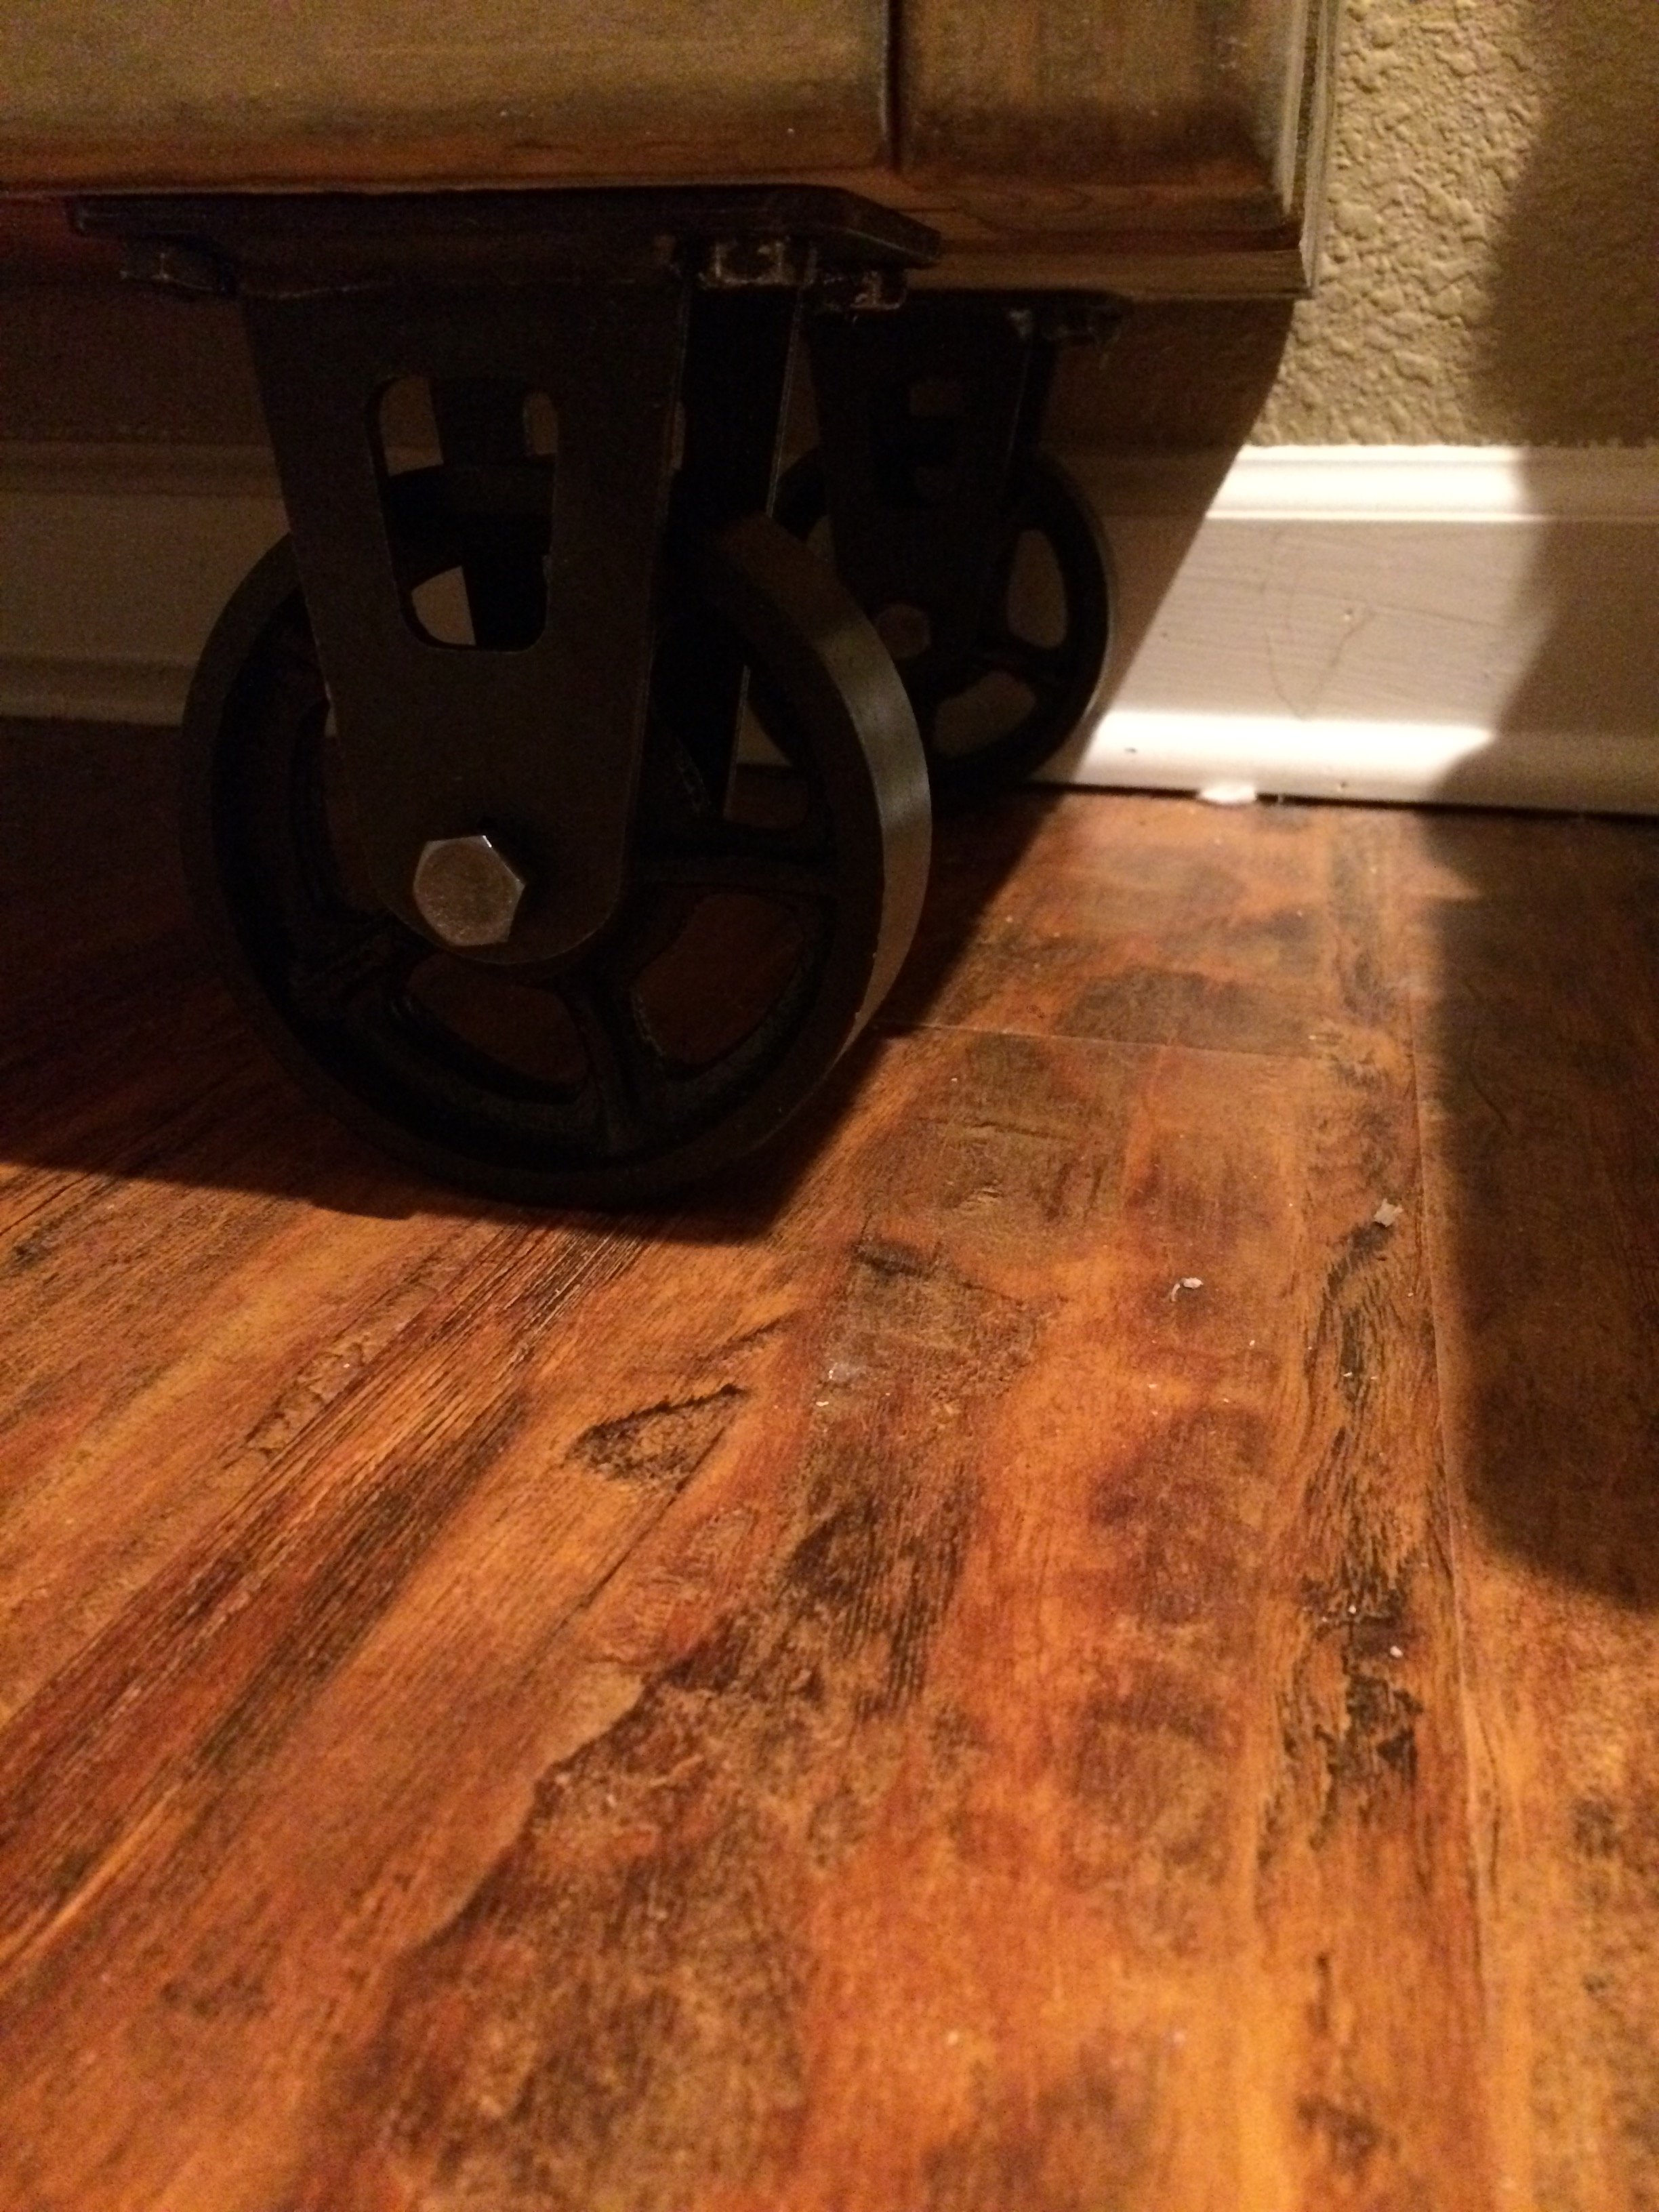
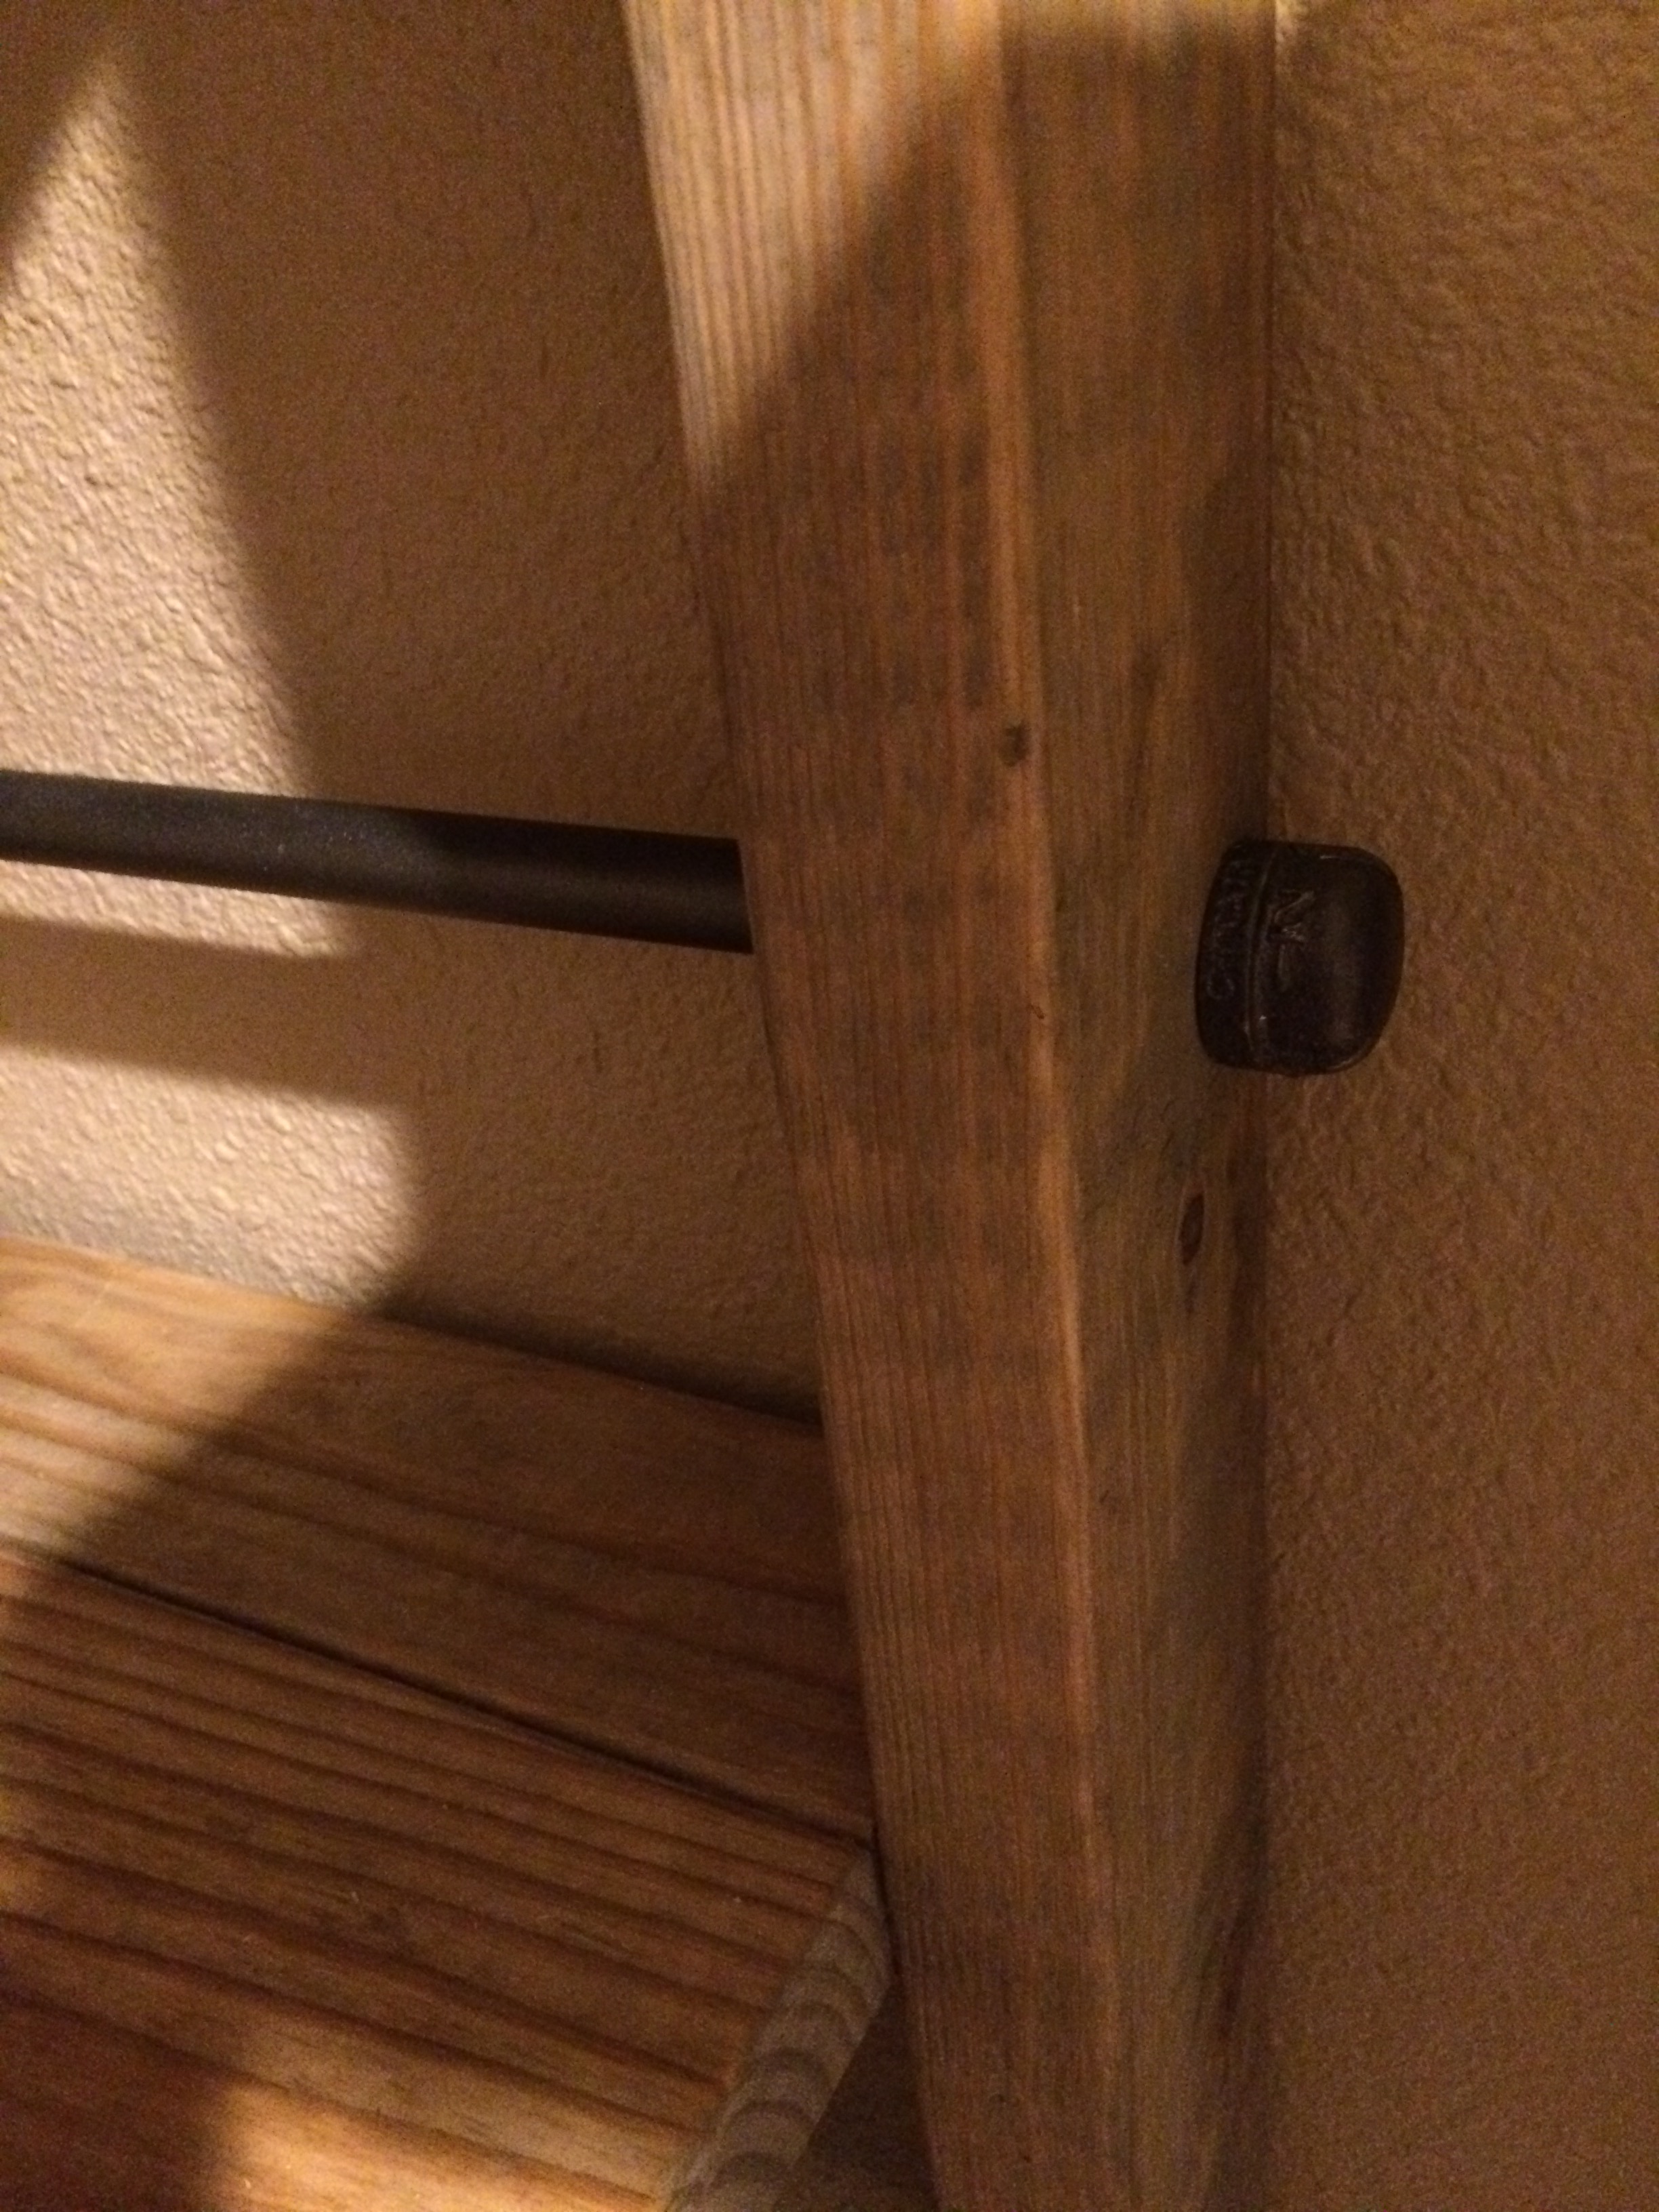
Added a few design elements to personalize for the birthday girl.
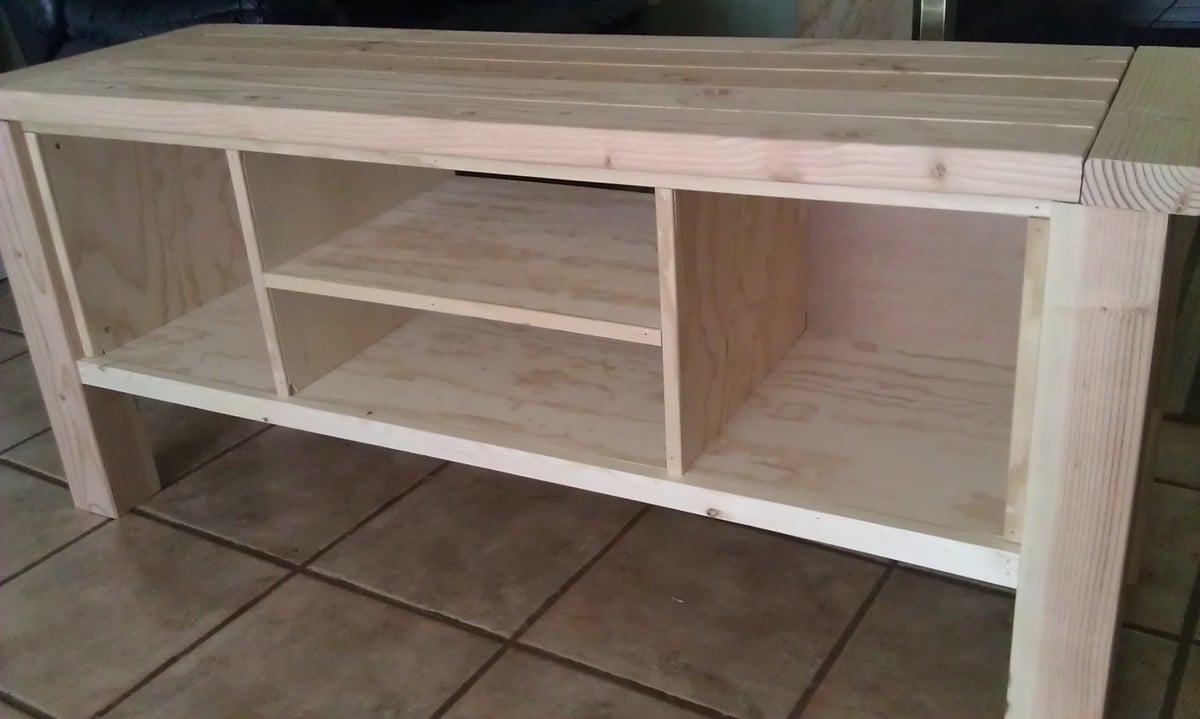
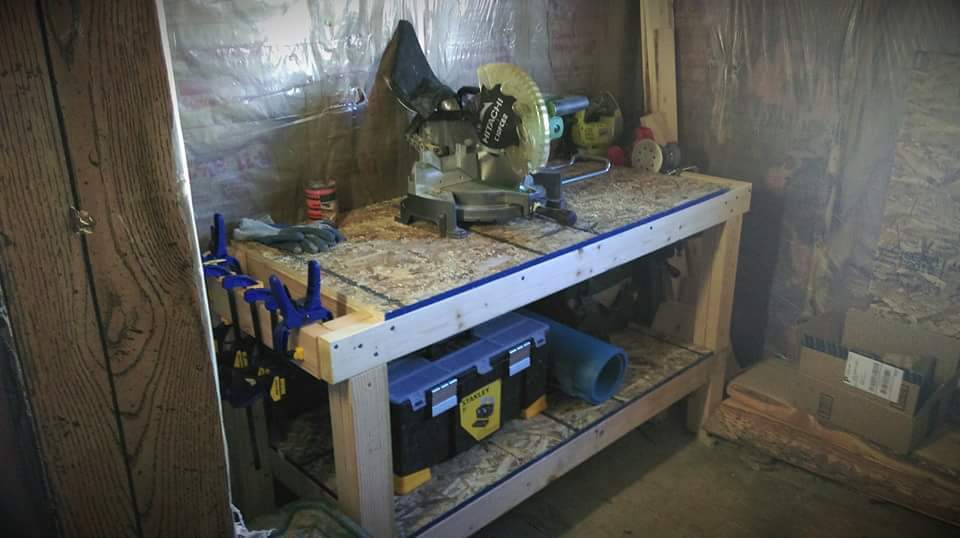
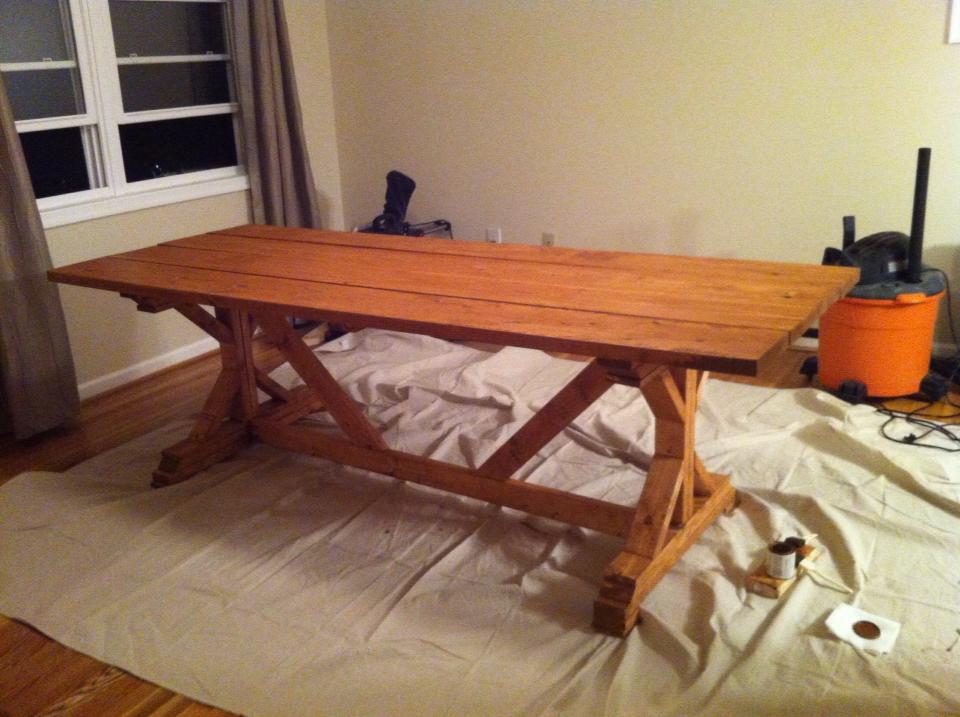
Built from Plan(s)
Estimated Cost
$50
Estimated Time Investment
Weekend Project (10-20 Hours)
Recommended Skill Level
Beginner