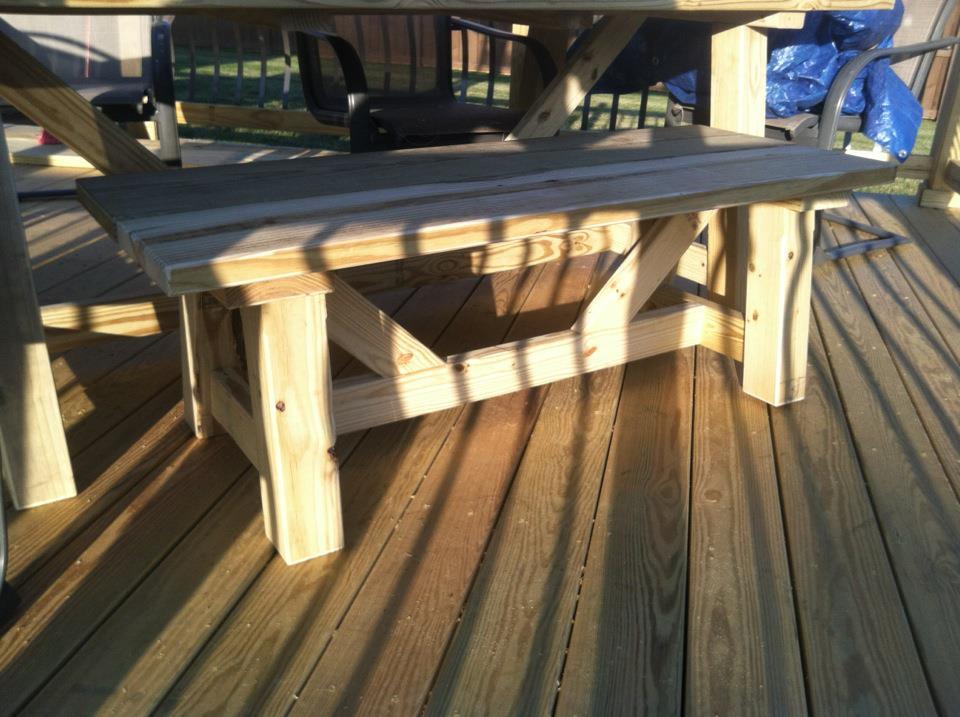
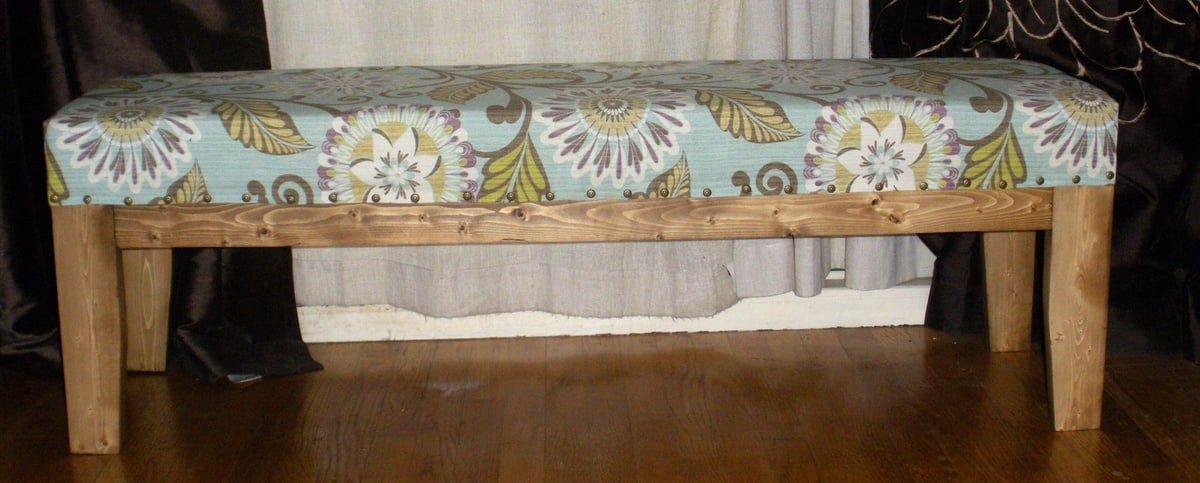
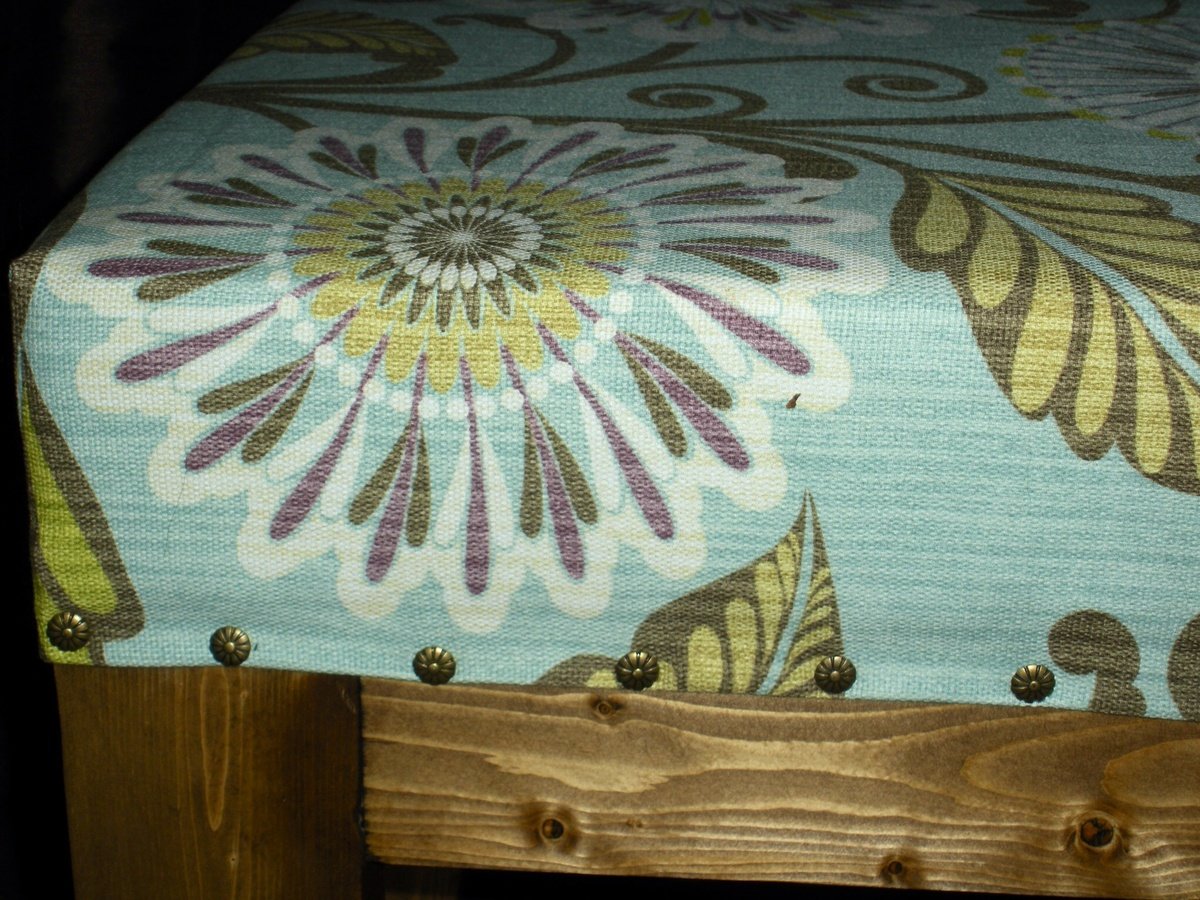
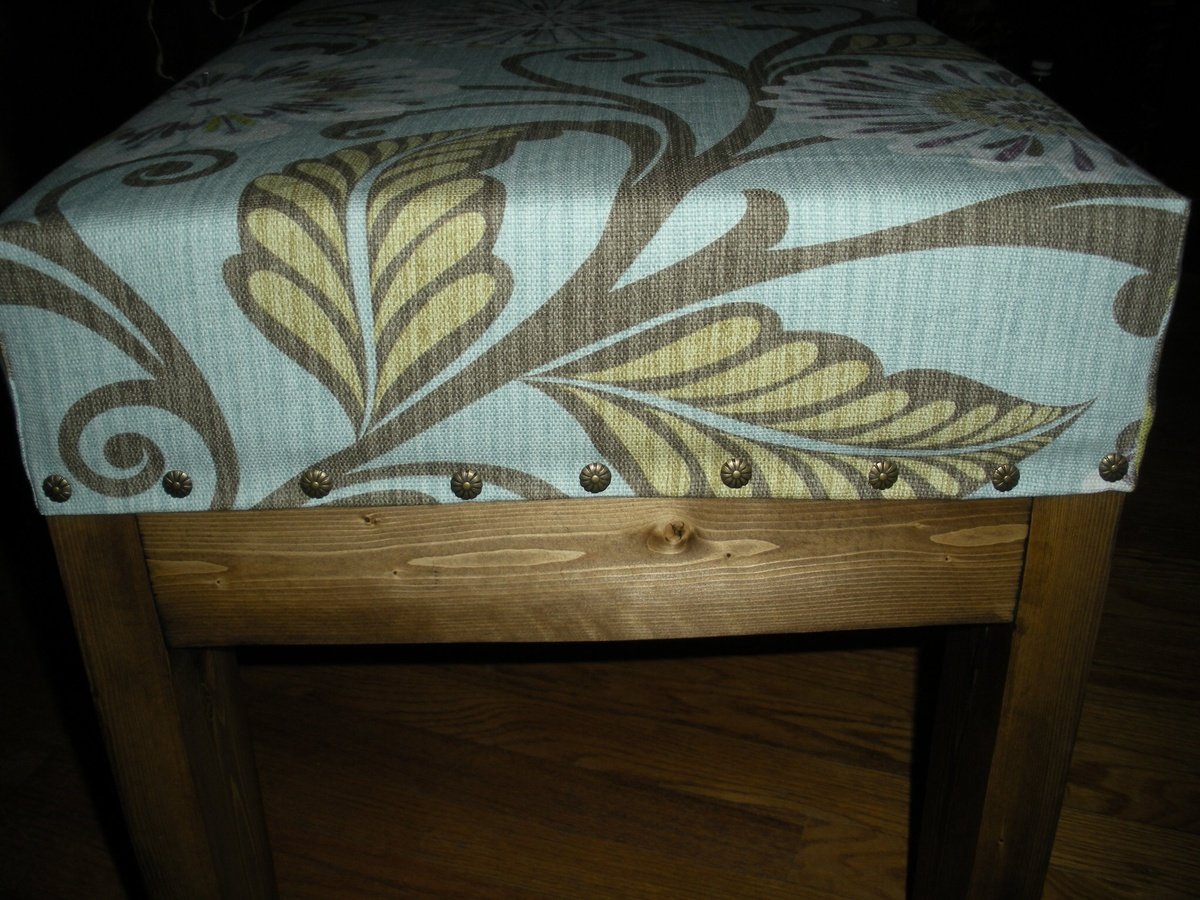
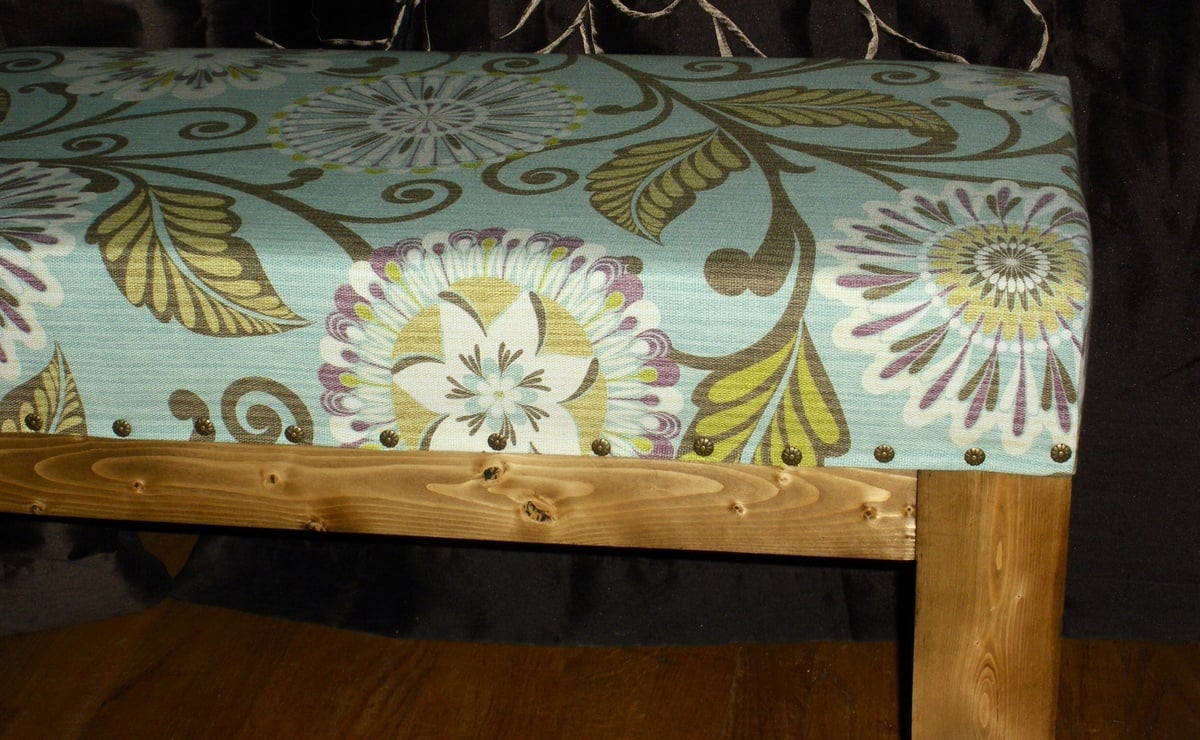
My First Bench Project
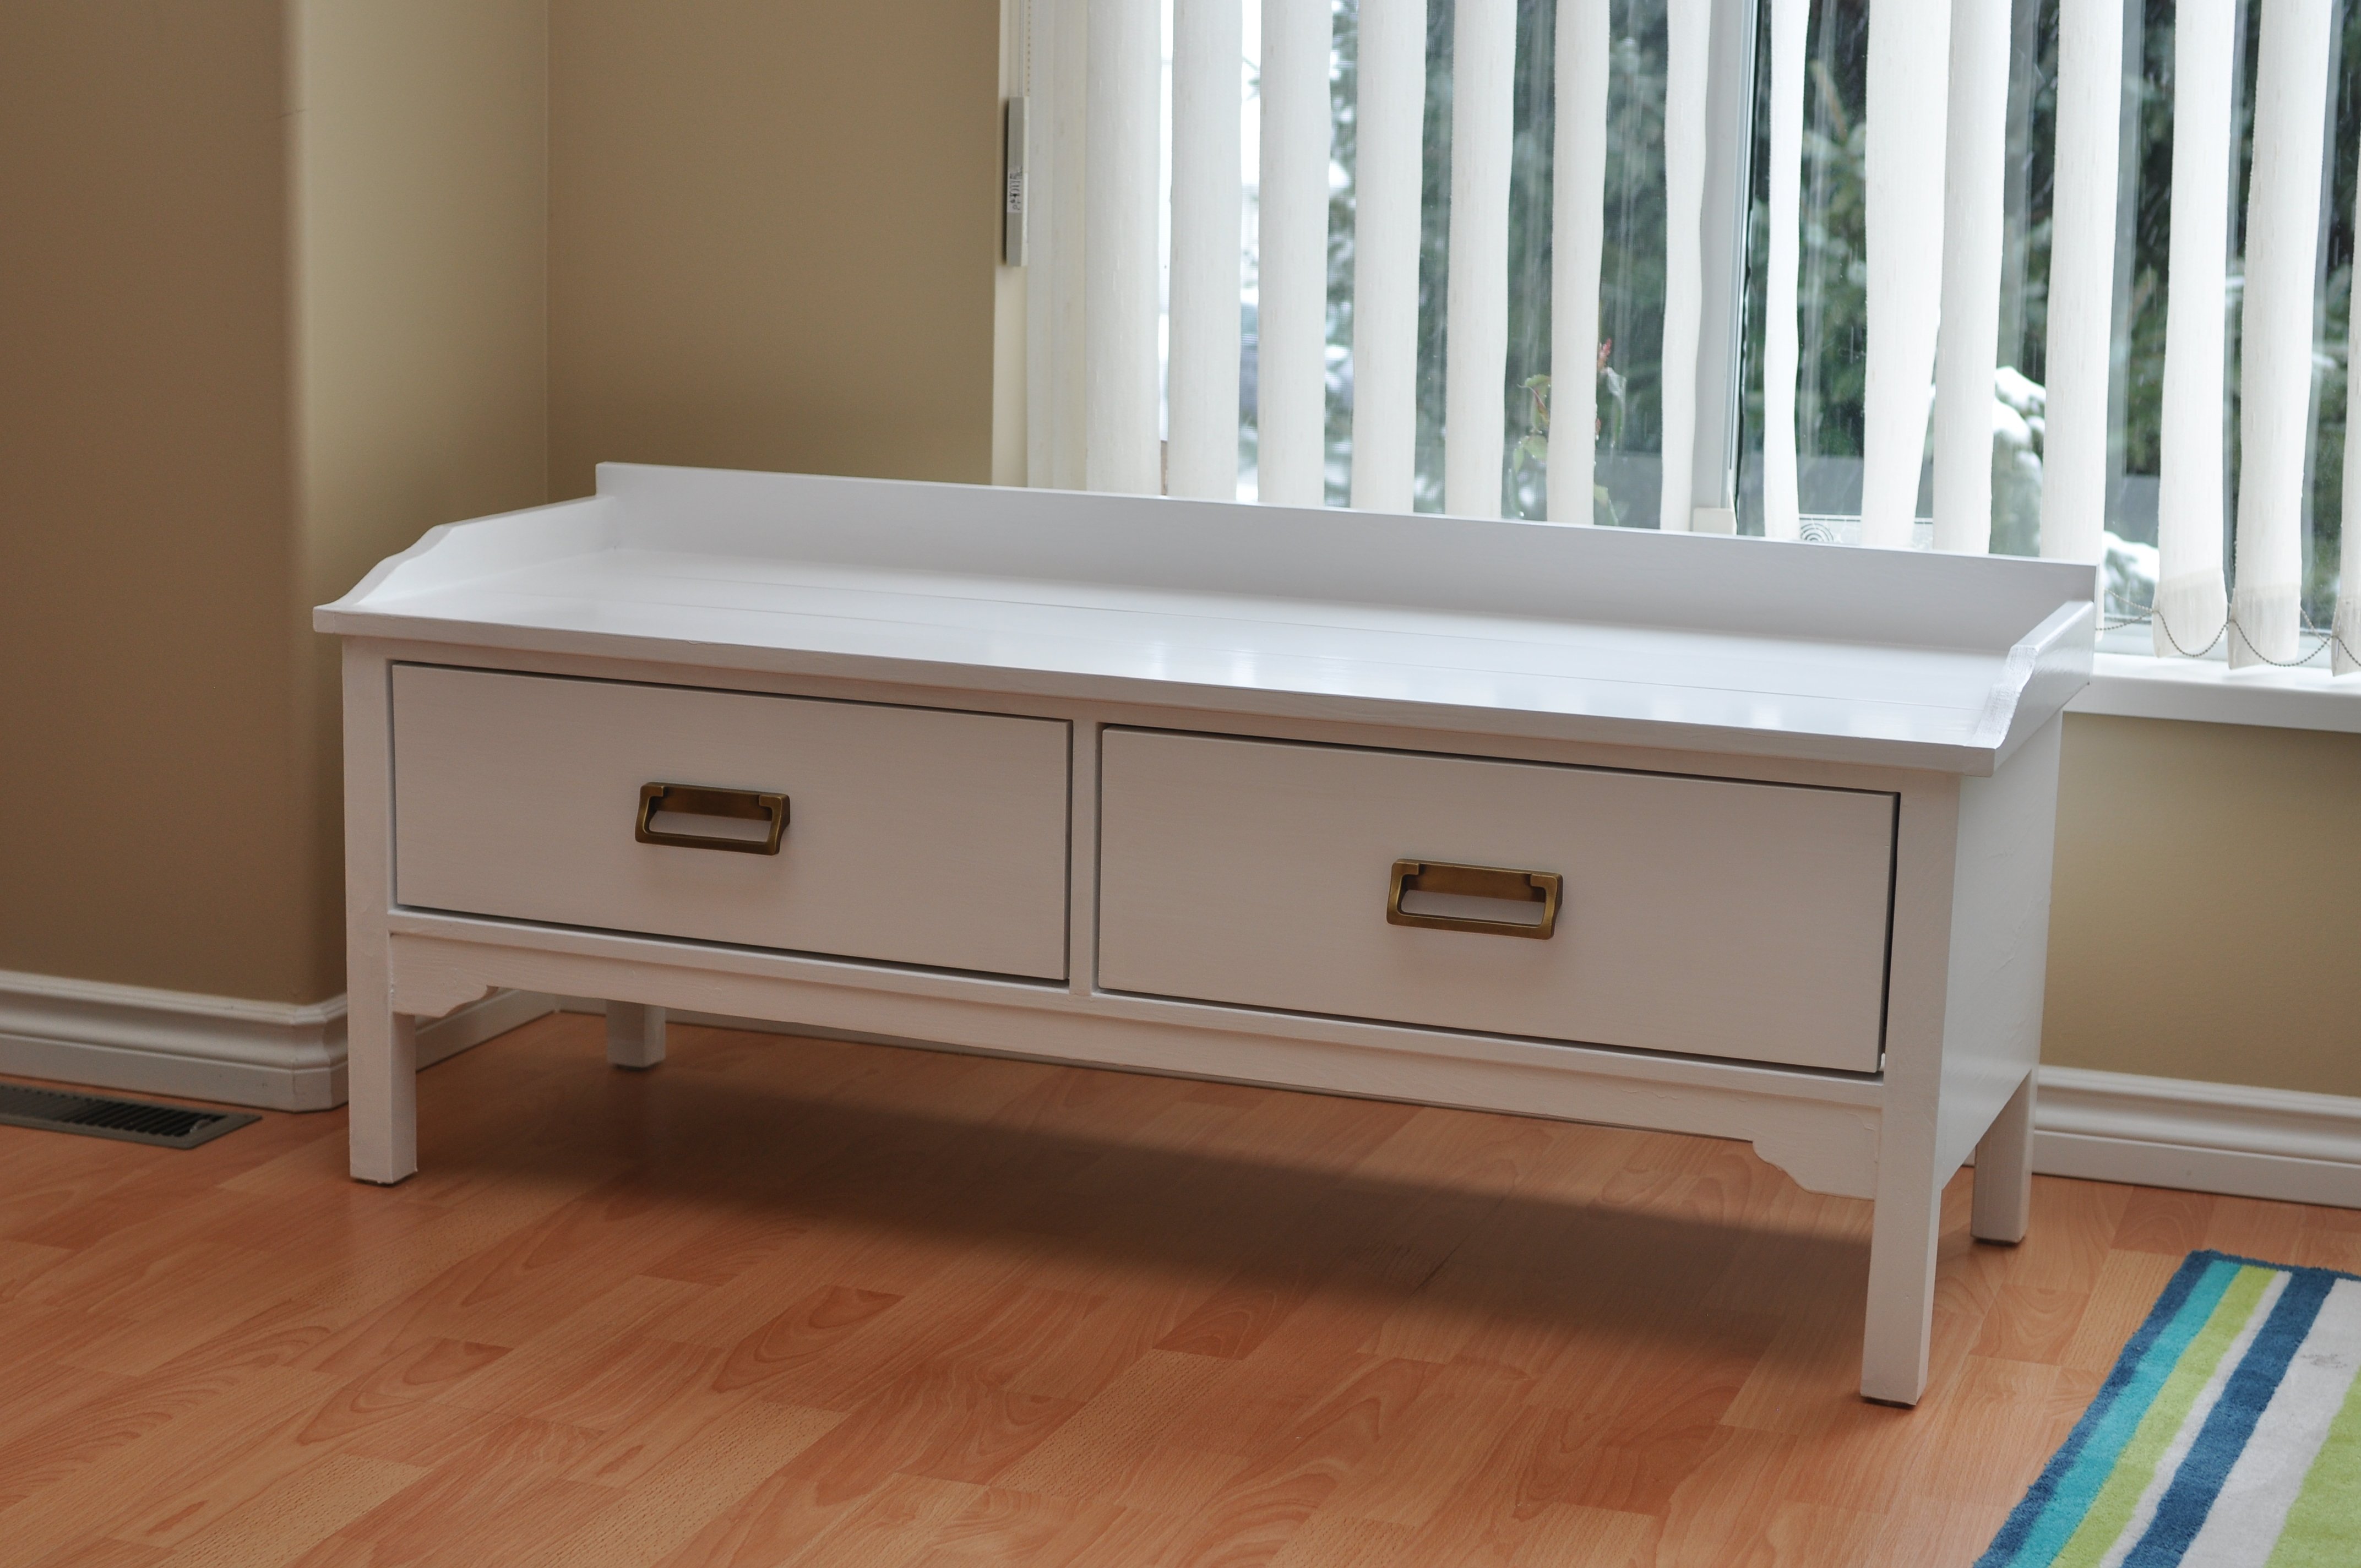
This is one of my first furnish DIY projects.
I really had trouble to pick defect-free 1x6 boards at my local home depot, and it took me two different store trips to get all I wanted.
I spent more time than what the plan estimated. The drawer rails were tricky to install. In the end I had to disassemble the drawers and trim them down a little bit in order to get the rails fit.
Built from Plan(s)
Estimated Cost
$80
Estimated Time Investment
Weekend Project (10-20 Hours)
Finish Used
Semi-gloss door and trim enamel paint
Recommended Skill Level
Beginner