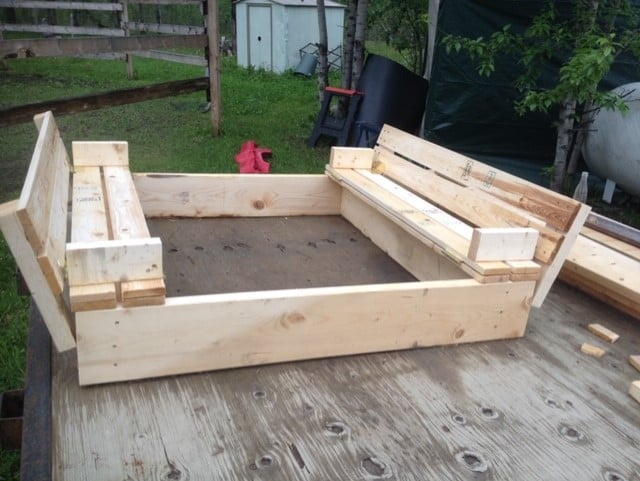
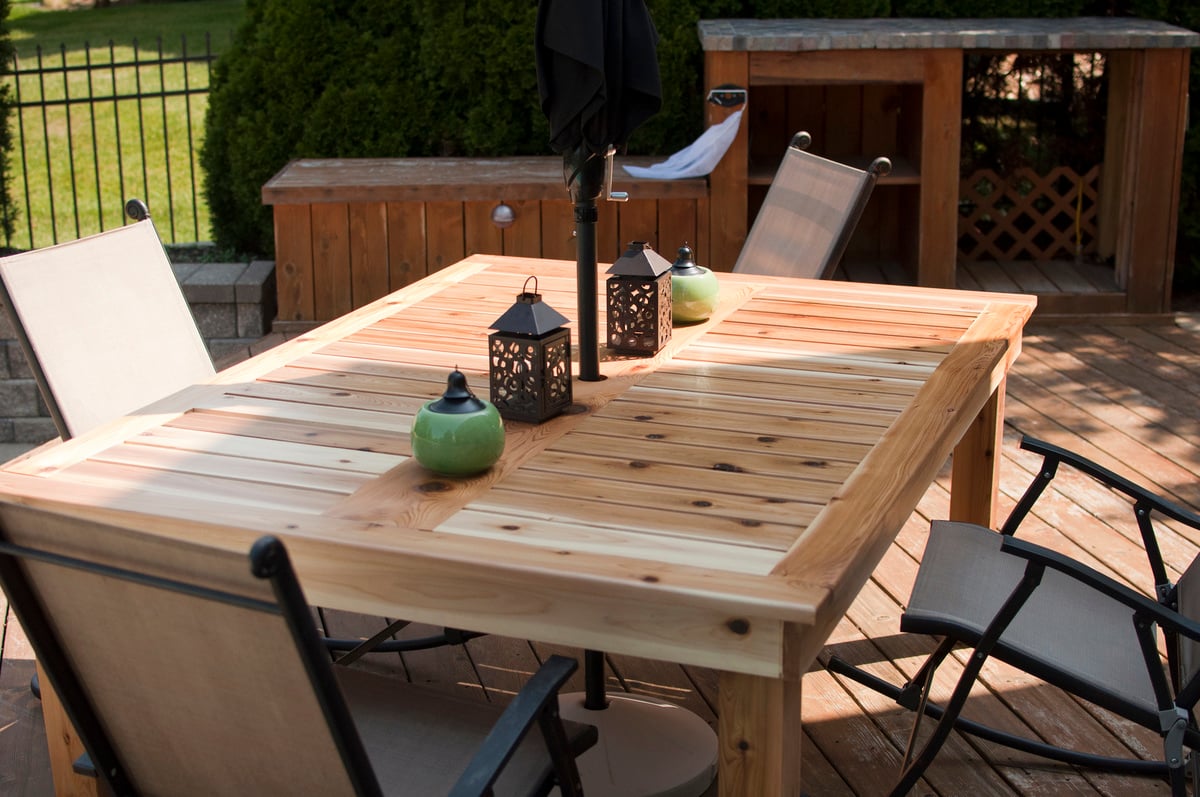
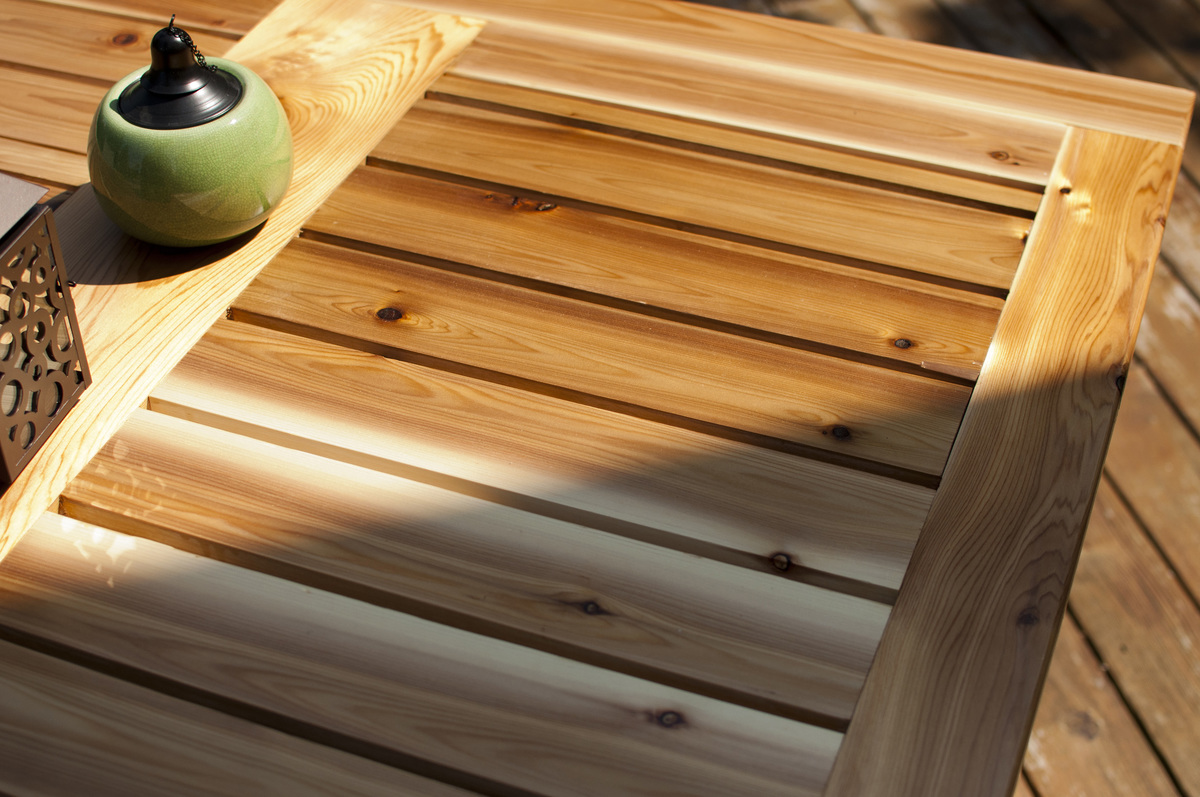
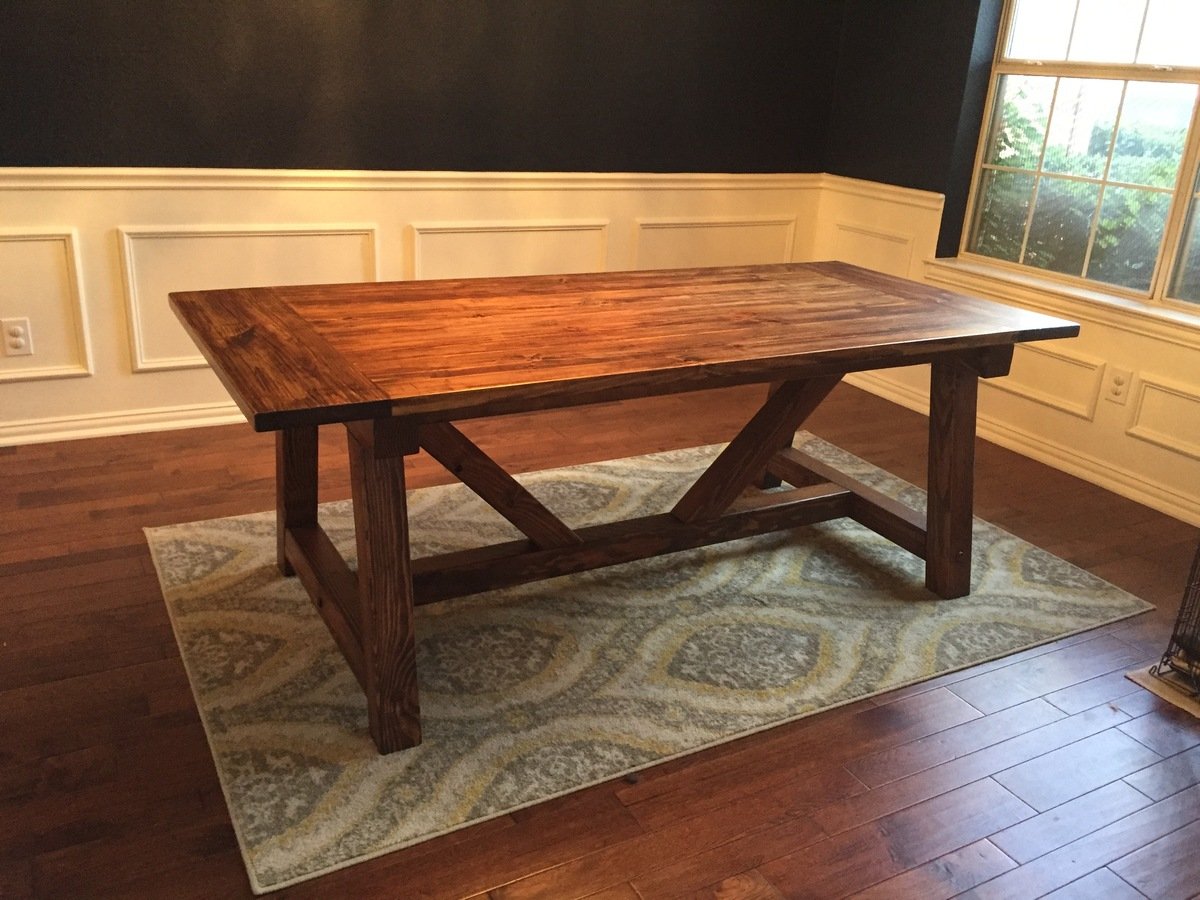
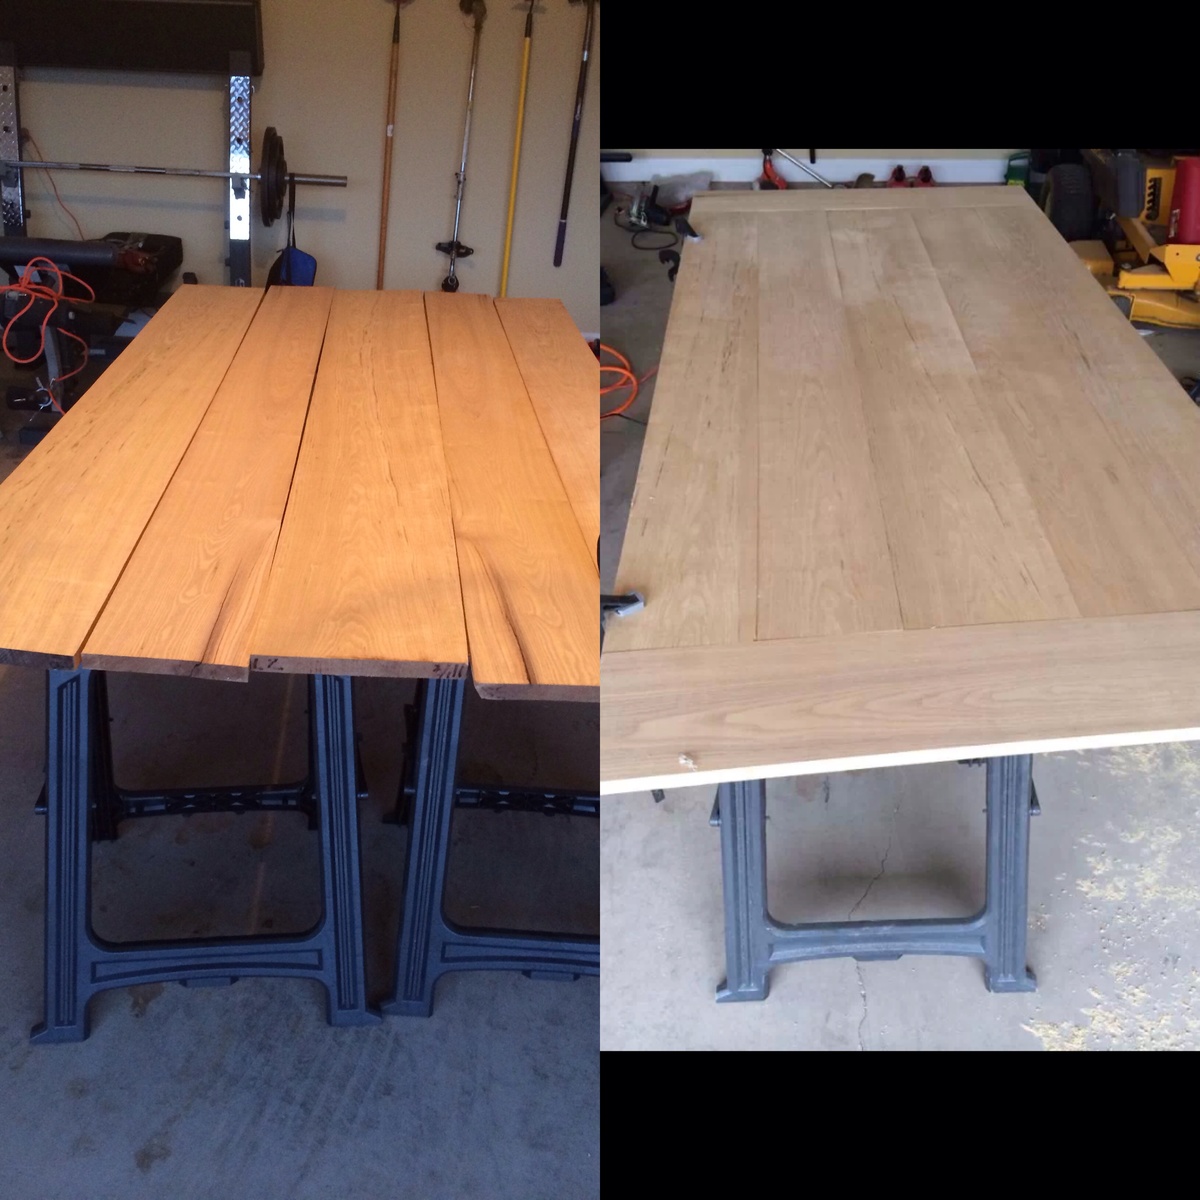
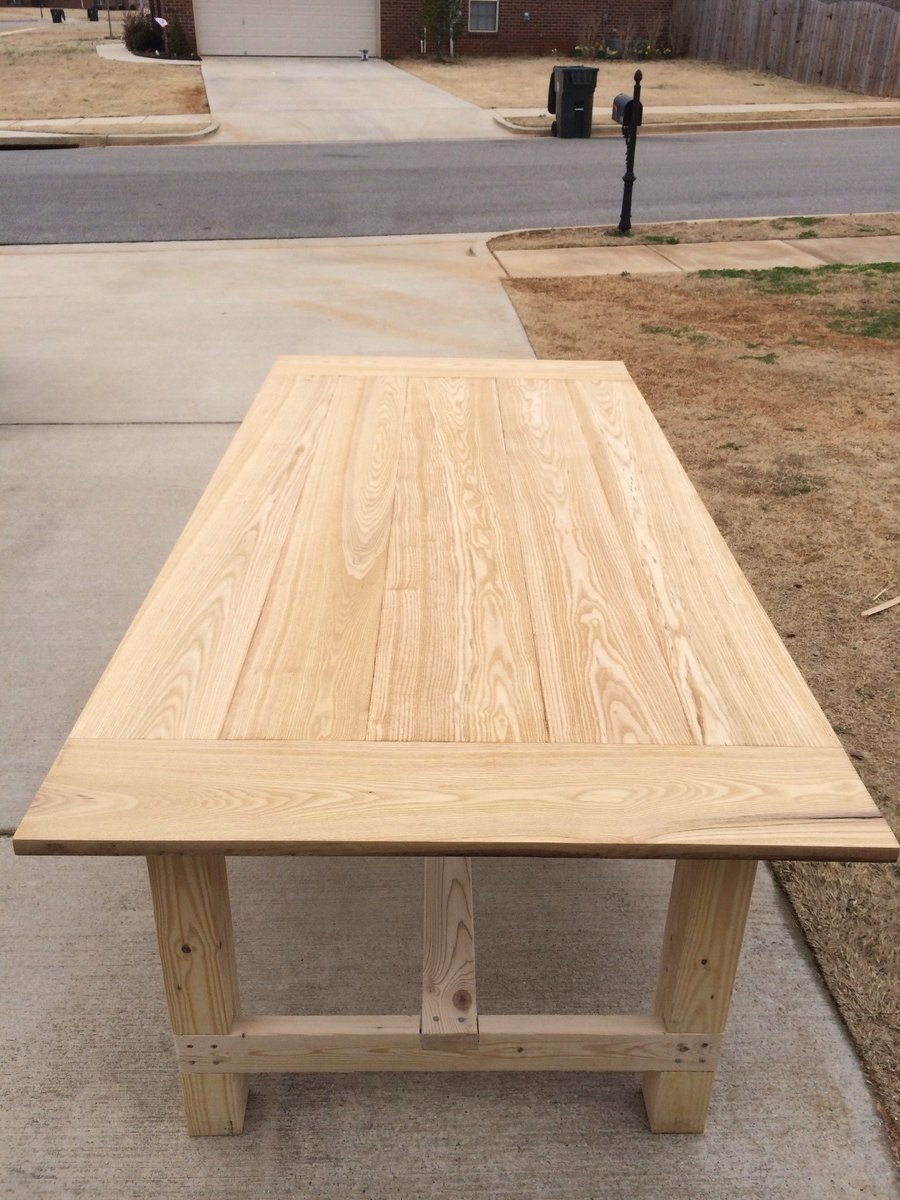
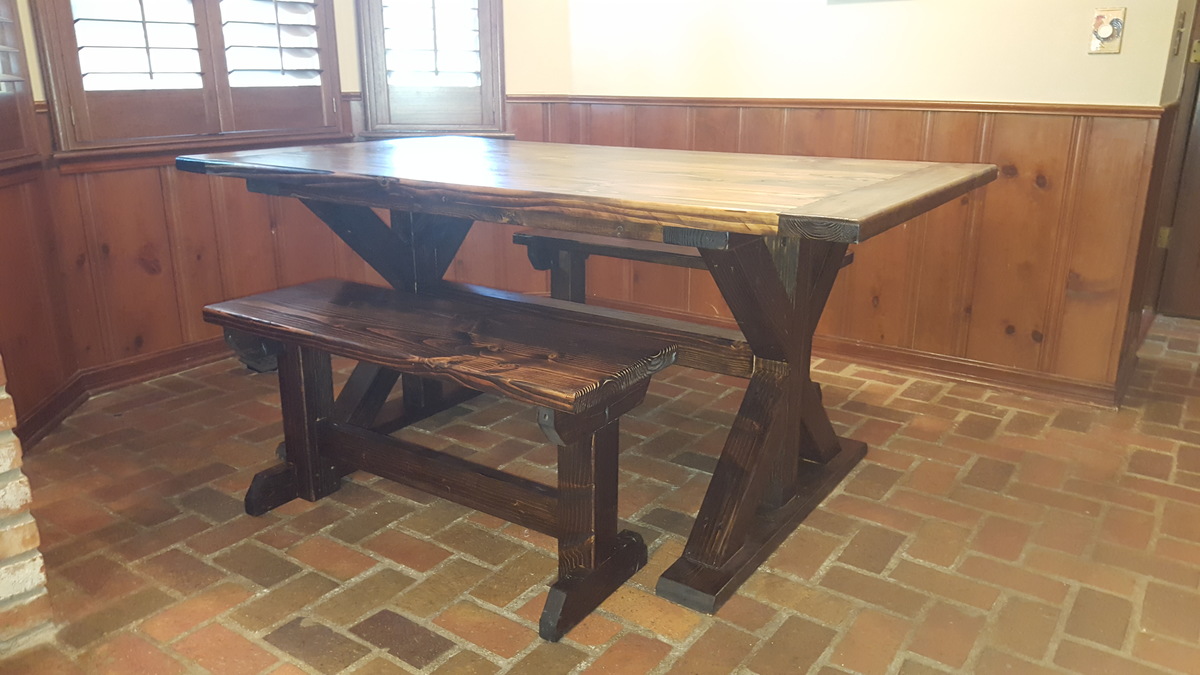
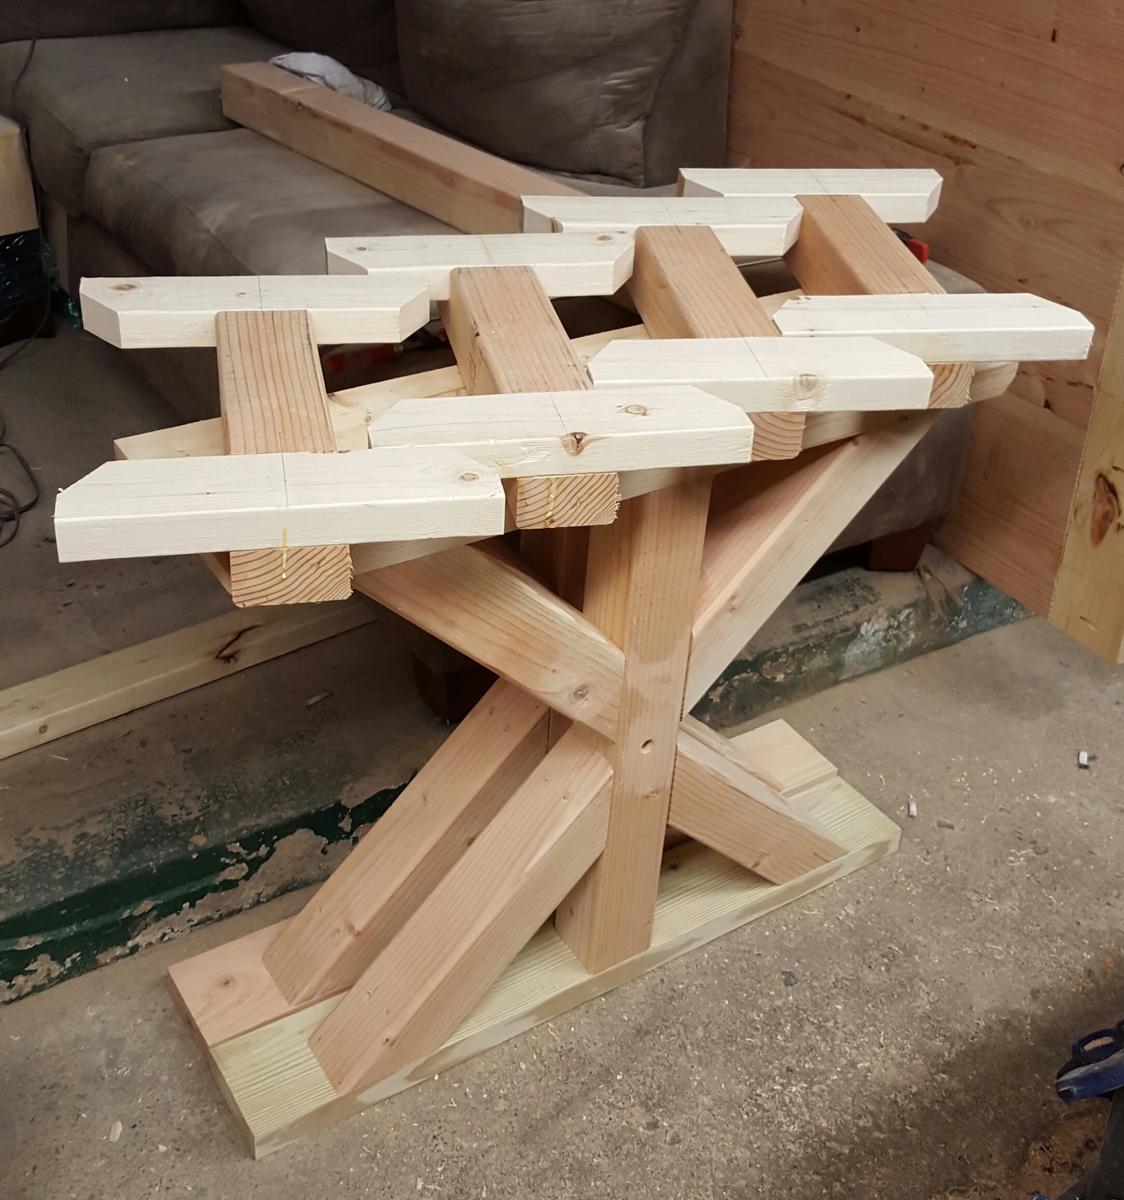
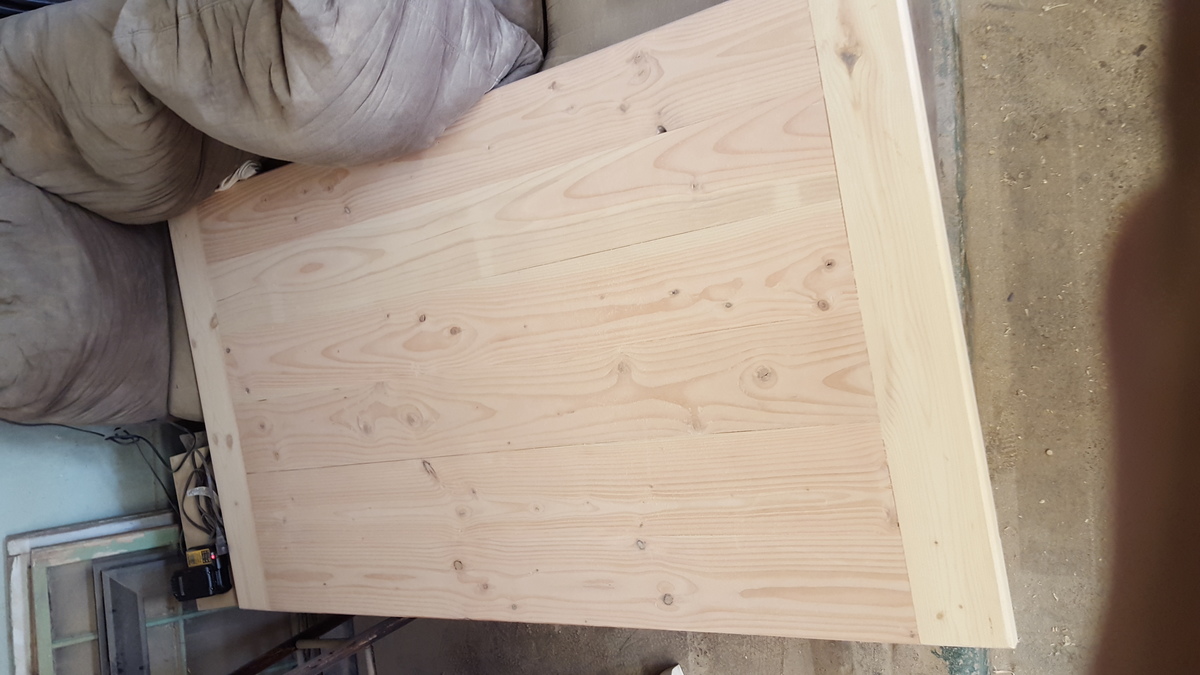
This table was custom made for a good friend and his family. He wanted a trestle style with bench seats for his kids and able to have room to sit at the ends as well. In addition, he wanted breadboard table top. Engineering wise, thats a tall order. So I made the table top solid by using biscuits to secure the timber and since the breadboards could not be supported by the trestle legs I used 5/8" dowel rods, 6" long, 2 per board. I used a 2x4 and scrap plywood to make a dowel jig. I also reinforced them with 3" pocket screws on the bottom.
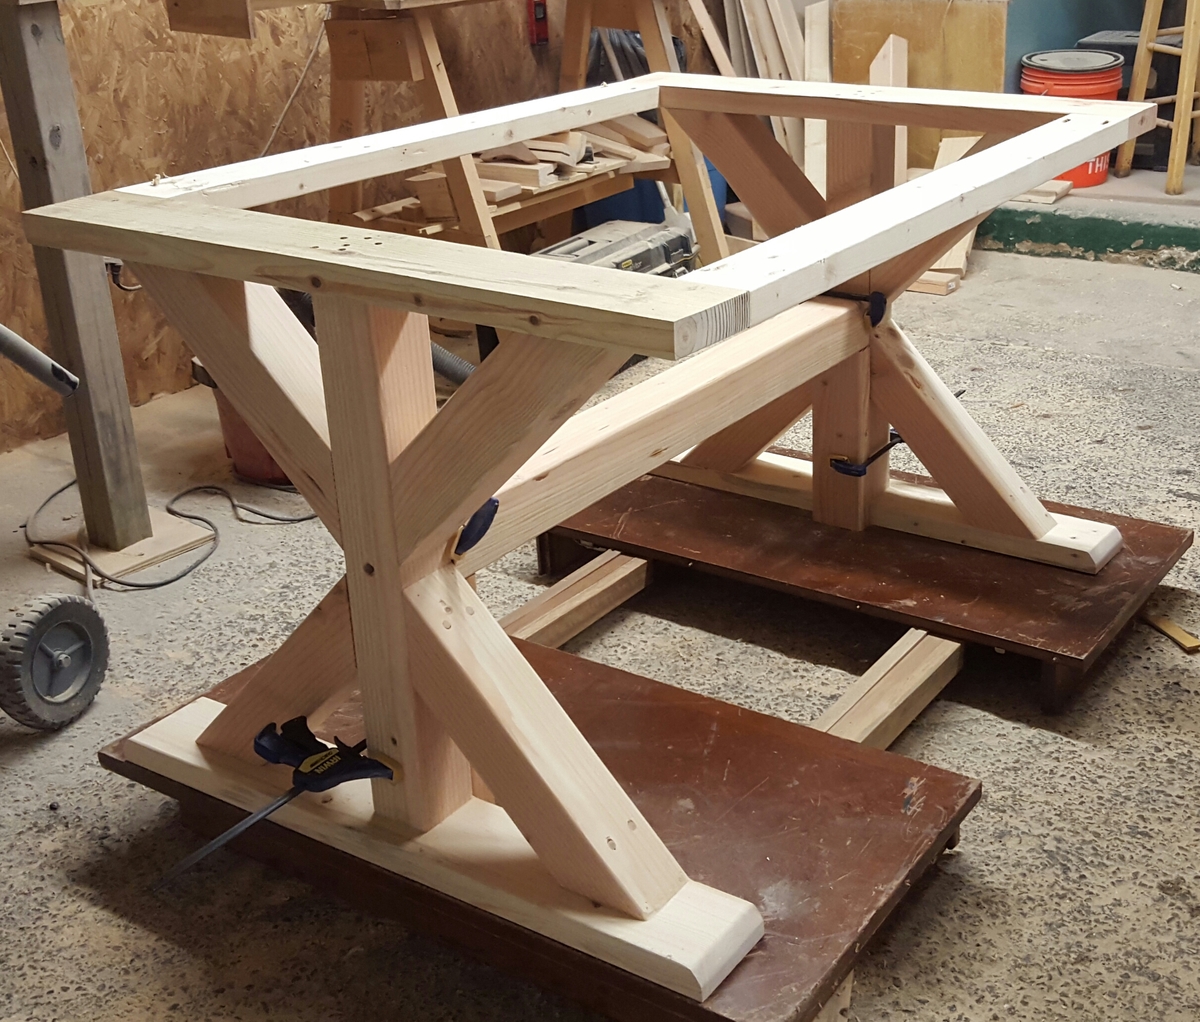
The next challenge was bringing the legs in enough to make room for end seating while still allowing room for the benches. I used 2x6s on the top and bottom of the trestles and secured them flush to the edge to allow for leg room at the ends.
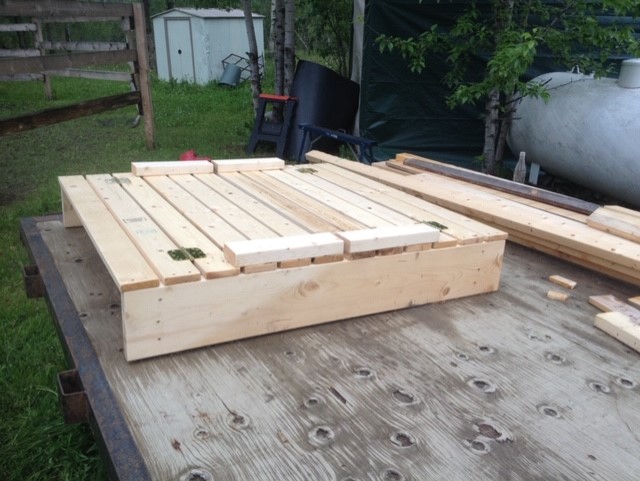
I used 1" dowels to secure the 4x4 runner using a split/wedge technique. The benches are pretty strait forward and I also used biscuits to make solid tops.
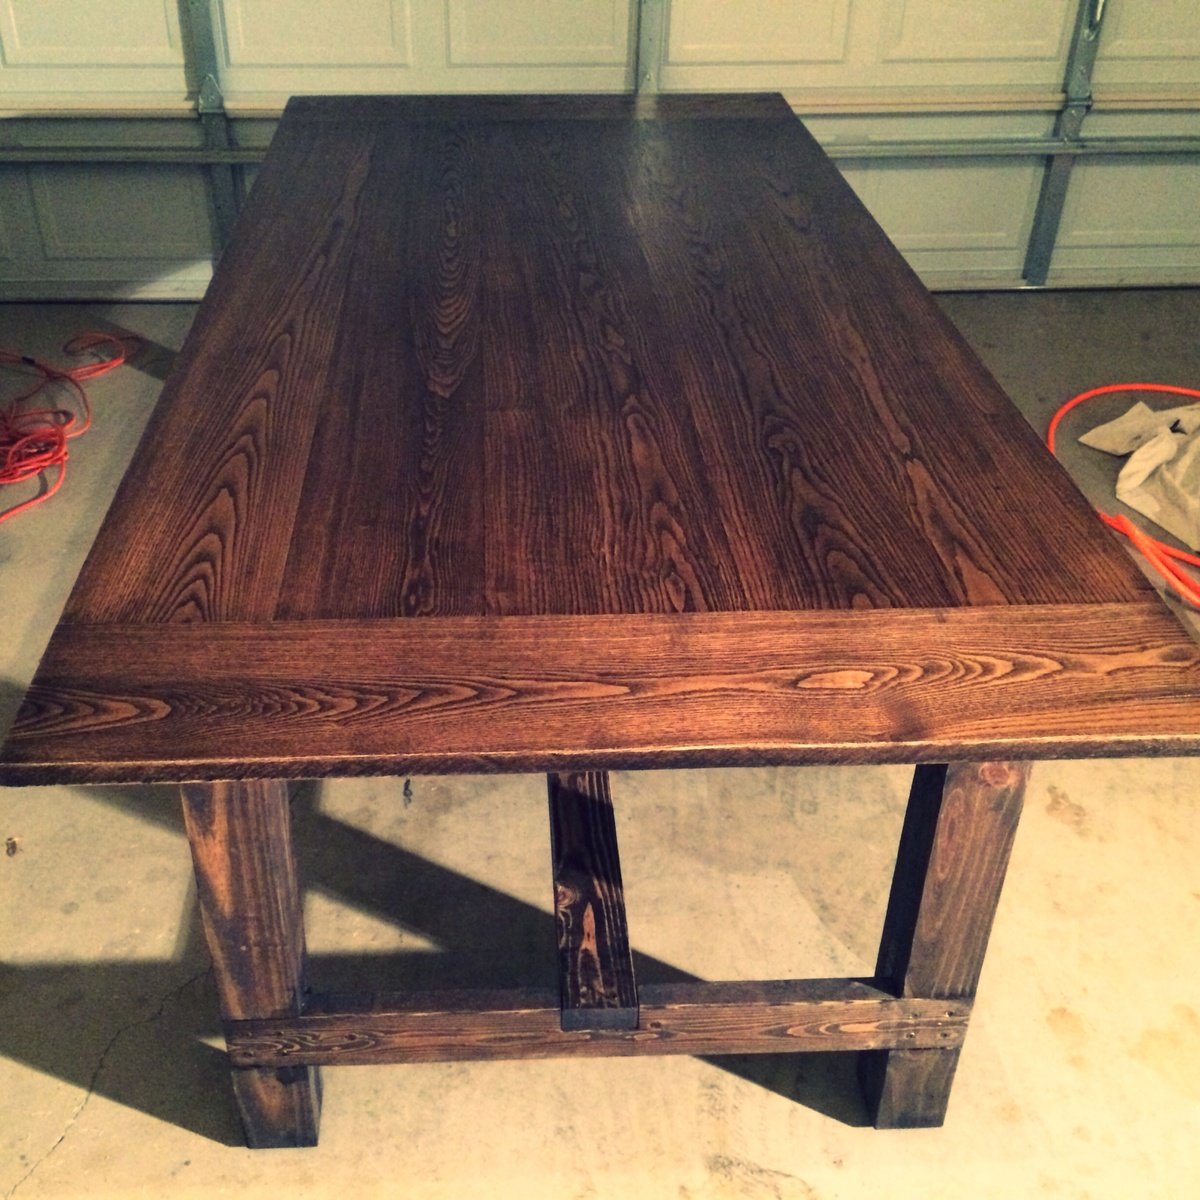
To save money and to have a rustic look, I used douglas fur framing lumber which required many hours of scraping and sanding to make the top level and splitter free. Additionally, I used 5 layers of polyurethane to withstand the wear and tear of a young families daily use. Thankfully they fell in love with the table as much as I did!