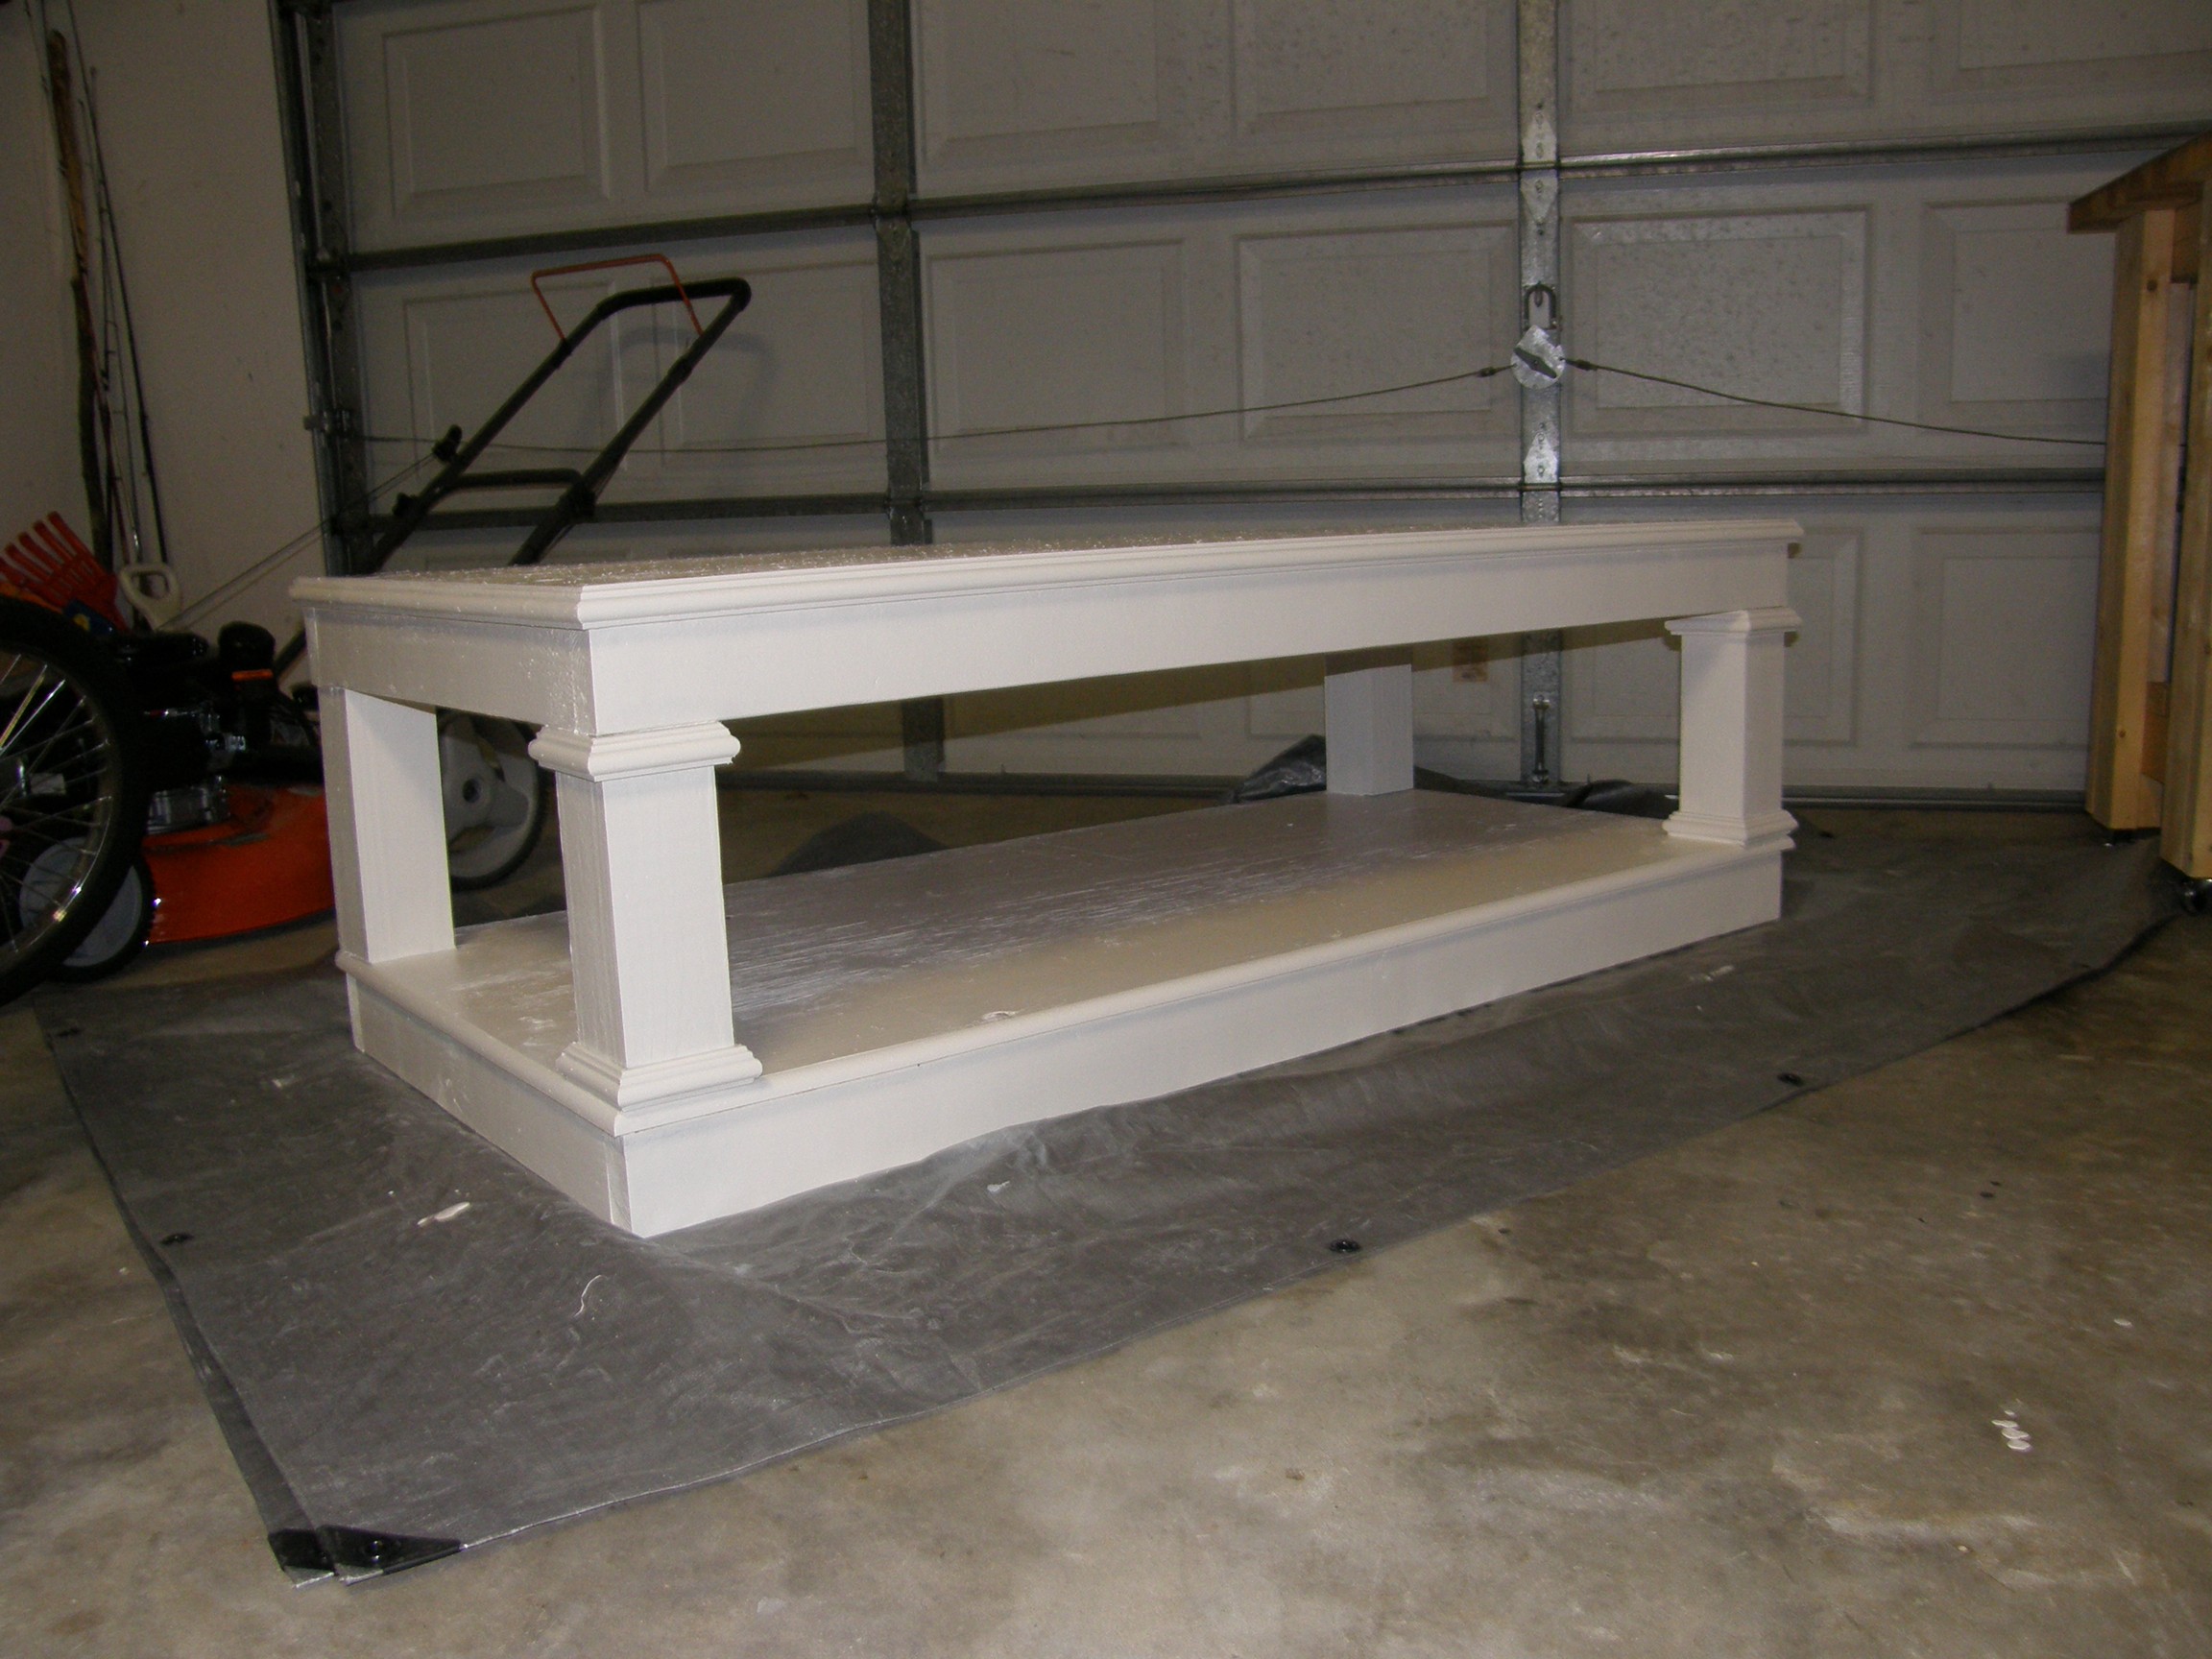
I liked Sausha's original design of the washer and dryer pedestals, but I wanted to add a few little personalized touches to it.
First, rather than using MDF, I went with plywood because of cost and weight. Also, I chose not to fill in the imperfections of the surface of the plywood. The top piece will be covered by the washer and dryer, and the bottom piece will be covered by baskets, etc. I like the look of the imperfections, as well.
Lastly, I spent an extra $10 on some additional cap molding for the base and the top, just to give it a more finished look. My wife chose white over black to fit the room better.
This was my first project and I am excited to build more!


Comments
Theresa619 (not verified)
Mon, 09/26/2011 - 01:21
Beautiful!
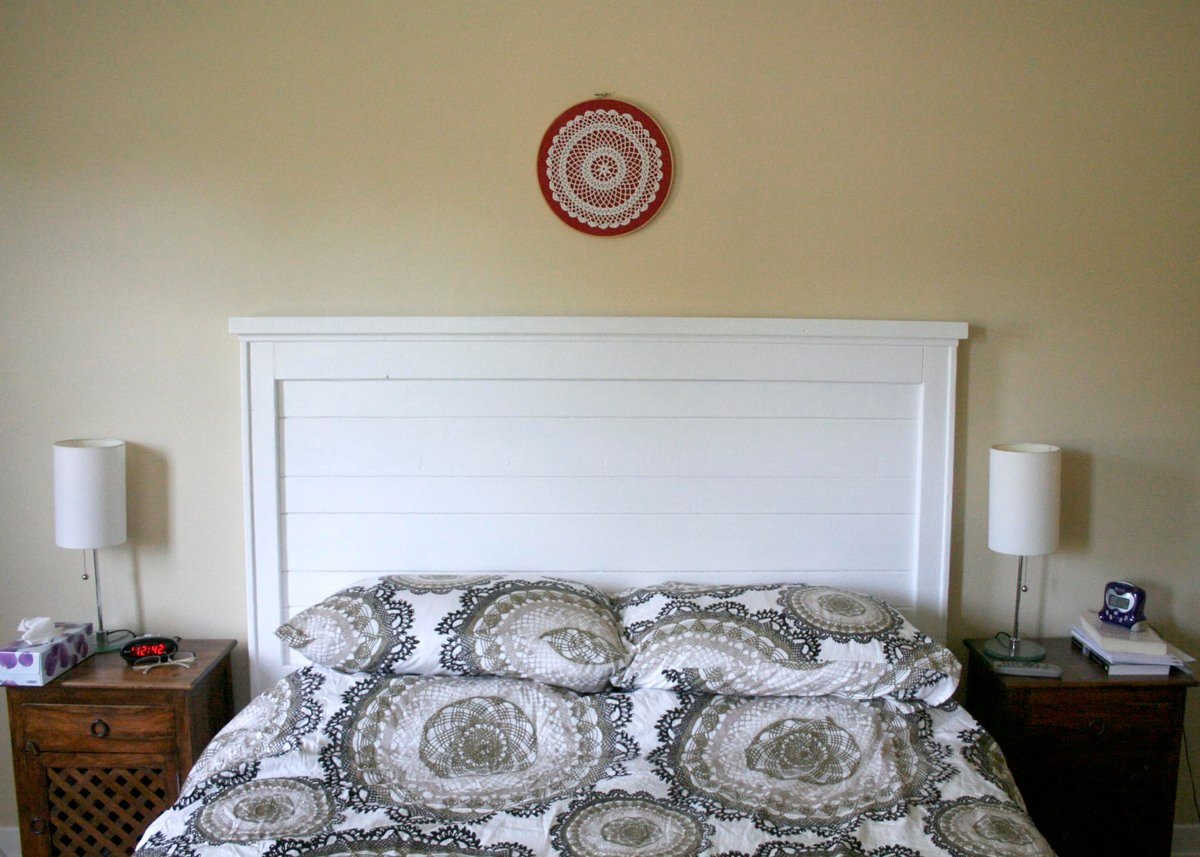
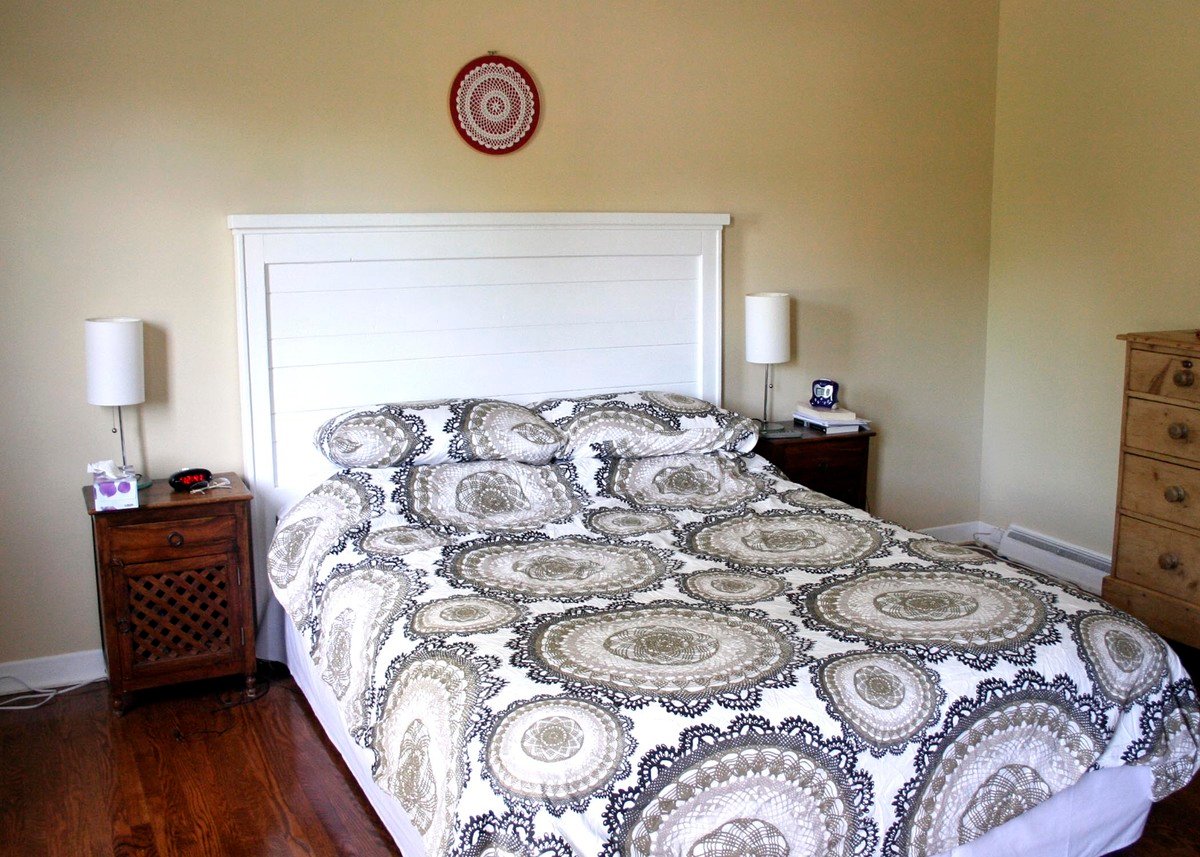
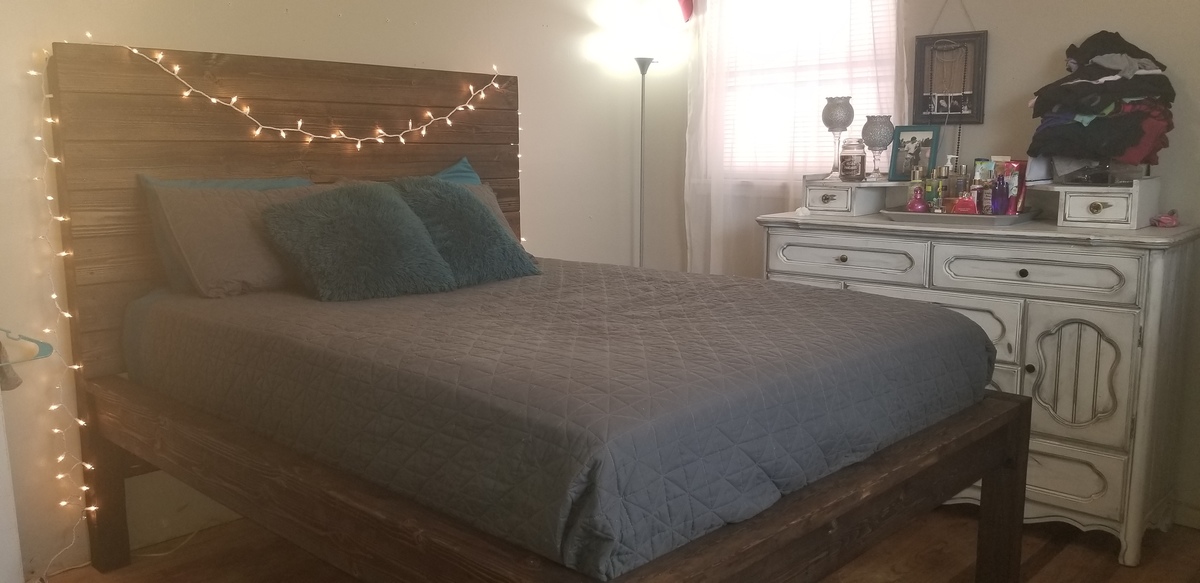
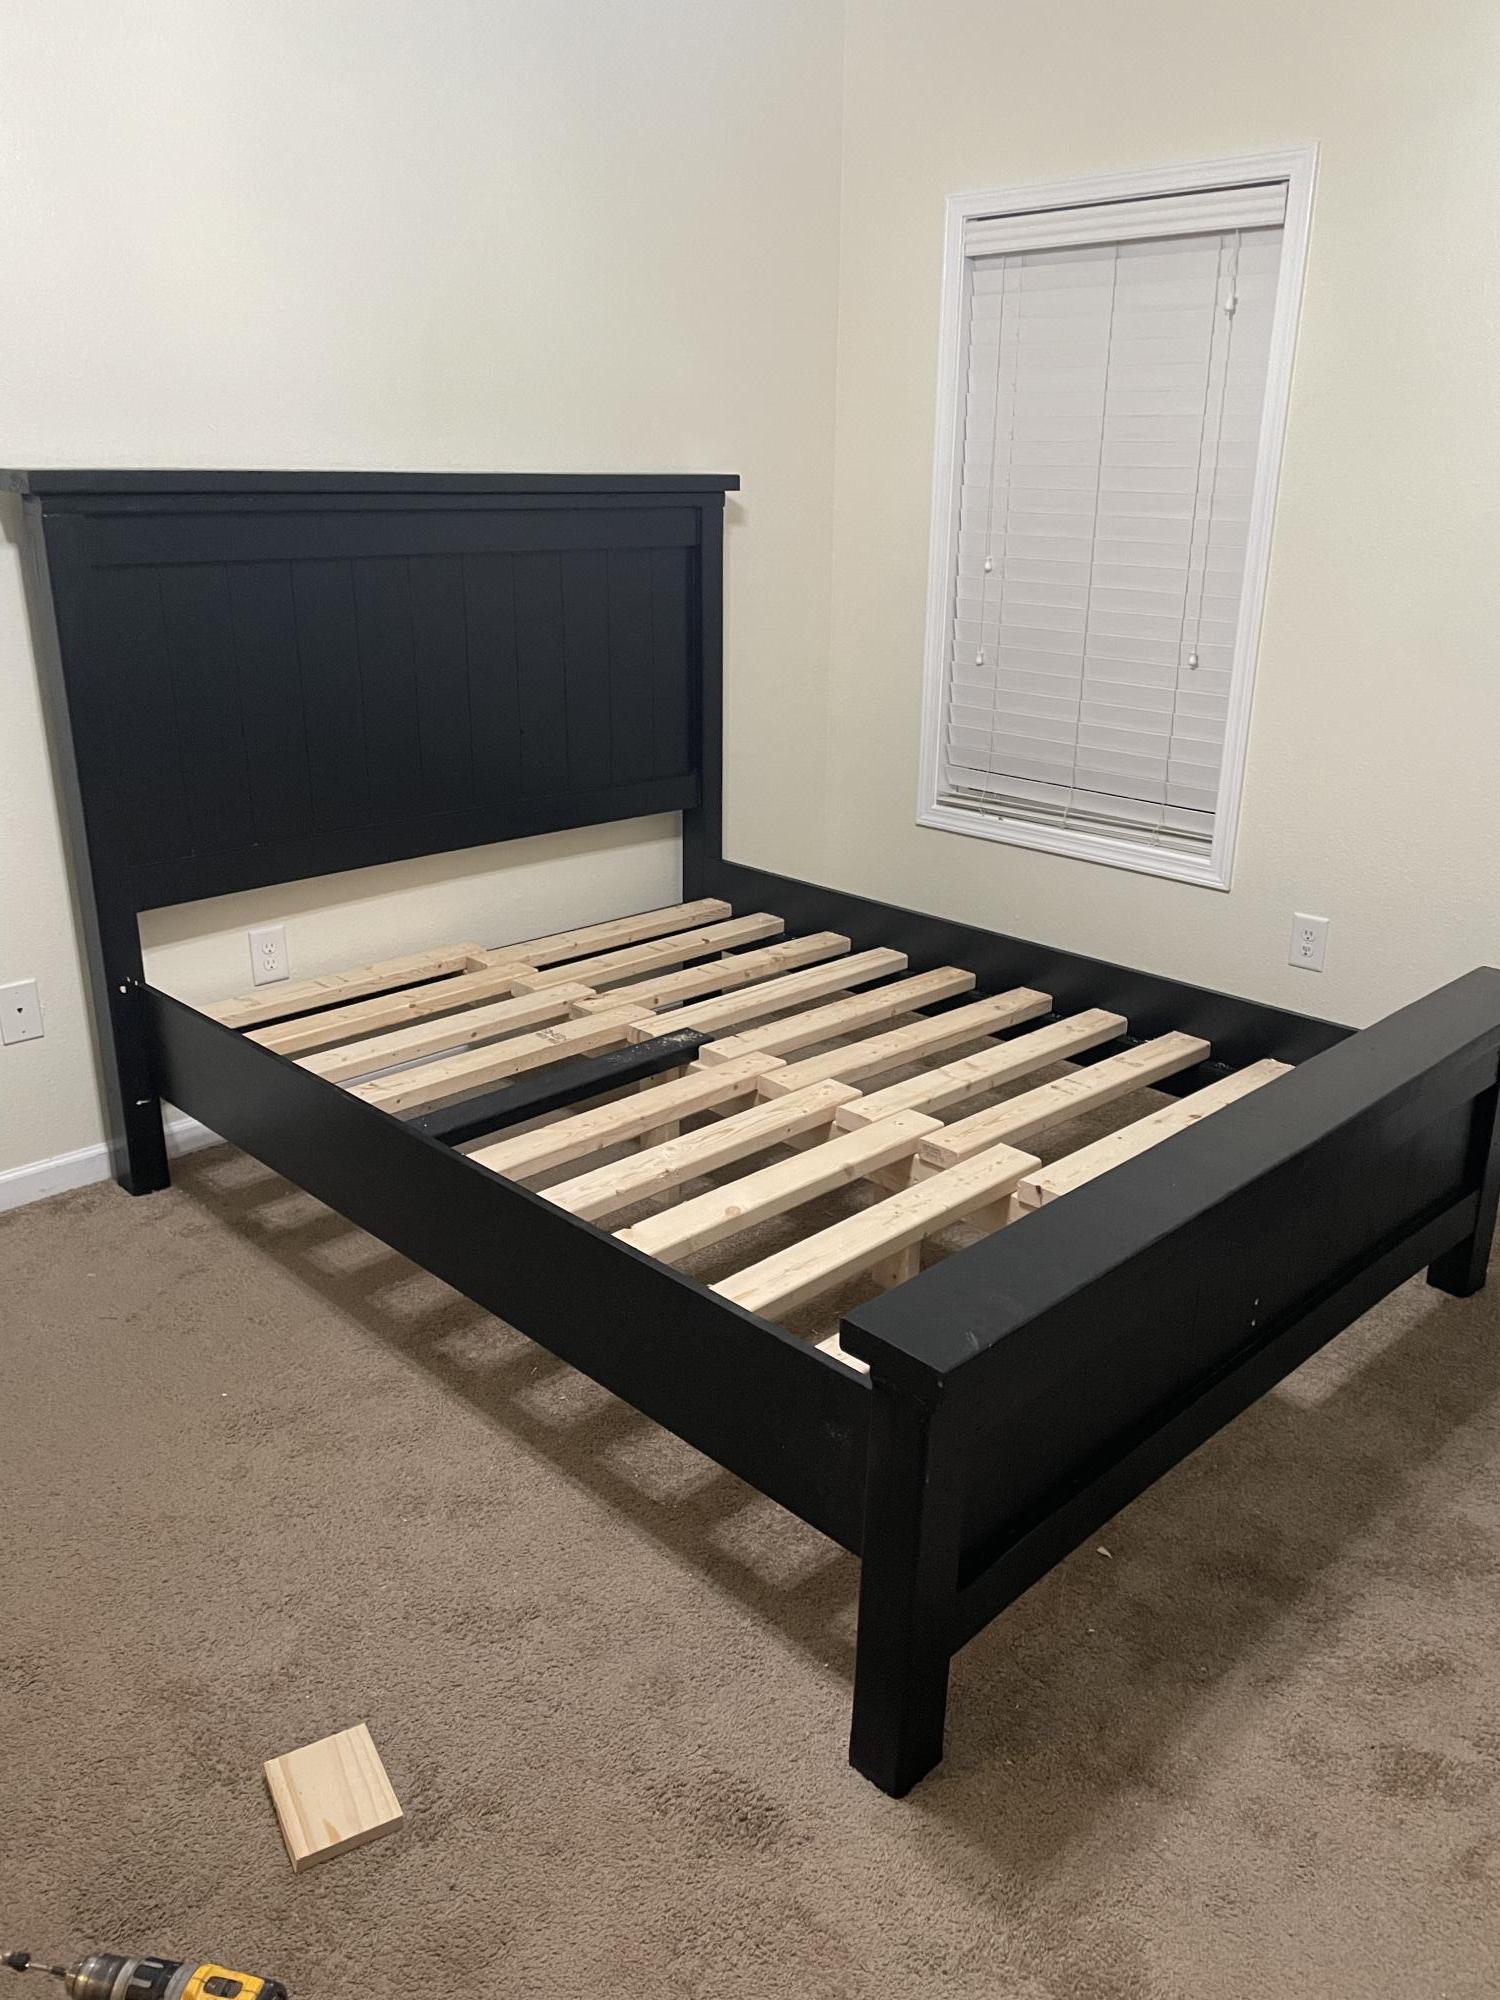
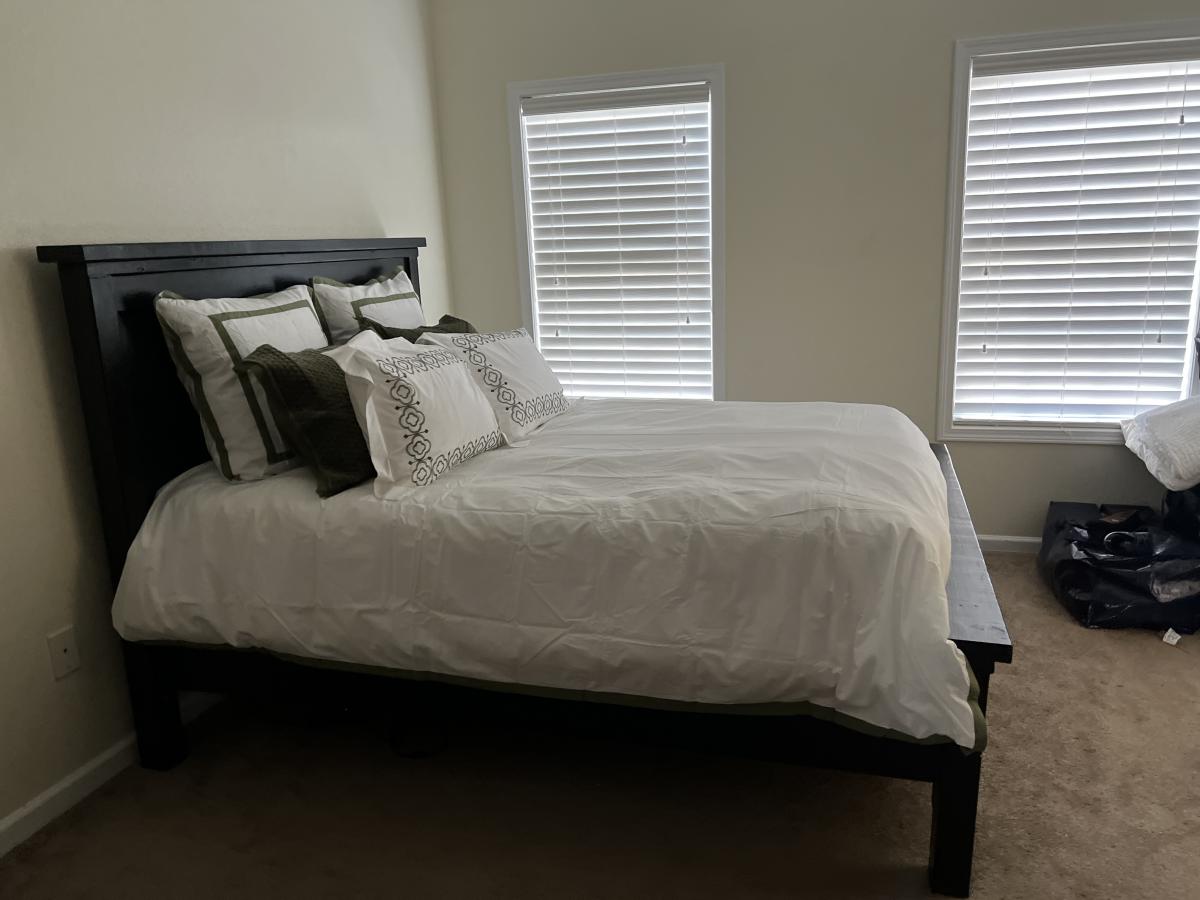
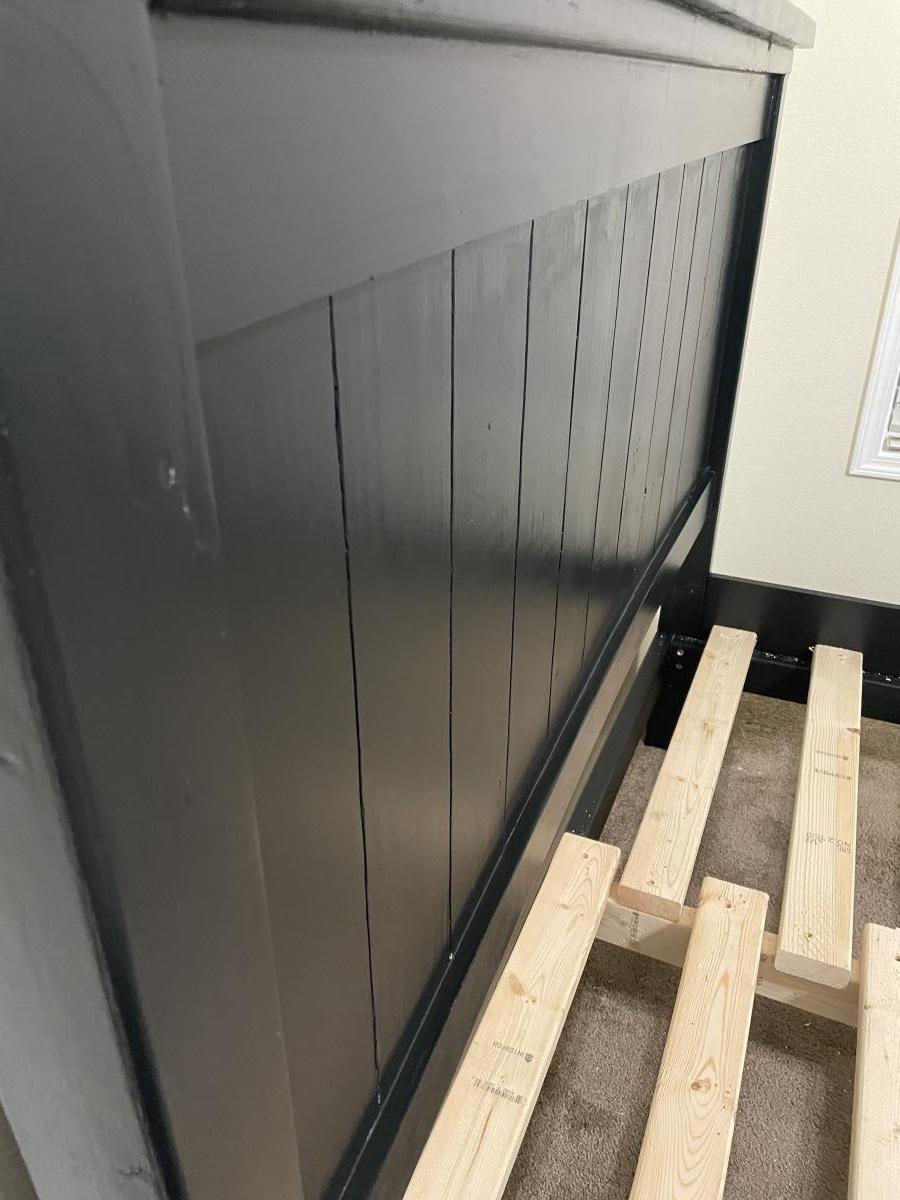
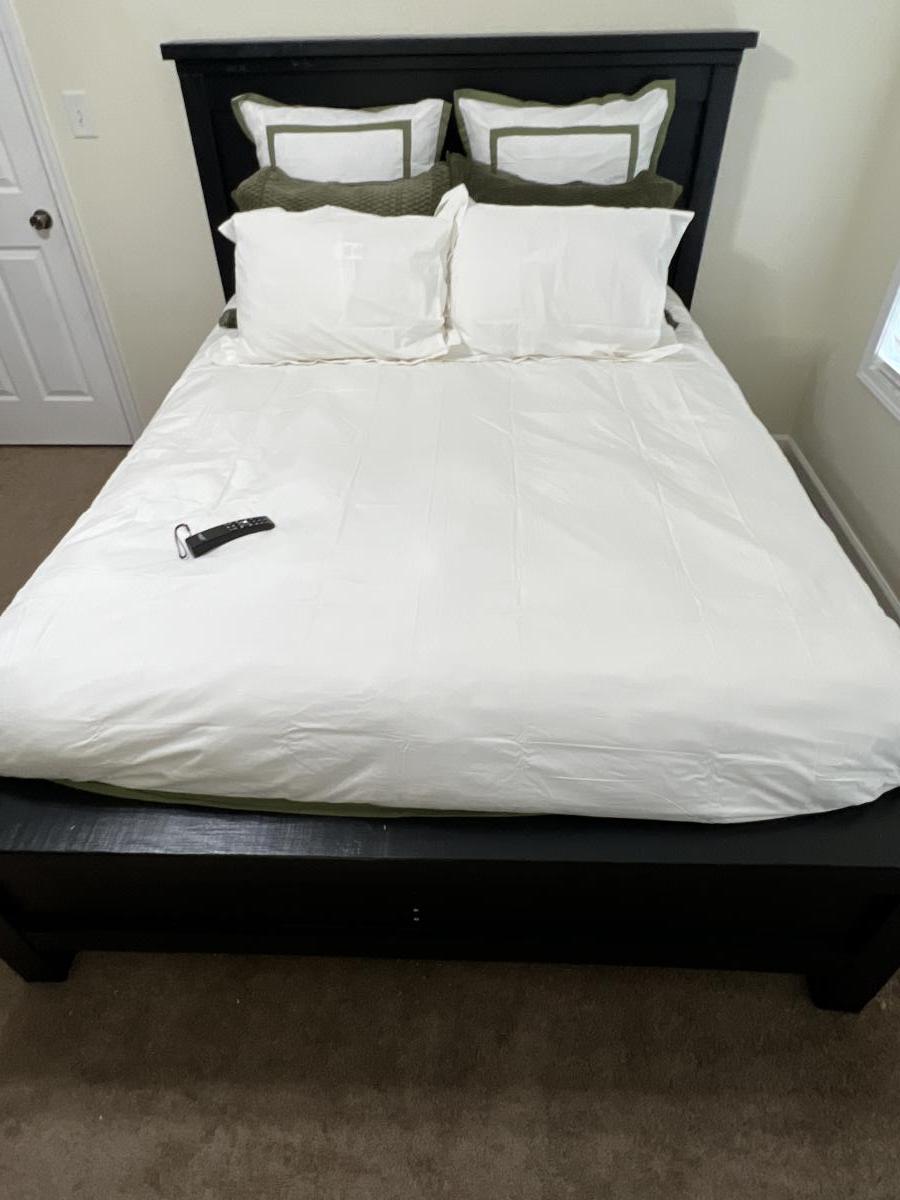
Love this! I also want to build this headboard and finish it in a bright white. One question- how did you secure it? Is it in any way attached to the wall or the bed frame or is it just leaning there? Thanks, and great job!