Community Brag Posts

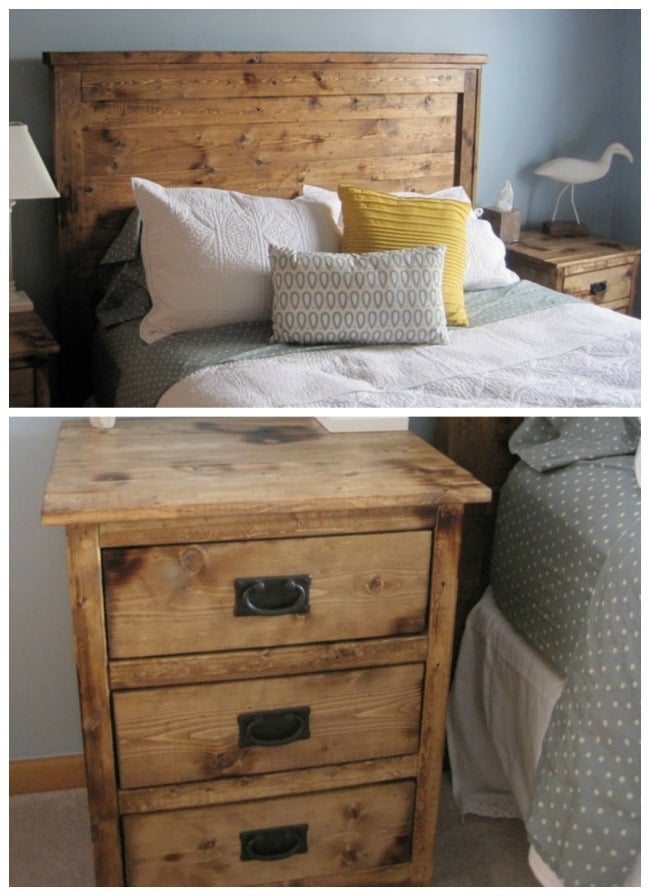
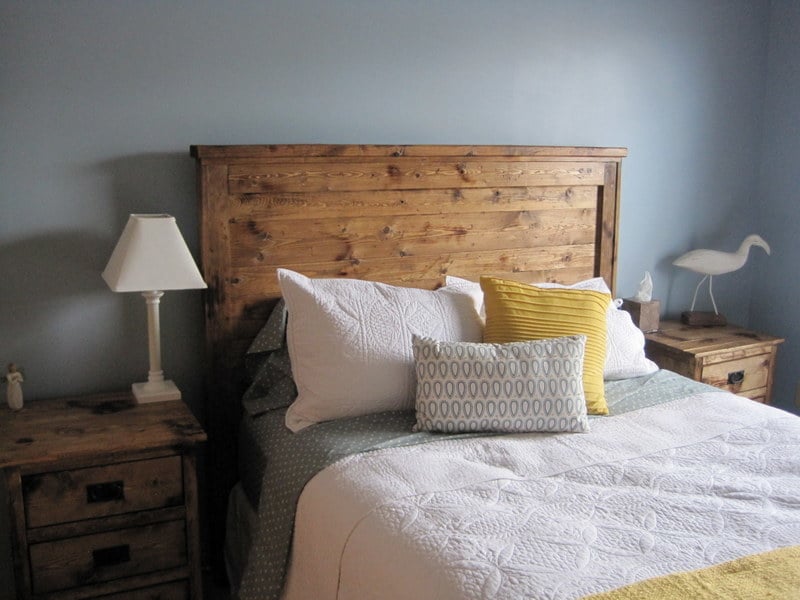
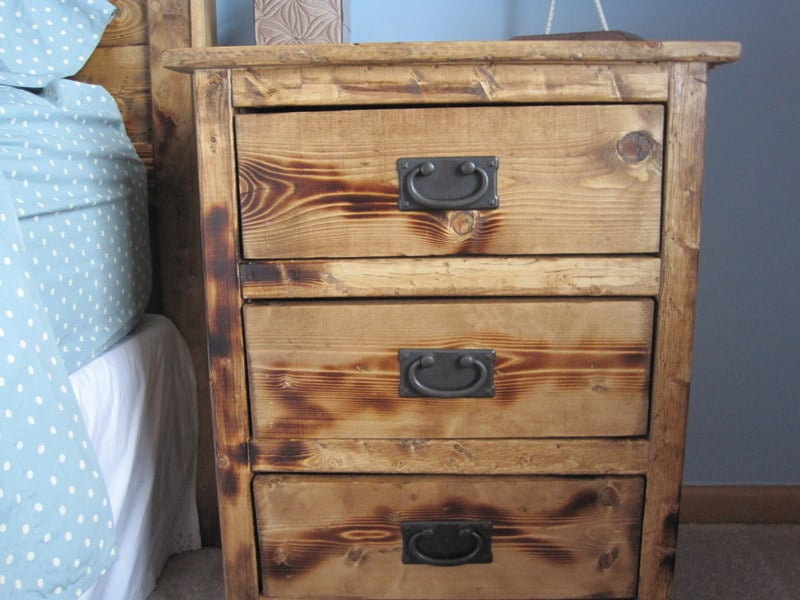
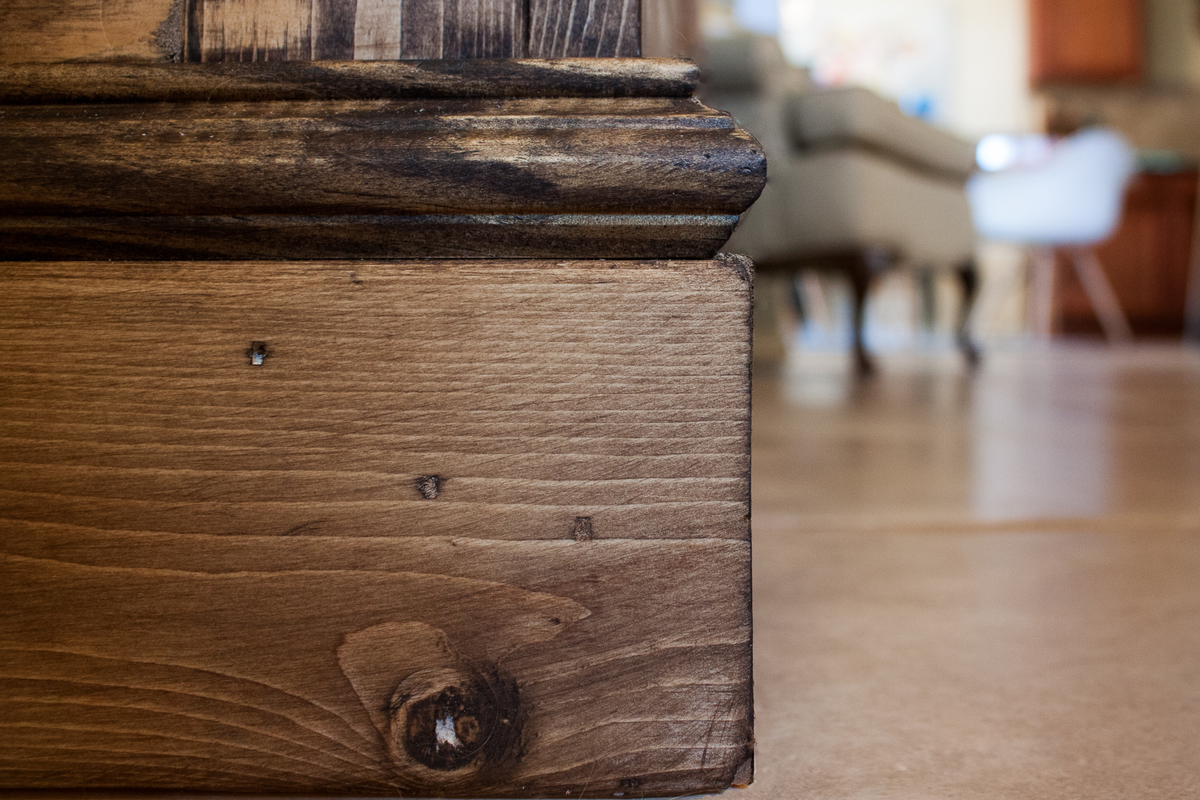
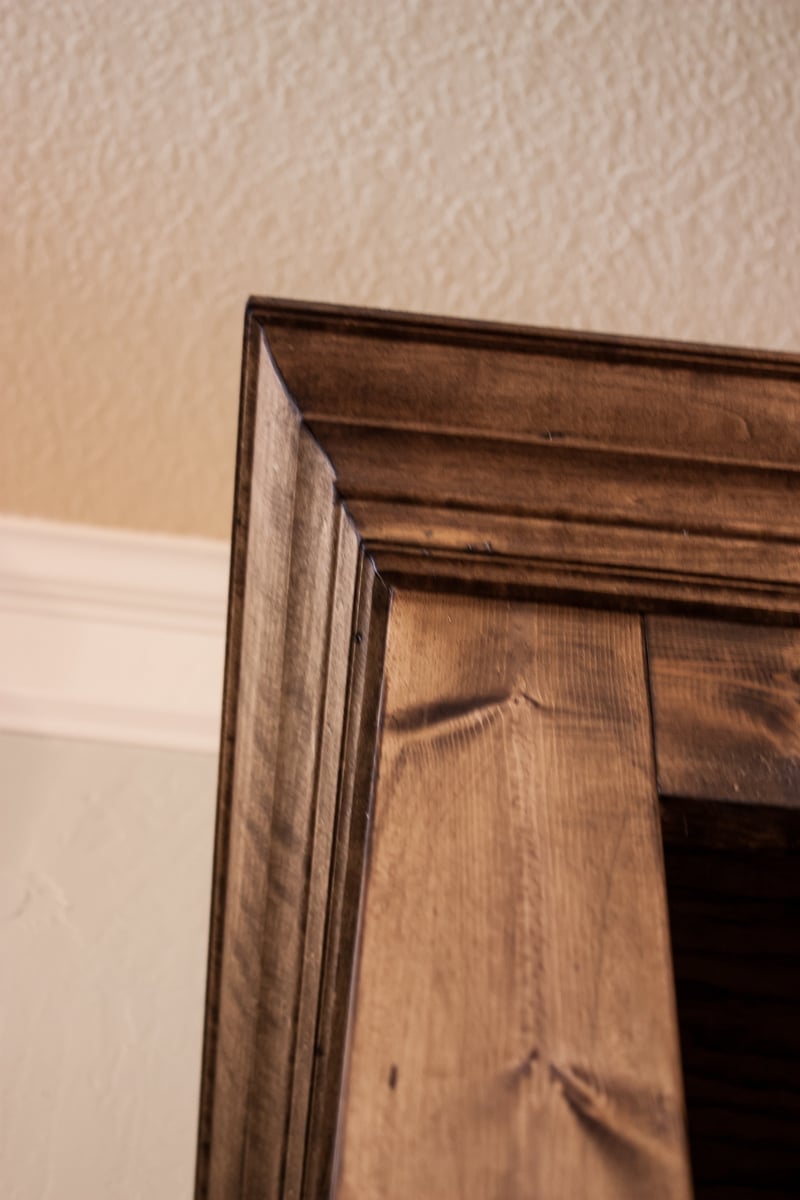
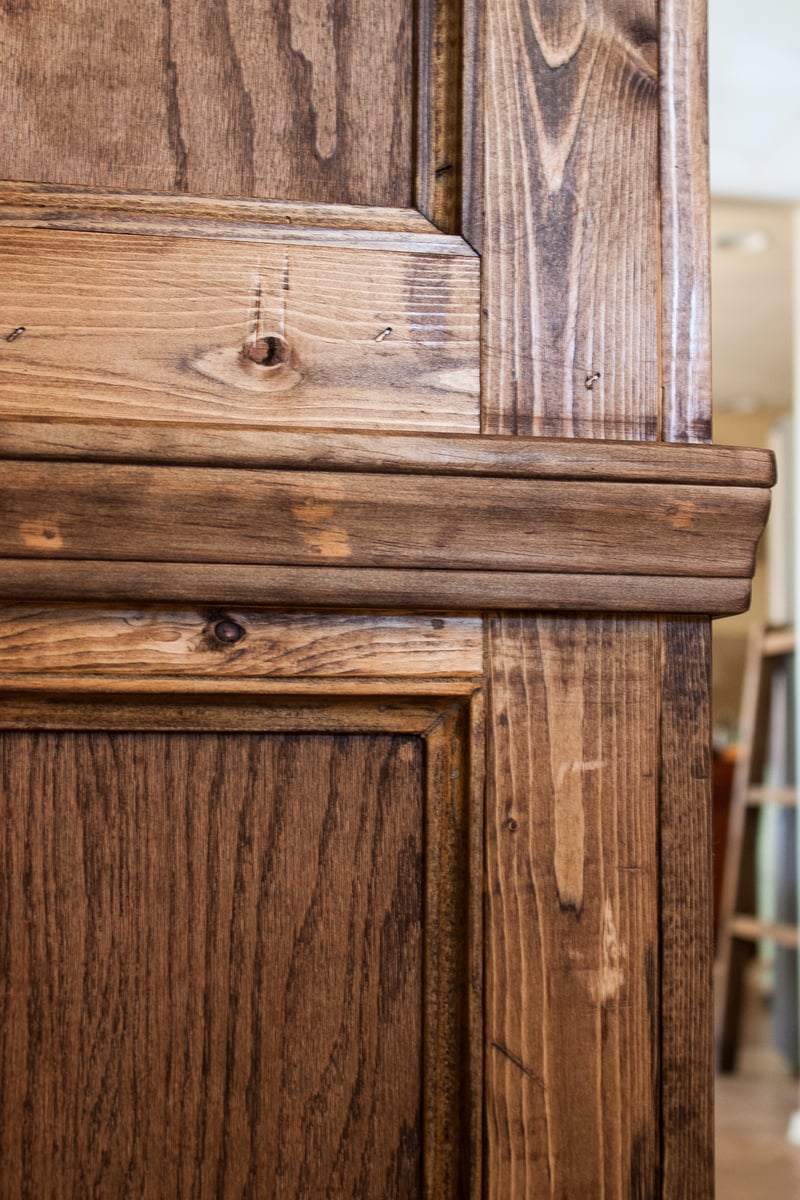
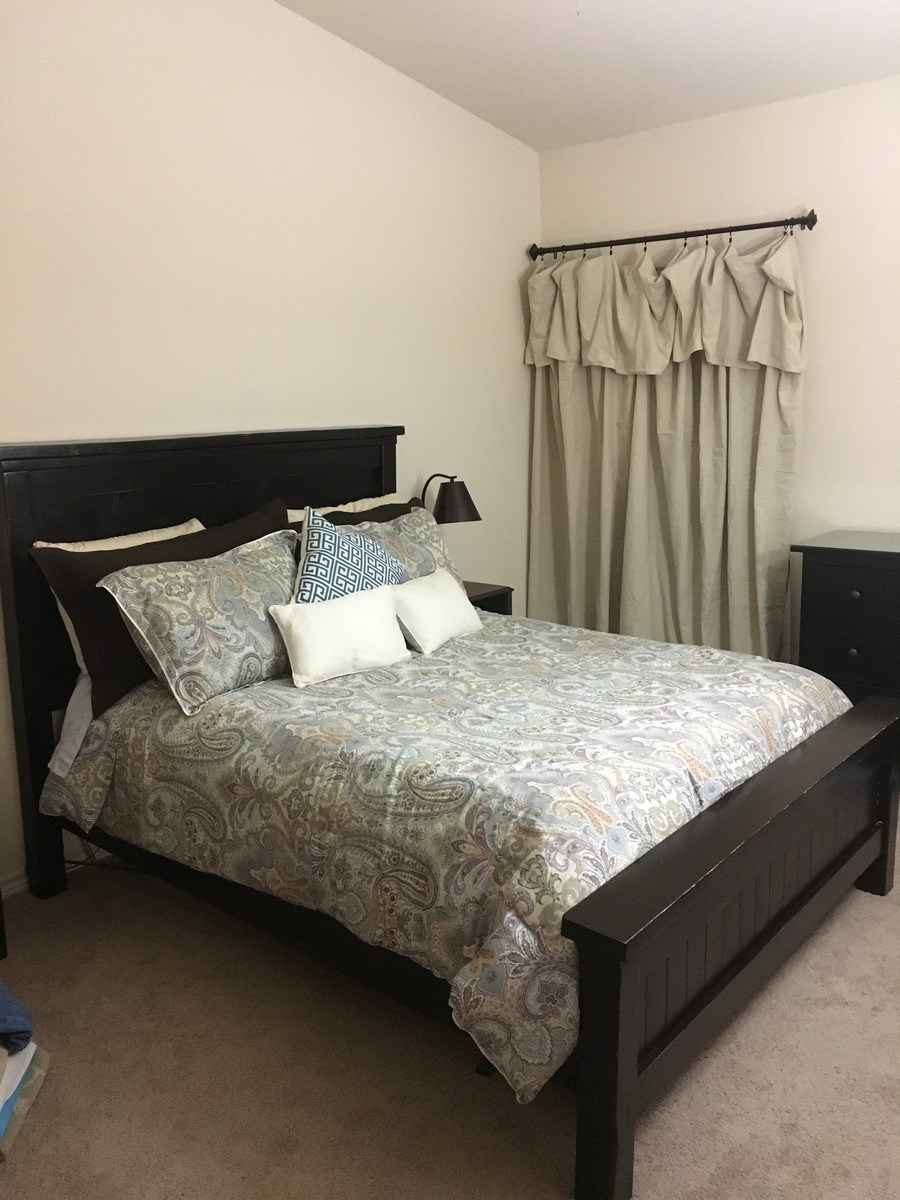
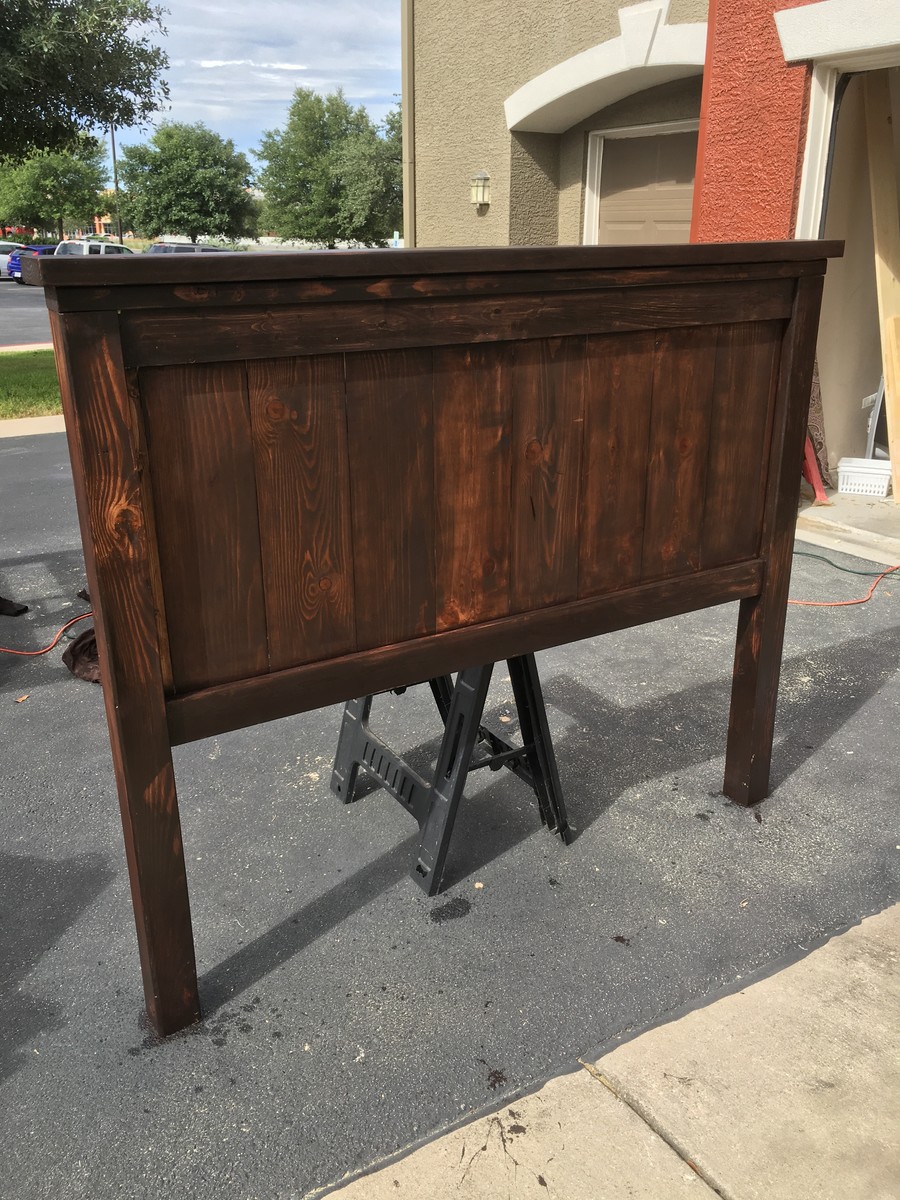
Farmhouse queen bed

Submitted by Kwinner on Tue, 04/16/2013 - 19:34

This is my first project working with wood. My husband and friends are very amazed by what I built.

Estimated Time Investment
Week Long Project (20 Hours or More)
Finish Used
One coat of Minwax red mohogany with two coats of polyurethane.
Recommended Skill Level
Starter Project

Comments

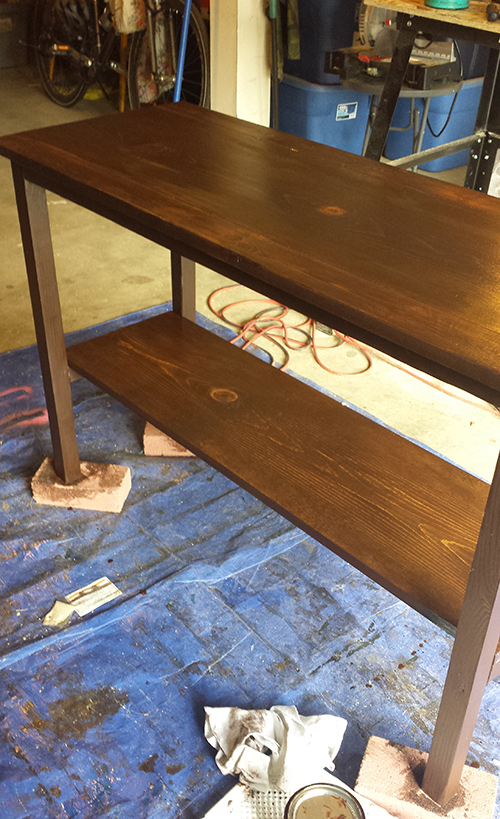
First ever project - Workbench

Submitted by P76 on Sat, 03/07/2015 - 10:22

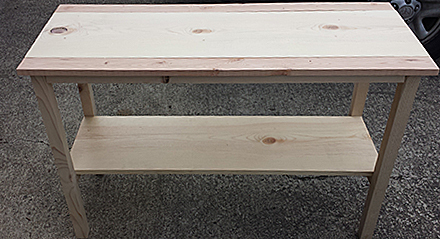
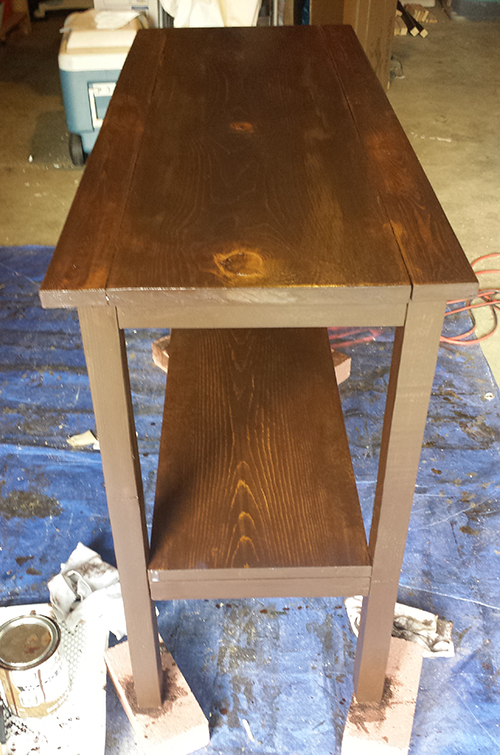
Just started woodworking. This is my first ever build. Surprised with how sturdy this bench is. 

Built from Plan(s)
Estimated Cost
$30
Estimated Time Investment
Afternoon Project (3-6 Hours)
Recommended Skill Level
Beginner

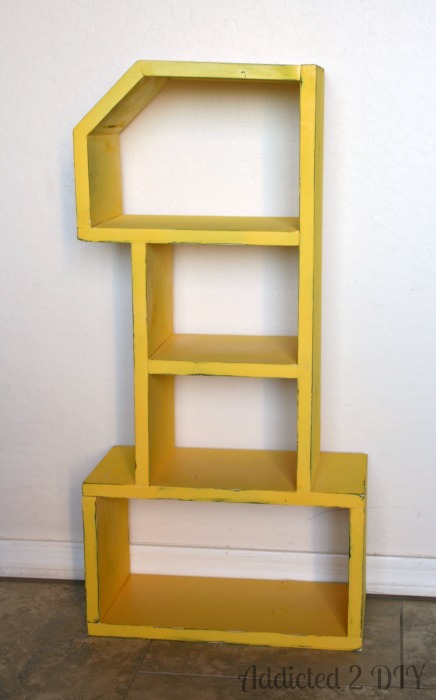
Leaning Ladder Shelf

Submitted by Anonymous (not verified) on Sun, 06/04/2017 - 19:26

Built this for our son's nursery.

Built from Plan(s)
Estimated Cost
70
Estimated Time Investment
Day Project (6-9 Hours)
Finish Used
White paint
Recommended Skill Level
Beginner

Kid’s Adirondack Chair Project

Submitted by David_1962 on Tue, 07/20/2021 - 07:54

This little chair turned out really well. The only significant changes I made to the plans were to cut the back slats in an arch, round the corners on the arm pieces, and round-over all of the exposed edges.

Built from Plan(s)
Estimated Cost
None, built from scrap deck boards
Estimated Time Investment
Day Project (6-9 Hours)
Finish Used
Ipe is an extremely heavy, dense tropical hardwood. It’s primarily used for making decks but is also excellent for outdoor furniture. I just sanded lightly, and applied a penetrating oil branded “Ipe Oil.”
Recommended Skill Level
Beginner

Comments

Library ledges

Submitted by TBENNE on Fri, 04/19/2013 - 19:06

I really enjoyed this project. I would suggest painting as much as possible before assembly. I used pocket screws to hide which are hidden on the back side and a nail gun to attach the front 1x2s. I made a total of 8 ledges.

One thing I did different from the project plan is that I connected the bottom board on top of the back board to give me a little more space on the bottom for layering my books.

Built from Plan(s)
Estimated Cost
$10
Estimated Time Investment
An Hour or Two (0-2 Hours)
Finish Used
Valspar in Swiss Coffee. Top coat of Minwax Polyacrylic in Gloss.
Recommended Skill Level
Starter Project

Kitchen Hutch

I've built a lot of things...mainly corn hole boards for friends and family but this is my first furniture build. My wife's Valentine present! Now I'm thinking my new big screen tv sure could use a nice Apothecary media cabinet.

Built from Plan(s)
Estimated Cost
I used expensive 3/4 in birch plywood so around $130
Estimated Time Investment
Weekend Project (10-20 Hours)
Finish Used
CHALK Paint with a chalk varnish for a protective finish
Recommended Skill Level
Beginner

Comments

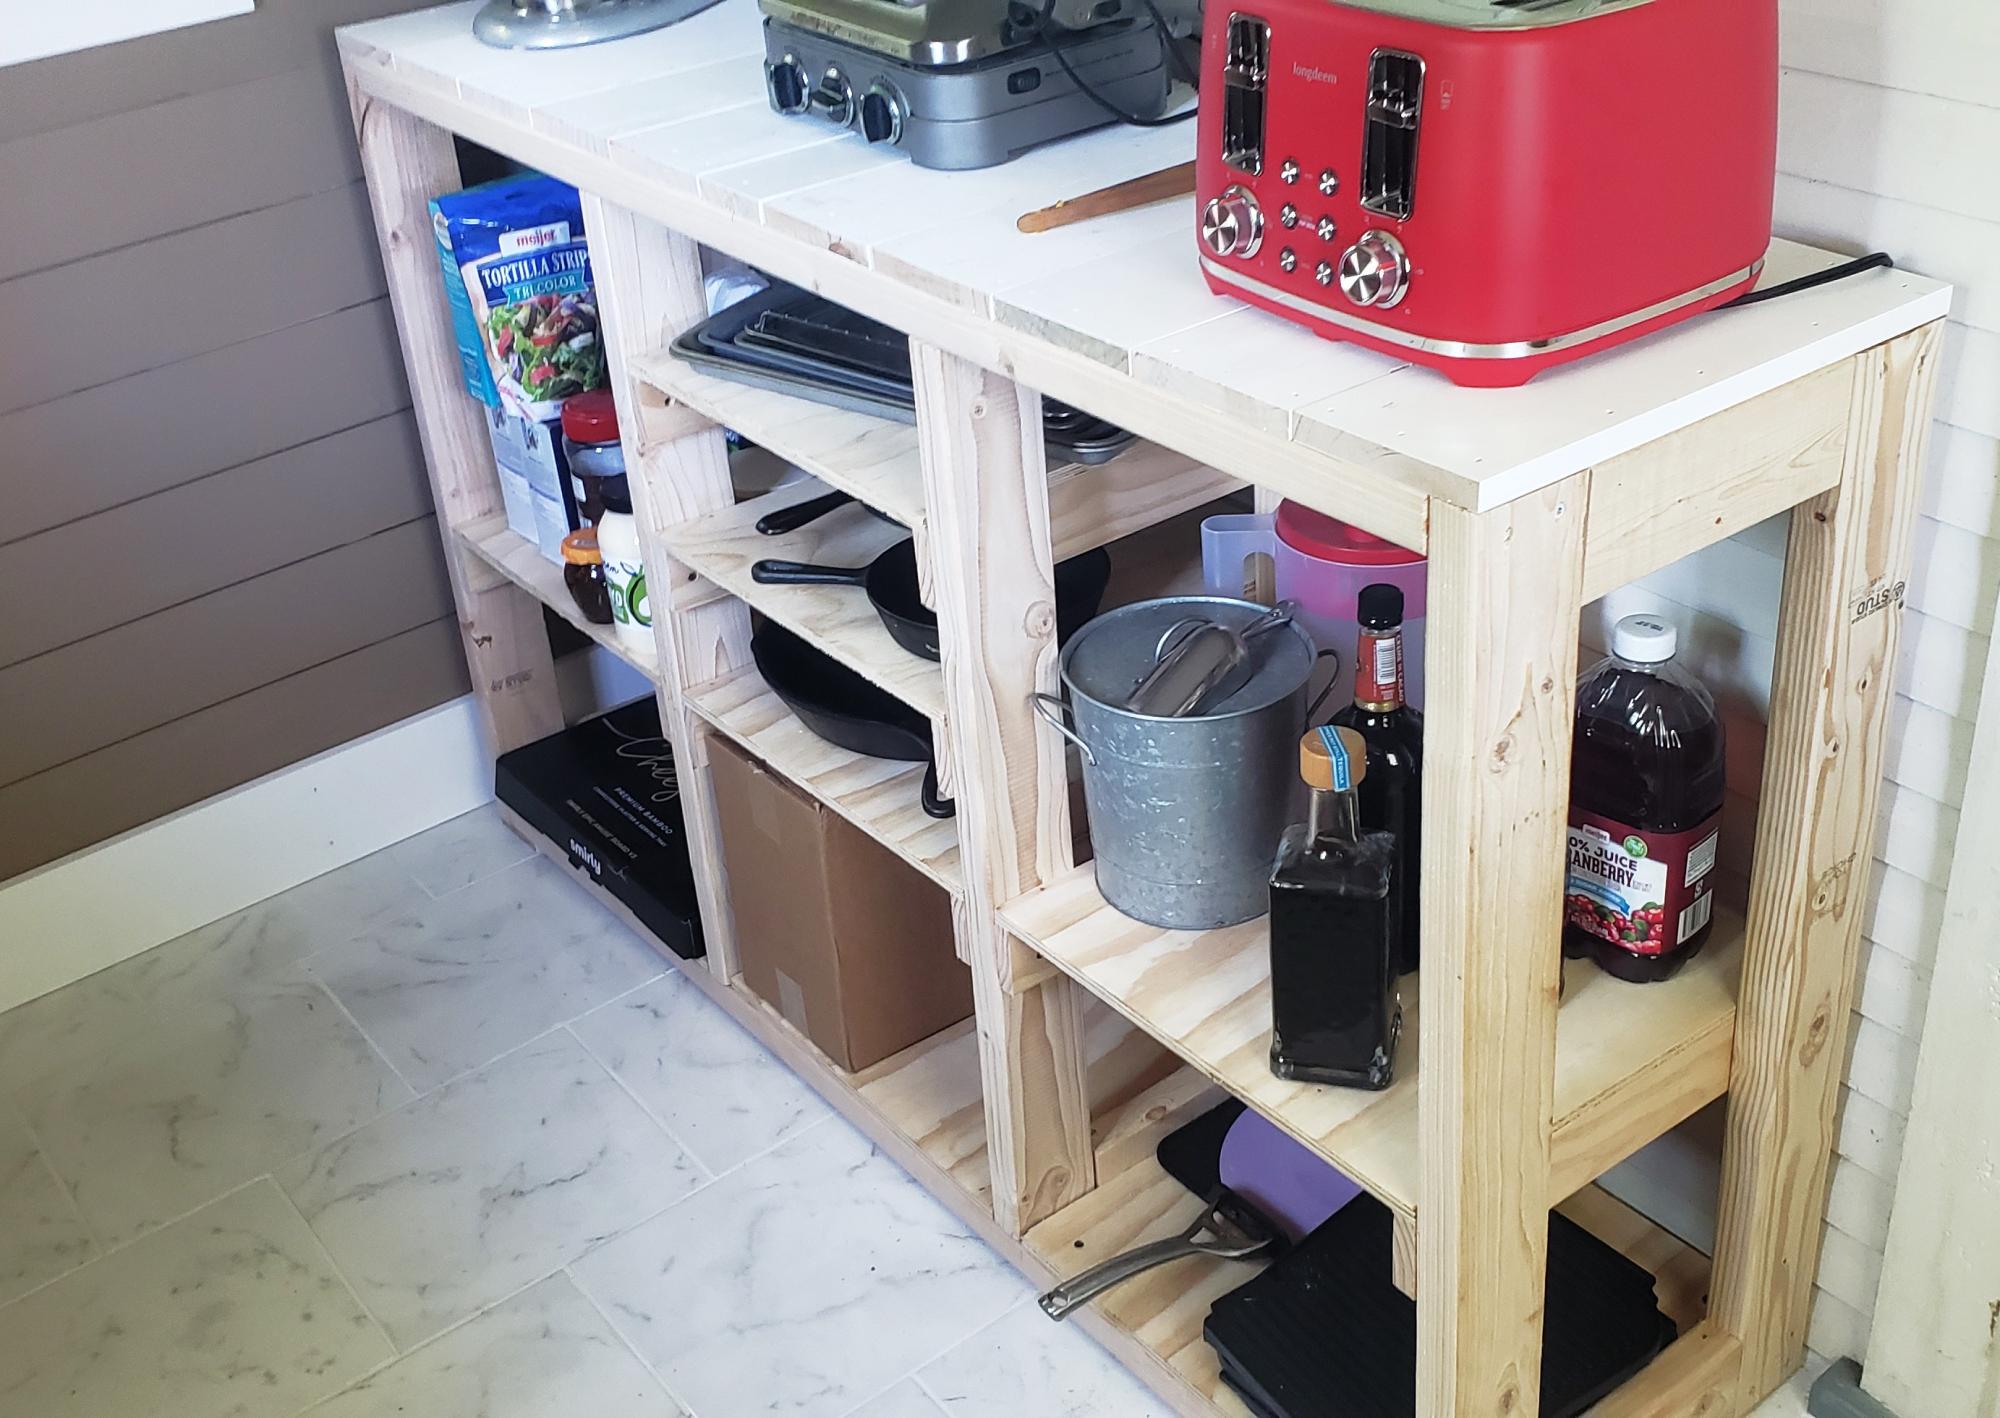
Modified Easy Industrial Cart

Submitted by Anonymous (not verified) on Thu, 06/08/2017 - 05:22

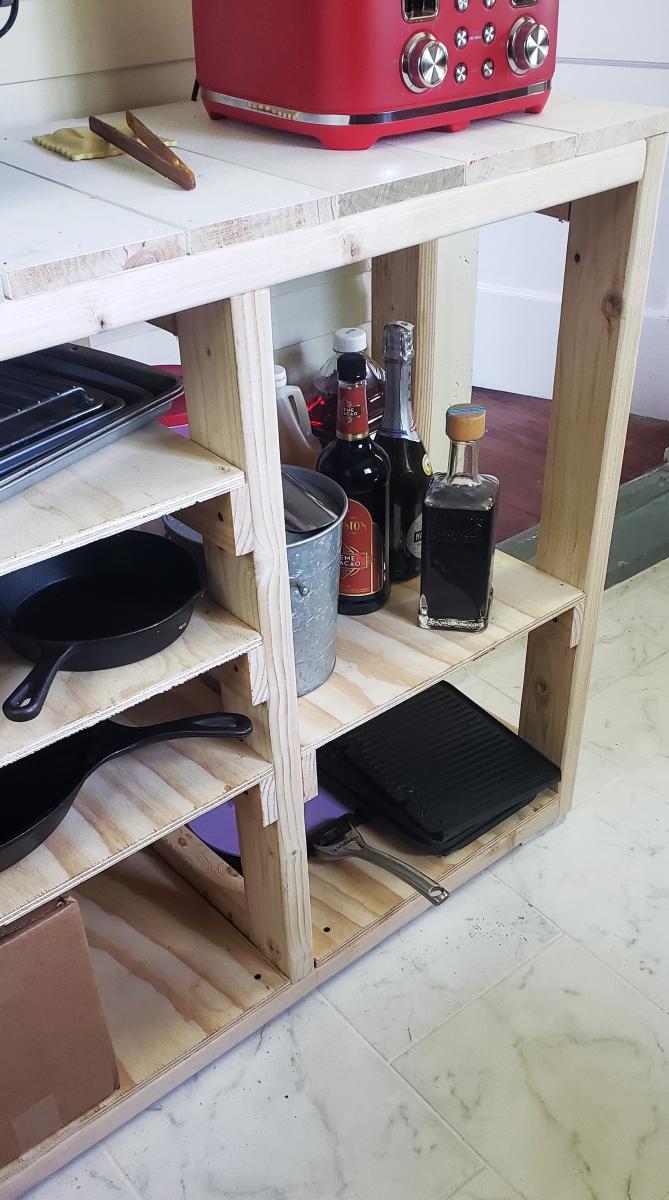
The main difference is my cart is the width of the  shelves. My wife wanted something wider than a 2x12 so I combined (2) 2x8's with pocket hole screws. This is my first real build and I was surprised at how strong the shelves are with just pocket hole screws!  I also made the cart counter height as she will be using it in the kitchen. 

Built from Plan(s)
Estimated Cost
$60 ($90 including the pocket hole jig)
Estimated Time Investment
Afternoon Project (3-6 Hours)
Recommended Skill Level
Beginner

Entertainment Center for 60" Flat Screen LED TV

I used the plans from JRLwoodworking and the pictures from AZCA33 and combined them to create an entertainment center to hold my new 60" flat screen tv. I priced new entertainment centers at furniture stores for a nice entertainment center to hold a large tv and the price was around $2000. I looked around online and found a couple of websites of handmade entertainment centers and decided to give it a try. I had never made anything remotely his large or detailed, but with the plans and some patience, I was able to bring this thing to life. I couldn't have done it without the help of this website or jrlwoodworking. I am very proud of this piece of furniture and plan to cherish it for a long time....

Estimated Time Investment
Week Long Project (20 Hours or More)
Finish Used
Black latex paint (satin), white latex paint (satin), and Polyacrylic (satin)

We painted the bare wood with the white latex paint first. After a couple of coats, my wife used the black paint on the areas that she planned to look distressed. We painted over the black with the white until fully covered. She sanded the white until the black came through like she wanted and then we coated the entire thing with a polyacrylic coat.
Recommended Skill Level
Intermediate

Comments

NimbleShopper

Mon, 04/22/2013 - 13:51

Wait a moment, that is a super WOW!

Really nice work. The piece is worthy of a magazine cover. Very well done.

kristenlotz

Sat, 06/01/2013 - 19:21

Hi RAZORBACKFAN, I am so excited to see this build from our plans at jrlwoodworking.com! This is absolutely beautiful. It looks like a very difficult project, but with the step by step instructions and going through it a few times, it really can be done by a handy do-it-yourselfer. I hope you enjoy yours as much as we enjoy ours. The best part of it is telling everyone you built it. Nobody would believe it unless we had the pictures to prove it.

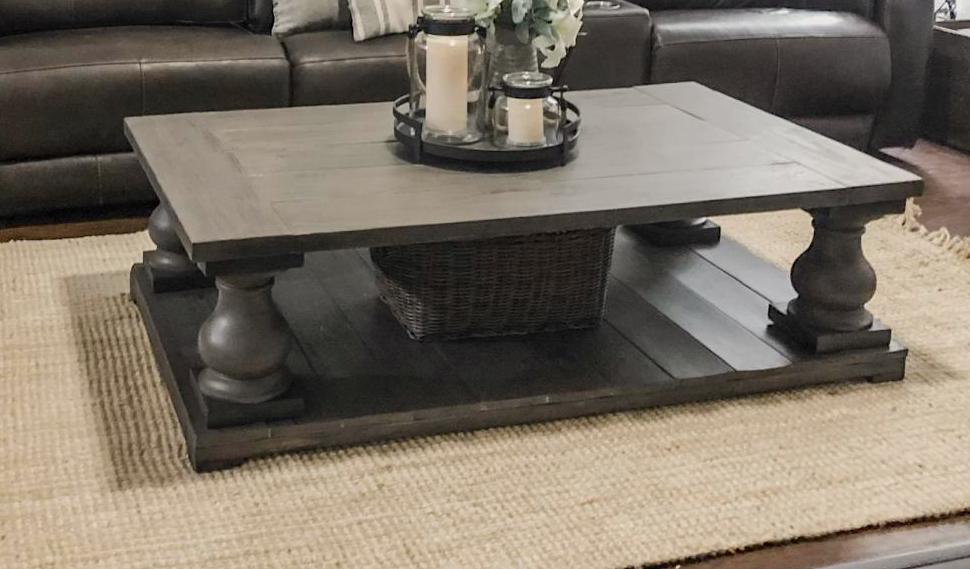
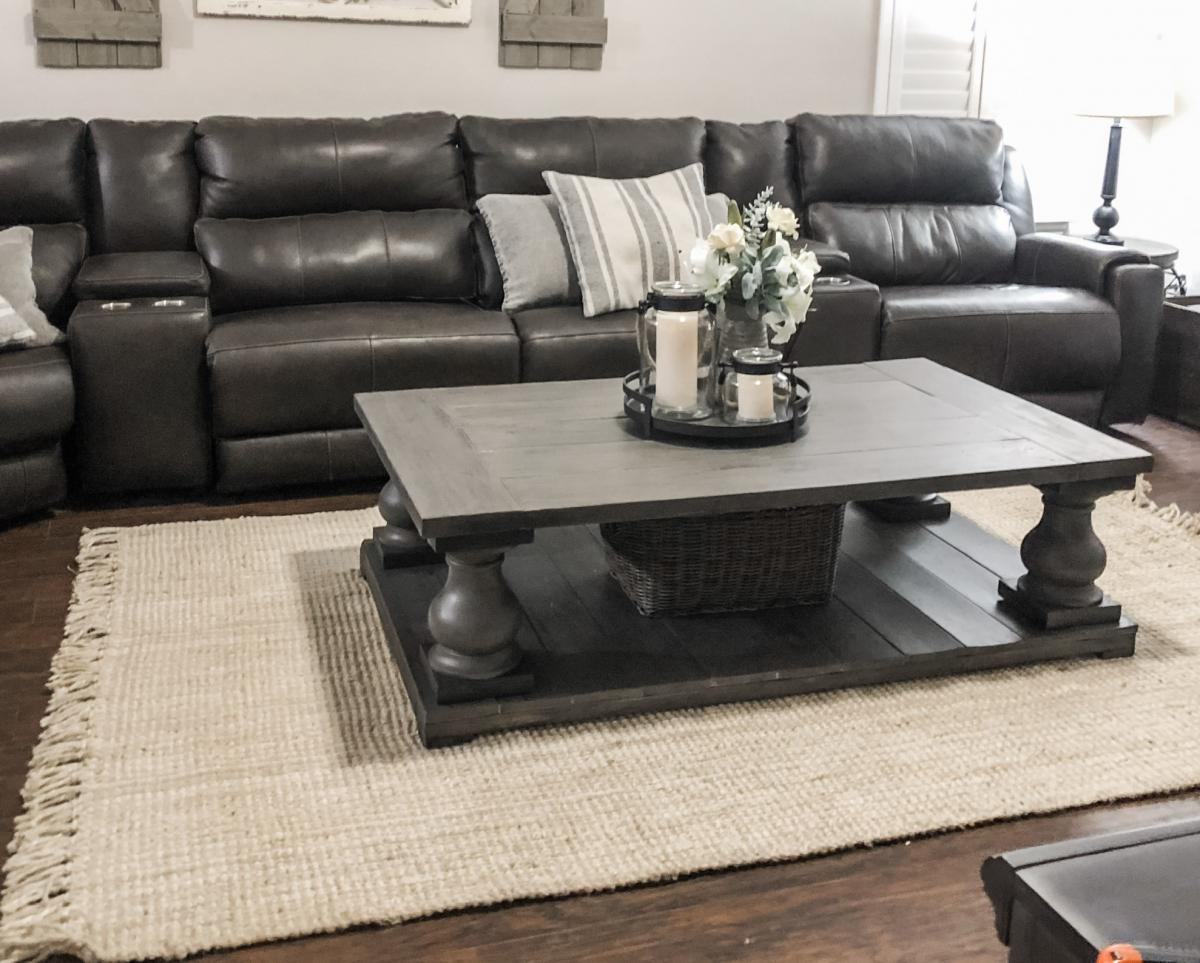
Cherry coffee table with herringbone tiled top

Submitted by monty742 on Sat, 03/14/2015 - 05:23

I altered the plan a little - this is 40" square.  I edge-glued planks for the bottom level, so I had them sit on top of the aprons instead of inside them.  Note: if you have top and bottom aprons attached to the legs before you put the bottom in (that will sit on top of the apron and not within), you can't get it on in one piece...oops. :) The most difficult part was the herringbone - figuring all the dimensions, cutting everything precisely, getting all pieces to fit, and finding a way to attach it to the framing boards and support in underneath.  I love the table, but I'm very frustrated with the finish.  It's so blotchy, and I tried to do everything correctly to prevent that (see info on the finish).  With every project I learn a few things...

Built from Plan(s)
Estimated Cost
Cherry isn't economical...$500. I used it because it matches the basement.
Estimated Time Investment
Week Long Project (20 Hours or More)
Finish Used
Minwax Wood Conditioner - don't follow the manufacturer directions here to apply the stain within 2 hrs...wait 24 hours and then apply stain or yours might be as blotchy as mine is...I got my Fine Woodworking magazine in the mail the day after I finished the project, and there was an article that showed the progression of blotchiness with the wood conditioner at different time intervals. Oh, if I had only waited a couple days to finish it!
Minwax Provincial Stain

Rusto-leum Matte Polyurethane
Recommended Skill Level
Intermediate

Comments

Train & car table

Submitted by Jrich on Thu, 04/25/2013 - 12:58

We customized the train table a bit and laminated the top into one solid piece so that we could paint a car map of our neighborhood on the underside. It's heavy! But with two boys in the house it's never really on anyways! :)

Built from Plan(s)
Estimated Time Investment
Week Long Project (20 Hours or More)
Finish Used
Tung oil
Recommended Skill Level
Beginner

Comments

mswendsen

Thu, 03/06/2014 - 22:26

I was wondering how you made it possible to lift and what the process was to do the map? I am wanting to do something like this for hot wheels for our friends son so he has something to play with when they come over.
Thank you

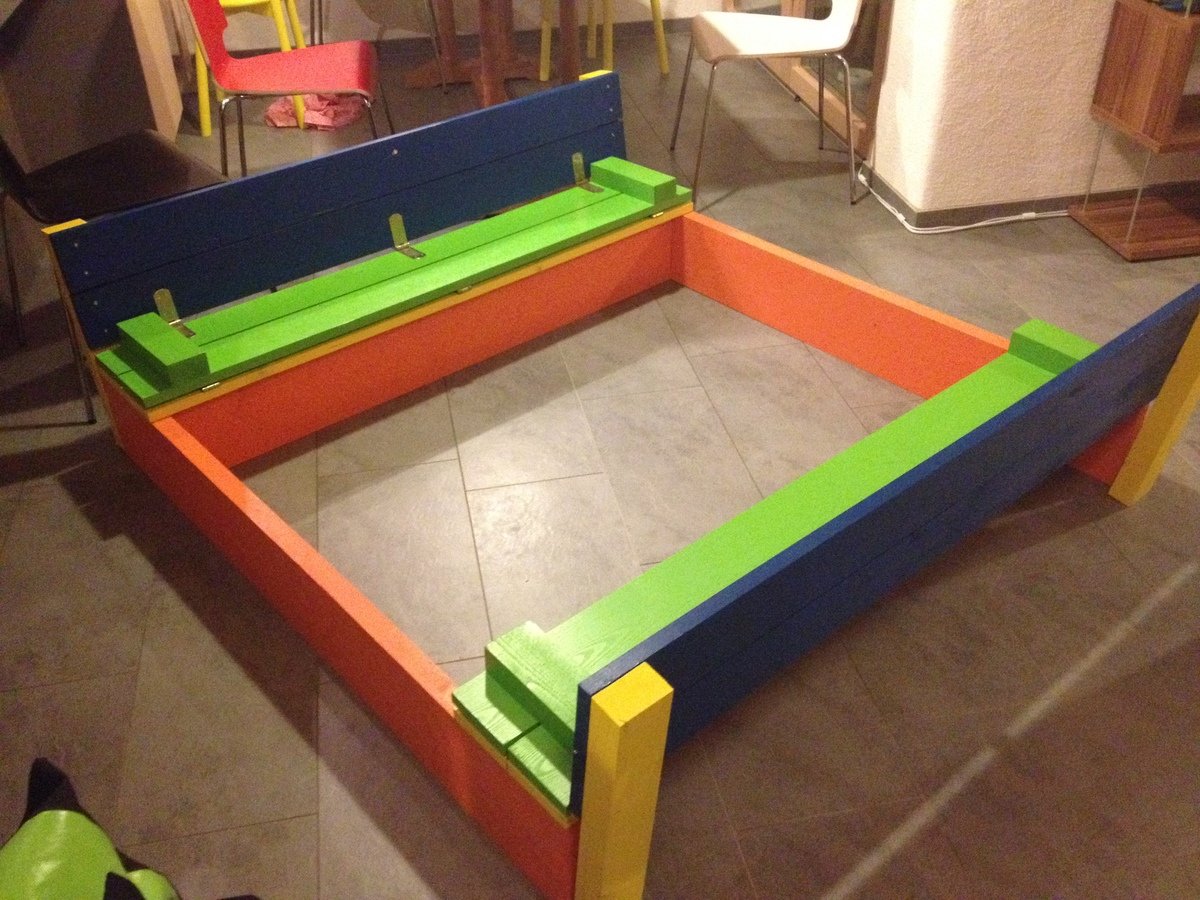
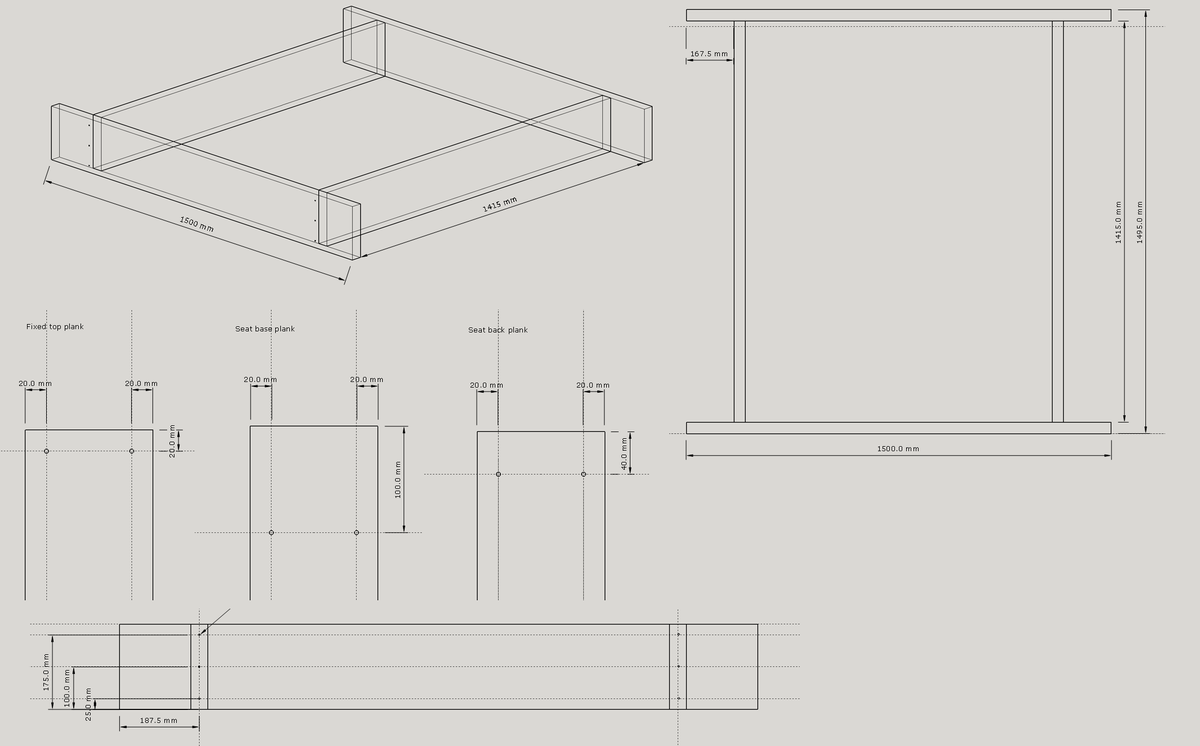
Sandbox with lid

Submitted by Klondike on Mon, 03/16/2015 - 15:57

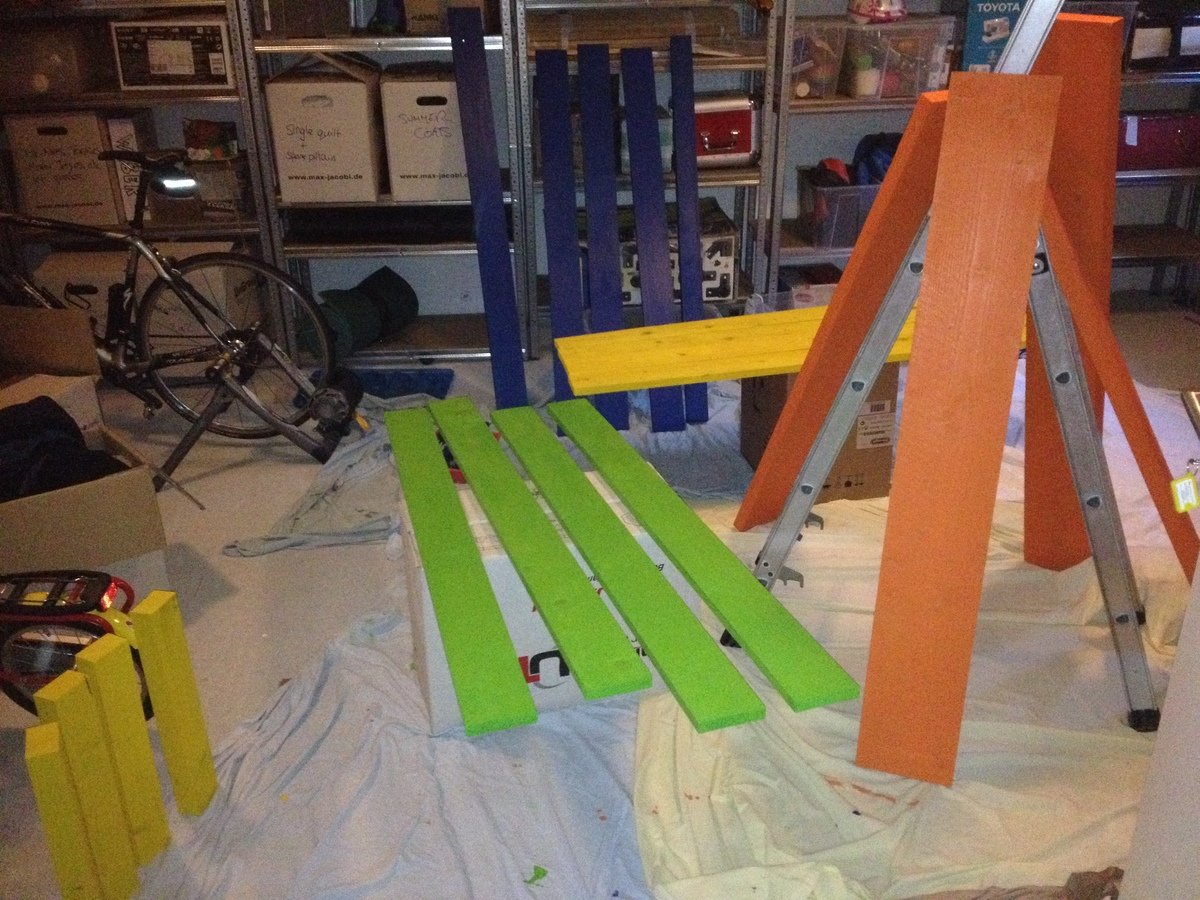
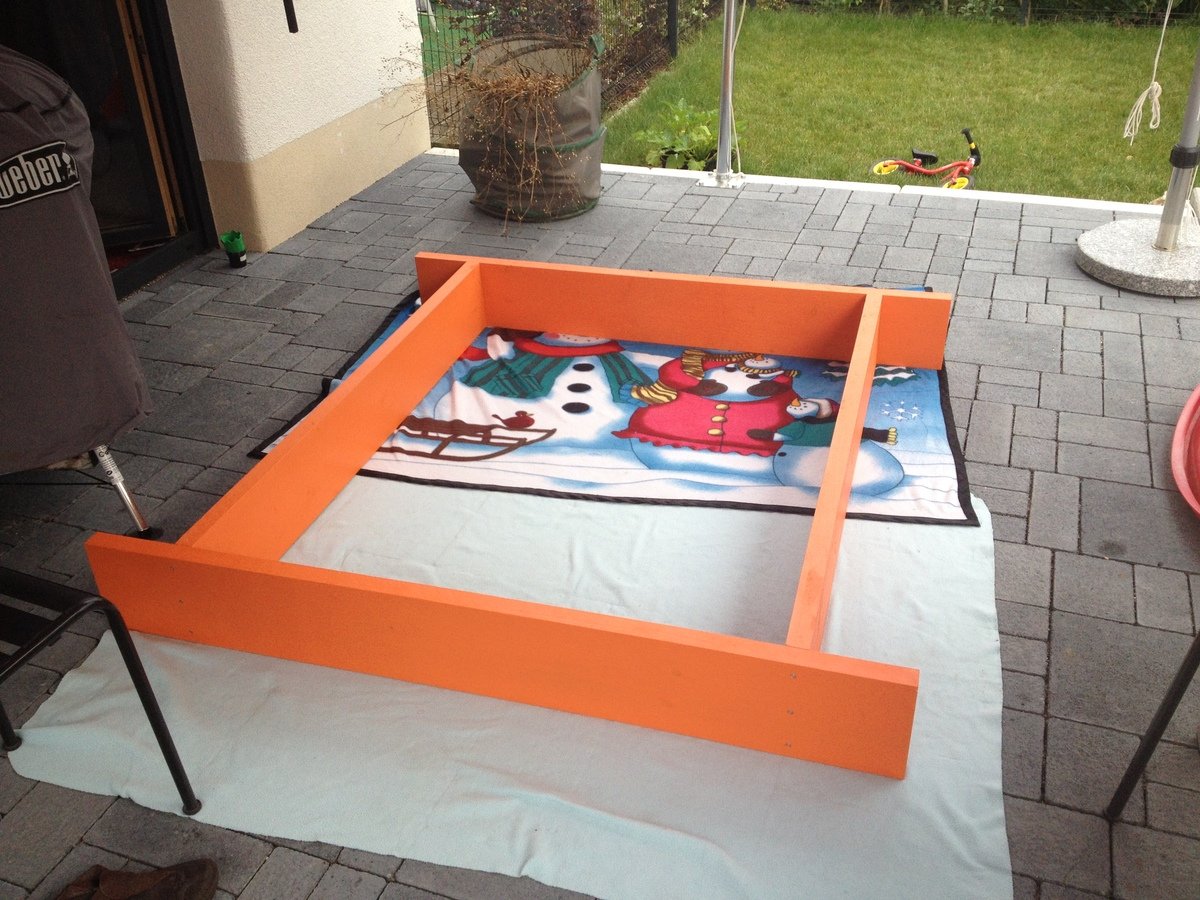
Sandbox with lid, painted first, then assembled. I had originally planned to alternate the colors on each board, but partially assembling it into the 5 large pieces and then painting made the process much more manageable.  

Built from Plan(s)
Estimated Cost
approximately $200, including wood, paint, and play sand to fill the box.
Estimated Time Investment
Week Long Project (20 Hours or More)
Finish Used
Latex exterior paint, primer plus three coats. Assembled the main box and each lid piece, painted separately, and then assembled. Could probably have been built in a single weekend except for paint drying times.
Recommended Skill Level
Intermediate

Comments

Klondike

Wed, 03/18/2015 - 23:04

Doing multiple colors added some additional work, but definitely pleased with how it came out.

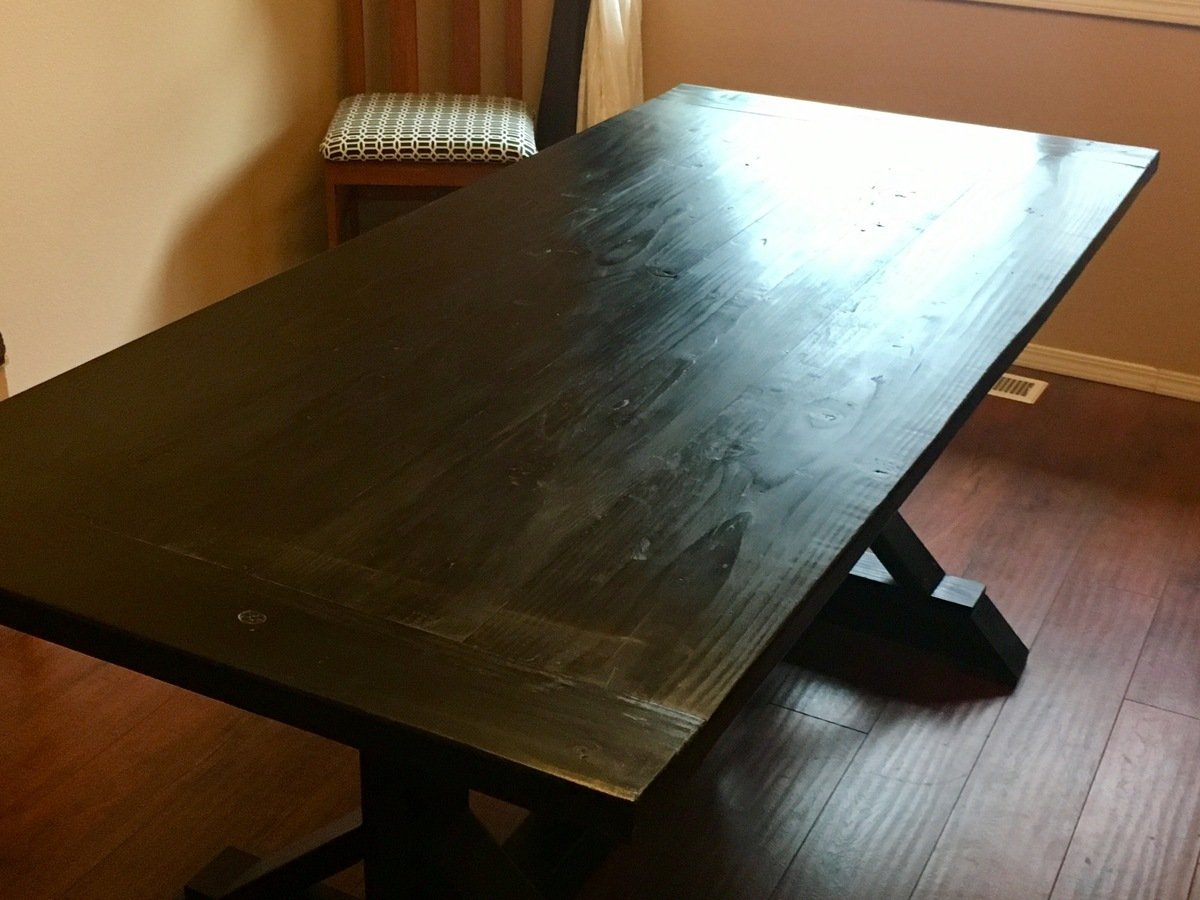
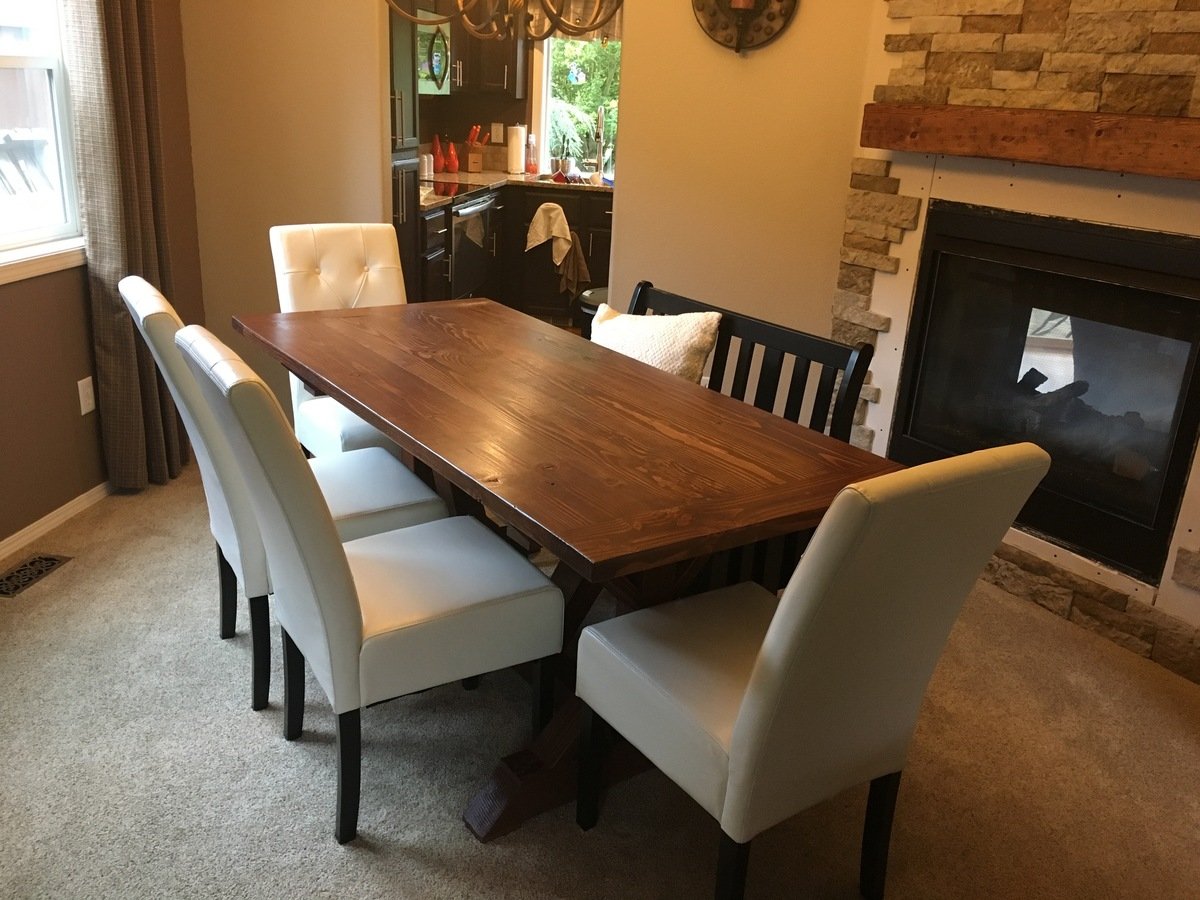
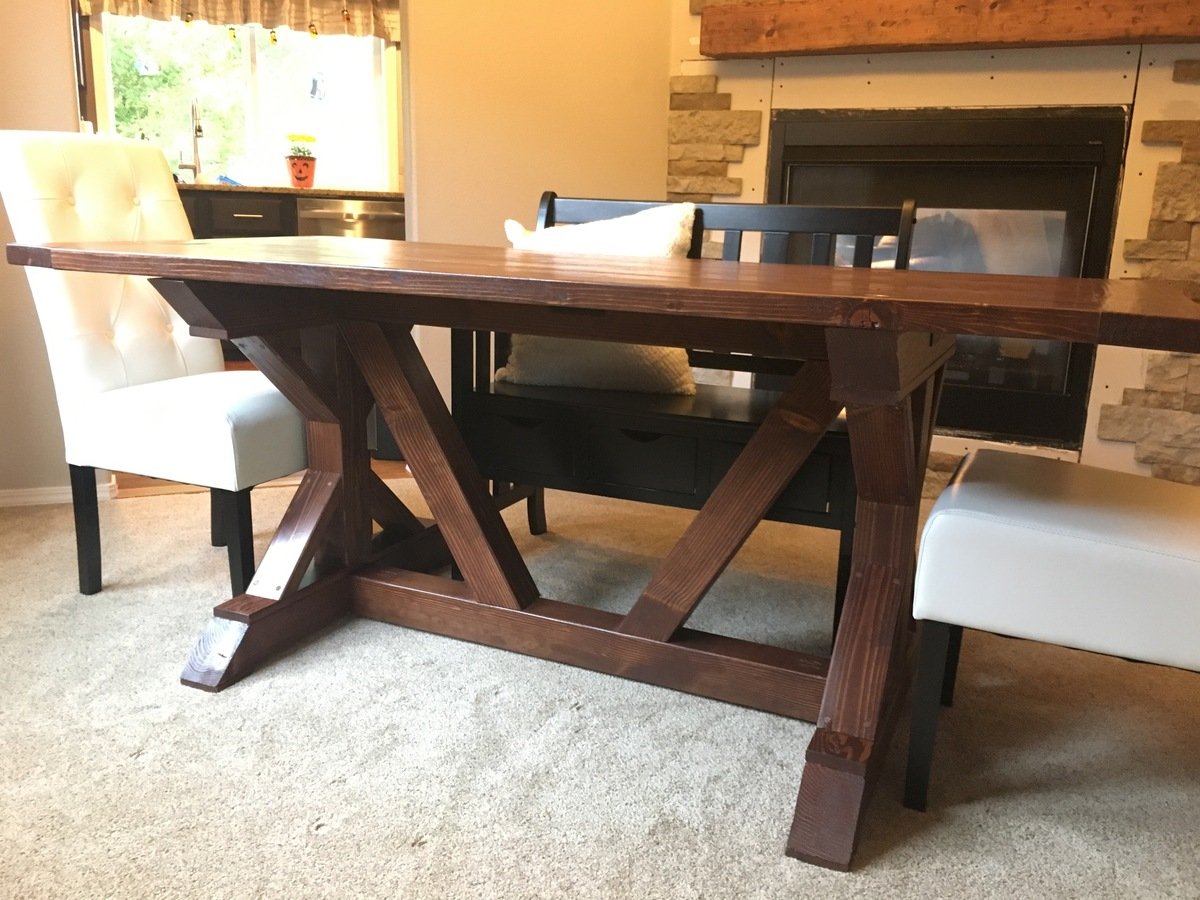
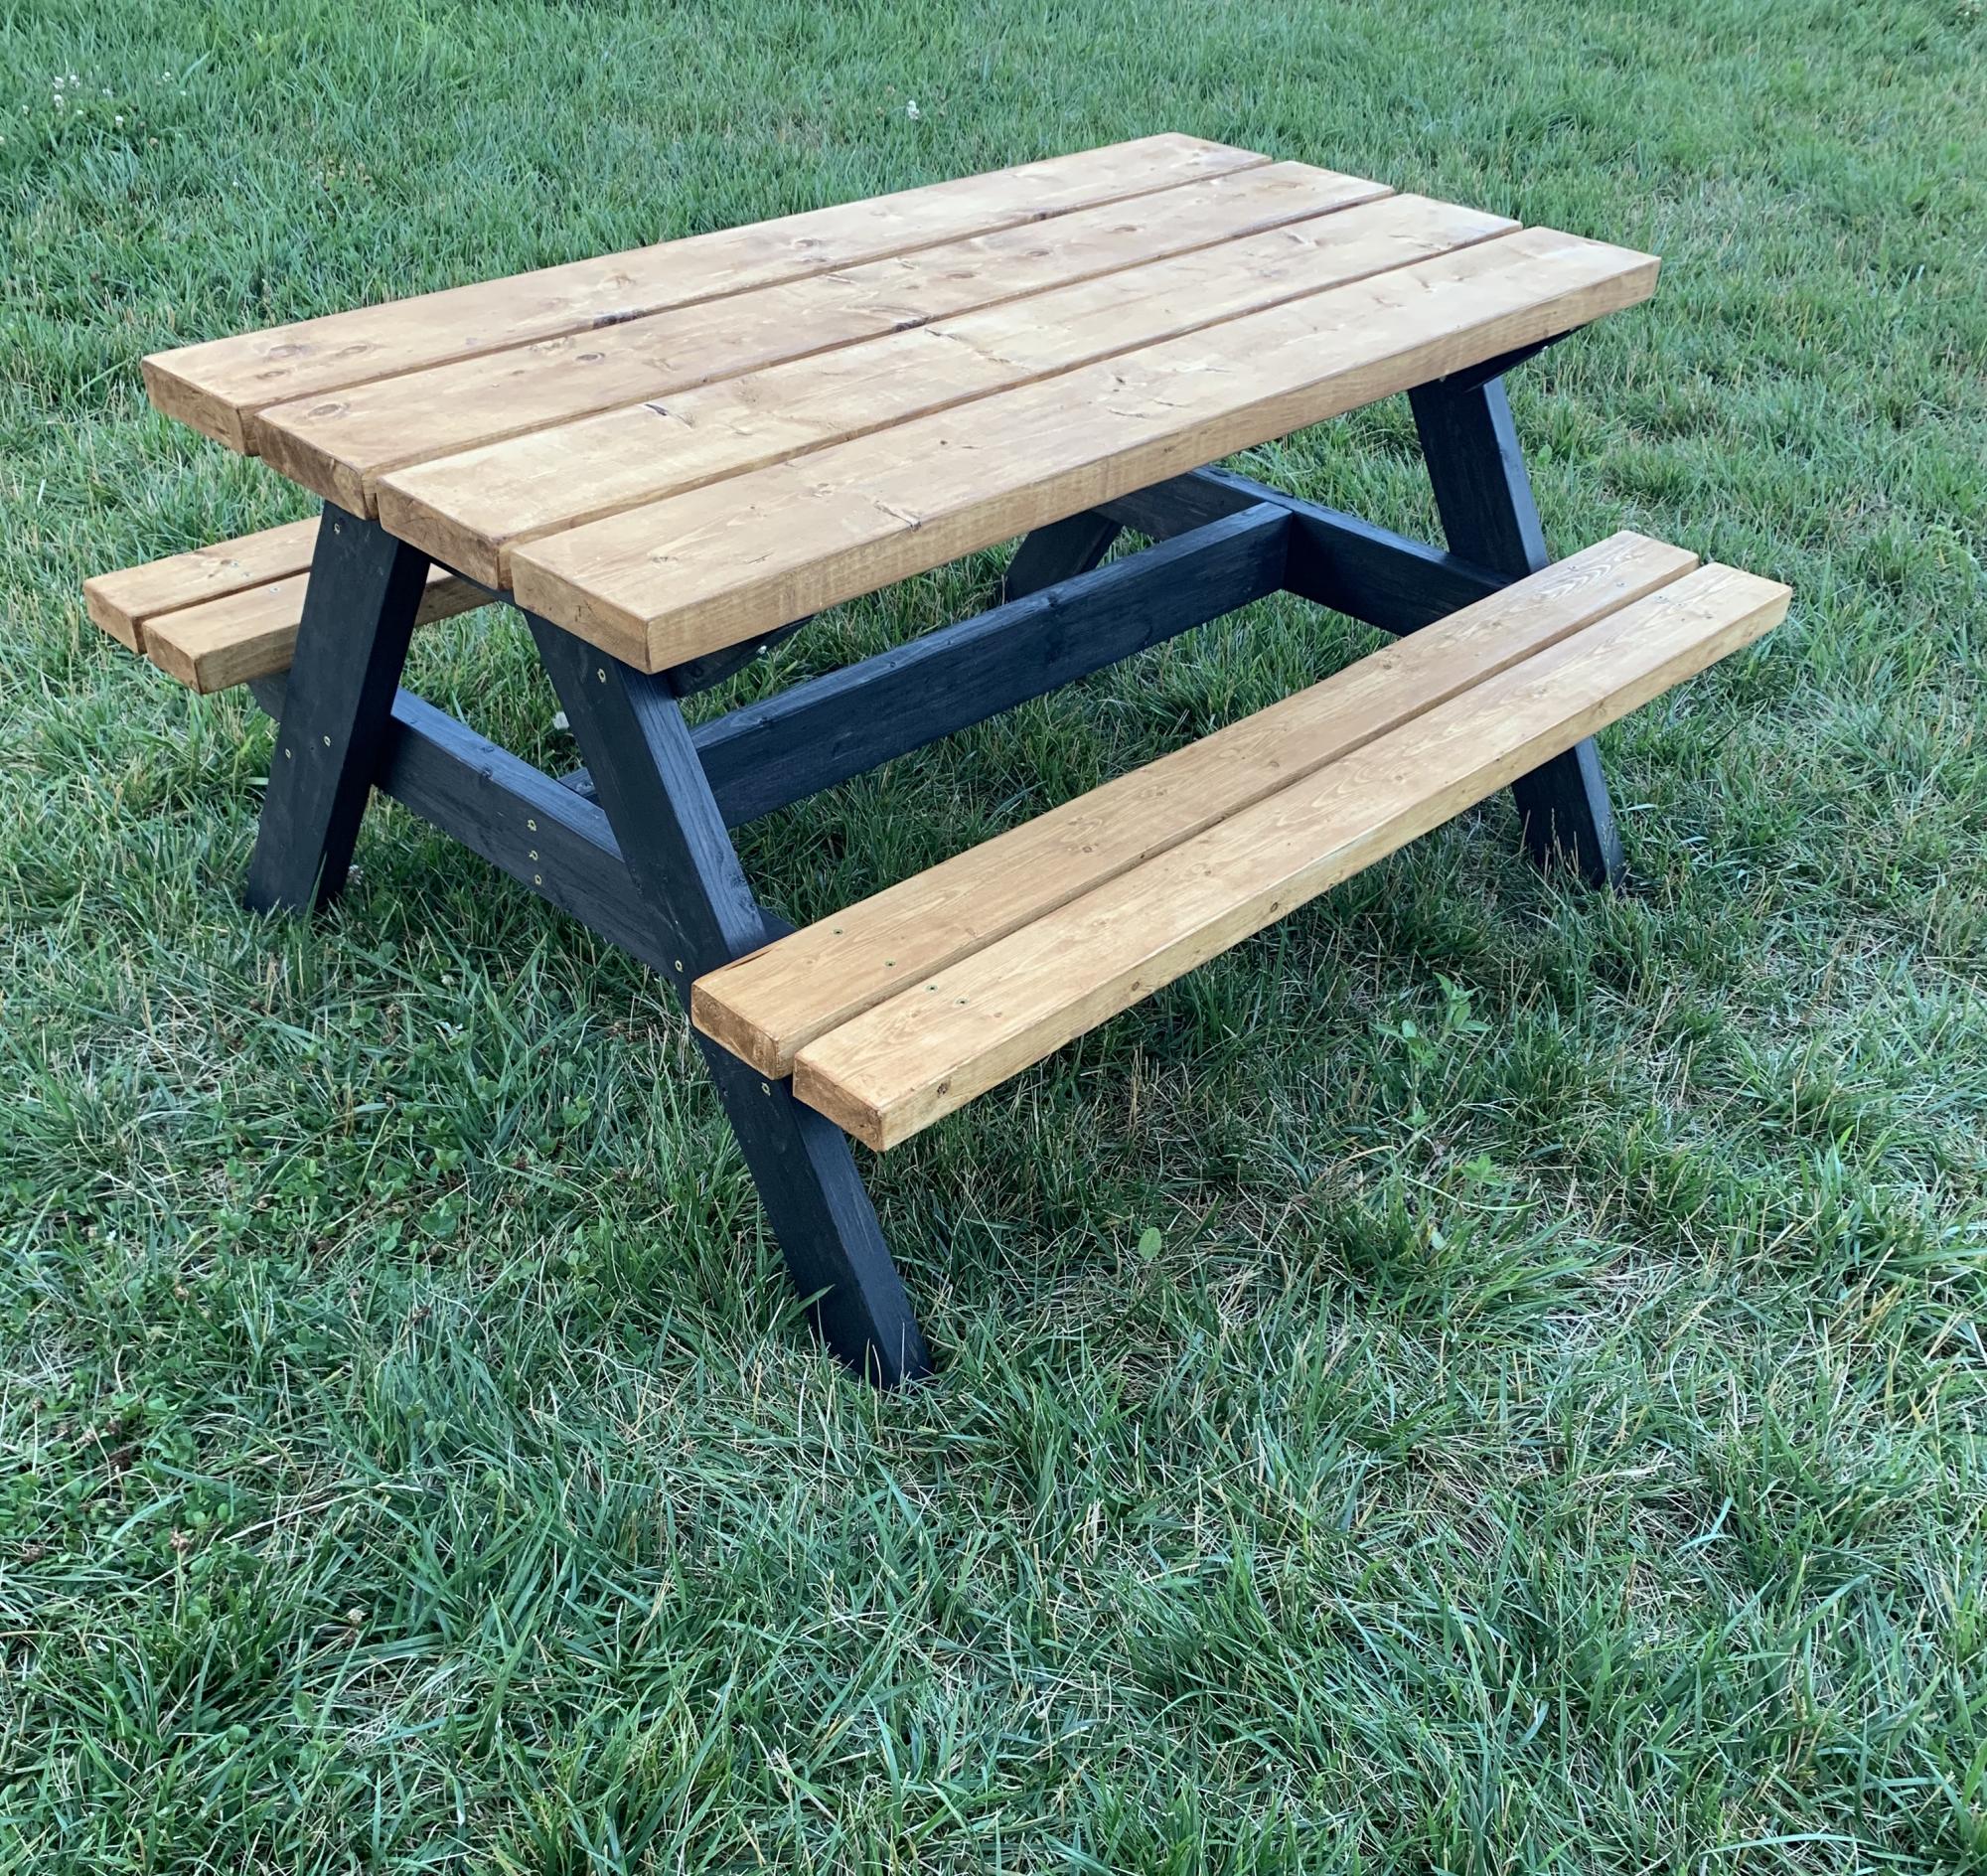
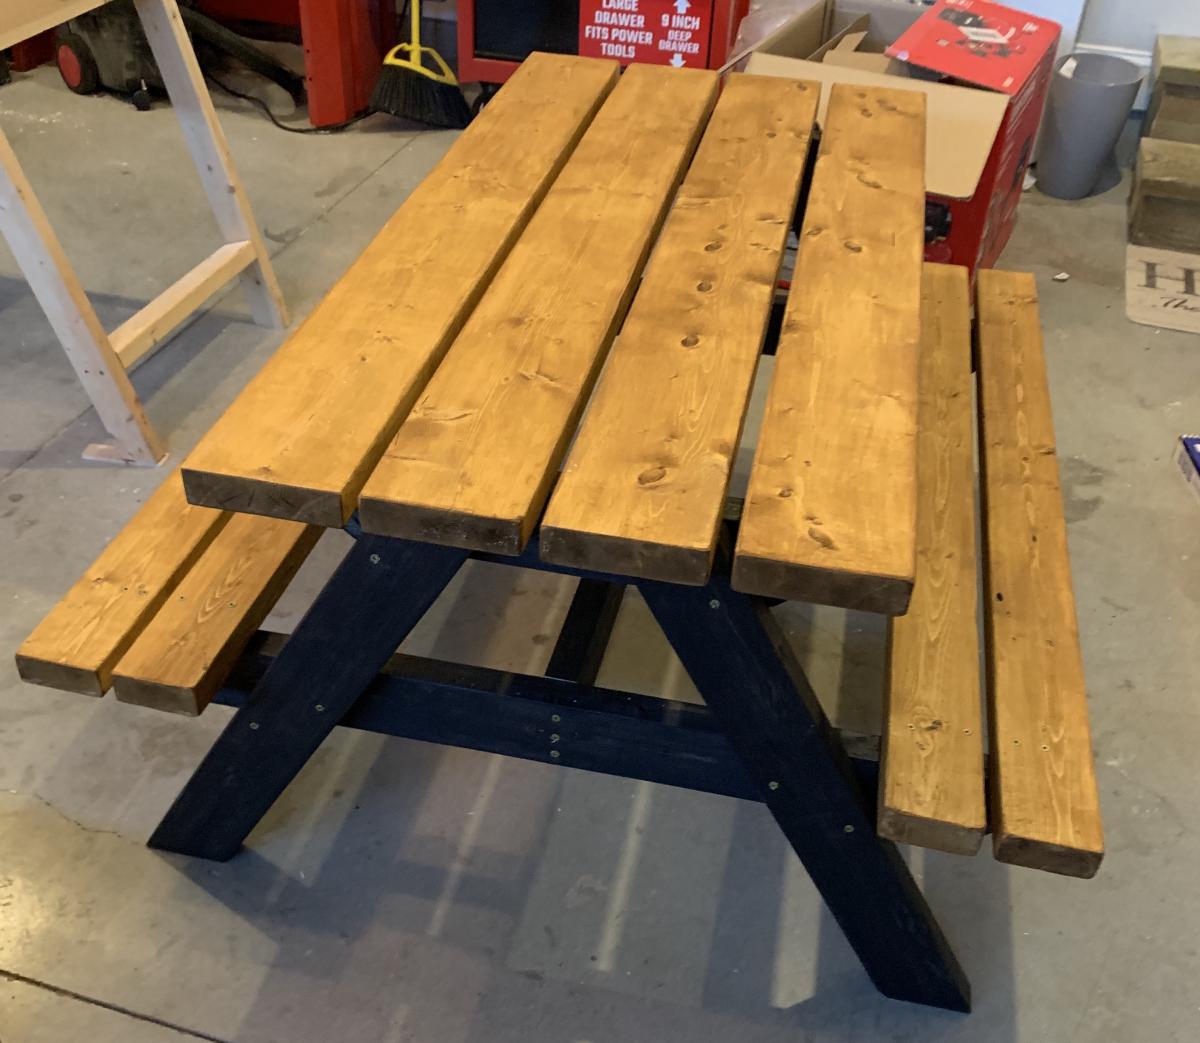
Fancy X

Submitted by Anonymous (not verified) on Tue, 06/13/2017 - 21:10

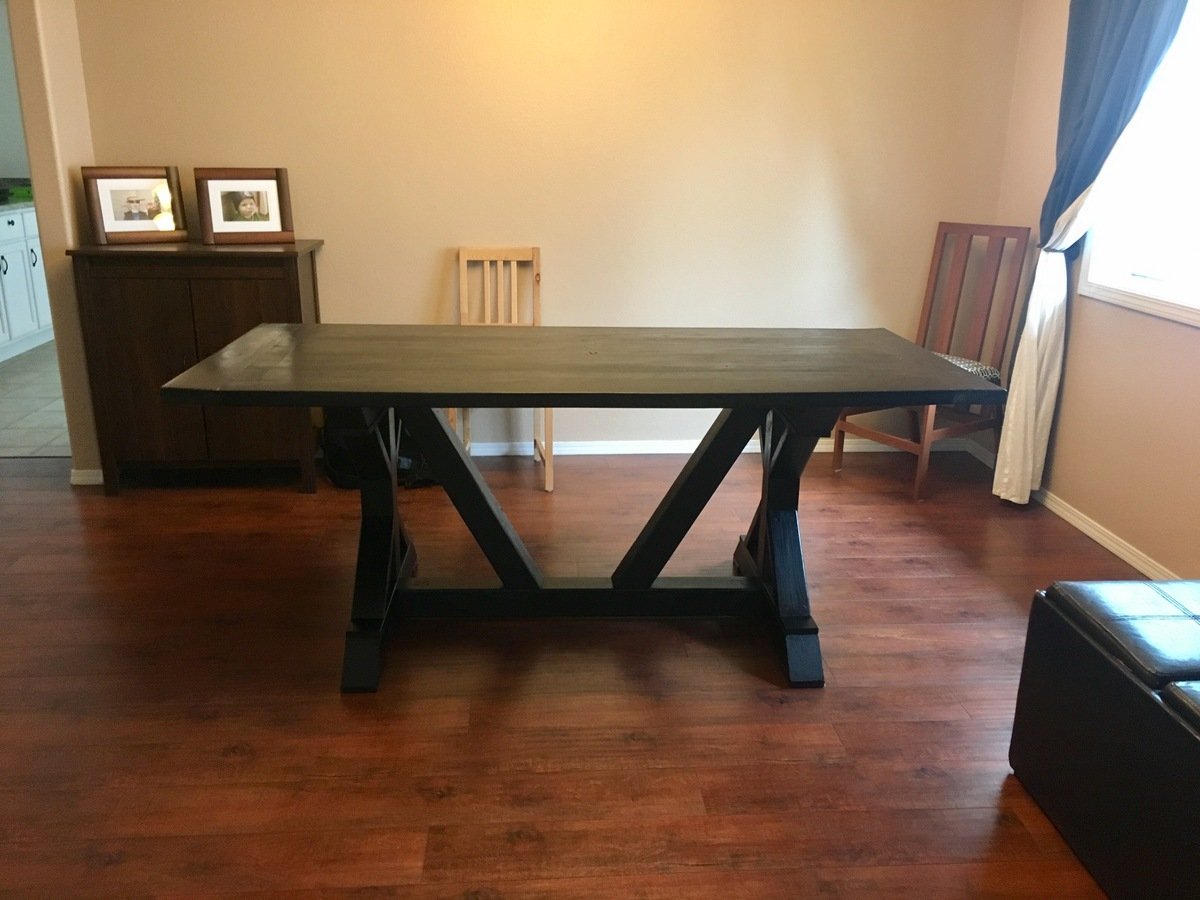
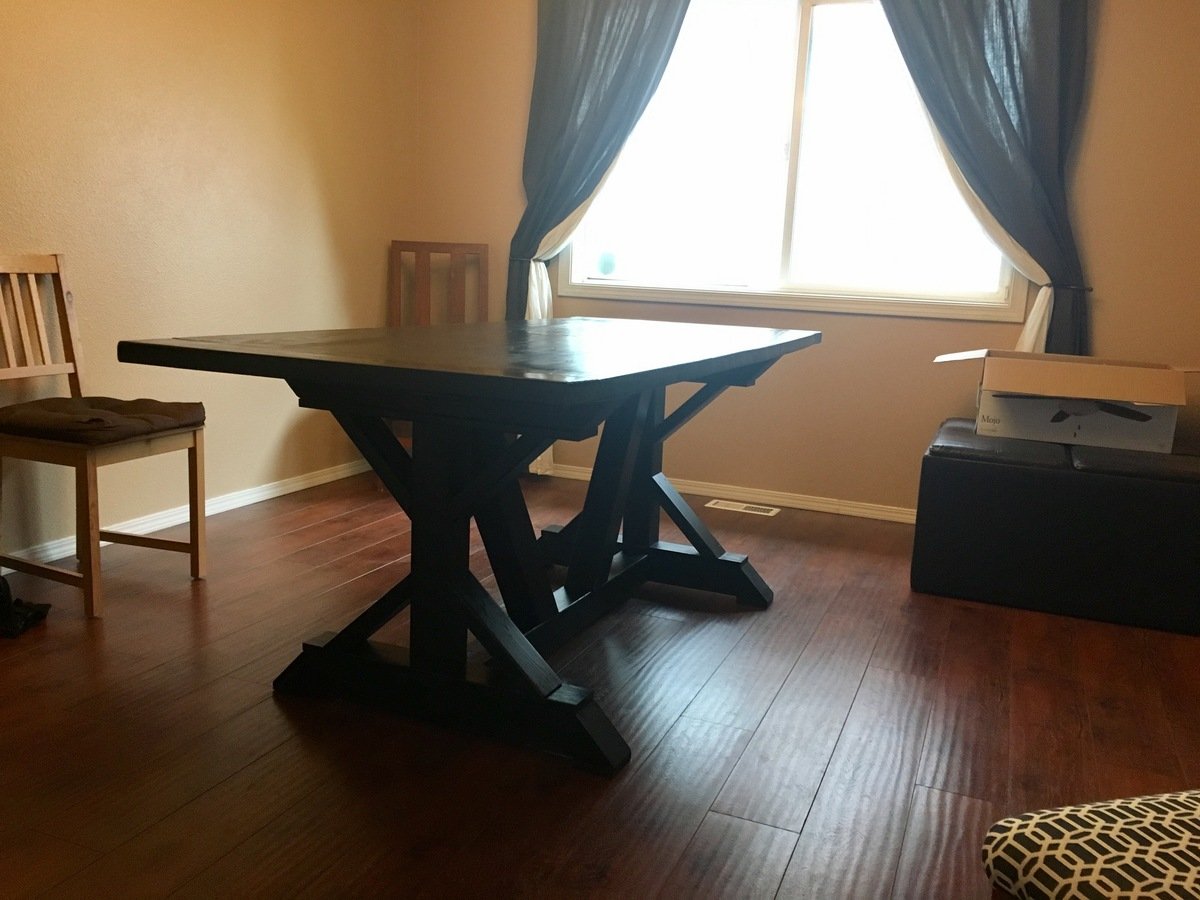
Second time building this table. Made it smaller, cutting support pieces to 45 rather than 60. Also tried 1X10 for the top.

Built from Plan(s)
Estimated Cost
$70
Estimated Time Investment
Day Project (6-9 Hours)
Finish Used
Swiss coffee white on base, lightly distressed. Top is Mix Wax Weathered Oak then watered down layer of Briarsmoke.
Recommended Skill Level
Beginner

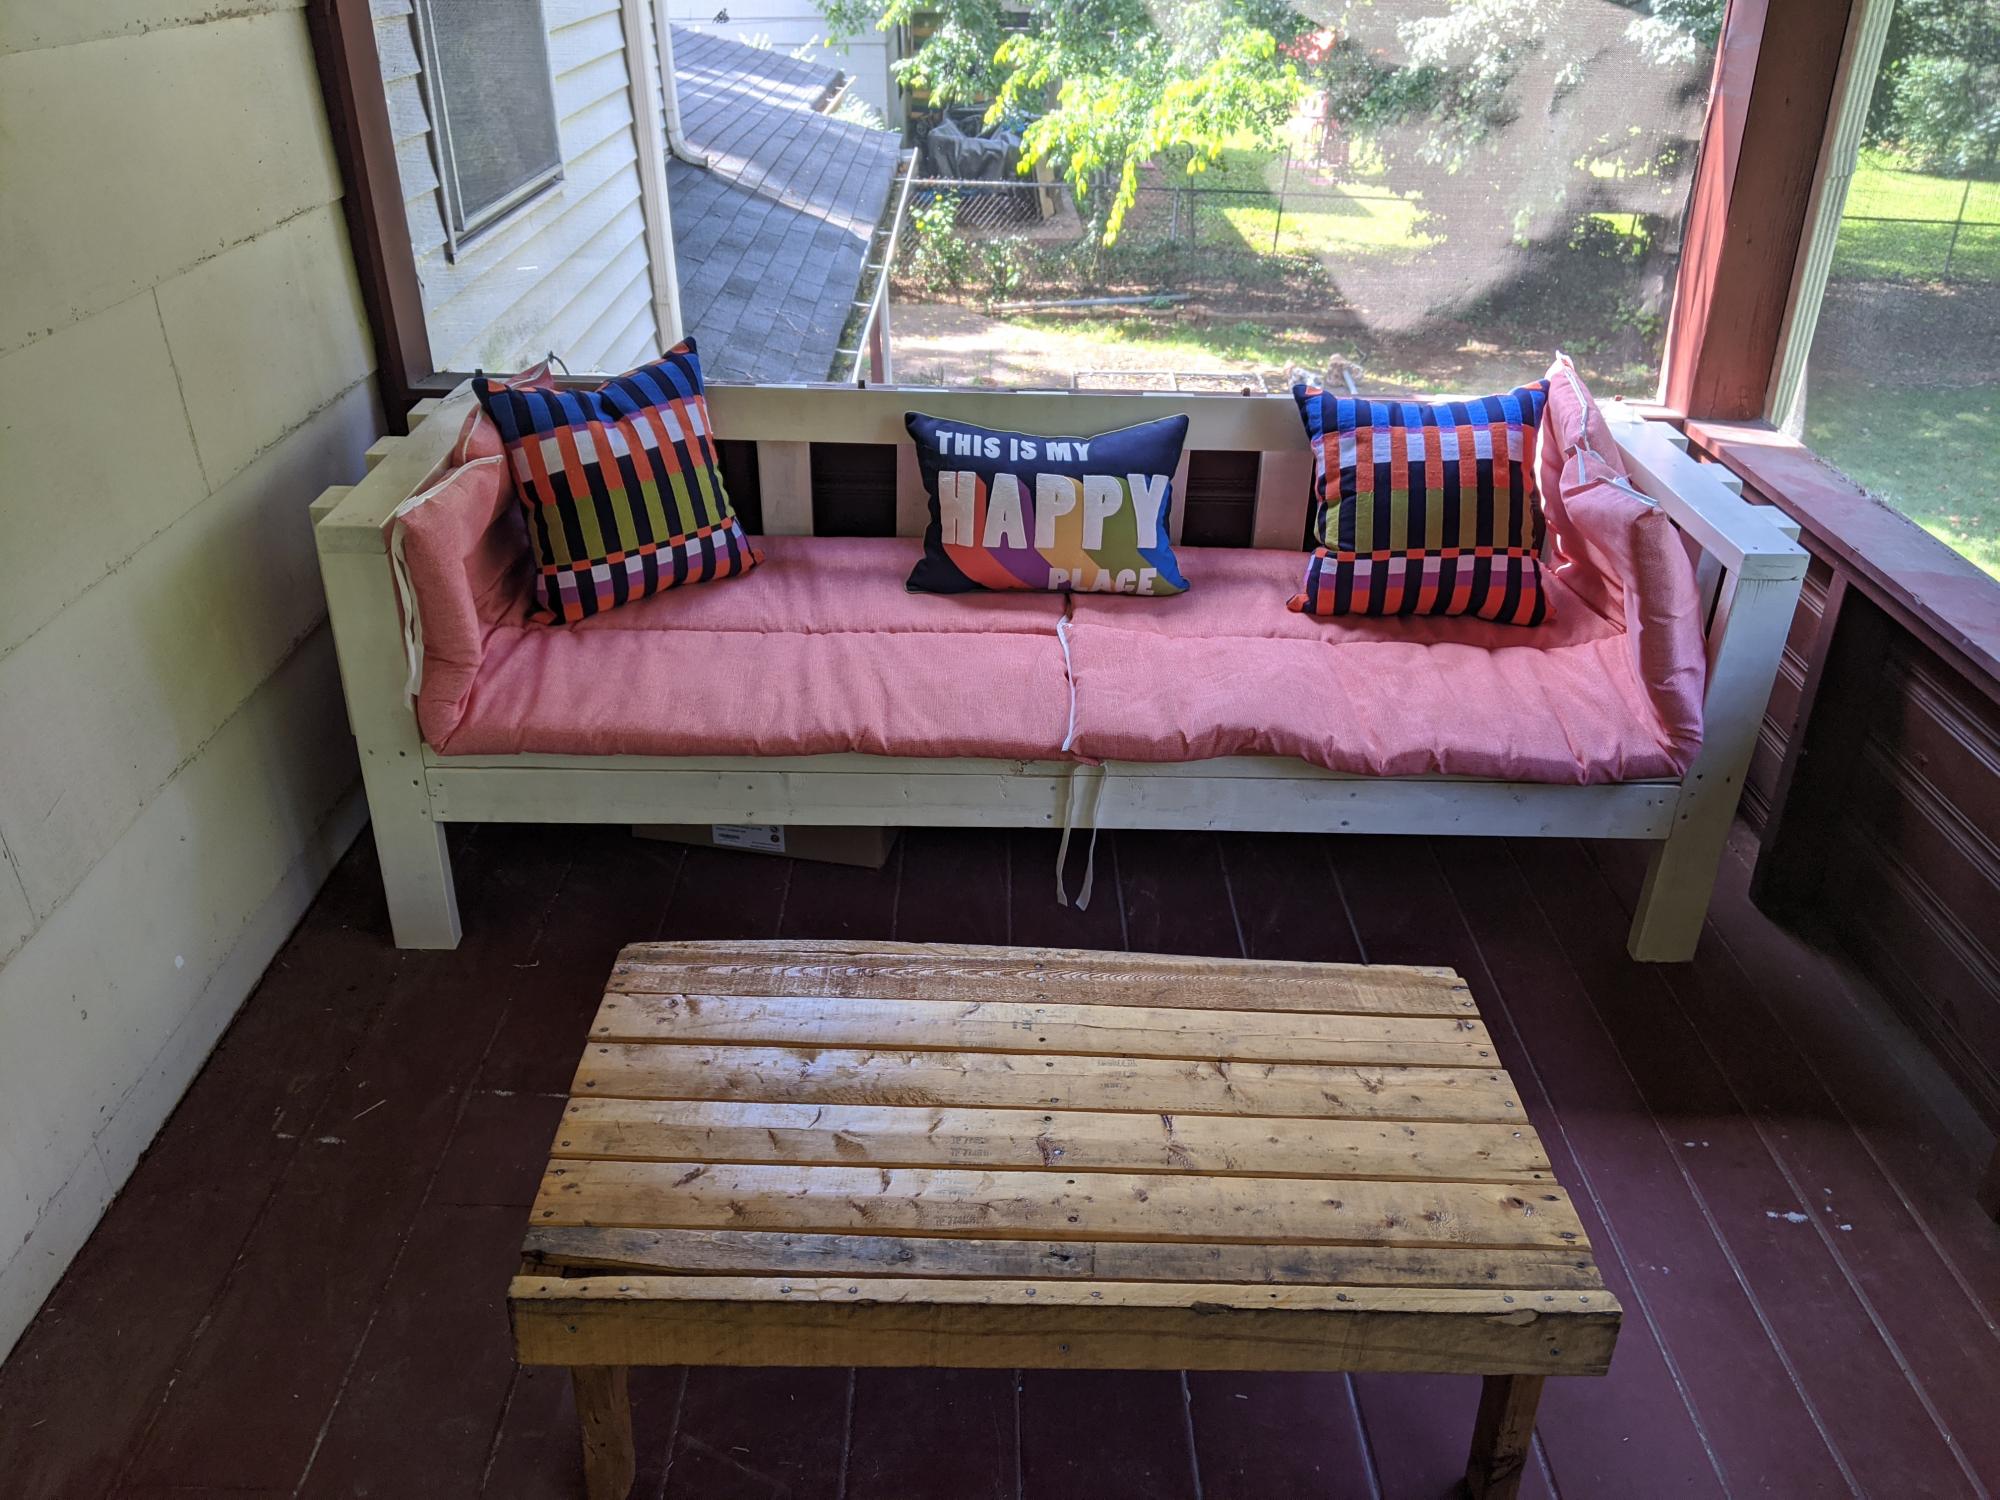
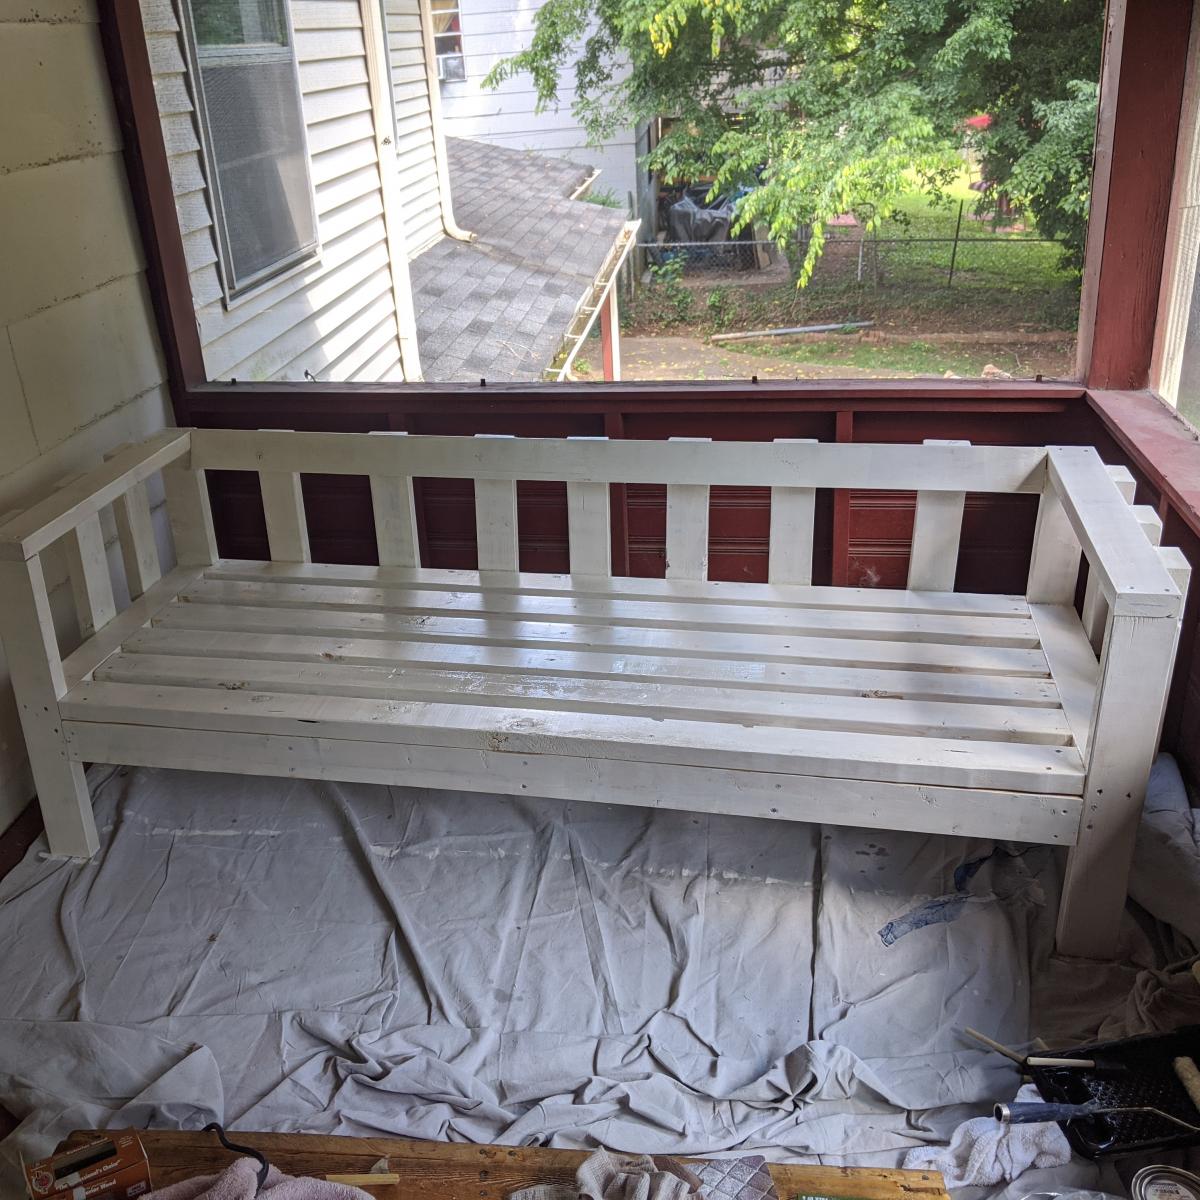
Outdoor sofa

Submitted by Anonymous (not verified) on Mon, 08/23/2021 - 17:05

Shortened the width for 22 inch wide cushions. Stained with golden oak minwax and finished with tung oil.

Estimated Cost
$150
Estimated Time Investment
Weekend Project (10-20 Hours)
Finish Used
Minwax golden oak, and tung oil finish
Recommended Skill Level
Beginner

Comments

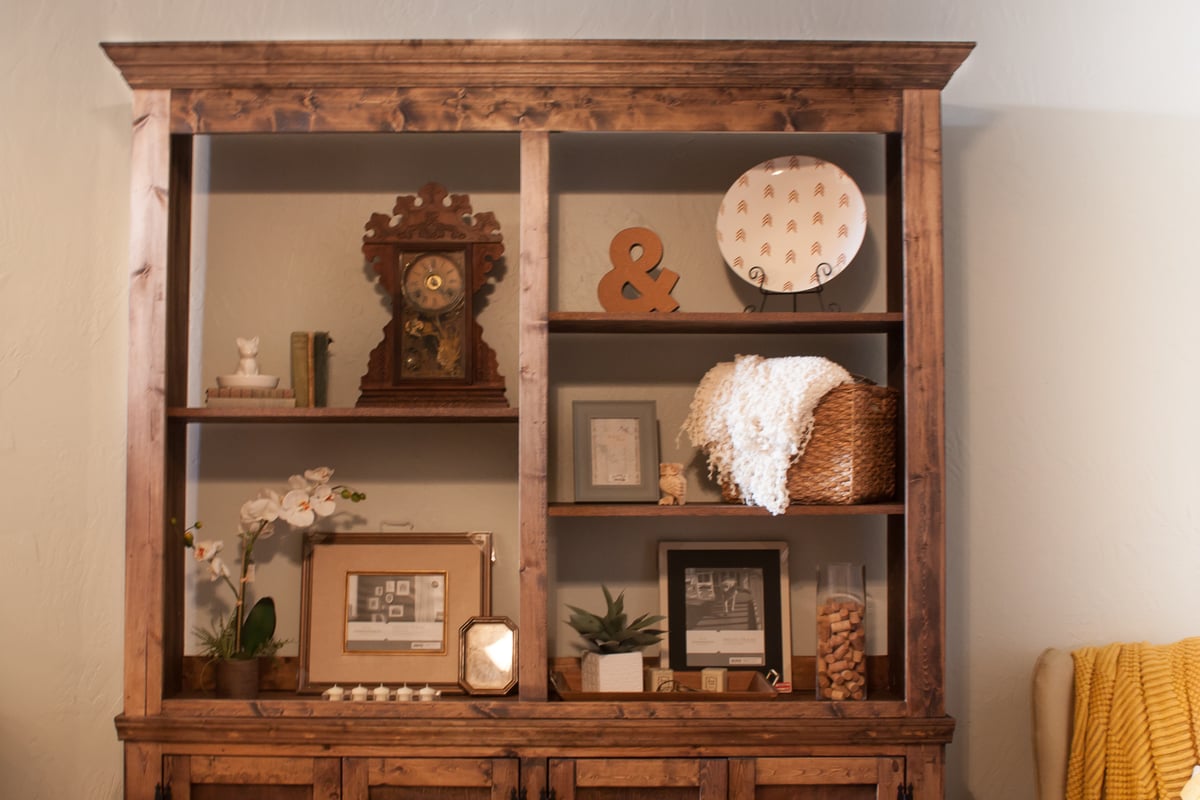
Petite Planked Wood Sideboard

Submitted by moosmani on Sun, 04/28/2013 - 14:22

I loved the look of the planked wood sideboard but it was too big for my space. I was inspired by Knot Perfect’s smaller version. I really liked everything about how his looked, including the finish. My finish didn’t turn out quite as nice as his, but I am still very happy with it.

Built from Plan(s)
Estimated Time Investment
Week Long Project (20 Hours or More)
Recommended Skill Level
Beginner

Comments

jbayer80

Sun, 04/28/2013 - 14:35

Wow....looks like you used the most expensive wood you could find...nice work!

anb80

Wed, 09/18/2013 - 10:16

I love it! Could you possibly post your measurements. I'm looking at building this for our entry way and the size looks about right. Also, what stain did you use. Great job!
Small Dresser

Submitted by Smokeydog on Wed, 03/18/2015 - 16:31

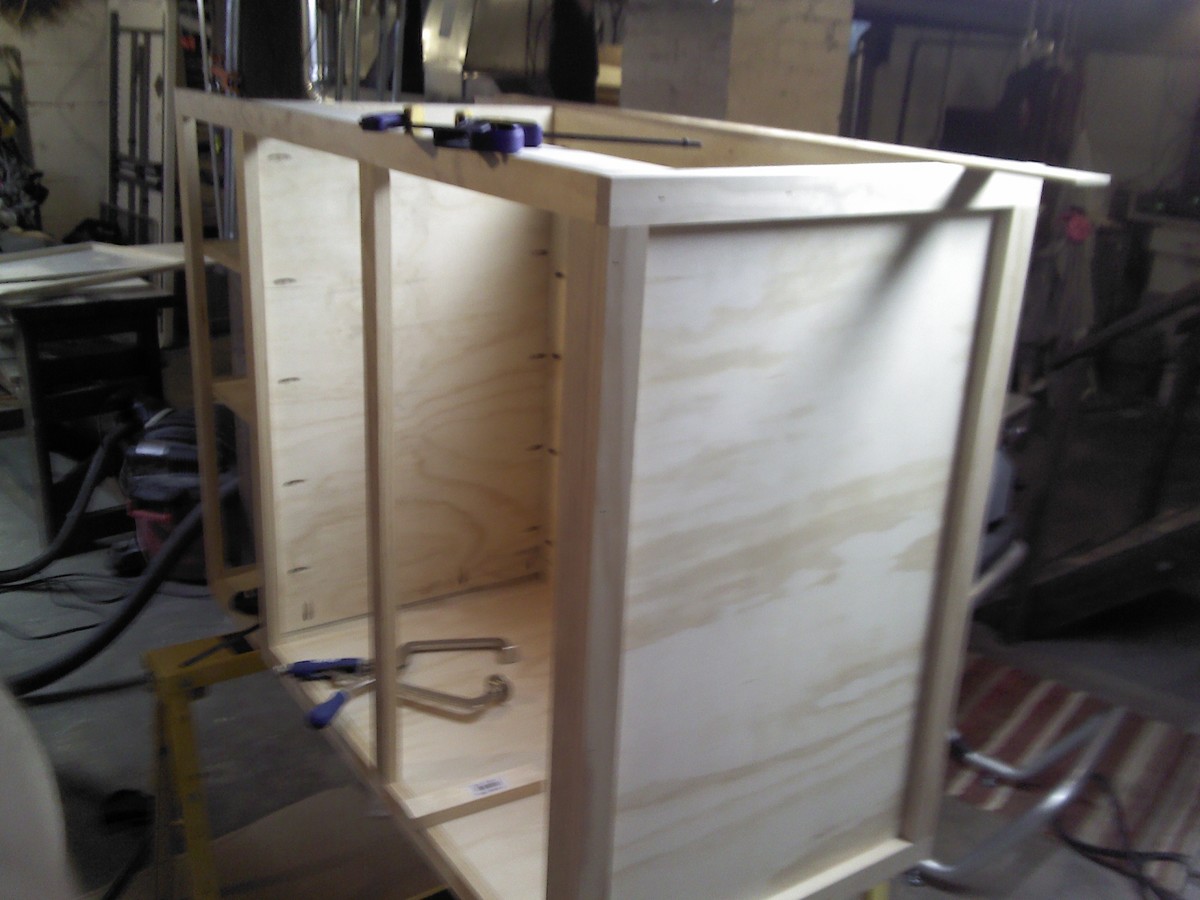
I made this dresser for a young lady who has never had any furniture unless it came from IKEA. Time to mix it up a little.  She was very delighted. The bulk of the dresser is poplar plywood with decorative birch trim.  I had trouble matching the paint color she wanted so I experimented by buying paint as close as I could find to the shade of grey she wanted and then mixed it with paint I had in the shop until I got the desired result.  I'm  no master at mixing paints.  I simply got lucky.  I traced out the decorative top using my wife's China serving platter and then routered the edge. Turned out OK and my wife was none the wiser.


Built from Plan(s)
Estimated Cost
130.00
Estimated Time Investment
Weekend Project (10-20 Hours)
Finish Used
Satin Paint
Recommended Skill Level
Intermediate

Comments

pde00311

Thu, 03/19/2015 - 13:00

The finish turned out amazing. How did you get the two toned effect on the drawers? Did you paint the grey face and the white molding separately? Also, is the molding flush with dresser frame?

Smokeydog

Thu, 03/19/2015 - 14:04

Thank you for your nice comment. The drawer face and trim were painted separately. The drawers are flush with the frame but the trim is not. The trim is attached to the drawer face and protrudes out from the frame. I liked the shadow effect that this created. I also decided to put white quarter round on the base of the dresser. This additional trim really makes it pop! I'll update the photo when this is completed.

Thanks again!

Ultimate work bench

Submitted by markmart74 on Fri, 06/16/2017 - 18:44

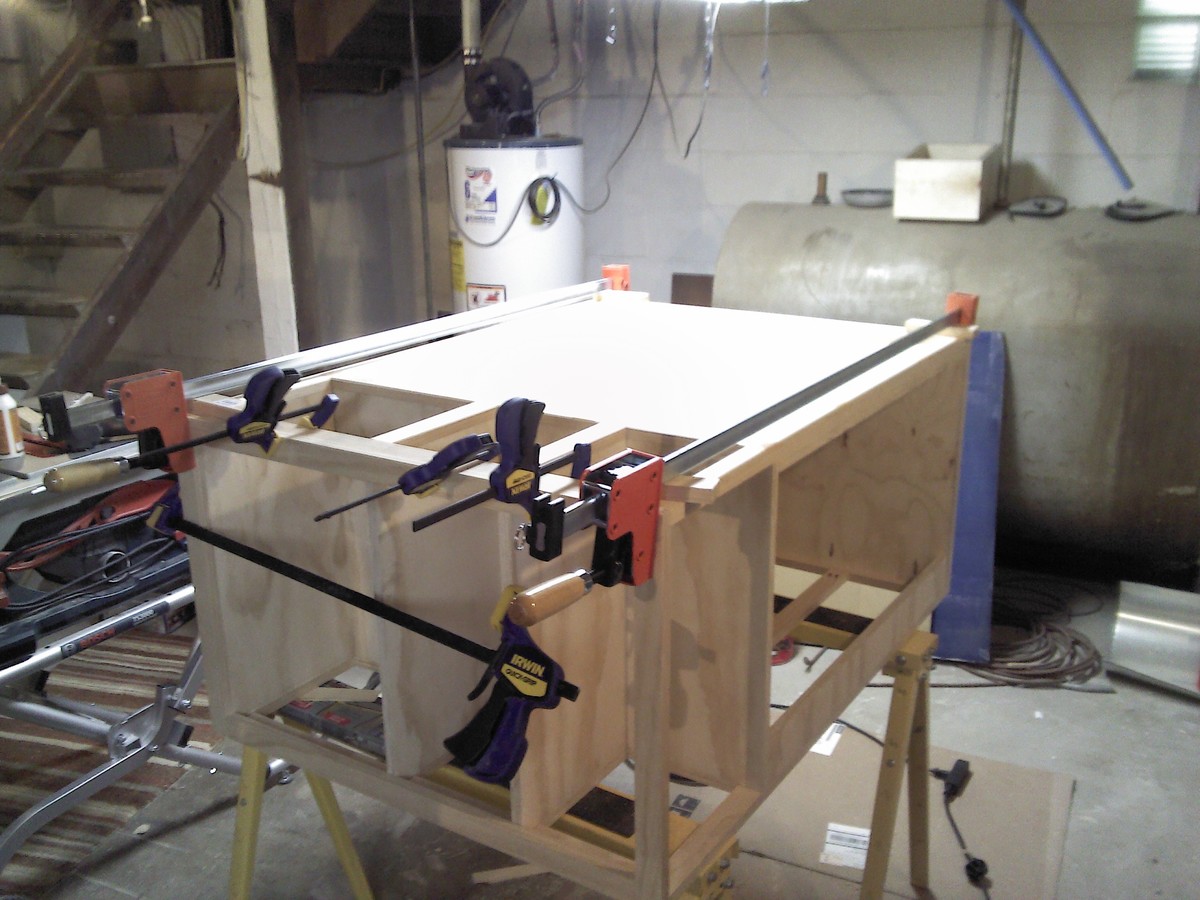
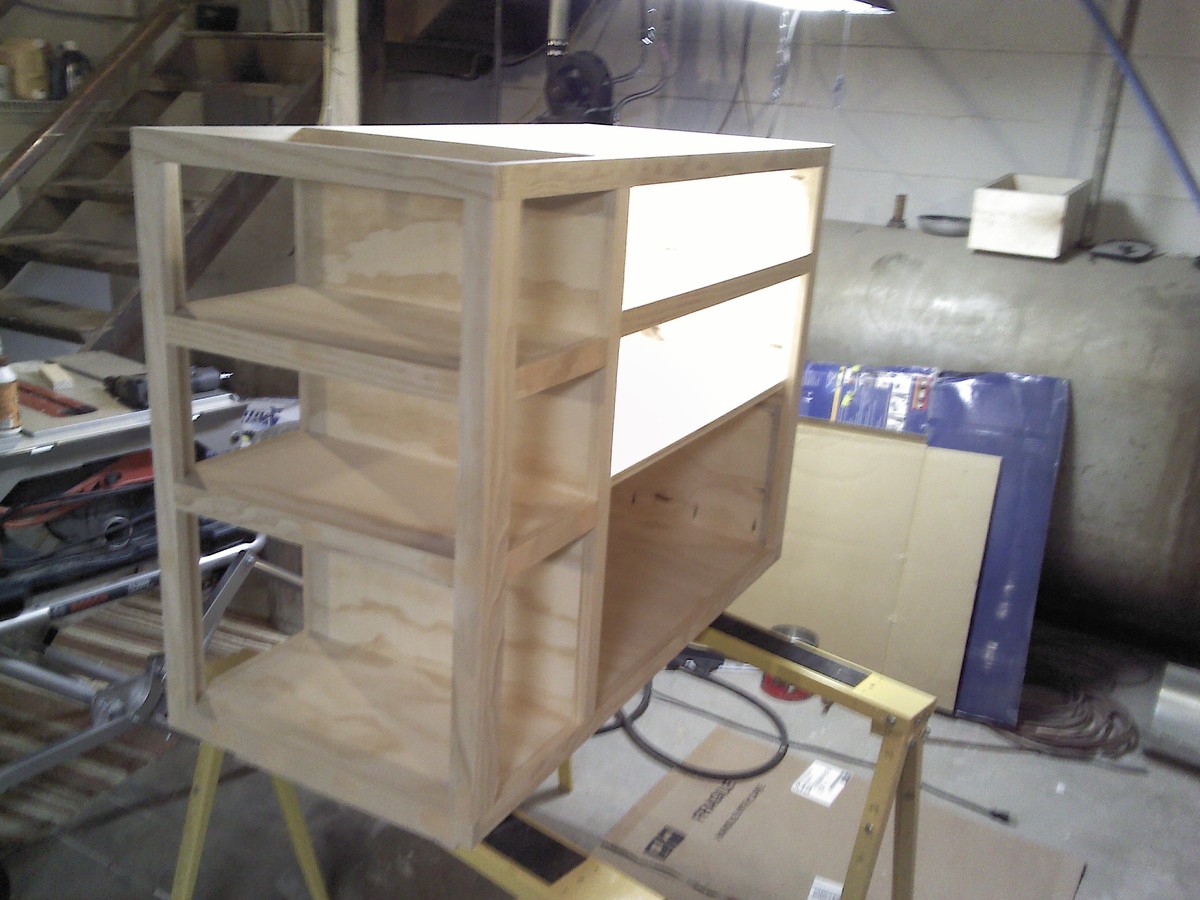
Tablesaw, router, fliptop mitersaw, and dust collection workbench. 

Recommended Skill Level
Intermediate

Comments

Outdoor Recording Studio Shed Build

Submitted by brittanyj on Wed, 09/01/2021 - 10:48

As an on camera actor, I found myself with zero work during the pandemic. All productions were shut down and my day job no longer existed. It was time to get creative.
Voice over work started booming, particularly for actors who could record from home, because recording studios were shut down. I've dabbled a bit in voice over and had been interested in diving in and took my first step by buying a sound reducing booth called a whisper room.

The problem? There was nowhere in our house to to put the 6'x8' booth. So it sat on the back porch for months, covered by a tarp.
For a woodworker, this just wouldn't do! It was time to build an out building to house the booth and have my own outdoor recording studio. I read endless books and watched videos on building recording studios and made my plans over a few months.

Finally, in March, I excavated the land and prepped it for a pour. We had a concrete guy come in and pour the slab.

As soon as that set, I began work from the ground up in building this fancy shed. It took me 3 months, but I learned so much about the basics of building a house, and now I am auditioning for professional projects in my beautiful studio. I couldn't be prouder.

I ran electric, ethernet, I put in flooring, I roofed, drywalled, made a custom door threshold, inserted a window and framed every last bit of this building. There were bumps along the way- to be expected in a one person build- but she's done and ready for work.

I documented the build from start to finish here: https://www.youtube.com/watch?v=yPcEW6cqhcQ

Comments

Modern Farmhouse Table and Bench

Submitted by sherm917 on Mon, 04/29/2013 - 19:56

This was my first project. It took me a longer time than planned because I kept making mistakes and kept going back and trying to fix them. The plan was simple enough and I learned alot from this project. I can't wait to start my next one!

Built from Plan(s)
Estimated Time Investment
Week Long Project (20 Hours or More)
Finish Used
MINWAX POLYSHADES Mission Oak Satin, 2 coats
Recommended Skill Level
Starter Project

Dog Bowls

Submitted by tedgray86 on Fri, 03/20/2015 - 21:41

Dog bowls made from scrap wood!  Super Easy!

Estimated Time Investment
An Hour or Two (0-2 Hours)
Recommended Skill Level
Beginner

Comments

Evie's Garden

Submitted by Anonymous (not verified) on Tue, 06/20/2017 - 21:20

   This was a great weekend project with help from my two nephews. My 4 year old daughter had been asking to grow a garden and has really enjoyed watering and watching everything grow!! She makes sure to check on everything daily!! Fun project!!

Built from Plan(s)
Estimated Time Investment
Weekend Project (10-20 Hours)
Finish Used
None
Recommended Skill Level
Beginner