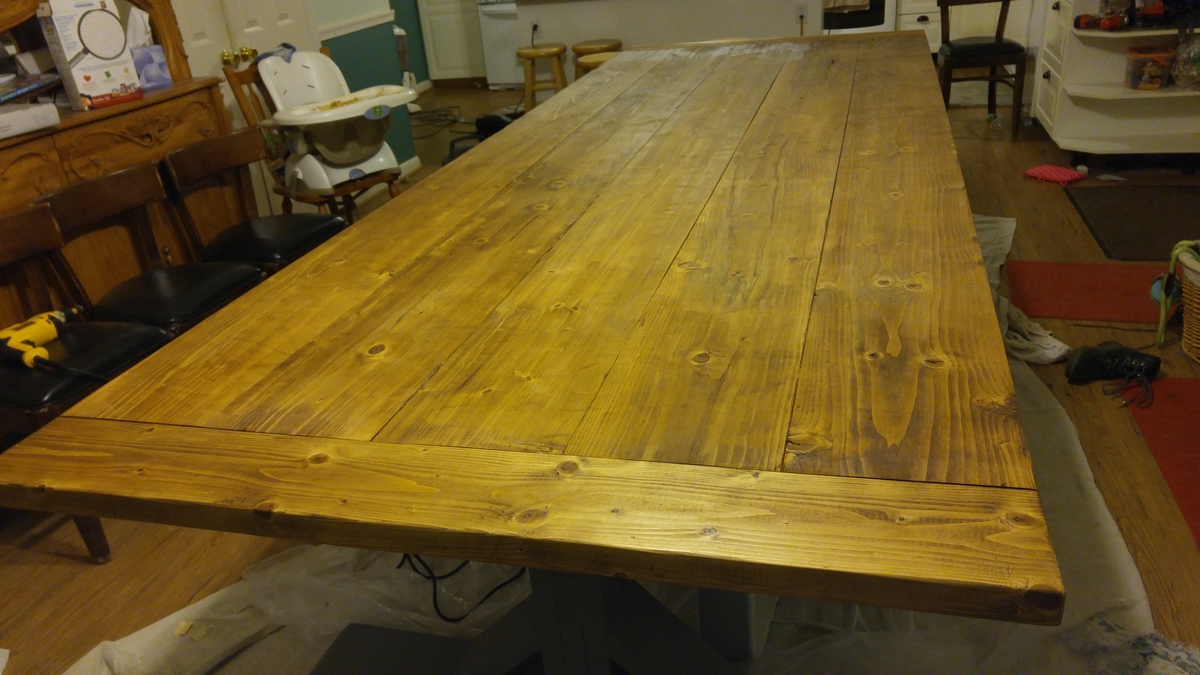
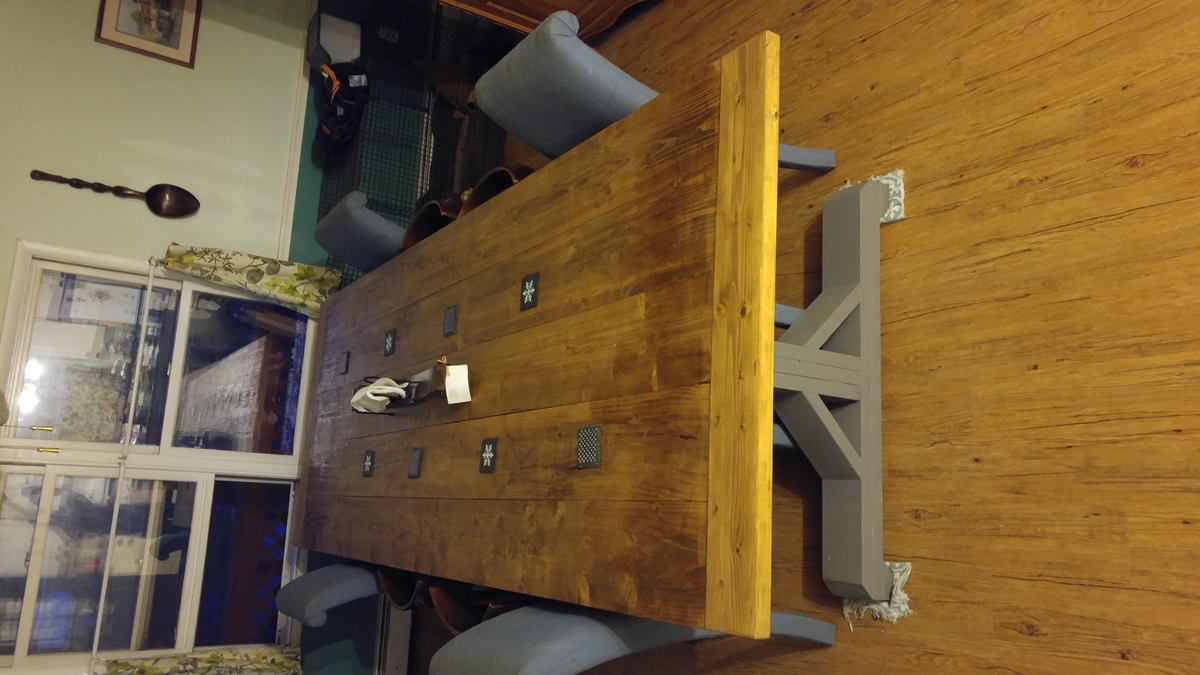
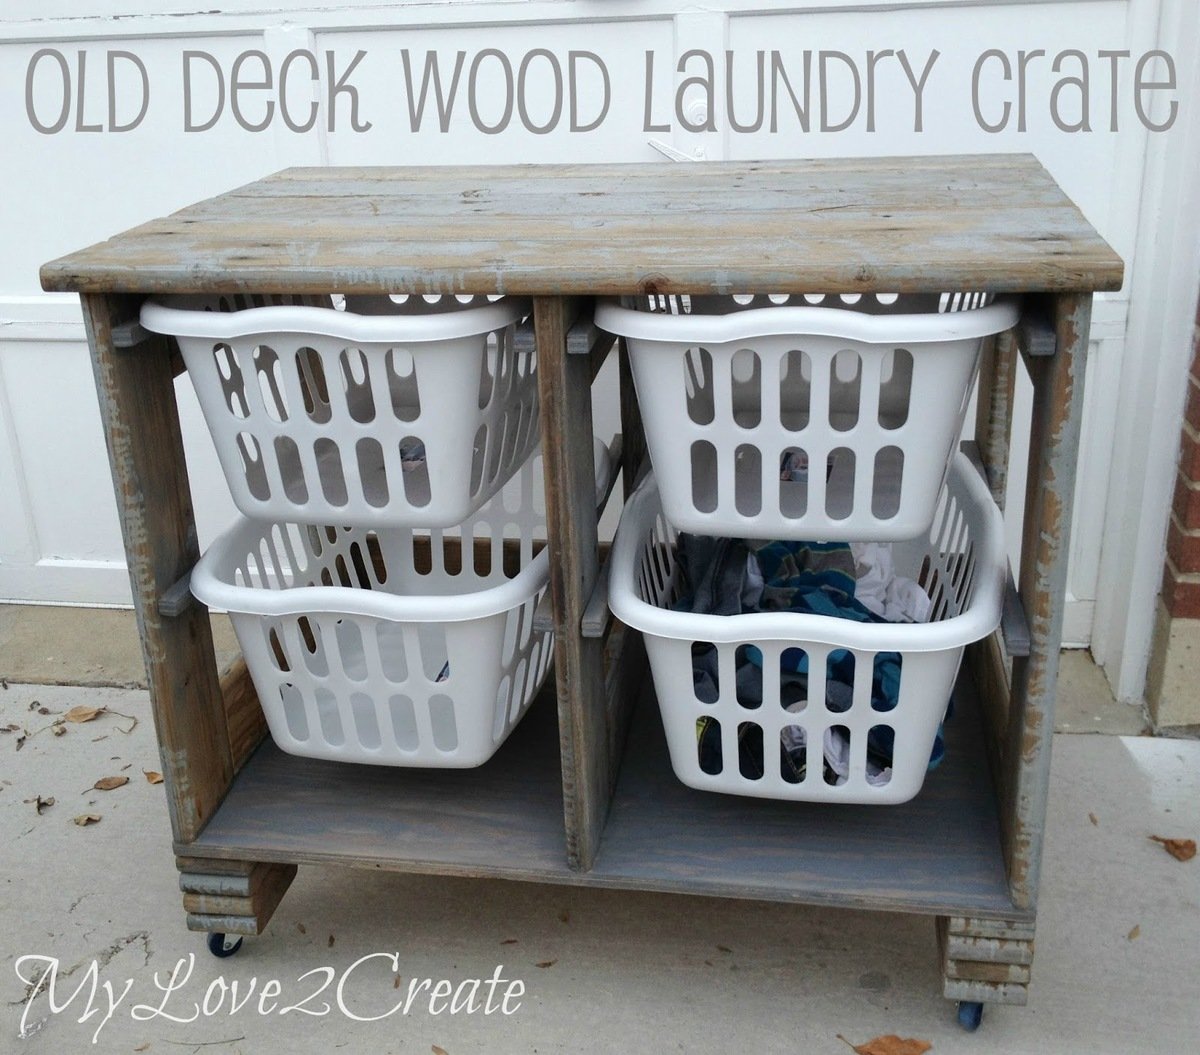
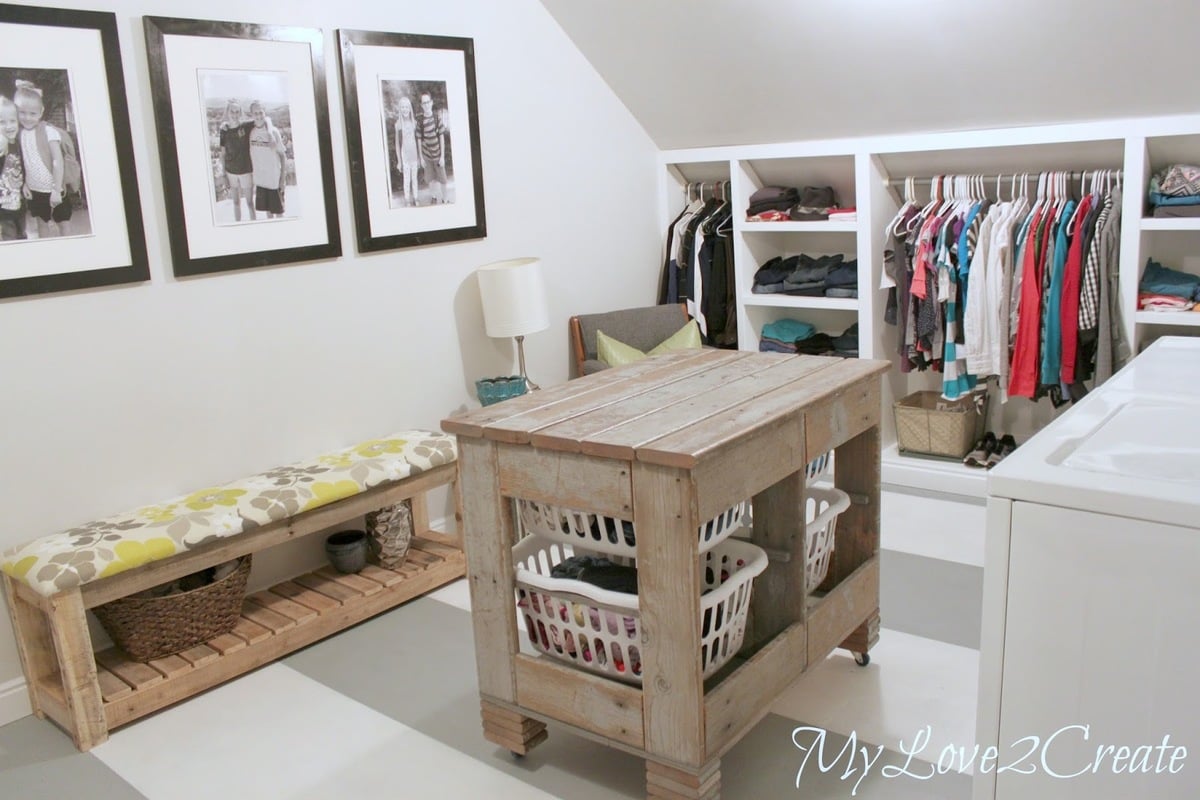
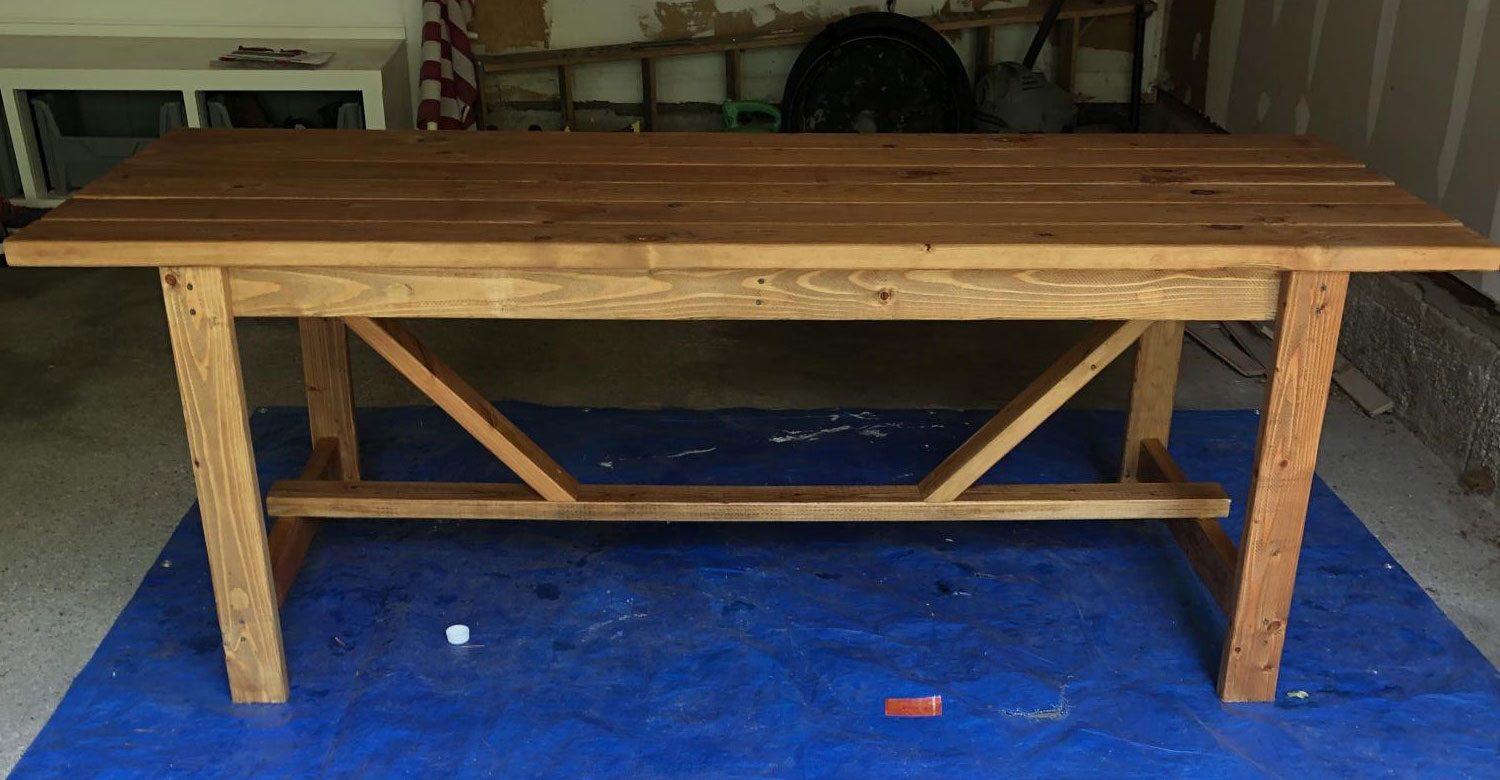
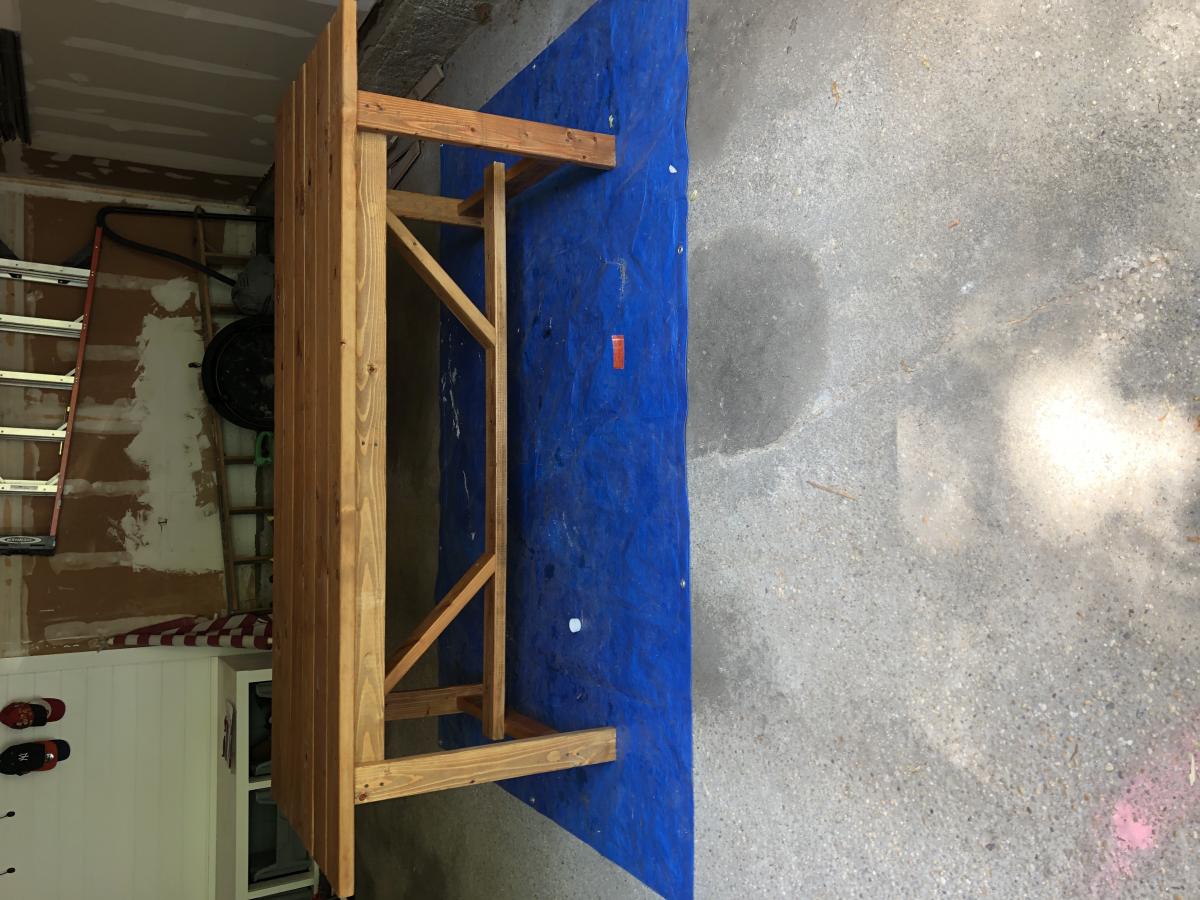
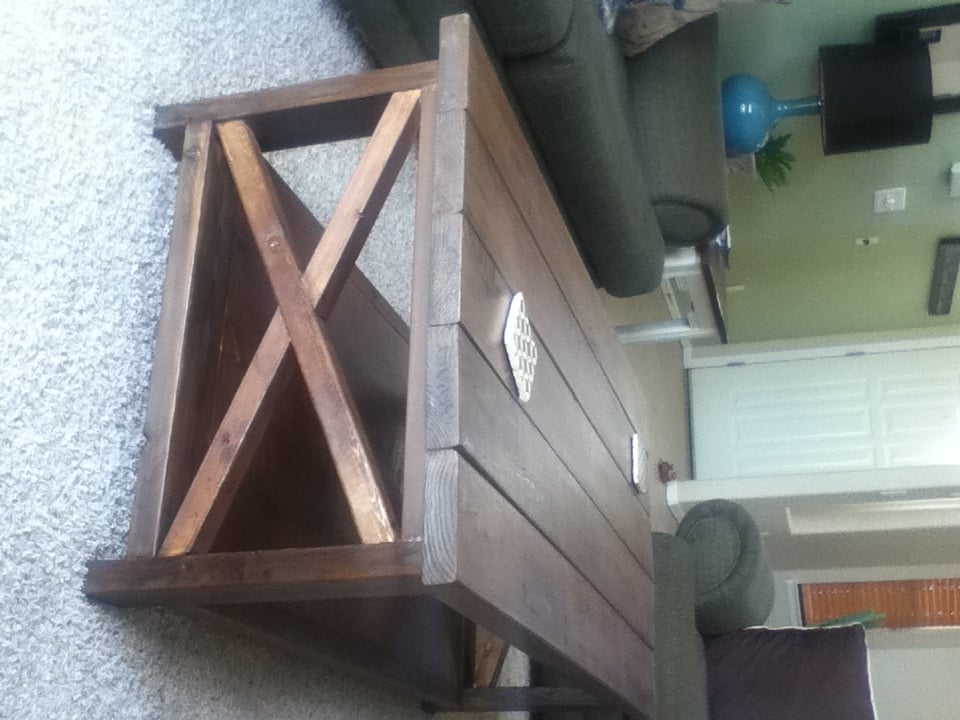
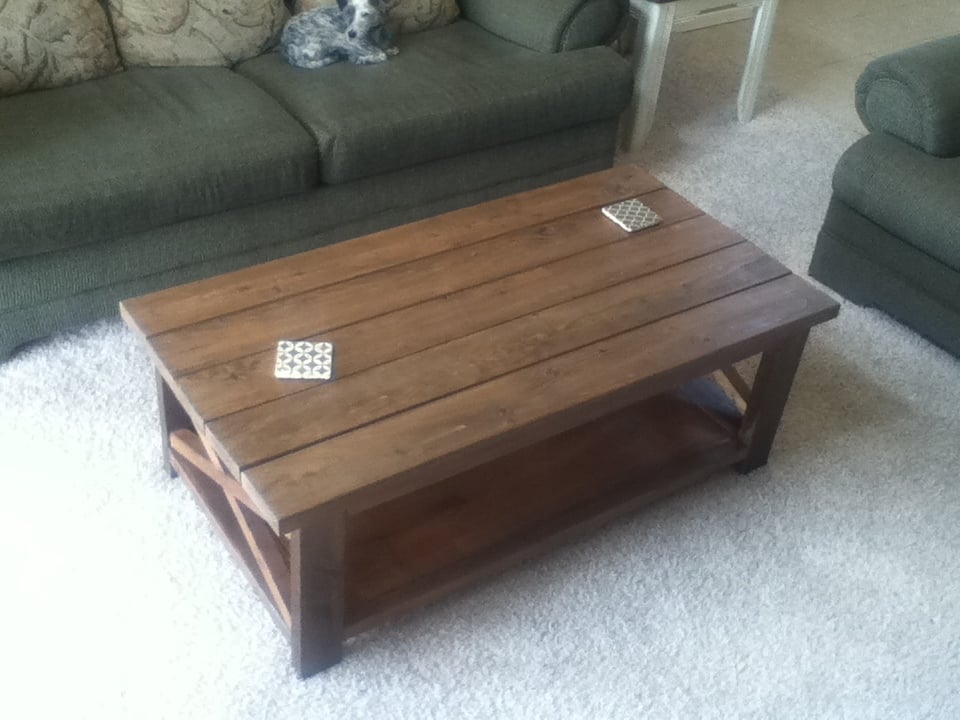
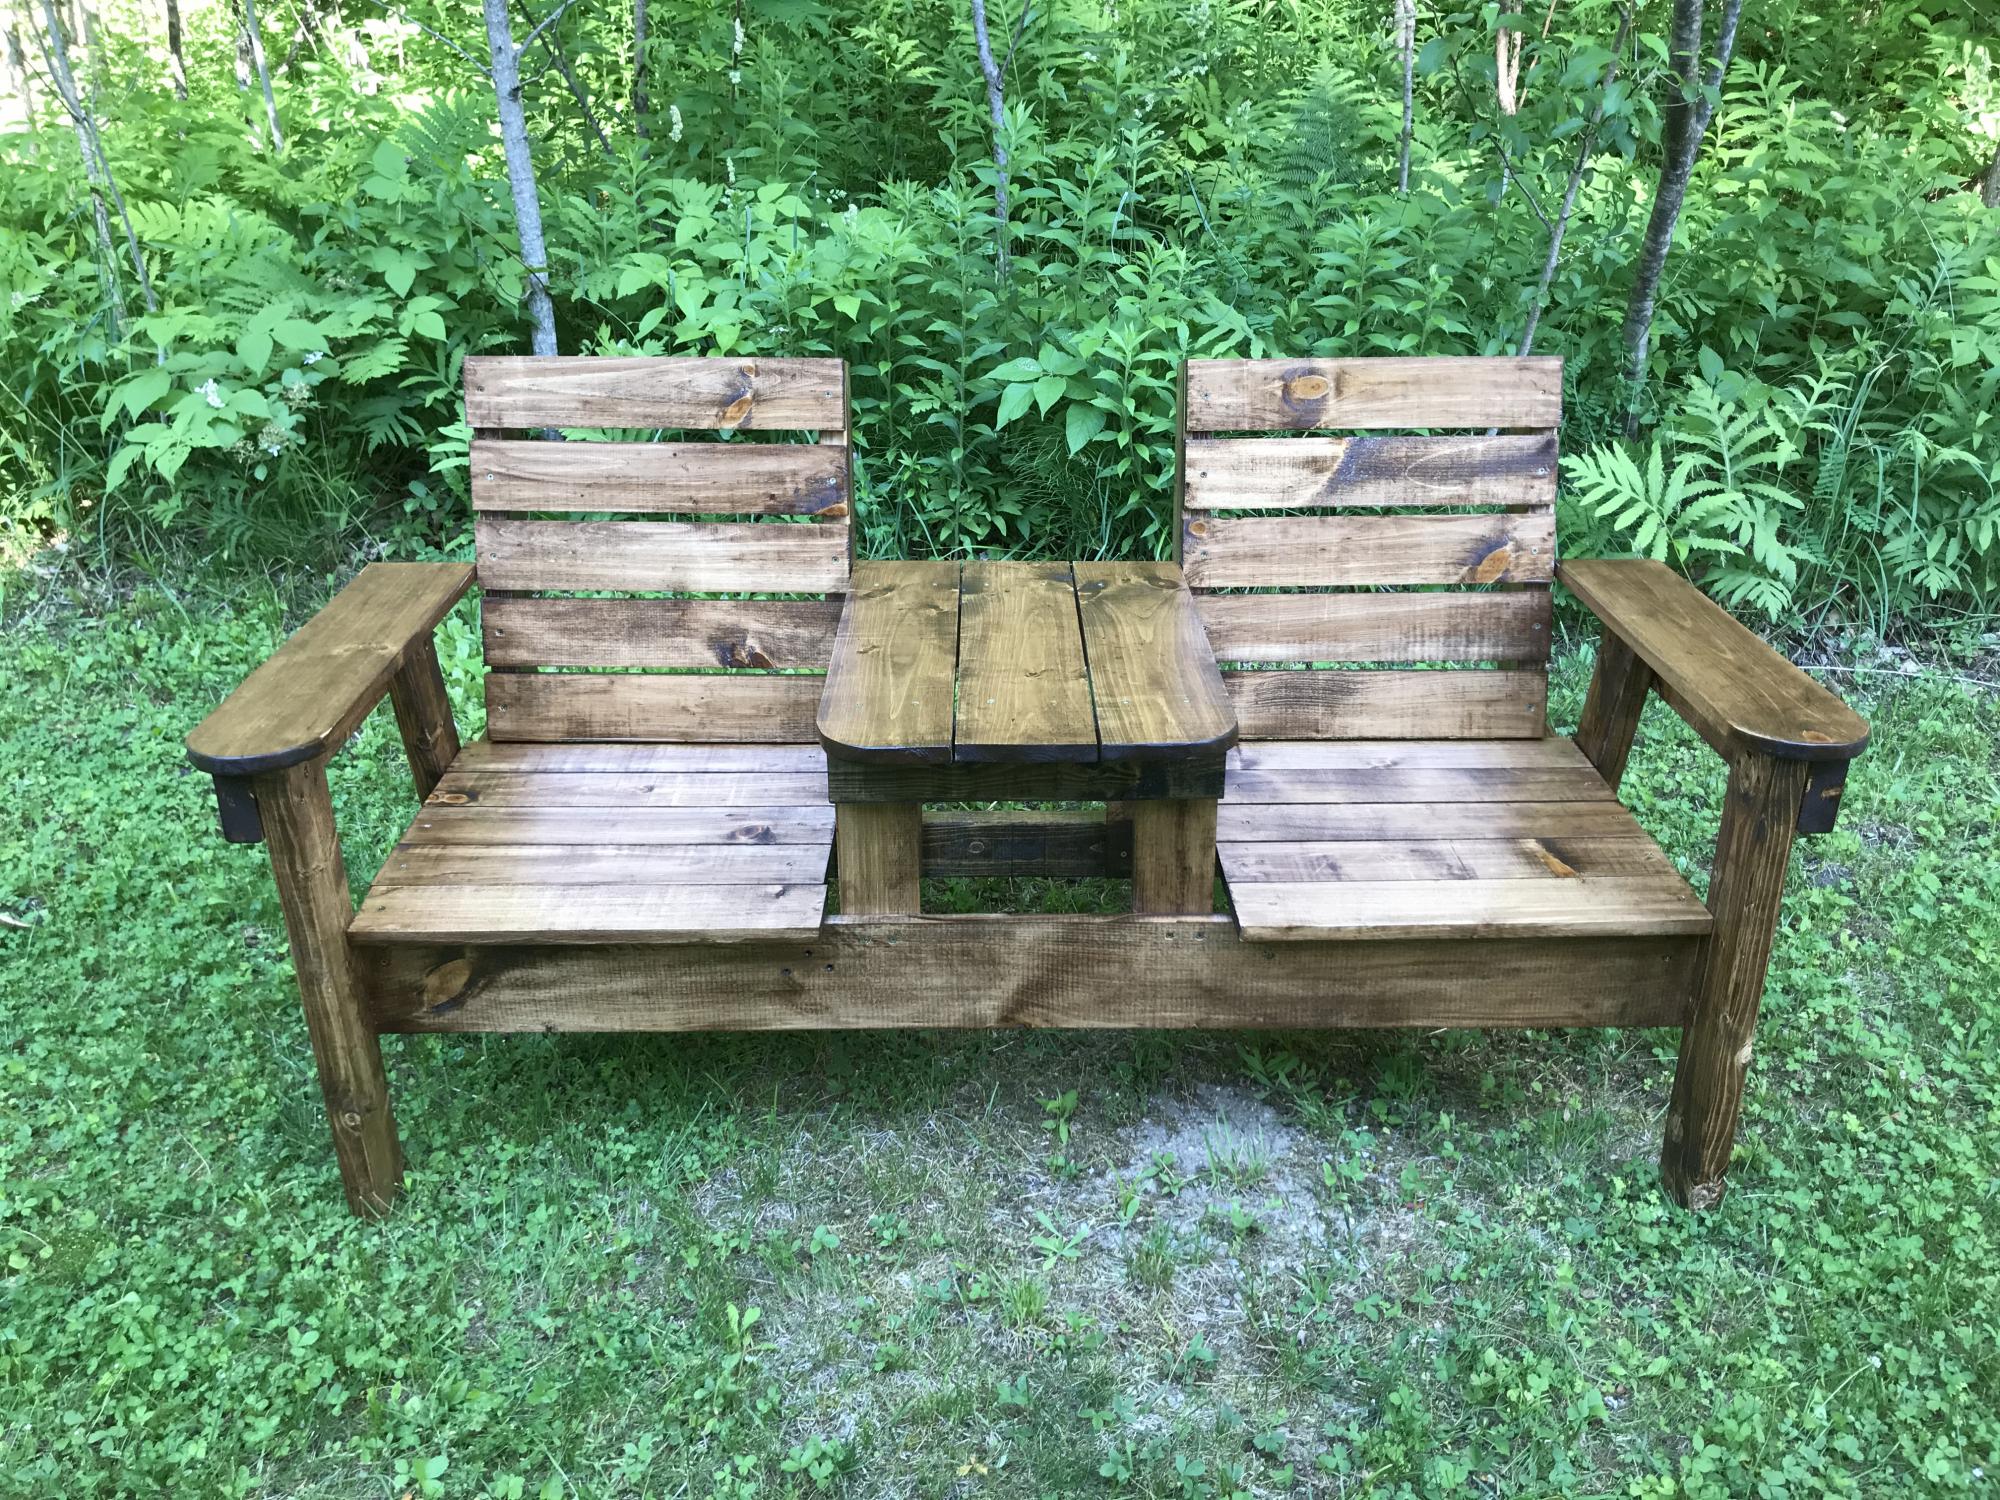
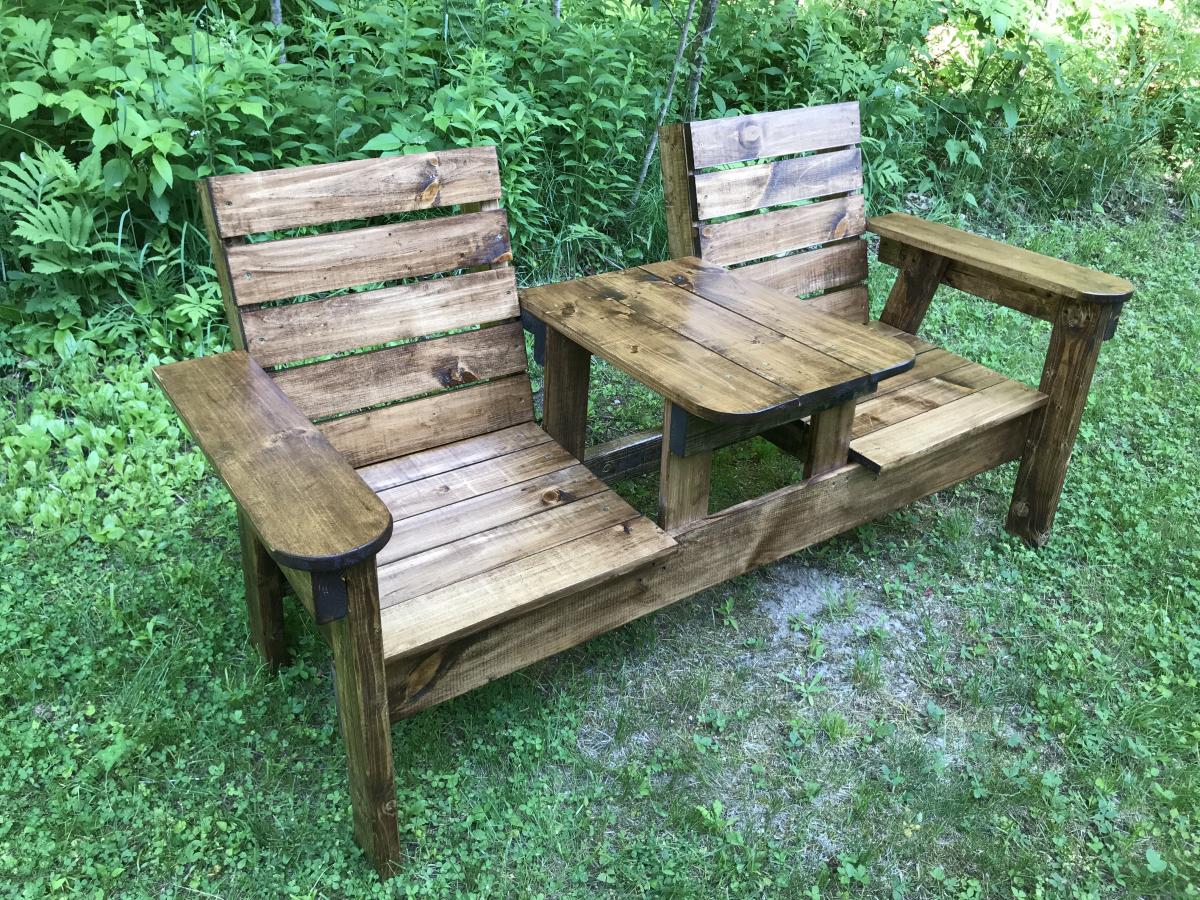
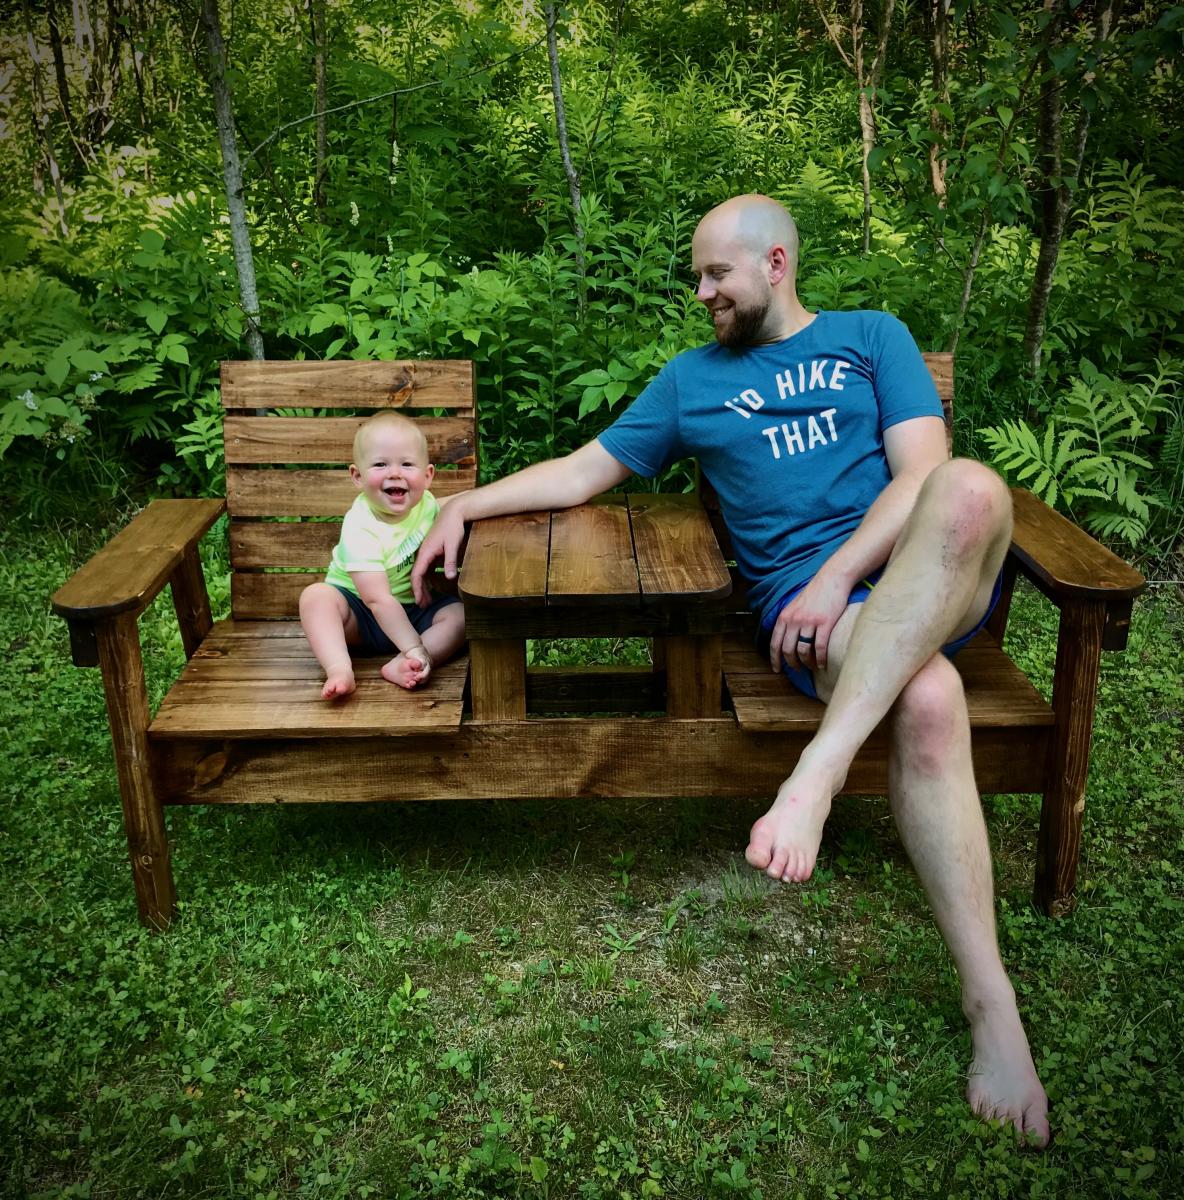
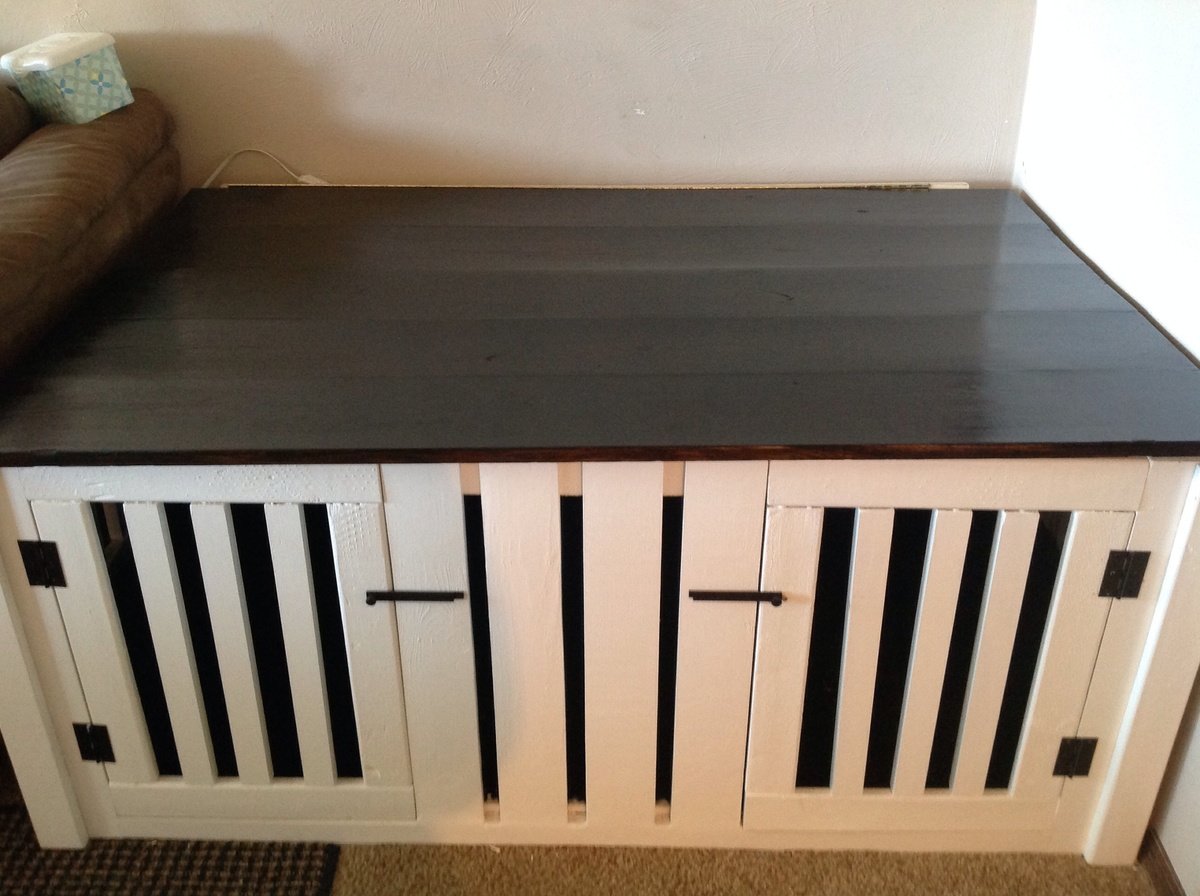
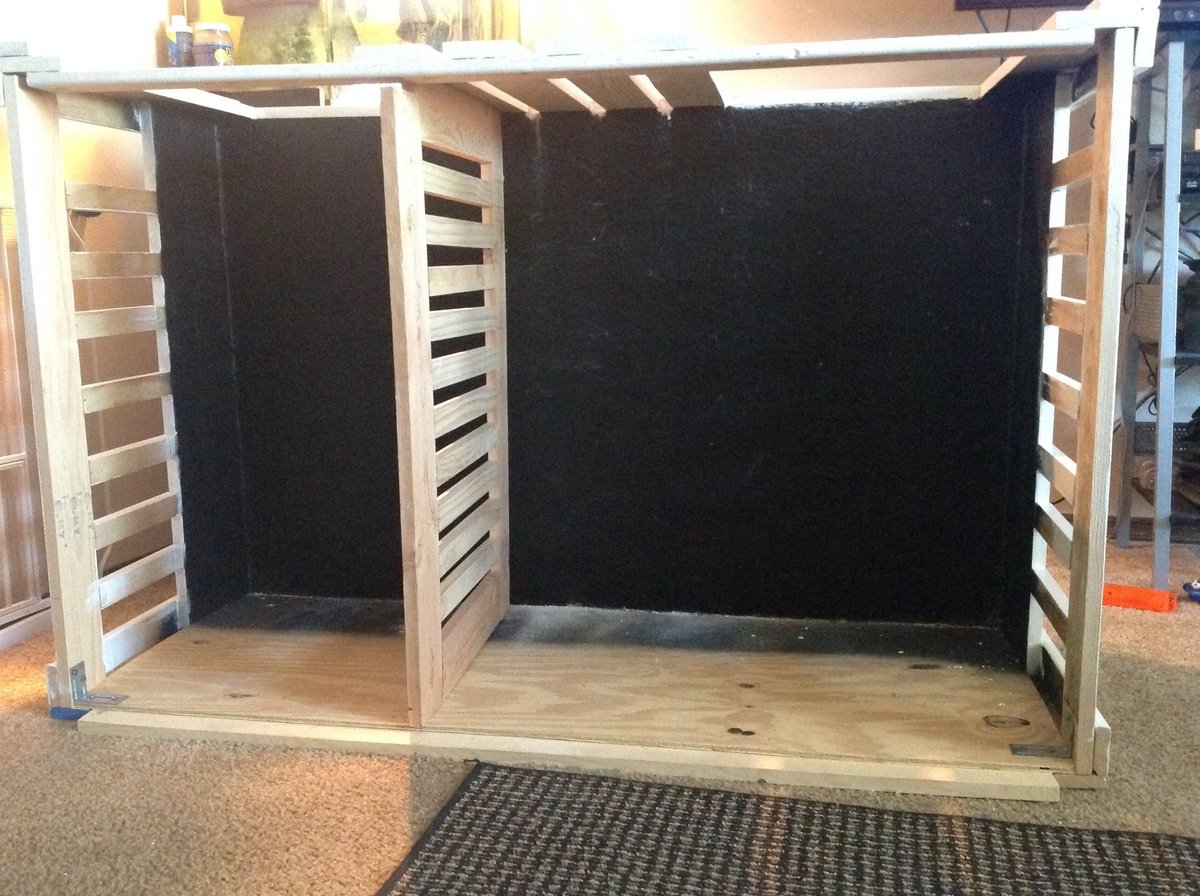
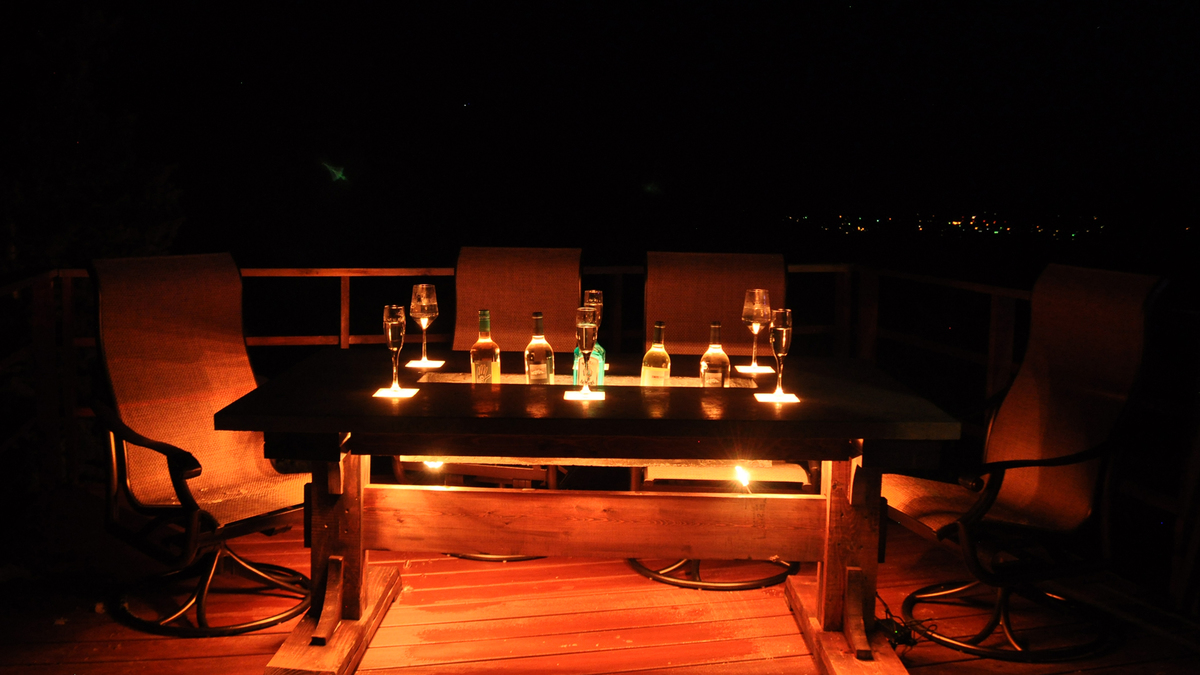
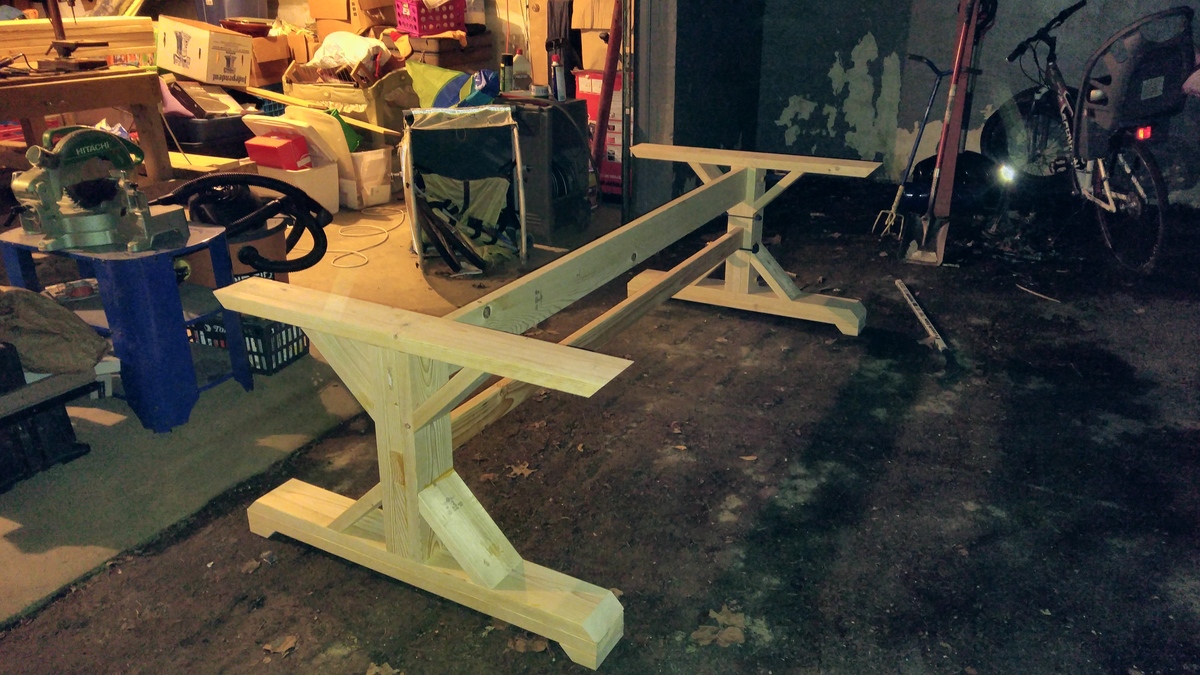
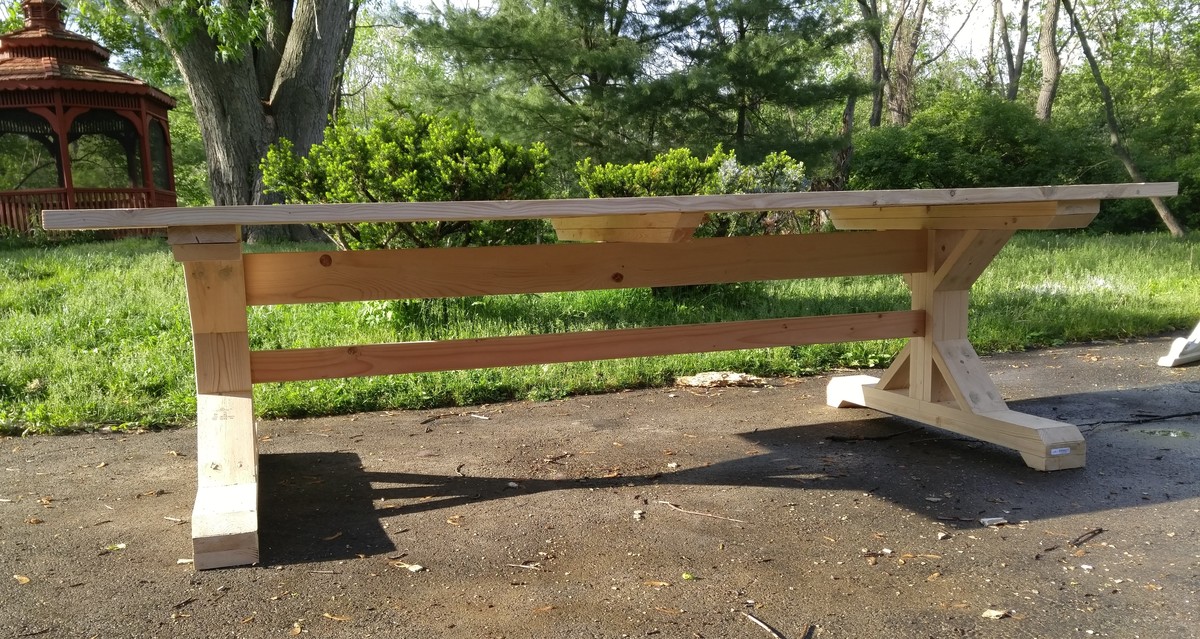
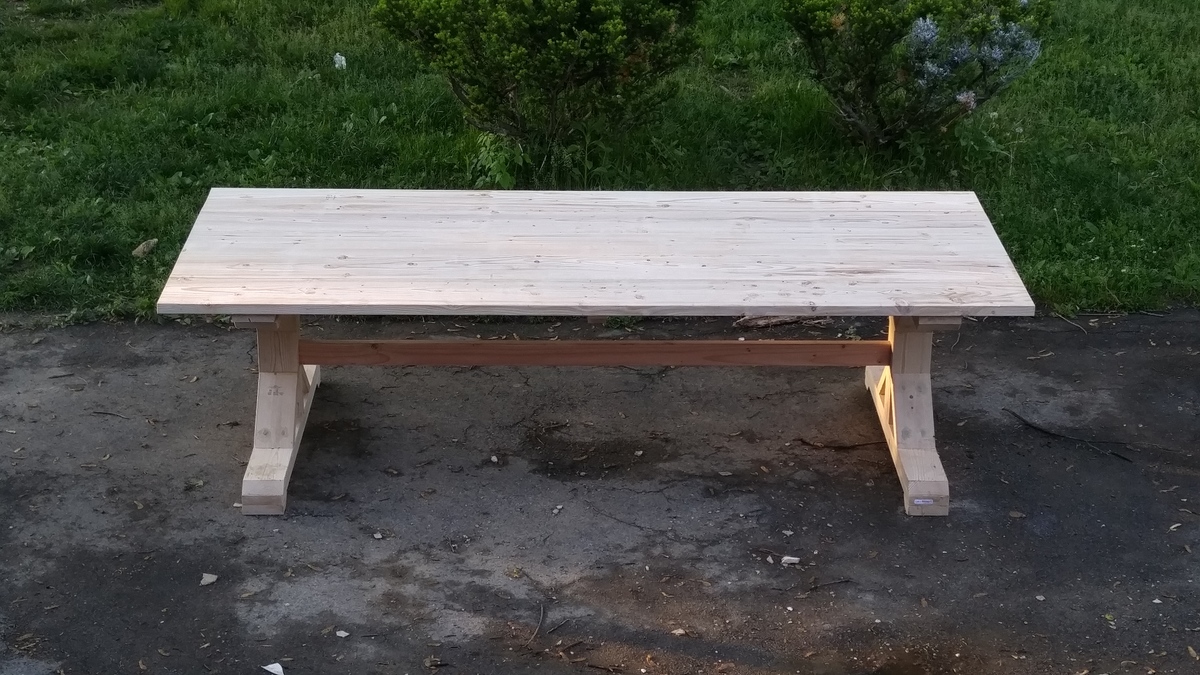
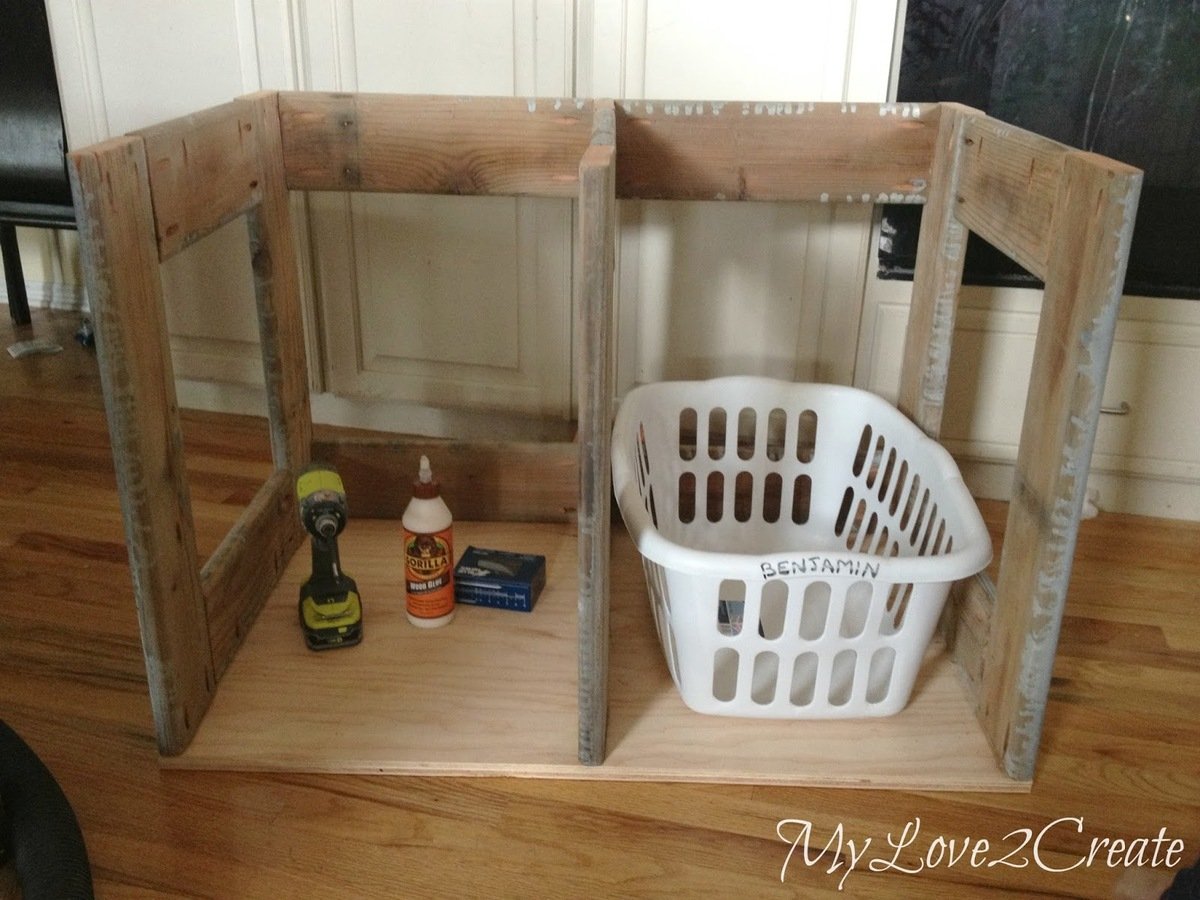
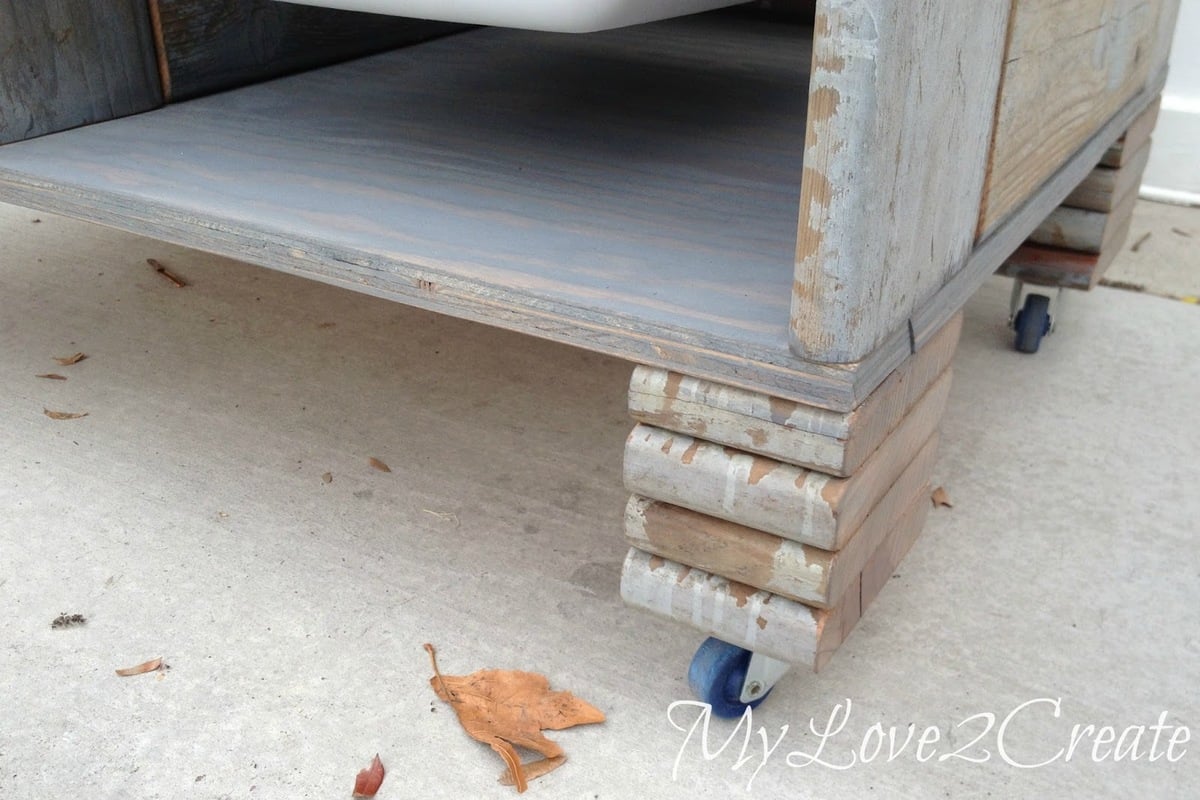
Community Brag Posts

Full Size Bed Headboard

Headboard with tongue and groove boards for the face.

Estimated Time Investment
Afternoon Project (3-6 Hours)
Recommended Skill Level
Beginner

Bookshelf Hidden Doors Over Closet

Submitted by Anonymous (not verified) on Mon, 10/23/2017 - 10:13

Hidden door bookshelves hide a furnace closet.  Built by Kraig Faulkner

Built from Plan(s)
Recommended Skill Level
Advanced

Comments

charkue

Thu, 09/17/2020 - 08:01

I'm currently working on a basement renovation project. I'm probably going to incorporate a feature like this for my mechanicals, too.

One important safety note for anyone who wants to do this: It's recommended that your furnace be a minimum of 30" away from any combustible materials. That includes walls and partitions. The image of this project displayed is right next to the furnace, which is not a good idea.

Potting bench

Submitted by Anonymous (not verified) on Fri, 11/05/2021 - 13:24

Decided to spent the lock down on my back deck.
Always wanted to try a little gardening but I don’t actually have a back yard only a common area. This was a perfect fit and awesome to build. I have never built anything before!

Comments

New Locker!

Submitted by kylihoot on Thu, 03/31/2011 - 16:00

This was such a fun and easy build! I love, love, love it! I work at a lumber yard, so I was able to have my awesome lumber guy get me some good straight boards. Straight boards are a must! I had my husband help get the first peices screwed together, but after that, it was easy enough to do myself.I don't have a cool nail gun, but I do have a rockin'  hammer drill that did the job. I also don't have a kreg jig (birthday wish!) but using stainable/paintable wood putty, the finish came out great.I used the screws I had on hand, 2 1/2 drywall screws, and 1 1/2 finish nails for the frame.I used 1/4 Lauan for the backing, I painted it before nailing it on.

Super fun easy build. It feels nice to build my own stuff, and my husband it totally diggin' me using the power tools:)

 Kyli

Built from Plan(s)
Estimated Cost
$60
Estimated Time Investment
Weekend Project (10-20 Hours)
Finish Used
To finish I sanded with my random orbital sander (120 grit), primed twice, and painted twice, sanding between coats. I'm pretty sure I used the color Playa Azul from Do It Best.
Recommended Skill Level
Beginner

Above Toilet Storage Ladder

I was inspired by Ana's Over the Toilet - Leaning Storage Ladder to create my own!  This build is about as easy as it can get!  Just 3 easy steps. More pictures and details can be found HERE.

Let's chat wood!

Lumber:

(2) 8' - 2x4

(1) 8' - 2x6

(1) 8' - 2x8

Step 1:

Drill pocket holes into ladder legs.

Step 2:

Attach shelves with 2" wood screws.

You will attach your smaller 2x6 shelf at 17" from the top of each ladder leg and your larger 2x8 shelf at 34" from the top of each ladder leg as well.

I plugged each hole with 3/4" pine wood plugs.

Step 3:

Sand and paint

Happy building!

Miranda

Estimated Cost
$25
Estimated Time Investment
Afternoon Project (3-6 Hours)
Finish Used
I used stain first, then painted over it with Rustoleum's Painters Touch Paint in white.
Recommended Skill Level
Beginner

The Littlest Helper Tower

Submitted by Anonymous (not verified) on Wed, 11/10/2021 - 08:30

Built from supplied plan. Slight modifications made to curved rails and larger dimensional lumber used for corner rails.
This tower was built for my granddaughter Amara

Paul S.

Built from Plan(s)

Comments

Brenan's Simple Bed

We are SO proud of our first build! It was such a fun project and it built our confidence so much to do this. We didn't want to permanently screw our side rails into the head board and foot board so we took another user's advice and bought some steel bed rail fasteners from rockler.com. They worked like a dream and will make our upcoming moves much easier. Our bed is very heavy and sturdy and I know it will last our son for years. We ended up spending about $70 just for the lumber. The paint was $25 plus we spent some more on primer, screws, and nails. It was an investment and will save us some money on our future projects. =)

Ana - thank you SO much for these plans! They saved us so much money and we just love the way it turned out! Thanks for all of your hard work on this site! 
Built from Plan(s)
Estimated Cost
$100 - $150
Estimated Time Investment
Weekend Project (10-20 Hours)
Finish Used
One layer of white primer (wish I'd used a grey primer) and 3 coats of Behr's Nightwatch.
Recommended Skill Level
Beginner

Floating Shelves

Submitted by mharrison on Wed, 06/12/2013 - 19:35

I needed some extra space for towels & misc items for my bathroom. So I replaced our over the toilet vanity for these floating shelves, and it was perfect for extra towels and what not. Ana you're the best!!

Built from Plan(s)
Estimated Cost
$40
Estimated Time Investment
Day Project (6-9 Hours)
Finish Used
Valspar Brown Velvet Satin
Recommended Skill Level
Beginner

Comments

Leslie Is Ready

Sat, 03/21/2015 - 18:39

Great job! I saw floating shelves used in a water closet on another site, and thought it was a great idea. I definitely plan to do this in my Master Bath!

Twin captain bed

Submitted by meckylang on Sun, 05/17/2015 - 09:02

This bed was built custom for the girl who ordered it. She wanted both a bookcase headboard on the long side and a traditional headboard. The bookcase headboard could not block the window and needed to have access to the outlet behind the bed. The bed was designed to match a dresser that had already been purchased. The drawers below give additional storage.

Estimated Cost
$550
Estimated Time Investment
Week Long Project (20 Hours or More)
Finish Used
Primed and painted with 2 coats of flat latex paint.
Recommended Skill Level
Advanced

Comments

kevin2117

Mon, 02/13/2017 - 10:23

Hi there - you don't happen to have plans you can share for this bed, do you?

Thanks! ~ Kevin

Sideboard and floating shelves

Submitted by knollgf on Tue, 12/05/2017 - 20:35

My wife wanted a piece for our dining room. This was a easy weekend project. I had to modify the size to fit my space. I decided to use red oak for the top. It was more expensive but is a much harder wood with a nicer finish. I made the hardware myself from aluminum flat bar. 

Estimated Cost
$200-$300
Estimated Time Investment
Weekend Project (10-20 Hours)
Finish Used
Flat white base
Espresso top
Recommended Skill Level
Beginner

Comments

Seasonal And Holiday

Fireplace surround for electric fire pit

Submitted by Anonymous (not verified) on Sun, 11/21/2021 - 09:25

Except for adding a bottom support in the center, and modifying the top to compensate for the larger crown molding, (and adding 2 inch wide putty to compensate for poor miter skills), I followed the plans that were given.
The mantle is approximately 15" X 60", and will be covered soon with a Nativity scene.
Thanks for the plans. Made an ideal Christmas gift for my wife and she is very happy!

Comments

Sausha's Washer/Dryer Pedestal plus a Bench

Submitted by Keltin93 on Tue, 04/05/2011 - 13:16

I love the height of this pedestal.  We also wanted a bench for the kids so we just extended the pedestal around.  It works great and looks awesome.  I put a floating shelf above the hangers and some of my art.

Estimated Cost
$250.00
Estimated Time Investment
Weekend Project (10-20 Hours)
Finish Used
Berh Ultra Espresso Beans, semi gloss
Recommended Skill Level
Beginner

Side Street Bunk Beds

Our two oldest (both boys) had been needing bunk beds for some time. I came across the Side-Street Bunk Beds and LOVED the design; simple, easy, and most importantly, sturdy!

I used standard framing lumber from Home Depot and picked out the cleanest, straightest boards I could find. For safety (because boys will be boys...), I routed all of the edges of any part they could come in contact with using a 3/8" curved router bit. Along with tremendous amounts of sanding, that was the most labor-intensive part of the project. The Kreg Jig made short work of everything else, and eventually sprayed on the paint (I used Kelly-Moore brand paint, but the color is Behr Cinnabar Red).

Although I could have built the beds for cheaper (I spent upwards of $350+), I wanted to make sure the project didn't look like it was built out of framing lumber. A lot of sandpaper, wood-filler, and extra coats of paint could have been reduced, but at close look you can't even tell the main posts are laminated 2x4's.

For some reason, and I still have to find out, the paint still remained tacky long after drying, but that hasn't kept our boys from loving their new beds! Great design and a fantastic first project!!

Built from Plan(s)
Estimated Cost
$300 - $375
Estimated Time Investment
Week Long Project (20 Hours or More)
Finish Used
Behr Cinnabar Red with Zinsser tinted primer
Recommended Skill Level
Starter Project

Entryway Locker

We built this entryway locker using Hillarys plans. It turned out amazing and it gets more use than any piece of furniture in our house at the moment.

Estimated Cost
We used wood that we had around already for this project, so I an unsure.
Estimated Time Investment
Week Long Project (20 Hours or More)
Finish Used
Chalk paint and wax with some distressing.
Recommended Skill Level
Intermediate

Full Farmhouse Bed with mods

Submitted by Kingsamui on Thu, 12/14/2017 - 16:29

Made the standard full farmhouse bed with storage, but did a couple modifications. 1) Didn’t use drawers, but wanted closed, not open cubbies. I made the drawer fronts and then attached with full overlay hinges and magnetic catches do they open from top down like a horizontal cabinet. 2) built the slats as two, one piece slat frames which sit on the cleat so that they can easily be removed for the extra long term storage between the cubby boxes. Just lift mattress and the two pieces of slats and lots more space. 

Estimated Time Investment
Week Long Project (20 Hours or More)
Finish Used
Red Mahogany Stain and semi-gloss polyurethane
Recommended Skill Level
Intermediate

Lazy Susan

Submitted by heidi4kidz on Mon, 11/29/2021 - 15:28

Made this for my moms caregiver for Christmas ❤

Comments

Mom's Lego Table (with chess board)

Submitted by DTeague on Sun, 04/10/2011 - 11:26

This is the Mom's Lego Table everything went according to plan until, I cut and tried to place the table tops in ... Ooops.  Was not square, with the help of my father-in-law we got them to fit.  So, as Ana says ..CHECK FOR SQUARE!!!  The other part that took awhile was the chess board but was worth it my son loves chess!

Estimated Cost
$50.00 (had extra wood.)
Finish Used
Minwax Red Mahogany stain and Clear Satin Rub on poly.
Recommended Skill Level
Beginner

Adirondack Chair Set

This project is challenging enough for beginning builders, yet easy enough to keep them from becoming frustrated and discouraged.

Estimated Time Investment
Day Project (6-9 Hours)
Finish Used
Minwax - Special Walnut
Recommended Skill Level
Beginner

Dresser Makeover

I finally finished the bedroom set, this one the last piece (and the biggest dresser).

More info on this 1970's bedroom set here:

http://www.woodworkingfourdummies.com/blog/dresser-set-makeover

Cheers,
Ian

Estimated Cost
$200 for entire bedroom set, 2 night stands and 2 dressers.
Estimated Time Investment
Weekend Project (10-20 Hours)
Finish Used
MinWax Walnut Stain
White Paint
Polyurethane
Recommended Skill Level
Intermediate

Comments

RenoRustic

Tue, 05/26/2015 - 08:44

Checked out your blog. I really liked it, but I couldn't find a way to follow though. Nice job on the makeover too!

First building project ever!

Submitted by mcrawford on Mon, 12/18/2017 - 14:48

SUCH a great project for my first ever build! The plans were so simple and fun to follow. I altered them slightly to measure 50" long so it would fit perfectly in my entry way. I used the Varathane wood stain in Dark Walnut. Can't wait for my next project! Ana, thank you for giving first time builders the tools and confidence to build beautiful furniture!

Built from Plan(s)
Estimated Cost
22$
Estimated Time Investment
An Hour or Two (0-2 Hours)
Finish Used
Varathane in Dark Walnut
Recommended Skill Level
Starter Project