You probably read a lot of amazing posts here about how people using the plans can make something in a day or a weekend. They deserve kudos for their diligence! But I don't want you to get discouraged if you don't or can't work that quickly. I want to encourage those of you who work more slowly that you can still use these plans. What slows you down? Maybe it's lack of time, health concerns, or cost. I have made and even designed furniture in the past. But prior to this, I always had someone helping out with the building process, used a kit, or the project was small enough that it didn't seem overwhelming. I made this completely by myself . . . and that's why I think you can, too. And while this project took me almost four and a half months to complete, the end result is the same--a place for me to sit and type up these tips for you!
I hope the things I learned along the way may help encourage you to just take that first step toward creating a piece of furniture.
Beginning Tips for Slowpokes:
* Bookmark and print out the plans from the Ana White website, and keep them in a safe spot that you will remember over the months to come. Check the site regularly for updates, corrections, and tips that members share.
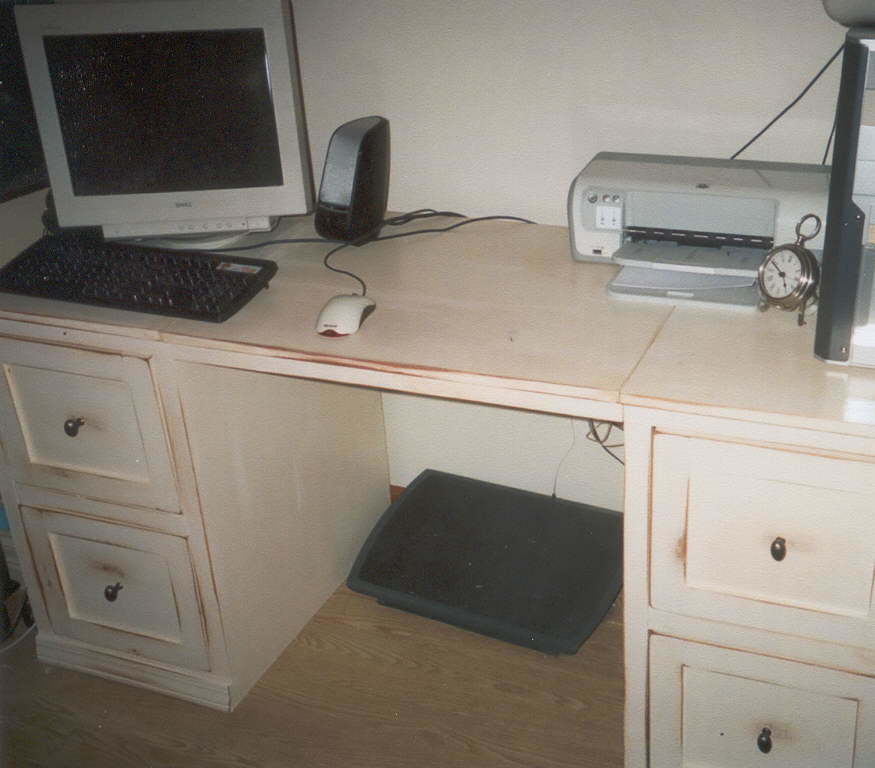
* Break up what you're doing into a bunch of smaller projects. The desk, for example, can be broken up into up to seven different projects (the center desk section, the two cabinets, and four drawers), with each being able to be completed partially or completely before moving on to the next.
* Get as many cuts done in stores as you can. You'll need to be careful here, especially if you gather pieces over time. Everyone cuts wood differently, woods have different dimensions (even when they shouldn't), and your pieces may not match up exactly. However, having pieces cut will generally make things a lot easier for you!
* Taking time off from building is okay! If you plan correctly, you may even be able to use partially-finished projects. I took a break before building the drawers, but still used my desk, complete with open shelving units on either side.
* Do what you can, even if it doesn't seem like anything. At times the most I felt I could do in a day was to drive three nails. But then, I was a few nails closer to being done!
Finishing for Slowpokes:
* Pick your paint (or stain) color and manufacturer wisely. Initially, I used some leftover barn red paint for the center desktop piece, expecting to get more of the same paint. After I had put on one coat, it dawned on me that the paint line had moved from one manufacturer to another. I searched around online and discovered that the paint colors changed in the move, not just the manufacturer. Oops. Some paint companies are really static with paint colors. If you plan to create the project slowly, it's really important to be able to trust that the paint you went with will be available in the future if you run out, so that you don't have to go through the trouble of color-matching. I switched to an older brand and a less-trendy color.
* Distressing is your friend! Creating a beautiful stained or painted finish is tough to do, and if you leave your project partially finished, you up the chances of it getting dirty, dented, or otherwise marred. Choosing a distressed finish means you don't have to be as careful, and any little mistakes will be more accepted. When I was painting one of my drawers, a big chip mysteriously fell out of the moulding. I looked at it in shock. Then I thought, "Well, it's distressed!" I could write a whole list of things that are wrong with my desk, including crooked drawer fronts and the fact that they're not flush with the cabinet. But distressing the desk makes it look like a homemade antique, and perfection isn't necessary.
* Write down ALL your finishing steps clearly, including paint colors, brands, and type (example: matte or semi-gloss). Keep this list in a safe place along with the printed-out plans so that you can make each part of the project look the same. Some day it would be my dream to have the entire wall unit of which this desk is just a small portion of. I now have confidence that any future pieces would look at least somewhat similar to the desk!
I hope that these tips have helped encourage you to get started on your dream furniture. Just remember that no matter how long it may take to have that dream fulfilled, the end result is the same!





Comments
kathybusche
Fri, 09/15/2017 - 18:33
Dog Kennel
I was wondering if you still happen to have the scaled down instructions for this dog kennel and would be willing to share them through email?
Kathy