Community Brag Posts

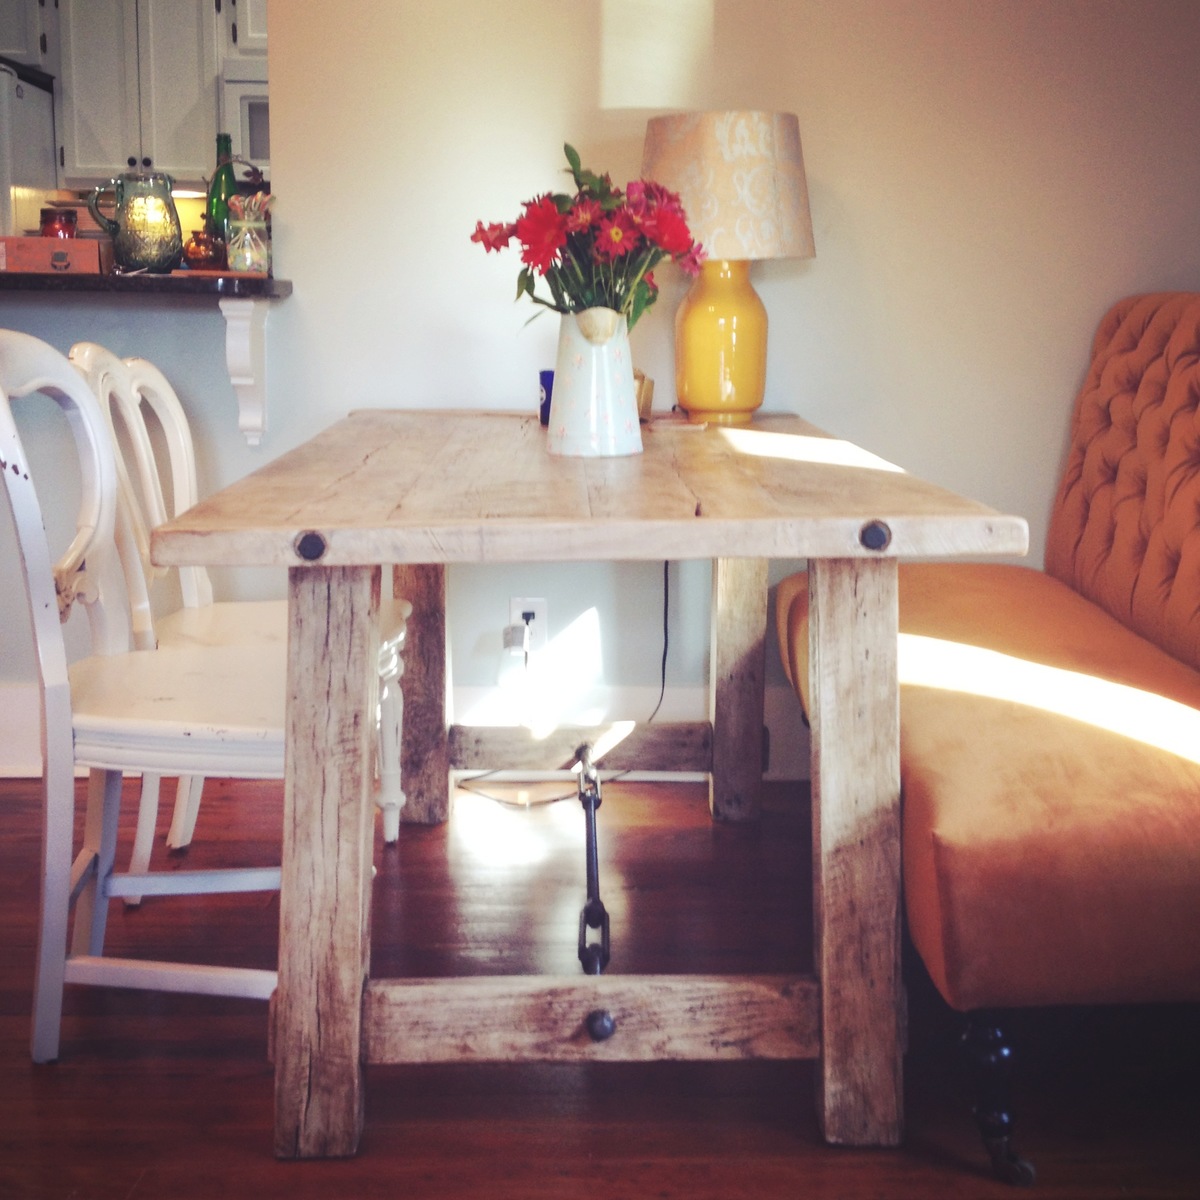
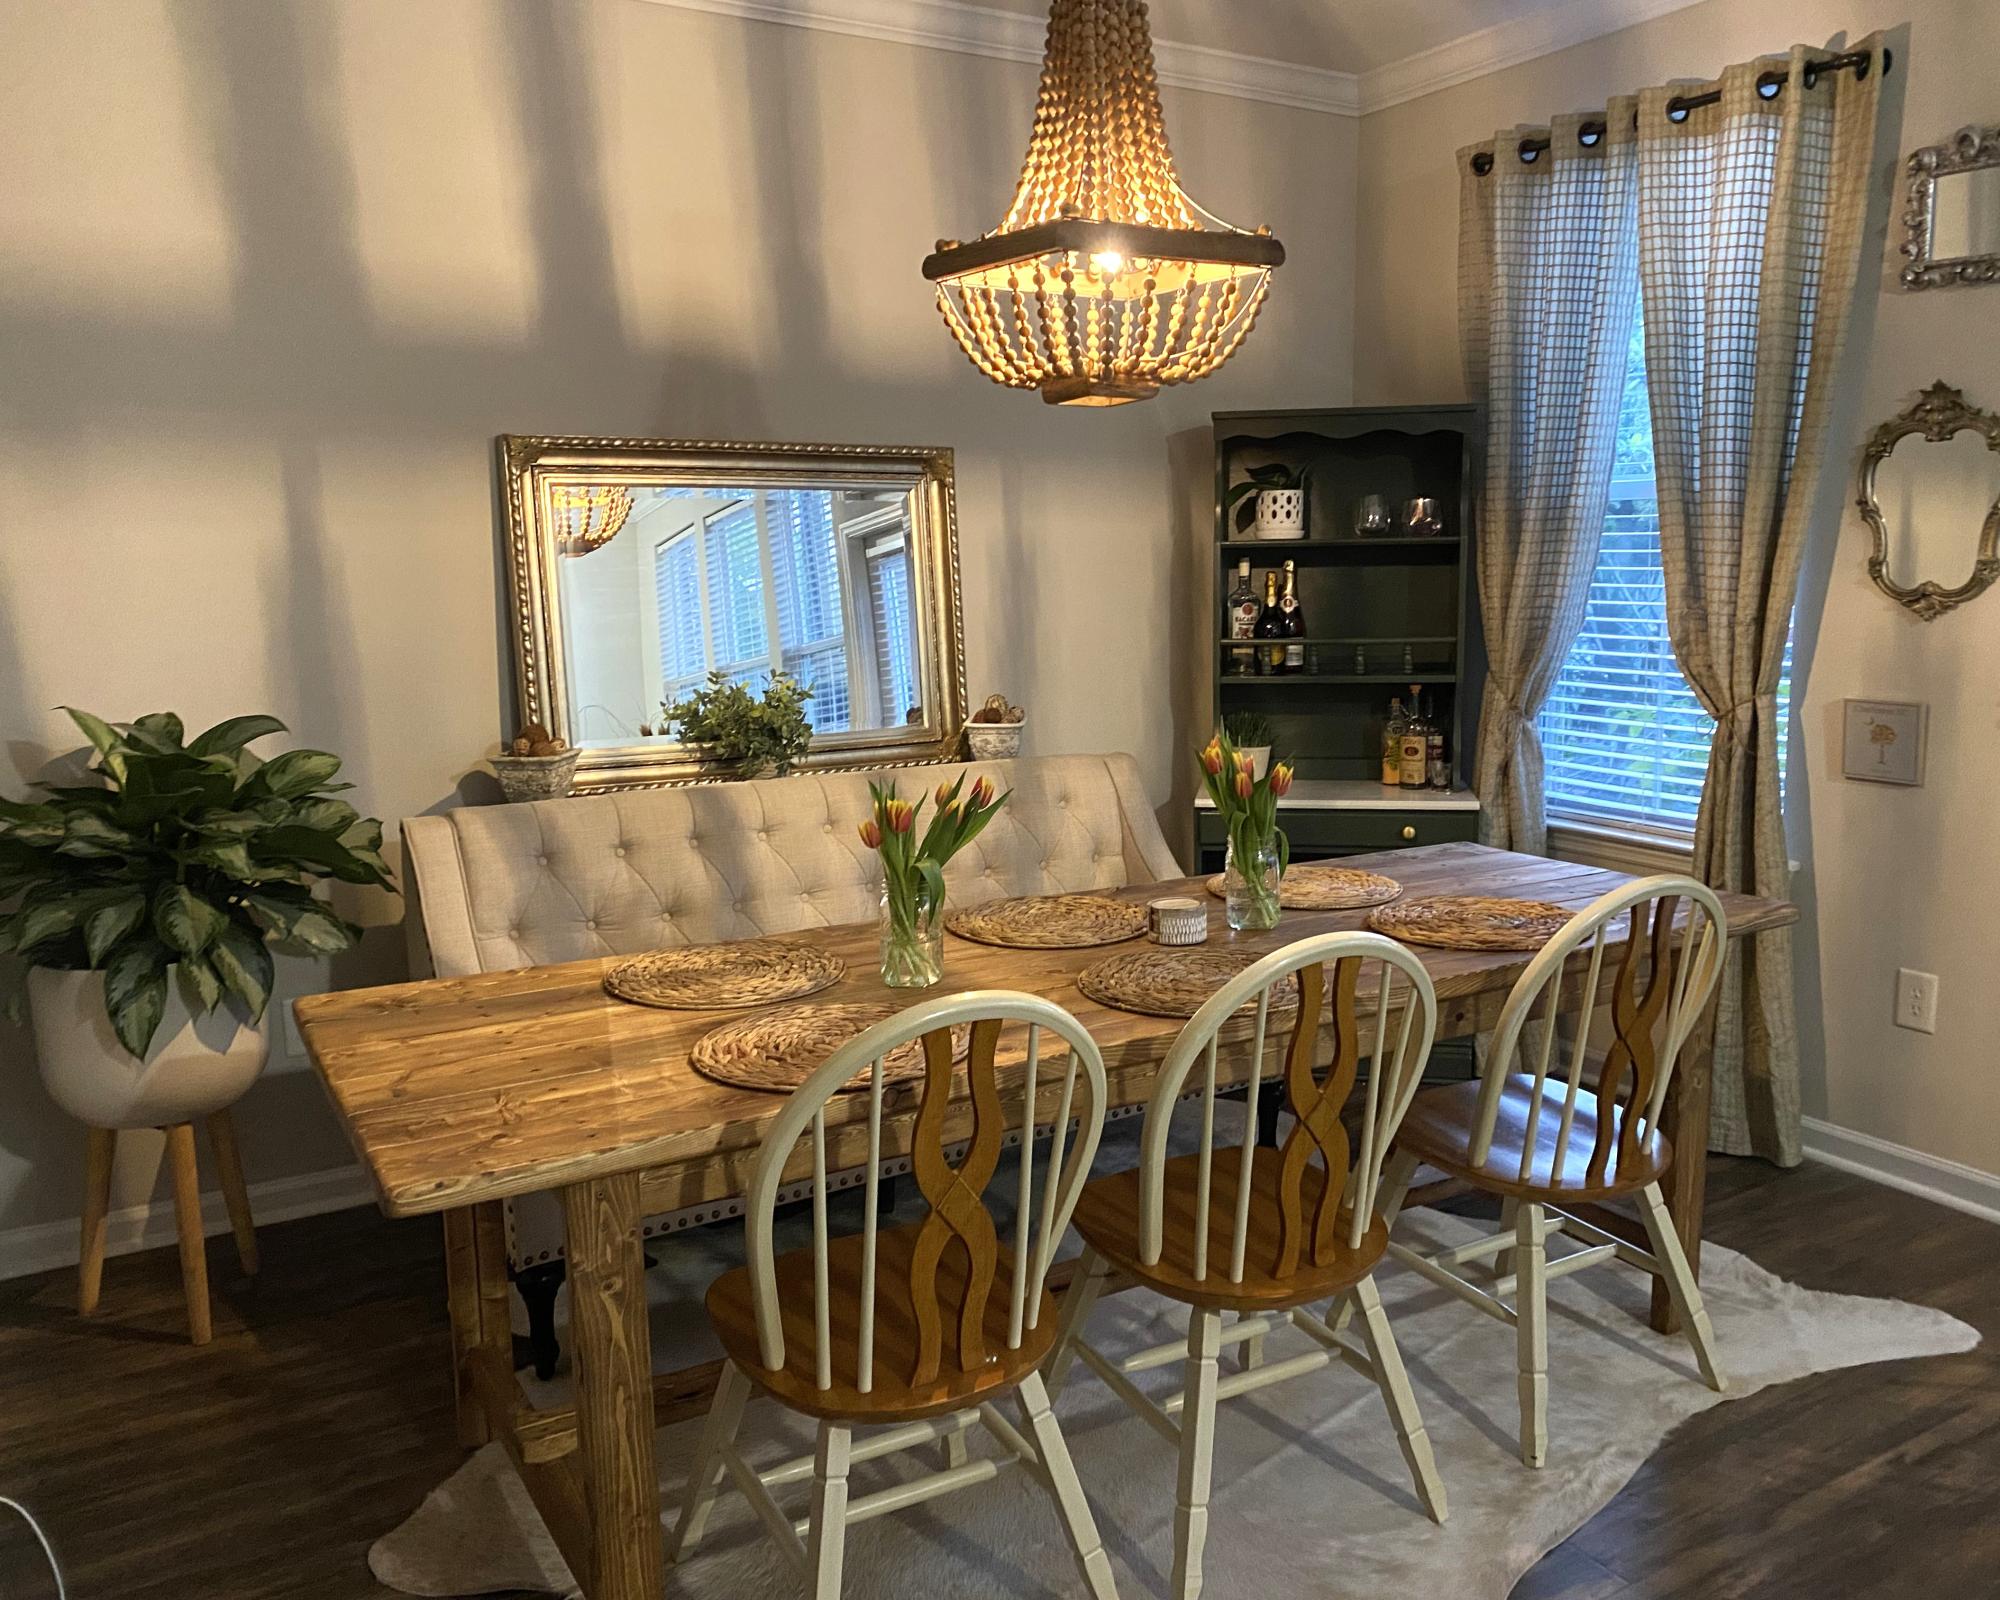
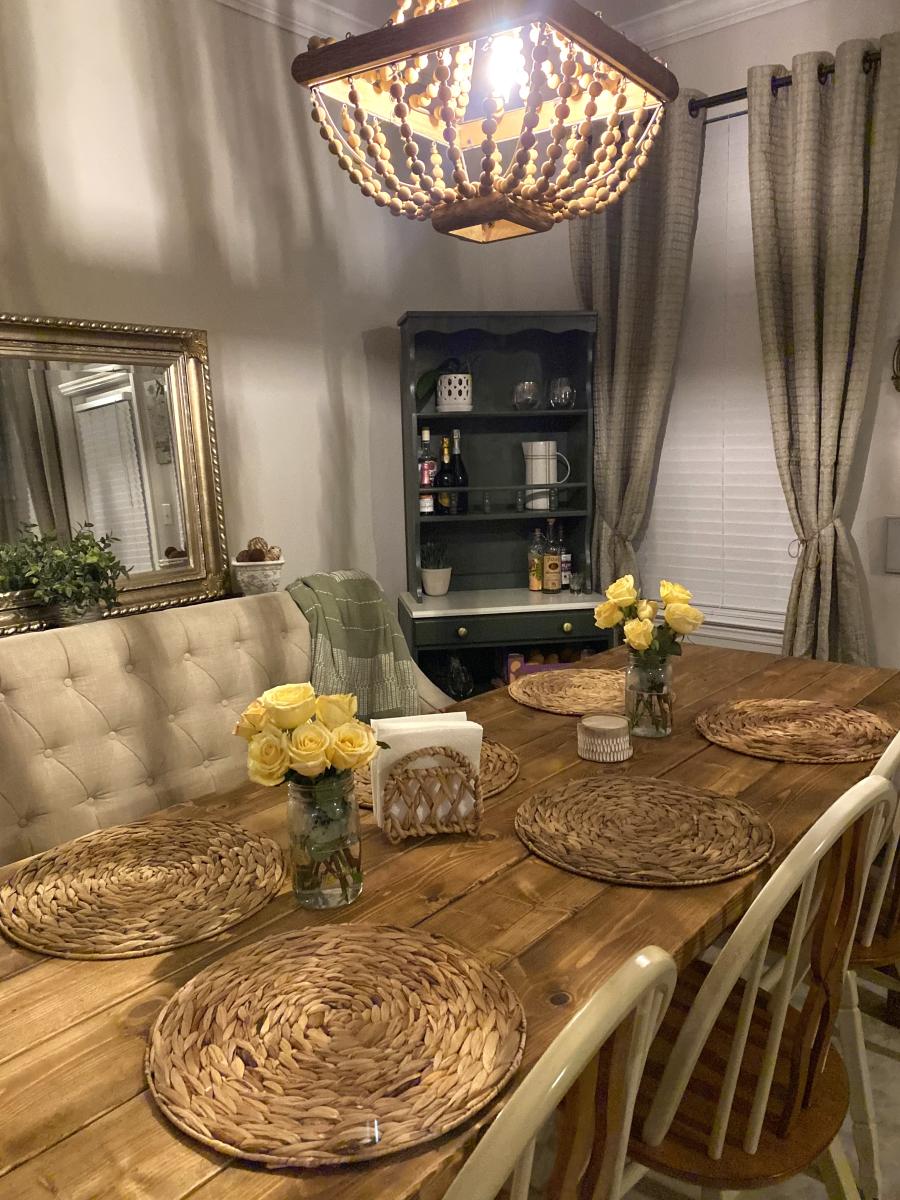
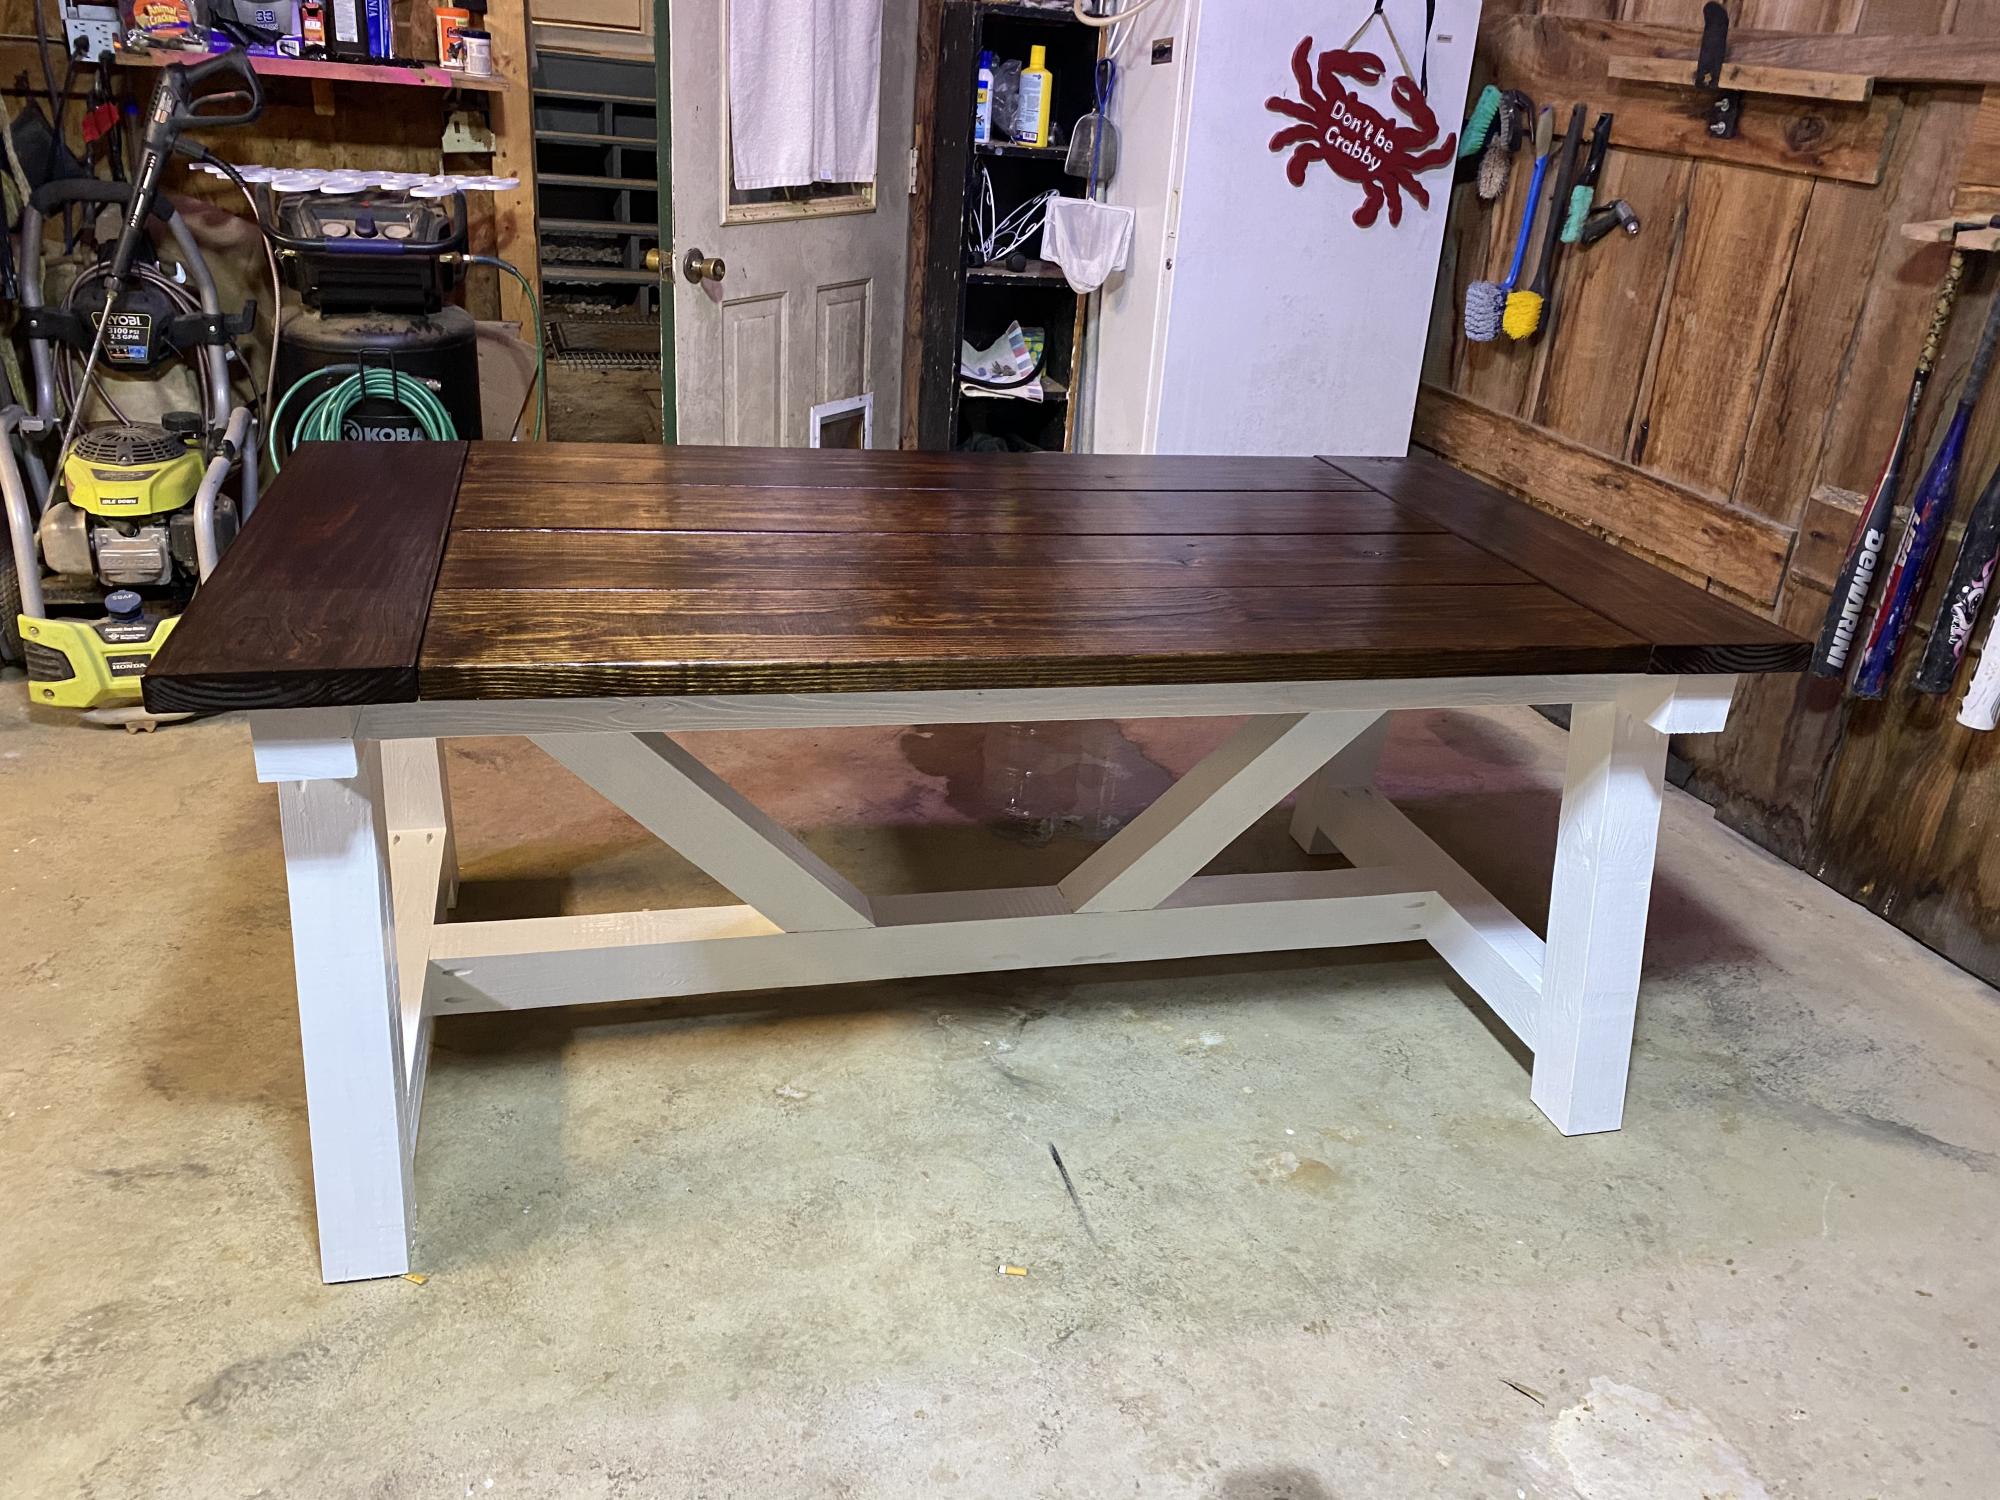
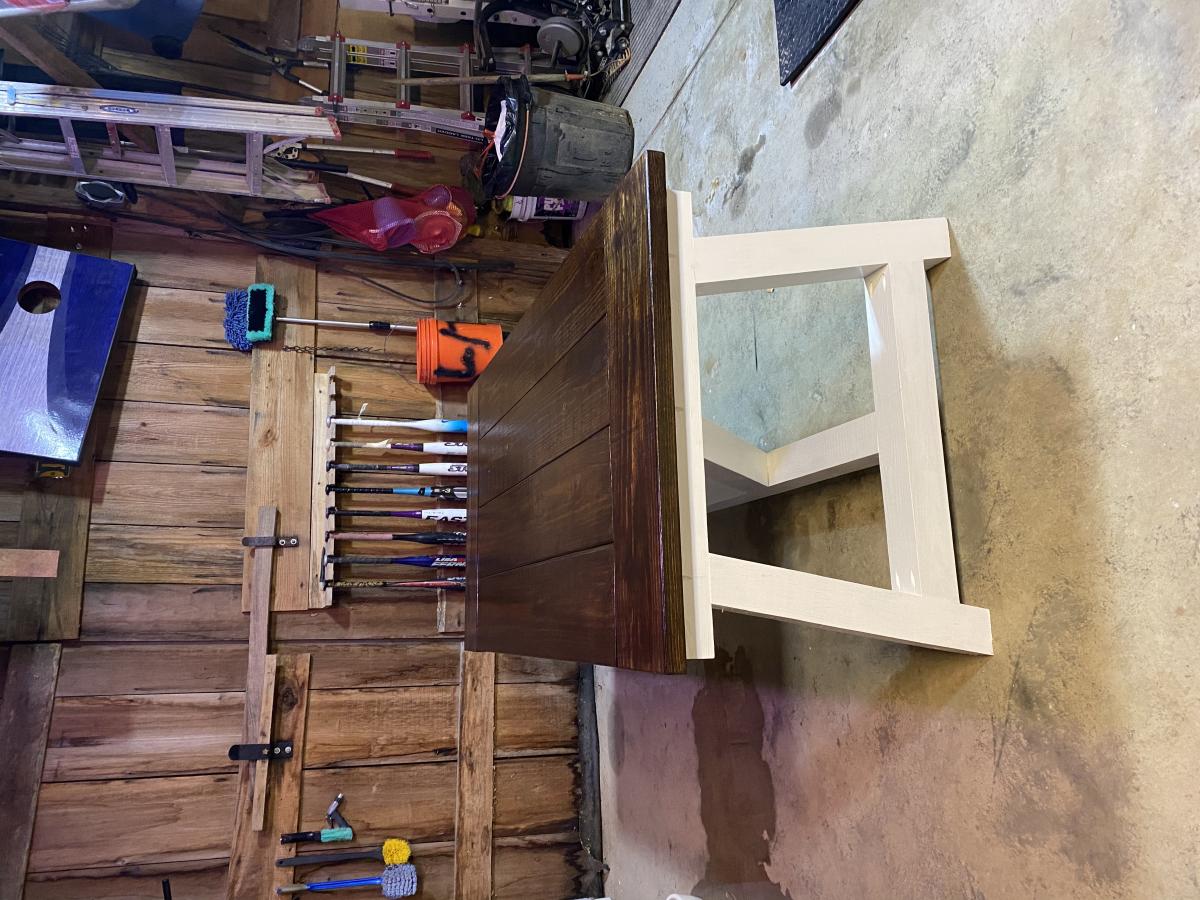
Another Benchright Farmhouse Dining Table

Submitted by Thewaggy on Sat, 09/07/2013 - 16:41

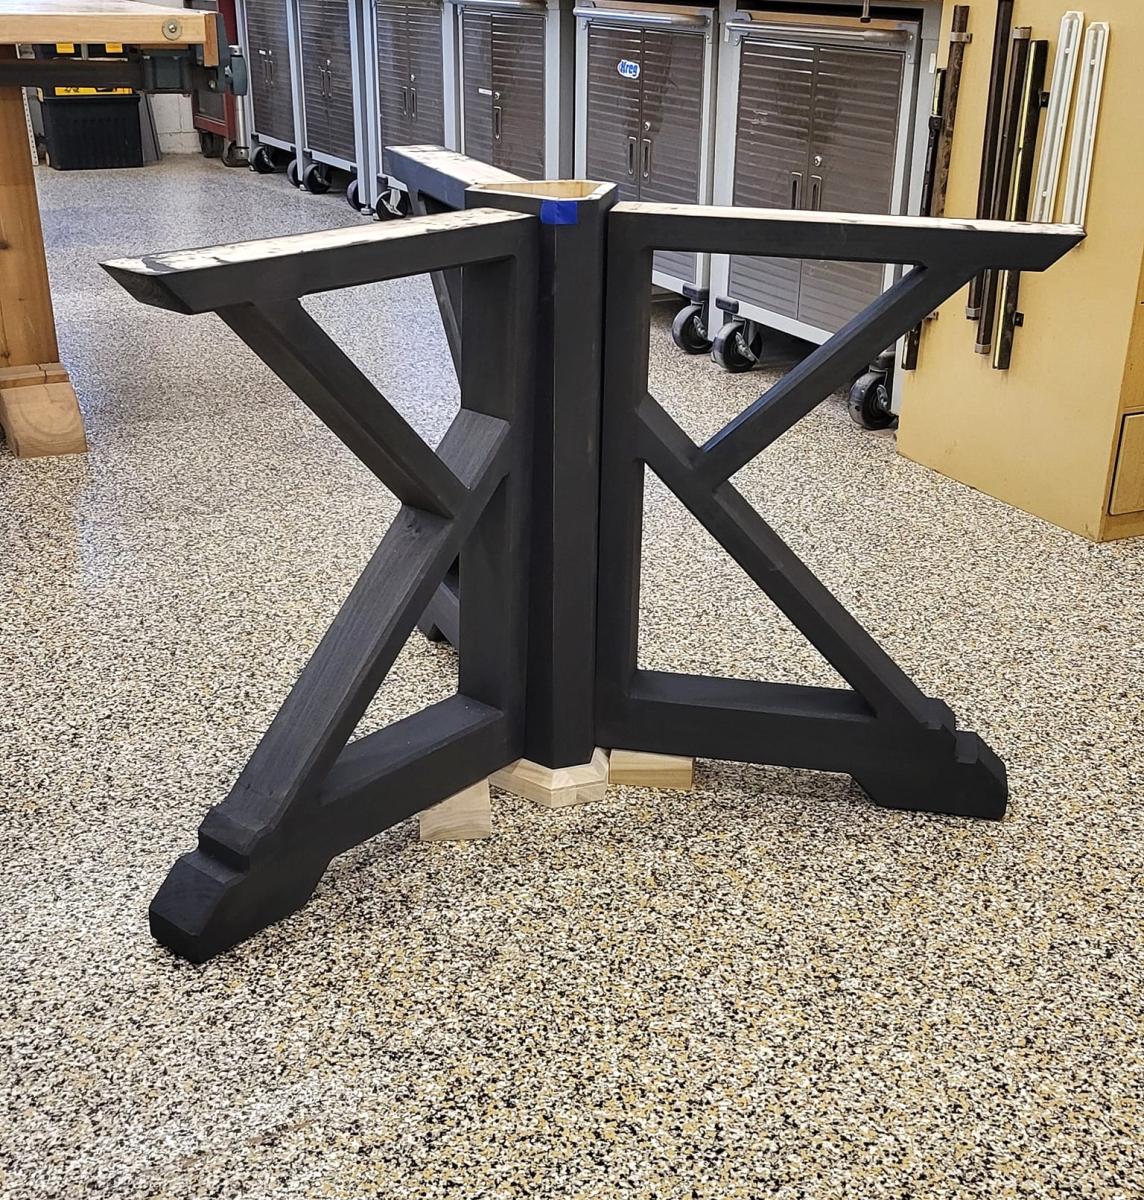
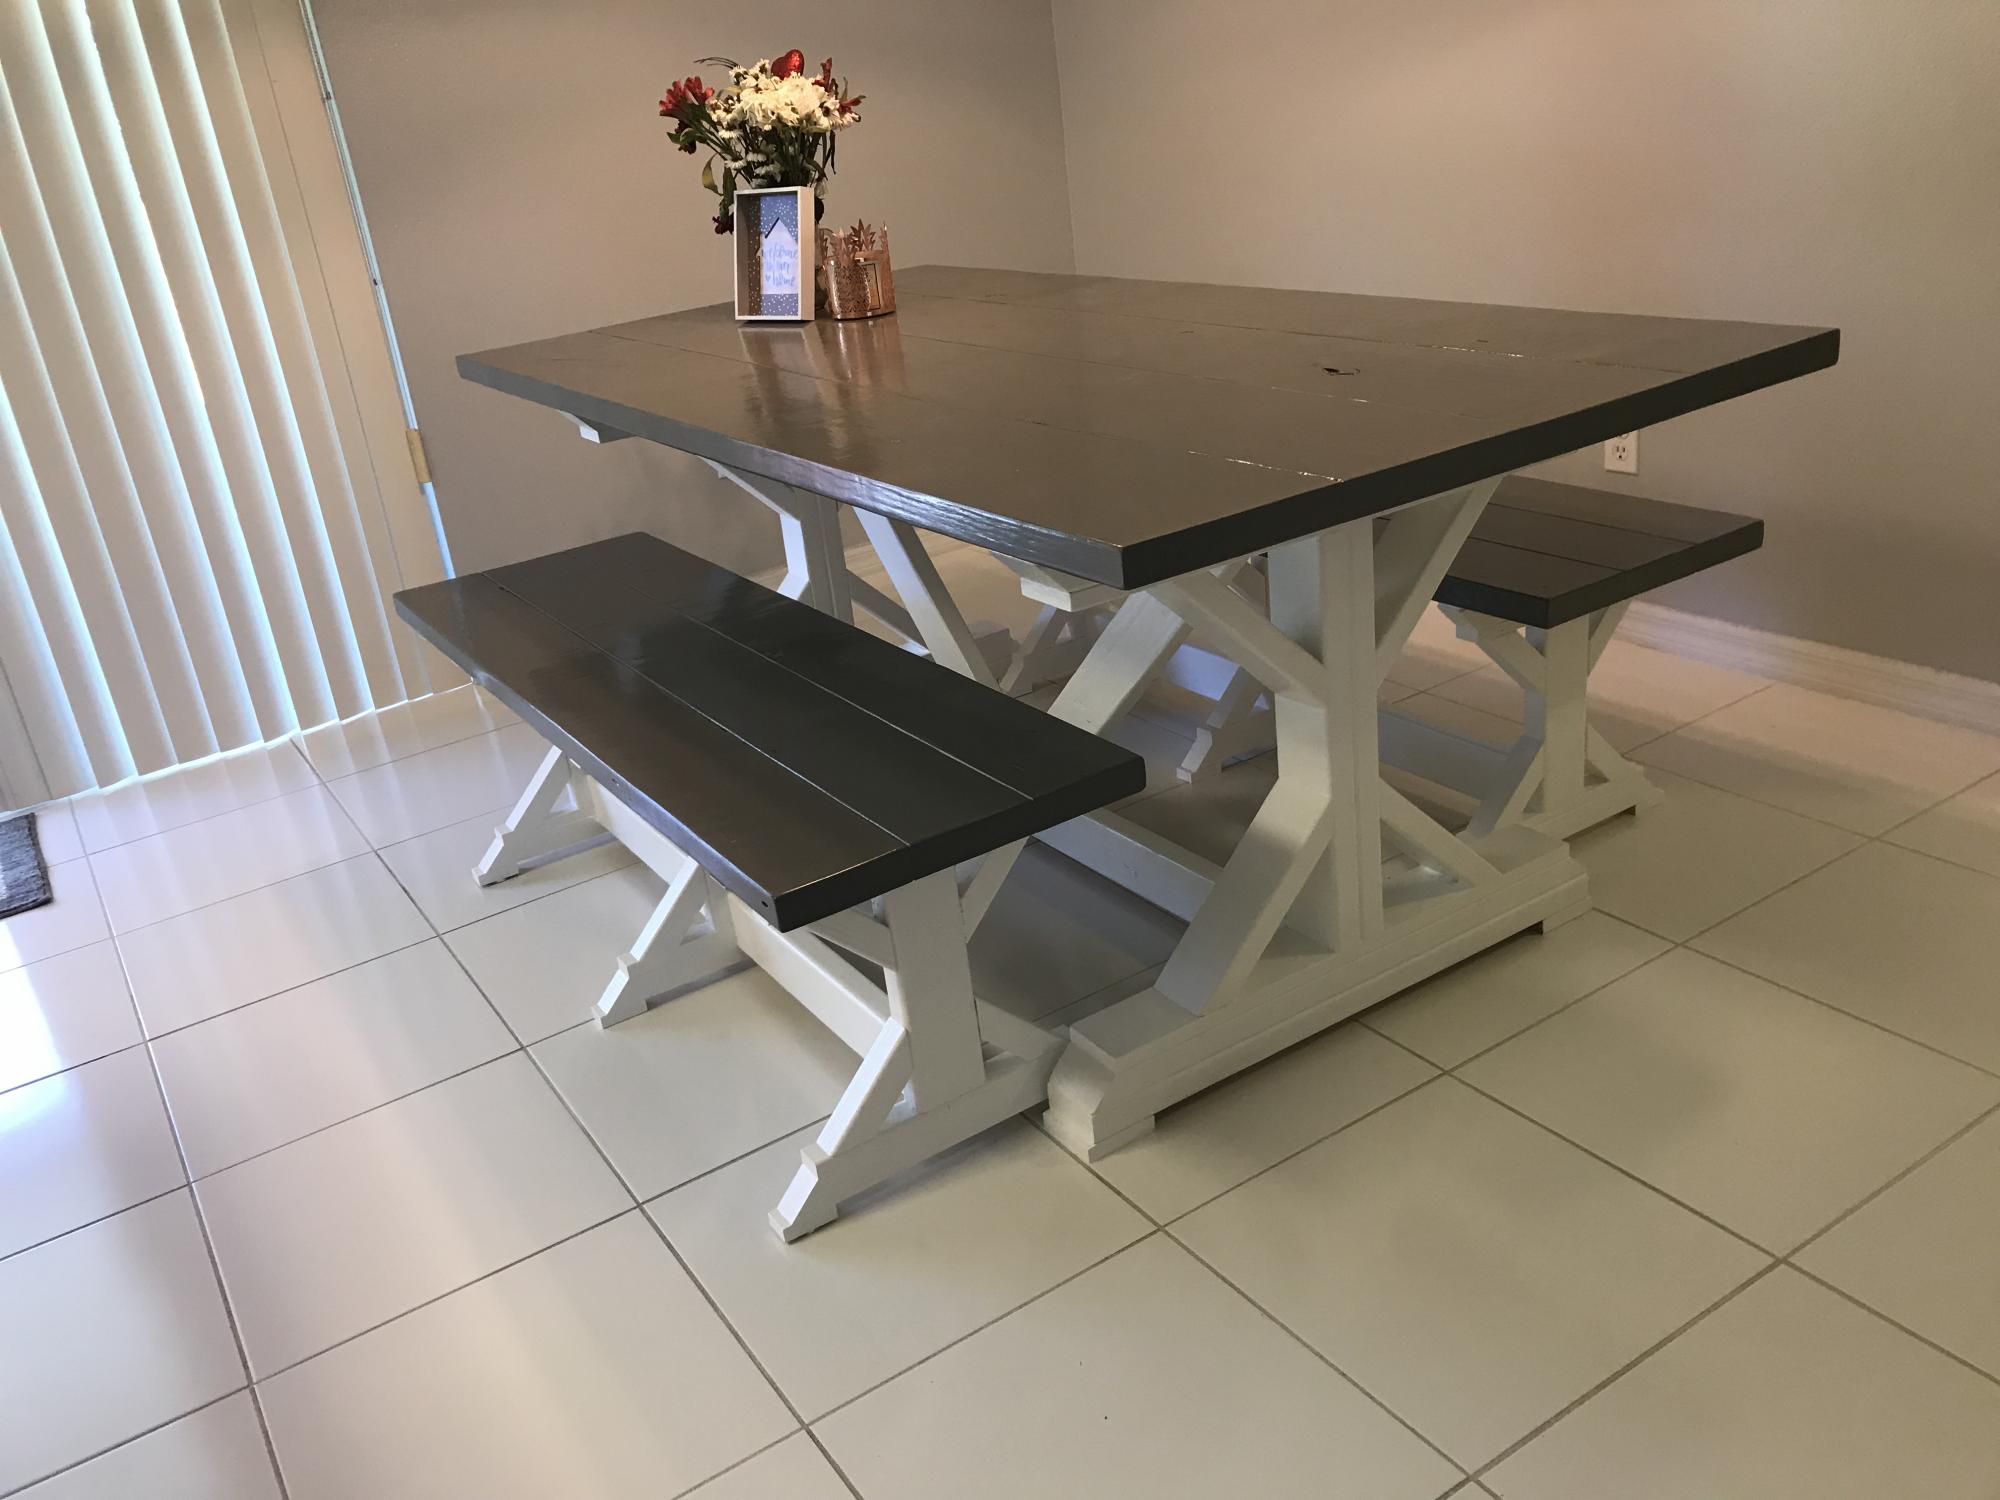
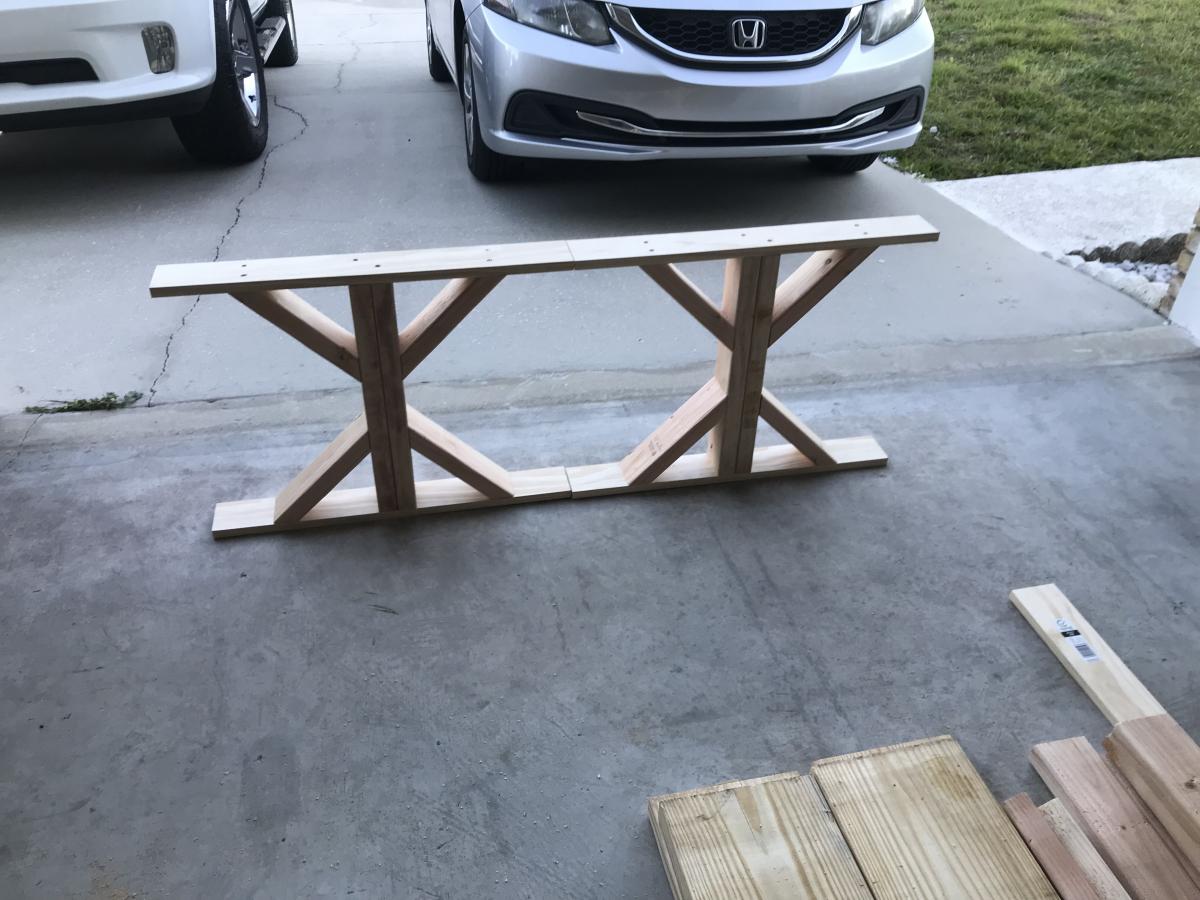
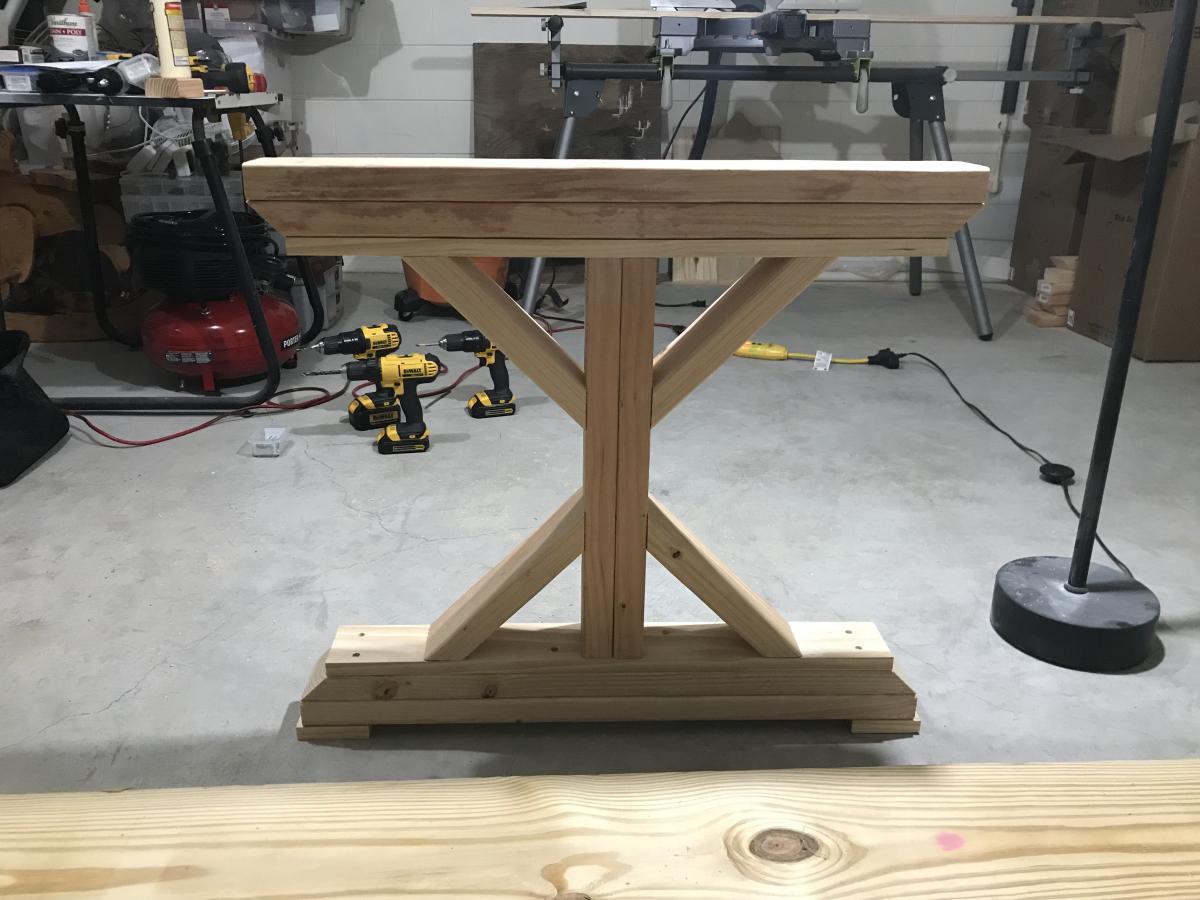
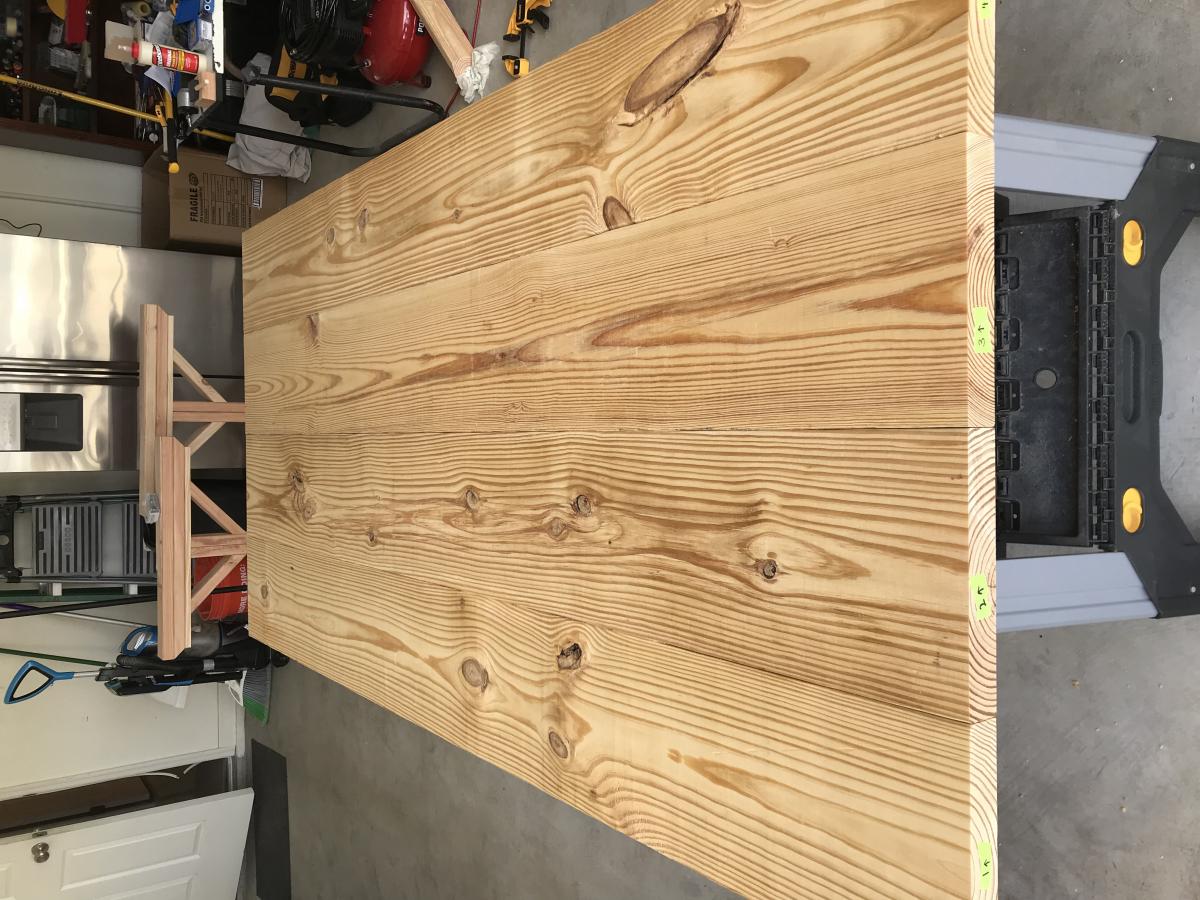
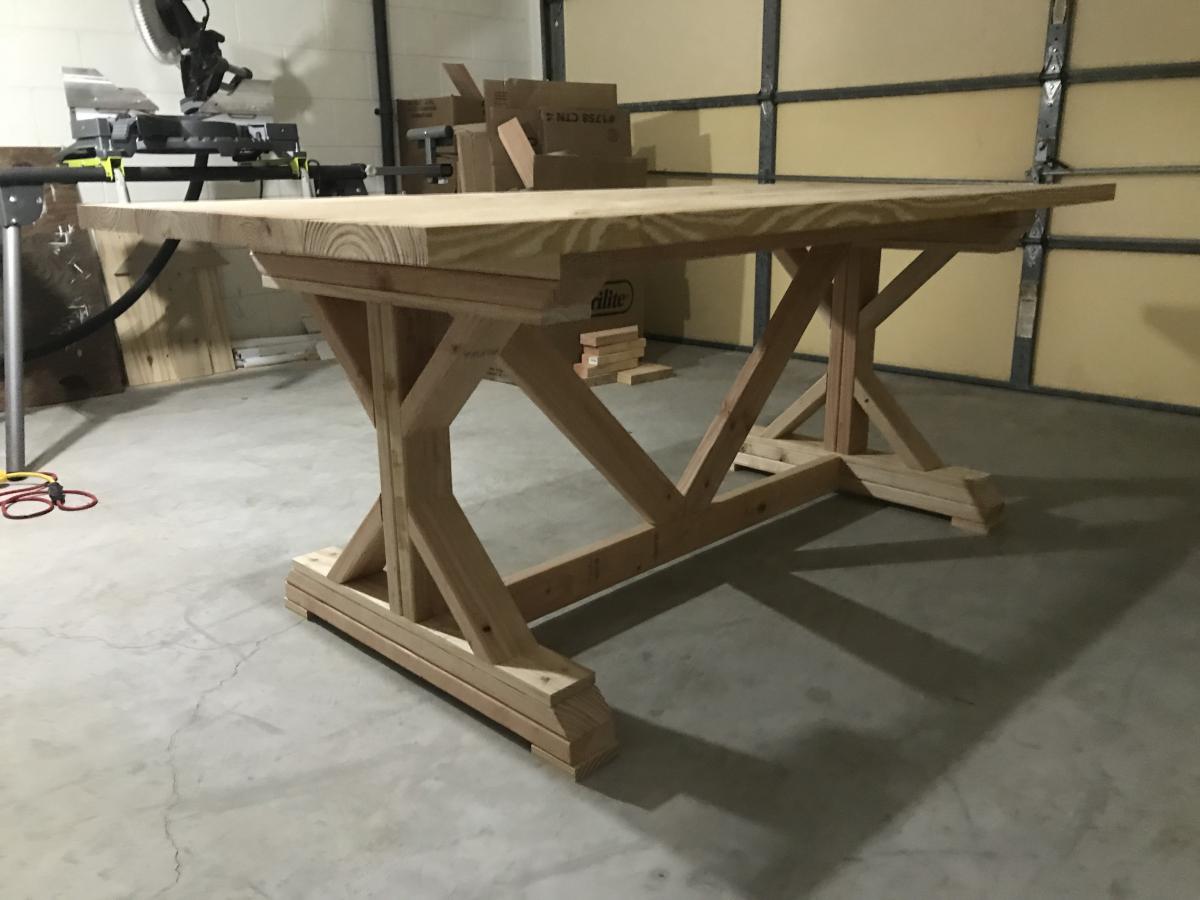
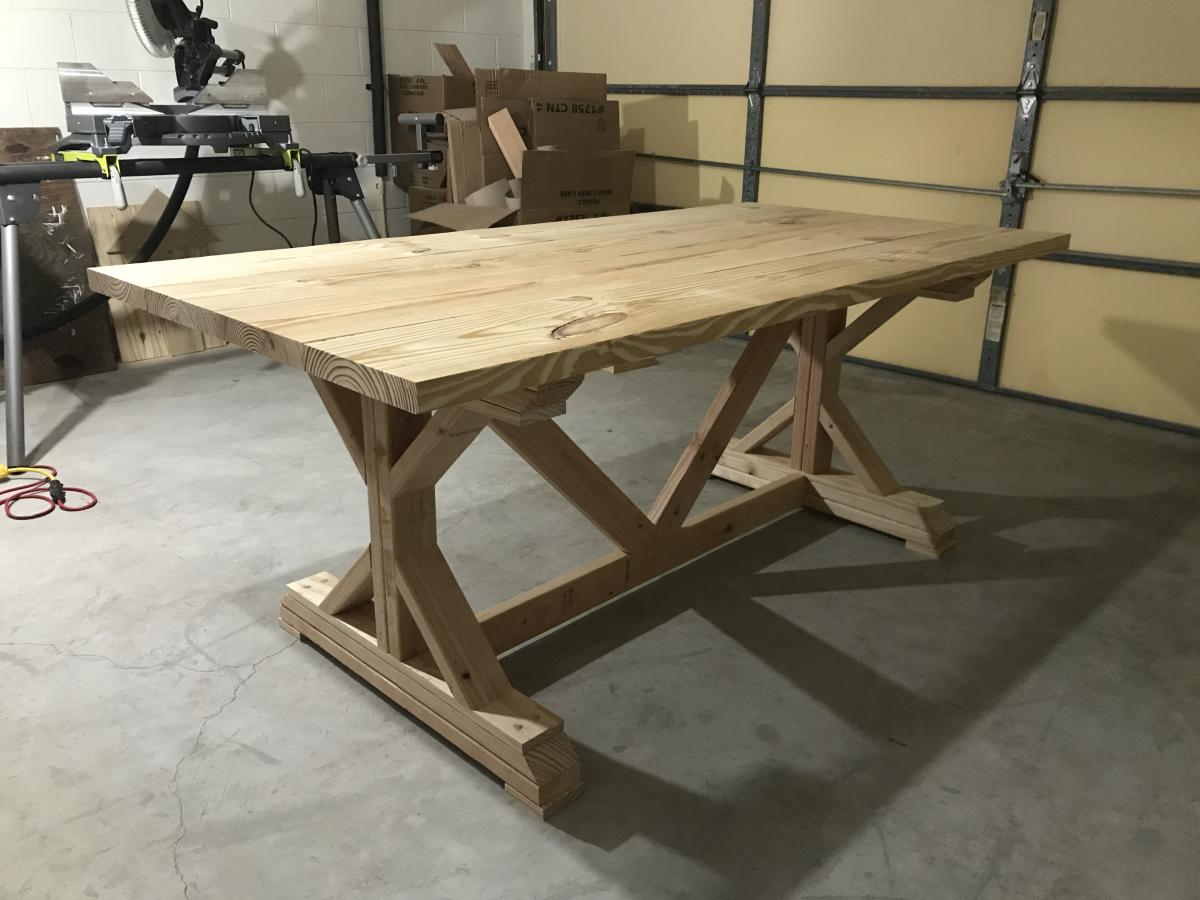
I know, I know, yet another Farmhouse Benchright Dining Table! For this one, I wanted 4x4 legs, angled turnbuckles and removable legs since I know I have to move a lot. The legs are made removable with carriage bolts and with the legs fastened this way, the whole project has a more simplified frame. The finish is dark walnut to try and blend vintage/weathered design with a modern finished project. I added dark gray slate to the tabletop, carved in via router, for a little more design and as a built in trivet if so desired.

Estimated Cost
200.00
Estimated Time Investment
Weekend Project (10-20 Hours)
Finish Used
Minwax Dark Walnut with Satin Finish
Recommended Skill Level
Beginner

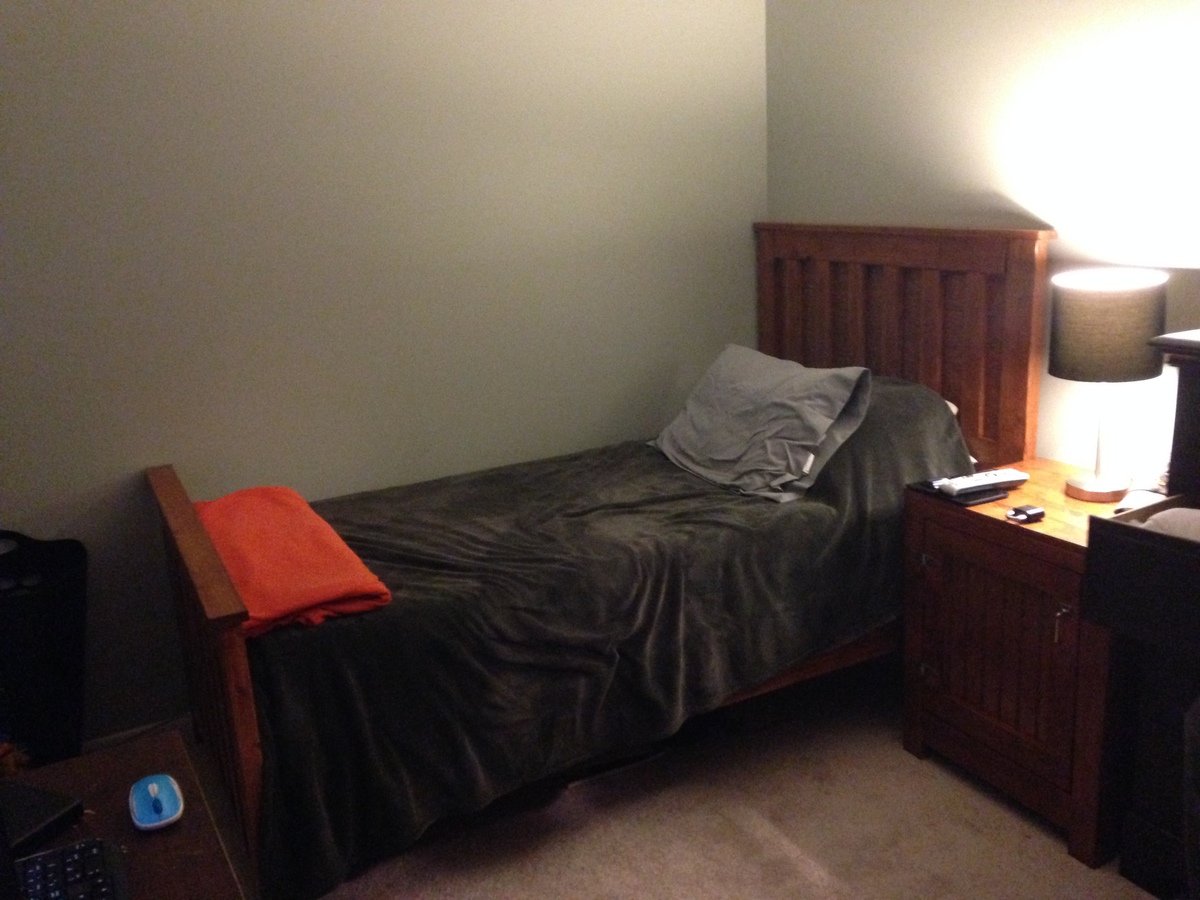
Farmhouse Queen Headboard
Submitted by danicarby on Mon, 11/09/2015 - 07:19

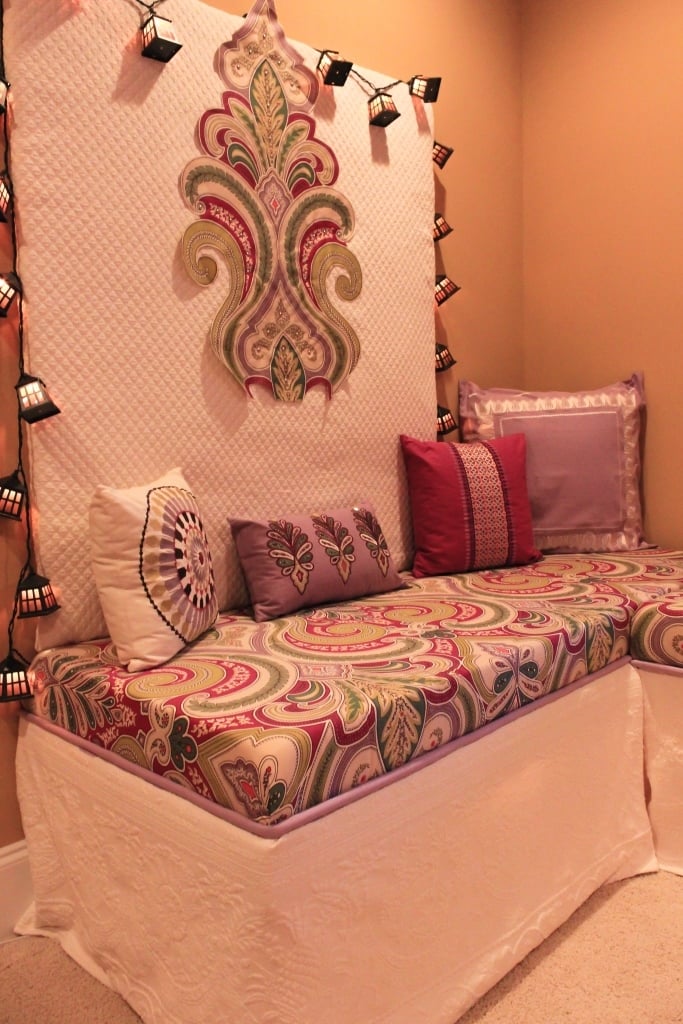
I built this for my mom's guest room.  She watched my kids and I worked in the garage.. couldn't have been a better vacation! :)
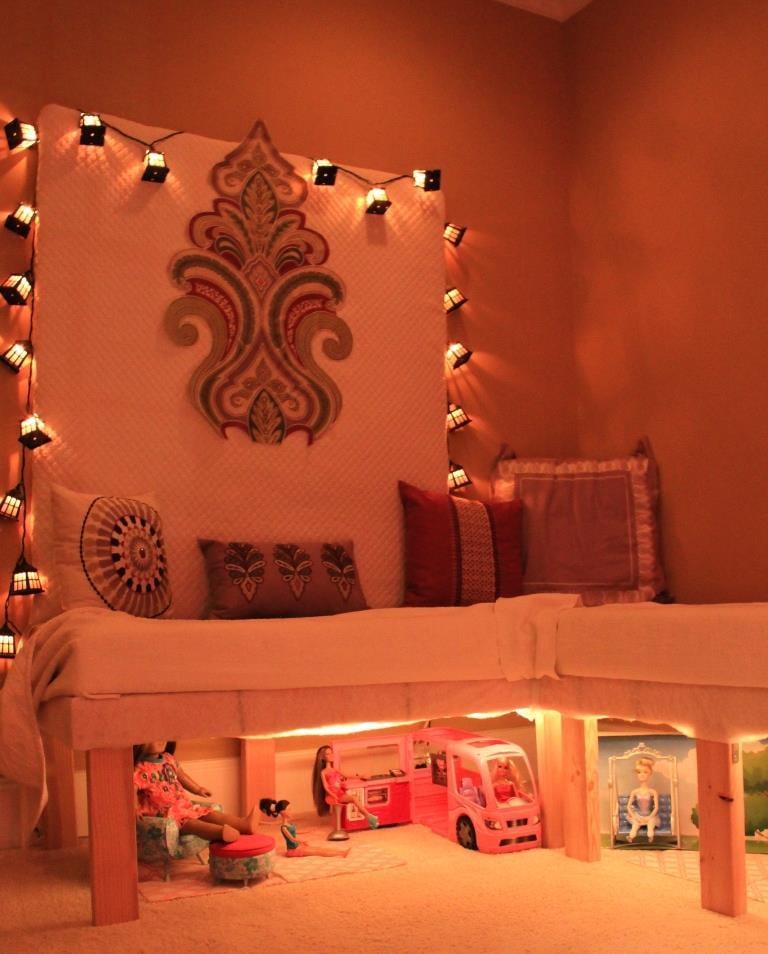
 

I used 6" (finished size 5") tongue and groove boards for the panel, shorter posts and screwed main structure pieces together using 5-1/2" lag bolts and plugging with 3/4" dowel pieces.  I added woodedn blocks at the bottom of posts for attaching metal bed frame.
 

My dad didn't have any pipe clamps so I ended up using a wratcheting strap!  HA!  Use what you can and save money! :)

Built from Plan(s)
Estimated Cost
I just made the headboard and that cost about $60 in wood, $40 for finishing products & $10 in hardware.
Estimated Time Investment
Weekend Project (10-20 Hours)
Finish Used
General Finishes Seal-A-Cell, General Finishes Antique Walnut Get Stain, Minwax Polycrylic (Clear Satin)
Recommended Skill Level
Beginner

Fireplace mantel

Submitted by Anonymous (not verified) on Mon, 12/31/2018 - 12:44

I took inspiration from Ana’s faux mantel to build a home for this linear electric fireplace. I got it done just in time to hang Christmas stockings.

Estimated Time Investment
Weekend Project (10-20 Hours)
Finish Used
Behr Alkyd semigloss enamel in white
Recommended Skill Level
Beginner
Seasonal And Holiday

Farmhouse Bed

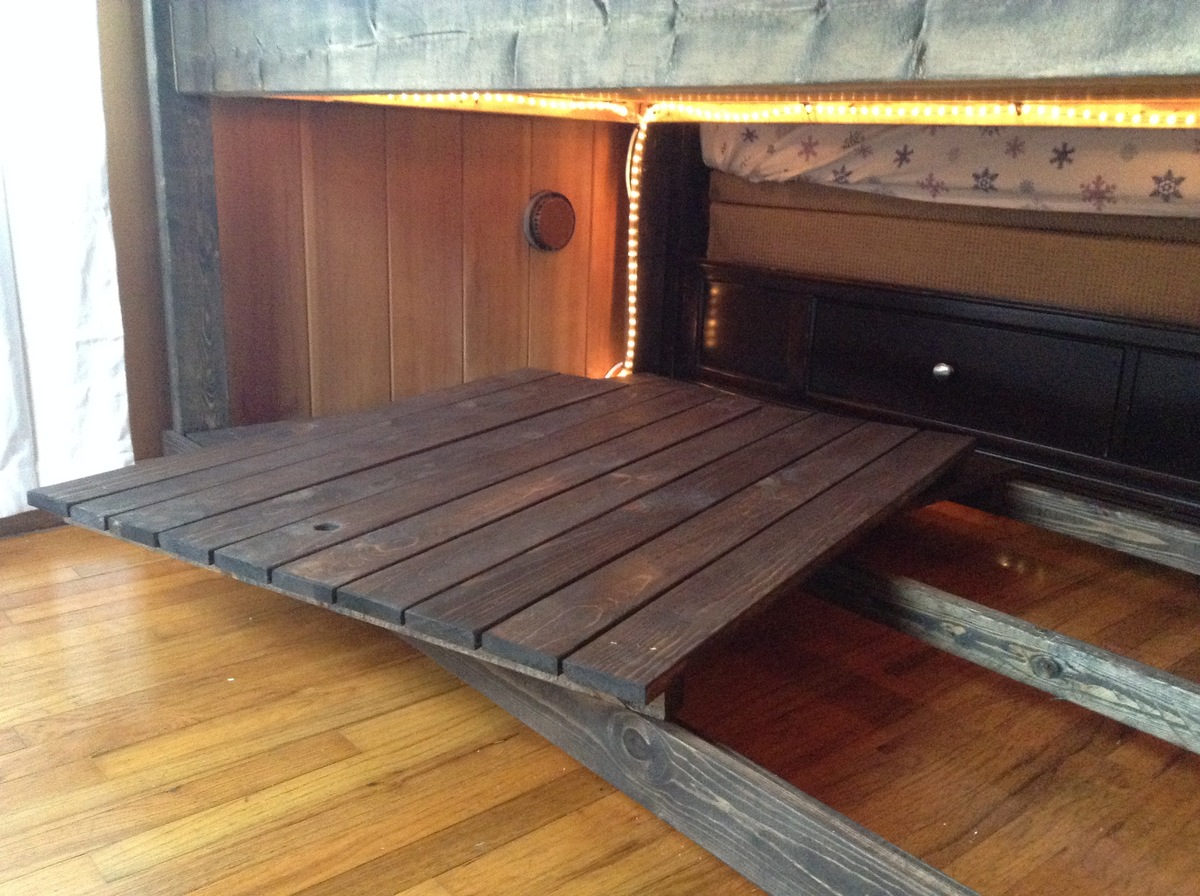
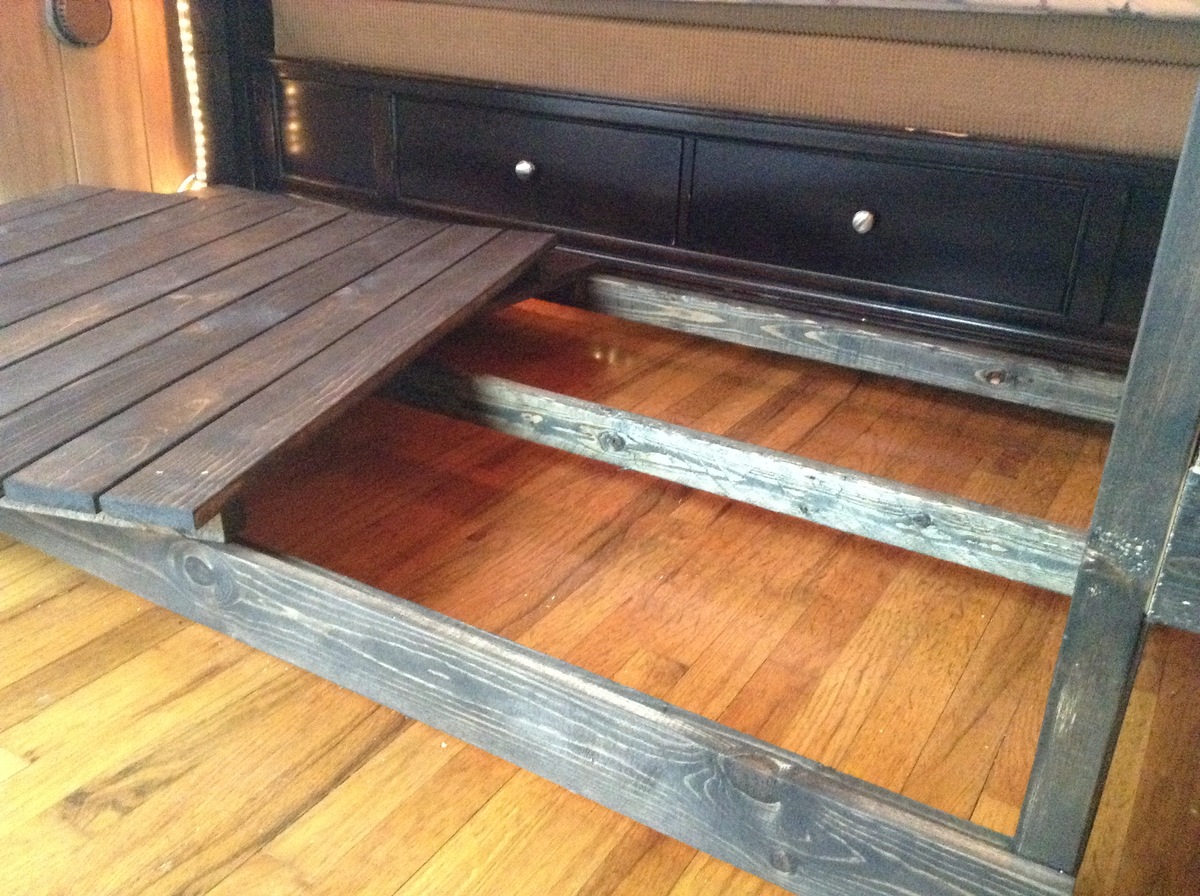
I built this bed as a modified farmhouse bed. I chose to have a solid wood headboard instead of having a slotted look as it fit better in the decor of our home. I purchased a bed rail kit from Rockler so that I could remove the rails without removing any screws. (http://www.rockler.com/product.cfm?page=5783) It was a relatively easy project considering my skill set was very low when starting! http://www.lifewithfingerprints.com/2010/09/labor-of-love.html

Built from Plan(s)
Estimated Cost
$110
Estimated Time Investment
Weekend Project (10-20 Hours)
Finish Used
I used a satin black paint finish with a polyacrylic coating.
Recommended Skill Level
Beginner

Comments

Utility Table

I had empty spot in my kitchen and I wasn't able to find any nice looking utility table, so I figured to do it myself. I was looking for plan but didn't seem to find what I was looking for (If you find plans for the similar one, let me know!), so I end up using my left over 2x6 and 2x4's to make counter top and 1x4 for legs as for shelves. I made "grill" for the shelves from 1x2's. My kitchen has white cabinets so legs I painted white and counter top and shelves I stained same color than my counter top I made for my kitchen. I measured space between window and door and made it fit there, height is same as my kitchen cabinets.
I need to stain shelves one more time to get them nice, but i had no room to let them lay around the house so I had to put them together.

http://ourleaningtree.wordpress.com/diy/utility-table/

Estimated Cost
Less than 20$
Estimated Time Investment
Weekend Project (10-20 Hours)
Finish Used
Wite paint and dark walnut stain
Recommended Skill Level
Starter Project

Owens nightstand for Ben

Submitted by Mommy2BMR on Sat, 11/14/2015 - 20:46

This is my first furniture build! I am thrilled with the way it turned out, and now I am totally addicted. It's going into my son's room.

Built from Plan(s)
Estimated Time Investment
Weekend Project (10-20 Hours)
Recommended Skill Level
Intermediate

Comments

Sliding door bar

Submitted by Anonymous (not verified) on Wed, 01/02/2019 - 13:30

I used the plans from the website and added a few extra features that we really wanted .we made the tracks for the sliding doors ourselves and got all the hardware for really cheap. Also, added leds on upper/lower shelving to give to a really cool look at night. All in all, we didn't spend more than $350-$400 on this awesome piece. 

Estimated Cost
$200-$300 and about $350-$400 with some added features
Estimated Time Investment
Weekend Project (10-20 Hours)
Finish Used
Clear stain for top and white paint for everything else
Recommended Skill Level
Beginner

Comments

Small Chicken Coop with Planter, Hurricane Edition

Submitted by Anonymous (not verified) on Thu, 09/29/2022 - 15:55

Englewood, FL, Irma. This coop built to plan using pressure treated plywood. 40’ pine tree on it, still useable. Not sure there’s any real damage!

Comments

Doll Adirondack Chair

Submitted by spiceylg on Sun, 08/21/2011 - 12:52

When I first saw this I thought it was adorable and had to build it even though I don't have any children! I use lengthier guestimated times to include sanding, painting and drying times.

Built from Plan(s)
Estimated Cost
$5-6 plus paint
Estimated Time Investment
Day Project (6-9 Hours)
Finish Used
It's been a while since I completed this project. I used spray primer and spray paint.
Recommended Skill Level
Beginner

Teaching Easel in the Classroom

I built this easel for my wife who teaches 2nd grade using the plan on this site. I used a jigsaw to make all the cuts which is why some of them are not perfect. All holes were countersunk and covered with wood filler as I have not yet purchased a Kreg Jig. One sample jar of paint was just enough to cover the whole project with 2 coats. Home Depot sells the whiteboard in 2' x 4' pieces for about $10 in my area. The toughest part was getting the holes to line up just right for the bolts that fix the four main pieces together. Some of them I had to use a little bit of force to make fit. The plan was easy to follow and worked well. I added a curtain rod to the top to hang a paper pad from which I bought for about $5. The big whiteboard behind the easel was hung over the existing chalkboard using industrial strength velcro strips. I bought the whiteboard material from Home Depot for $13 for a 4' x 8' sheet (it is actually called a "hardboard panel board". It works very well with dry erase markers and was an easy, cheap way to install a whiteboard over the current chalkboard.

Built from Plan(s)
Estimated Cost
$40
Estimated Time Investment
Day Project (6-9 Hours)
Finish Used
Behr purple paint sample
Recommended Skill Level
Beginner

Farmhouse Table with Reclaimed Lumber Top

We found this beautifully chippy lumber on the side of the road and snagged it knowing it would make a perfect table top someday.  When I decided to build a table for our back patio makeover, I knew exactly what I had to make the top out of.  

This was my very first build and the pocket hole plans made it so much easier than I thought it would be!  I built the top first then modified the cut list dimensions based on the top.  I also flipped the ends around so the braces would show on the inside instead of the outside.  

I seriously can't get enough of the top, it's so pretty and I don't have to worry about it at all since it's already wonderfully rustic.  The table fits six chairs perfectly.  We are looking forward to having many evenings around this table with family and friends!

Estimated Cost
$100
Estimated Time Investment
Weekend Project (10-20 Hours)
Finish Used
On the base, I applied two coats of Sherwin-Williams' SuperDeck solid stain in "Caribou" then sealed it with Minwax Spar Urethane clear satin with a sprayer.

For the top, I sealed the underside with Thompson's Water Seal clear waterproofer, and have plans to seal the top with Miss Mustard Seed's Tough Coat Sealer (http://missmustardseed.com/2015/09/cleaning-sealing-chipping-antique-pieces/)
Recommended Skill Level
Beginner

Comments

Sliding Door Console

Submitted by Anonymous (not verified) on Sun, 01/06/2019 - 07:16

My husband built this as my Christmas gift. It couldn’t have turned out any better. We shortened it to 75 inches and added a butcher block top to match the floating shelves and island in my kitchen. The plans were very easy to follow. We did have to spend quite a bit of time planning out the barn door track, but it was worth it.

Built from Plan(s)
Estimated Cost
$600
Estimated Time Investment
Week Long Project (20 Hours or More)
Recommended Skill Level
Intermediate

Comments

Modern Outdoor Chair from 2x4s and 2x6s

Submitted by Anonymous (not verified) on Sun, 10/09/2022 - 10:11

My second project turned out nice. I built one chair to see if it was nice. Now I’m going to build a second used behr semi transparent chocolate stain. Cushions are temporary until we can find some that fit.

Comments

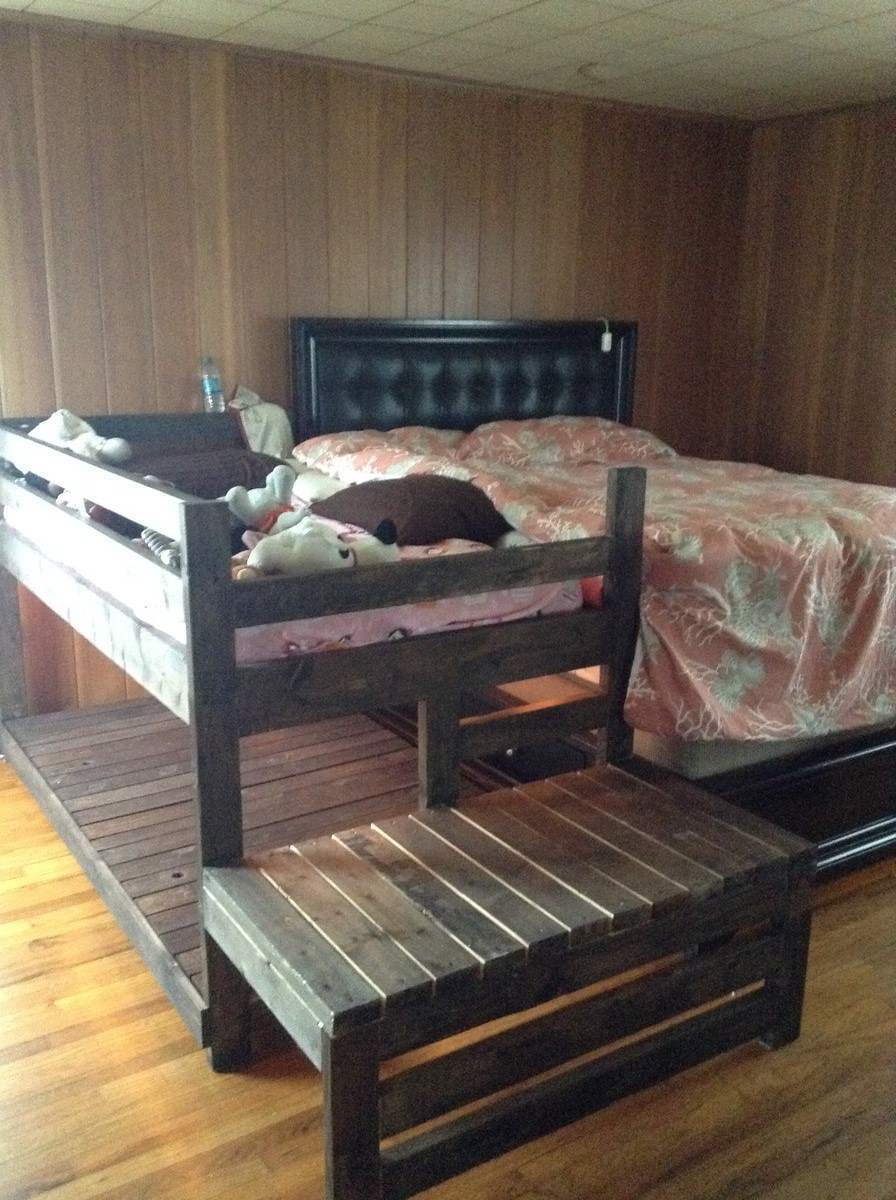
Modified loft bed

Submitted by jont on Tue, 08/23/2011 - 21:01

My wife has been asking for a bunk bed for the kids for some time. The room is a little short because it is in a basement and I knew I would need to modify the plans so I procrastinated.
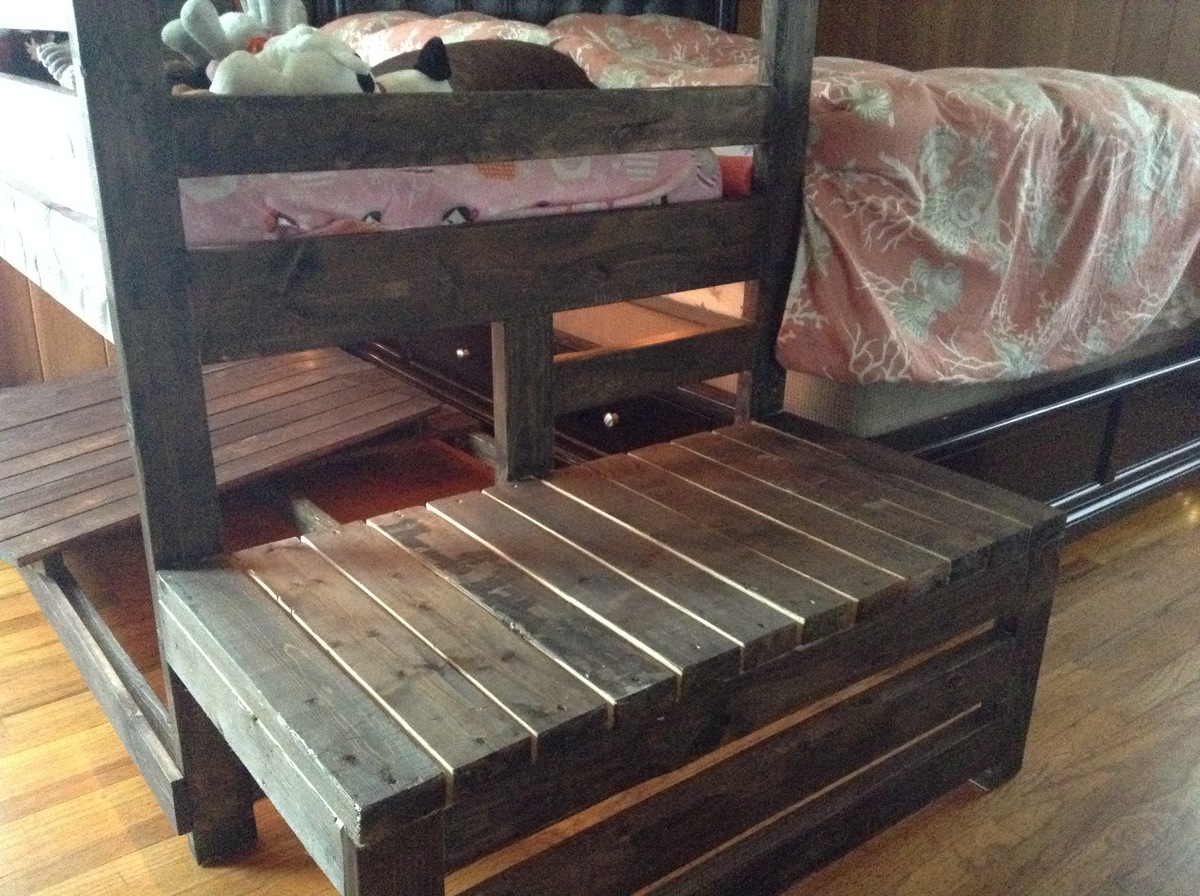
I ended up shortening the height of the bed to 62" total. I also sank the top mattress down because it is a pillow top and the rails were not tall enough. Those were the easy parts. I then had to modify the ladder, I needed to shorten it and wanted a little more angle to it so some high school trig and I was on my way. It turned out pretty good I think.
To save money I used furring strips for everything but the 1x8s. It is very rough and the finishing is not easy on furring strips, but it saves some money.
I had some extra blue from a previous project but wanted it a little darker. I used a flat black water based paint for the base coat then brushed on an incomplete layer of the blue to give it the look I wanted. Sealed it with a clear coat.

Built from Plan(s)
Estimated Cost
~$90
Estimated Time Investment
Weekend Project (10-20 Hours)
Recommended Skill Level
Intermediate

Comments

Guest (not verified)

Fri, 03/30/2012 - 17:38

Hi...I'm planning on making this bed for my own room, and I was wondering if the furring strips affected the stabilty or if they are just as sturdy as if you had used pine boards. I'm 16 and around 140 pounds, if i make it with furrying strips do you think it would support me?

In reply to by Guest (not verified)

jont

Sat, 03/31/2012 - 08:31

Furring strips are of lower quality - more knots and splitting. Technically this could effect the strength of the strips, but for the loft bed the main supports are made by attaching 3 1x3s together (increasing the strength synergistically) so I think it would be safe to say there will be no problems with load fatigue. Just be sure to use glue on every piece when attaching together. Good luck!

Modified Adirondack Coffee Table

Submitted by Indiri on Mon, 09/16/2013 - 13:37

As the kids are getting a little older it was time to retire the train table and pass it on to family. Although our living room is growing up we still wanted a place for storage, though.

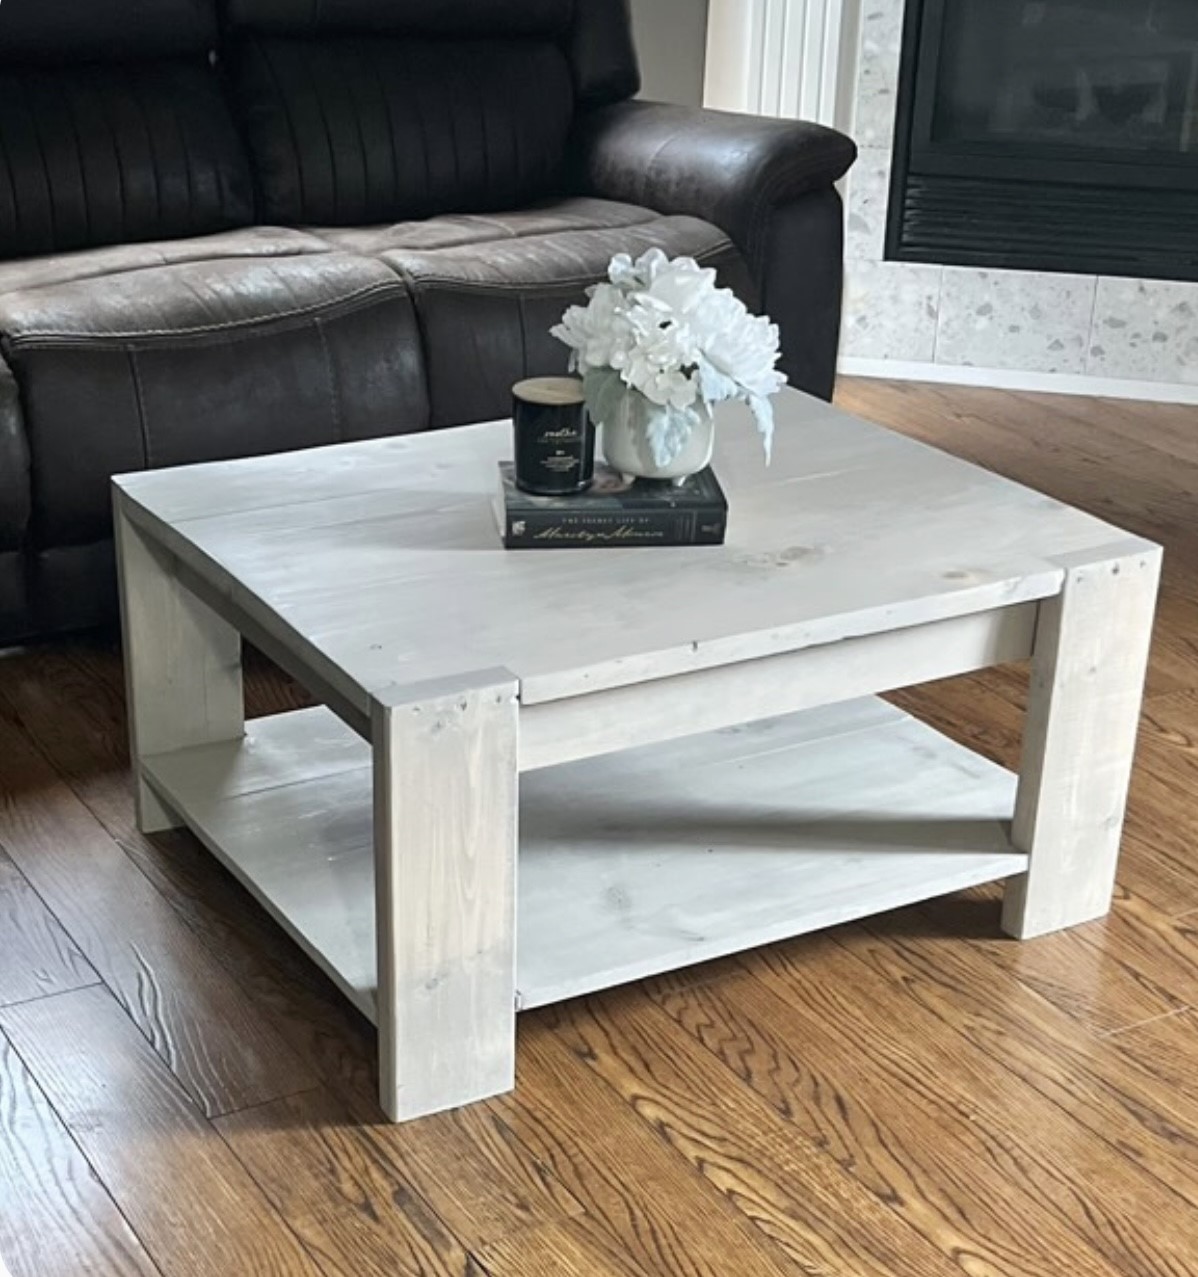
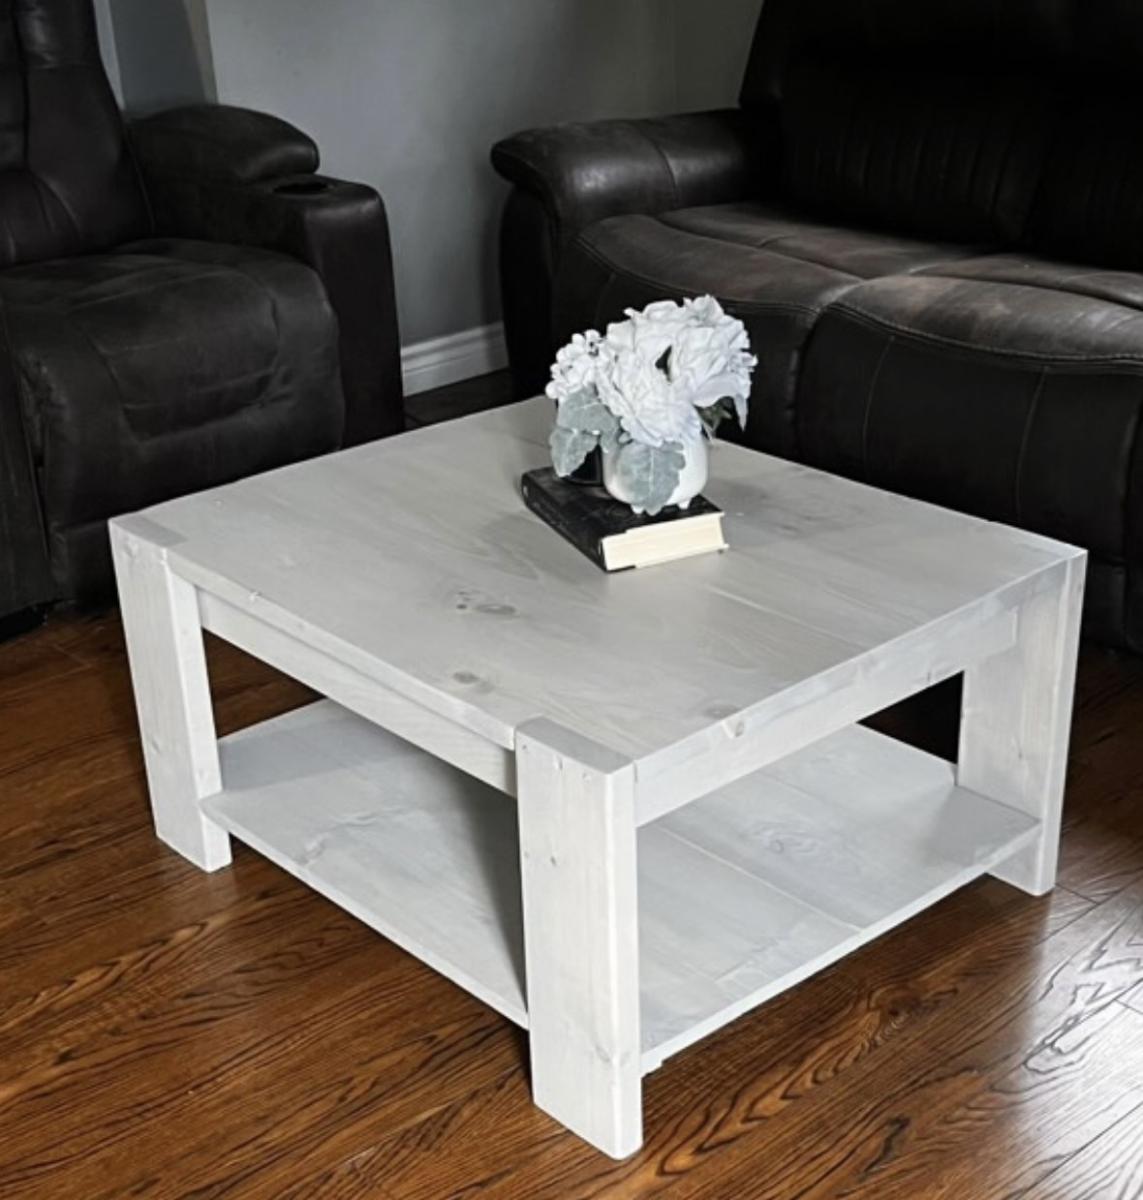
I modified the Adirondack Coffee Table to include a lower shelf (just make a second box the size of the top one and screw it into the bottom of the legs) and made it wider and longer (49"x33") and taller (20"). 6 of our toy buckets will fit on the lower shelf for storage. By making the top 49" I was able to cut the 1x6 to make a top board and a bottom board from each (top 50" for a little overhang, bottom boards 46". 6 1x6 boards were needed to make the two shelves, in addition to the 2x4s. Since it is bigger there is also a stretcher across the center for a little extra strength (because we all know that at some point a child will stand on it).

It took me about 4 hours to build it and then a couple more hours spread over the weekend to stain/poly. All total this one was about 6-7 hours for me to build.

Estimated Time Investment
Day Project (6-9 Hours)
Finish Used
Red Mahogany Stain and Minwax Poly, 2 coats of each.
Recommended Skill Level
Beginner

Crib for baby Marcus

A new crib for a new baby. The foot and head board can be attached with the side rails to put together a full sized bed. In theory,  this should be the only bed they need for their little dude with just  a few additions (new footboard). 

Estimated Cost
$120
Estimated Time Investment
Weekend Project (10-20 Hours)
Finish Used
Min wax classic oak and tung oil
Recommended Skill Level
Intermediate

Cabin Bed for Daughters room

Submitted by Anonymous (not verified) on Thu, 01/10/2019 - 01:12

We built our daughter a cabin bed from the Ana White websit.   Plans were for a twin size mattress and we converted the width to accomodate a full size mattress.  After completing the Cabin bed and installing the full size mattress is when we discovered that the plans have an error in the length of the the cabin bed.  Plans call for 71 inches in length when 75 inch lengths are what all mattresses come in unless you are getting an oversize one which measures 80 inches in length.  The good thing is we purchased a 9 inch memory foam mattress which compressed enough in lenght to fit. 

Built from Plan(s)
Estimated Cost
$400
Estimated Time Investment
Week Long Project (20 Hours or More)
Finish Used
Barnwood stain and white wash stain sealed with minwax water based poly
Recommended Skill Level
Intermediate

Country Pallet Shelves

Love these shelves.... Best part about them is they were completely free but add such a great country feel to my country style kitchen...

Estimated Cost
$0.00
Estimated Time Investment
An Hour or Two (0-2 Hours)
Finish Used
None... best part about the character.
Recommended Skill Level
Starter Project

Comments

Rustic X Bookshelf--Short

I've loved the Rustic X series from the first plan (the console table) but none of them were things I needed for my home. So when I saw the Rustic X Tall Bookshelf I was thrilled since I have been needing a cookbook shelf in my kitchen, and had been trying to design my own using some form of the X construction. I still needed to customize it, but it was much easier to do from the existing plan. I made it half the height since I wanted it to be flush with my counter, and also wanted it narrower. I had leftover 1 x 12s from another project so I used those, and decided to make two Xs instead of one because of the narrower width. I cut the X's to fit, and used wood glue and 2" nails to secure them from the bottom. Perfect fit for my space!

Built from Plan(s)
Estimated Cost
$25 in new wood, plus leftovers for shelves
Estimated Time Investment
Weekend Project (10-20 Hours)
Finish Used
I used a technique for oxidizing wood which I read about at The Friendly Home. Hillary does a great detailed tutorial (http://thefriendlyhome.blogspot.ca/2012/07/how-to-oxidize-wood.html) on how to use tea, vinegar and steel wool to give new wood an aged weathered look. Cheap and beautiful! I will absolutely do it again! But it was a bit lighter than I wanted, so I used Minwax Polyshades in Tudor to darken them up and seal the wood.
Recommended Skill Level
Beginner

Comments