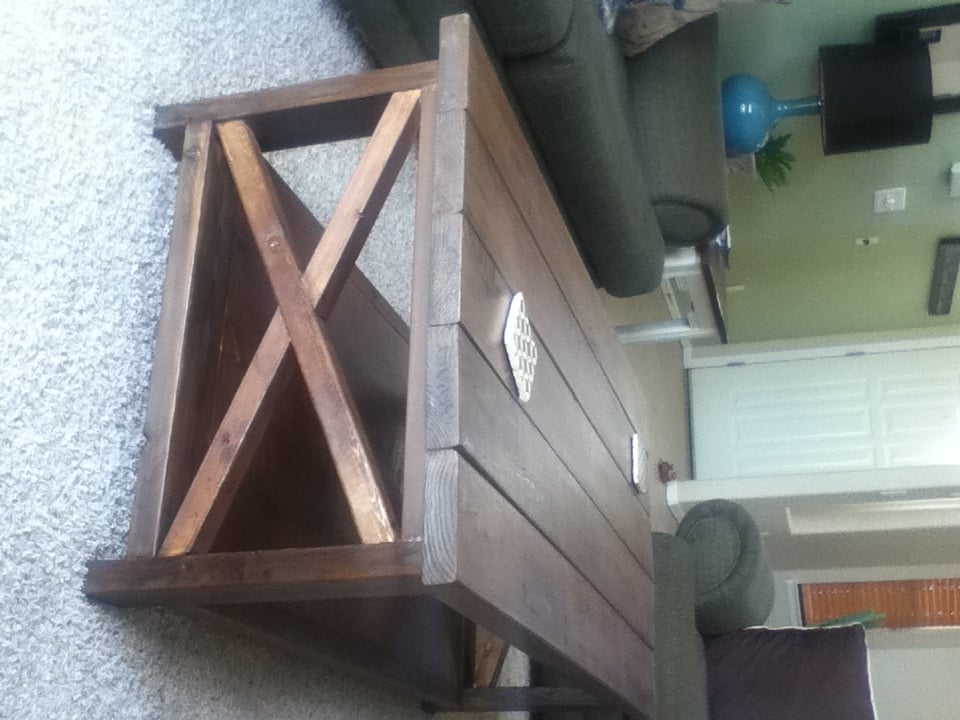
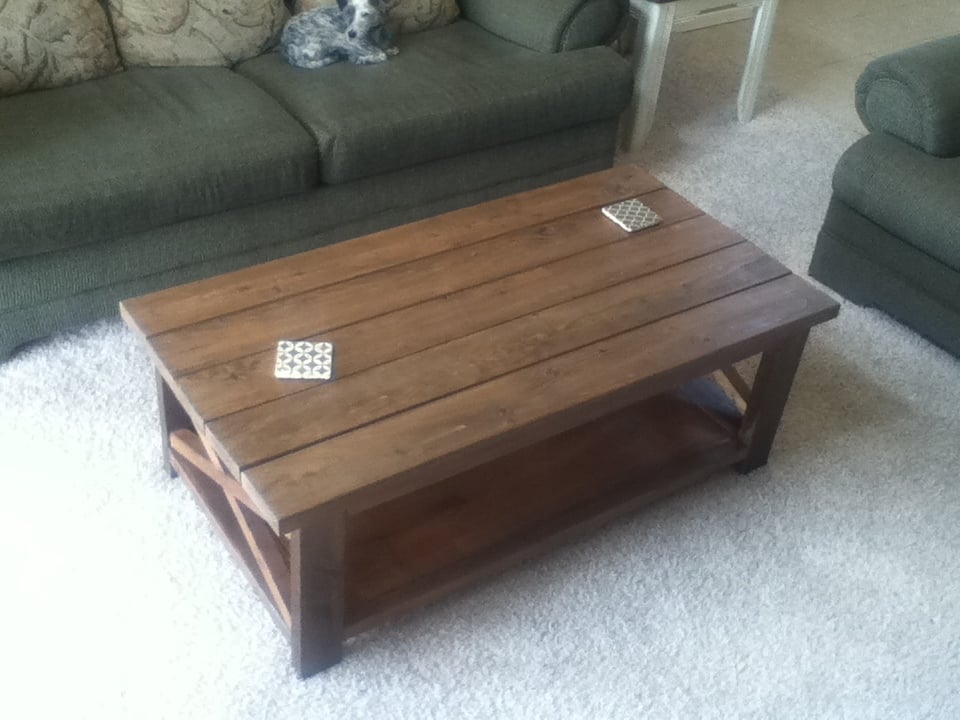
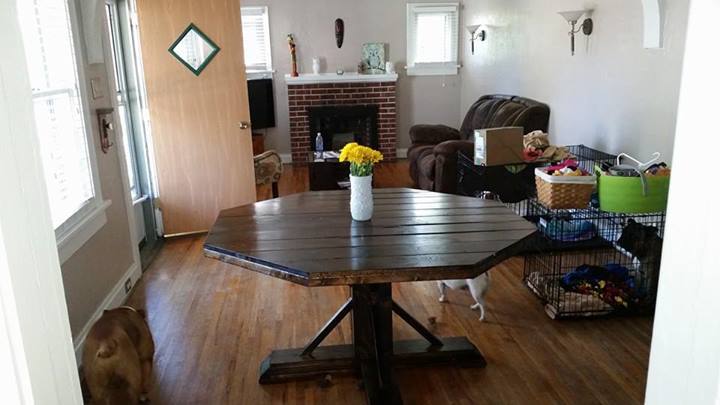
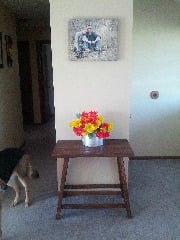
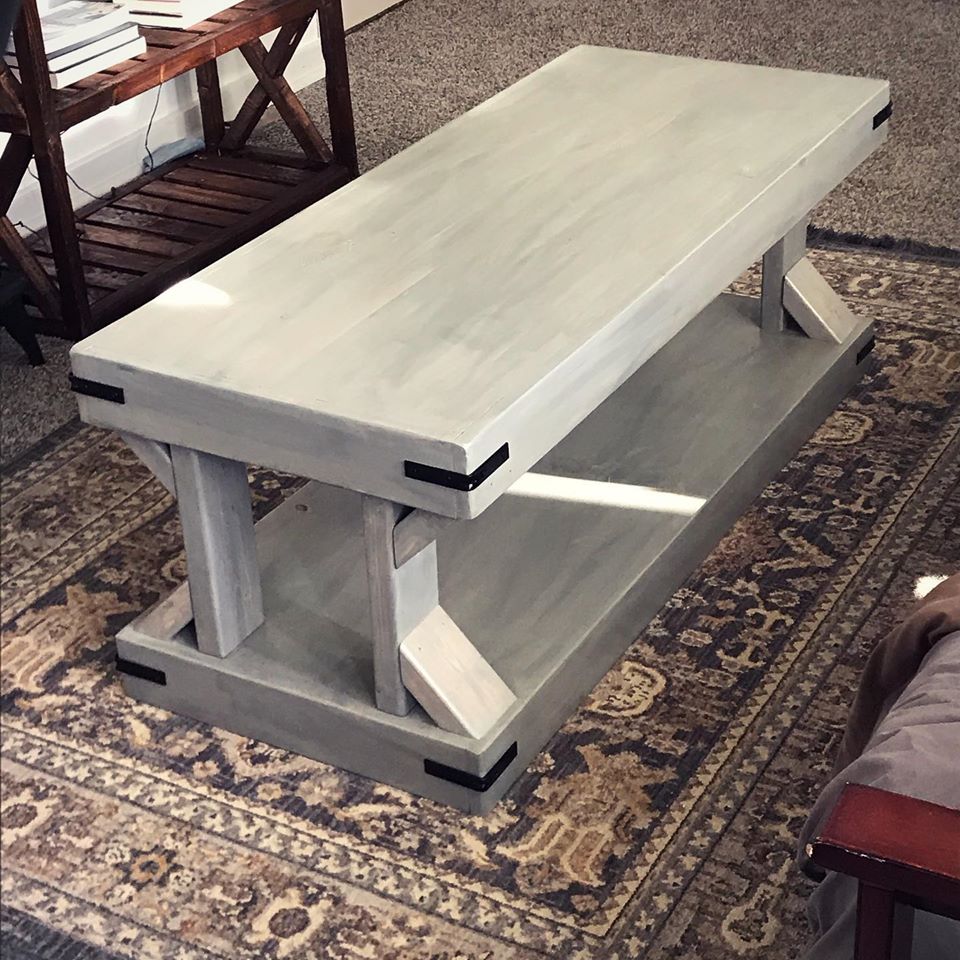
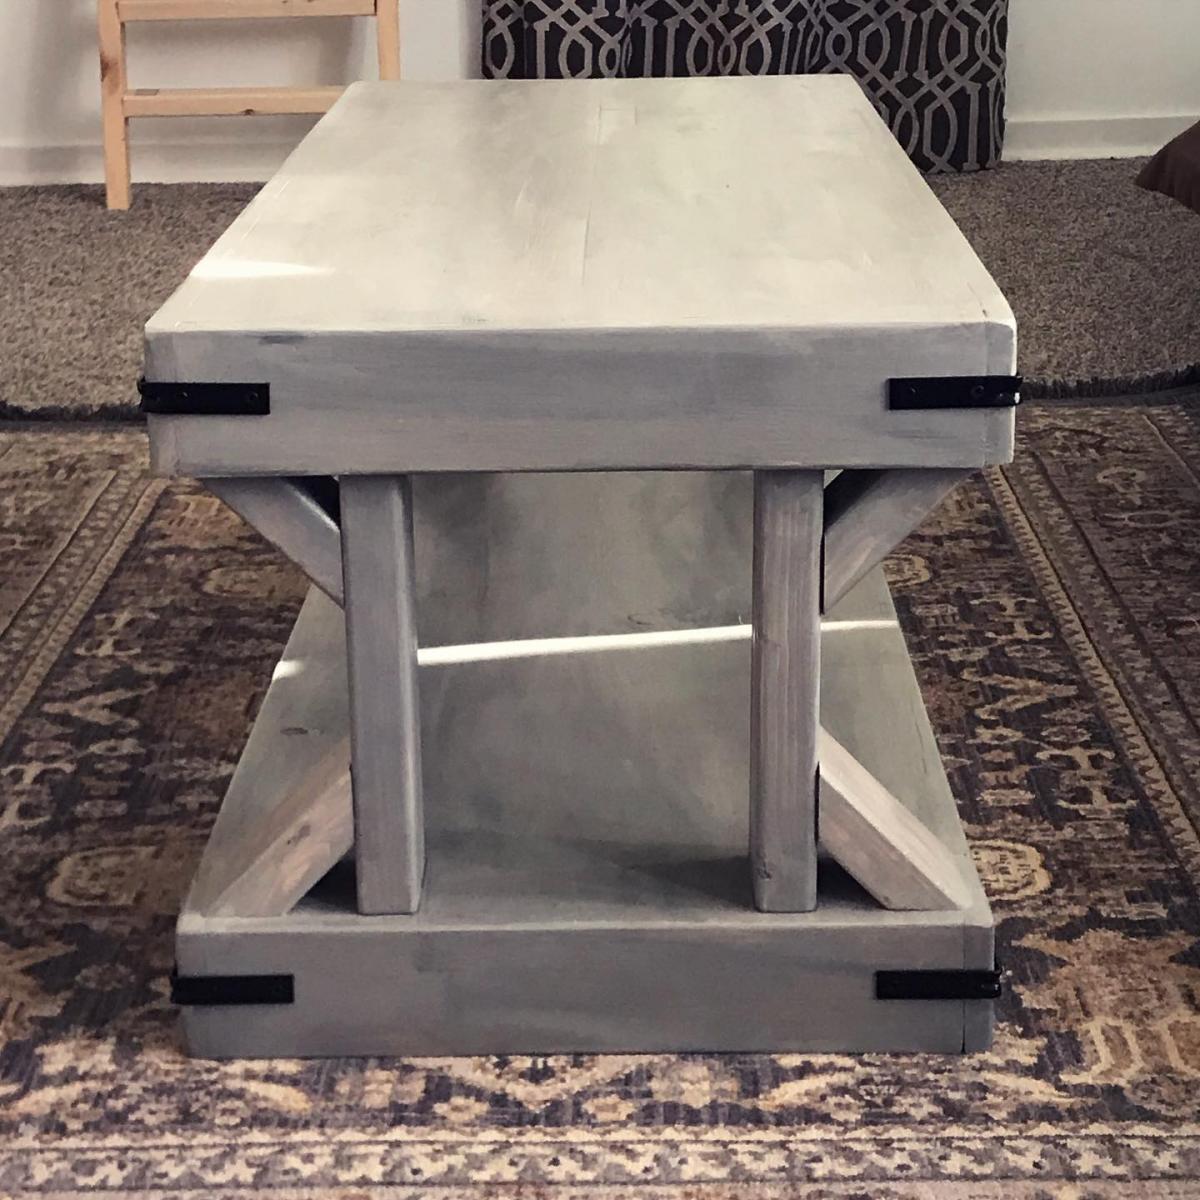
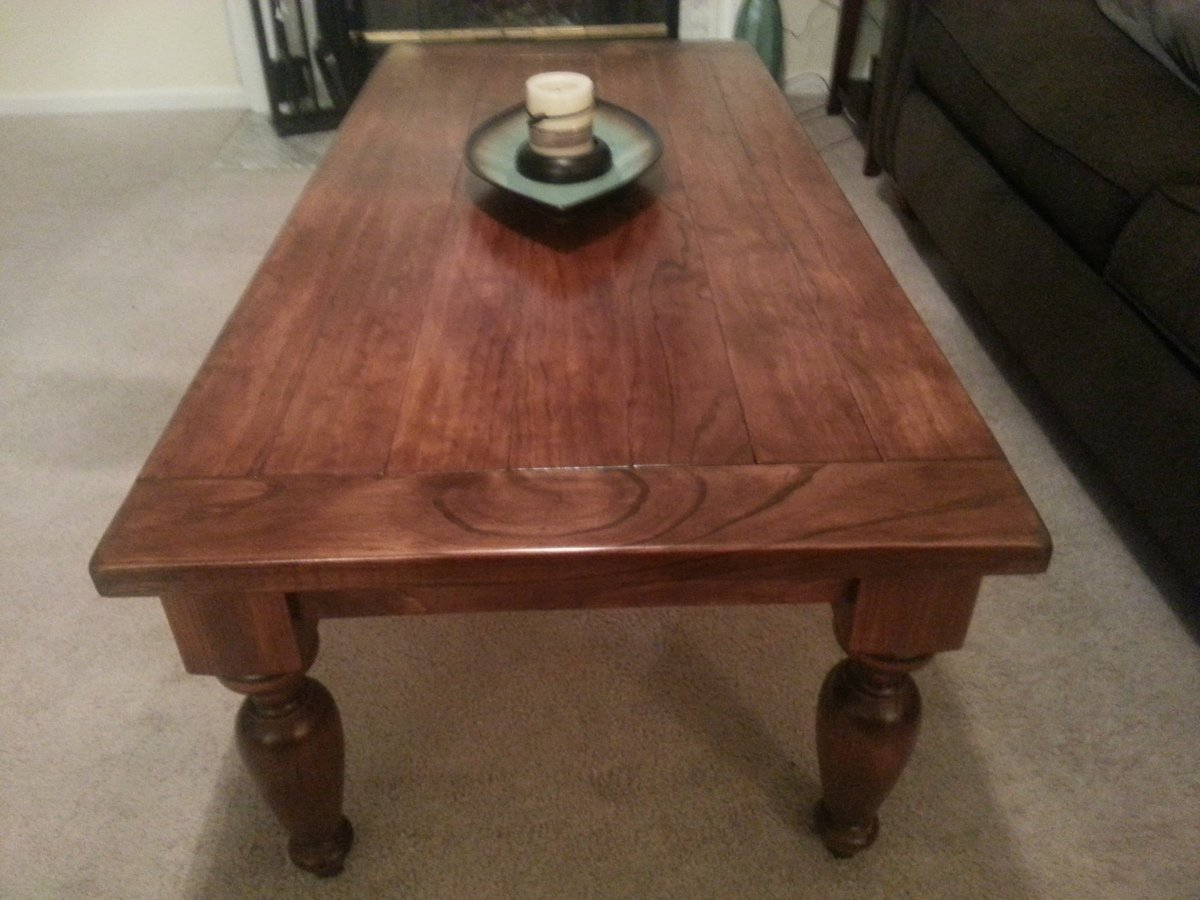
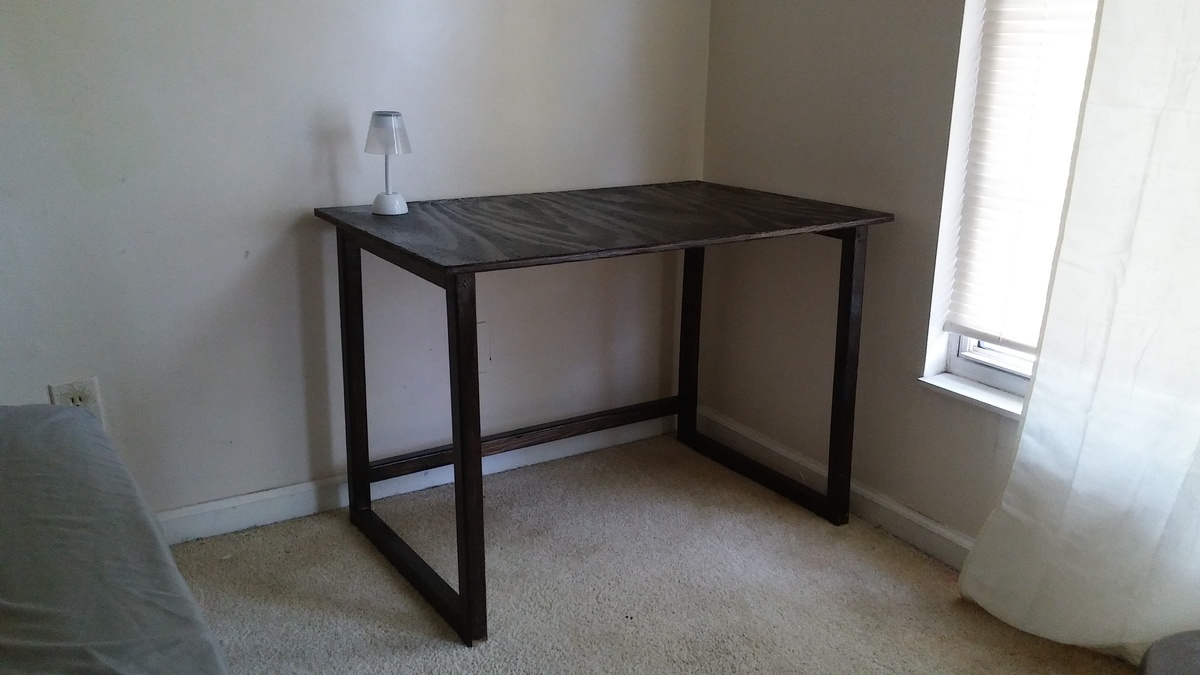
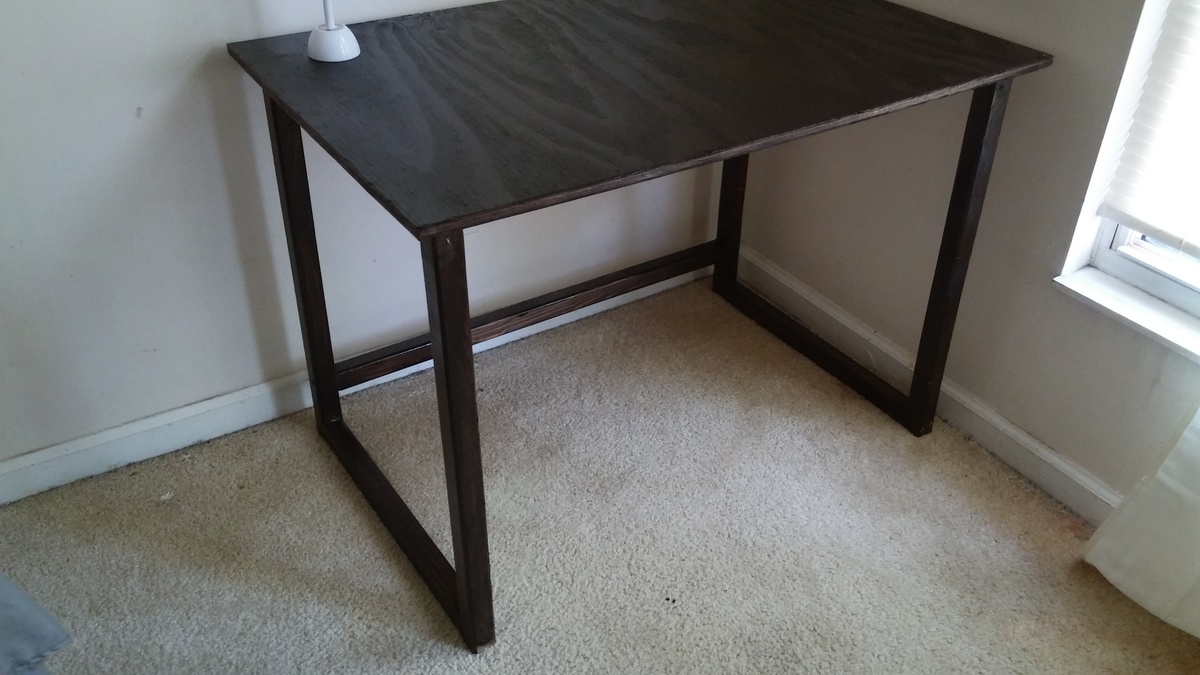
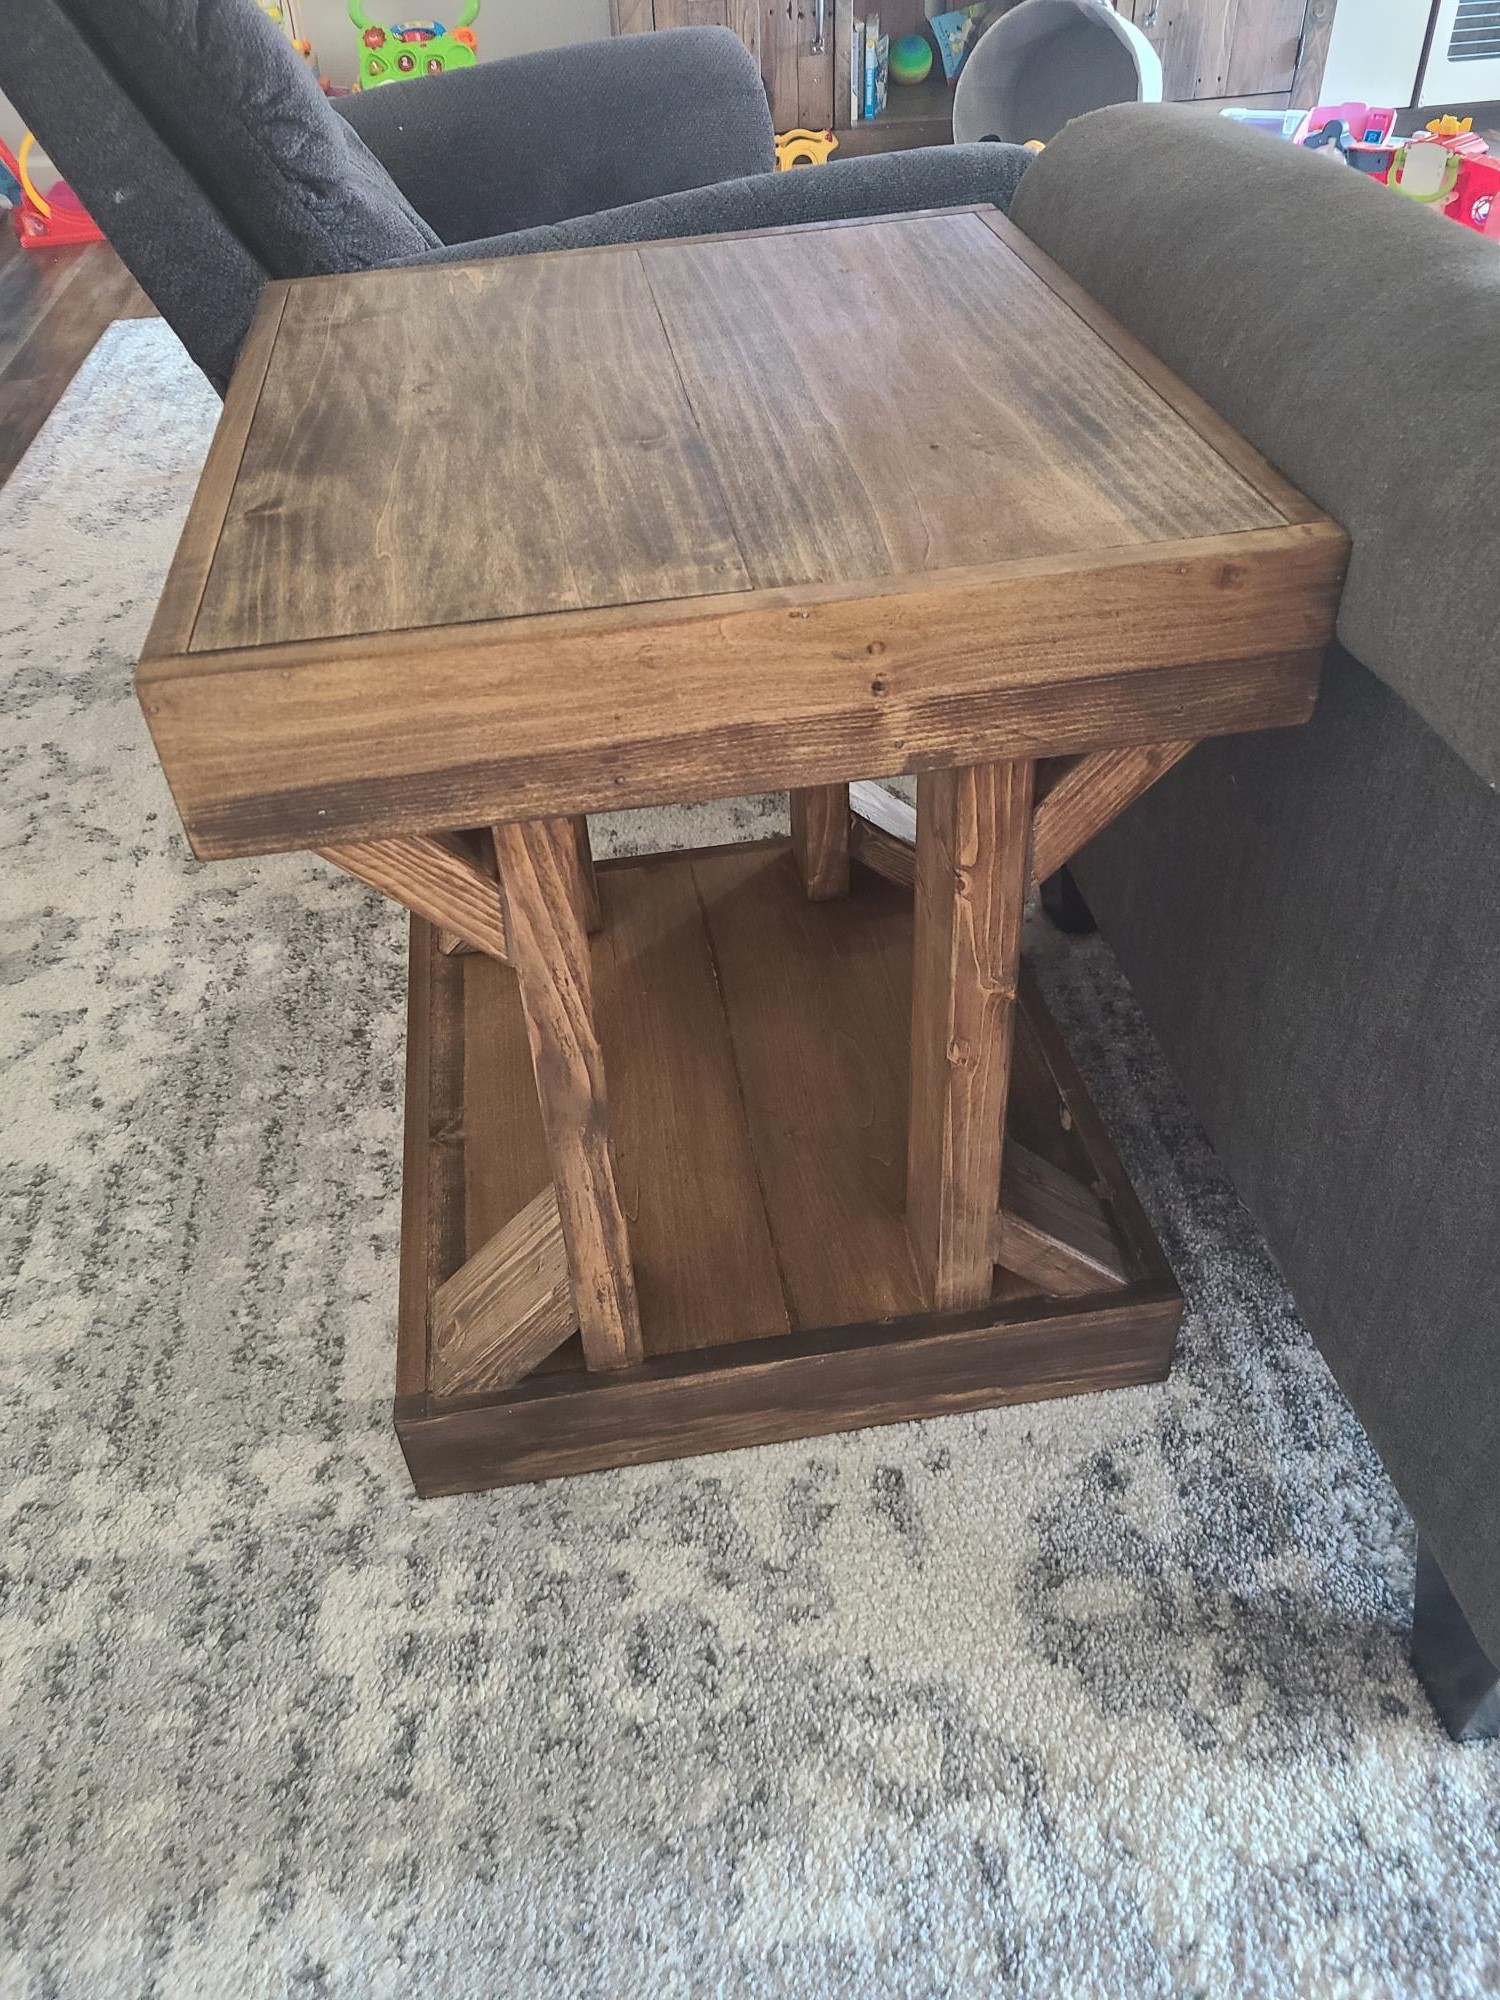
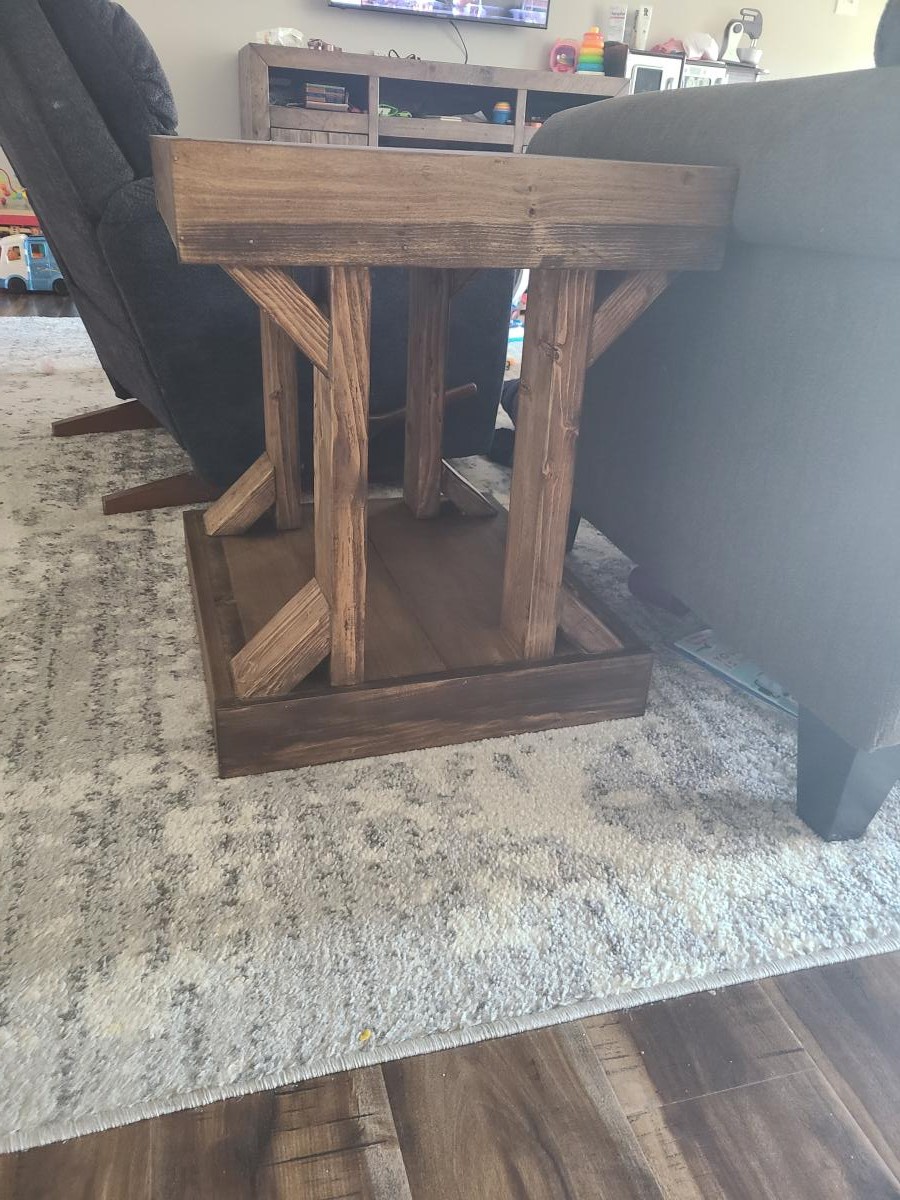
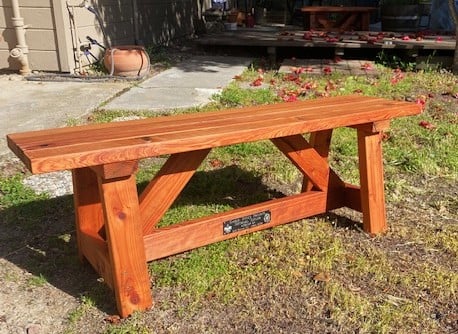
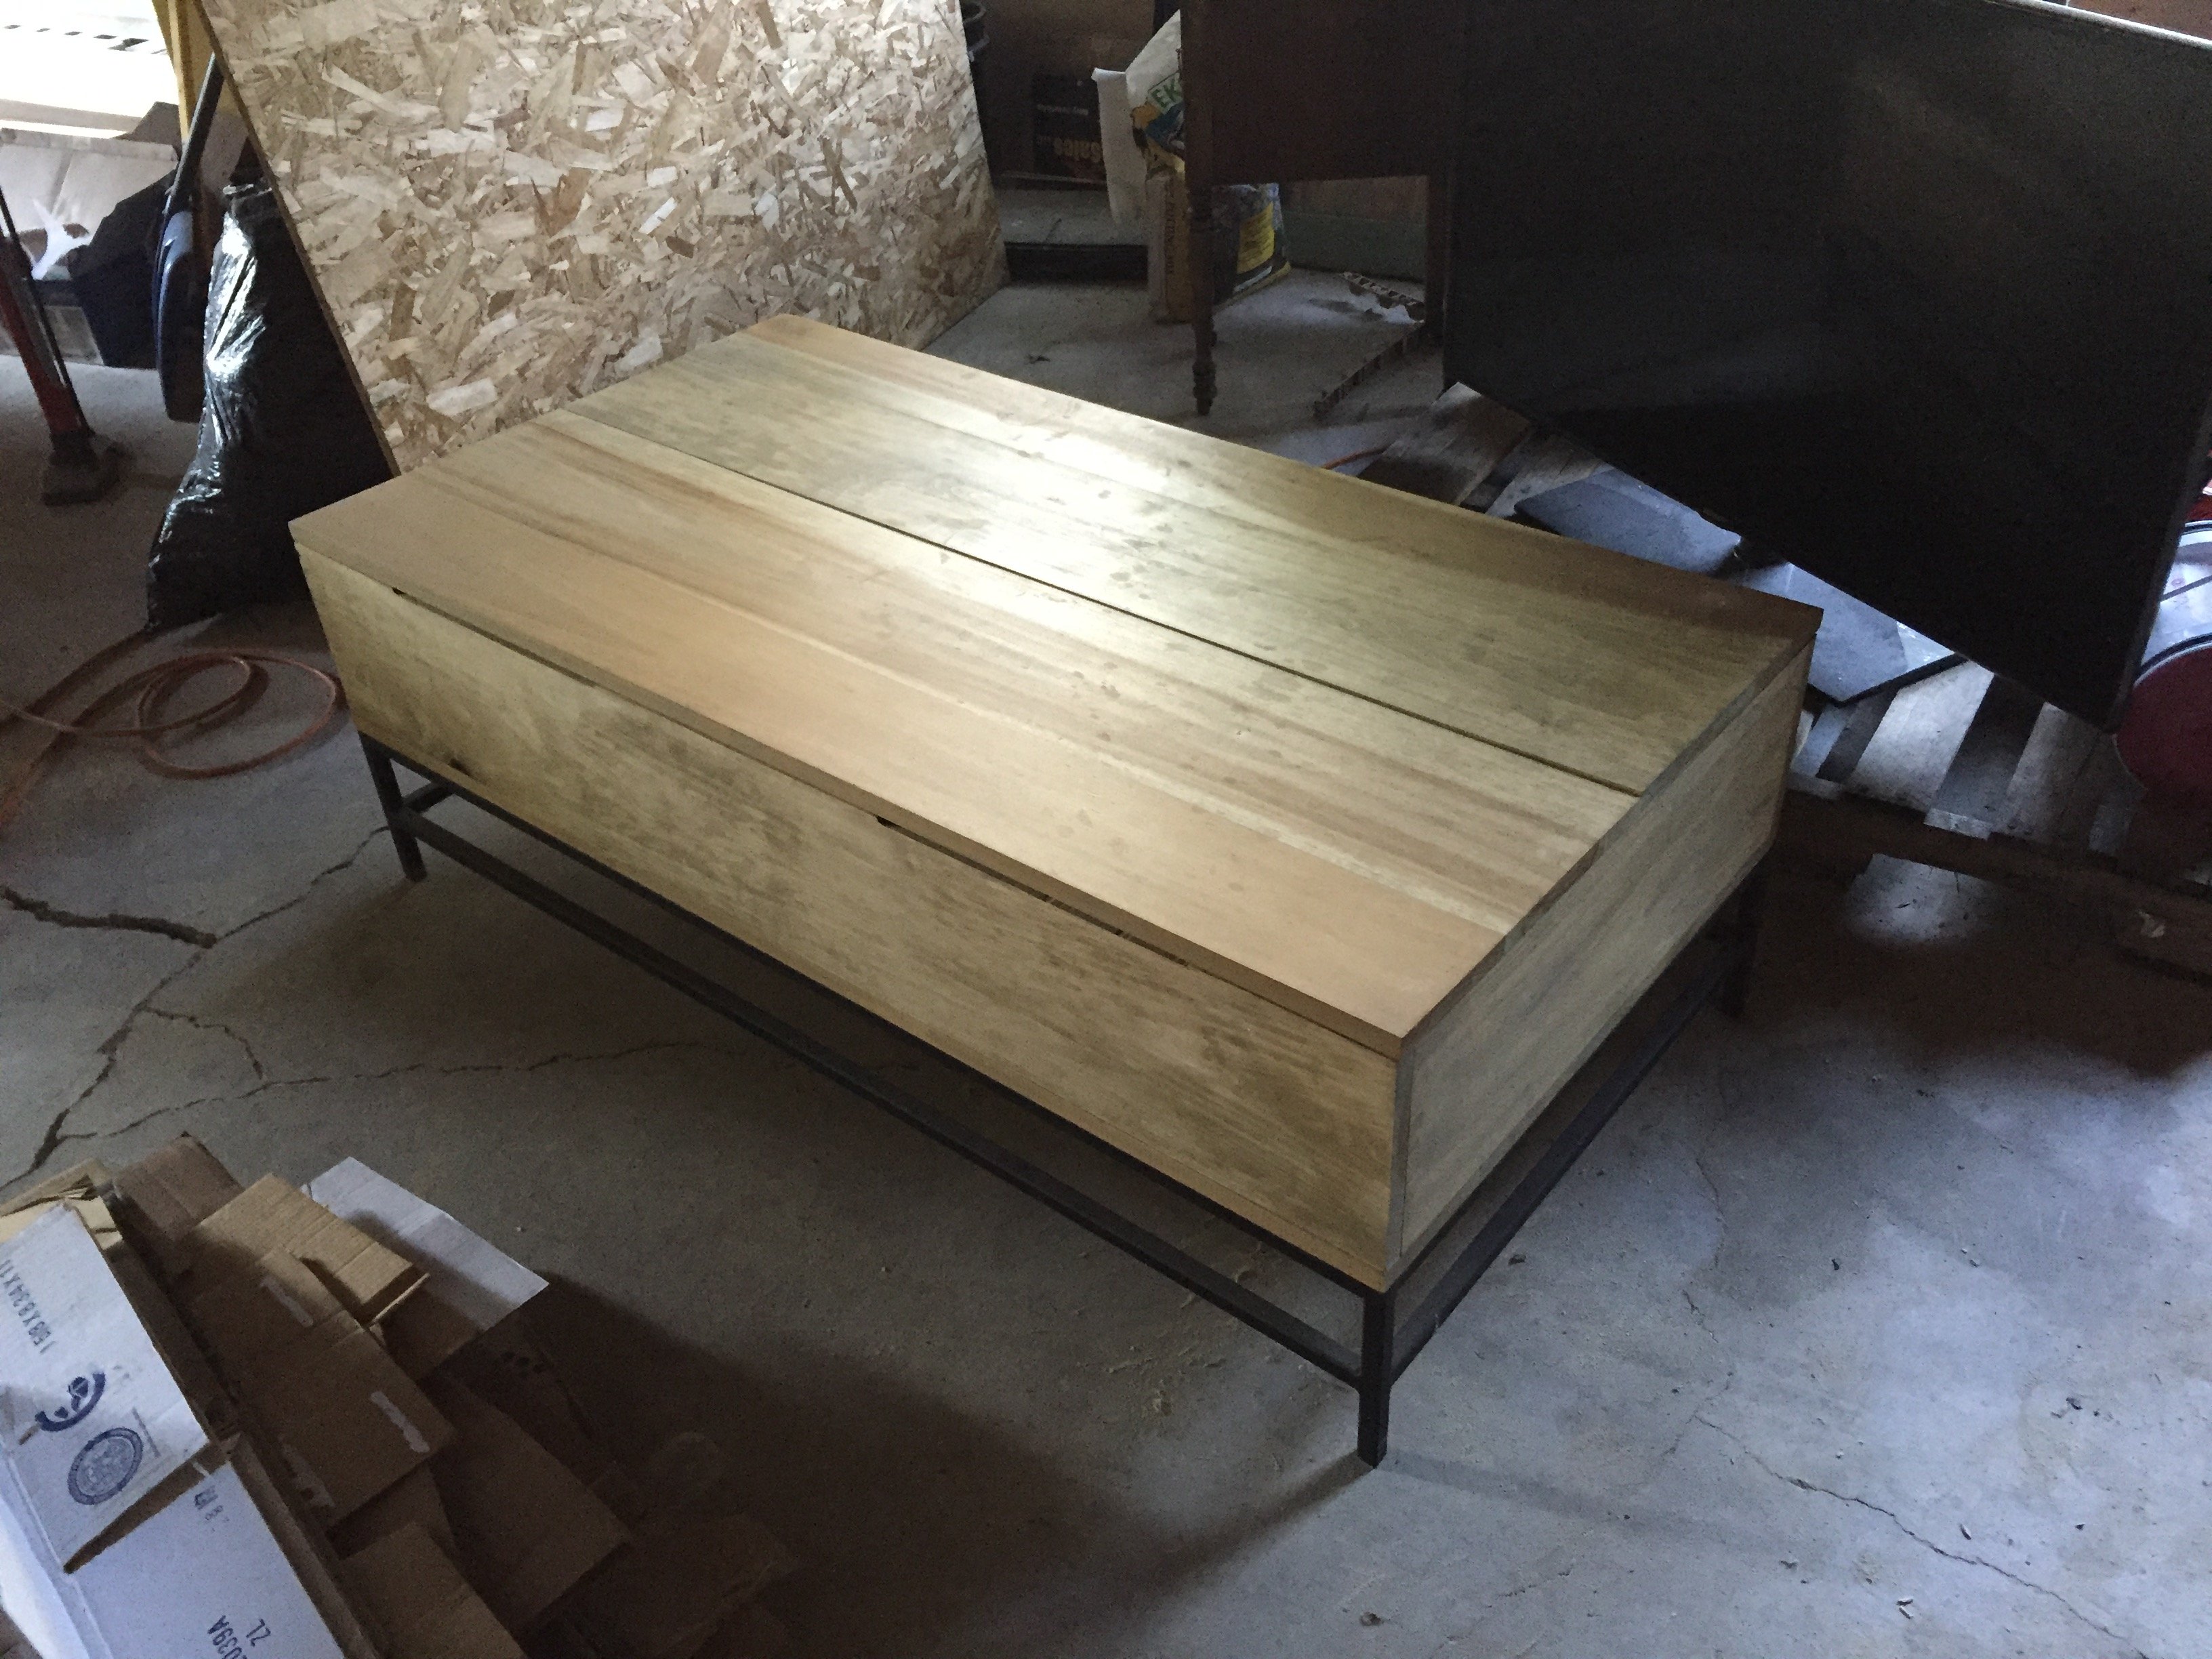
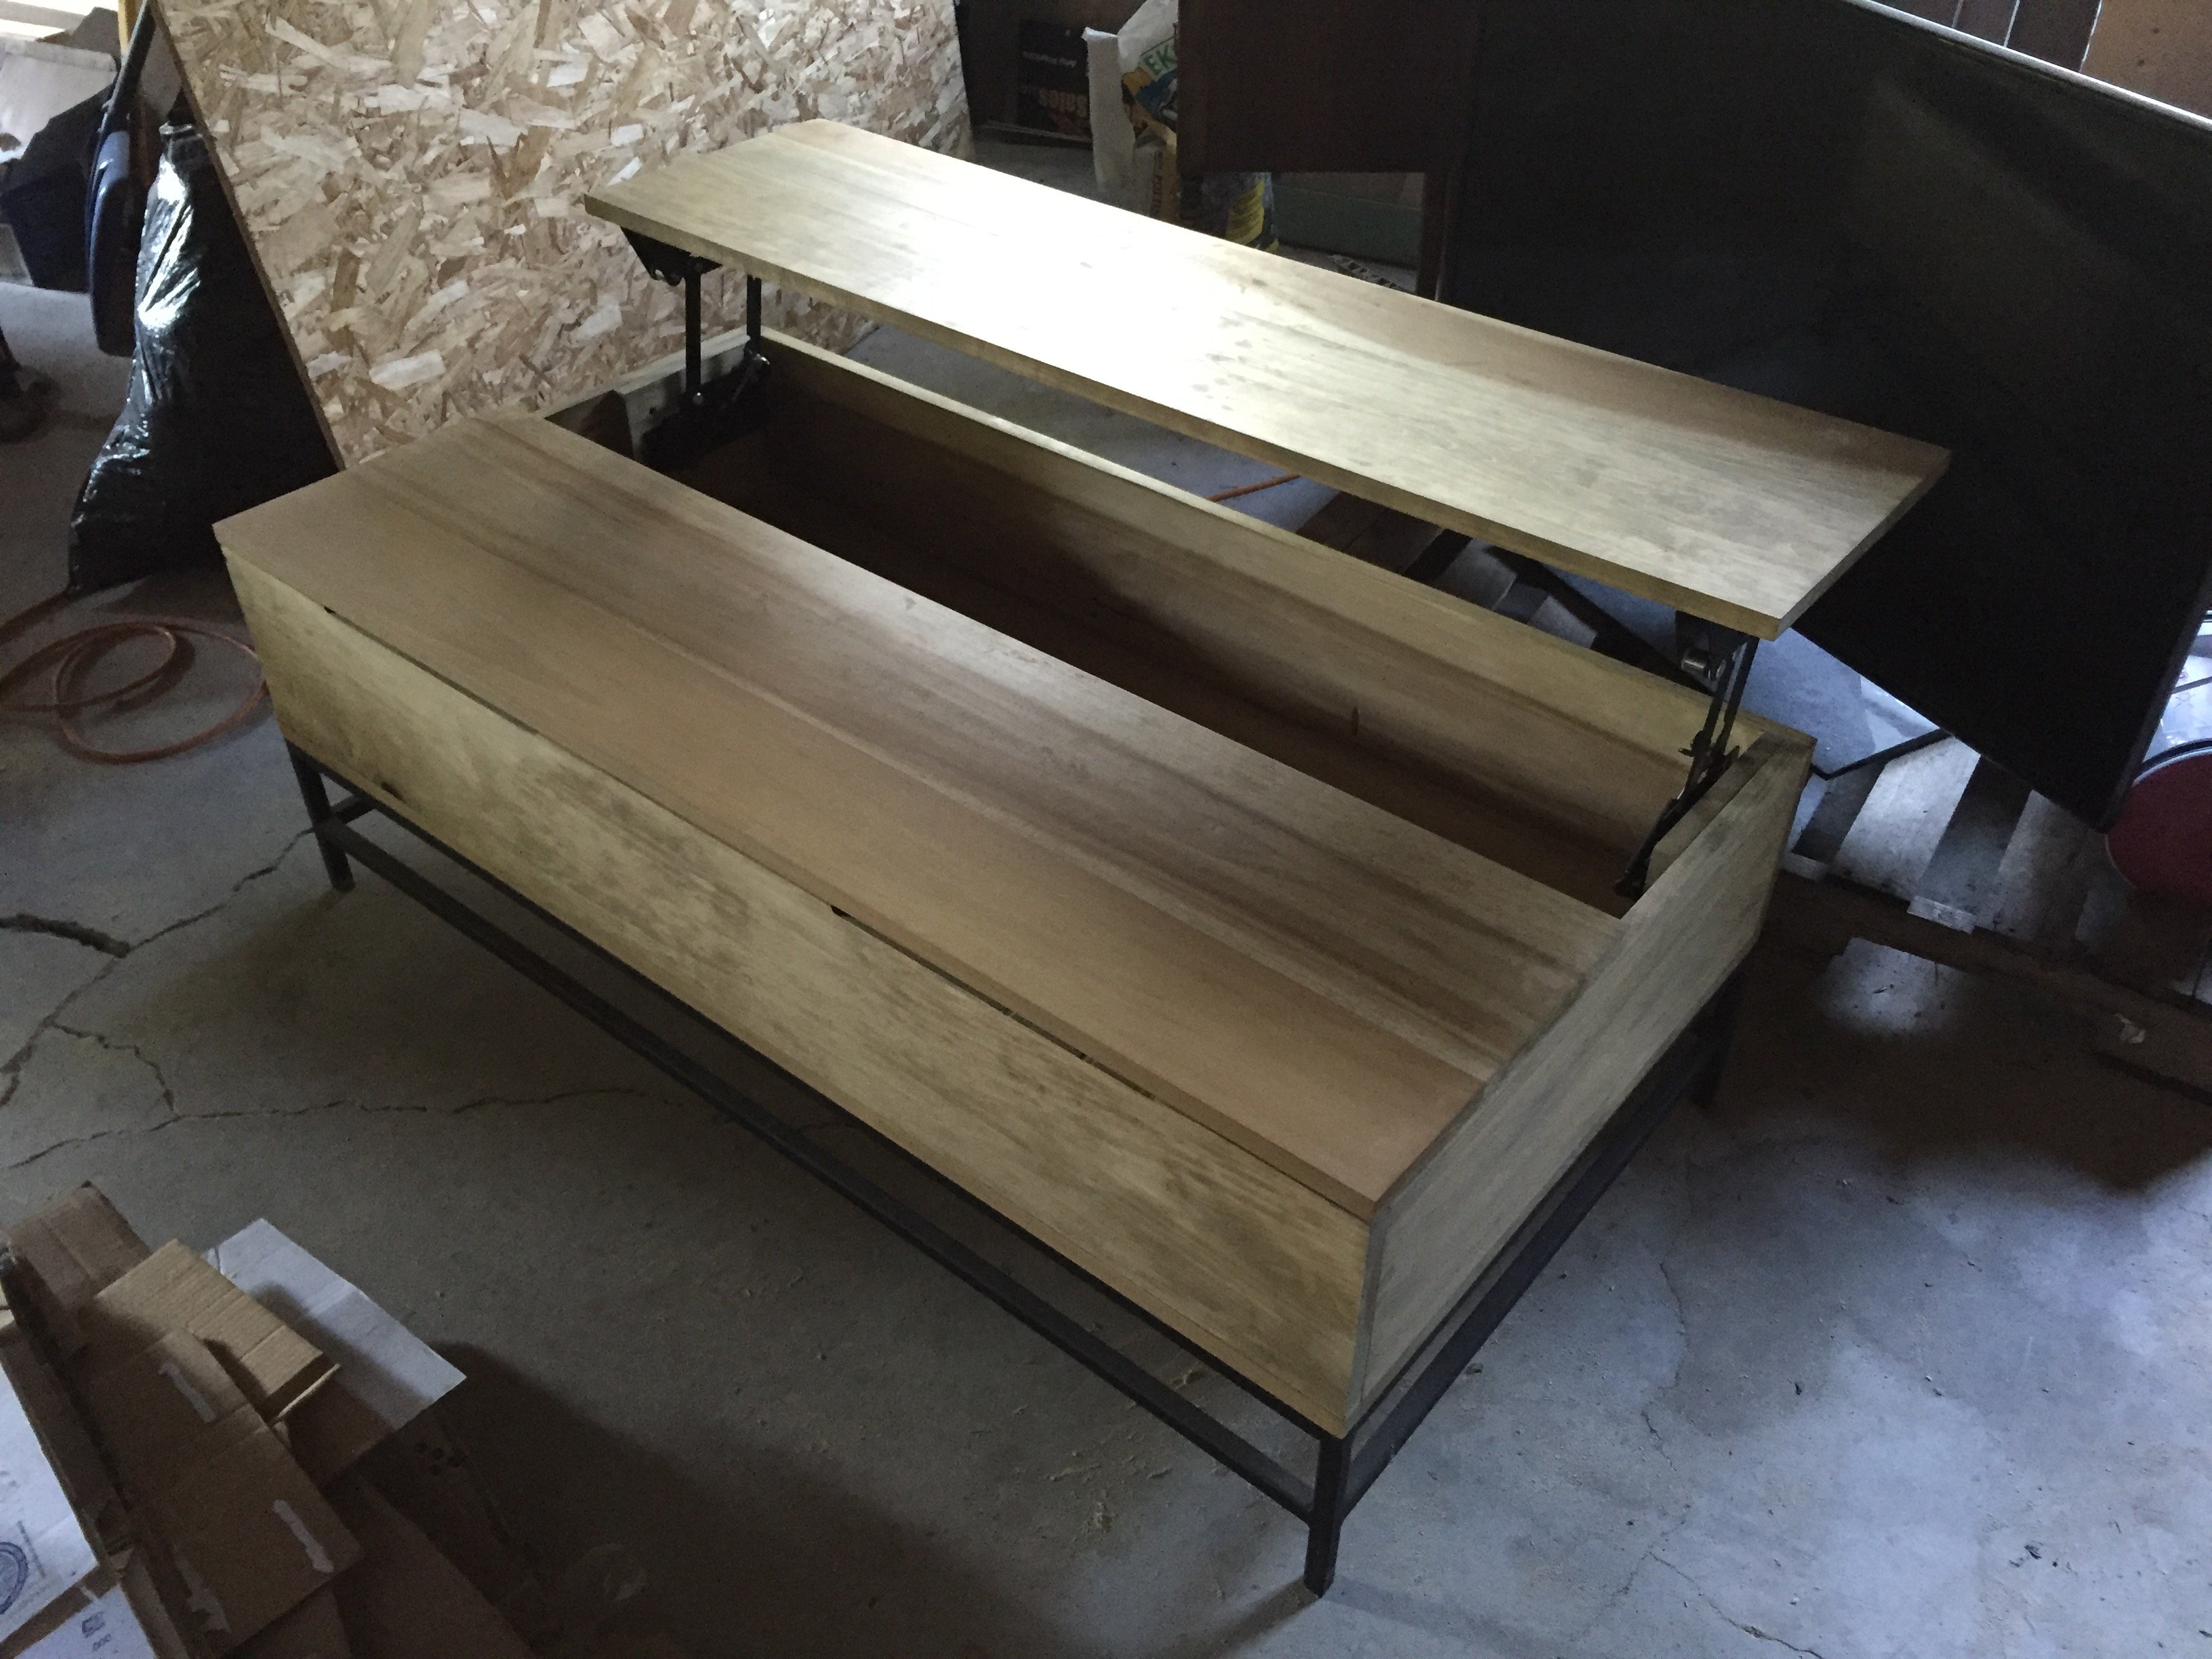
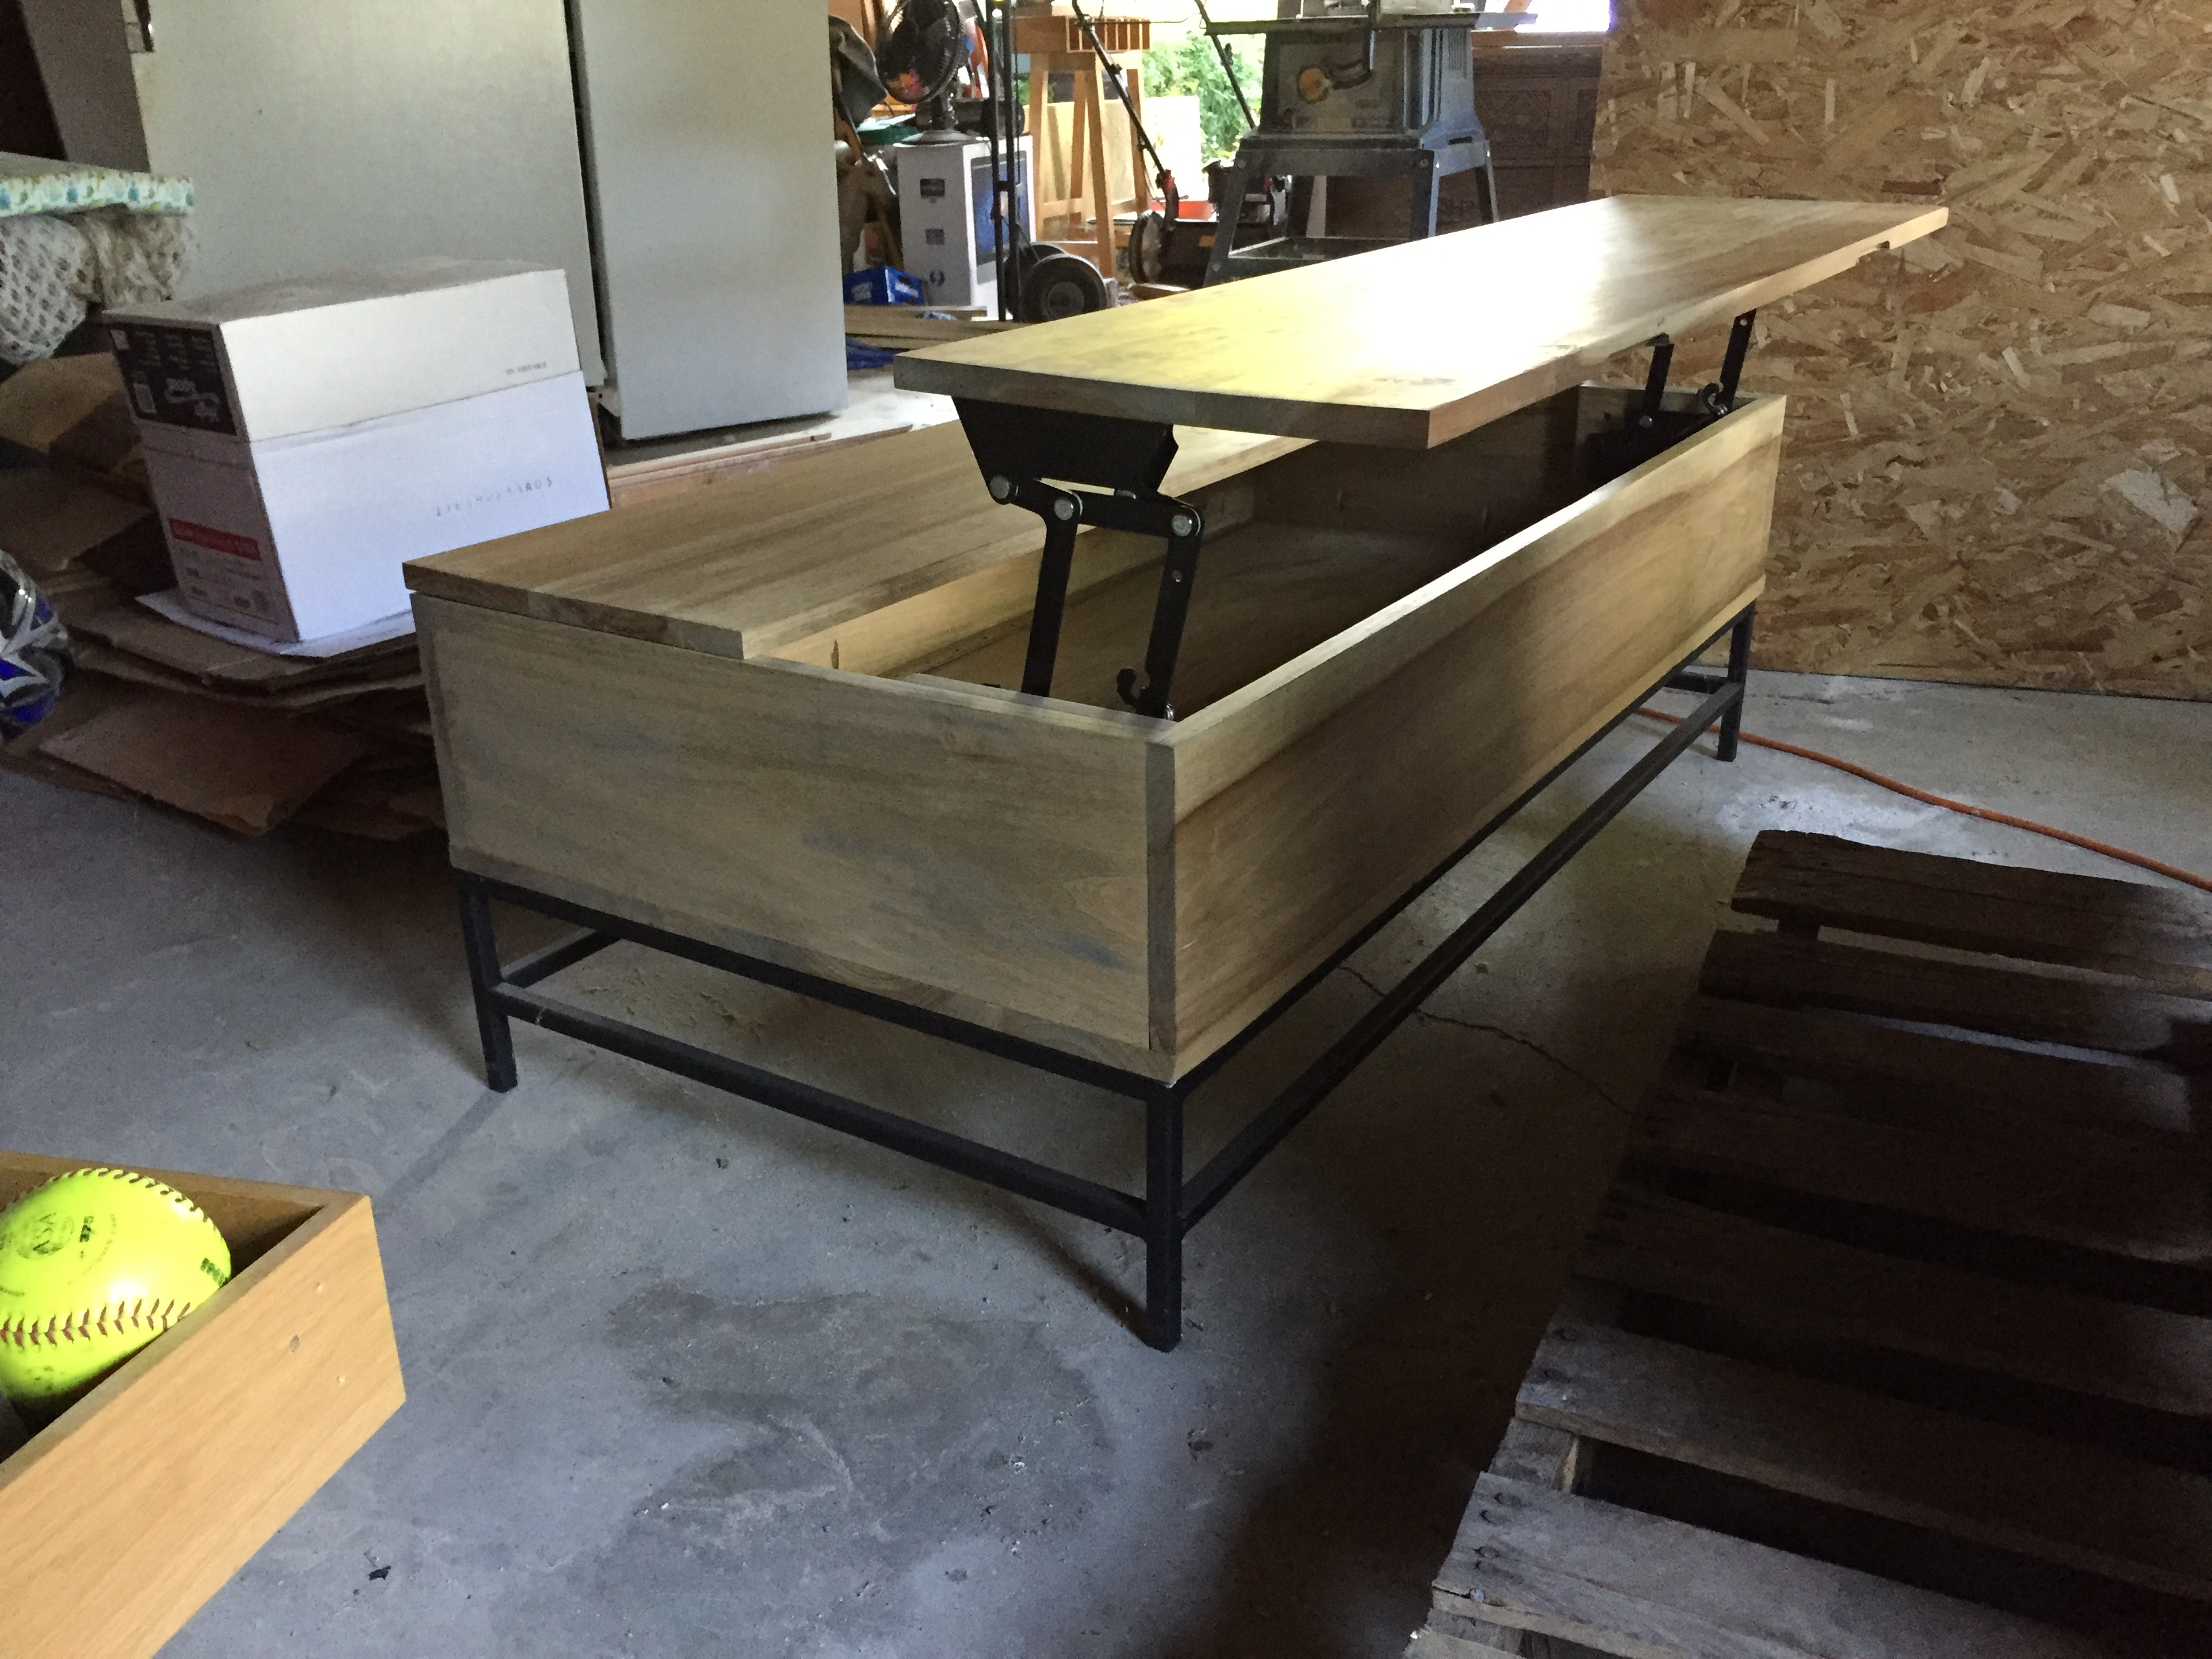
Rustic "X" Coffee Table

This table was super easy to make and is solid as a rock! I'm very happy with the way it turned out. It is the first piece of indoor furniture I have made. I did need 3 2x2x8's instead of two though. I don't know if it was my inexperience or what, but that is the only thing I had trouble with.
I finished it exactly like Hillary did, with the steel wood vinegar concoction, but mine came out much more brown than hers did. It wasn't exactly what I had planned, but in the end I'm happy with it. I guess that's one of those things that can't be controlled.
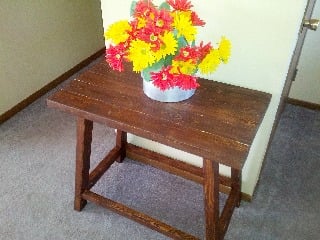
I can't wait to build the end table to match!
Built from Plan(s)
Estimated Cost
$75
Estimated Time Investment
Weekend Project (10-20 Hours)
Finish Used
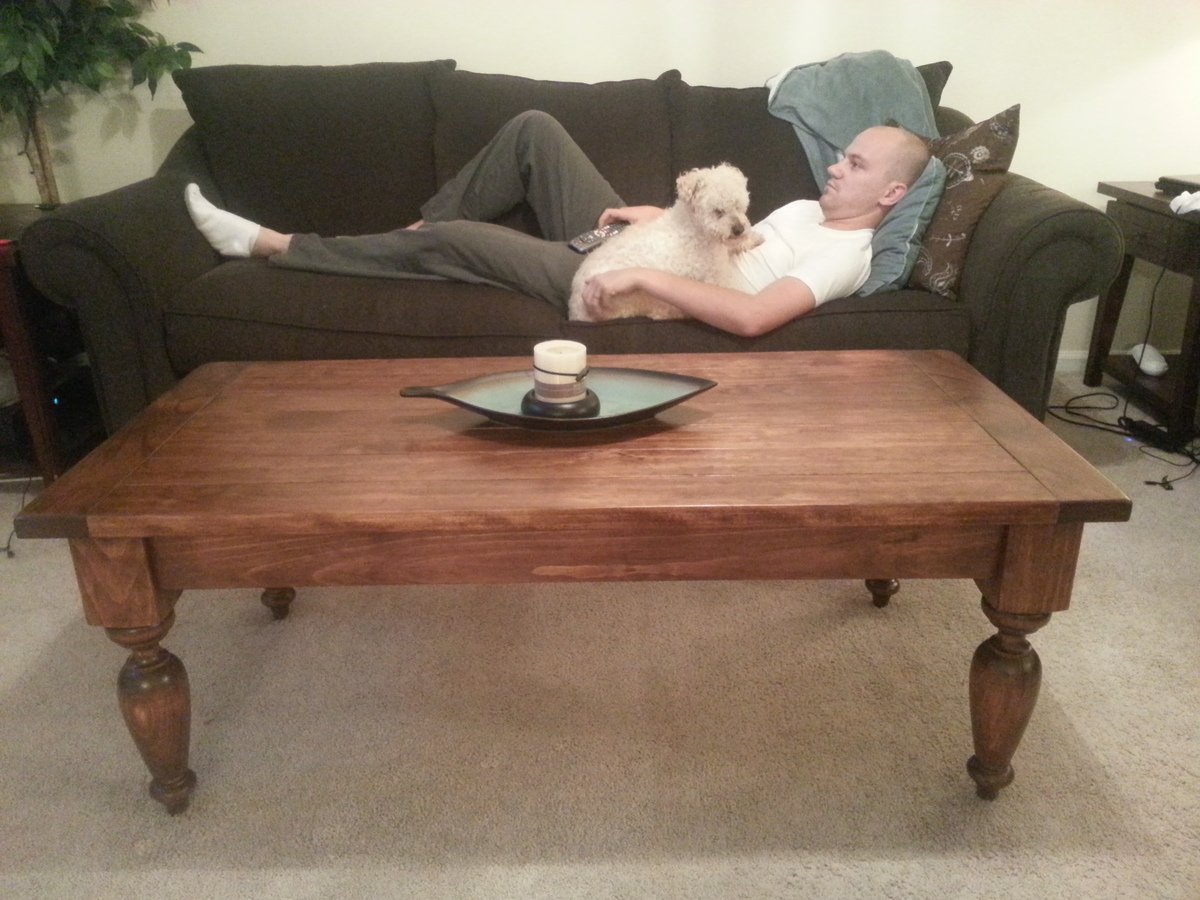
Hillary's oxidizing method starting with strong tea, then adding a coat of steel wool and vinegar mix. Then used Minwax Finishing paste wax.
Recommended Skill Level
Beginner


Comments
Hillary (not verified)
Mon, 08/27/2012 - 22:41
Gorgeous, Meagan! It did come
Gorgeous, Meagan! It did come out a lot more brown than mine. That is so strange. I guess with oxidizing you never really know what you're going to get! I go a bit crazy with scraps before I oxidize and I experiment with more or less vinegar to tone down the effect. Anyway, yours is really beautiful and looks super square and sturdy. You did a great job.