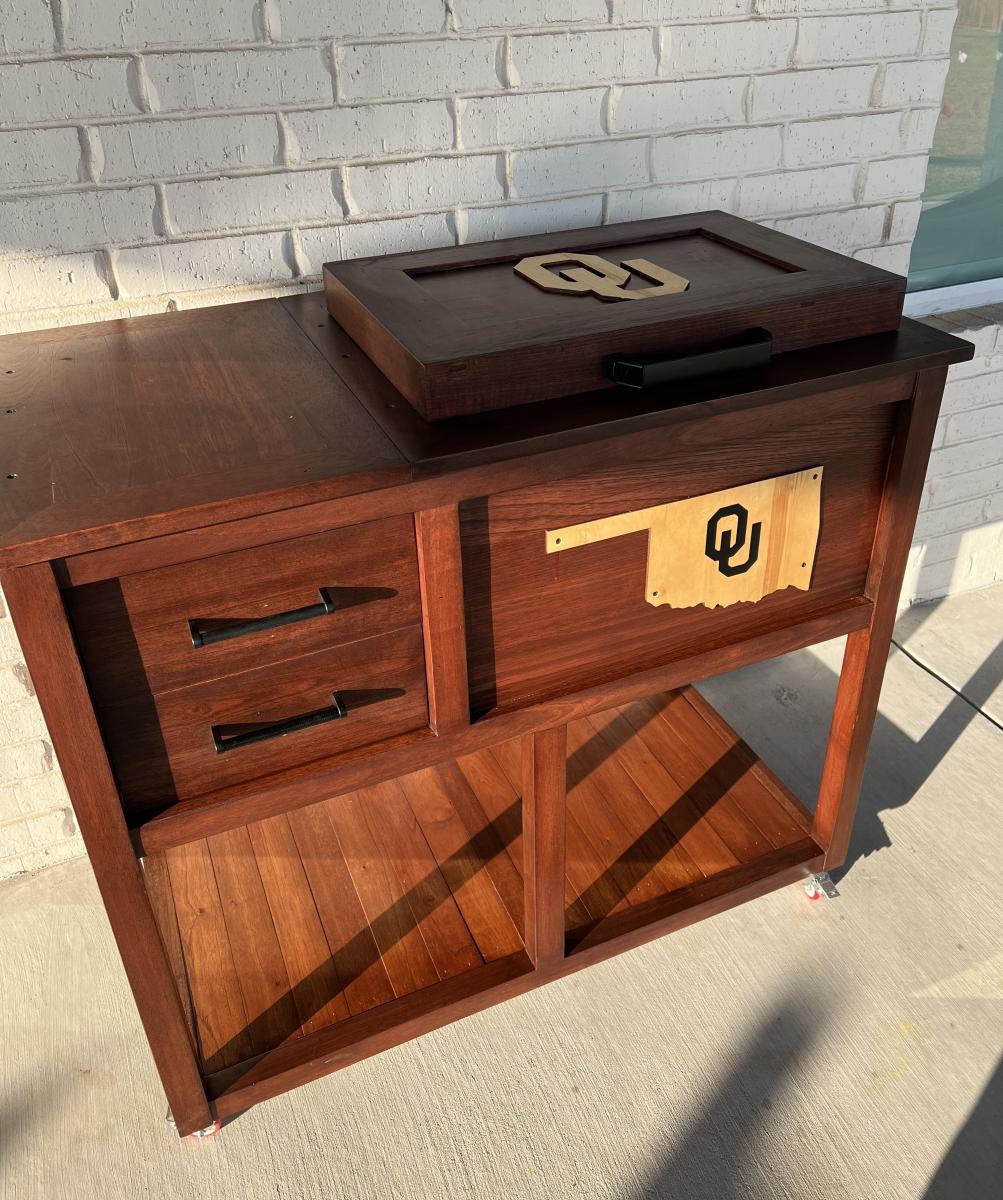
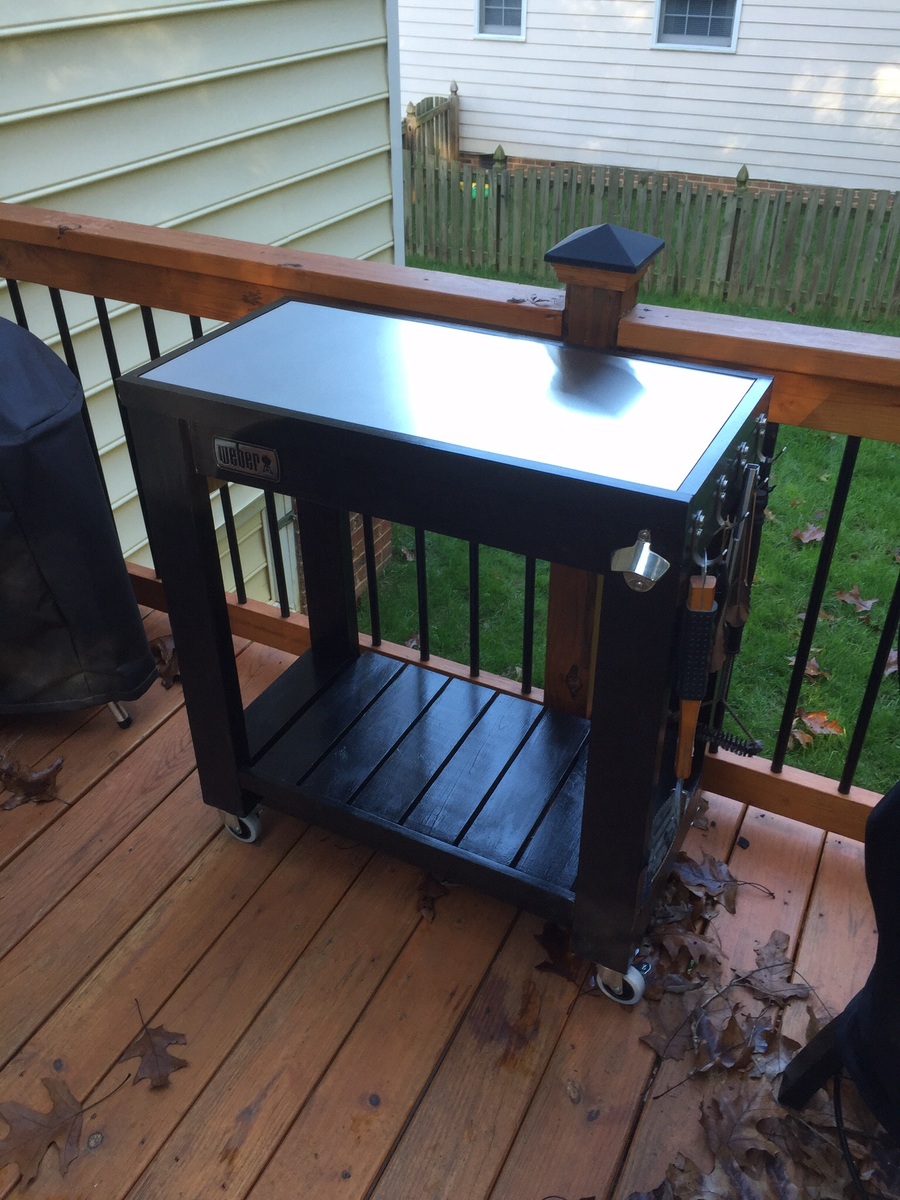
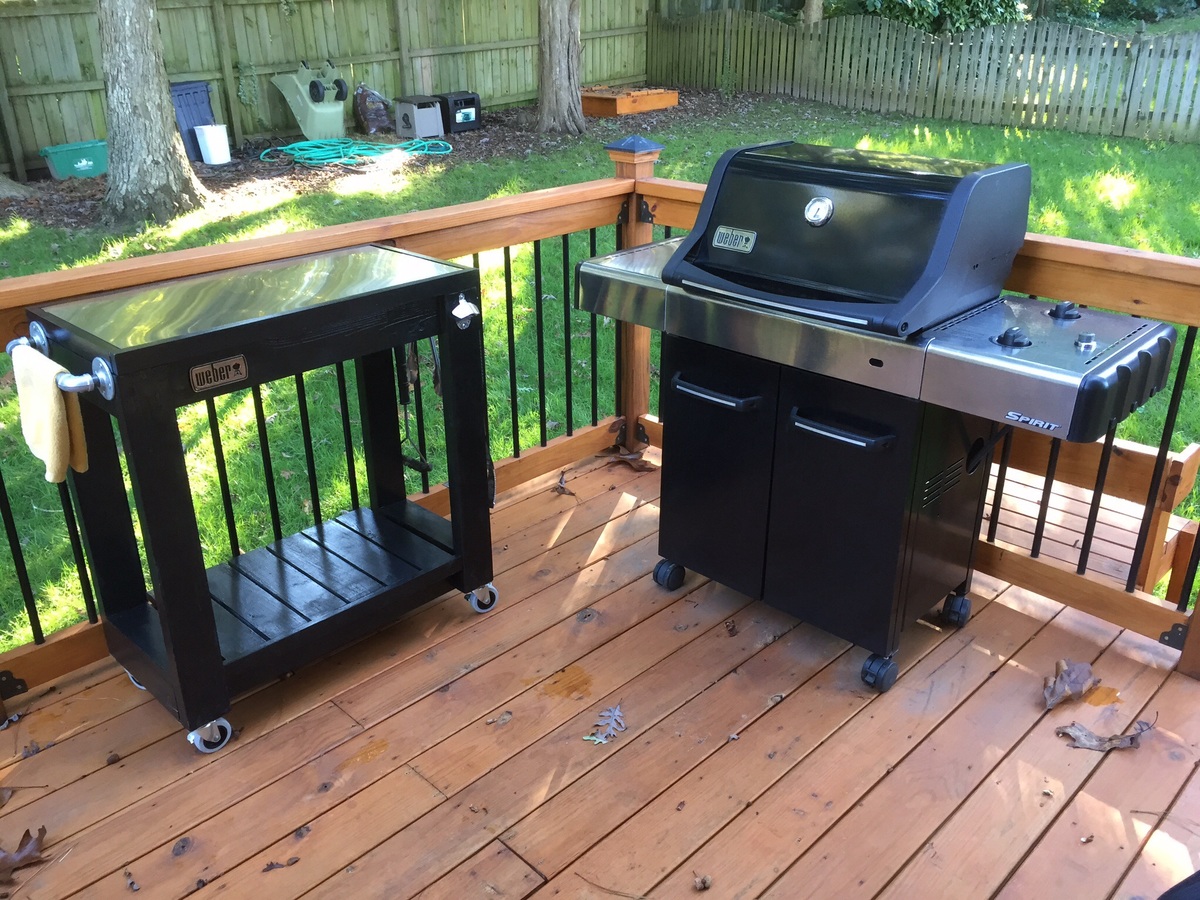
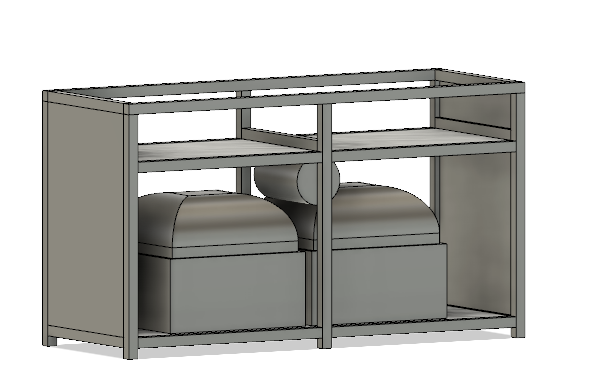
Custom Mobile Cooler Stand
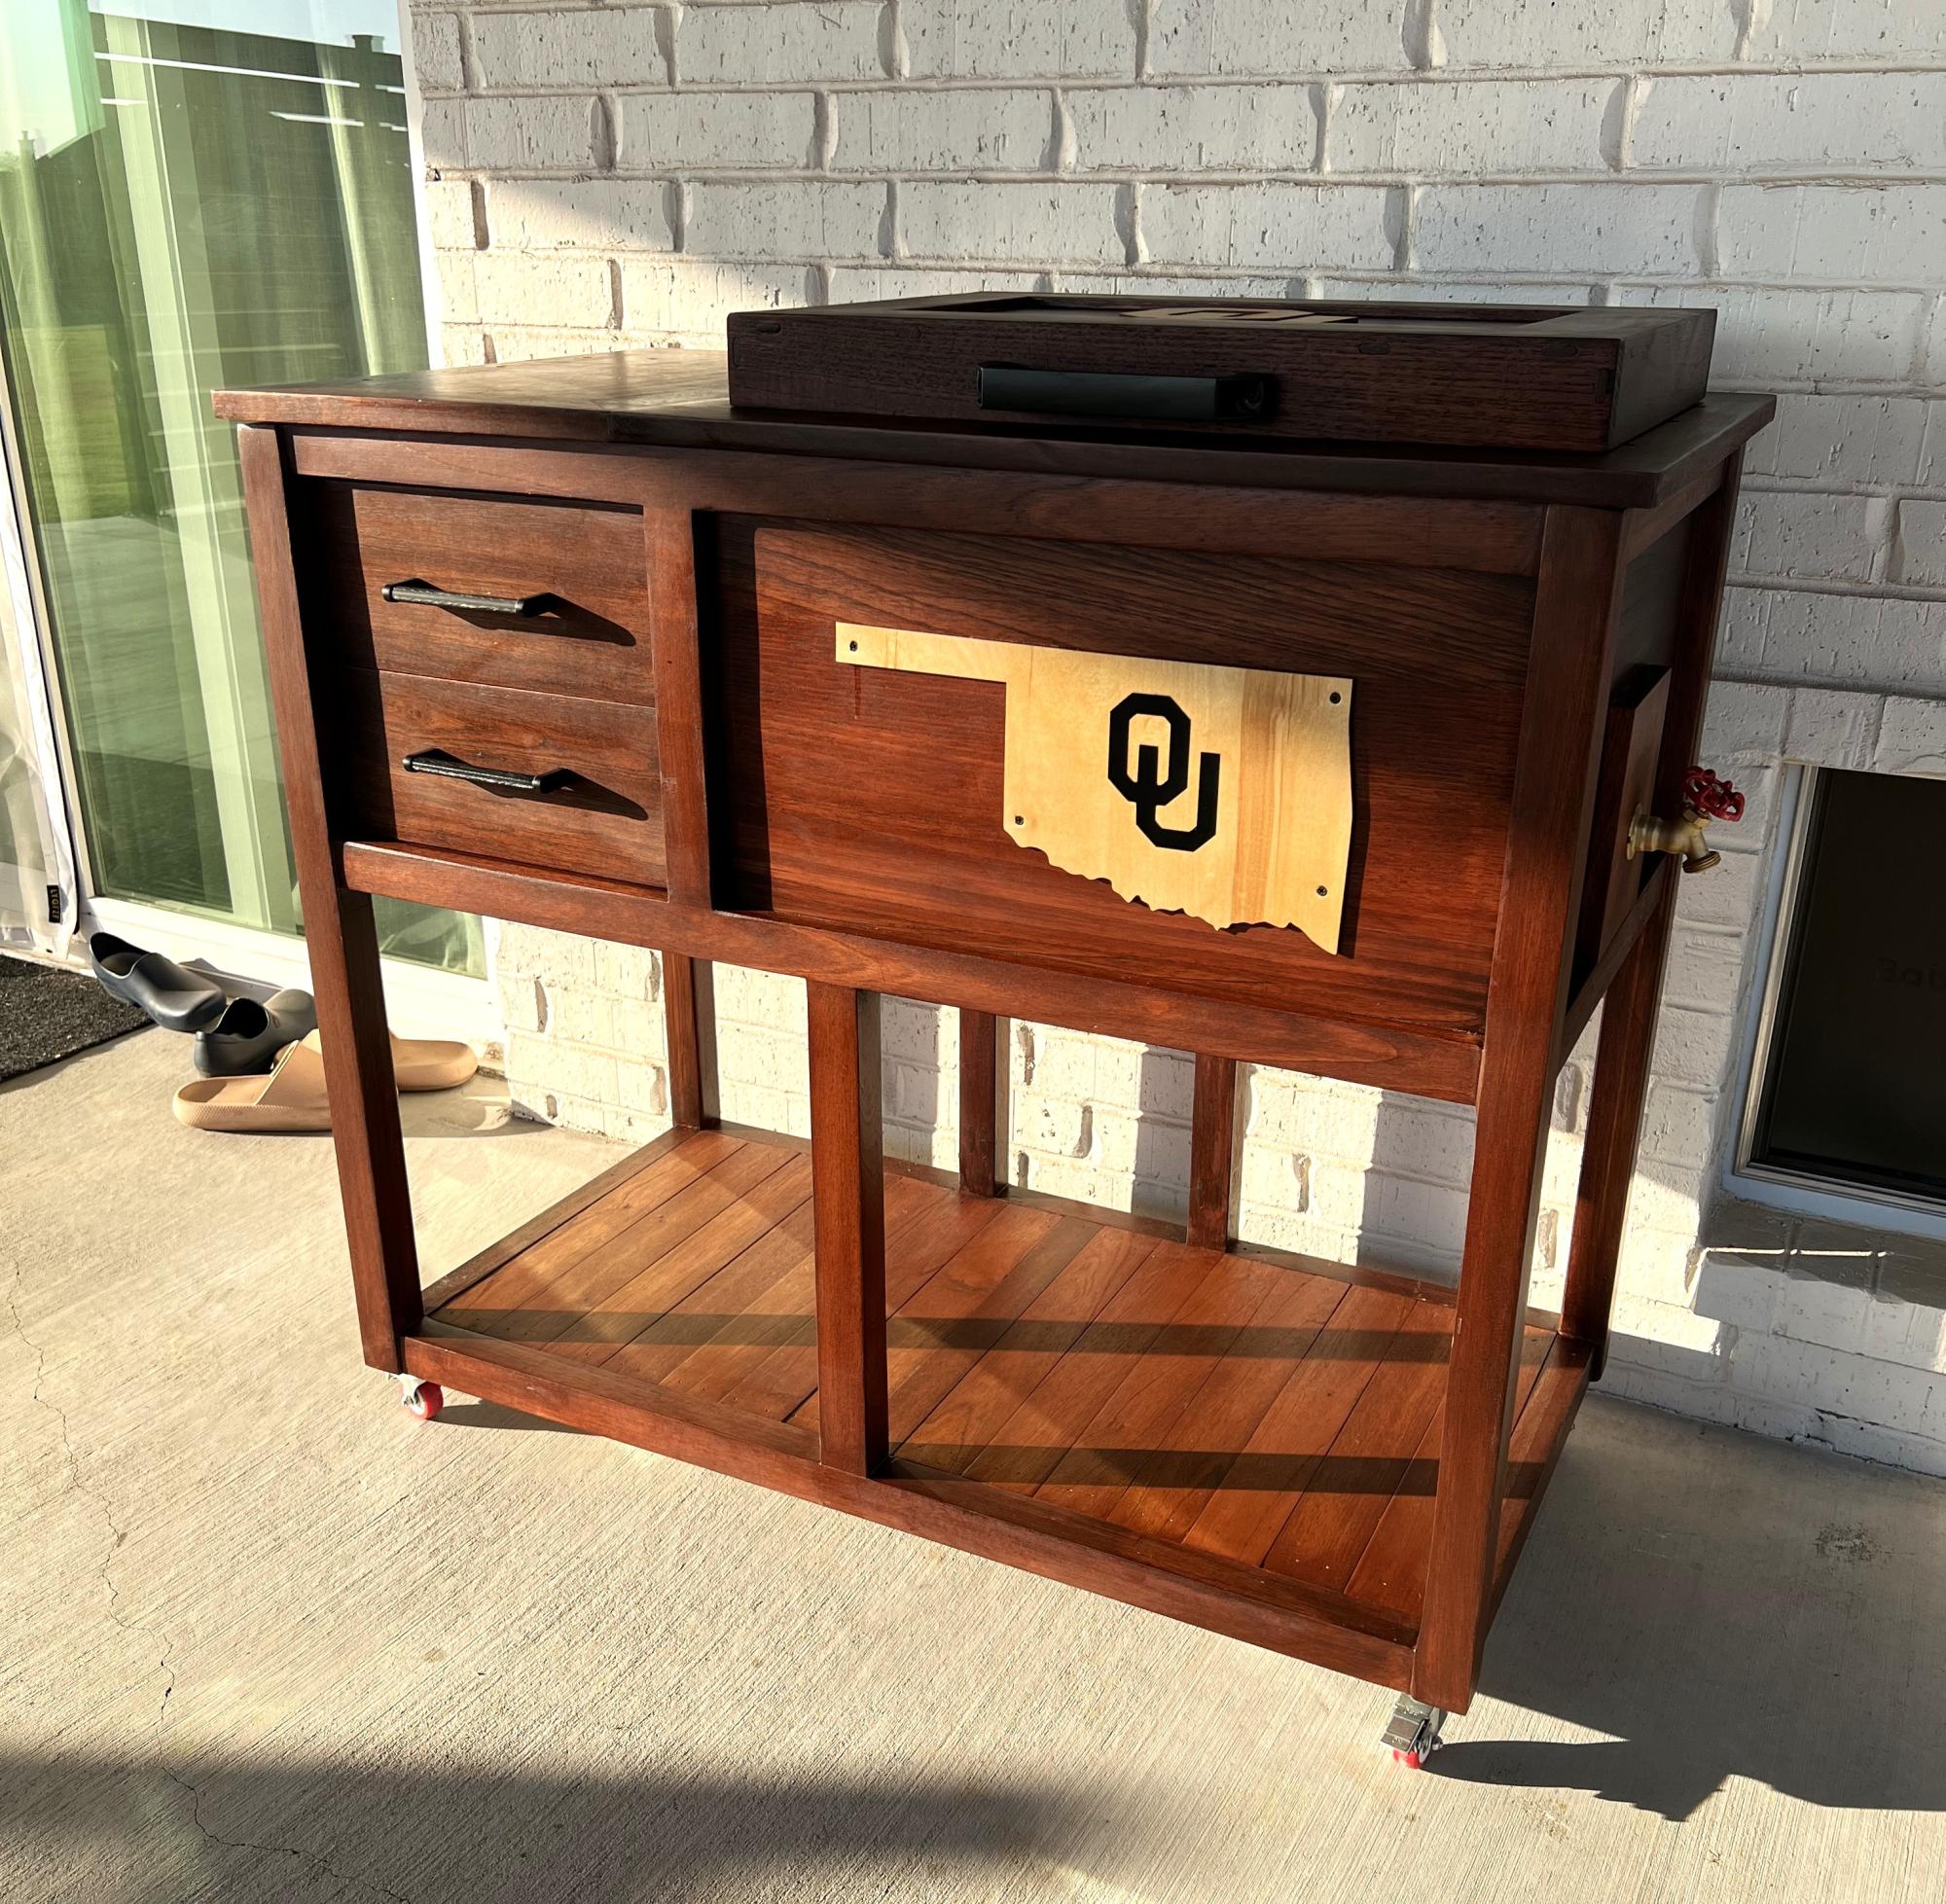
Modified the post from birds and bees. - Jay Varghese
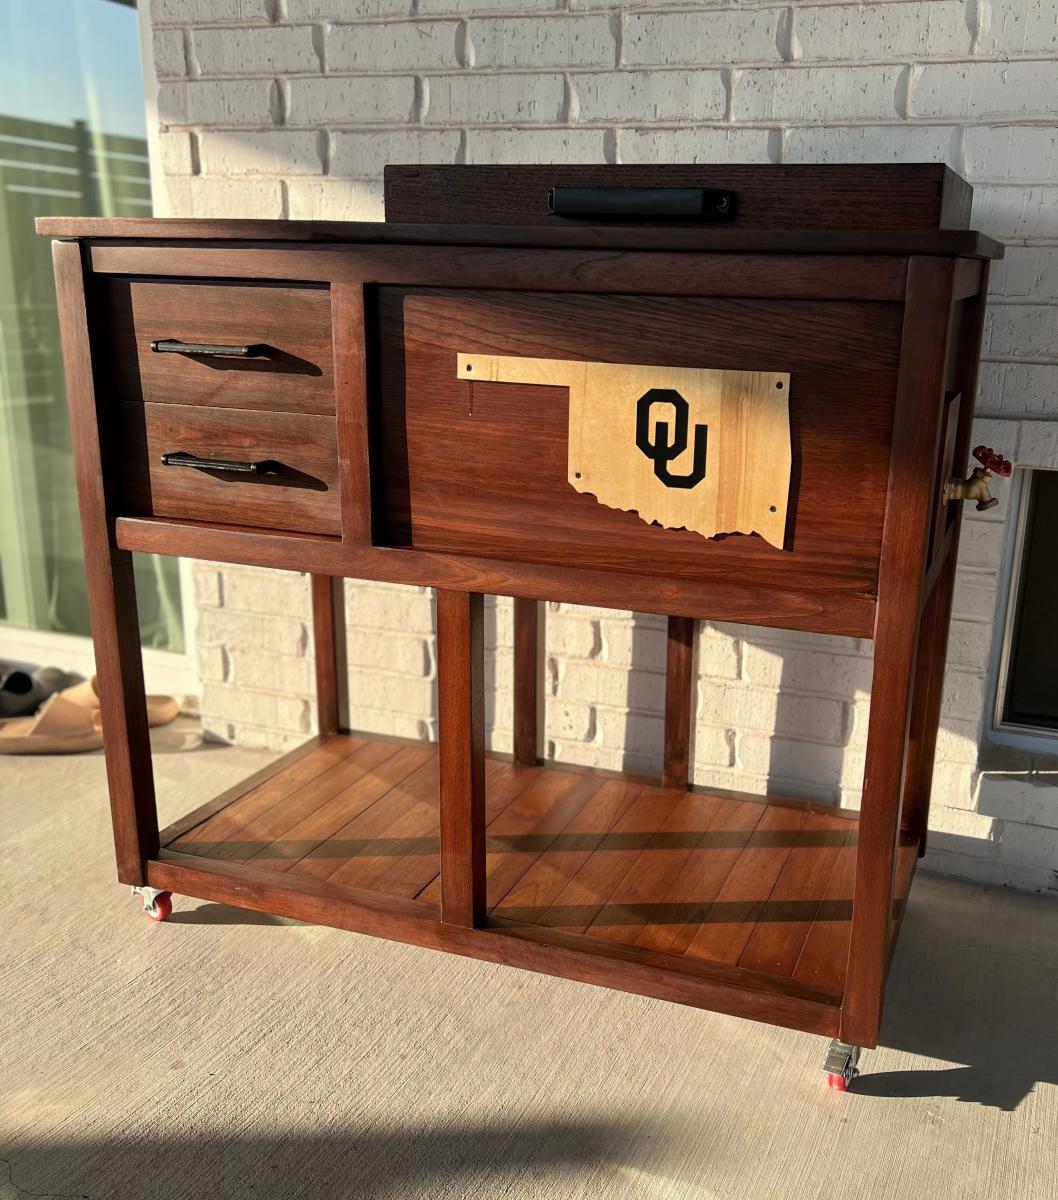
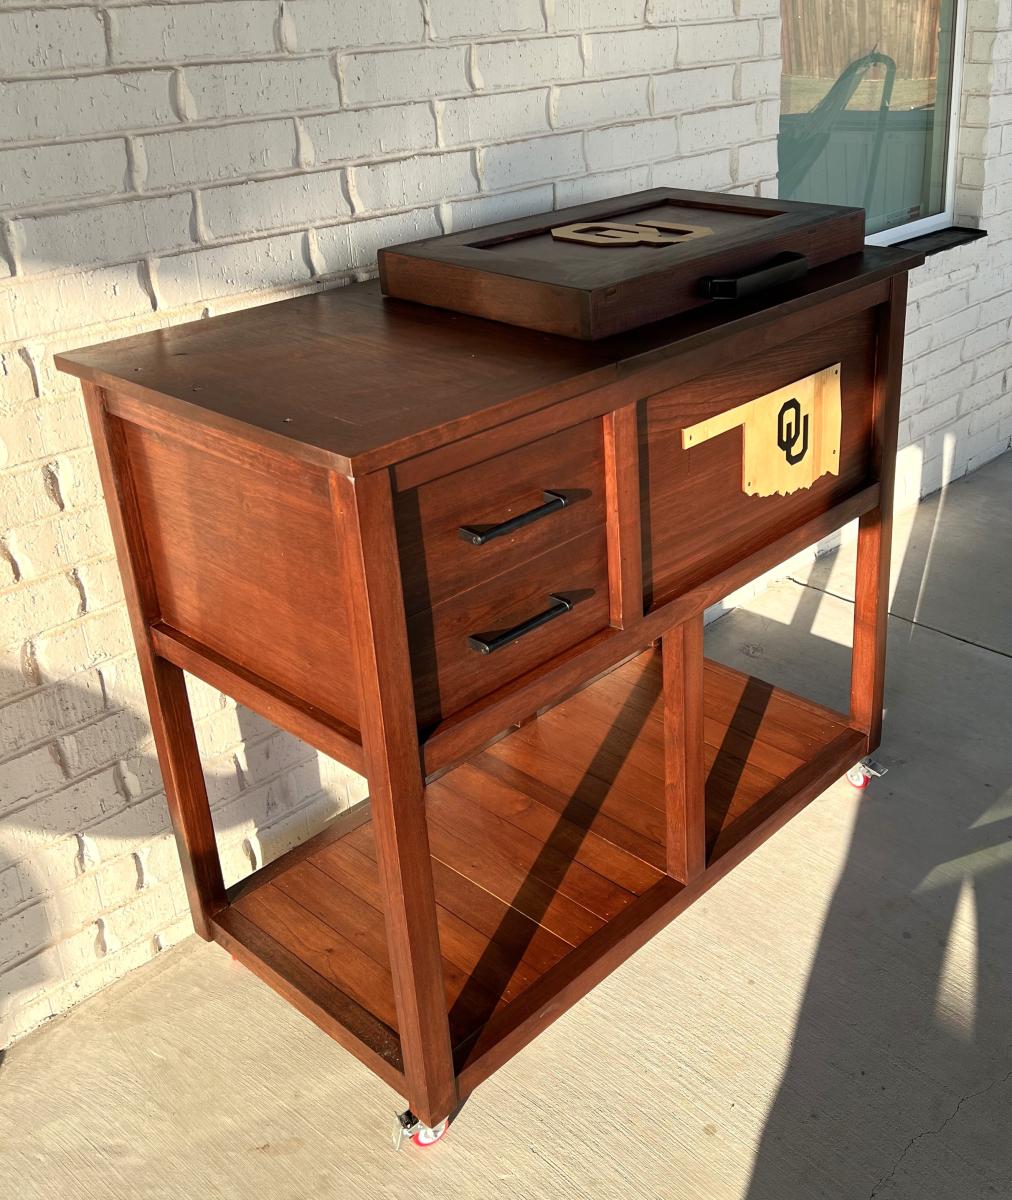
Built from Plan(s)
Modified the post from birds and bees. - Jay Varghese
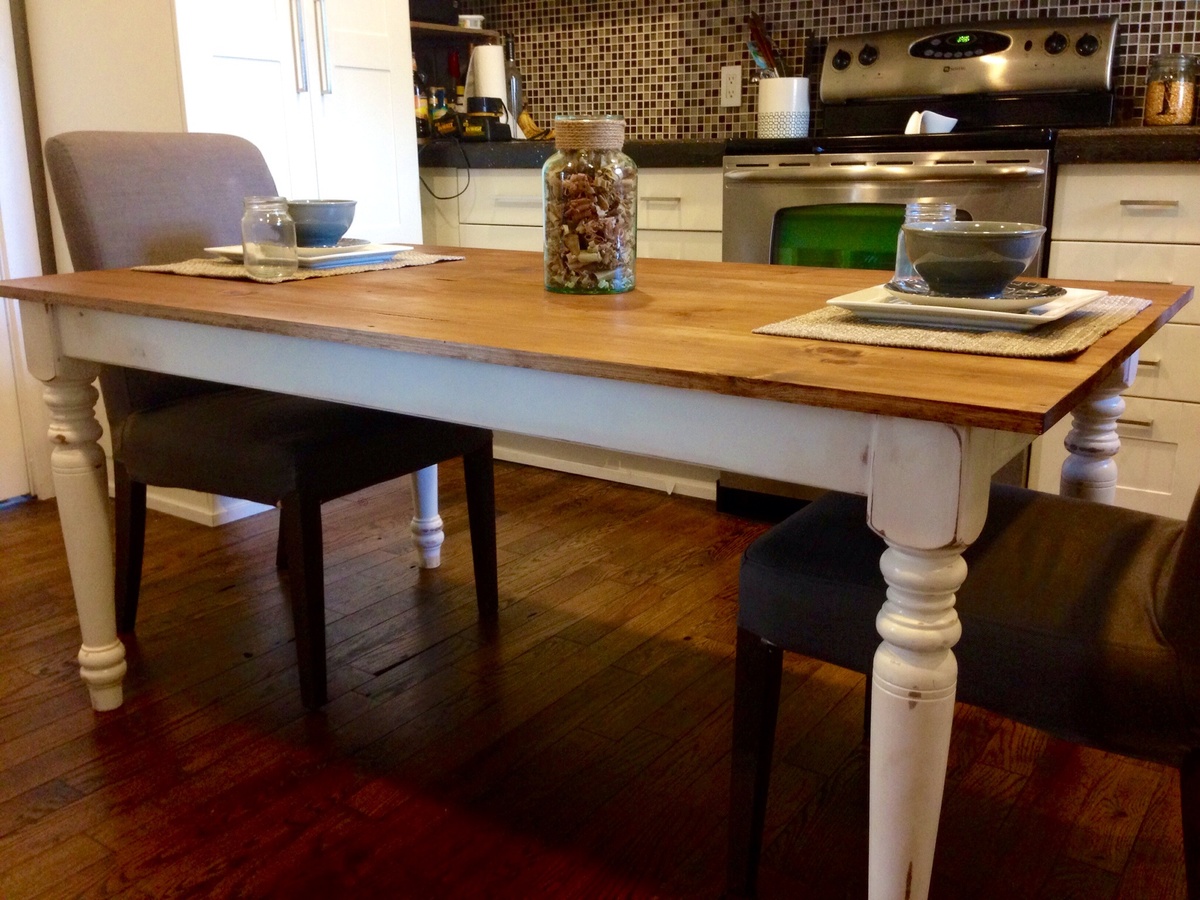
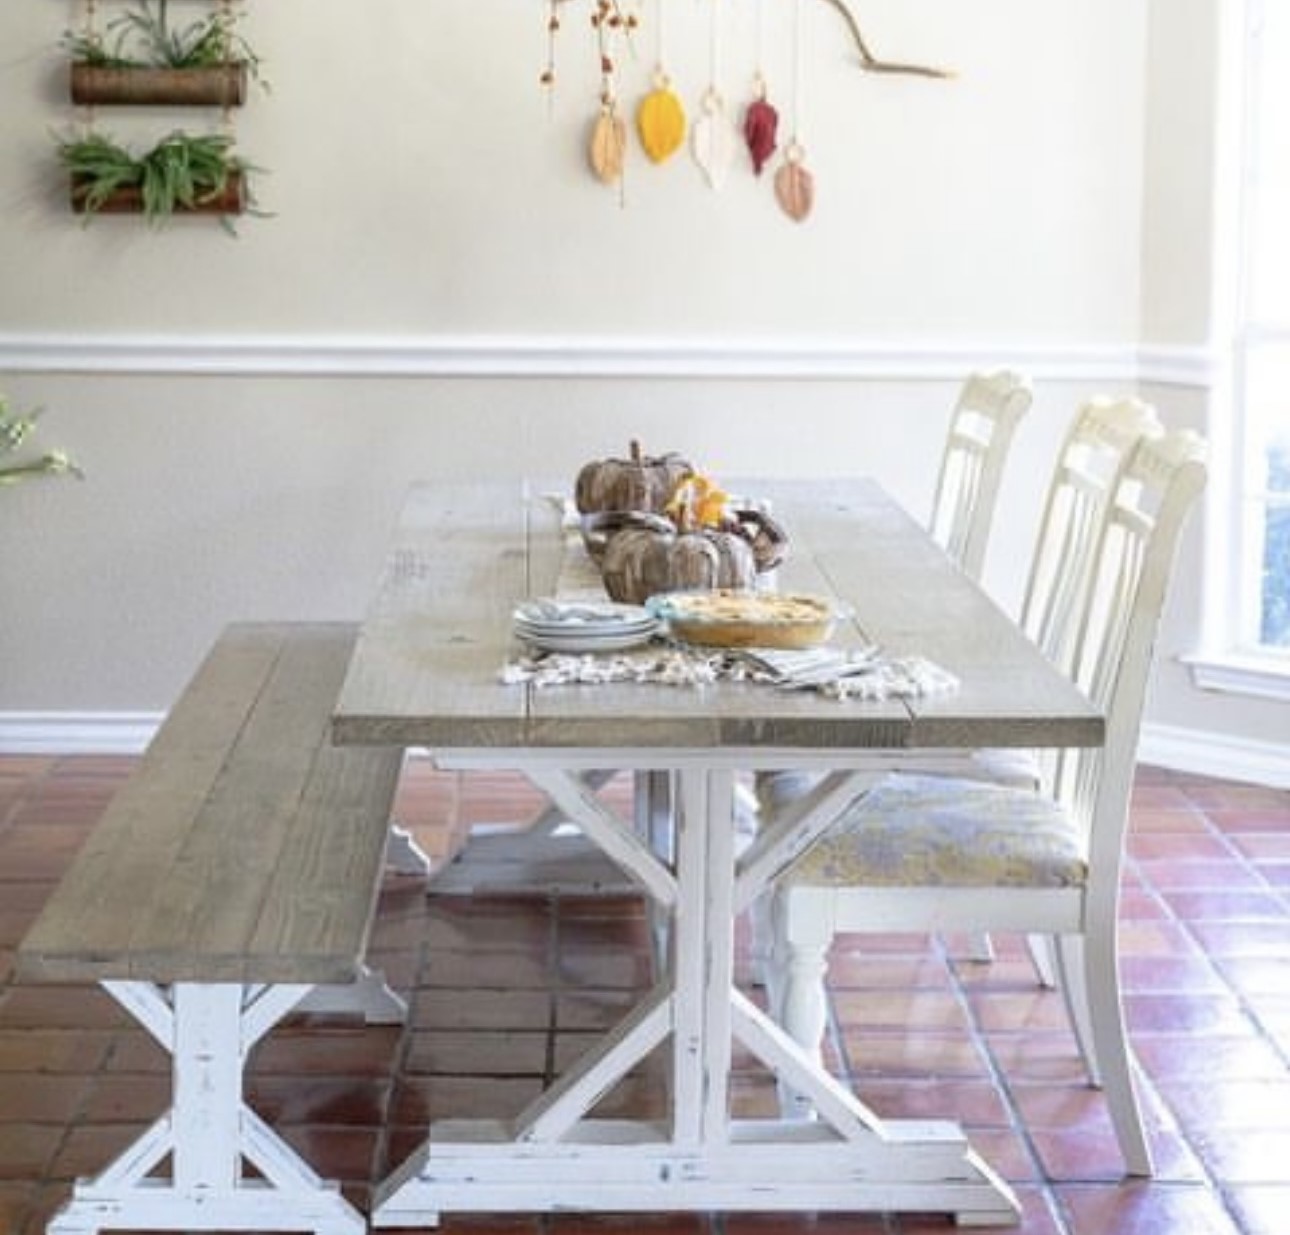
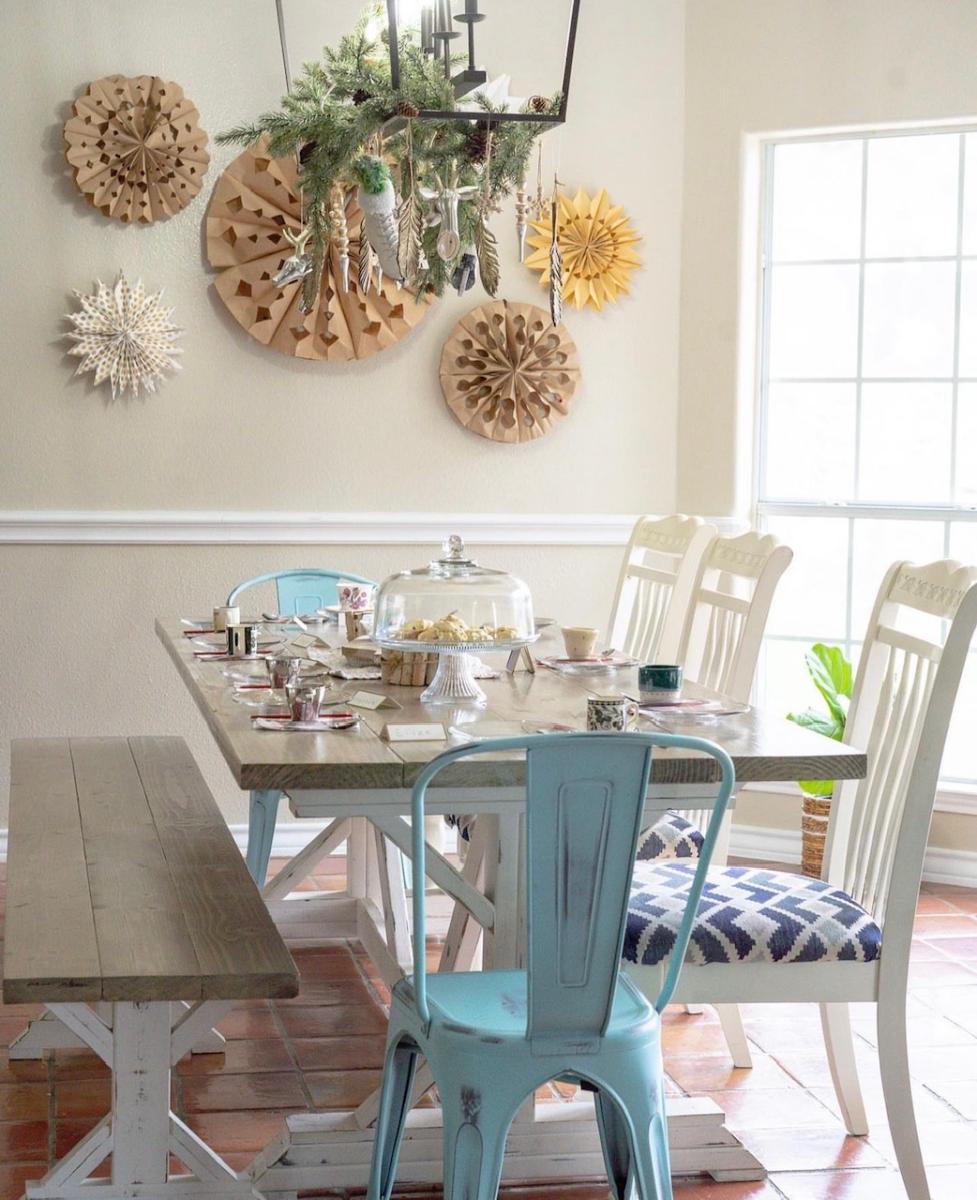
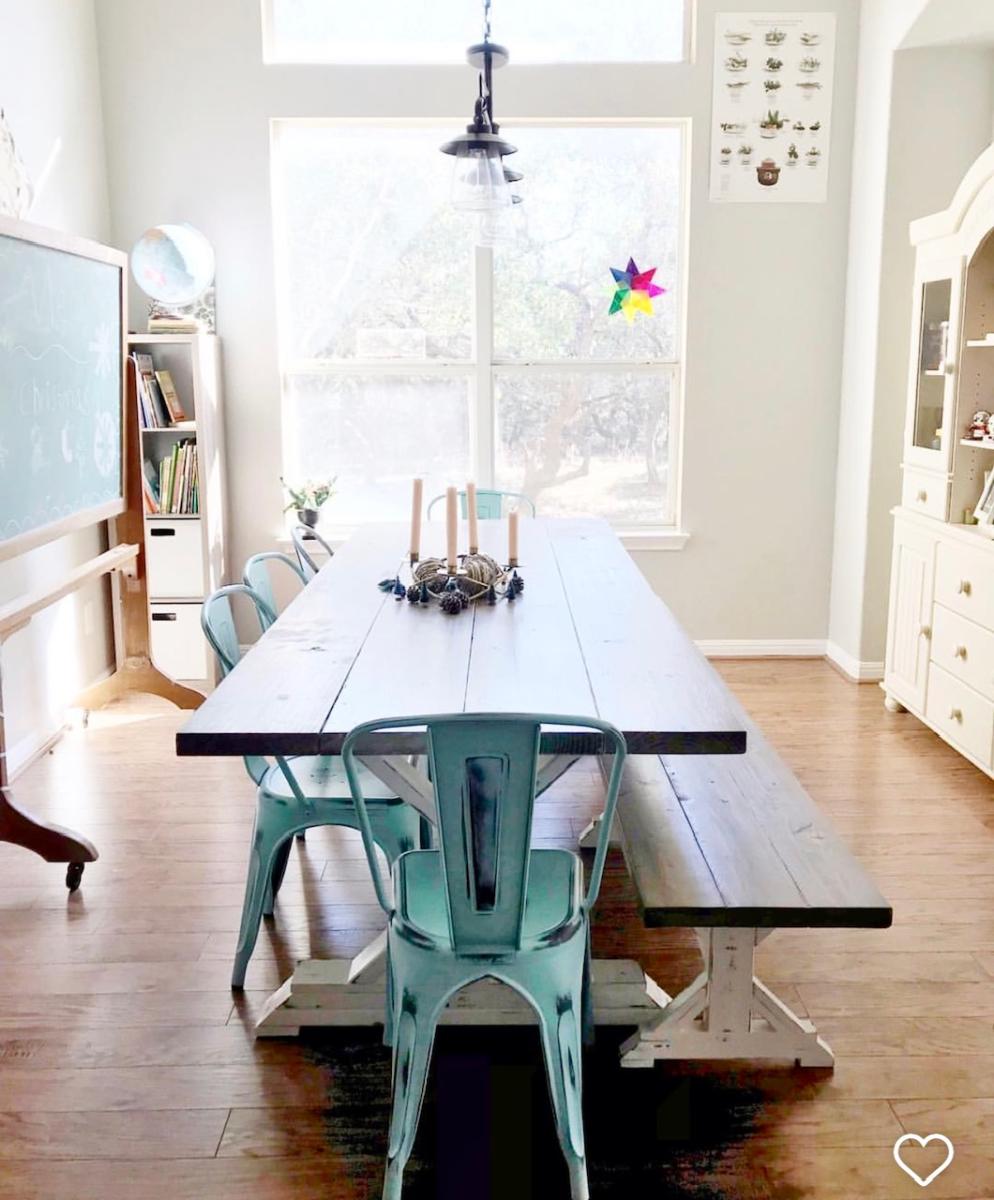
Great rustic farmhouse dining table
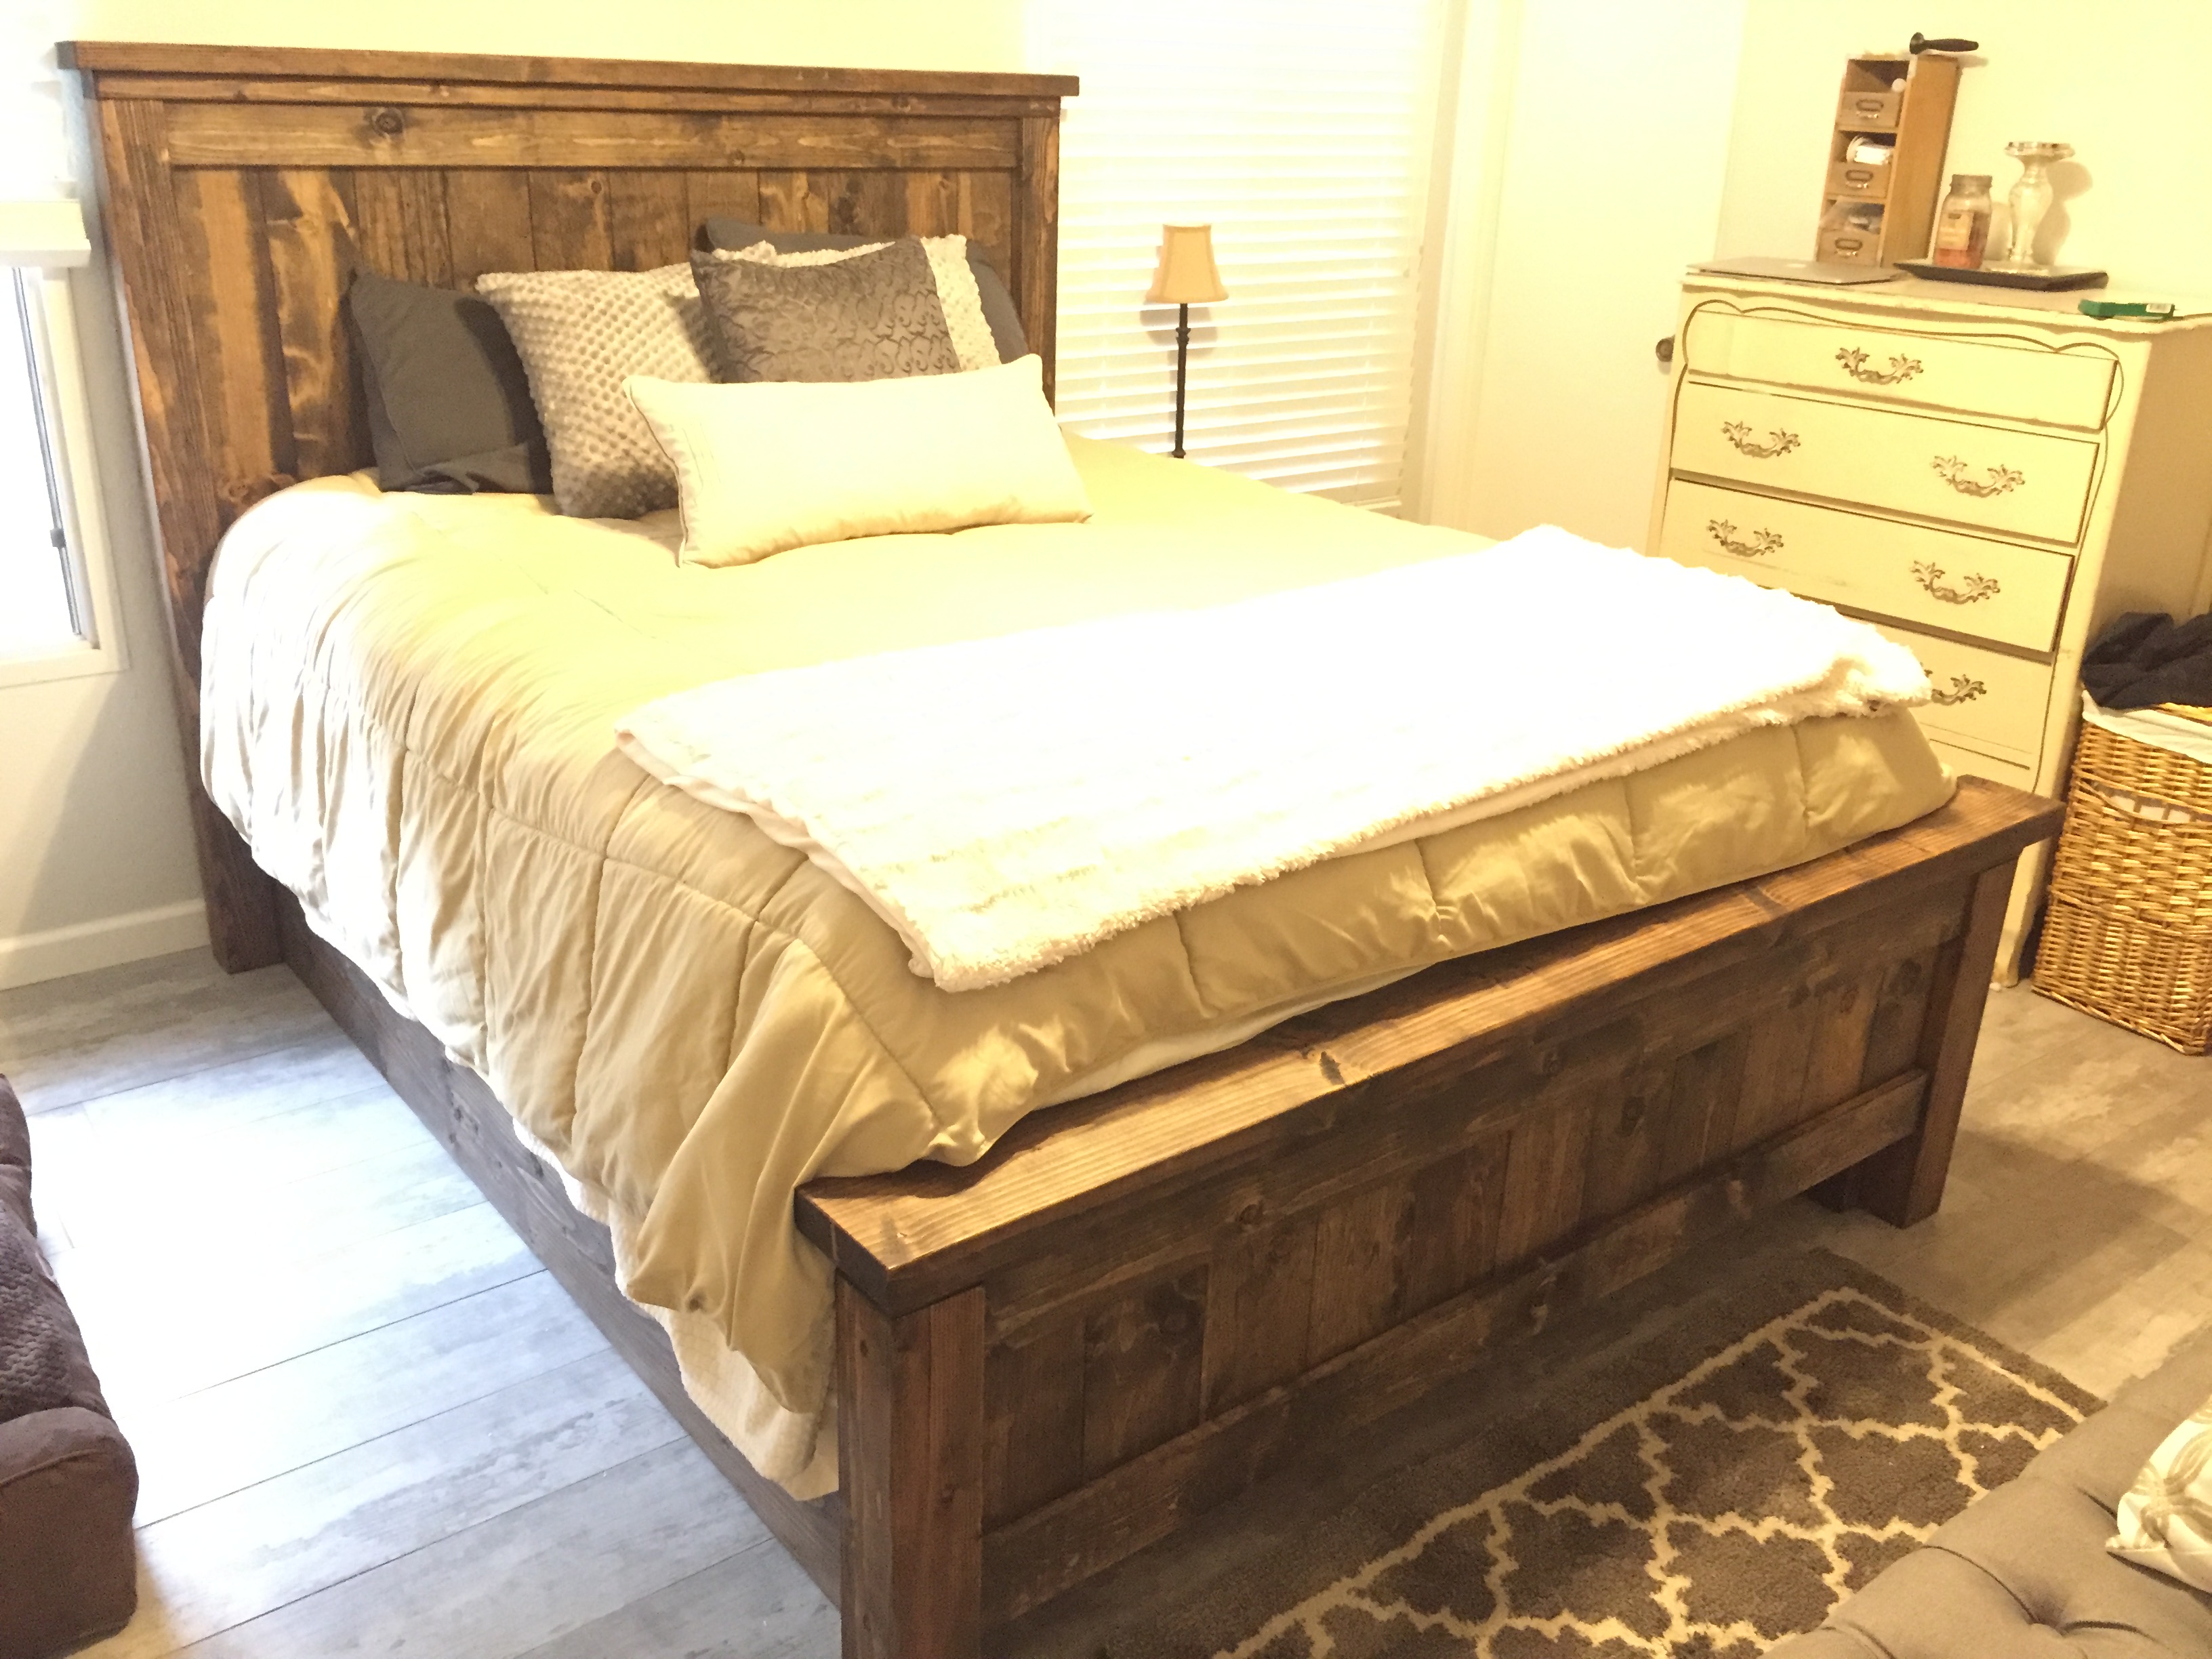
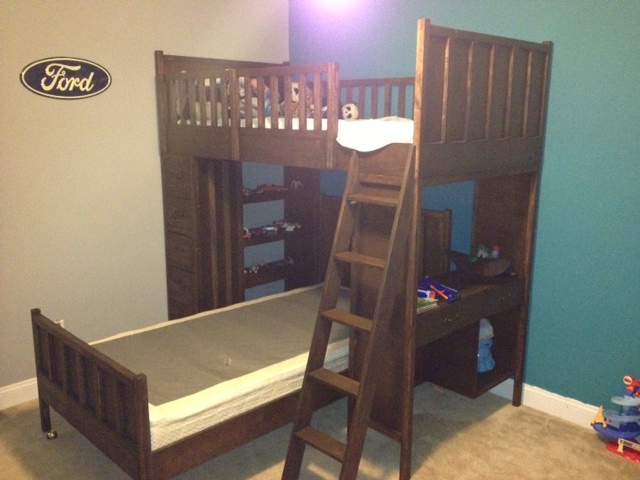
Fun quick project for our new house. I finished this bed in 2 days, and my wife was very happy! I stained it in Jacobean (Minwax), and finished with a clear satin poly.
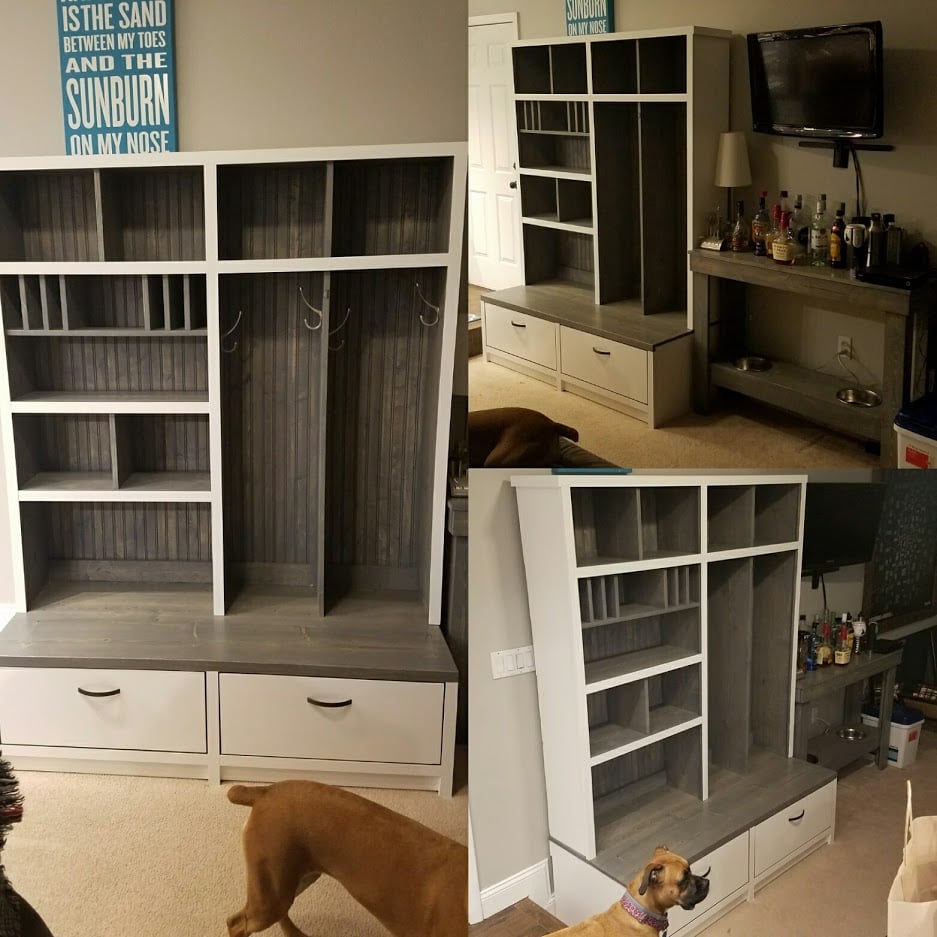
Made the hutch 1ft taller
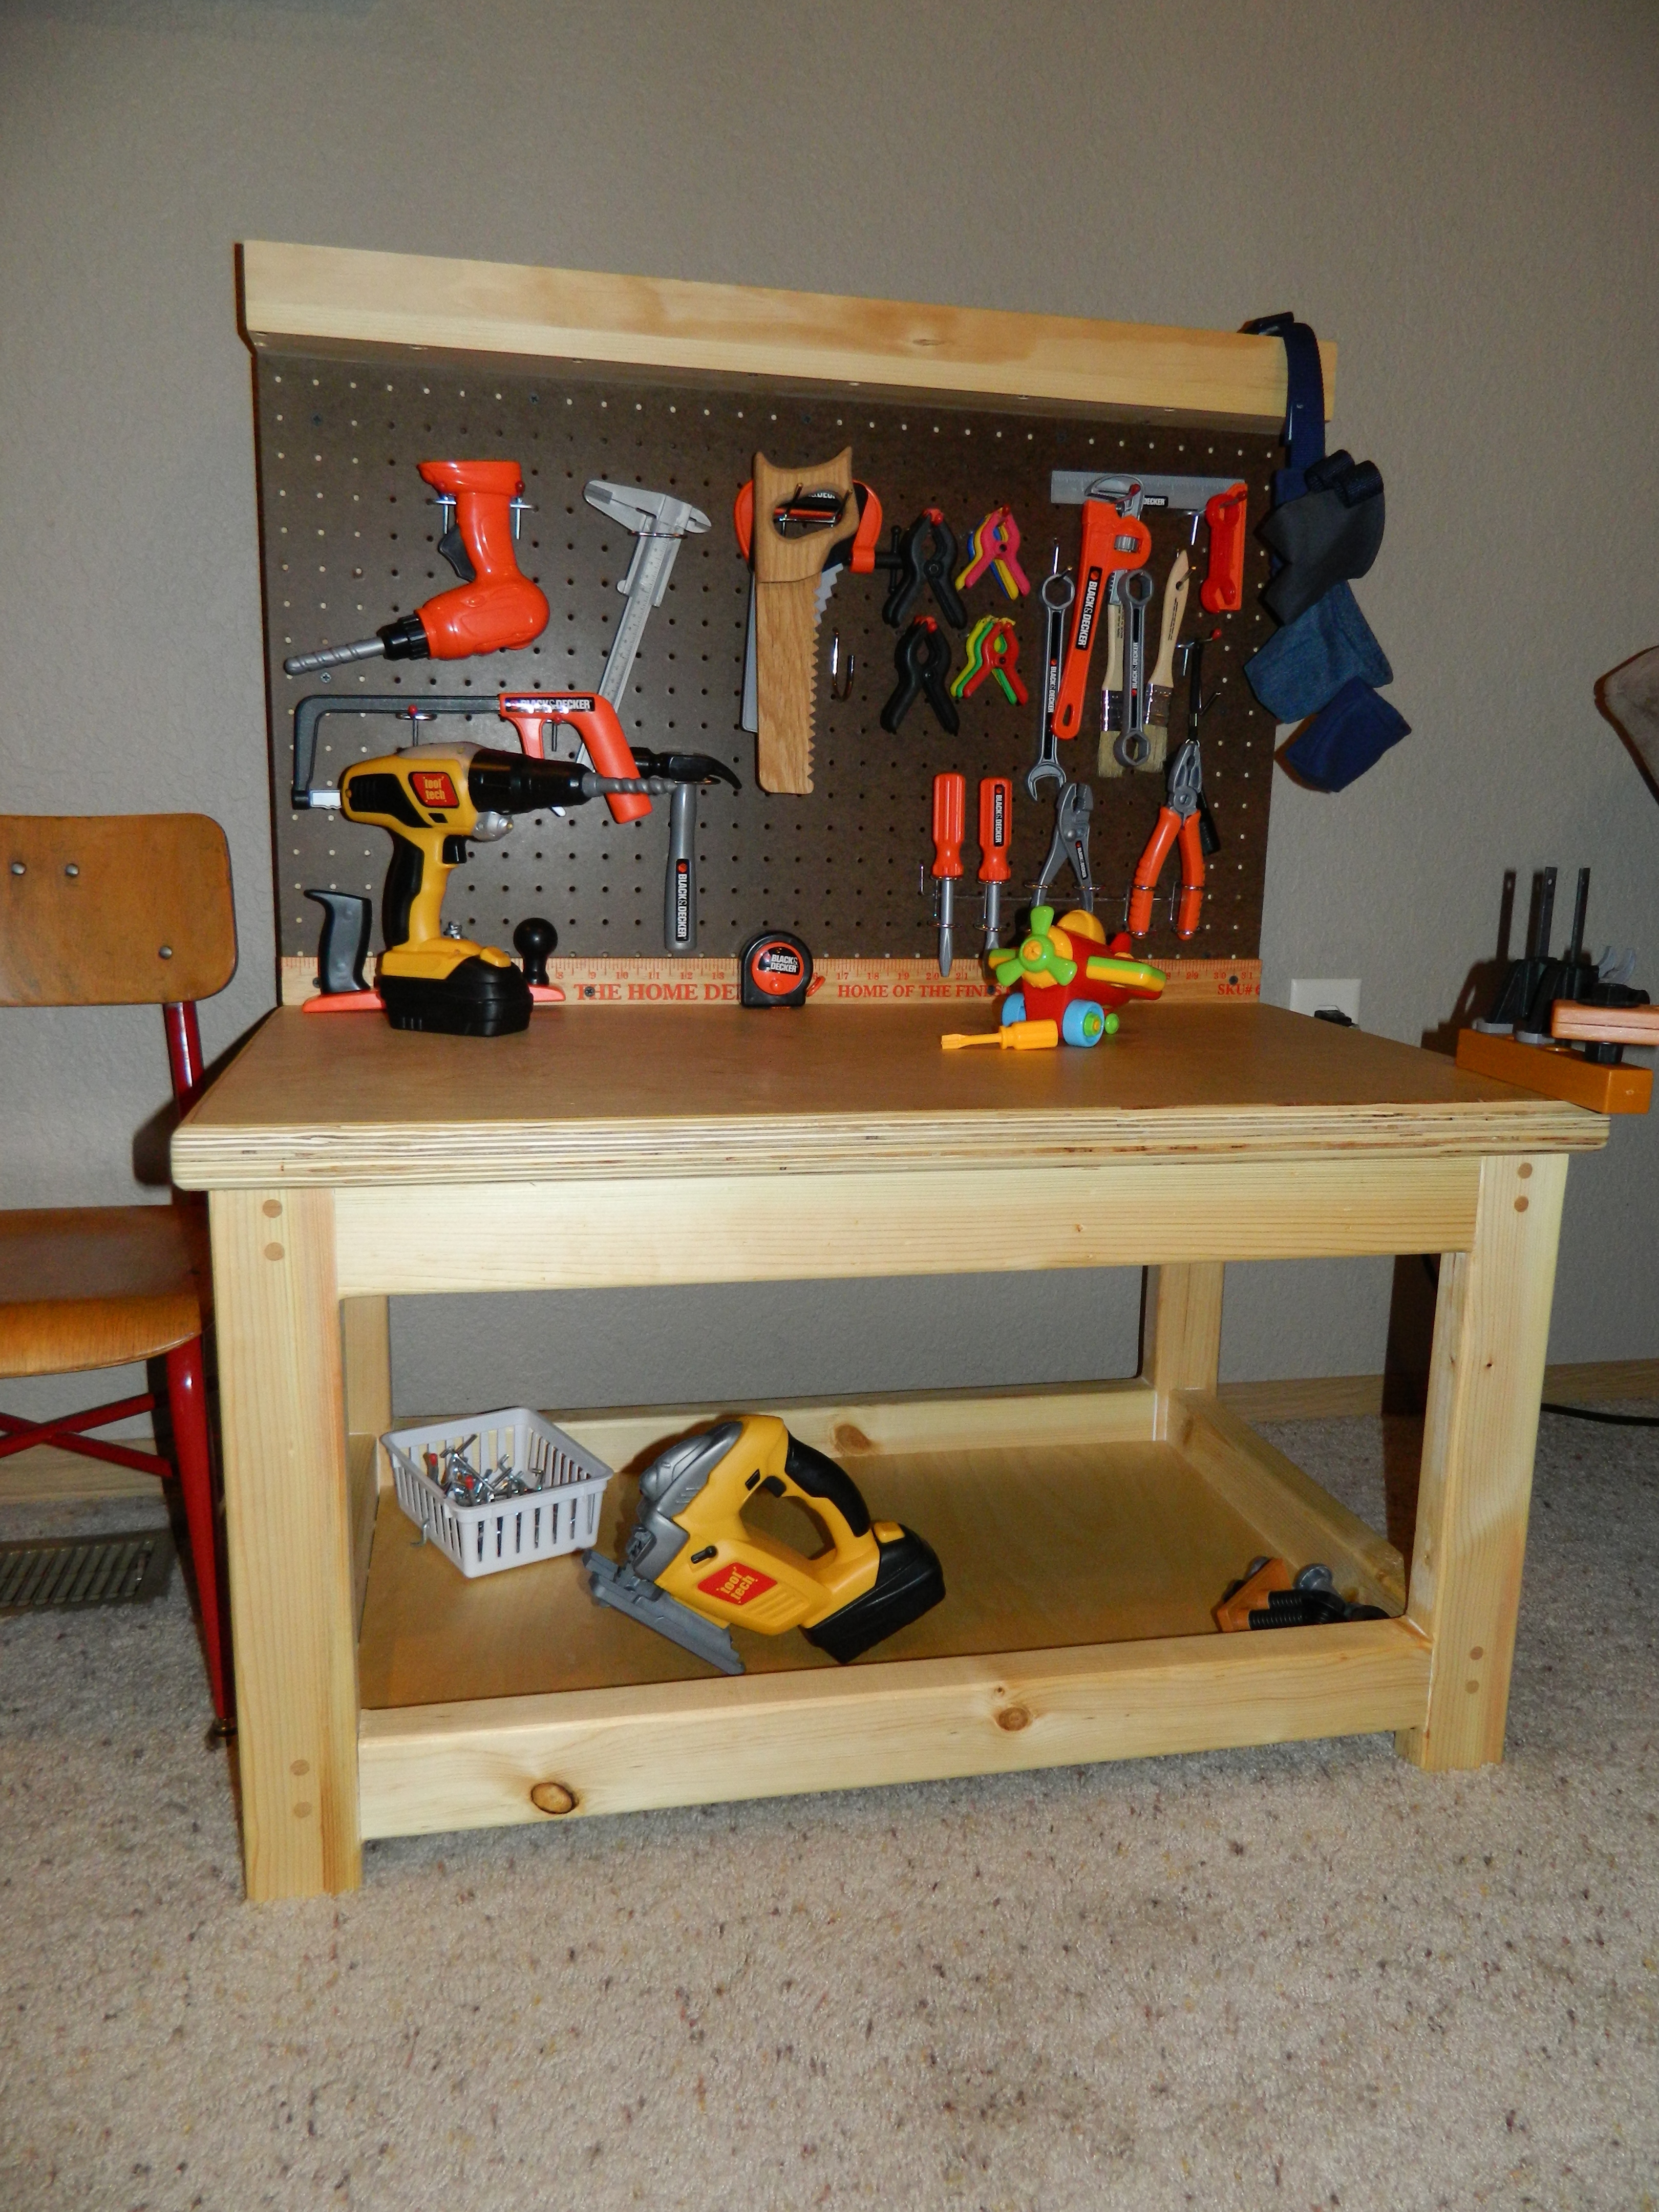
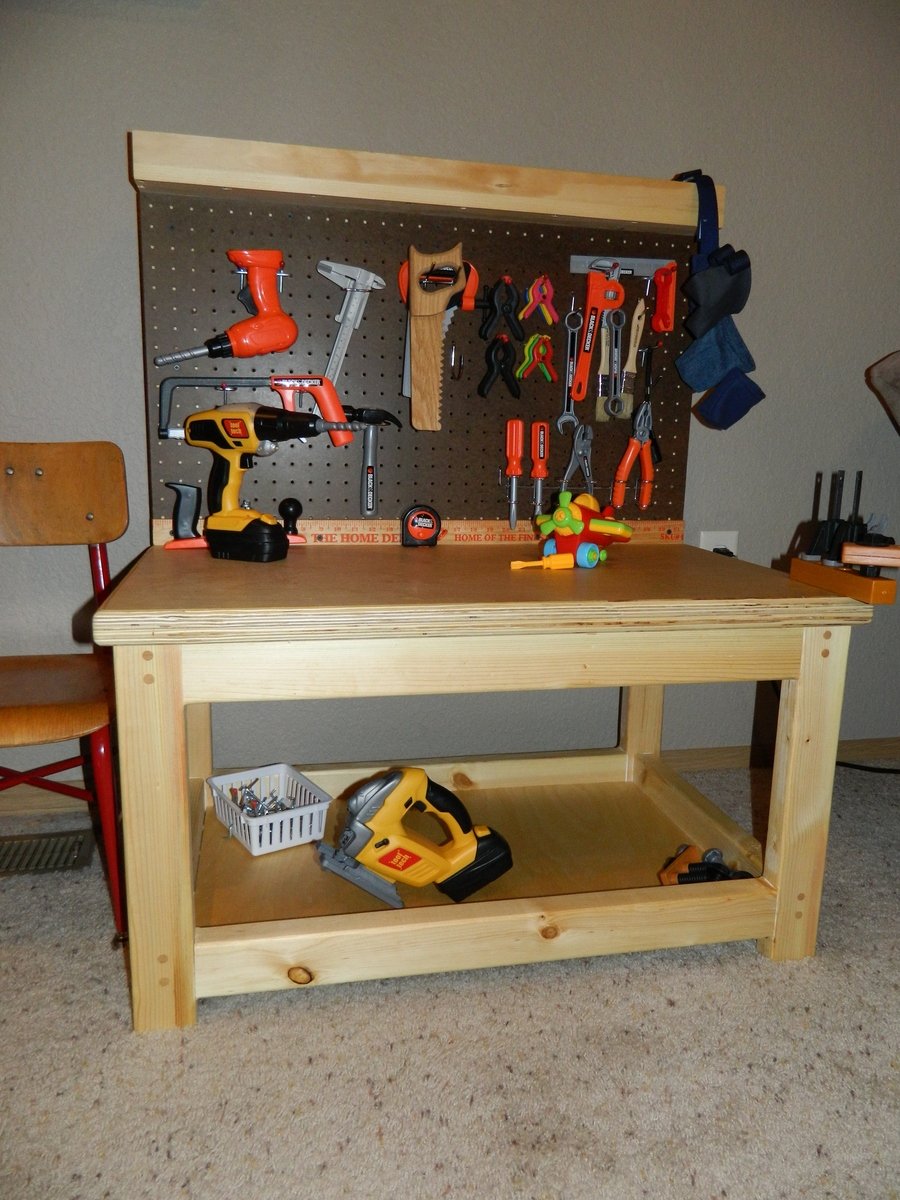
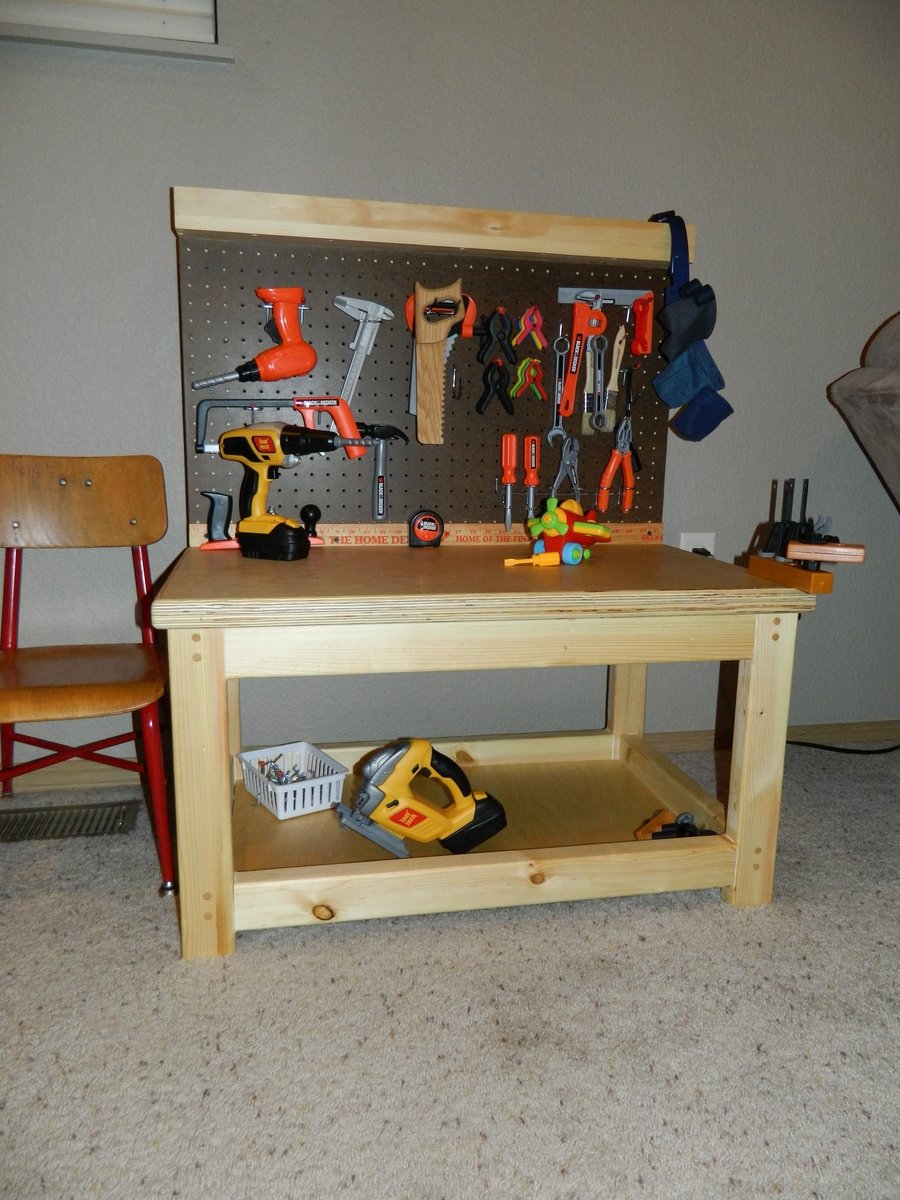
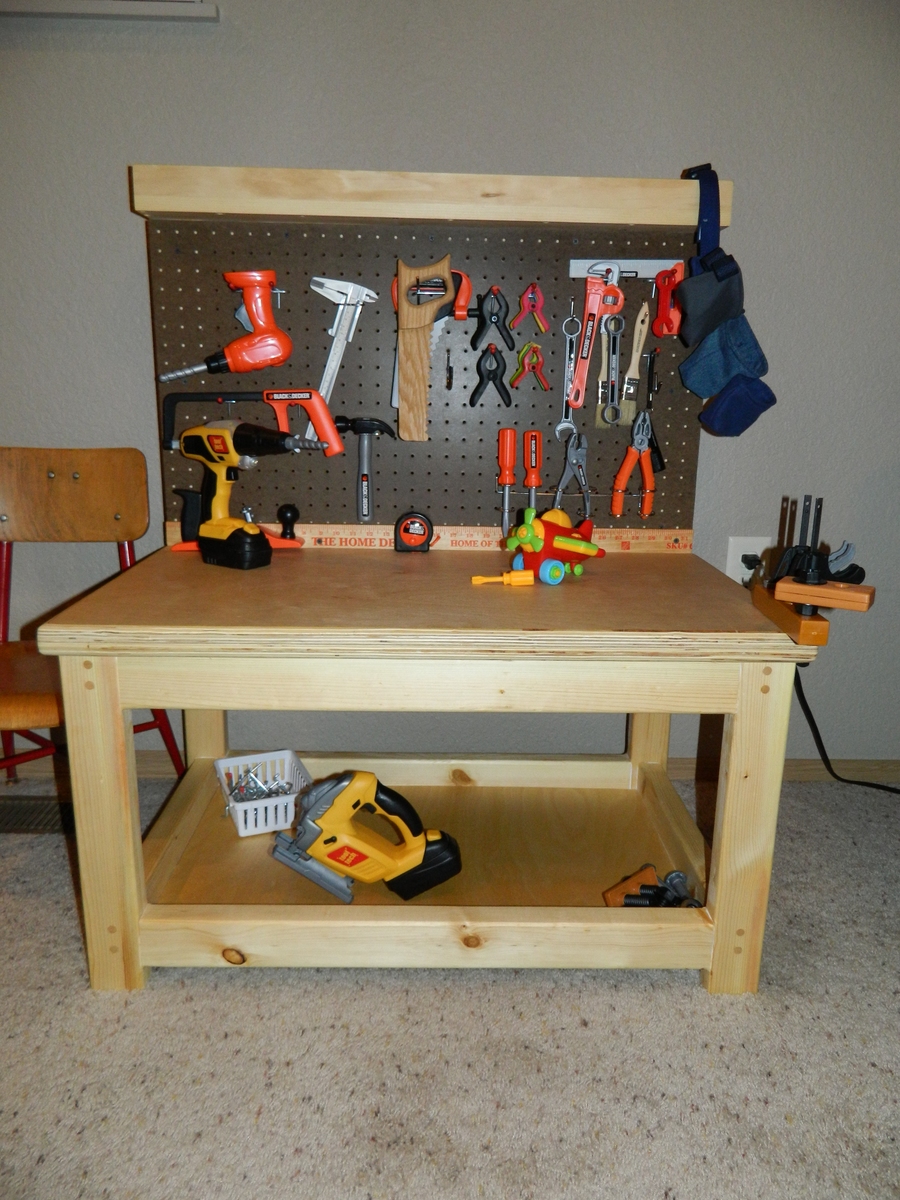
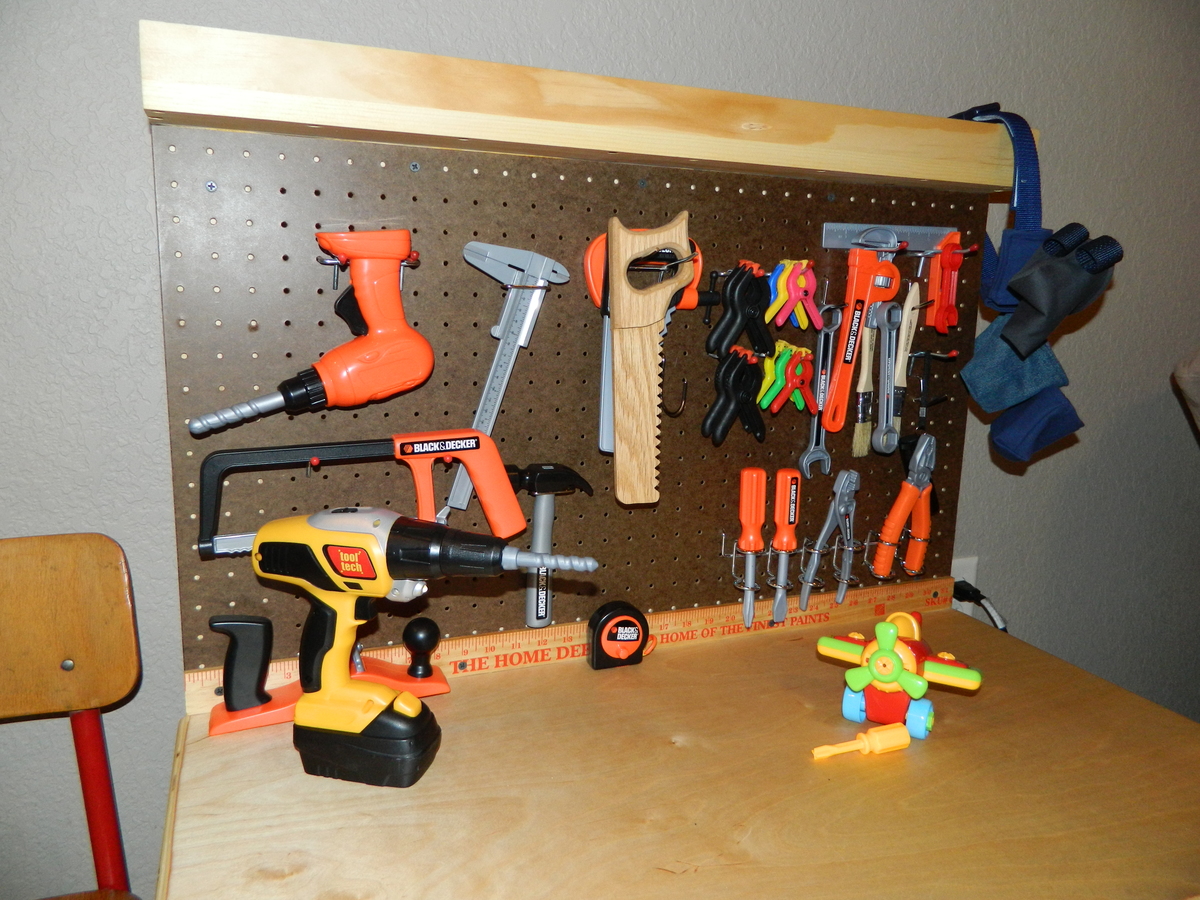
My son loves to be in the shop with me. For Christmas I thought he would really like his own workbench with some tools that he sees me use. He really gravitates toward the clamps and my drill. I lucked out and found a fun drill that he really enjoys... "just like Daddy's!" I hope it serves him well for years to come.
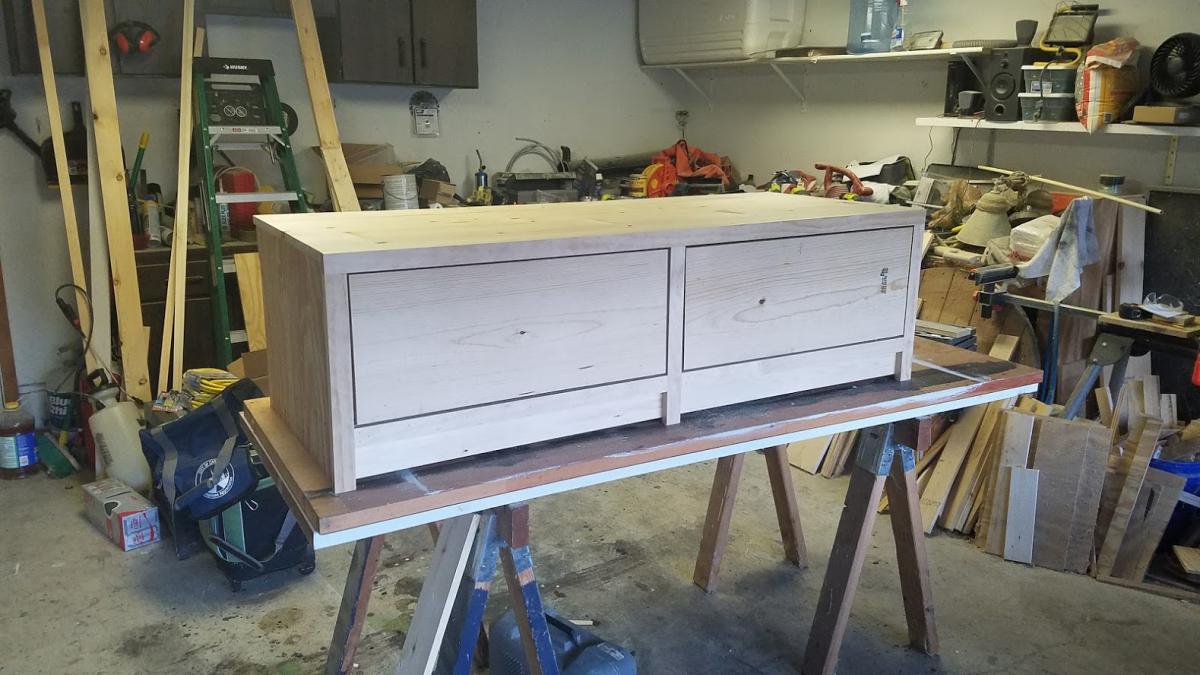
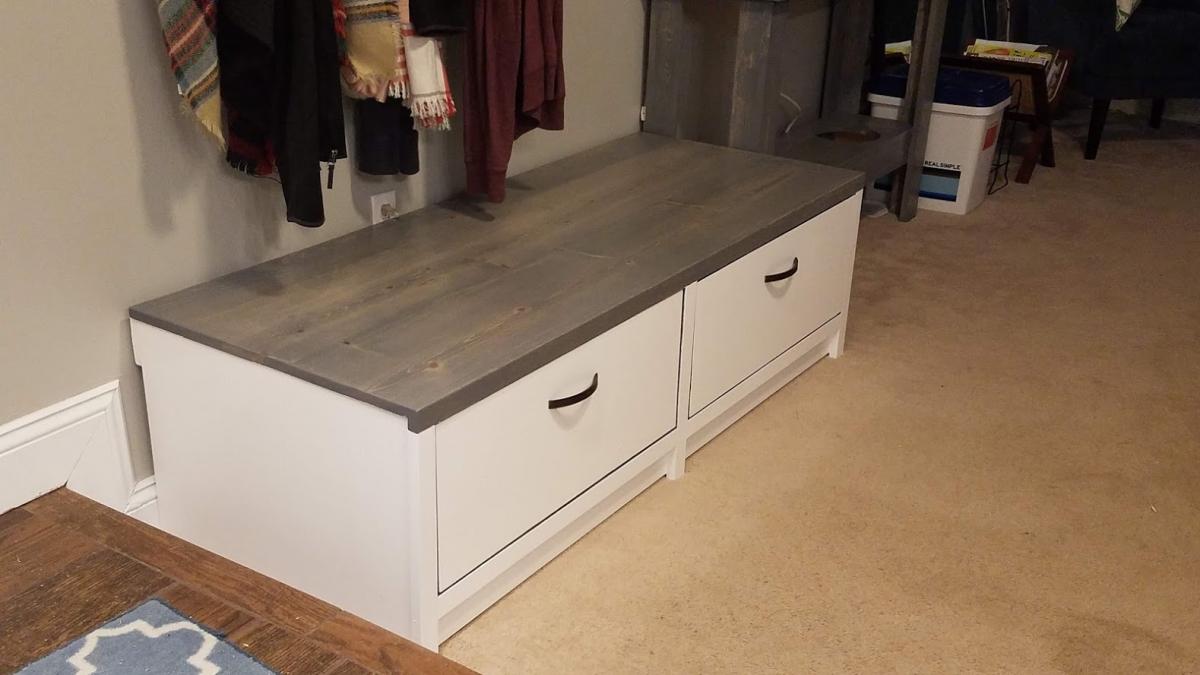
The frame is joined with glue and screws. The screw holes are filled with contrasting dowels and cut flush. The top is 2 pieces of 3/4" birch laminated together. I rounded over all the edges with 1/4" roundover bit in the laminate router. The top is attached with pocket screws.

Fun little project, think I used too many pocket holes, they are really visible, all well, take what you learn.
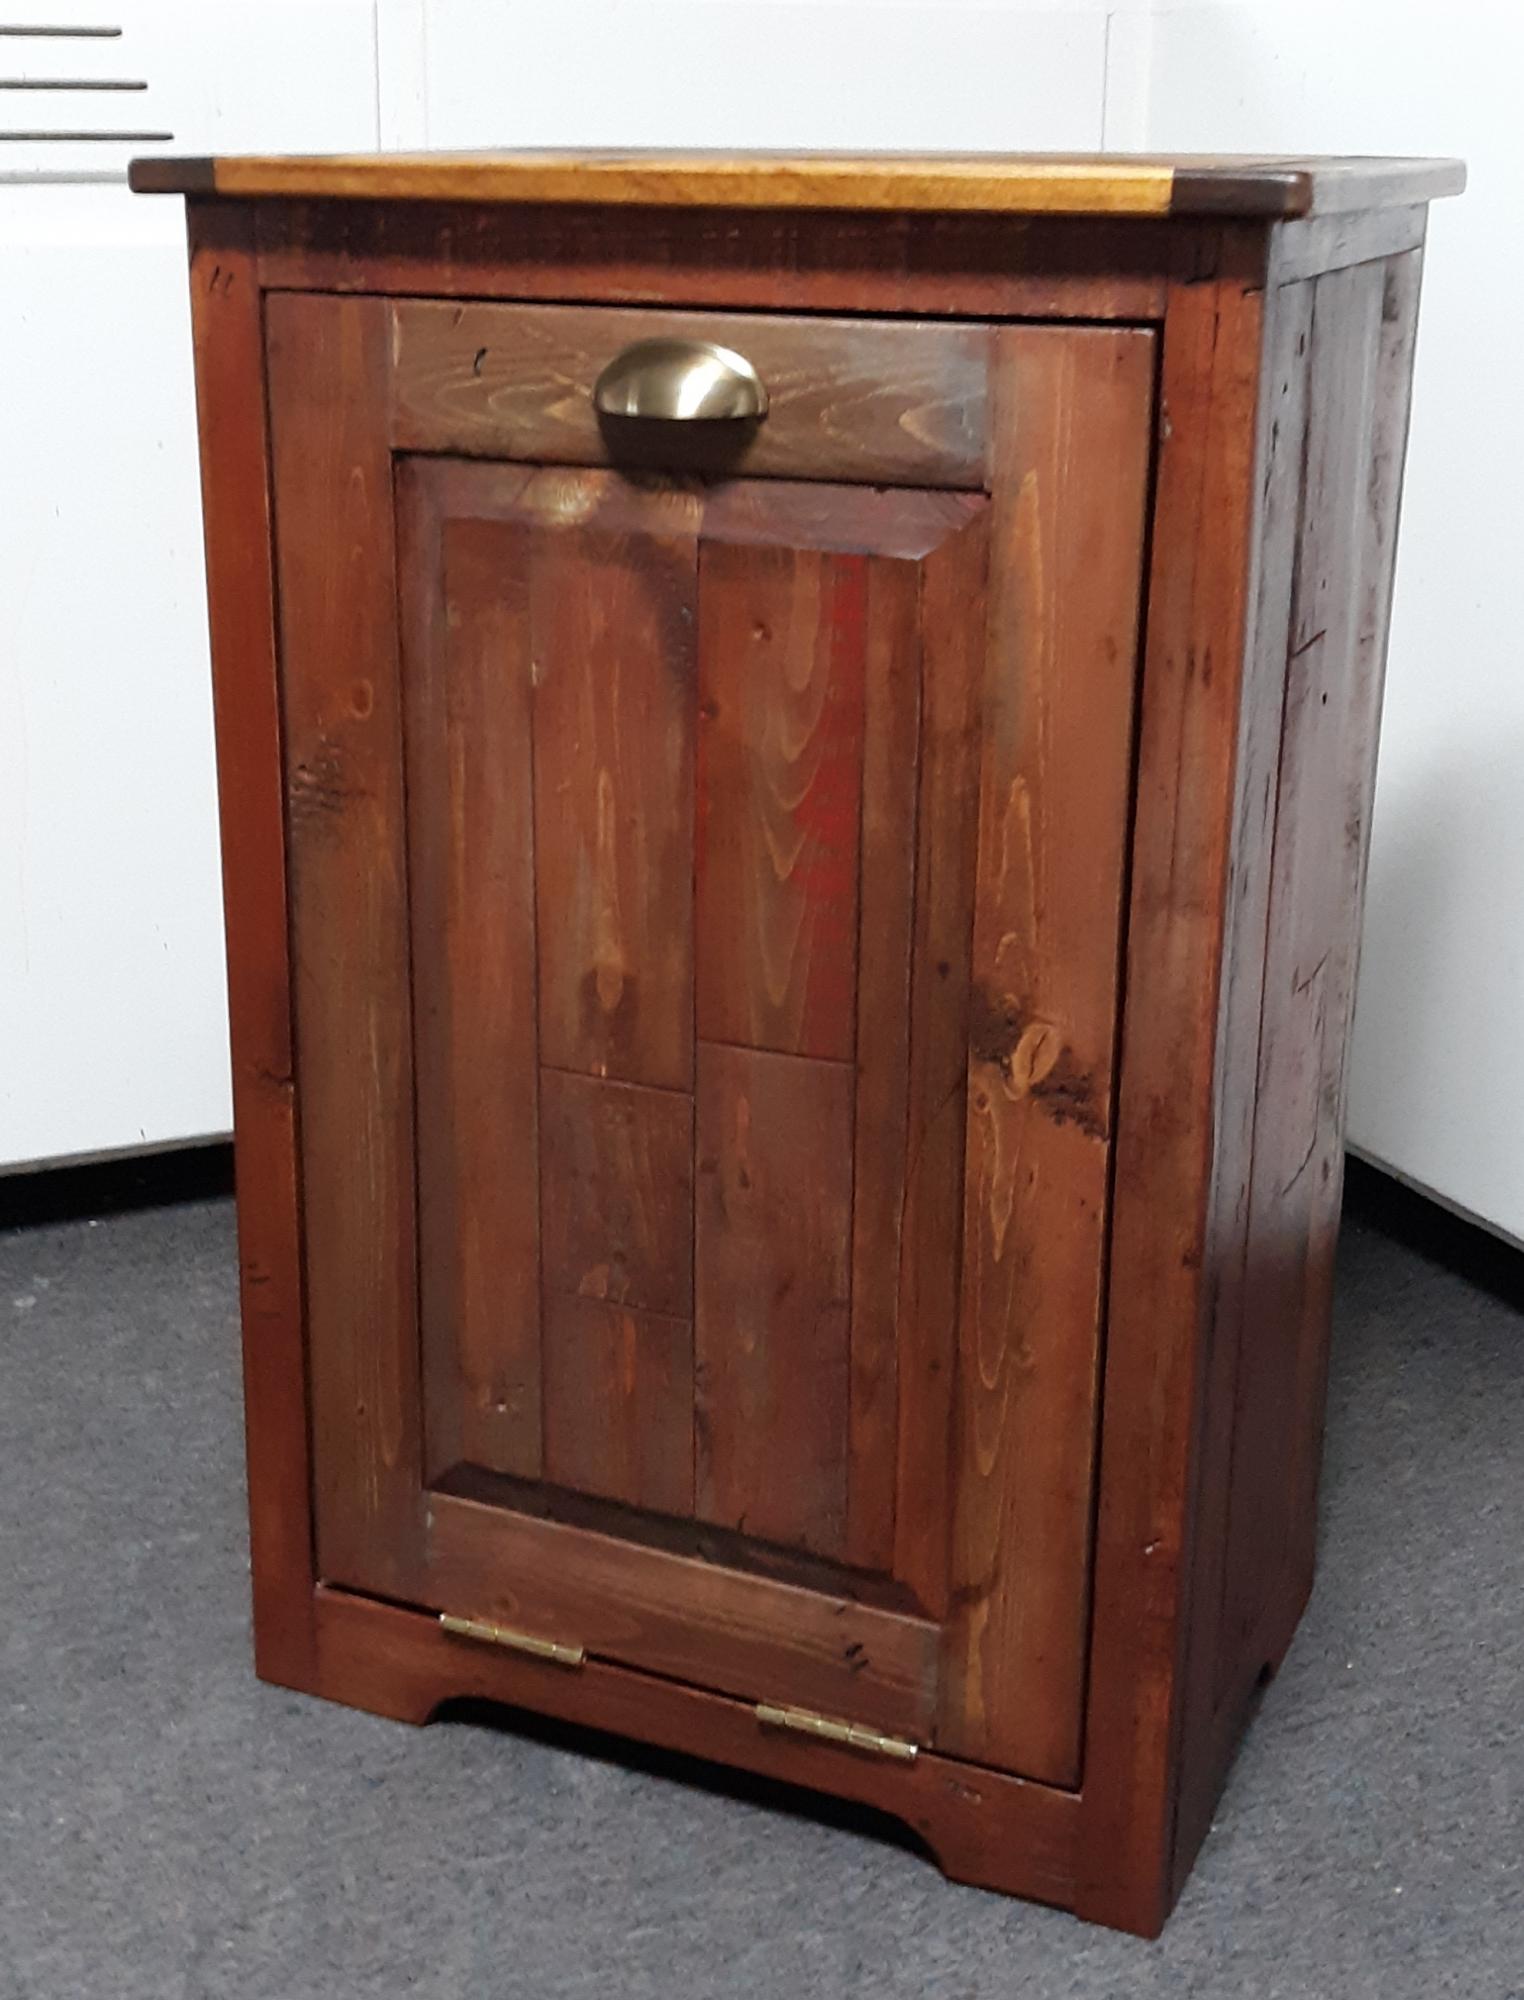
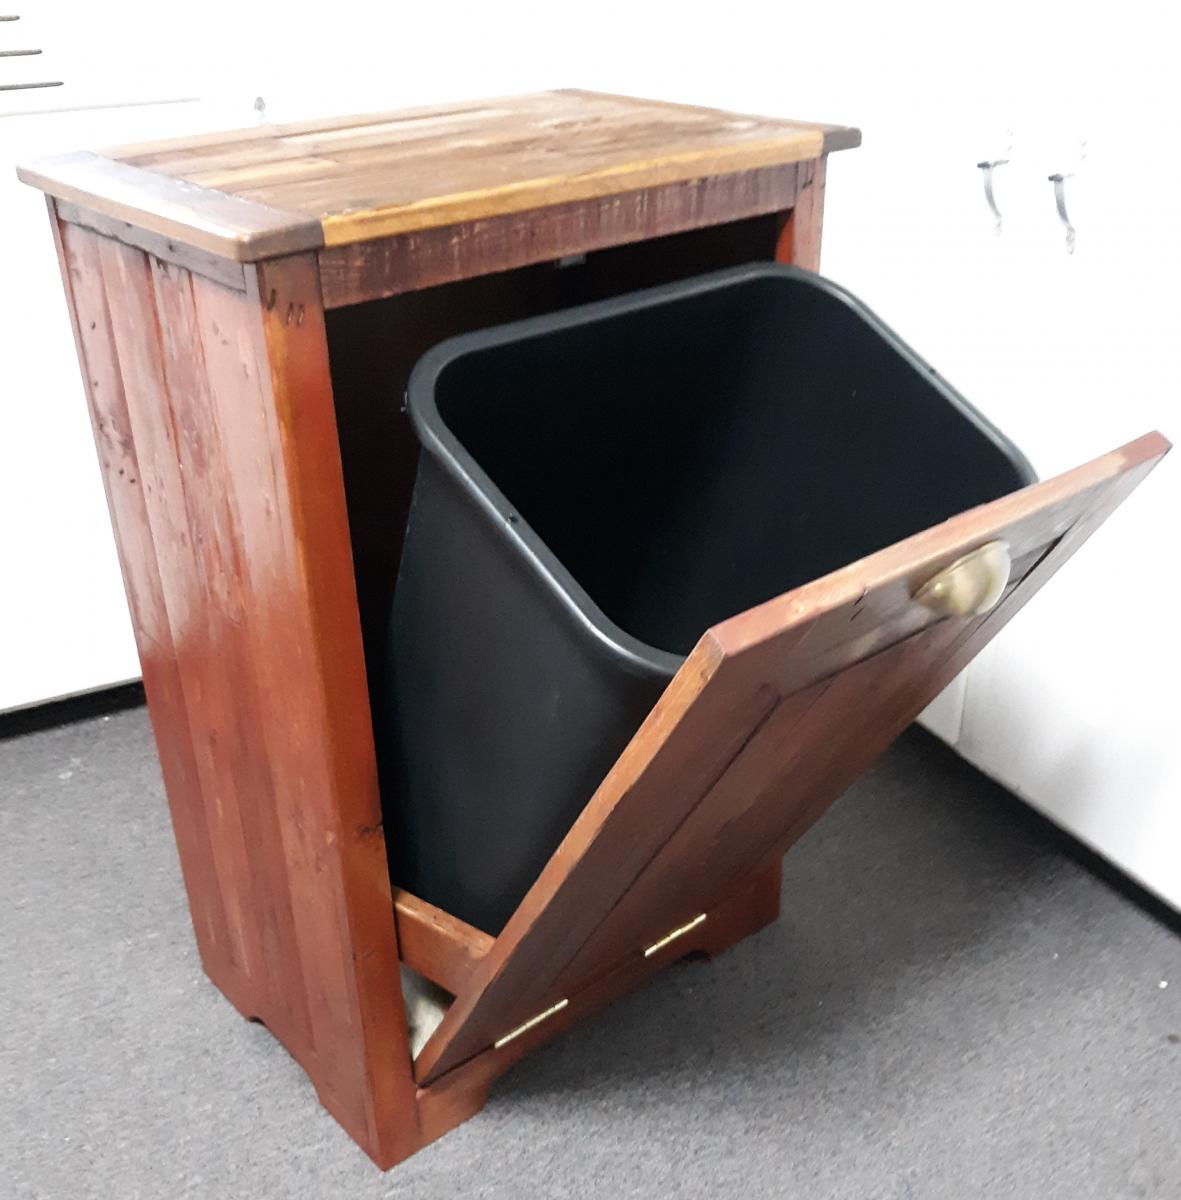
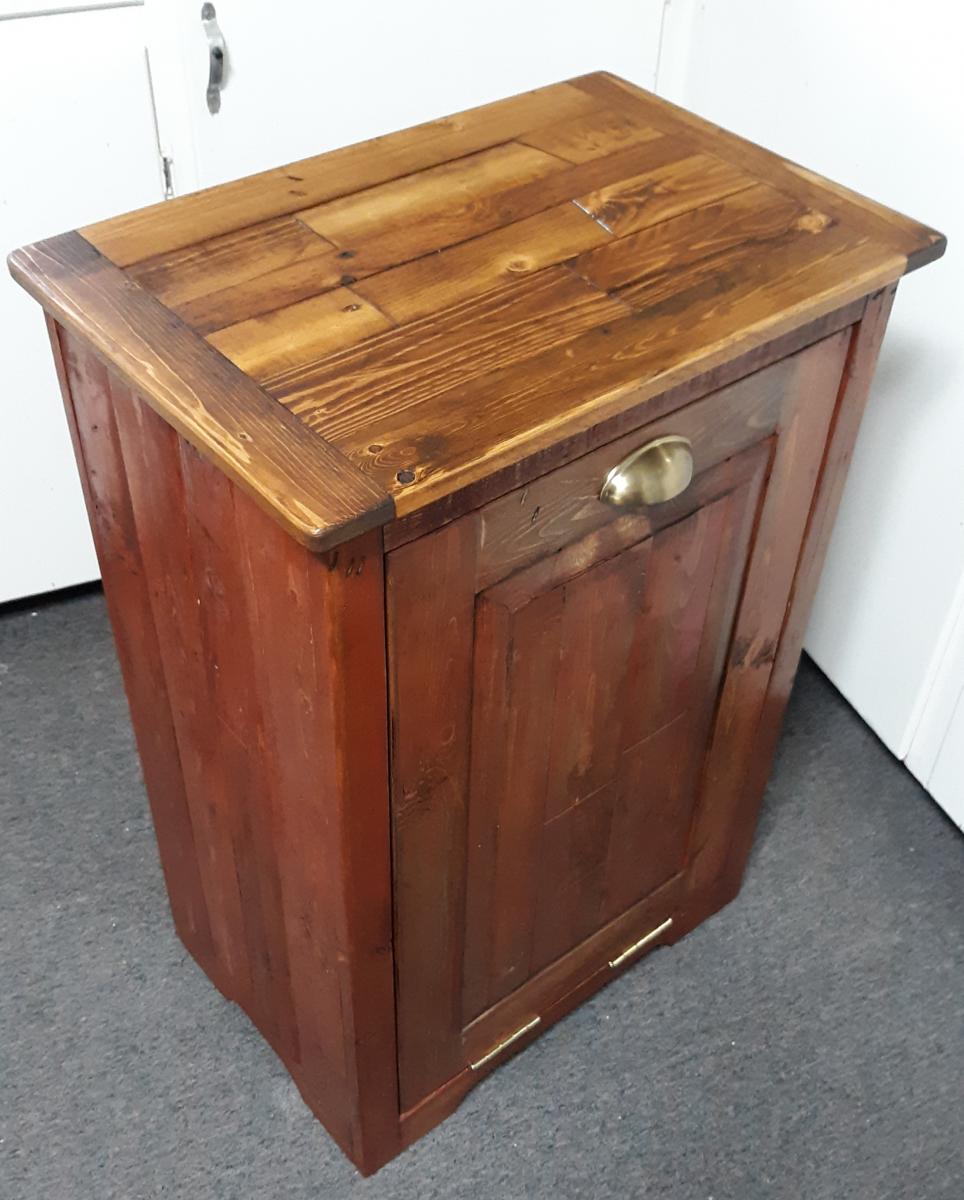
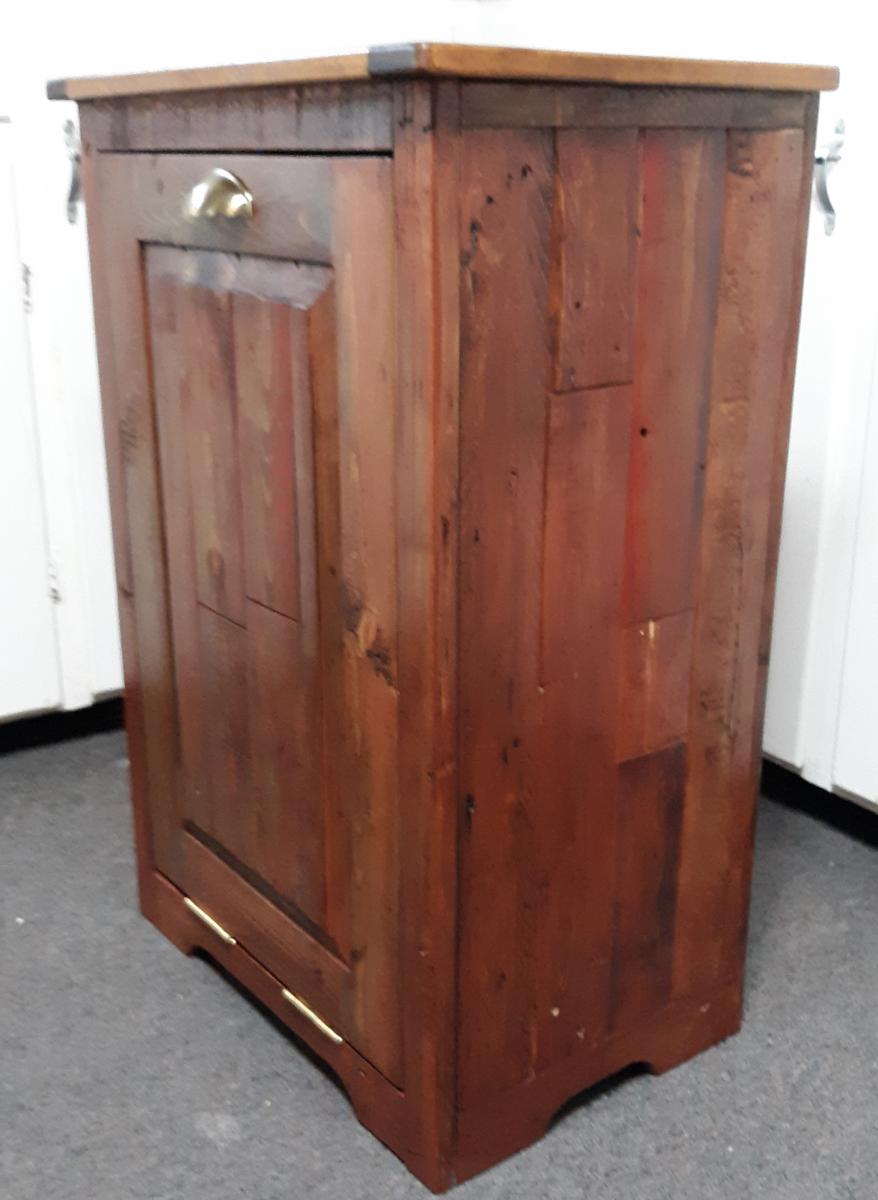
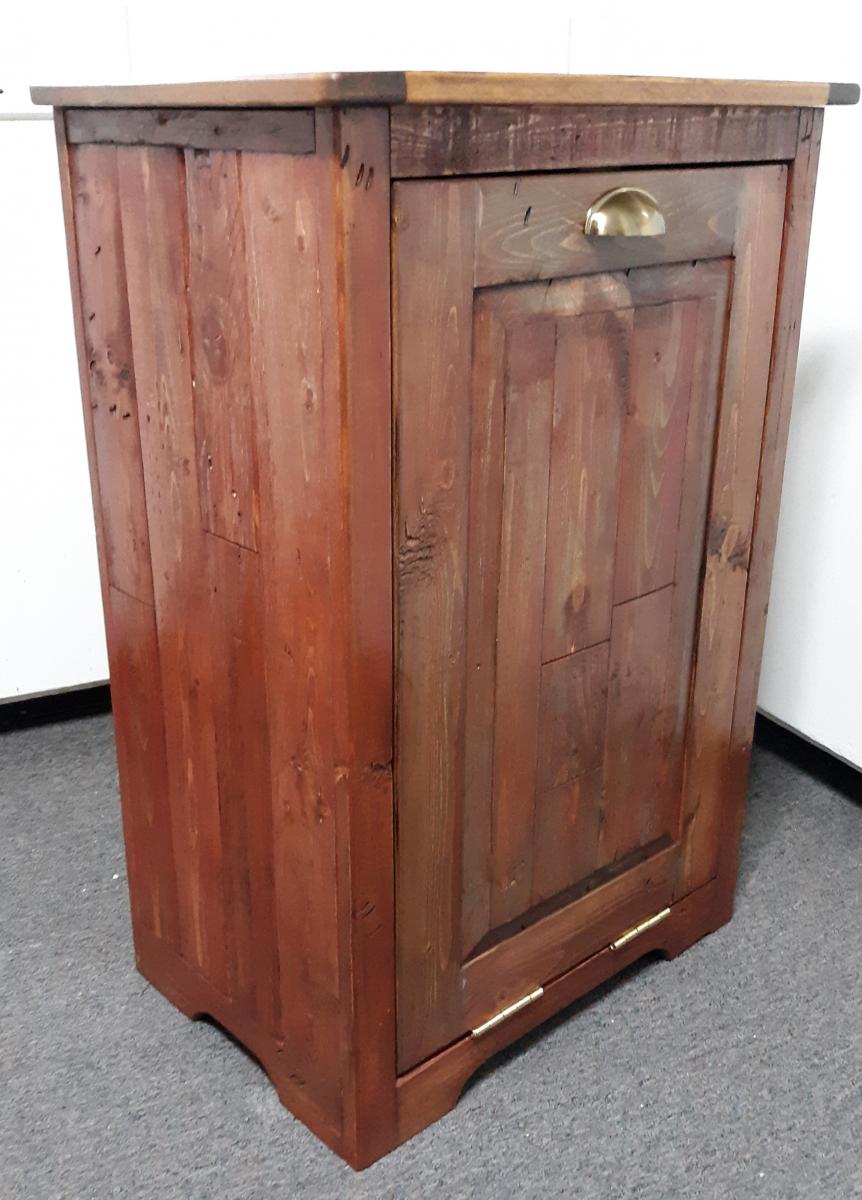
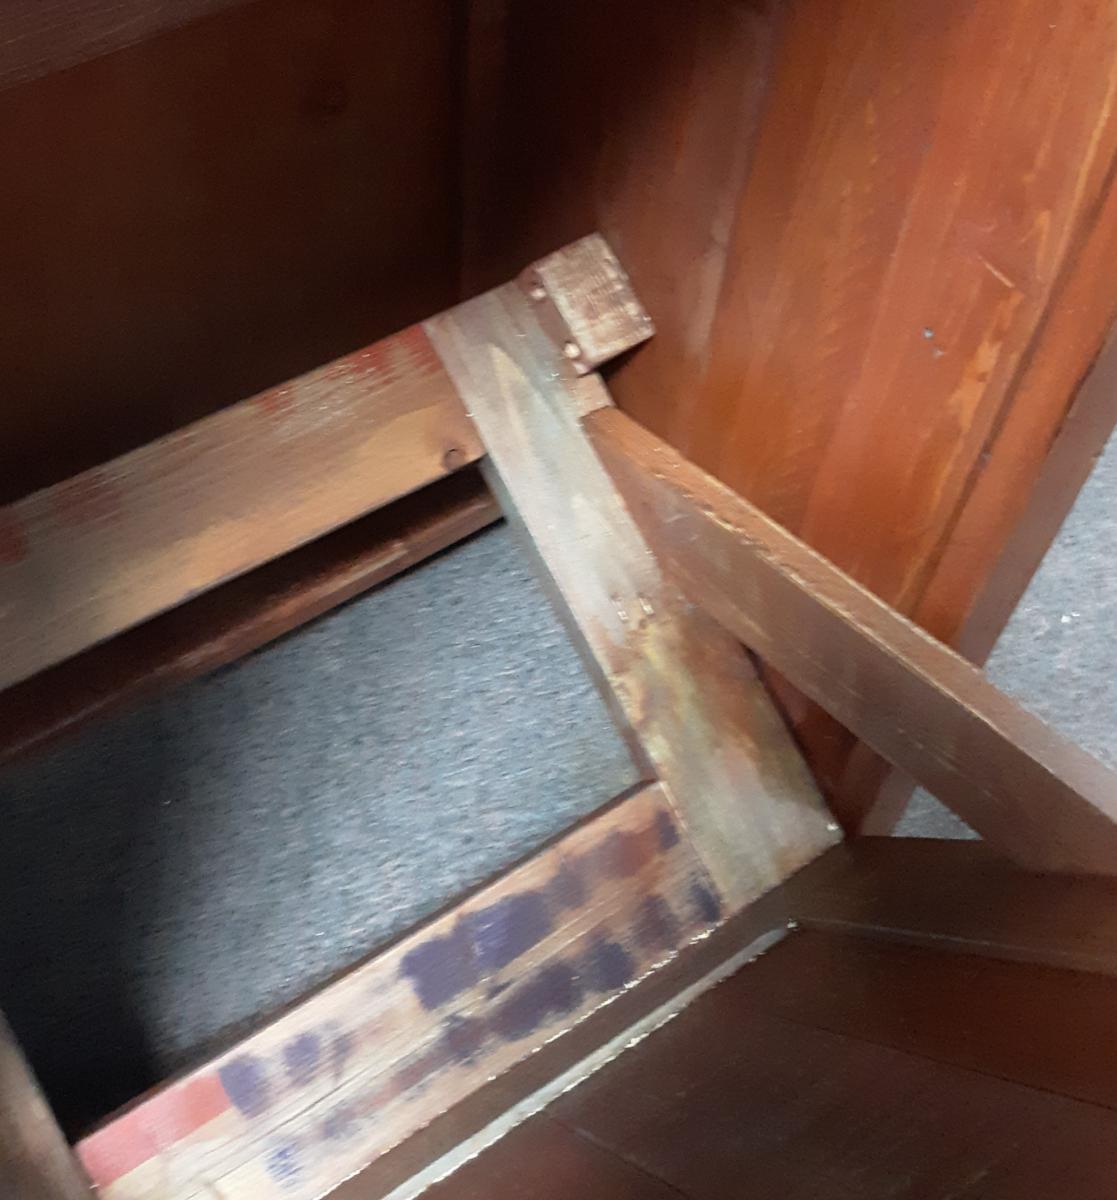
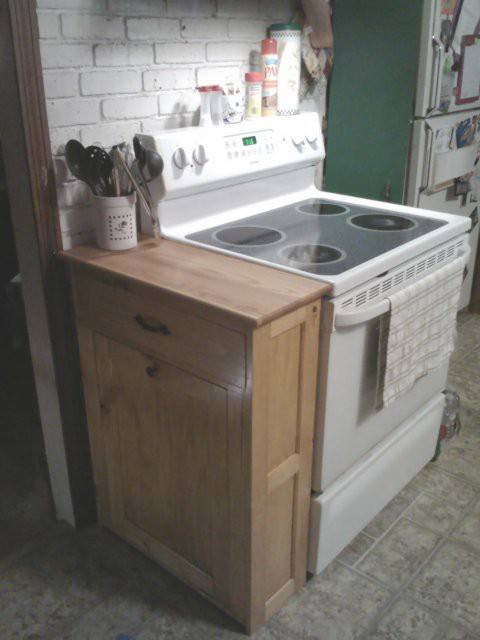
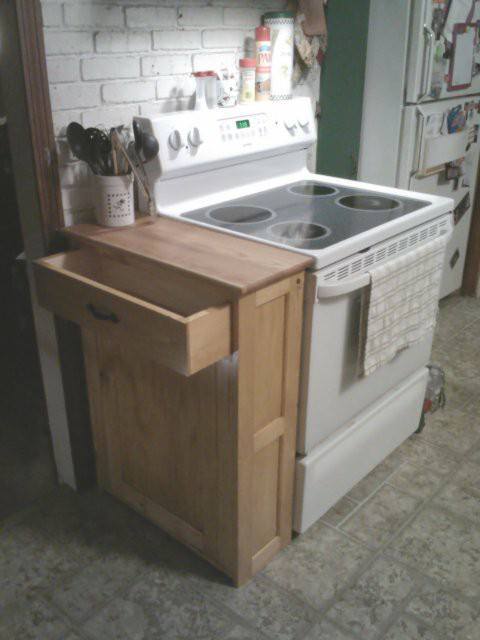
Here's my take on Ana's 'Wood Tilt-Out Trash or Recycling Cabinet.' It's made from lumber salvaged from pallets found locally. Two changes made from the original plans:
- Raised panel on the door
- Used two stop blocks inside the cabinet to limit motion on the door (instead of chains)
The only items that were purchased were the trash can, hinges, door pull and Kreg screws.
Links for techniques and finishes used in this project:
Raised panels:
https://www.finehomebuilding.com/2006/03/01/making-raised-panel-doors-o…
Milk paint finish:
http://toolmakingart.com/2008/06/16/two-layer-milk-paint/
Topcoat on cabinet:
https://sawsonskates.com/bobs-miracle-finish/

This project was a Christmas gift for the niece and nephew. It turned out better than expected and was easy to do. I followed the plan, just made it shorter and narrow for a 3 and 6 year old to use. Mom and dad liked it a lot. I took off 8 inches from the height and width. Luckily someone else had the chalkboard paint leftover. That helped to keep the cost down. I had left over plywood from another project. I just bought the hinges and 1x2 and 1x3's. That's why the cost is fairly low for this project. Its worth saving those scrape pieces. Thanks Ana.
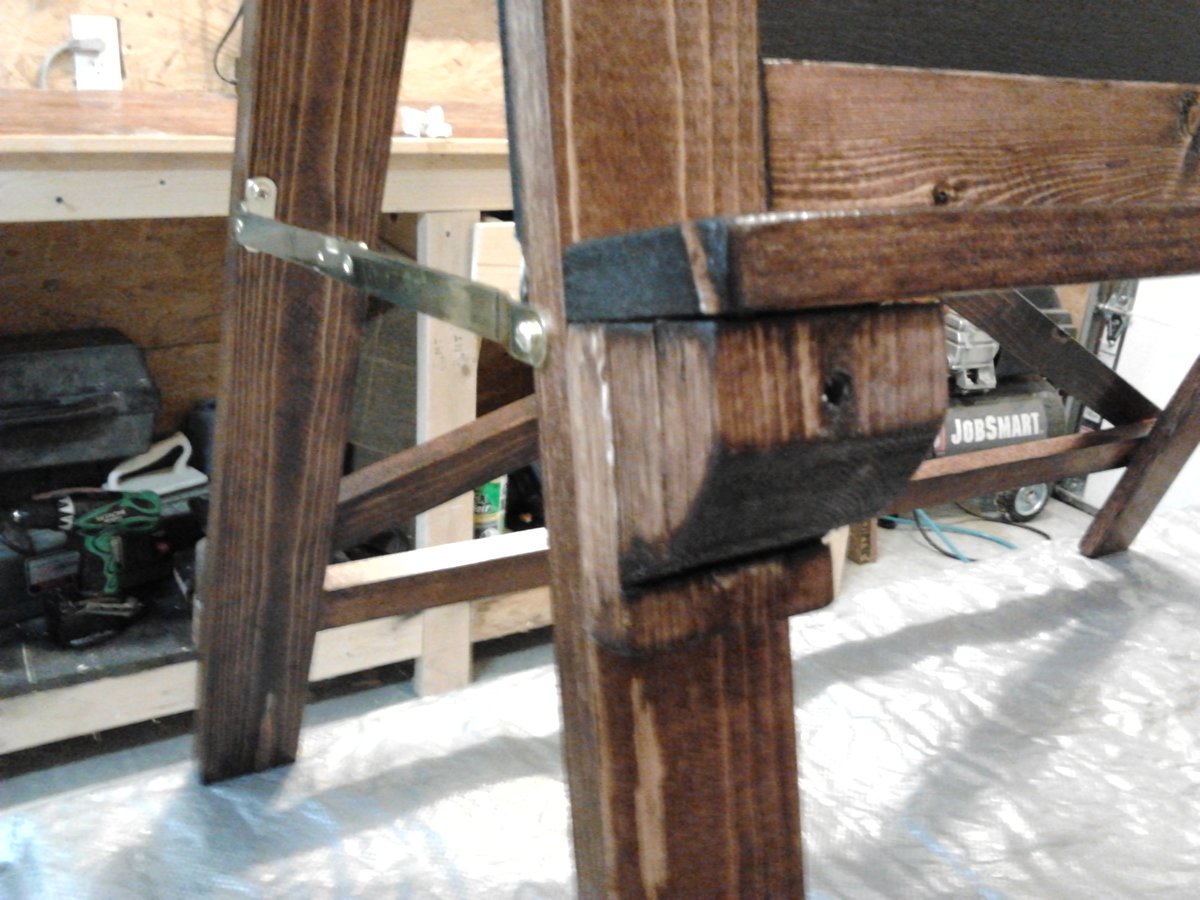
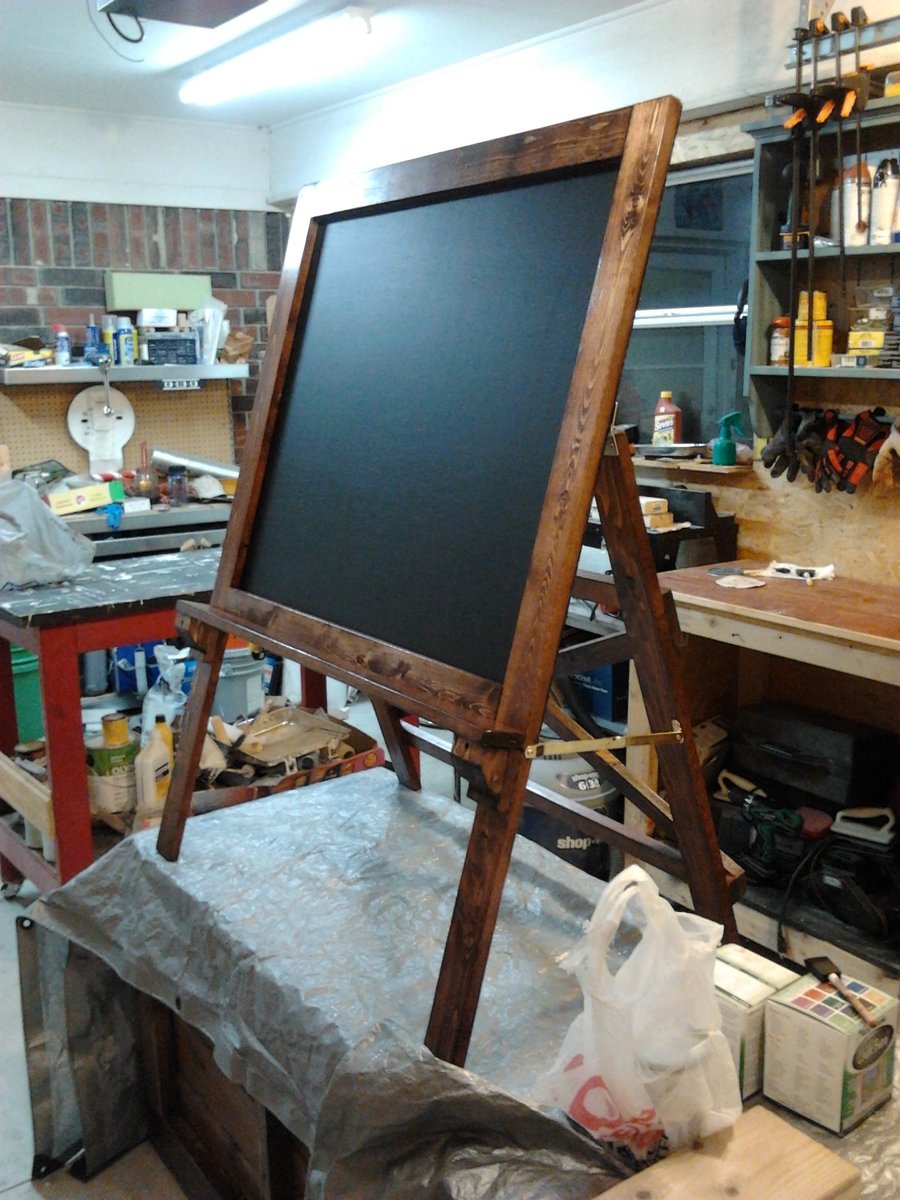
This was my first project using an Ana White plan....Modified it a bit...quite happy with how it came out...it was very low cost to make and a lot of fun.

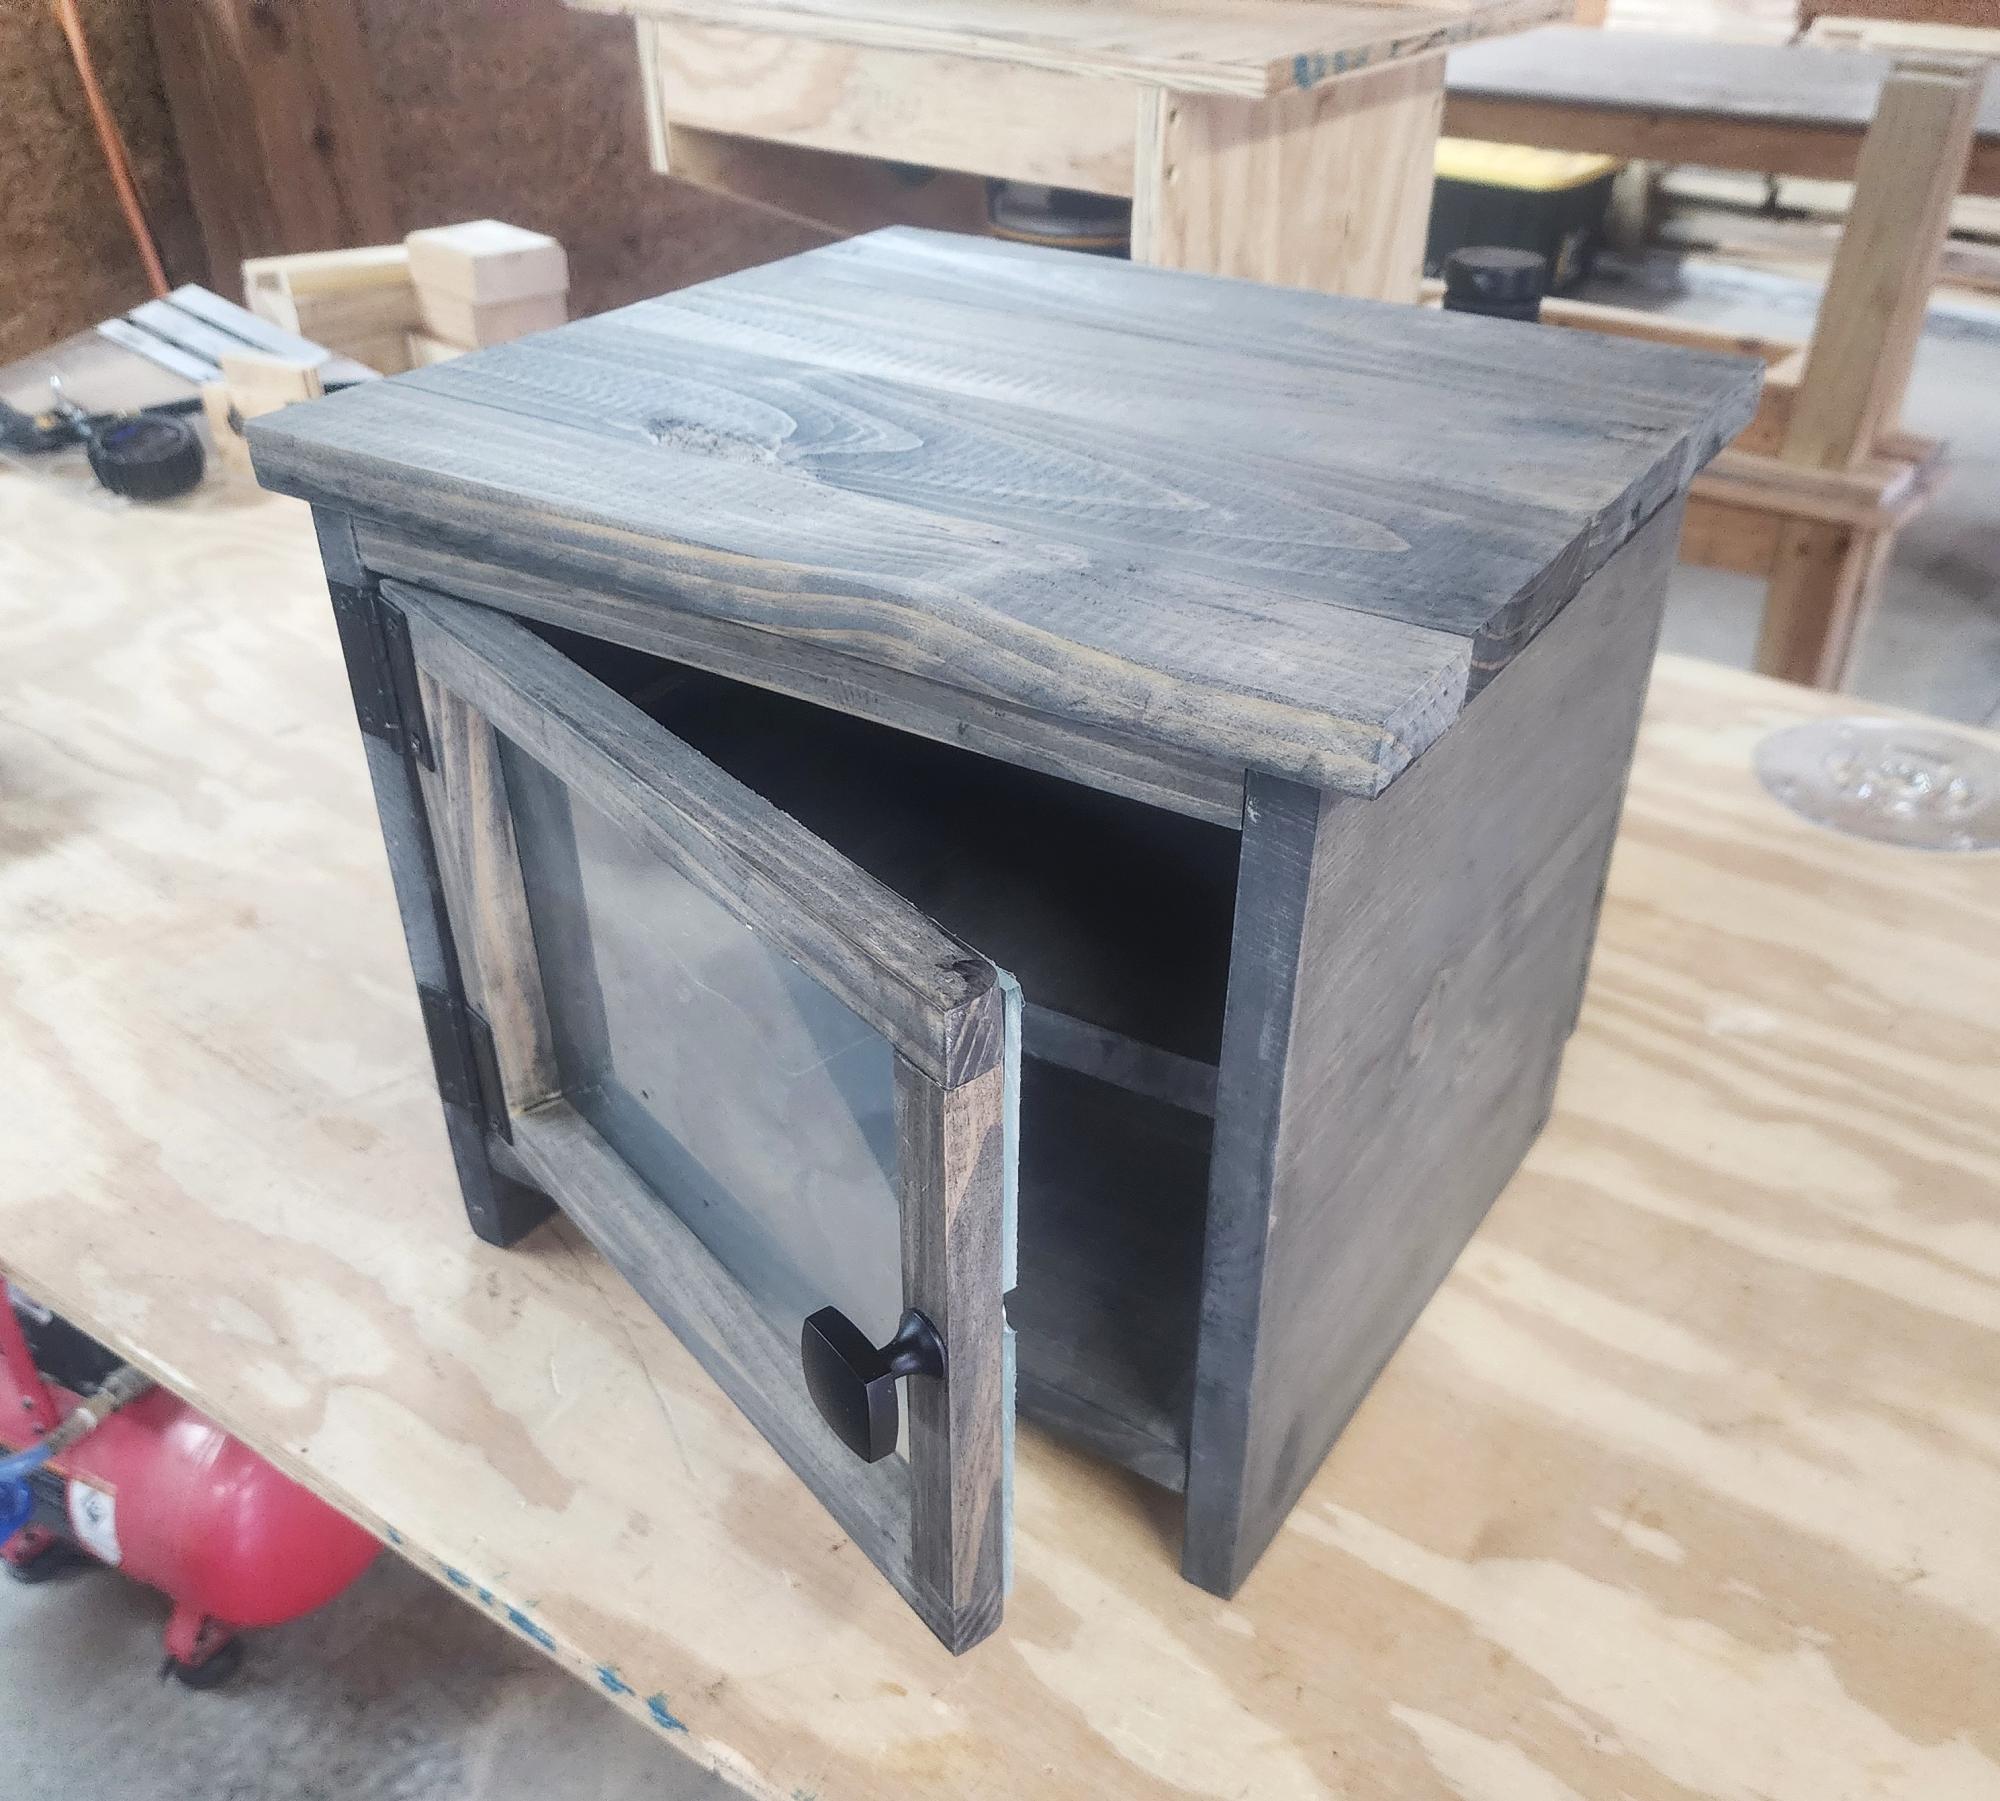
Sorry for the messy background. I made this out of scrap pine I had on my lumber rack. It turned out pretty poorly in my humble estimation, but it'll serve the purpose next week! I still need to finish it off with a magnetic latch for the door, and a satin clear coat. It's #3 lumber, so certainly not good lumber, but it was fun building it, and it's flaws will serve to make it a bit eclectic. The next one will be made out of hardwood! Thanks for the plan! It's really neat, and I hope to be able to market them as well. - Mike in beautiful northeastern Tennessee!
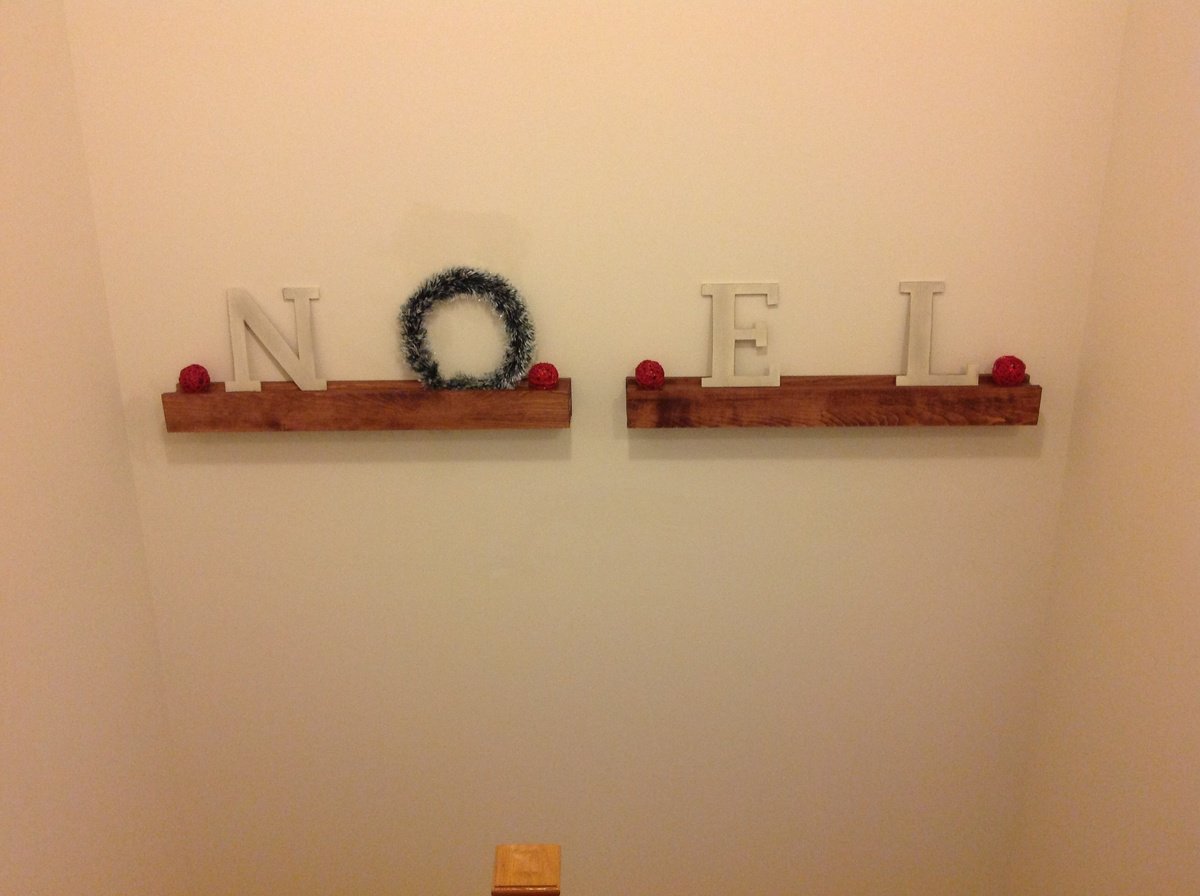
First project from Ana white plans - barn beam ledges
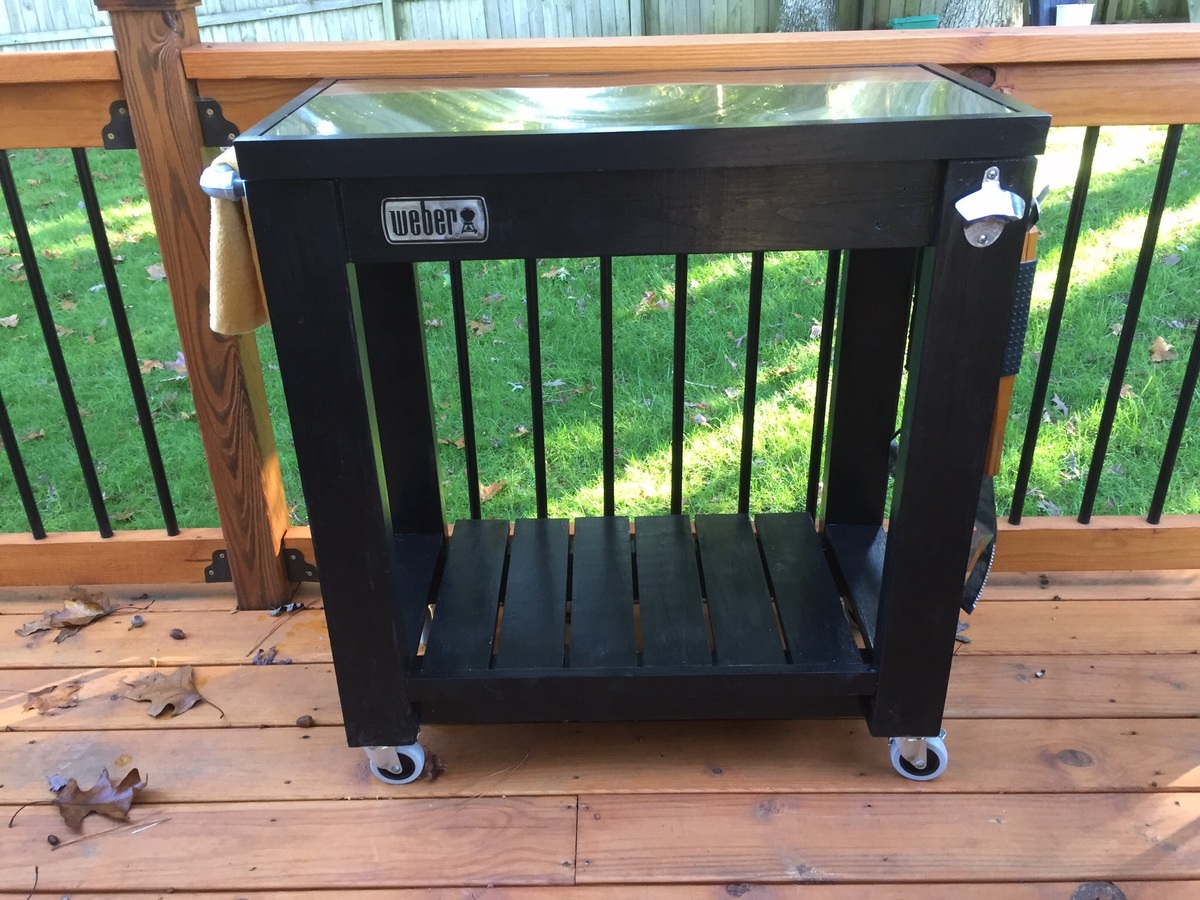
I made the countertop with 2 plywood boards screwed together and topped the stainless steel with heavy duty adhesive. I adjusted the plans a little to accommodate my space. Thanks for the plans! It was a fun build!
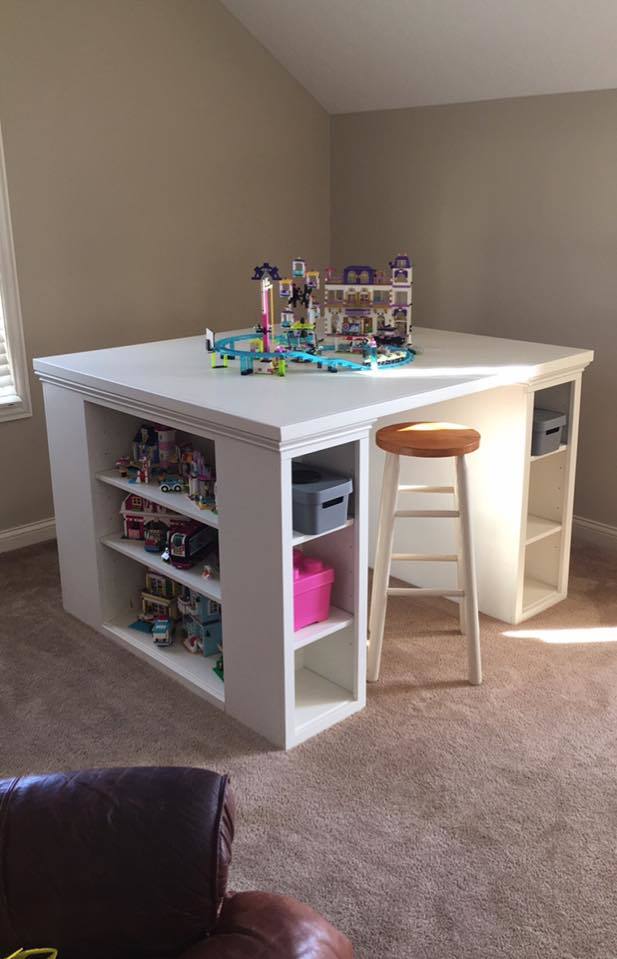
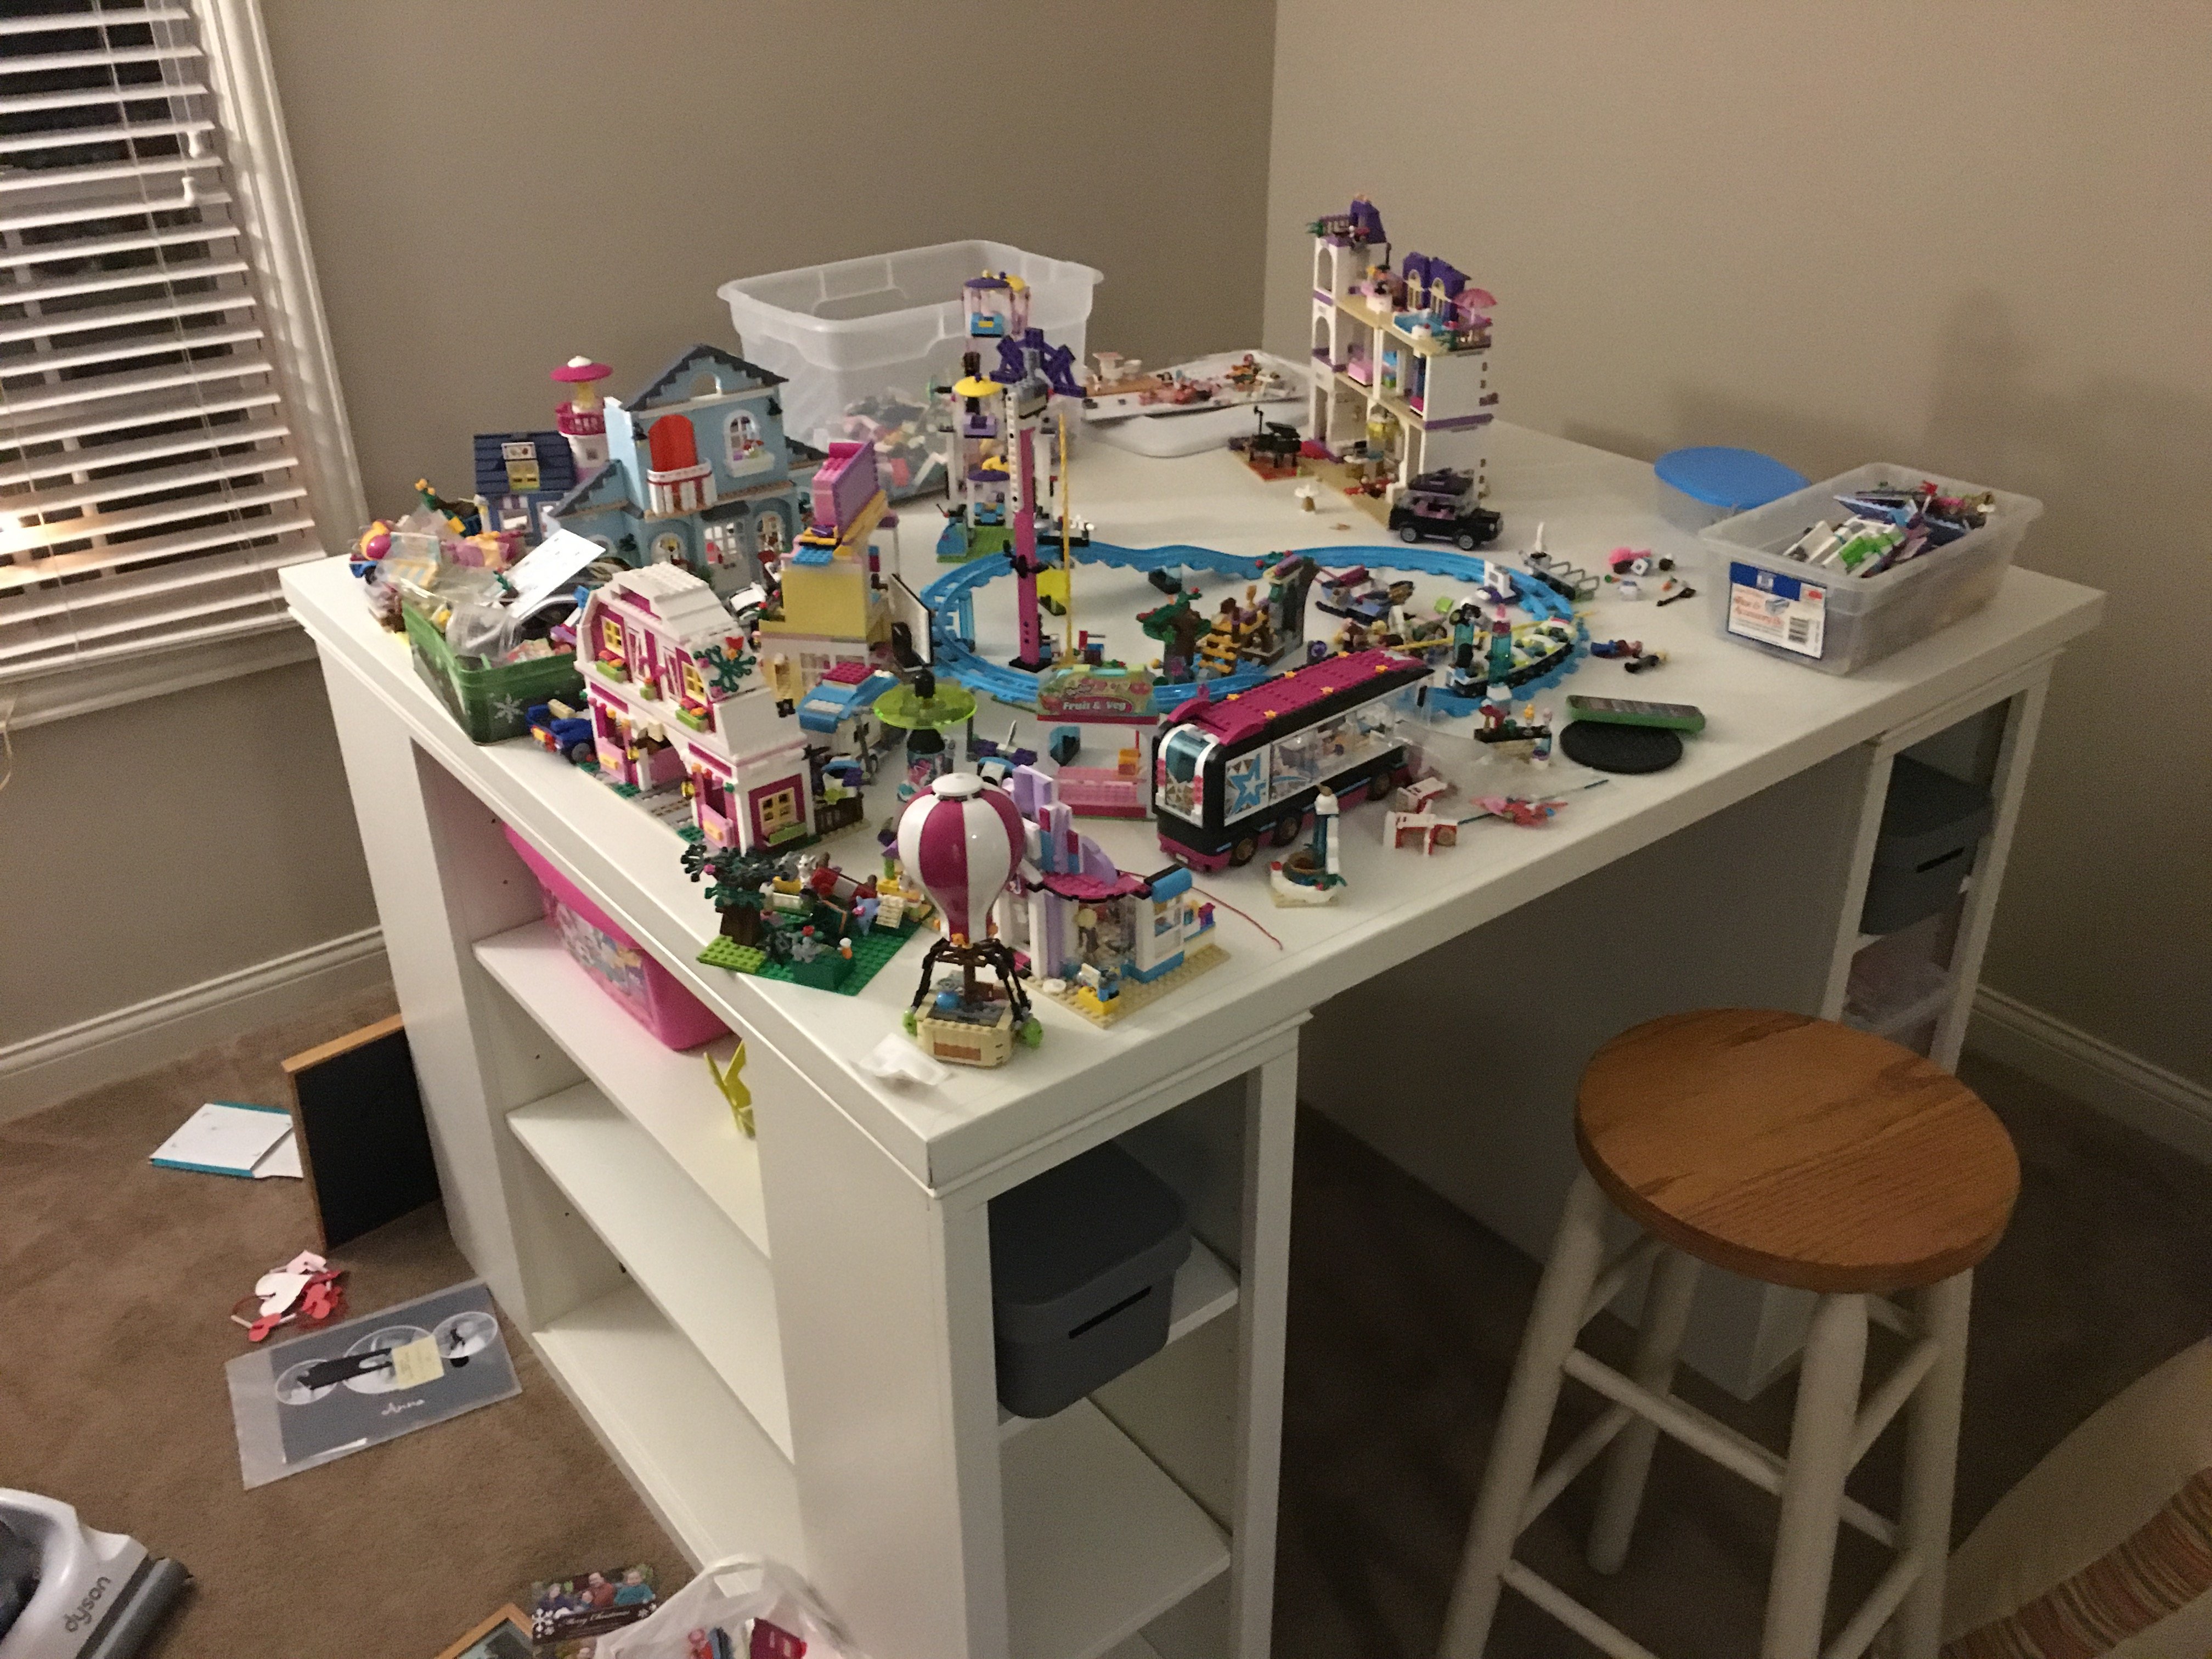
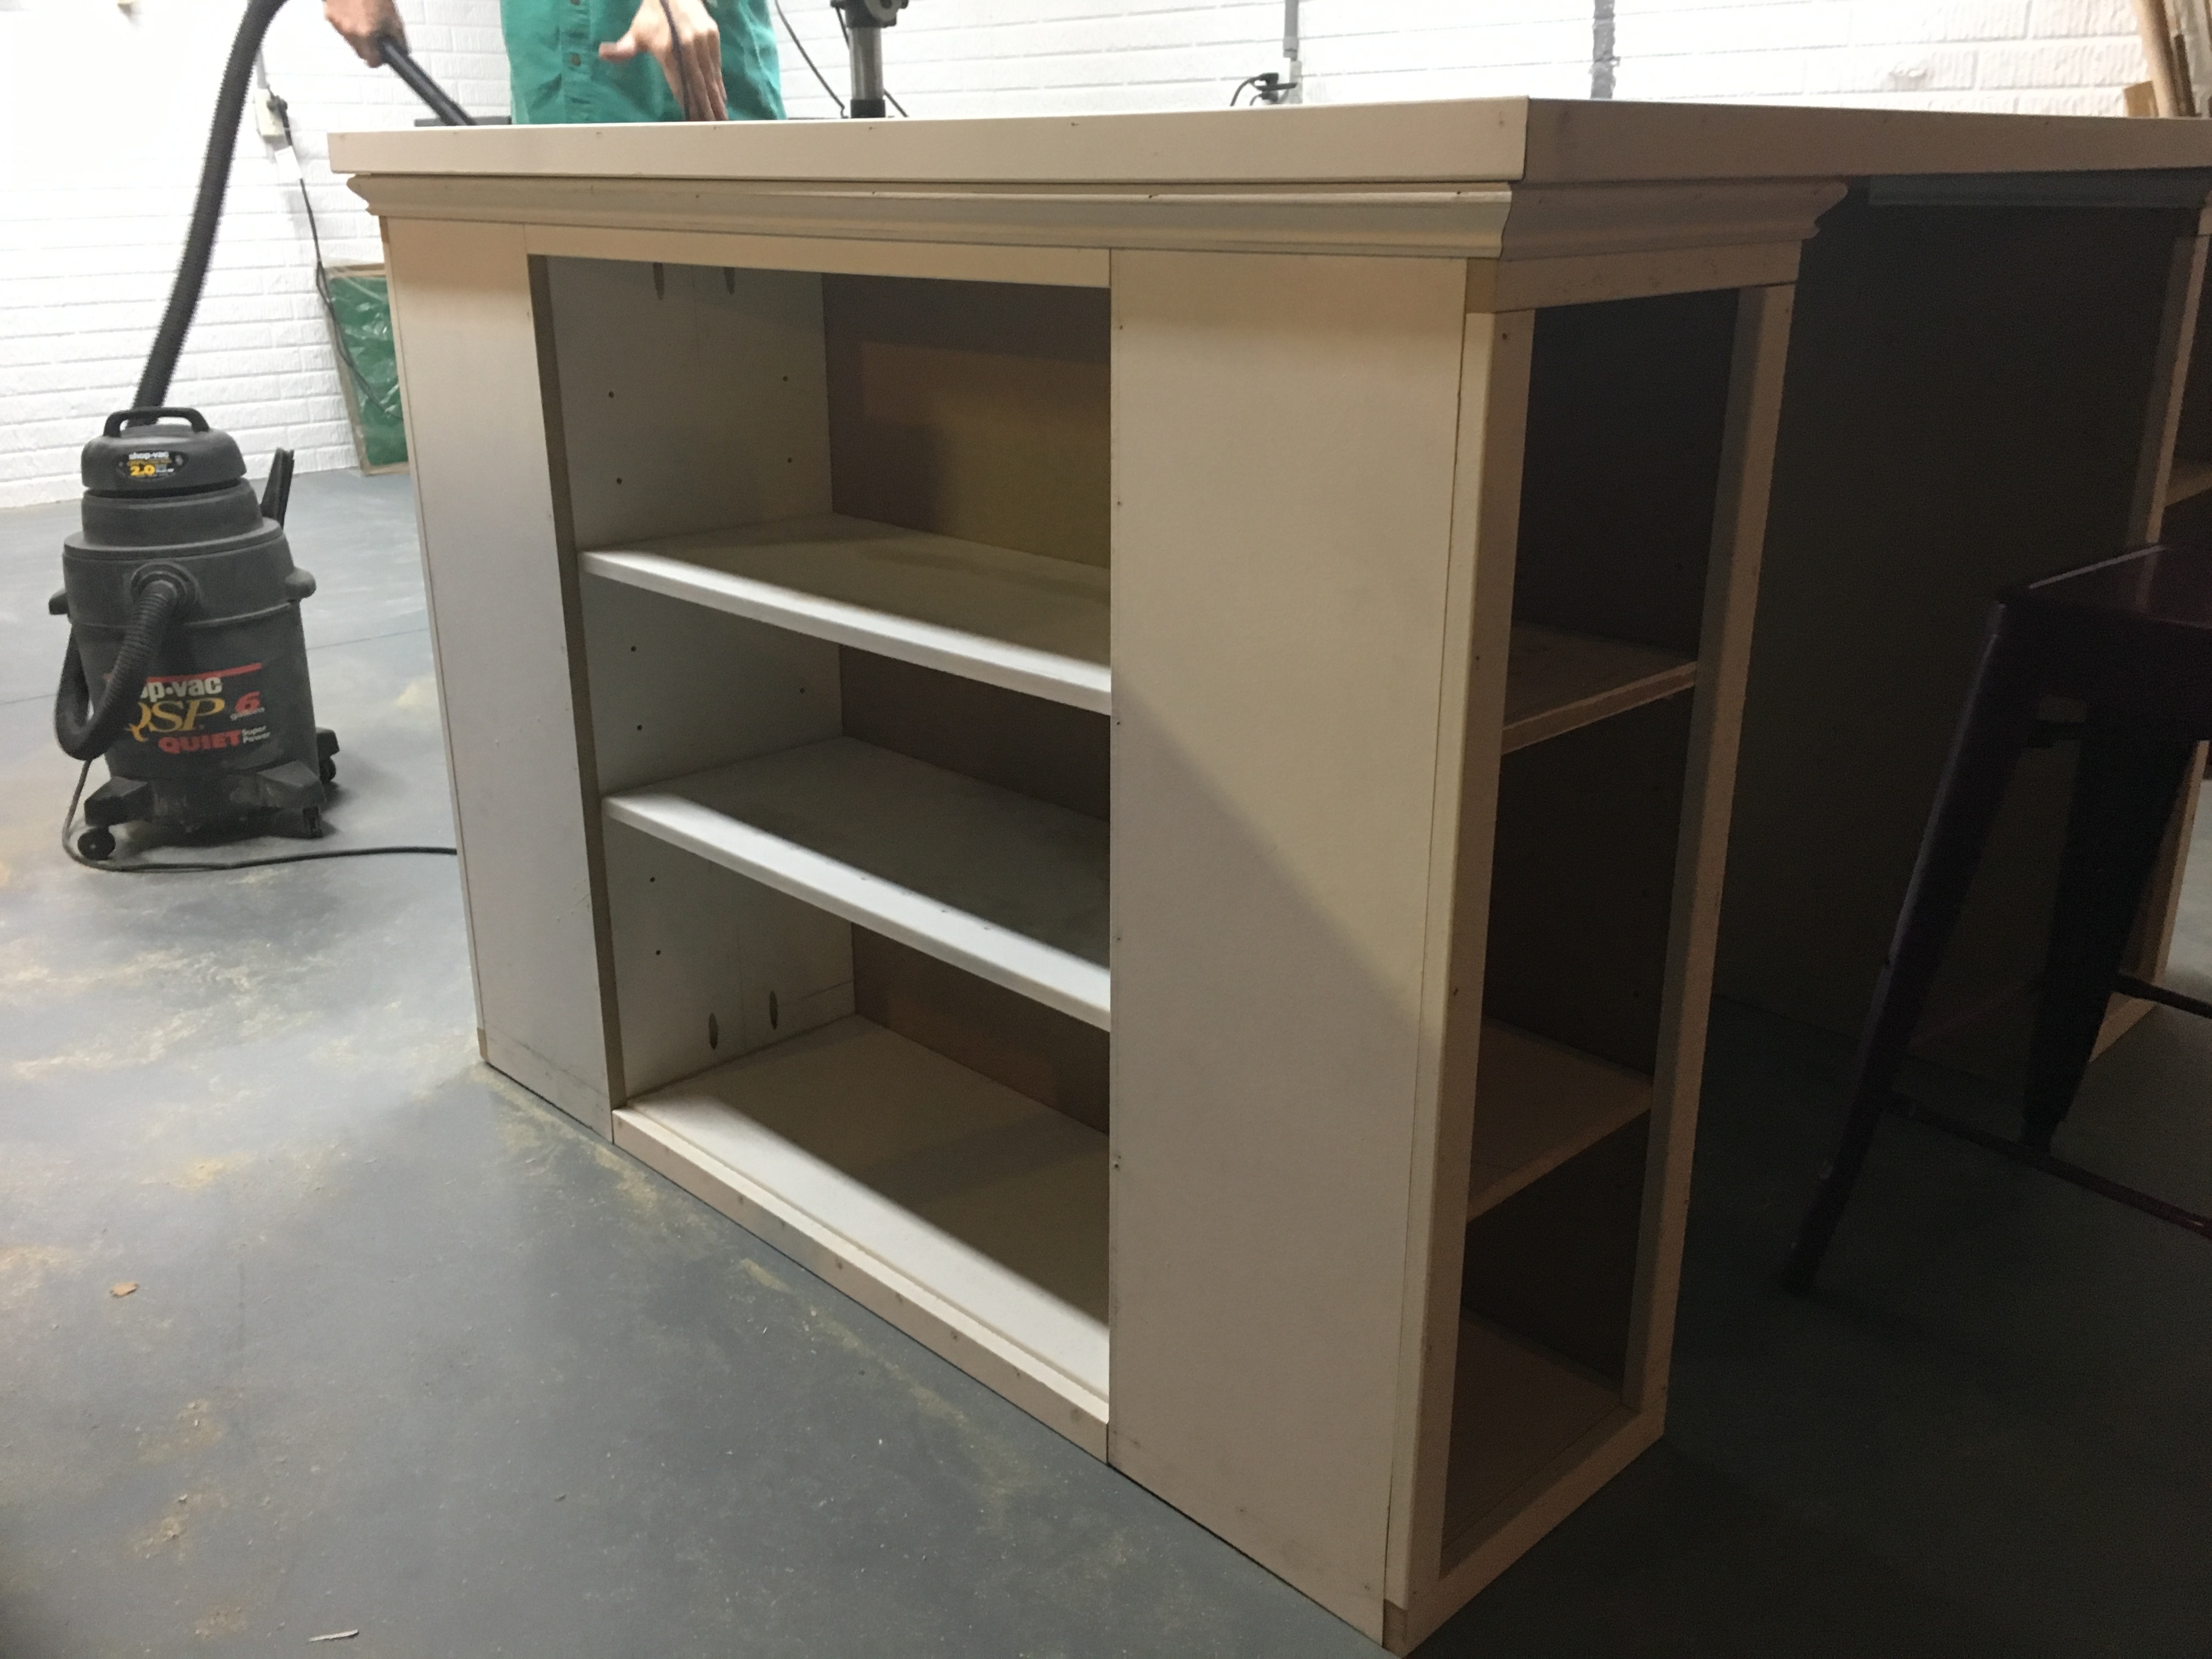
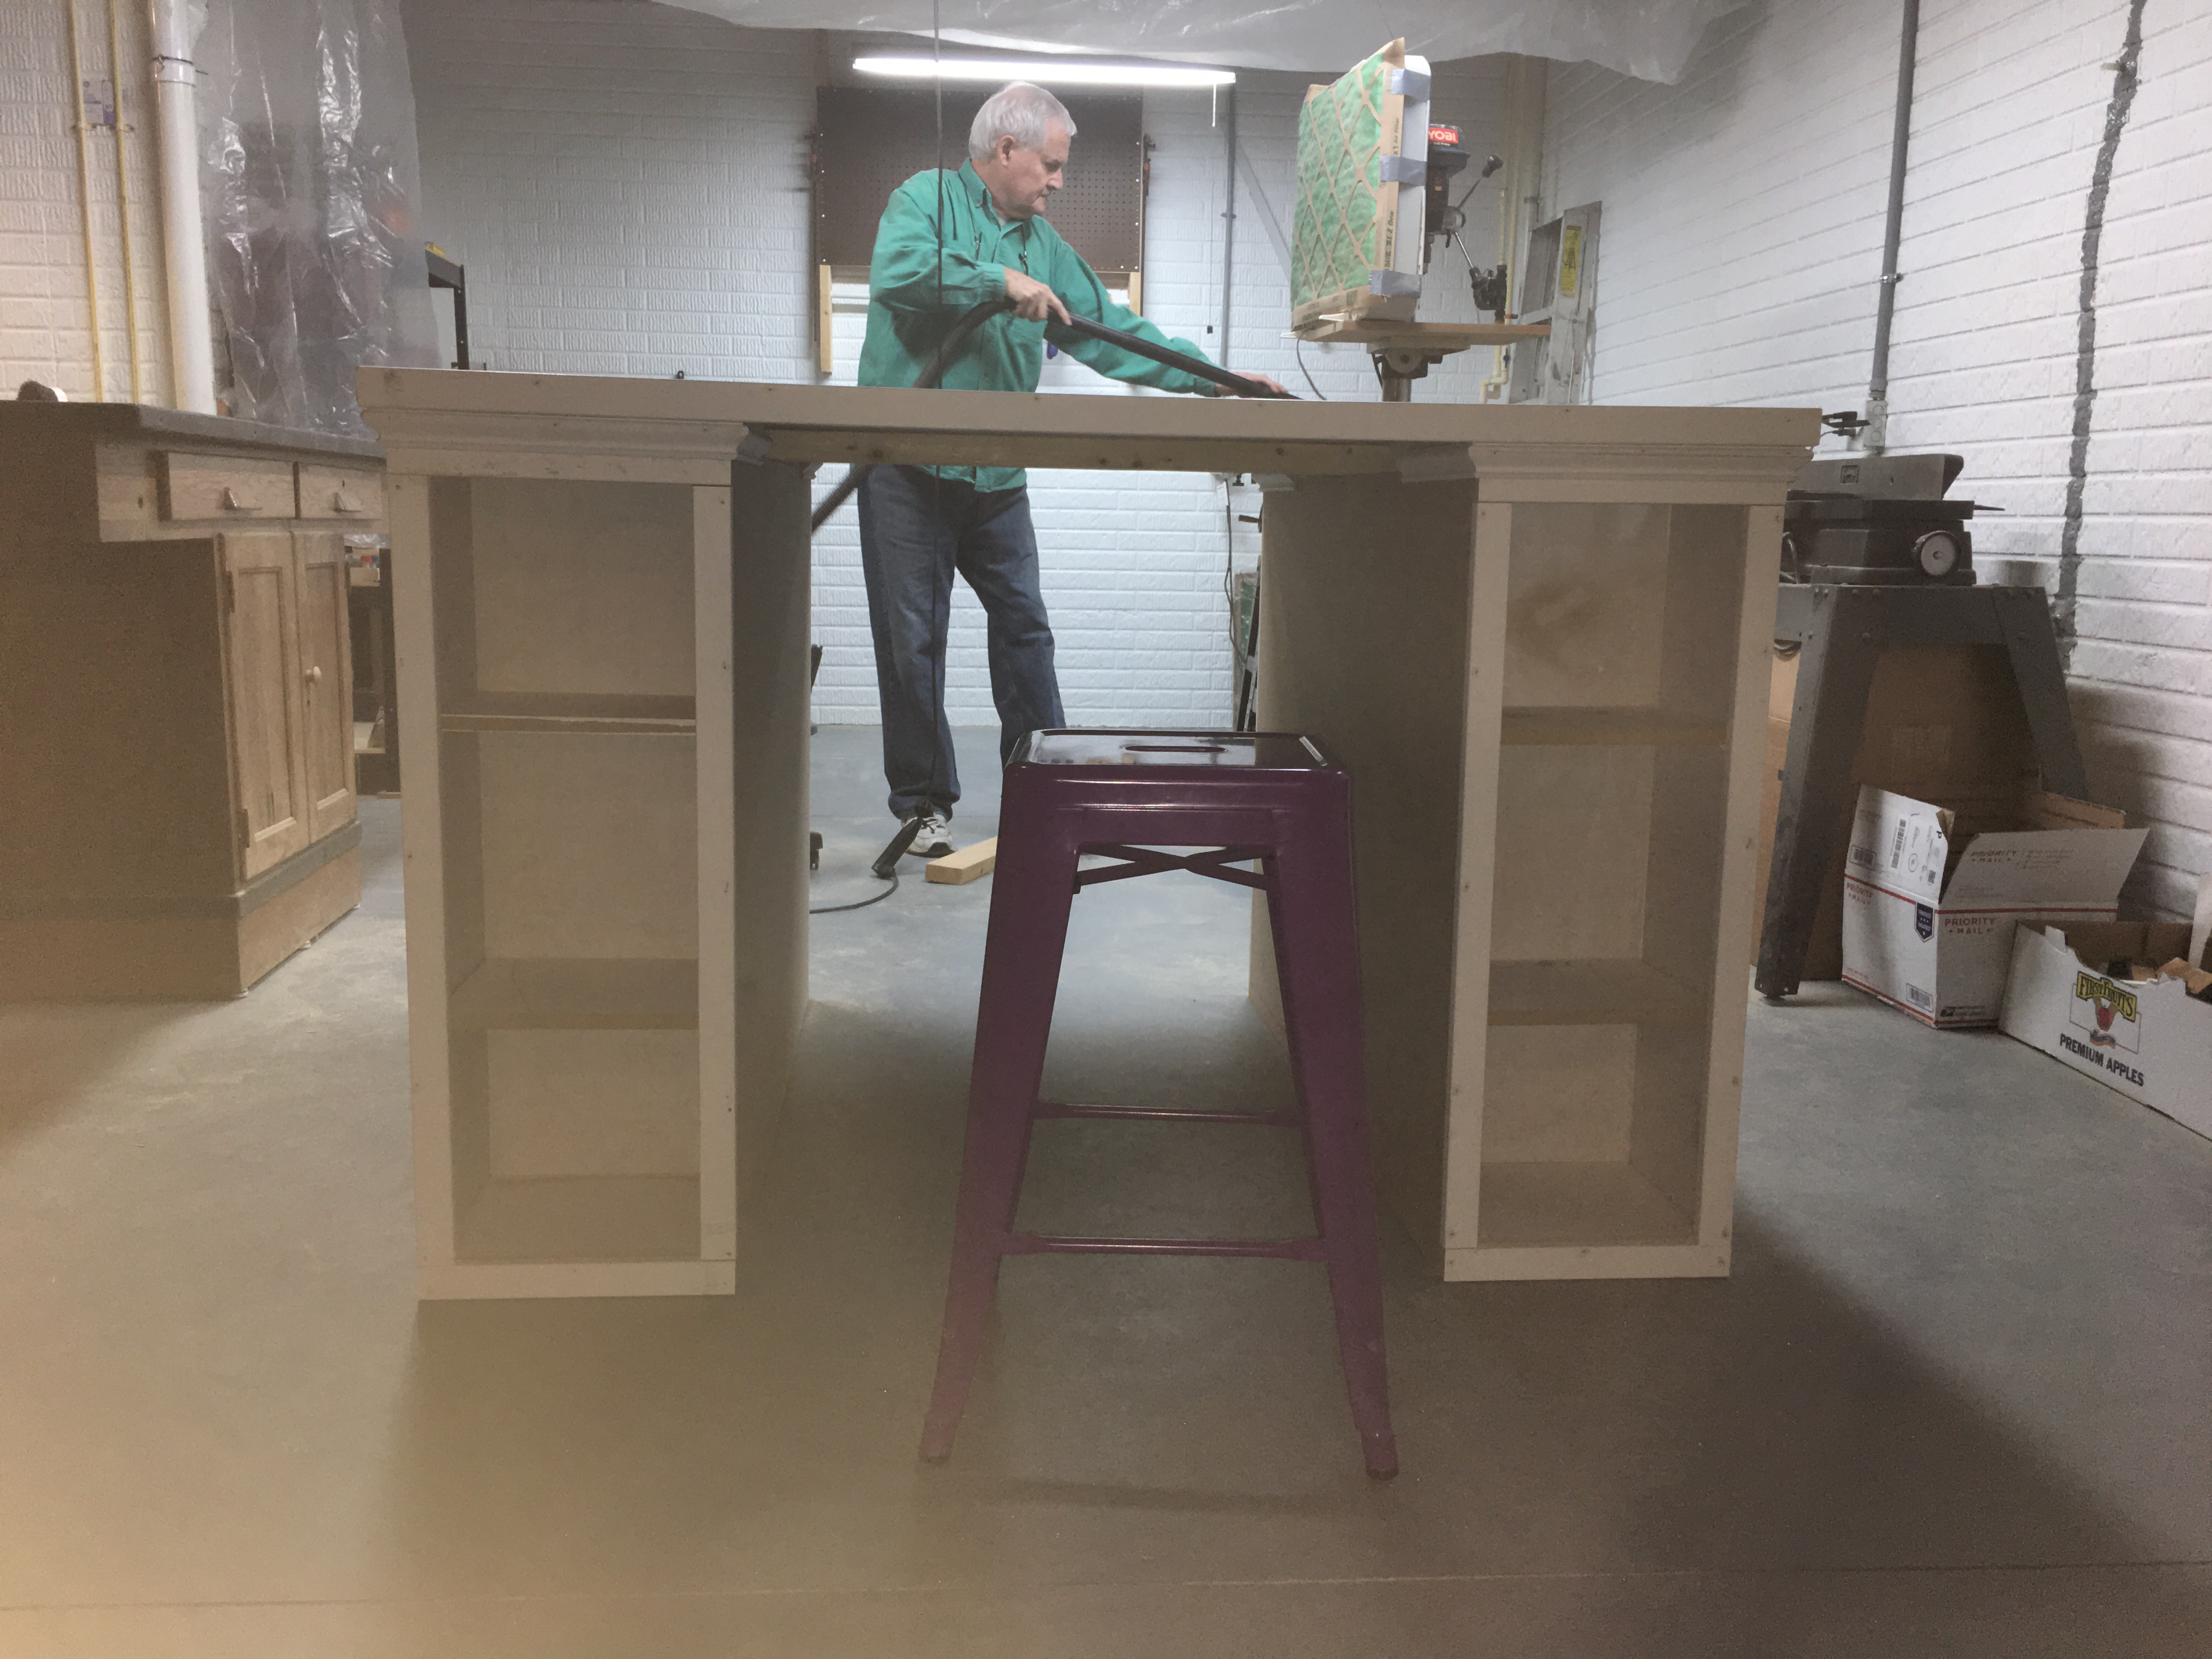
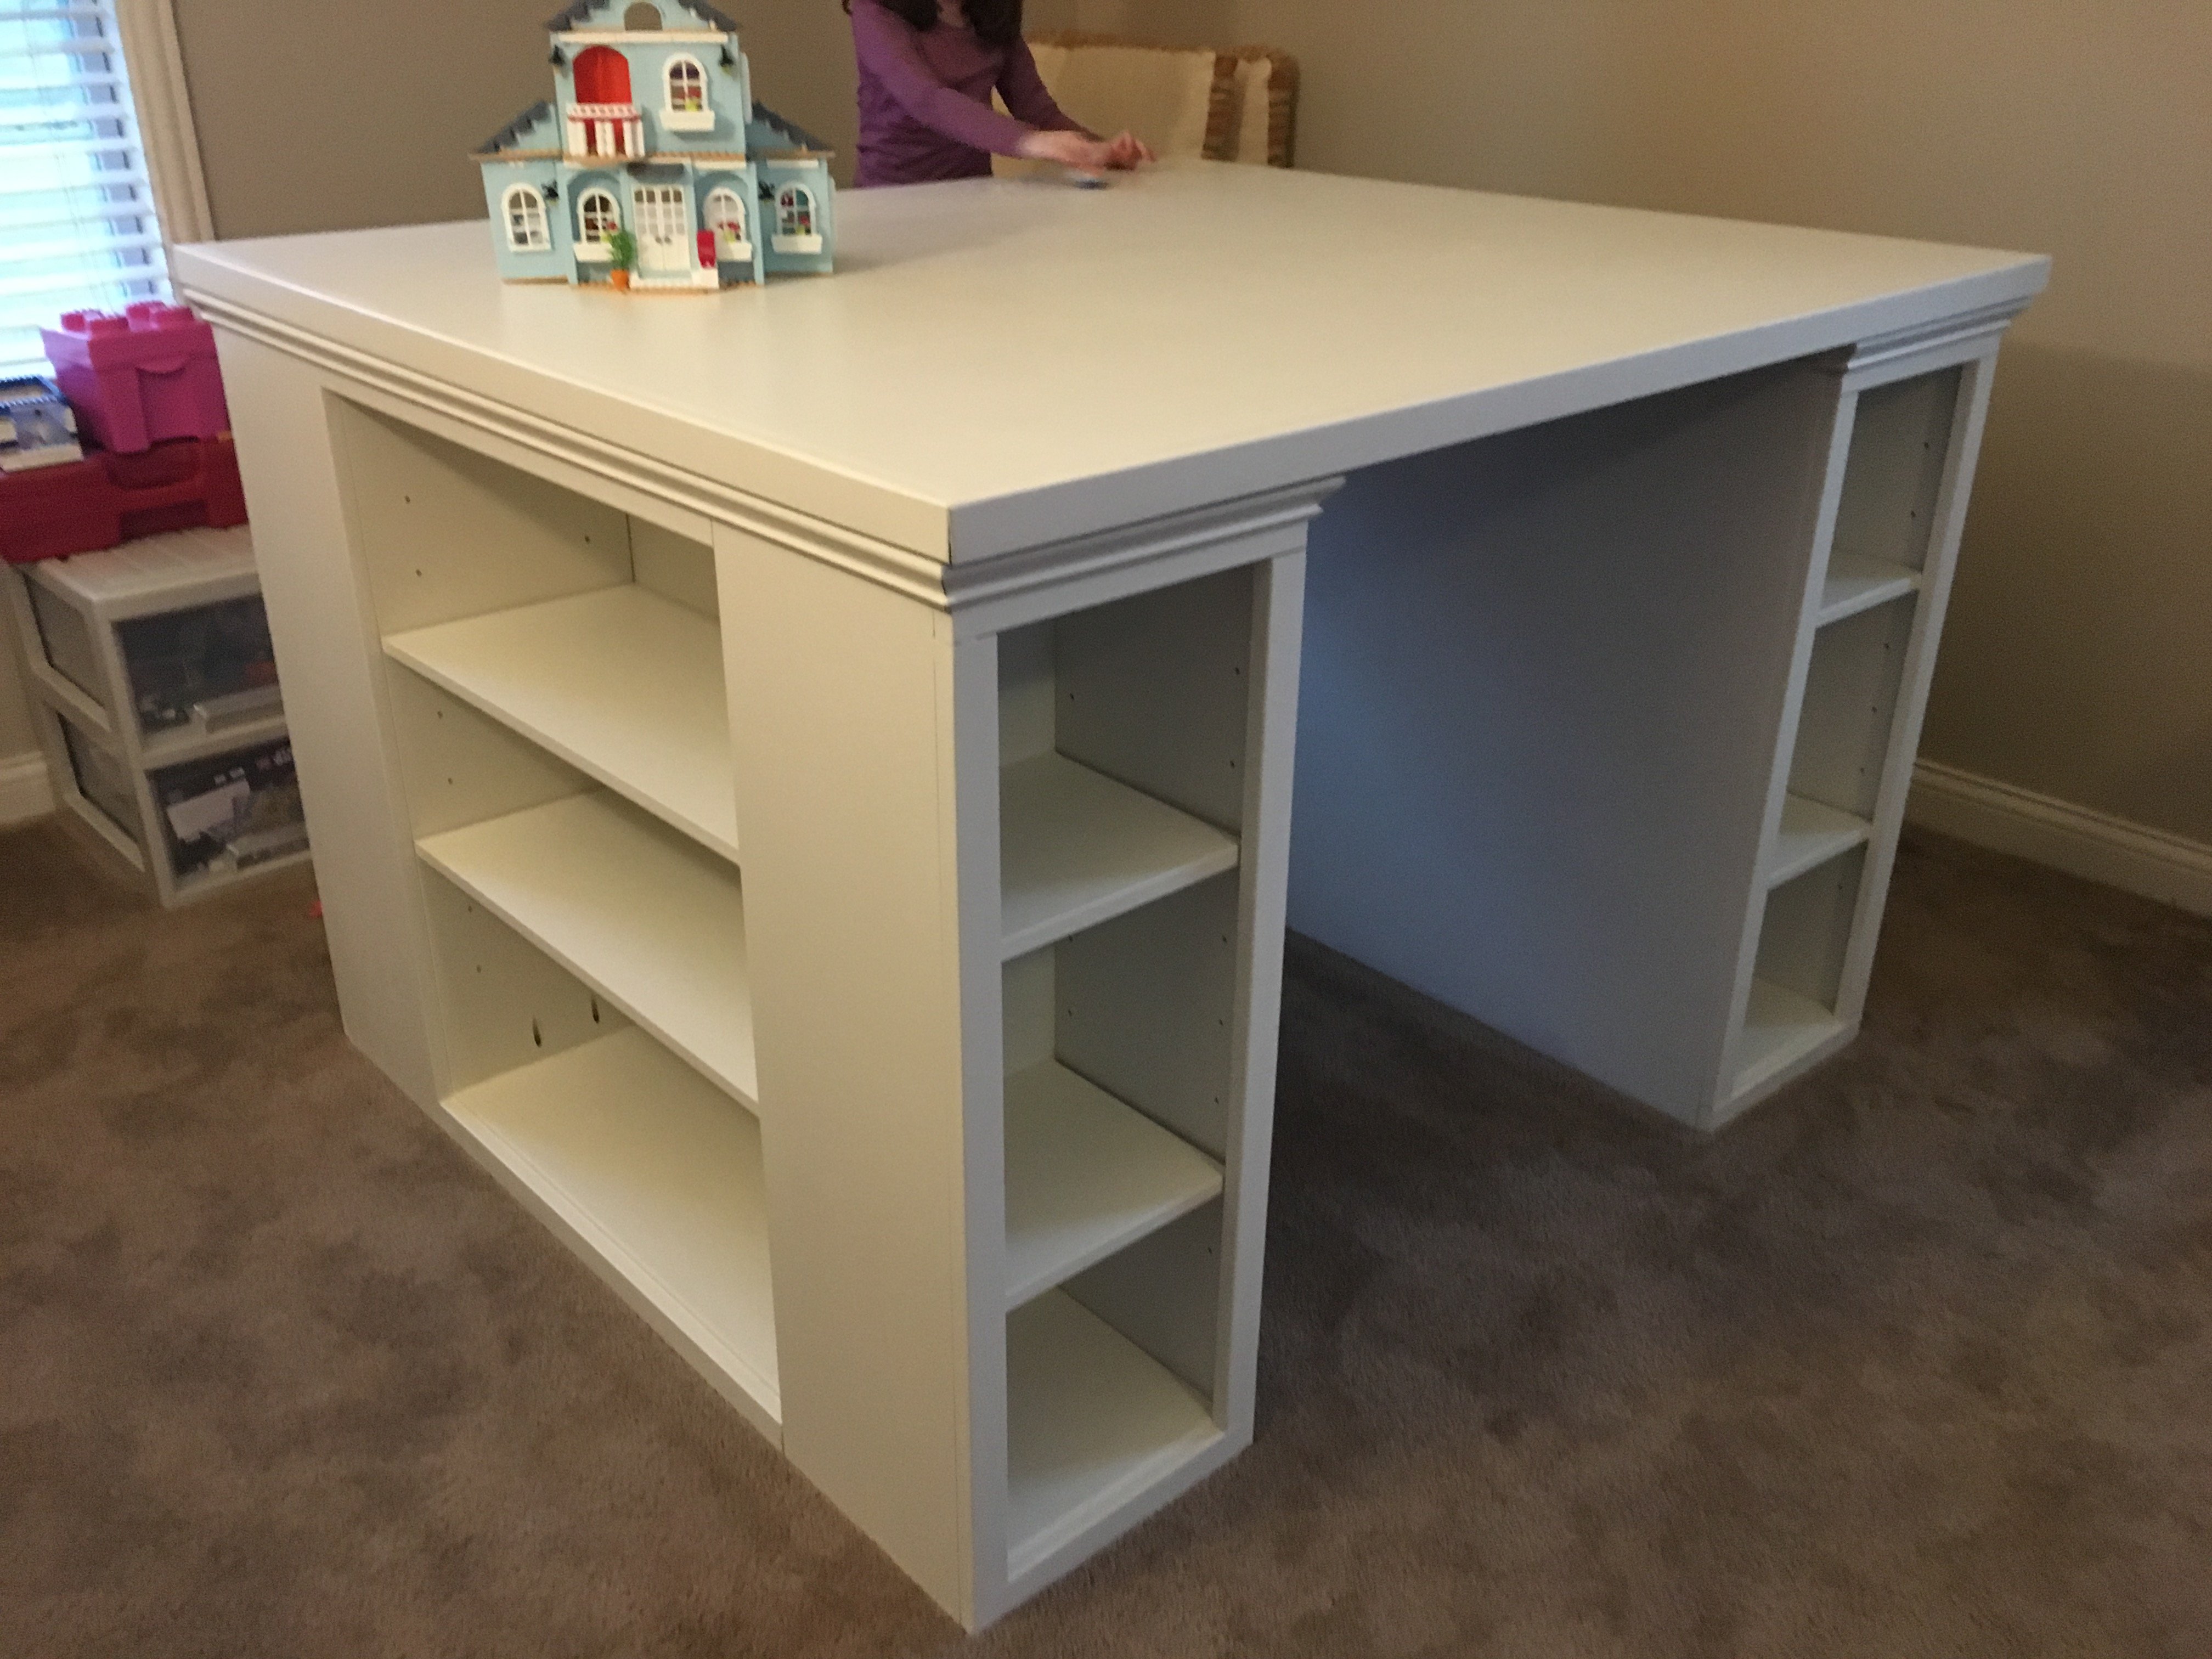
This is my more traditional take on the modern craft table (I guess that means it isn't technically "modern"!). We call it the "Lego Table" at our house. I doubled up the ends like others have so that my two daughters can have their own sides. My wife asked that the there be backs on the side shelves so that items aren't pushed off. I also added trim around the tabletop and molding to give it a bit more traditional appearance. Finally, I made the shelves adjustable.
My first Ana-White plan project. We are pleased with the plans and result. only made a few minor changes.


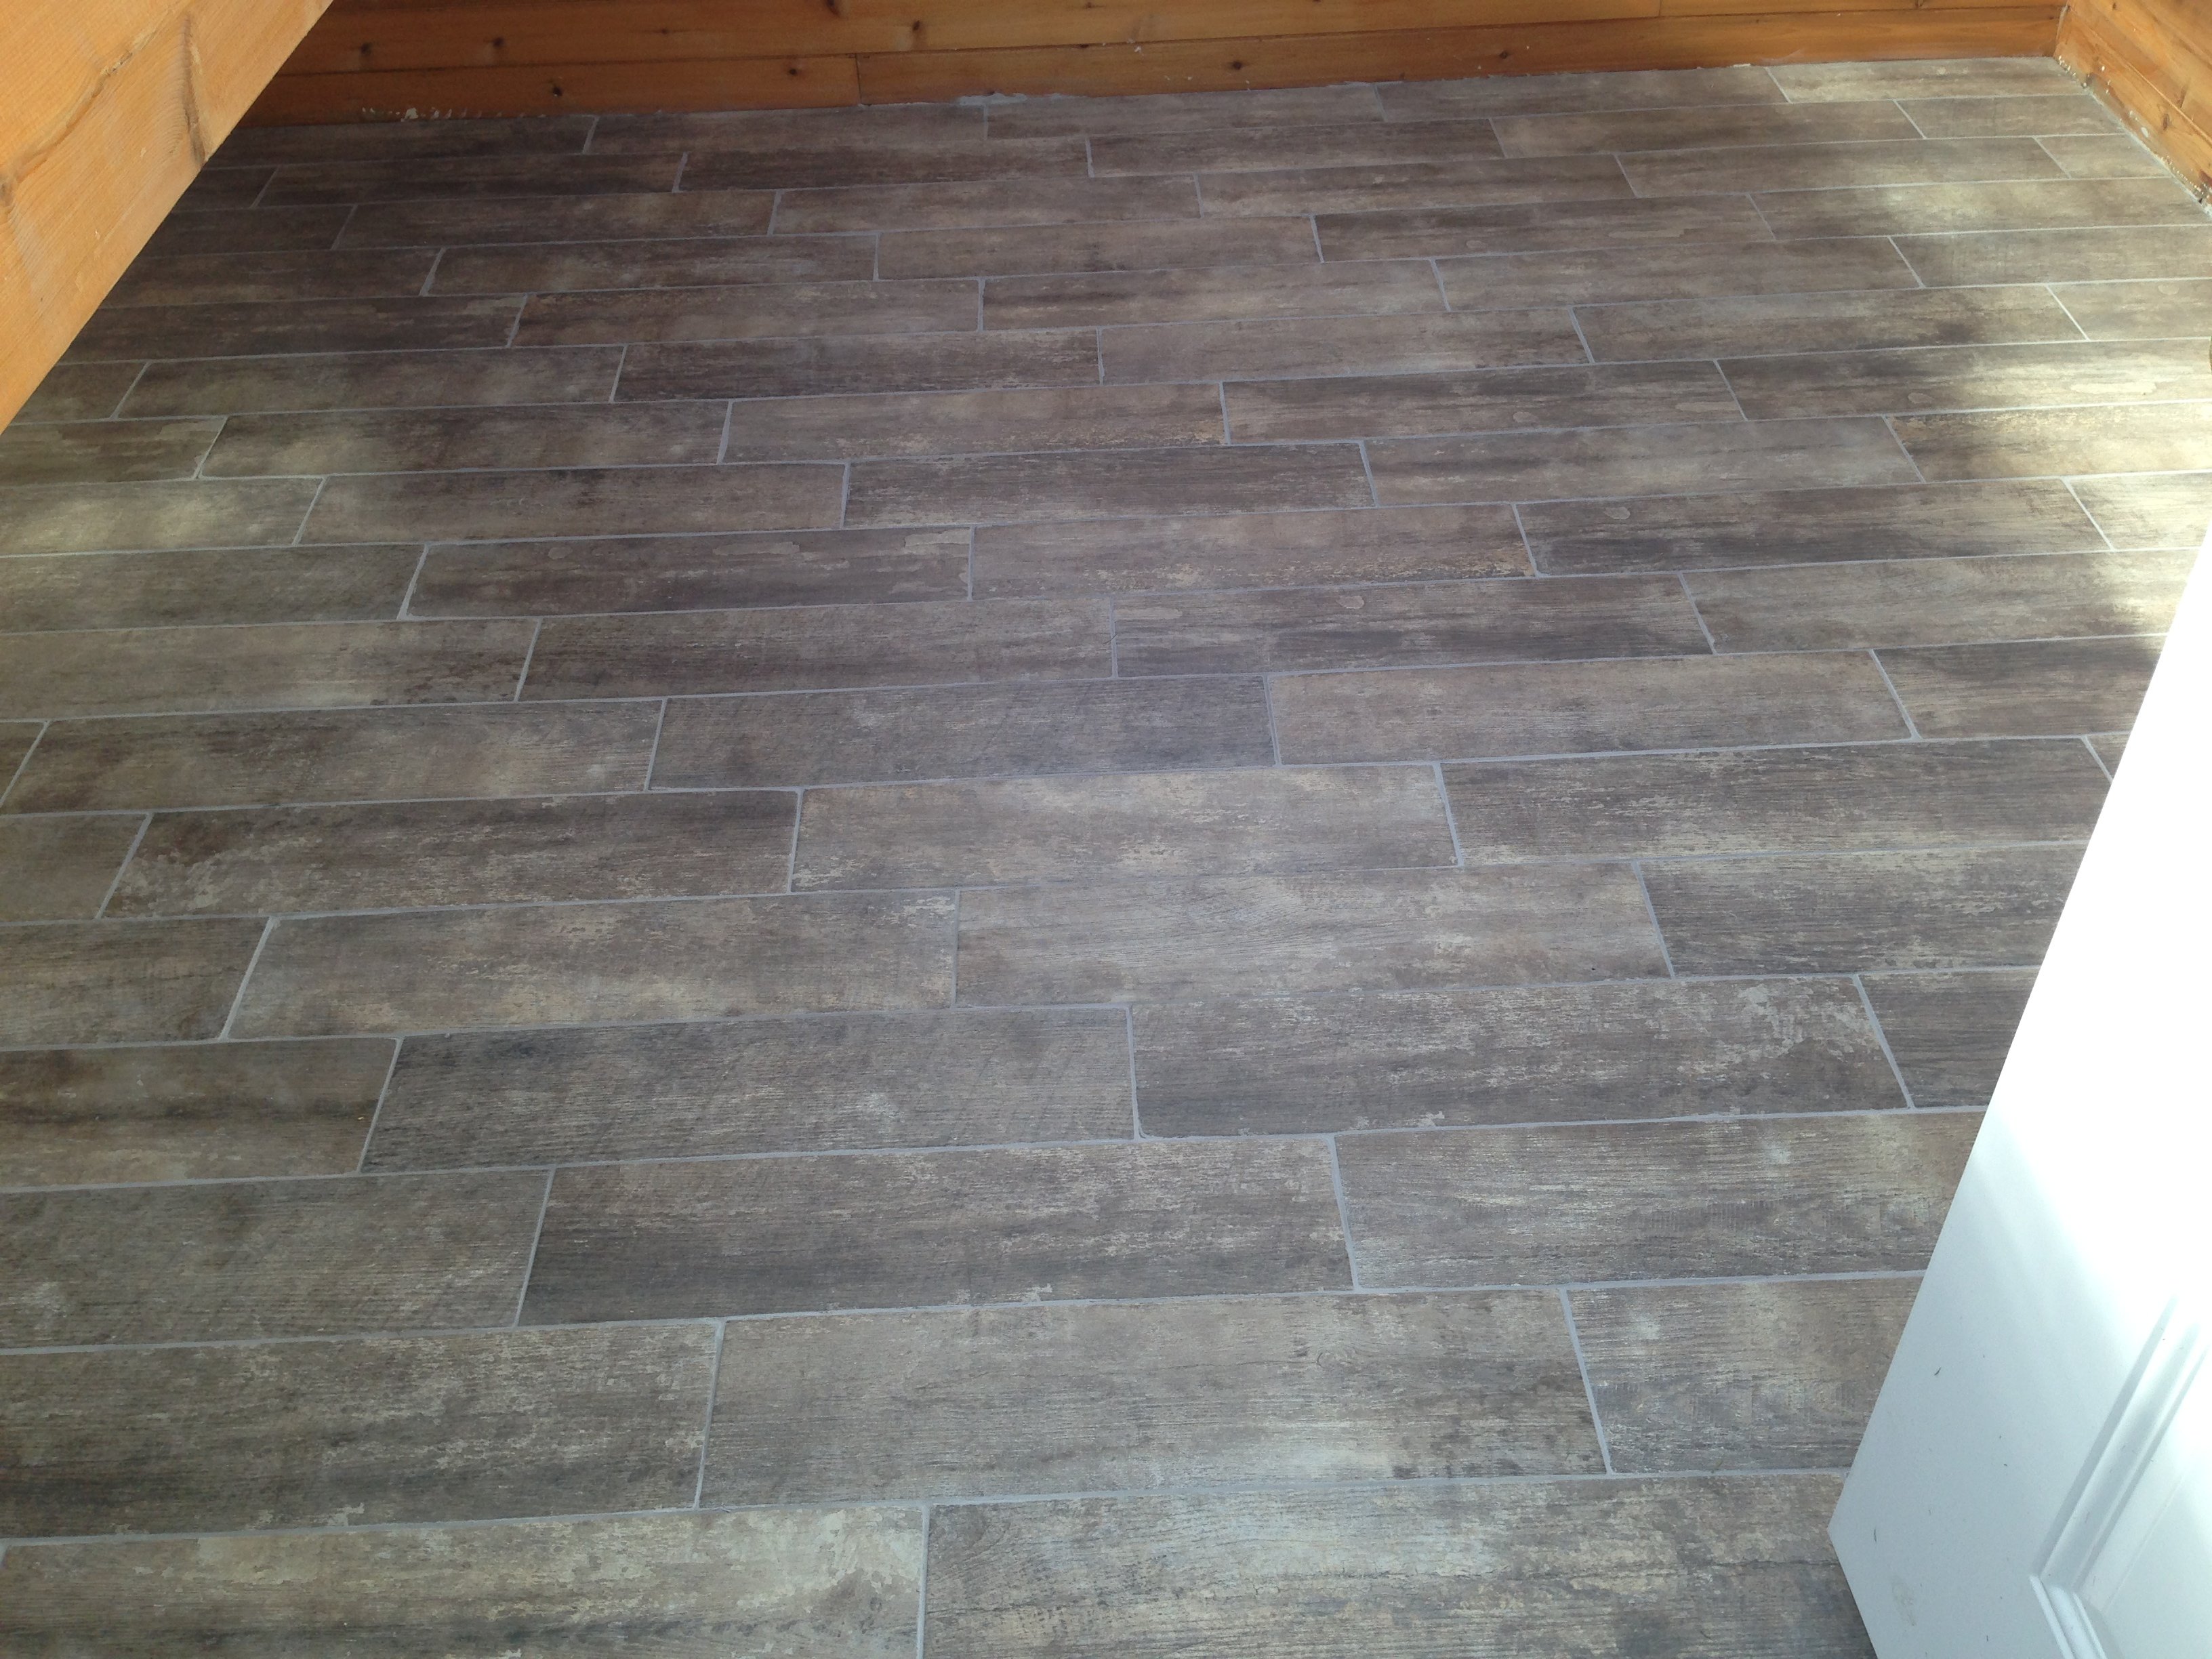
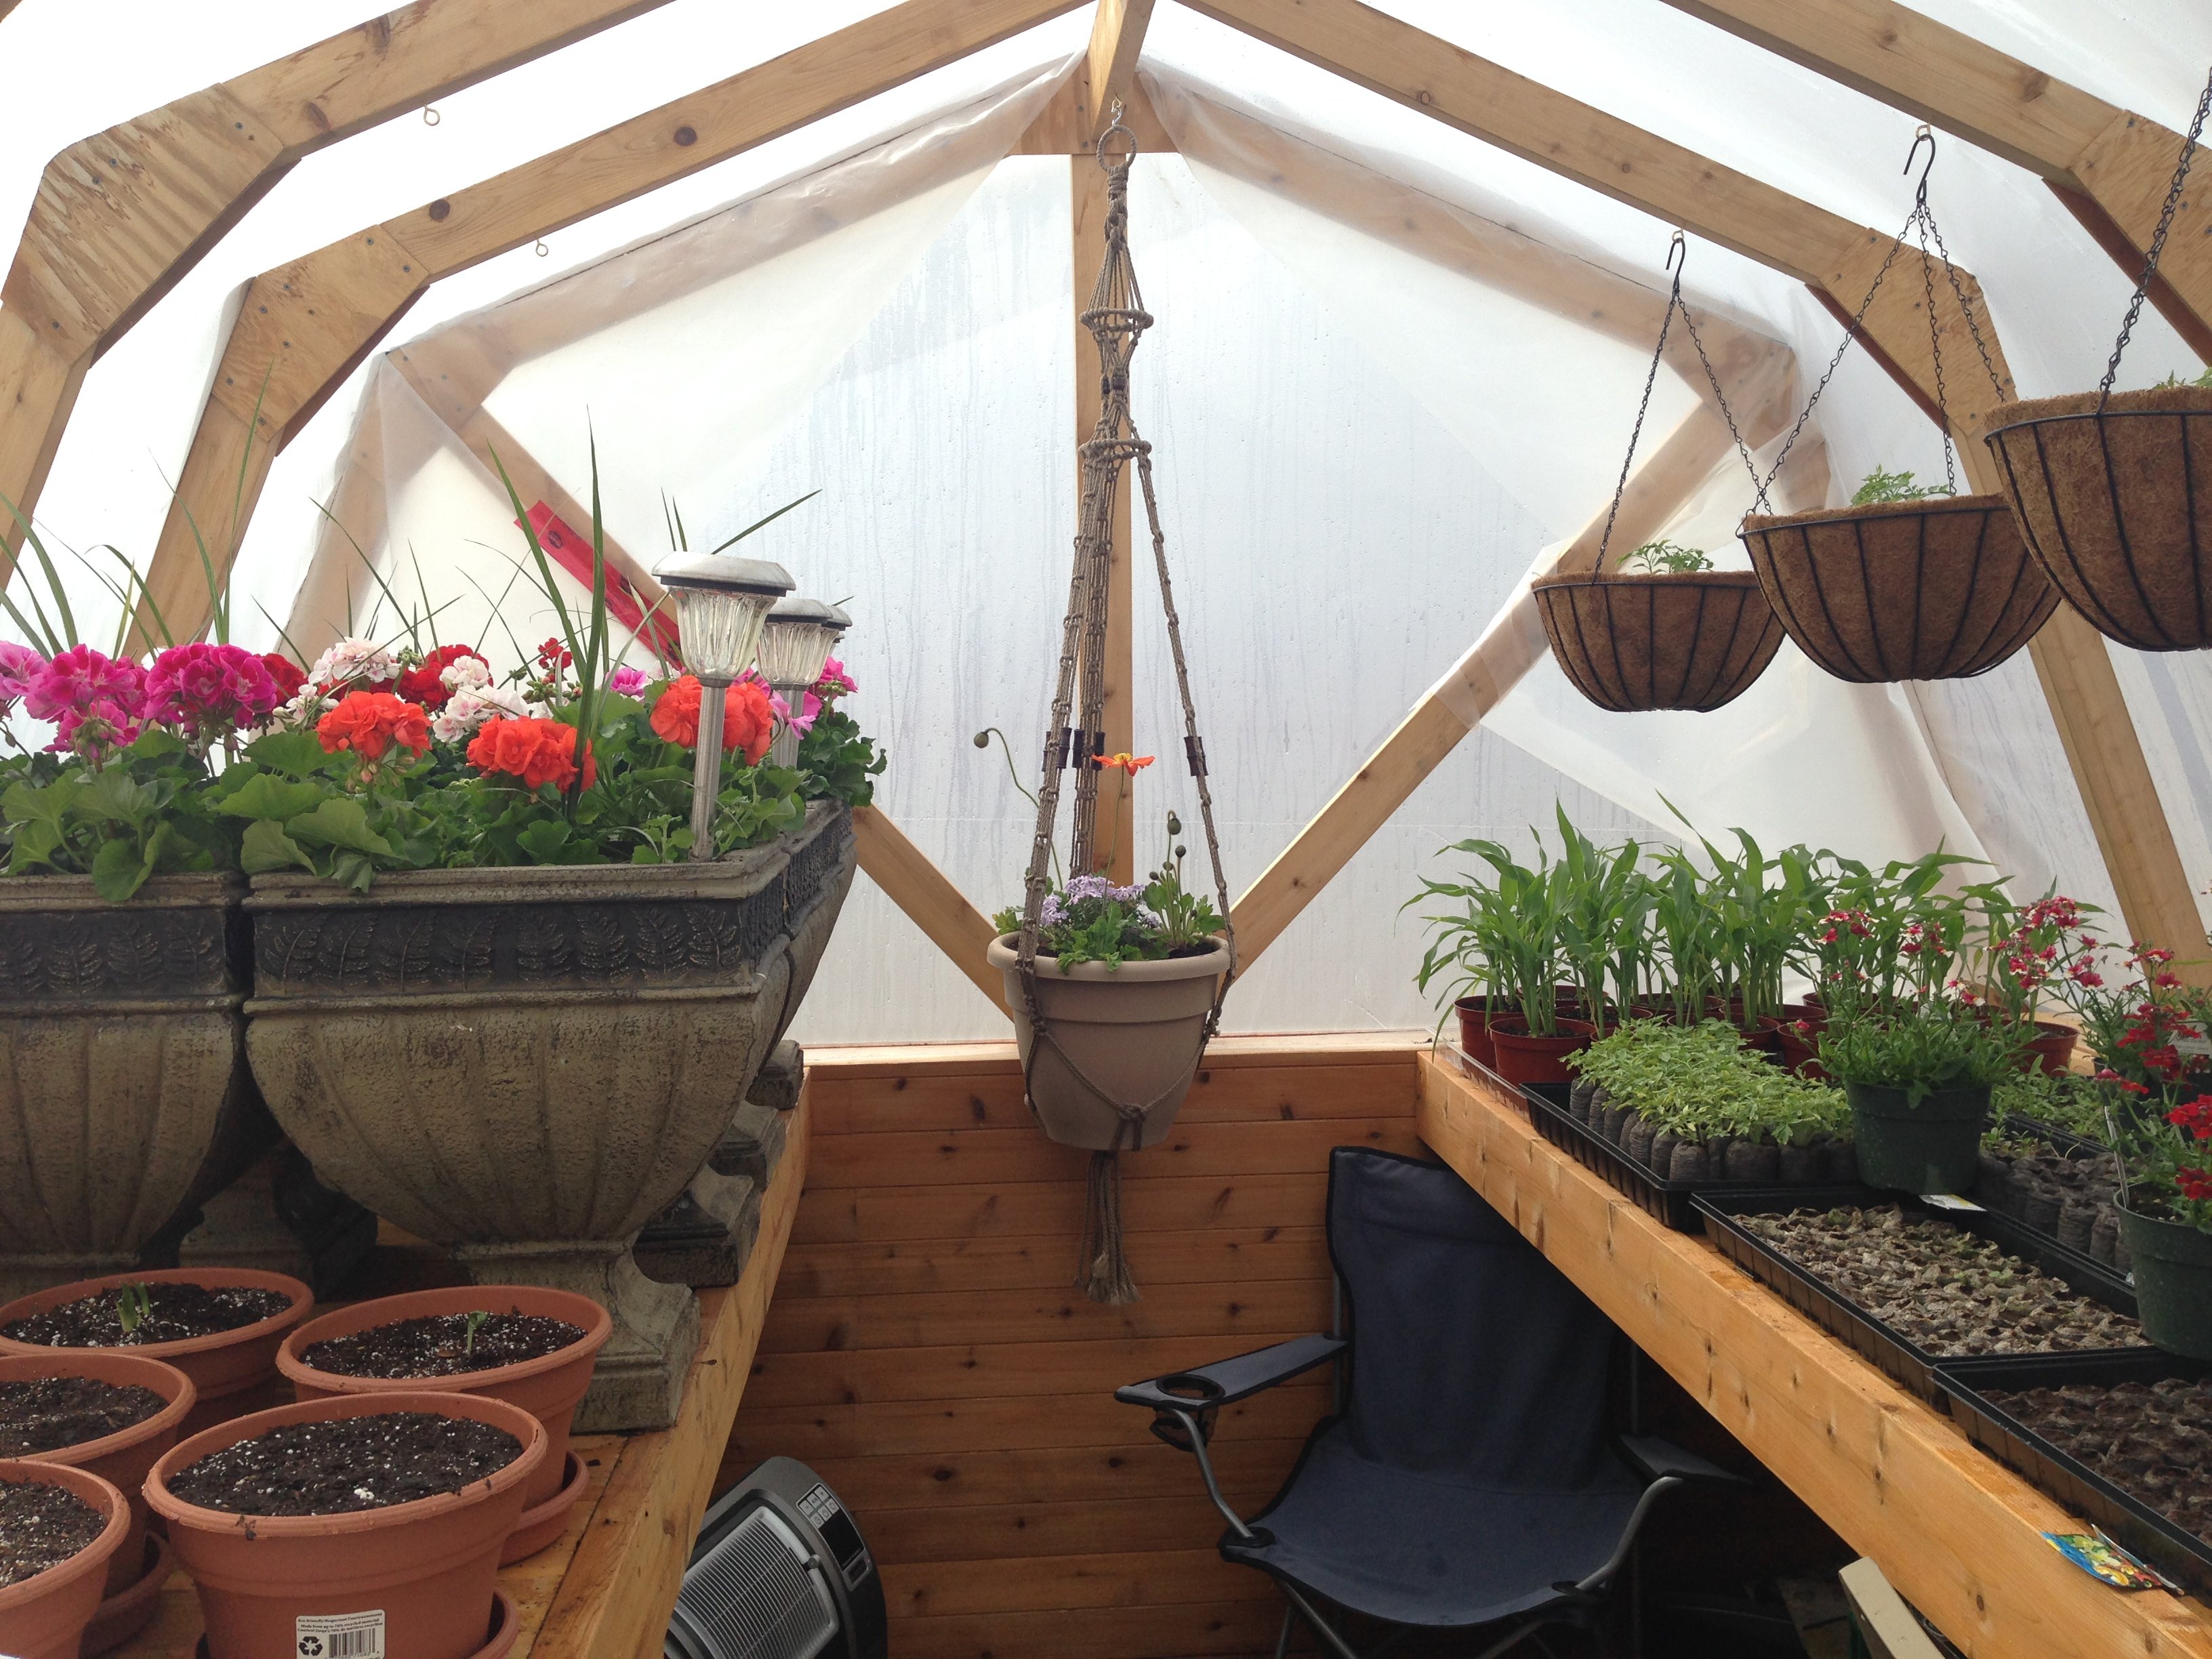
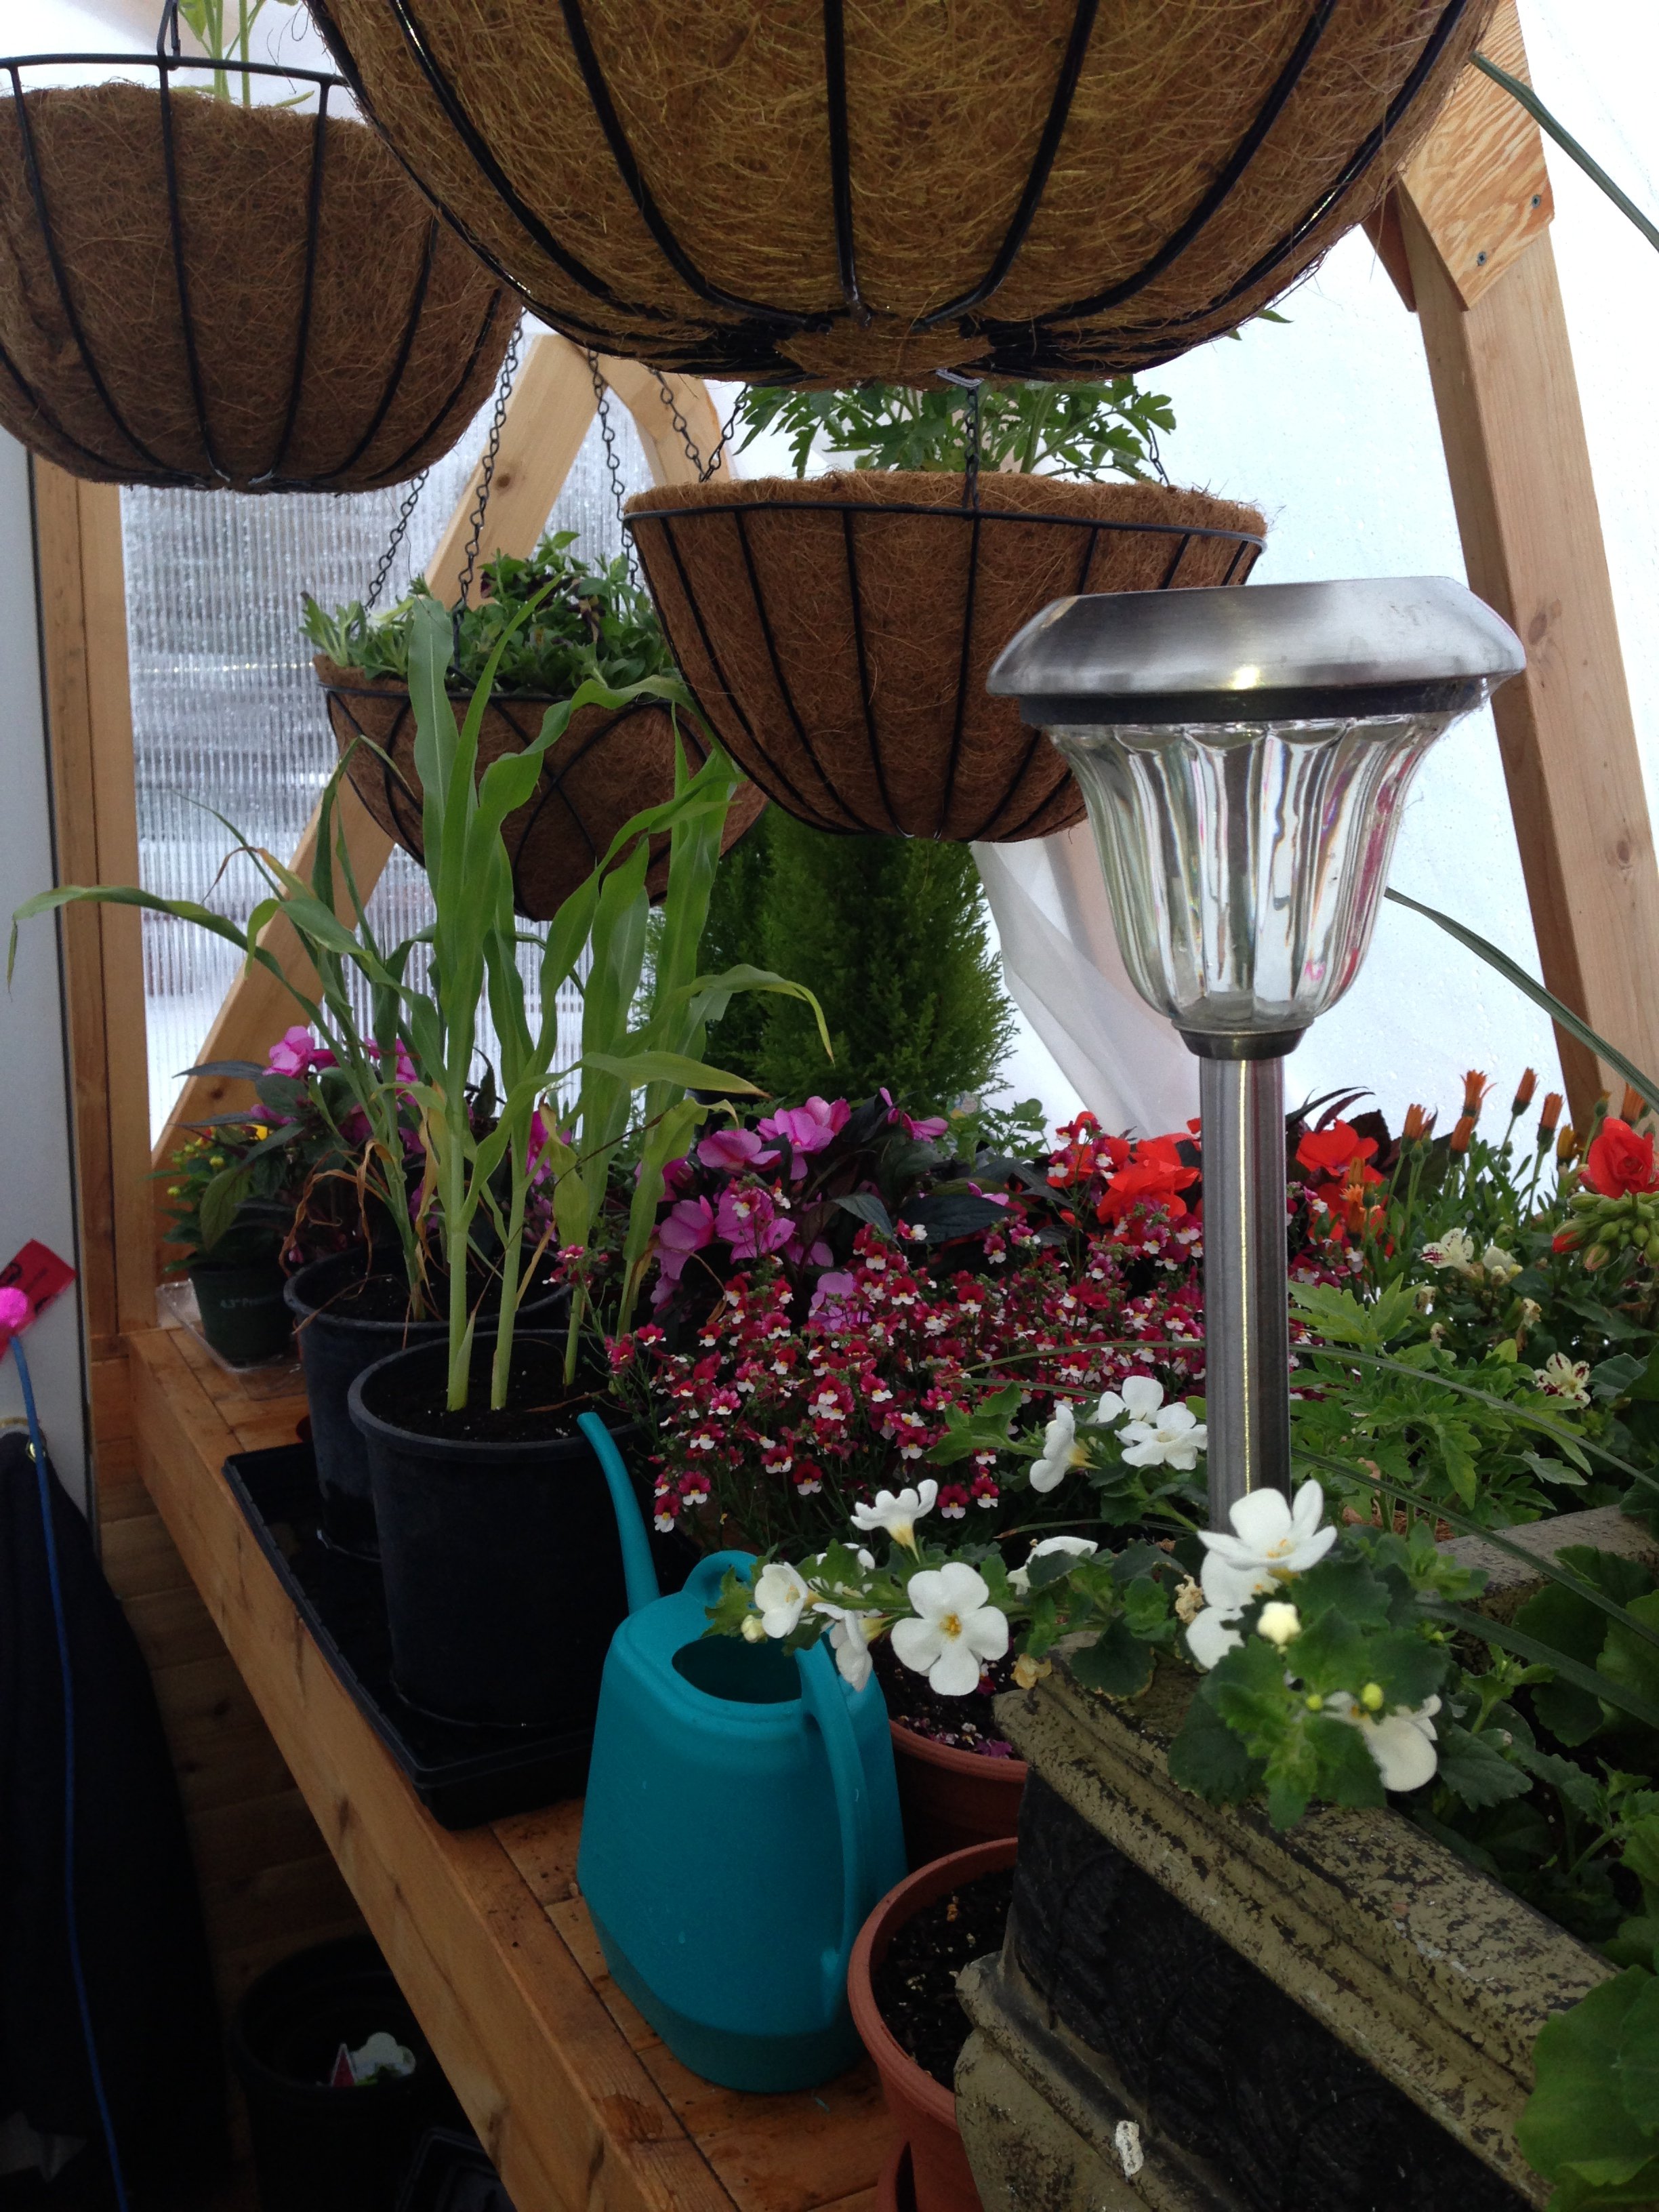
I found your plans last summer and loved the design so I decided to build one for my wife for her birthday last August. I didn't get started until the weekend of her birthday in late August so there was little expectation to have it finished before winter. It is now 14 months later and I only have a few trim pieces left to install. We live in a harsh climate and I wanted to be able to use it through the winter so I made a few changes. I built a 2 x 12 base and insulated it with R40 and the bottom walls are 2 x 6 instead of 2 x 4 and are insulated with R20. I used twin wall polycarbonate instead of the corrugated lexan because of the superior R factor. The insulated walls are of course vapor barriered and I covered them with tongue & grove cedar. I also made raised benches out of cedar for growing potted plants on. The floor has ceramic tile on it and the exterior is colored metal. I also ran underground power to the building and installed a fluorescent grow light. Surprisingly a small 110 volt heater keeps the temperature above freezing even during our awesome -40 winter temperatures. If the daytime temperature is anywhere near or above freezing we have to keep the screen open in the door or it overheats inside. I have attached links to a few pictures of the almost finished product, ready for another winter full of flowers and veggies. I initially used clear vapor barrier until the twin wall polycarbonate showed up. This worked rather well.
I have posted this in the comments section as well, but I think it belongs here.


Sat, 03/21/2020 - 09:42
Love your ideas! I have a few questions if you don't mind. Where did you buy the polycarbonate sheets, and what sizes were available? Did you end up changing the plan a bit to accommodate the vertical sheets? Did you seal top and bottom with foil tape and dust tape respectively or poly flashing?
Any help or advice would be appreciated very much.
JB
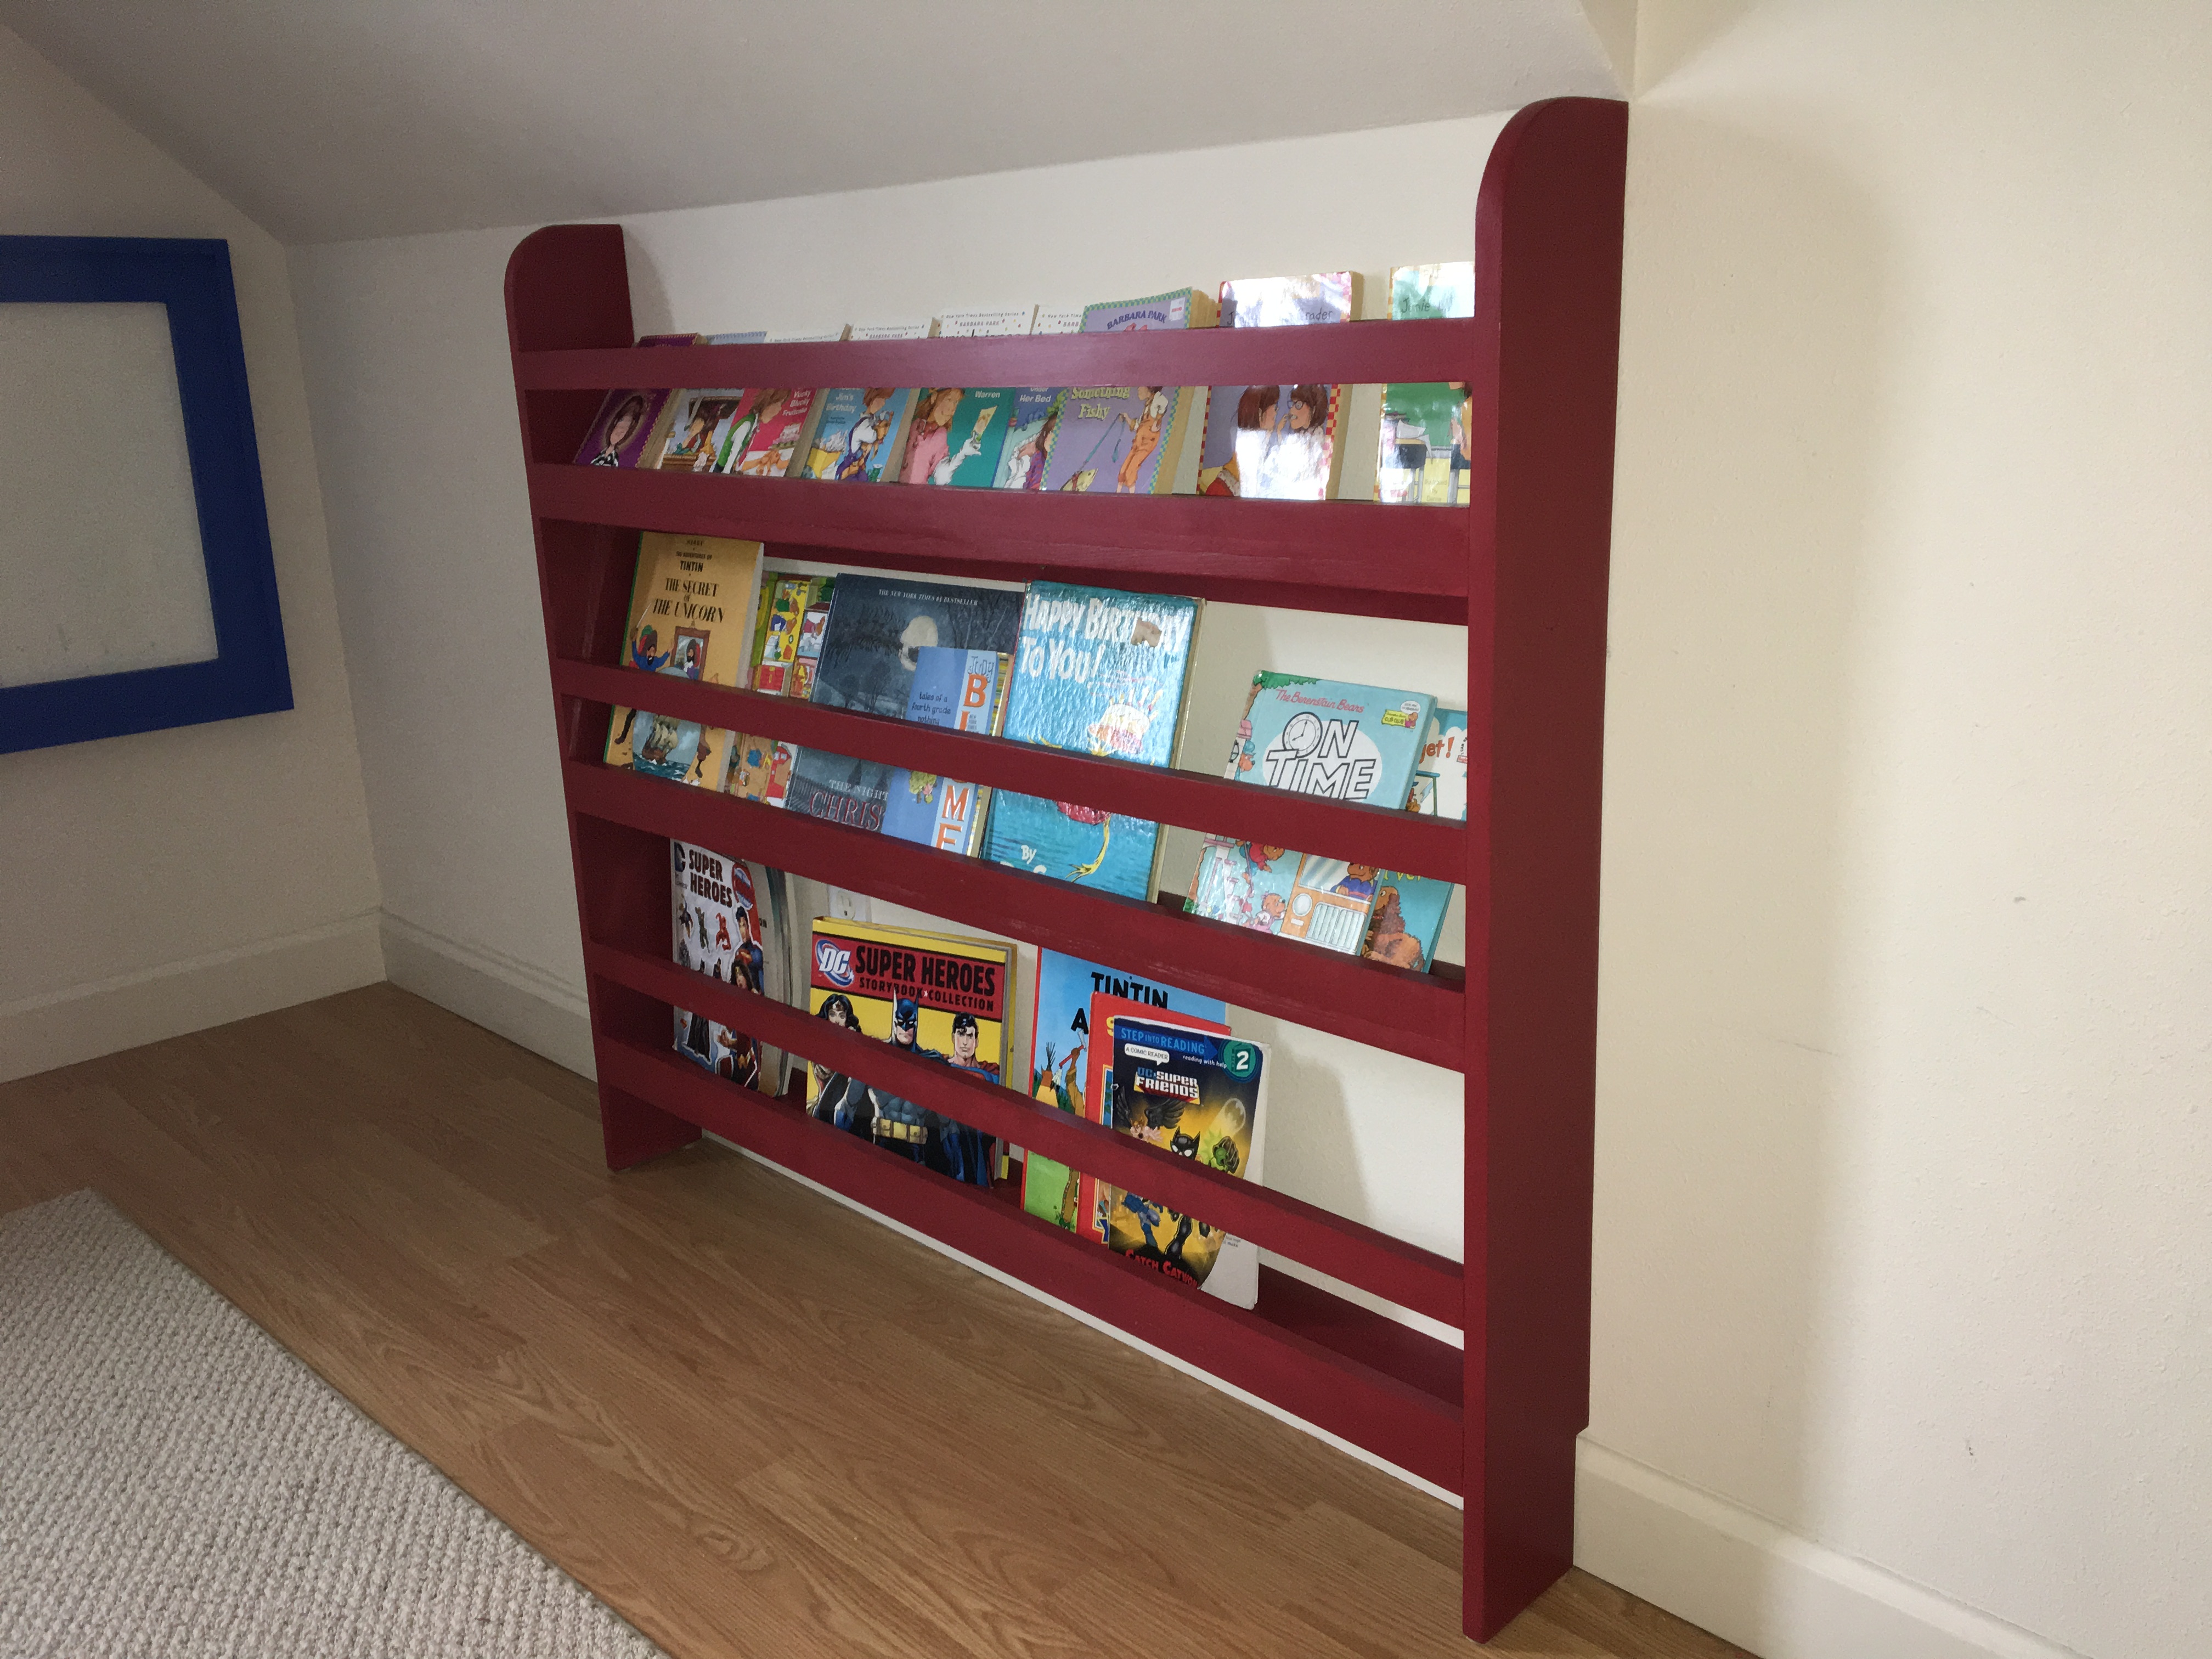
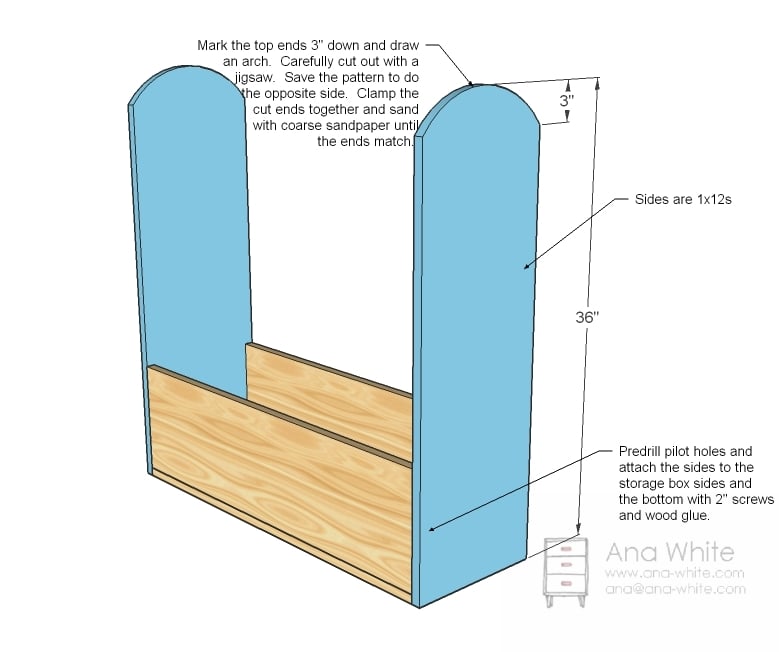
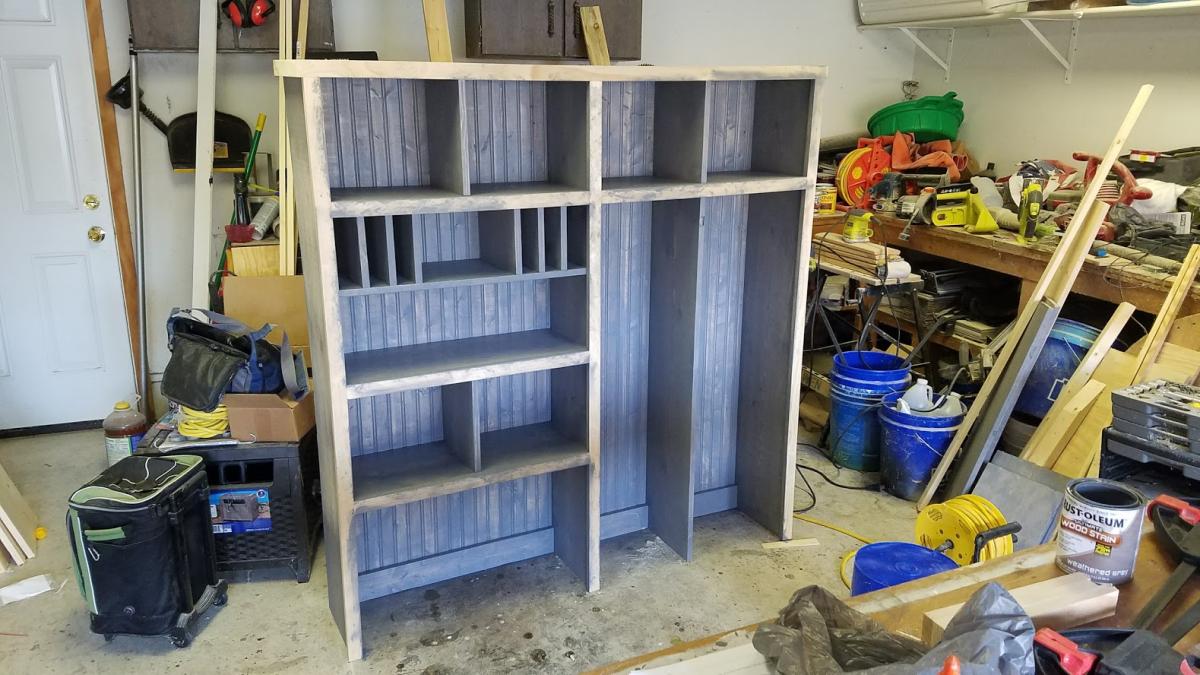
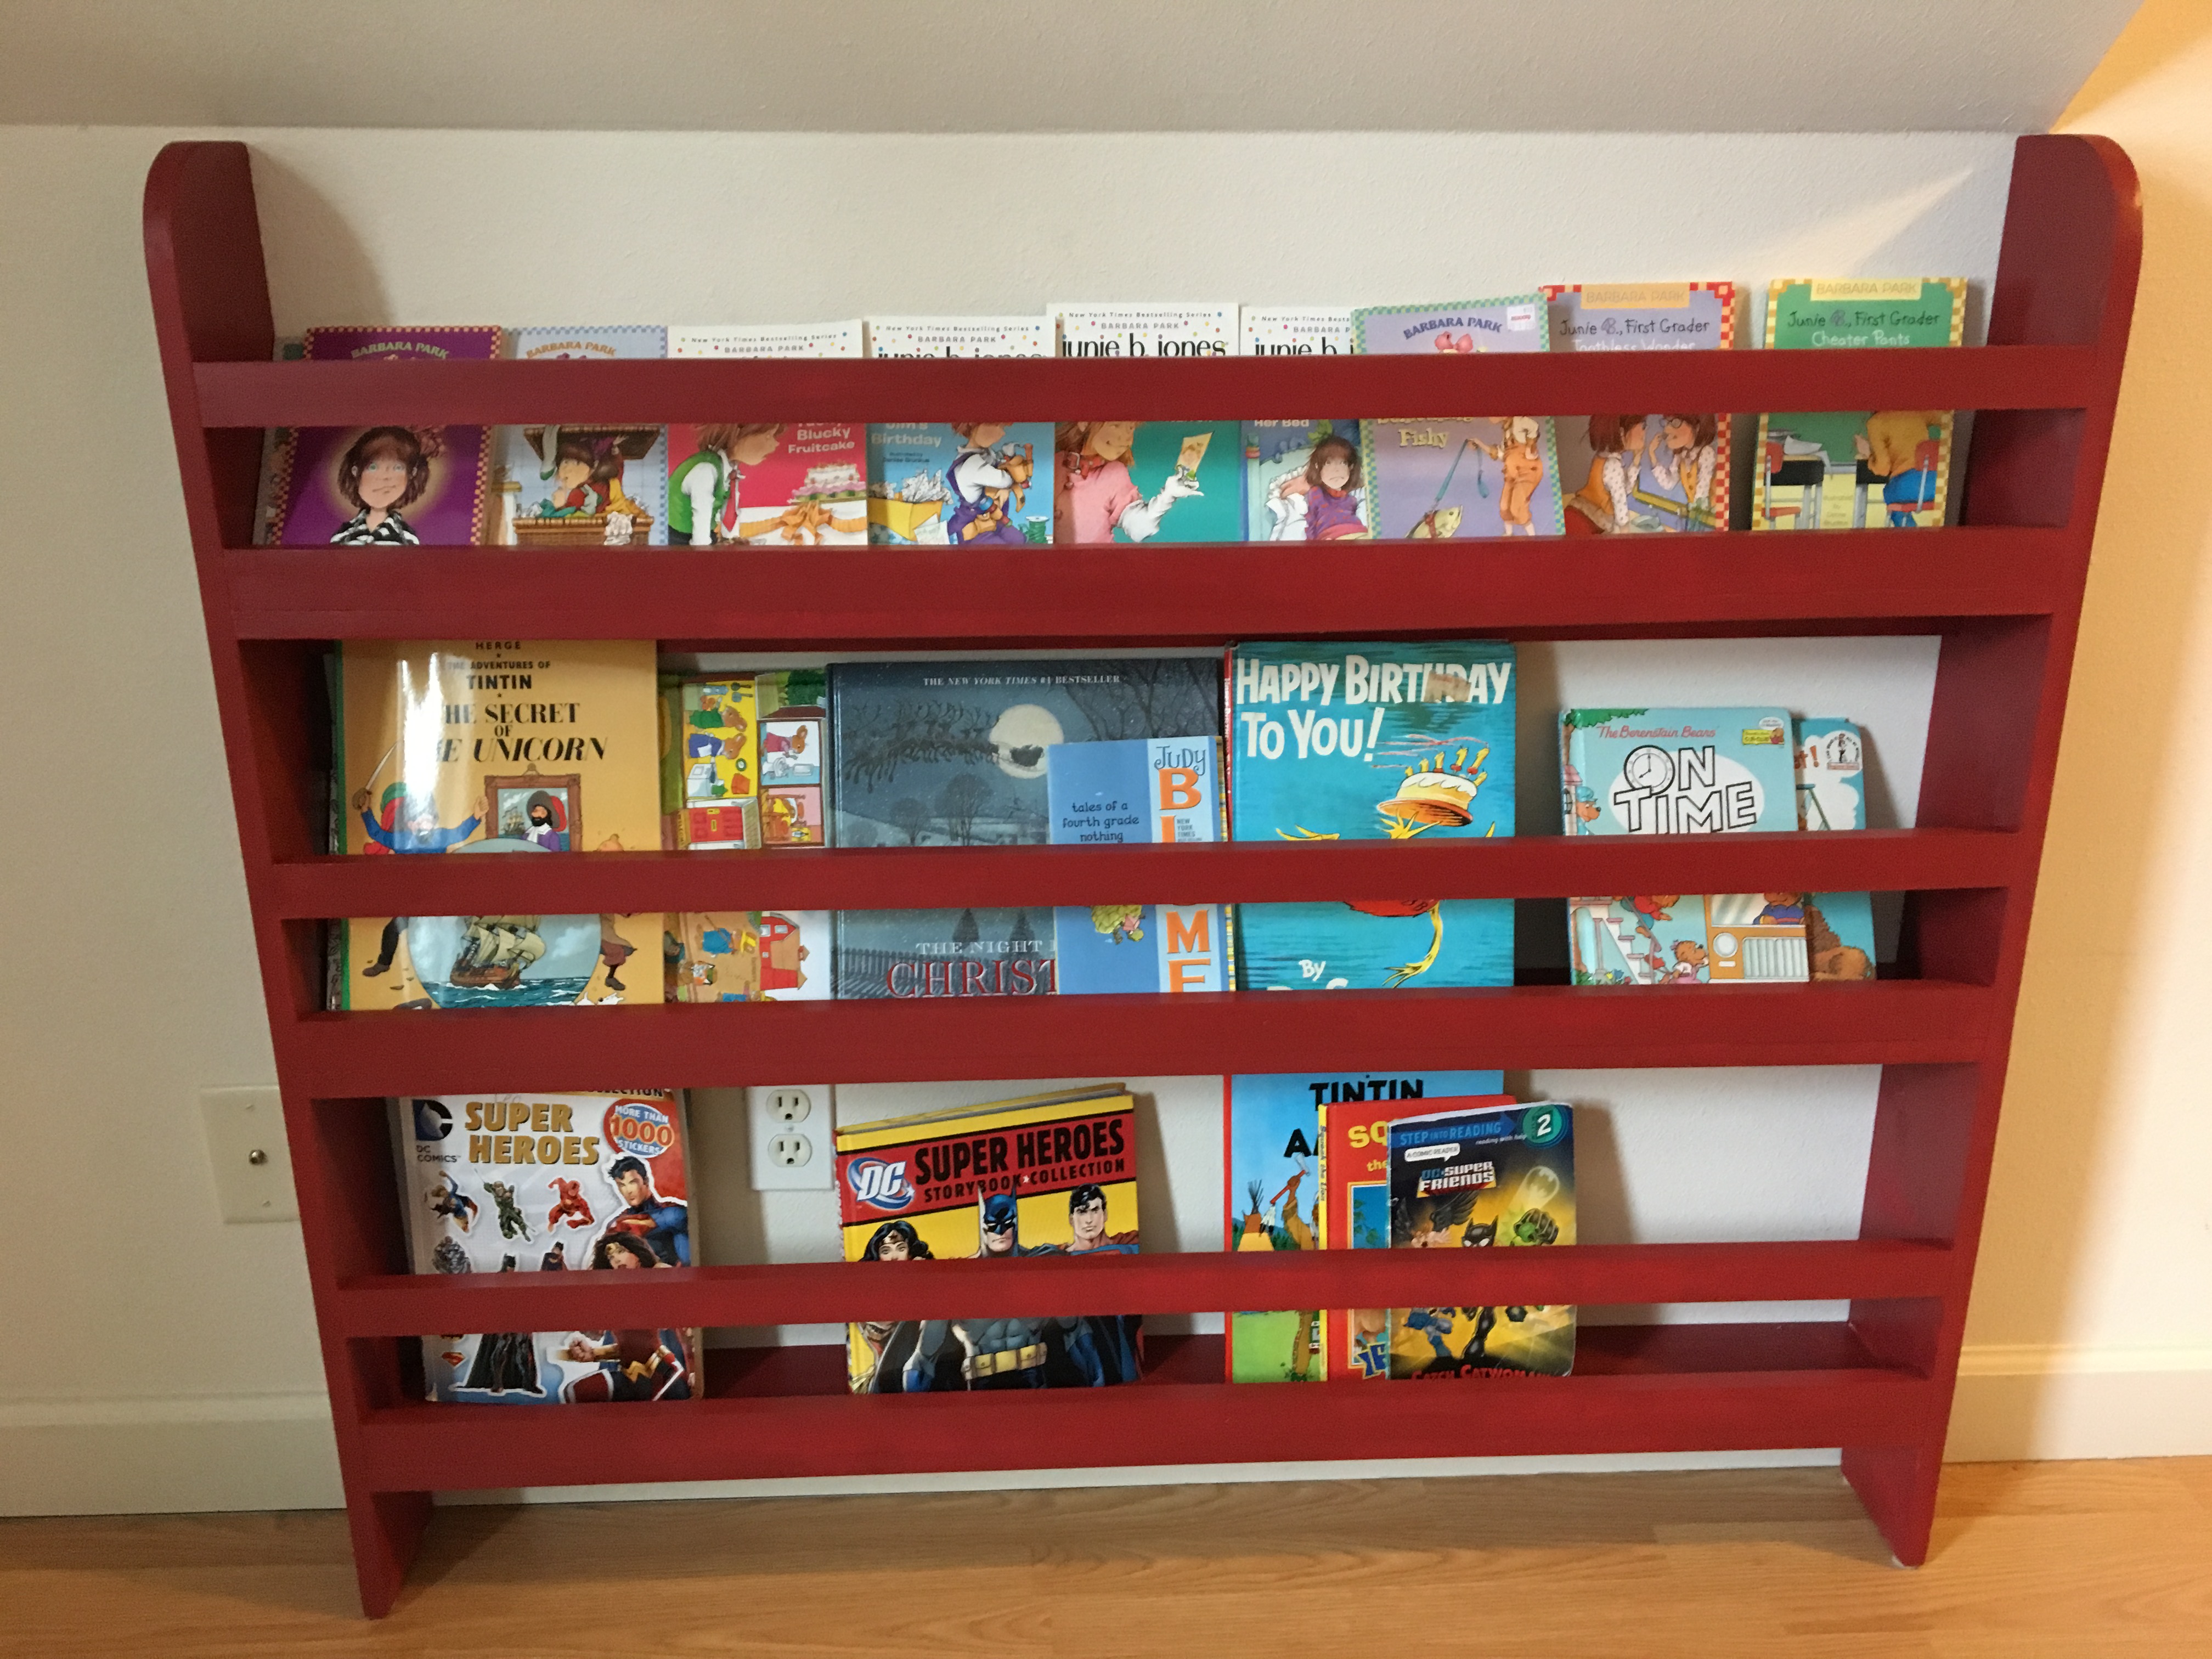
This is a shorter and wider (and simplified) version of the Flat Wall Book Shelf. (Approx 48" wide and 40" tall). Trying to maximize wasted space under sloped ceilings. I did jig-saw out a notch for the baseboard so it would be secured flat to the wall. My only regret is that I didn't put this baby up sooner. I've been kicking books around this room for years!

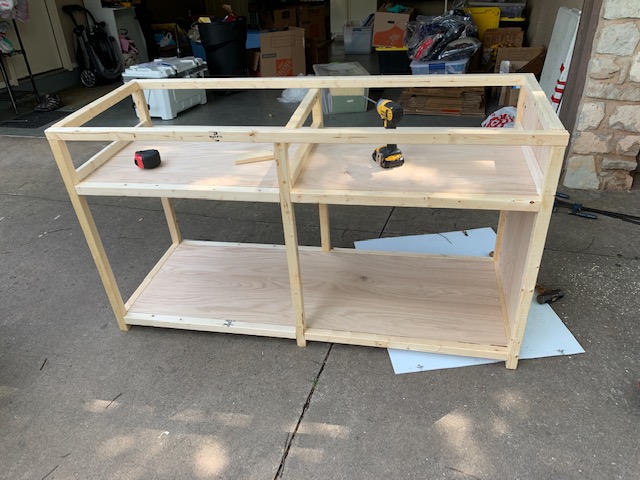
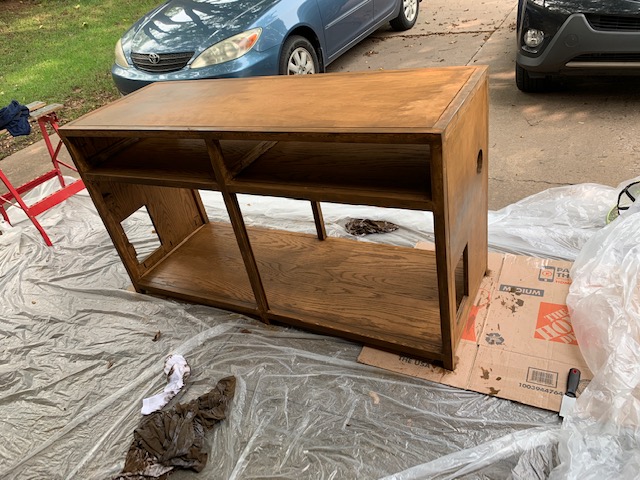
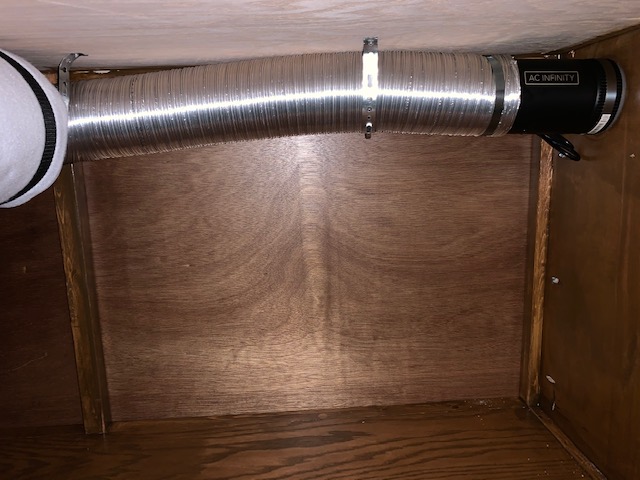
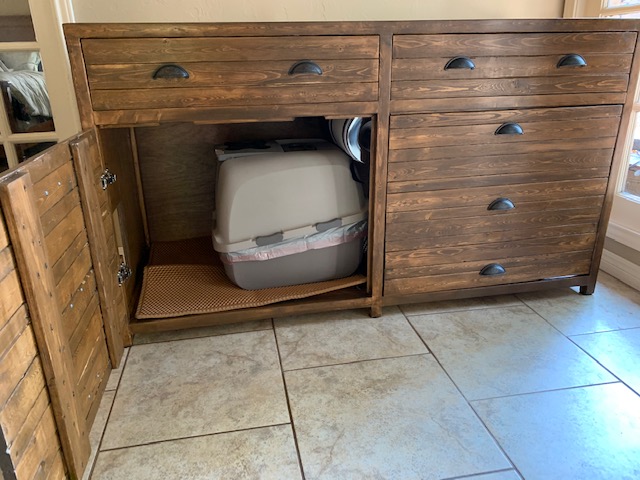
Wife and I decided we needed something to contain the smell of our two litter boxes. Found the Ana White plans and modified them to fit my needs. Used a grow house filter attached to an inline extractor fan to keep a slight negative pressure inside the box. With the extractor fan on low there is zero litter box smell.
Project turned out really well. Although this one turned out great, I would spend the extra money and buy the better wood for the frame next time.
Thu, 10/22/2020 - 10:50
Thanks for sharing your project, looks great!
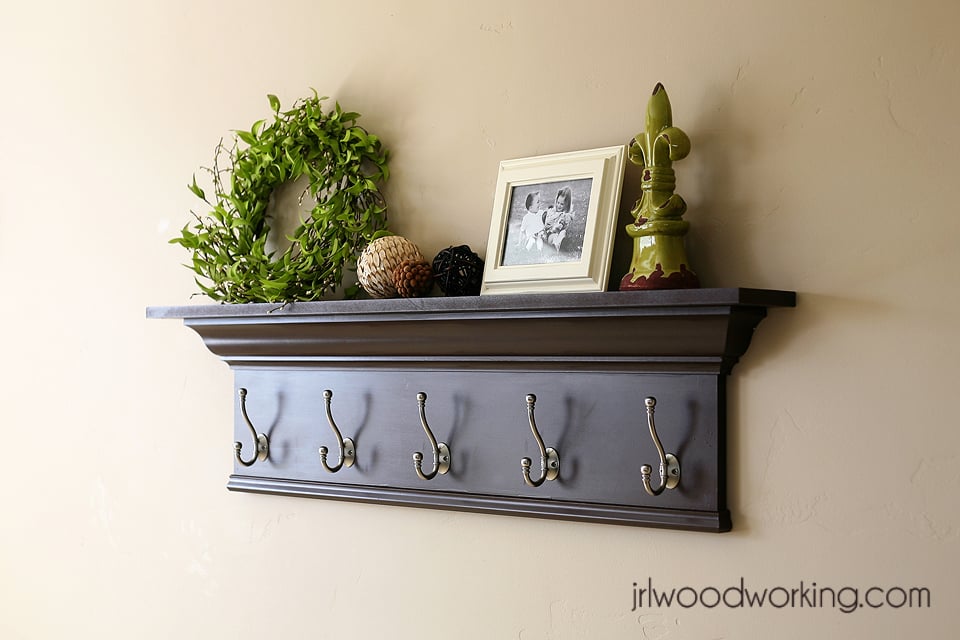
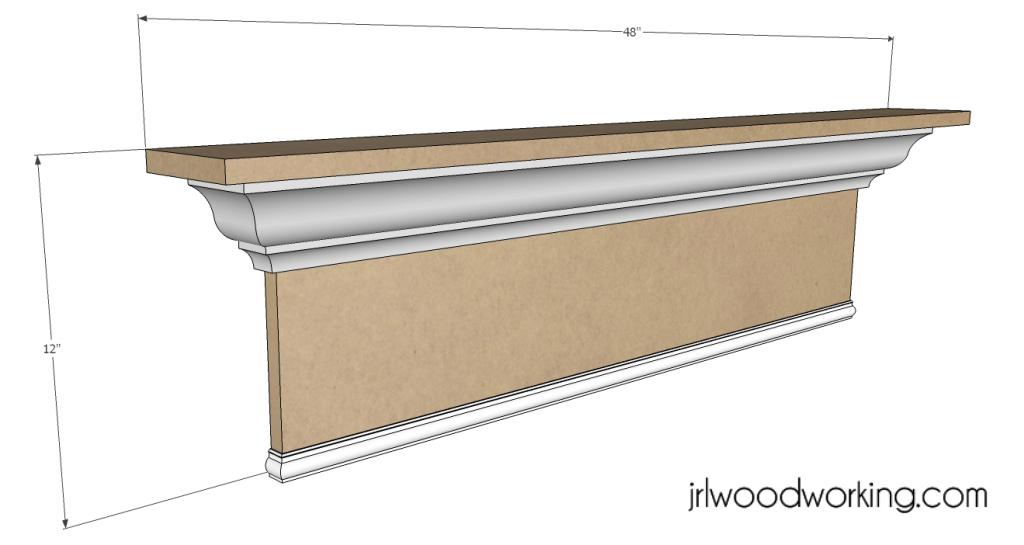
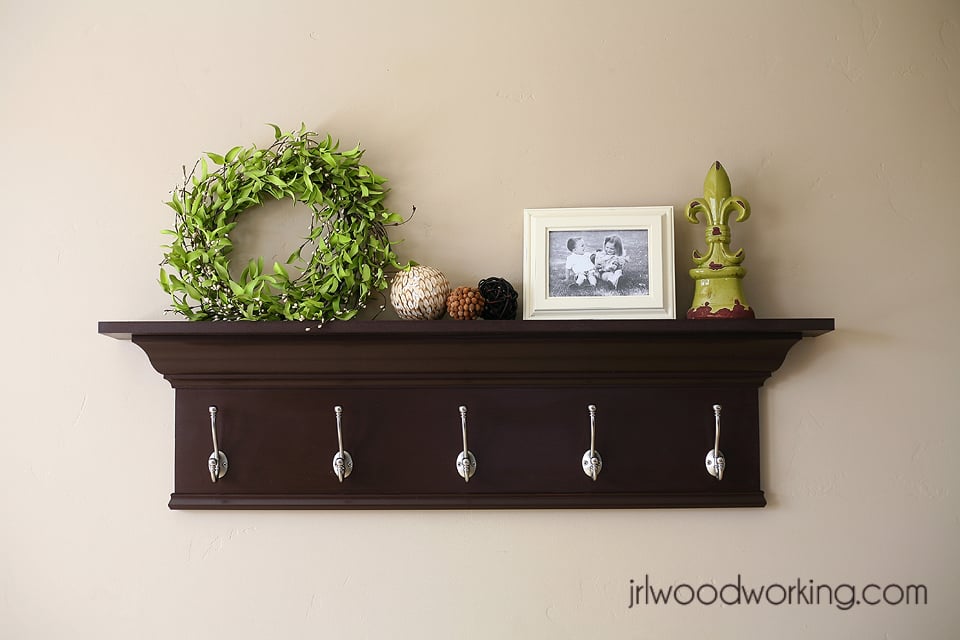
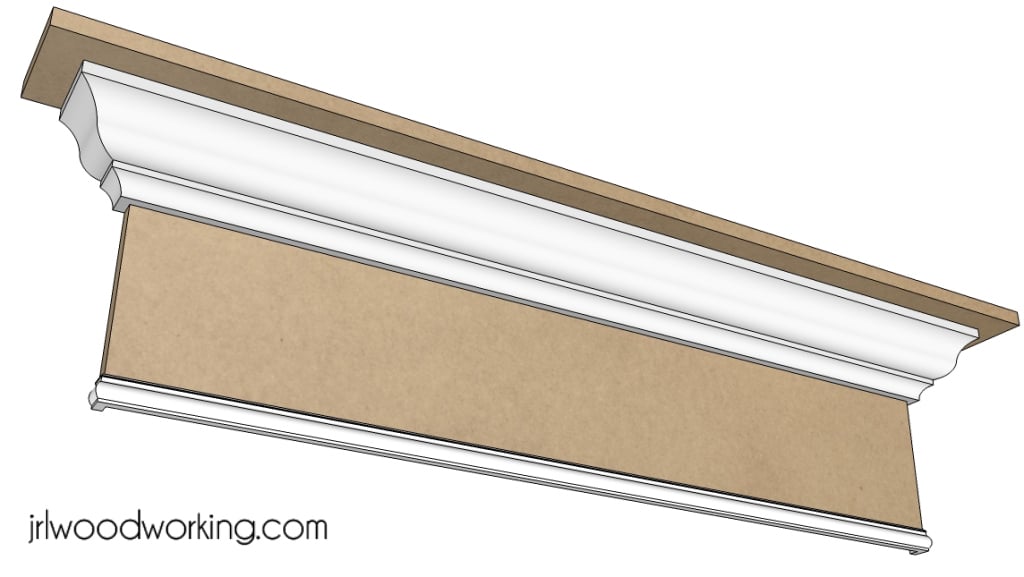
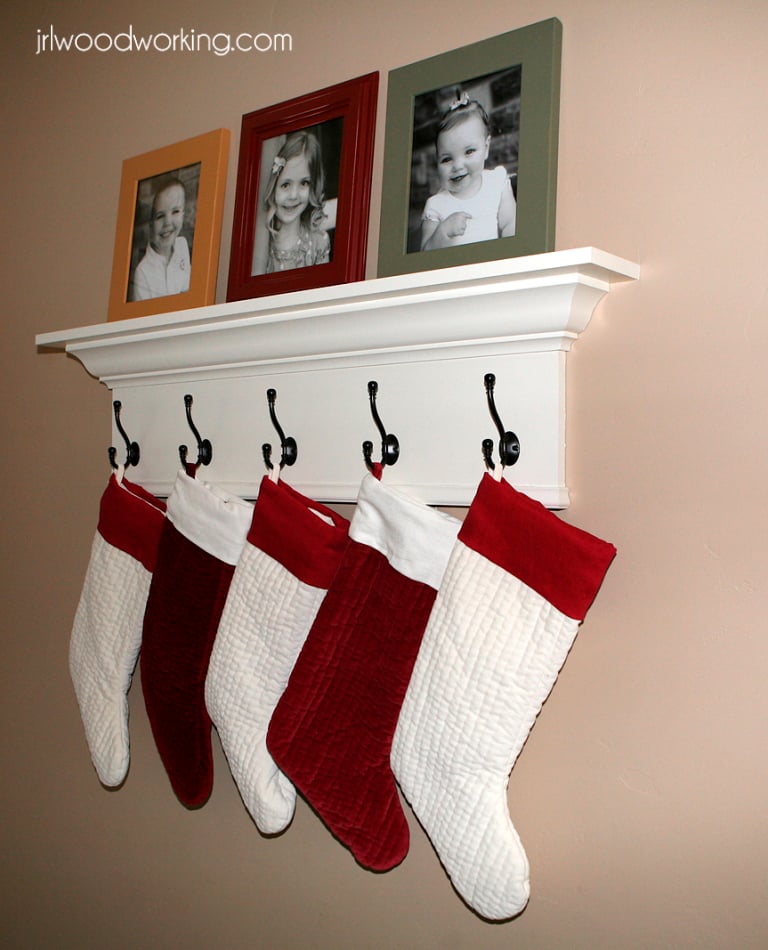
The decorative 4-foot crown and hooks wall shelf makes a beautiful place to display photos and other decorations and also provides a practice application to hang backpacks, coats, hats and even Christmas stockings. It is fairly simply to build with basic tools such as a table saw and a miter saw.
The project costs about $57 to make with about half of the cost in the hooks. The overall dimensions of the project are 48 inches wide by 12 inches tall. It takes about 2-3 hours to build.
Download the plans at my woodworking blog at:
http://www.jrlwoodworking.com/

Fri, 01/04/2013 - 06:50
I love how this looks. All your designs are beautiful!
Fri, 01/04/2013 - 12:30
We actually have this shelf in a bright white color in our foyer to hang coats for visitors. We also put our Christmas stockings on it (one hook for each member of the family).
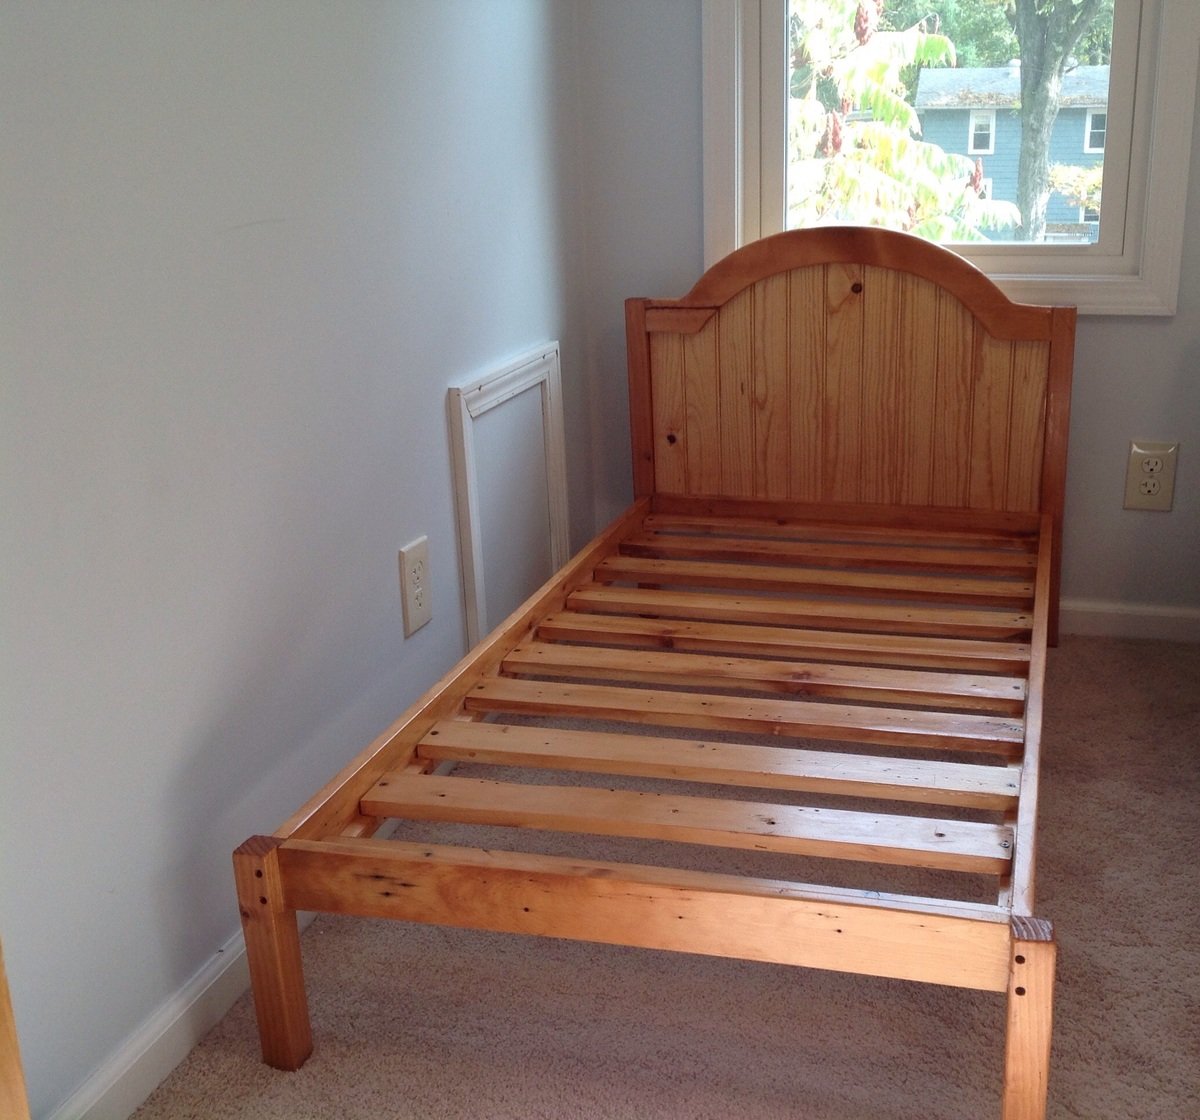
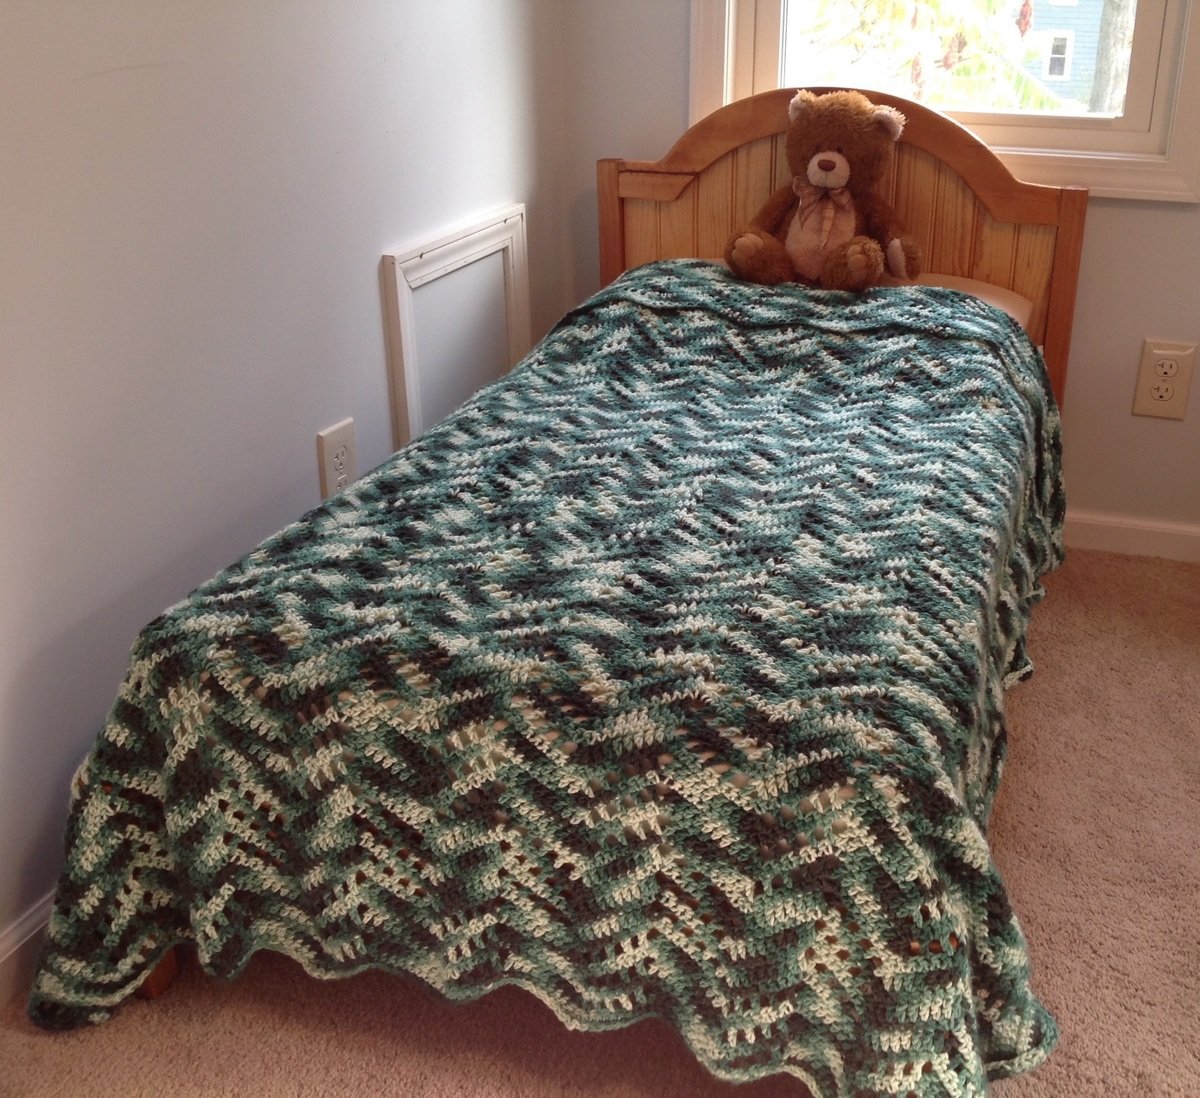
Pottery Barn inspired toddler bed, made with reclaimed lumber from our home reno. The wainscoting is real (not mdf), $2 from the HD cull lumber rack. It had a damaged piece, but the remaining part of the board sufficed for this small project. Screws are countersunk.
The curve is elliptical (drawn with loop of string and two nails for foci, transferred to board and cut with jigsaw)
The construction is lighter than the original plan, using what was at hand and for a young toddler.

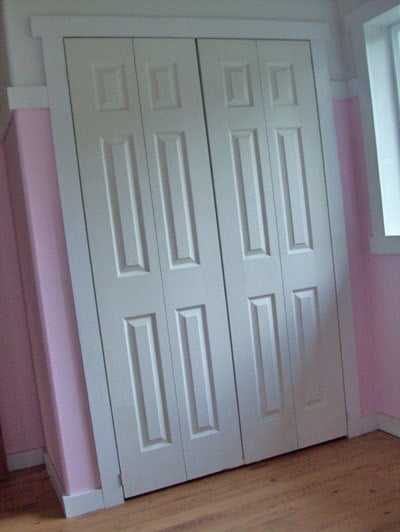
Ever since we've moved into our new home, My Husband Matt has put his room (Or "Man Cave" as we know it) on the back burner so that other things could be done first. He has been so sweet about letting me use it for home decor, event decor, clothes, and misc. storage.
Well, since the hectic first couple of months as new homeowners is starting to die down, I had made my mind up that I would help him get started on his Man Cave as an early Birthday present! He deserves it!!
In passing, he made a comment to me the other day that he would love to have some kind of rustic window treatments in his room. I pulled up Pinterest and nonchalantly pointed out a couple of ideas to see which one he liked the most. We went in the room together and he started to describe what he wanted them to look like. (Again, he was saying this in general. I doubt he thought I was crazy enough to attempt it. Welllll…)
The next day I worked on my usual “project prep” routine:
I first measured the window casing. (My window casing doesn’t have crown molding around it on the sides or at the top, which was a plus! This will make them easier to attach!)
My window measures 35″ wide and 58″ tall. So, here’s how I figured the math:
So, after my cutting was all said and done, I had:
(2) 9.25×58
(2) 7.75×58
(2) 3.5×58
(4)3×17
(4)3×3.5