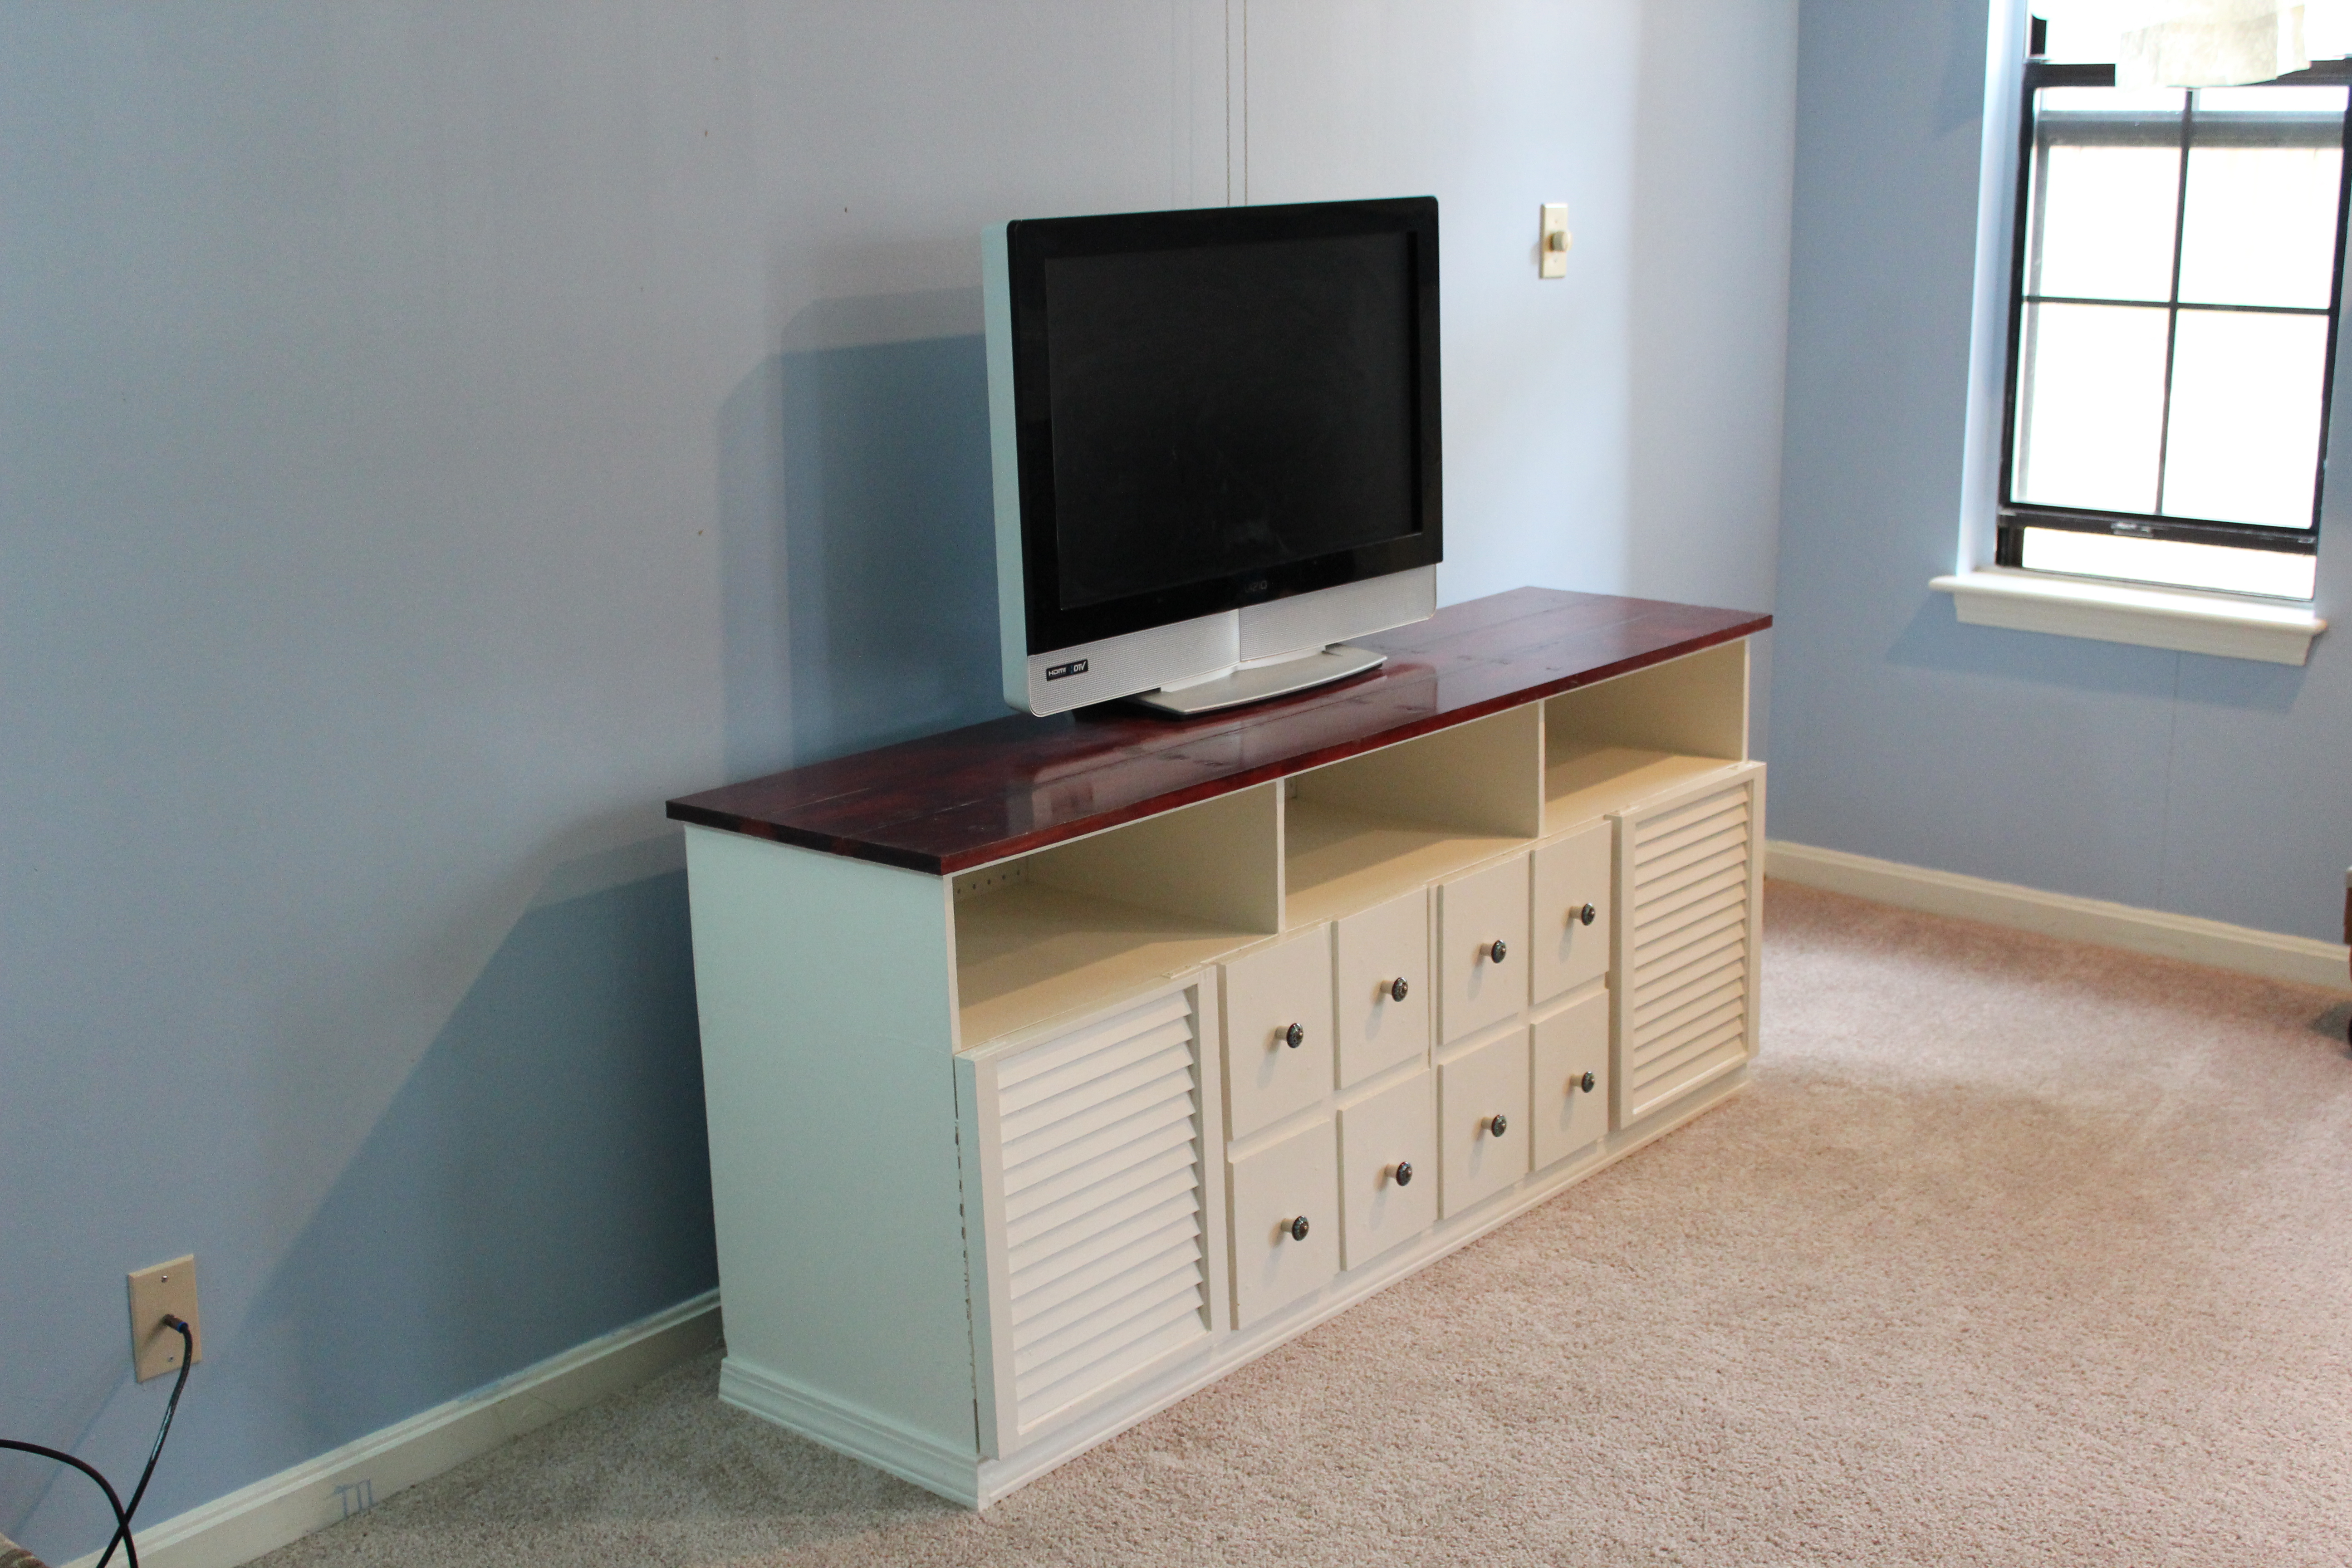
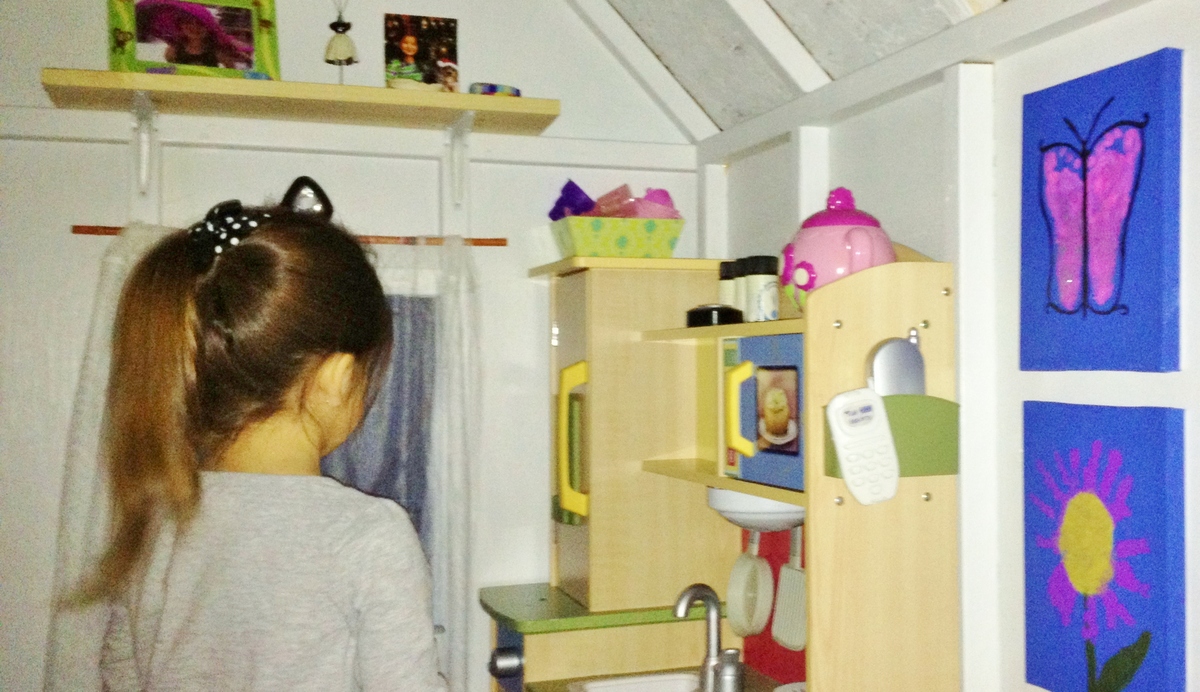
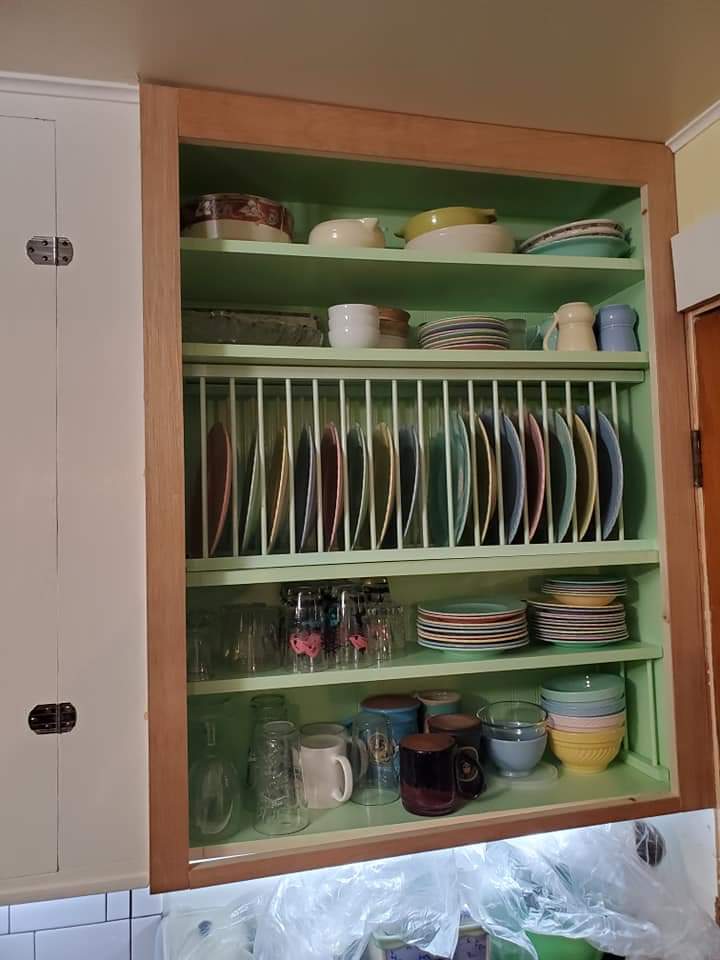
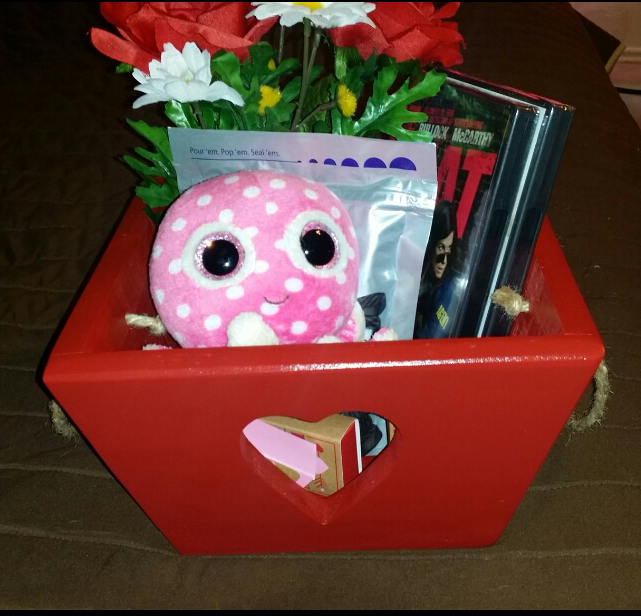
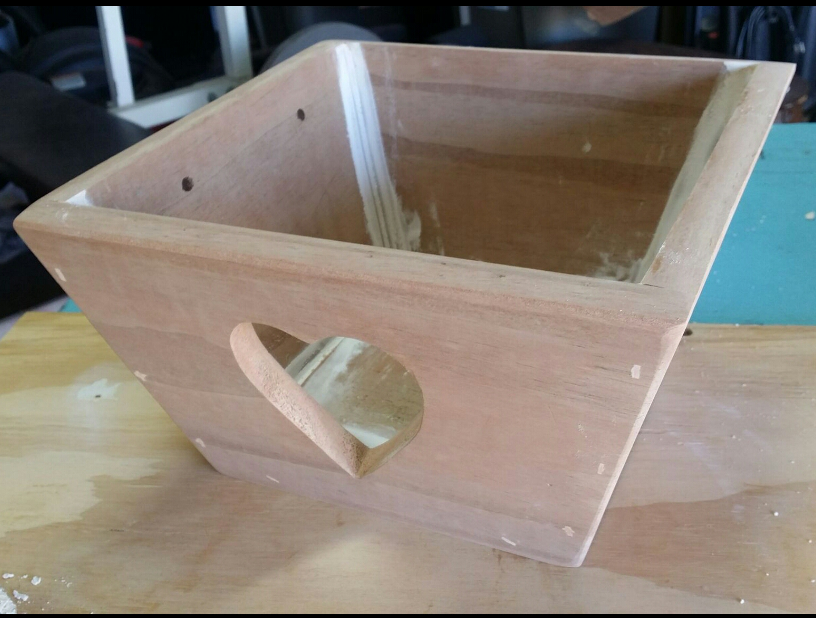
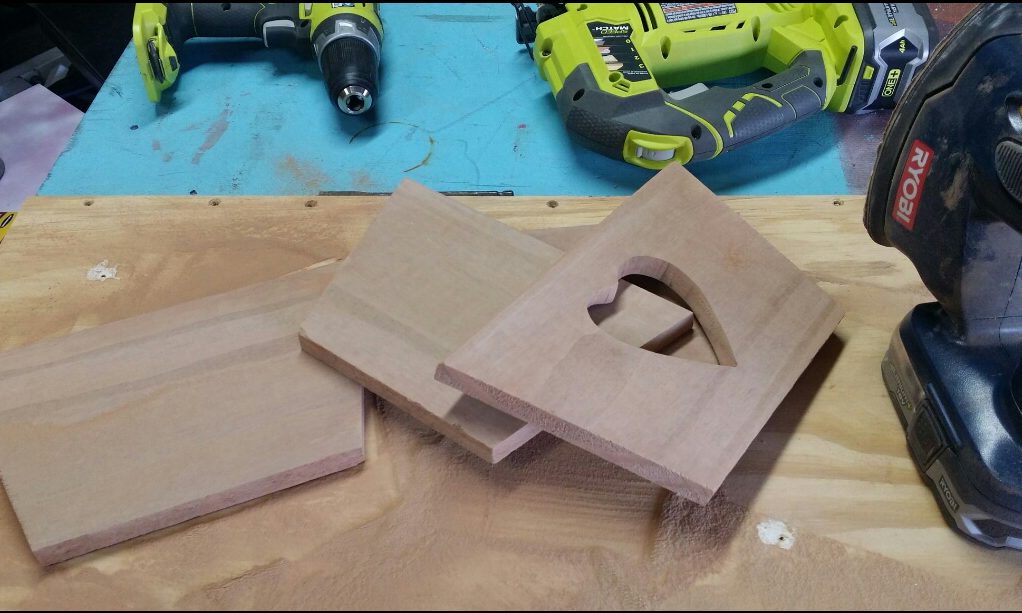
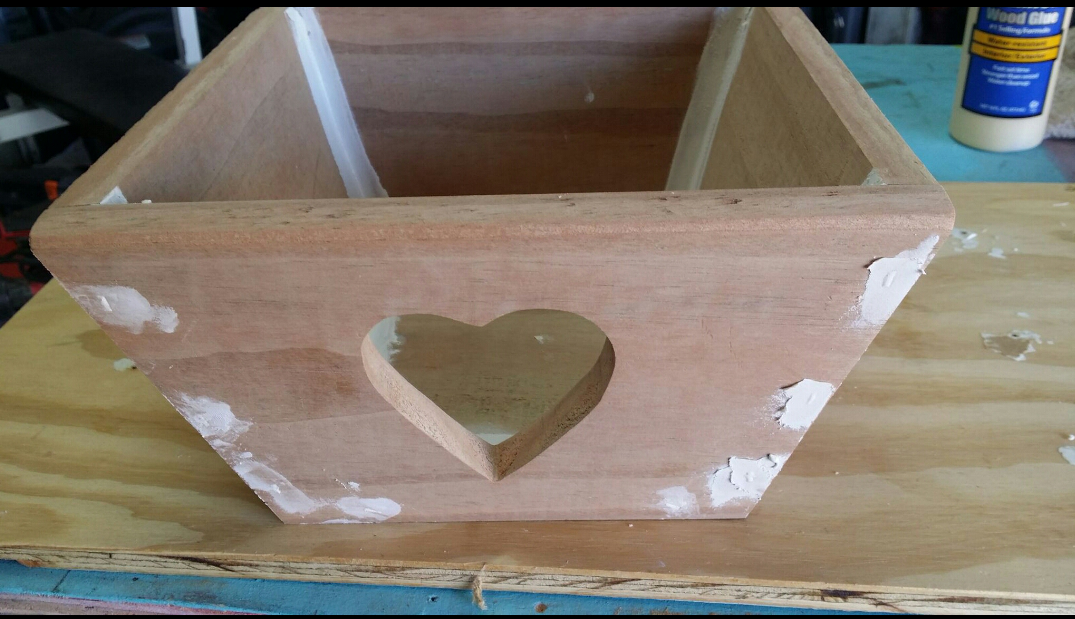
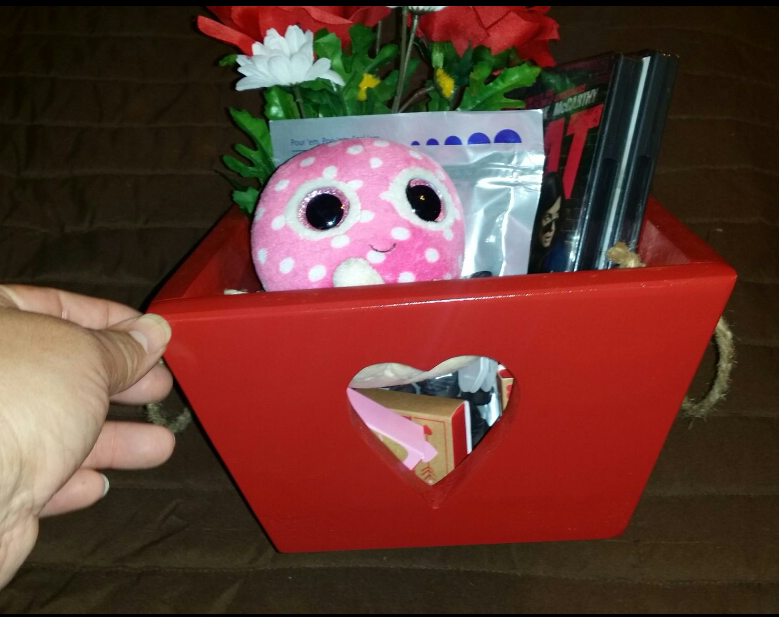
$10 shelf...but cheaper...
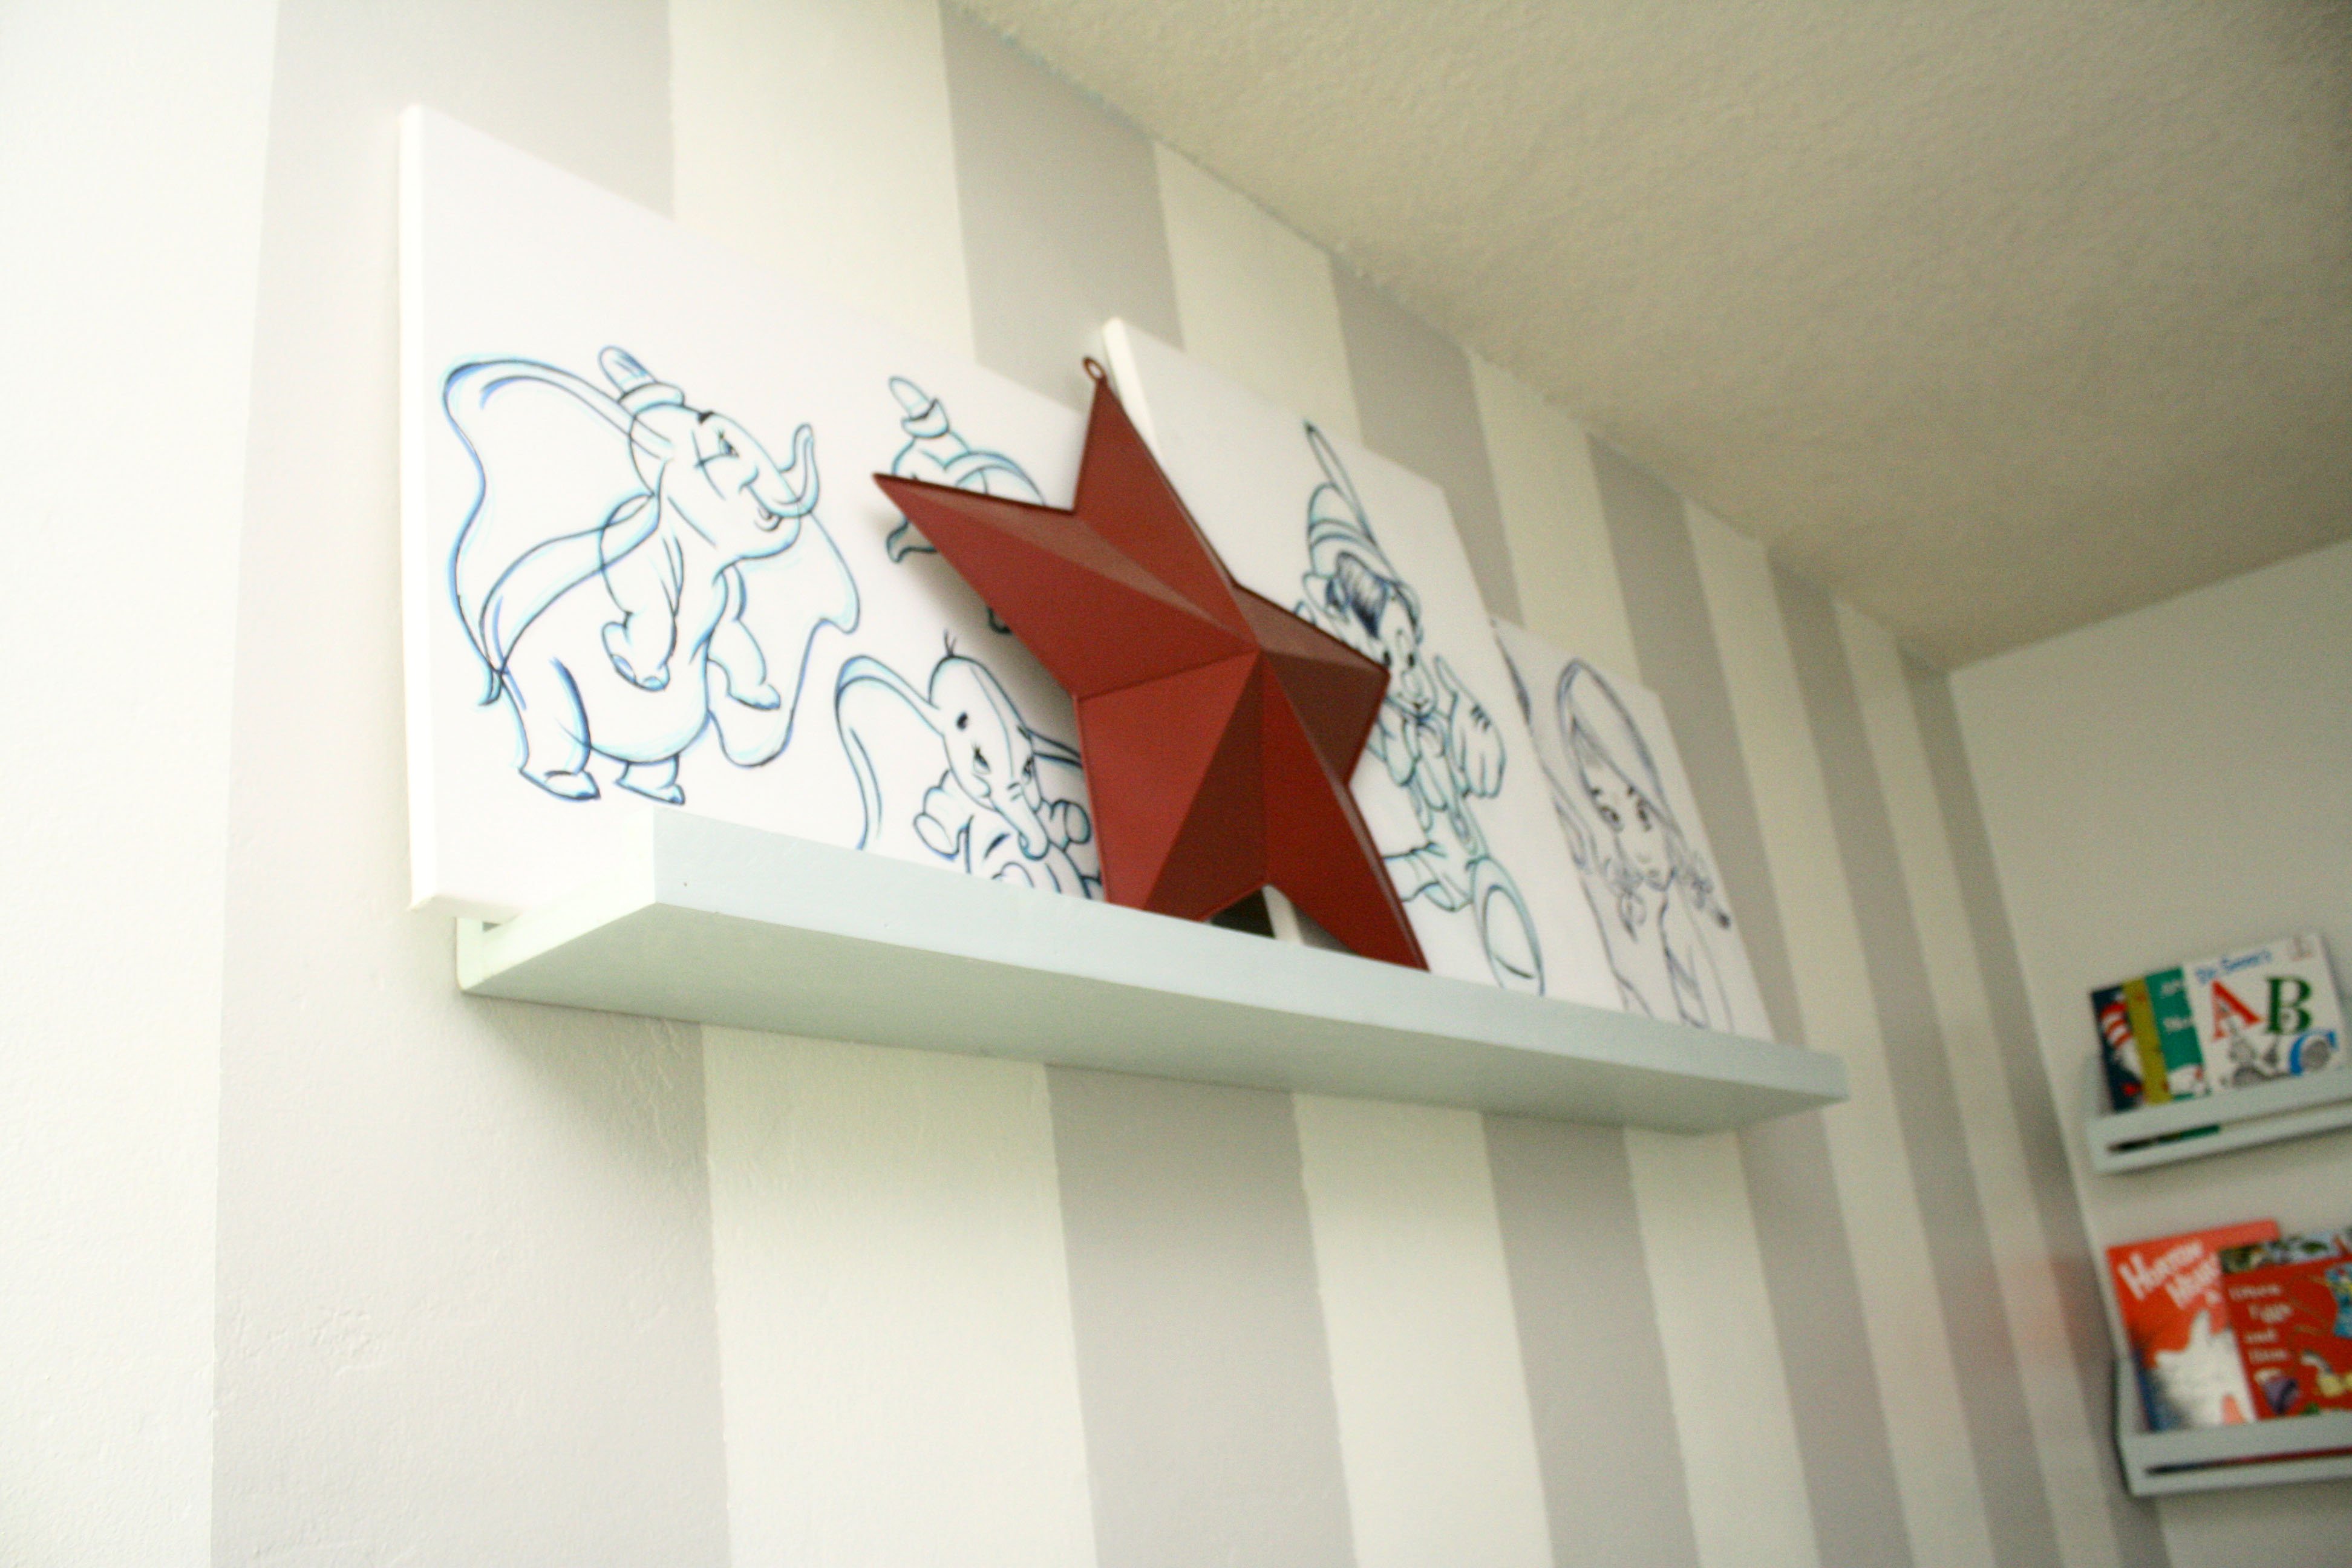
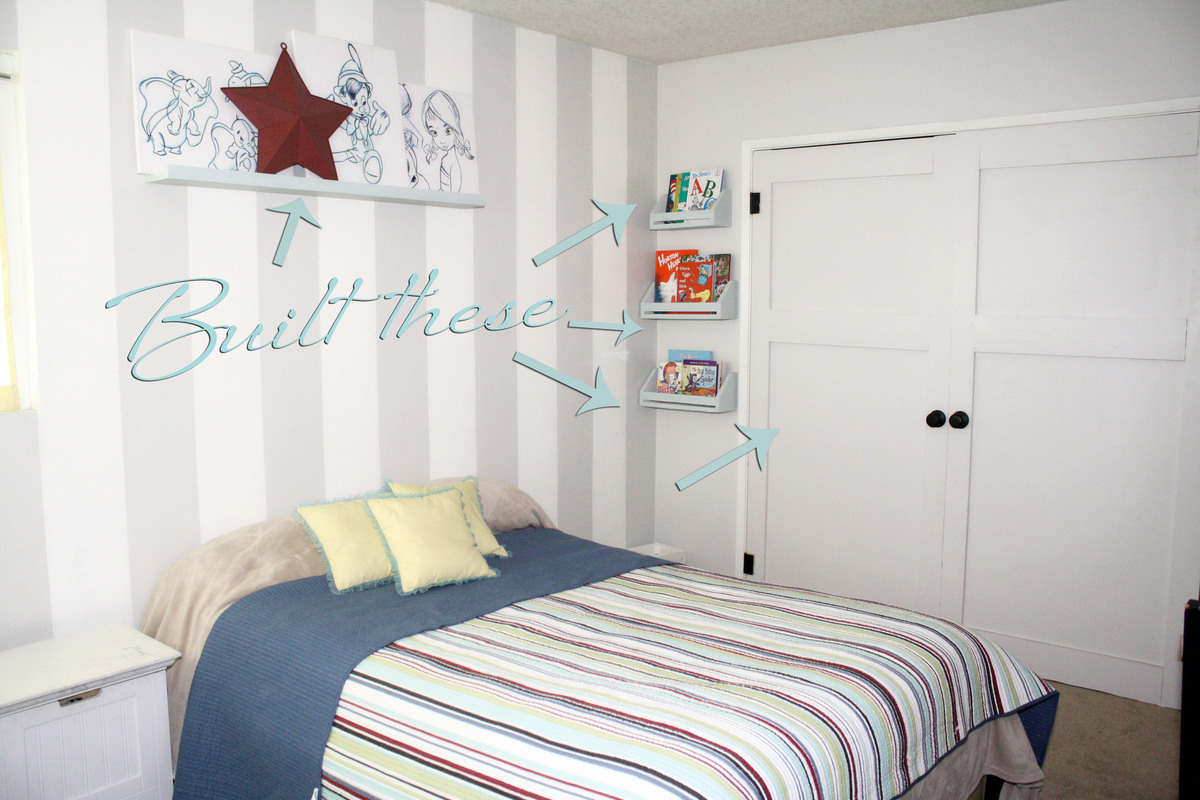
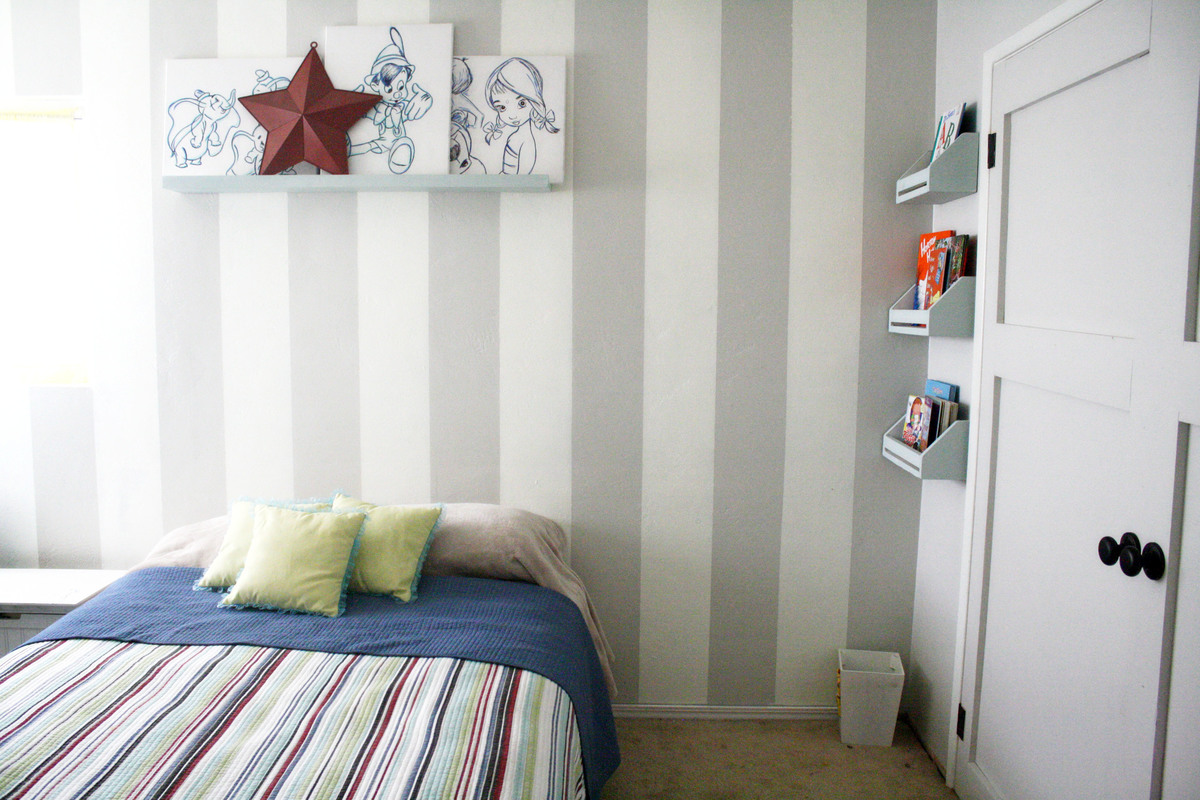
had a lot of scraps and put them to good use with this shelf, east to change out any art/photos my kids would like on their walls, size of frames, etc...without nailing frames, changing positioning, just re-arrange on the shelf :)
Built from Plan(s)
Estimated Time Investment
An Hour or Two (0-2 Hours)
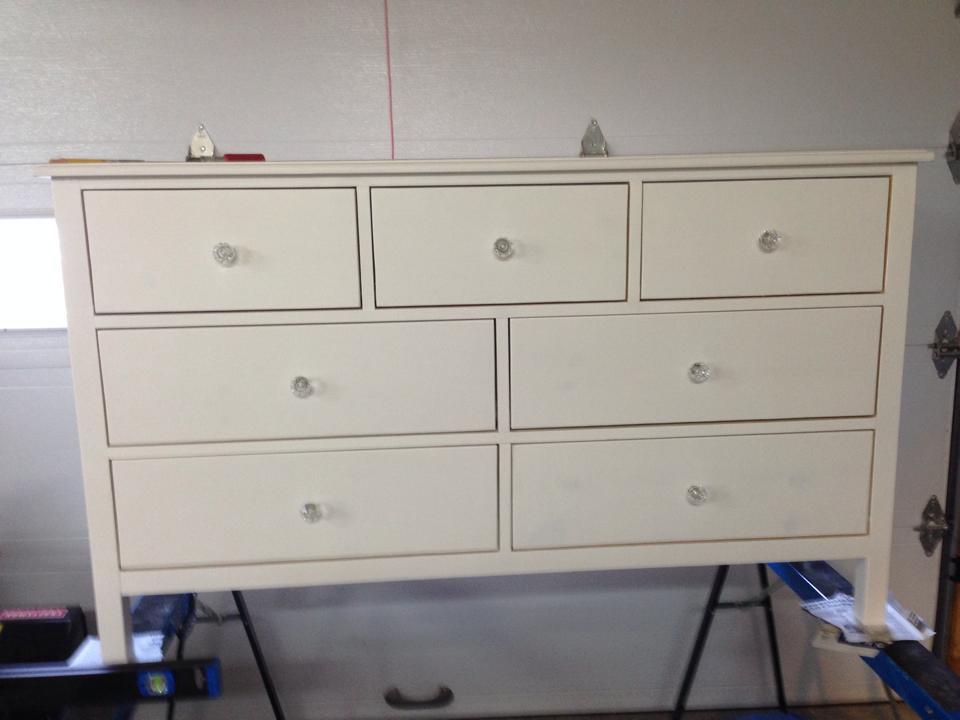
Finish Used
Annie Sloan Duck Egg and home made white chalk paint mix.
Recommended Skill Level
Starter Project


Comments
spiceylg
Thu, 03/28/2013 - 05:58
Wow
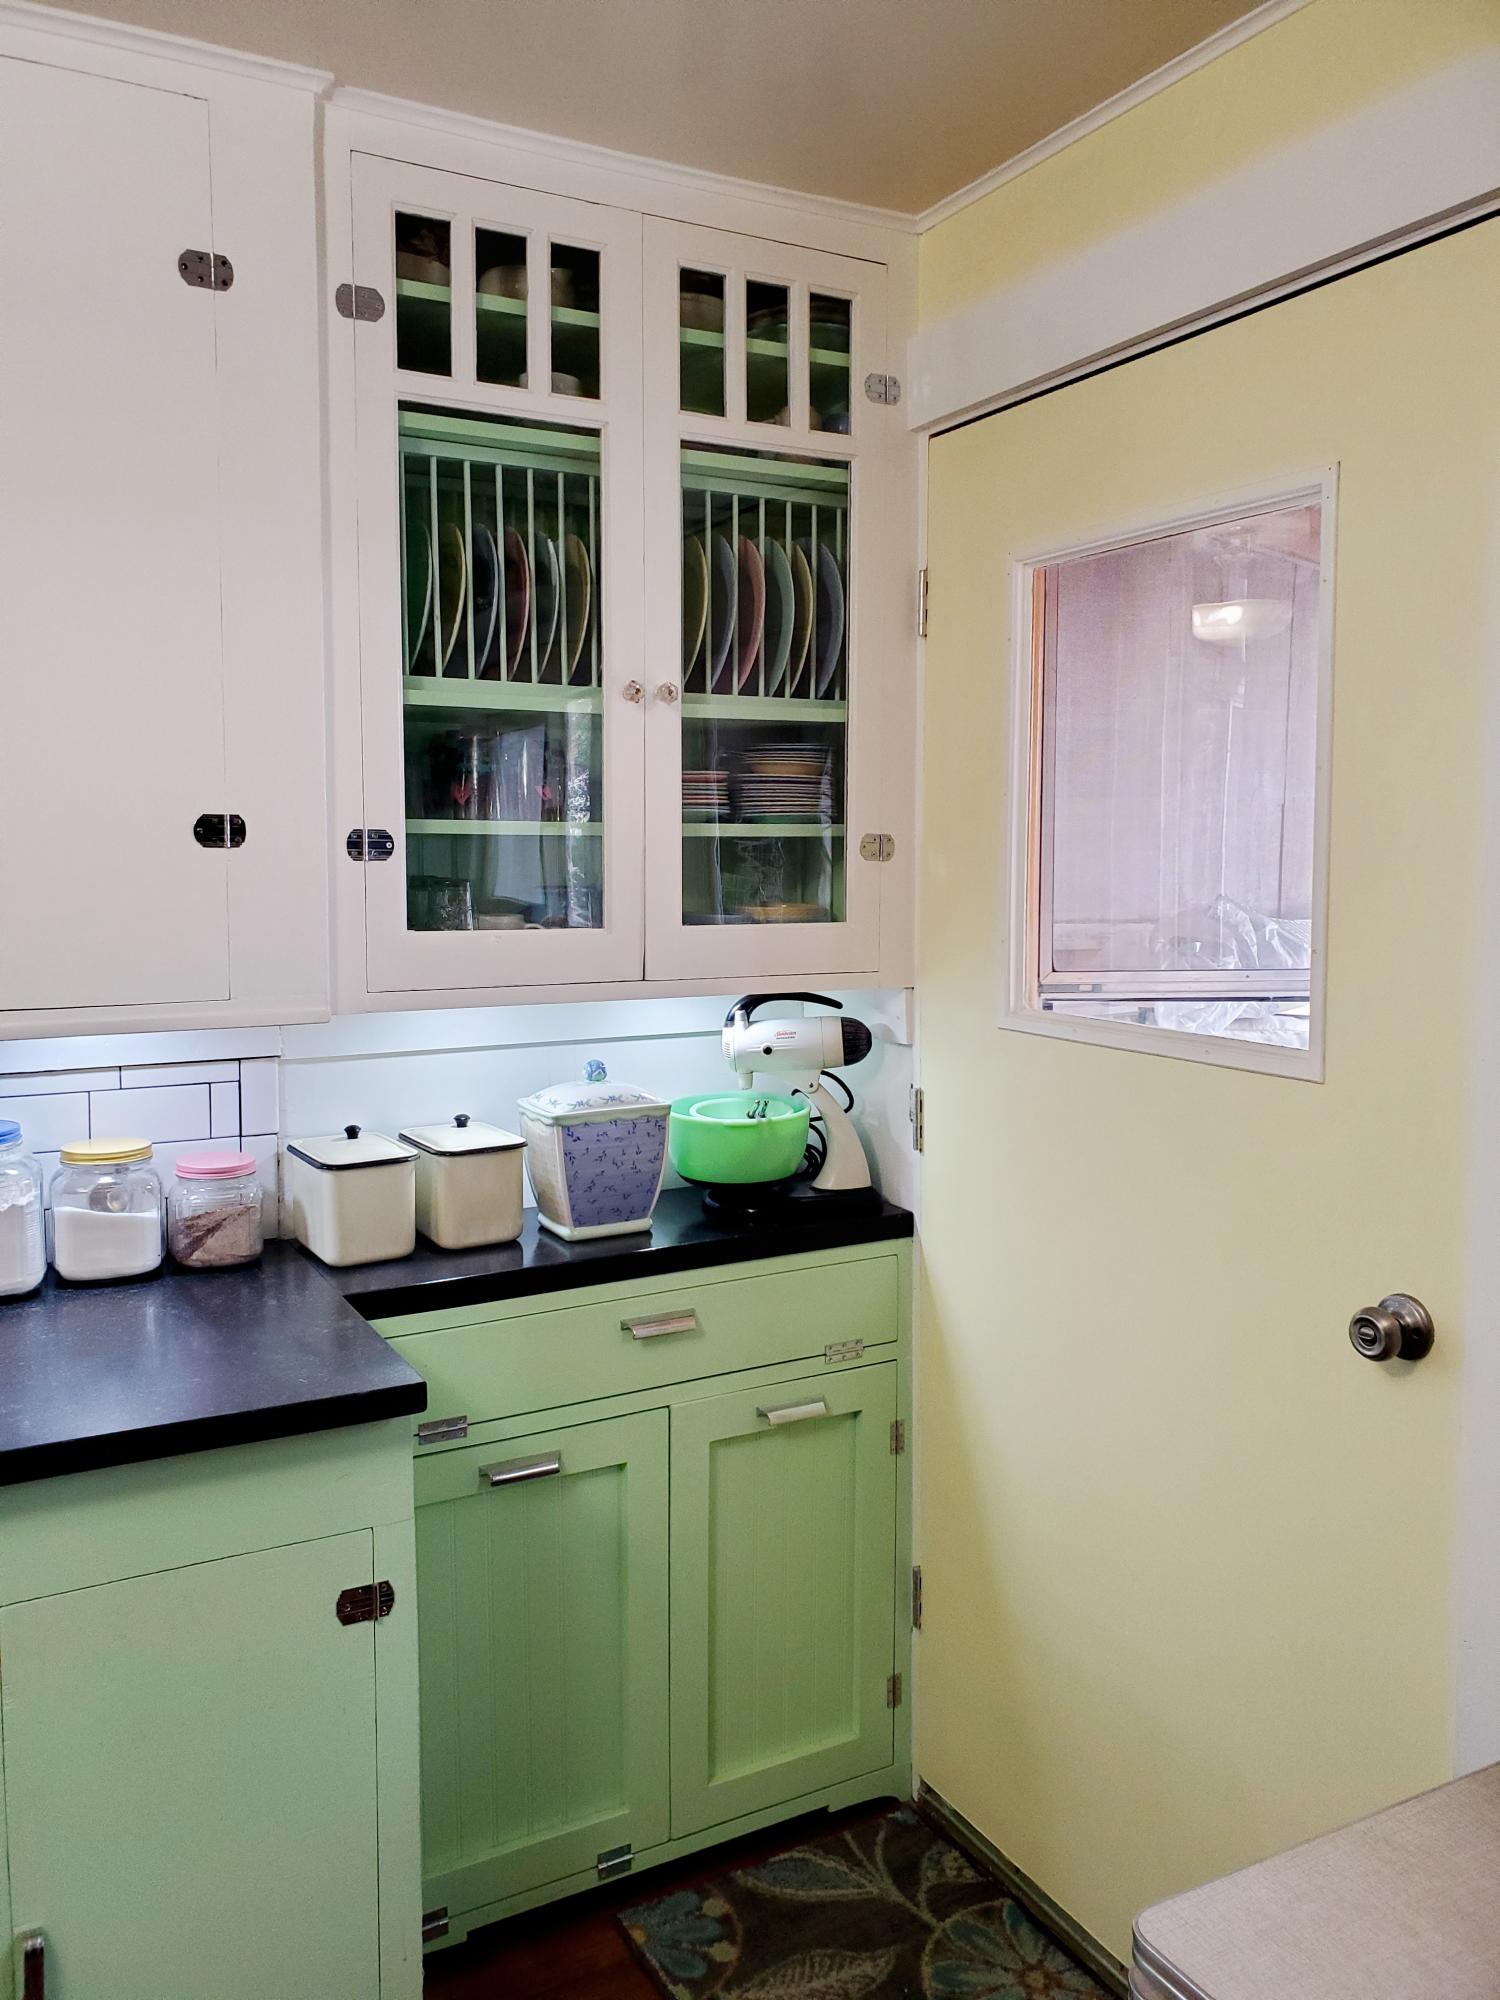
Nice job on all the builds. Those closet doors are beautiful and actually the whole room looks fab!
Marisol
Thu, 03/28/2013 - 15:57
Thank you
Spring is here, and no longer pregnant, I am excited to get started on many more projects!