Becca Trunk
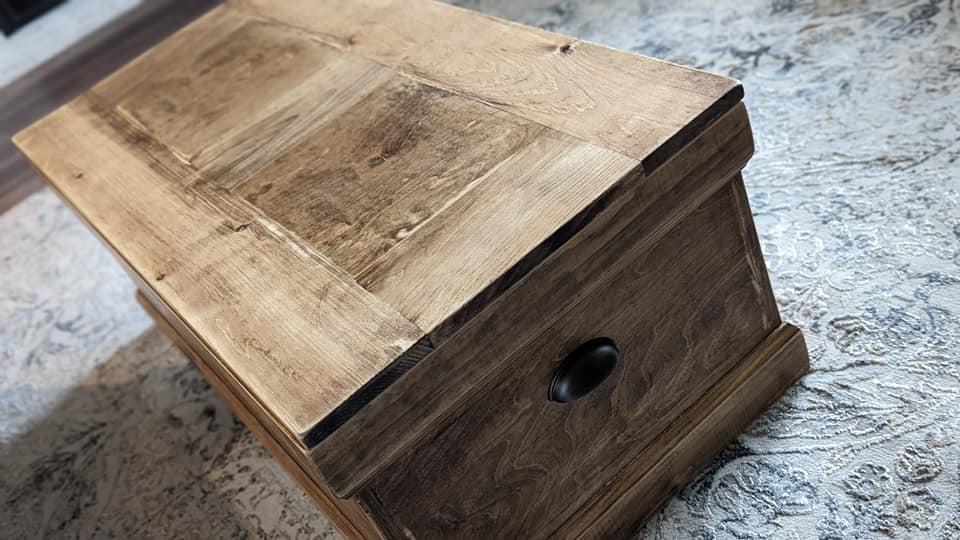
Thank you Ana for your detailed plans. Always so easy working on your projects.
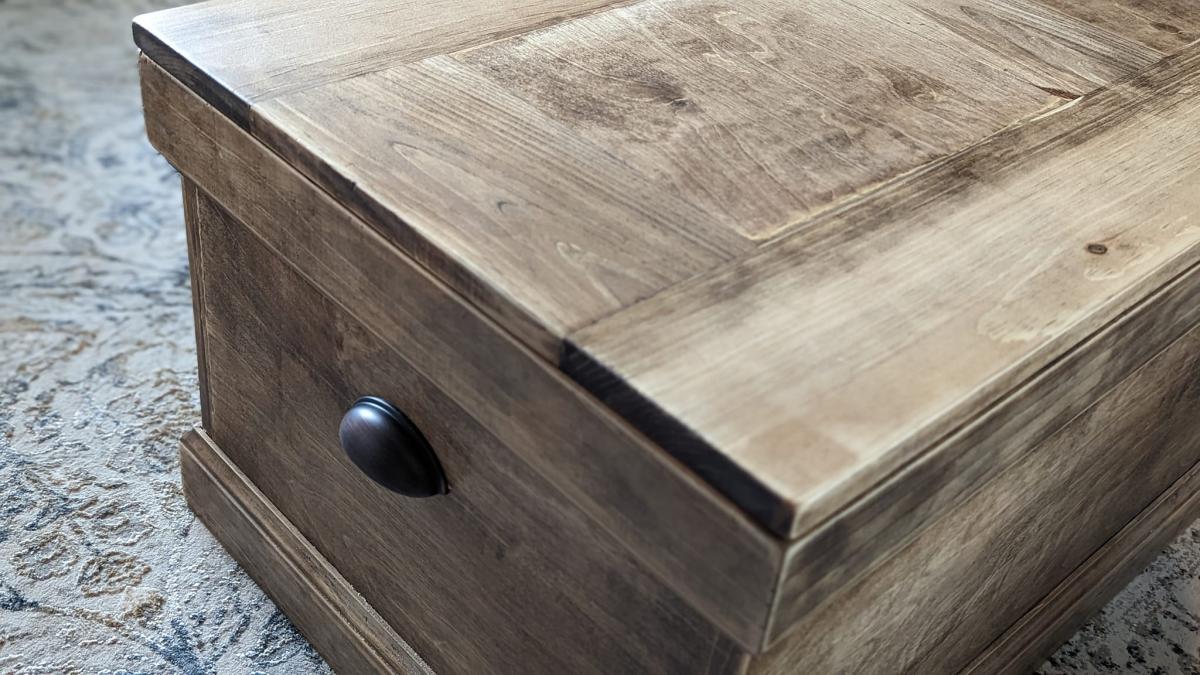
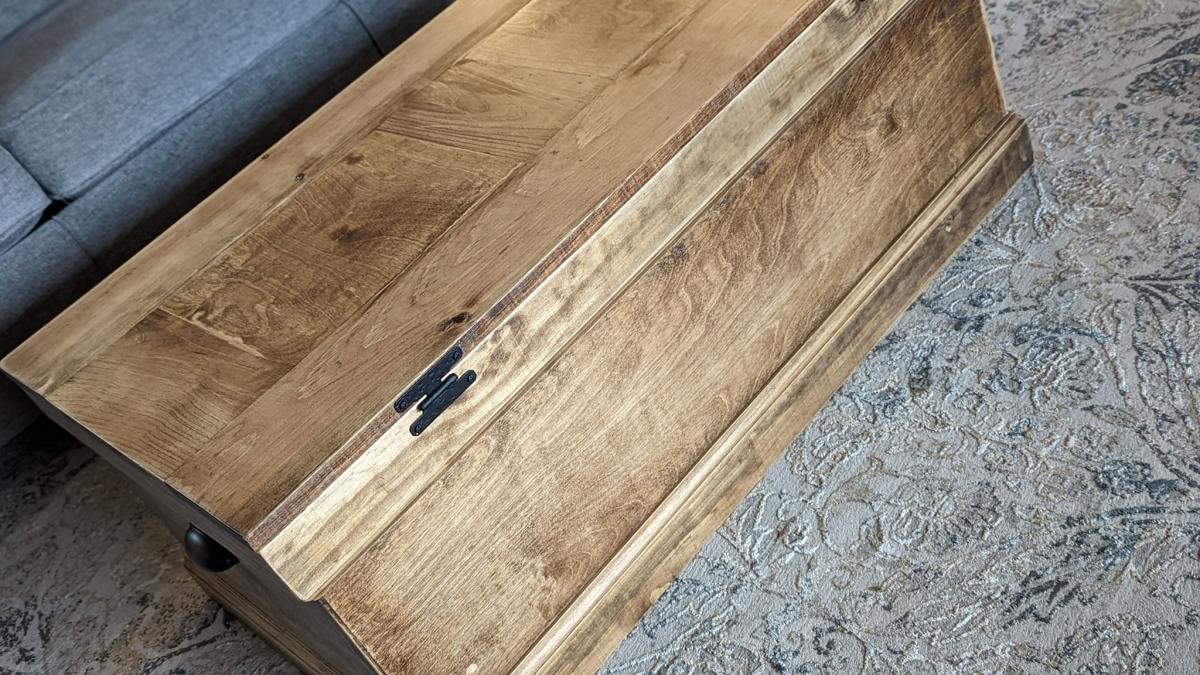
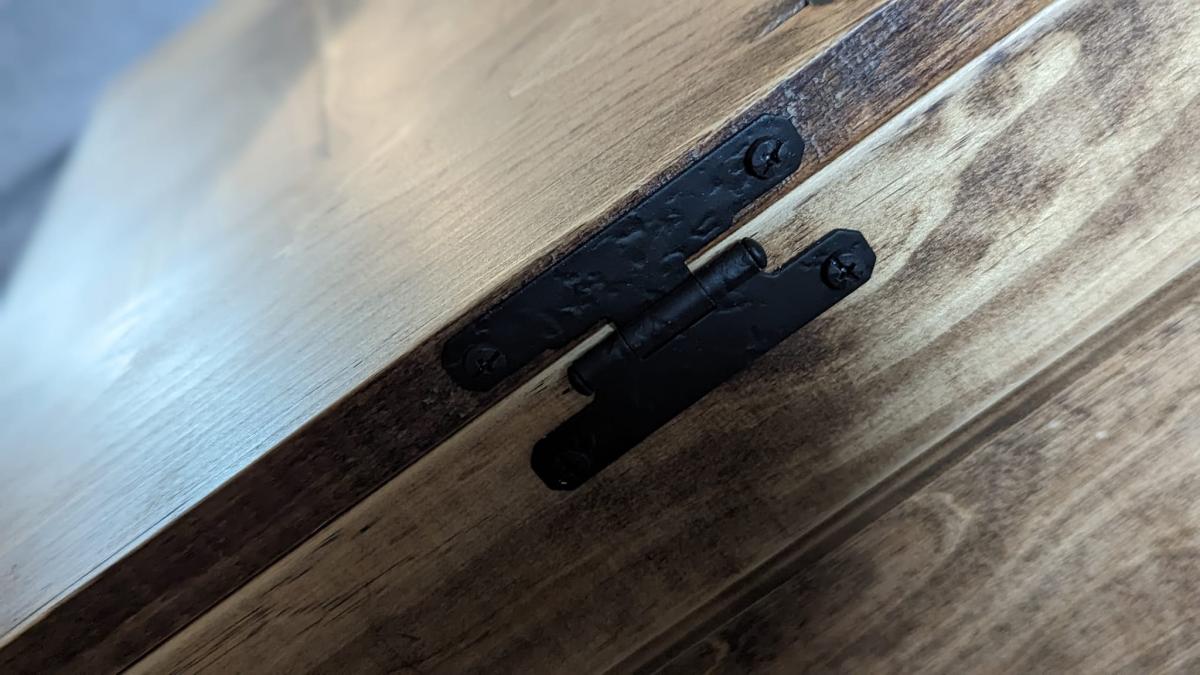
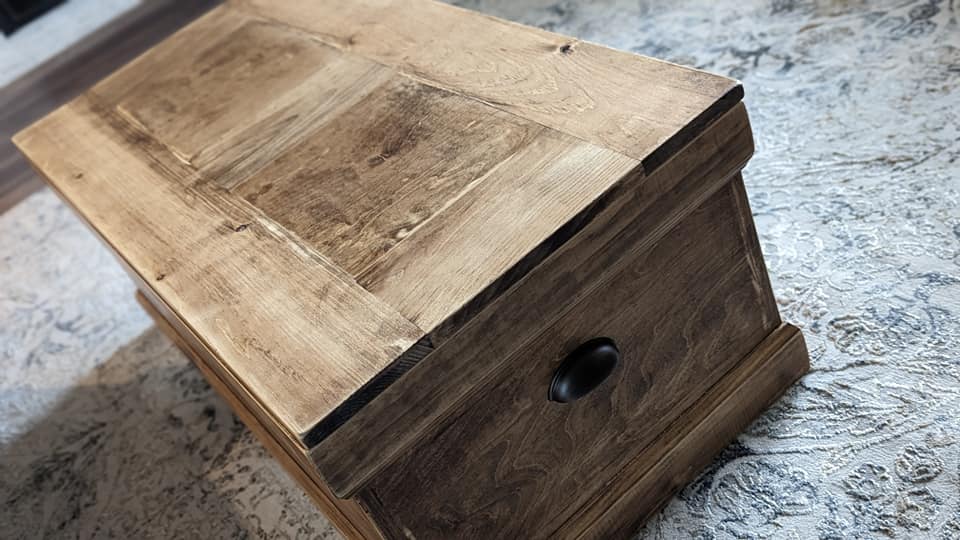
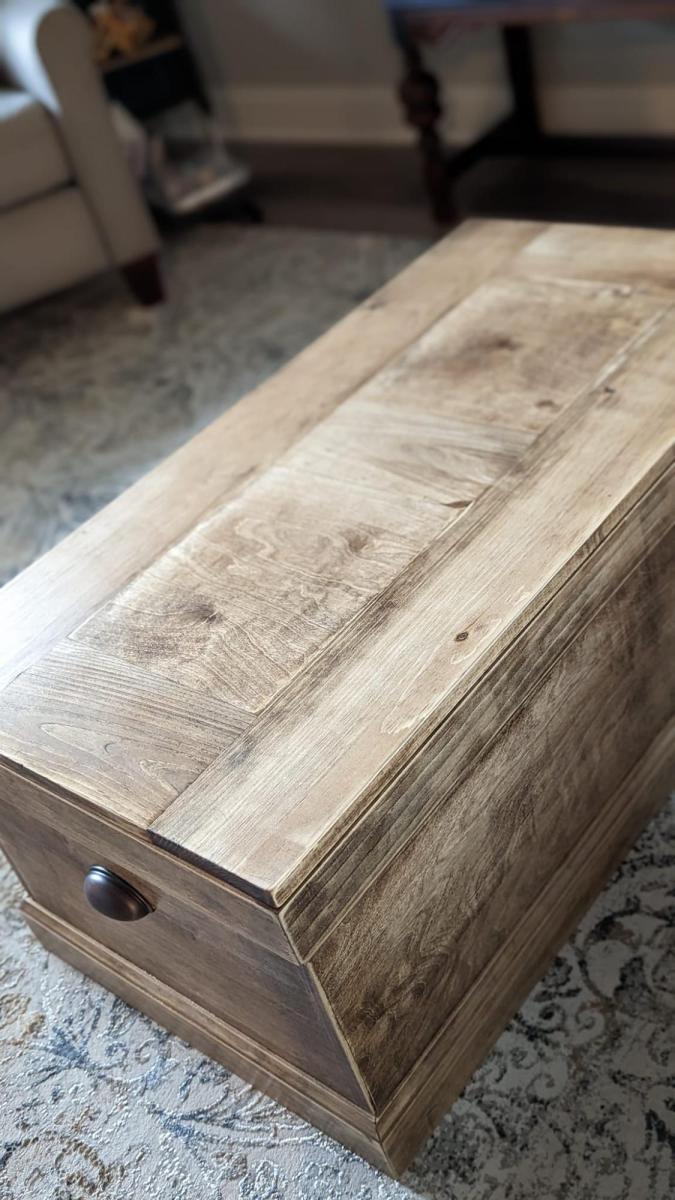

Thank you Ana for your detailed plans. Always so easy working on your projects.


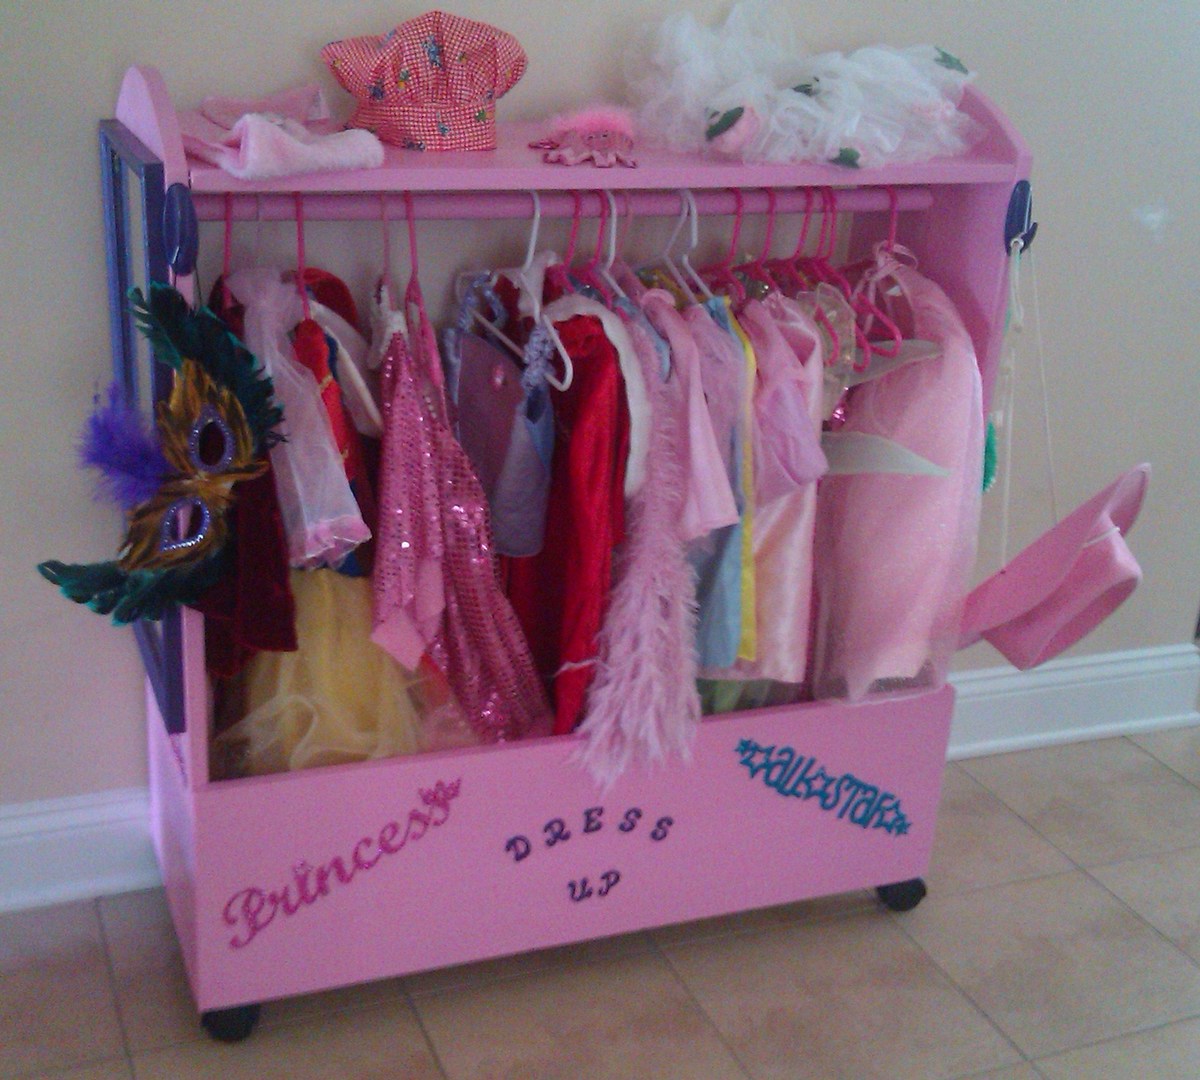
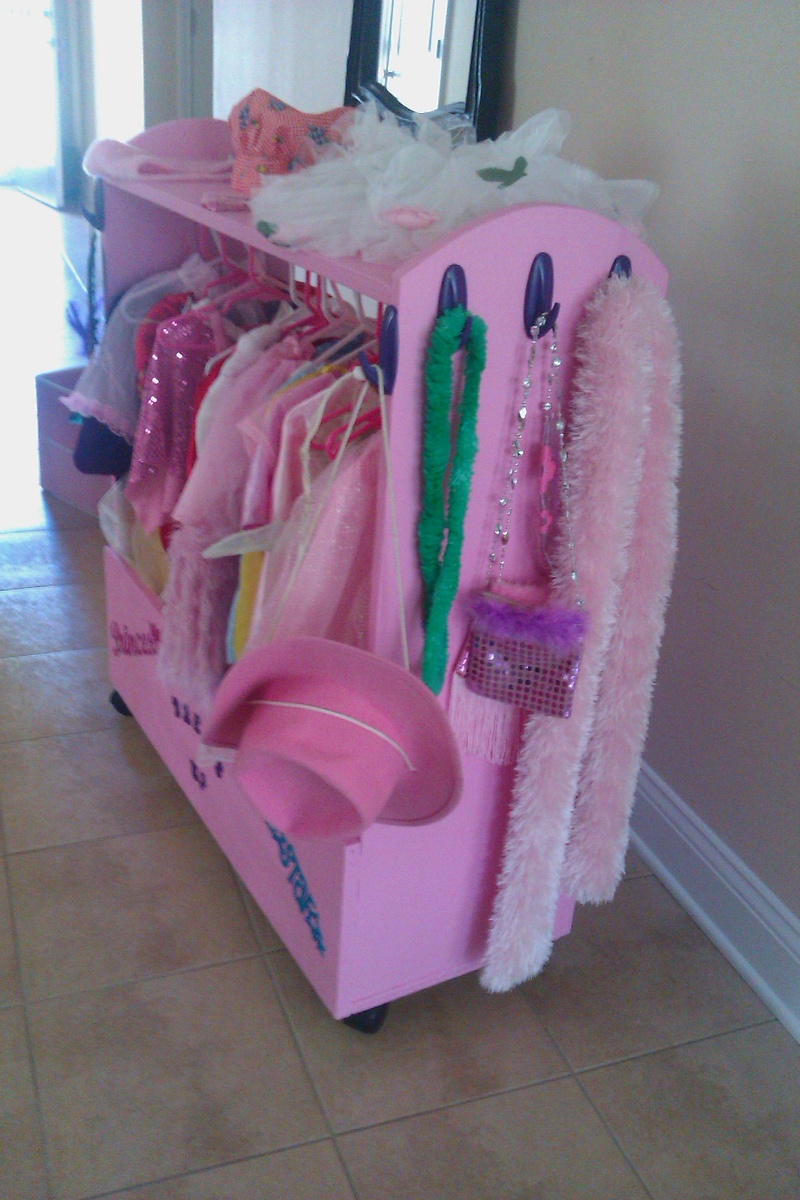
One of the first projects from my new "workshop". I added a mirror to one end and hooks to the front and other end. My 3 year old was ecstatic about helping build it and I enjoyed every minute of it! What a fantastic way to bond and teach and grow, for both of us! Thanks for the site and the plans Ana!!!
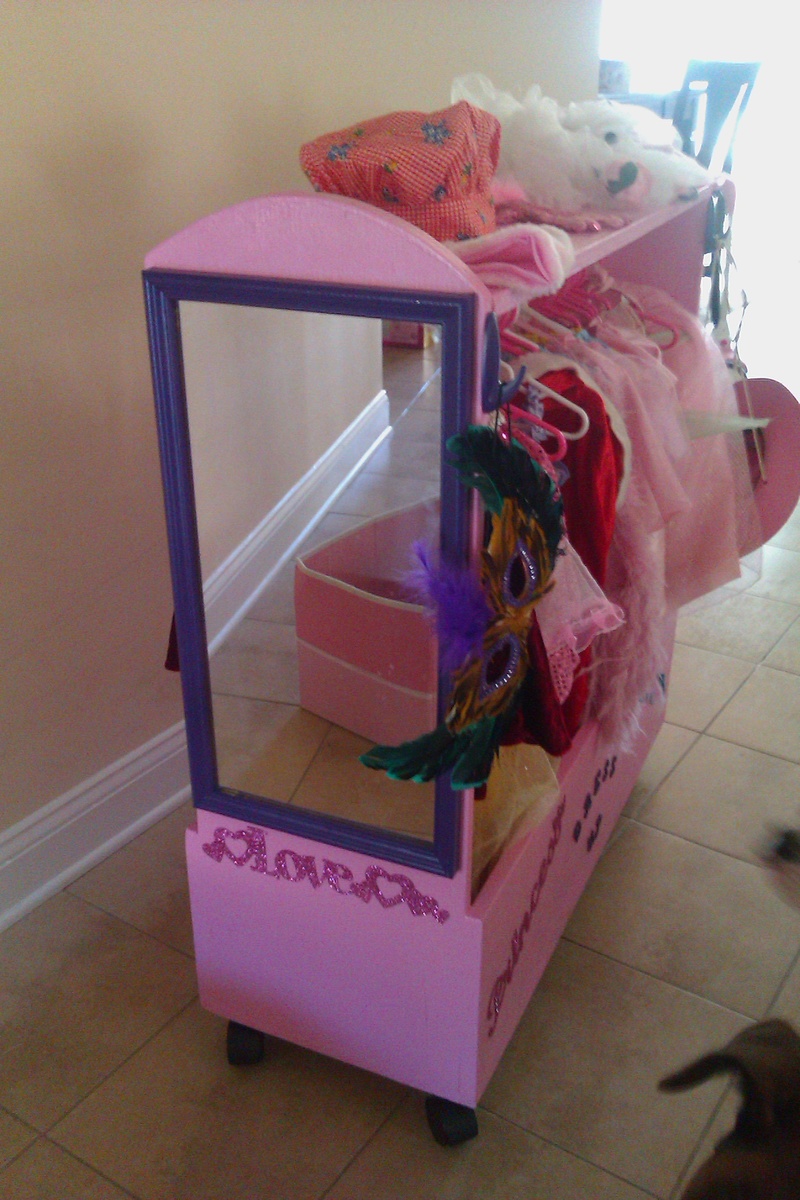
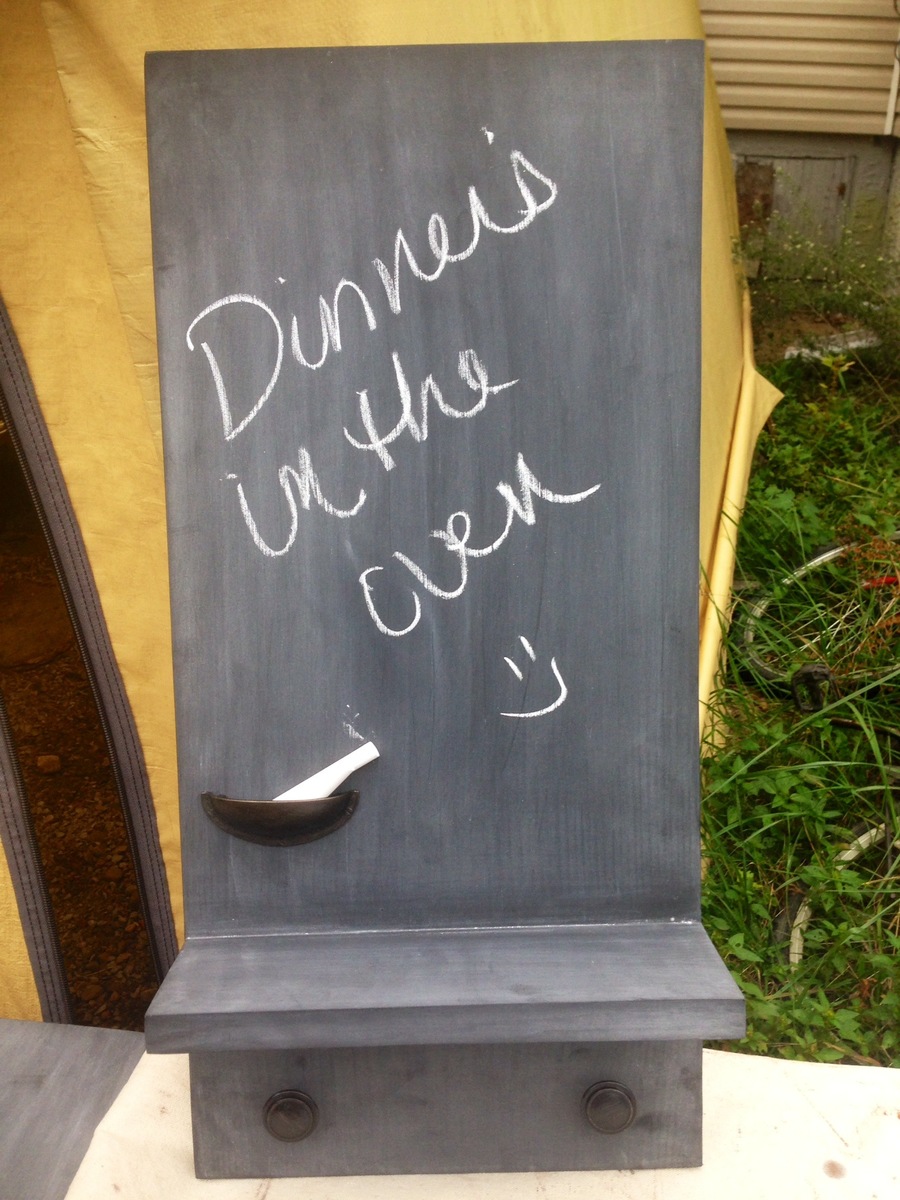
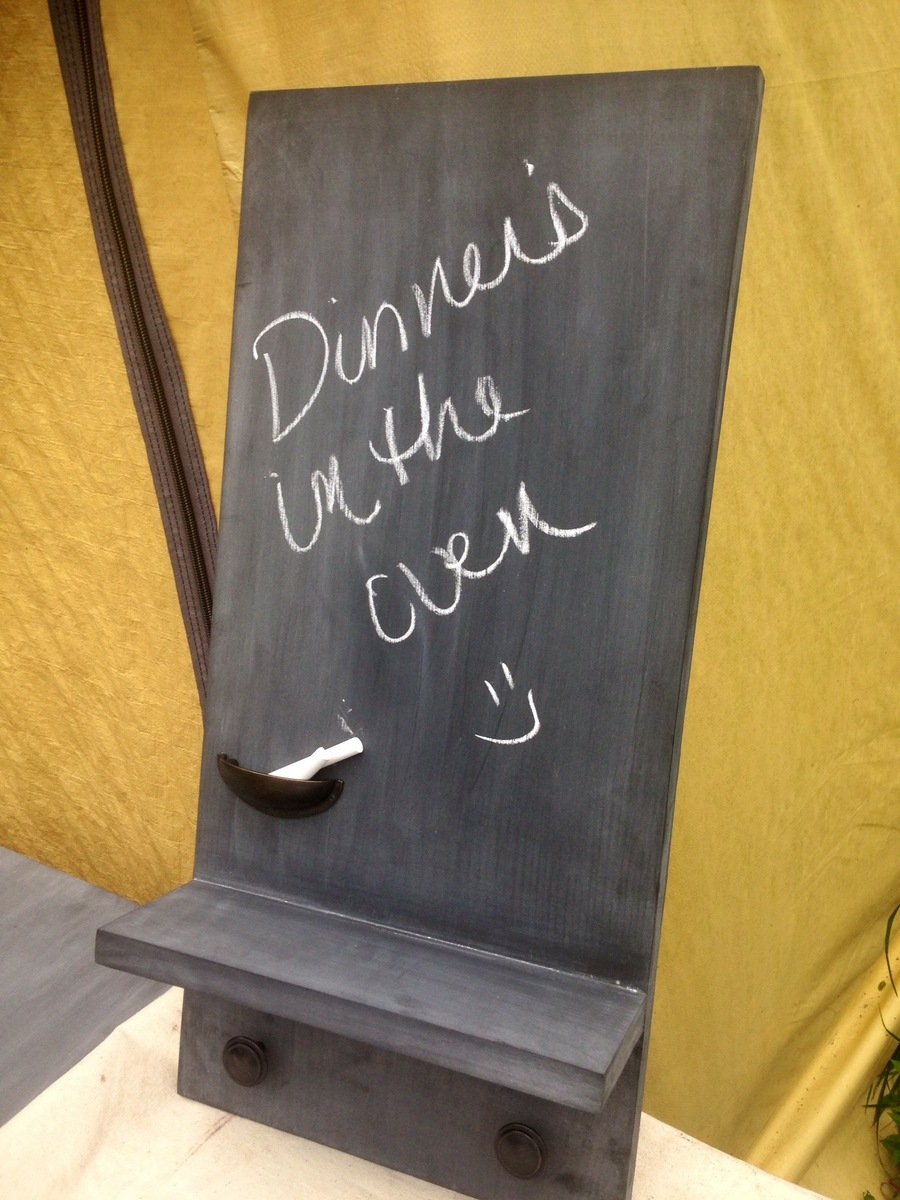
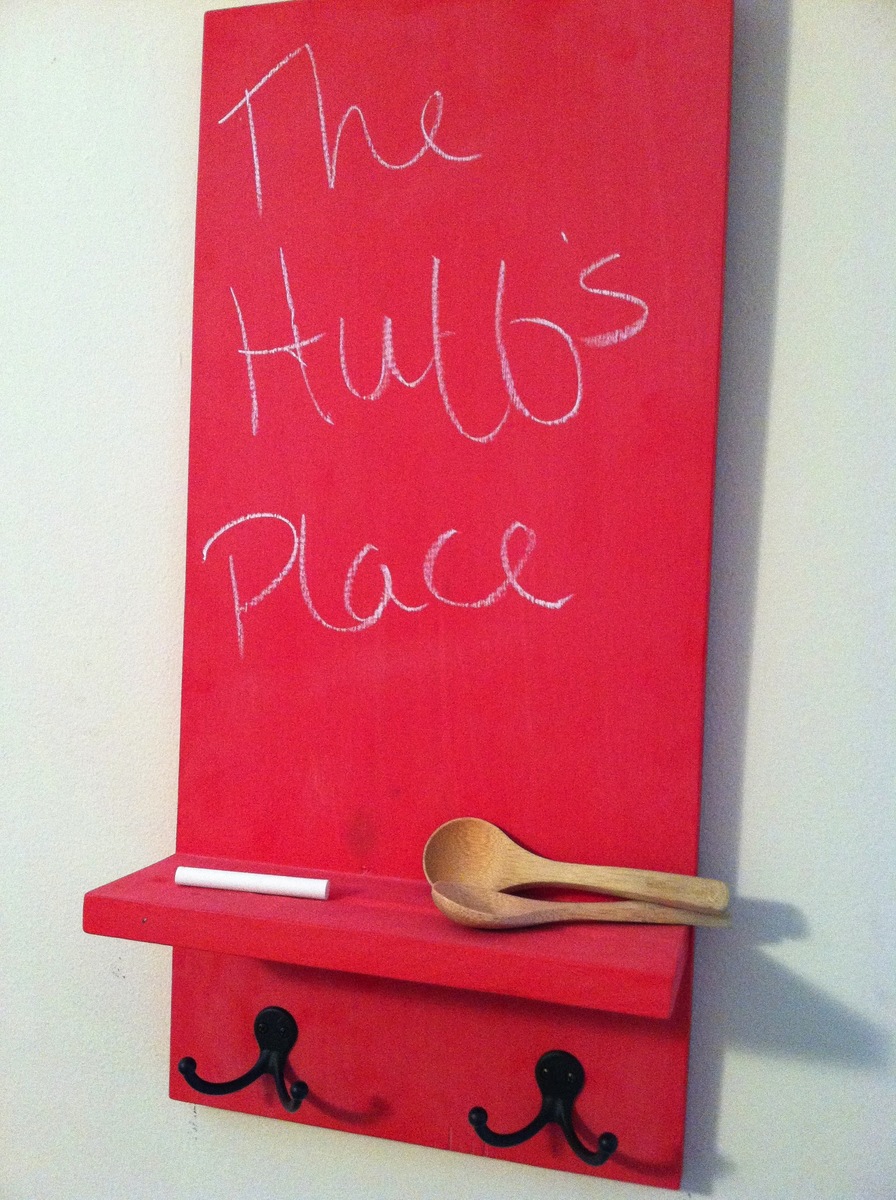
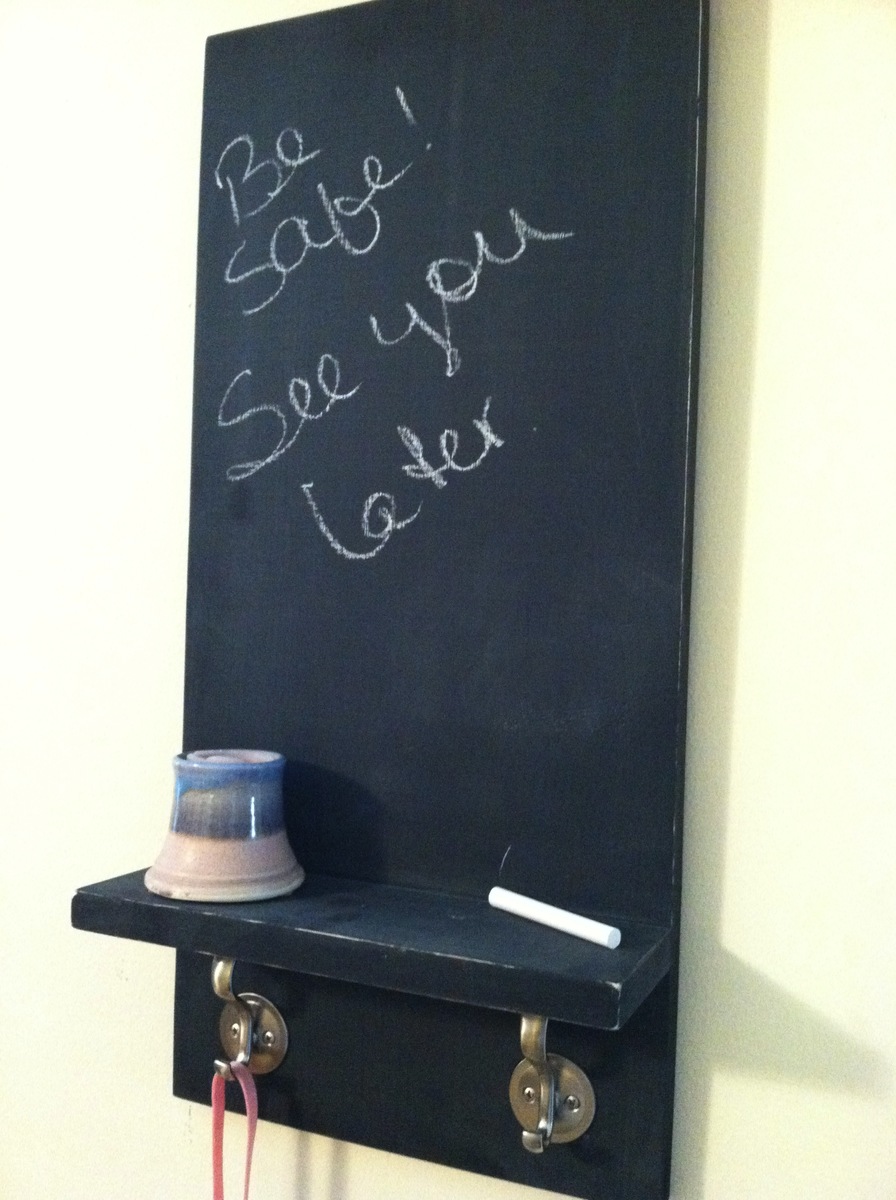
I have made so many of these and love it. Different colors for different people. Making your own chalkboard paint is so easy also. Thanks Ana!
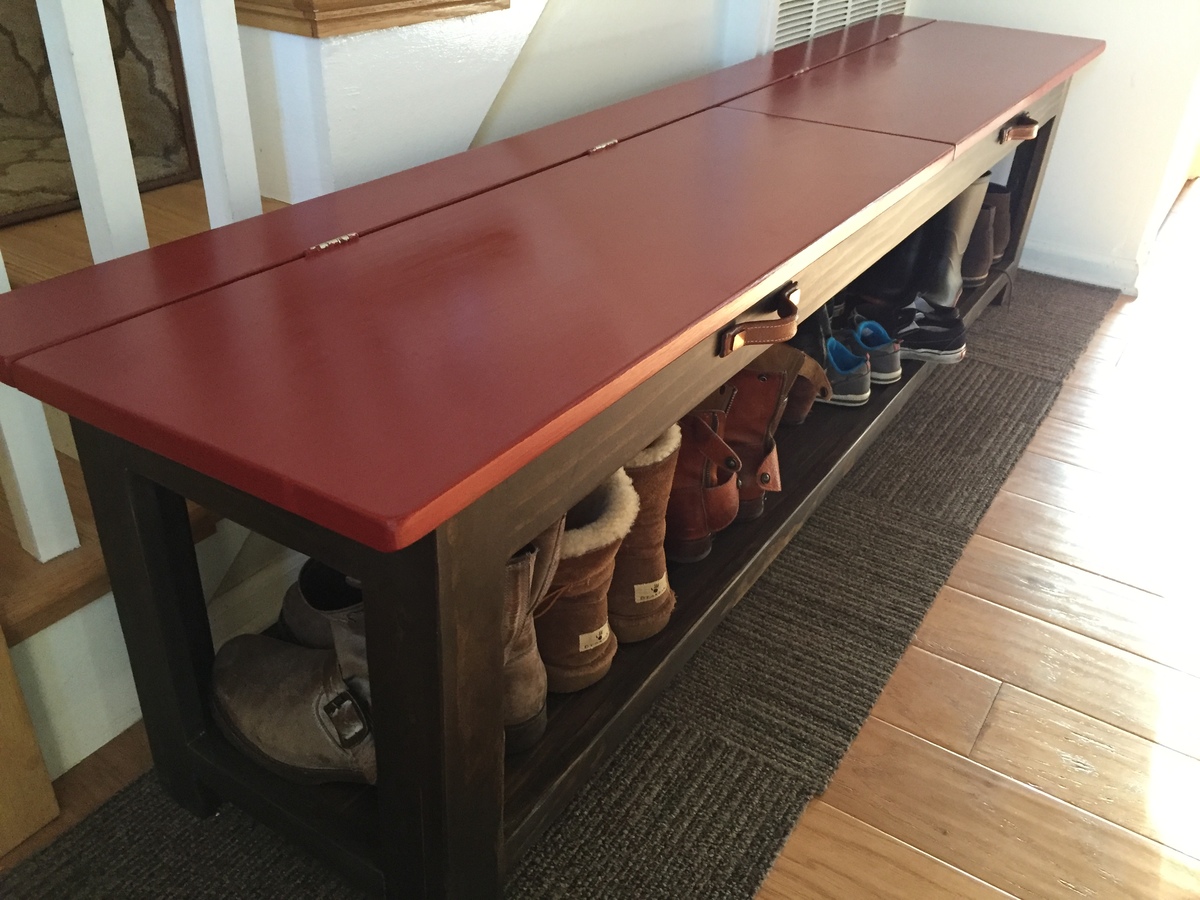
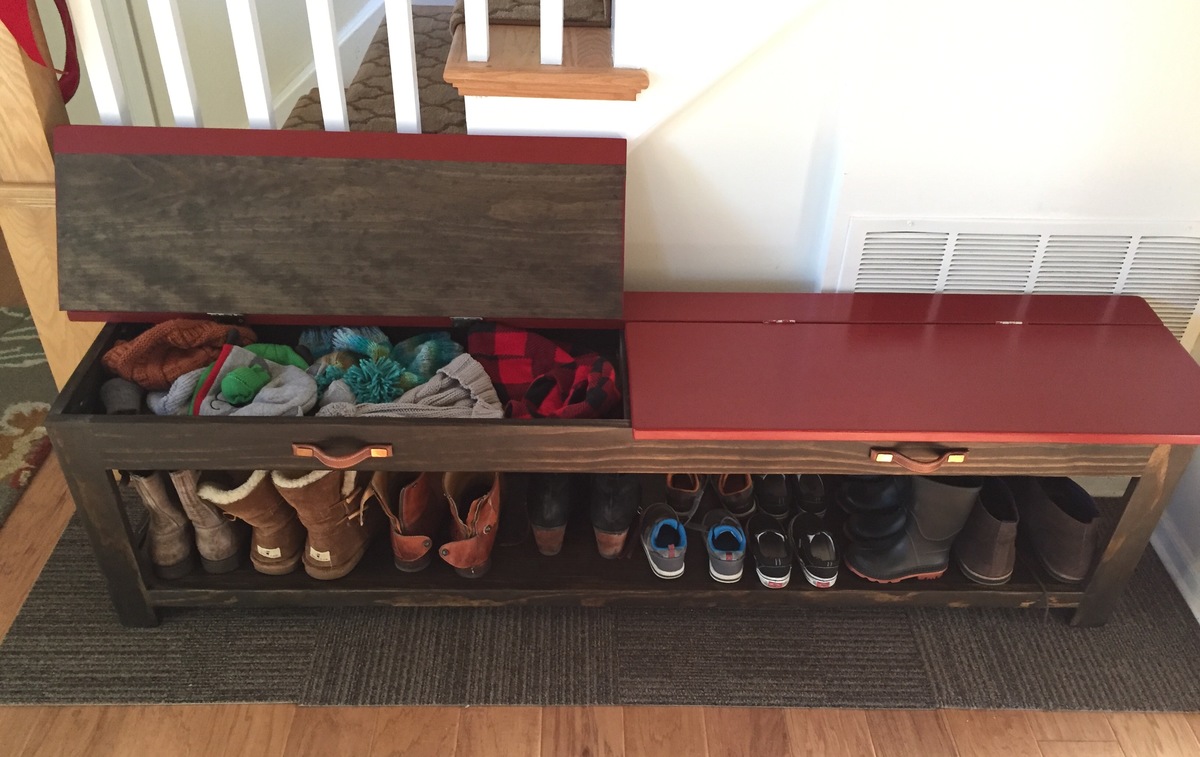
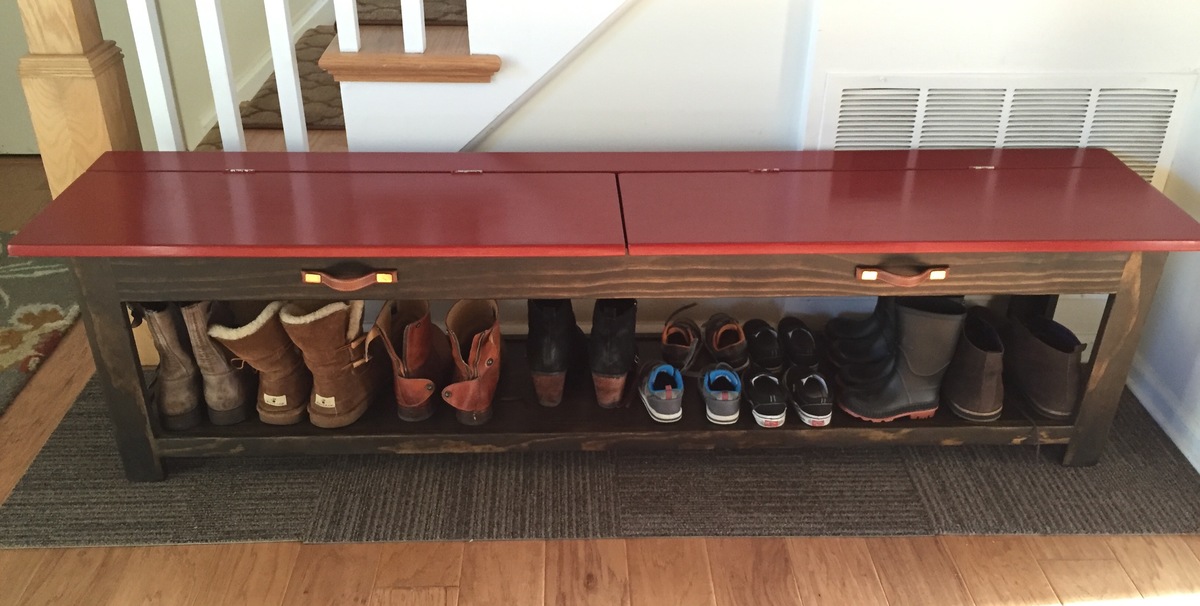
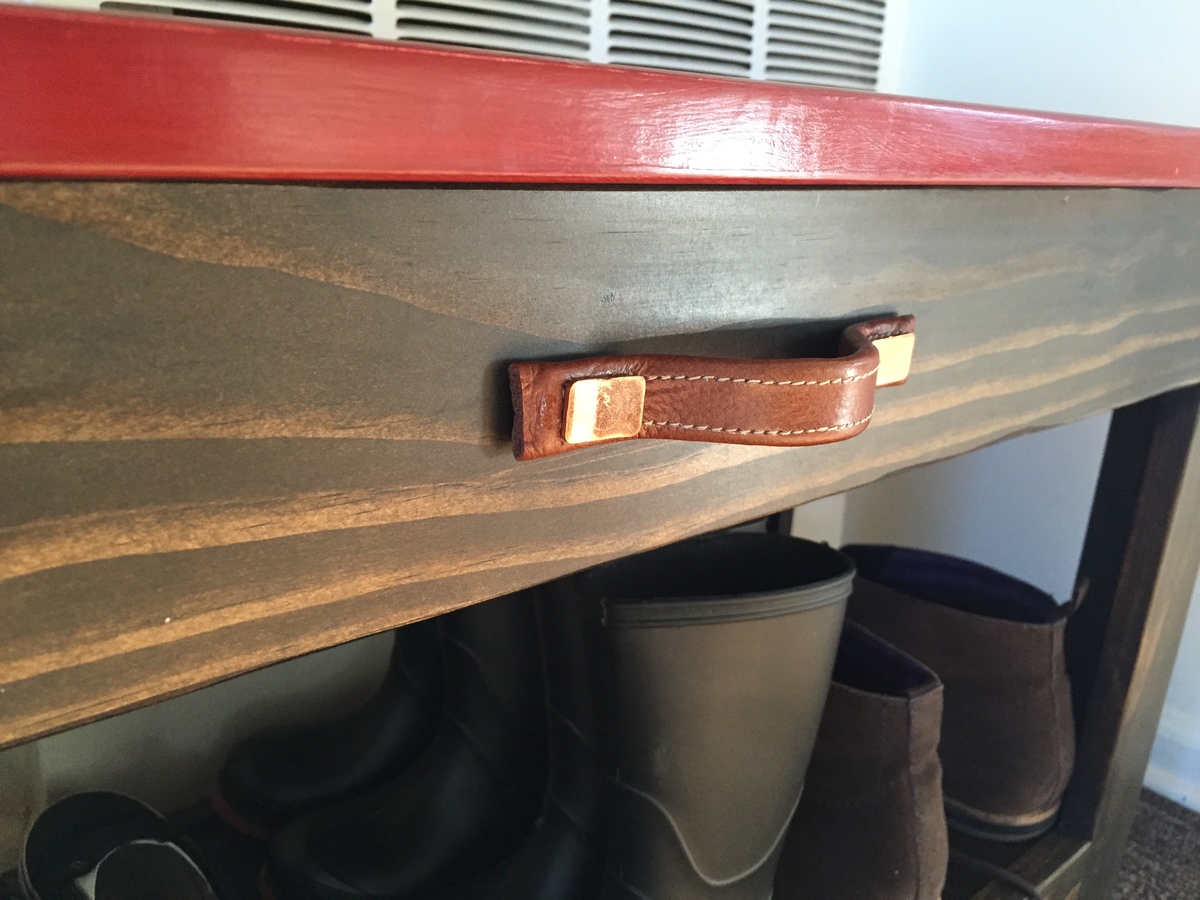
We decided to make our bench 5.5 feet long, without a supporting middle piece. Inside the top storage there is a middle piece of wood supporting the top. So far this is holding up really well and seems very sturdy so I am not worried about the length. The plans were relatively easy to follow, and having the wood cut at the store helped although it was not 100% accurate. For us, the wood alone cost around $100. I also chose to paint the top rather than staying the entire thing, which ended up adding to the cost. I would guess that this entire bench cost around $150 to make, including supplies and paint, and multiple weekends work since I was working only during our twins nap time. But totally worth it! We are getting so much use out of this, and it gets complimented every time people see it.
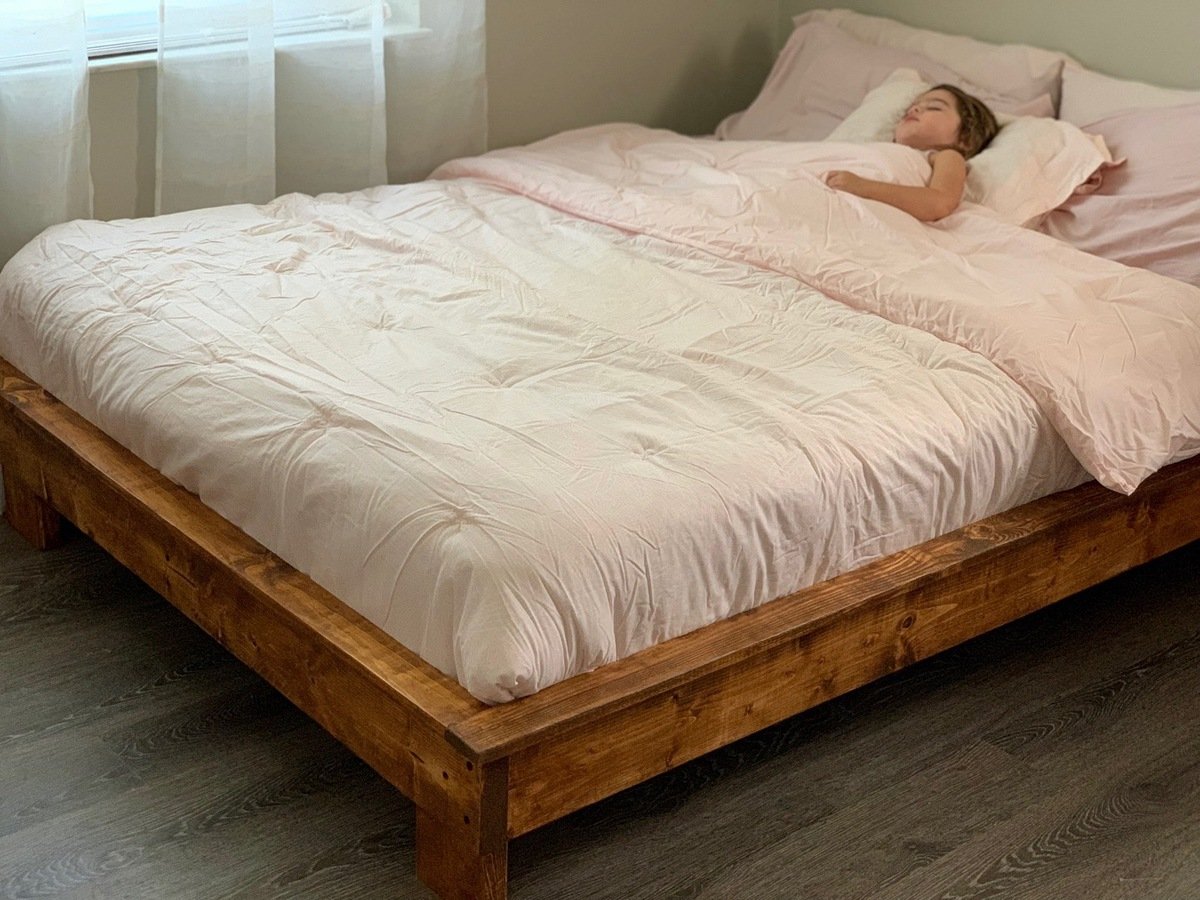
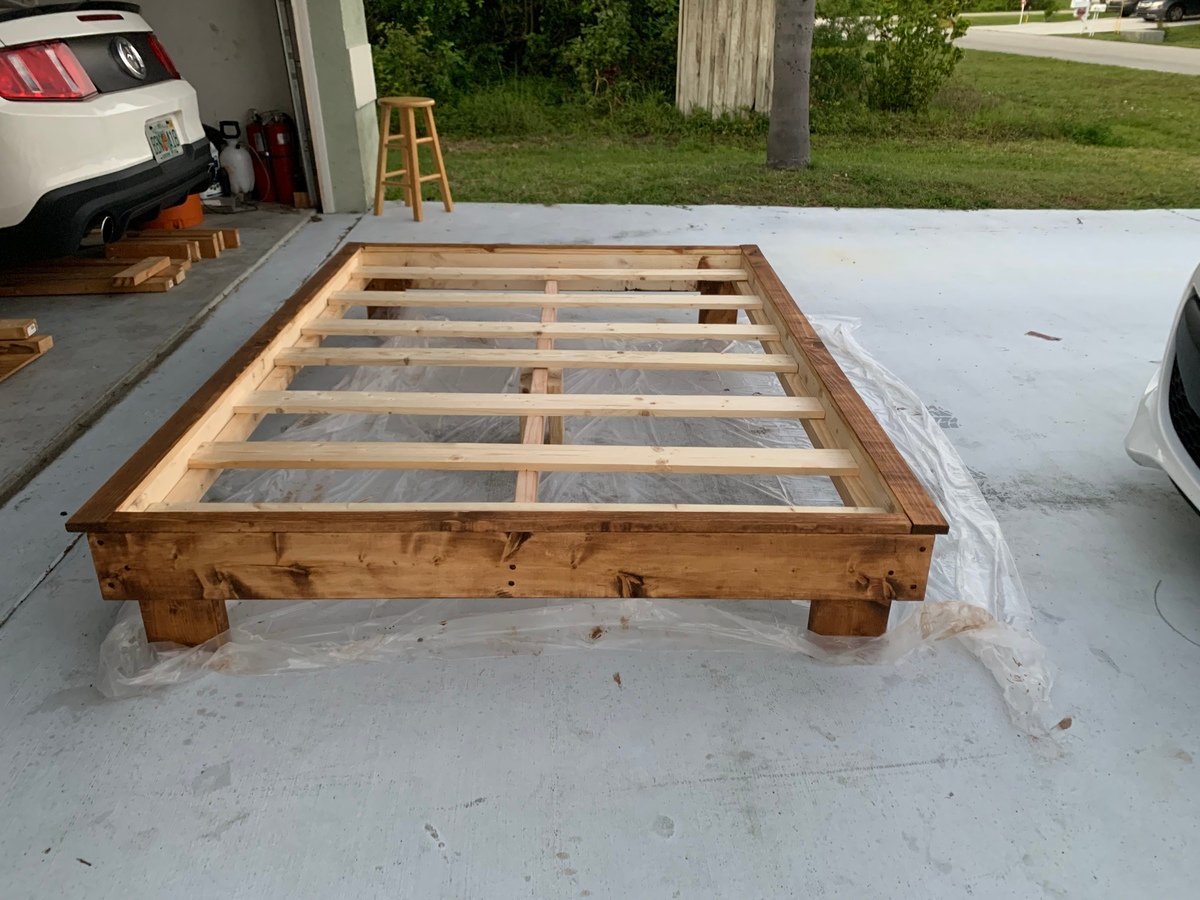
I’m in love with how well this bed turned out. Modified by using a 2x4 for middle support and 1x4’s for slats. It was less money and felt better for support.
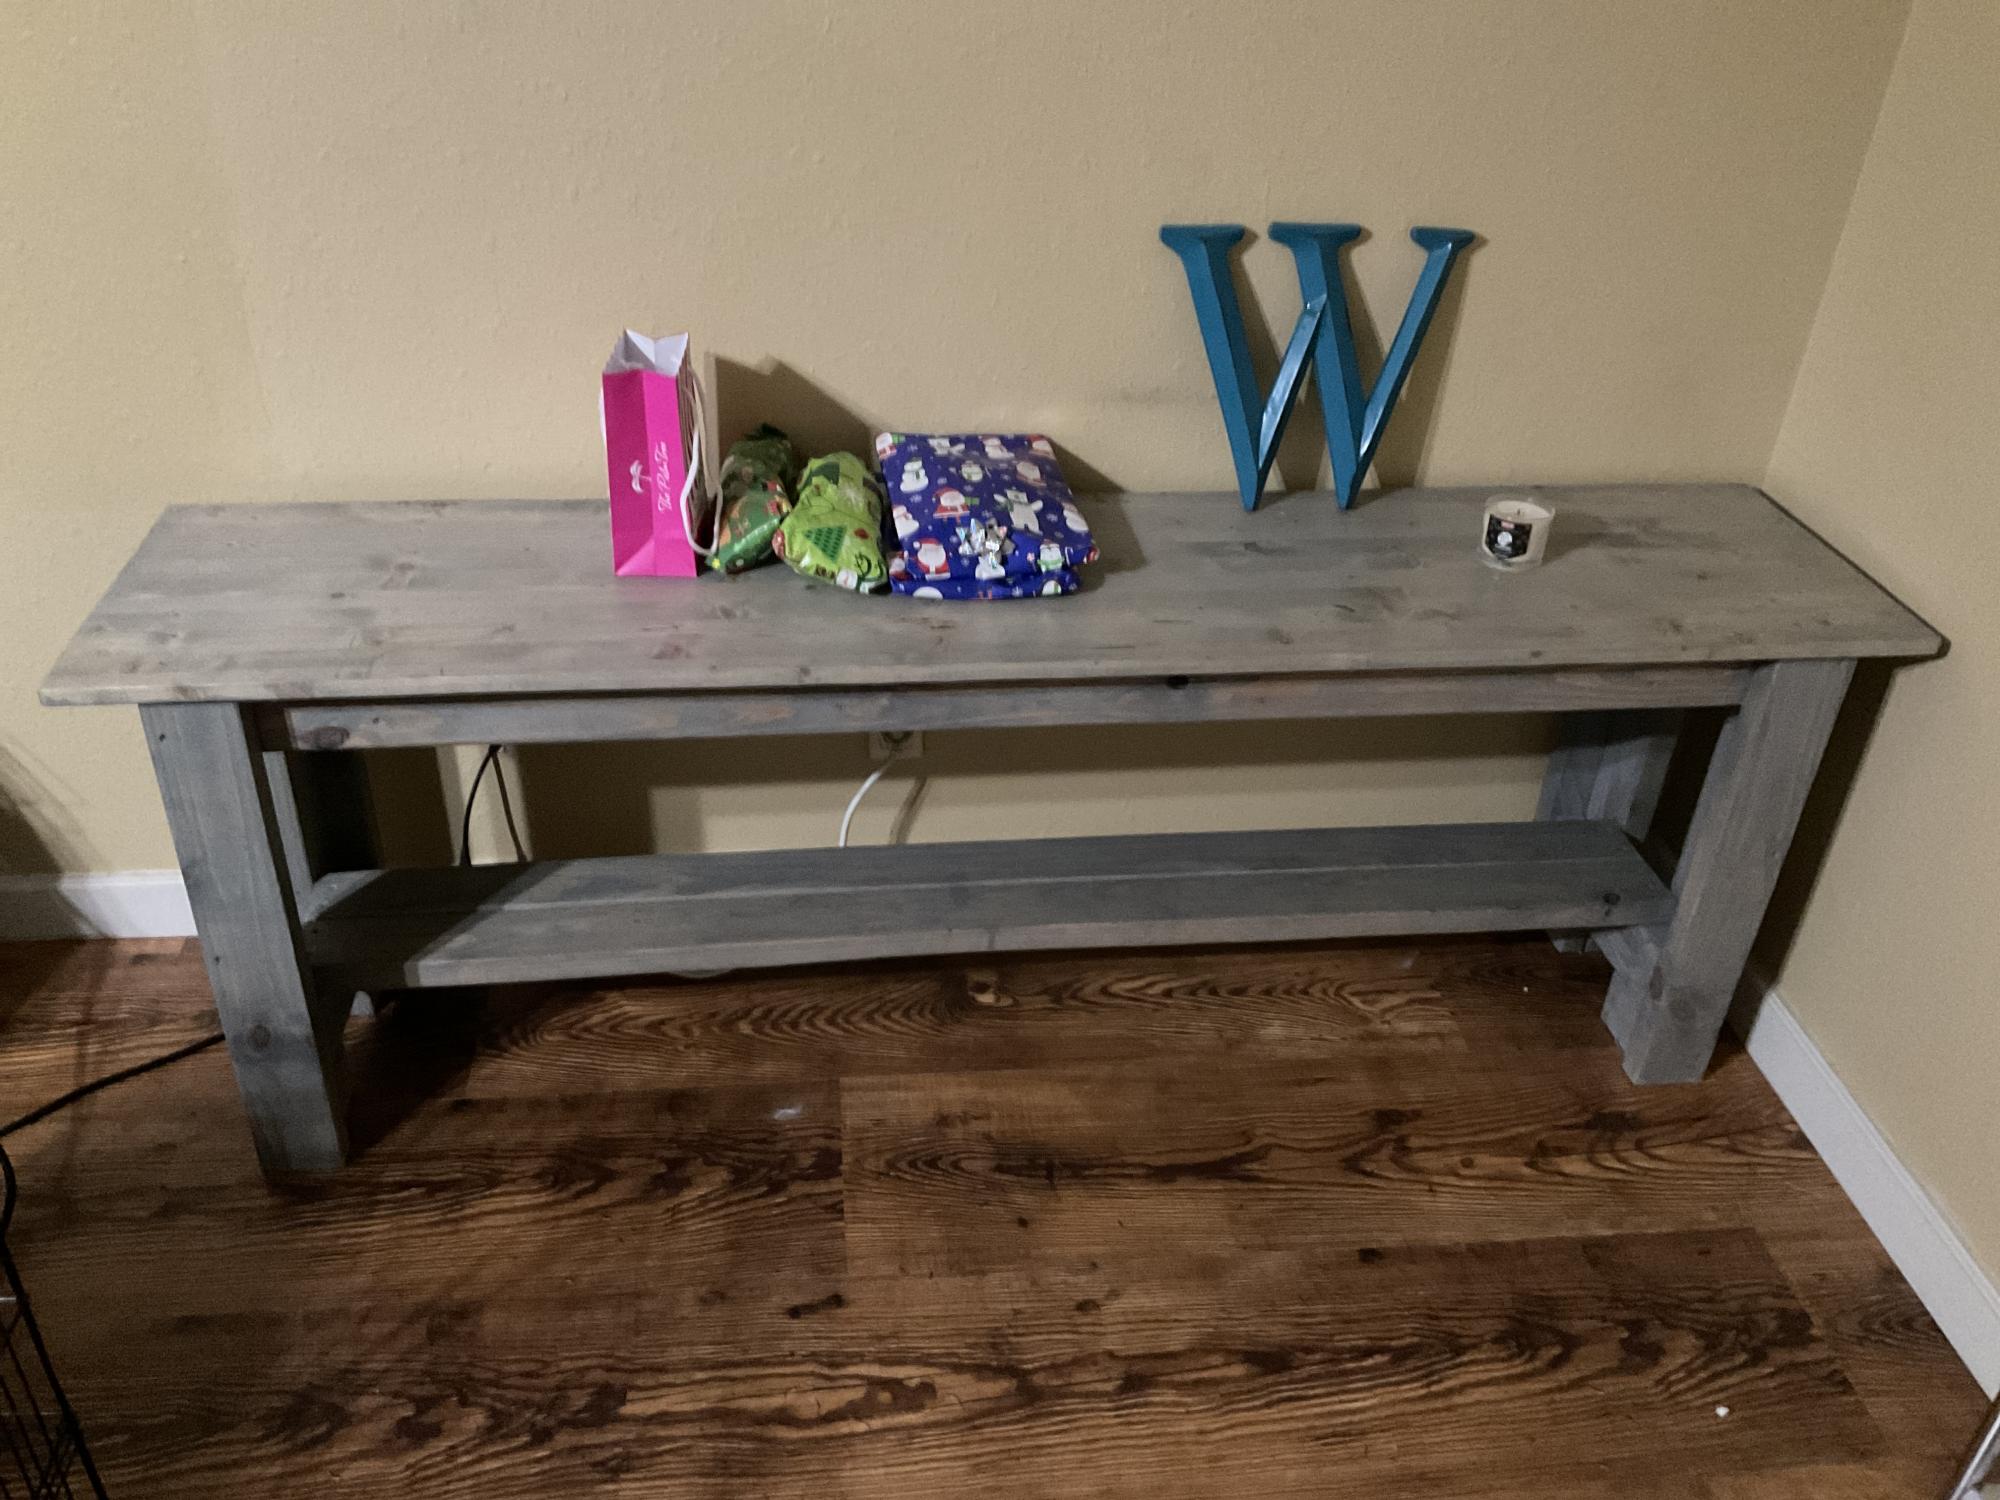
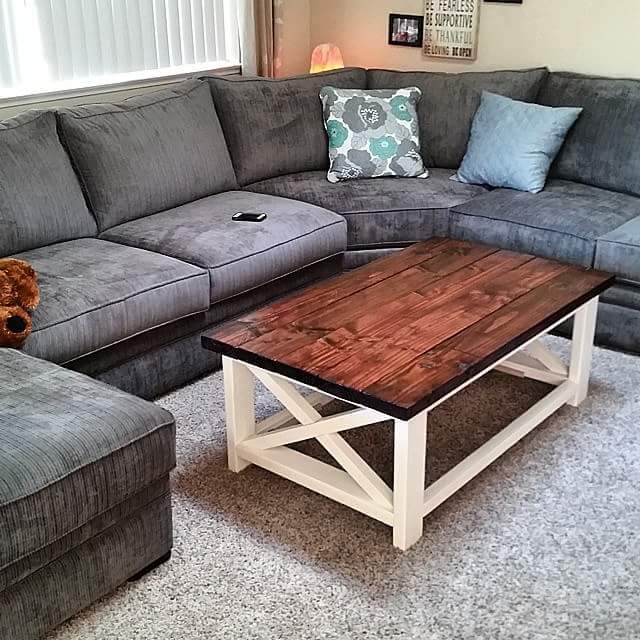
I used your sturdy workbench idea and made it a nice table for behind our couch.
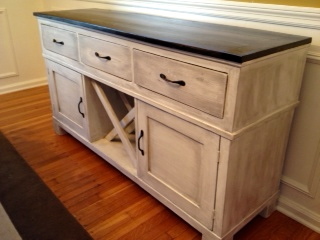
We recently built our version of the Salsa console to use as a buffet/sideboard in our dining room. It turned out beautifully and we couldn't be happier with it! Check out our blog for more details :)
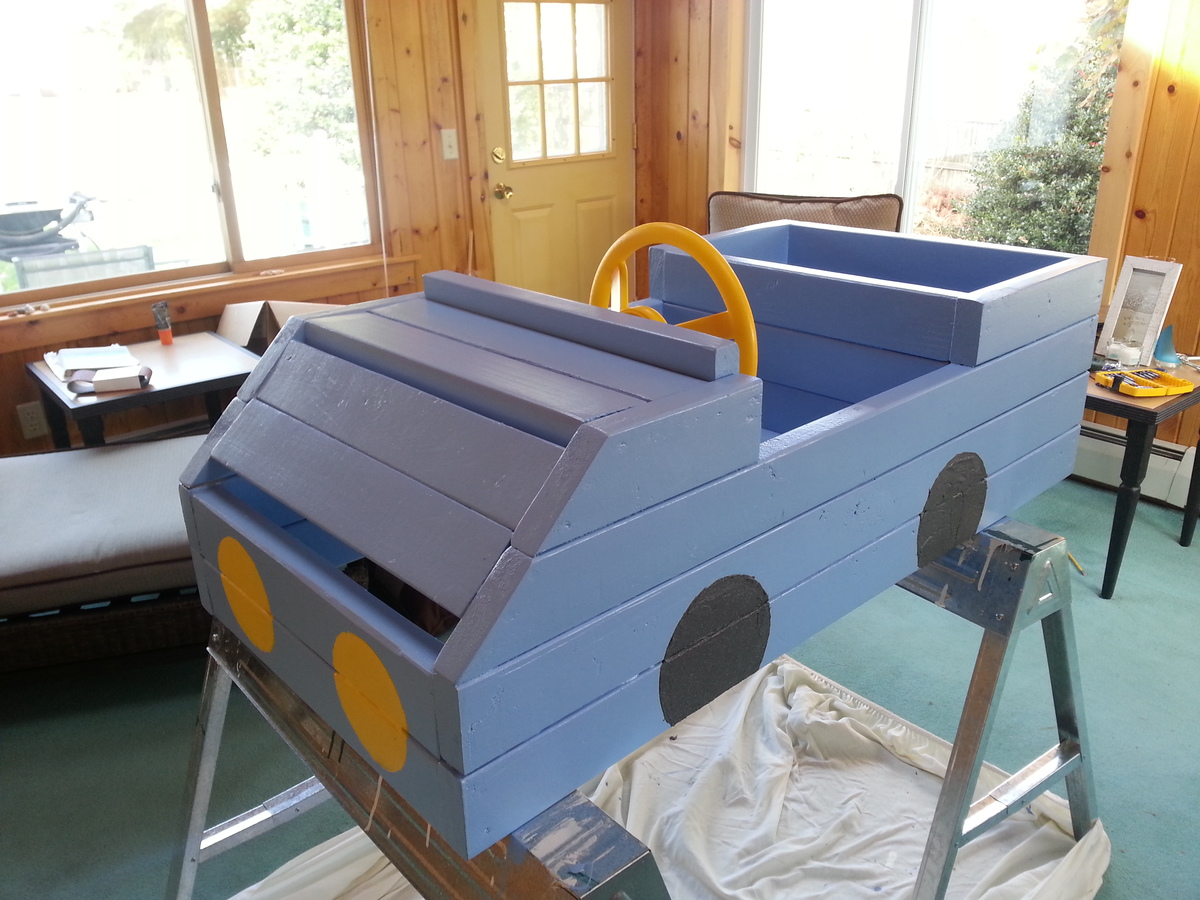
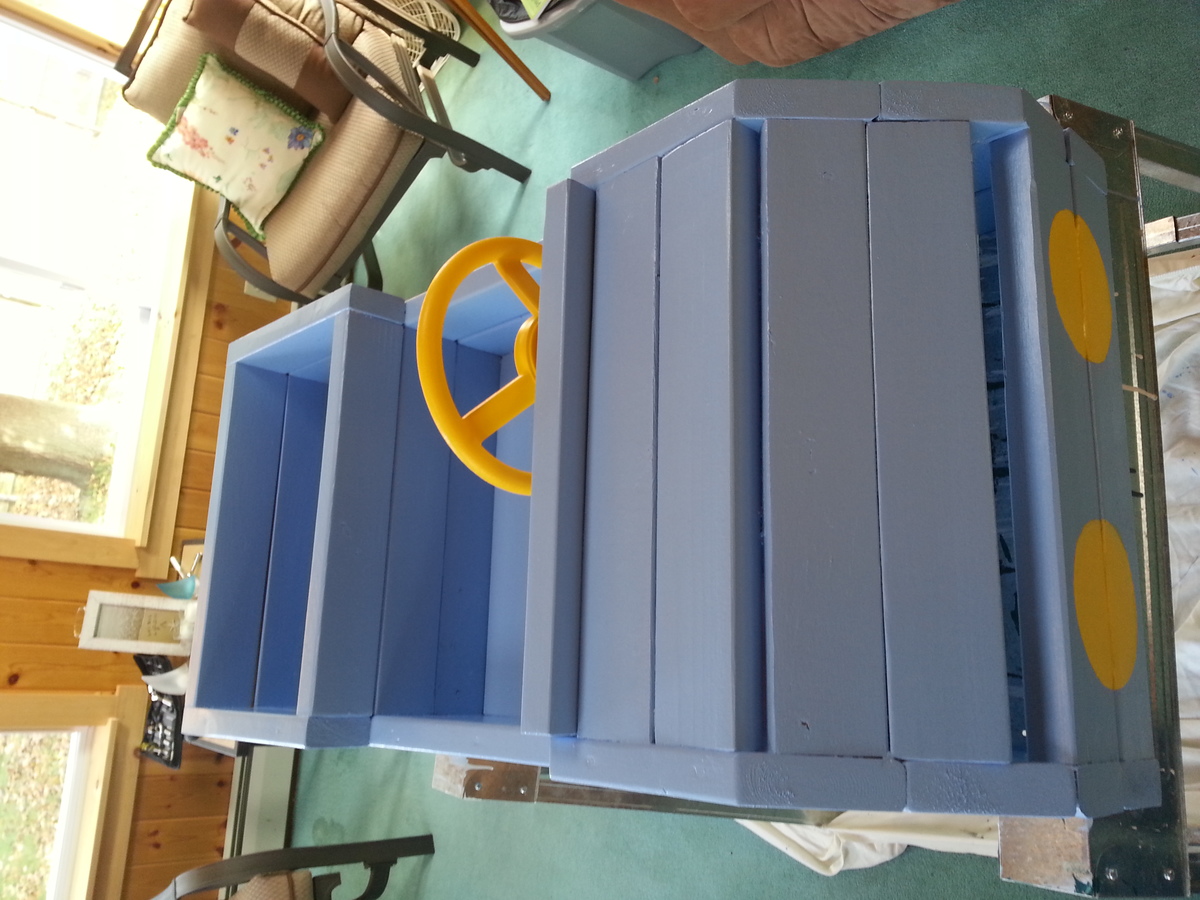
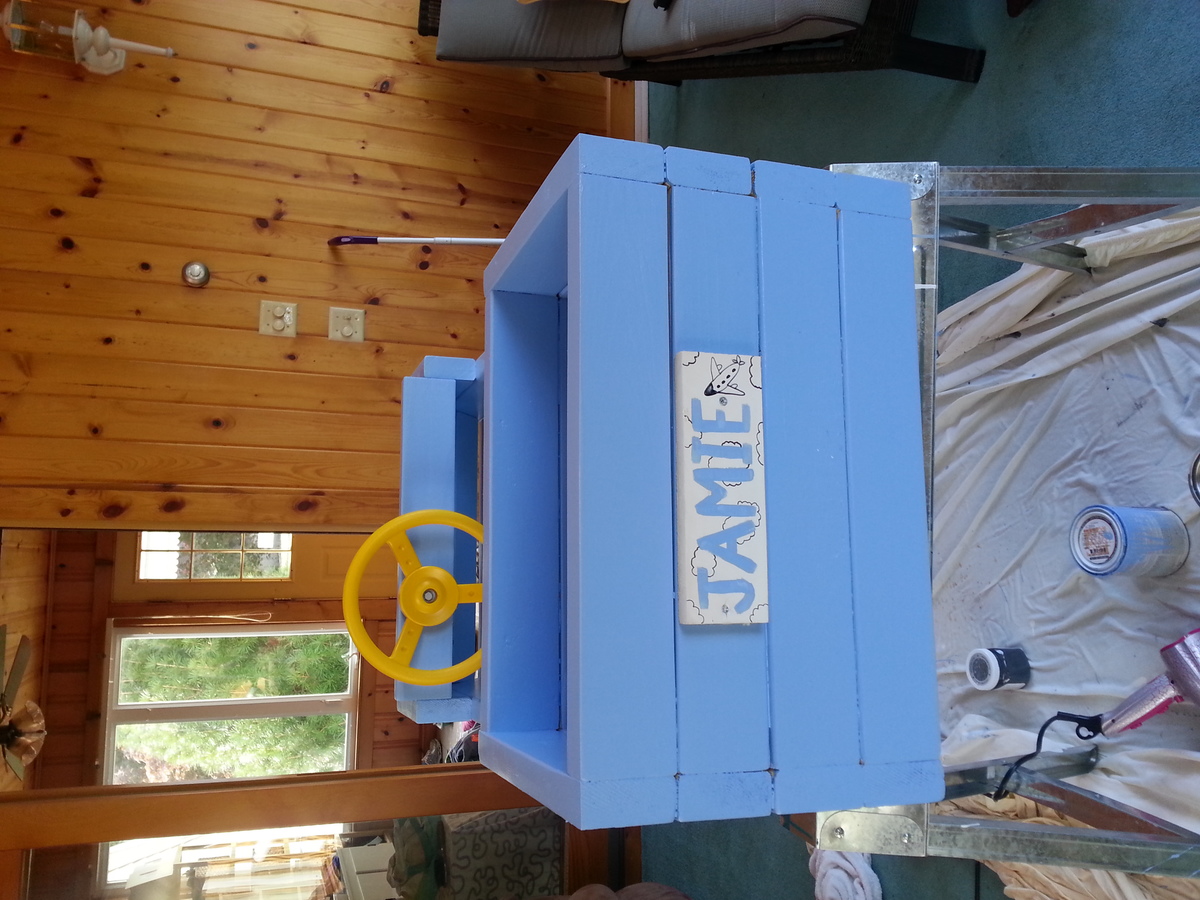
This was my second build (easier than my first project...the Adirondack chair). Its a heavy piece and plenty sturdy as a birthday present for my one year old nephew and his sister and cousins to play on. Bought a plastic steering wheel from amazon.com. the textured paint (Anchor Gray - textured metallic by Martha Stewart was perfect for the wheels). Couldn't find the plans on ana-white but did get them from http://www.morelikehome.net/2012/10/day-26-build-little-car.html?m=1
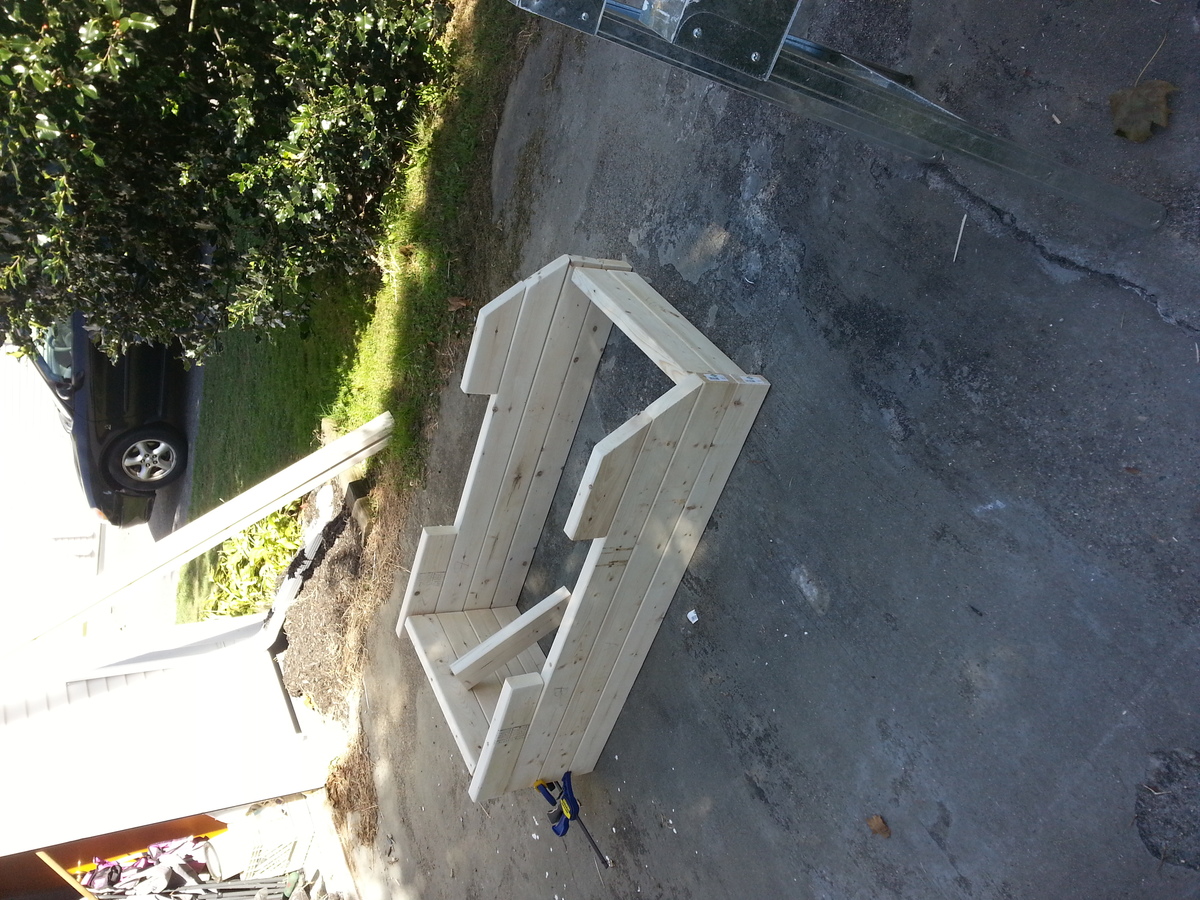
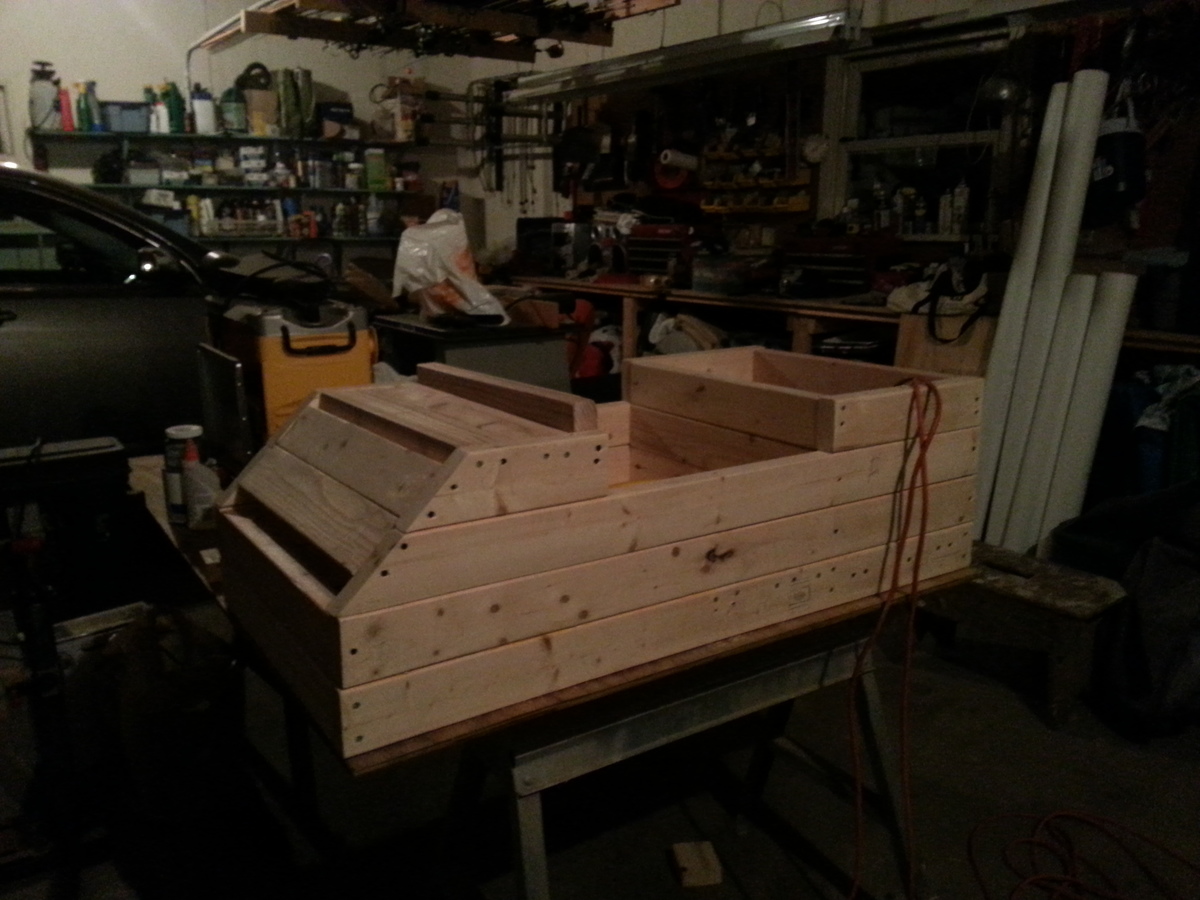
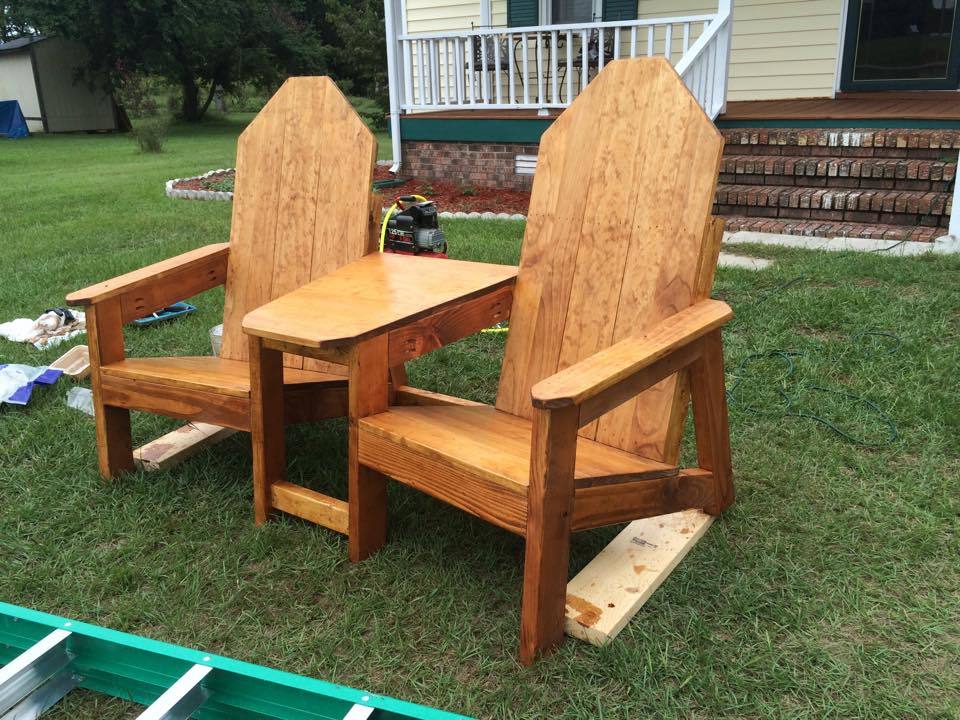
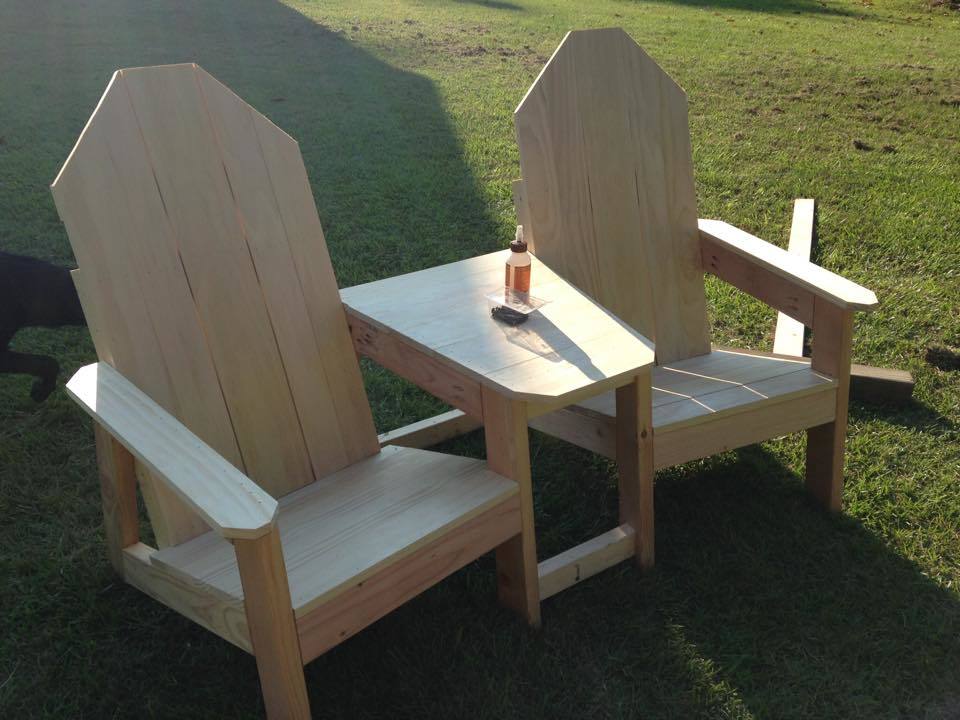
custom set of adirindack chairs i bulit for my deck. they are angled in at 20 degrees. i came up with the plans myself after looking at an older set i had purchased that were falling apart.
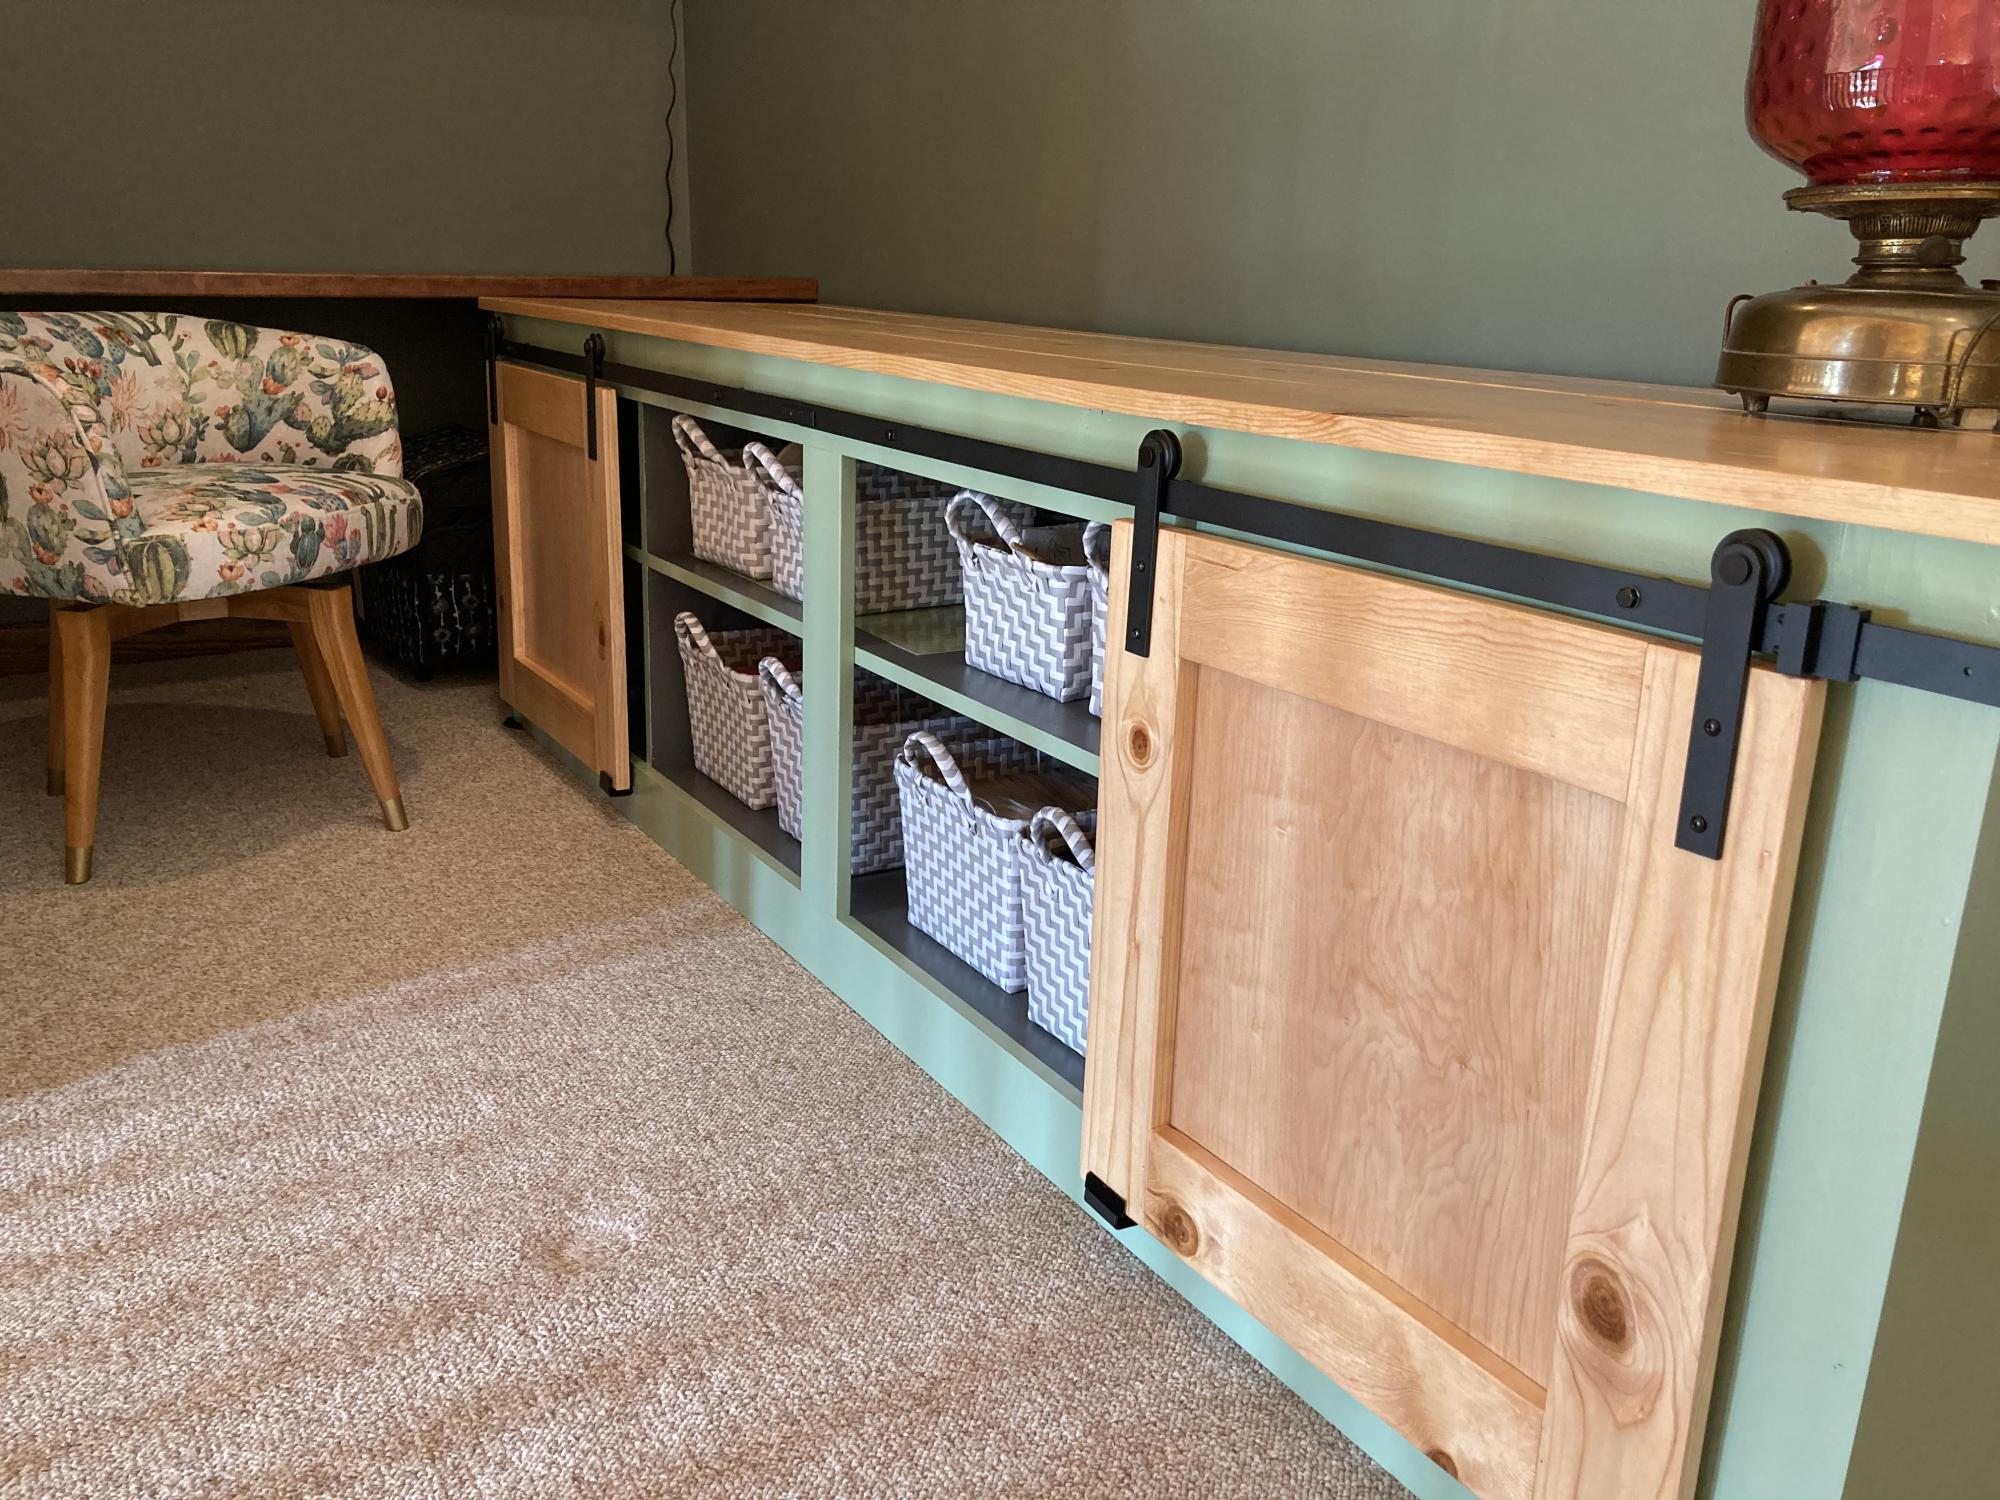
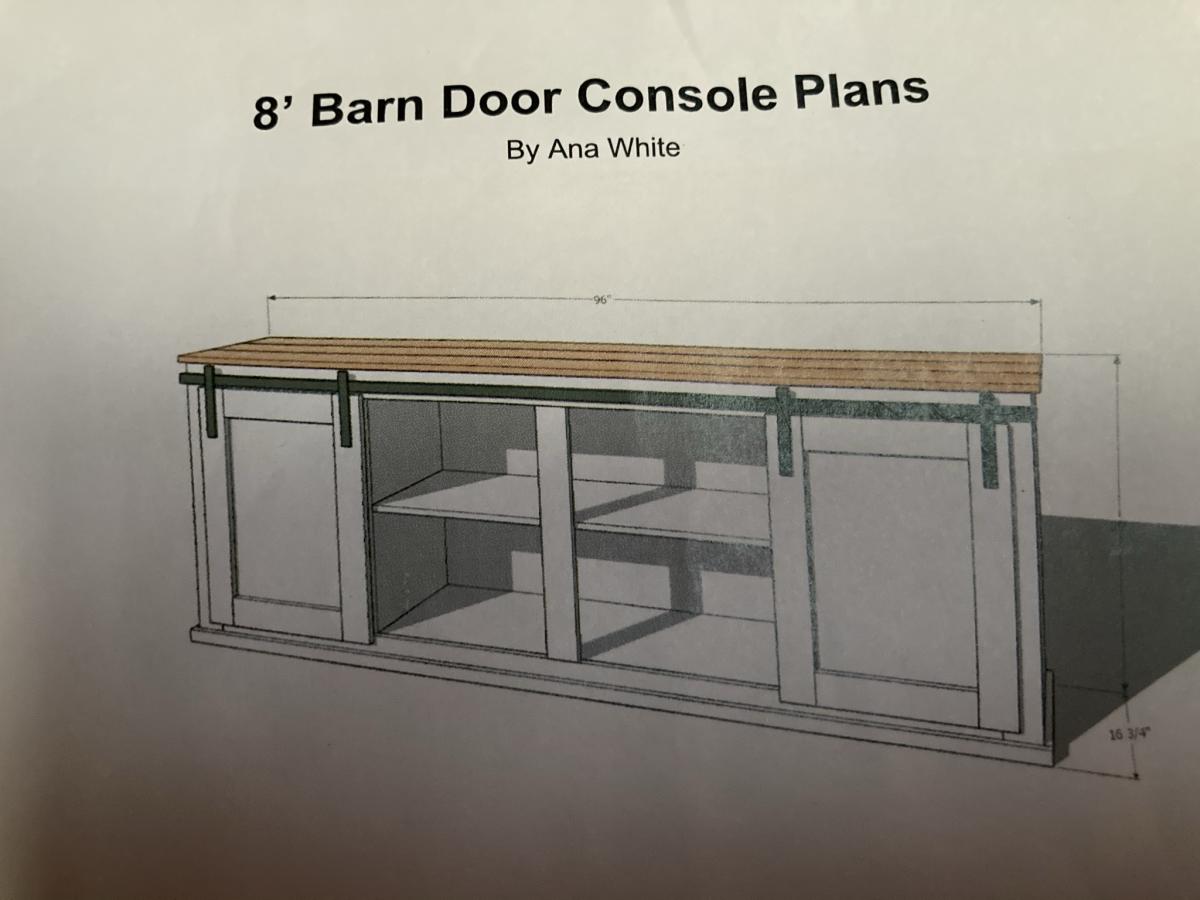
I had a loft space that was not being utilized so I created a crafting space using an Ana White Barn Door Console plan. I just started building furniture 5 years ago using a jigsaw, a miter saw, and a power drill. You are never too old to start
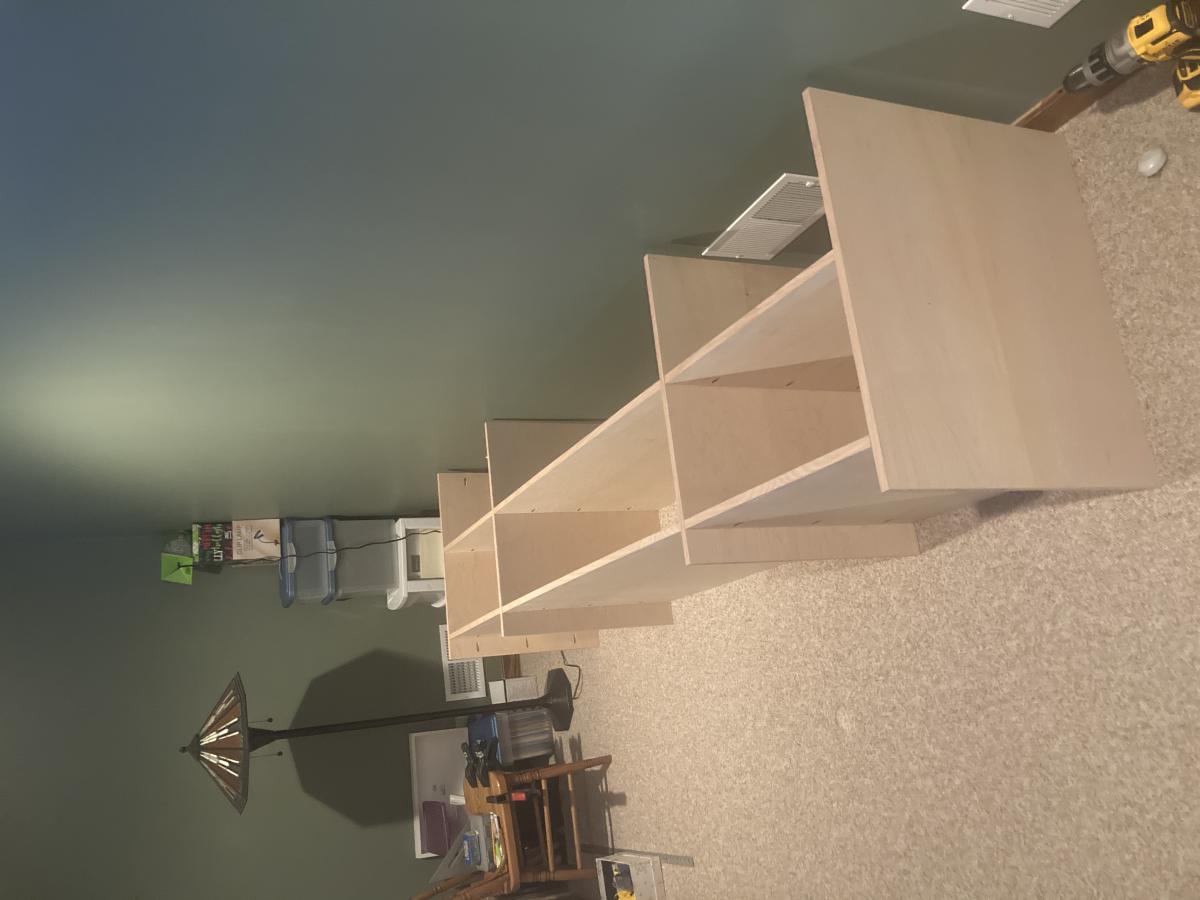
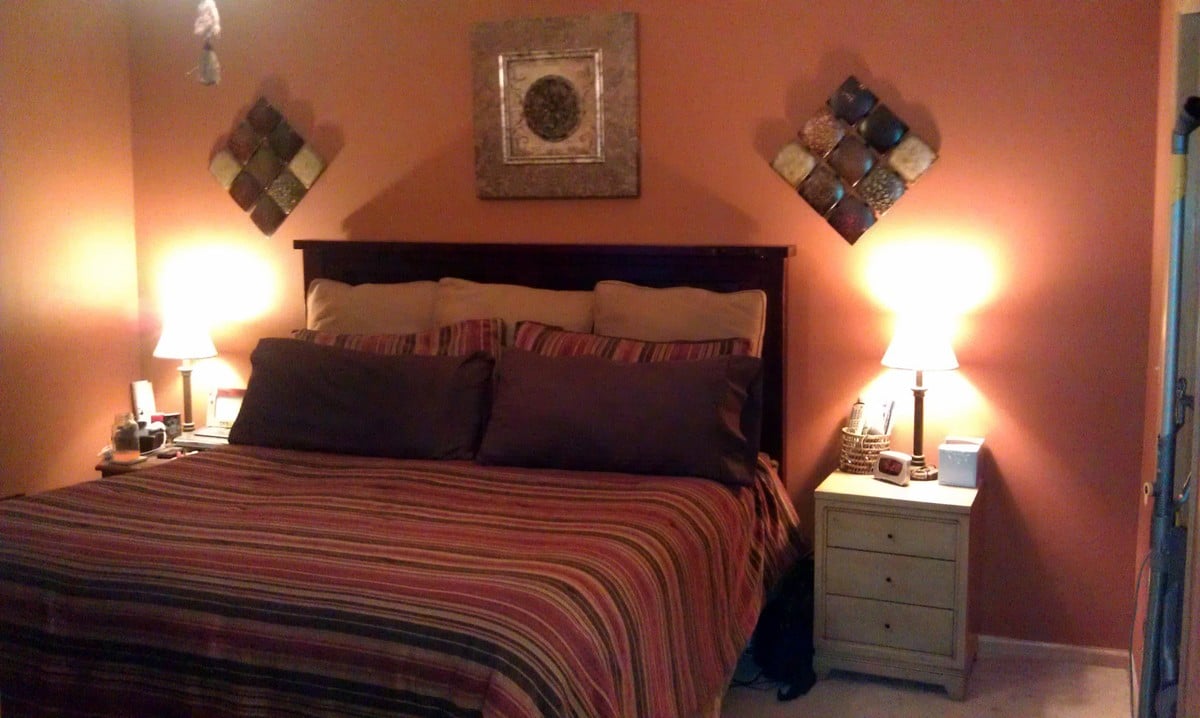
After finally getting my husband on the Ana White bandwagon, He cut all the wood for me and we assembled it in one afternoon. We used plywood instead of the planks, omitted the 2x4, using just the 2x6 on top, and we also attached 1x4s to the front of the "posts" that we made with 2 2x4s to cover the seam. I took about 2 or 3 days to sand and stain it and now he wants to build more!
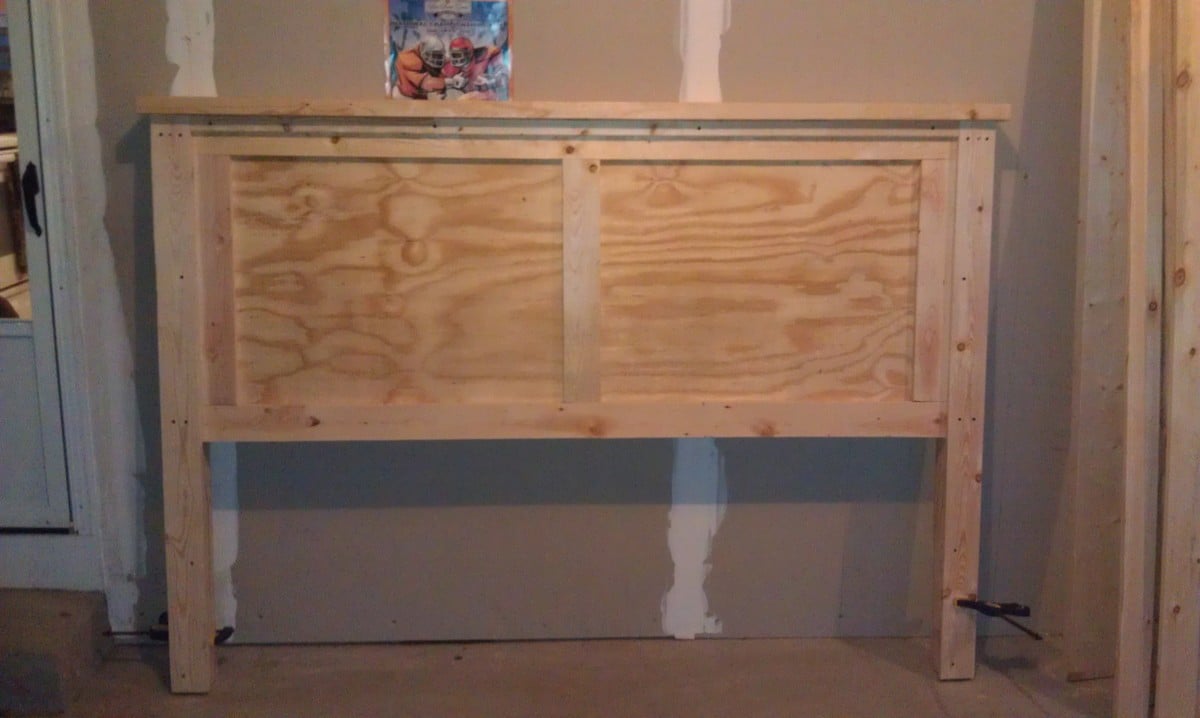
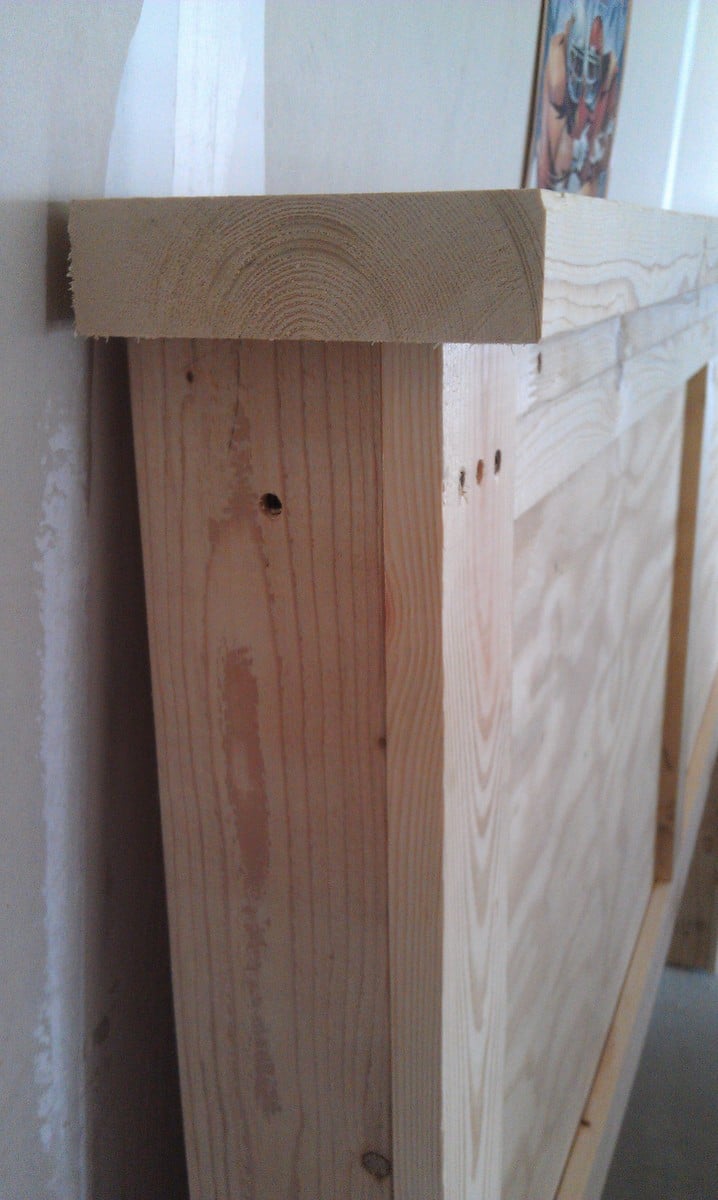
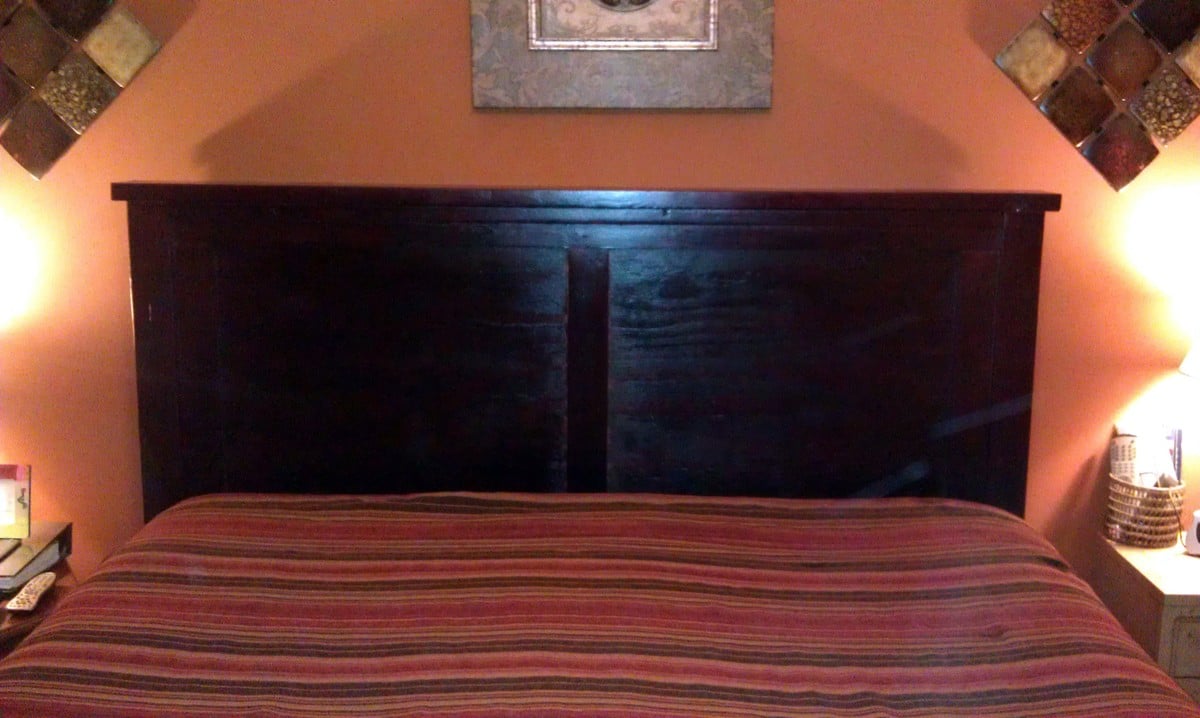
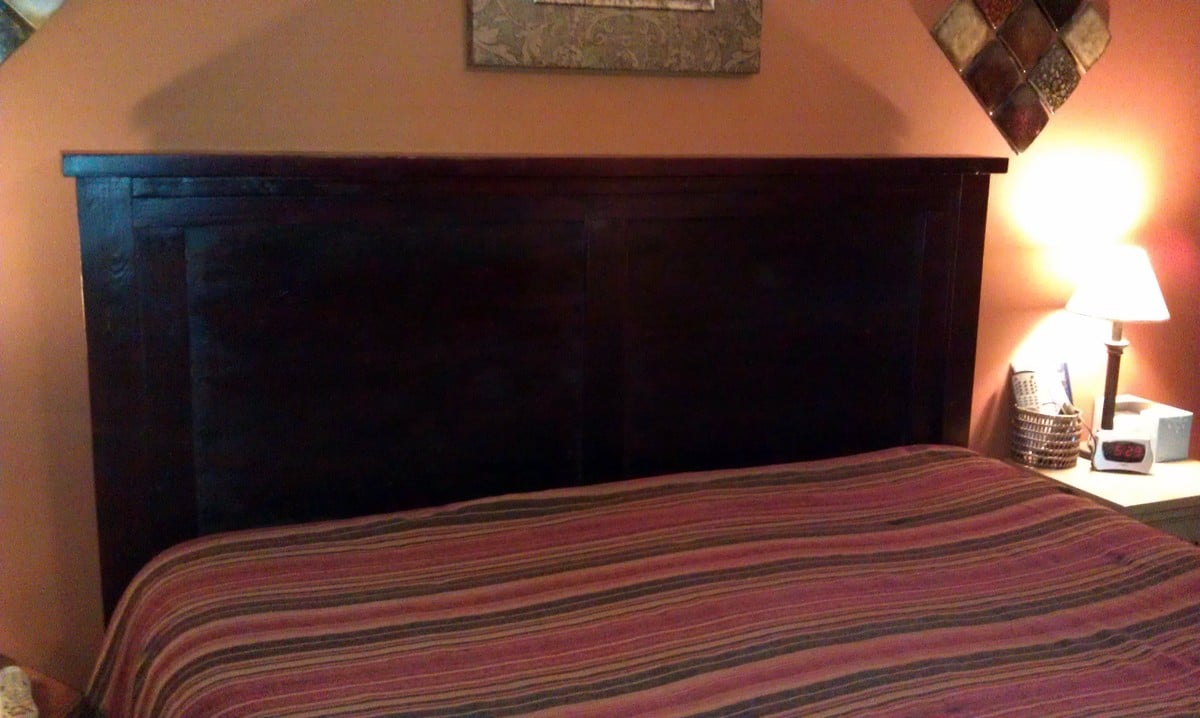
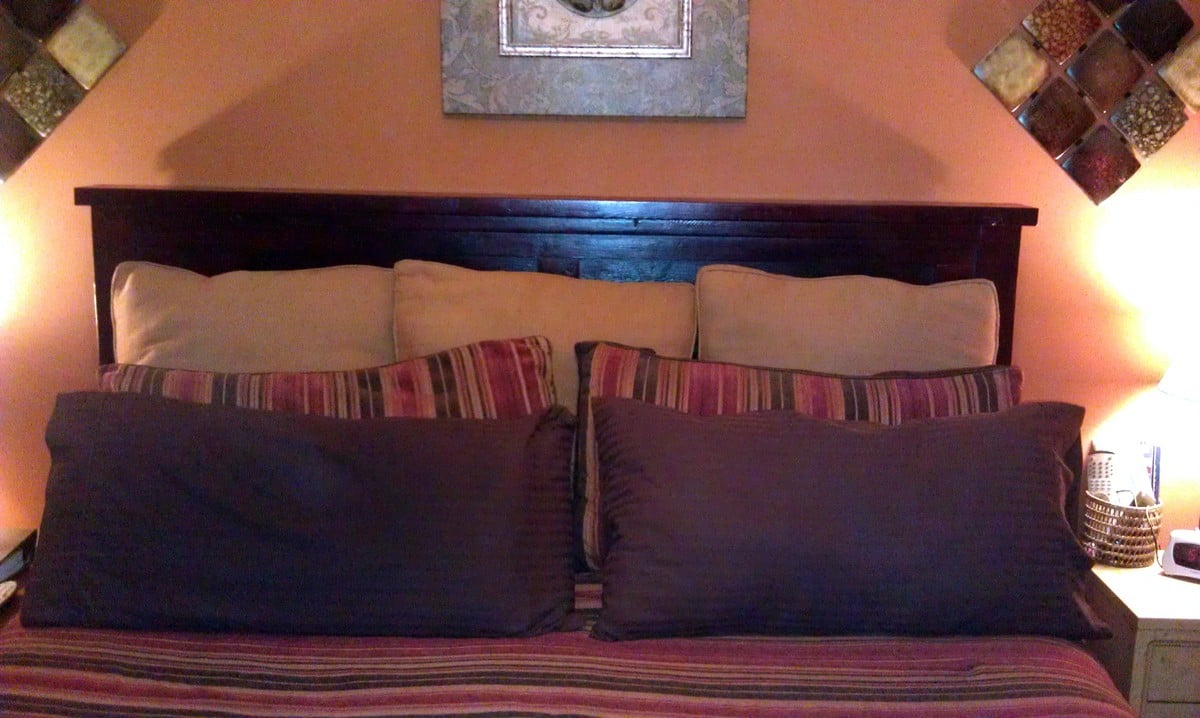
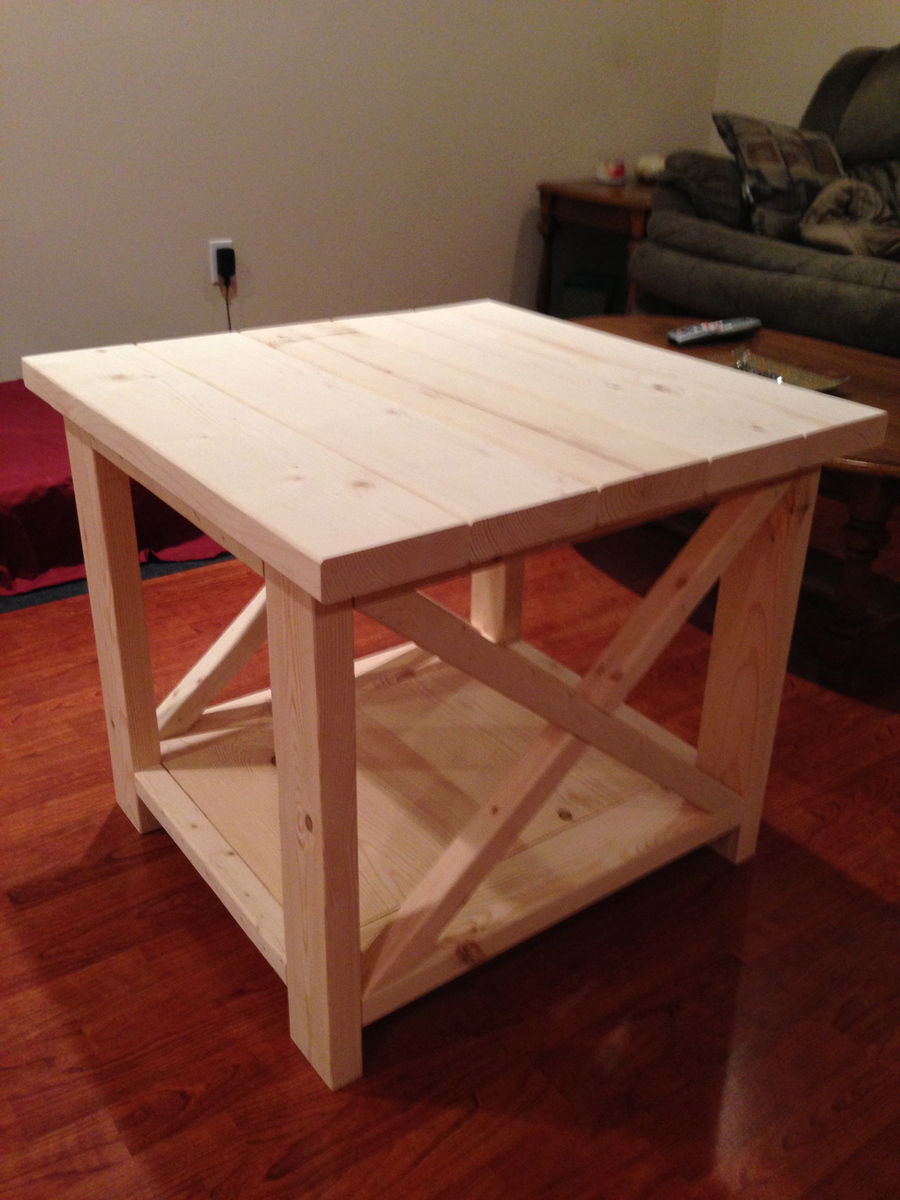
have not put a stain on this yet, waiting to make a pair before doing that
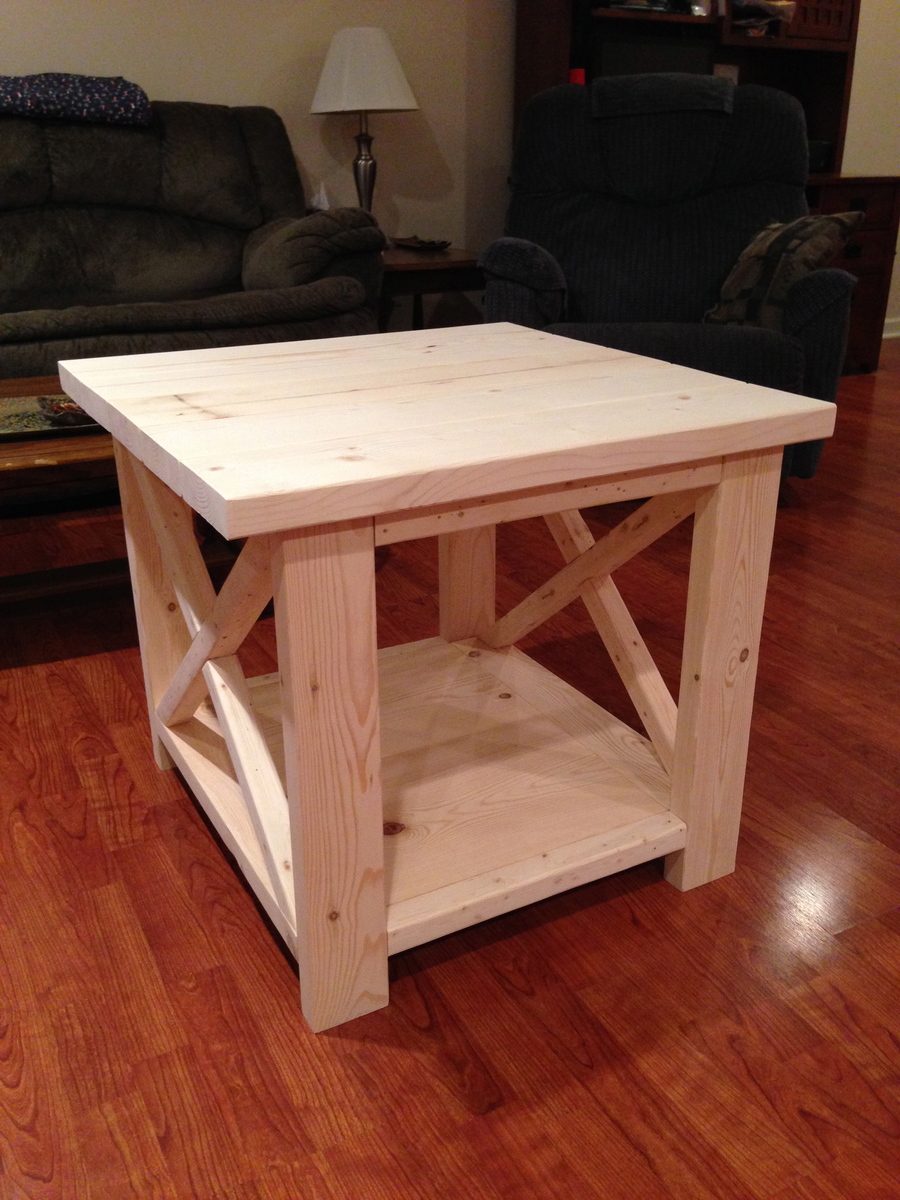

We were looking for a narrow side table for the little space we had at the end of the sofa. This table was perfect size, exactly what we were looking for and incredibly easy to make.


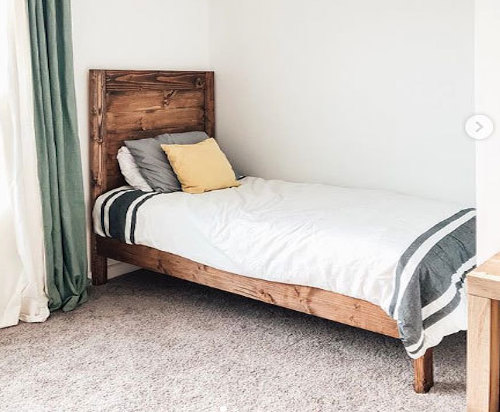
So proud of hubby for making these amazing beds for the boys!
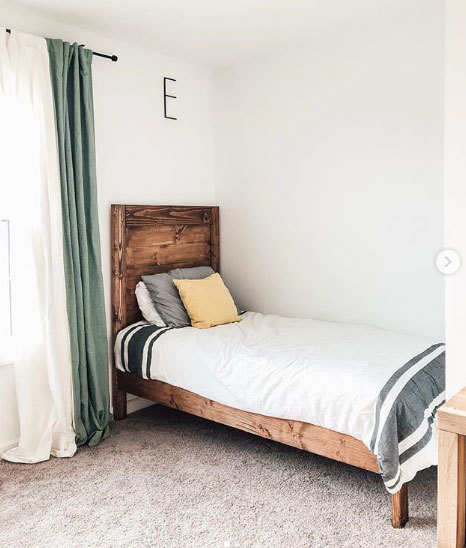
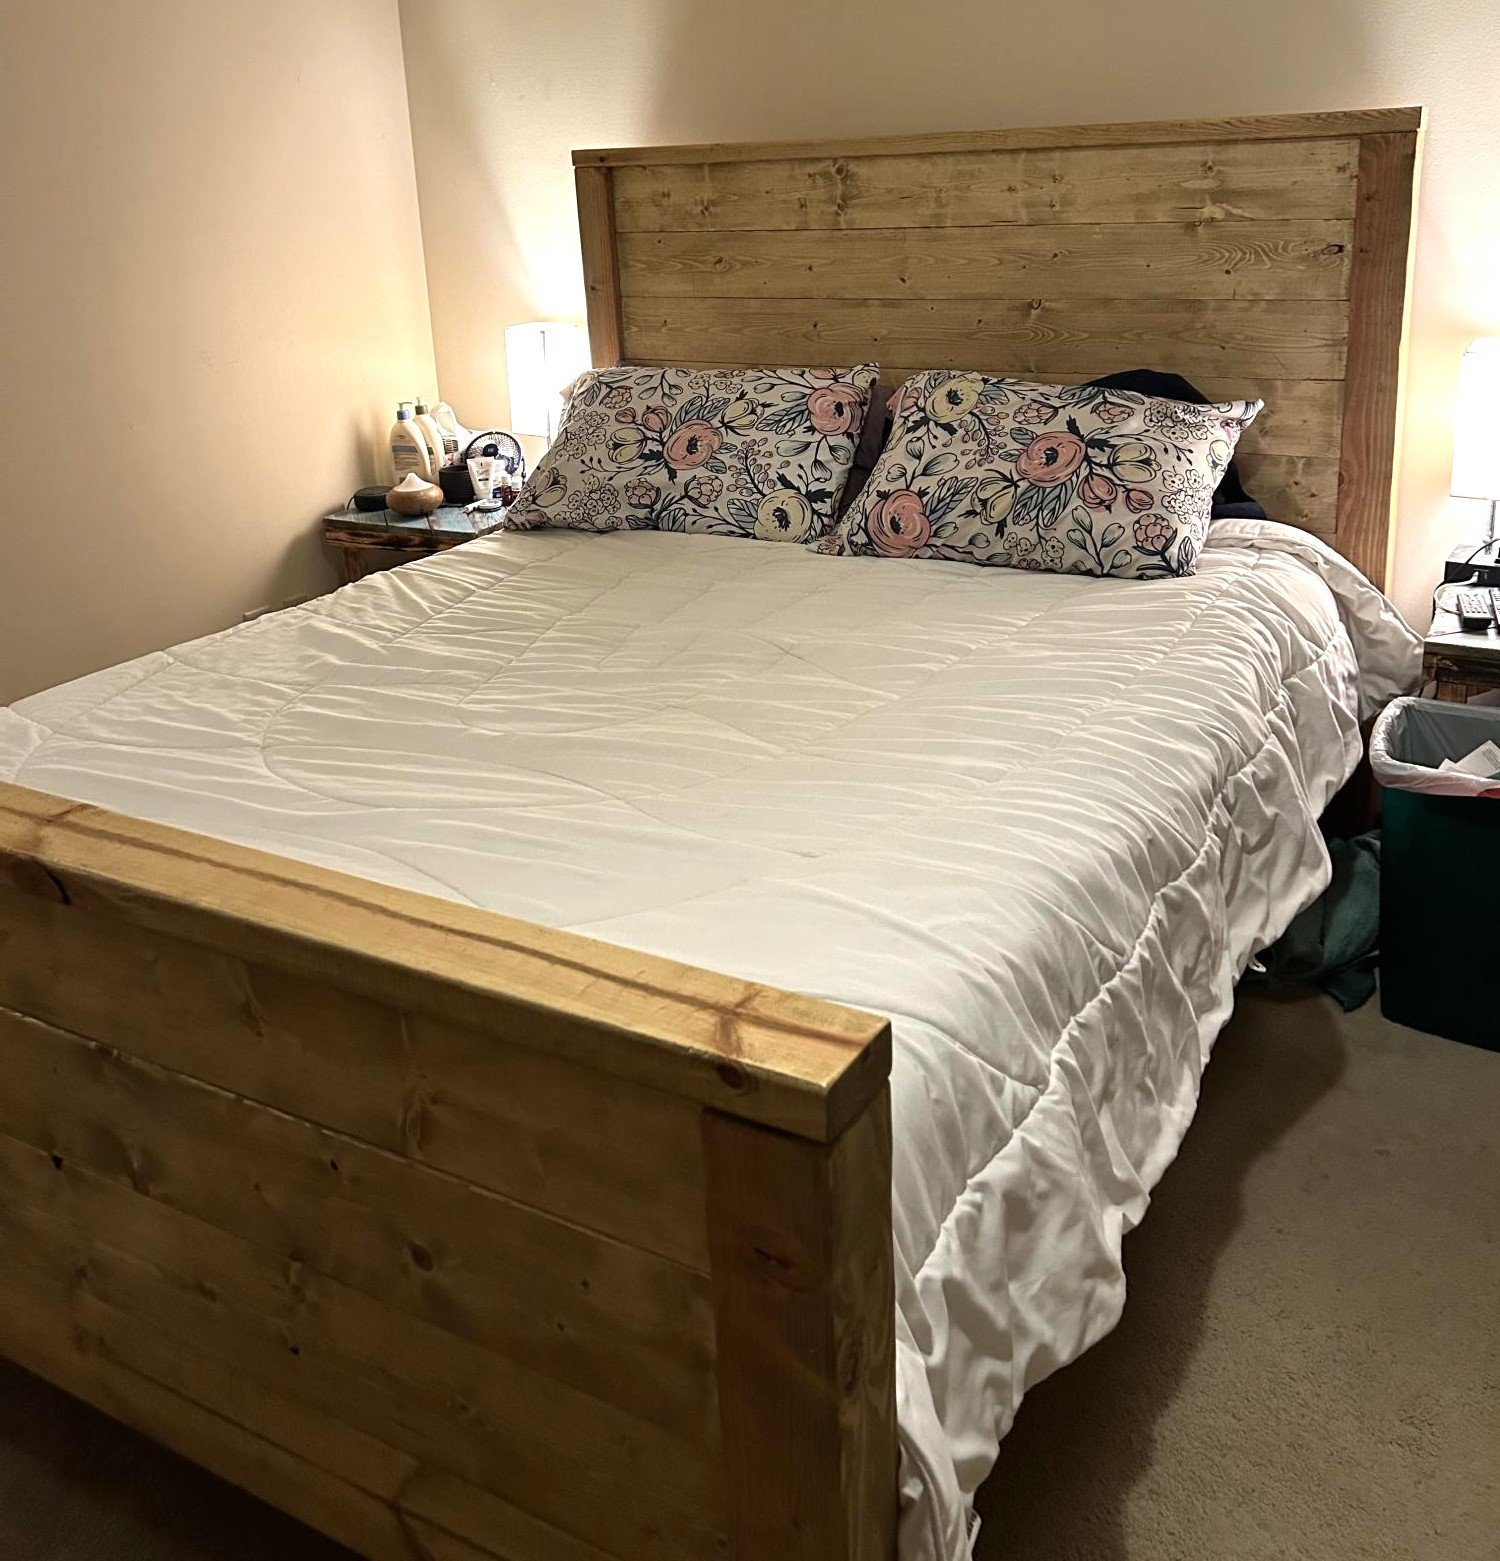
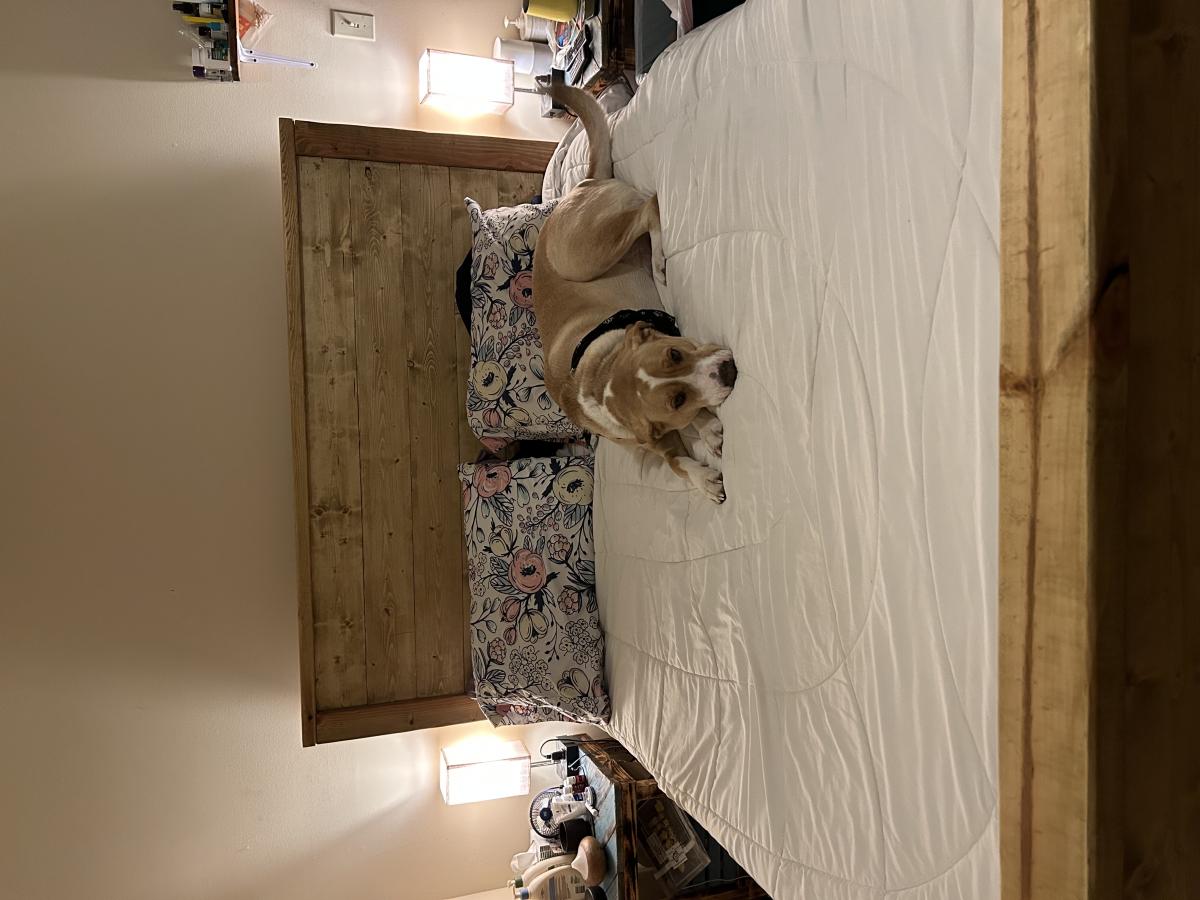
We made the footboard a little taller, pattern was simple to follow and adjust to meet our needs.

Using the Farmhouse Vanity plans as a guide, I built this enclosed farmhouse vanity out of a neighbor's old cedar fence and topped it with leathered granite and a ReStore sink. The finished vanity is amazing! For more, check out my blog.


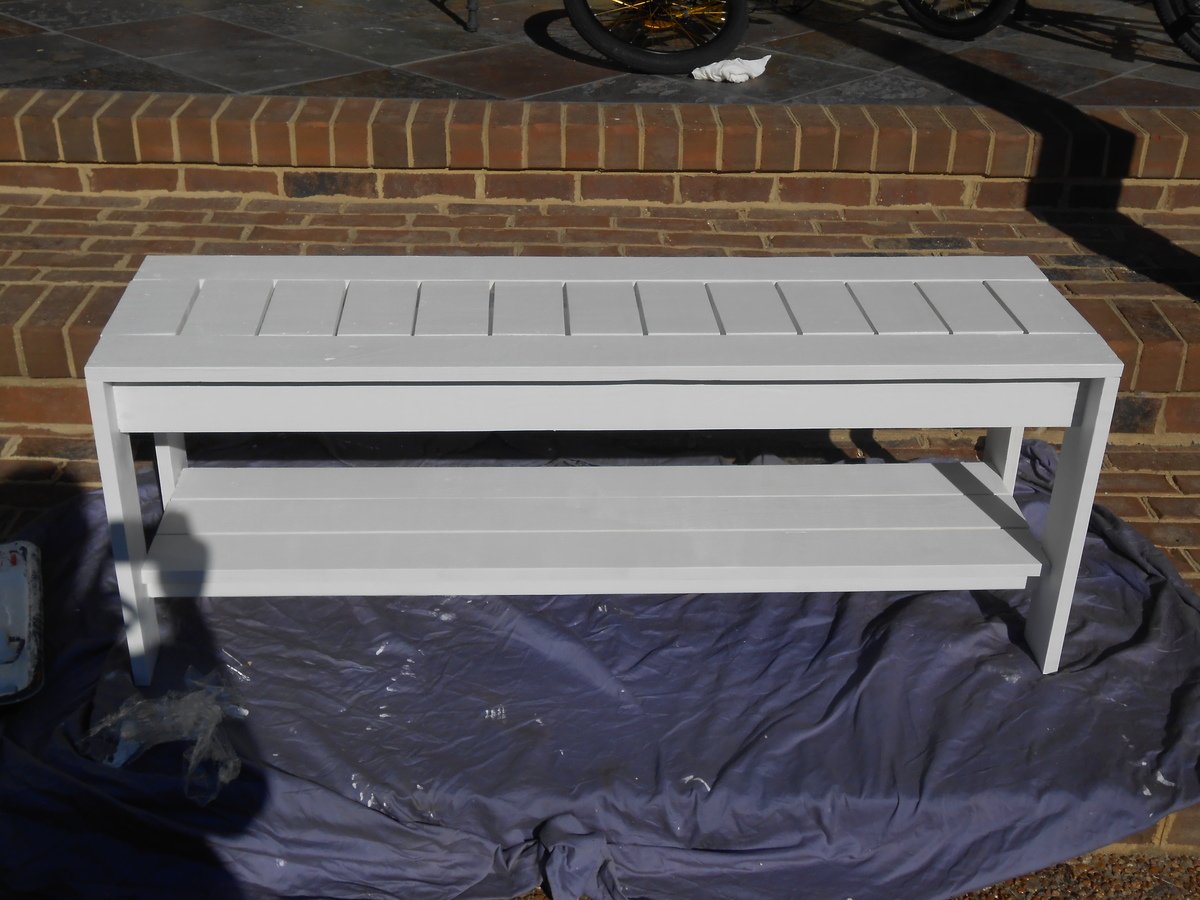
I had to modify the plans. The Size is 14" x 48". I also added a shelf at the bottom for shoes. Can't wait to replace the ugly shoe rack at the front door with this! I also used 1 x 4's for the apron. I found 1"x4"x14' at homedepot for only 3.40per piece!! So I was able to build this for less than $15. The wood has more knots than the other 1 x 4's, but if you look thru you can find some good pieces. I'm going to use this same wood to build the outdoor sectional too.
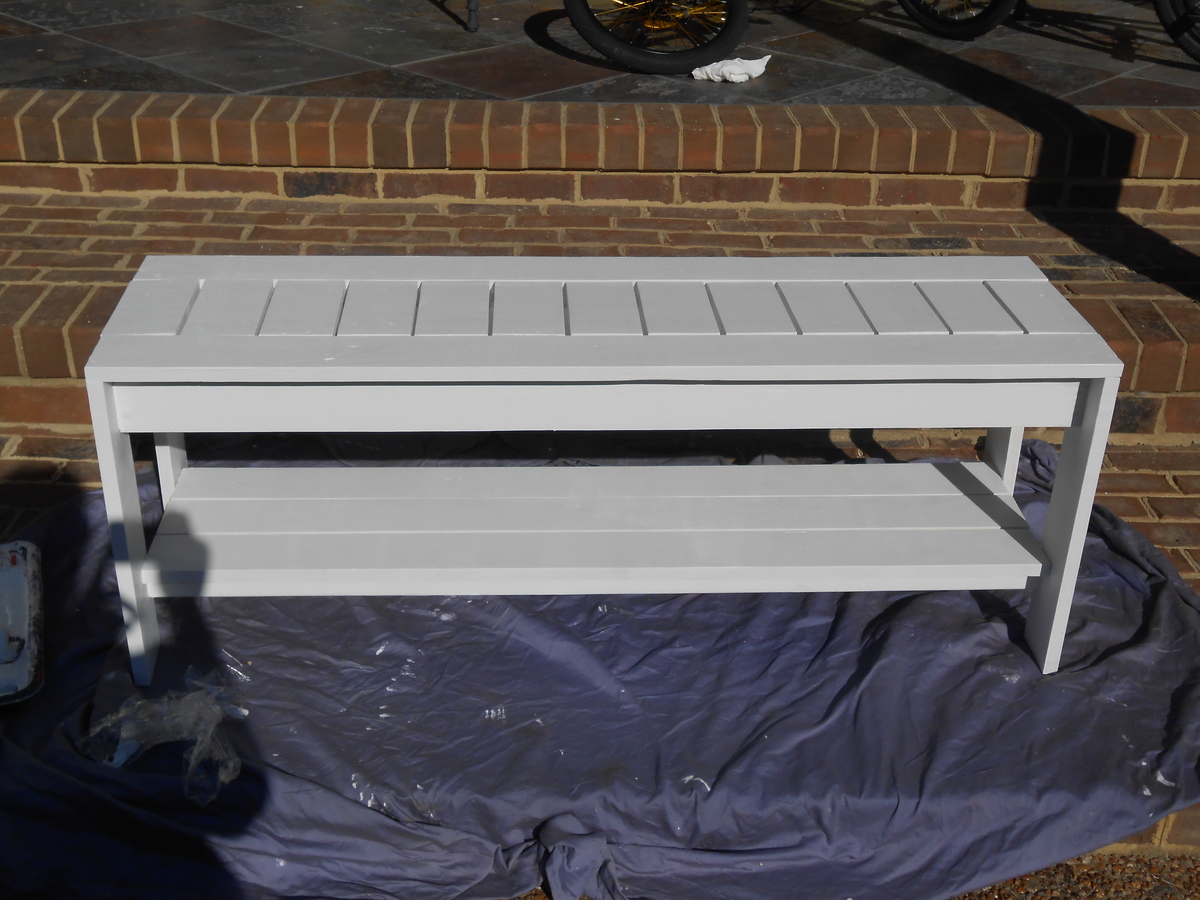
I took this picture prior to putting the lower shelf pieces on. Never got around to taking one after.
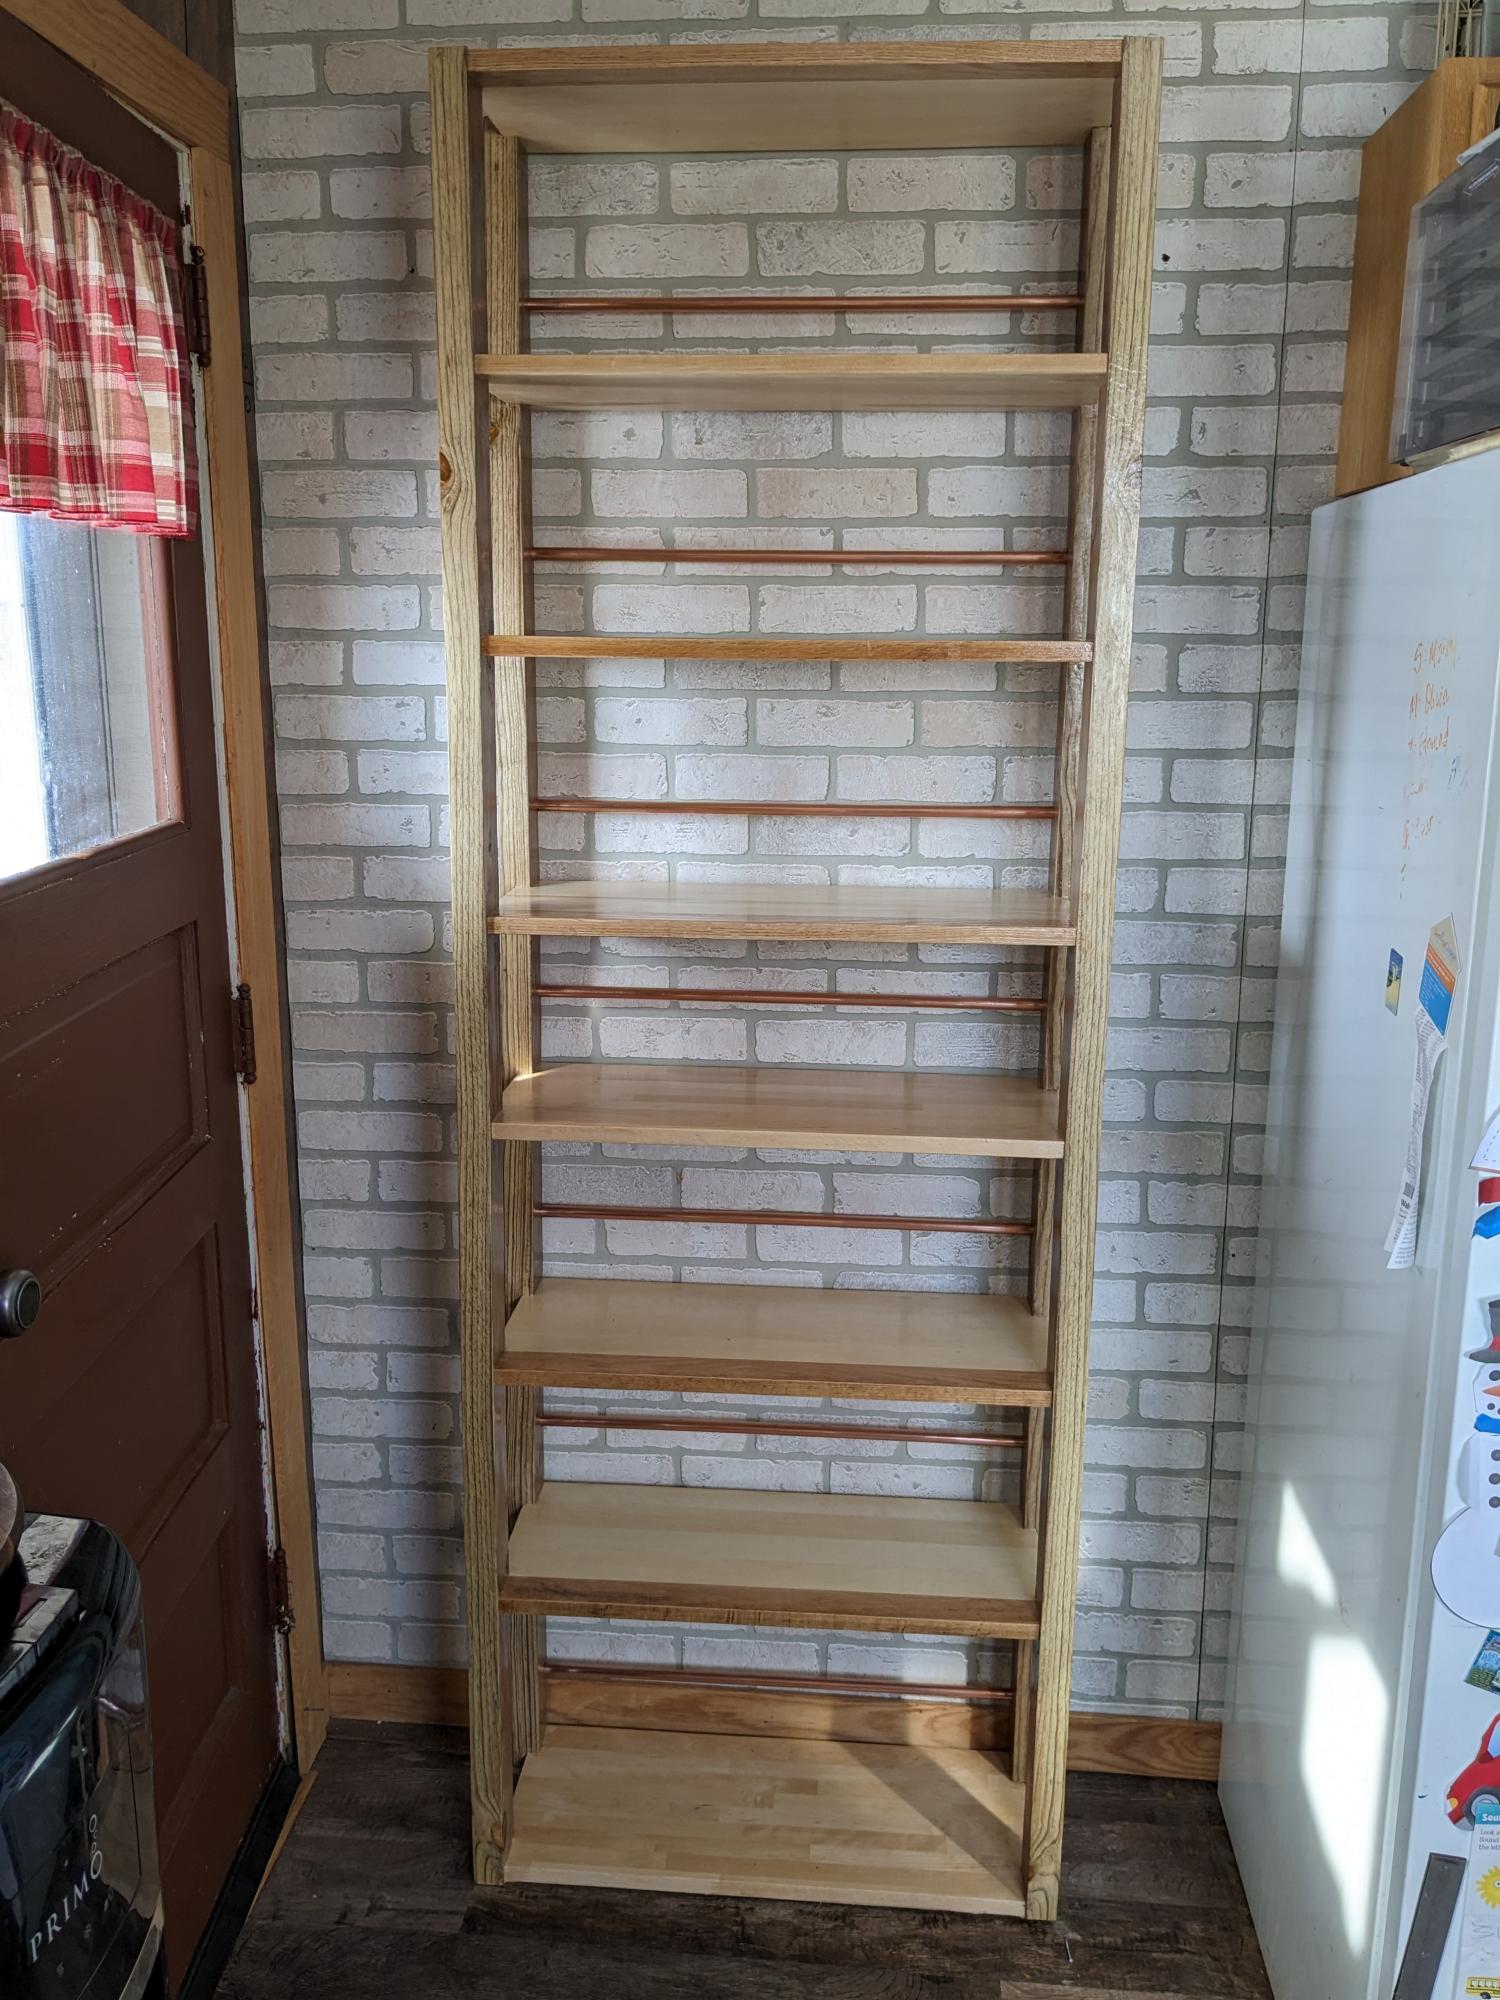
I have a small kitchen. I found this plan on Ana's site to turn it into a pantry shelf. Initially, I was going to have wheels. That way, I could roll it to sweep. I took measurements to match the height of my upper cabinets and width so my door would clear. I put this shelf up to the side on my fridge. I didn't account for the height difference adding wheels. I still can add wheels if I change my mind. I did differing spacing, considering spices and cereal boxes and items between. I haven't quite figured out the end placement for items. I also am considering appliances to be placed on the bottom. I purchased baskets and spice drawers so I can visually organize and see what works. I used odd and end prices of wood and adjusted the measurements to fit my space. I love my corner 2x4s! They are dark and once planes, have these dark brown ribbons revealing the growth rings. We think they might be brown treated boards. Some of the shelves have a darker brown edge, 5 total. I purposely wanted the dark edge facing out. But I didn't have enough so I used different looking boards (same thickness) and played around with assign them their spot. My friend had copper pipes laying around, so I used those in the back to stop my items from falling off the backside. I polyurethaned to keep the natural wood colors. I really love it and am excited to do more projects!!
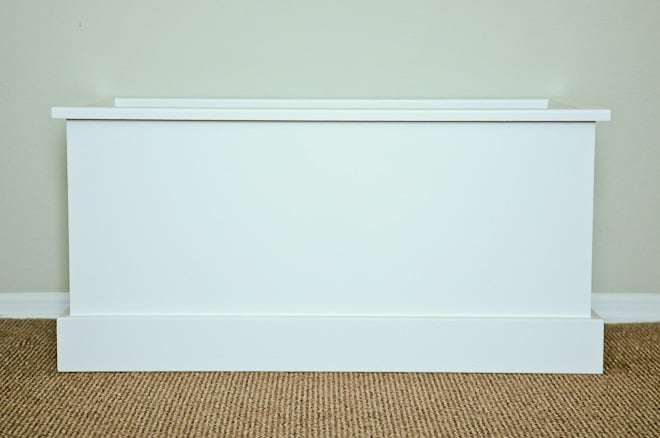
I longed for two matching toy boxes to sit at the foot of my boys beds. I loved the idea of a simple/clean line box without a lid that they could throw toys or blankets and pillows in without the chance of any fingers getting pinched. I altered the plans slightly from the ones provided by Ana and finished them off with a satin white paint.
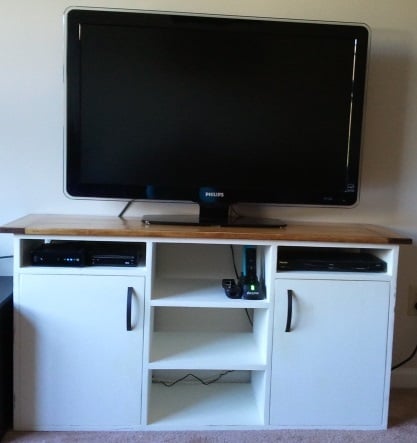
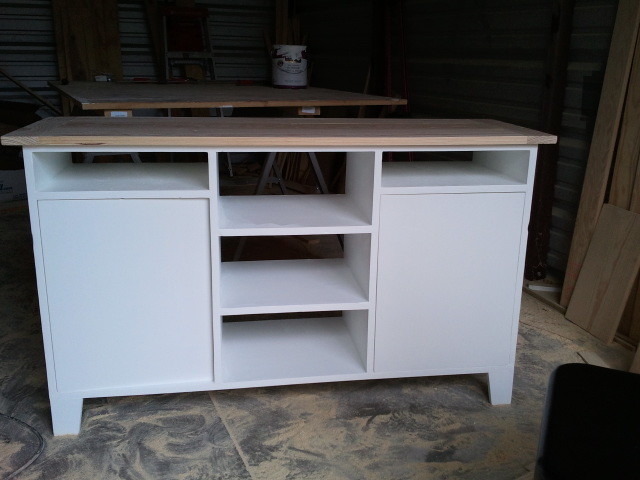
I ran into all sorts of problems building this! I started building it based off the materials I had on hand, not really knowing what it was going to be in the end. I started with the plywood box I hadn't intended for it to be a TV console, at first I was thinking a stand for a 55 gallon fish tank (which I have since sold.)
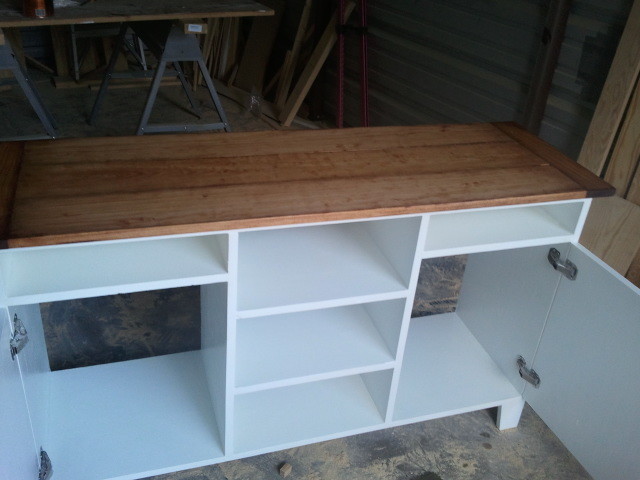
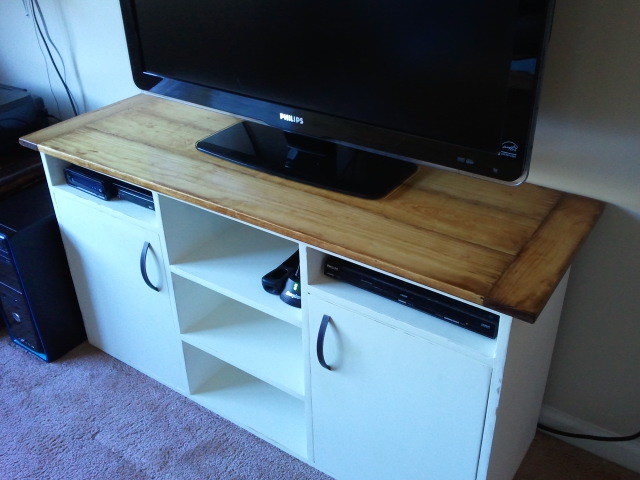
Once I decided what I was actually doing, it went together fine. I was going to make all three of the central column area into drawers, but I can't afford the hardware for that right now. I made the farmhouse style top and stained it to match the coffee table I made previous. However, I had many issues with finishing, problems with the legs, and after attaching the top accidentally broke off one of the breadboard ends of the top.
Finishing it was most exasperating. I started out with a mini-roller and white gloss paint. After I got it completely painted, I put on poly, but the poly dried very yellow and completely ruined the finish. I had to sand it almost completely back down to the wood to get it out. By the way, I learned something important about sanding which I will share with you... the cheaper sanding discs (made from clay) are crap. Get the ones made from ceramic. They last considerably longer and get the sanding done SO much faster. I love the guys at Lowes. :)
After I got it sanded back down I got some flat paint and used my sprayer. I love flat paint, it was so easy to get it on evenly. I did water it down quite a bit though. Then I sanded it down to a beautiful very smooth finish with some slight distressing. HOWEVER - flat paint needs a top coat, and I again screwed it up. Not as bad this time though. I used a spray on poly just in some places which gave it a little bit of an aged look, not too bad. Not exactly what I wanted, but doable.
I have not reattached the top with the expectation that I will still need to do more finishing, and it will be easier that way, and I will still be adding large caster wheels instead of legs on the bottom to raise it up a few more inches.
Also, the smaller cubby areas over the doors... they aren't big enough to use a sander to get the insides.
I used invisible hinges for the first time on this project which worked out quite well, and I love those.
I would love suggestions on finishing... if I use flat paint because it's easy to work with, what is a good top coat for that? Or should I stick with gloss paint and no top coat, and try that for my next one? Paint with primer? Still learning...
They say it takes 10 years to become proficient at a skill.. I've got about 8 years of building left before I'll be good at it. :)
Sun, 10/27/2013 - 23:32
Hi There,
I do two coats of primer, and I sand very lightly, just enough so the surface feels smooth. I follow that with one coat of white semi gloss for most of my builds. White hides so many flaws! If I think the project needs a topcoat I will use Varathane Diamond Coat. That's what works for me. Hope this helps!
Val
artsybuildinglady.blogspot.ca
Comments
Ana White Admin
Fri, 02/10/2023 - 09:11
Gorgeous Trunk!
This is so pretty, love the finish! Thank you so much for sharing.