After following Ana's blog for over a year and bookmarking dozens of projects, I finally built my first project. (I built it months ago and have since built 3 other things...so this is addictive!)
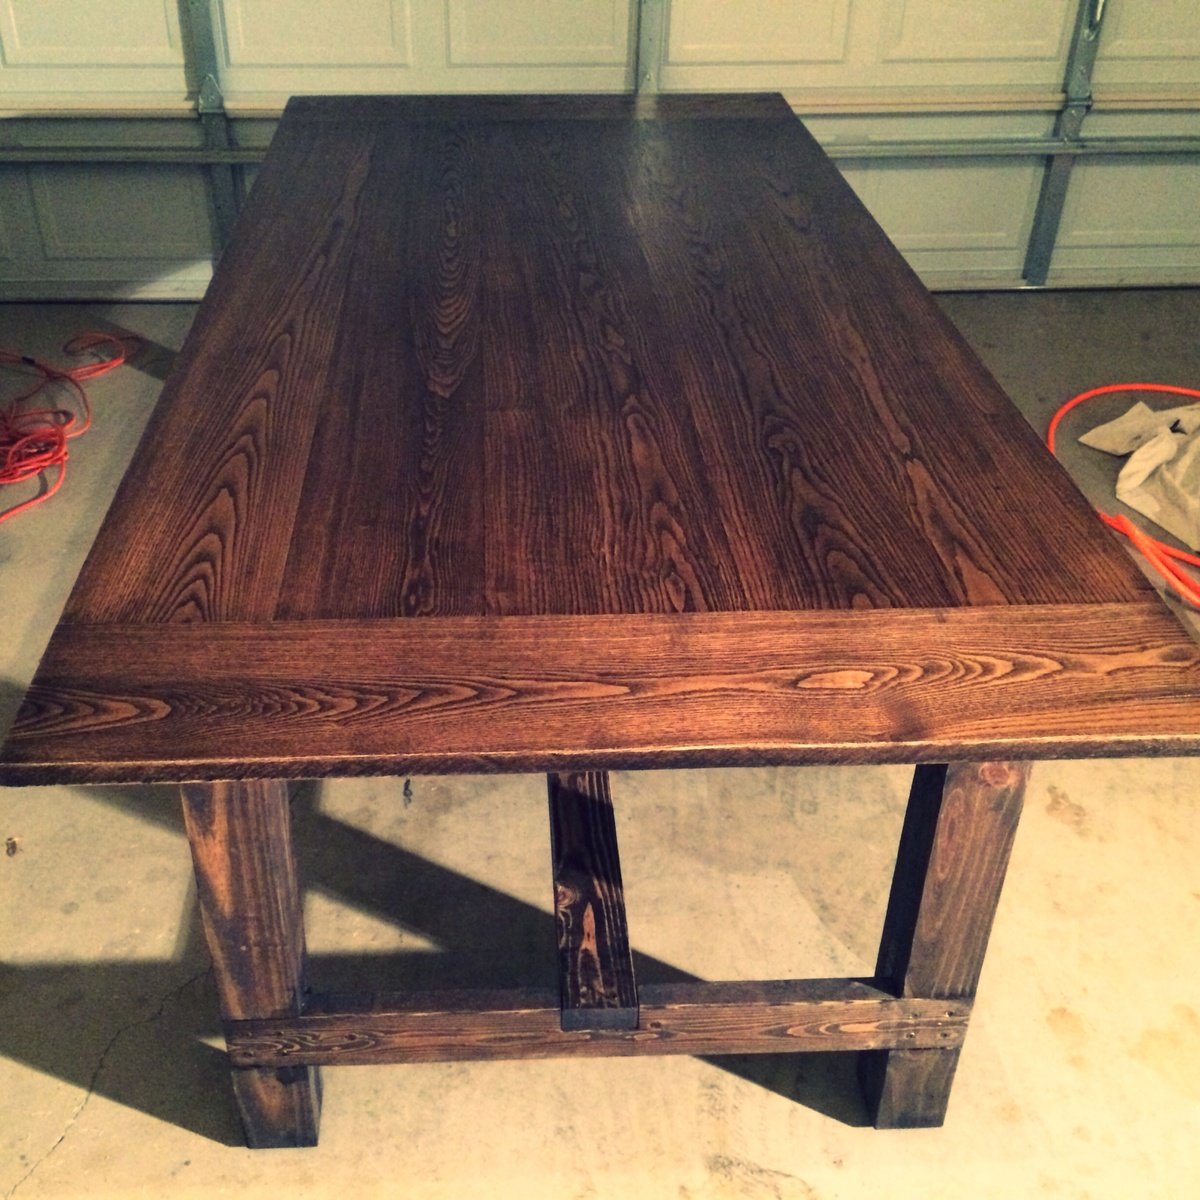
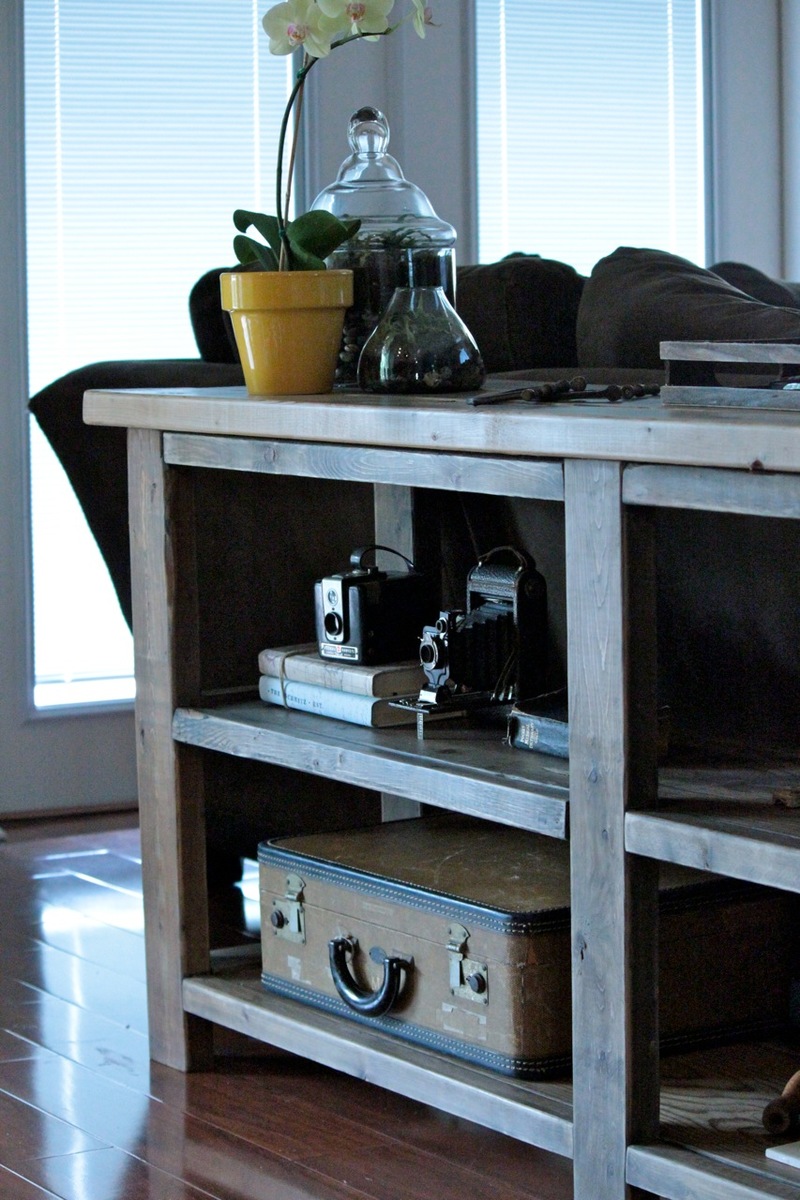
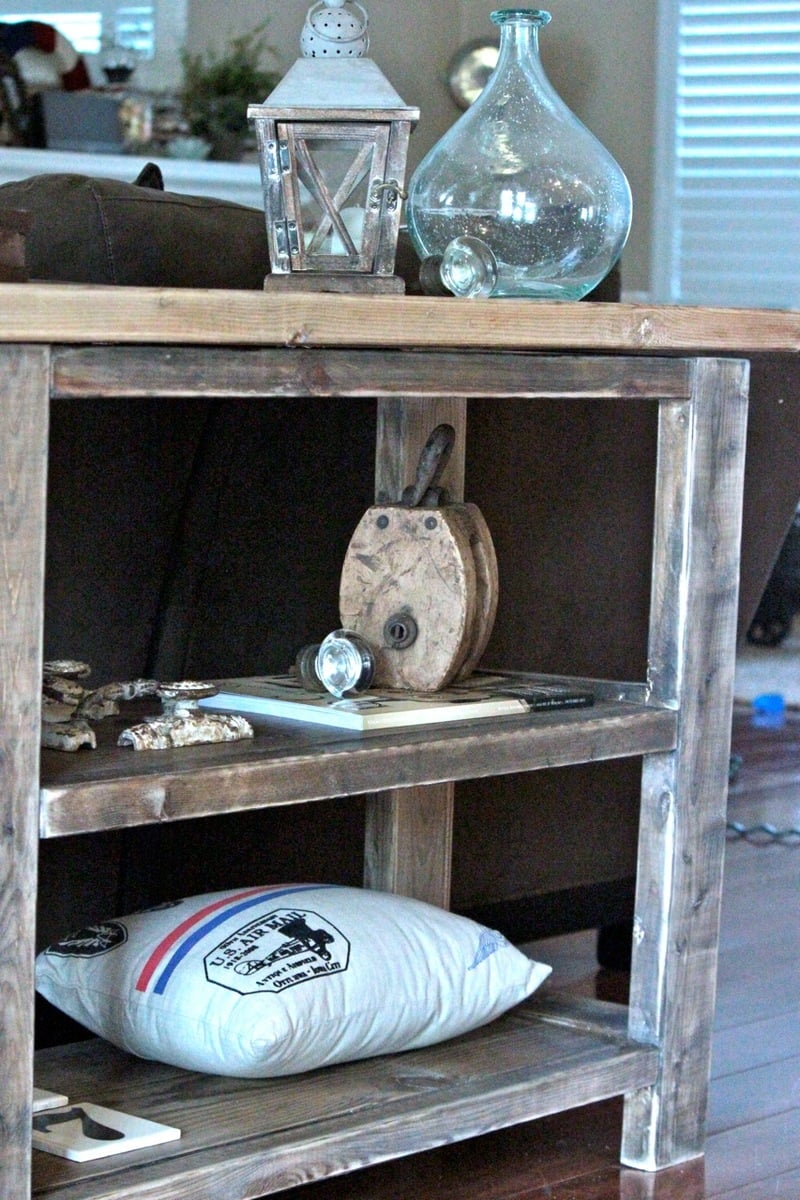
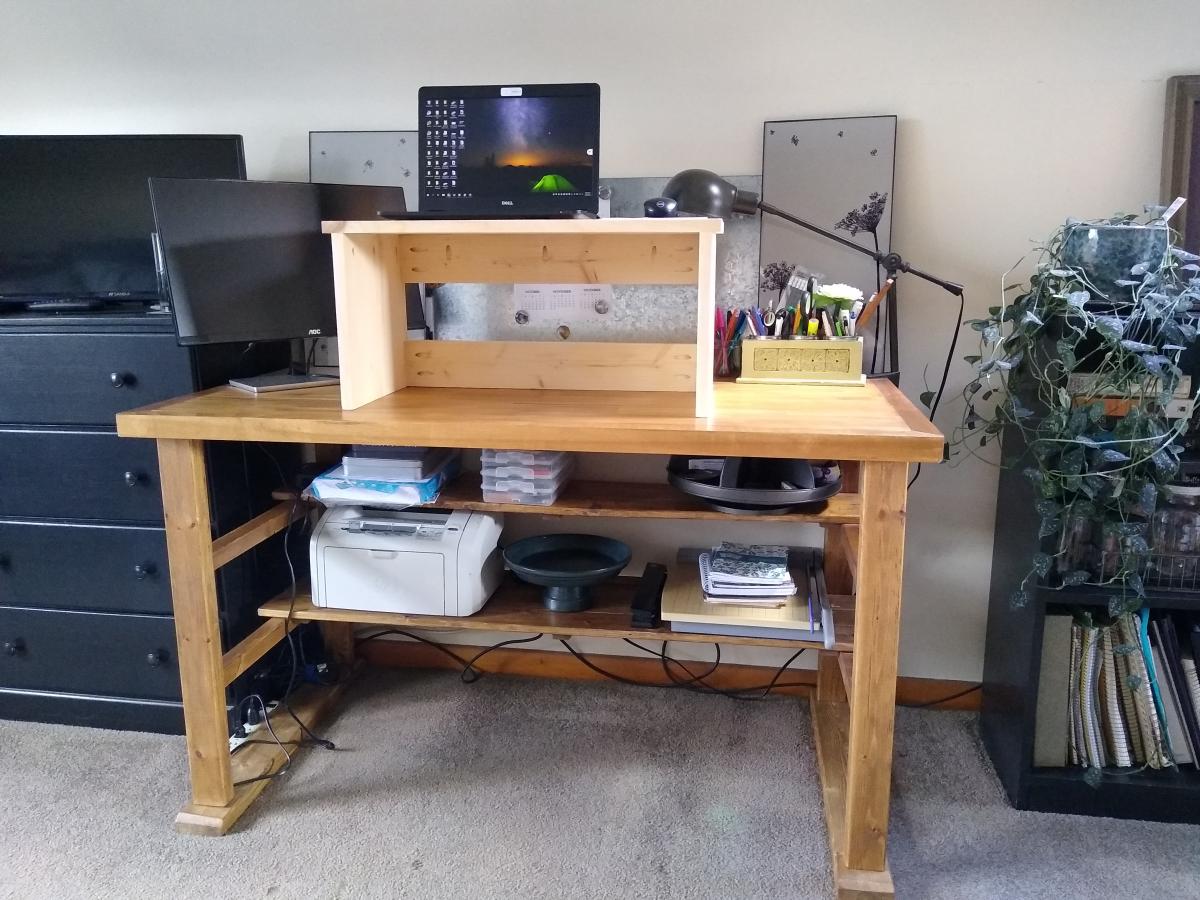
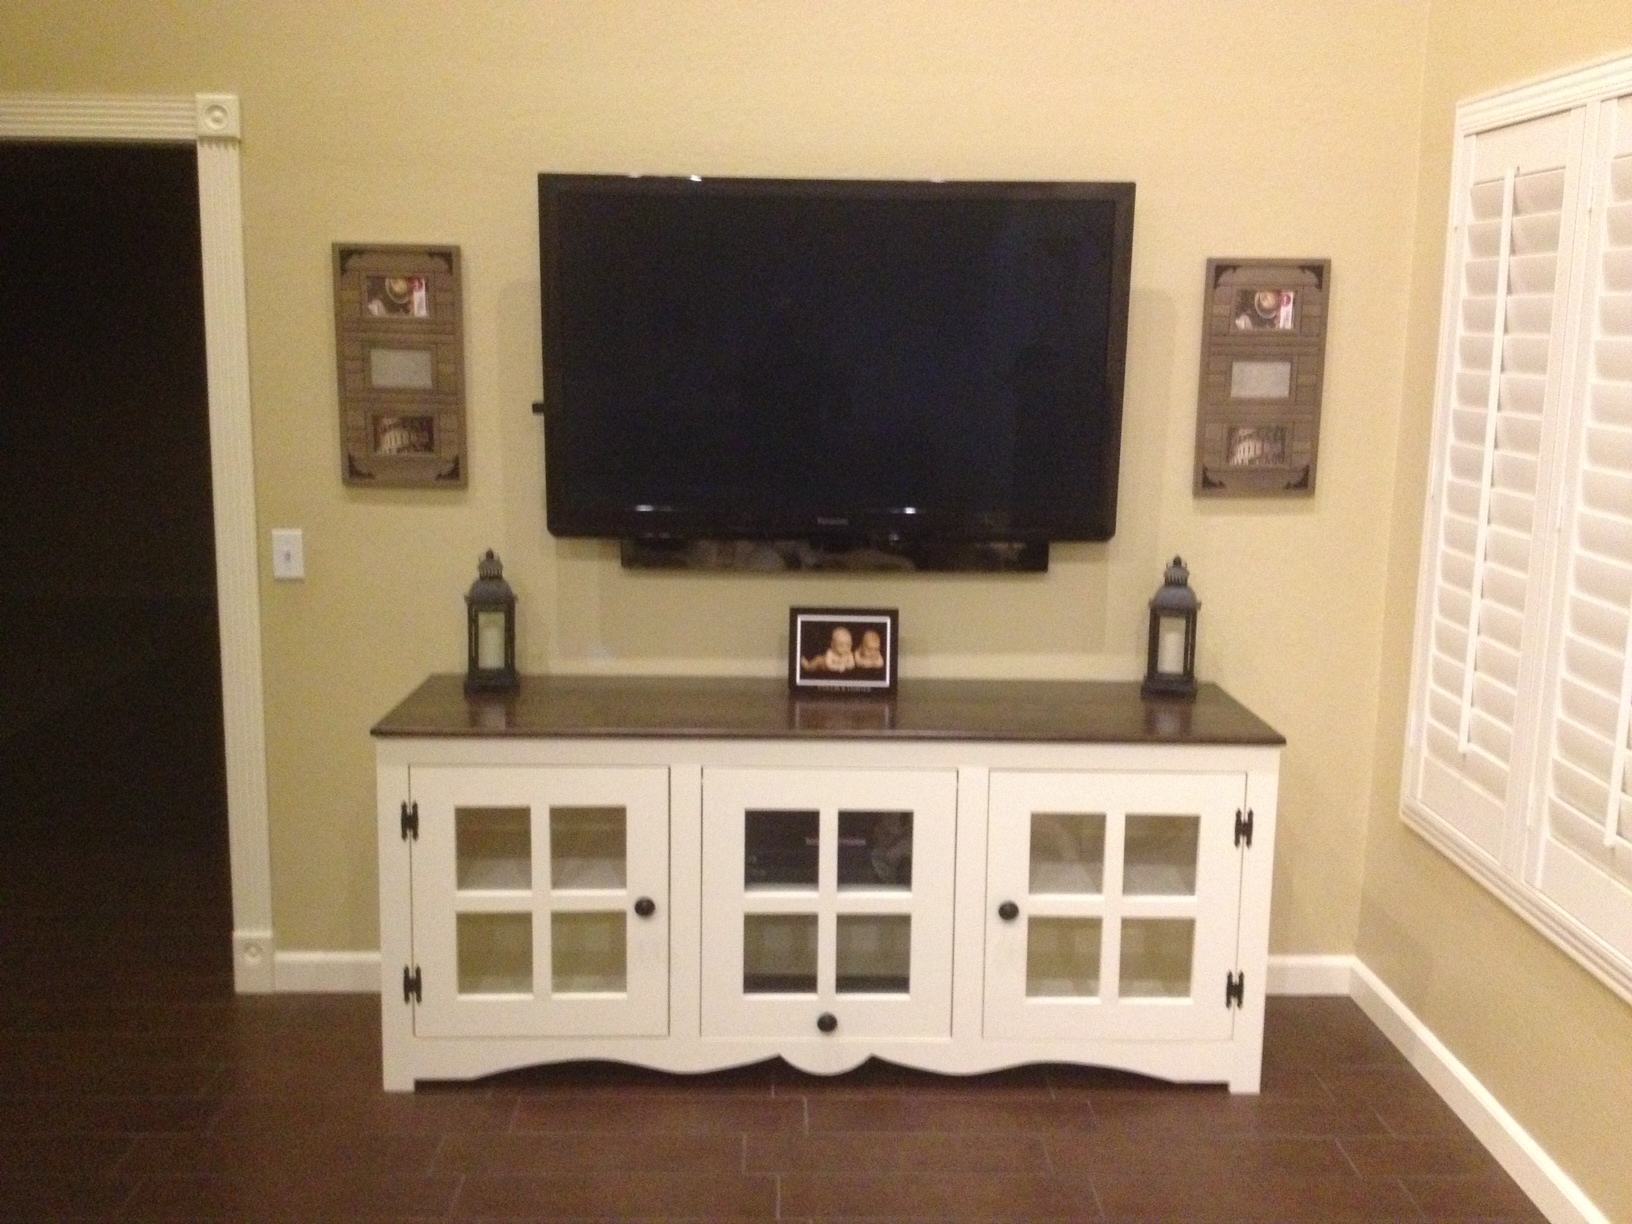
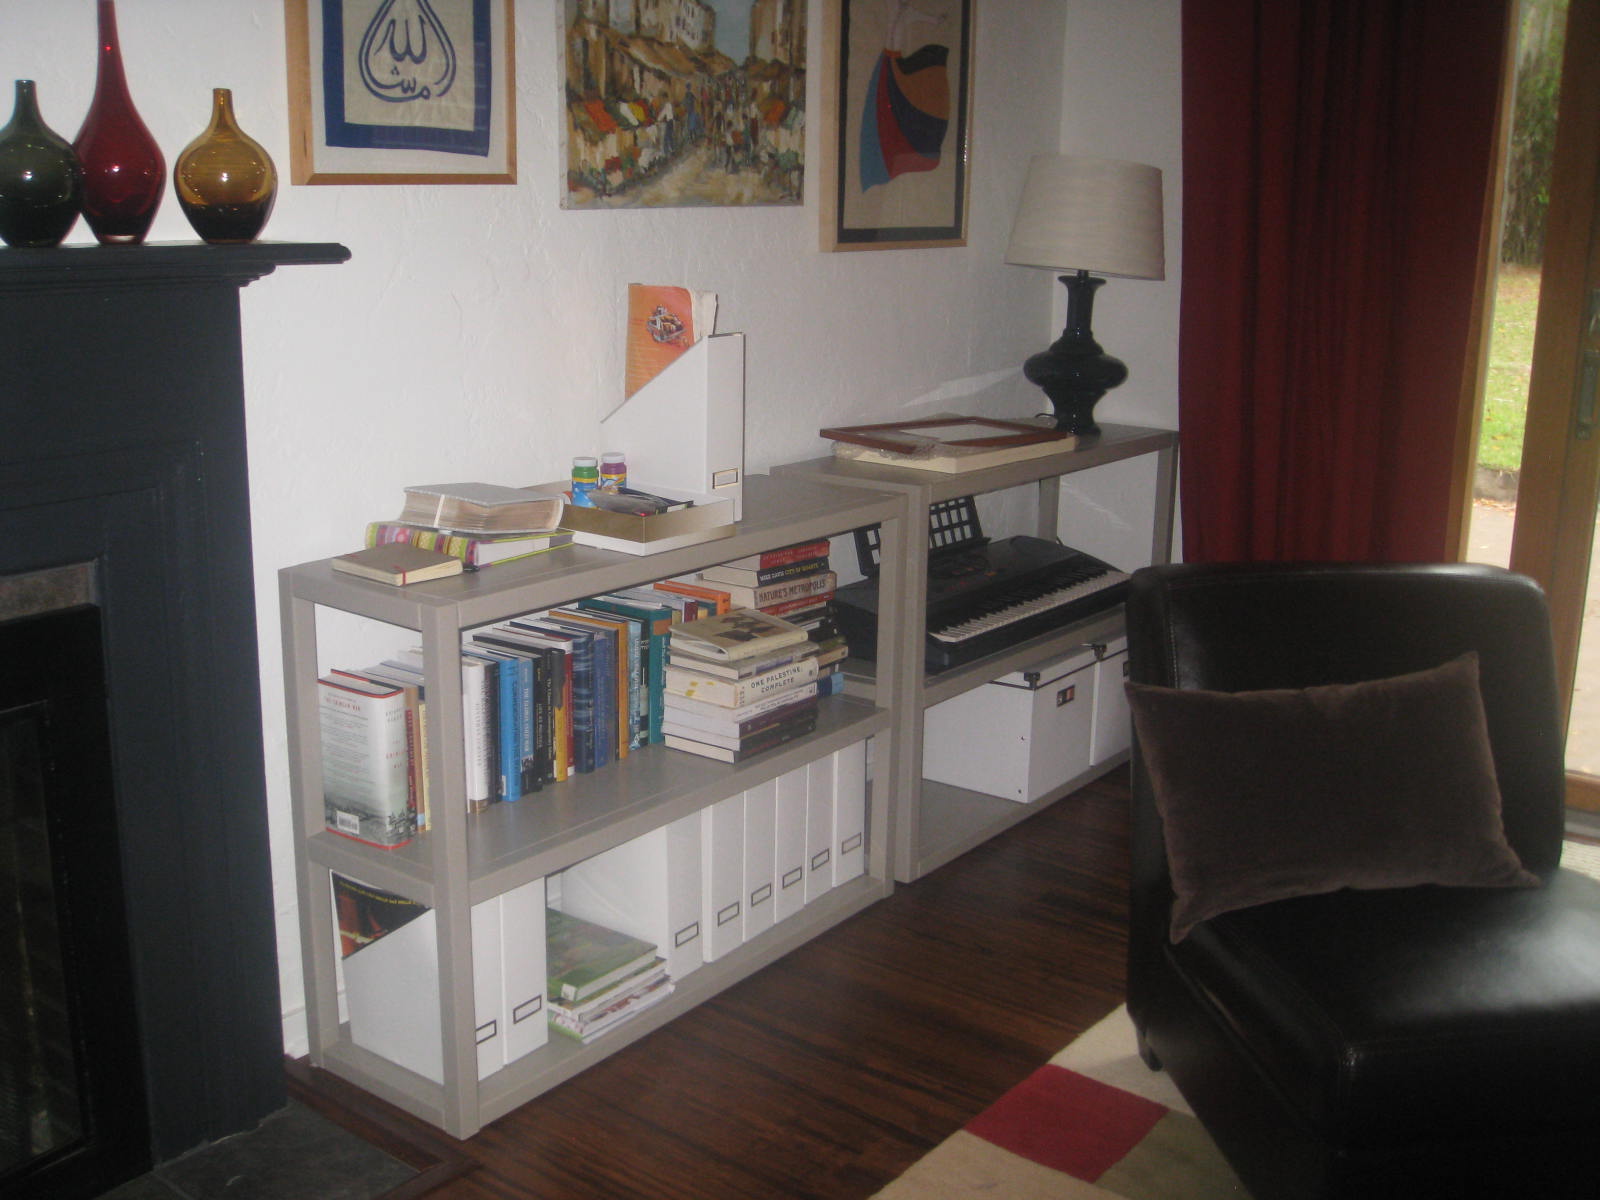
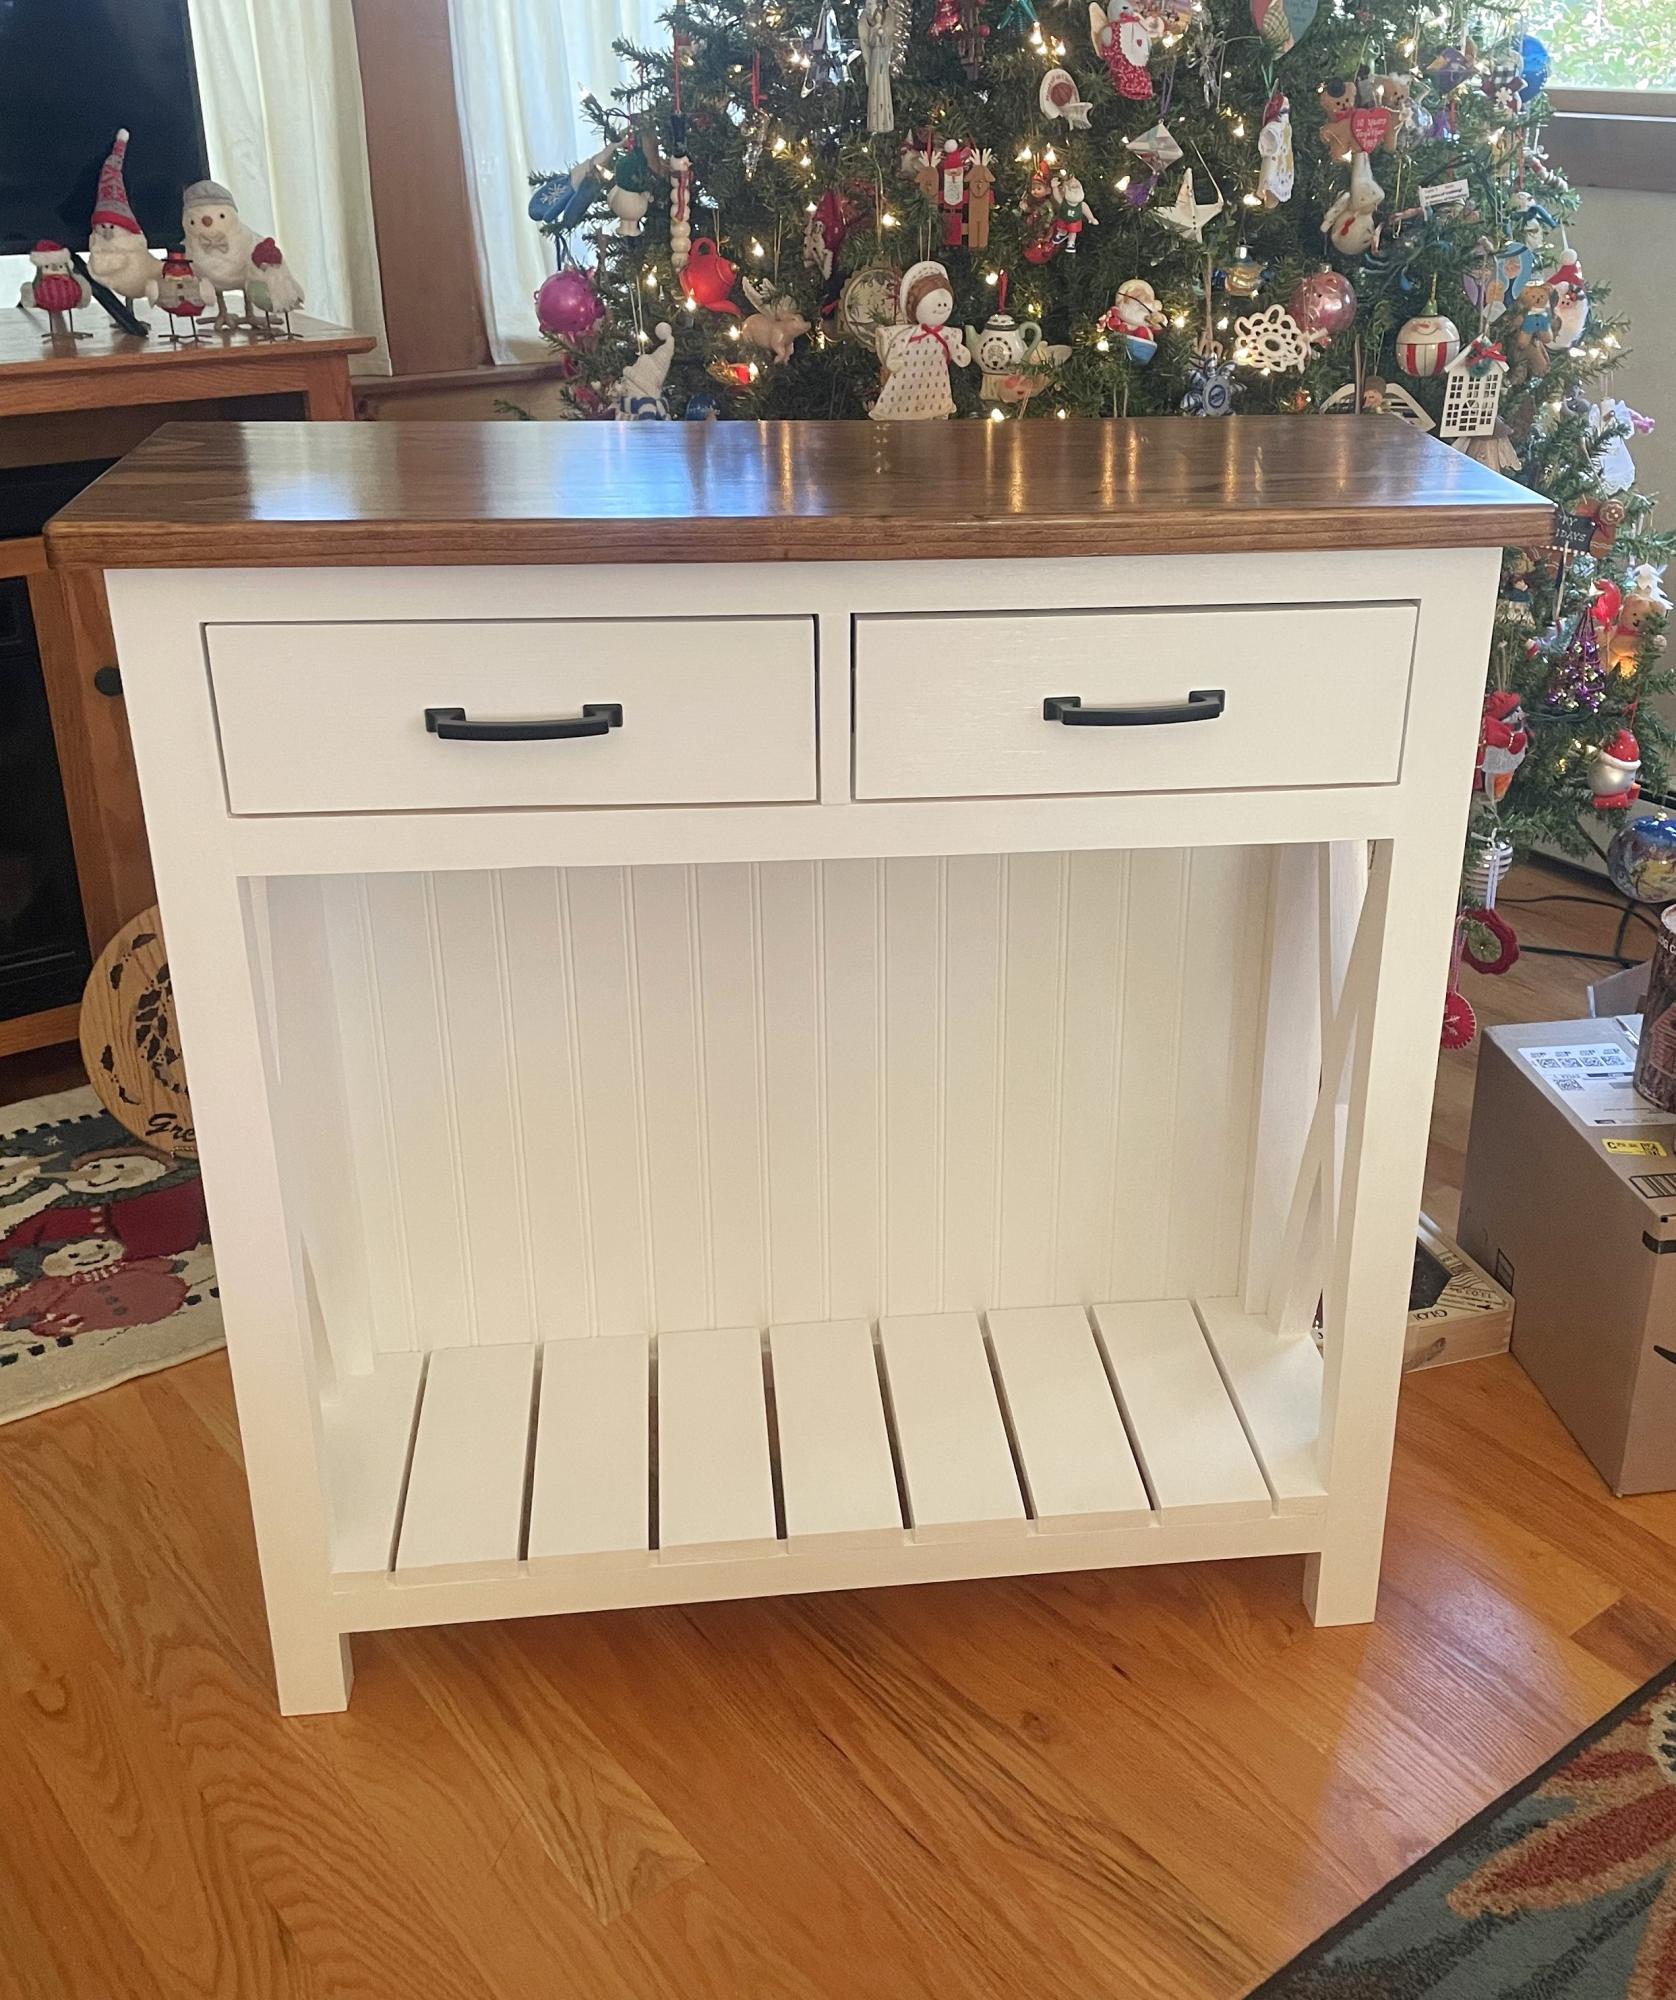
I love the modern West Elm look but didn't want to shell out over $600 for two low Parson's shelves which still would not fit my dimension exactly, so this was the perfect project for me. Initially I had intended to stain the bookshelves a warm pecan color, as I think "modern craftsman" is more my style, but honestly the outcome was so wonky that I couldn't see that the shelves would look nice stained. Instead I painted them with what was supposed to be a color match to BM's Weimeraner -- lesson #1001, BM's paint cannot really be color matched. I may repaint in the future as this is not as warm as the original, but it's been fine for the past few months.
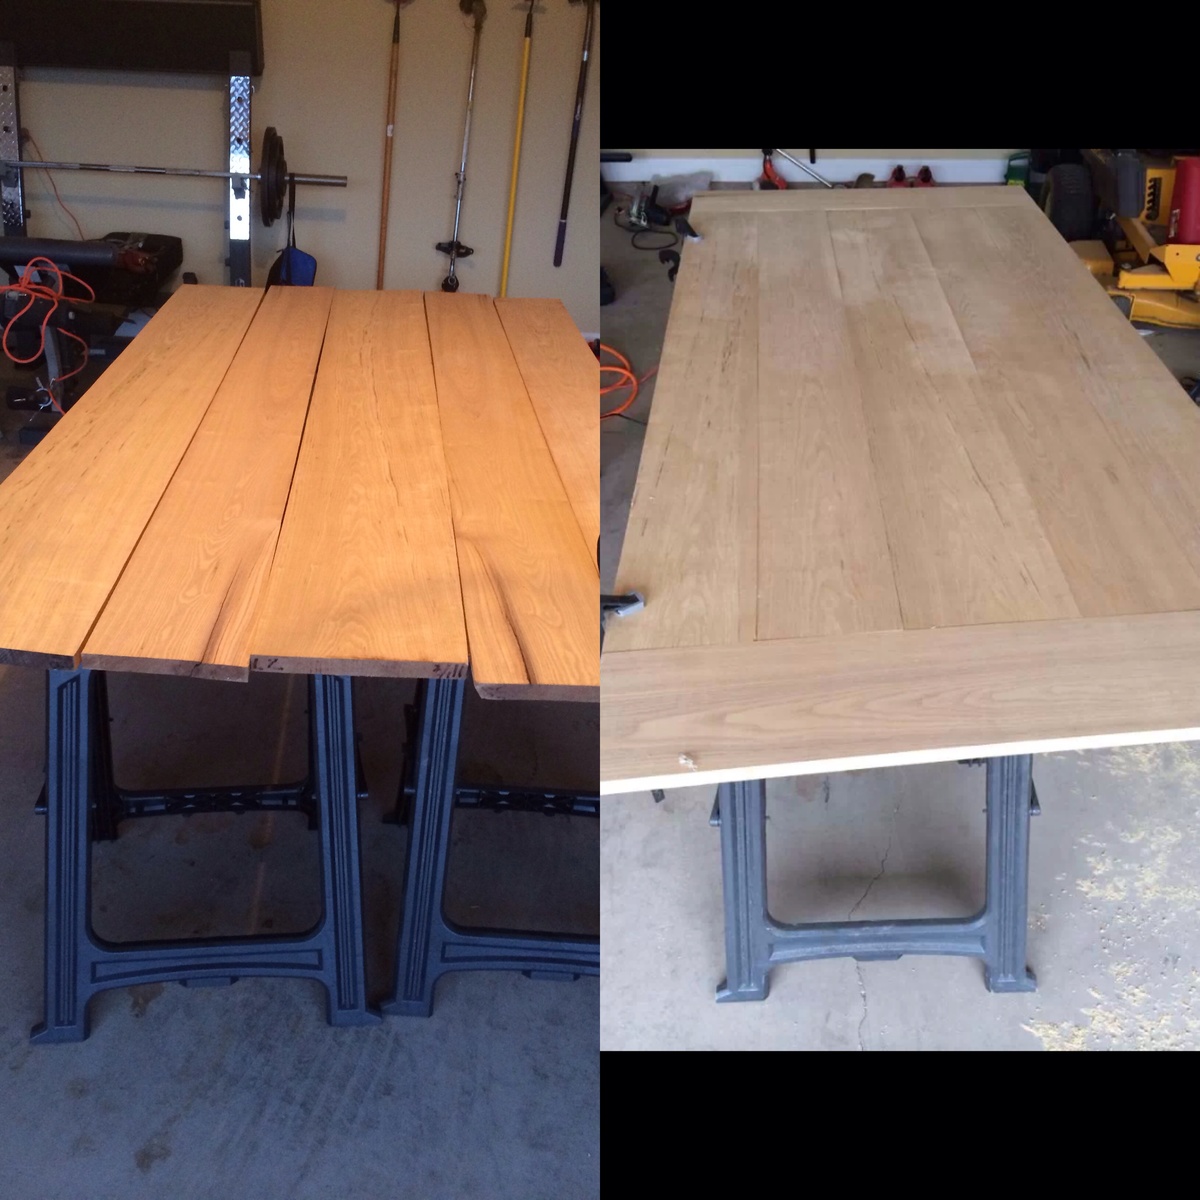
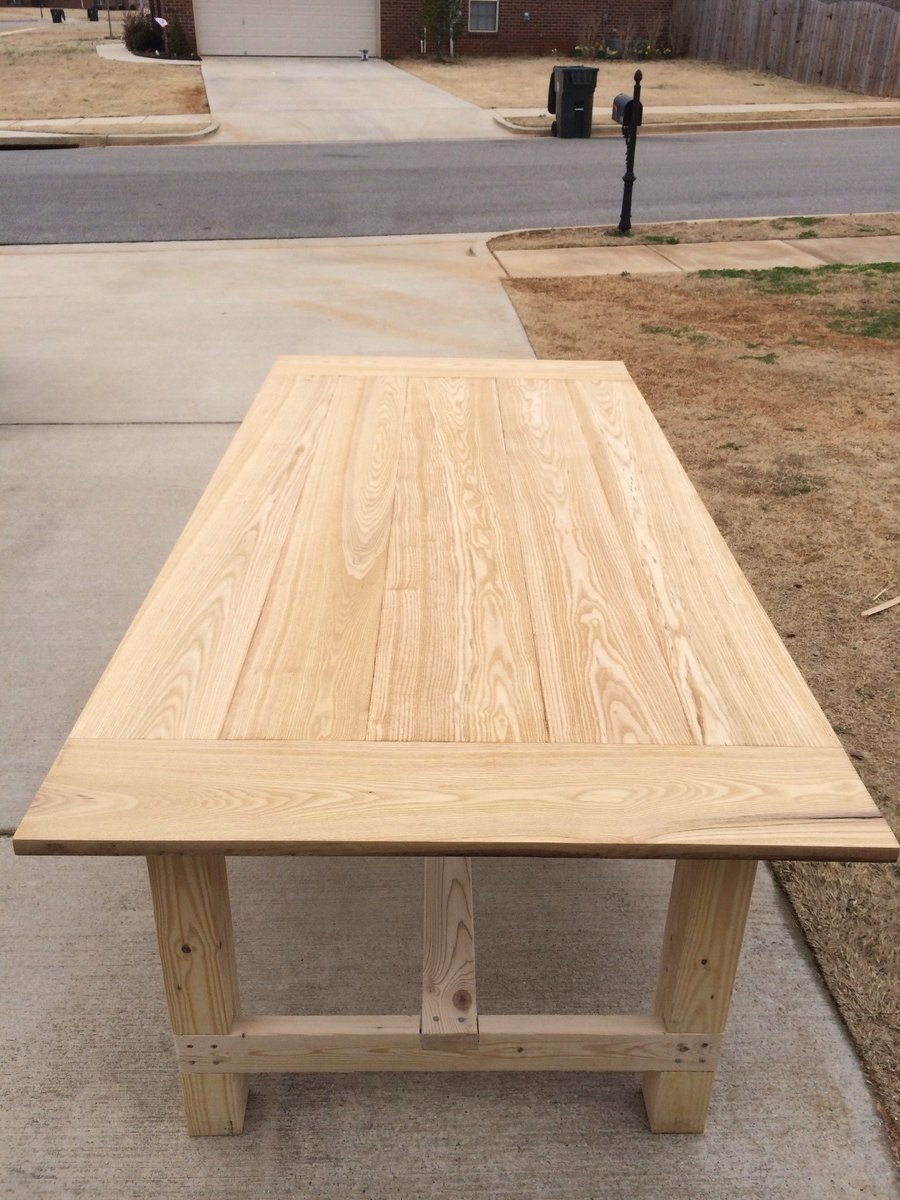
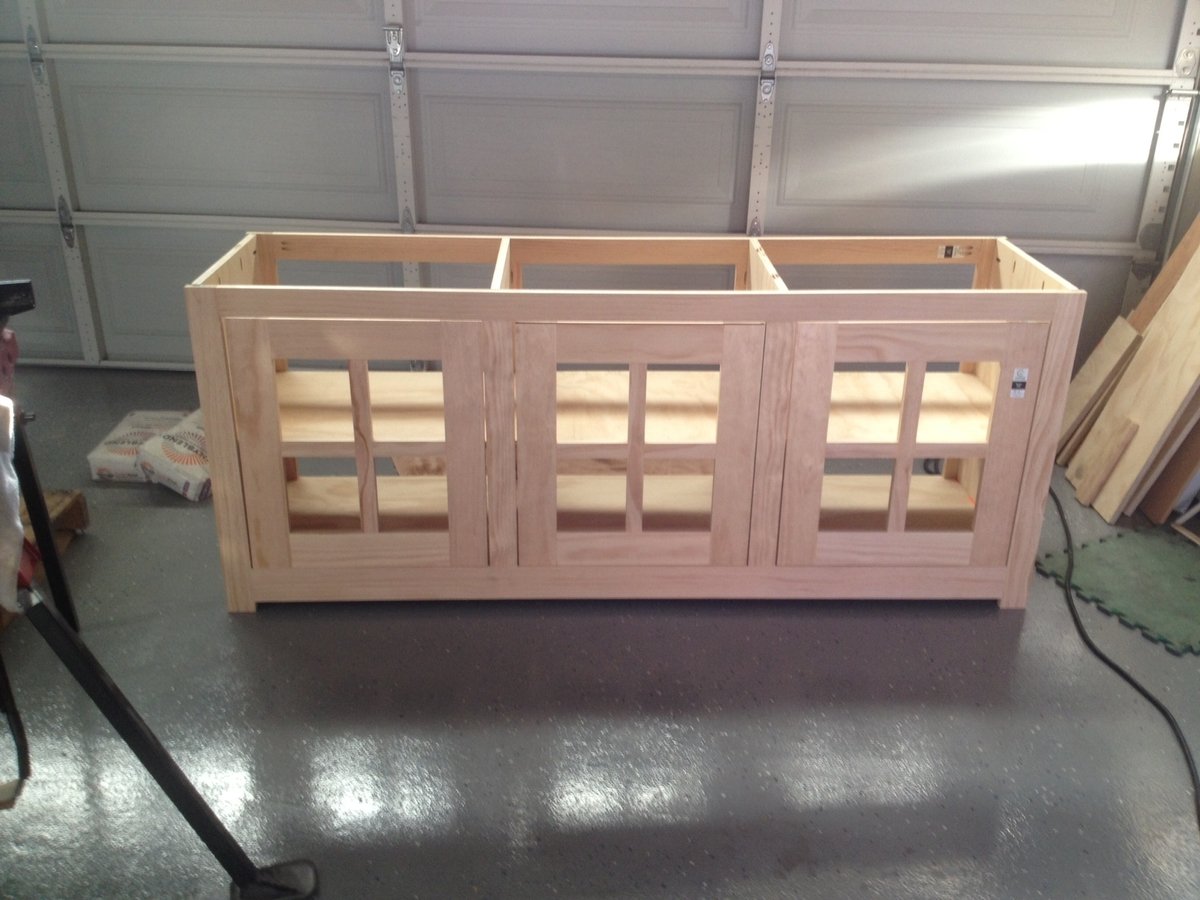
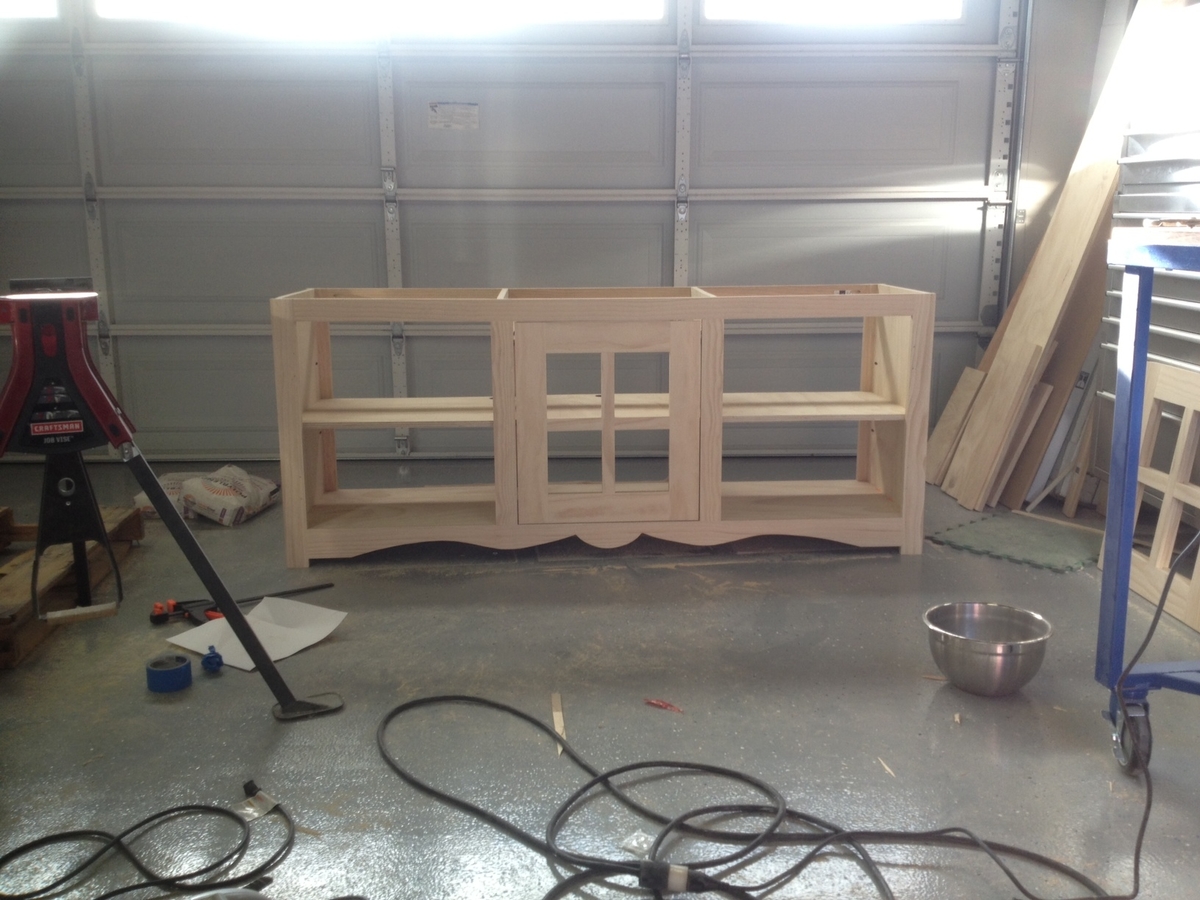
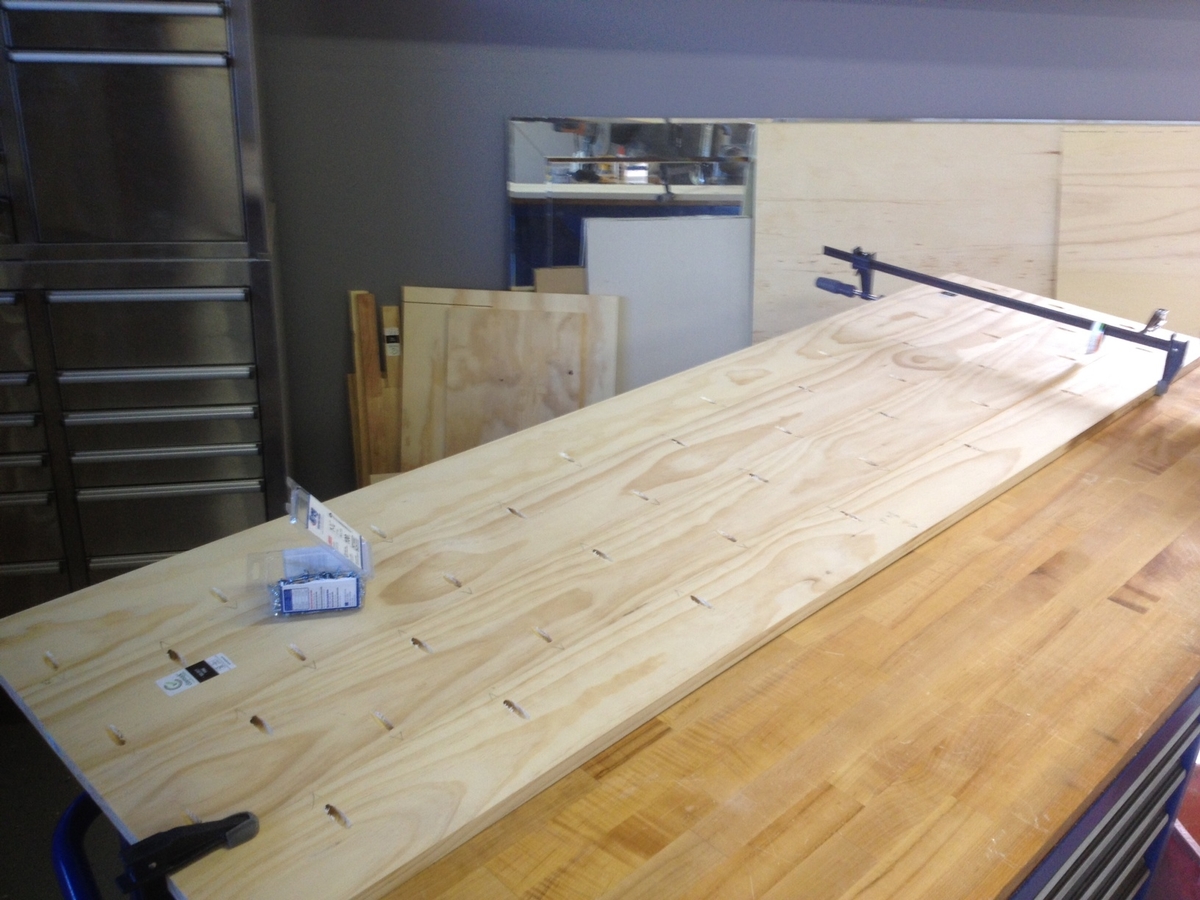
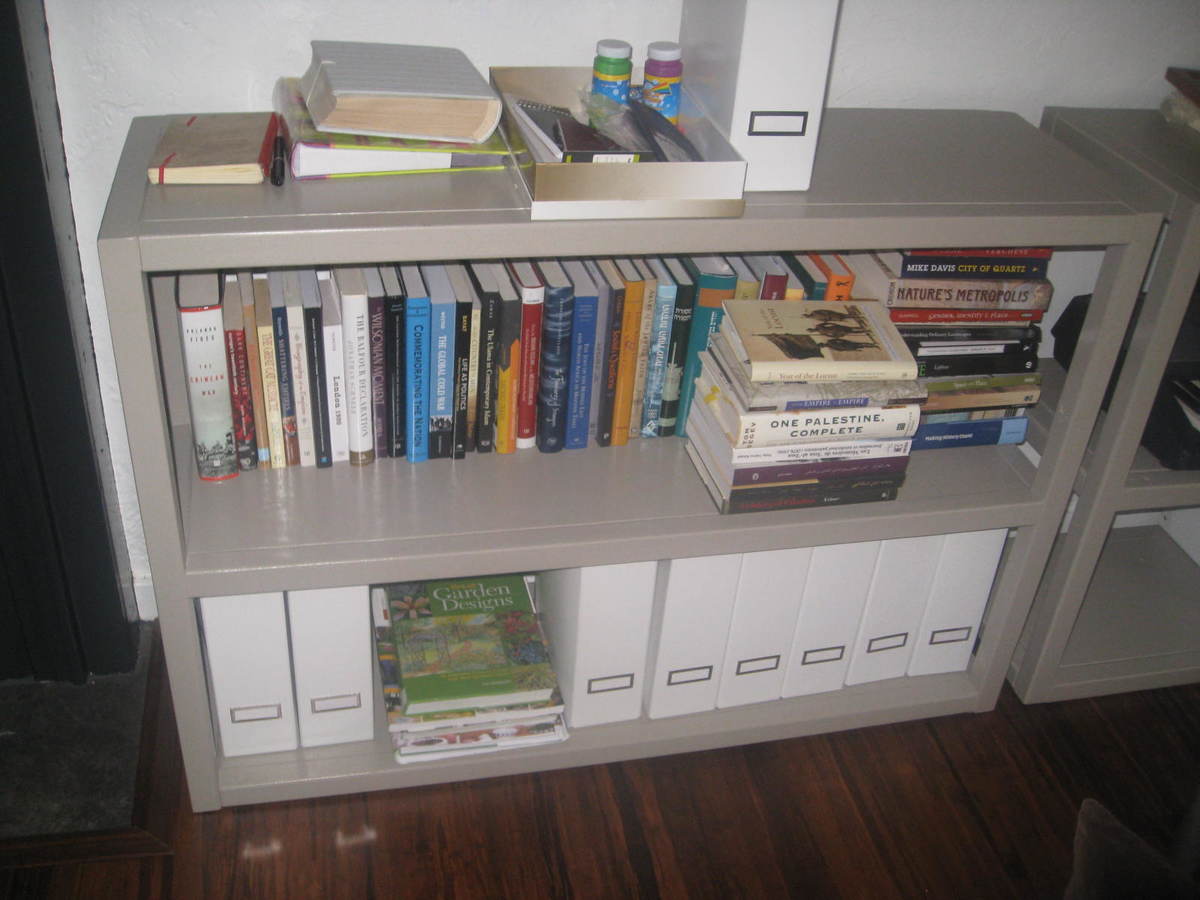
Honestly I had many building problems with my first project -- I had mistakenly thought working with 2x2s (pine) would be 'easy', but I found the opposite to be true (and since I have done another project with 2x2s since then I can confirm that we are not meant to be bffs). I did choose straight boards, but I had the guys at Lowe's cut them. Unfortunately in the future I will have to buy my own saw (and pick up truck and workshop, lol), because literally every single time there has been a problem, even when I check the boards at the store. The problems are generally small--1/4" or so--but of course this makes your project off square.
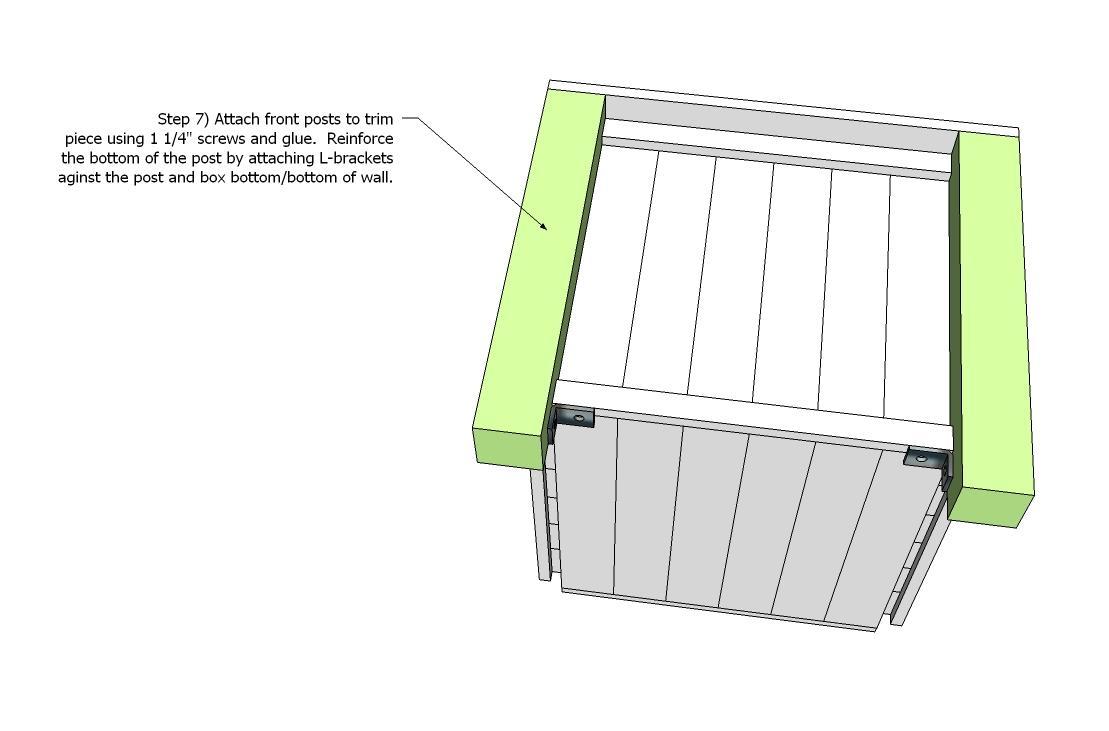
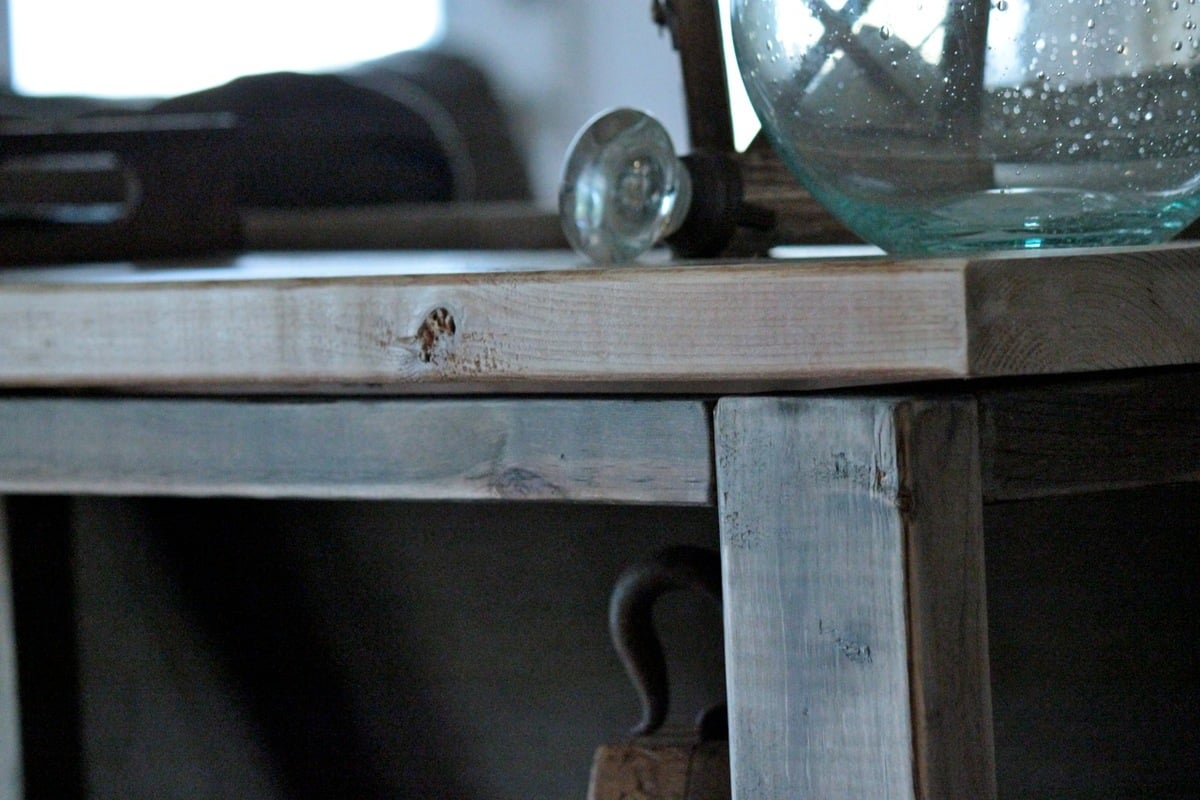
As a result there were noticeable seams between the 2x2s and the 1x12 boards. Of course caulk and paint hid all of that, but this was the main reason why I couldn't stain the project. I also had trouble with the 2x2s splitting when I used the Kreg jig -- luckily this happened only a couple of times, but in my next built it happened even more often, using Douglas Fir. (if anyone can help me with this, I would love to hear!)
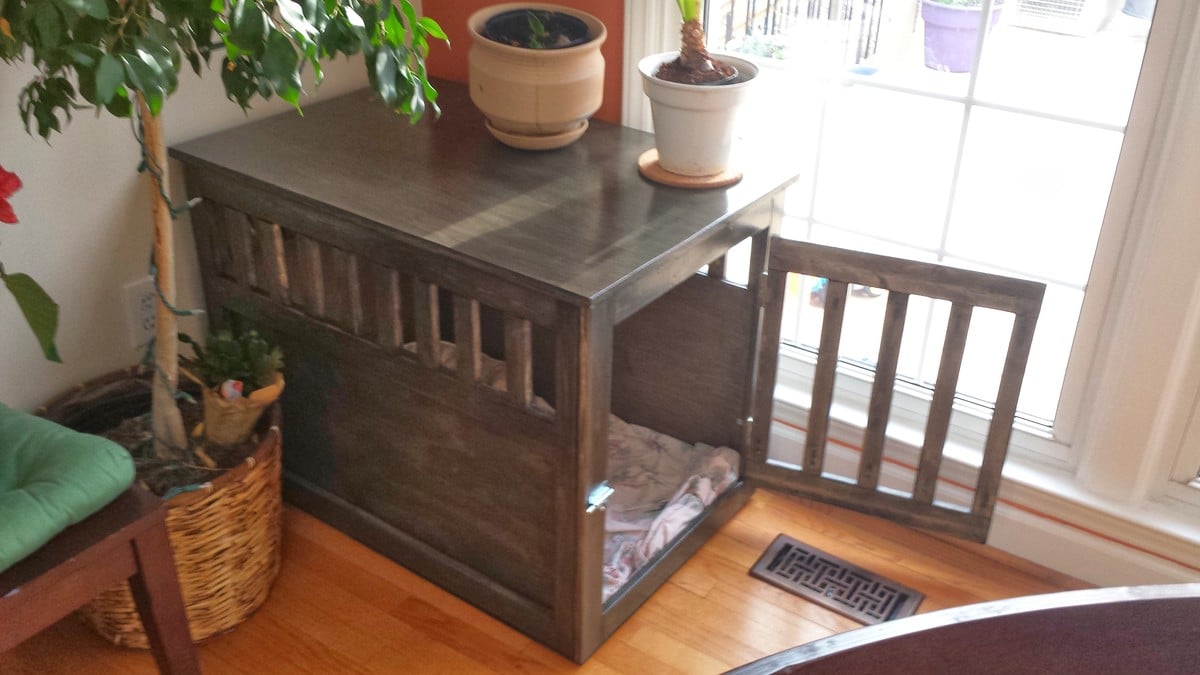
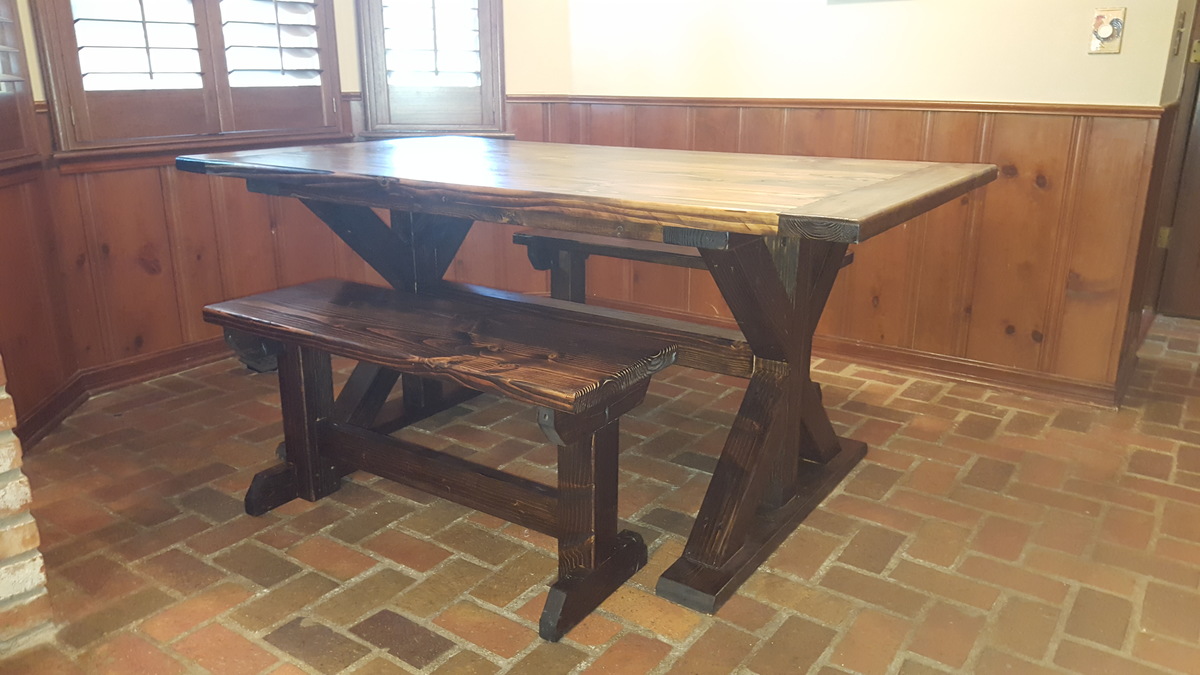
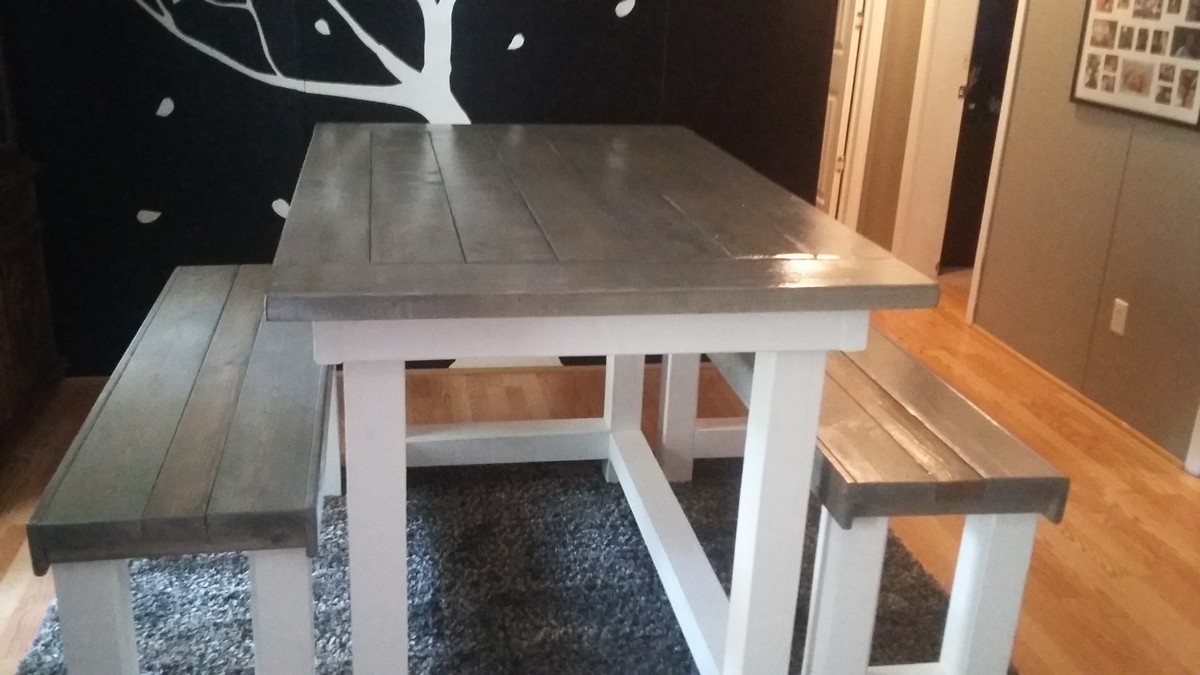
Long story short -- it was a lot of work, it wasn't exactly what I had envisioned, but I love the final product, seams, warts, and all. It fits our space perfectly, it's incredibly sturdy, and the power of making something myself--even imperfect--is amazing. Since then I have built an activity table and a picnic table for my kids, and I even felt confident enough to design and build my own window box. (sure, it's not complicated, but I credit Ana's "training" entirely. of course I haven't yet installed it, but that's a different problem)
Thanks, Ana!!!